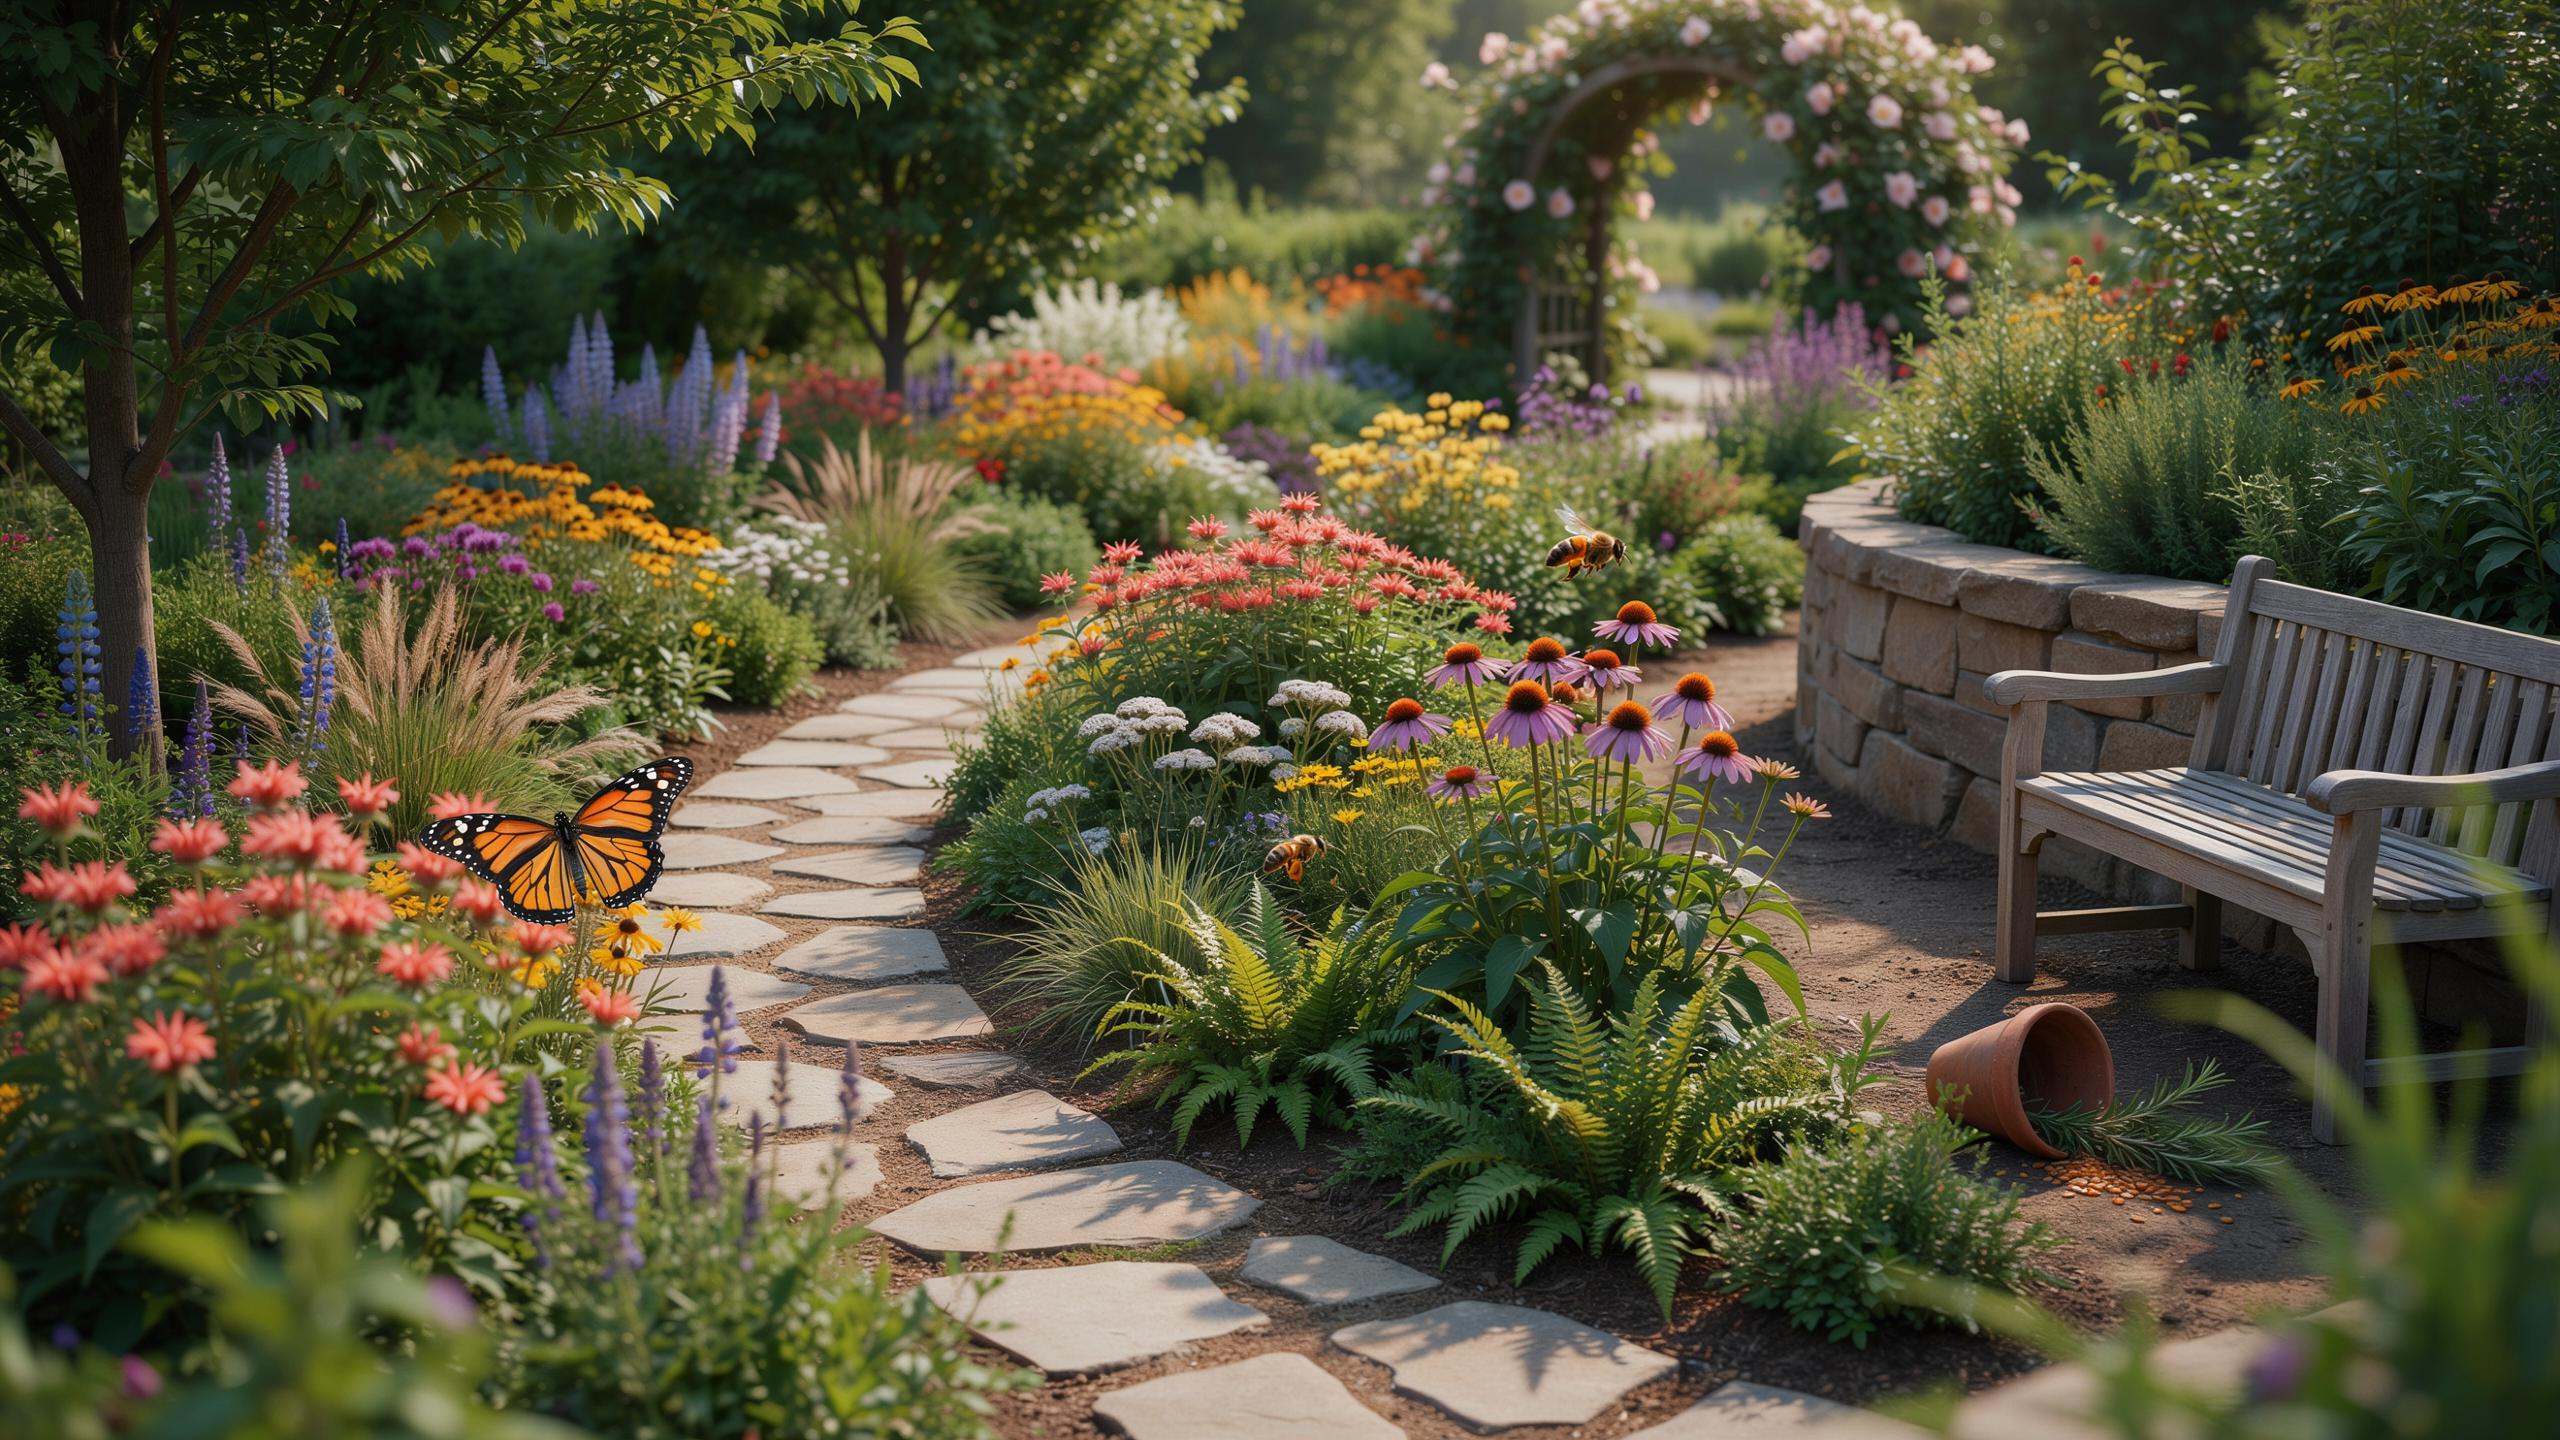
Fundamentals Of A Native Garden Plan
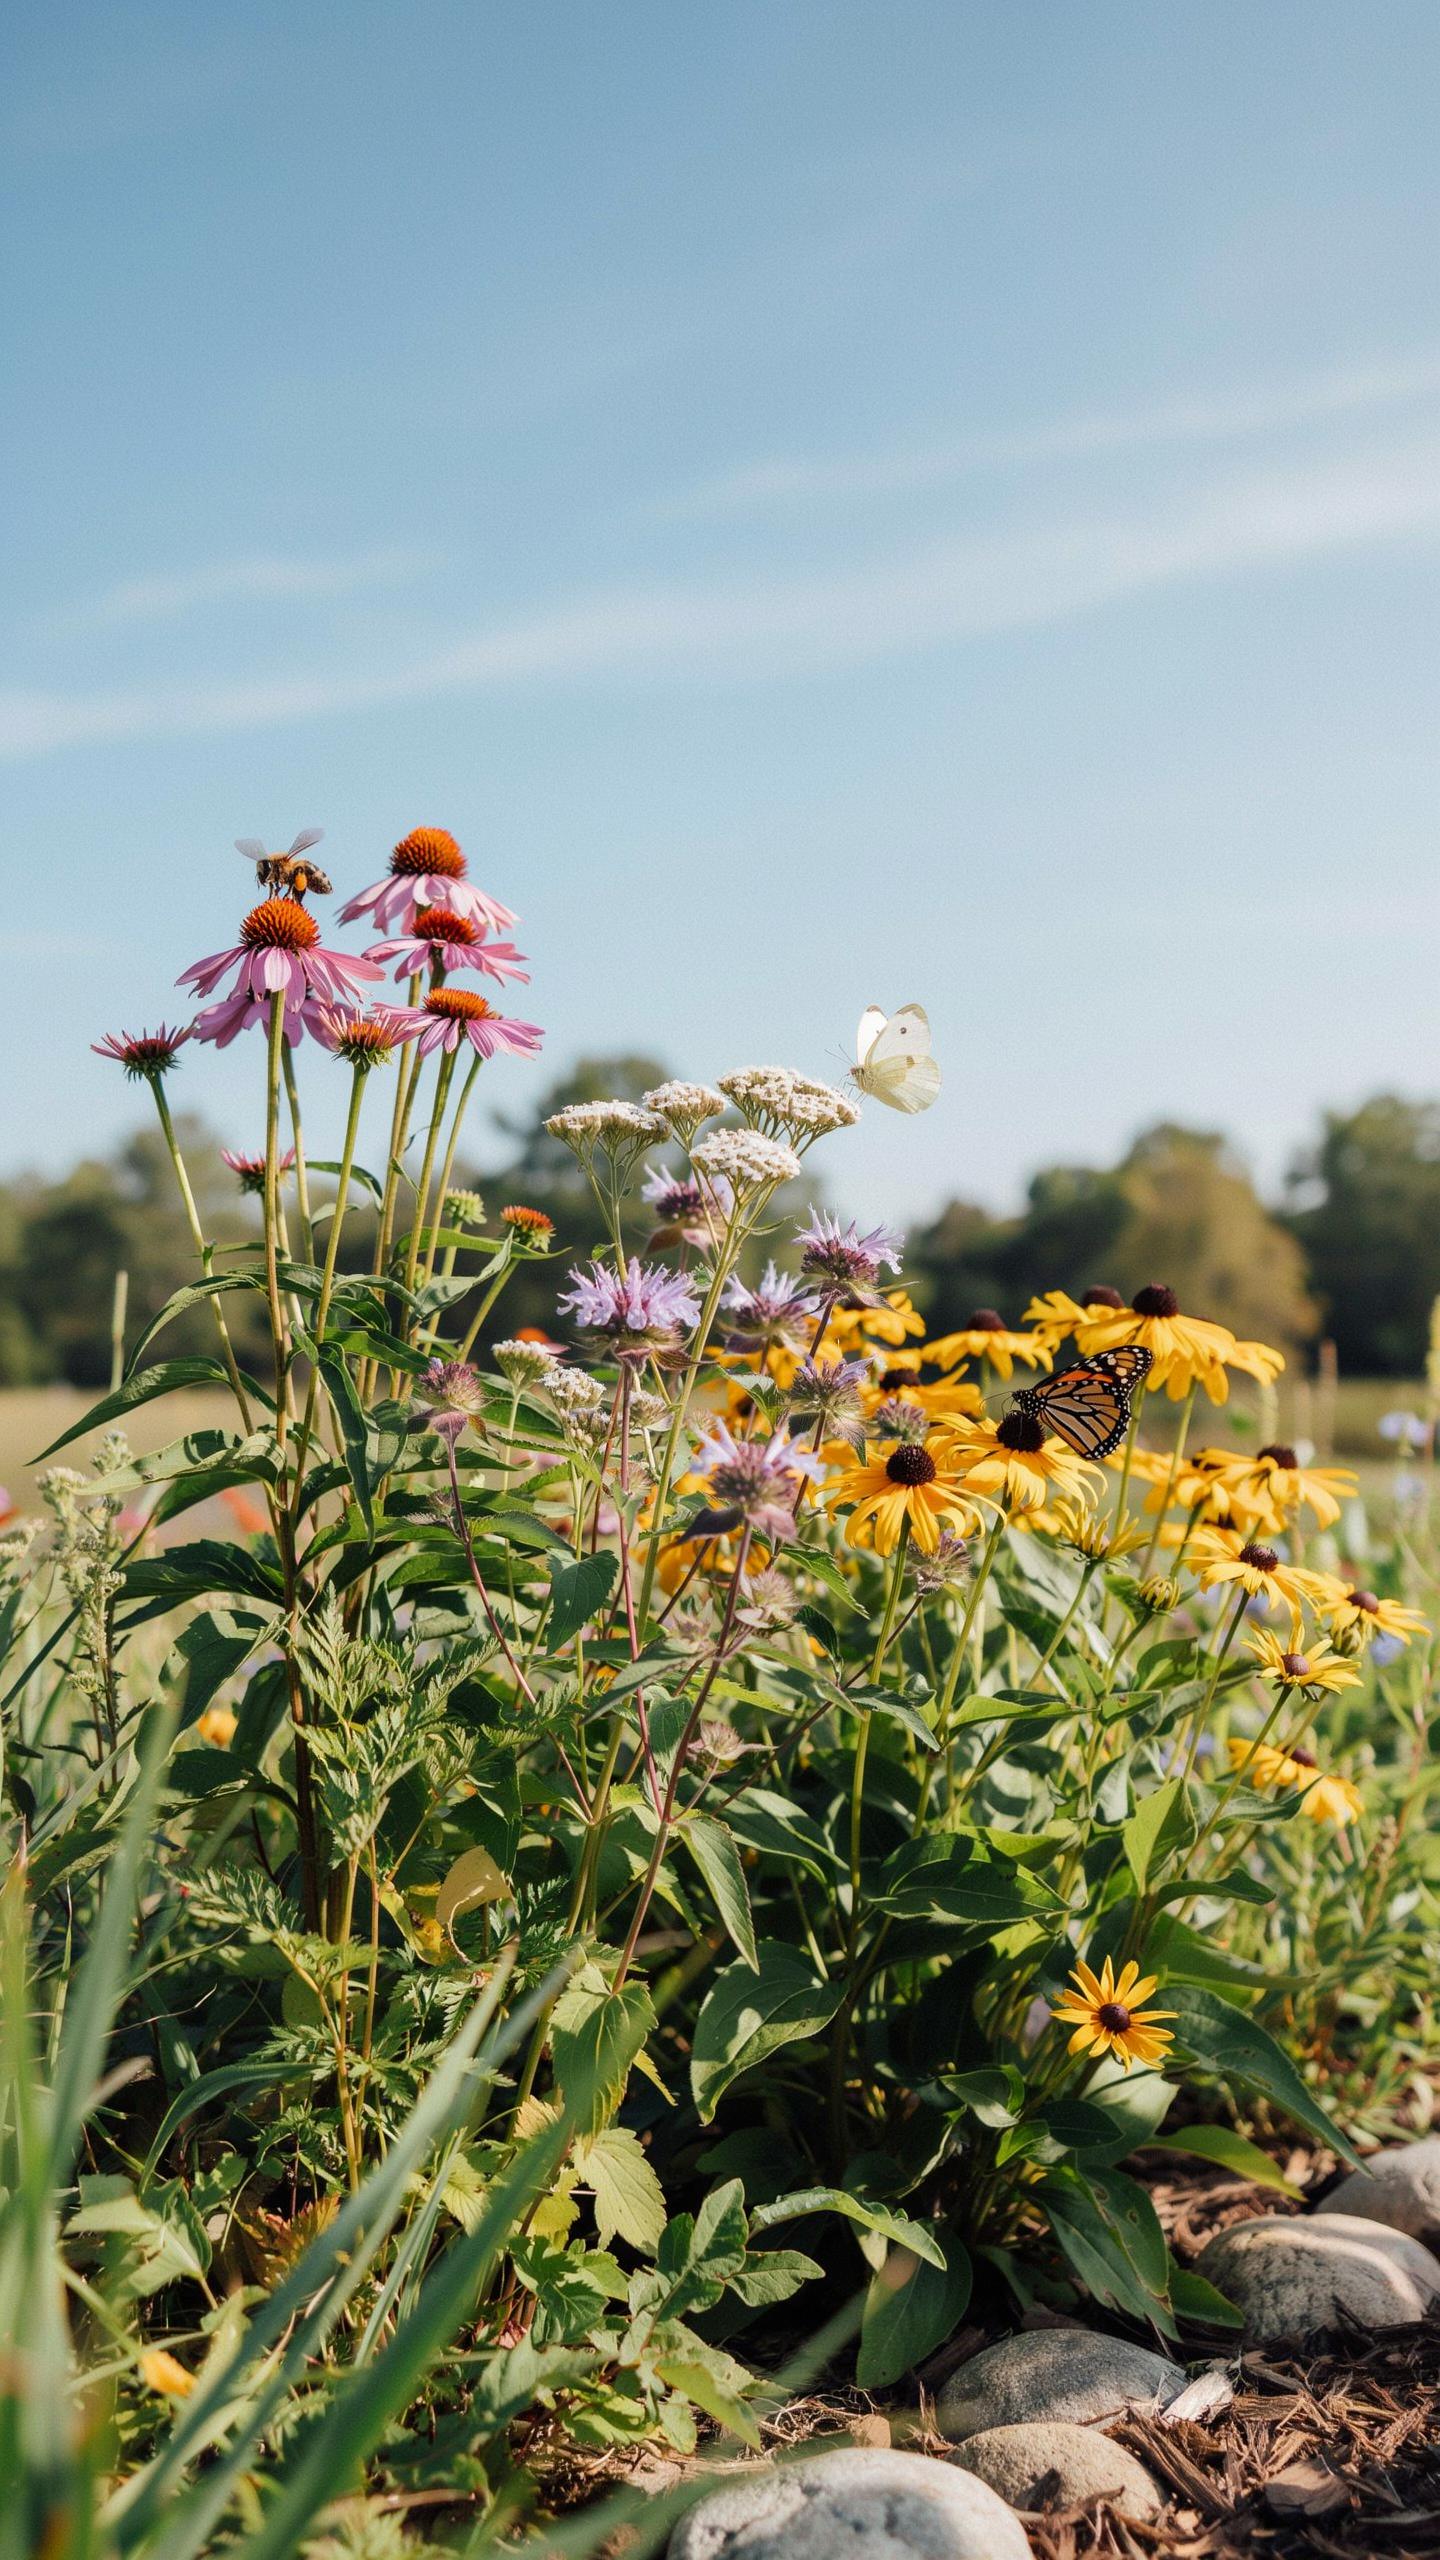
Selecting The Right Species For Your Local Ecoregion
Native plants thrive in your region because they evolved under its specific climate, rainfall patterns, and seasonal rhythms. Choosing species from your ecoregion eliminates guesswork and reduces maintenance. Start by identifying your USDA hardiness zone and local precipitation levels. Research which plants naturally occur within 100 miles of your location. Contact your local cooperative extension office for a verified plant list specific to your area.
Different regions support different native communities. Desert ecoregions demand drought tolerant species like sagebrush and prickly pear. Temperate forests support shade loving understory plants. Prairies thrive with deep rooted grasses and wildflowers. Coastal regions favor salt tolerant species adapted to sandy soils and wind. Matching your plant selections to your ecoregion determines survival rates and eliminates the need for artificial watering once established.
Understanding Soil And Sun Exposure Requirements
Soil composition directly determines which natives will establish successfully in your garden. Run a soil test through your extension office to measure pH, texture, and nutrient levels. Native plants evolved in soils matching your local geology. Rocky soils support different species than clay heavy soils. Sand based soils require different plant communities than loam. Work with existing soil conditions rather than amending heavily, as natives perform best in unmodified native substrate.
Sun exposure creates microclimates within your garden that support different plant communities. Full sun areas receive six or more hours of direct light. Partial shade areas receive filtered light or two to four hours of direct sun. Full shade areas stay mostly shaded throughout the day. Map your garden’s sun patterns across seasons since sun angles shift significantly. Shade deepens in summer but increases in winter depending on tree canopy location and growth patterns. Position species according to their light needs, not your preferences.
How To Create A Native Garden Layout
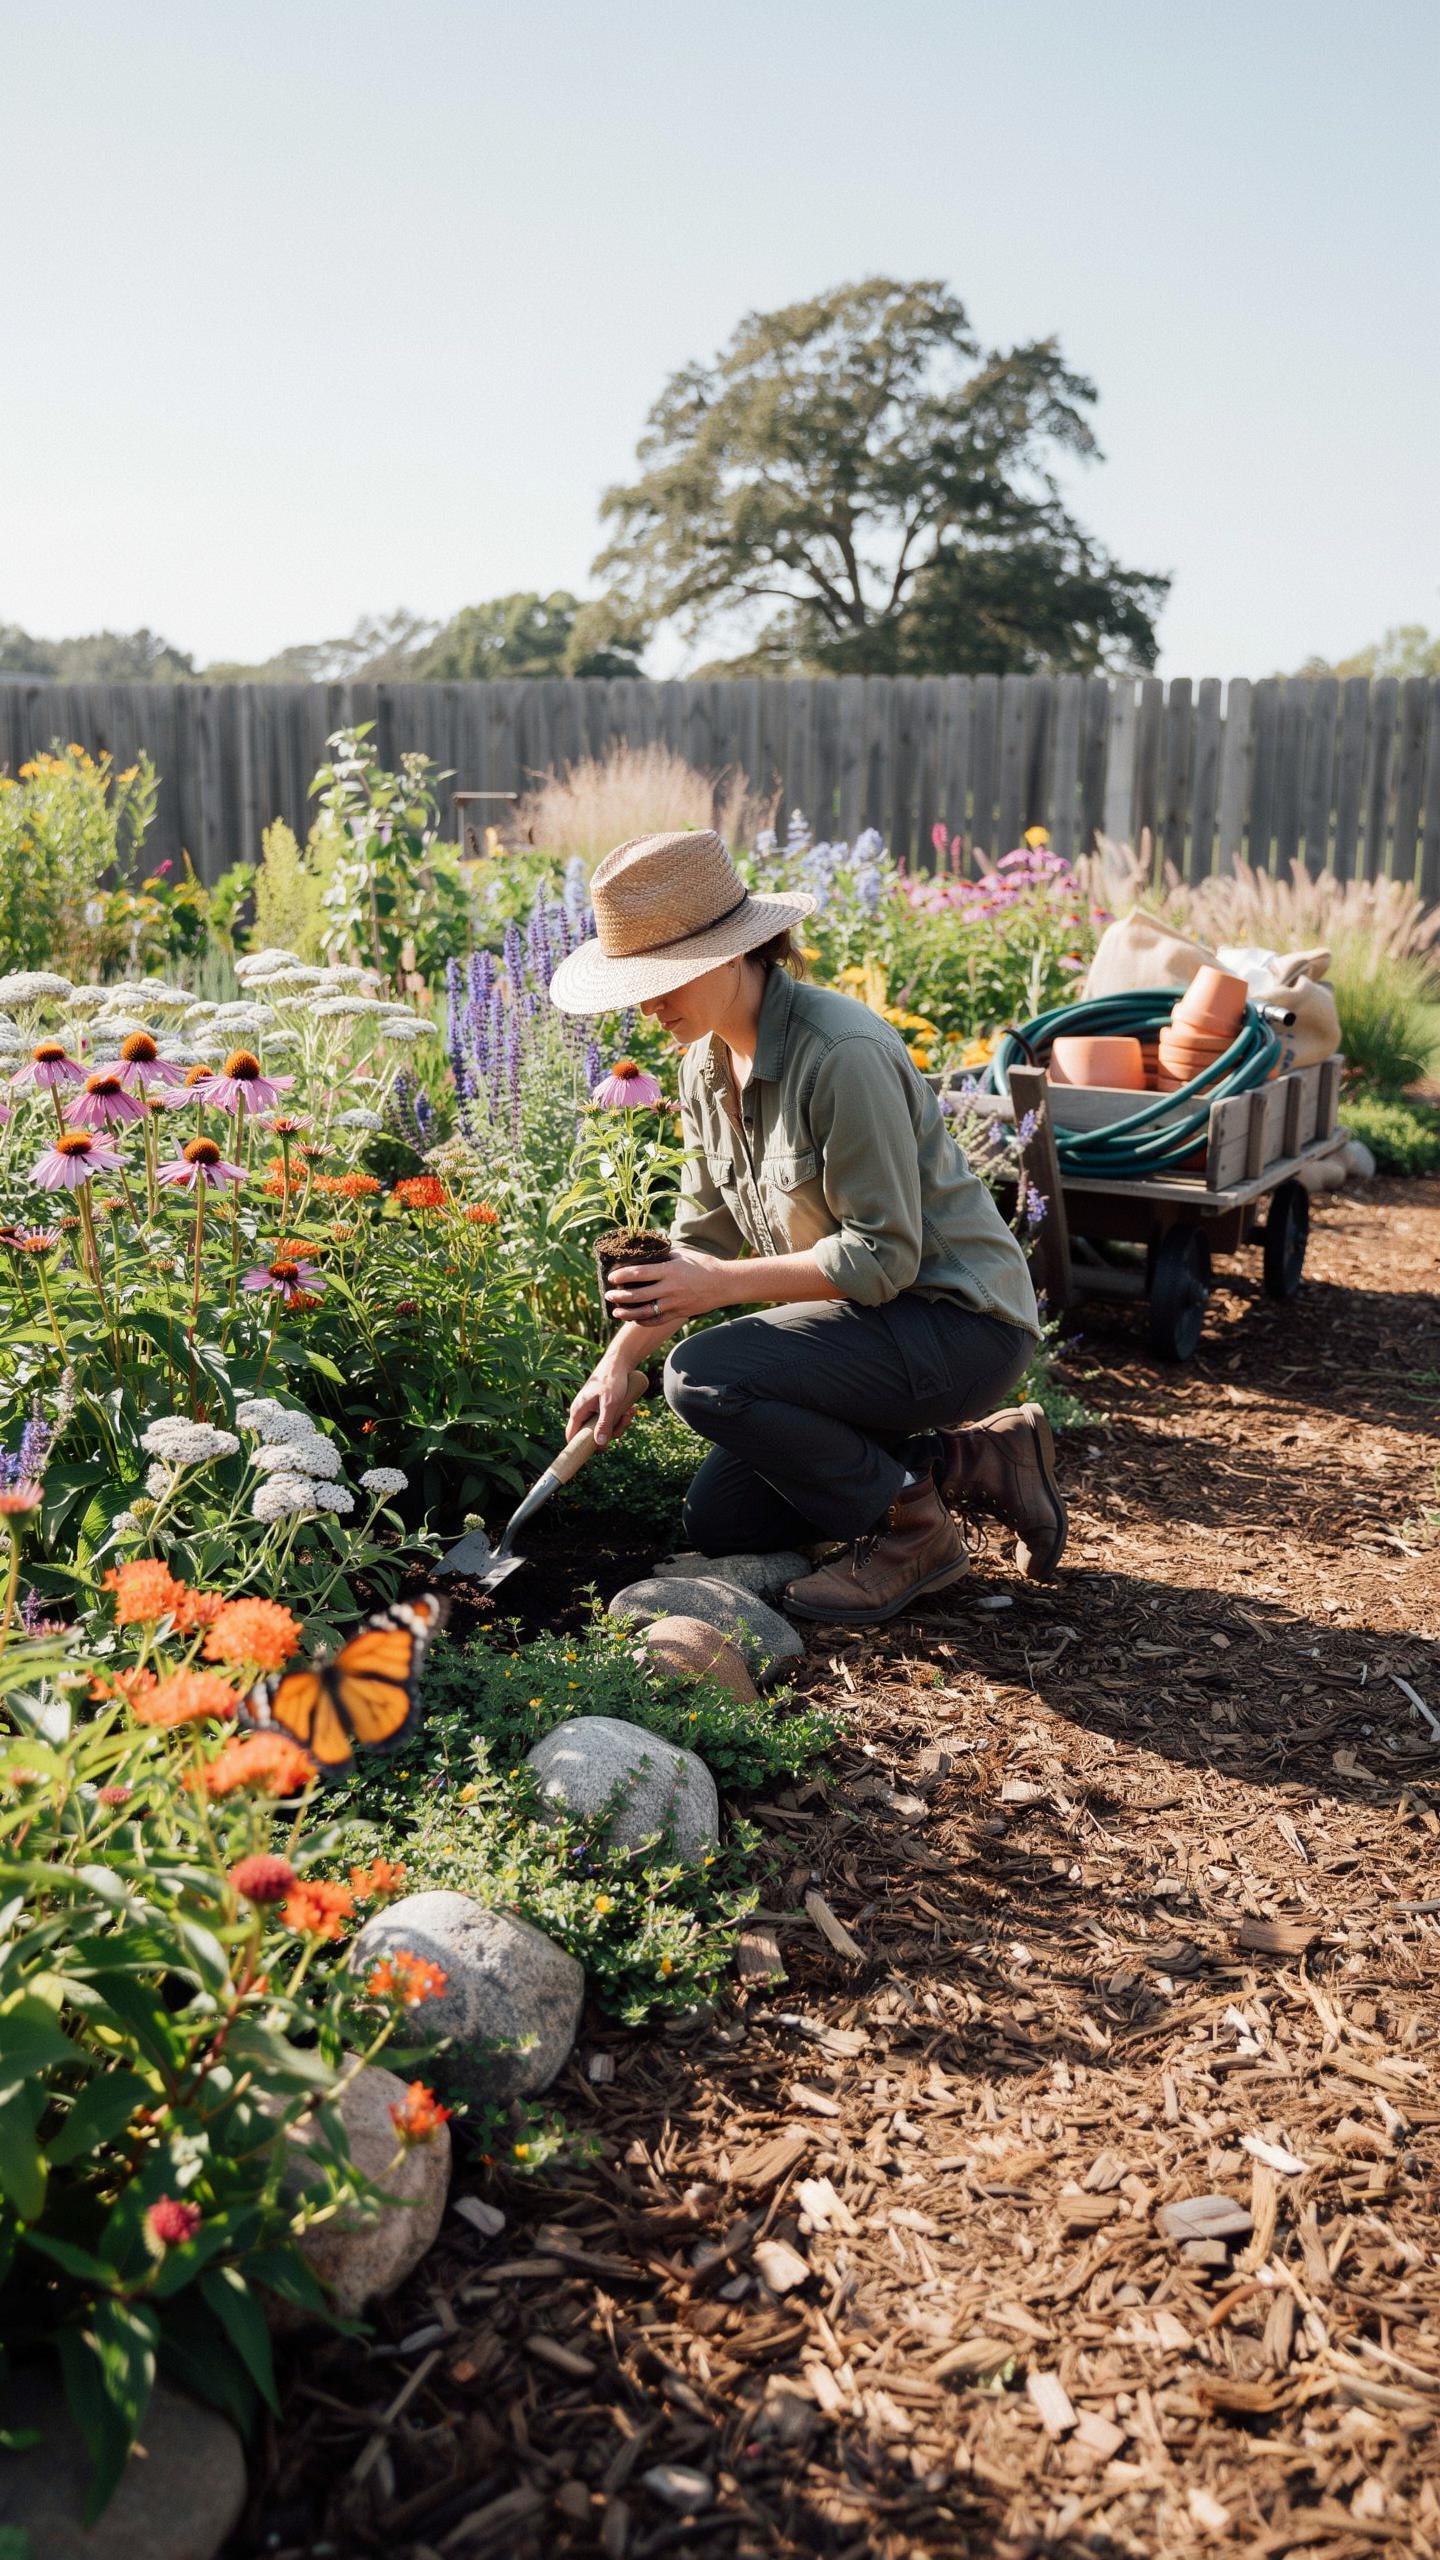
Mapping The Physical Space
Start by measuring your garden area and recording the dimensions on paper or digitally. Note where north, south, east, and west face. Mark existing structures like buildings, fences, trees, and hardscaping. Document soil type by conducting a simple test or sending samples to your local extension office. Identify wet spots, dry areas, and places where water pools after rain. This baseline data determines which native plants survive in each zone.
Sun exposure varies across your property throughout the day and seasons. Track sunlight patterns for at least one week, noting which areas receive full sun (six or more hours), partial shade, or full shade. Observe how shade from trees and structures shifts. Wind patterns also matter, especially in exposed areas where plants face stress. Document these conditions zone by zone so you match plants to their preferred light and wind exposure accurately.
To forget how to dig the earth and to tend the soil is to forget ourselves. A garden of native blooms is a bridge back to our ancestors and a gift to the future.
Arranging Species By Mature Height And Growth Habit
Native plants reach different heights at maturity, which drives their placement in your layout. Tall species go toward the back or north side to avoid shading shorter plants. Medium-height plants occupy the middle layer. Ground covers and low-growing natives fill the front. Check the mature size of each species, not its current nursery container size. A plant that seems small at purchase might reach eight feet tall, blocking views or light for others.
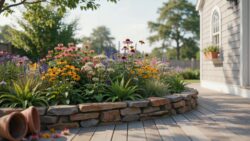
Growth habit refers to how plants spread and fill space as they mature. Some natives grow upright and narrow. Others spread wide or send out rhizomes underground. Dense shrubs create screening. Open, airy plants let light filter through. Combine upright and spreading forms to create visual interest and maximize space efficiency. Arrange plants with similar water needs together so irrigation and maintenance target specific zones rather than treating the entire garden uniformly.
Principles Of Native Plant Landscape Design
Integrating Hardscape Elements With Natural Areas
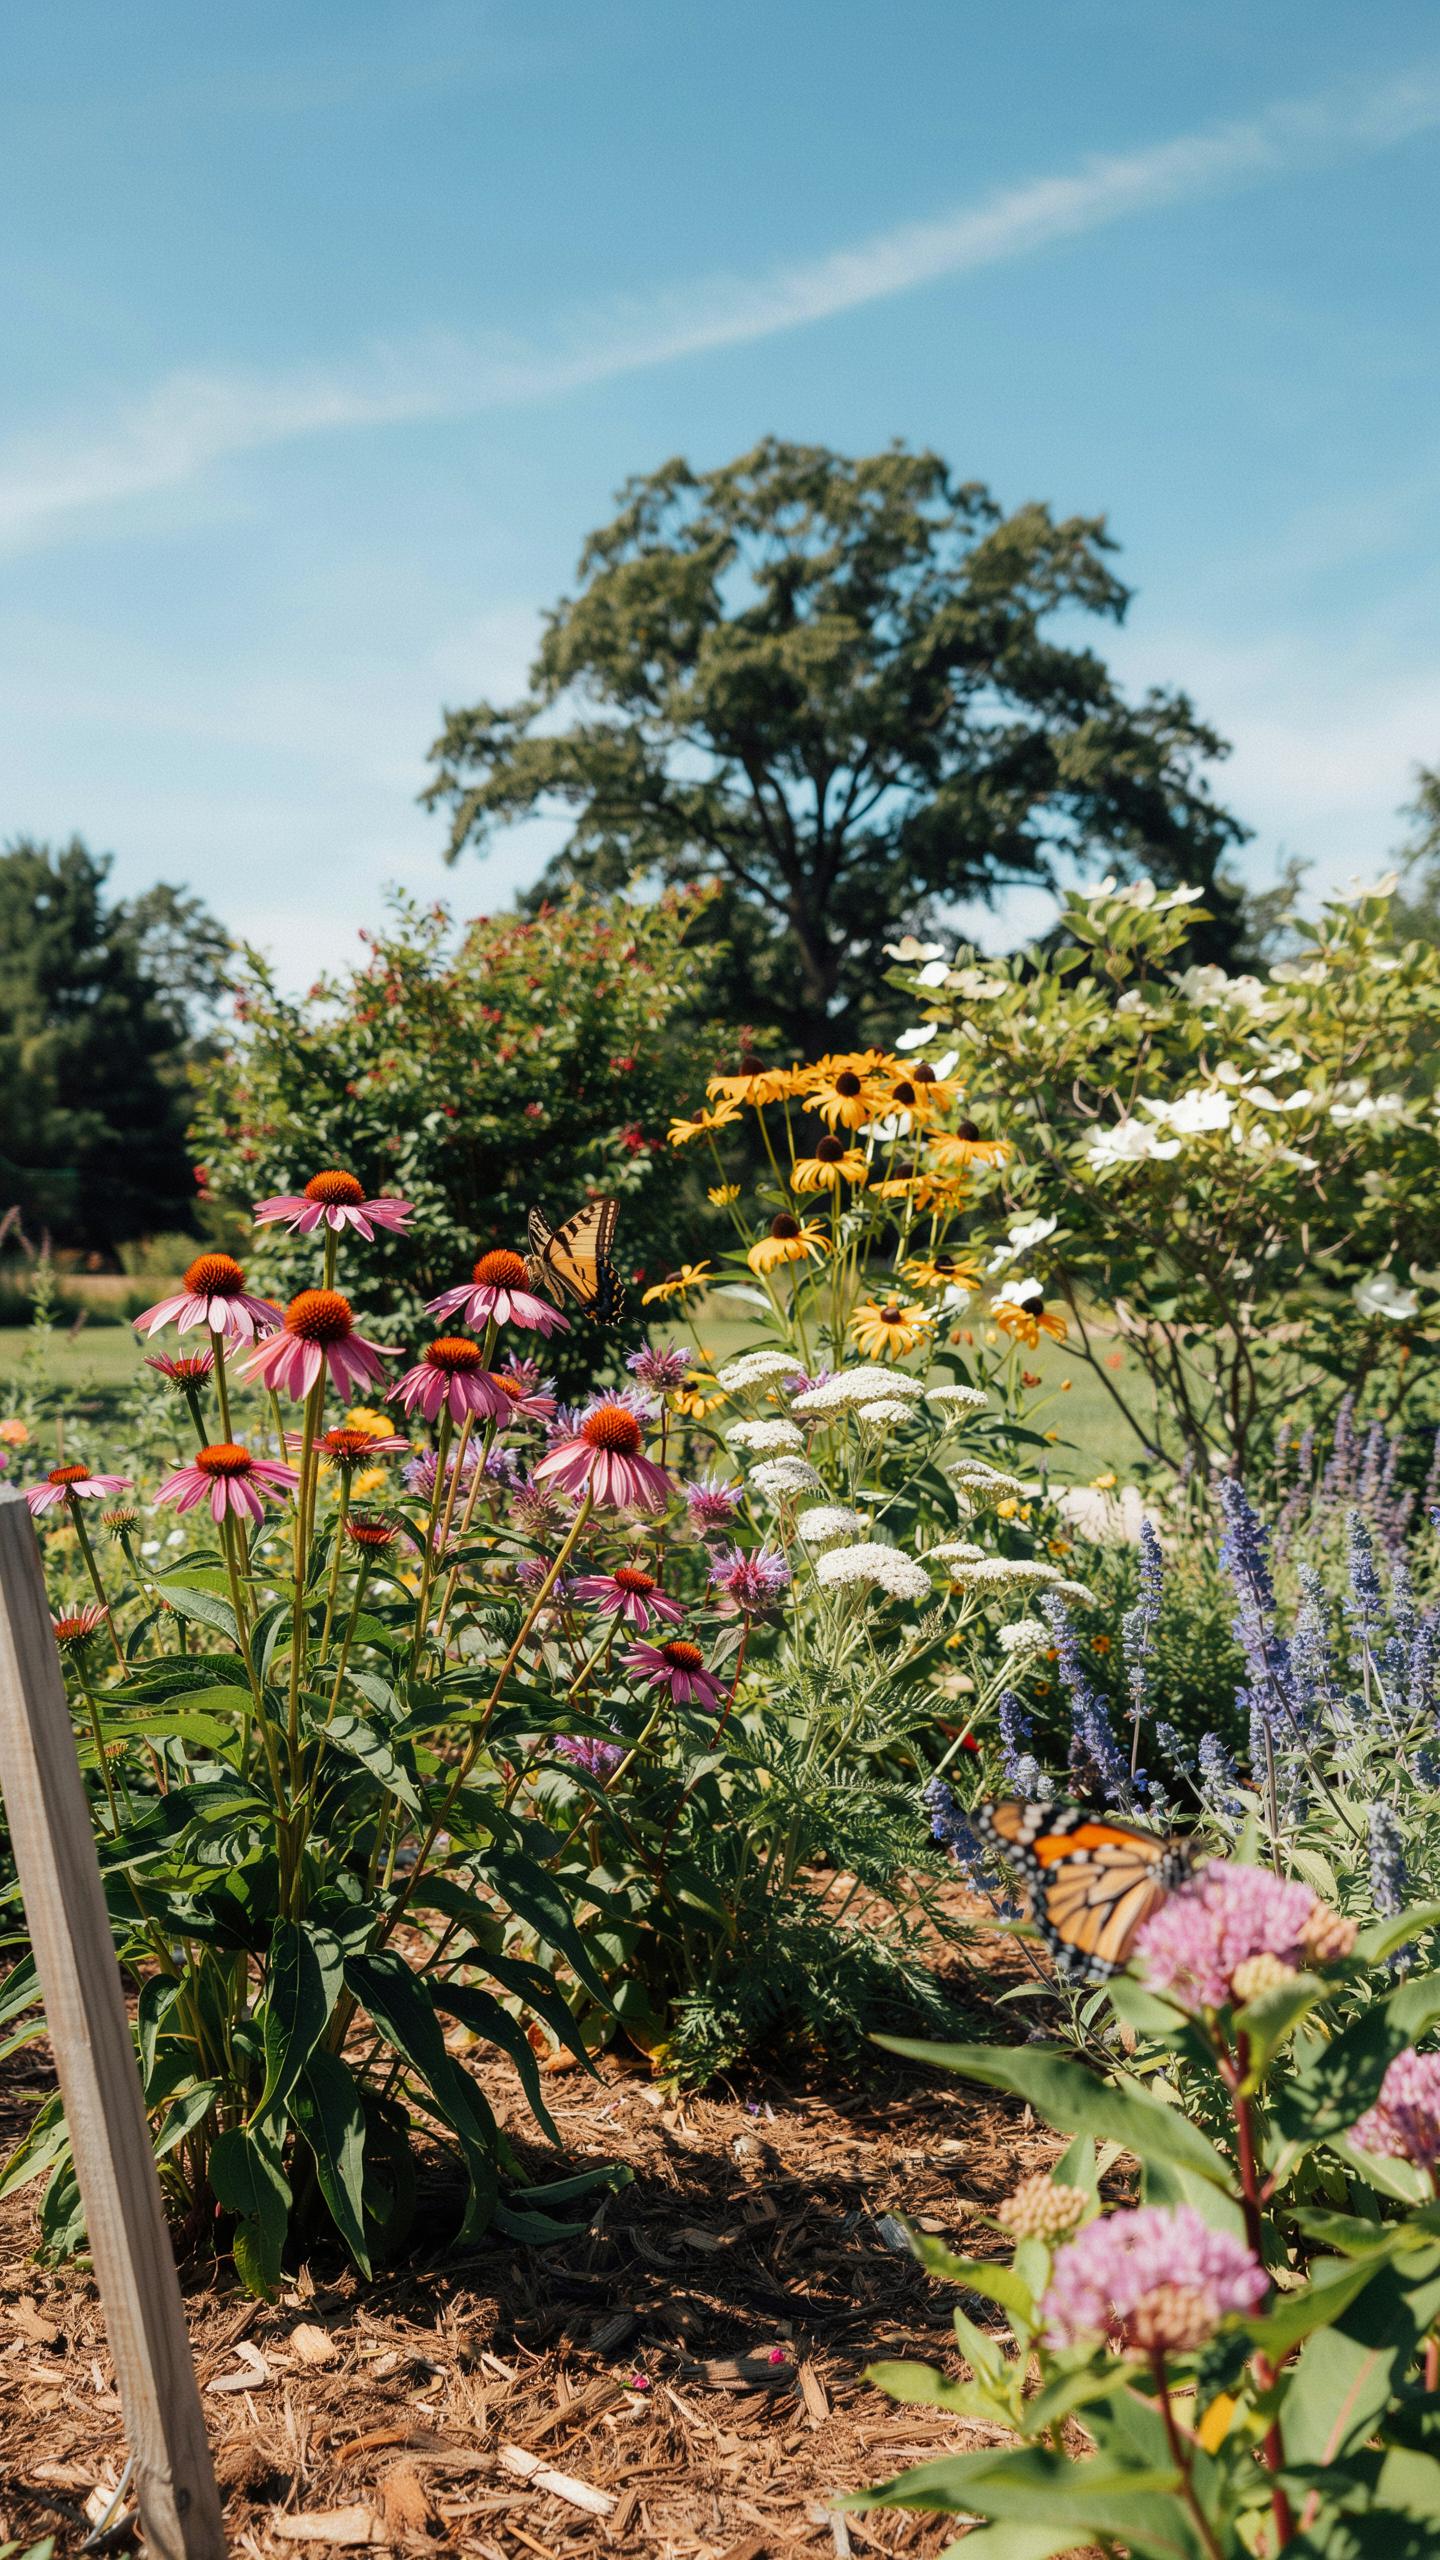
Hardscape serves functional purposes in native plant gardens. Paths, patios, and walls direct foot traffic and define spaces without competing with plants. Position hardscape to frame views and create transitions between garden zones. Use locally sourced stone or recycled materials that match your region’s geological character. This approach reduces visual jarring and keeps focus on plant communities.
Hardscape placement affects water movement and soil conditions. Position permeable surfaces like gravel or permeable pavers to allow water infiltration where native plants need moisture. Avoid concrete and impermeable materials in planting zones. Hard surfaces around the garden perimeter work better than cutting through plant beds. Strategic hardscape placement reduces maintenance while supporting plant health and ecological function.
Layering Canopies Shrubs And Groundcovers
Layering creates the structure that native plant gardens need to function. Start with canopy trees as your uppermost layer, then add understory trees, then shrubs, then herbaceous plants, then groundcovers. This mimics natural forest and meadow structure. Each layer occupies different light conditions and provides habitat for wildlife. Proper layering maximizes your garden’s ecological value and visual depth.
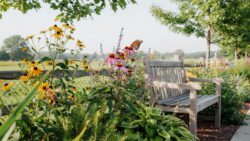
Each layer performs specific work in your garden system. Canopy trees provide shade and wind protection. Shrubs fill mid-level space and screen views. Groundcovers suppress weeds, stabilize soil, and provide food sources. Herbaceous plants add seasonal color and flowering periods for pollinators. Combine layers based on your site’s light, soil, and moisture conditions to create a self-sustaining ecosystem that needs minimal intervention once established.
Designing A Colorful Garden Landscape Design Plan
Curating Blooms For All Seasons
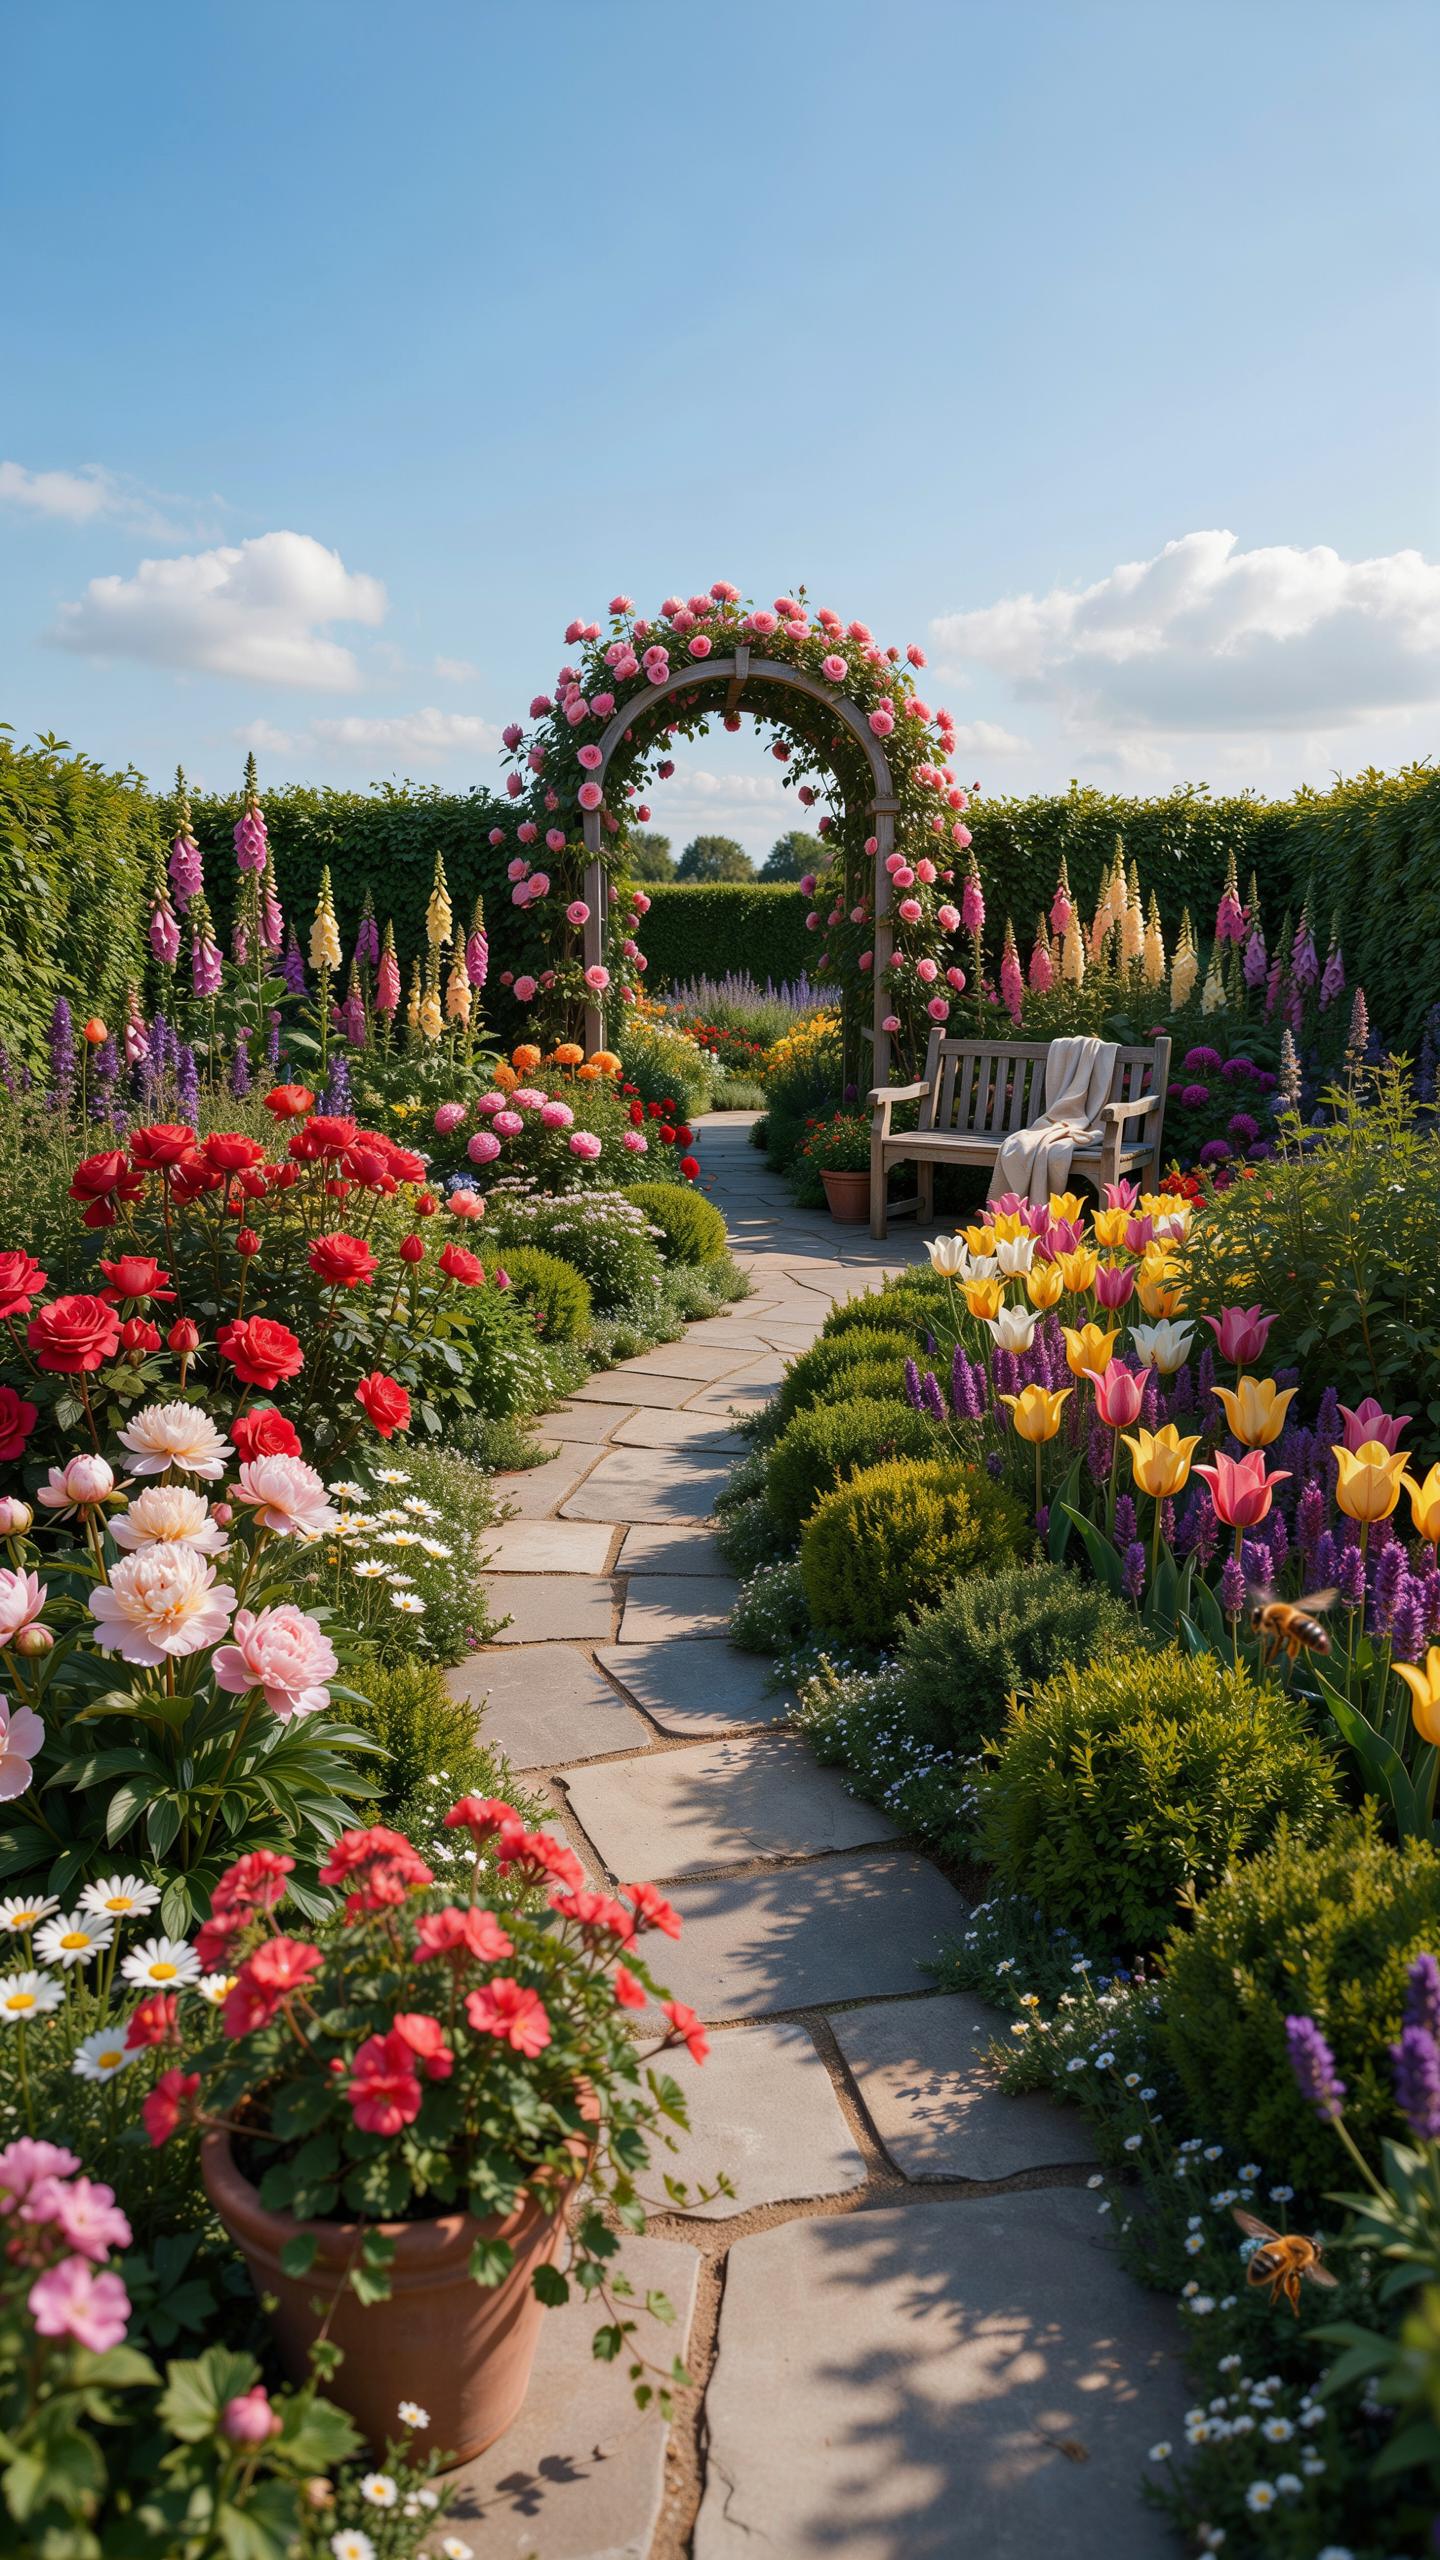
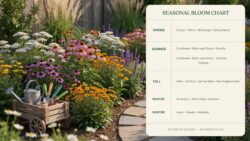
Native plants flower on schedules tied to regional climate patterns and daylight cycles. Strategic placement of early, mid, and late bloomers extends color from spring through fall. Select species that naturally occur together in your region for reliable performance. This approach eliminates guesswork and reduces maintenance demands significantly.
- Black-eyed Susan (Rudbeckia): Blooms mid-summer through fall with yellow petals and dark centers. Attracts pollinators. Tolerates drought and poor soil. Native to eastern and central North America.
- Wild Bergamot (Monarda fistulosa): Flowers mid to late summer with purple-pink blooms. Supports native bees. Prefers full sun and well-drained soil across central and eastern regions.
- New England Aster (Symphyotrichum novae-angliae): Late season bloomer with purple-pink flowers in fall. Critical for migrating pollinators. Thrives in moist conditions across northeastern states.
- Pussytoes (Antennaria): Spring bloomer with dense flower clusters. Low growing ground cover. Native across North America in varied conditions from dry to moist.
- Wild Geranium (Geranium maculatum): Early spring pink-purple flowers. Woodland understory plant. Performs well in partial shade with consistent moisture in eastern regions.
Stagger bloom times by grouping plants with overlapping flowering periods in clusters. Mass three to five specimens of the same species together for visual impact. This density also reduces weeding pressure and improves pollinator efficiency through concentrated resources.
Combining Foliage Textures And Leaf Forms
Leaf texture creates visual depth and interest when plants rest between blooming cycles. Native plants display varied forms: fine and feathery, broad and bold, or sword-like and vertical. Layer these contrasting shapes to build a cohesive composition that works year-round, not just during flowering.
Combine finely textured ferns with broad hostas and vertical grasses for dimensional contrast. Position plants so mature sizes prevent overlapping and shading competition. This strategy maintains individual plant health while maximizing the visual complexity of your layout.
Steps For Garden Planning With Native Plants
Analyzing Yard Drainage And Topography
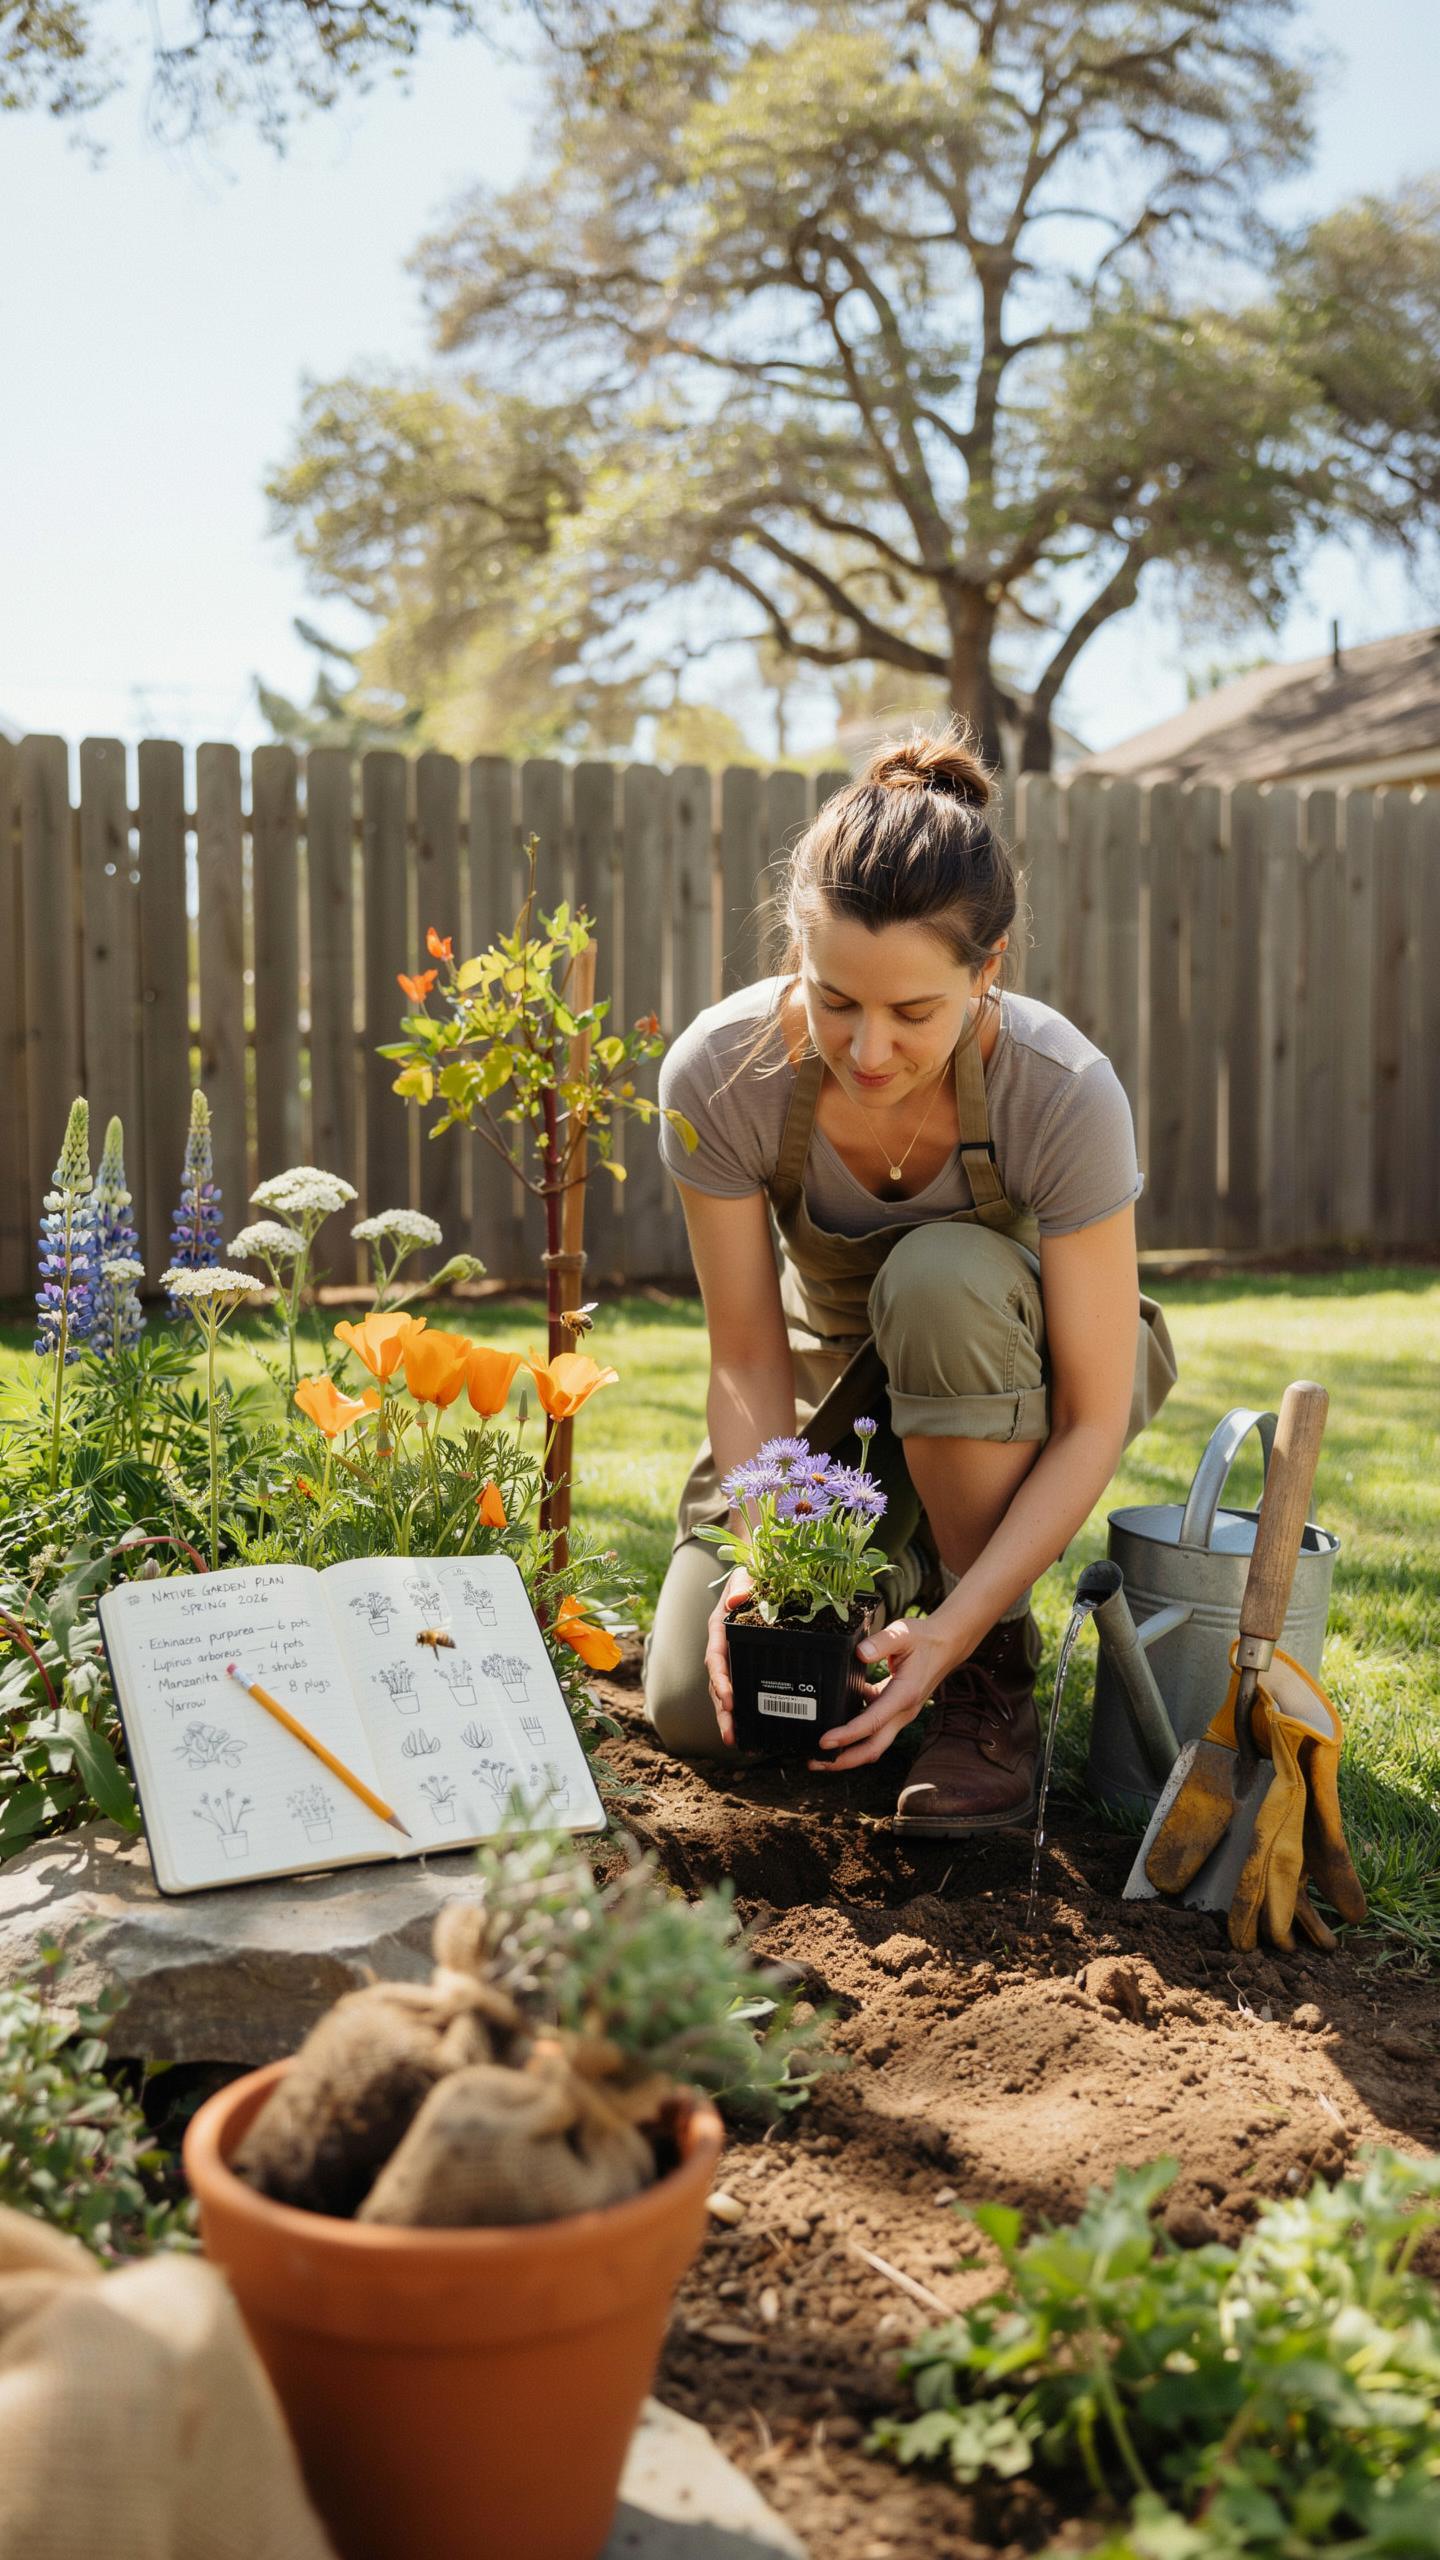
Drainage and topography determine where water moves through your property. This controls which plants survive and which fail. Observe your yard during heavy rain. Note where water pools, runs off, and soaks in. Low spots hold moisture longer. High spots drain fast. Slopes channel water downhill. These patterns repeat every time it rains. Your natives must match these wet and dry zones.
Map your yard’s elevation changes before you plant anything. Use a level or observe natural water flow patterns. Mark areas that stay soggy versus areas that dry out quickly. Test soil moisture at different spots by digging six inches down and feeling the soil texture. Document sun exposure throughout the day because it influences drainage rates. This data becomes your foundation for plant placement decisions.
Preparing The Soil And Minimizing Chemical Disturbance
Native plants evolved in local soil conditions without synthetic inputs. Tilling and chemical amendments destroy soil structure and kill beneficial microbes that natives depend on. Minimize disturbance by working with existing soil rather than against it. Test your soil pH and composition first. Most natives thrive in soil similar to what grows wild nearby.
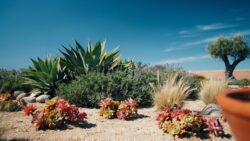
Add compost or aged organic matter as a top layer if needed. This feeds soil microbes without chemicals. Avoid fungicides, herbicides, and synthetic fertilizers that damage the microbial networks natives use to access nutrients. Native plants establish stronger root systems when soil biology stays intact. Work slowly and let the ecosystem rebuild itself over one to two growing seasons.
Using A Native Garden Planner For Success
Essential Tools And Checklists For Site Mapping
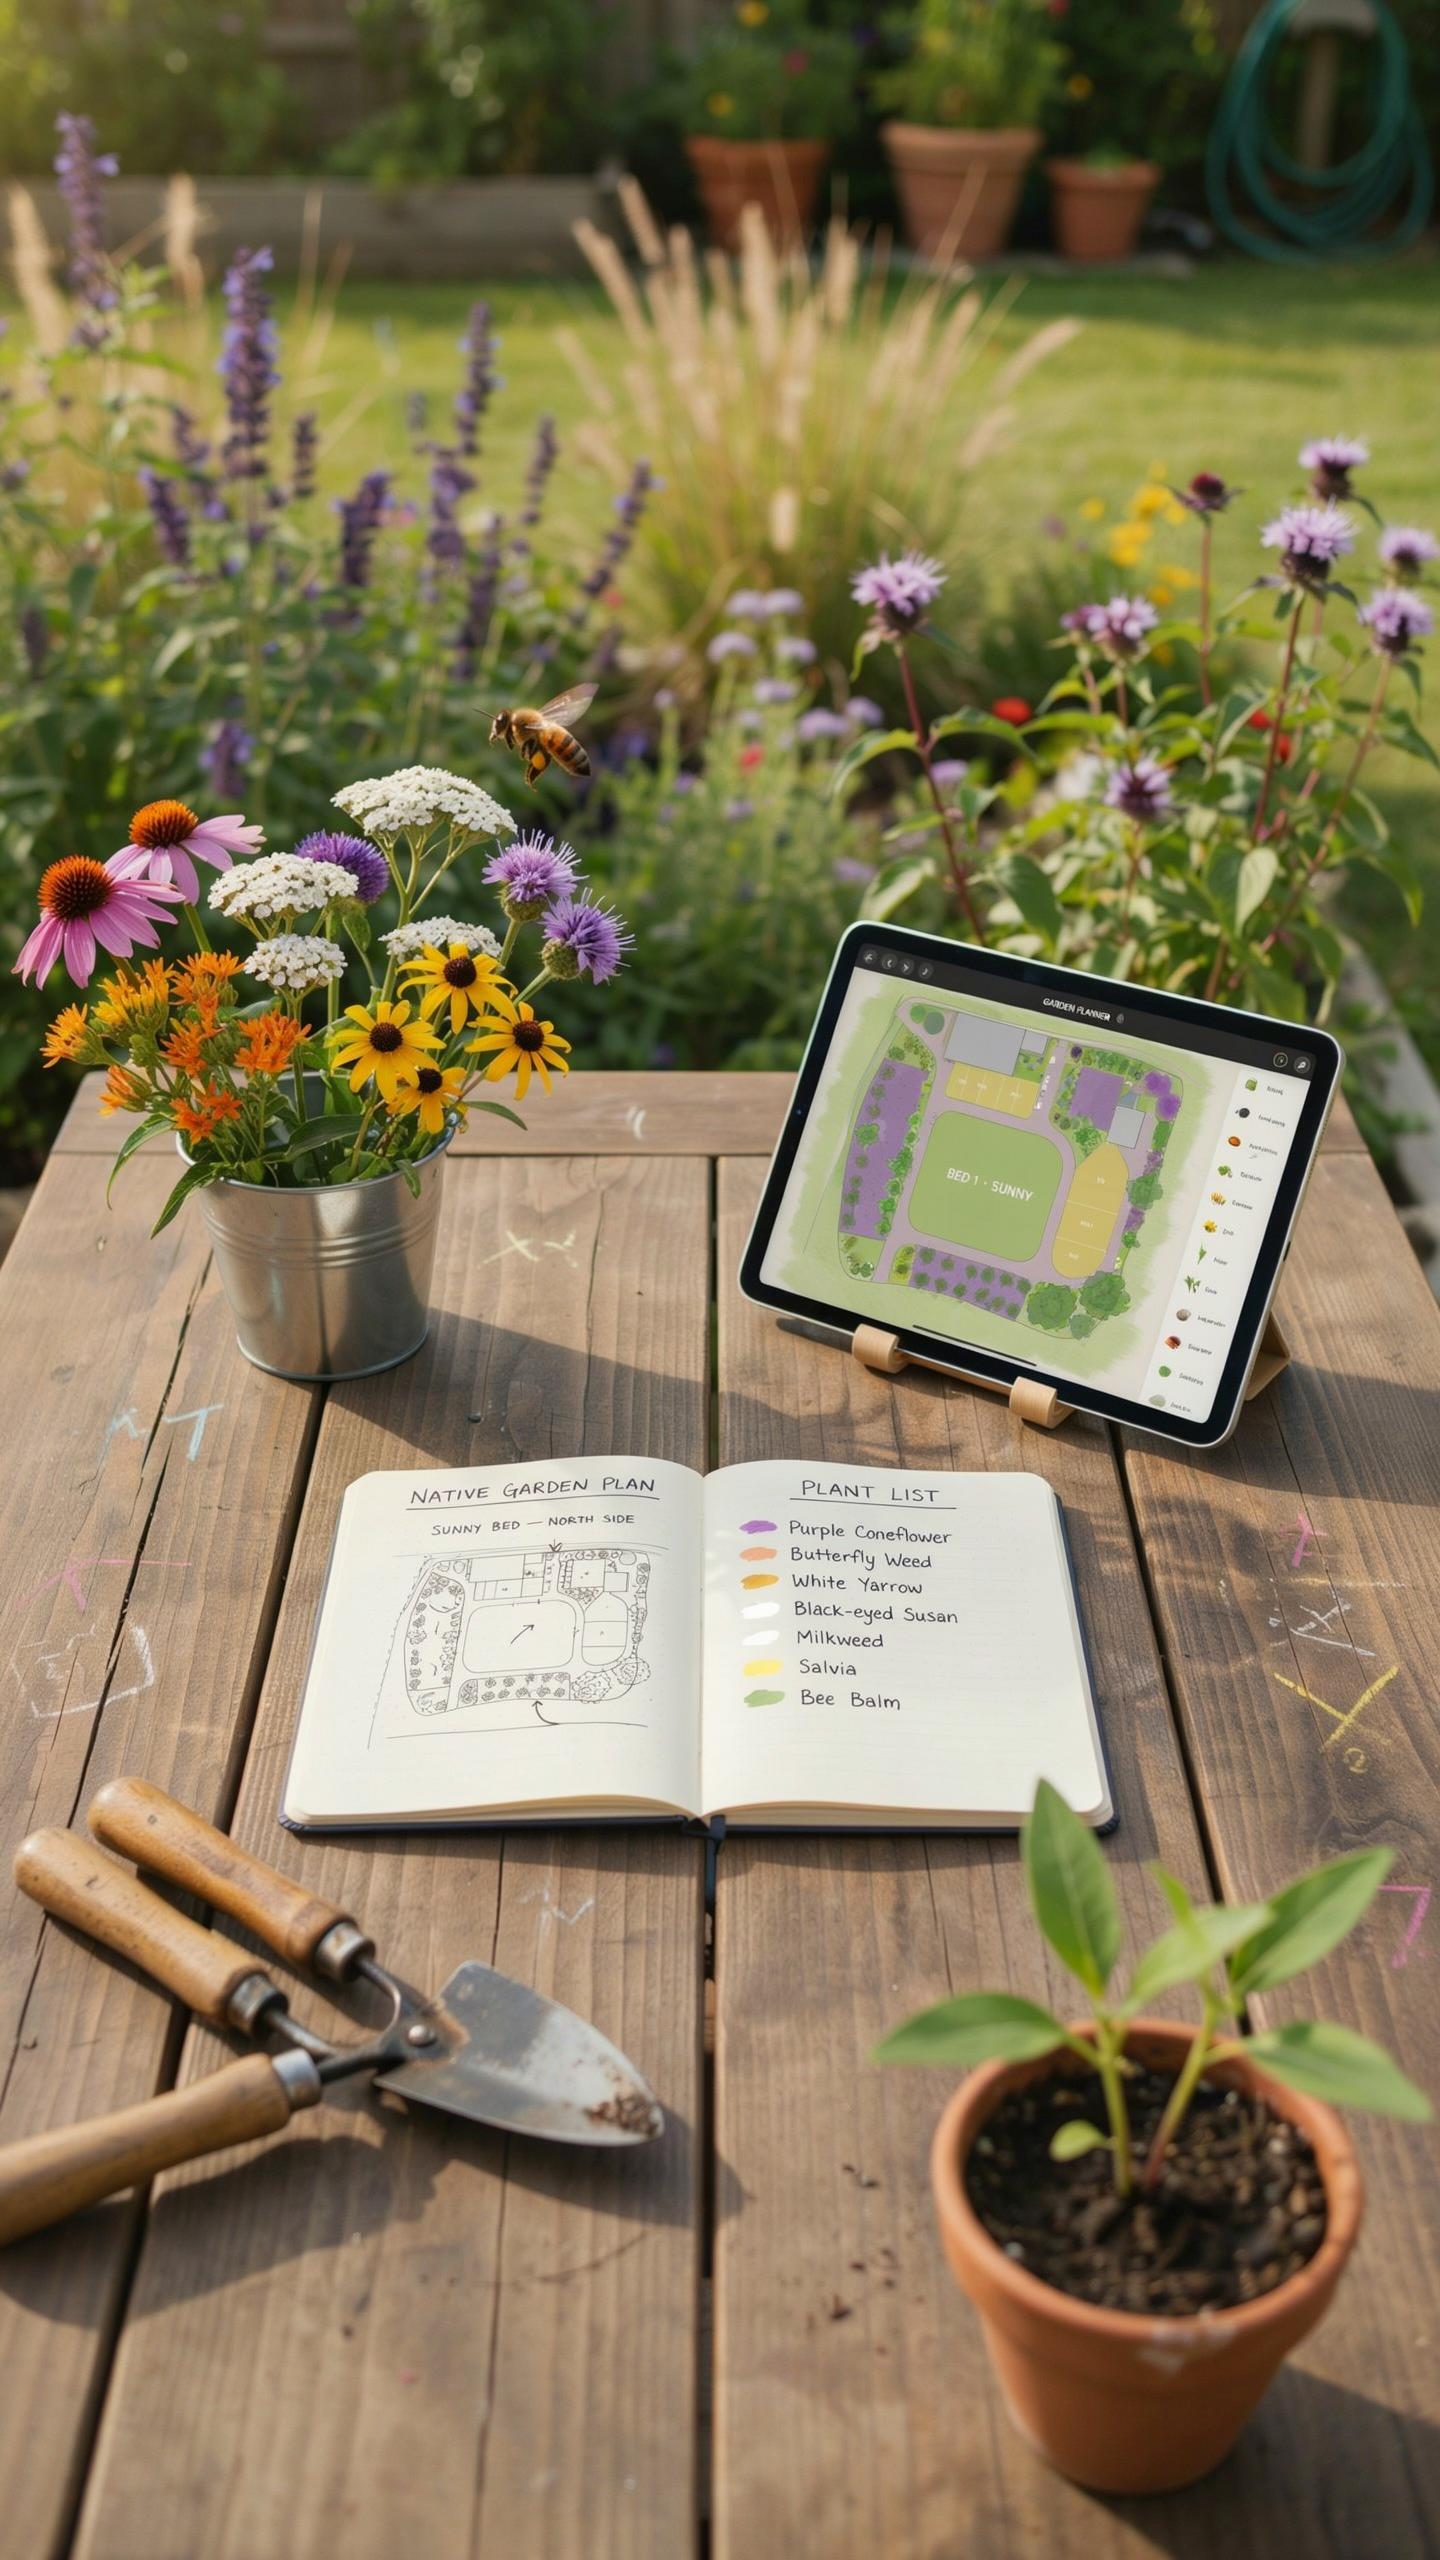
You need specific tools to translate your native plant garden layout plan from concept to ground reality. Start with baseline data about your site. Without accurate measurements and environmental conditions, your layout fails before planting begins.
- Site survey map: Document dimensions, existing structures, and property boundaries. Use graph paper or digital tools like Google Earth to establish scale and reference points for plant placement accuracy.
- Soil test kit: Test pH, nutrient levels, and texture. Native plants thrive when matched to existing soil conditions rather than amended to fit unsuitable species choices.
- Sun exposure chart: Record light patterns across seasons. Map full sun, partial shade, and full shade zones during morning, midday, and afternoon periods over multiple days.
- Water availability assessment: Note existing drainage patterns, runoff paths, and moisture retention areas. Identify seasonal wet spots and dry zones that determine species placement.
- Plant spacing template: Create overlays showing mature plant widths and heights. This prevents overcrowding errors and ensures proper air circulation for established gardens.
These tools transform guesswork into strategy. Your layout plan succeeds because it matches real site conditions rather than assuming ideal circumstances. Document everything during the planning phase to avoid costly relocations later.
Tracking Watering Schedules During Establishment Phase
Establishment watering differs fundamentally from maintenance watering. Young native plants need consistent moisture for the first growing season while roots develop, then transition to independence. Track which plants require supplemental water and which establish without intervention.
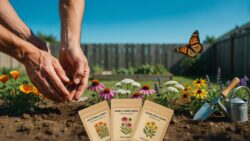
Create a simple schedule noting planting date, species, and watering frequency for each zone. Most native plants need water twice weekly during the first month after planting, then transition to weekly applications. Monitor soil moisture by hand rather than relying on timers alone. Established native plants typically need water only during extended drought after year one.
A Practical Layout Native Plant Garden Design
Creating Functional Pathways And Natural Focal Points
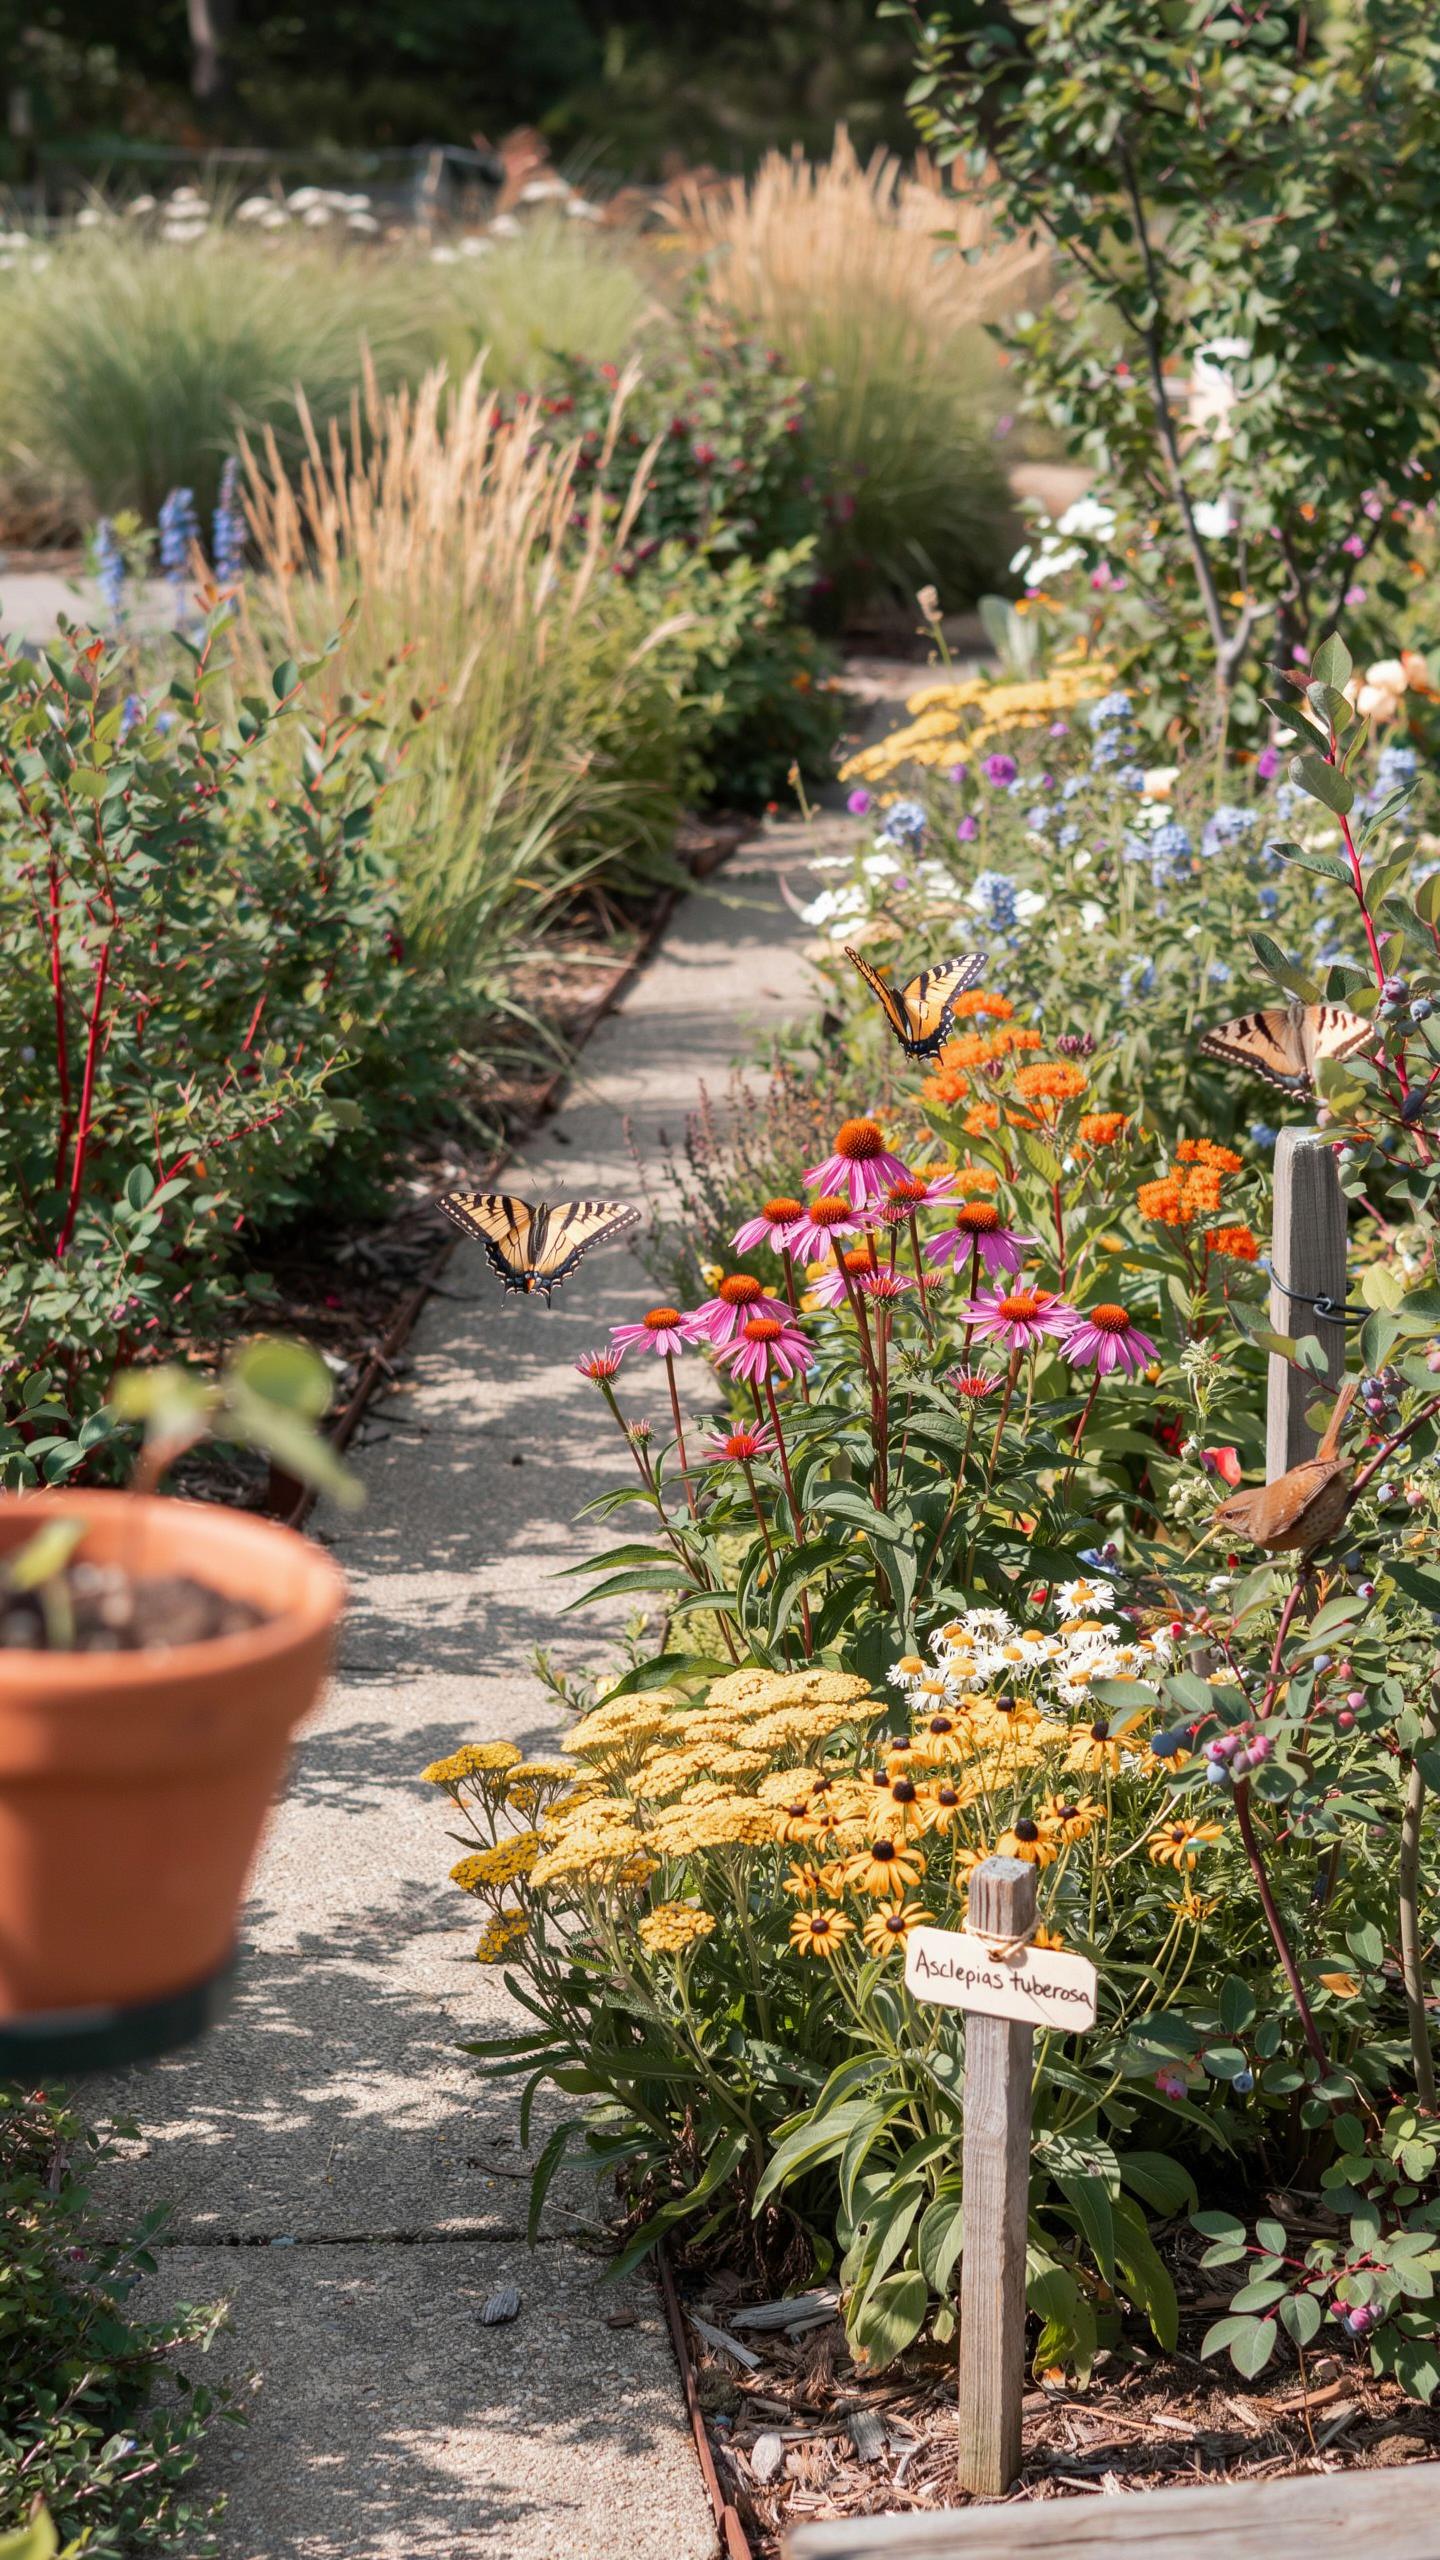
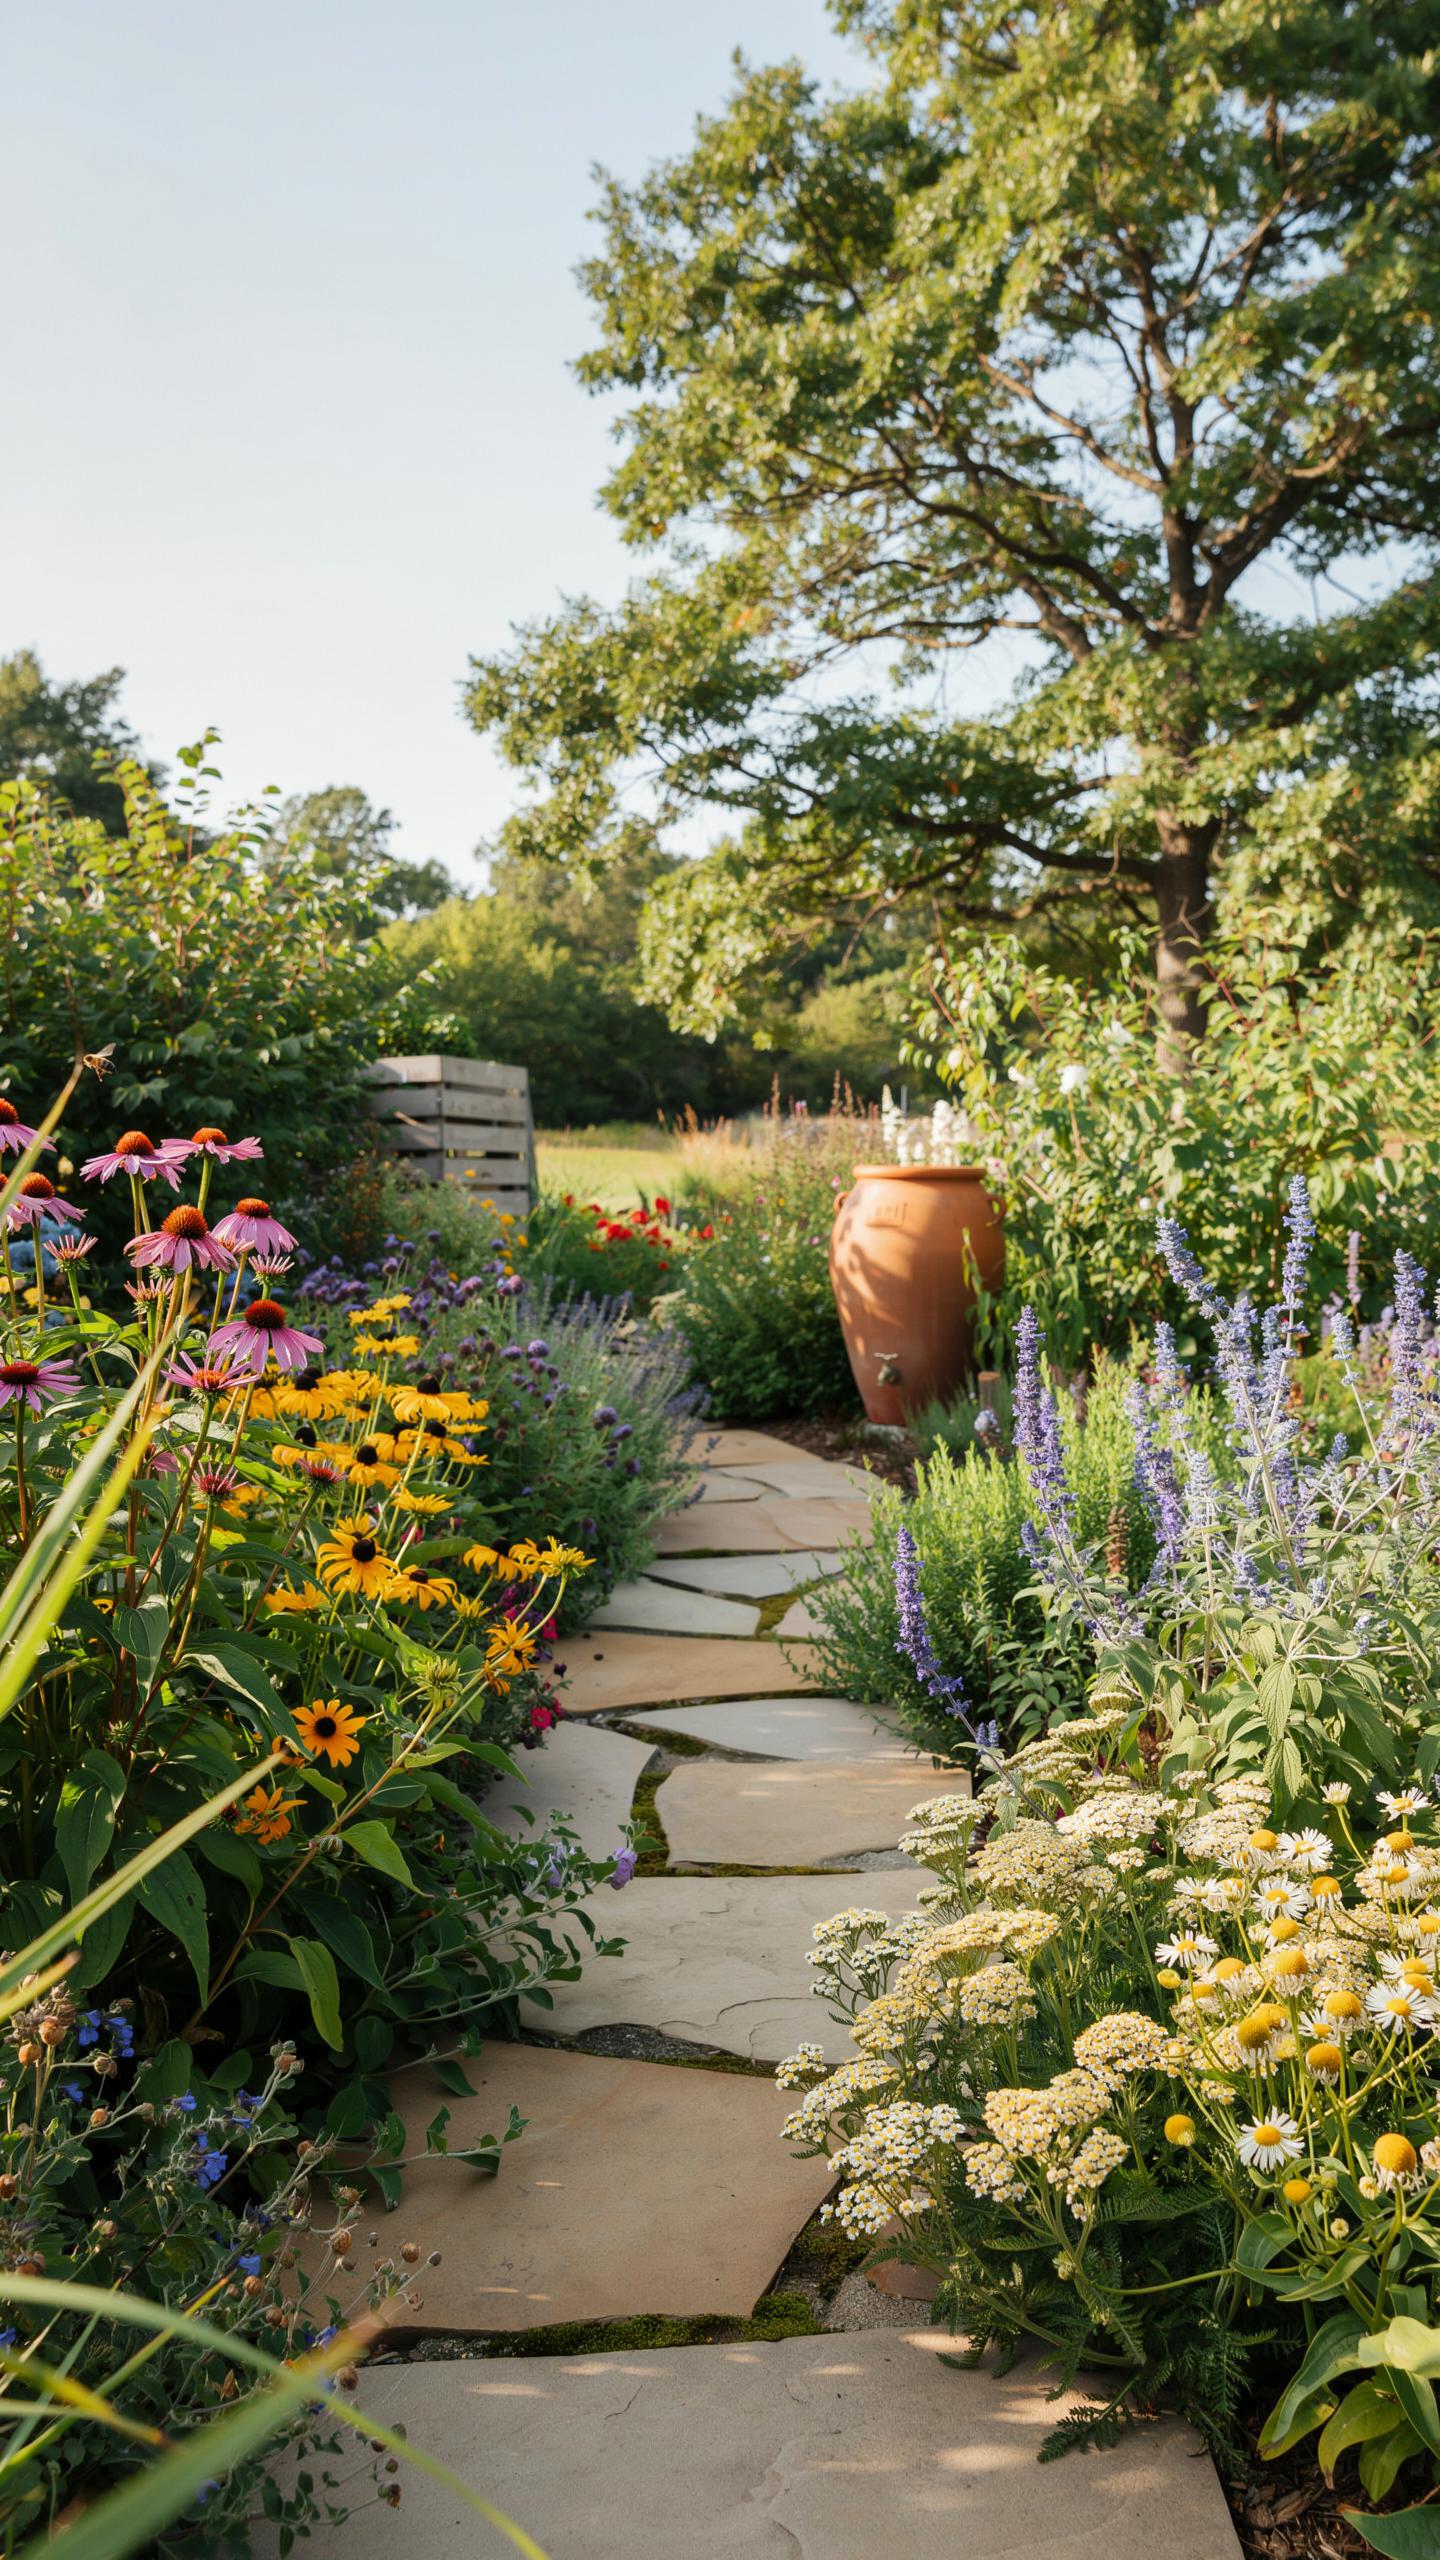
Pathways serve two purposes in native plant gardens: they guide foot traffic and define garden zones. Design pathways with a purpose. Route them toward viewing areas or water features. Width matters. Make main paths three to four feet wide for comfortable walking. Secondary paths can be two feet wide. Use materials that drain well and match your region’s character, such as gravel, mulch, or stepping stones.
Focal points anchor the garden’s design and guide the eye. Choose one or two focal points per garden section to avoid visual clutter. A mature native tree, a boulder outcropping, a bird bath, or a viewing bench works well. Position focal points at path endpoints or intersections. This creates natural stopping points and encourages garden exploration. Focal points break up the monotony of spreading ground covers and low shrubs.
Establishing Buffer Zones And Grouping Plants Hydrozoning
Hydrozoning groups plants by their water needs and creates distinct management zones. This approach reduces watering waste and matches plants to actual soil moisture conditions. Observe your site for one full growing season before planting. Track where water pools during rain, where soil dries fastest, and where moisture persists. Divide your garden into zones based on these patterns. Wet zones near downspouts or low spots get moisture-loving natives. Dry zones on slopes or sandy areas get drought-tolerant species.
Group plants within each zone by water requirements, not by species preference alone. This reduces complexity in maintenance scheduling and improves plant health through appropriate watering. Cluster thirsty plants together so you irrigate one area rather than scattered locations. Arrange drought-tolerant plants separately to avoid overwatering. Transition zones between wet and dry areas accommodate species tolerant of moderate moisture. This zoning strategy cuts water consumption and establishes clear maintenance routines from the start.
Advanced Native Plant Garden Design Strategies
Supporting Local Wildlife And Native Pollinators
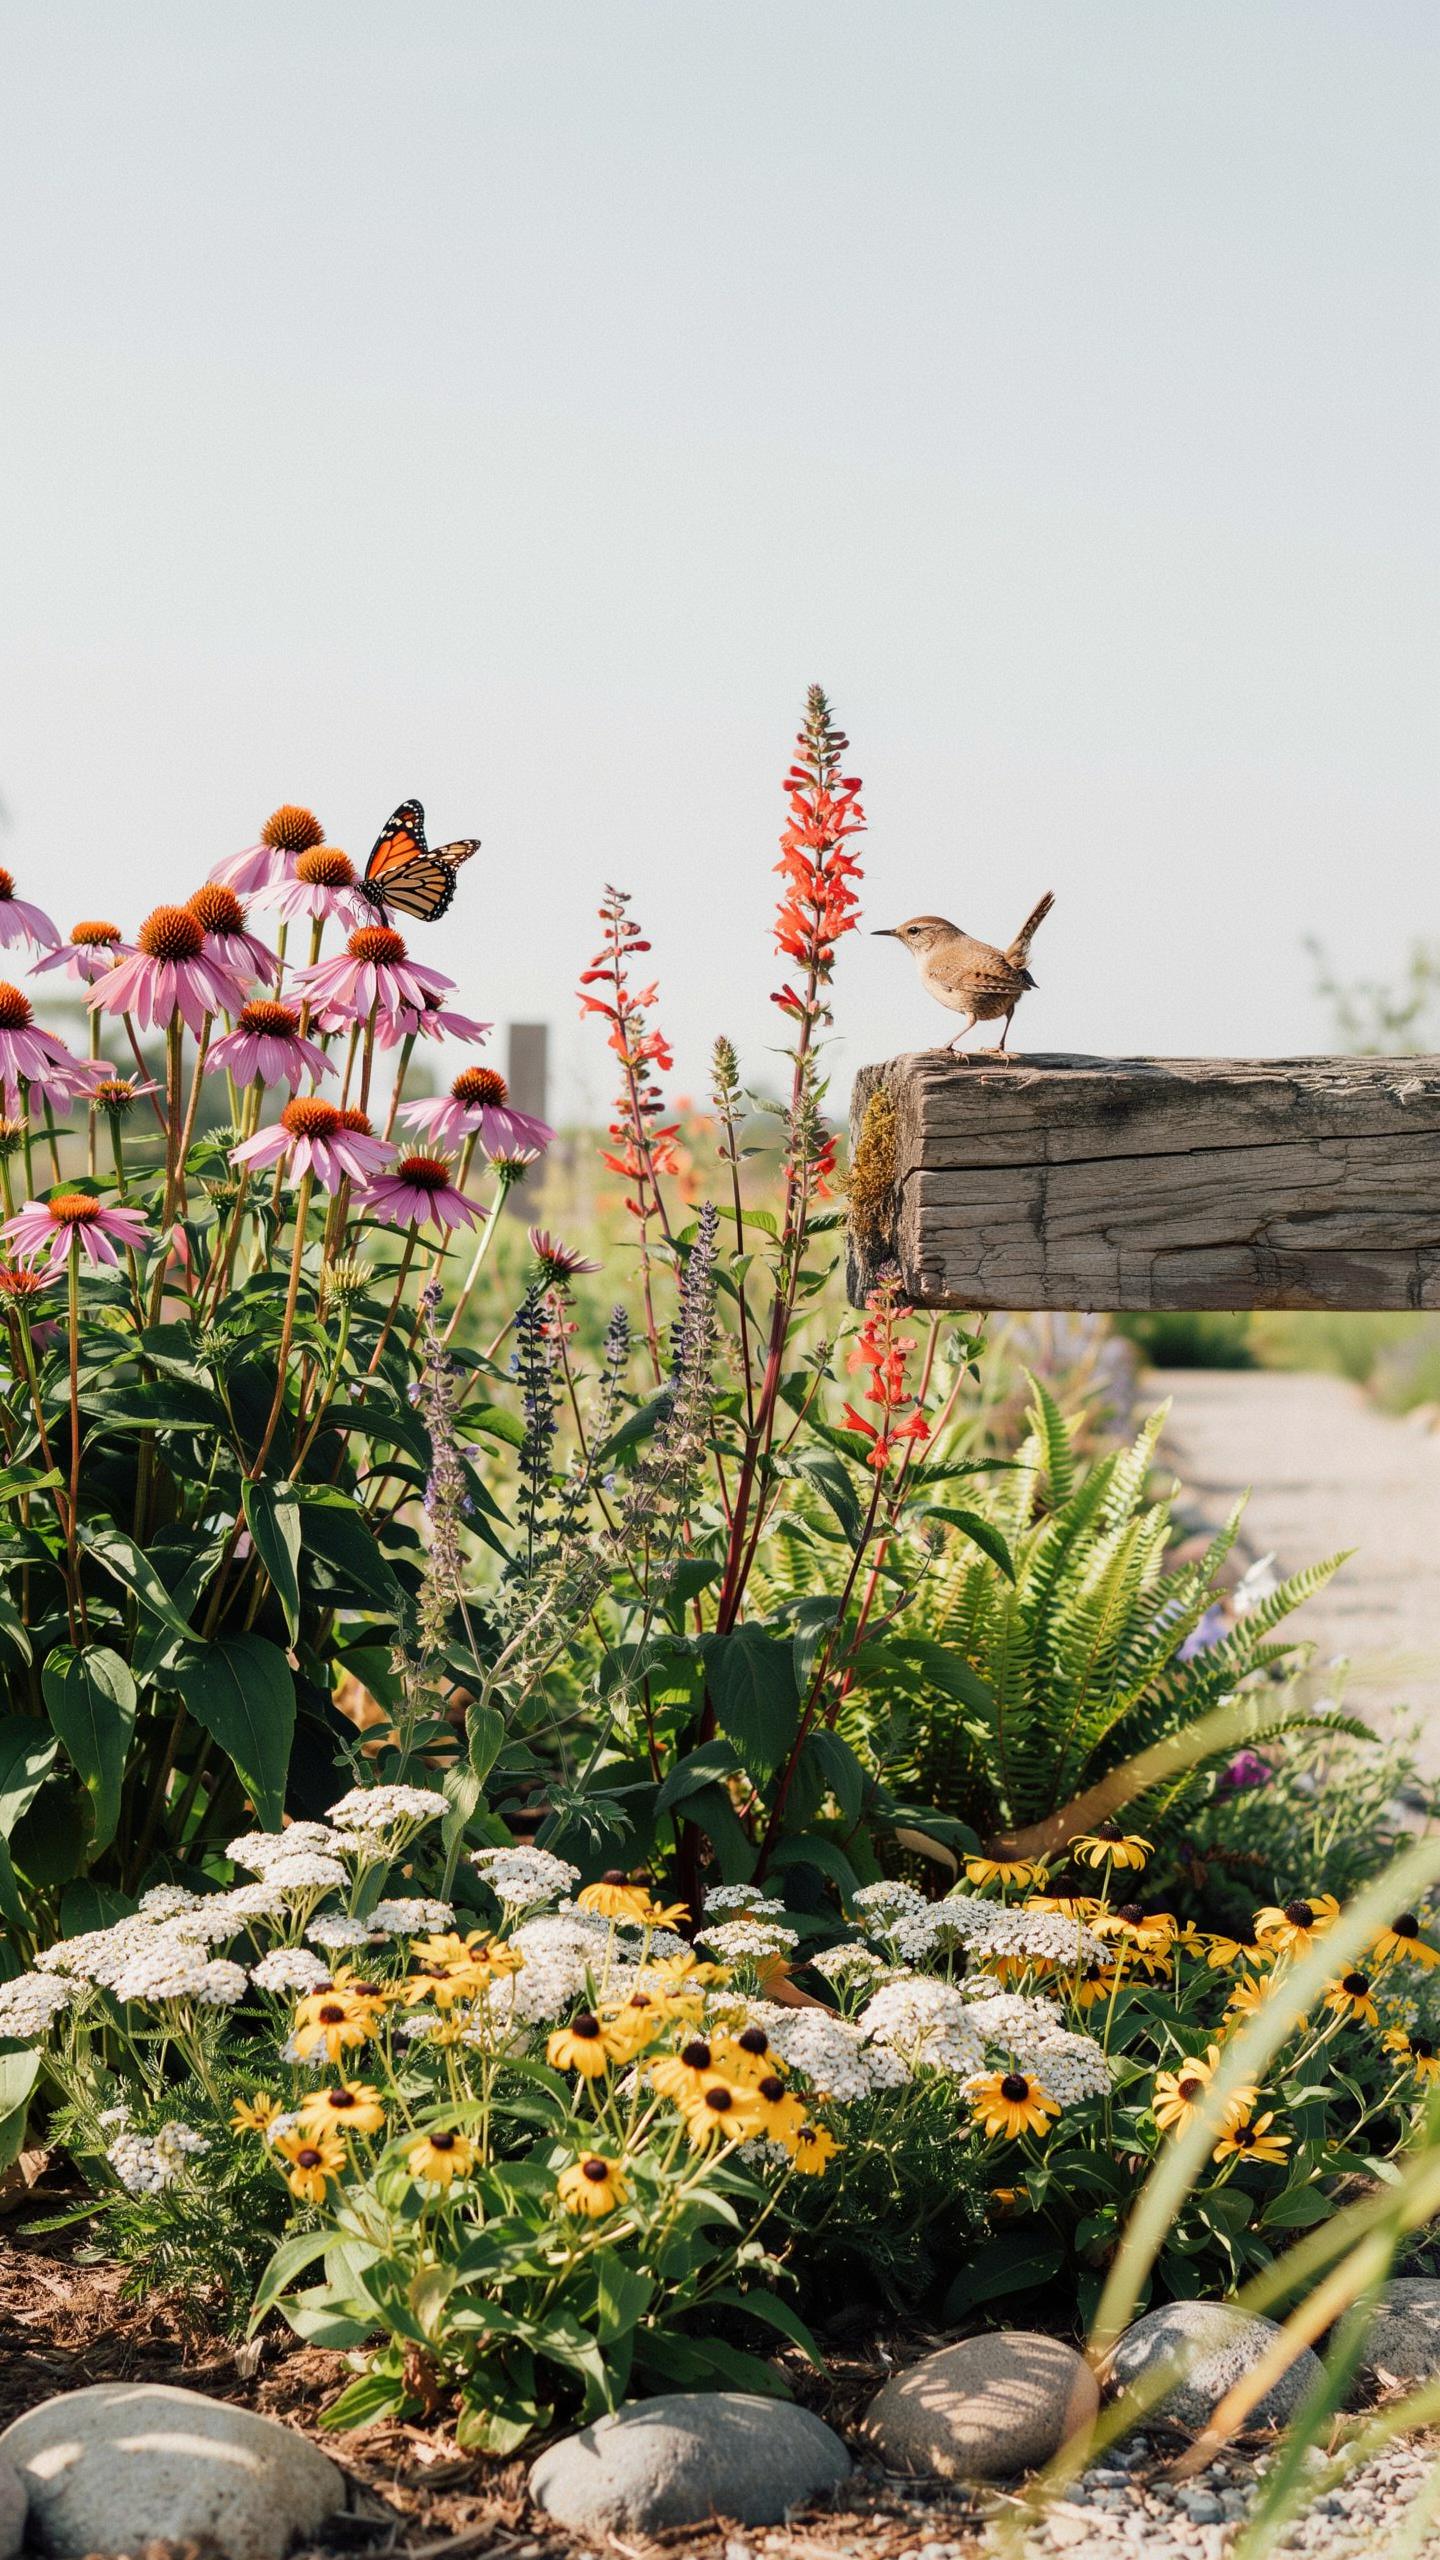
Native plants evolved with local insect populations over thousands of years. This relationship means native plants provide the exact food sources pollinators need at specific times during their life cycles. When you plant natives, you eliminate the guesswork. Bees, butterflies, and other pollinators recognize these plants instantly and visit them reliably.
Design your garden layout to create continuous bloom cycles from early spring through late fall. Space plants in clusters of the same species rather than scattering individuals. Pollinators work more efficiently when they find multiple flowers of one type grouped together. This clustering strategy reduces their energy expenditure and increases pollination success across your entire garden.
Managing Structural Complexity In Suburban Boundaries
Suburban lots demand practical solutions for native plant gardens. Most suburban properties sit between 5,000 and 10,000 square feet with existing structures, utilities, and neighbor proximity constraints. Your native plant garden layout plan must work within these real boundaries rather than fighting them. Map your utilities first, then identify existing trees and structures that define your usable space.
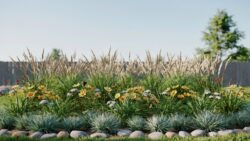
Layer your plantings by height and root depth to maximize your available area. Place tall native shrubs and small trees along property lines as screens. Use mid-height perennials in the middle zone. Keep low-growing groundcovers near walkways and seating areas. This vertical stacking creates depth on small suburban lots while maintaining clear sight lines and access to utilities you’ll need to maintain long-term.
Long Term Success With Native Landscaping Design
Transitioning Away From High Water And Fertilizer Inputs
Native plants evolved to thrive in their regional climate and soil conditions. This means they require far less water than traditional ornamental landscapes once established. Most native species need supplemental watering only during their first growing season. After that, they rely on natural rainfall and existing soil nutrients. You reduce irrigation costs, lower your water bill, and eliminate dependency on municipal water systems.
Fertilizer inputs drop dramatically when you work with native plants. Native species adapted to local soil chemistry and don’t demand nutrient amendments. Many native plants actually improve soil health through decomposing leaf litter and root systems that build organic matter. You stop buying fertilizers, reduce labor costs associated with applications, and avoid chemical runoff into groundwater. The garden maintains itself through natural biological processes.
Natural Weed Suppression Options And Decaying Organic Matter
Dense native plant coverage physically blocks weed seeds from reaching bare soil. Thick canopies shade the ground and prevent germination of opportunistic species. This crowding effect works better than herbicides because it addresses the root cause rather than treating symptoms repeatedly. You maintain your native plant garden layout plan by spacing plants properly at installation, ensuring mature sizes touch without crowding roots.
Decaying leaf litter and plant material create a natural mulch layer that suppresses weeds while returning nutrients to soil. Native plants drop leaves and stems that break down into the surrounding earth. This organic matter improves soil structure, increases water retention, and feeds beneficial microorganisms. You eliminate synthetic mulch purchases and the labor of replacing mulch annually while building soil fertility over time.
Frequently Asked Questions

Why should I choose a native plant garden layout plan over a traditional ornamental design?
Selecting a native plant garden layout plan is the best way to create a low-maintenance sanctuary that supports local wildlife. Unlike traditional exotic landscapes, indigenous species are already adapted to your local soil and climate. This means you will spend less time fertilizing and watering while providing essential habitats for pollinators. It is a sustainable, timeless approach that ensures your outdoor space thrives naturally throughout every season of the year.
How do I begin designing a native plant garden layout plan for my backyard?
Start by mapping your yard’s sun exposure and drainage patterns to ensure you place species in their ideal conditions. Group plants with similar water needs together, following a “right plant, right place” philosophy. To create visual depth, layer your native plant garden layout plan by placing taller shrubs in the back and shorter groundcovers upfront. Focus on adding a variety of bloom times to keep your landscape vibrant and functional year-round.
Is it possible to create a beautiful native garden on a limited budget?
Absolutely! You can achieve a stunning look without a massive investment by starting small with seeds or “plugs” instead of mature shrubs. Many local conservation districts host seasonal plant sales where you can find affordable indigenous varieties. Additionally, you can save money by propagate existing plants through division or swapping cuttings with neighbors. Focusing on a few foundational perennials first allows your garden to grow and fill in naturally over time.



