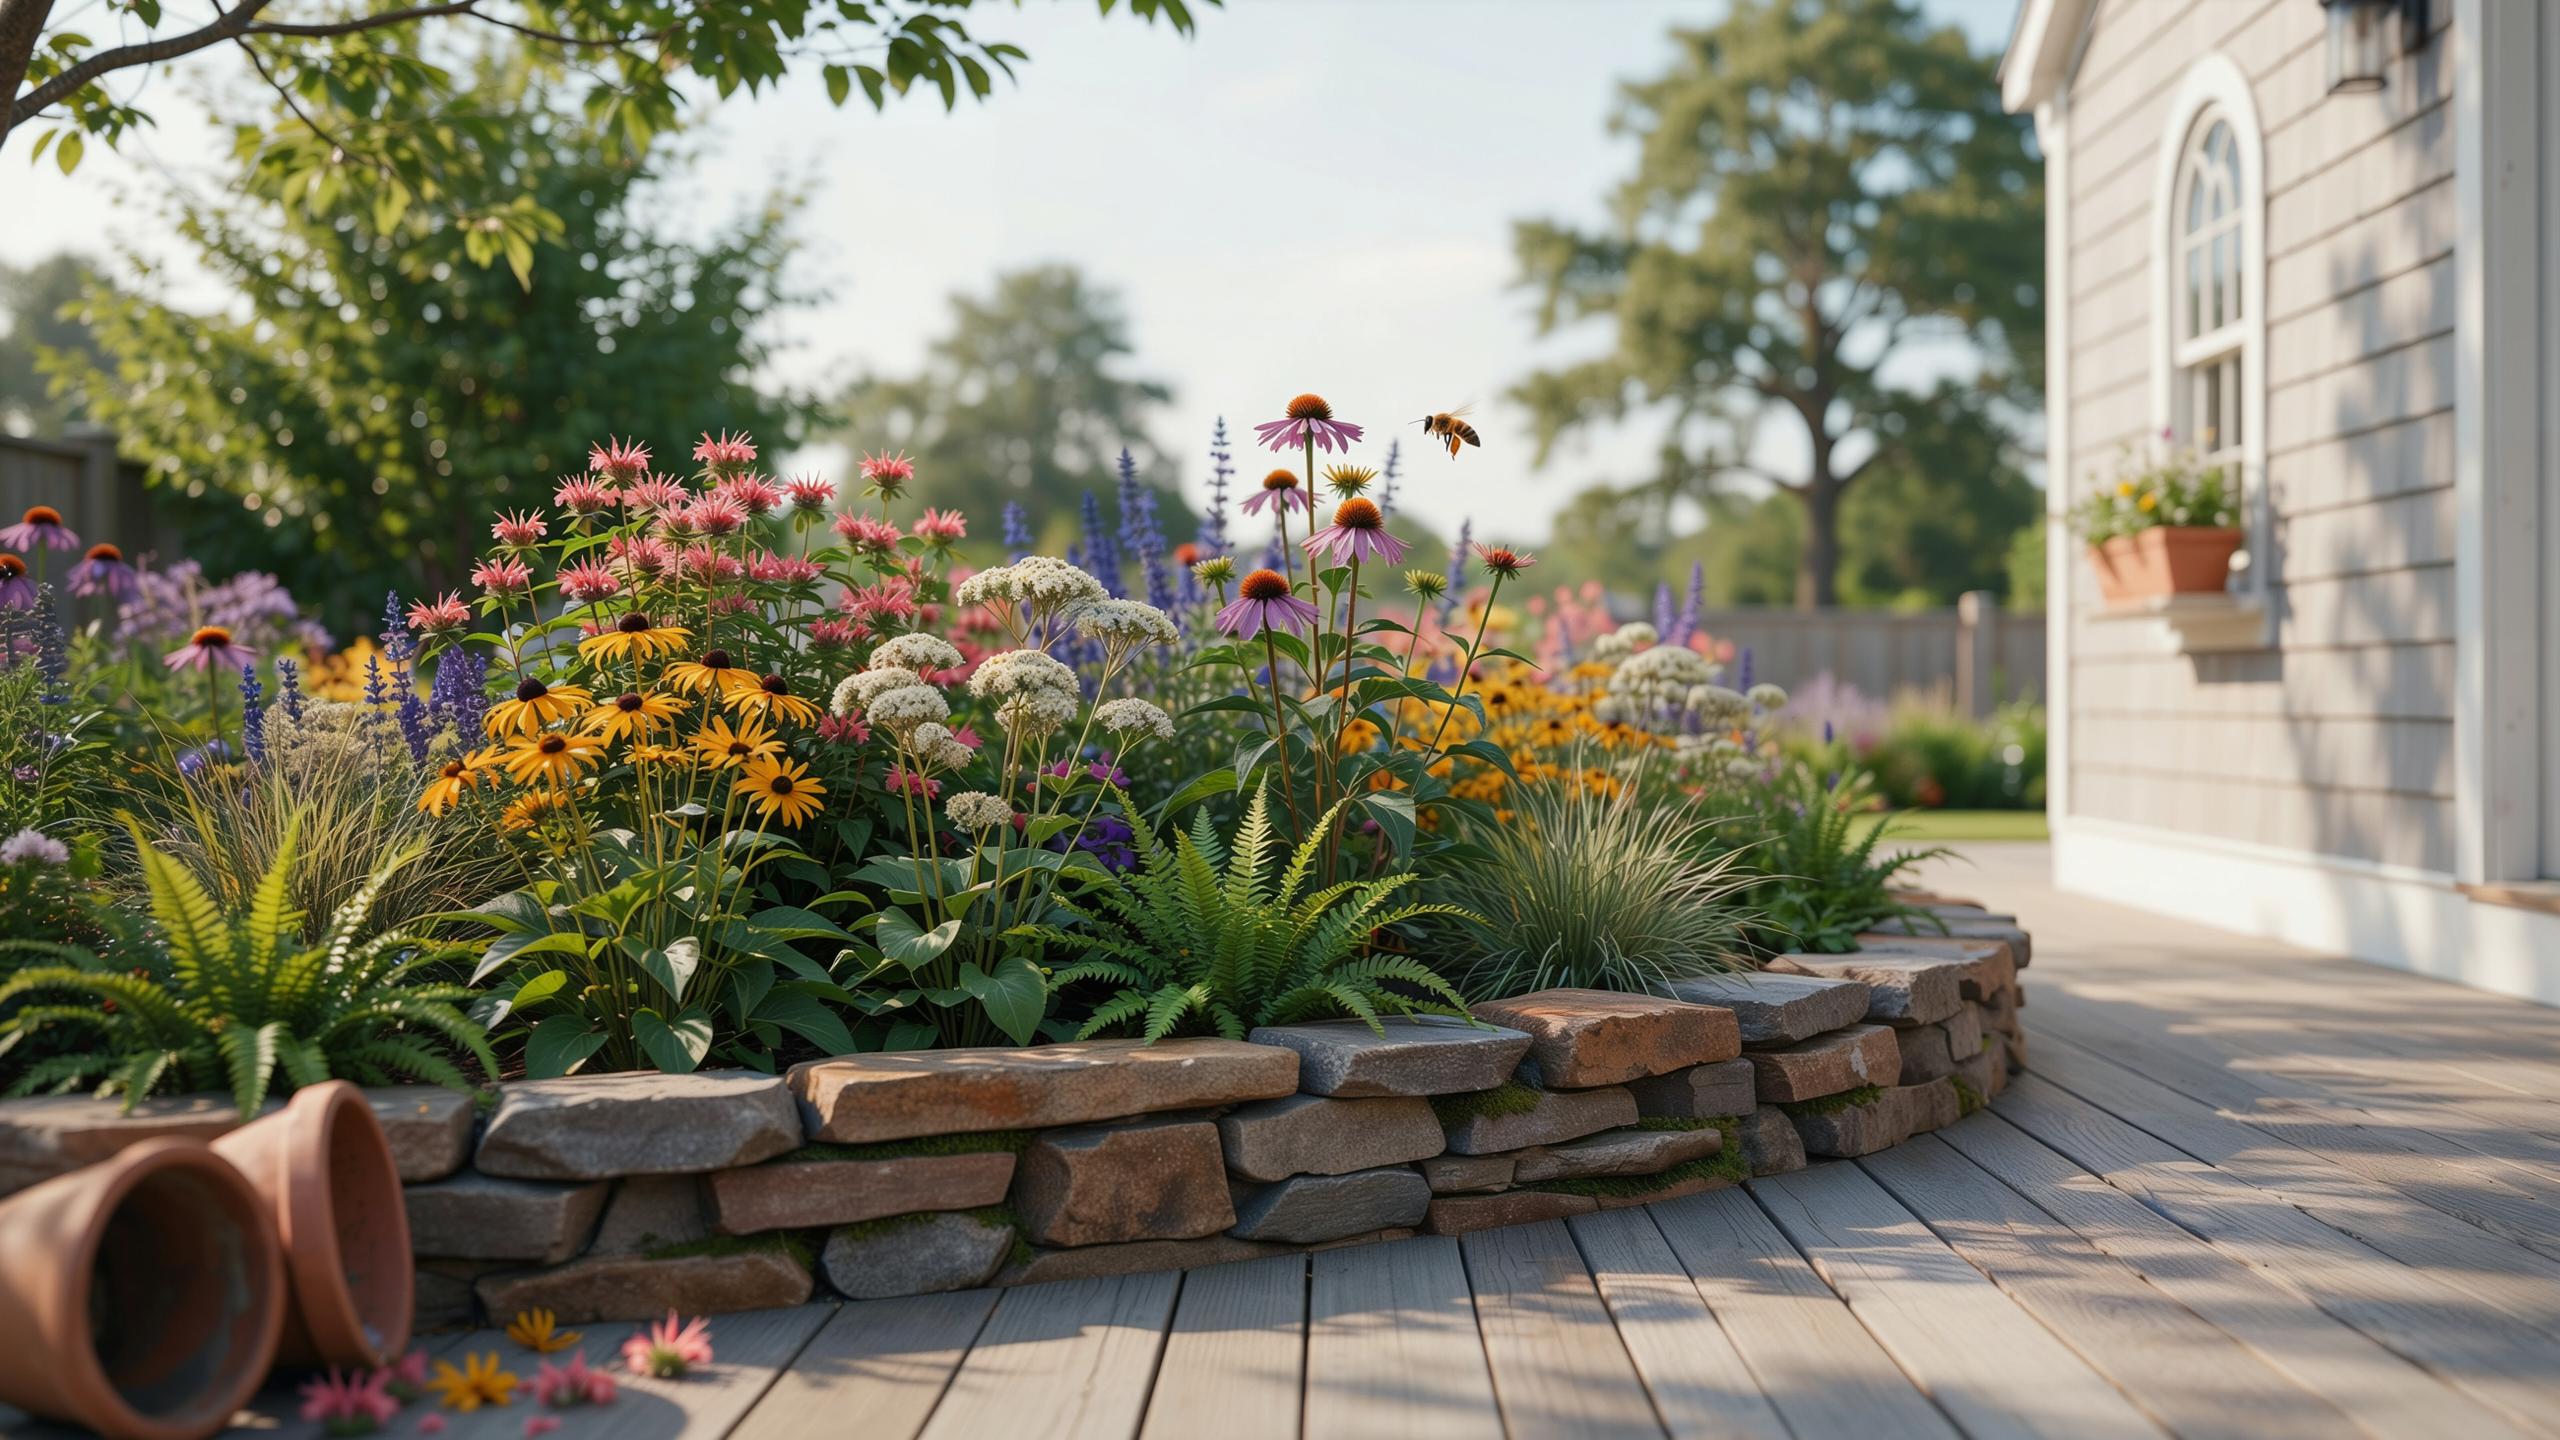
Choosing The Right Native Plants For Your Garden Edging
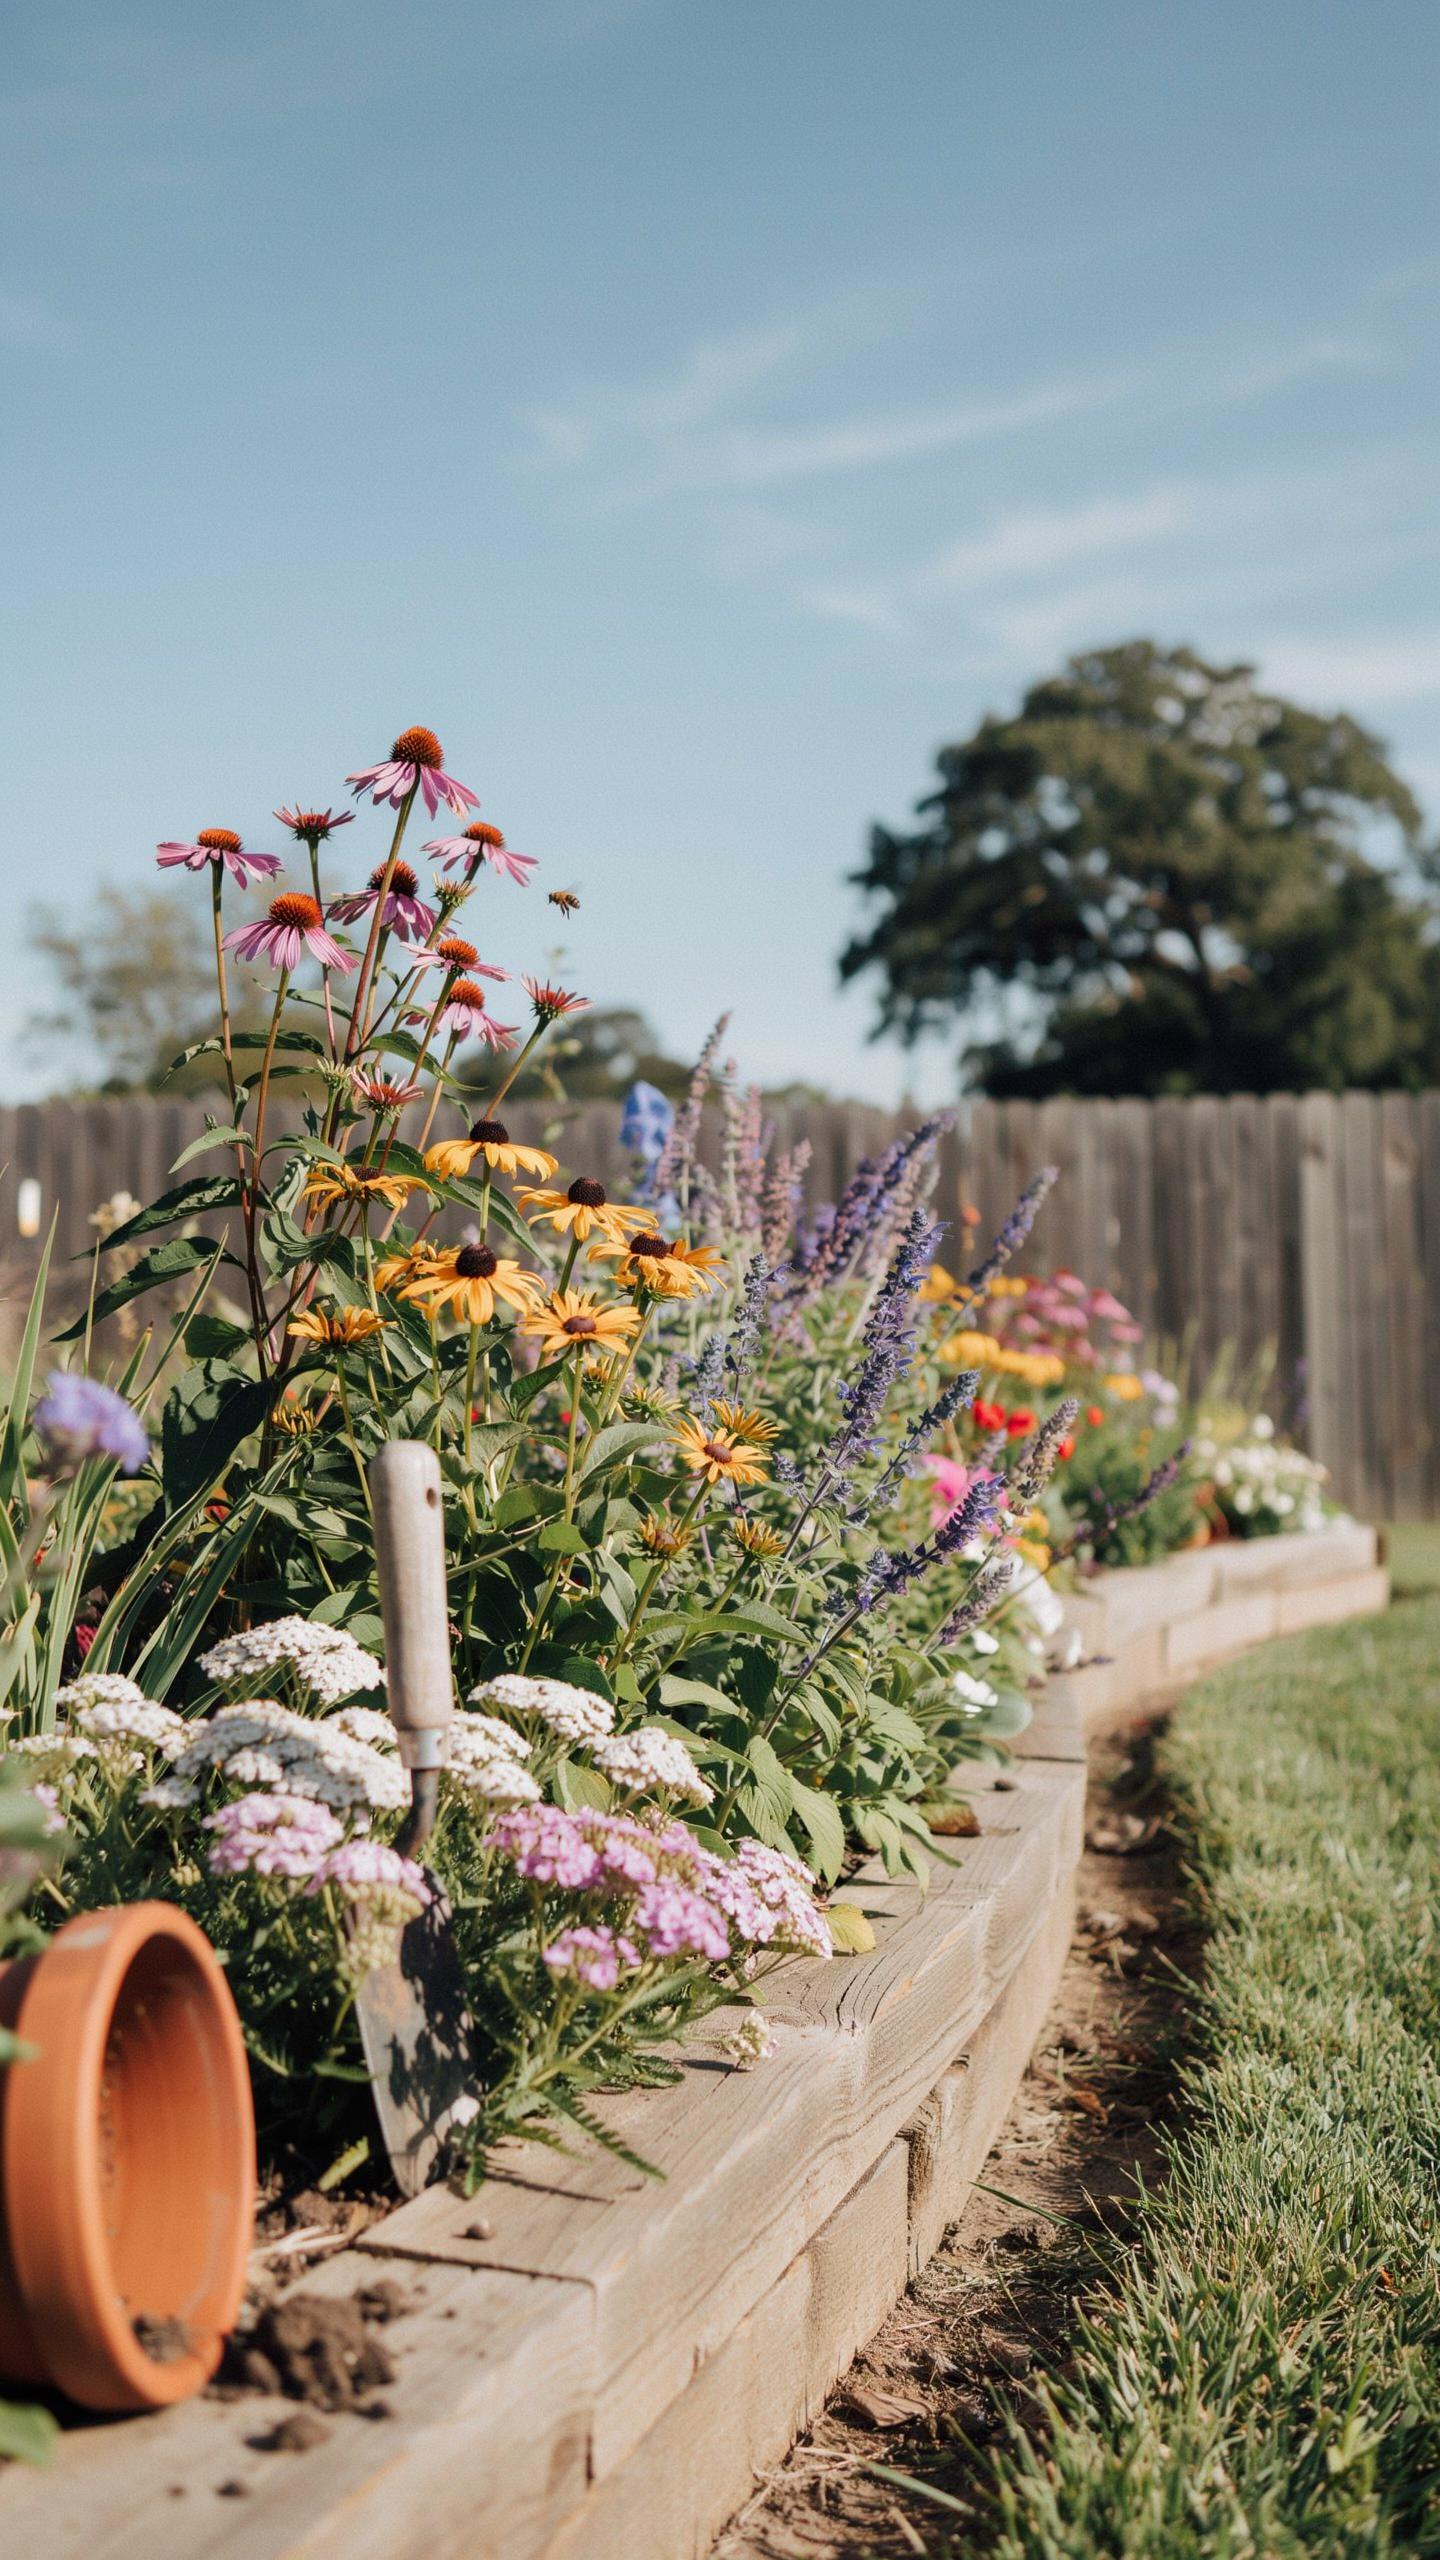
Selecting Groundcovers And Low Growing Species
Low-growing native plants define garden edges with function, not just appearance. Prostrate rosemary, creeping boobialla, and pigface work because they stay compact while spreading outward. These species suppress weeds naturally and eliminate the need for constant trimming. They create a buffer zone that protects your garden beds from foot traffic damage.
These groundcovers transition smoothly between hardscape and planted areas. Their root systems stabilize soil and reduce erosion along pathways. You gain a neat perimeter without synthetic edging materials. The living border adapts to your garden’s shape and grows as your design matures.
Incorporating Structural Native Grasses And Foliage
Clump-forming native grasses like Lomandra and Dianella provide architectural punch to borders. These grasses don’t spread aggressively like their invasive cousins. Their vertical forms contrast with prostrate groundcovers, creating layered texture. The slender leaves move with wind, adding visual interest without maintenance burden.
Native grasses anchor the edge and provide year-round structure. Dianella produces blue berries after flowering, extending seasonal appeal. Lomandra tolerates poor soil and drought conditions once established. Use these grasses as focal points between lower groundcovers to guide the viewer’s eye along pathways.
Creative Materials For Your Native Plant Garden Edging Design
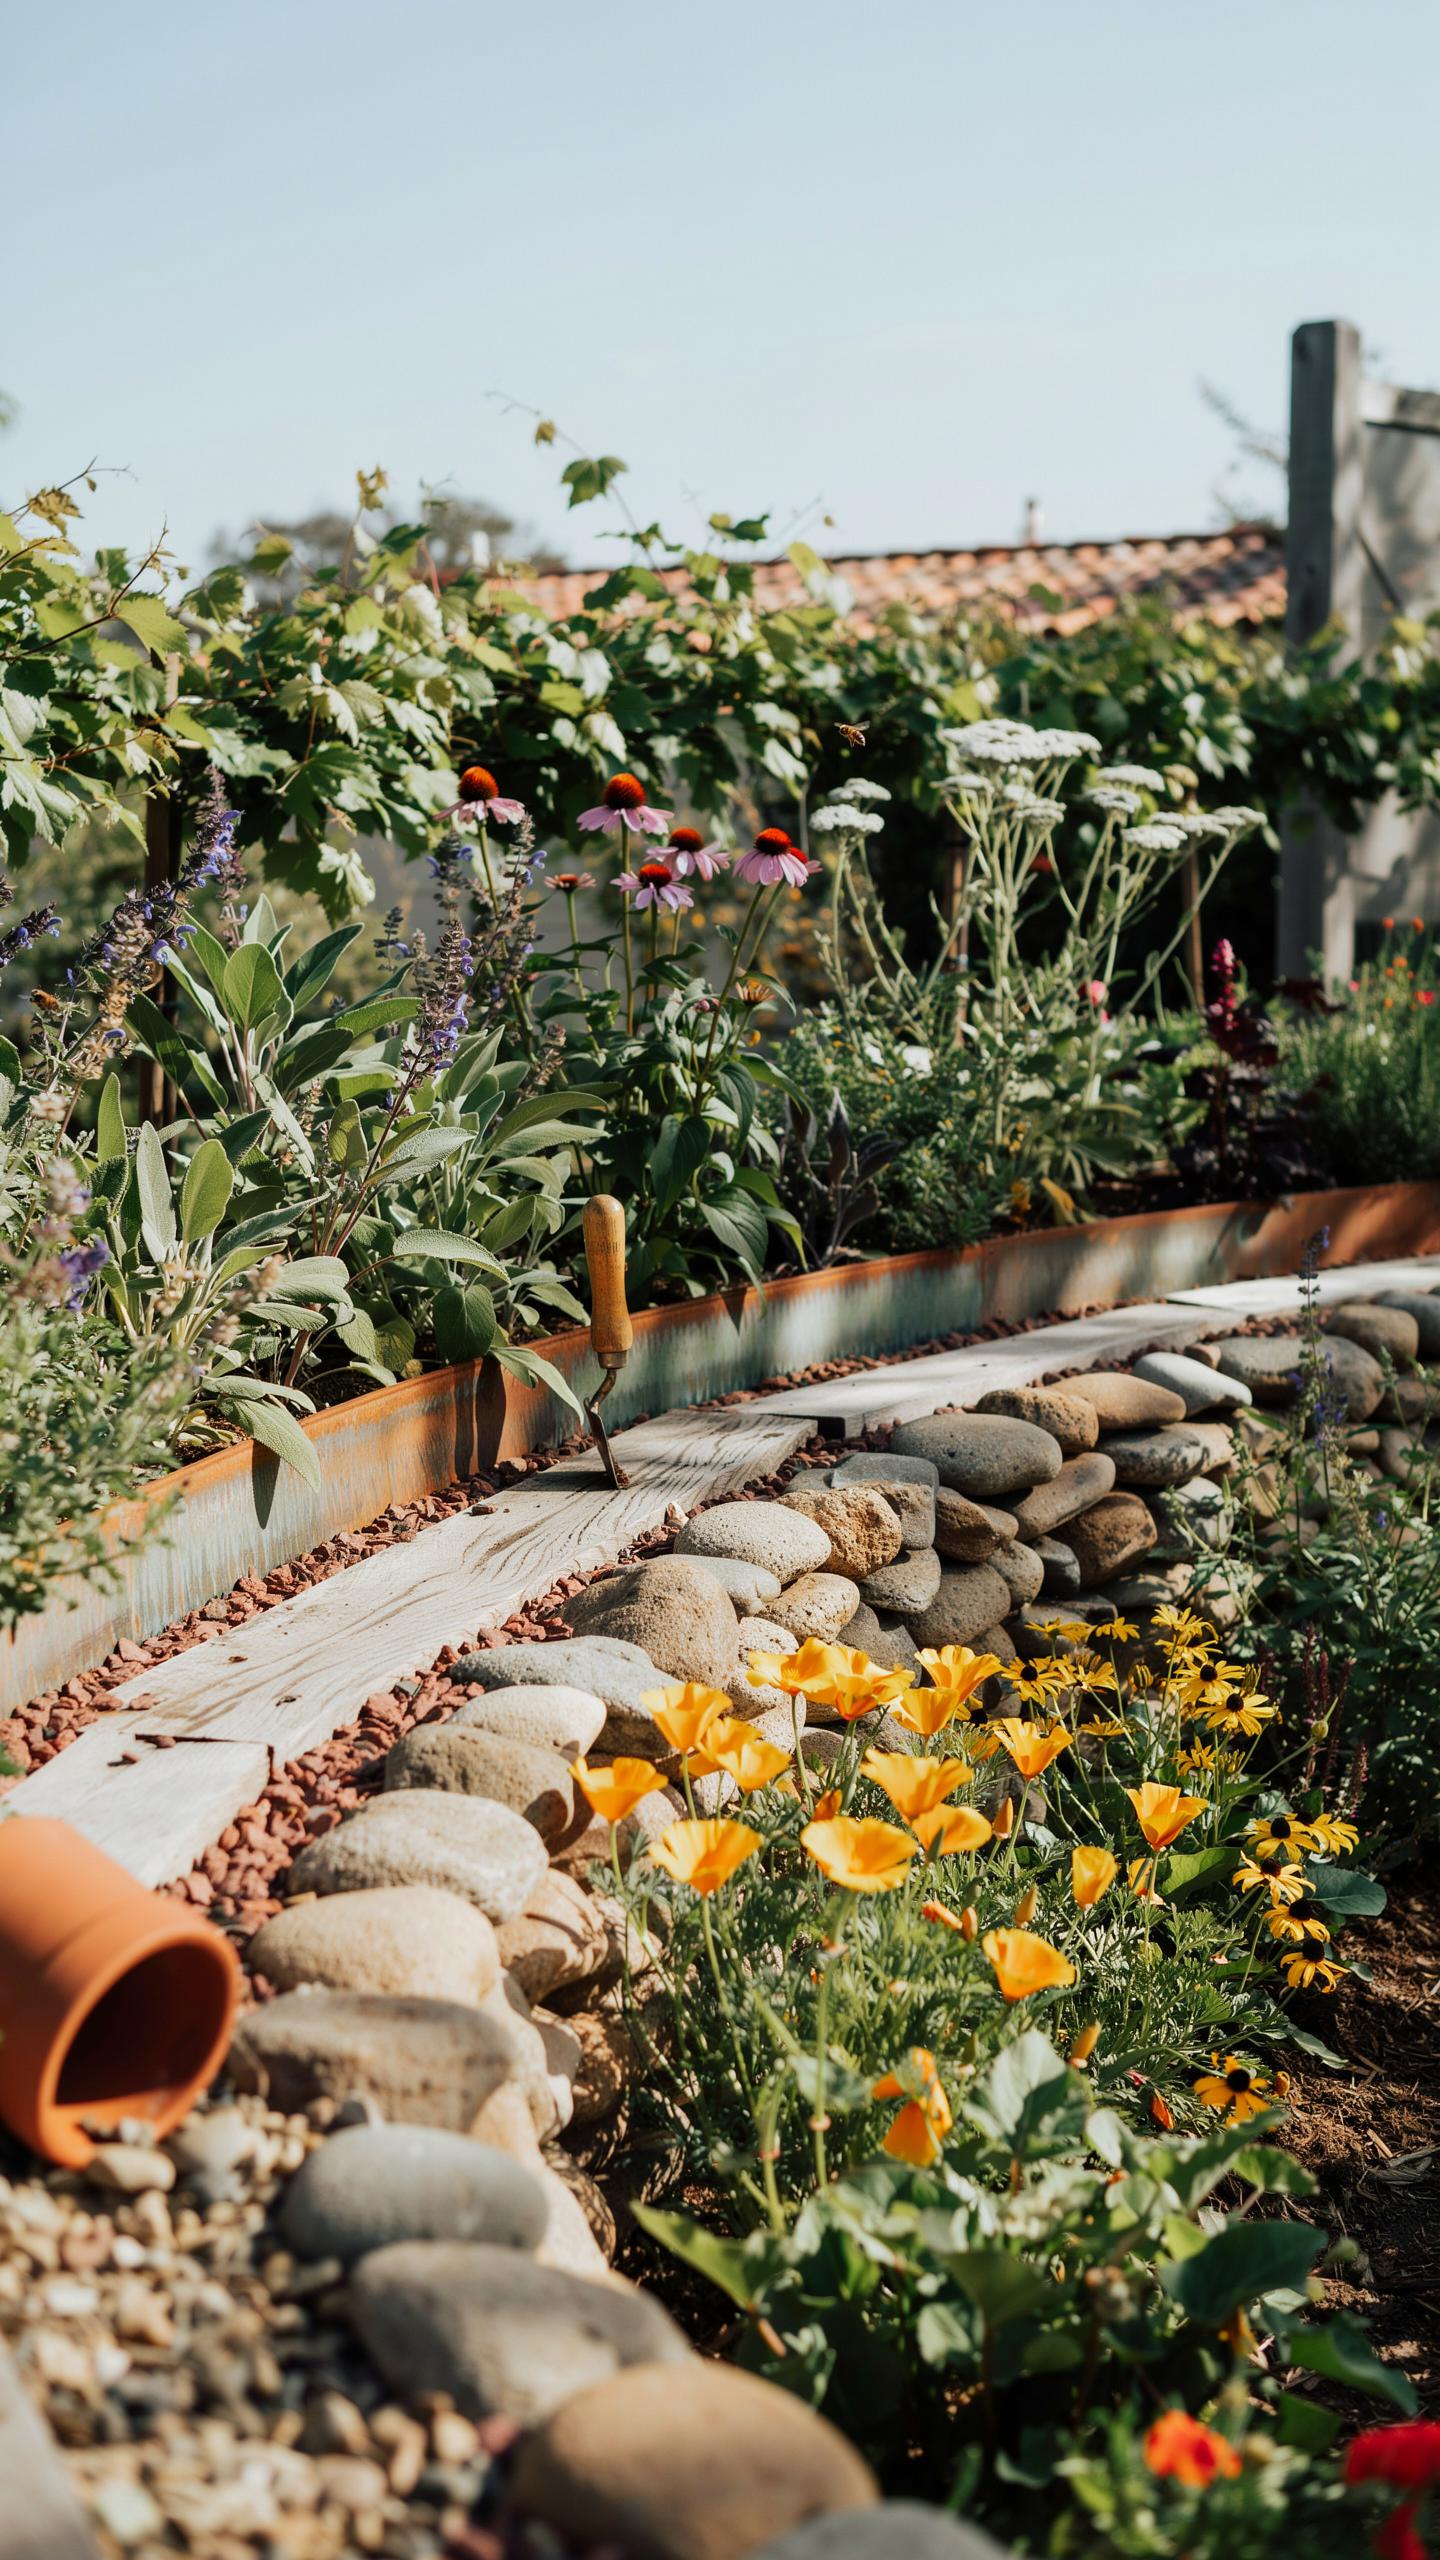
Sourcing Natural And Recycled Edging Materials
Eco-friendly edging starts with materials already available locally. Sourcing from your region cuts transportation costs and ensures compatibility with your native plant palette. Recycled materials reduce waste while delivering authentic character to garden borders.
- Reclaimed Wood: Old fence boards, barn wood, or untreated lumber create rustic borders. Wood naturally decomposes, requiring replacement every 5 to 10 years depending on climate and wood type.
- Local Stone: Fieldstone, granite, or limestone collected from your region integrates seamlessly with native plantings. Stone lasts indefinitely and requires no maintenance or replacement.
- Recycled Brick: Salvaged bricks from demolition projects offer durability and historical character. Stack or lay them flat to define planting zones effectively.
- Composite Materials: Recycled plastic lumber mimics wood appearance while resisting rot. It requires minimal maintenance and lasts 20 to 30 years in most climates.
- Metal Edging: Corten steel or galvanized steel creates clean borders that age gracefully. These materials withstand freeze thaw cycles and demand no ongoing care.
- Mulch and Gravel: Organic mulch or river rock serves as temporary or permanent edging. Both options allow water penetration and support soil health around native plants.
Material selection depends on your climate zone and budget constraints. Test durability in your specific conditions before committing to large quantities. Local suppliers often stock materials suited to regional growing conditions.
Creating Seamless Transitions With Timber And Stone
Local sandstone blocks and reclaimed railway sleepers anchor native plantings effectively. These materials withstand weather exposure and integrate with surrounding landscapes. The textured surfaces develop character as they age, maintaining visual continuity with garden features.
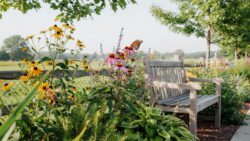
Pairing timber or stone with organic mulches creates functional transitions between planted areas. Woodchip mulch breaks down over time, enriching soil while retaining moisture around native roots. Pebble or river rock offers permanent edging without decomposition, reducing maintenance demands while complementing stone or timber borders.
Designing Cozy Hardscapes With A Native Plant Landscape
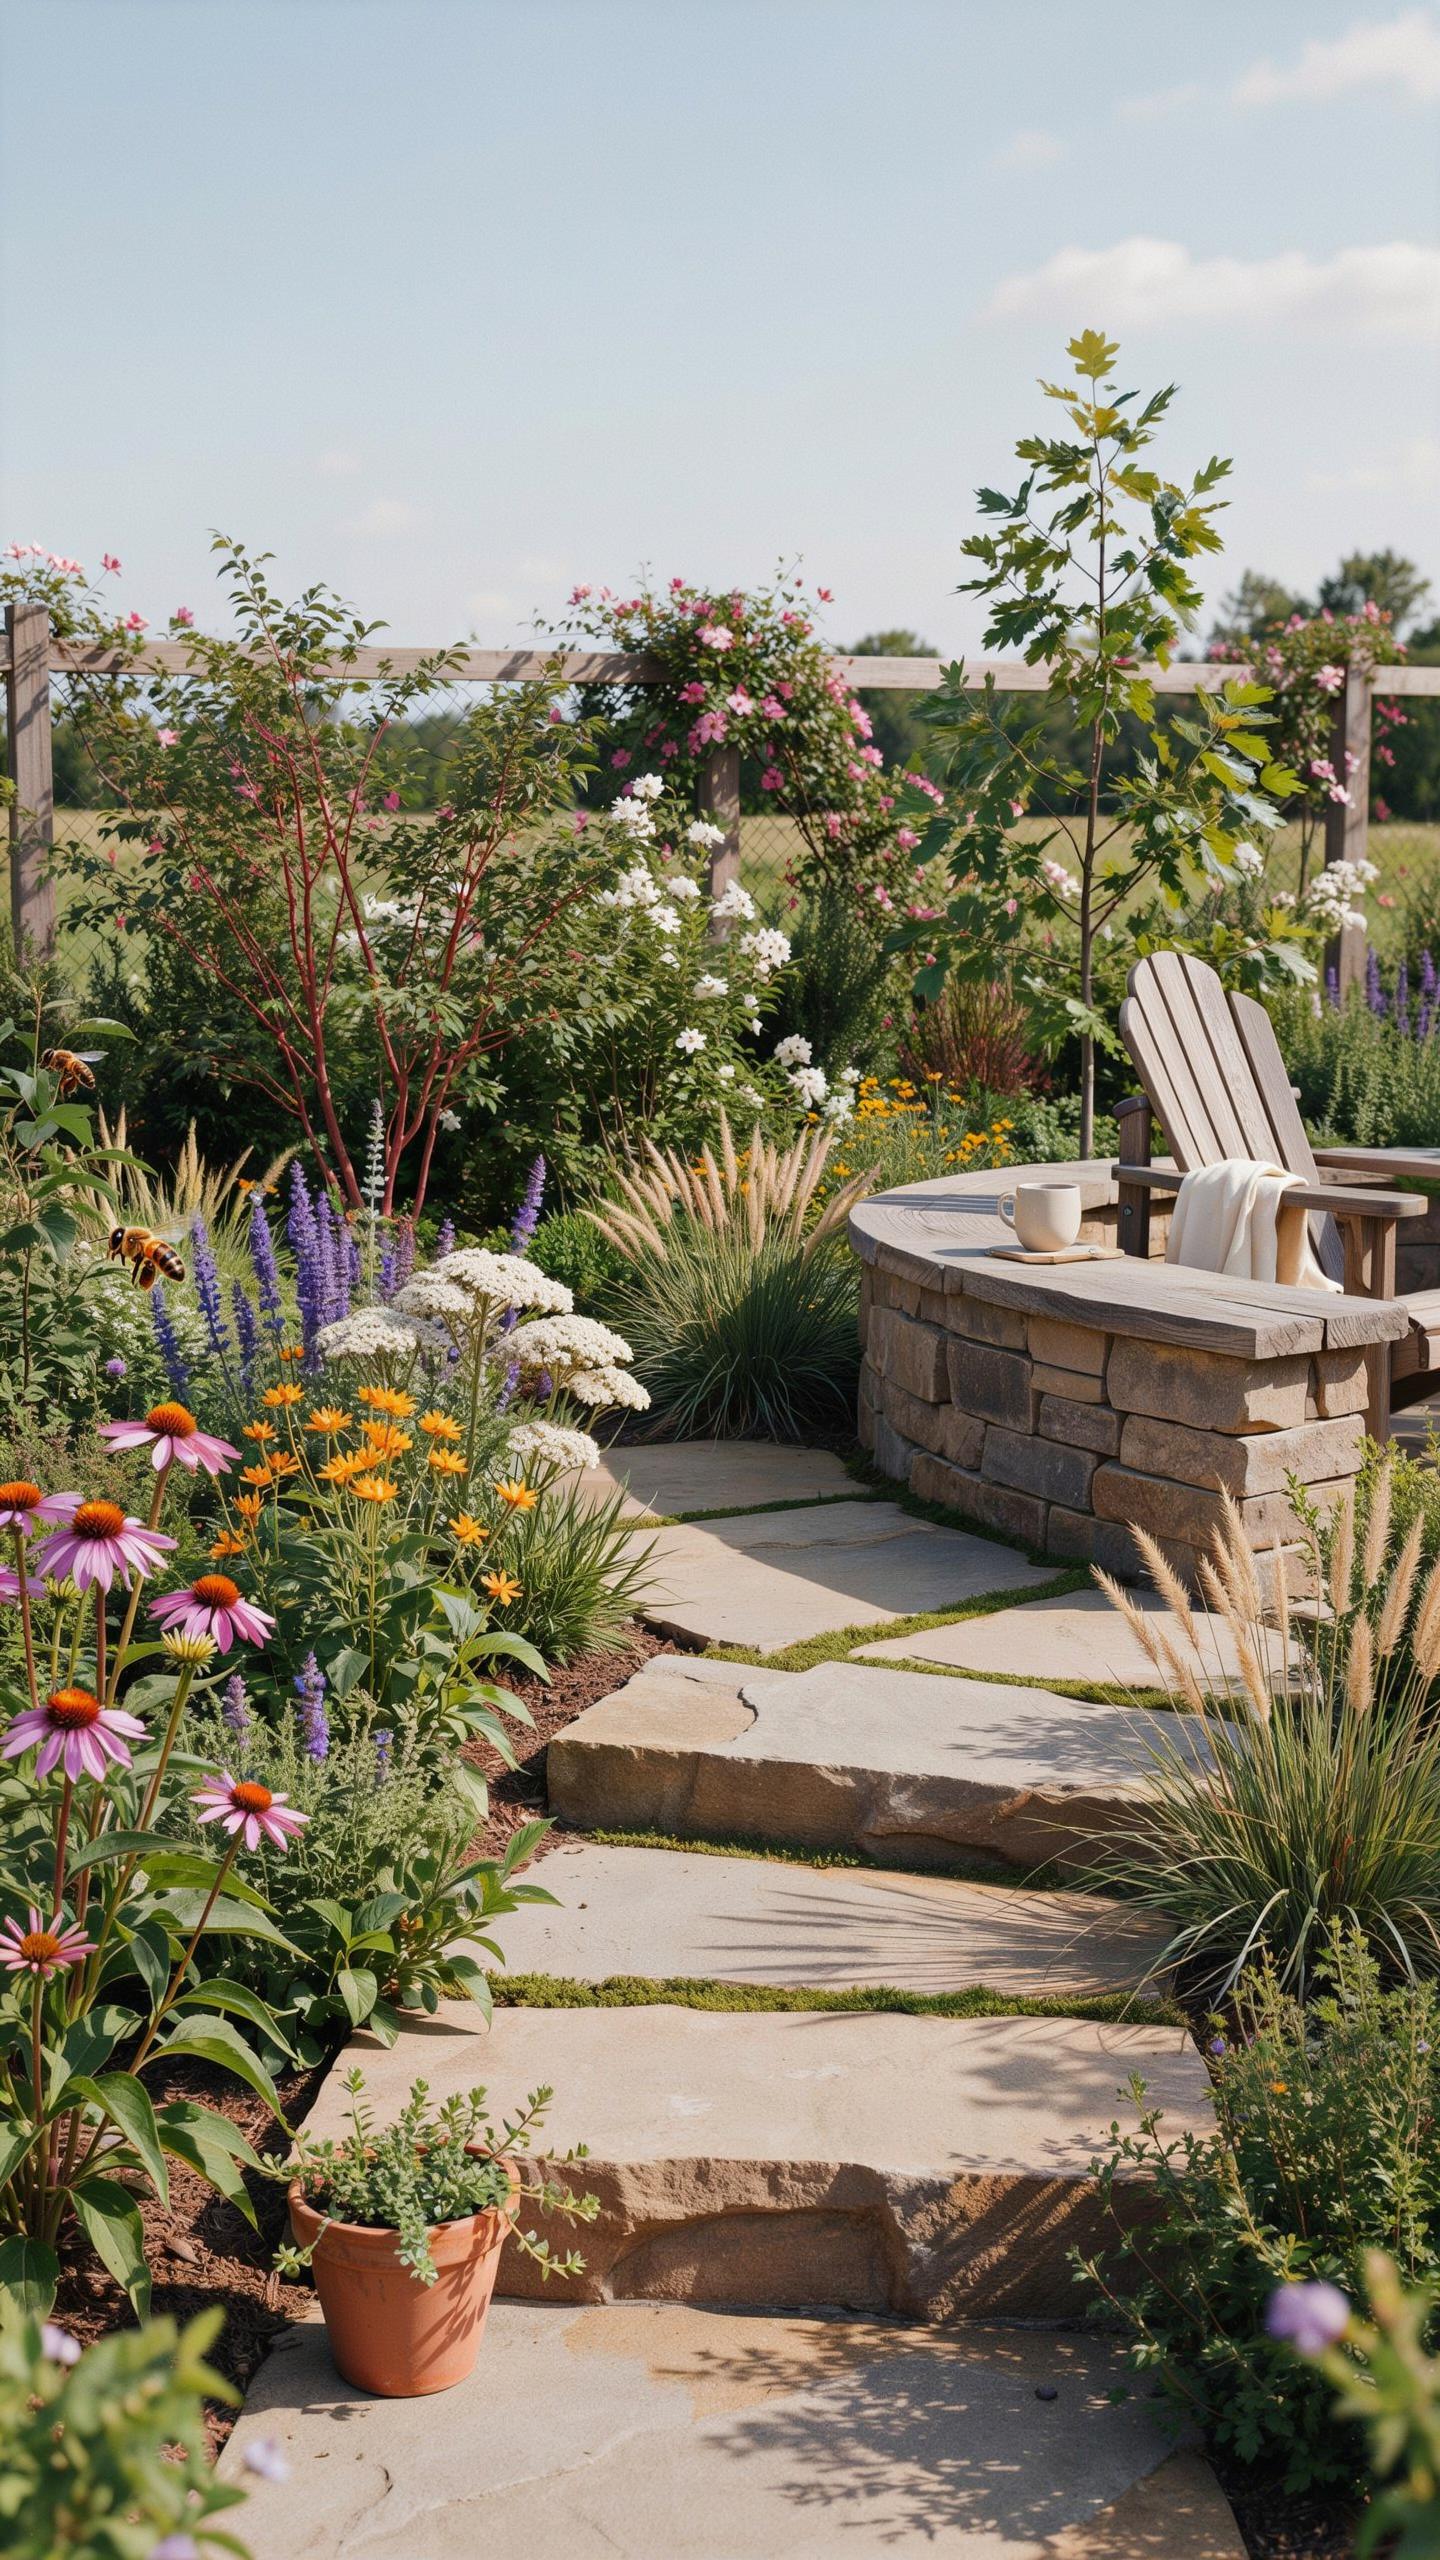
Integrating Winding Pathways With Border Plantings
Curved pathways slow foot traffic and create distinct zones within your garden. Gravel or flagstone materials work well for this purpose. Position native shrubs along path edges to define boundaries and guide movement. This layout increases perceived garden depth and encourages visitors to explore different areas.
Native shrub forms vary significantly. Some species offer upright growth, while others spread horizontally. These natural variations create visual interest without requiring ornamental shaping. The structural diversity of Australian native plants like Leptospermum or Callistemon naturally frames pathways and adds texture throughout the garden design.
Framing Seating Areas With Dense Native Borders
Native shrubs create functional windbreaks and privacy barriers around seating zones. Westringia and compact Grevillea varieties reach mid-height, positioning them perfectly for this task. Dense plantings absorb sound and reduce wind impact, lowering perceived temperature changes. This microclimate effect makes outdoor seating usable during extended seasons.
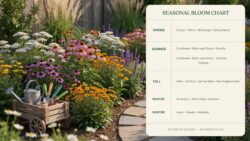
Position shrub borders one to two meters from seating edges for optimal results. This spacing allows air circulation while maintaining privacy benefits. The shelter created by native plantings encourages longer time spent outdoors and reduces heating costs for adjacent structures. Strategic placement generates measurable thermal and acoustic improvements.
Enhancing Front Curb Appeal With An Australian Native Garden Design Front Yards
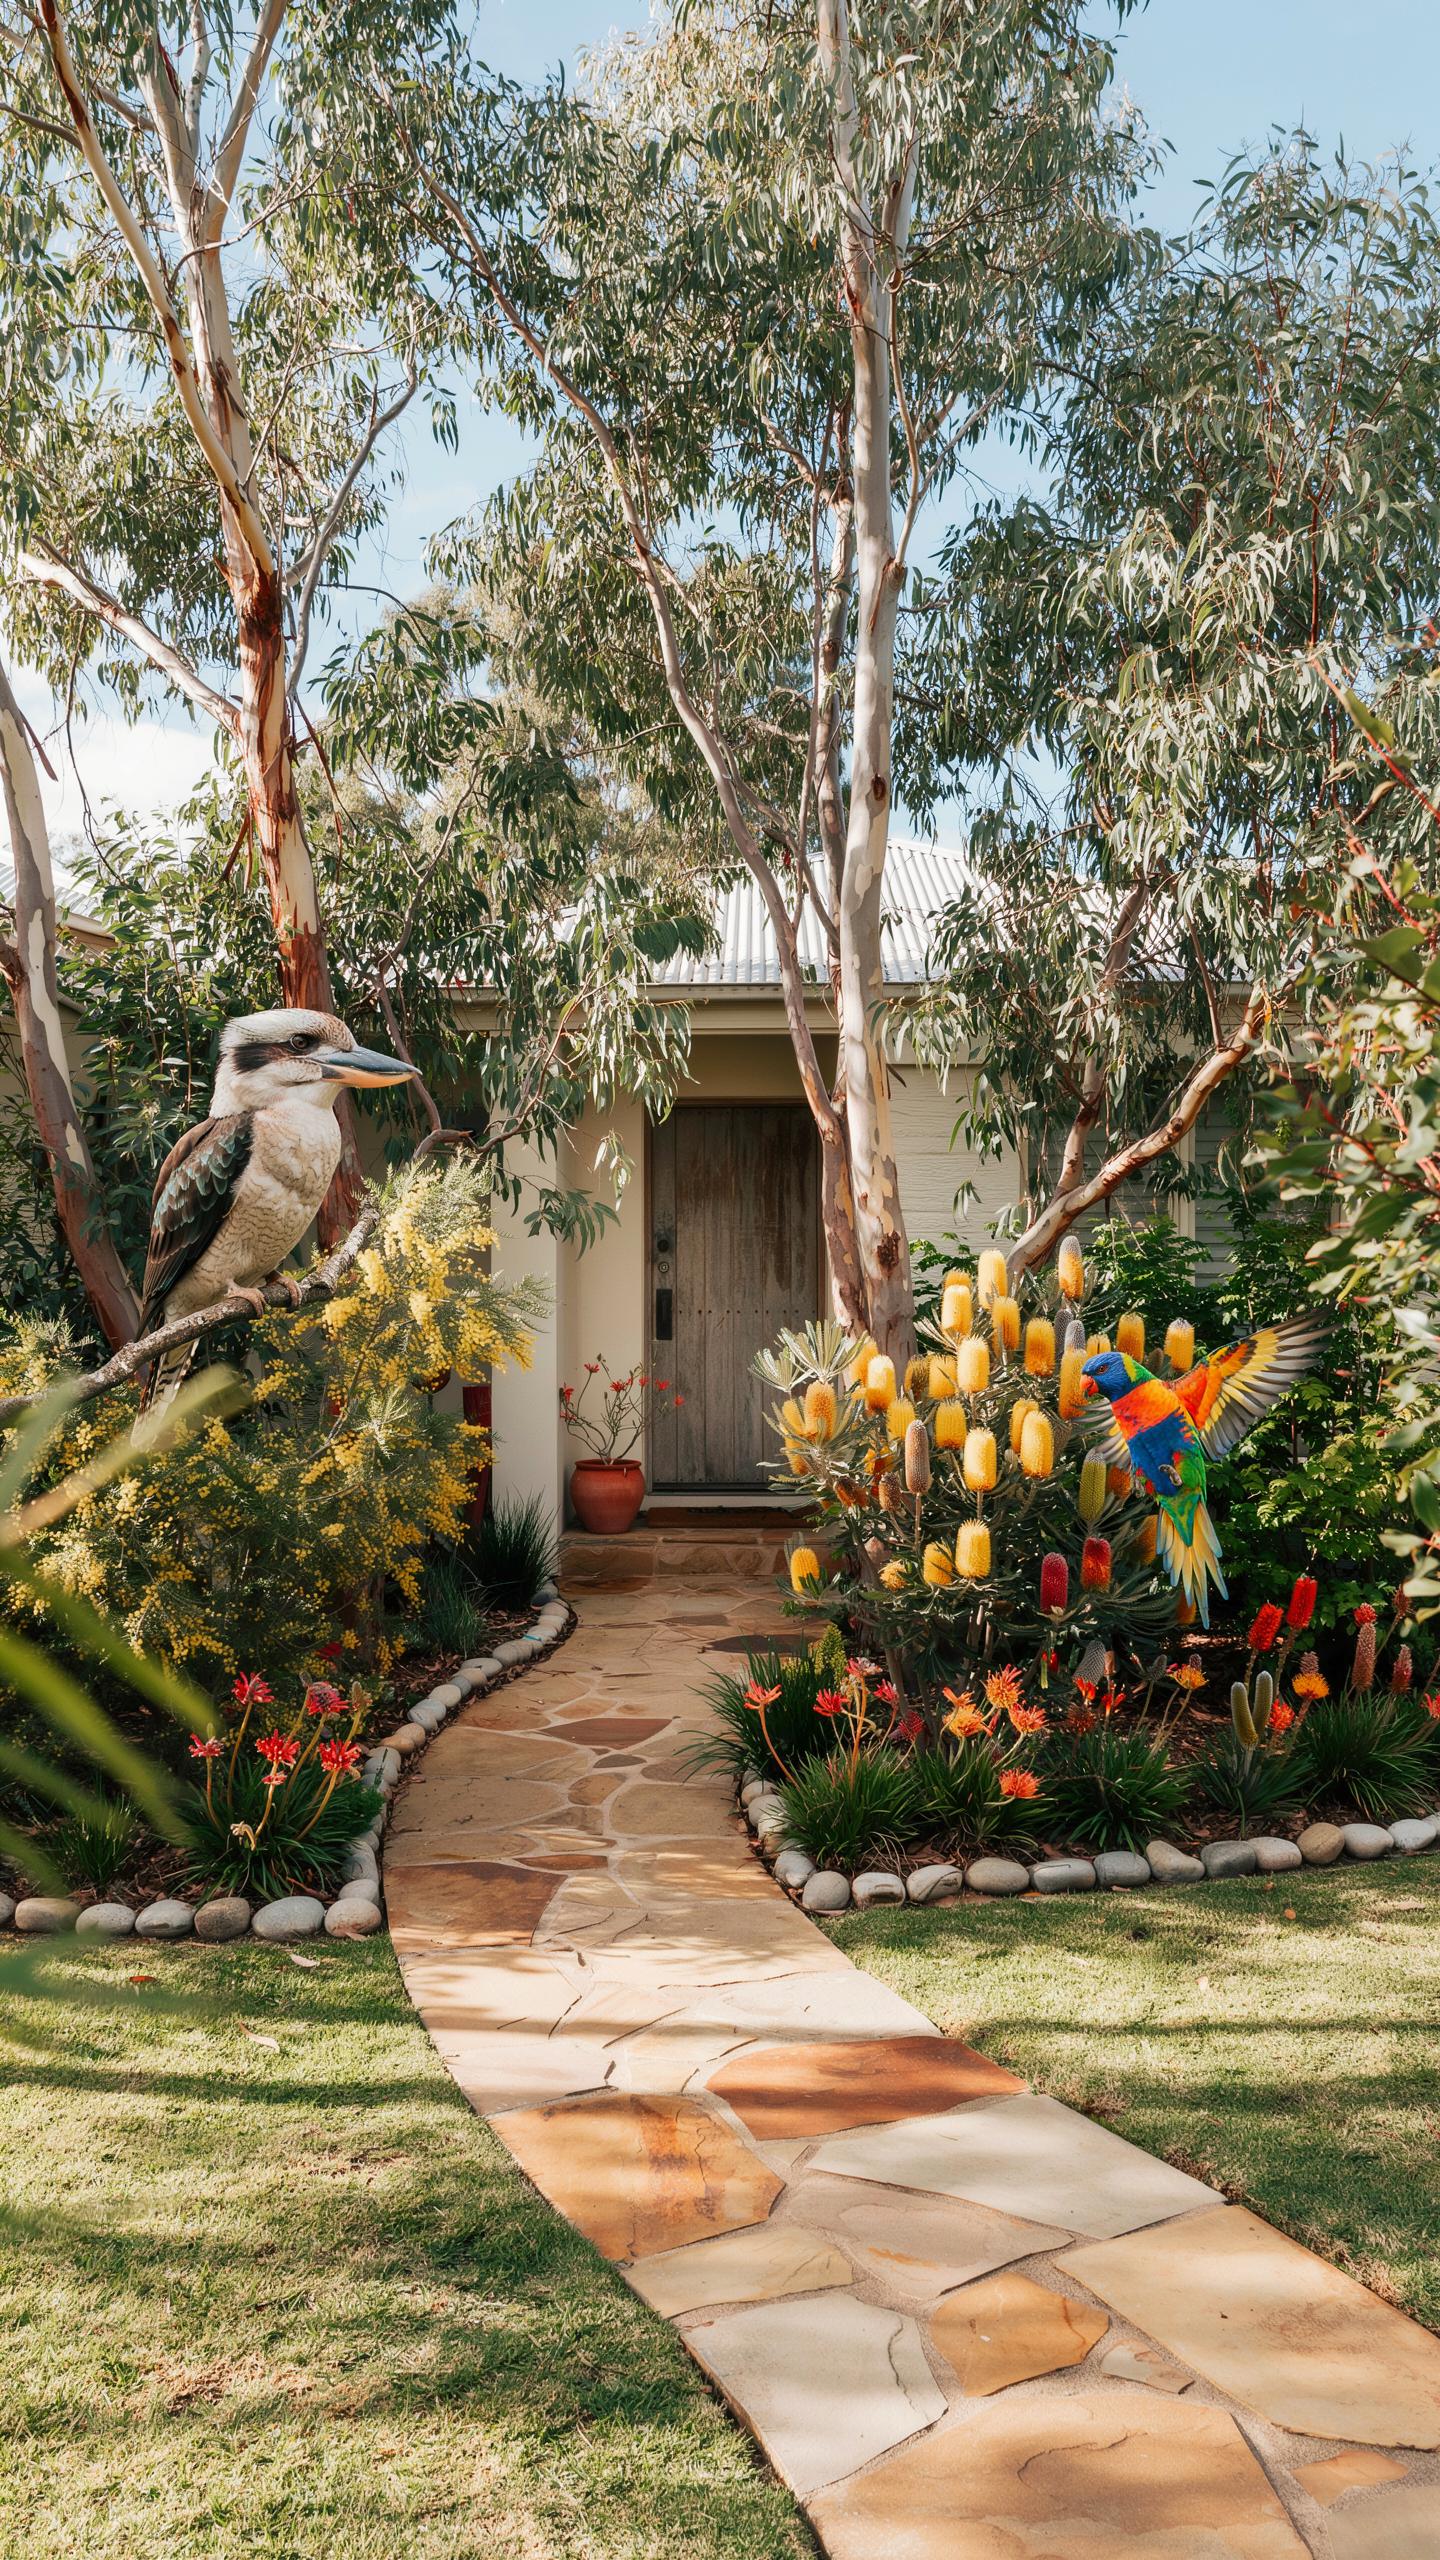
Creating A Welcoming Entrance With Native Accents
Kangaroo Paw delivers immediate visual impact at entry points. This native species produces distinctive tubular flowers in red, yellow, or orange. Position tall varieties behind shorter specimens to create layered depth. This arrangement keeps sight lines clear while establishing a distinctly Australian character that signals authenticity to visitors.
Height variation controls how people experience your entry. Shorter flowering natives along pavement edges frame the walkway without blocking views. Taller species positioned 3 to 4 feet back create backdrop structure. This graduated approach makes spaces feel intentional and well-managed rather than random or overgrown.
Combining Neat Edging With Wild Meadow Groupings
Hard edging materials define garden boundaries while native plants sprawl naturally beyond them. Cobblestone or steel strips create clean lines that contrast with irregular plant growth patterns. This tension between order and wildness prevents the garden from appearing chaotic. The defined edge gives permission for plants to grow freely within contained zones.
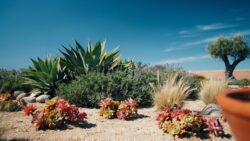
Native wildflowers thrive in grouped clusters rather than scattered individually. Plant in odd numbers within contained sections for balanced composition. Edging materials make this grouping strategy work by containing spread and preventing encroachment onto hardscape areas. The result reads as both cultivated and naturalistic without requiring constant maintenance.
Adding Color And Biodiversity To A Native Perennial Garden
Attracting Local Wildlife With Flowering Borders
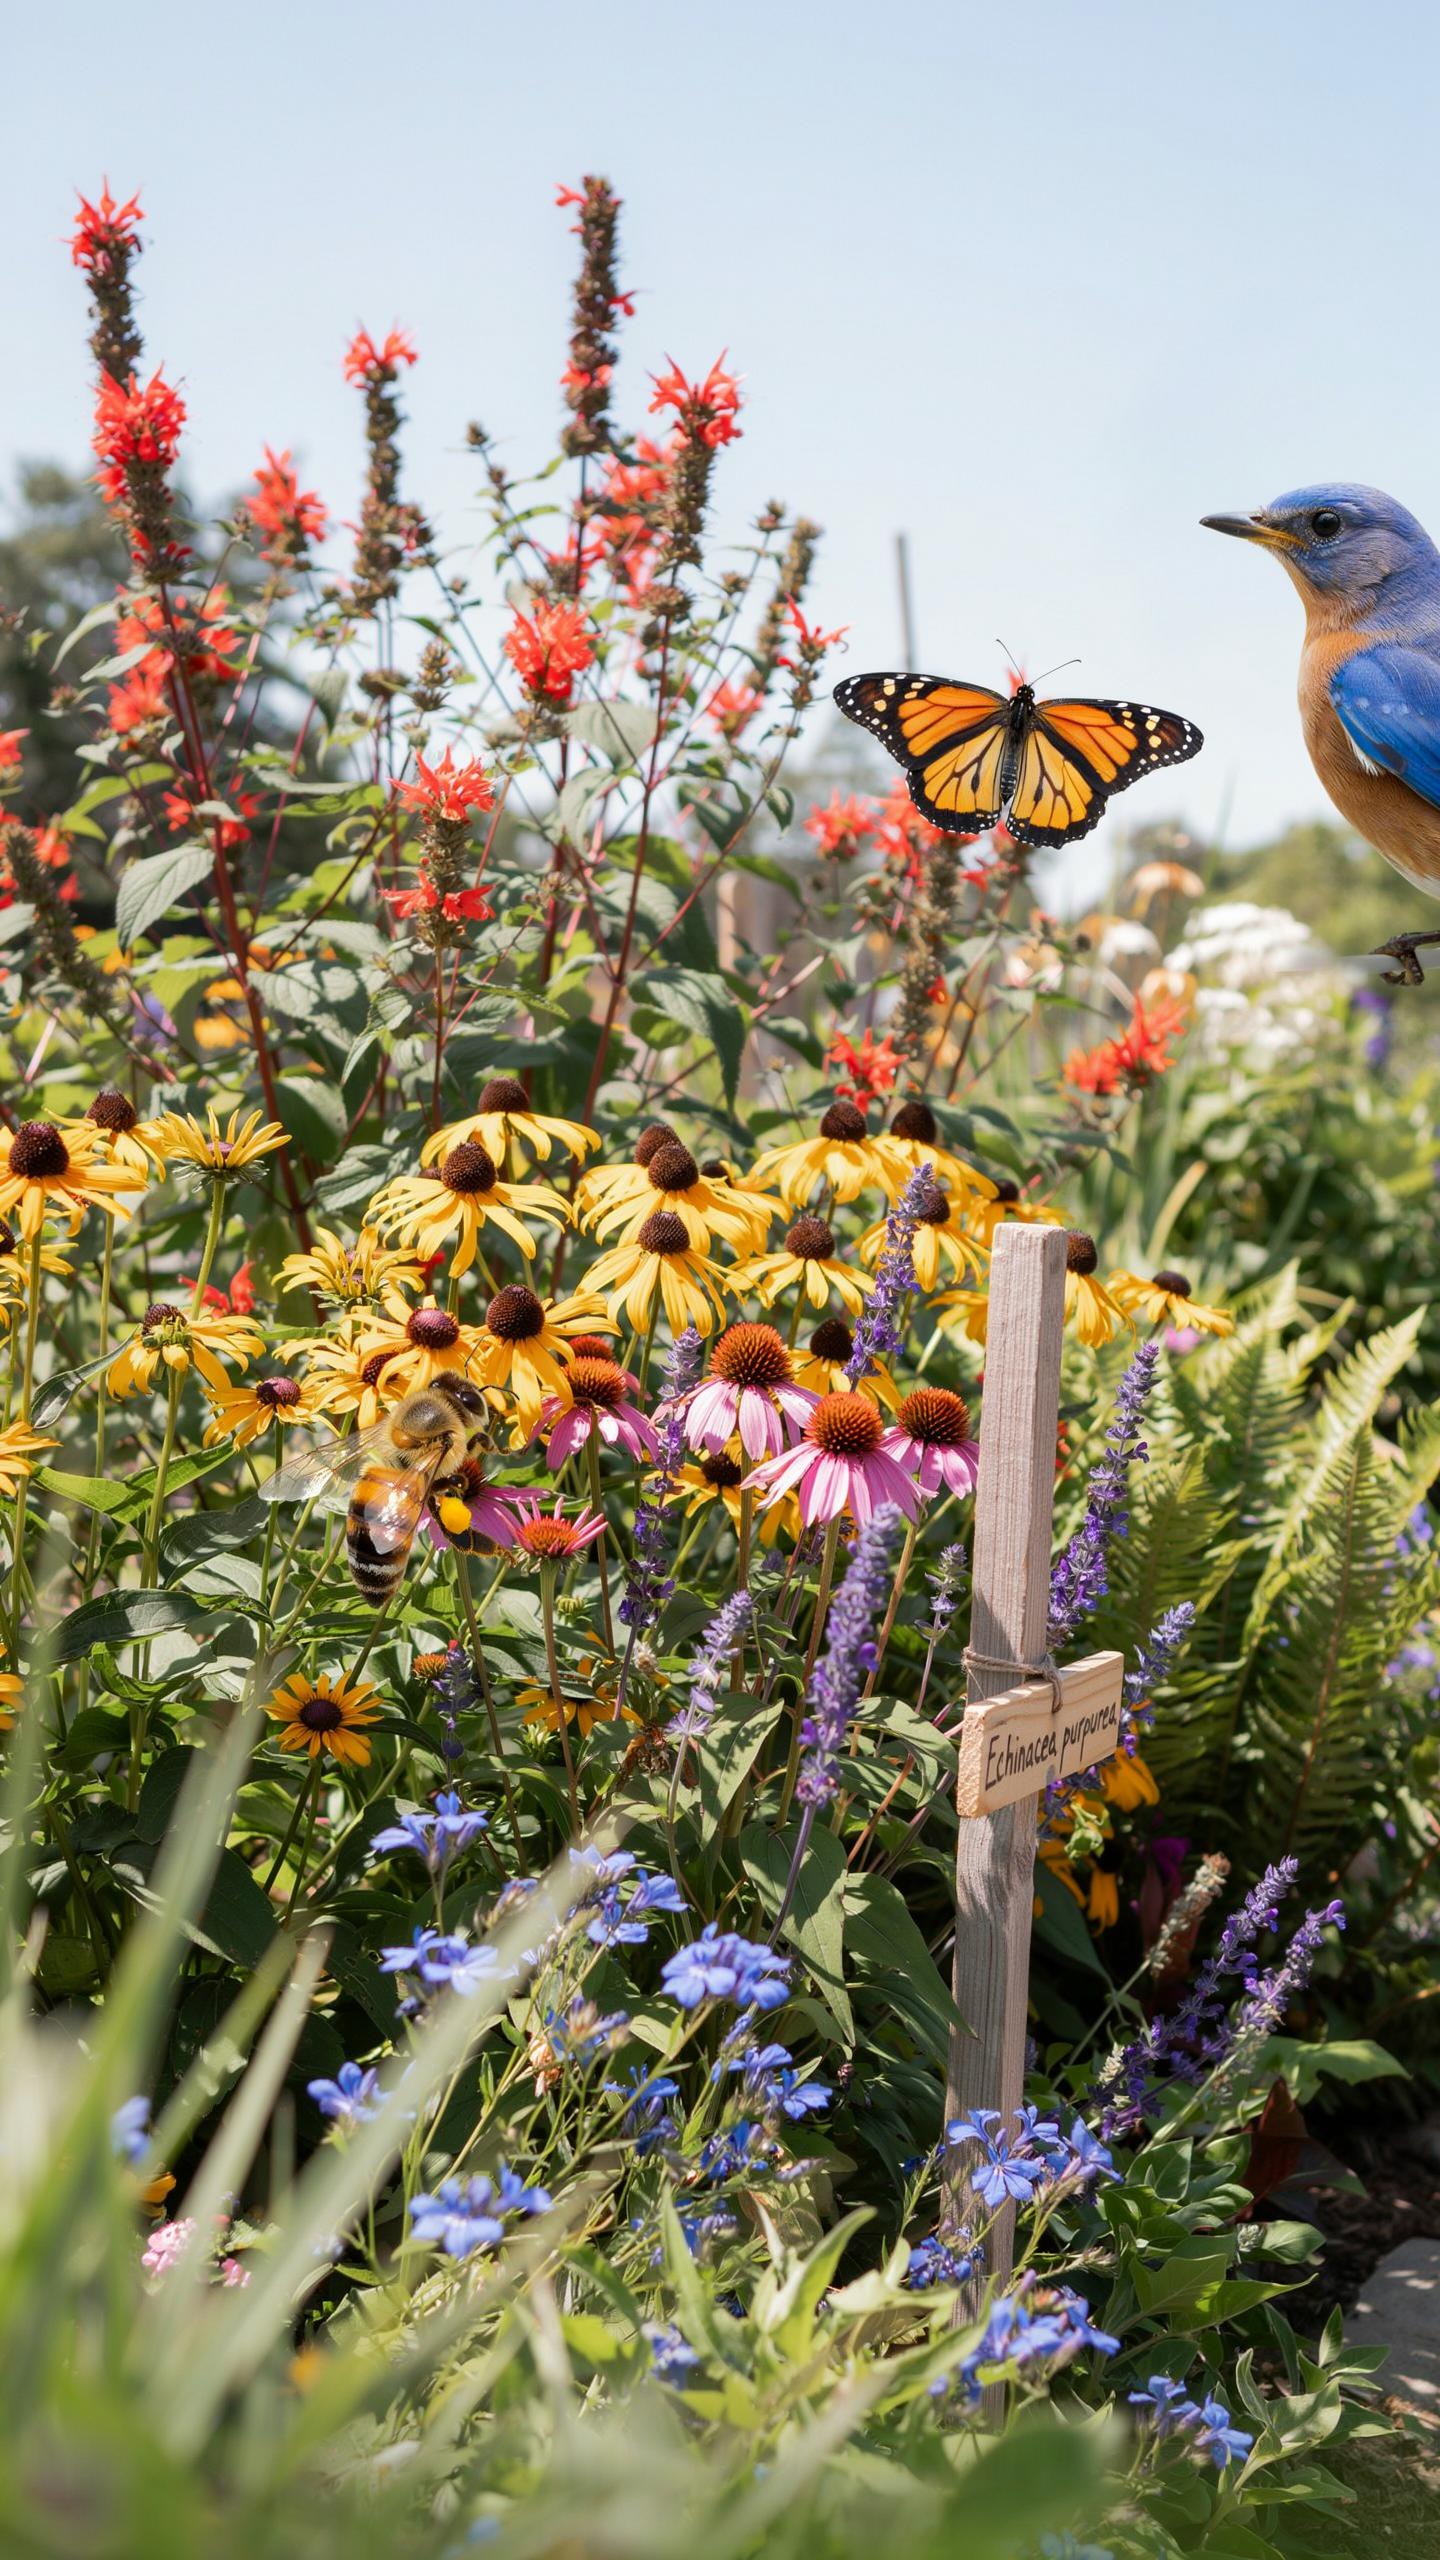
Native perennials like Billy Buttons and everlasting daisies produce nectar that native bees and birds depend on for food. Placing these plants along garden edges creates functional feeding stations. The insects and birds that visit these borders pollinate your plants and control pest populations naturally. This approach eliminates the need for chemical interventions while supporting local ecosystems.
Flowering borders also increase visual activity in your garden. You observe pollinators moving between plants throughout the growing season. This natural movement gives your outdoor spaces a sense of life and purpose. Native flowering borders outperform ornamental alternatives because they support the species already adapted to your local climate and soil conditions.
A garden should feel like a warm embrace from the earth, where native blooms fringe the paths like old memories.
Layering Perennials For Year Round Visual Interest
Mix evergreen native plants with seasonal bloomers to keep garden edges visually active year round. Evergreens like native sedges and grasses maintain structure during dormant months. Seasonal bloomers fill gaps with color when conditions favor growth. This combination prevents bare patches that make gardens appear neglected or incomplete during off seasons.
Staggered flowering cycles ensure continuous color from spring through fall. Select species that bloom at different times rather than all at once. Early bloomers like native phlox emerge first. Mid season flowers like coreopsis take over. Late bloomers like asters finish the cycle. This timing strategy maintains visual interest without requiring replanting or constant maintenance throughout the year.
Practical Steps For Installing DIY Garden Edging
Essential Tools And Steps For Border Installation
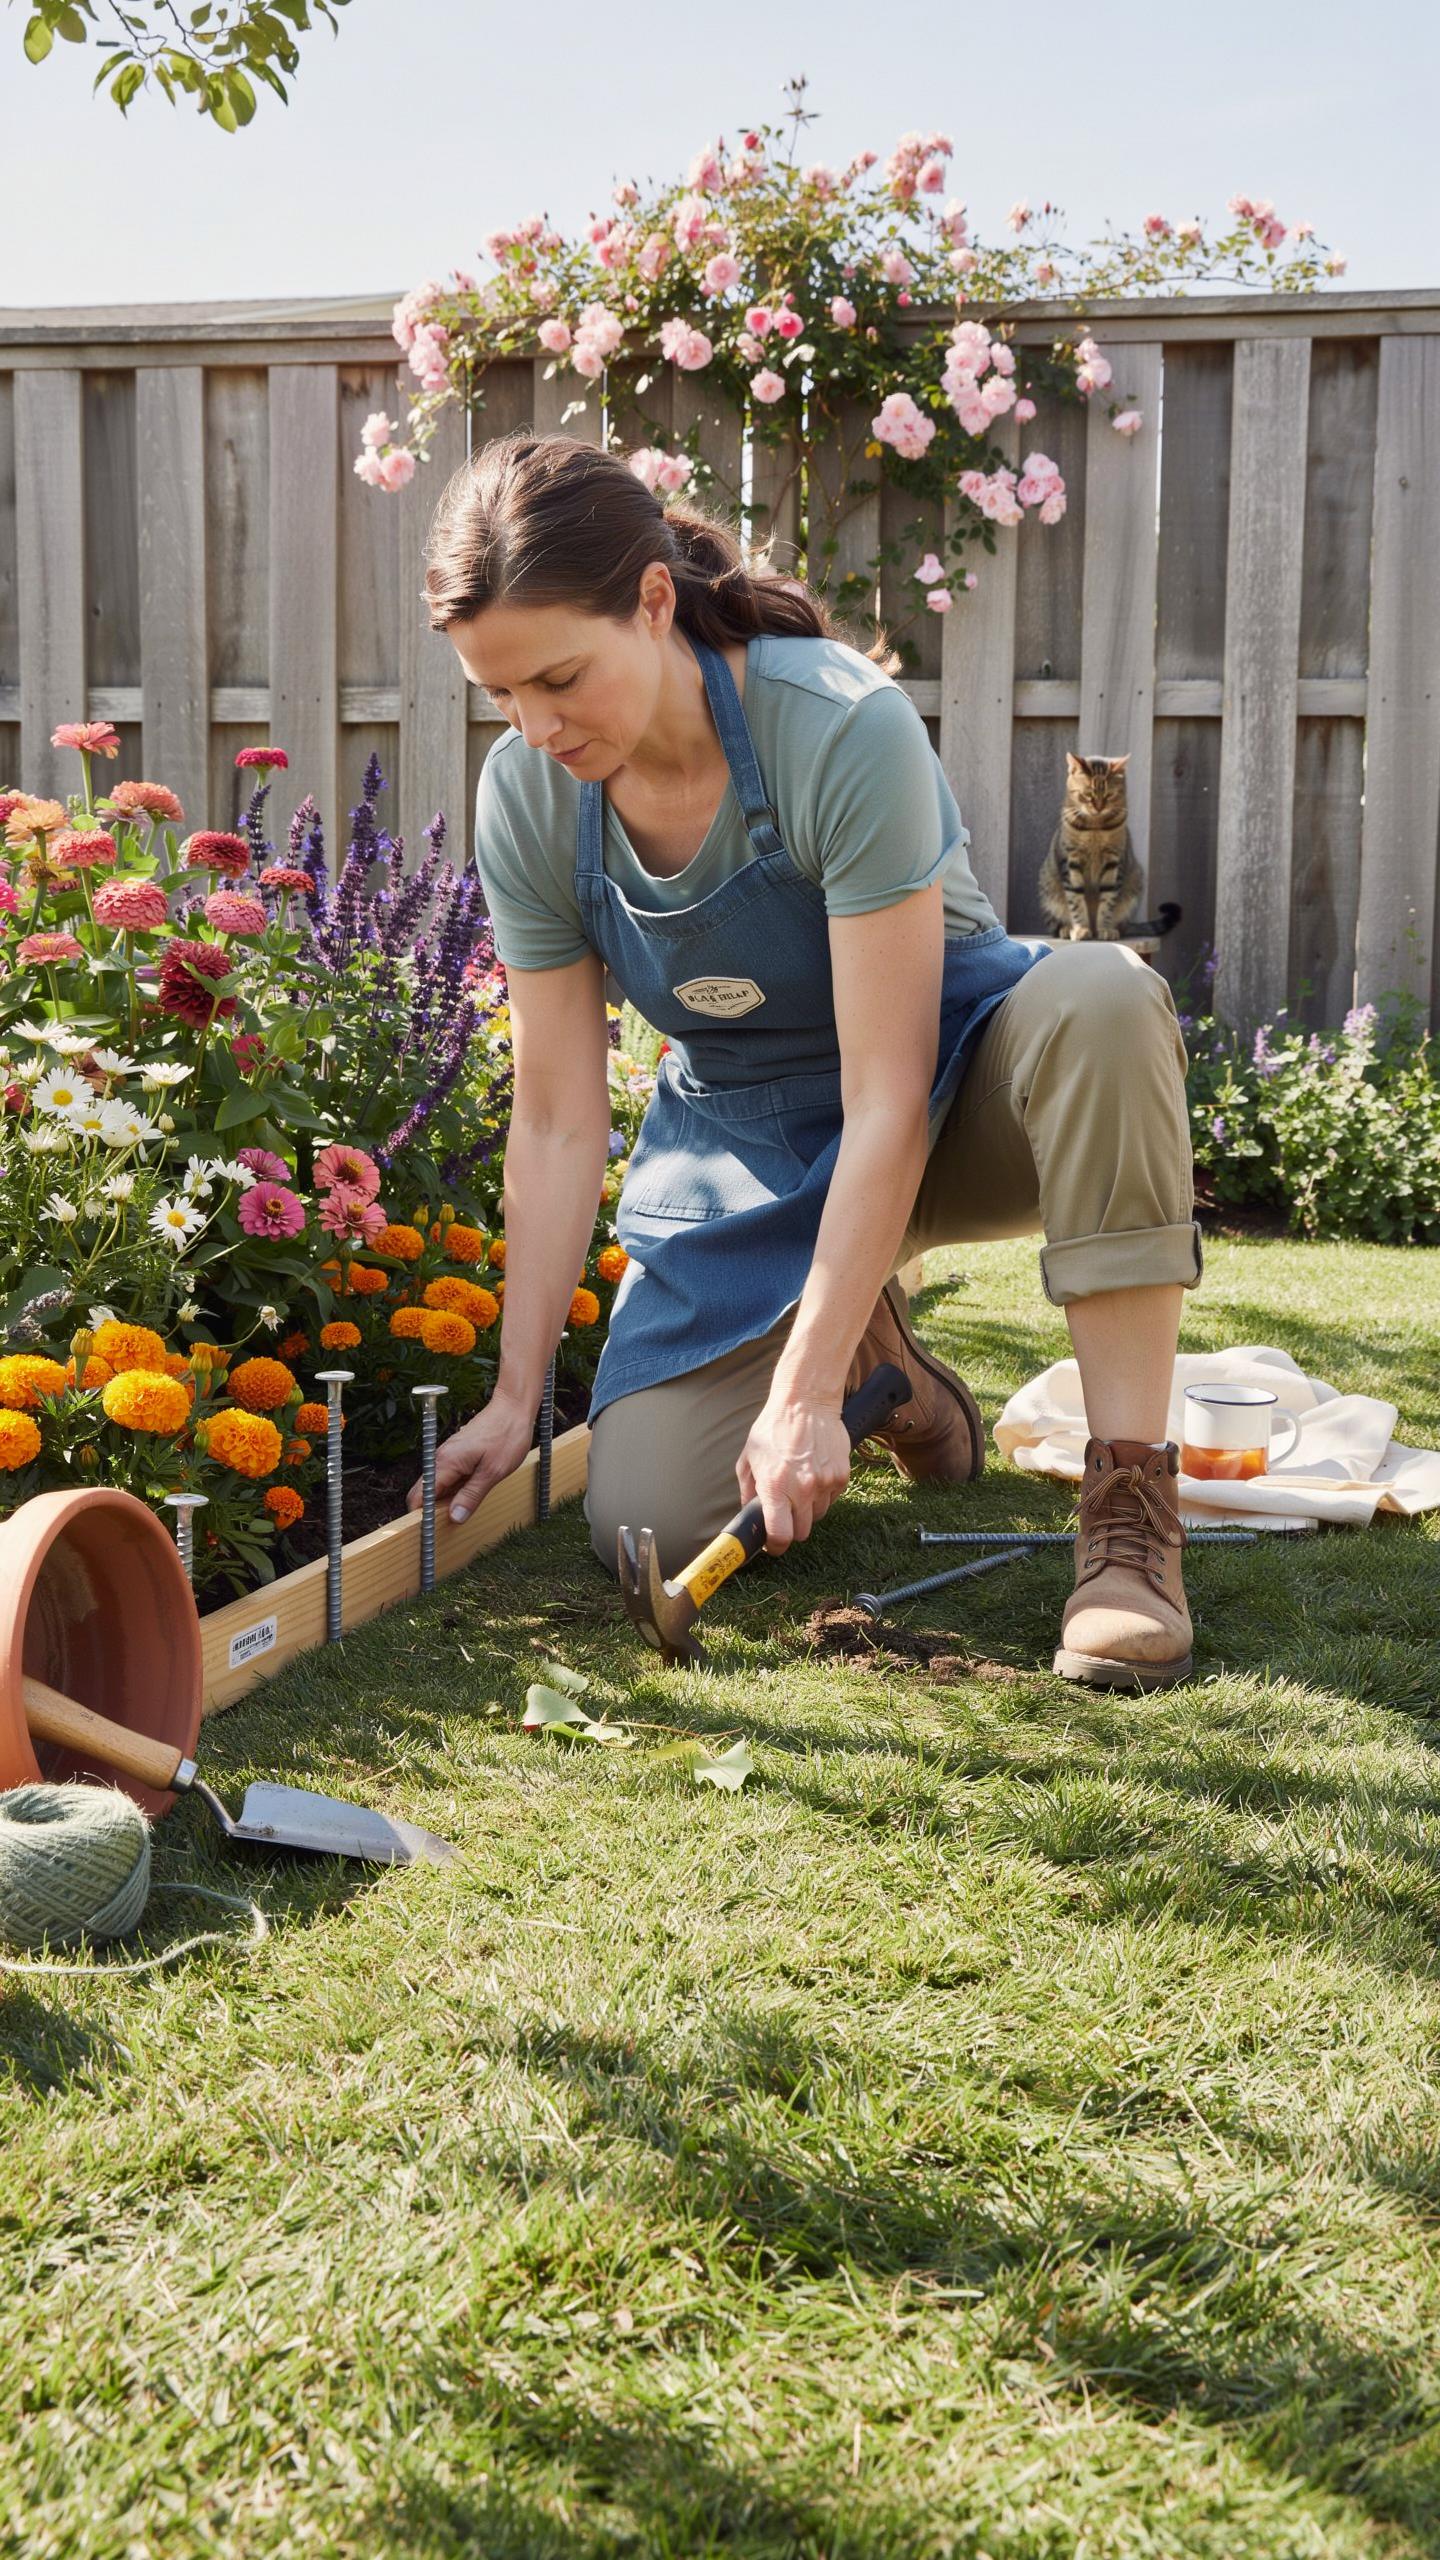
Start with the right tools to cut installation time and prevent mistakes. You need a sharp spade, level, measuring tape, work gloves, and a mallet. Mark your border line with chalk or string before you dig. Excavate soil to your edging material’s depth, typically two to four inches. Compact the base soil firmly to prevent settling that creates gaps later.
- Sharp Spade: Cuts clean lines through soil and sod without dragging or crushing plant roots in adjacent beds.
- Level: Ensures your edging sits evenly so water drains properly and materials don’t shift over time.
- Measuring Tape: Maintains consistent depth and width along the entire border for uniform appearance and function.
- Work Gloves: Protects hands from sharp materials like stone edges and metal hardware during installation.
- Mallet: Drives metal or plastic edging into soil without bending or damaging the material through hammer blows.
- Chalk Line or String: Creates straight guides for digging, keeping borders aligned and reducing course corrections.
Test fit your edging material before final installation. This catches sizing problems and ensures materials align properly at corners and seams. Backfill behind installed edging with soil, then compact it firmly to lock everything in place. Check level again after backfilling because settling shifts materials.
Preventing Weed Invasion Along Border Soil Zones
Install landscape fabric or geotextile beneath your edging to block grass roots from creeping into your native bed. Position the fabric at least six inches below grade when possible. This barrier stops rhizomatous grasses like quackgrass from tunneling under your edging and into your planting zone. The fabric stays in place for years and costs under one dollar per square yard.
Apply mulch only over the fabric in your native bed. Never pile mulch against the back of your edging. This keeps moisture away from metal or wood materials that degrade when wet. A gap between the mulch surface and edging material prevents rot while maintaining that clean border line you designed for.
Aesthetic Layouts Inspired By Classic Native Garden Ideas
Embracing Organic Curves Over Rigid Straight Lines
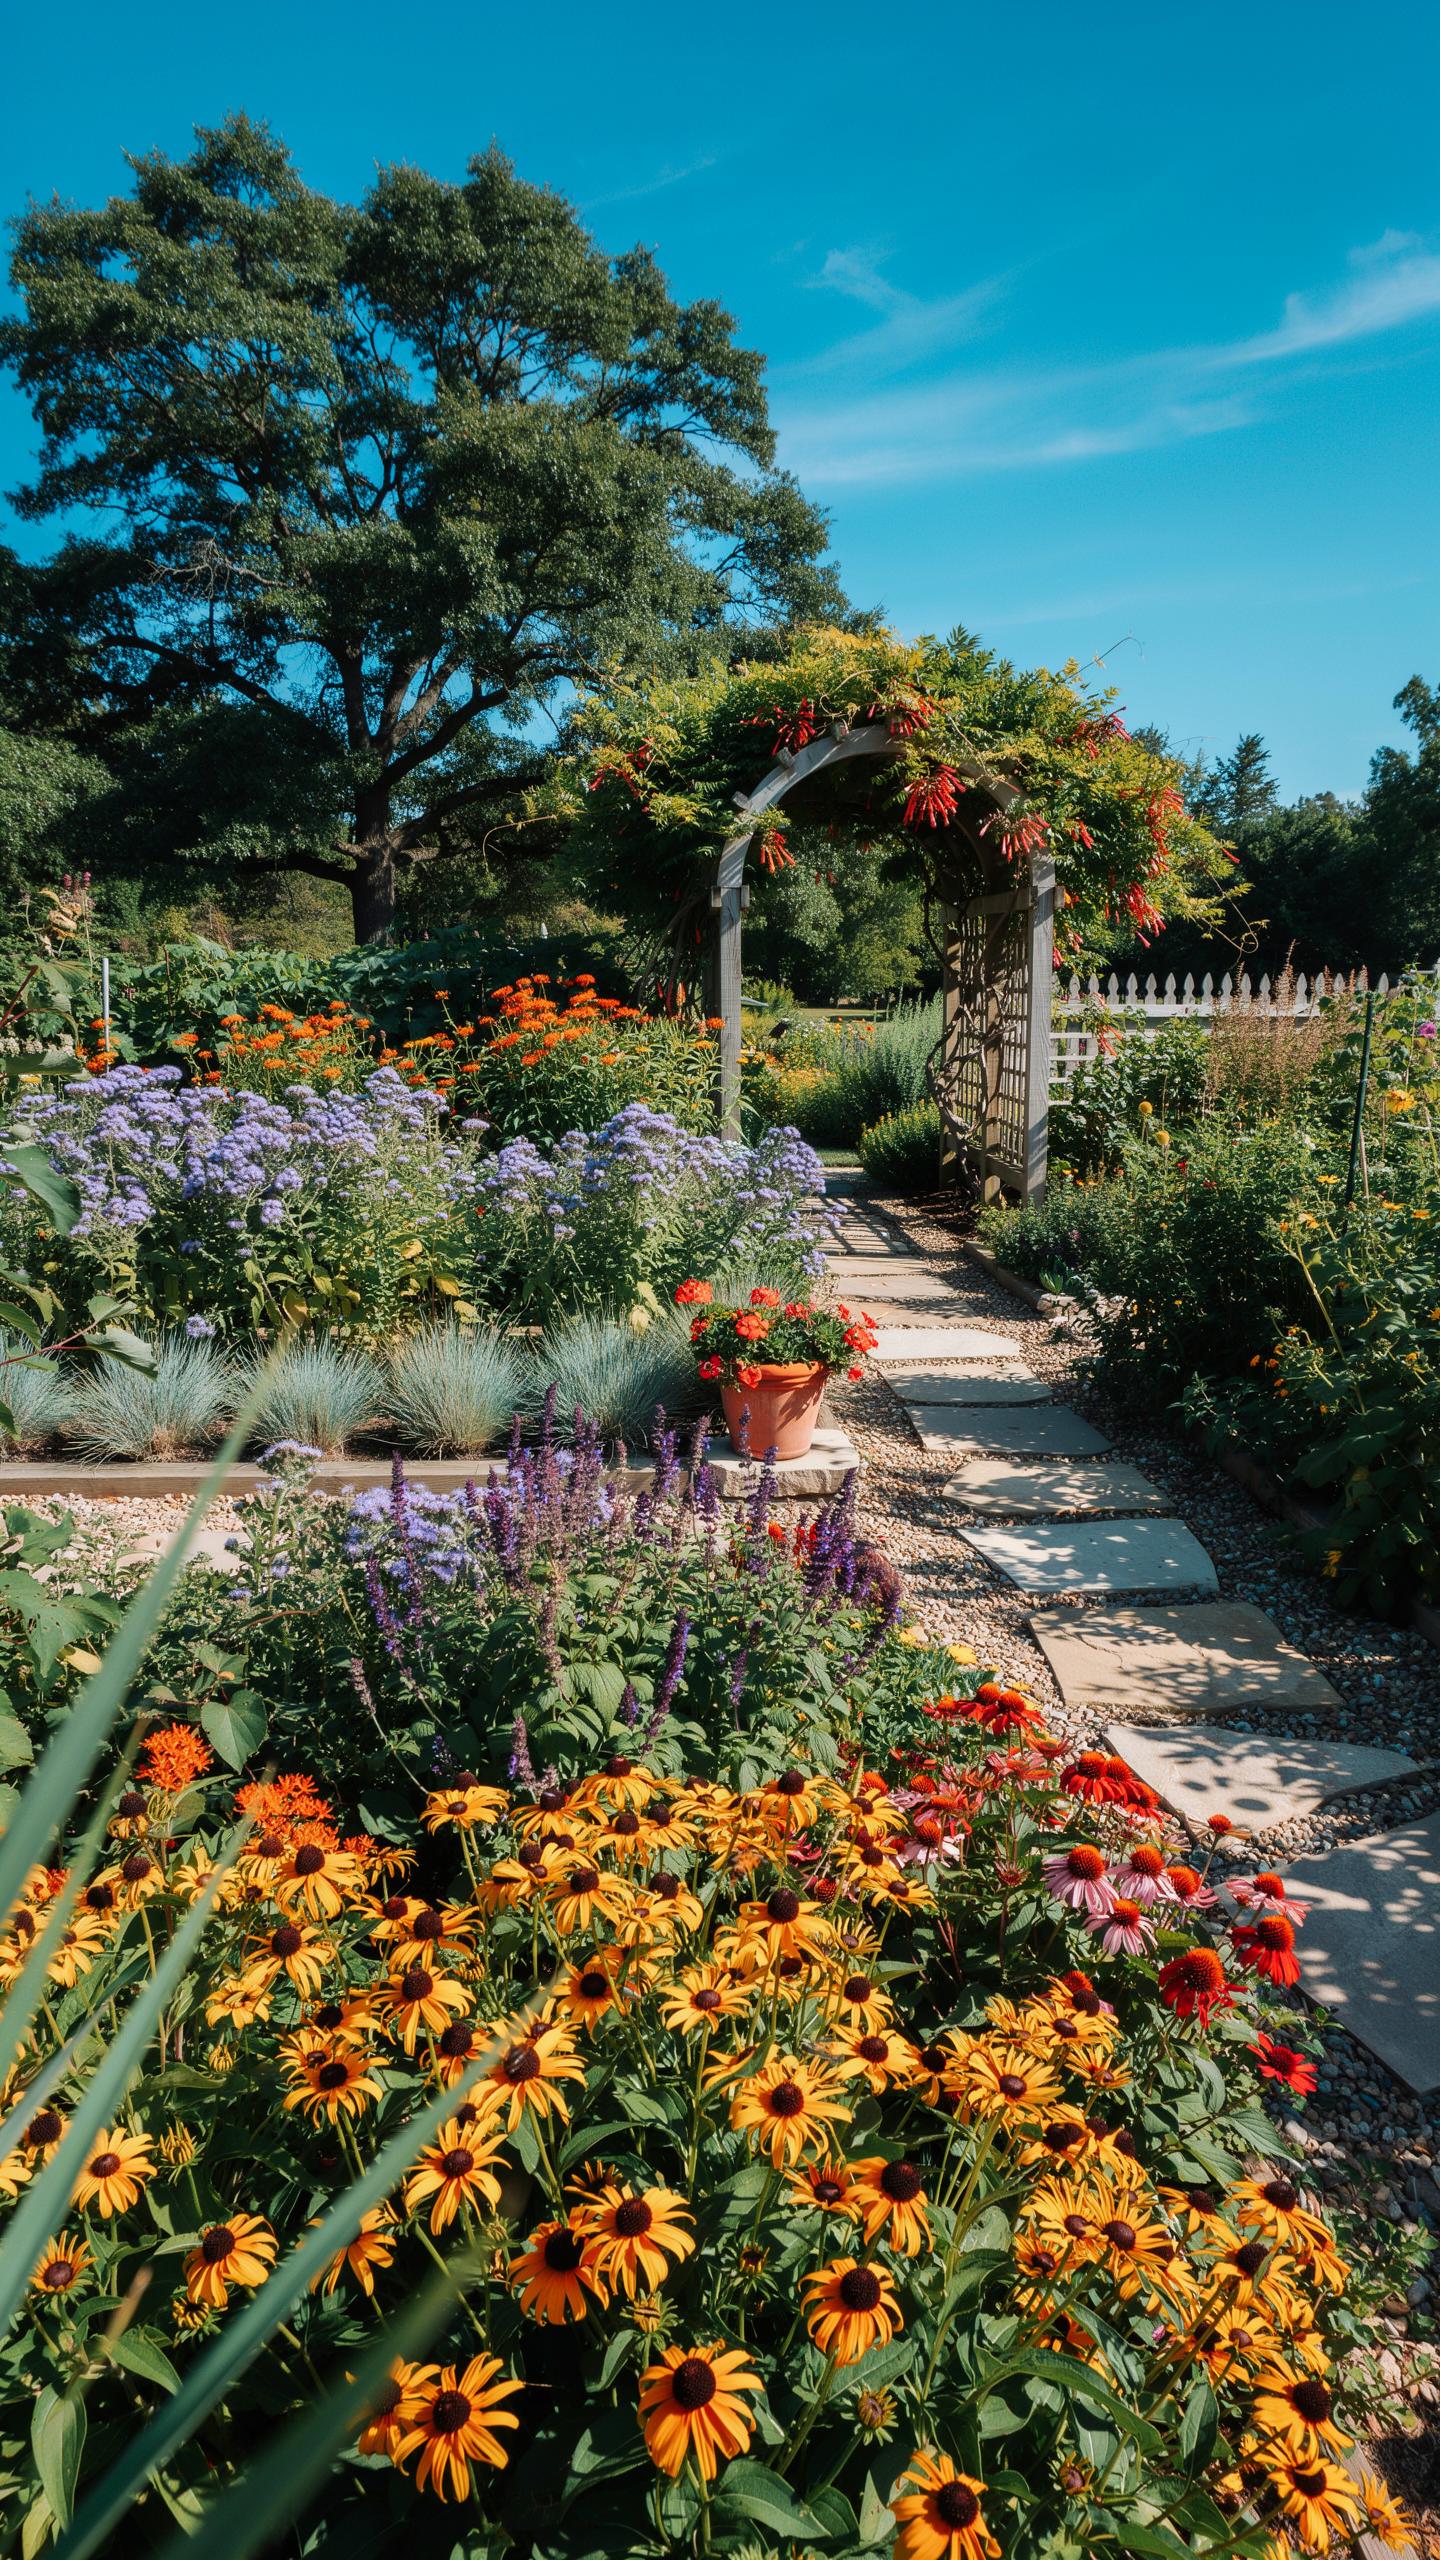
Curved borders work better than straight lines in native plant gardens because they mirror natural landforms. Straight edges require constant maintenance and feel institutional. Curves reduce mowing lines, allow plants to spread naturally, and create visual movement that guides eye flow through your yard. They also accommodate native plants’ natural growth patterns without forcing them into unnatural shapes.
Implement curves by laying garden hose on the ground to test your desired edge path before installation. Mark the line with marking paint or string. Use hand tools to cut the border, following the curved line you established. This approach gives you a preview and prevents costly mistakes during actual edging construction or planting.
Using Varying Heights To Create Depth And Dimension
Layering plant heights builds visual interest and maximizes your garden’s usable space. Start with creeping groundcovers like native sedums or creeping phlox at the front edge. Position mid-height native grasses behind them. Place flowering shrubs in the back to create a graduated effect. This setup ensures all plants receive adequate light and air circulation while producing a rich, textured appearance.
Stagger heights in roughly six to twelve inch increments depending on your garden’s total depth. Front layer stays under six inches tall. Middle layer reaches twelve to twenty-four inches. Back layer extends two to four feet. This graduated approach works because it prevents taller plants from shading shorter ones, keeps maintenance access clear, and creates natural sightlines that make small yards feel larger.
Long Term Maintenance And Care For Your Native Garden
Pruning And Shaping Native Border Plants
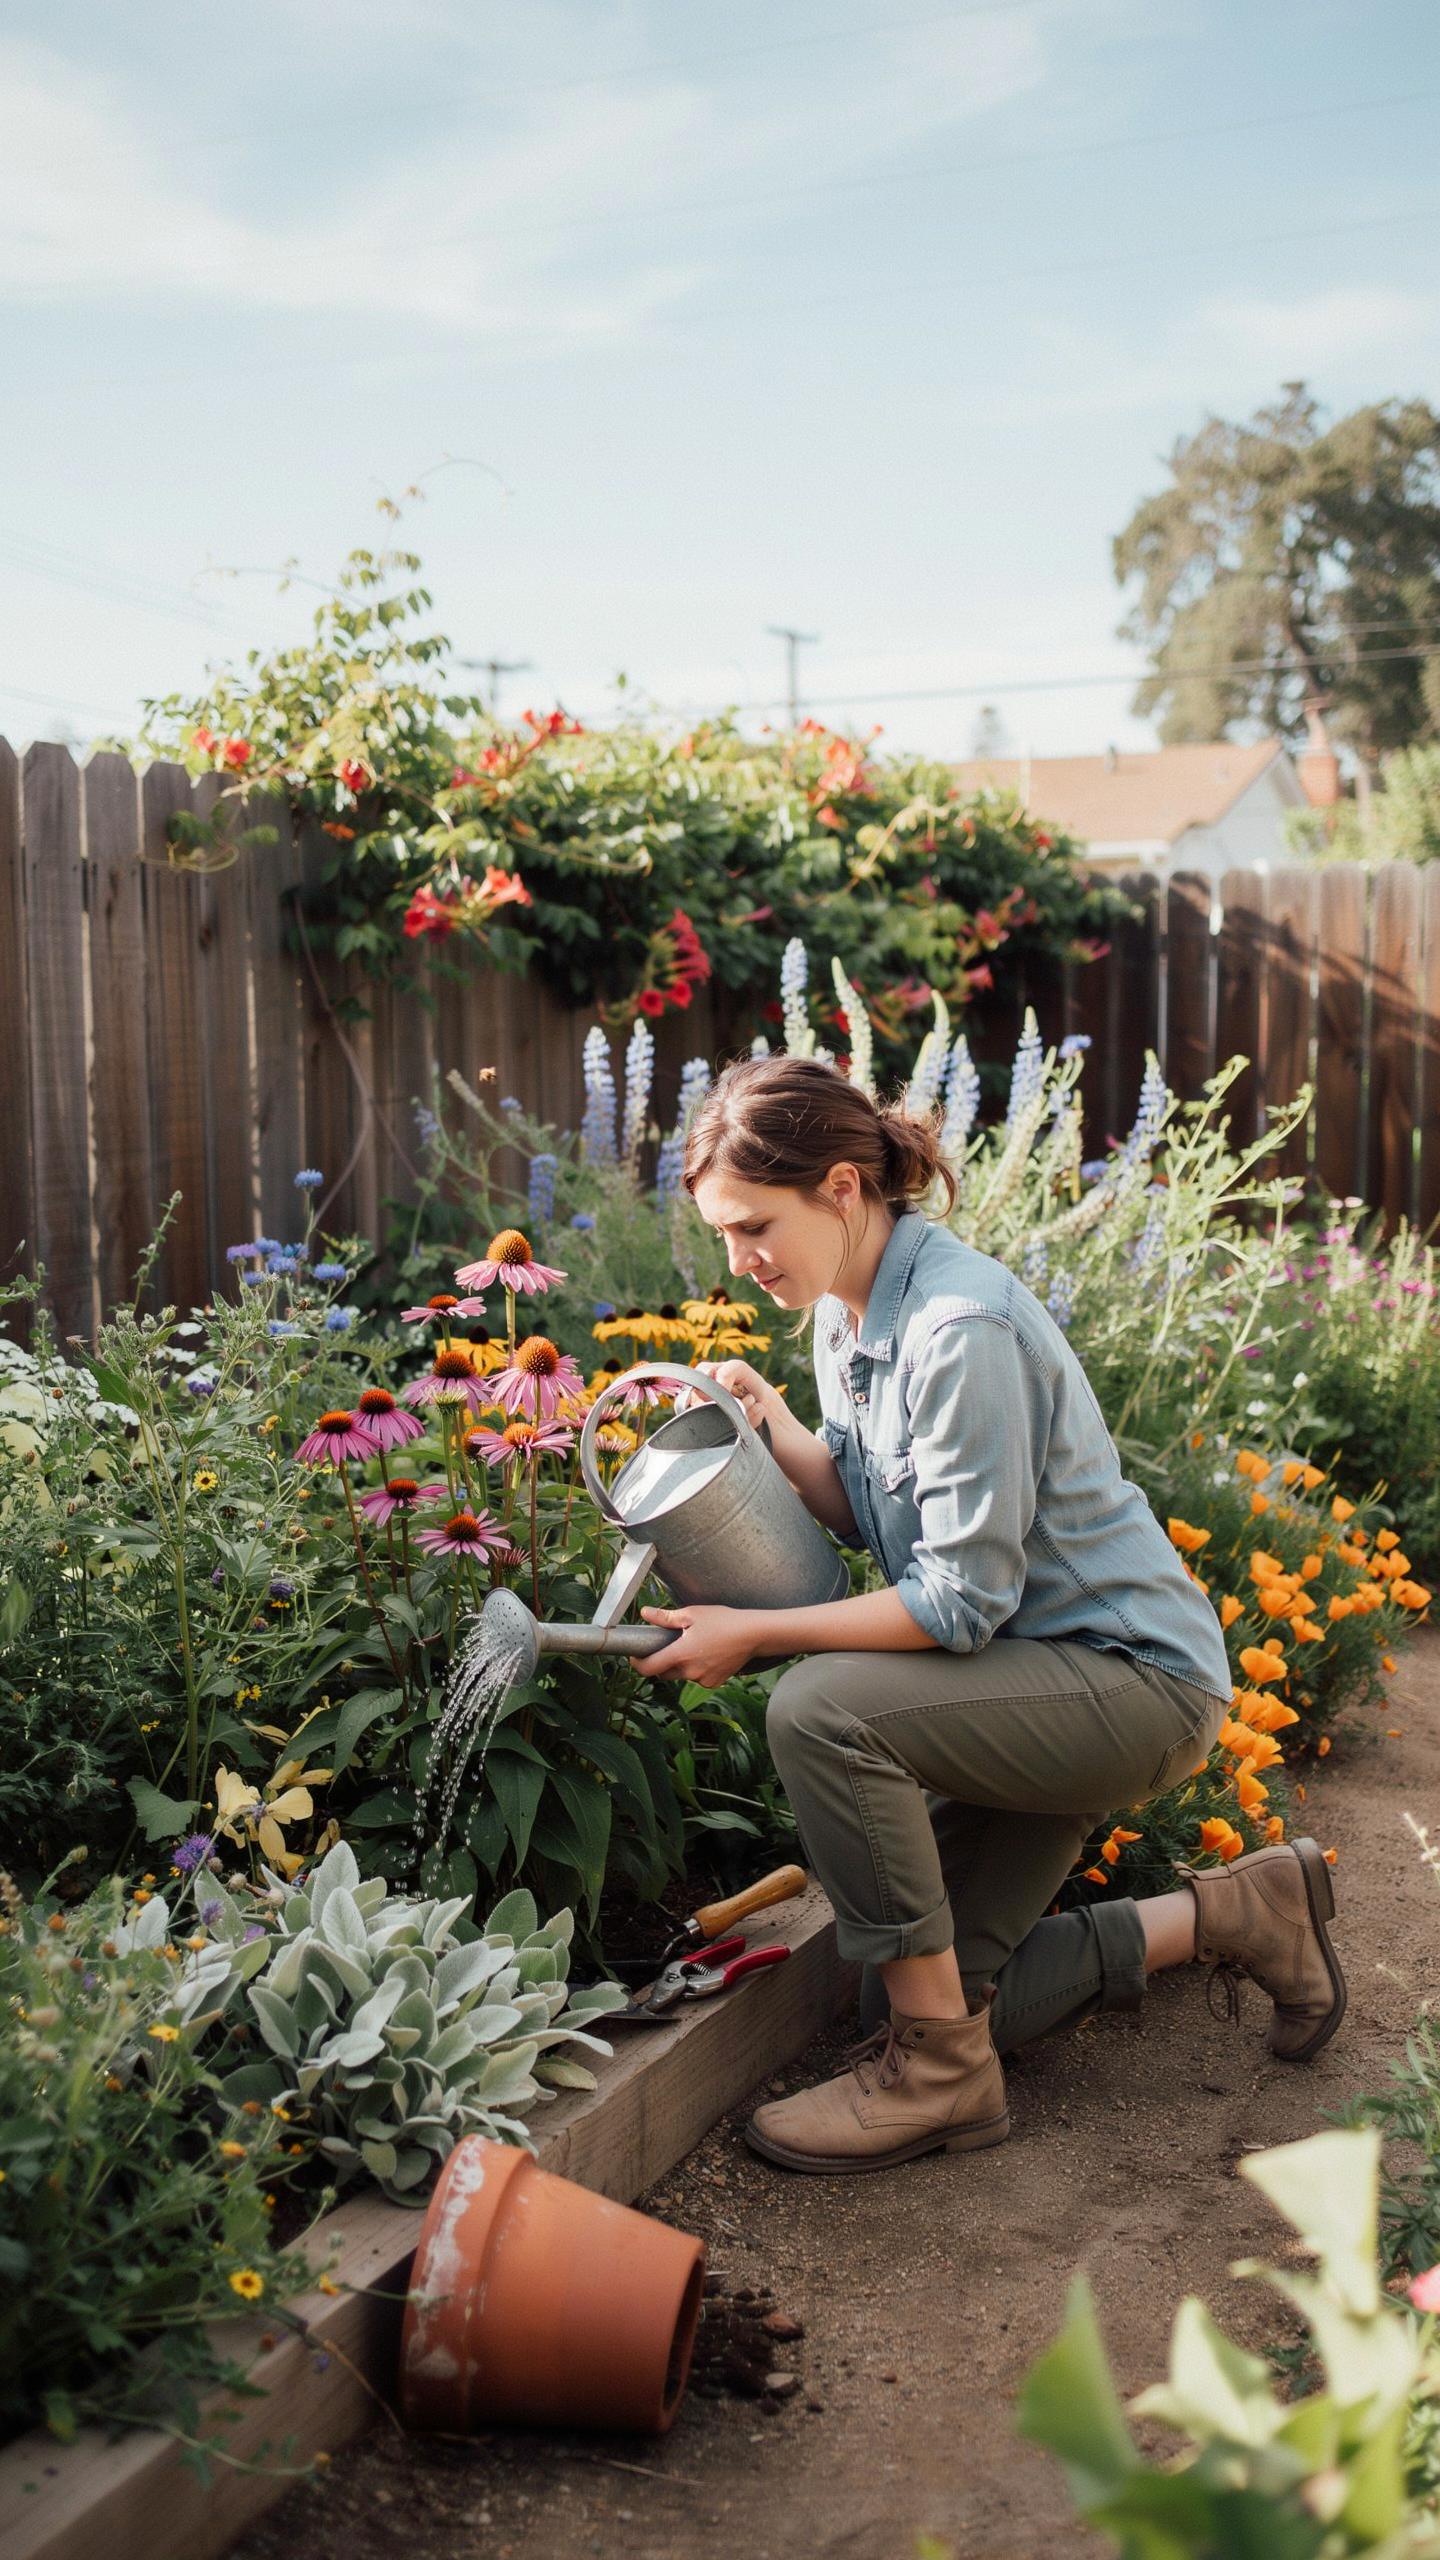
Native plants require minimal intervention, but strategic pruning keeps edges functional and defined. Prune after flowering ends to remove dead wood and encourage dense growth. This prevents plants from becoming leggy or sprawling into pathways. Timing matters. Cut back when the plant finishes blooming, not during active growth. Remove one-third of old stems at ground level rather than shearing the entire plant flat. This approach maintains natural form while controlling size.
Dense, compact plants hold their shape and define garden boundaries without constant work. Skip heavy pruning on young plants under two years old. Let them establish root systems first. For established edges, annual pruning after bloom cycles keeps them tight and walkable. Native plants evolved to handle regional weather, so light pruning aligns with their natural growth patterns. You work with the plant’s biology, not against it.
Mulching And Watering Strategies For Clean Edges
Organic mulch is your edging’s best asset for moisture retention and weed suppression. Apply three to four inches of bark or shredded leaf mulch around border plants. Keep mulch two inches away from plant stems to prevent rot. This layer reduces watering frequency by fifty percent while keeping soil temperature stable. Mulch also creates clean visual lines that define your garden edge.
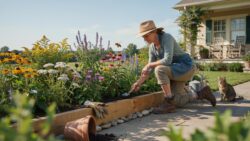
Place drip irrigation or soaker hoses under the mulch where they deliver water directly to roots. This keeps foliage dry and prevents fungal issues common in humid regions. Subsurface irrigation stays hidden, maintaining a polished garden appearance. Water native plants deeply but less frequently than ornamental borders. Most established natives need water every seven to ten days during dry spells. Check soil moisture before watering. Dry native plants are typically healthier than overwatered ones.
Frequently Asked Questions

What are the benefits of using native plants for my garden borders?
Choosing a native plant garden edging design offers a beautiful, low-maintenance way to define your outdoor space while supporting local biodiversity. Unlike exotic species, native flora is already adapted to your local climate and soil, requiring less water and fewer fertilizers. These borders create a cozy, natural aesthetic that blends seamlessly with the landscape, providing essential habitats for local pollinators like bees and butterflies throughout the changing seasons.
How do I create a clean edge for my native plant garden?
To achieve a professional native plant garden edging design, start by marking your desired curve with a garden hose. Use a sharp spade to cut a trench three inches deep, creating a physical barrier against encroaching grass. Fill the inner border with locally sourced stones or fallen logs to enhance the rustic, cozy feel. This structured perimeter keeps your indigenous perennials contained while allowing their soft, wild textures to shine beautifully.
Is it expensive to install a native plant garden border?
Enhancing your home with native greenery is surprisingly affordable because you can often source materials directly from your environment. Use salvaged timber, large river rocks, or even recycled bricks to create a charming boundary without spending much. Searching for local “plant swaps” or purchasing young “plugs” instead of mature shrubs further reduces costs, making a custom garden border an accessible DIY project for any homeowner on a budget.



