
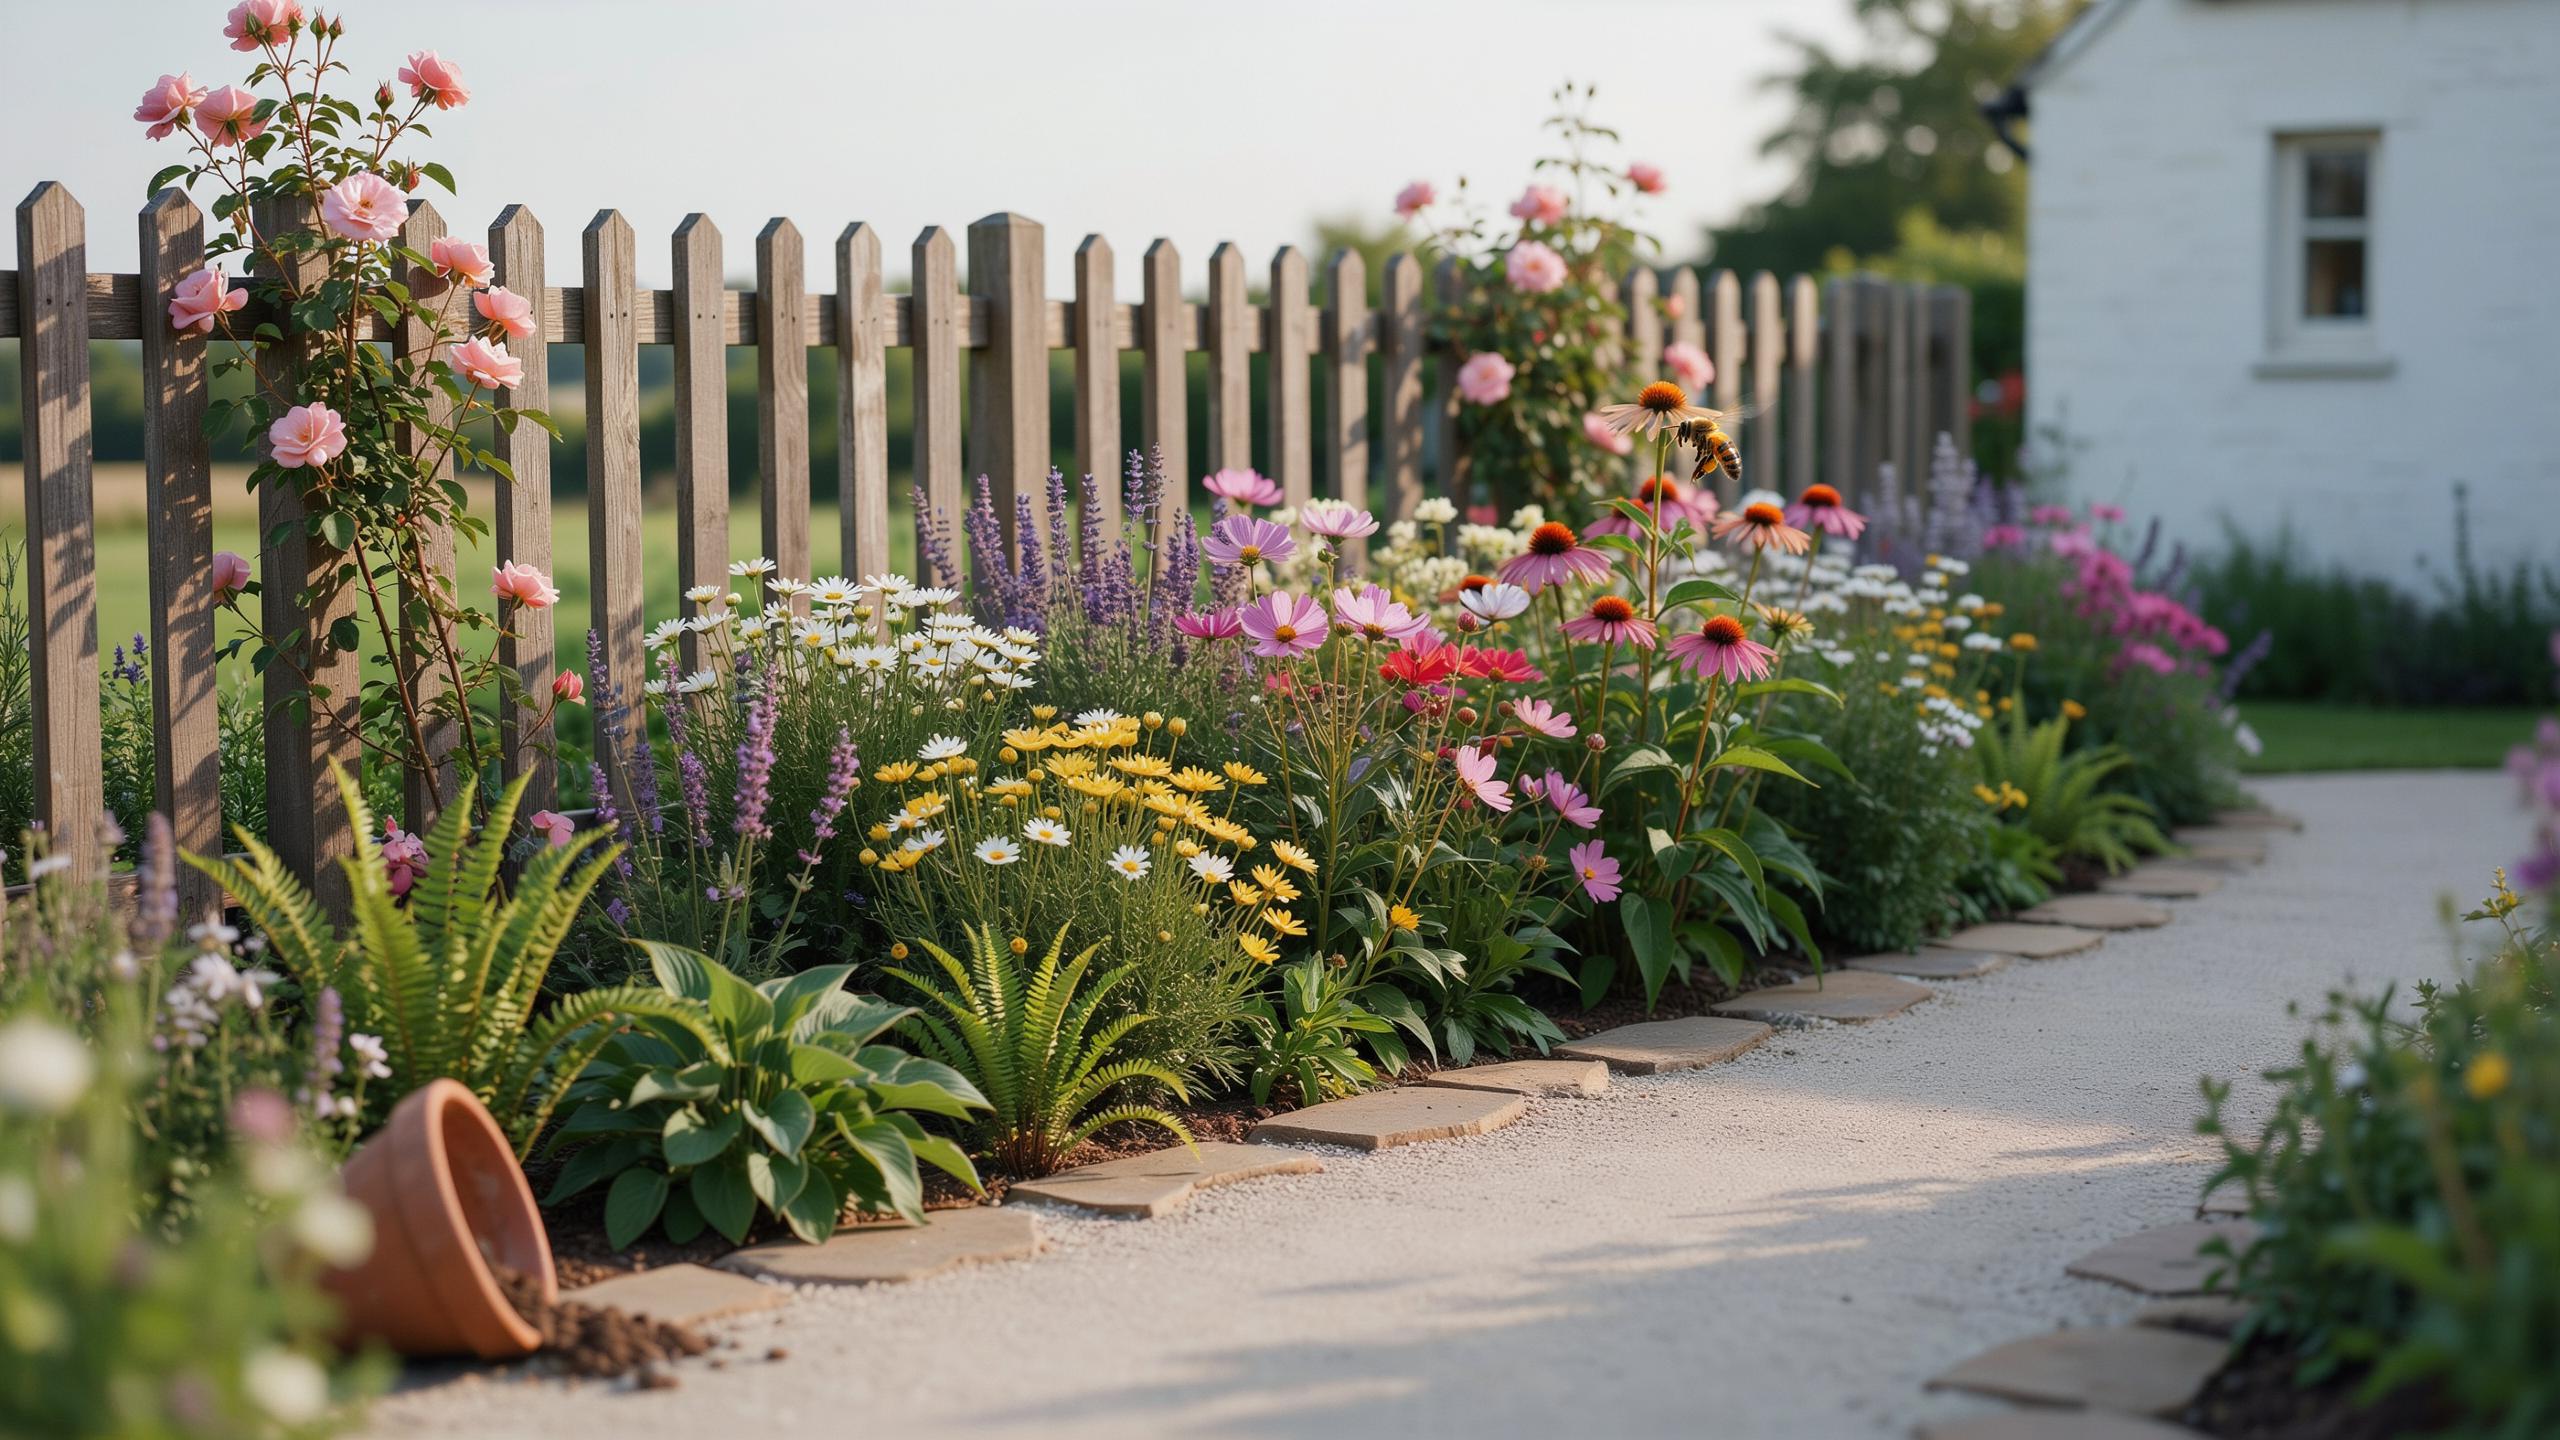
Understanding The Classic Cottage Garden Perennial Border Design
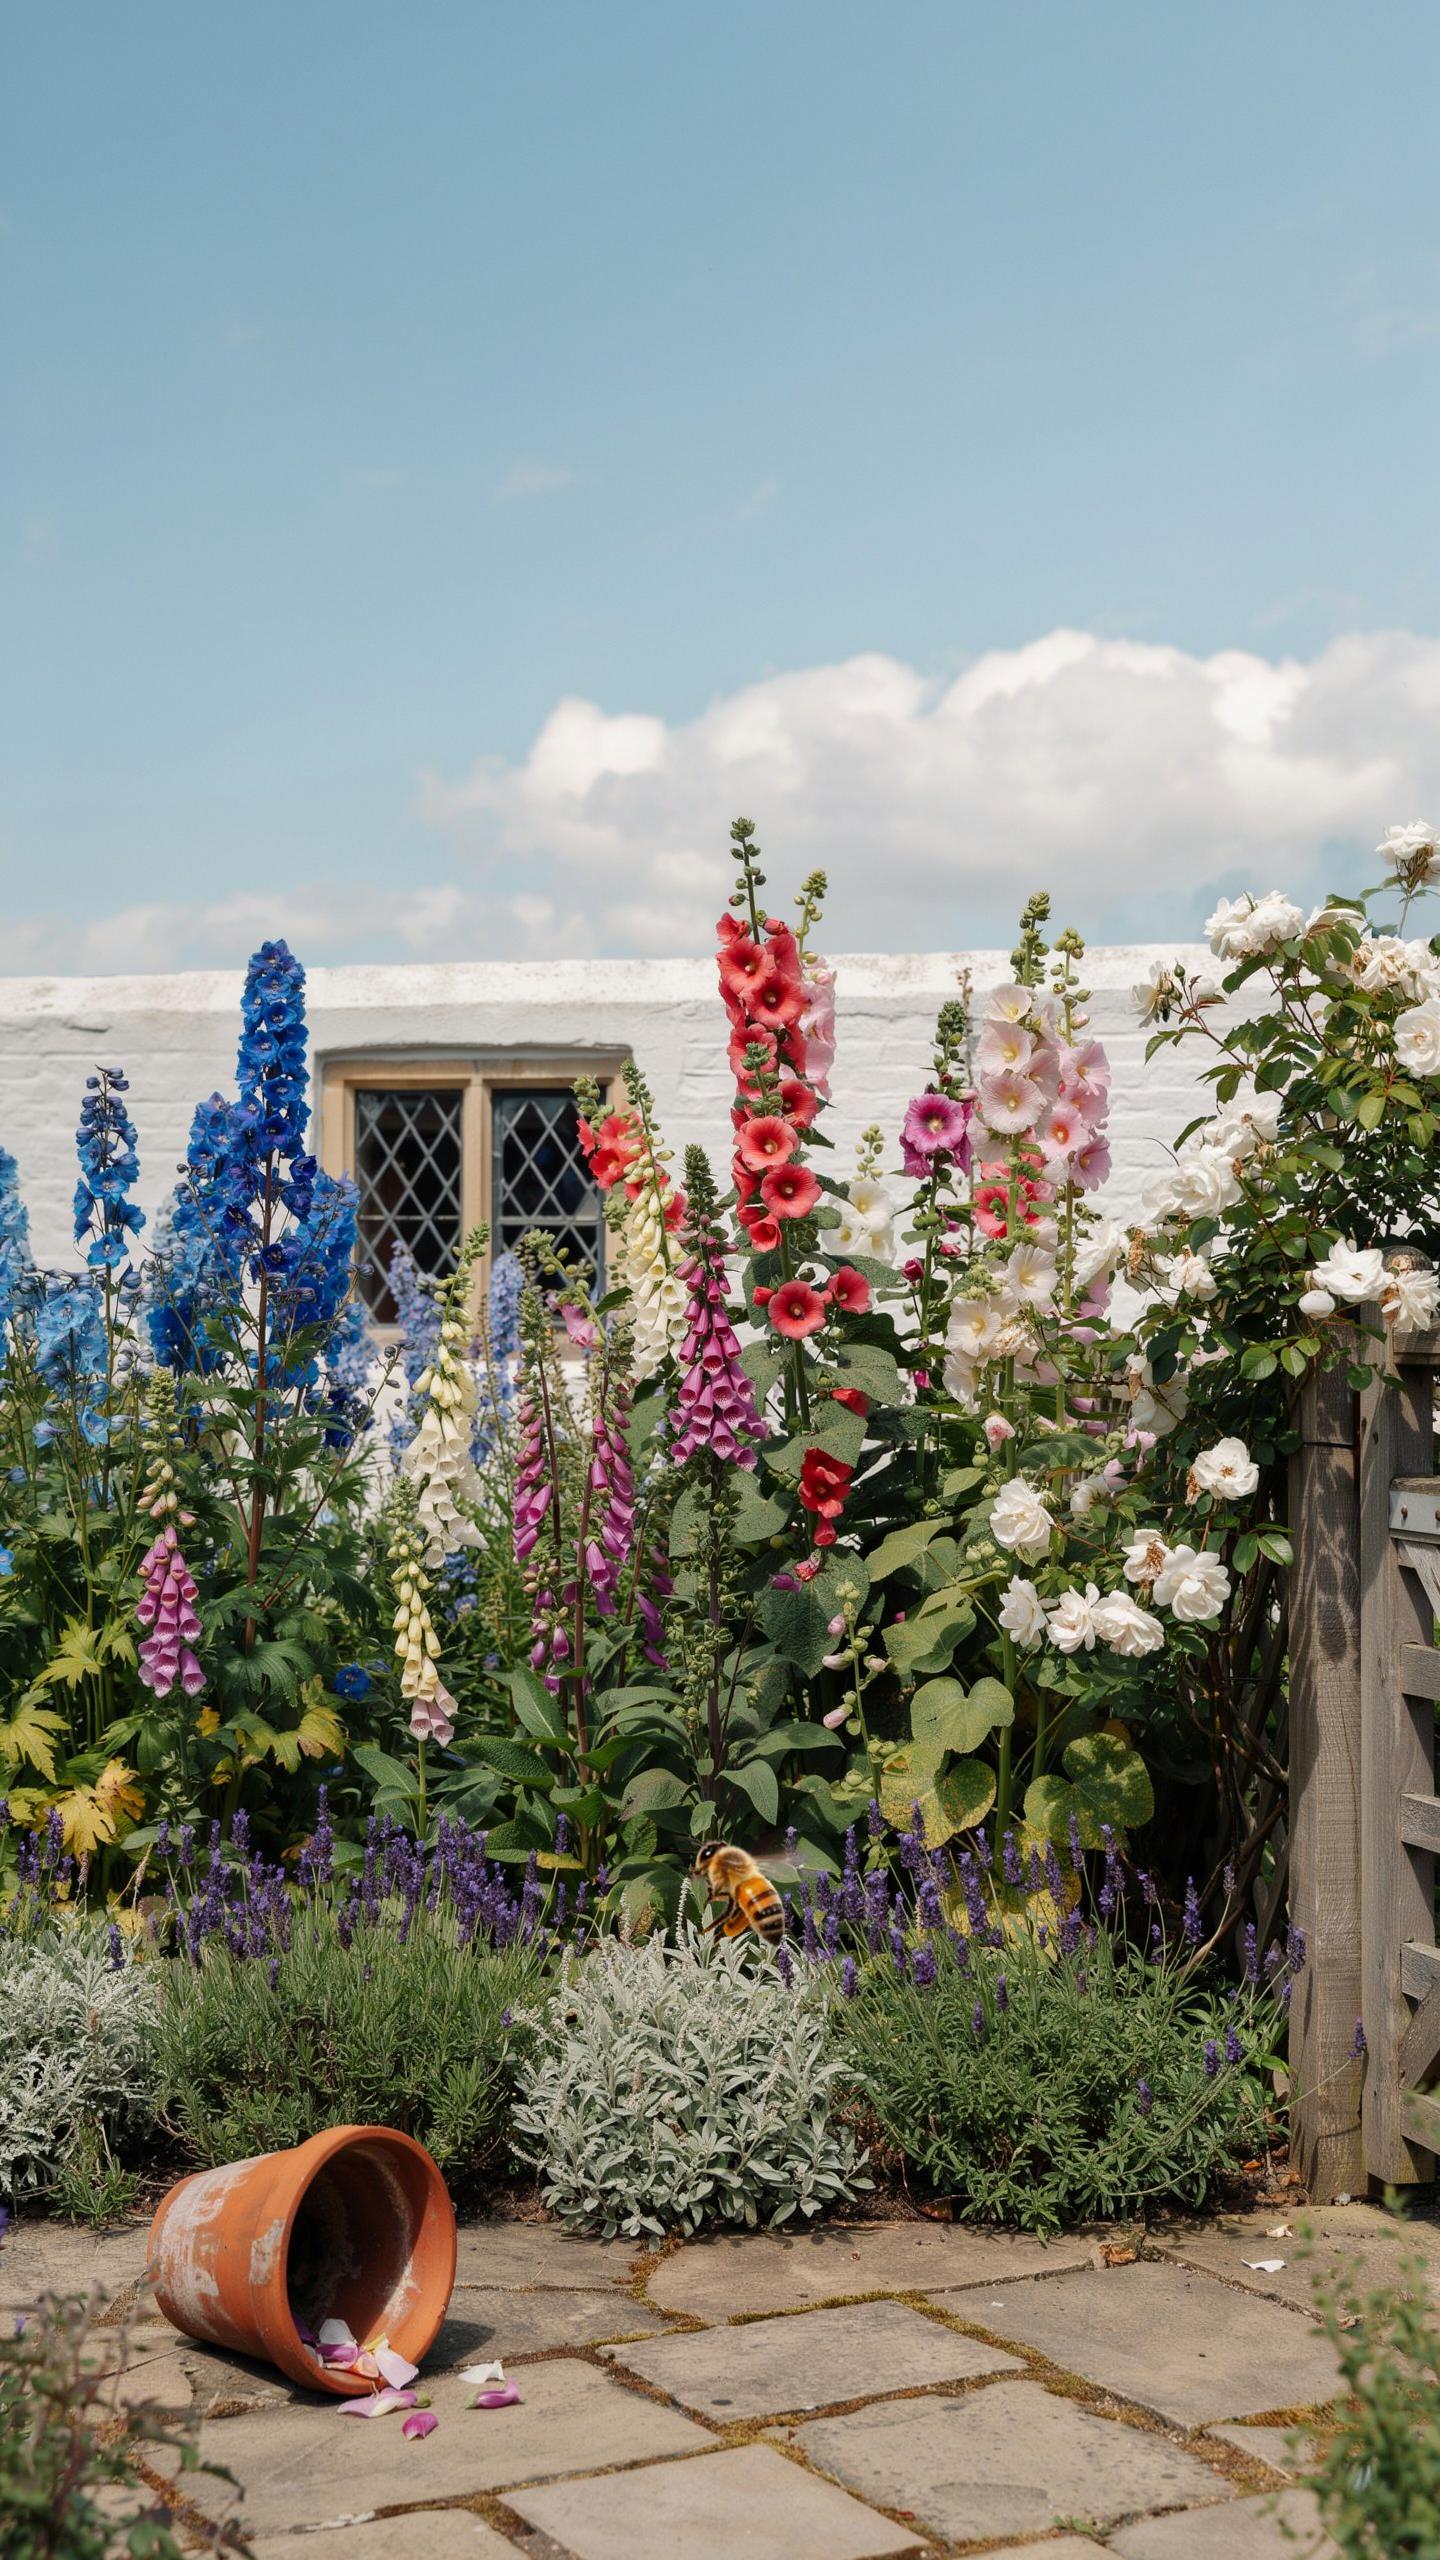
History Of Cottage Gardens
Cottage gardens originated in rural England during the medieval period as practical growing spaces near workers’ homes. These gardens served functional purposes, combining vegetables, herbs, and flowering plants for food, medicine, and basic income. Over time, particularly through the Victorian era, cottage gardens evolved from purely utilitarian spaces into ornamental designs that blended productivity with aesthetic appeal.
The Arts and Crafts movement of the late 1800s revived interest in cottage garden design as a reaction against industrial formality. Designers and horticulturists documented and celebrated the informal, densely planted style of traditional cottage borders. This movement established cottage gardens as a legitimate design philosophy rather than simply a byproduct of rural necessity or poverty.
Essential Elements Of Cottage Borders
Cottage garden perennial borders rely on dense planting patterns that maximize space and create visual continuity throughout seasons. Plants grow at varying heights, with tall specimens at the back graduating to shorter varieties in front. This layering prevents bare ground visibility and creates depth. Gardeners mix perennials with self-seeding annuals and biennials to maintain fullness and allow natural plant succession.
The style deliberately avoids rigid geometric layouts and formal spacing requirements. Plants overlap, intertwine, and occasionally crowd each other deliberately. This approach reduces maintenance through natural competition that suppresses weeds. Cottage borders prioritize texture, color variation, and extended bloom periods over specimen display, using combinations of foliage plants, flowering perennials, and structural elements to sustain interest across multiple seasons.
Selecting The Best Cottage Garden Plants For Continuous Bloom
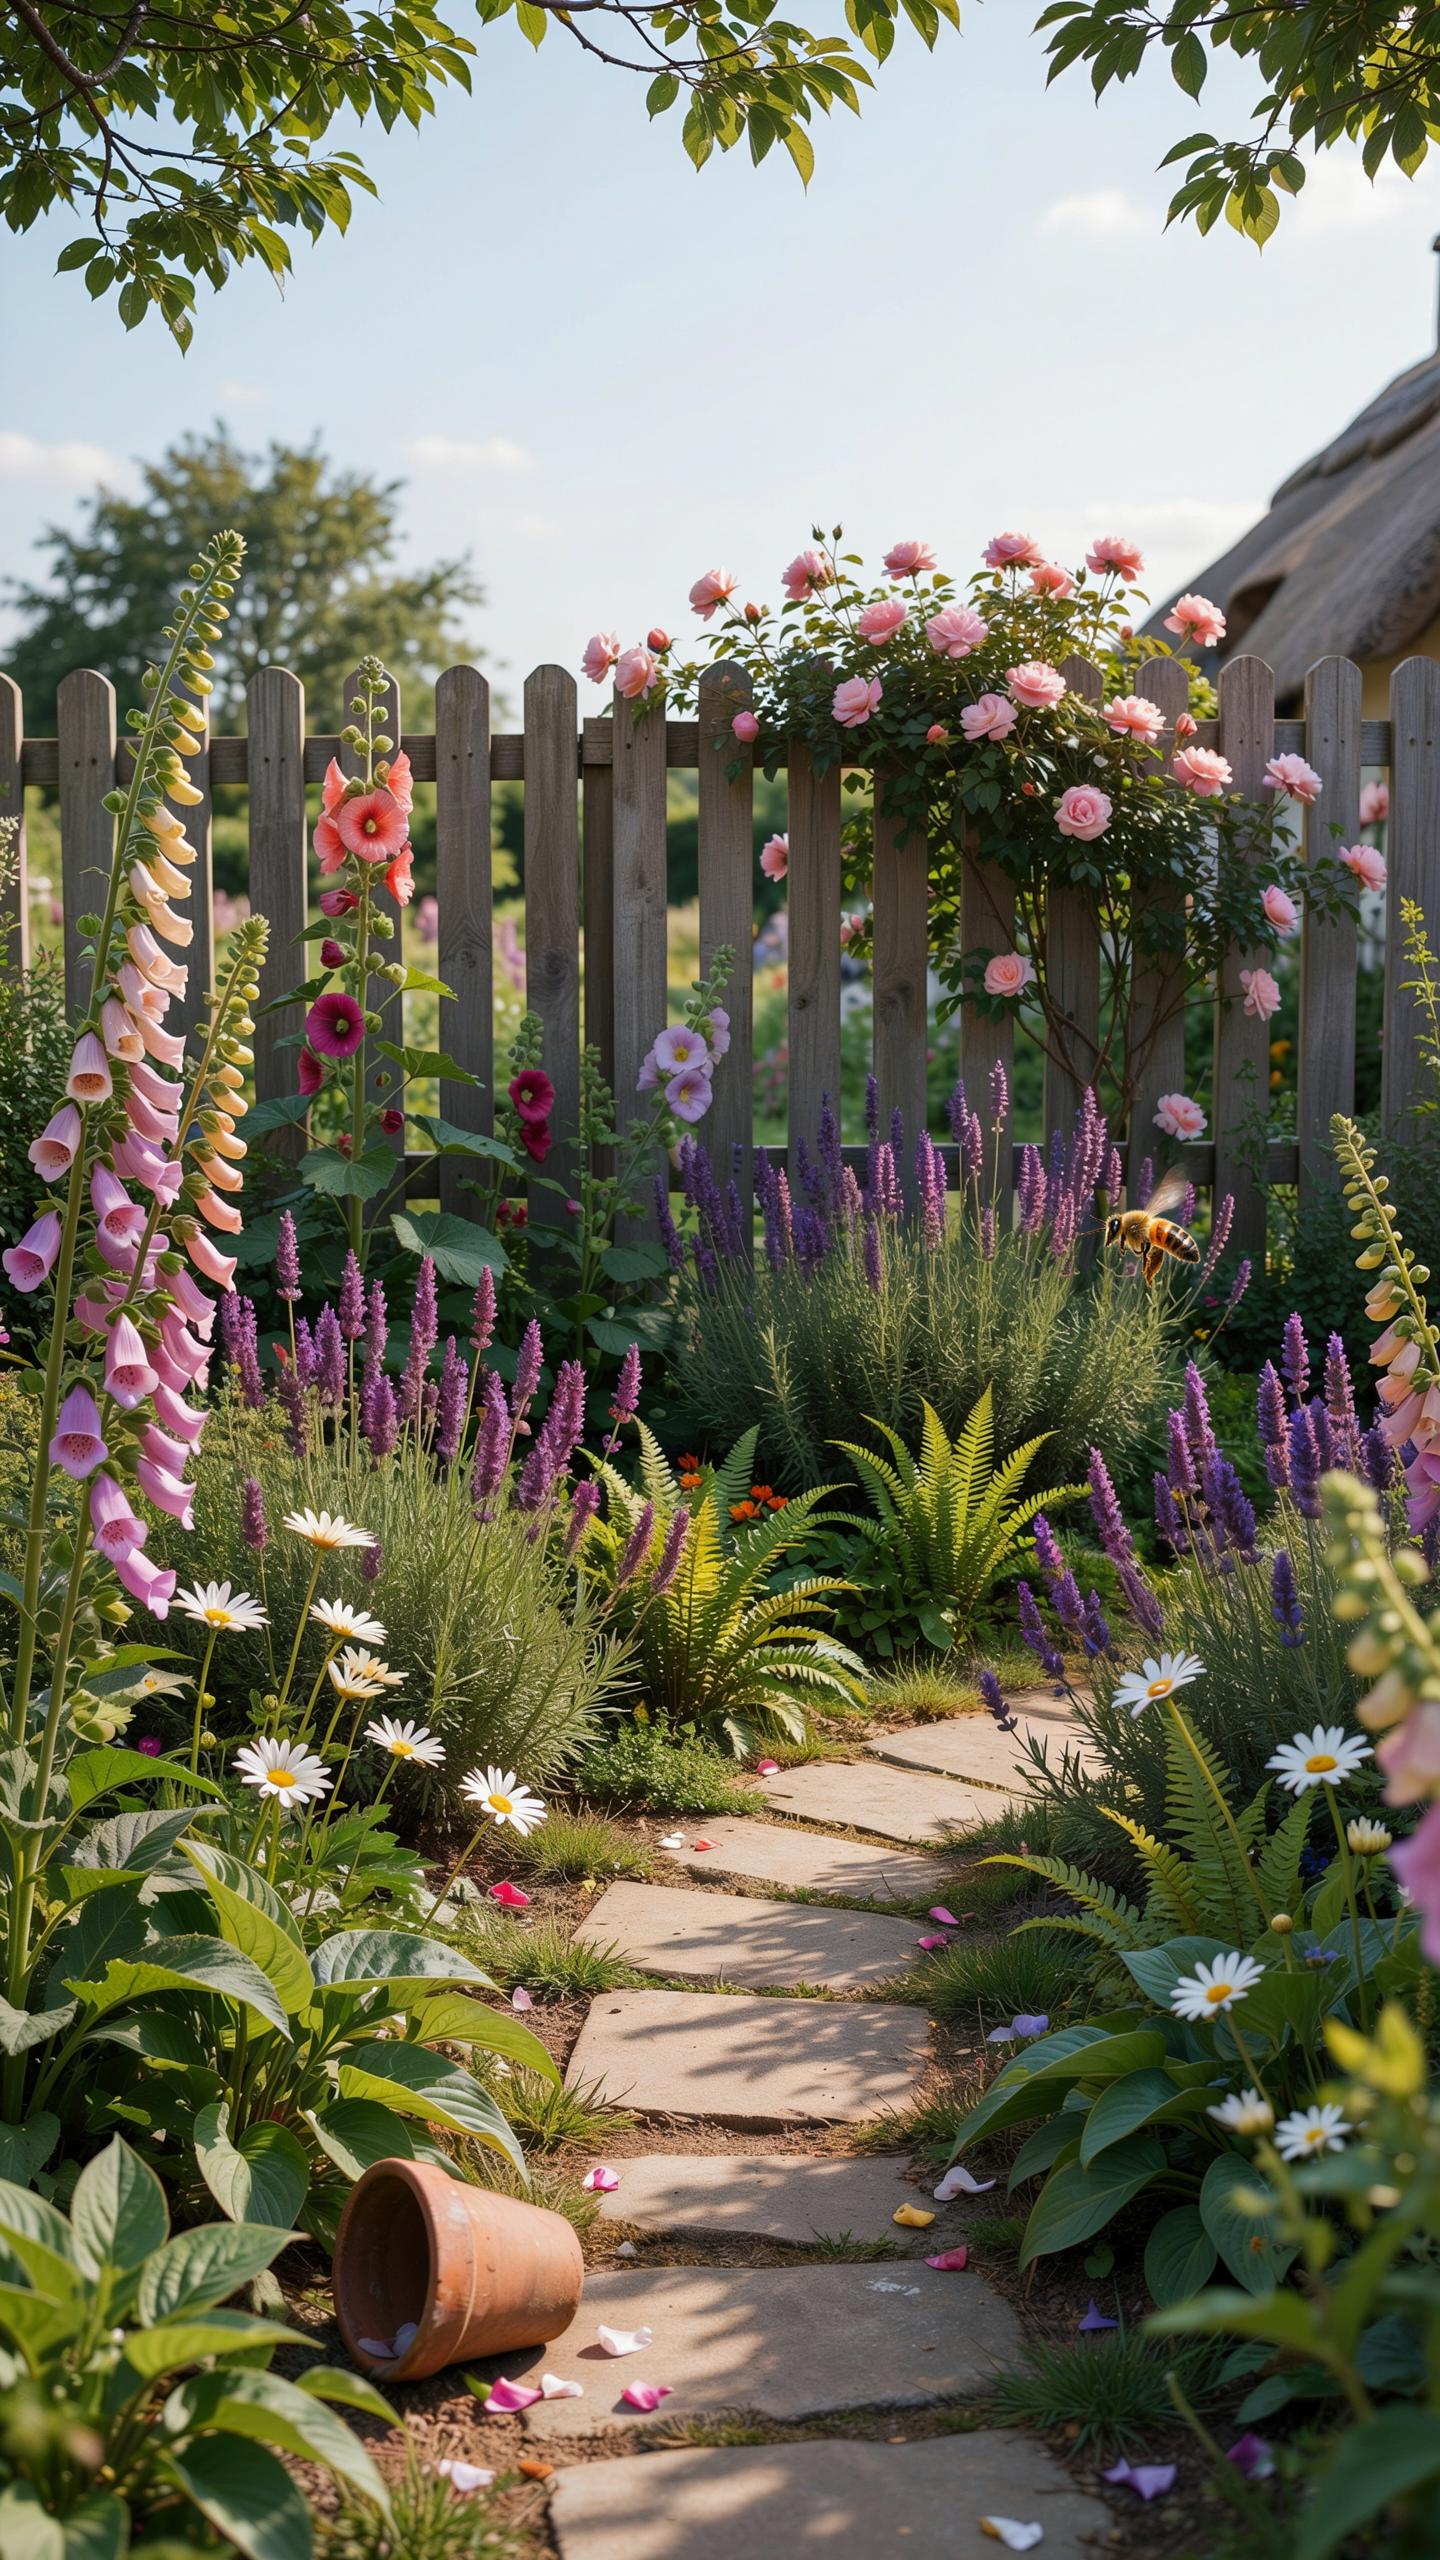
Top Performing Perennial Varieties
Delphiniums, Phlox, and hardy Geraniums form the backbone of reliable cottage borders. These species tolerate crowded spacing, handle partial shade, and produce consistent blooms across multiple seasons. They integrate easily with companion plants and require minimal intervention once established. Focus your plant selection on proven performers that deliver results without fussy requirements.
- Delphiniums: Tall spire flowers reaching 3 to 6 feet. Blue and purple varieties dominate, though white and pink exist. They need staking in windy locations. Bloom mid to late summer. Deadheading extends flowering periods significantly.
- Phlox: Dense flower clusters in pink, purple, white, and bicolor forms. Reach 2 to 4 feet depending on variety. Bloom from midsummer into fall. Space adequately for air circulation to prevent mildew. Fragrant varieties add sensory value.
- Hardy Geraniums: Low-growing groundcovers reaching 12 to 24 inches. Blue, pink, and purple flowers appear continuously from spring through summer. Tolerate shade better than many perennials. Self-seed readily without becoming invasive in organized borders.
- Rudbeckia: Golden-yellow flowers with dark centers. Bloom July through October reliably. Reach 2 to 3 feet tall. Extremely drought tolerant once established. Cut or deadhead to promote secondary flowering.
- Salvia: Vertical spikes in purple, blue, pink, and red. Heights range from 18 inches to 4 feet by variety. Long bloom windows from June through frost. Attract pollinators consistently. Require well-drained soil to prevent root rot.
These five plants serve as anchors in perennial borders. Plant them in groups of three or five for visual impact. They fill space quickly and suppress weeds through dense foliage coverage. Mass planting simplifies maintenance and creates the layered fullness cottage gardens require.
Layering By Bloom Times
Start planning with early spring bloomers like Hellebores and Bleeding Heart to establish visual interest before summer intensifies. Move into late spring with Alliums and Catmint, which bridge the gap toward peak summer activity. This sequencing prevents gaps where the border looks sparse or unfinished during transition months.

Mid to late summer requires the heaviest hitters: Delphiniums, Phlox, and Rudbeckia carry the border through peak heat and potential drought stress. Layer in fall bloomers like Asters and Sedum during late August and September to catch the declining daylight when many gardens fade. Extend visual interest into November with ornamental grasses and dried seed heads that persist through early winter months. This approach eliminates dead periods and maintains viewer engagement throughout the growing season.
Designing Your Dream Garden Layout For Ultimate Visual Appeal
Defining Visual Focal Points
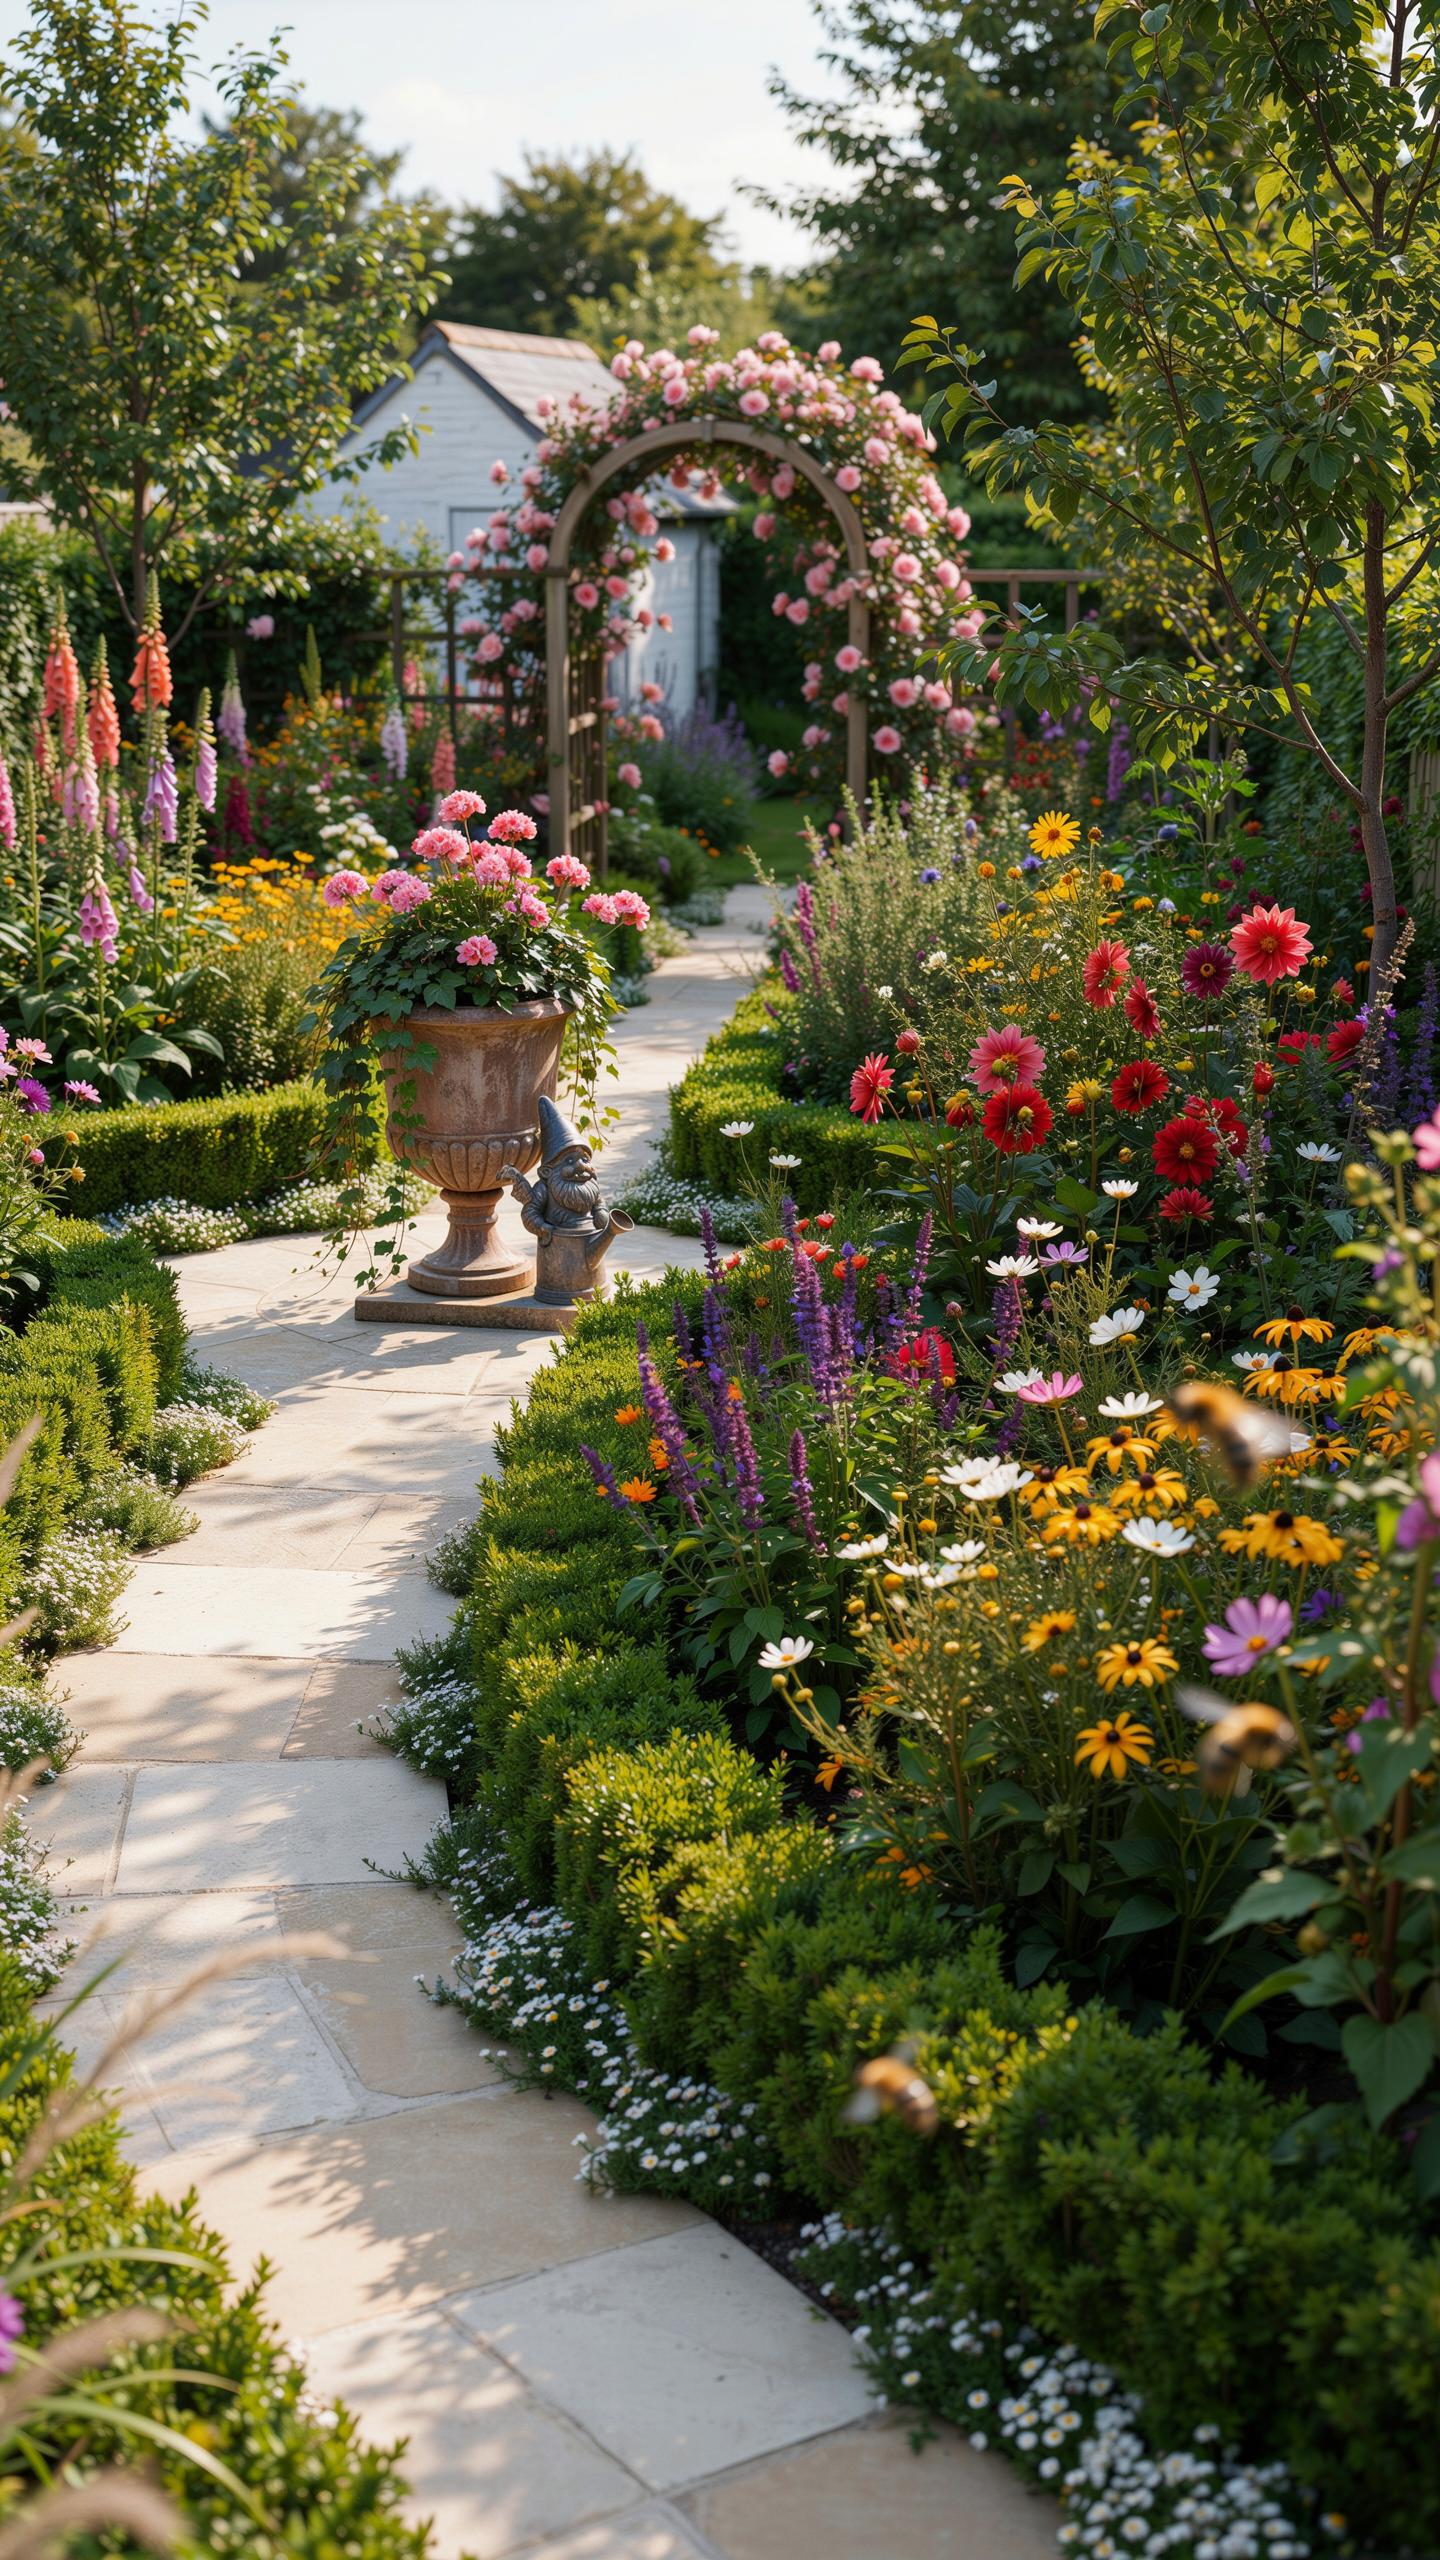
Taller perennials serve as anchors in your border. Place them strategically to stop the eye and create structure. Delphiniums, Russian sage, and Joe-Pye weed reach four to six feet and command attention. Position these specimens toward the back or middle of the bed, depending on viewing angle. This prevents shorter plants from disappearing behind them. The goal is directing sight lines, not blocking views.
Architectural plants with bold forms strengthen focal points. Sedums, ornamental grasses, and plants with distinctive foliage like hostas create visual weight without requiring flowers. Space focal points roughly three to five feet apart to maintain rhythm across the border. Overcrowding them dilutes their impact. Each focal point needs breathing room to function as an actual stopping point for the eye, not just another plant.
Blending Colors And Textures
Complementary color palettes work because they sit opposite each other on the color wheel. Purple with yellow, blue with orange, and red with green create visual tension that reads as intentional rather than chaotic. Cottage gardens historically mixed colors freely, but restraint produces polish. Choose two to three colors as your dominant scheme, then use a single accent color sparingly. This approach prevents visual noise while maintaining the abundant feel cottage gardens require.
Texture contrast prevents a flat, monotonous appearance. Combine fine, feathery foliage like achillea or fennel with broad-leaved plants such as coral bells or heuchera. Spiky forms from daylilies and catmint break up rounded shapes from coreopsis and coneflowers. Layer textures throughout the depth of the border so viewers see variety from every angle. Mixing leaf sizes and plant forms keeps the eye moving through the space rather than settling on a single area.
Step By Step English Cottage Garden Design Layout And Space Planning
Mapping The Border Depth
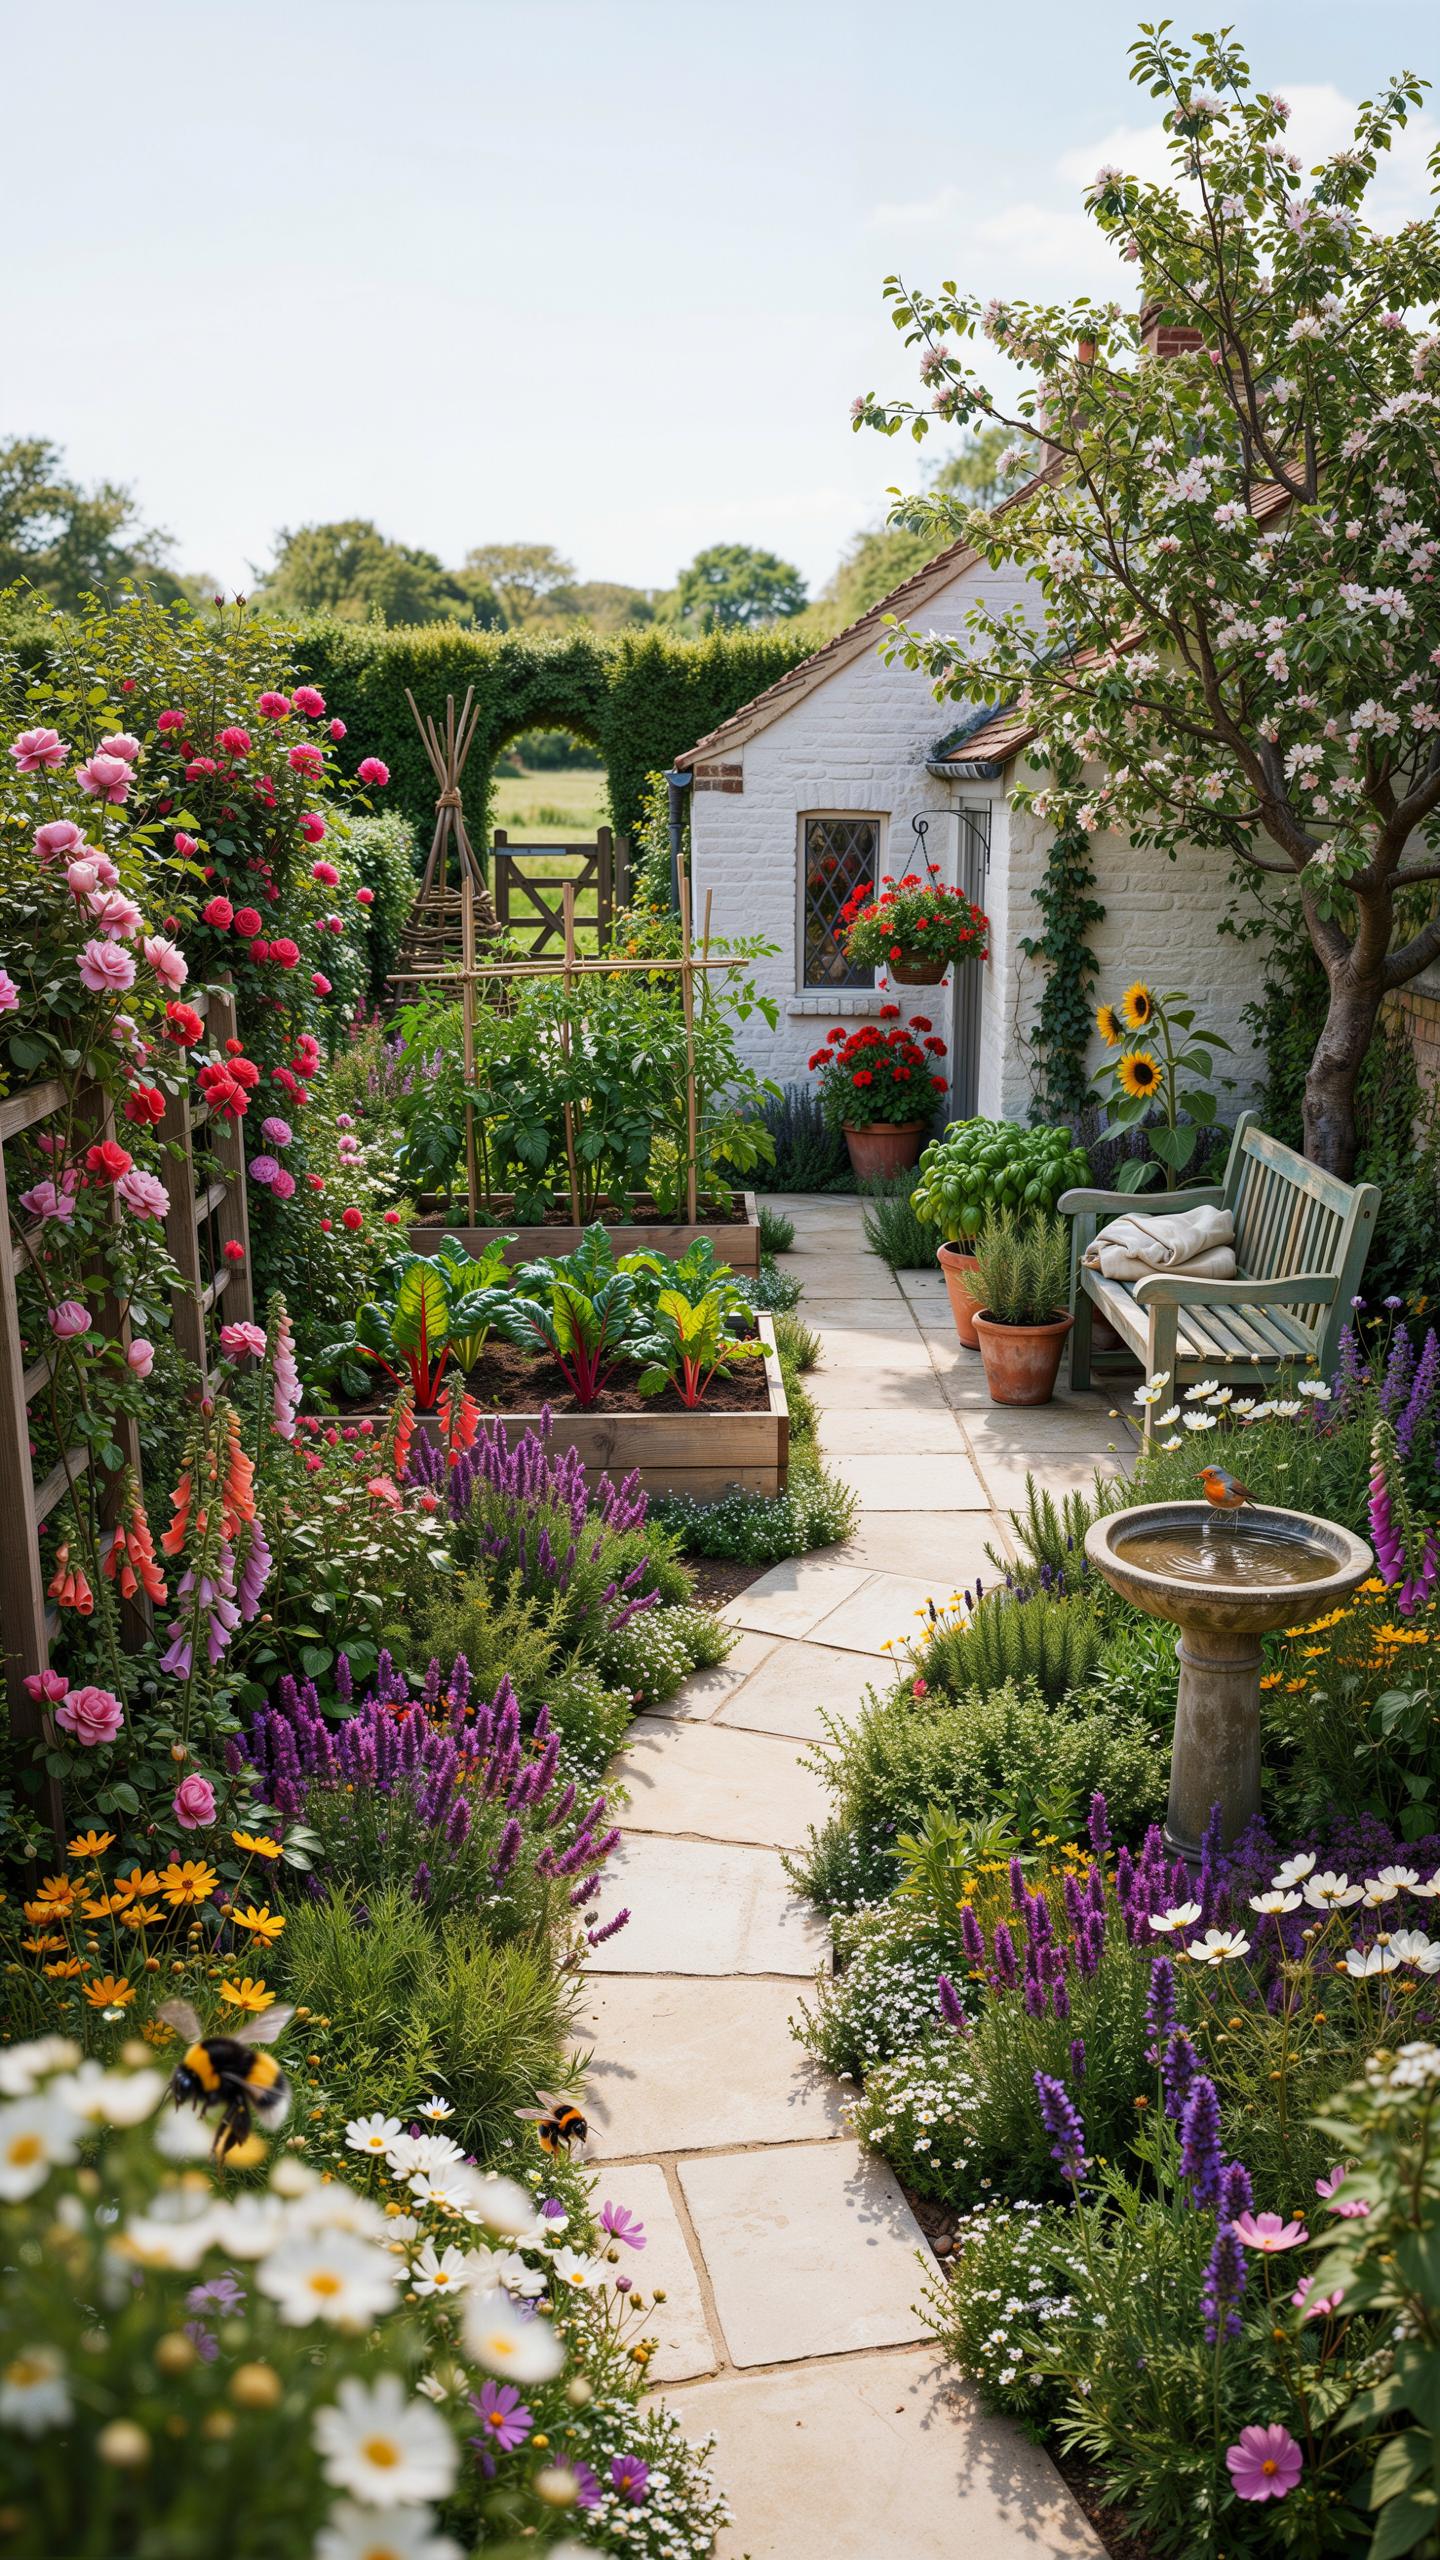
Border depth determines plant visibility and access for maintenance. Most cottage garden borders function effectively at 4 to 6 feet deep. This depth accommodates three planting zones: tall plants at the back, medium plants in the middle, and low-growing specimens at the front edge. Measure from your garden’s backdrop to the lawn or path.
Shallow borders under 3 feet restrict plant variety and create cramped displays. Deep borders over 8 feet become difficult to reach for deadheading and weeding. Account for the mature spread of your tallest plants when setting depth. Leave at least 12 inches behind the tallest plants for air circulation and wall access.
Incorporating Hardscape Elements
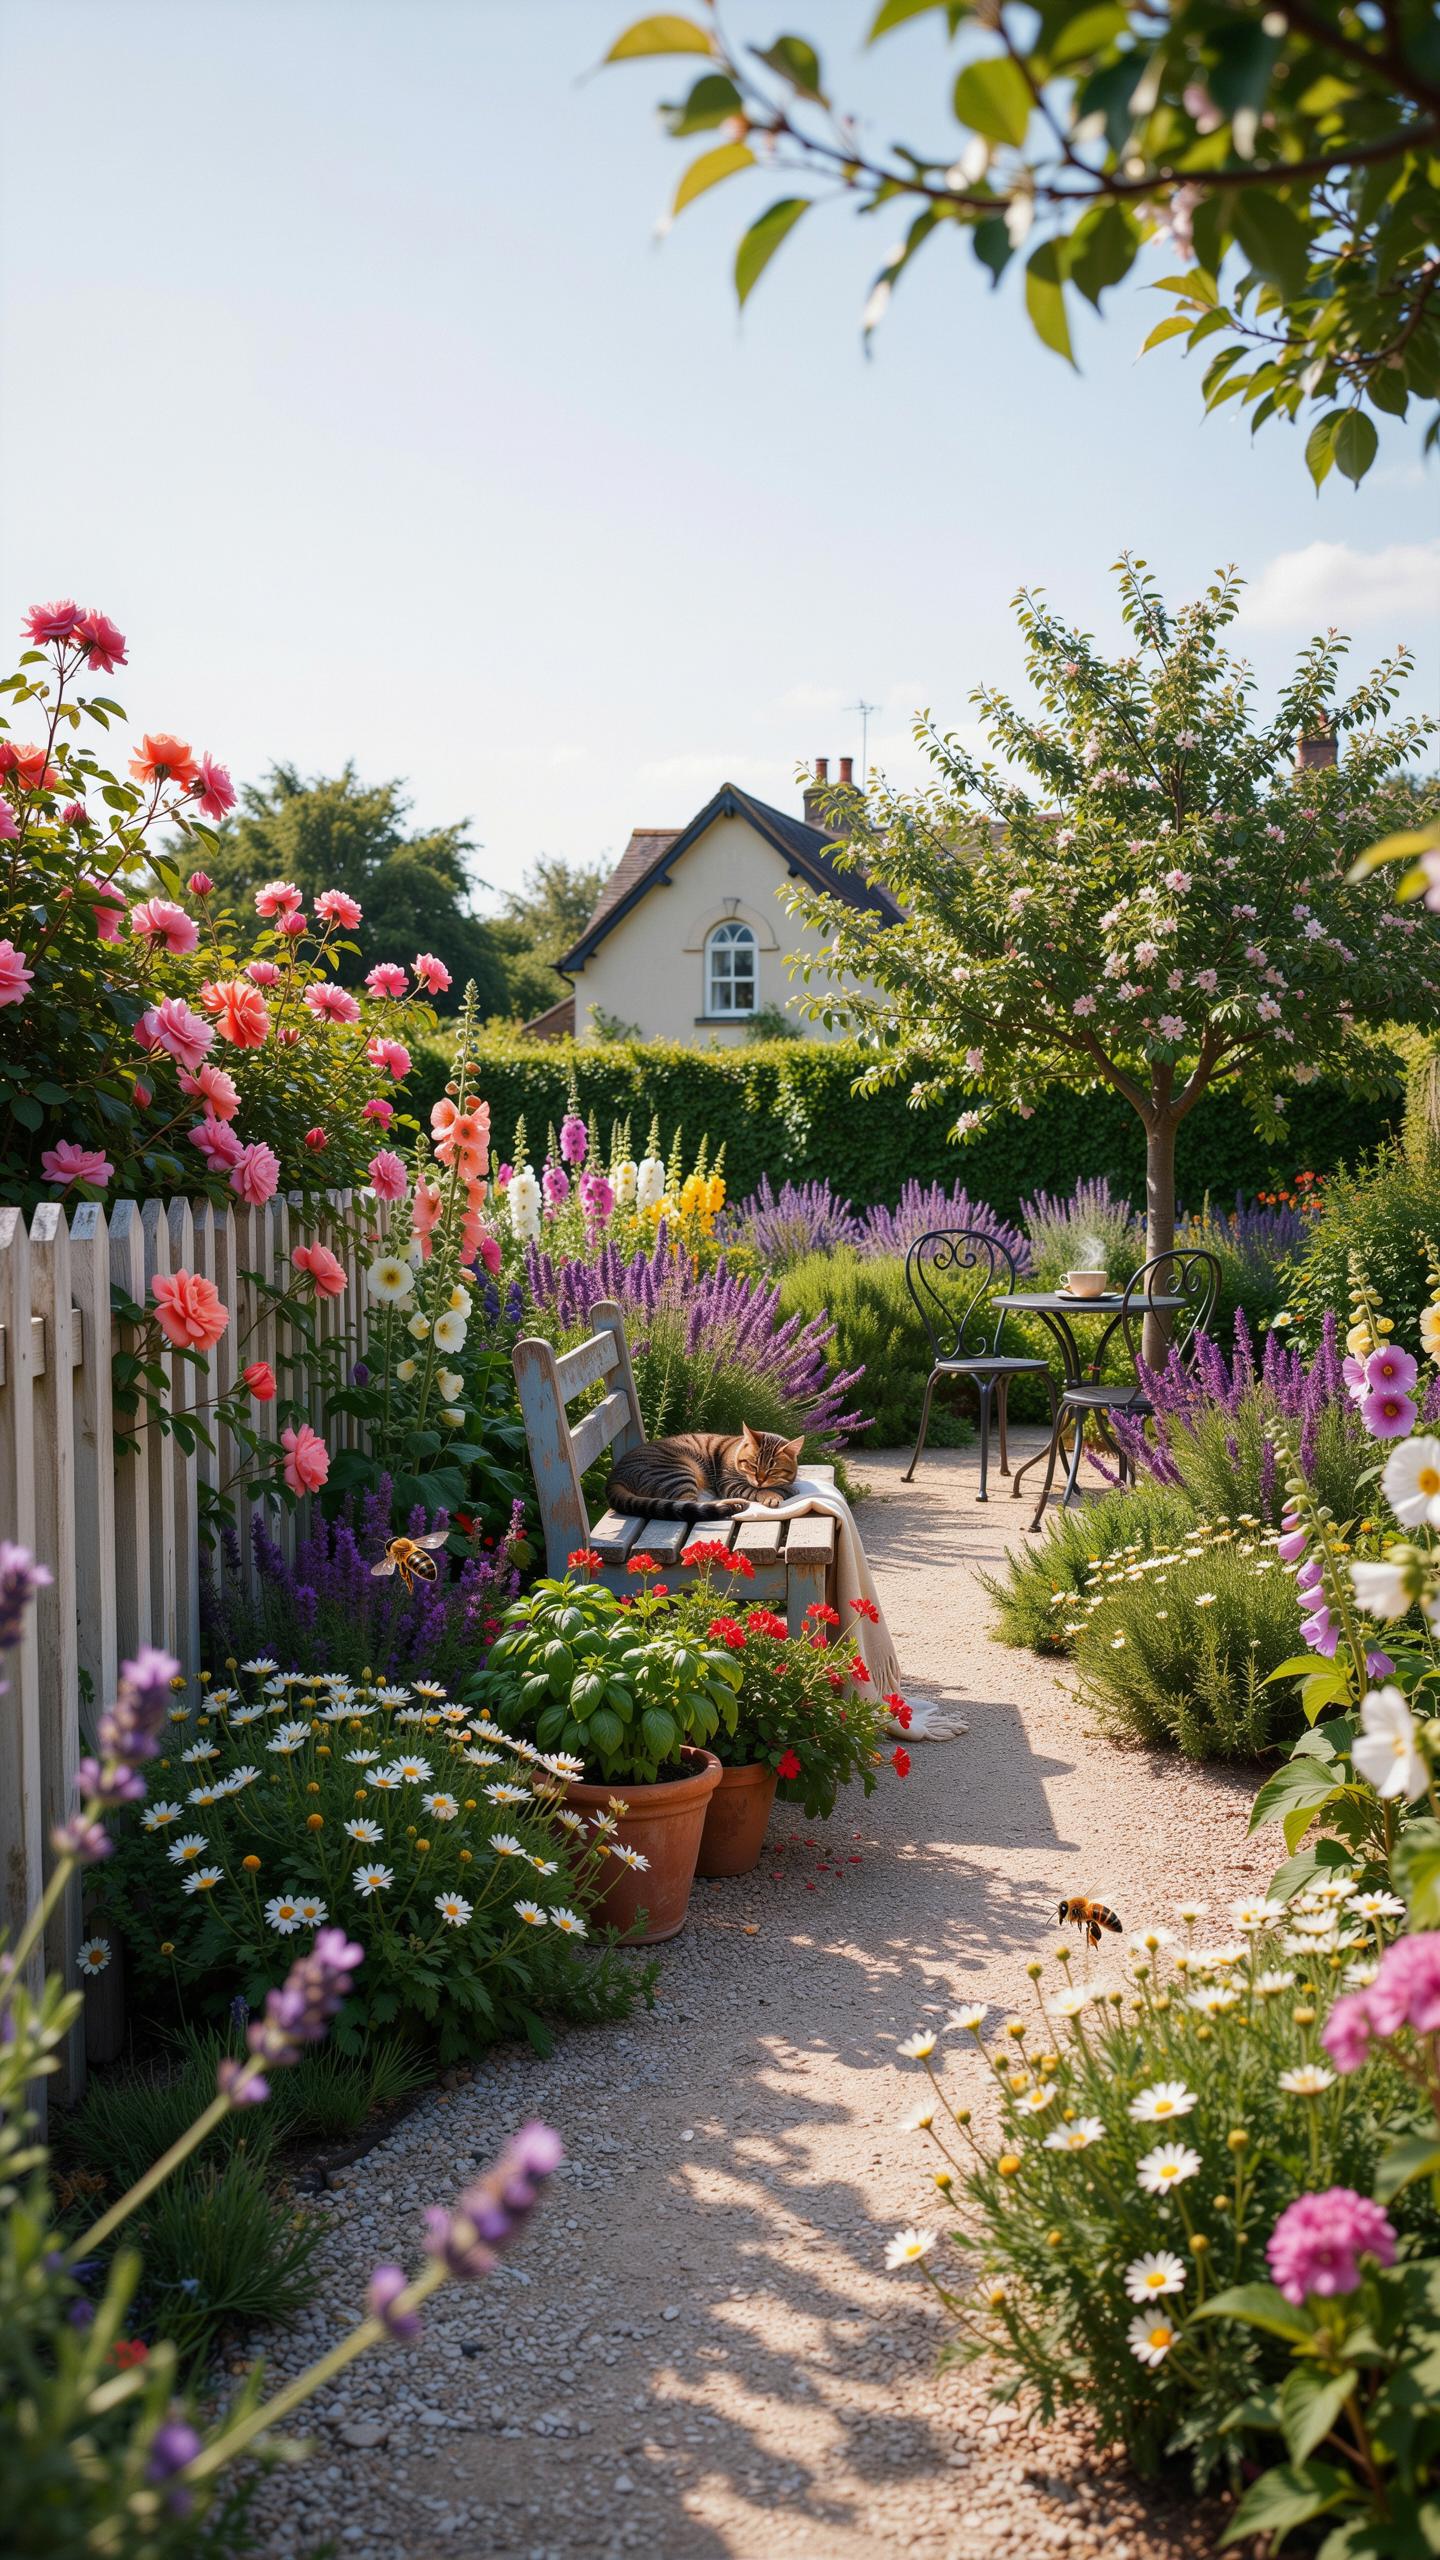
Stone and wooden structures create the framework that perennials fill. Traditional English cottage gardens use gravel or stone paths to define borders and provide walking routes. Paths reduce soil compaction and establish clear garden zones. Set path width at 2 to 3 feet minimum for comfortable passage and maintenance equipment access.

Wooden arbors and rustic fencing anchor the garden’s bones and support climbing plants. Arbors positioned at border intersections create focal points where perennials draw the eye. Fence lines should run perpendicular or parallel to main viewing angles from your house. Position hardscape elements before planting to avoid displacing established perennials later.
Implementing Cottage Garden Plans Layout For Small And Large Spaces
Scaling Designs For Cozy Yards And Patios
Tight urban spaces demand vertical thinking and careful plant selection. Choose perennials that won’t exceed your available width. Stack plants by height to create depth without eating square footage. Use narrow cultivars of established cottage plants like Delphinium ‘Dwarf’ varieties or compact Phlox. Three to four layers deep works in confined areas versus six or more in expansive borders.
Container integration becomes essential in small courtyards. Plant perennials in pots positioned strategically between in-ground specimens. This approach adds texture and allows seasonal swaps without disrupting permanent plantings. Narrow side yards benefit from linear arrangements where single-file plant rows run parallel to structures. Drifts of three to five plants work better than single specimens in cramped conditions.
The glory of gardening: hands in the dirt, head in the sun, heart with nature. To nurture a garden is to feed not just the body, but the soul.
Maximizing Expansive Estate Borders
Large properties allow sweeping curves and deep planting zones that smaller spaces cannot accommodate. Plan borders at least four to six feet deep to showcase cottage garden’s authentic abundance and layering. Create sight lines by positioning tall perennials like Delphiniums and Hollyhocks toward the rear of borders. Allow plants to obscure and reveal sections as viewers move along pathways, building visual interest through the entire property.

Repetition across expansive grounds ties disparate areas together visually. Space drifts of the same perennial variety twenty to thirty feet apart when room permits. This creates rhythm without monotony. Large borders sustain mixed plantings of thirty to forty cultivars, preventing the sparse appearance that plague oversized spaces. Stagger bloom times across seasons so borders maintain color and structure from spring through frost.
Transforming Your Front Yard Garden With A Polished Perennial Border
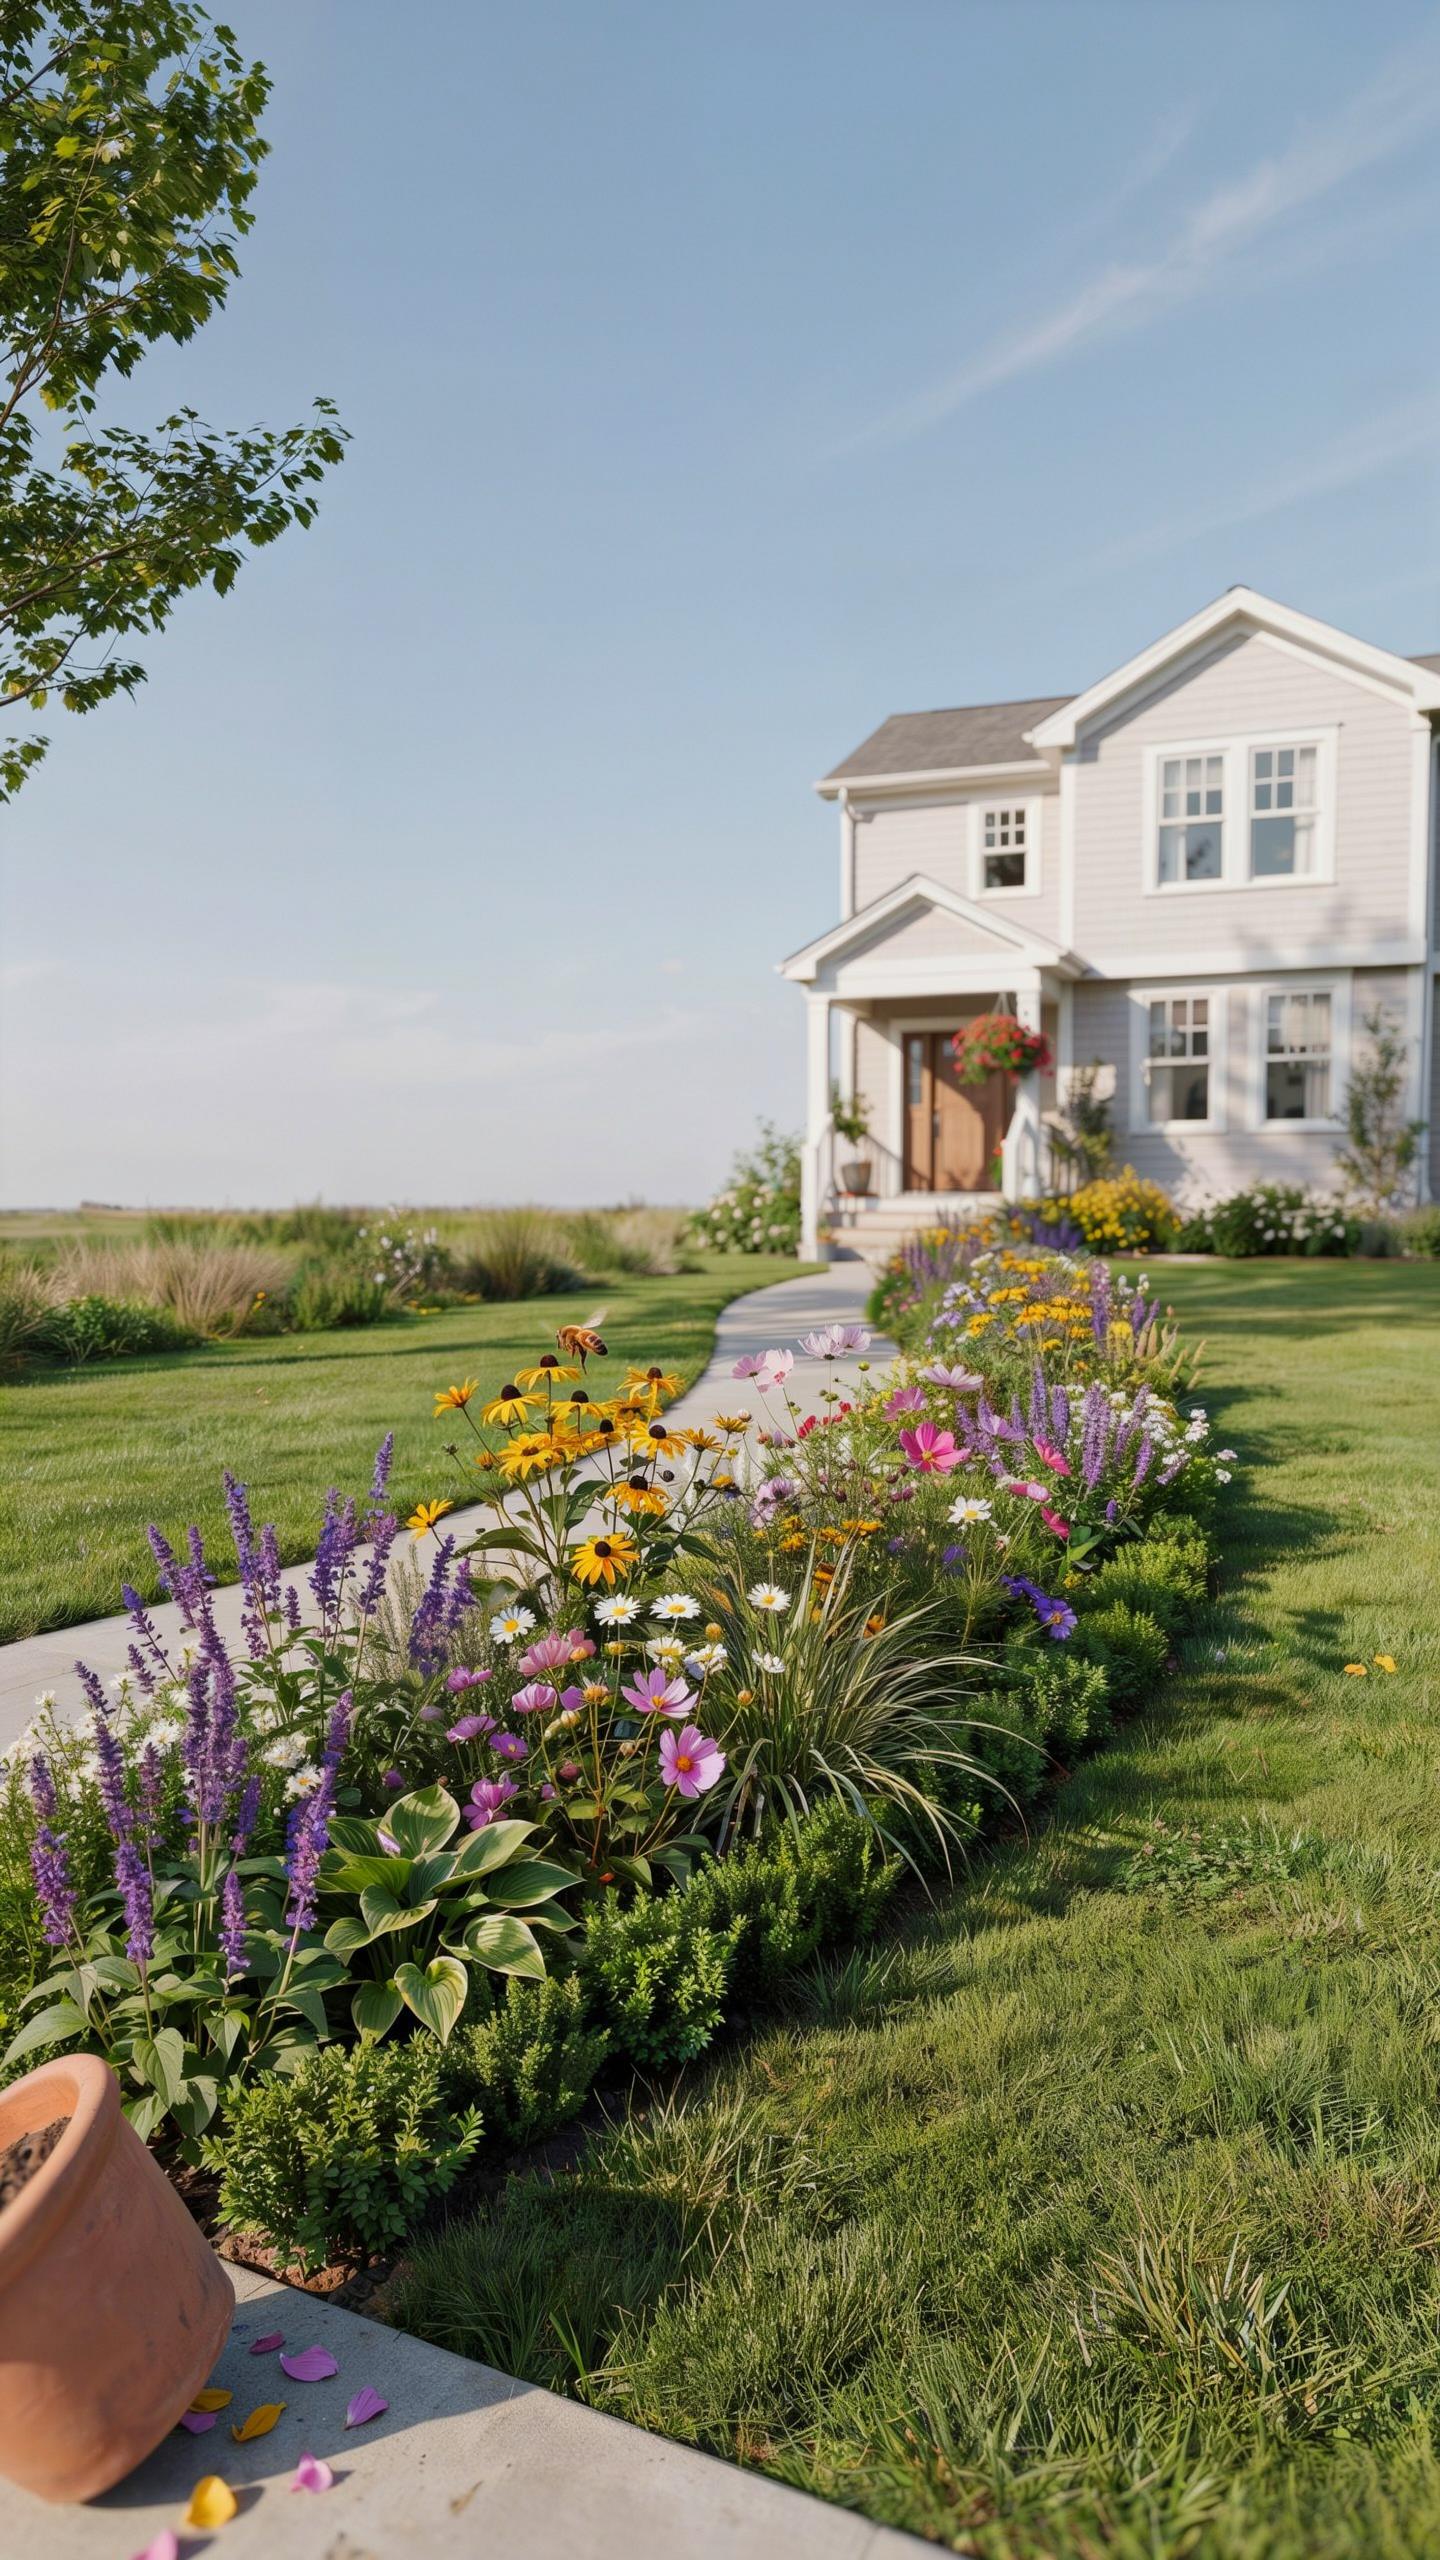
Enhancing Curb Appeal With Soft Edges
Spillover plants break the hard lines between garden beds and hardscape. Position trailing perennials like creeping phlox or catmint along walkway edges to blur the transition. This technique disguises the geometric precision of driveways and property lines. The result is a garden that looks intentional rather than hastily planted against existing structures.
Plant heights matter here. Use low growers six to twelve inches tall at the border edge. This prevents plants from blocking pathways while still softening sightlines from the street. Repeat the same spillover plants every three to five feet for rhythm. Consistency makes the front entrance feel planned and designed, not random.
Balancing Formal Home Architecture With Informality
Cottage style gardens appear relaxed but work best when they respect the home’s structural lines. Symmetry creates order. Plant taller perennials behind shorter ones in a tiered formation that echoes your roof pitch and window placement. This keeps the architecture visible while the garden adds visual interest without competing.
Cottage gardens originated in rural areas where practicality drove plant selection, not pure aesthetics. Modern application requires the same principle: let your home’s formal elements frame the informal planting. A classic colonial or Victorian facade gains sophistication when surrounded by a layered perennial border that acknowledges the building’s geometry. The contrast between structured architecture and loose plant combinations creates visual tension that reads as intentional design.
Smart Perennial Landscaping Practices For Low Maintenance Borders
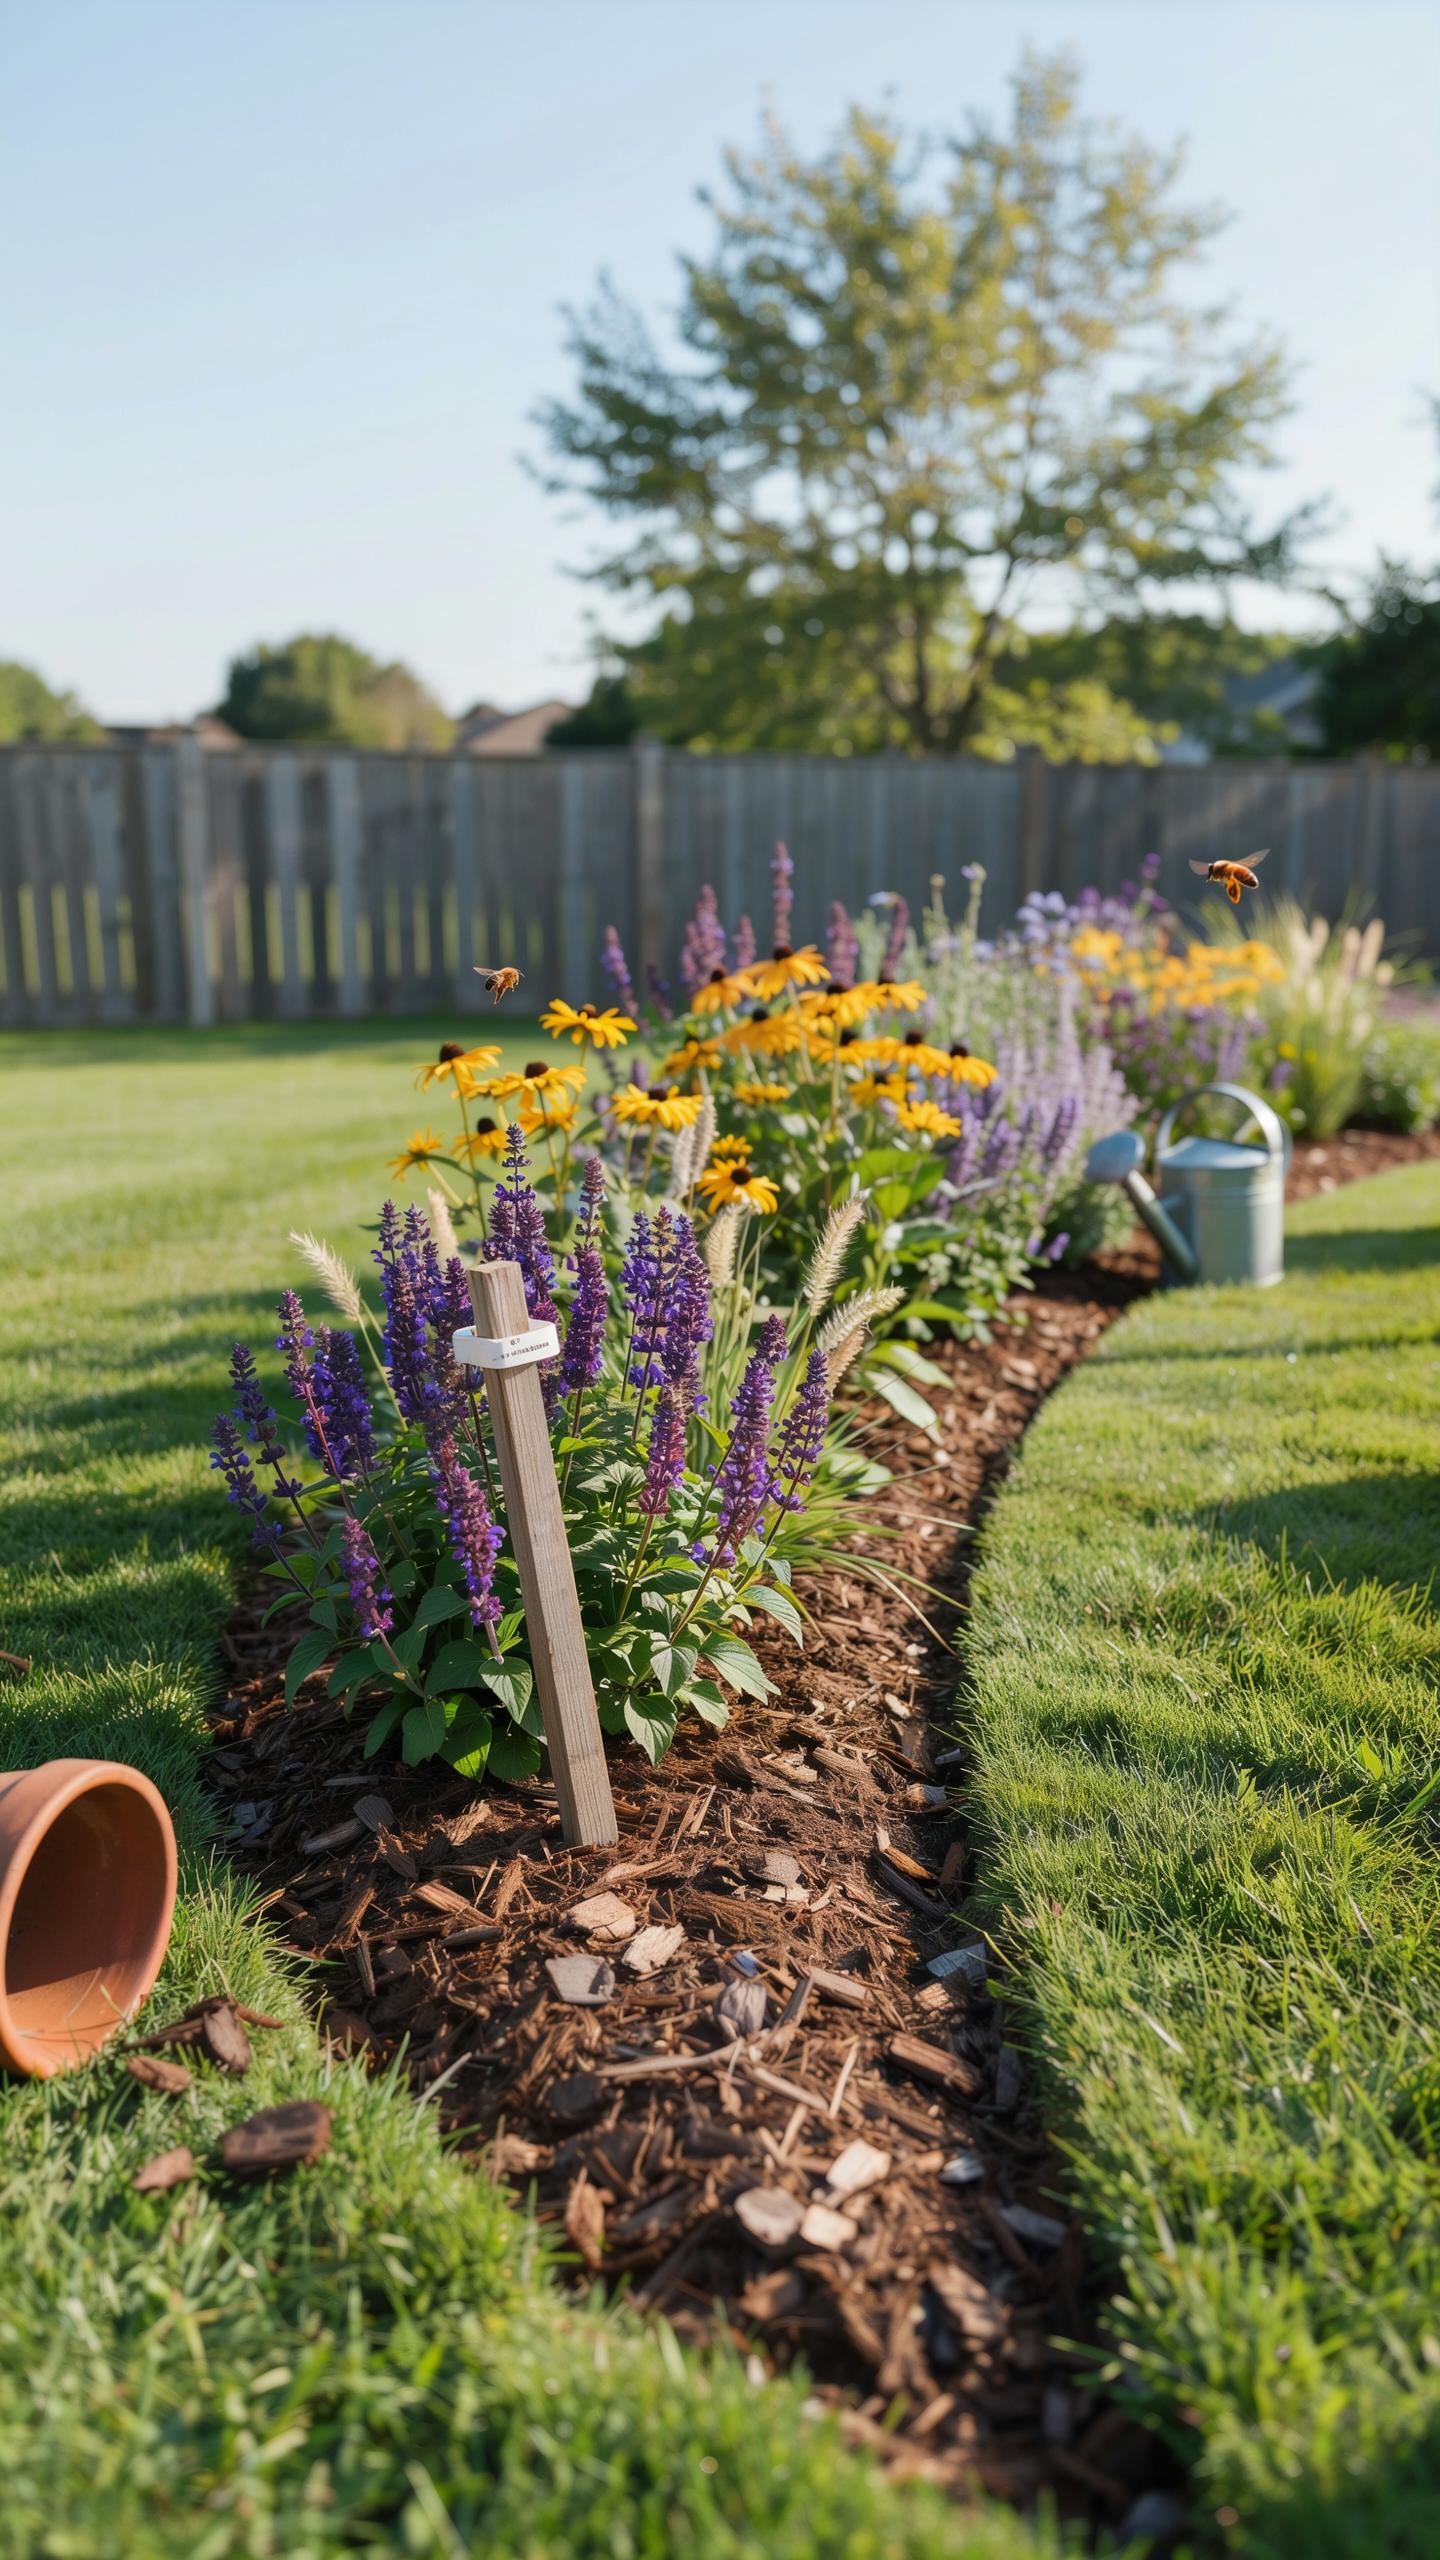
Essential Soil Preparation Steps
Soil preparation determines whether your perennial border thrives or struggles. Most perennials need loose, well-draining soil with adequate organic matter. Compacted soil kills roots and creates standing water problems. Test your soil pH and structure before planting anything. This foundation work prevents years of corrective maintenance later.
- Soil Testing: Send samples to your local extension office to measure pH, nutrient levels, and texture. This data guides amendments and prevents guesswork during planting season.
- Organic Matter Addition: Work 2 to 4 inches of compost or aged manure into the top 8 to 12 inches of soil. This improves drainage in clay and water retention in sandy soils.
- pH Adjustment: Most perennials prefer pH between 6.0 and 7.0. Add lime to raise pH or sulfur to lower it based on test results. Retest after 6 months to confirm adjustment.
- Drainage Improvement: In heavy clay, build raised beds or amend soil with coarse sand and compost. Poor drainage causes root rot and fungal diseases that kill perennials quickly.
- Bed Edging Installation: Define borders with metal, wood, or stone edging before planting. Clear edging prevents turf grass from invading your perennial space and simplifies maintenance.
Prepare soil in fall for spring planting or three weeks before summer planting. This timing allows amendments to settle and integrate with native soil. Rush this step and your perennials spend energy fighting bad soil instead of establishing roots.
Mulching And Watering Efficiency
Organic mulch reduces watering needs by 50 percent or more by blocking evaporation. Apply 2 to 3 inches of mulch around perennials, keeping it 2 inches away from stems. Mulch also suppresses weeds and moderates soil temperature swings that stress plants.

Water deeply but infrequently to encourage deep root growth. Shallow daily watering creates shallow roots and drought vulnerability. Most established perennials need 1 inch of water per week from rain or irrigation. Soaker hoses deliver water to soil, not foliage, which prevents fungal disease and reduces waste.
Seasonal Care Tips To Maintain Your Lush Border Plants
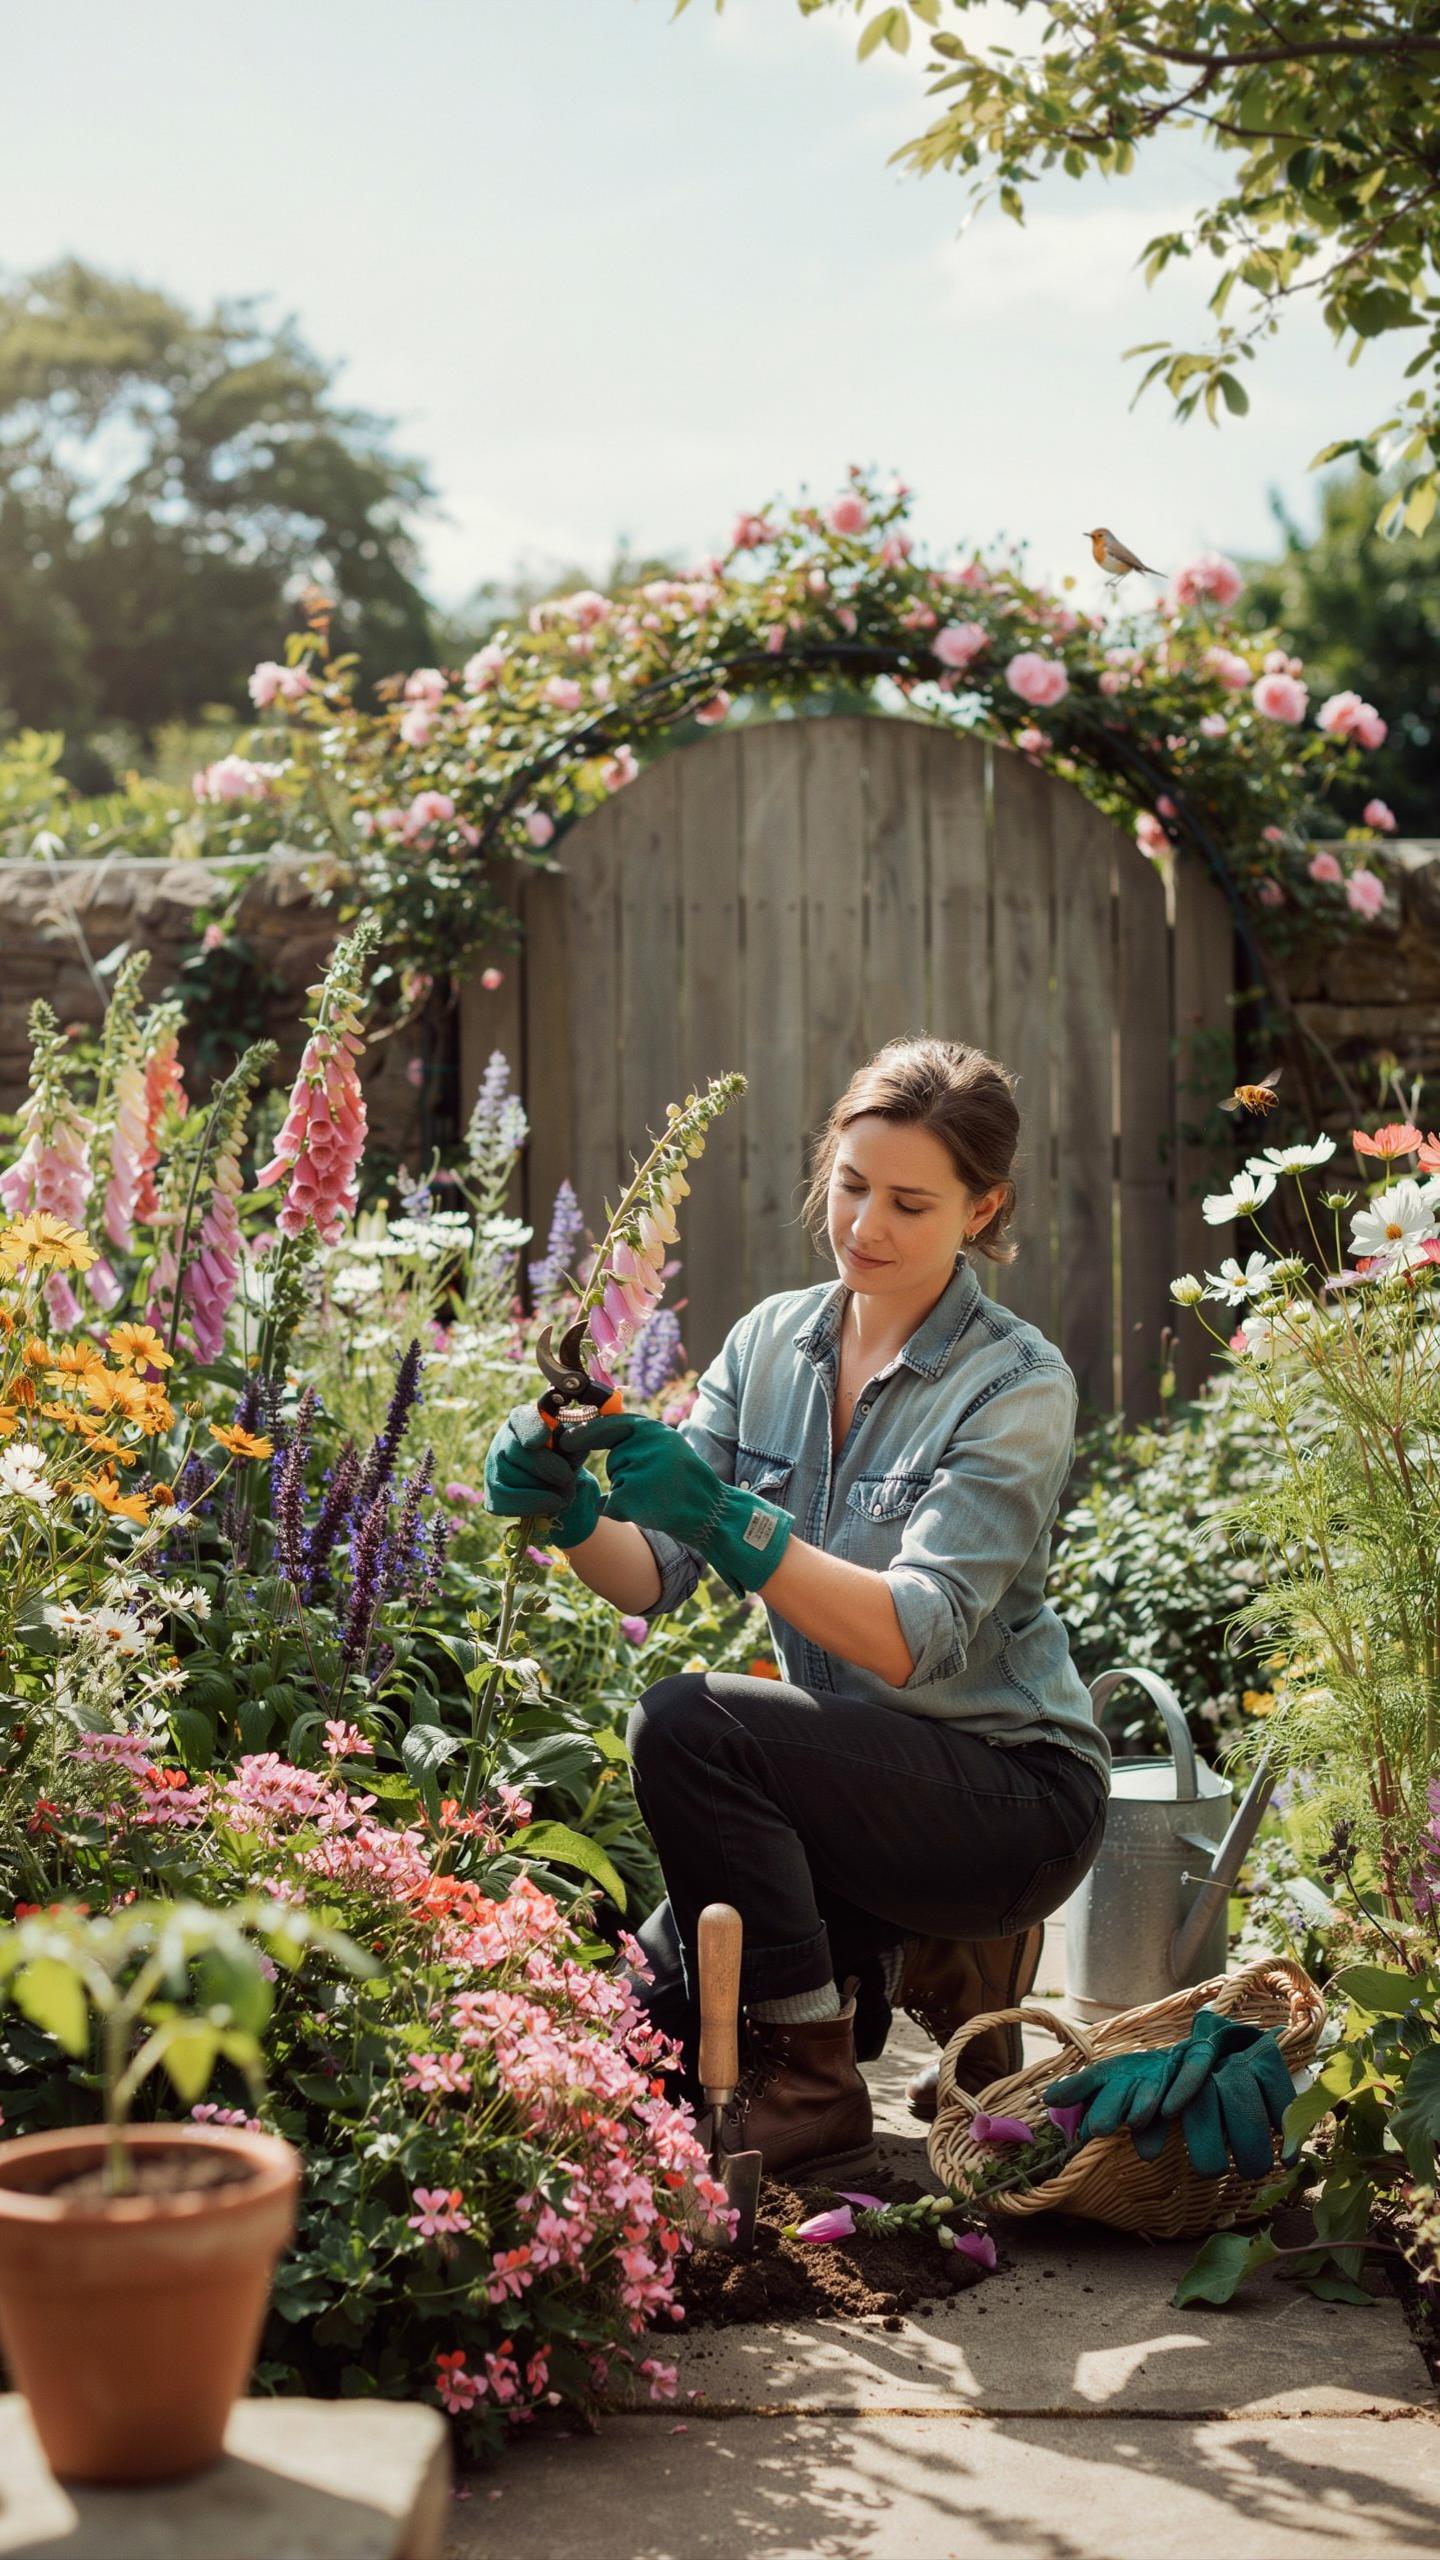
Spring Startup And Division Techniques
Spring division works because perennials store energy in roots over winter. Early spring, when new growth appears but frost risk remains, is the ideal window. Dig clumps completely, then cut apart sections with a sharp spade. Each division needs at least three growth shoots and healthy roots. Replant immediately at the same depth to prevent rotting. This method rejuvenates tired plants and fills gaps without buying new stock.
Division timing matters more than technique. Divide spring bloomers like hostas and hellebores right after flowering ends. Summer bloomers need division in early spring before they push energy into flowers. Fall bloomers divide in spring when soil warms. Divisions establish faster when you water thoroughly after planting and mulch the area lightly. Most perennials recover from division within one growing season.
Autumn Cleanup And Winterization
Leave structural seed heads standing through winter for two reasons: they feed birds and insects, and they protect the crown underneath. Cut back only dead foliage that clearly turned brown. Leave ornamental grasses, coneflower stems, and seed-bearing plants upright. Remove diseased material entirely since pathogens overwinter in decaying tissue. Cut back tender perennials like salvias and penstemons to ground level to prevent rot at the crown.
Winter protection prevents root heave and crown rot on sensitive plants. Pile mulch over crowns of marginal perennials like hellebores after ground freezes. Use loose materials like straw or shredded leaves, not packed mulch that traps moisture. Remove mulch in early spring as temperatures rise to prevent crown rot. This simple timing adjustment keeps roots safe while allowing air circulation during thaw cycles.
Frequently Asked Questions

What are the essential plants needed to start a cottage garden perennial border?
To create a classic cottage garden perennial border, start with a mix of structural shrubs and reliable flowering perennials. Focus on tall spires like foxgloves or delphiniums for height, combined with mounding plants like hardy geraniums and lady’s mantle for softness. Choosing repeat-blooming varieties ensures your garden maintains that polished look throughout the season while providing the romantic, overflowing aesthetic that defines this traditional English style.
How do I arrange plants in a cottage garden perennial border for a polished appearance?
Achieving a polished look requires thoughtful layering. Place your tallest specimens at the back and stagger medium-sized plants in the middle, finishing with low-growing spillers along the edges. To keep your cottage garden perennial border from looking chaotic, plant in groups of three or five rather than single stems. This creates “drifts” of color that guide the eye smoothly across the landscape, making the design intentional rather than cluttered.
Is it possible to create a stunning perennial border on a tight budget?
Absolutely! You can build a beautiful border by starting with small “liner” plants or bare-root perennials, which are significantly cheaper than potted nursery stock. Additionally, many cottage favorites like lavender and salvia are easy to grow from seed or can be propagated from cuttings. You can also host a plant swap with neighbors to diversify your collection for free, allowing your garden to mature beautifully over a few seasons.



