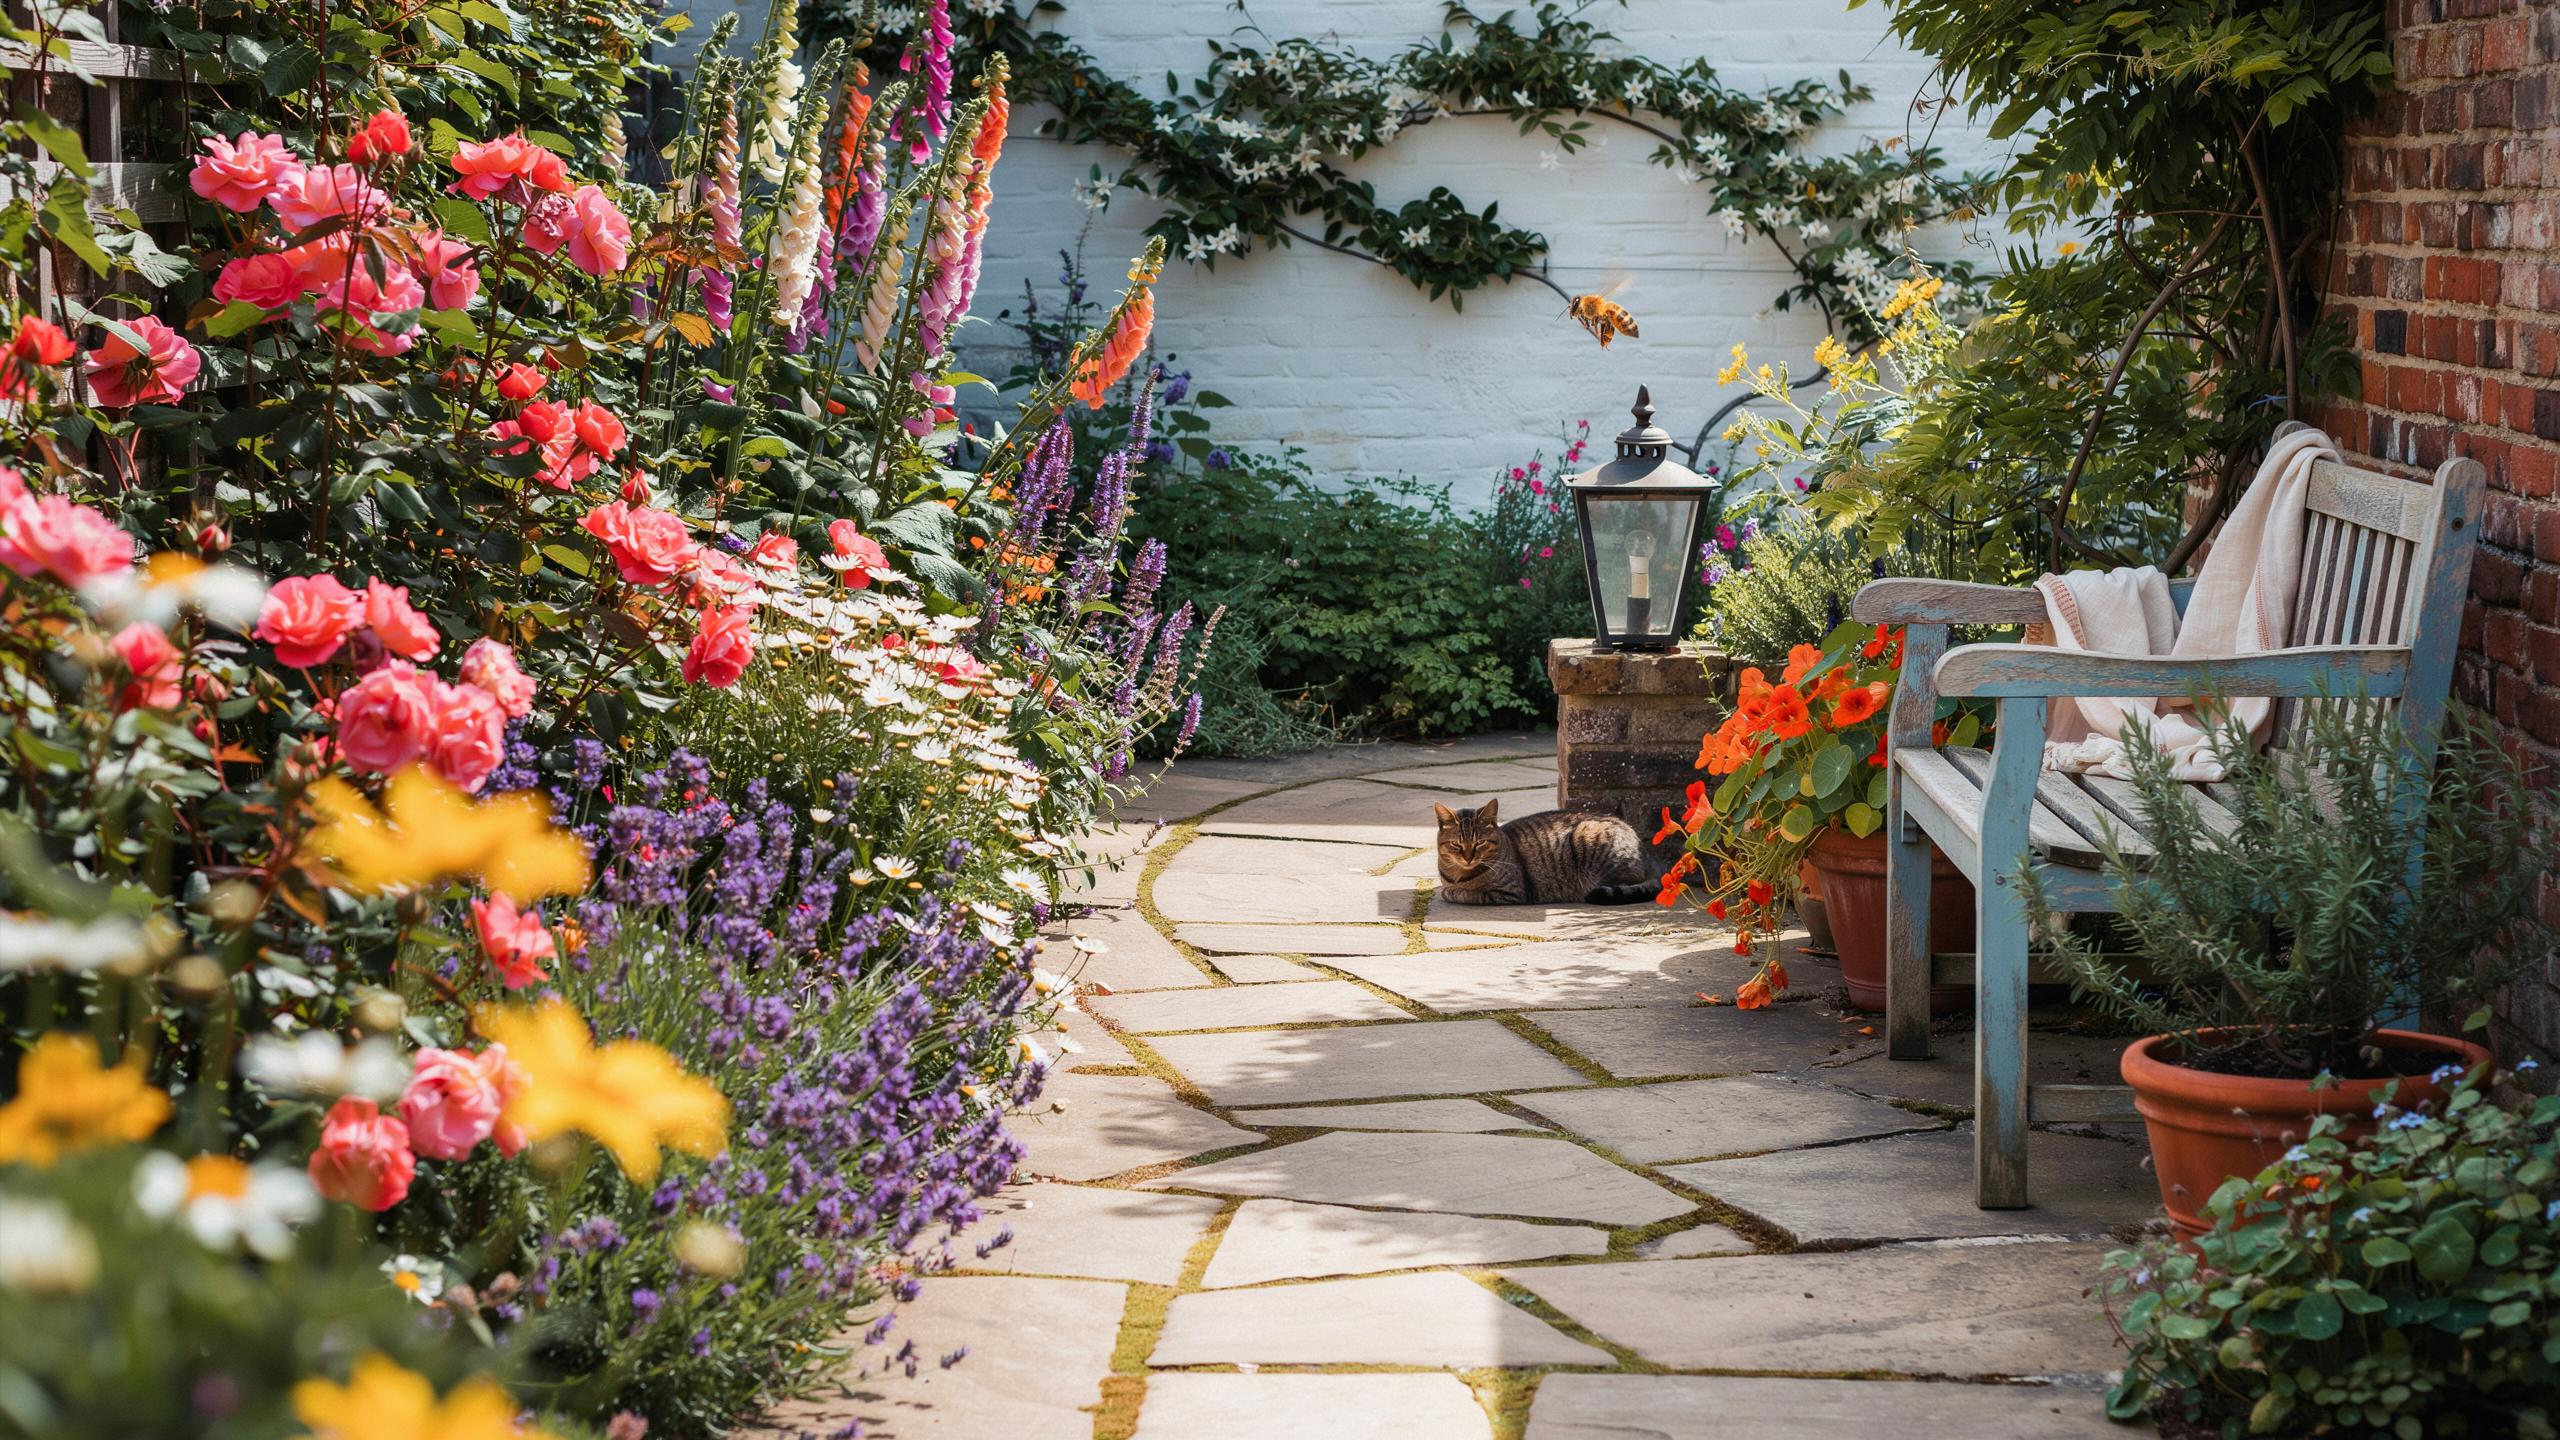
Why Choosing A Cottage Garden Path Design Changes Your Whole Landscape
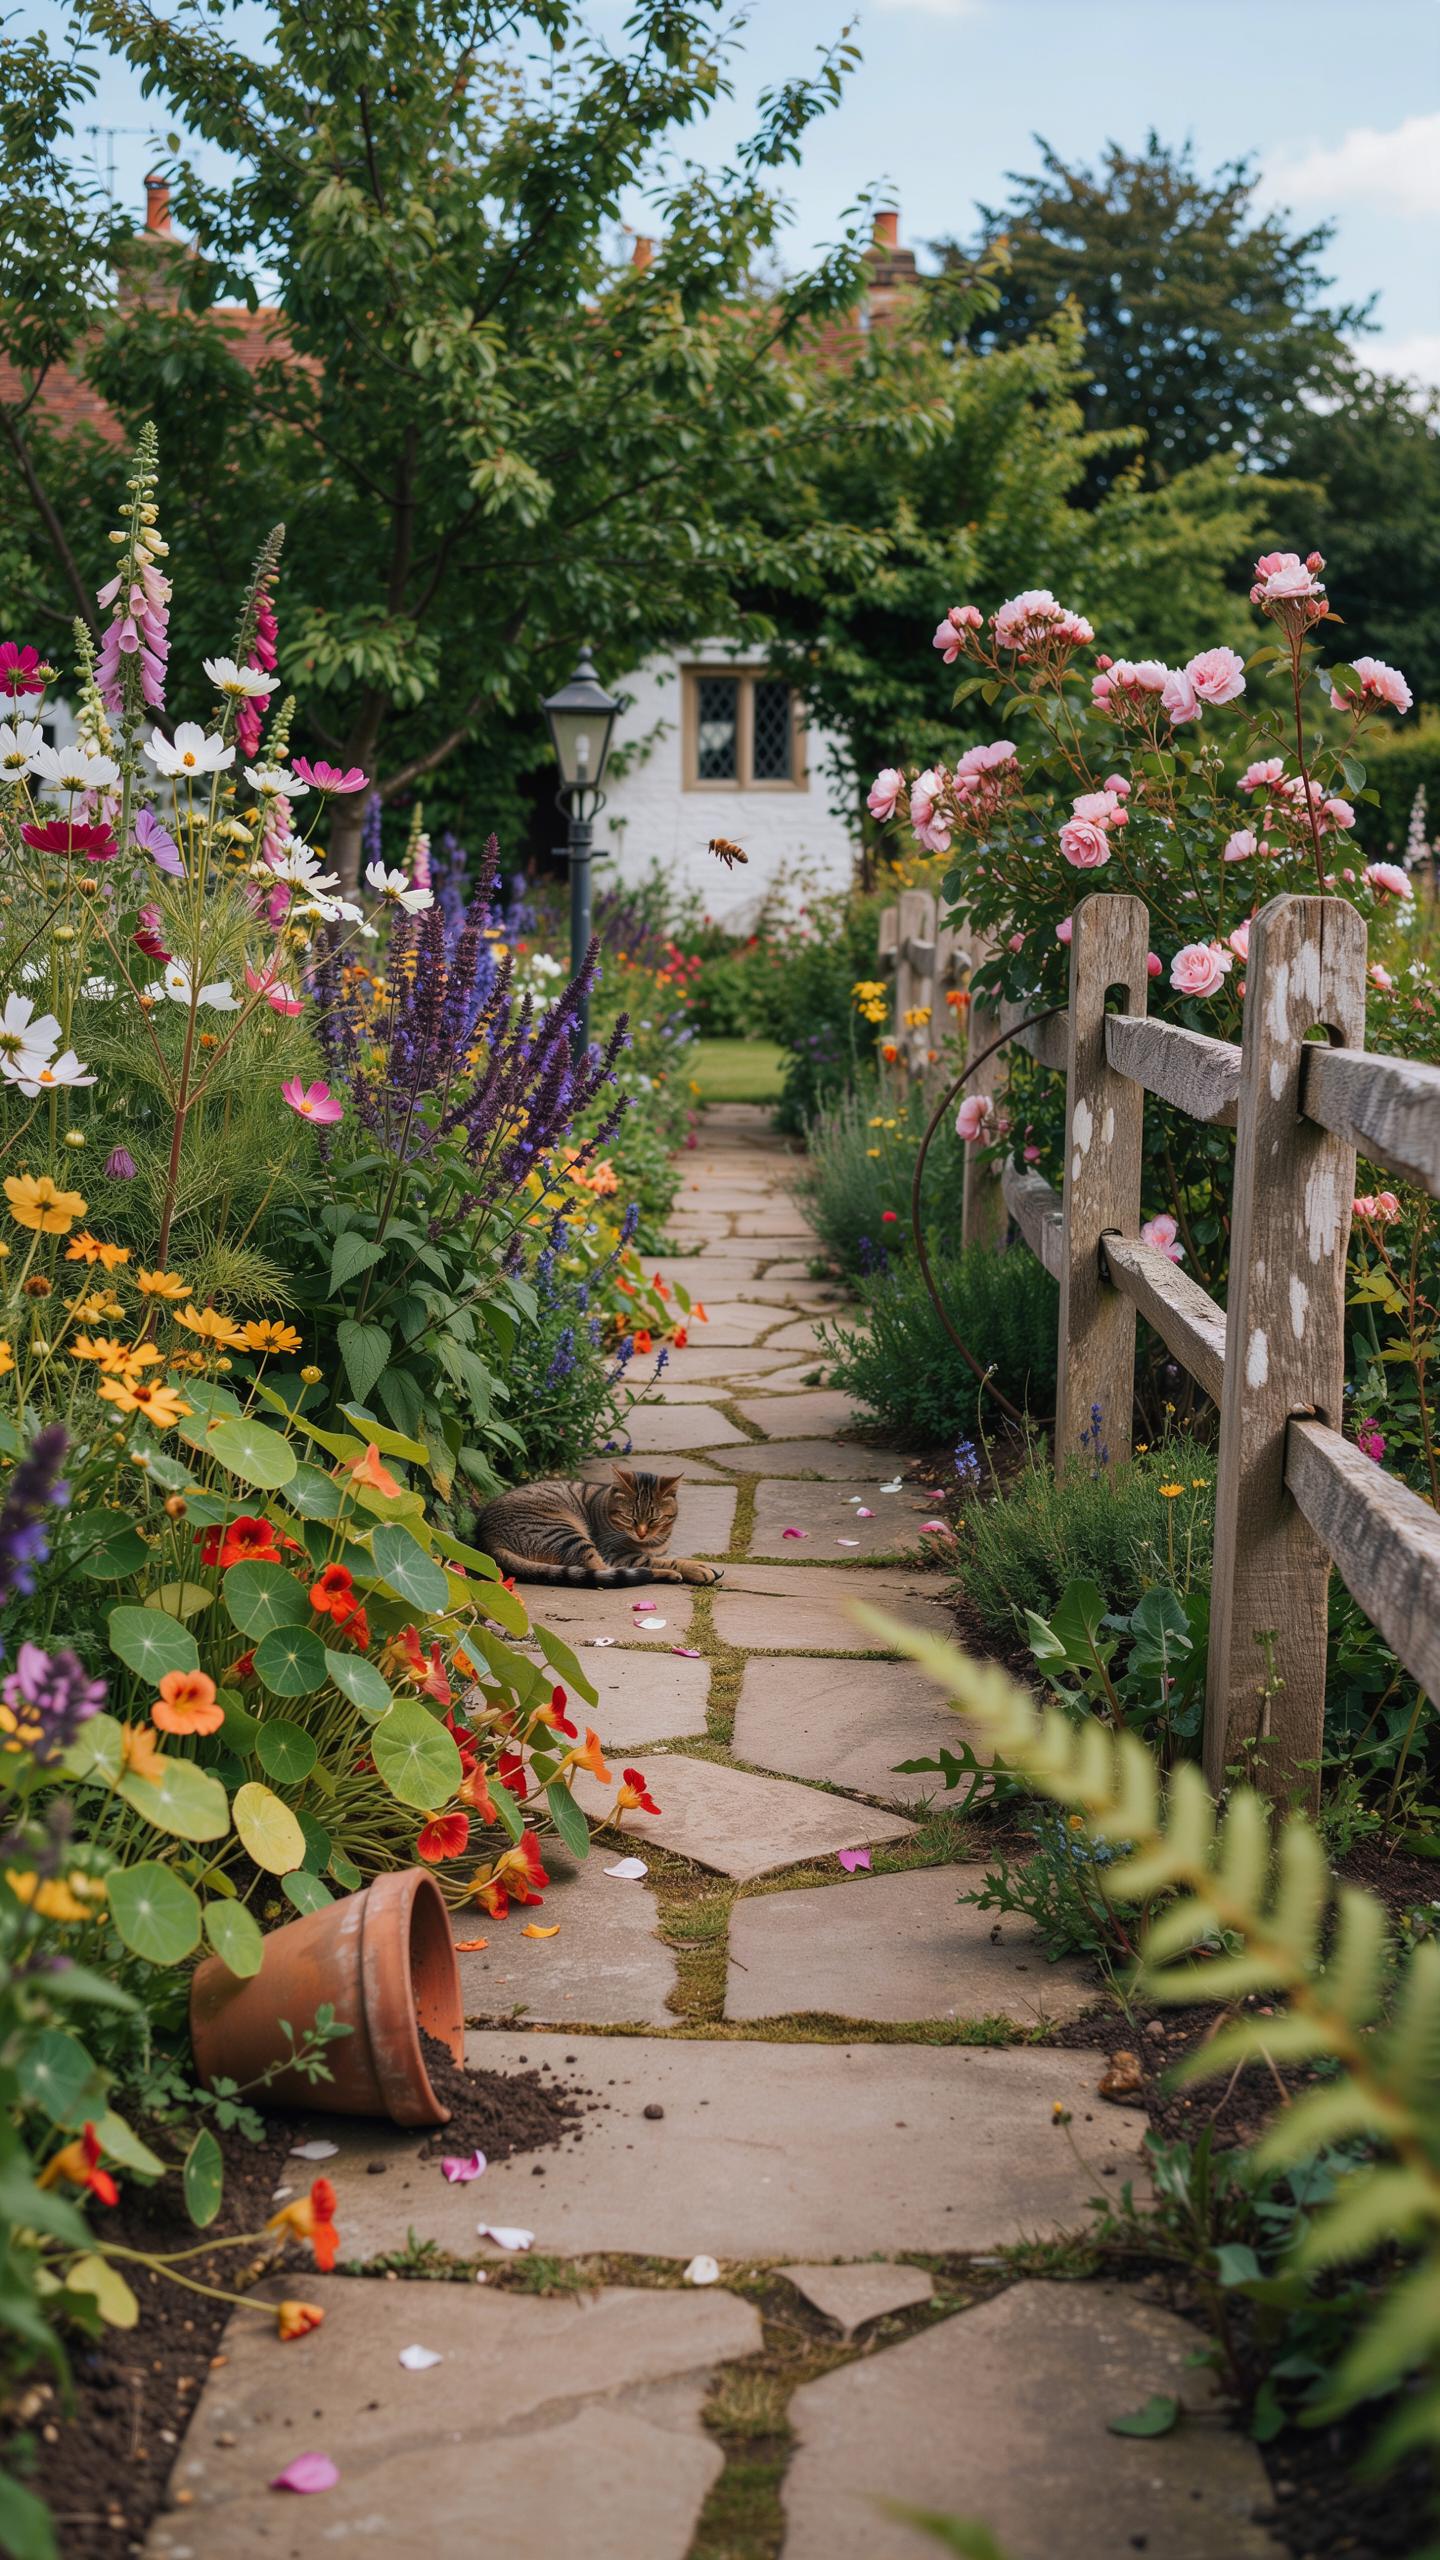
Combining Nostalgic Charm With Practical Navigation In Backyard Spaces
Cottage garden paths serve a dual function: they move people through space while establishing visual character. The aesthetic roots in English cottage gardens of the 1800s, where narrow paths connected functional growing areas with living spaces. Paths became design statements that softened hard edges and created intimacy in outdoor rooms. This approach works because it prioritizes walkability without sacrificing the garden’s visual identity.
Practical materials drive the cottage aesthetic forward. Gravel, brick, and stone work well because they age naturally and complement plantings. The path becomes part of the landscape’s story rather than an afterthought. When you choose cottage design, you anchor your entire garden’s visual language. Every other element flows from this foundational choice about how people will experience your space.
How Soft Edges And Curving Walkways Define The Romantic Cottage Aesthetic
Curved paths fundamentally change how viewers perceive garden space. Straight lines create predictability and flatten visual depth. Gentle curves invite movement and create discovery at each turn. This principle applies regardless of garden size. Even small yards benefit from paths that meander rather than shoot directly to destinations. Soft edges where plants spill onto gravel or stone blur the boundary between walkway and planting areas.
The flow mechanics work because they slow foot traffic and encourage pausing. Curves naturally redirect views toward focal points like seating or plantings. Hard edges demand maintenance but curved edges integrate easily with surrounding plants. When paths curve, they create multiple sightlines that make gardens feel larger than they are. This design strategy generates perceived depth without requiring additional square footage.
Inspiring Garden Path Ideas To Set Your Layout Style
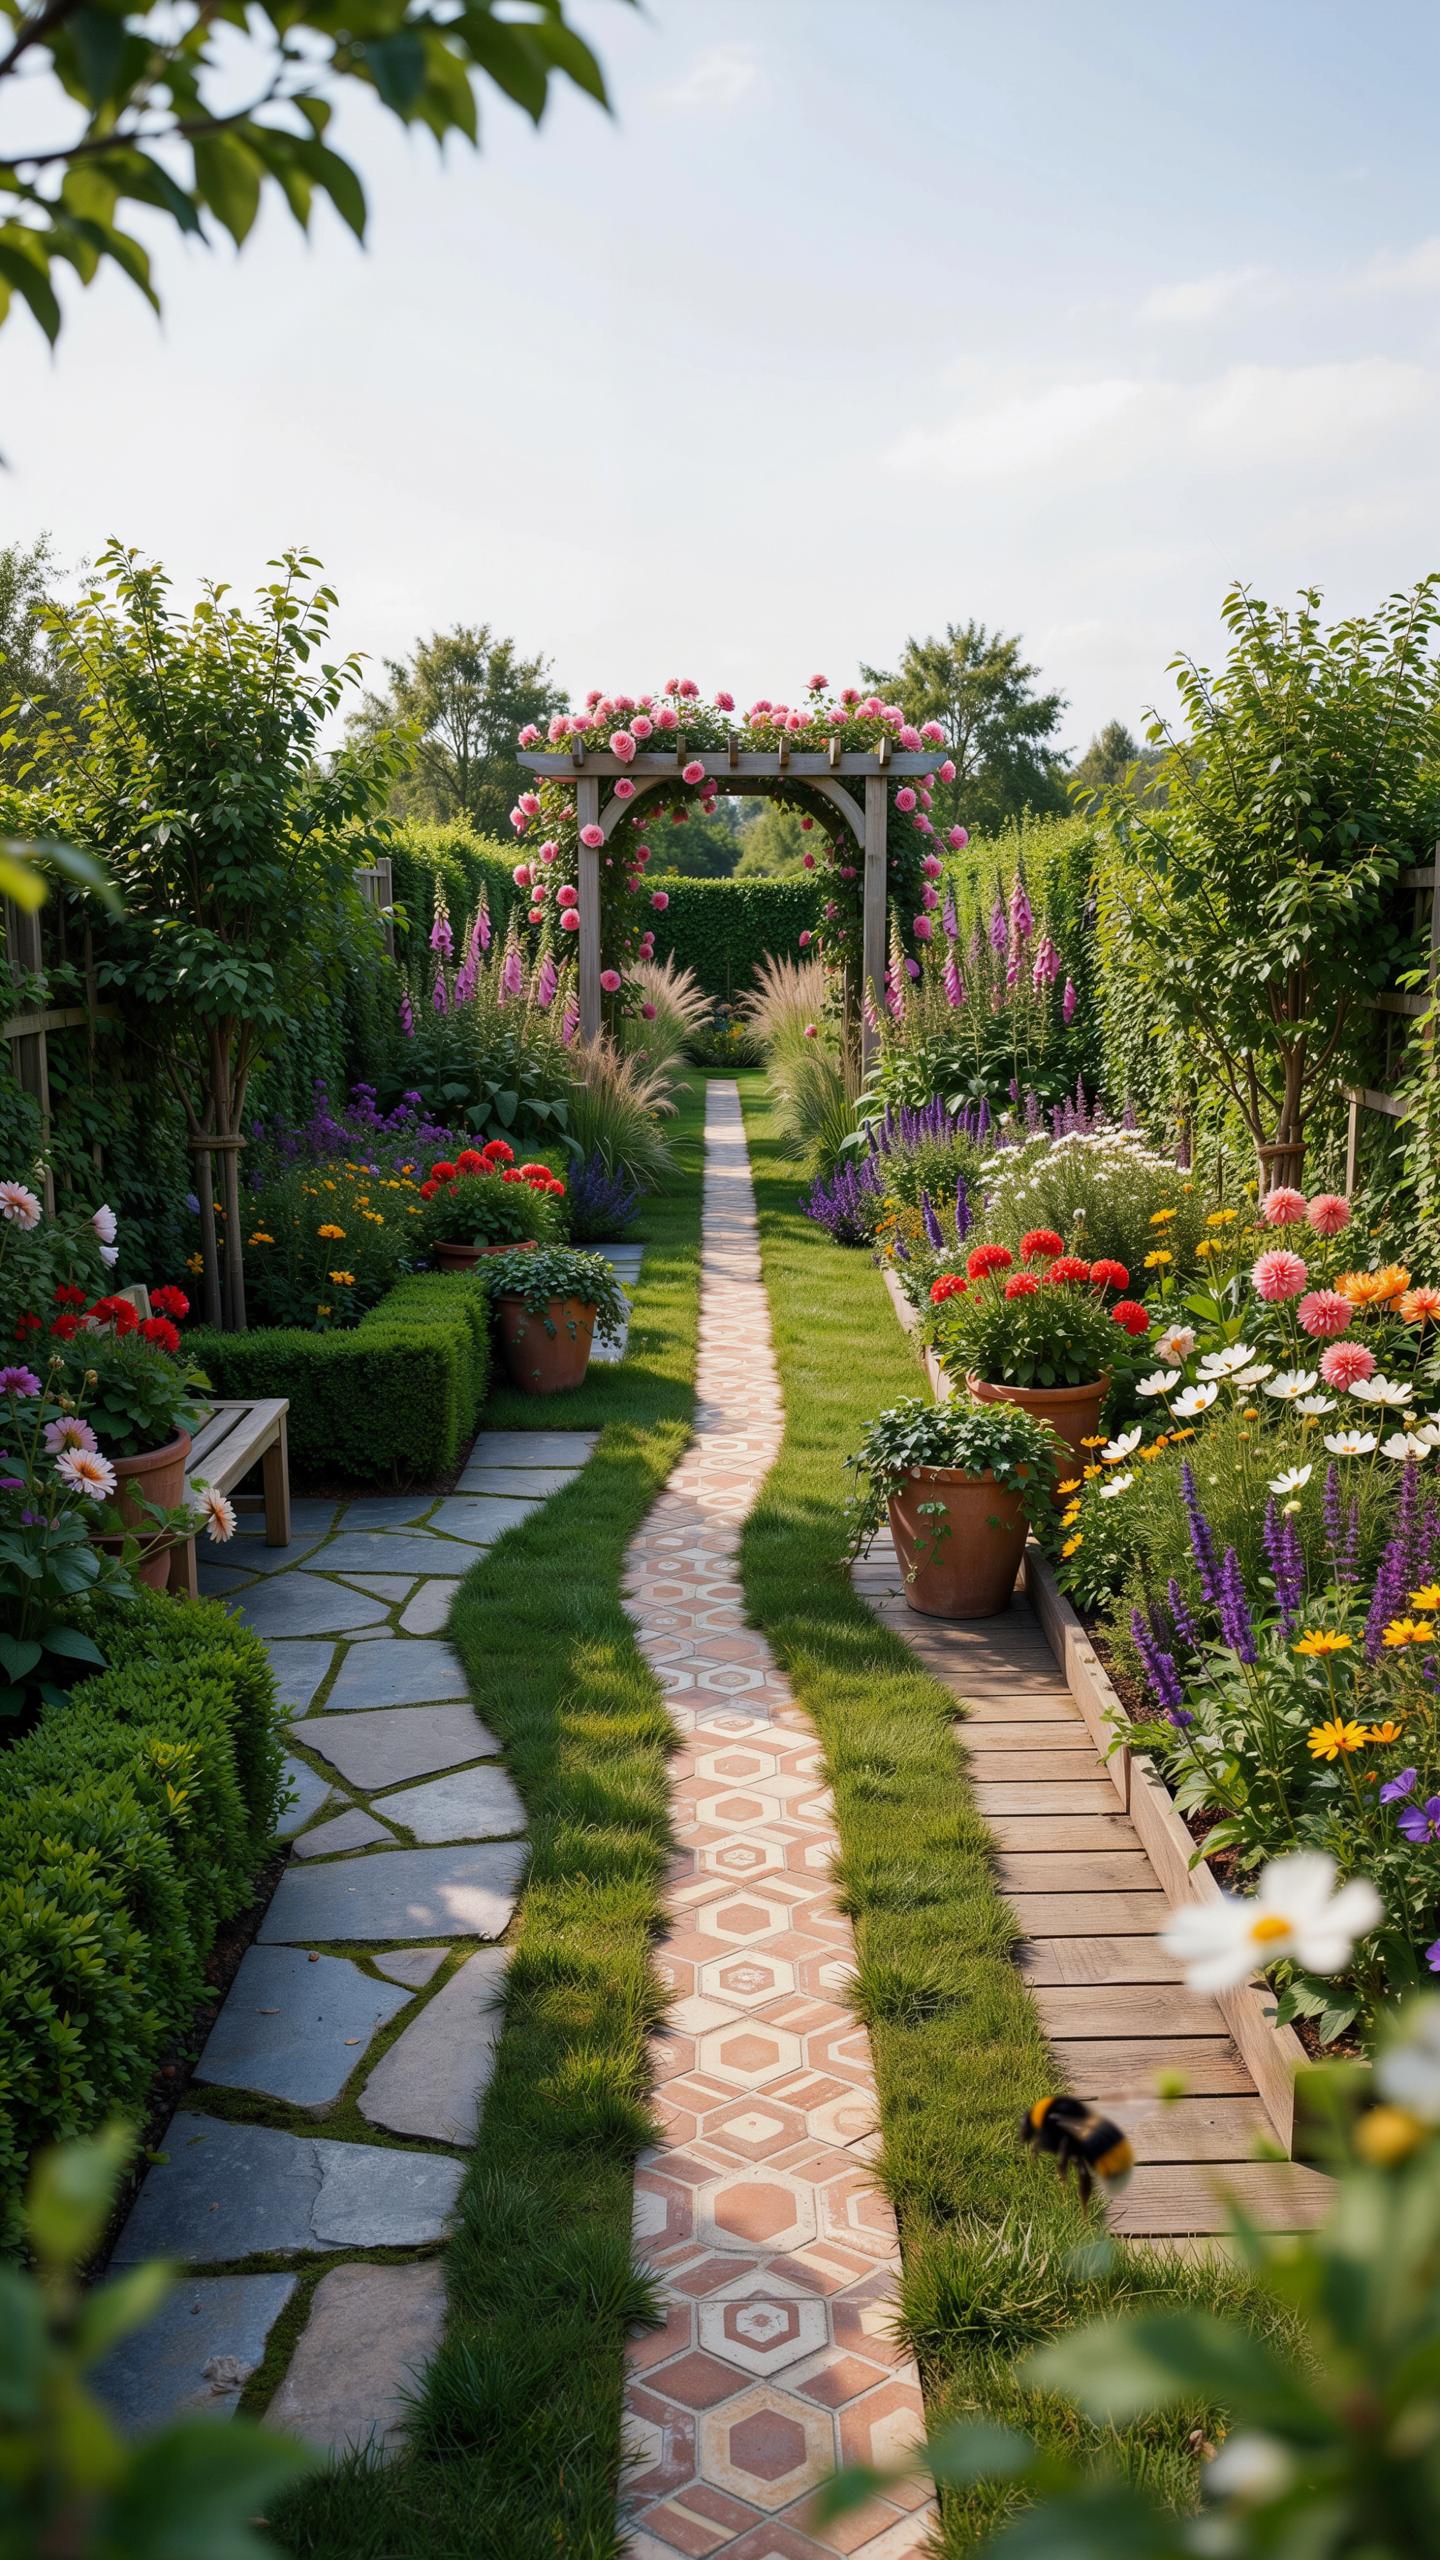
Meandering Versus Straight Walkways To Frame Your Plant Beds
Straight paths move visitors efficiently through garden space and work well in formal layouts. They create clear sightlines and divide planting areas into organized sections. Meander paths slow foot traffic and encourage exploration. They work better in cottage gardens because they feel less rigid and adapt to existing landscape features. Choose straight paths if you prioritize function and access. Choose meandering paths if you want visual interest and a relaxed feel.
The path style you select determines how visitors experience your plantings. Straight paths make small gardens feel larger by extending sightlines. Meandering paths break large gardens into separate discovery zones. Both styles need proper width—typically 2 to 3 feet for single-file walking. Path material matters too. Gravel suits meandering paths because it costs less and blends with informal designs. Pavers or brick work better for straight paths that need durability and clean edges.
Using Spillover Plants And Groundcovers To Soften Your Borders
Plant spillover species at path edges to blur the line between walkway and planting bed. Creeping thyme, catmint, and low-growing sedums naturally cascade over hardscape boundaries. This softening technique works because it hides hard edges that look artificial. Groundcovers fill gaps while reducing maintenance. They block weed growth and retain soil moisture. Choose species that tolerate foot traffic if they border frequently used routes.

Select spillover plants based on your climate zone and soil conditions. Creeping jenny handles moist areas. Sedums prefer dry, sunny spots. Test plants in small sections first before committing to full borders. Trim spillover plants annually to prevent them from completely blocking the path. This balance keeps paths functional while maintaining the relaxed cottage garden aesthetic that makes these gardens work.
Classic Earthy Materials For An Authentic Garden Path
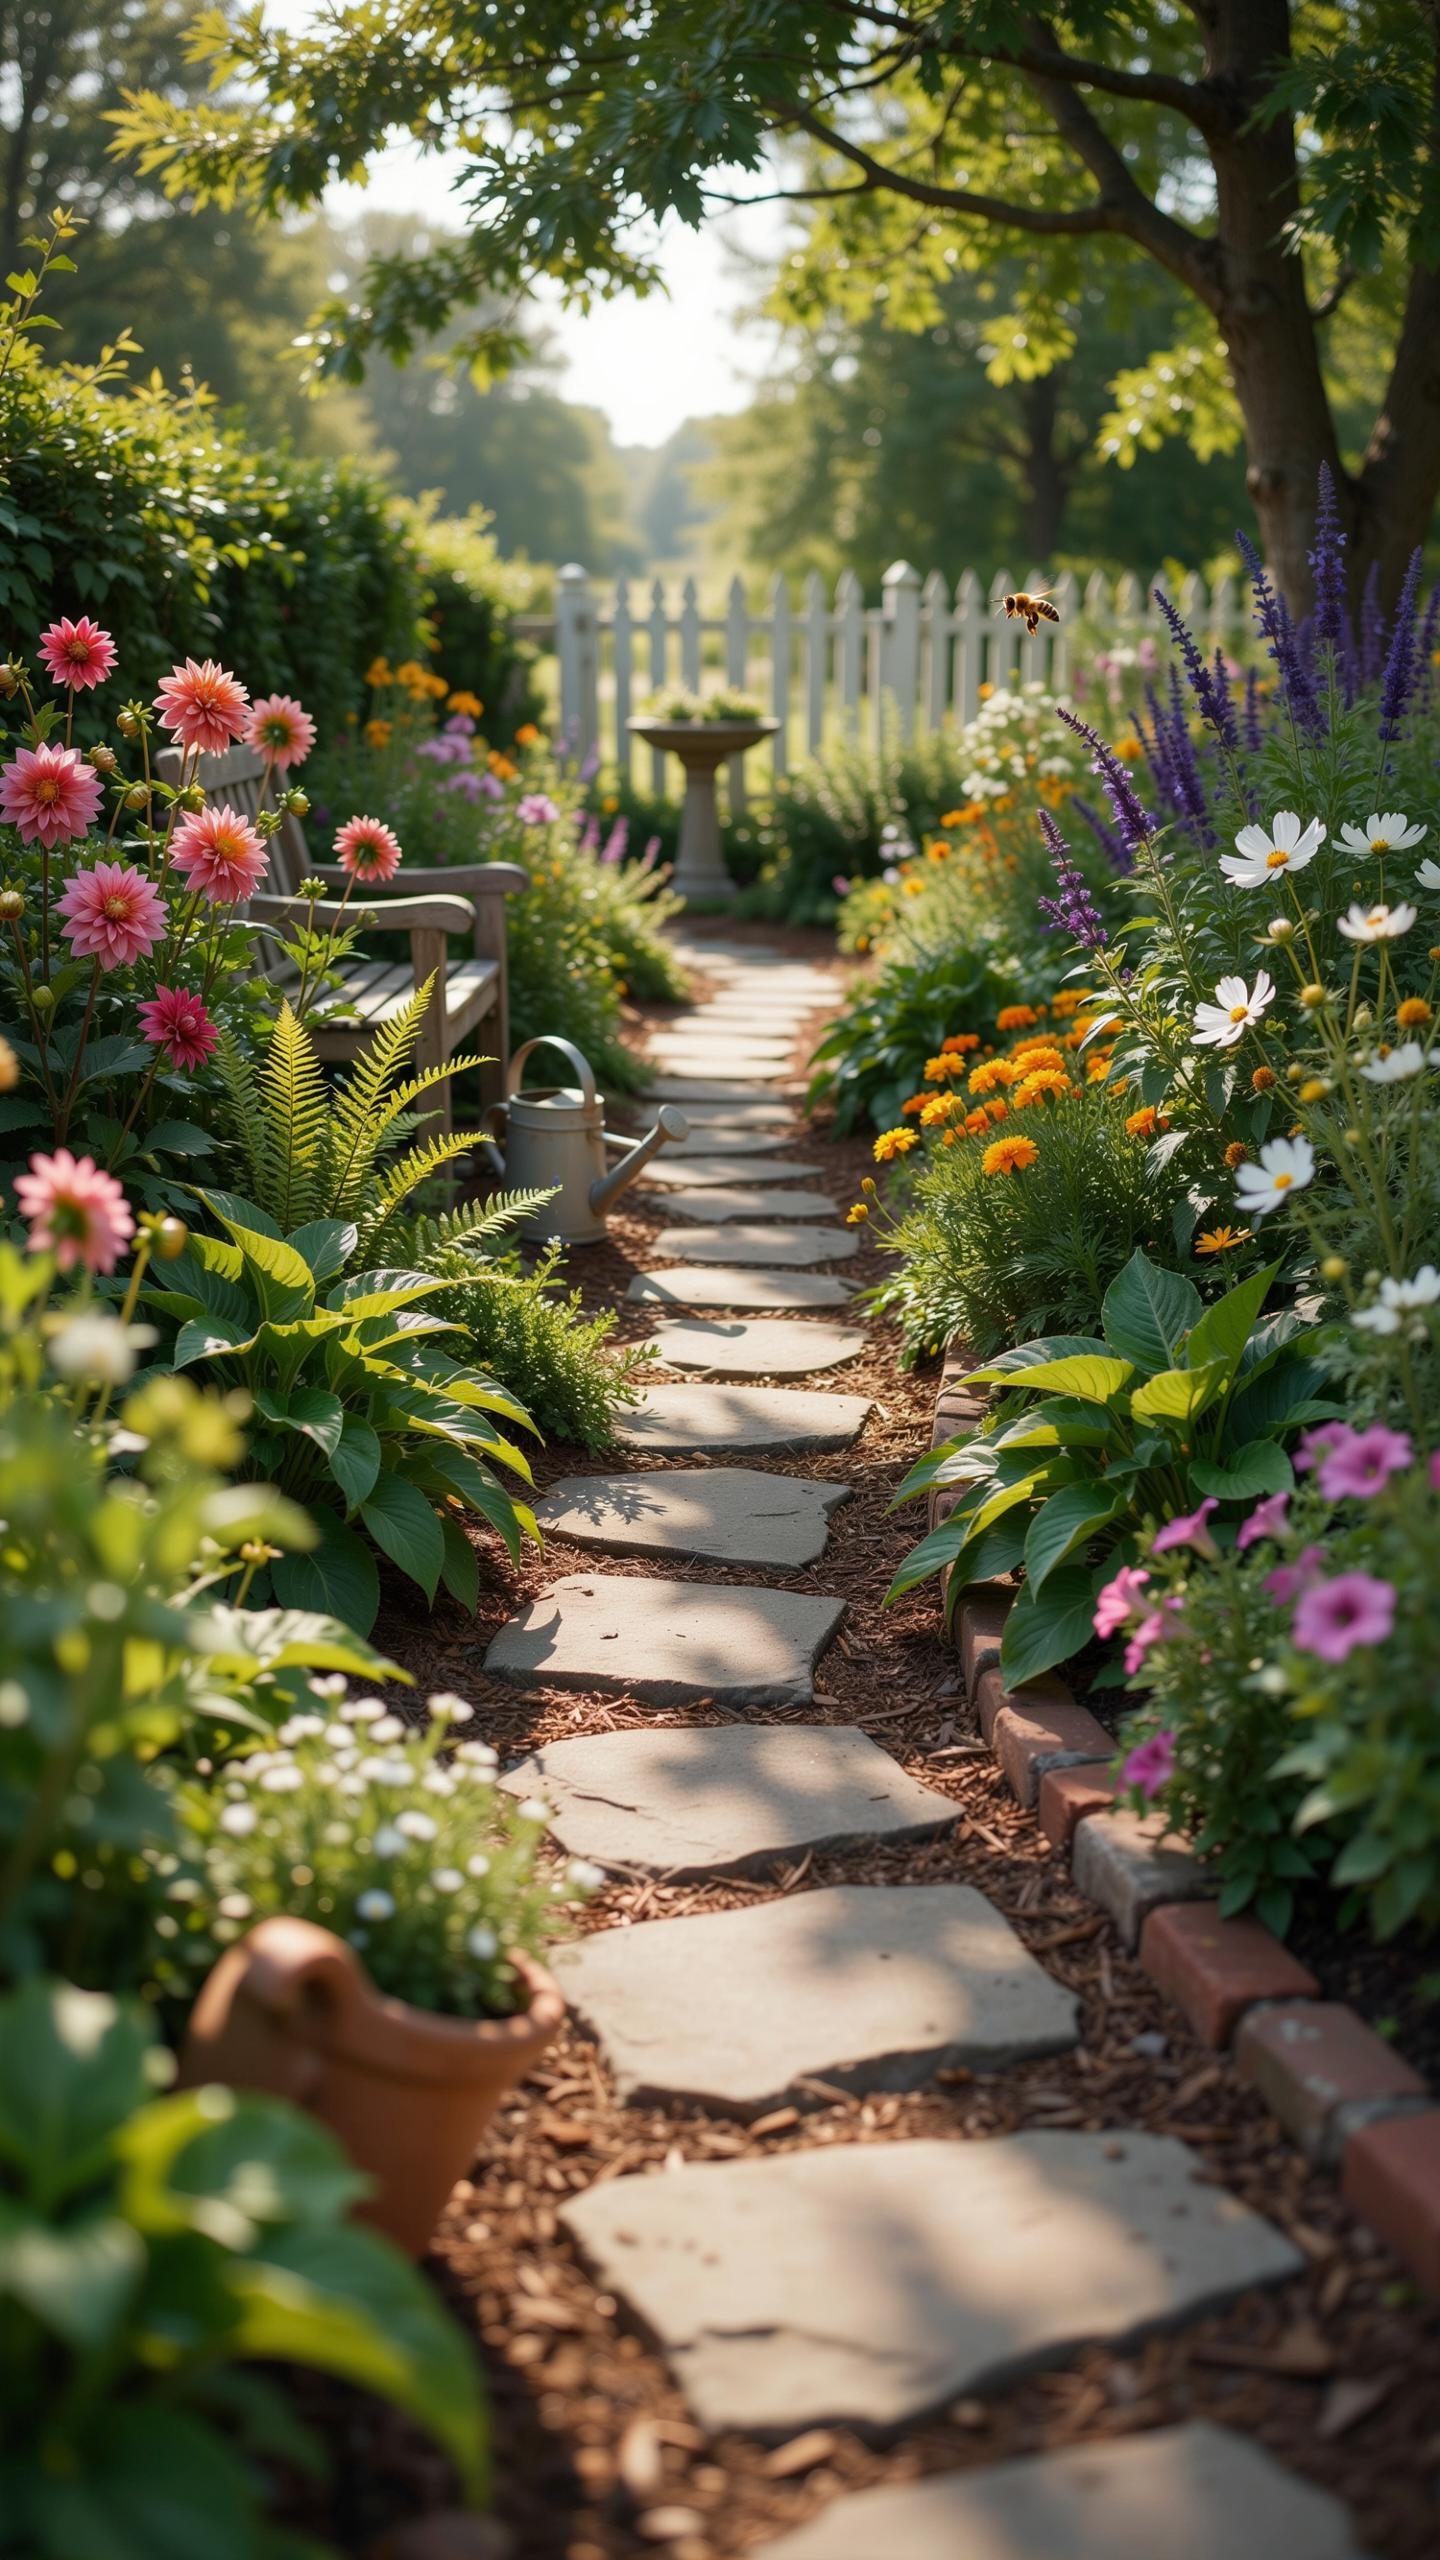
Essential Raw Materials For Building Durable And Beautiful Footpaths
Cottage garden paths need materials that handle foot traffic and weather cycles without constant replacement. Stone, brick, and gravel each perform differently based on your climate and soil conditions. Your choice determines maintenance frequency, drainage performance, and long-term cost. Select materials that match your region’s natural geology for visual cohesion and easier sourcing.
- Gravel: Loose stone provides drainage and a traditional aesthetic. Requires raking and top-up every 1-2 years but costs less upfront than solid paving options.
- Brick: Clay brick withstands freeze-thaw cycles and settles naturally over time. Lay on sand base for proper drainage and flexibility in shifting ground.
- Stone flags: Flat cut stone offers durability and clean lines. Works best in regions where local stone is available to reduce transport costs and maintain regional character.
- Sett stones: Small, dense cubes of granite or basalt handle heavy use. Install on compacted base with mortar for high-traffic areas.
- Hoggin: Compacted mixture of clay, sand, and gravel bonds together naturally when wet. Creates firm surface with rustic appearance and excellent drainage.
Cost and installation effort vary significantly between options. Gravel requires minimal tools but demands ongoing maintenance. Brick and stone demand proper base preparation and skill to lay correctly. Calculate total cost over 10-20 years, not just initial purchase price. Your climate determines which materials will actually last without major repair.
Incorporating Reclaimed Bricks And Weathered Timber For Historical Charm
Reclaimed bricks carry aging patterns that new materials cannot replicate. Salvage yards supply genuine Victorian and Edwardian stock from demolished buildings. These bricks have proven durability since they survived decades in original structures. Mixing reclaimed bricks with new ones creates visual depth while staying budget-conscious.

Weathered timber works as edging to define path edges and contain gravel or mulch. Reclaimed railway sleepers and old fence posts serve this function effectively. Timber eventually rots in moist soil, so replace every 5-10 years depending on wood species and ground drainage. Cedar, oak, and larch last longer than softwoods in damp conditions. Install timber on gravel base to minimize soil contact and extend lifespan.
A Guide To Designing A Stepping Stone Garden Path
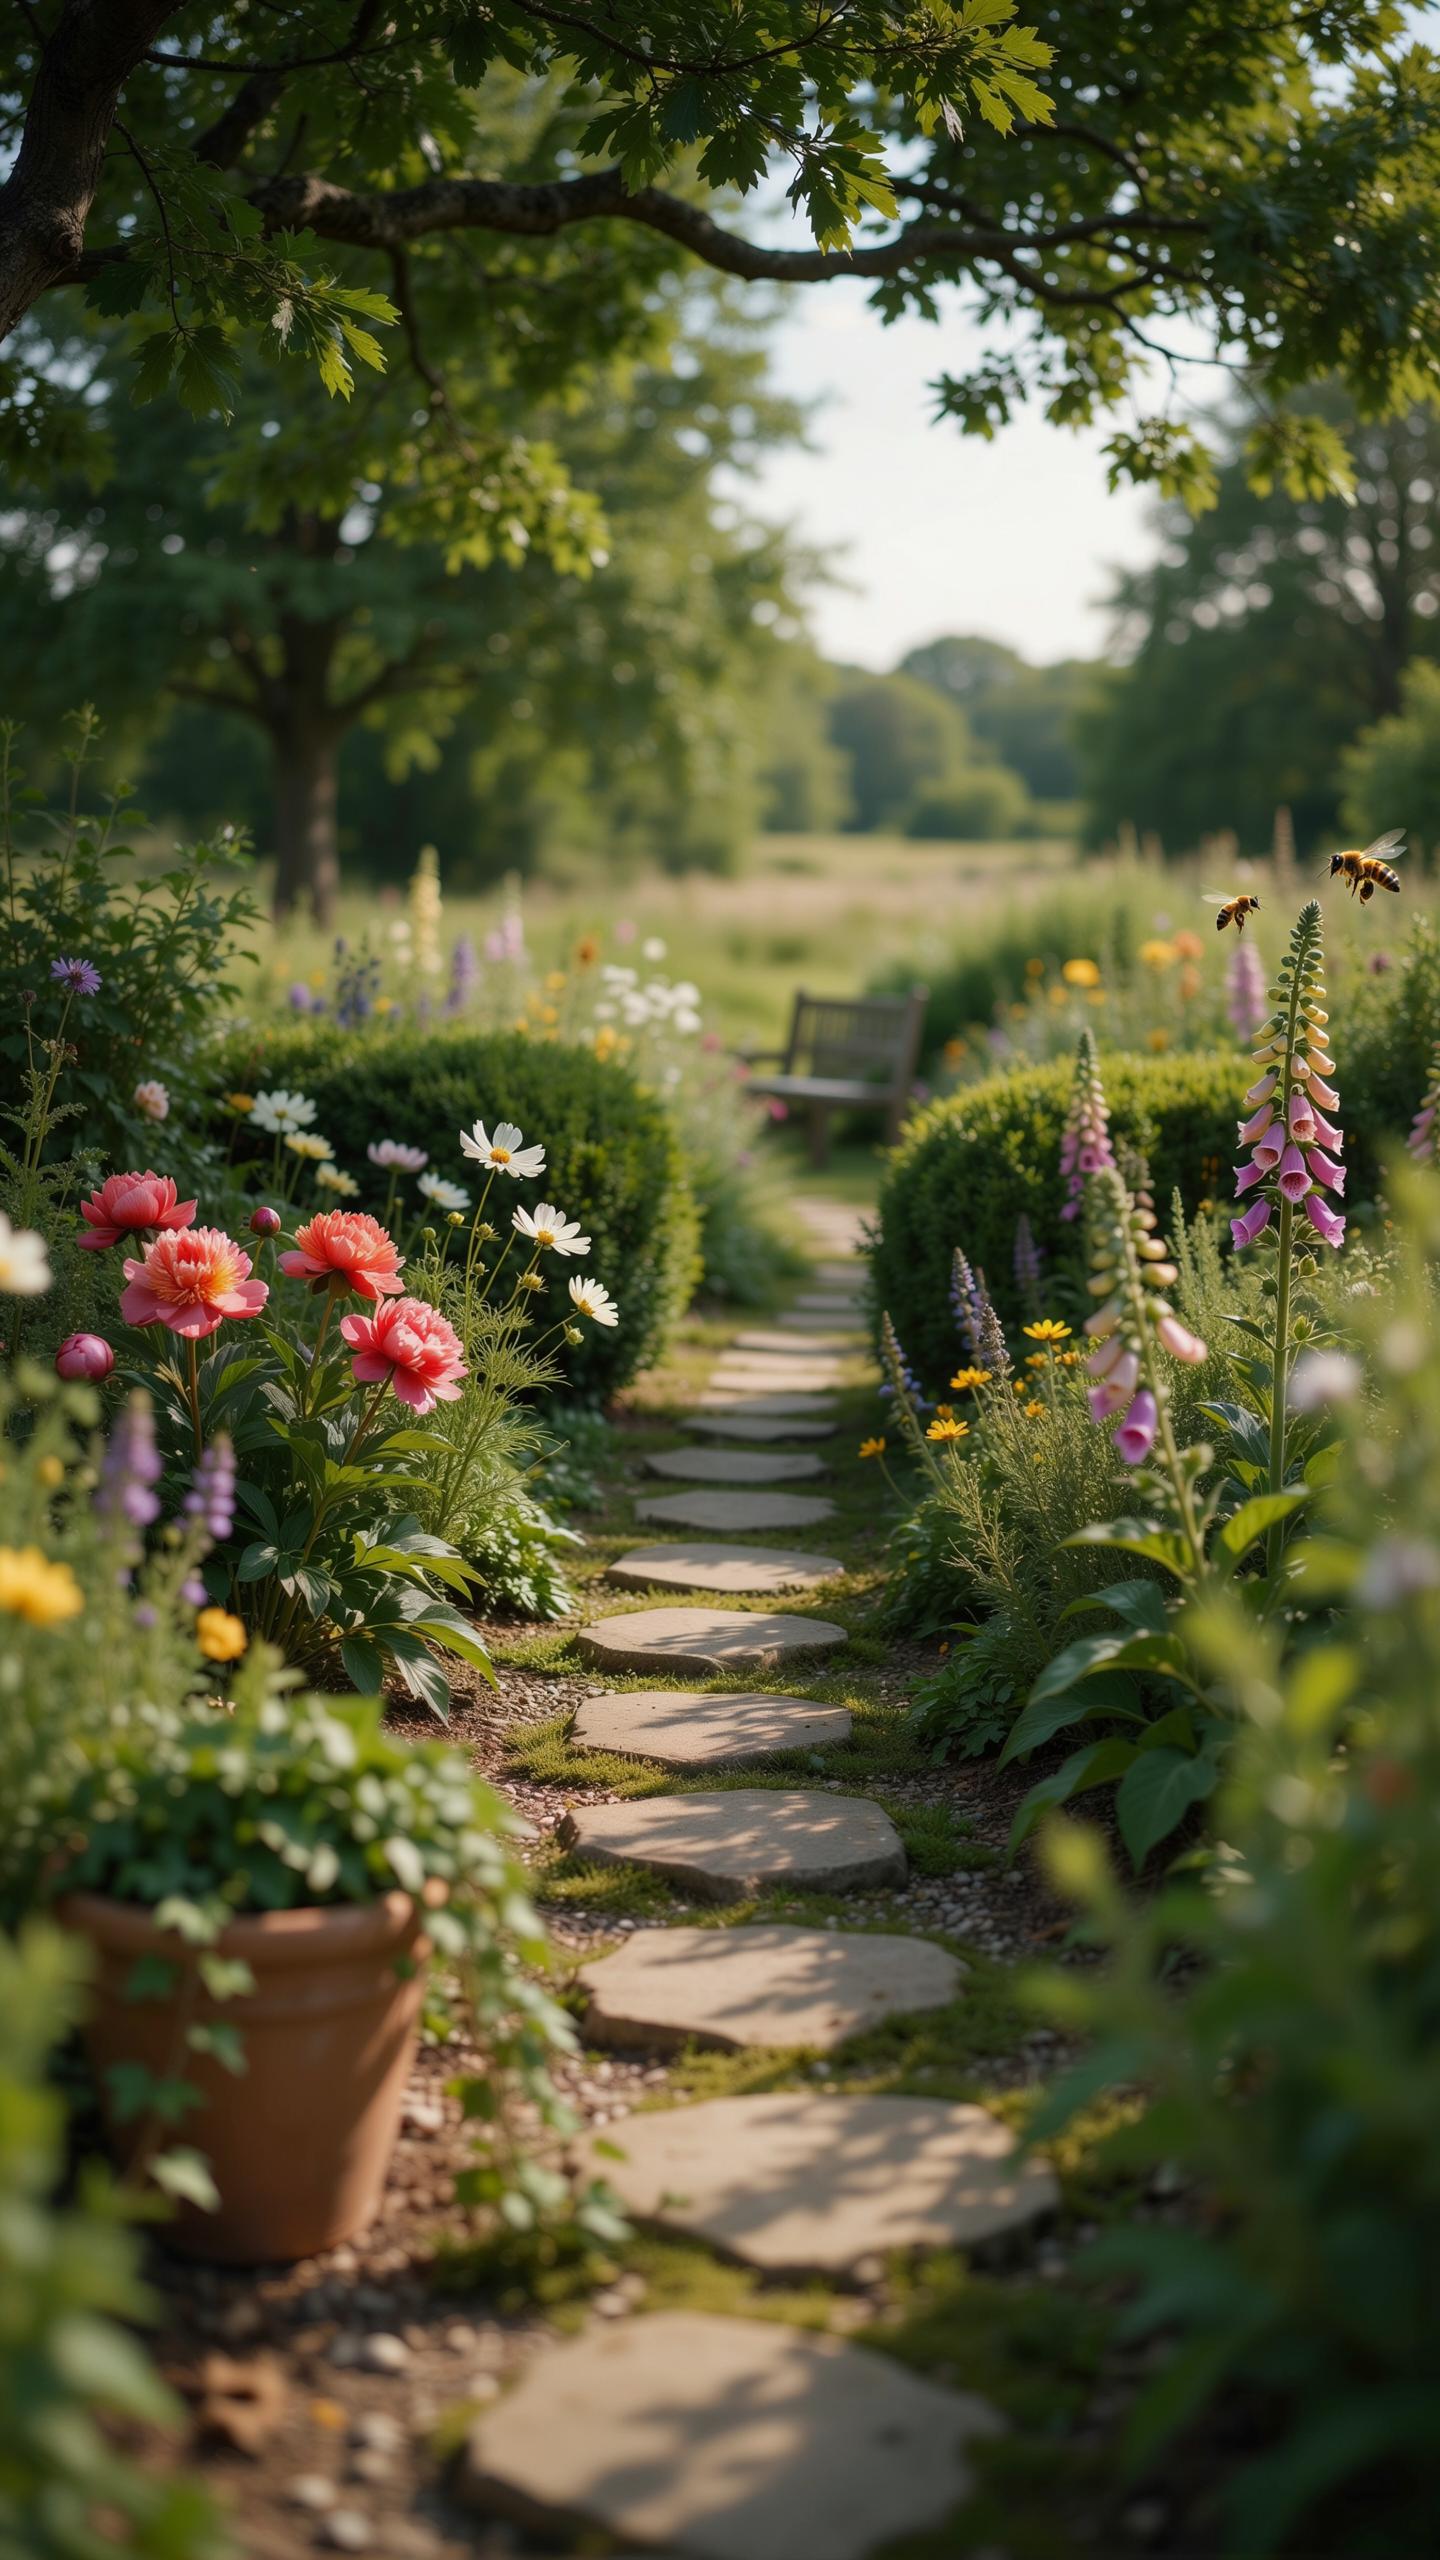
Spacing Calculating Natural Stride Intervals For Safe And Scenic Walking
The average adult stride spans 24 to 30 inches when walking at a normal pace. Space your stepping stones within this range to prevent users from stretching awkwardly or taking unnatural steps. Measure from the center of one stone to the center of the next. This spacing prevents trips while maintaining flow through the garden. Test your spacing by walking the path yourself before finalizing placement.
Stepping stone paths in cottage gardens traditionally accommodate the household residents first, then guests. If your household includes children or elderly visitors, reduce spacing to 20 to 24 inches. Uneven terrain demands closer stone placement for safety. Walk the intended route multiple times during design phase to catch spacing problems early. Adjust stone positions based on actual walking comfort, not theoretical calculations alone.
Fillers Planting Creeping Thyme And Moss Between Your Individual Stones
Creeping thyme tolerates foot traffic and fills gaps between stones effectively. This low-growing herb spreads horizontally, reaching only 2 to 6 inches tall. Plant thyme in well-draining soil mixed with sand or grit. Water regularly during establishment, then reduce frequency once established. Thyme releases aromatic oils when stepped on, adding sensory value to your path.
Moss establishes in damp, shaded areas between stones where thyme struggles. Moss requires no fertilizer and tolerates compacted soil. Keep moss consistently moist during the first growing season to encourage establishment. Existing moss can be encouraged by reducing soil pH and improving moisture retention. Both fillers take 6 to 8 weeks to establish a cohesive appearance along your path.
Designing Pathways For A Large Cottage Garden Balance
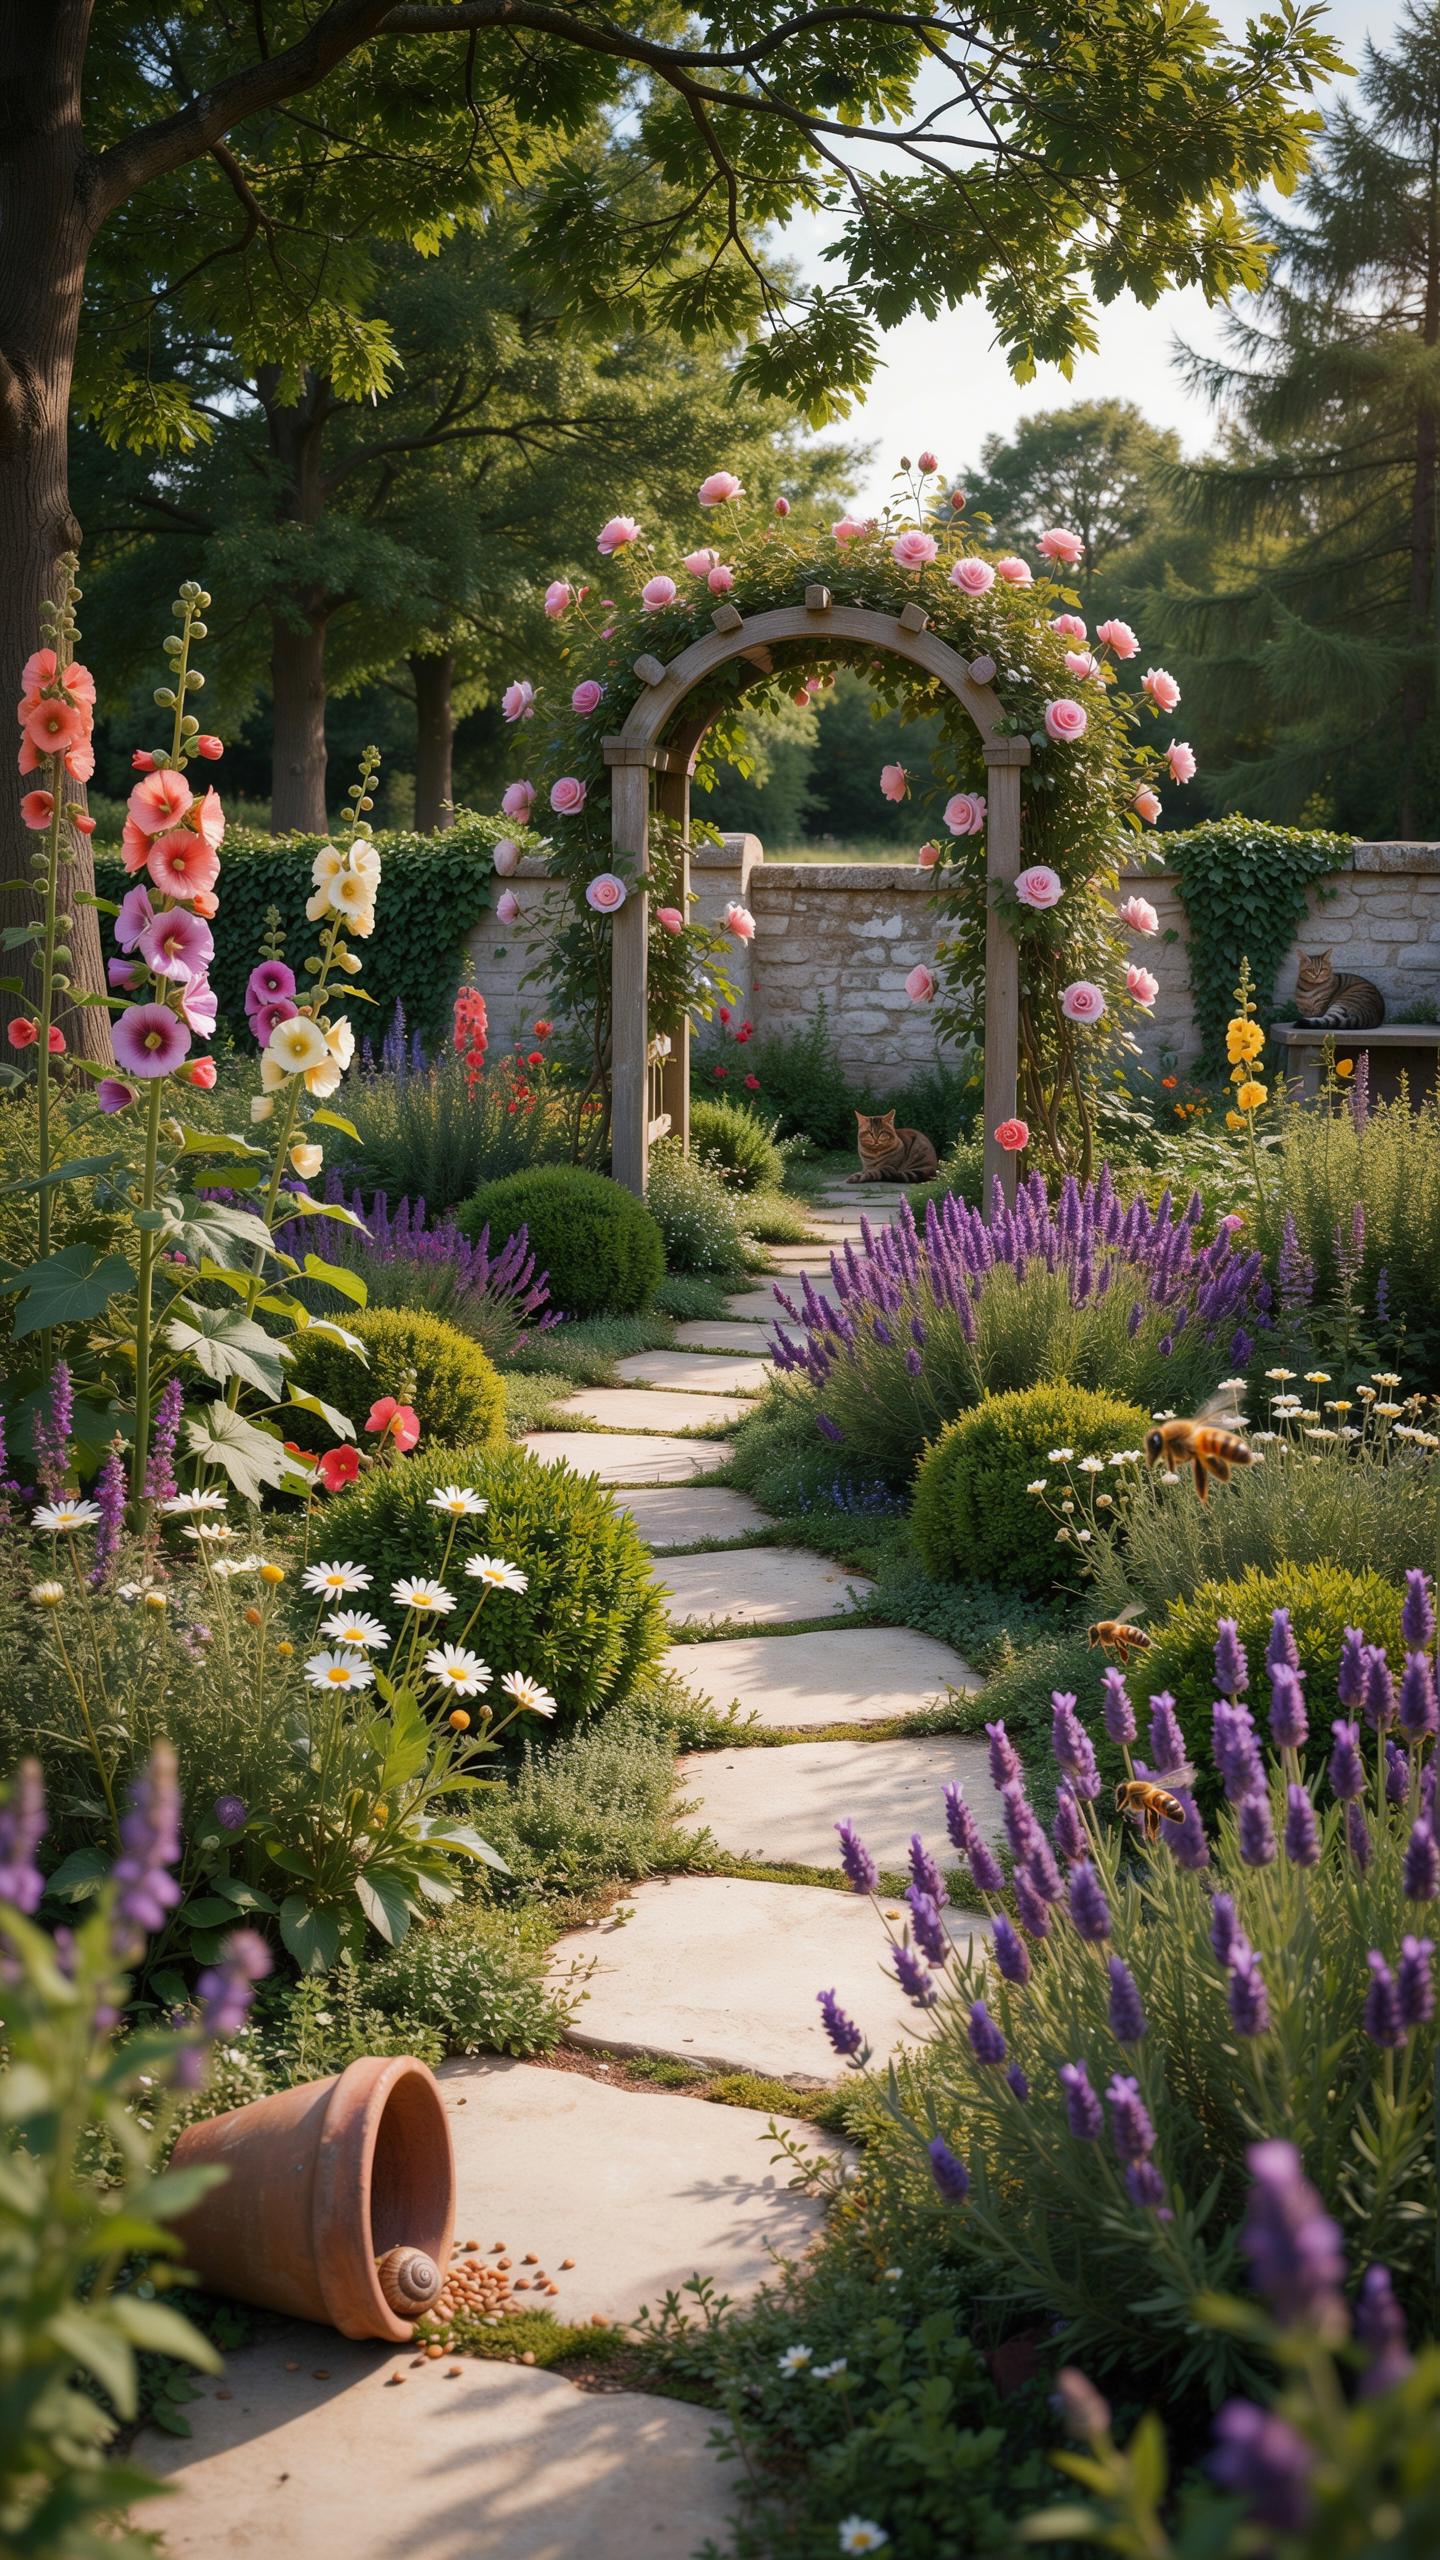
Scale Your Walkway Width To Complement Expansive Green Spaces
Path width directly impacts how visitors navigate your garden and perceive space. Standard cottage garden paths run 2 to 3 feet wide, which works for intimate settings. Larger gardens need wider paths, typically 3 to 4 feet, to prevent the space from feeling cramped or maze-like. Width establishes visual proportion between the pathway and surrounding plantings.
Narrow paths in expansive gardens create awkward transitions and force single-file walking. Wide paths anchor large spaces and encourage visitors to move at a comfortable pace. Calculate your main path width by measuring the distance from your garden’s focal point to its boundary, then divide by 8 to 10. This ratio prevents paths from dominating the landscape while maintaining functional accessibility.
Creating Strategic Focal Points And Rest Stops In Wide Arrangements
Large gardens benefit from deliberate stopping points where paths widen or intersect. These nodes serve practical and psychological purposes: they break monotony and give visitors natural places to pause. Widened sections, typically 4 to 6 feet in diameter, work well at path junctions or near garden features like benches or plantings. Position these stops every 30 to 50 feet in expansive layouts.

Rest areas function best when they align with views or architectural elements within your garden. A widened section facing a vista or bordered by flowering shrubs creates natural gathering spots. Install seating or hardscape features at these intersections to anchor the space. This strategy prevents paths from feeling like one continuous corridor and creates rhythm throughout your cottage garden design.
Creative Garden Pathway Ideas Using Found Materials And Gravel
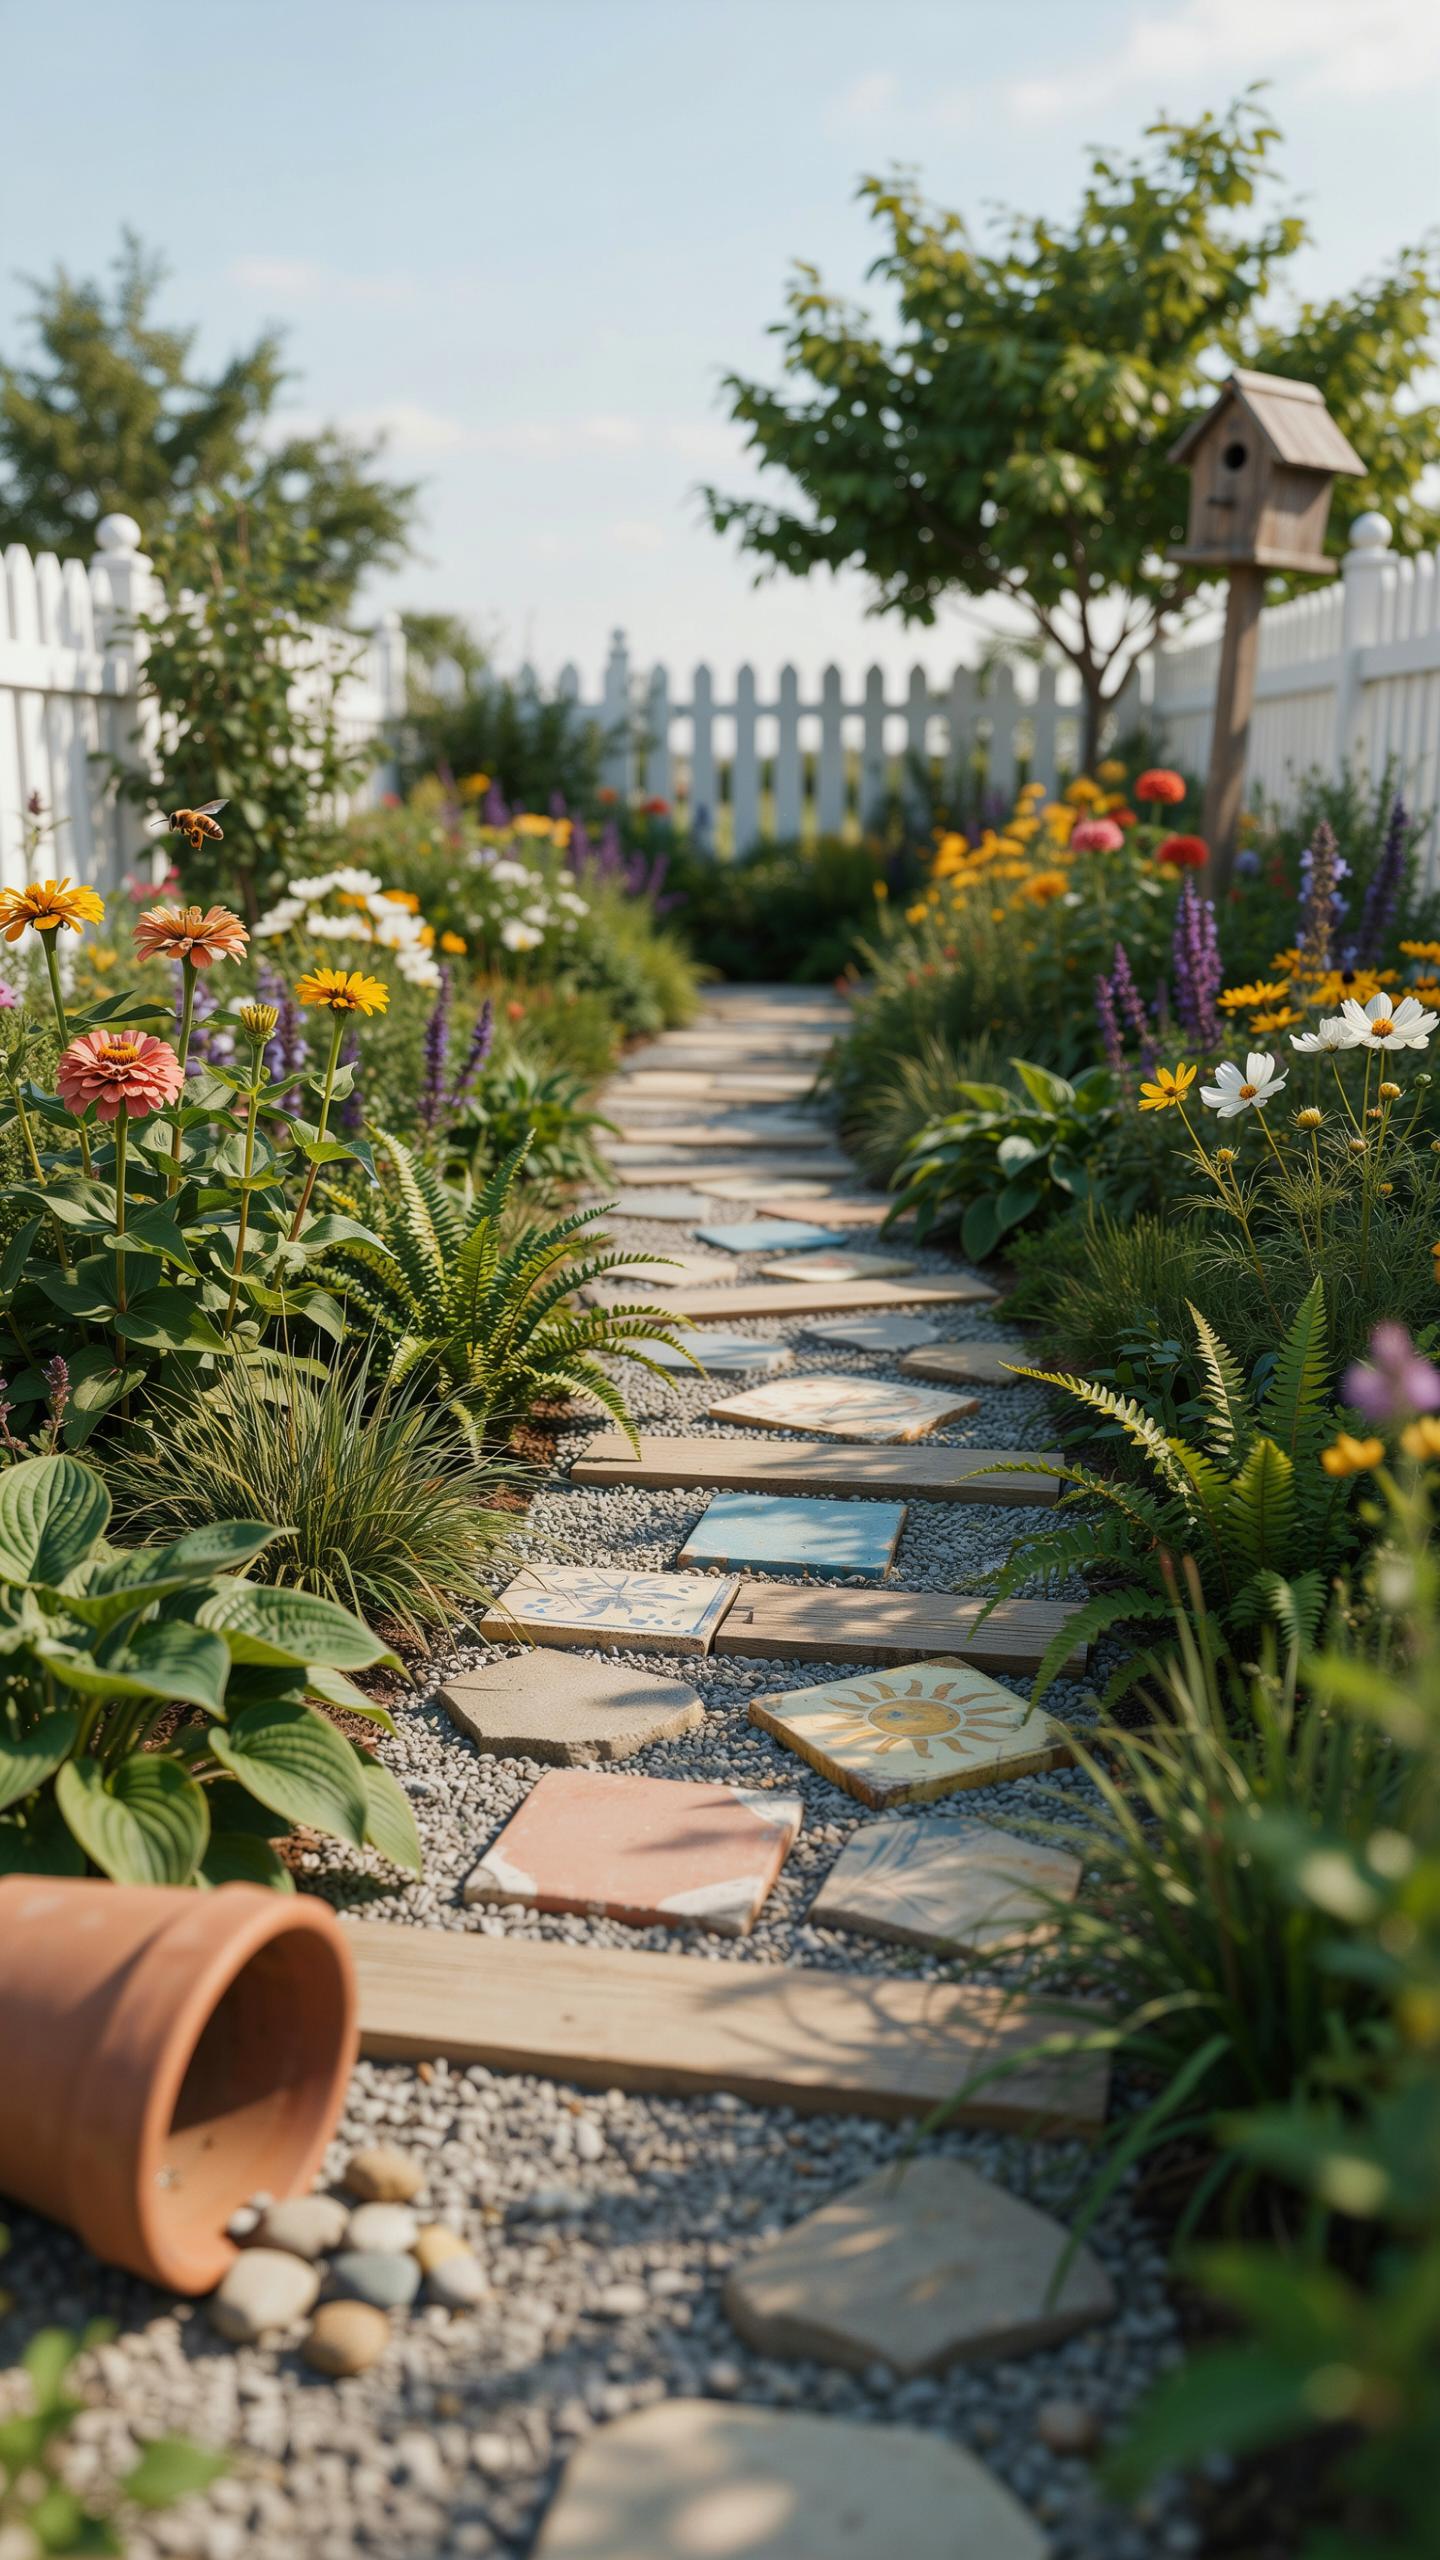
Best Practices For Installing Crunchy Gravel Paths That Defy Weeds
Gravel paths require proper base construction to prevent weed infiltration. Compact soil first, then add a landscape fabric layer. This barrier stops weeds from pushing through while allowing water drainage. Skip the fabric only if your soil drains exceptionally well and you maintain aggressive weeding schedules.
- Gravel depth: Maintain 2 to 3 inches of gravel. Thinner layers compact too quickly and expose fabric. Thicker layers waste material and make walking uncomfortable.
- Angular versus rounded: Angular gravel locks together better than smooth pebbles. This reduces displacement from foot traffic and rain runoff events.
- Edging installation: Install metal or wooden borders along path sides. Edging contains gravel and prevents spread into adjacent beds and lawn areas.
- Maintenance schedule: Rake gravel paths monthly to reset the surface. Redistribute material that migrates to path edges from foot traffic.
- Weed fabric specifications: Choose commercial-grade landscape fabric rated for 10-plus years. Cheap thin fabric tears easily and fails to block persistent weed roots.
Gravel paths settle over time, so expect to top-dress annually with fresh material. Plan for replacement gravel costs in your garden budget. Quality gravel paths last 5 to 7 years before requiring complete replacement if properly maintained.
The soul cannot thrive in the absence of a garden path to wander. A winding walk through the roses is where we truly find our way home.
Integrating River Pebbles And Artistic Mosaics Into Your Footway
River pebbles offer design flexibility beyond basic gravel applications. Smooth water-worn pebbles create decorative patterns and define pathway zones. Use contrasting colors to establish visual rhythm without adding maintenance complexity. Pebbles work best in low-traffic areas or as accent sections within gravel paths.

Mosaic pathways combine cut stone, tile, and pebbles into deliberate patterns. This technique traces back centuries to Roman garden design and European cottage traditions. Modern cottage gardens adapt these methods using readily available materials like reclaimed tile and locally sourced stone. Install mosaics on stable sand beds over compacted soil to ensure longevity and prevent settling.
Dreamy Pairings For A Classic Stone Cottage Rose Garden
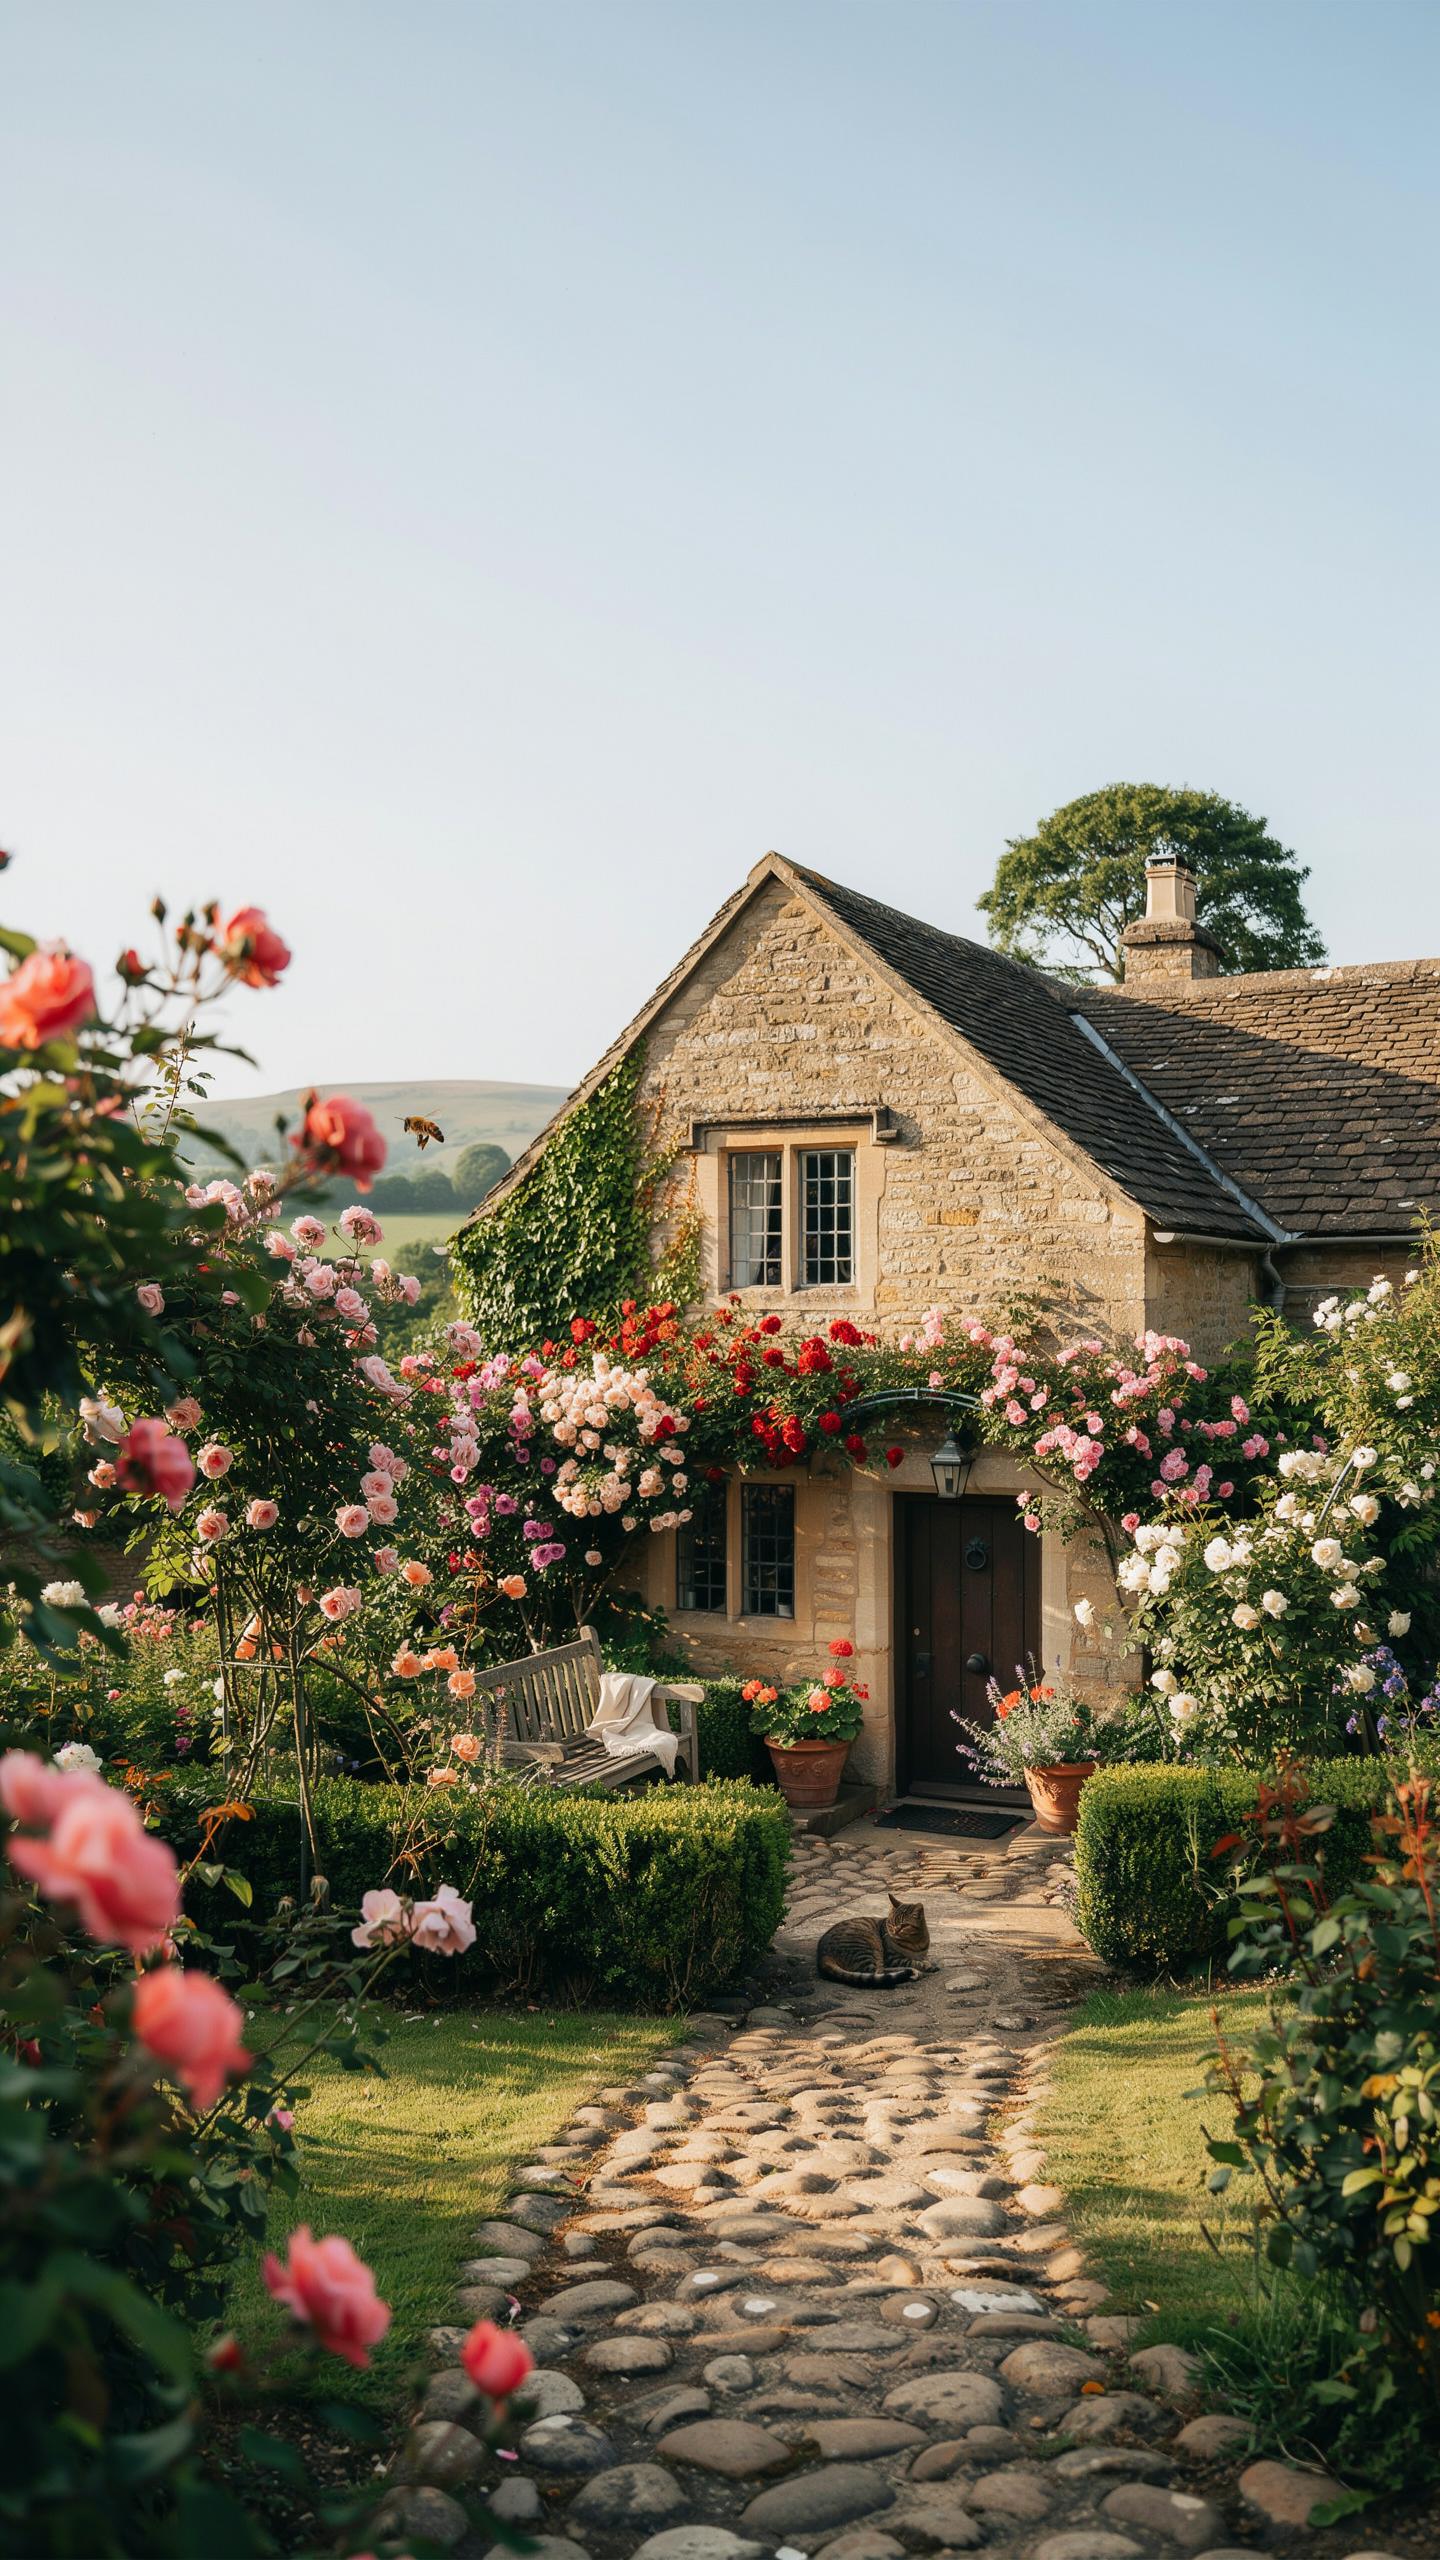
Rose Selection
David Austin roses deliver fragrance and disease resistance that heritage varieties often lack. These shrub roses tolerate partial shade better than floribunda types, making them practical for cottage gardens where paths create dappled light. Select varieties that bloom repeatedly throughout the season rather than once yearly. Check mature heights before planting along walkways to avoid overcrowding the space.
Climbing roses require structural support and specific positioning relative to your stone path. Install them on the sunny side of arbors or trellises to maximize blooming. Rosa ‘Constance’ and ‘Lady of Shalott’ climb reliably to eight feet without aggressive pruning demands. Match bloom color to stone tone for visual coherence, not contrast.
Arbors And Trellises To Frame Your Enchanting Stone Walkway
Position arbors directly above path intersections to create natural stopping points and sight lines. This placement forces foot traffic to pause and view your garden structure deliberately. Space arbors twenty to thirty feet apart on longer paths to establish rhythm without visual clutter. Ensure clearance of seven feet minimum to accommodate head height plus rose growth.
Trellises attached to arbor sides funnel climbing roses toward the structure’s framework rather than spreading randomly across the path. Orient trellis panels perpendicular to the sun’s morning angle to maximize light exposure for blooming. Stagger heights between six and eight feet to prevent the garden from feeling monotonous. Secure all structures with concrete footings at least two feet deep to resist wind load from mature vines.
Installing A Durable Flagstone Walkway For A Premium Feel Defense
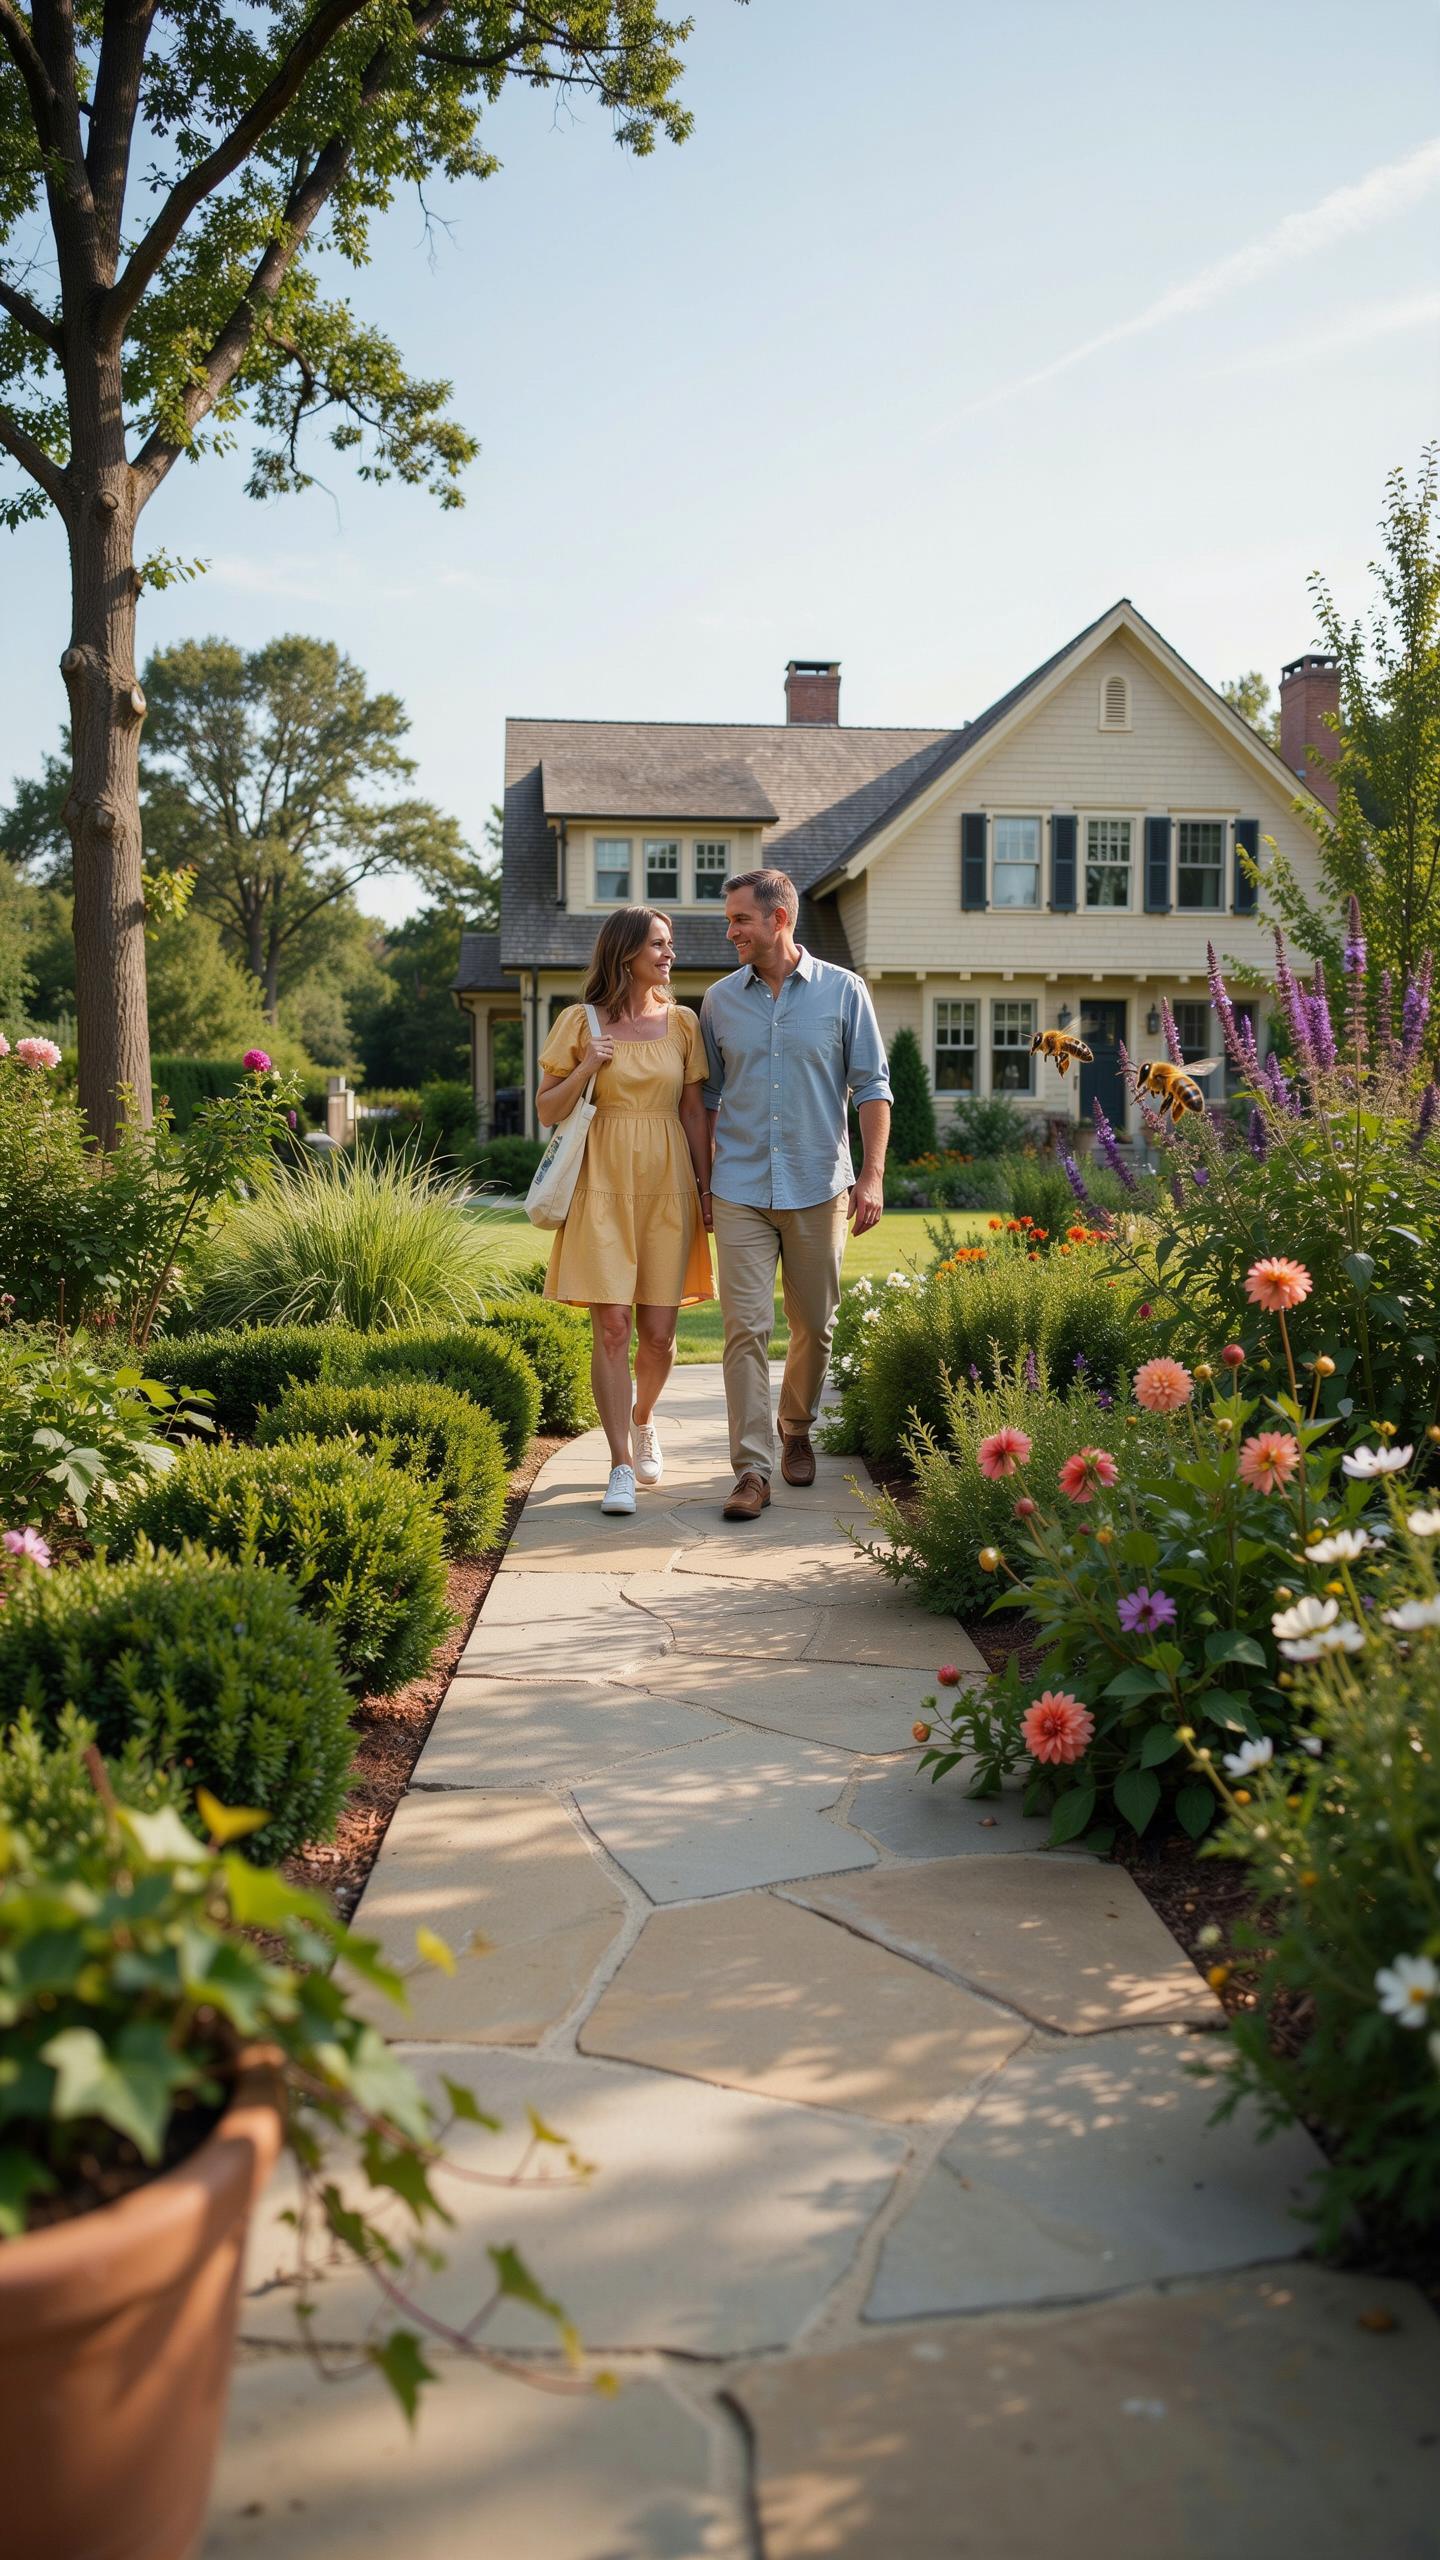
Excavation Preparing The Base With Subbase Gravel And Levelling Sand Layers
Excavate to a depth of 4 to 6 inches depending on your climate and soil type. Remove all organic material, roots, and debris. Compact the native soil firmly. This step prevents settling and keeps your path stable for years. Poor excavation causes uneven surfaces and premature deterioration.
Lay 2 to 3 inches of subbase gravel, then compact it with a hand tamper or plate compactor. Top this with 1 to 2 inches of leveling sand. Rake the sand smooth and level. This dual layer system manages drainage while creating a stable bed for flagstone placement. Sand adjusts easily during installation to achieve proper slope.
Fitting Achieving A Natural Puzzle Like Interlocking Fit With Irregular Flagstones
Lay flagstones without mortar first to assess the fit. Arrange irregular shapes to minimize gaps and create a tight interlocking pattern. Adjust the sand layer beneath each stone as needed. Tap stones down gently with a rubber mallet. This dry run prevents mistakes and saves time during final placement.

Once satisfied with the layout, set stones permanently in polymeric sand or mortar. Polymeric sand hardens when wet and locks stones together. Fill joints completely and sweep off excess material. This approach creates a unified surface that resists movement while maintaining the natural aesthetic of irregular flagstone paths.
Practical Walk Through Garden Ideas To Engage All The Senses
Planting Aromatic Herbs That Release Scent When Brushed Against
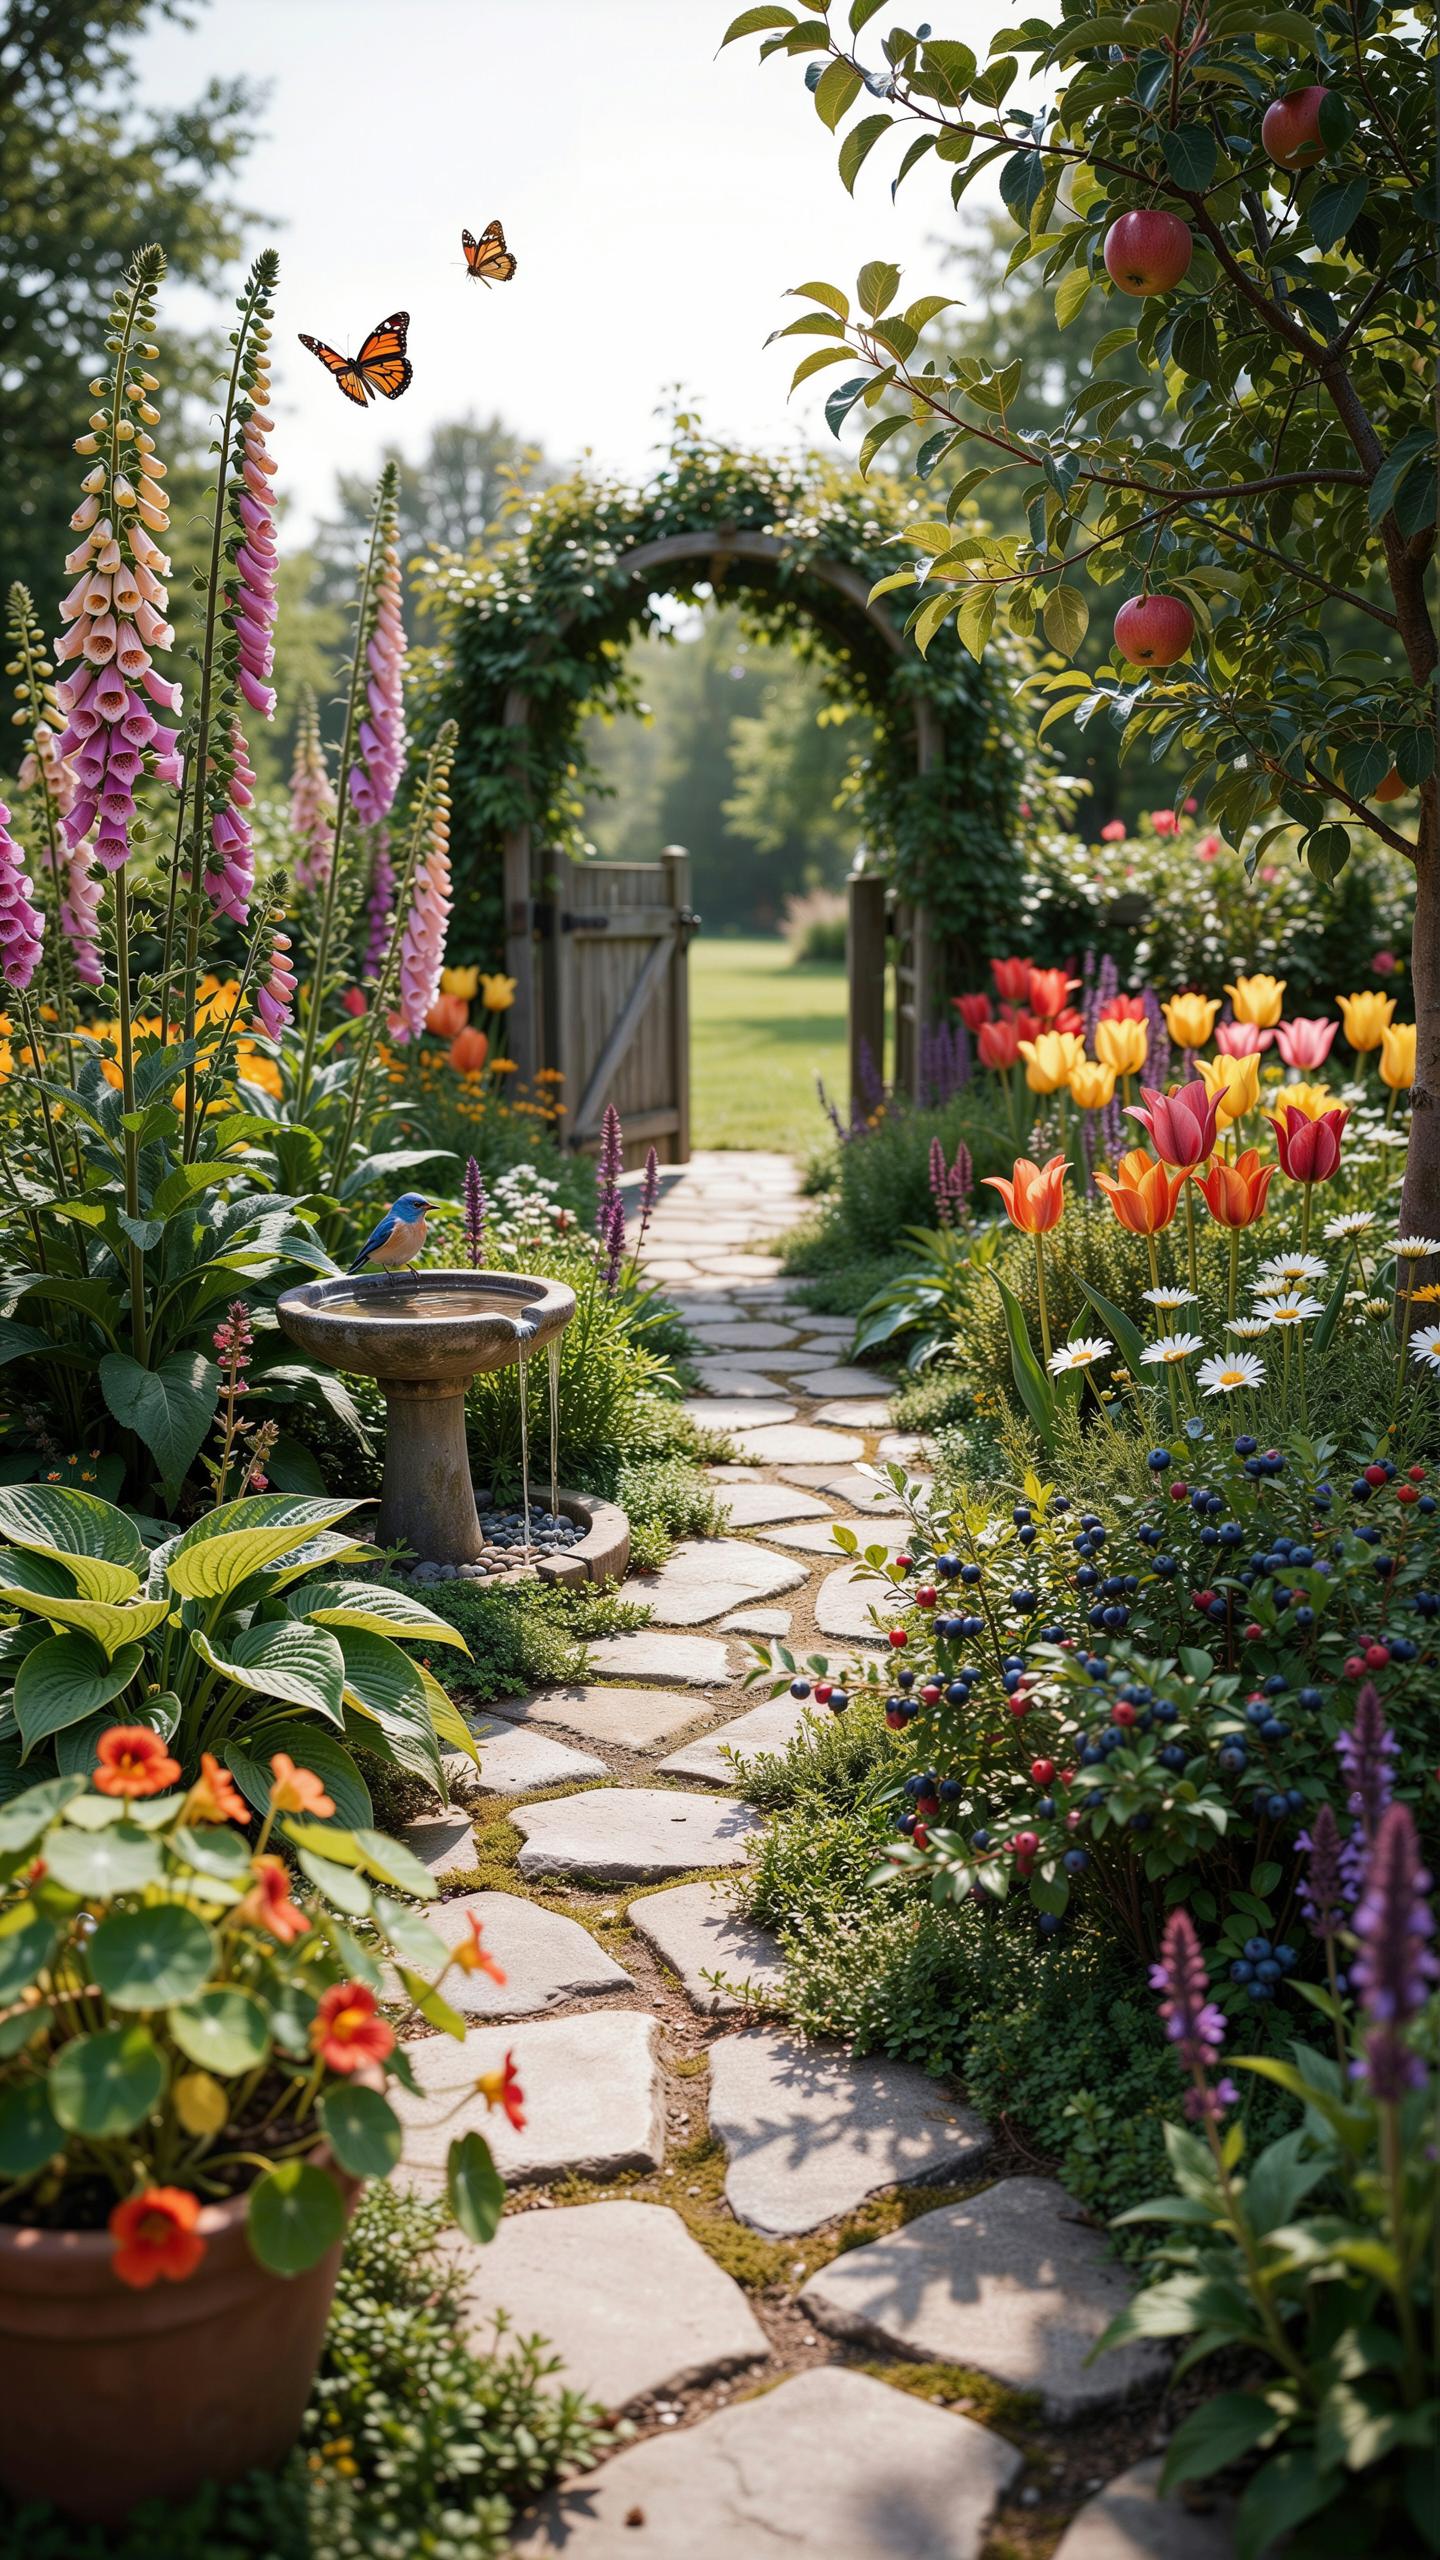
Position aromatic herbs along path edges where foot traffic naturally occurs. Lavender, rosemary, and thyme release volatile oils when touched or brushed. This direct contact triggers scent release without requiring crushing. Place plants eight to twelve inches from the path edge to ensure contact during normal walking. Space herbs eighteen inches apart to prevent overcrowding and allow air circulation.
Choose herbs based on your climate zone and soil conditions. Lavender thrives in well-drained soil and full sun across most regions. Thyme tolerates poor soil and spreads as a groundcover. Rosemary requires protection in cold climates but performs well in containers moved seasonally. Brush your hand against plants during maintenance to confirm scent release and assess plant health.
Integrating Subtle Low Voltage Lighting For Safe Nighttime Strolls
Install low-voltage lighting systems along paths to prevent tripping hazards after dark. These systems use twelve volts instead of standard household current, eliminating shock risk. Position fixtures every four to six feet along the path centerline. Bury cable three to four inches deep to protect from damage and maintain clean aesthetics. Solar-powered options eliminate wiring requirements but provide shorter runtime and lower light output.
Select appropriate fixture types based on your path design and usage patterns. Ground-mounted uplights cast light upward and create visual interest without glare. Path-edge lights mark boundaries and guide foot placement safely. In-ground fixtures direct light downward and blend into the landscape. LED bulbs consume seventy percent less energy than incandescent options and last ten to twenty times longer, reducing maintenance frequency.
Frequently Asked Questions

What are the essential elements of a traditional cottage garden path?
A traditional cottage garden path design focuses on soft, curving lines rather than rigid geometric shapes. To achieve this aesthetic, use natural materials like weathered brick, gravel, or stepping stones tucked among fragrant groundcovers. The goal is to create a sense of discovery, allowing hardy perennials and self-seeding flowers to spill over the edges, blurring the lines between the walkway and the lush, informal planting beds surrounding it.
How do I choose the right materials for a functional cottage garden path?
When planning your cottage garden path design, consider both durability and drainage. Reclaimed bricks or flagstones are excellent for high-traffic areas, providing a stable surface that ages beautifully. For a softer look, pea gravel offers excellent permeability and a charming crunch underfoot. Always install a base of crushed stone or landscape fabric first to prevent weeds and ensure your path remains level and functional throughout the changing seasons.
Can I create a beautiful garden walkway on a limited budget?
Absolutely. You can design an enchanting walkway without spending a fortune by sourcing free or low-cost materials like wood chips, local river rocks, or salvaged pavers. Using mulch is the most cost-effective way to define your space quickly. Complement these affordable materials by planting inexpensive creeping thyme or chamomile in the crevices, which will eventually spread to create a high-end, lush appearance for a fraction of the price.



