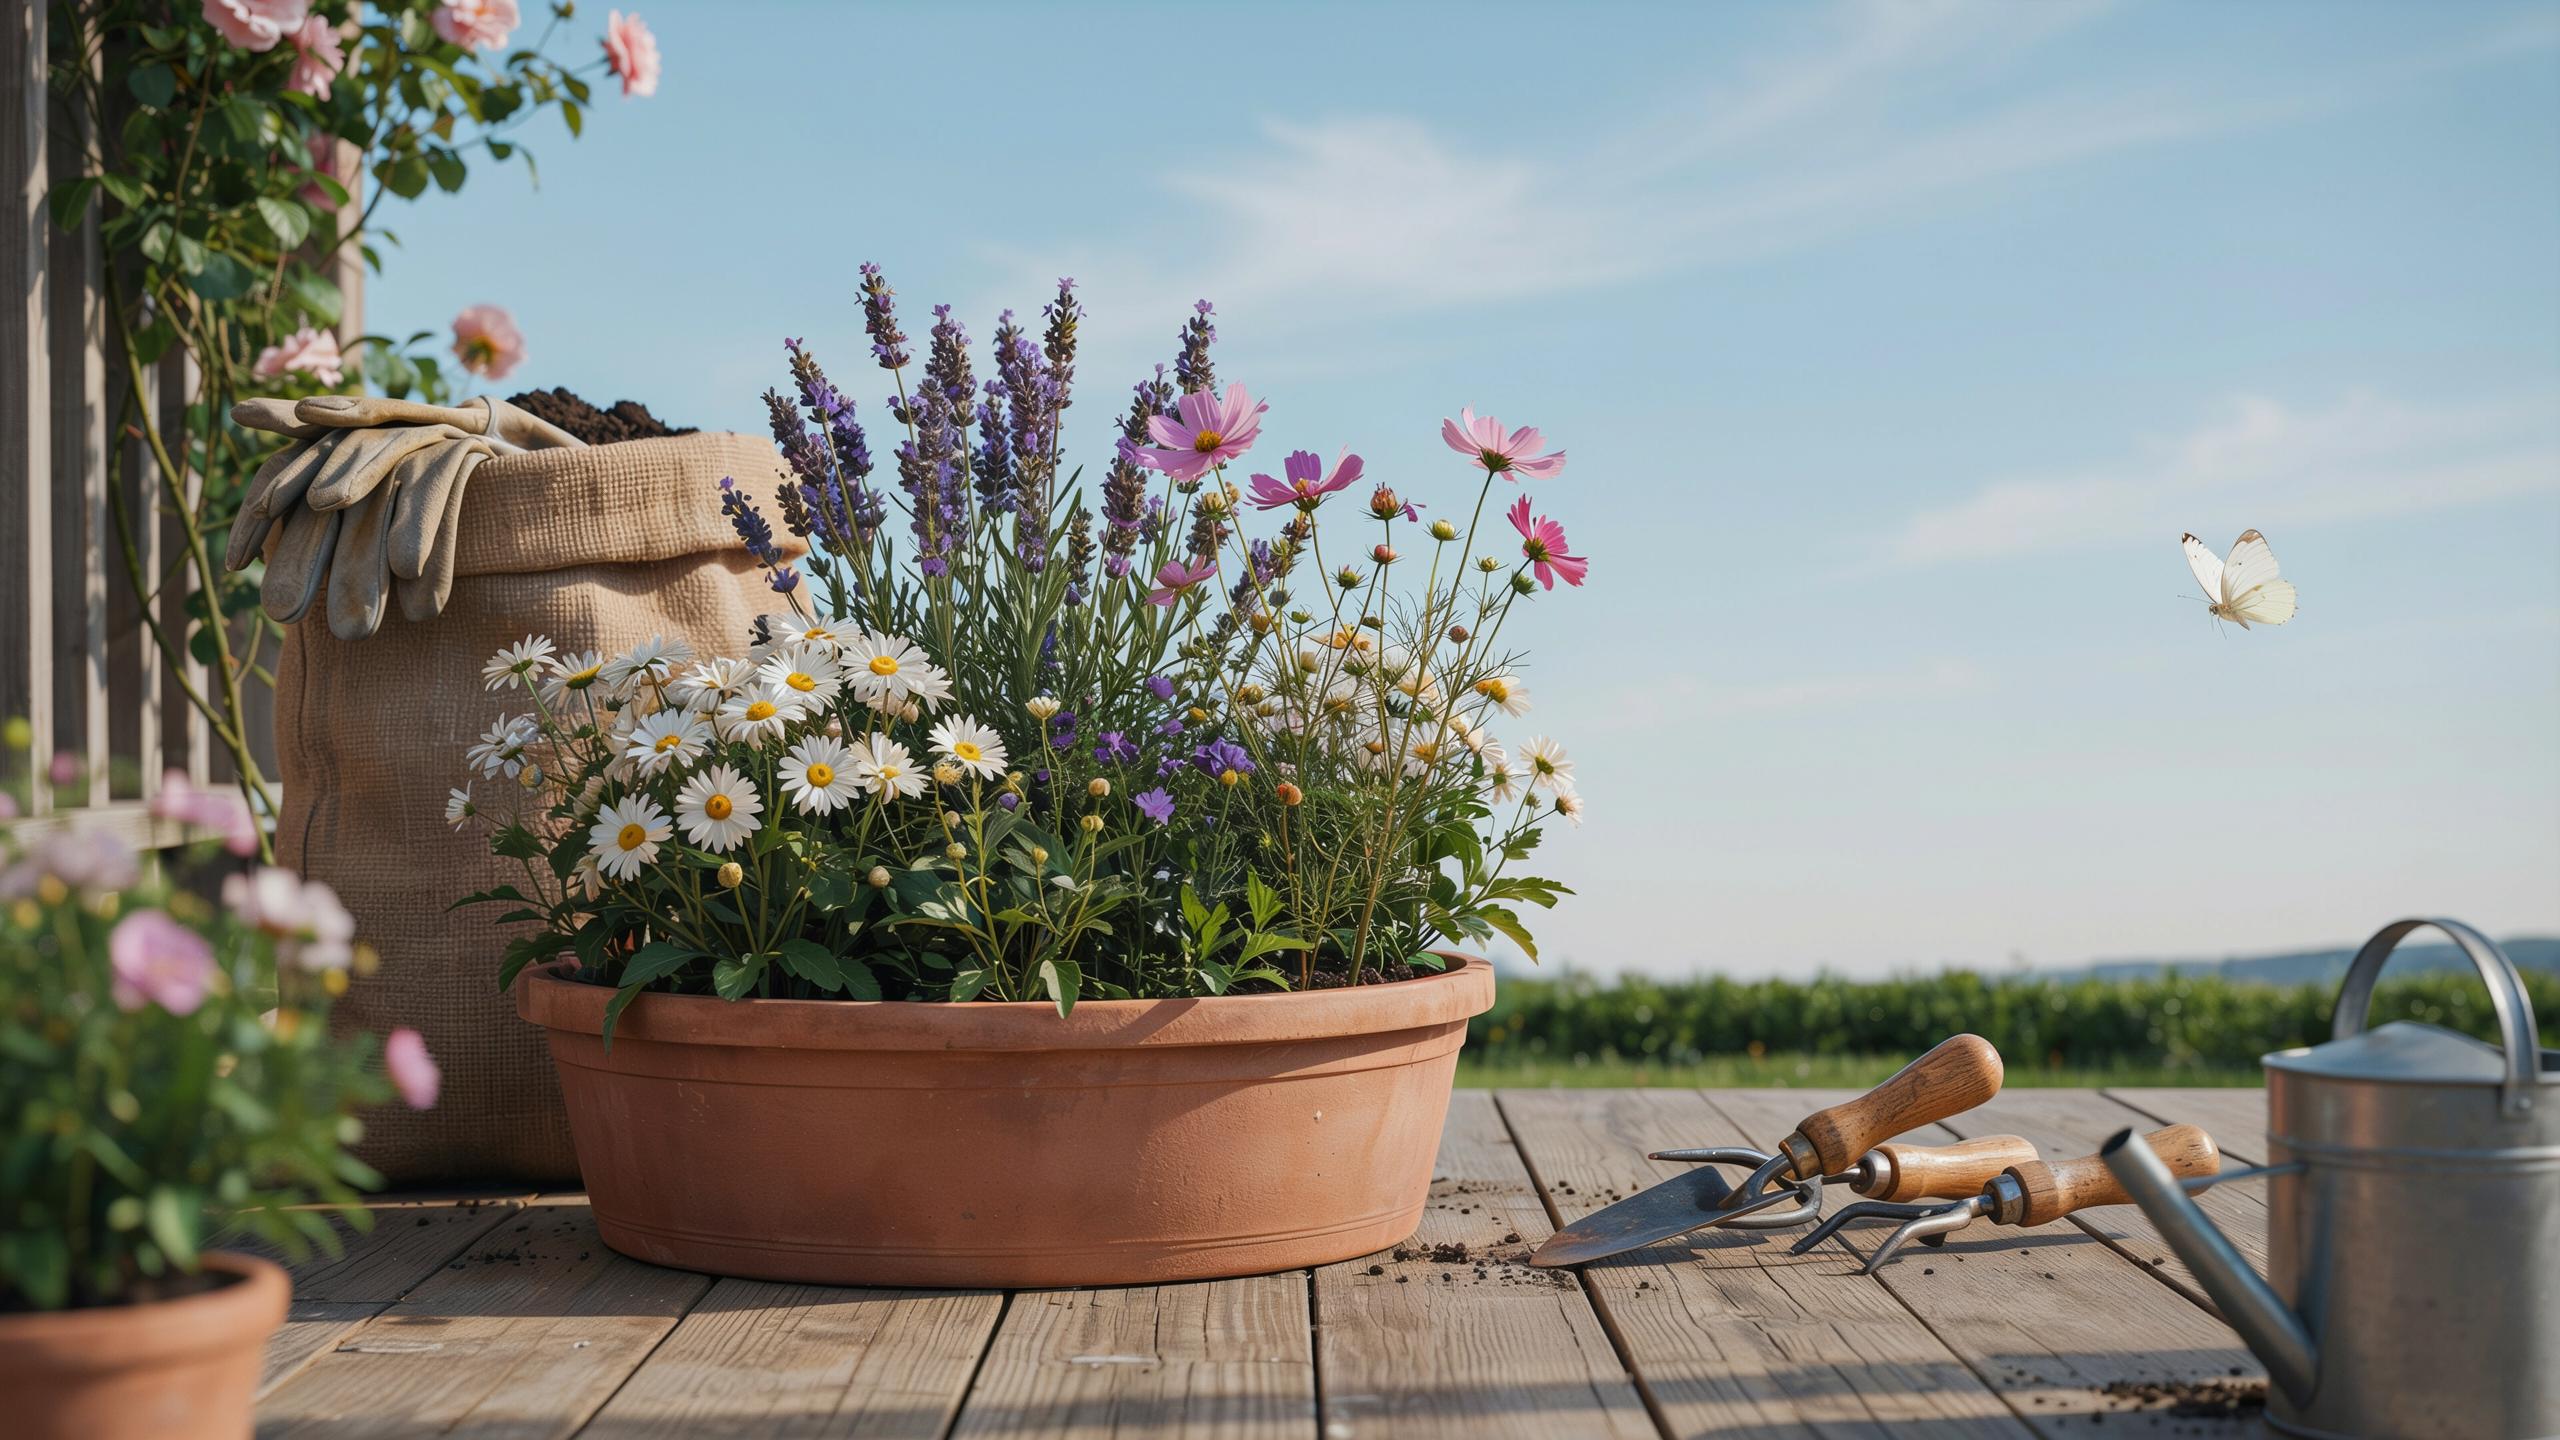
Understanding The Perfect Cottage Garden Container Mix
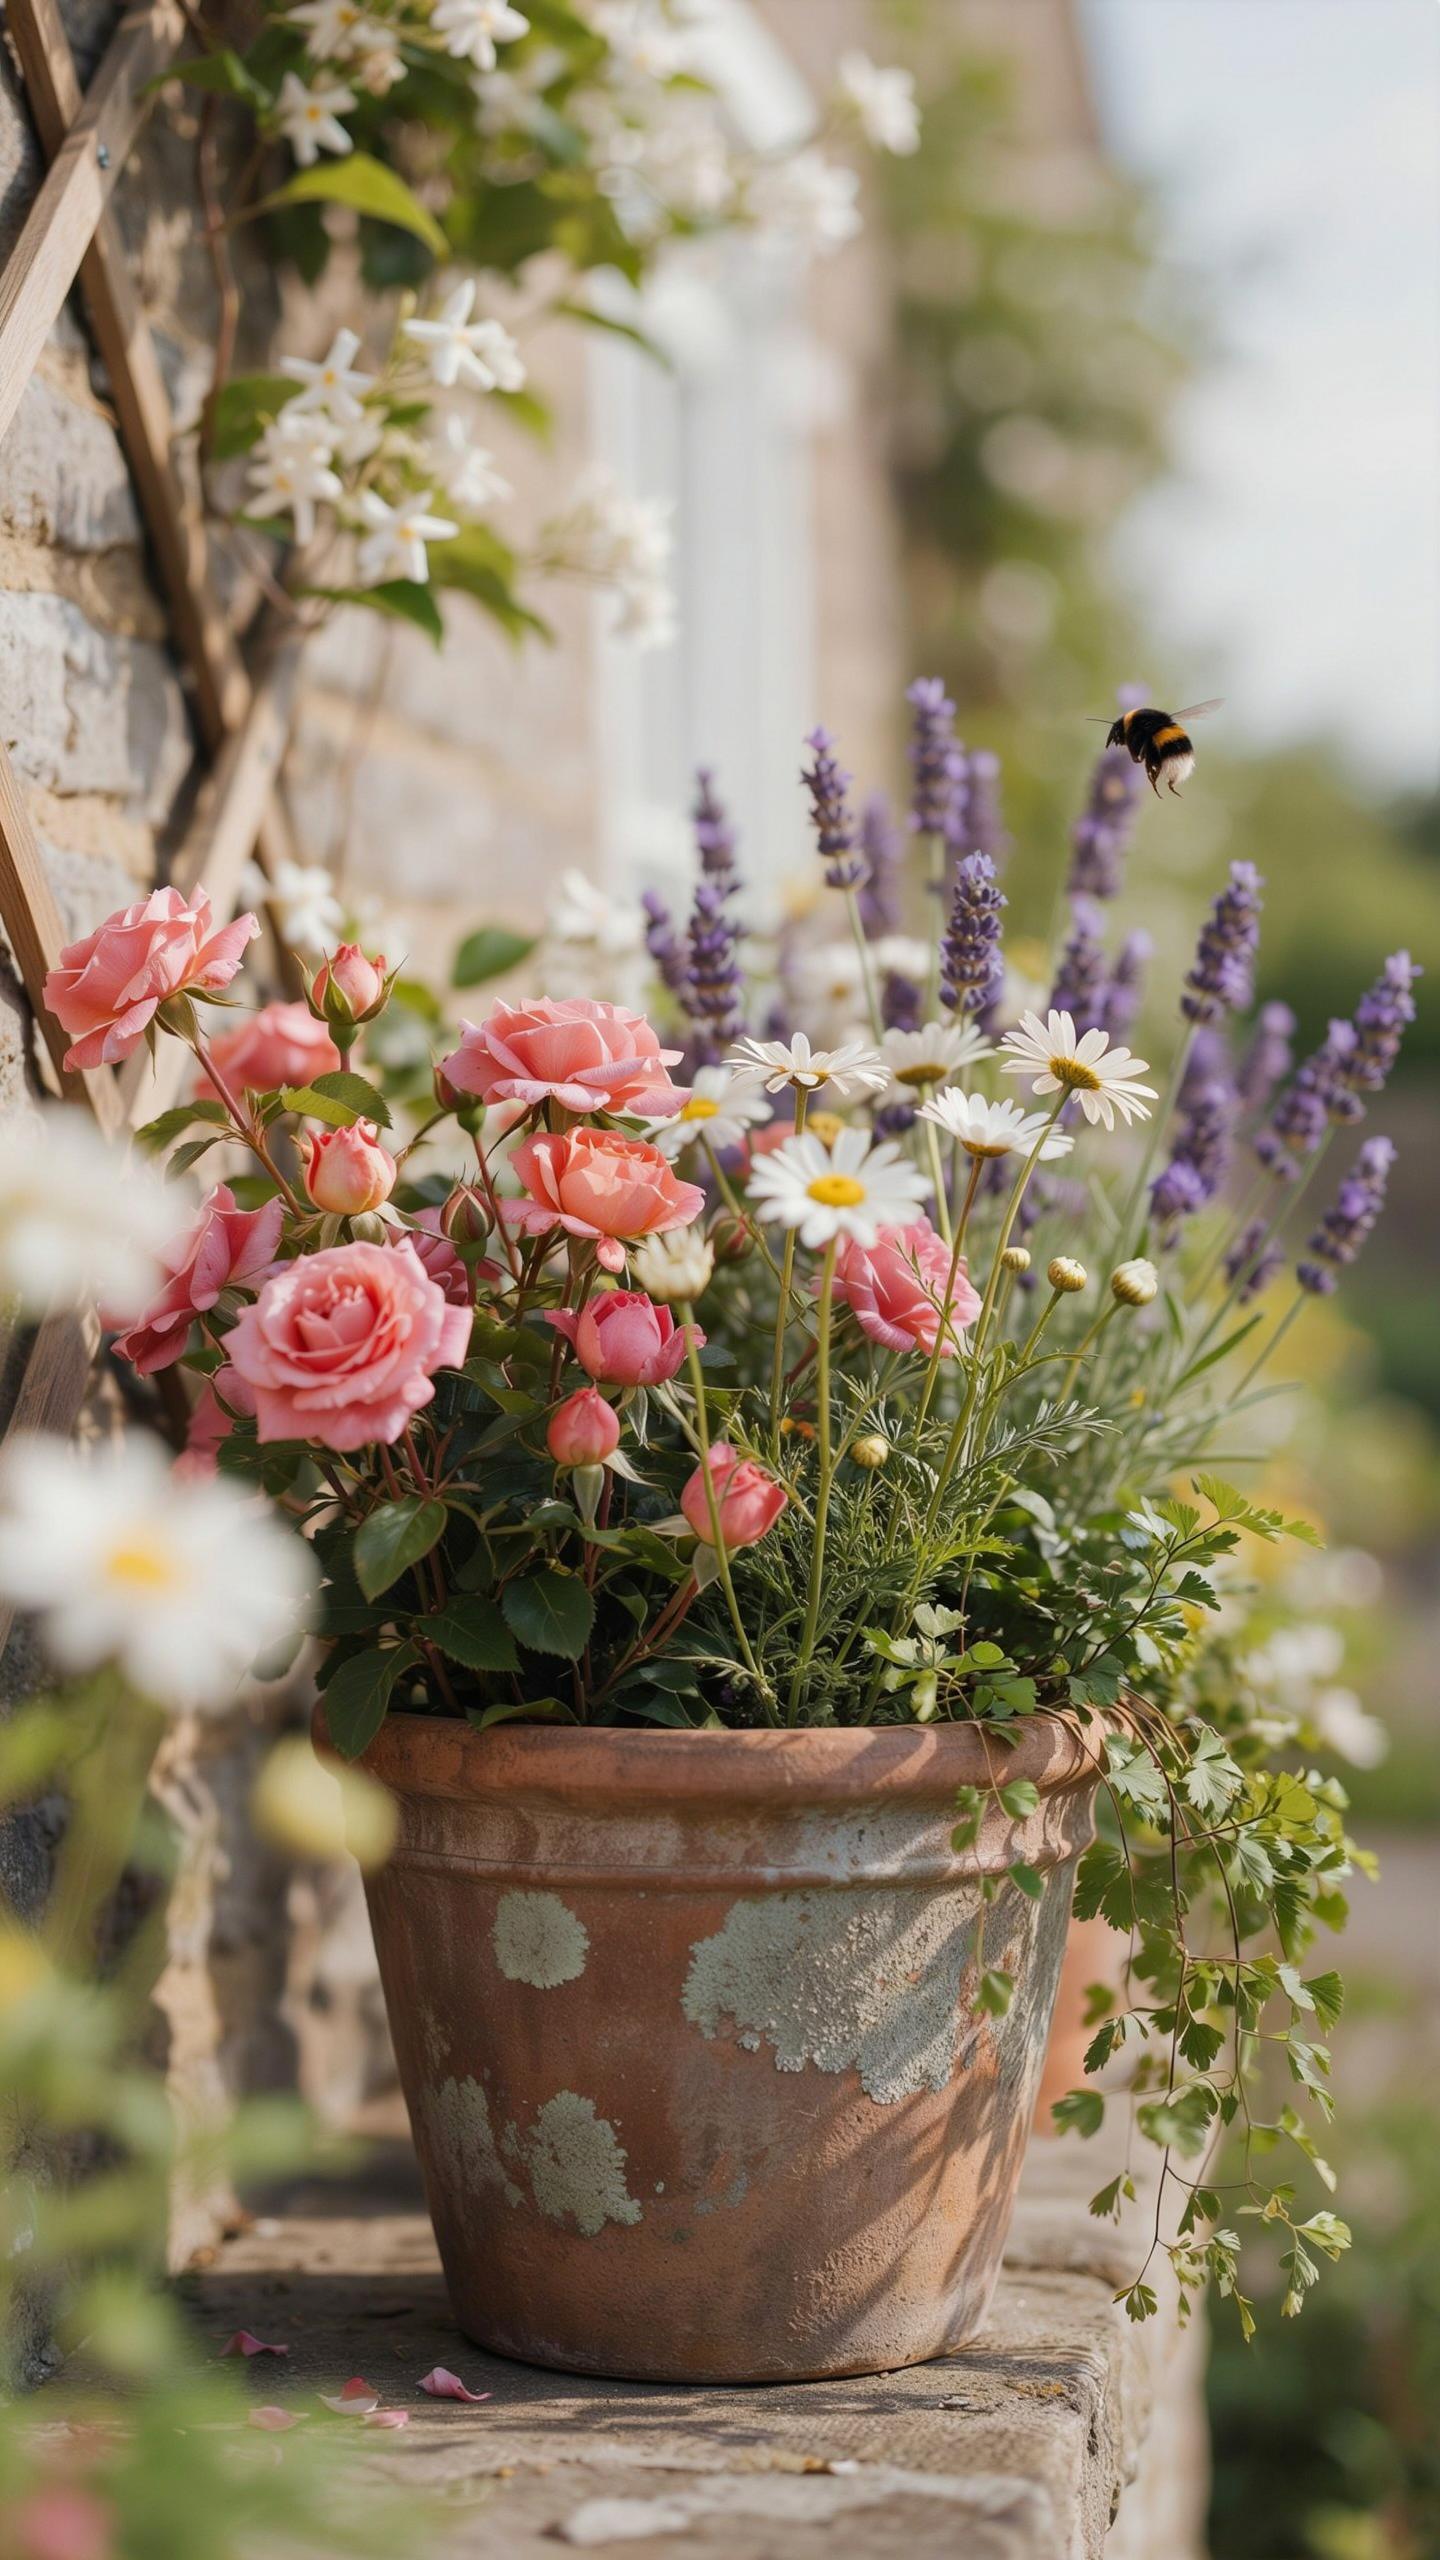
Soil Importance
Soil structure directly controls water retention, drainage, and root development in containers. Compacted or poor-quality soil suffocates roots, causing rot or stunted growth. Container plants depend entirely on the soil you provide, with no ground access for nutrients or water. Get this wrong and your blooms fail regardless of sunlight or care.
Cottage garden plants need soil that holds moisture without becoming waterlogged. Most container failures stem from poor drainage or inconsistent water availability. The right soil structure prevents both drought stress and root disease. This single factor determines whether your containers thrive or disappoint.
Potting Components
A functional cottage garden container mix combines peat moss or coco coir, compost, and perlite in balanced proportions. These three materials work together to create a medium that drains well while retaining adequate moisture. Peat moss holds water and nutrients. Compost provides organic matter and slow-release nutrients for plant growth throughout the season.
Perlite or coarse sand creates air pockets that prevent compaction. These air spaces allow roots to penetrate easily and water to drain without pooling. Most beginner mixes use a ratio near 40 percent peat or coir, 40 percent compost, and 20 percent perlite. Adjust this blend based on your specific plants and local climate conditions.
Selecting The Right Cottage Garden Containers
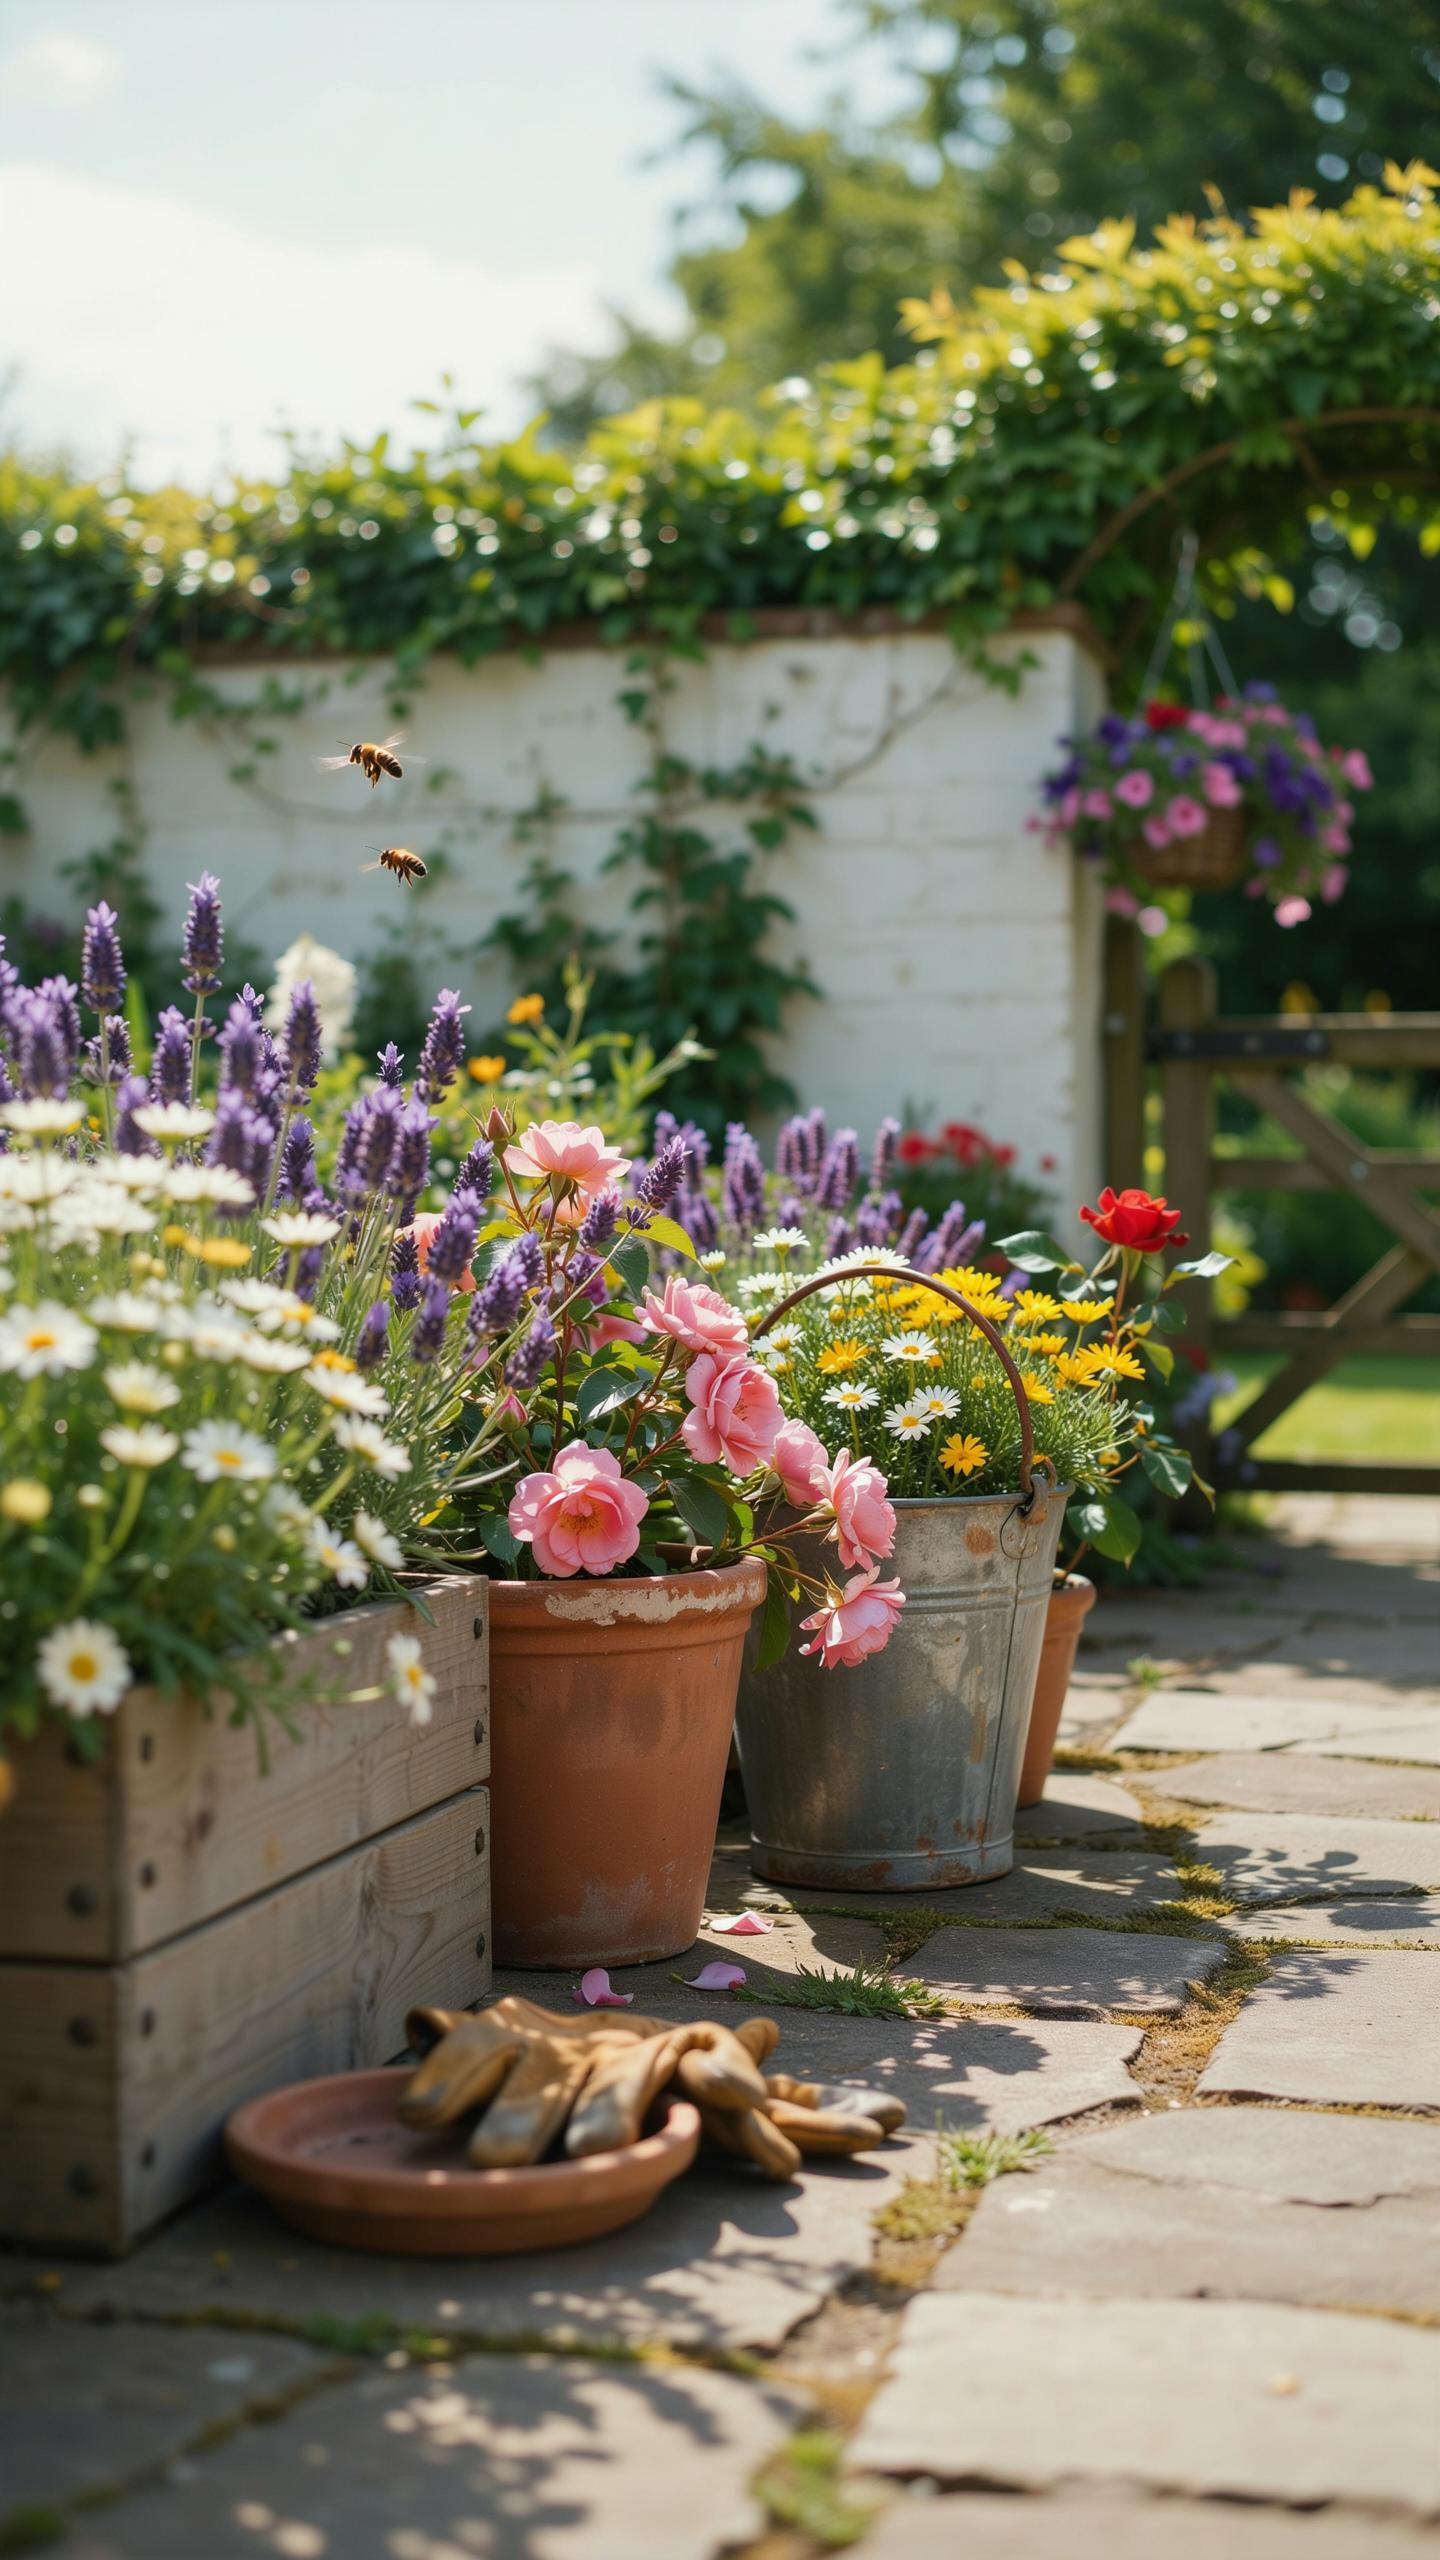
Terracotta Versus Plastic Pots For Moisture Retention
Terracotta absorbs and releases water through its porous walls. This means soil dries faster in terracotta than plastic. You’ll water more often with terracotta, especially in hot weather. Plastic containers retain moisture longer because water cannot escape through the sides. Choose terracotta if you prefer frequent watering schedules. Choose plastic if you need less maintenance between waterings.
Terracotta costs more upfront and breaks easily. Plastic lasts longer and handles movement without damage. Terracotta adds visual appeal to cottage garden designs. Plastic offers practical durability for beginners who move containers often. Both work for growing cottage plants successfully. Your choice depends on watering availability and aesthetic preference.
Essential Drainage Solutions To Prevent Root Rot
Drainage holes in the container bottom are mandatory. Without them, water pools around roots and causes decay. Make holes at least one-quarter inch in diameter. For plastic containers, drill or punch holes if they lack them. For terracotta, most come with drainage already. Check every container before filling with soil.
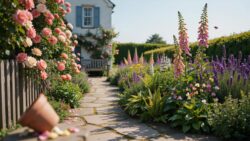
Add drainage materials inside the container before adding soil mix. Broken pottery shards or stones create an air gap above drainage holes. This prevents soil from blocking water escape. Use one to two inches of material depending on container depth. Elevate containers off ground surfaces to allow water escape underneath. This stops pooling and ensures roots stay healthy.
Inspiring Potted Garden Ideas For Small Spaces
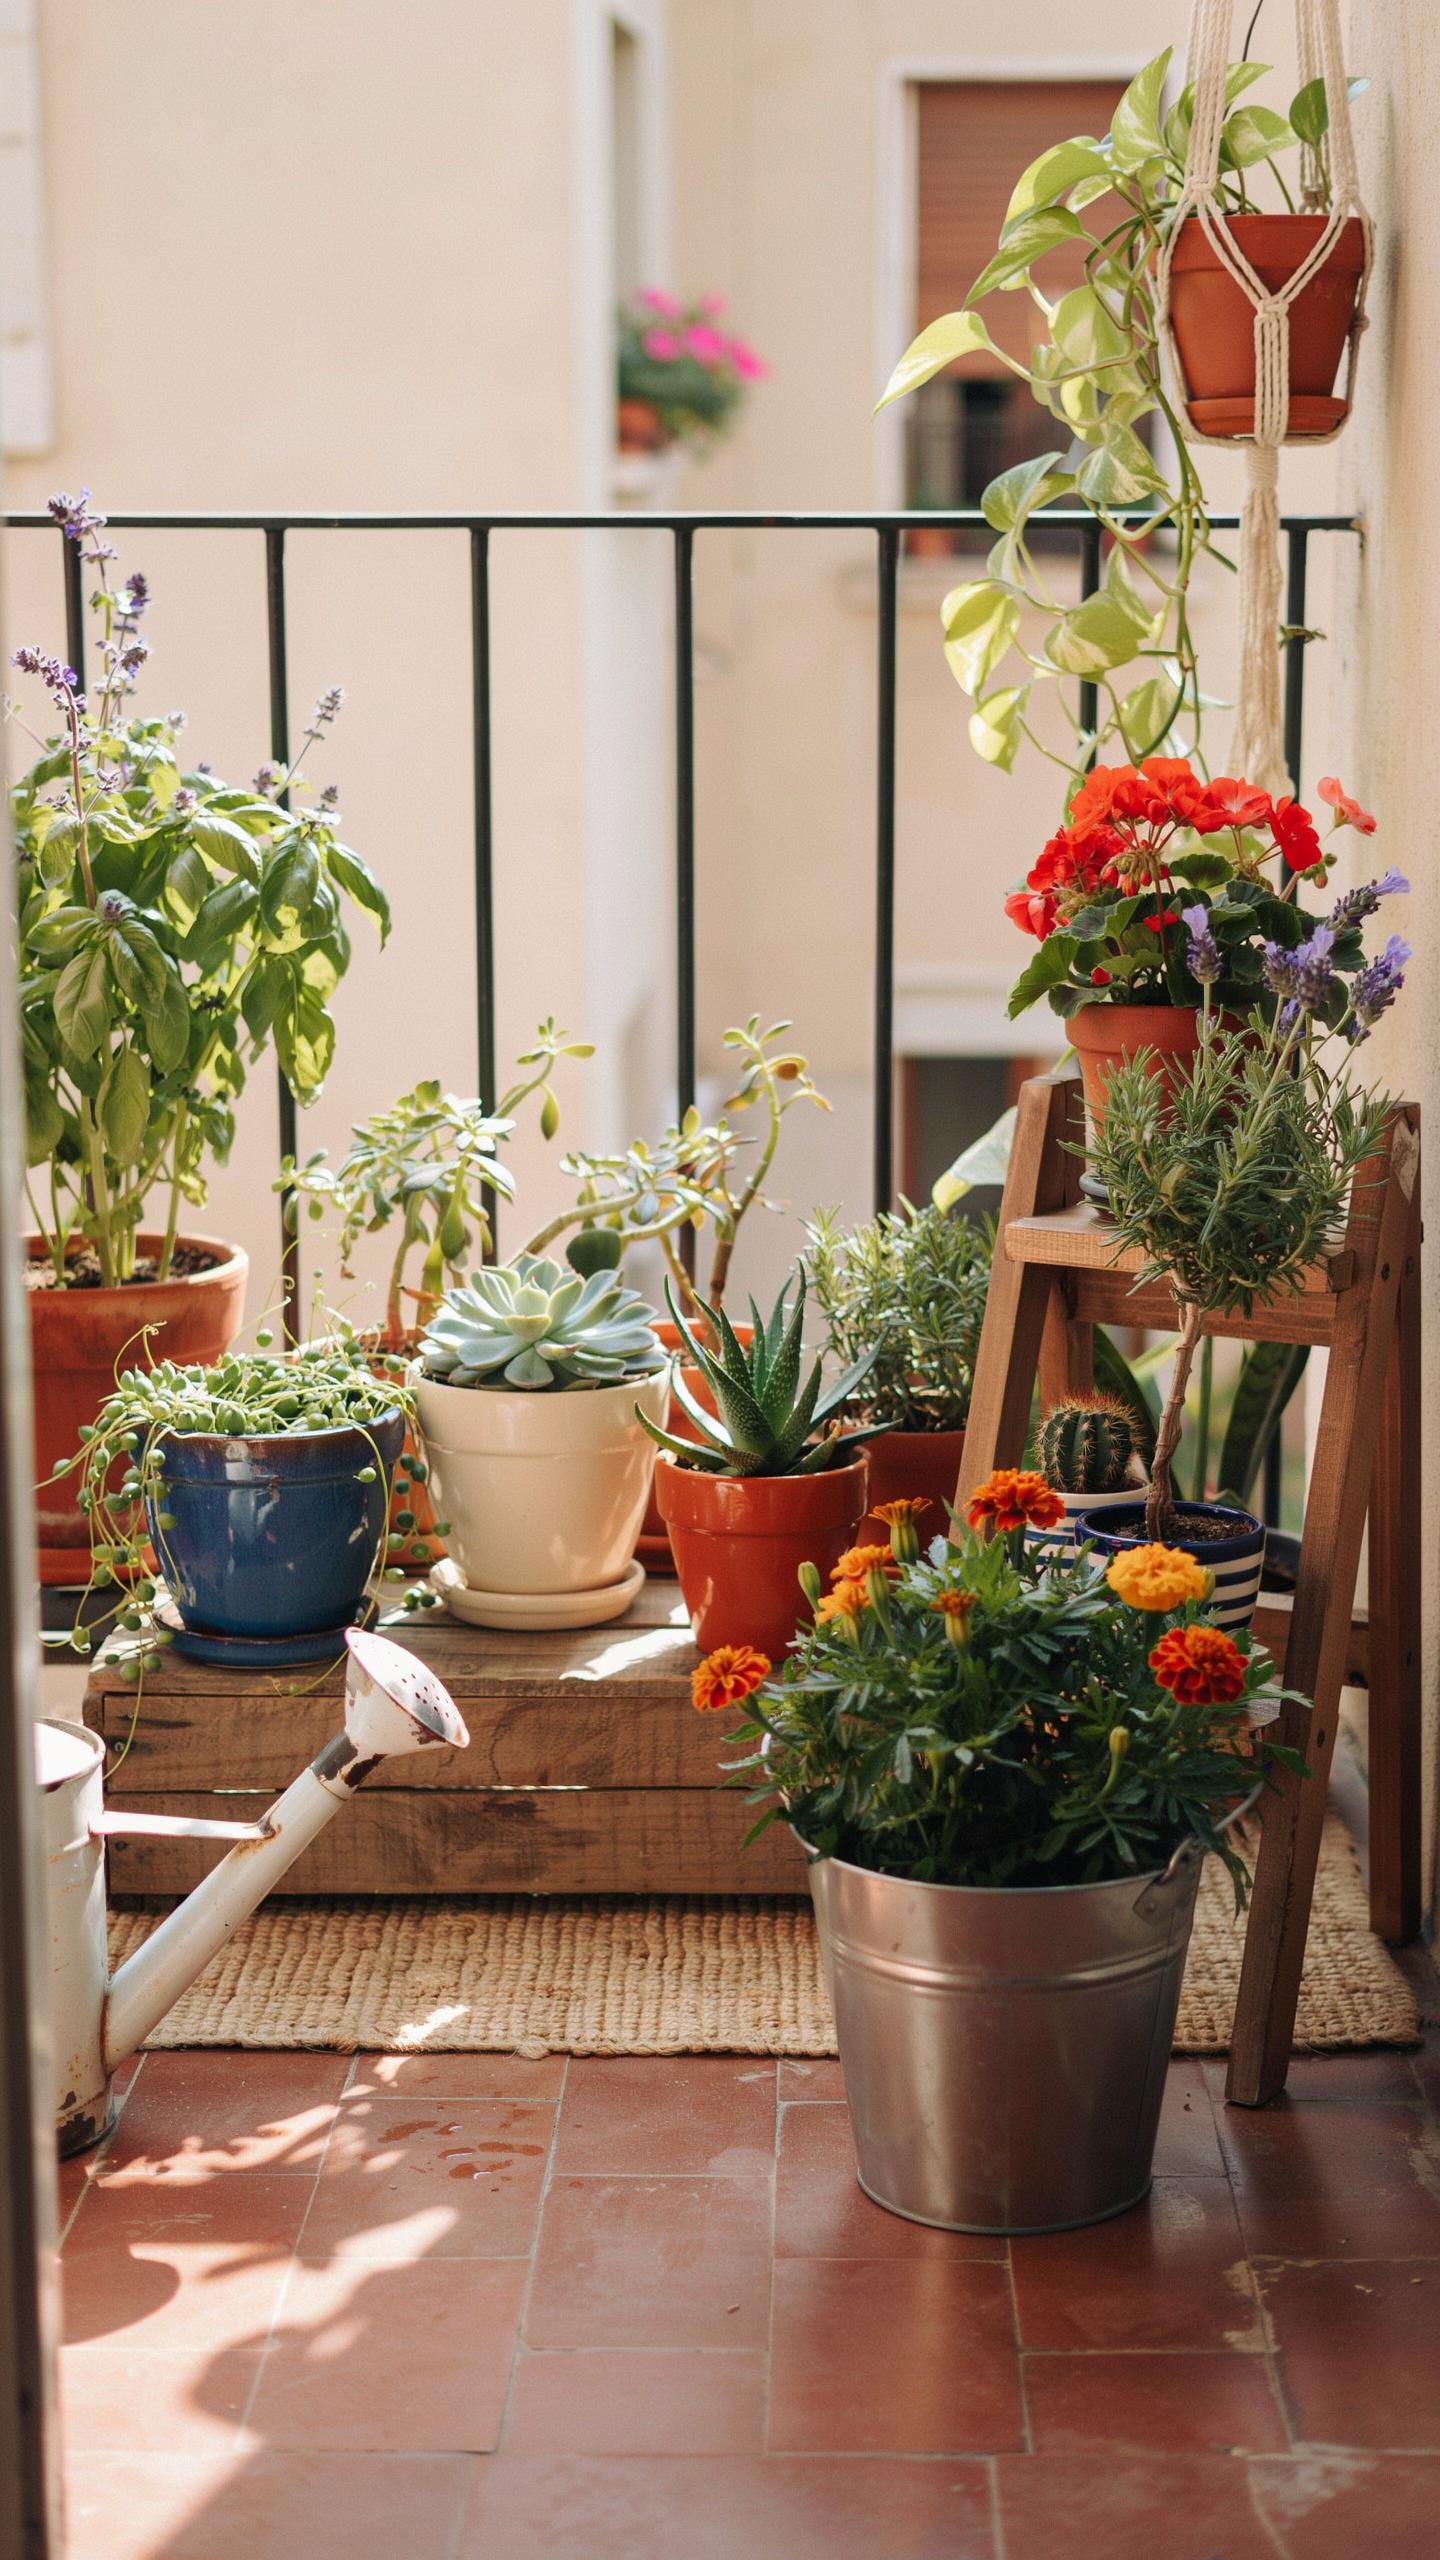
Vertical Gardening
Stack containers upward to multiply your growing area without expanding footprint. Vertical arrangements work because they capture light efficiently and improve air circulation around plants. Wall-mounted systems, tiered stands, and trellised containers all achieve this. Your cottage garden container mix performs better in vertical setups because drainage improves and soil moisture distributes more evenly across multiple levels than in ground-based arrangements.
Position taller plants on outer edges and shorter plants toward the center of vertical arrangements. This configuration prevents shading and ensures every container receives adequate light. Vertical gardening cuts your space requirement by 60 to 75 percent compared to traditional horizontal layouts. The container mix you choose must drain quickly in vertical systems since water moves through each tier sequentially.
Pot Groupings
Arrange containers in odd numbers, typically three, five, or seven pots, to create visual balance without symmetry. Grouping containers of different heights and widths generates depth while maintaining the cottage garden aesthetic. Clustering pots together reduces overall watering frequency because soil retains moisture longer in grouped arrangements. The mix inside each container remains consistent, but varying pot sizes allows you to grow plants with different root depth requirements.
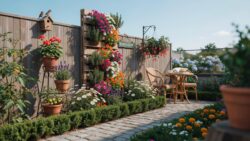
Position your tallest container toward the back or center of the grouping. Scale container size to the plant you are growing. Group pots with similar watering needs together for efficient maintenance. Your cottage garden container mix will sustain plants longer when containers stay grouped because they create a microclimate that moderates soil temperature and reduces evaporation rates.
Choosing Elegant Cottage Garden Planters
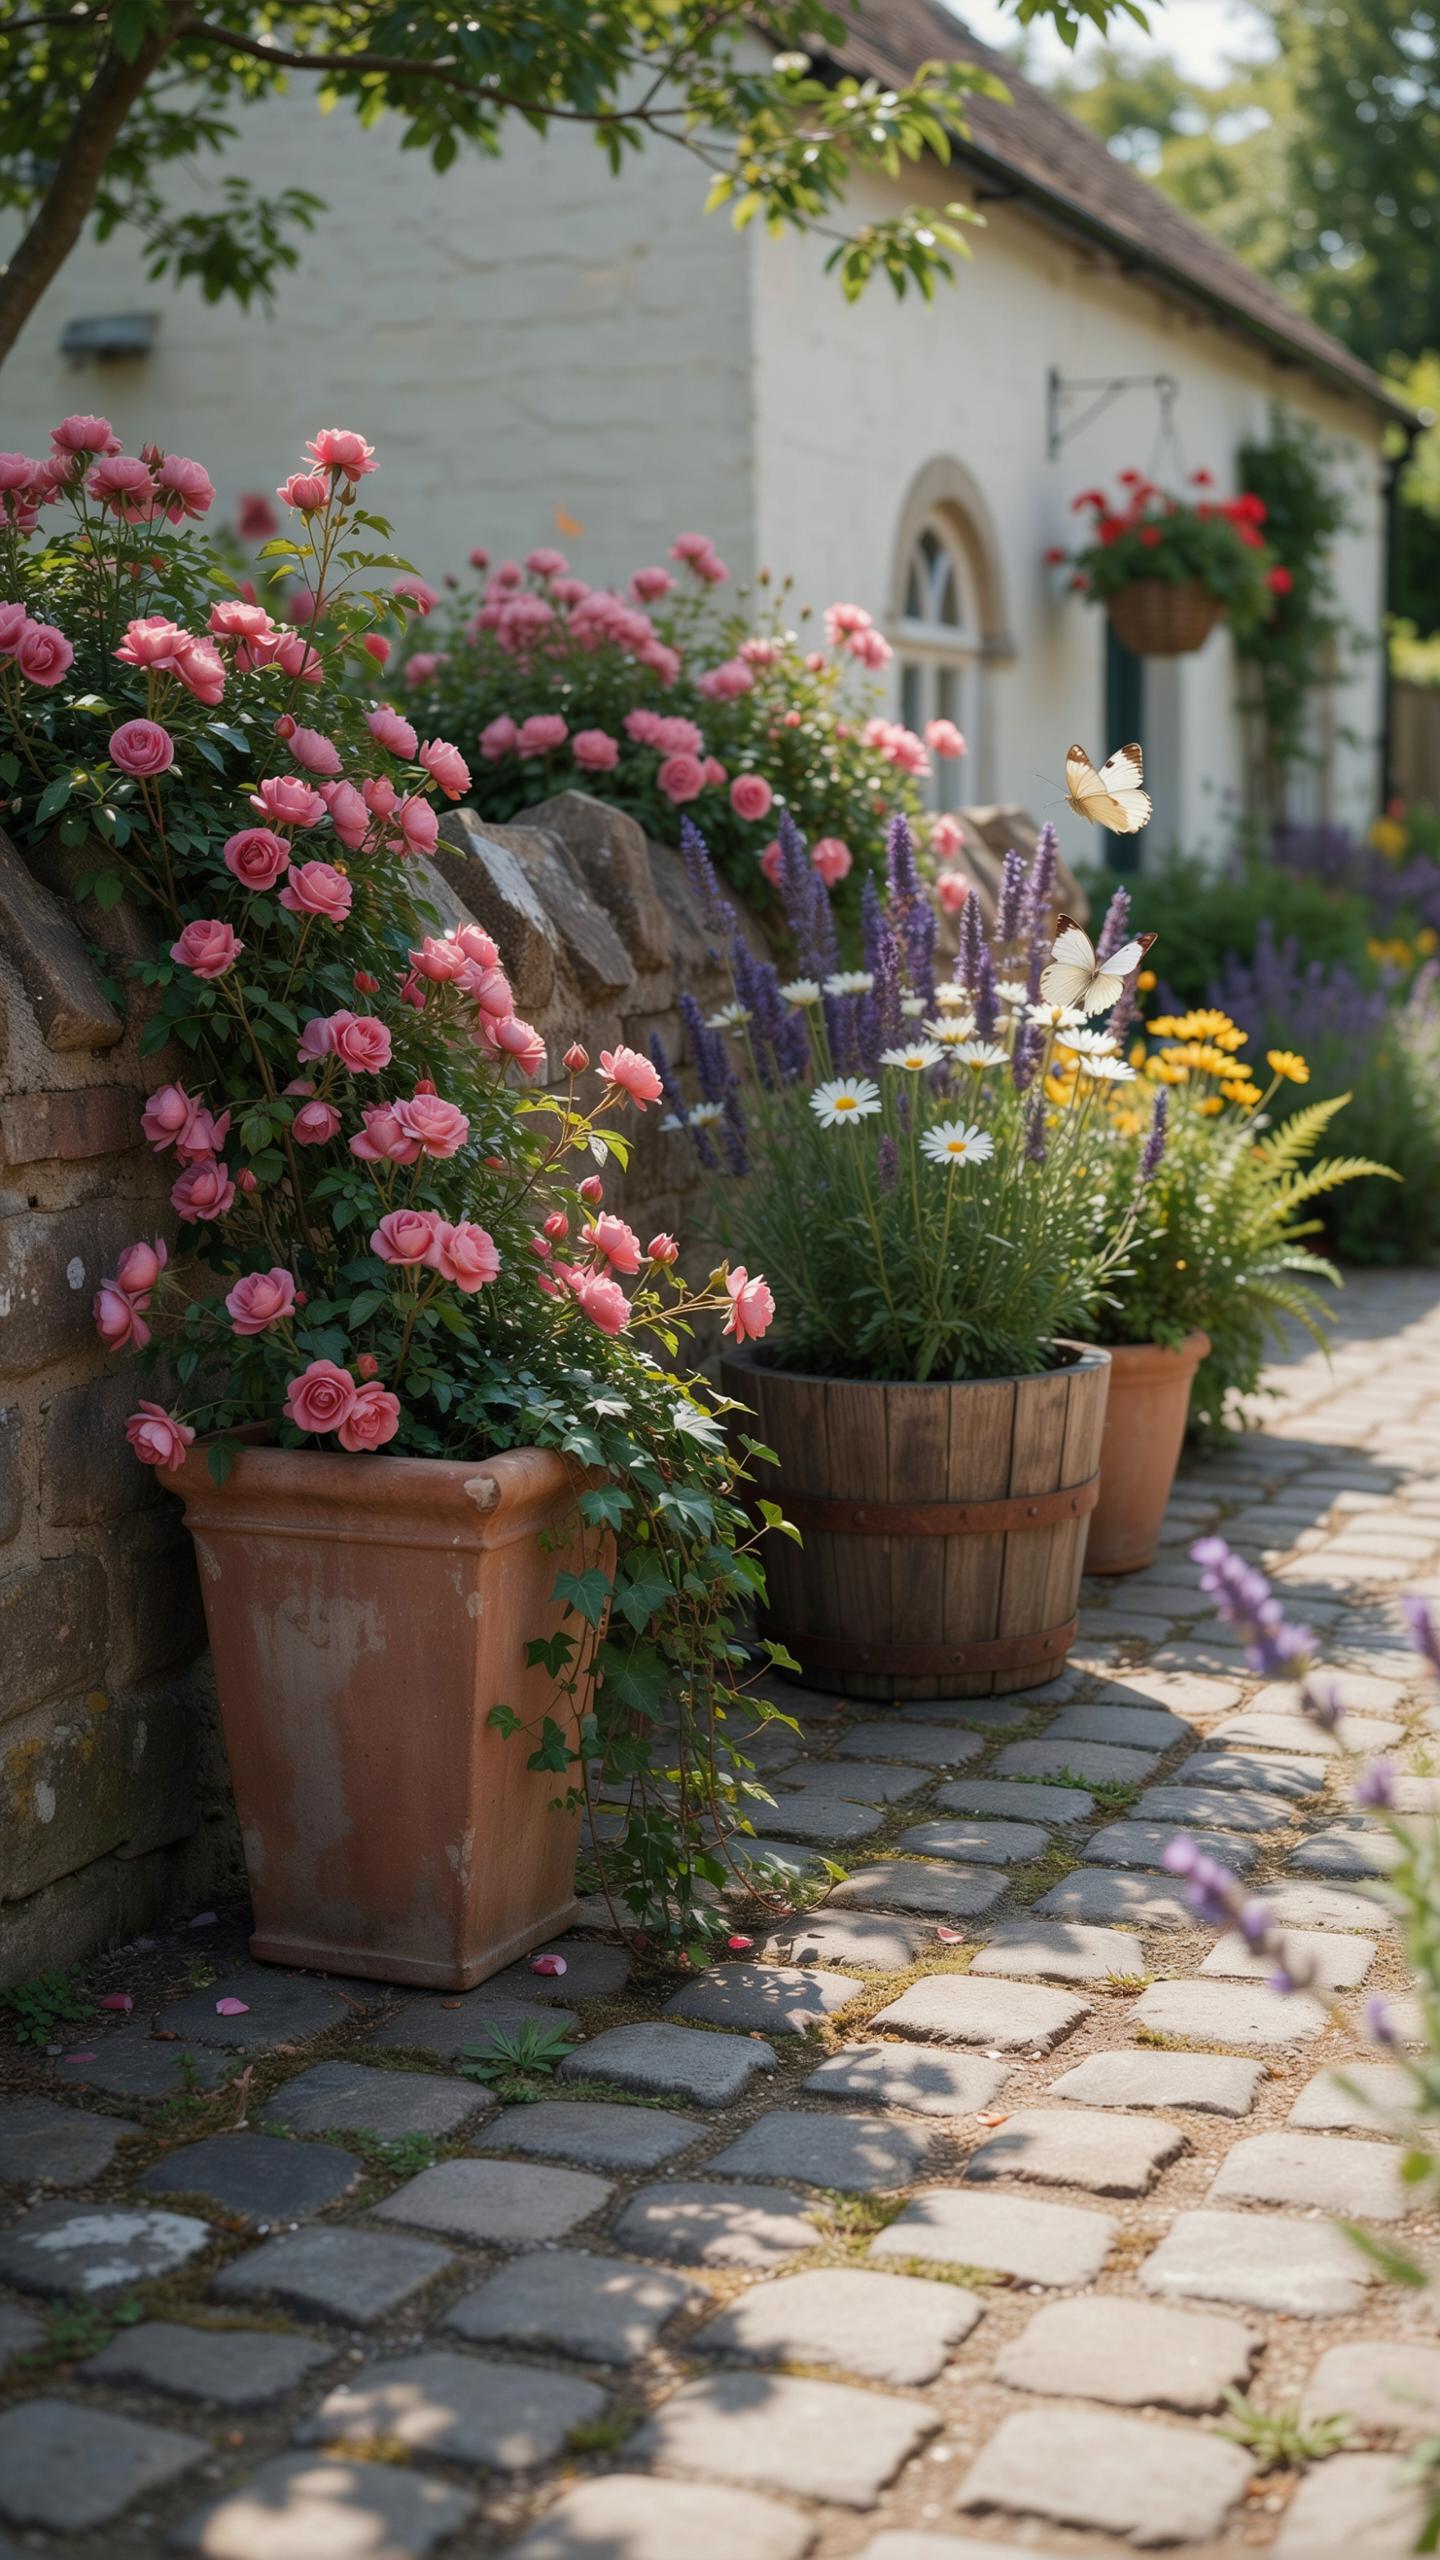
Troughs And Barrels
Wooden troughs and half-barrels work well for cottage gardens because they match the style and function properly. Wood breaks down over time, so line containers with landscape fabric or plastic sheeting first. This extends the life of your planter. Half-barrels hold significant soil volume, which suits plants needing consistent moisture. Position them where you need visual weight and substance in your design.
Treat wood with a natural sealant if you want longevity beyond five to seven years. Untreated wood will rot faster, especially in wet climates. Half-barrels age authentically without treatment, which appeals to cottage garden aesthetics. Wooden troughs suit trailing plants and herbs. Barrels accommodate shrubs and larger perennials that anchor container displays.
Ceramic Planters
Ceramic vessels offer durability and style flexibility for cottage gardens. They resist rot and won’t degrade like wood does. Choose terracotta for authentic period appearance or glazed ceramics for color variety. Ceramic planters retain moisture longer than wood, so adjust watering frequency accordingly. Size matters: larger ceramic pots reduce watering demands during hot months.

Traditional terracotta has neutral tones that complement mixed plantings. Modern glazed ceramics in cream, blue, or sage green add character without overwhelming the space. Ceramic weight provides stability for tall plants and windy locations. Frost can crack ceramics in cold climates, so bring tender pots indoors or choose frost-resistant varieties rated for your zone.
Selecting Beautiful Backyard Flowers For Vibrant Displays
Annual Flowers
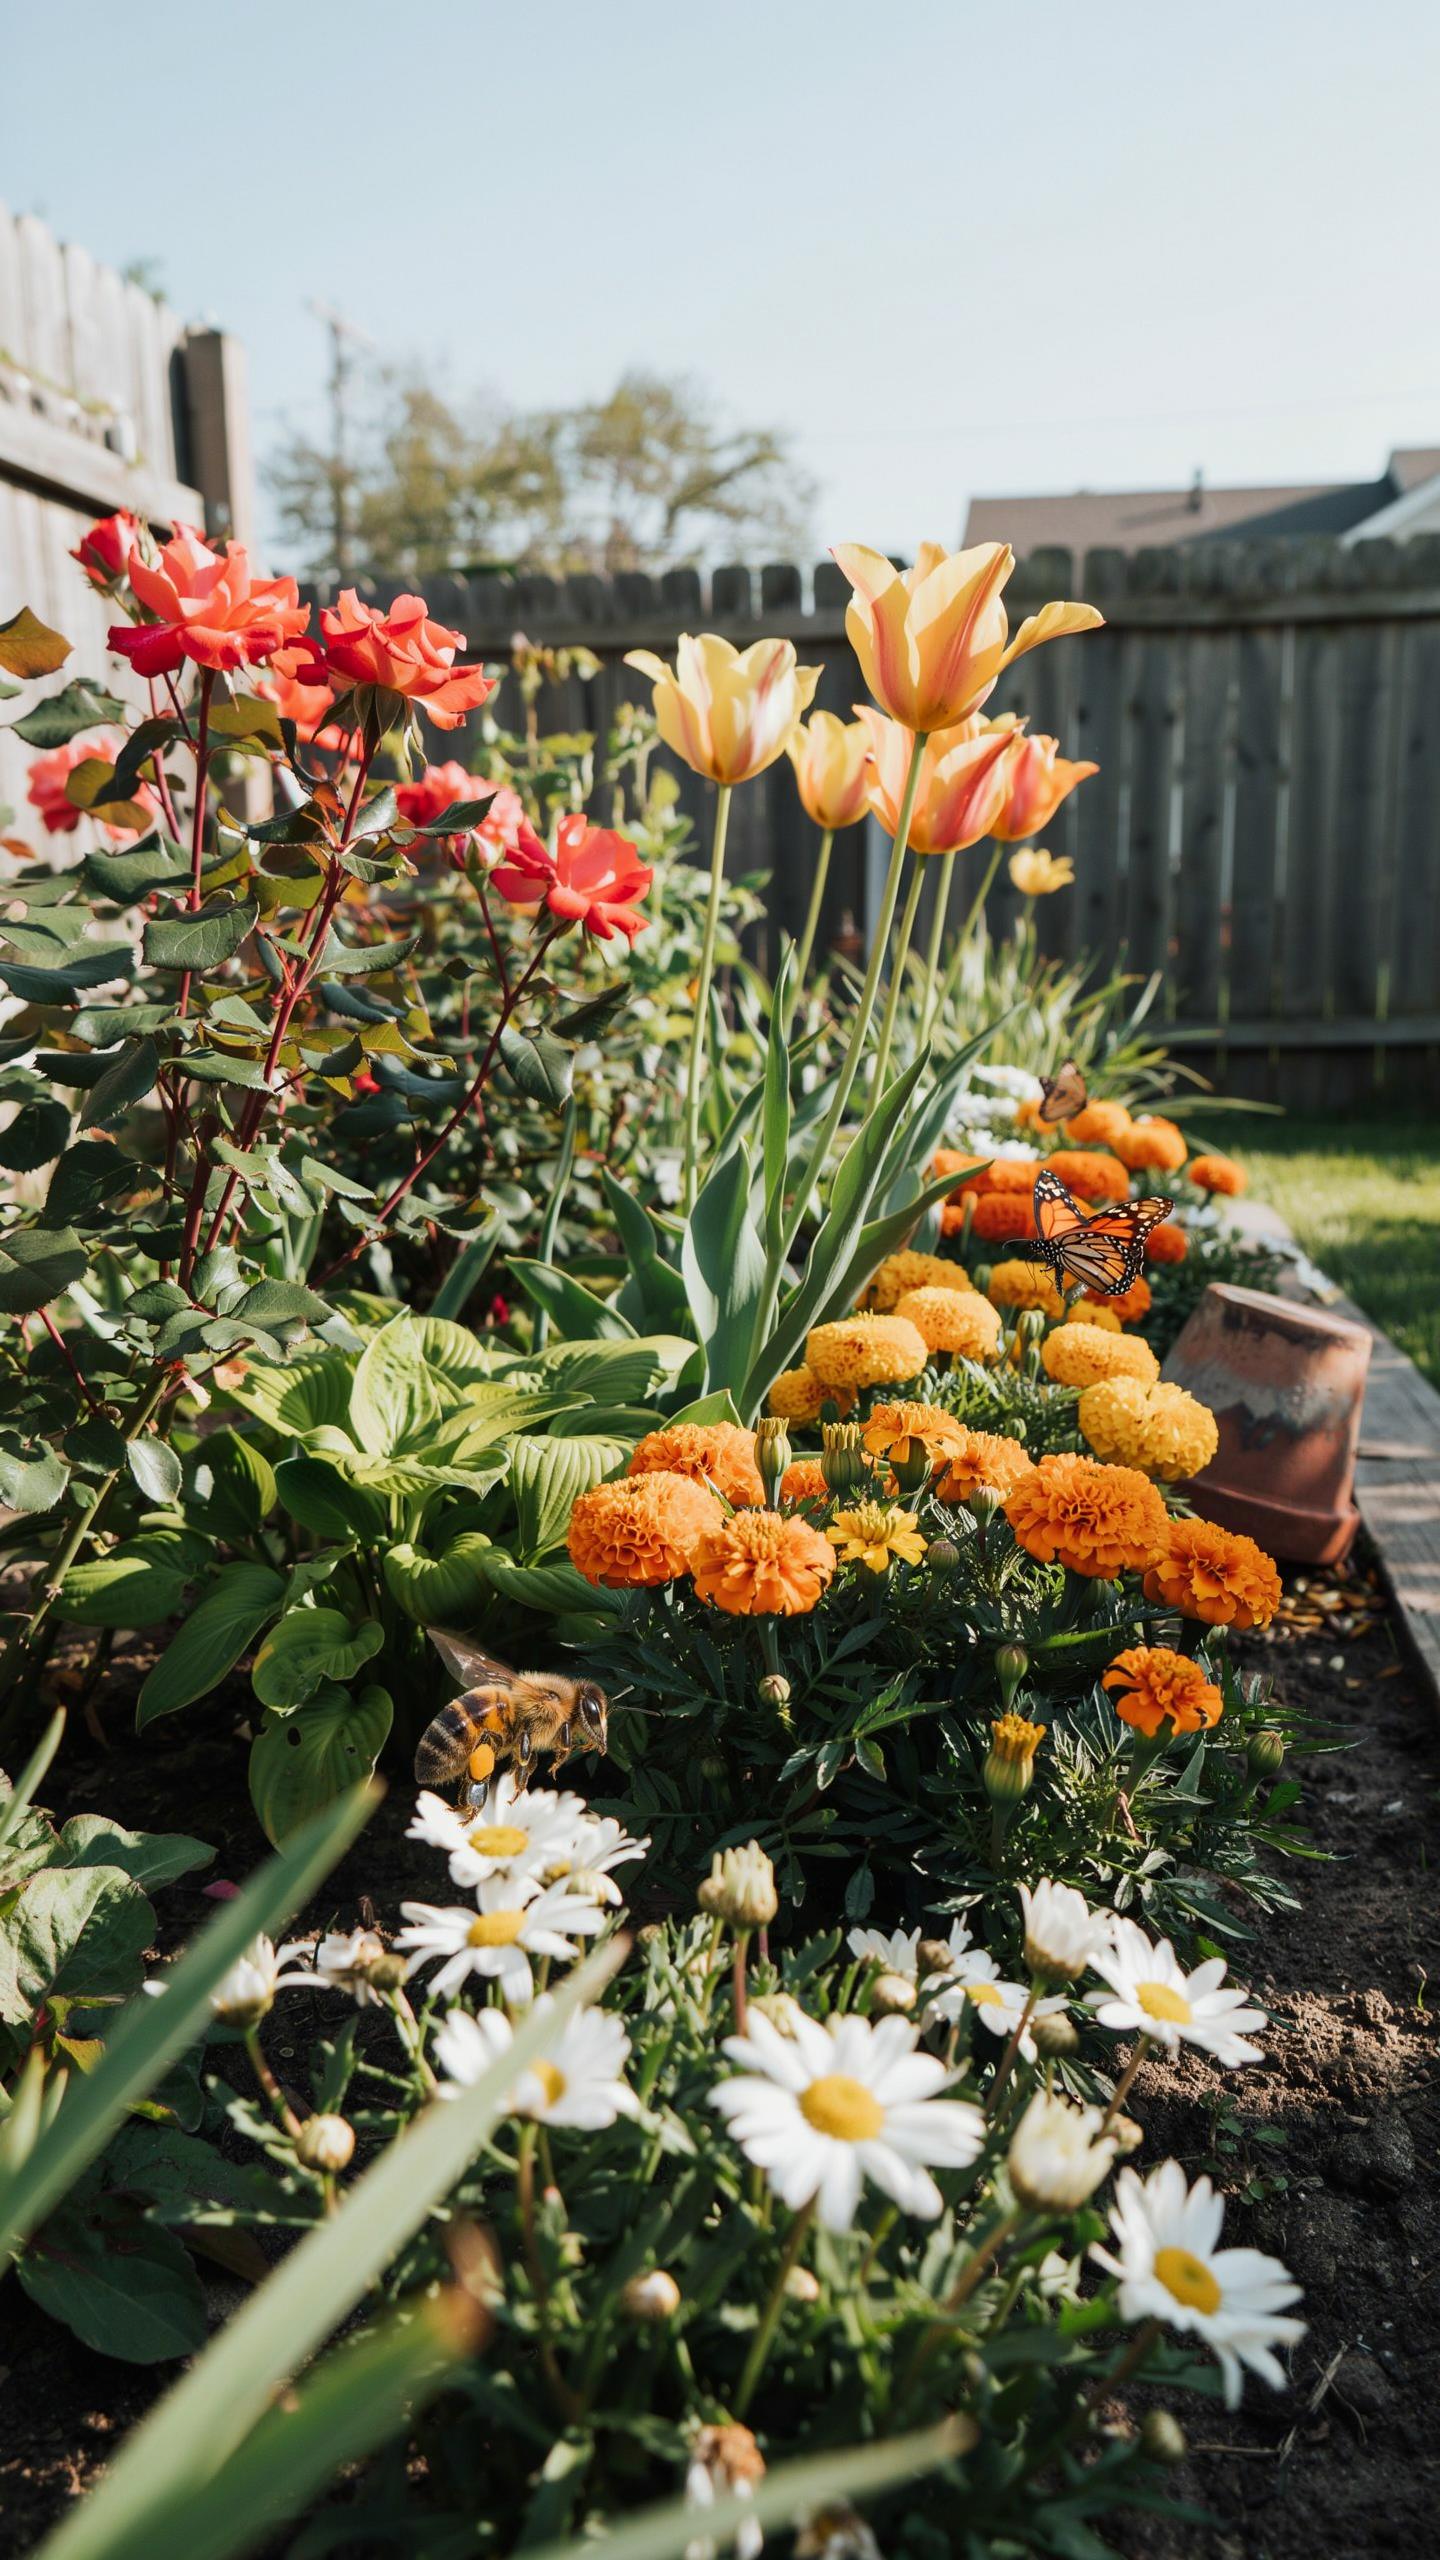
Annuals complete their life cycle in one season, making them reliable performers for cottage garden containers. They flower continuously from planting through frost because they redirect energy into blooms rather than root systems. This trait demands consistent deadheading and feeding to sustain production. Choose annuals based on your container size and light conditions, not sentiment. Container-grown annuals need more water and nutrients than garden beds since roots can’t access deeper soil reserves.
Marigolds, zinnias, impatiens, and petunias dominate cottage gardens because they tolerate container stress and flower prolifically. Marigolds handle heat and neglect well. Zinnias produce cut-worthy blooms and attract pollinators. Impatiens perform in shade where few annuals thrive. Petunias cascade effectively in hanging baskets and window boxes. Mix textures by pairing upright bloomers with trailing varieties for depth and visual interest in confined spaces.
Perennial Flowers
Perennials return annually and require less replacement than annuals, reducing long-term maintenance costs. Container perennials need winter protection in cold climates since roots freeze faster in pots than in ground soil. They establish slowly but reward patience with established root systems that handle drought better than annuals. Select perennials rated hardy to your zone. Oversized containers insulate roots more effectively than small pots.
Coreopsis, salvia, lavender, and heuchera perform reliably in containers across most zones. Coreopsis flowers for months with minimal deadheading. Salvia attracts hummingbirds and tolerates poor soil. Lavender adds fragrance and handles heat stress. Heuchera provides foliage interest when flowers fade. Combine perennials with seasonal annuals to fill gaps and extend color through spring and fall transitions.
Creative Cottage Garden Container Ideas
Herbs And Flowers
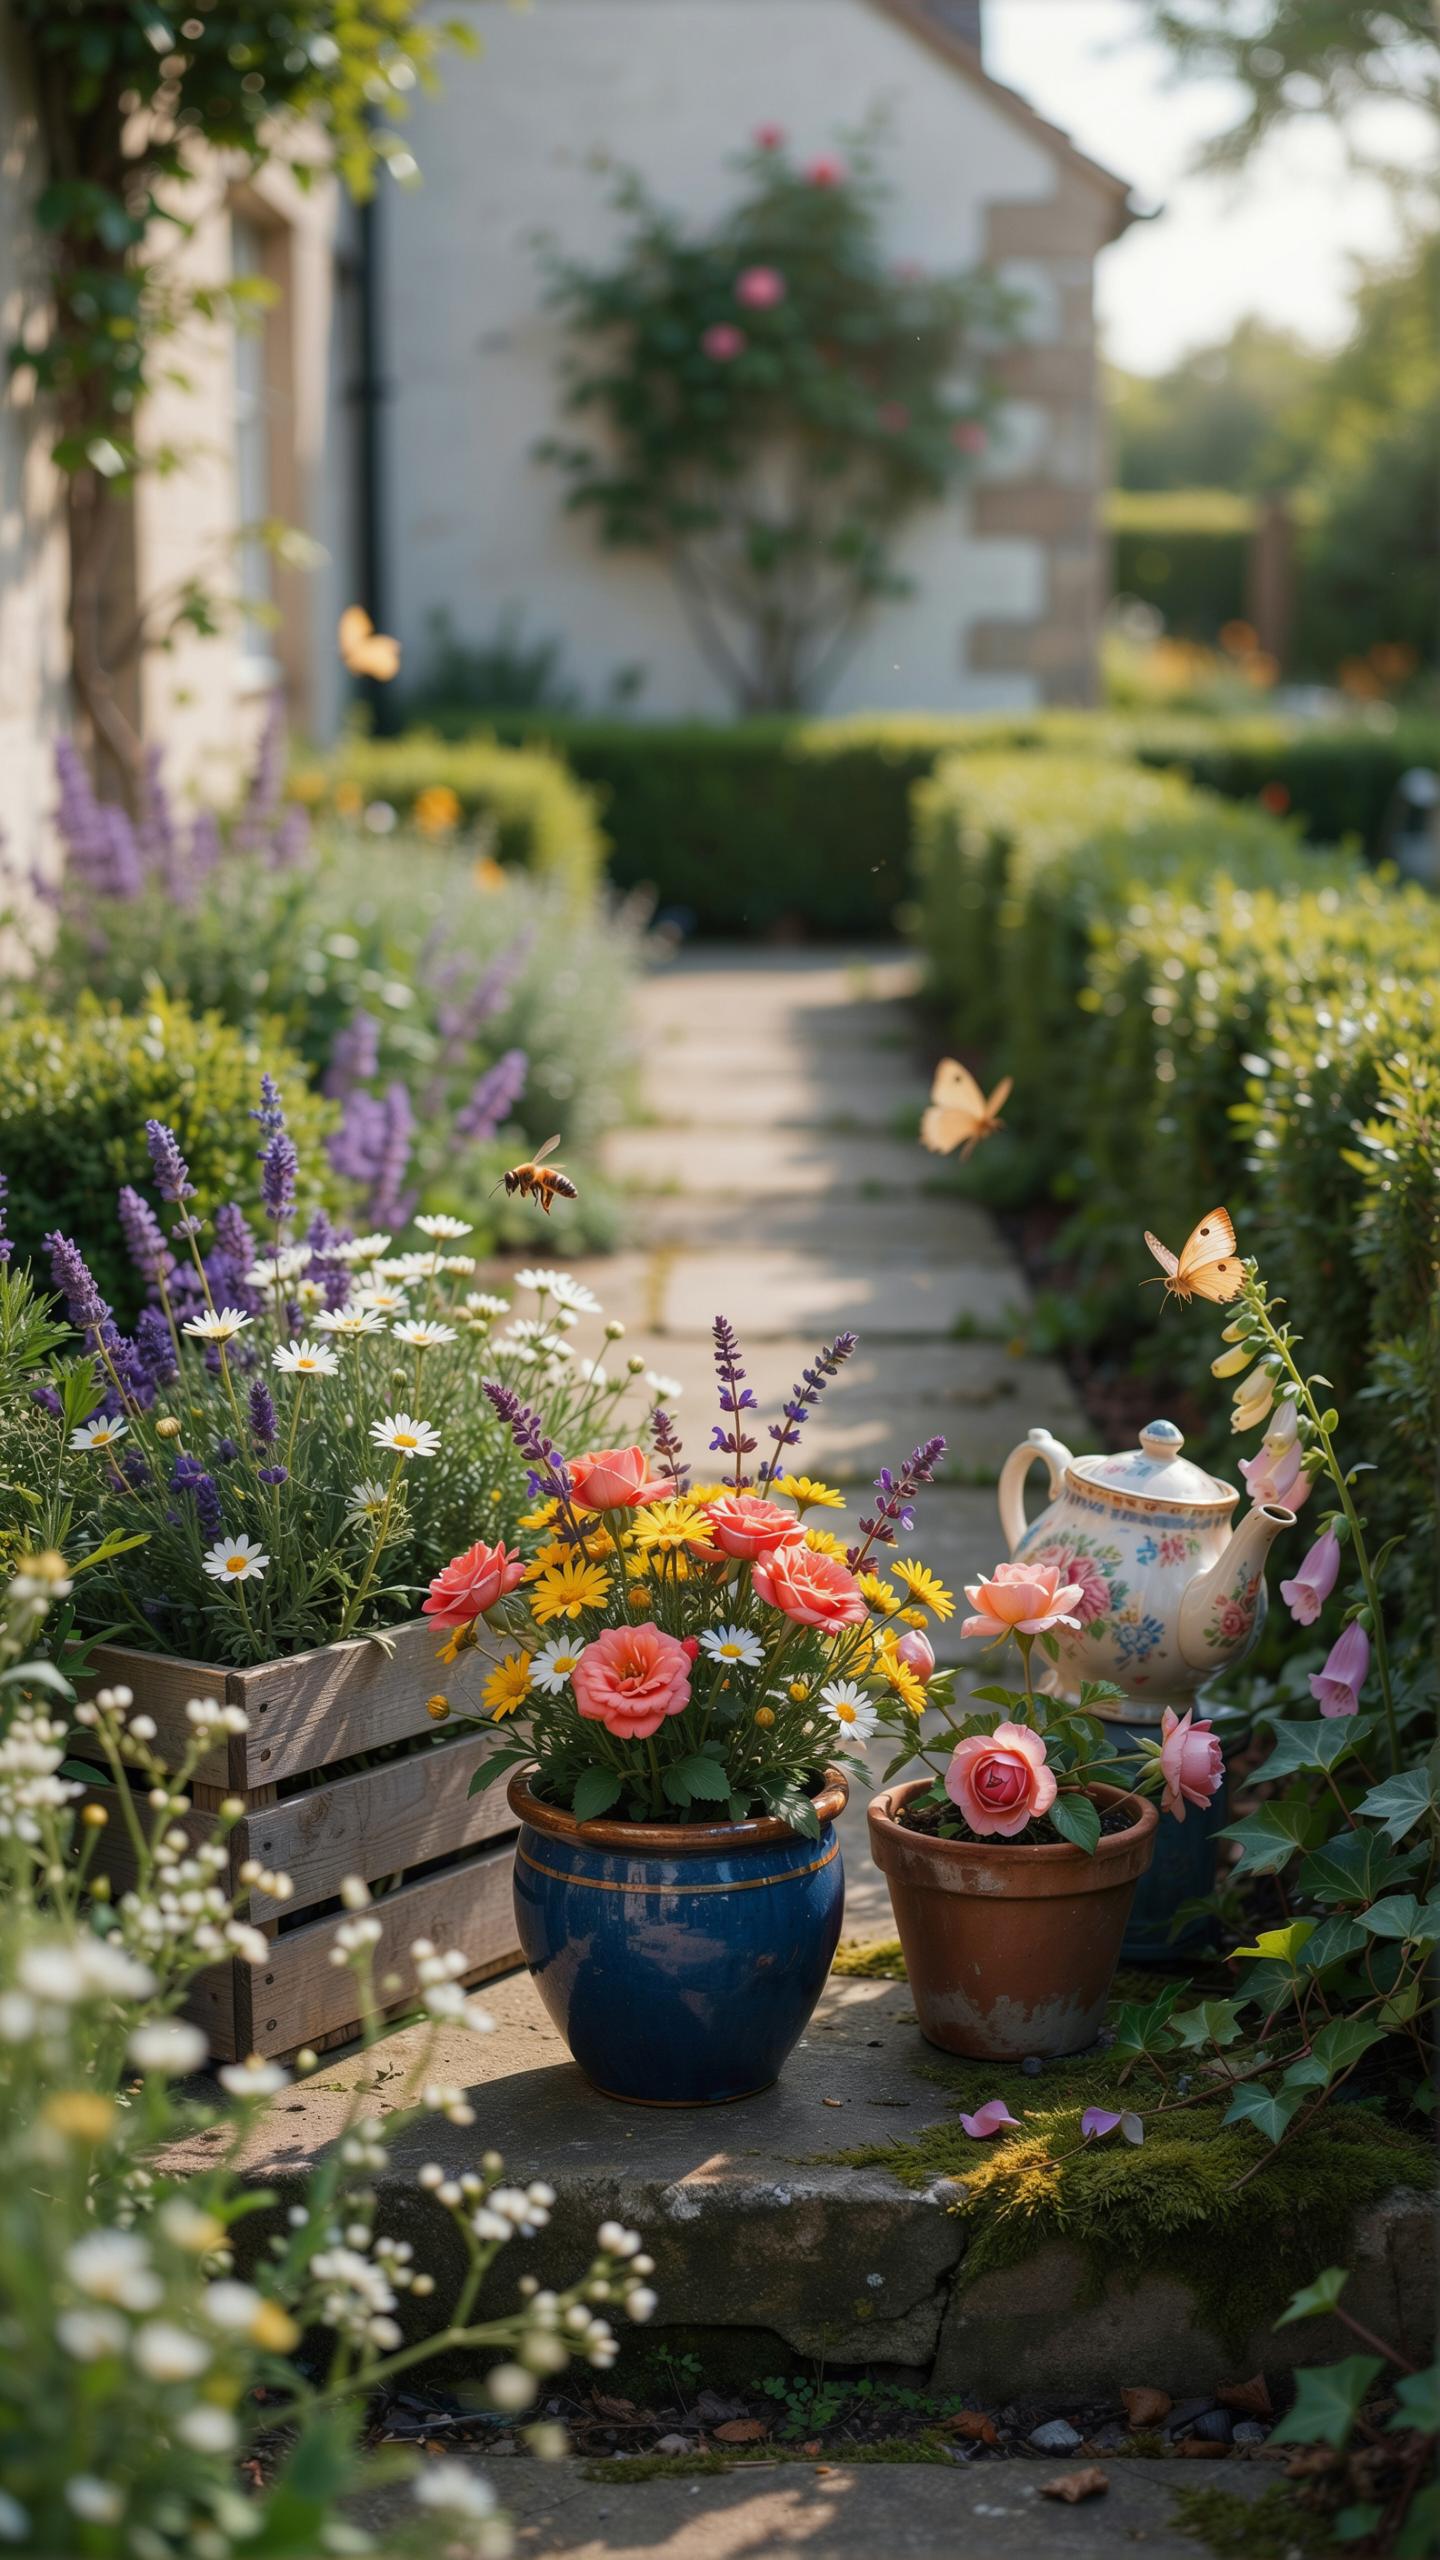
Mixing culinary herbs with ornamental flowers creates functional and visual appeal in containers. Basil pairs well with marigolds because both tolerate full sun and moderate water. Parsley works alongside violas, which provide color while herbs produce harvestable leaves. This combination approach maximizes container space and delivers dual benefits: food production and garden aesthetics.
The spacing matters for success. Plant herbs in the center or back of containers where they receive adequate light. Position flowers around edges where they cascade or fill gaps. This arrangement prevents herb crowding while allowing flowers to soften container edges. Use a cottage garden container mix that drains well to support both plant types without waterlogging roots.
Repurposed Containers
Old household items work as plant containers when drainage holes exist. Vintage teapots, galvanized buckets, wooden crates, and enamelware hold soil effectively. These items add character to gardens while reducing waste. The key is ensuring water drains properly, so drill holes in the bottom if needed before filling with cottage garden container mix.
Material thickness determines longevity when repurposing containers. Metal items rust over time but can be sealed or replaced seasonally. Wood requires monitoring for rot, particularly at soil contact points. Ceramics and enamelware offer better durability but break if dropped. Choose containers based on expected lifespan and your willingness to maintain or replace them annually.
Selecting Durable Cottage Planters
Lightweight Composite Materials For Effortless Mobility
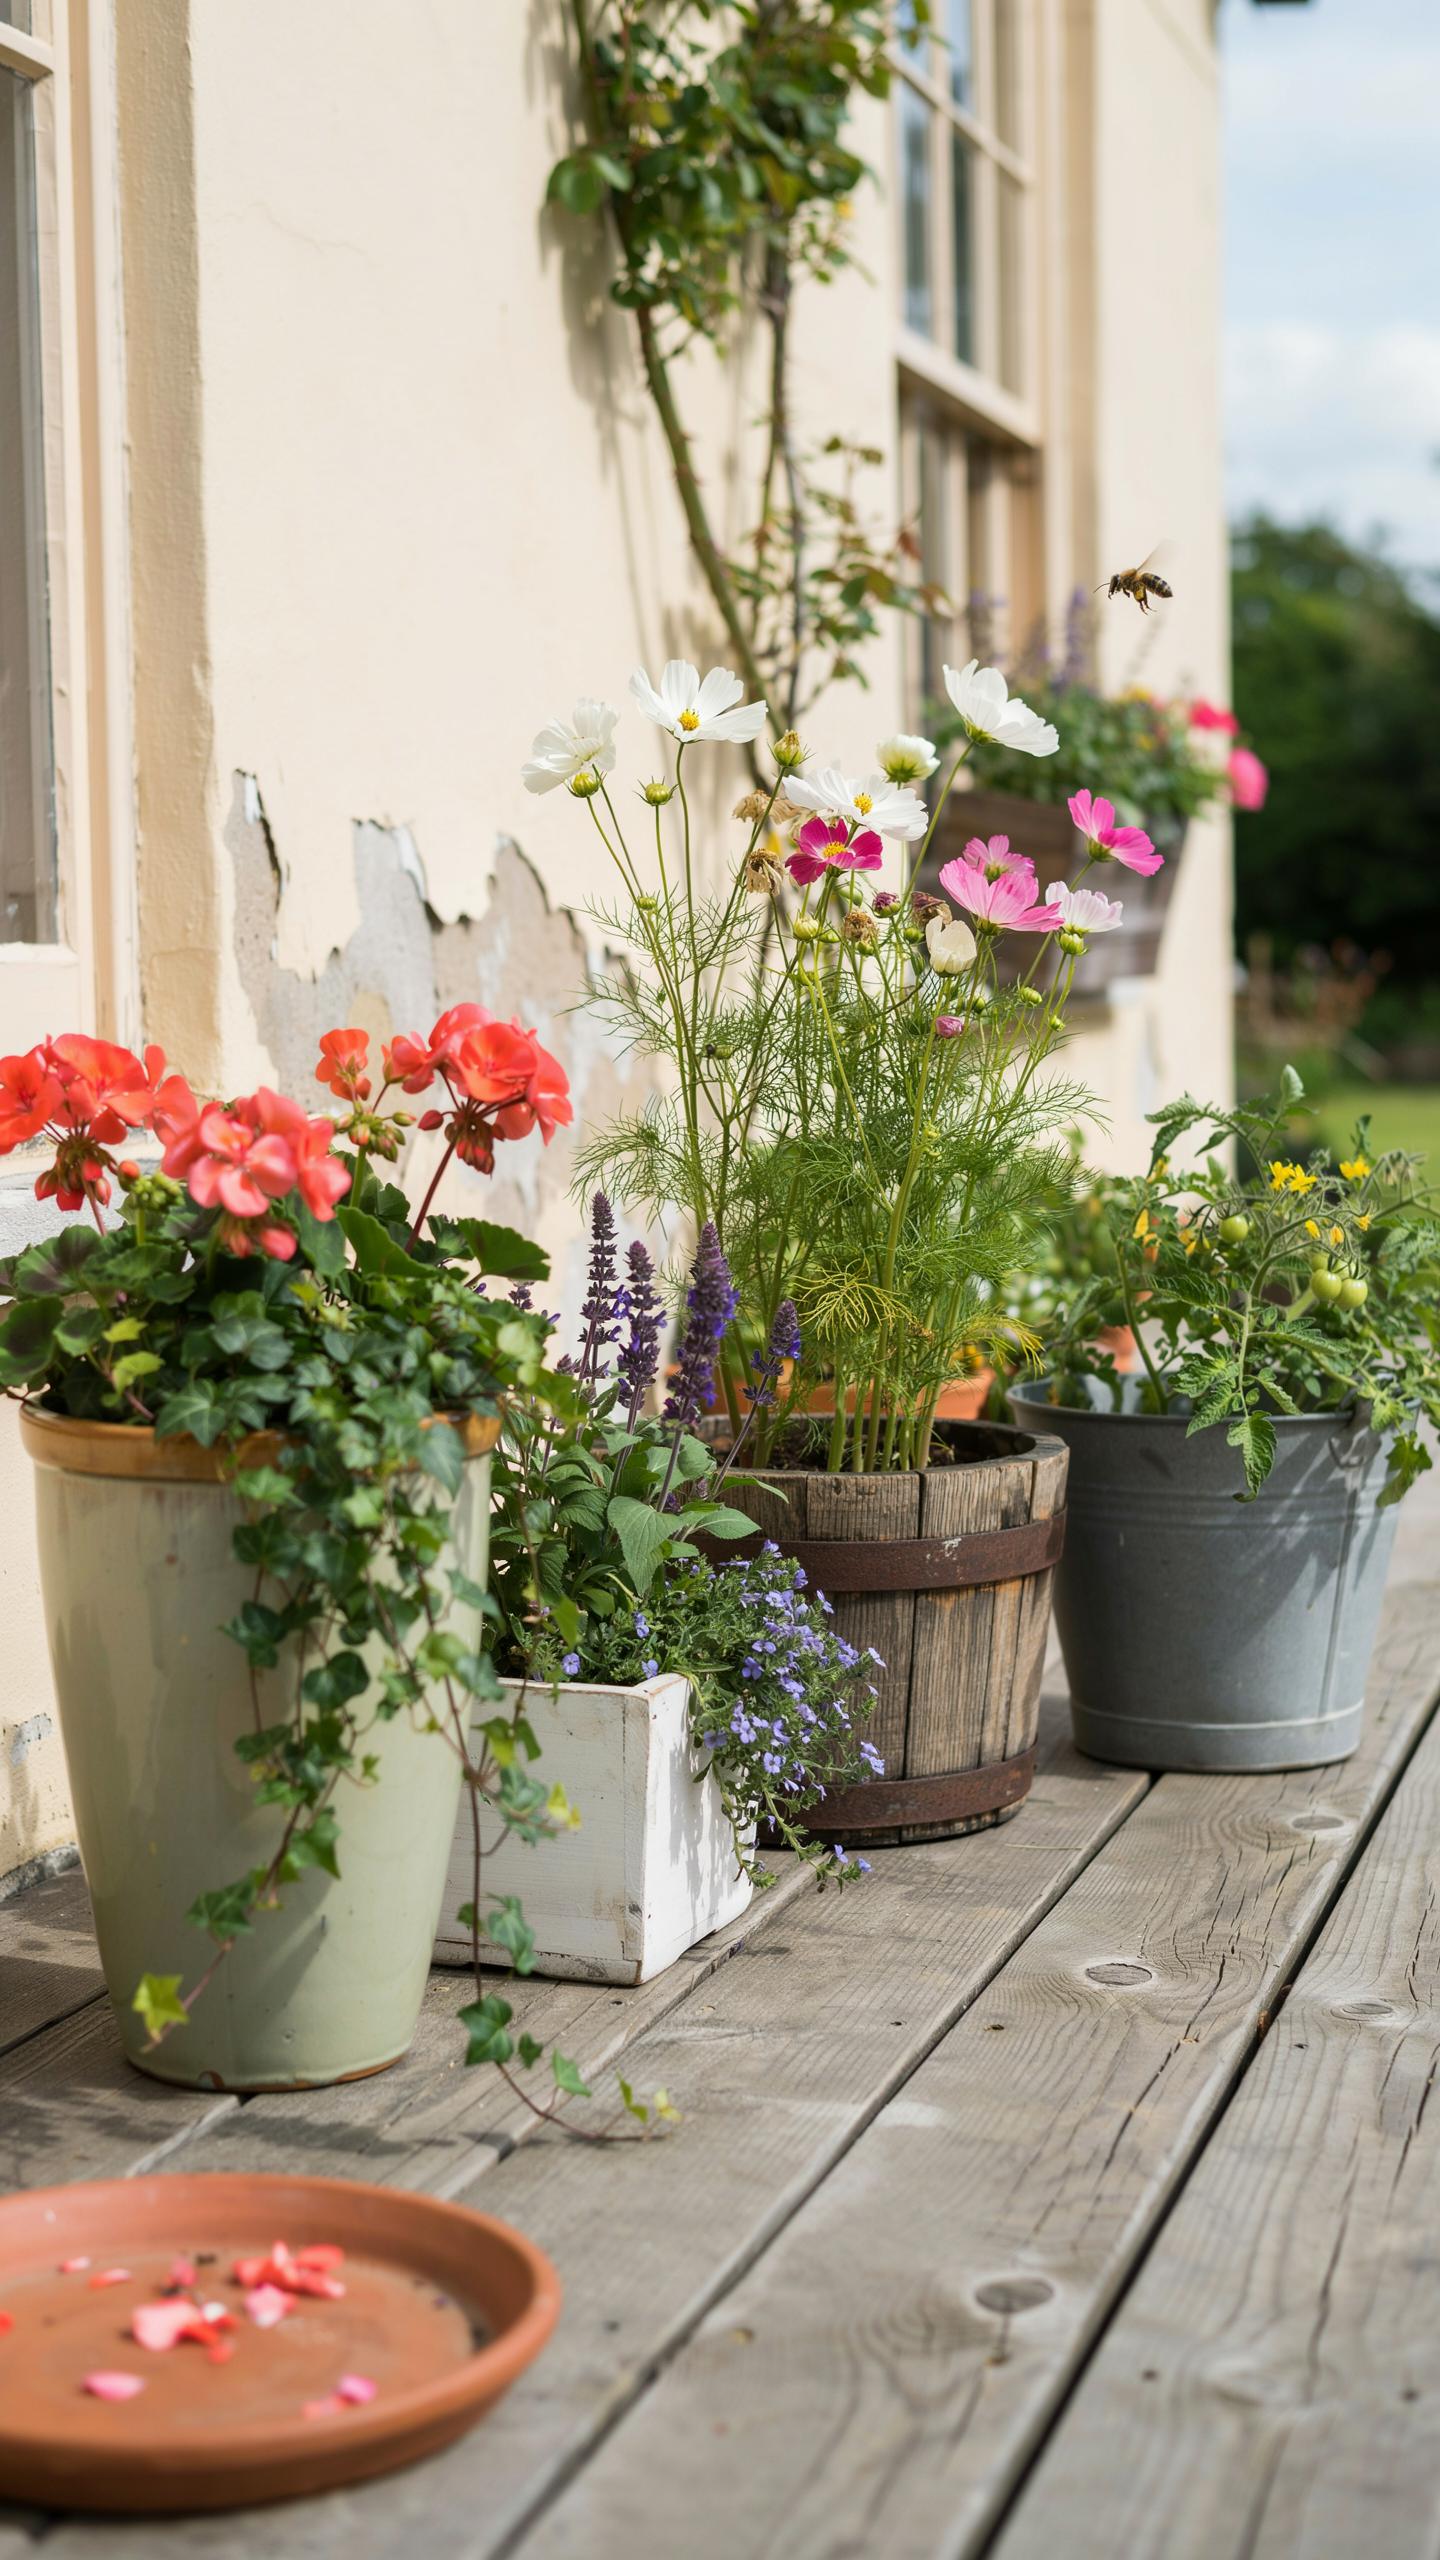
Composite planters combine resin, fiberglass, and stone dust to create containers that weigh significantly less than traditional materials. These options let you rearrange your cottage garden layout without physical strain. Composite materials resist cracking in freeze-thaw cycles, a major advantage in variable climates. They hold moisture levels similar to clay but without the brittleness.
Composite planters work well for beginners because they require minimal maintenance and last through multiple seasons. Most composites cost less than stone or ceramics while delivering comparable aesthetics. You can move containers to chase sunlight or reorganize garden displays without assistance. Paint and finishes on composites remain stable over time without peeling or fading like cheaper plastics.
Classic Stone Containers For Permanent Backyard Spots
Stone planters anchor cottage gardens with their weight and permanence. Limestone, granite, and slate containers don’t shift in wind or settle unevenly. Stone conducts temperature slowly, protecting roots from extreme heat swings. These containers develop patina and character over decades, adding authentic cottage garden appeal.
Stone requires placement before filling because weight becomes a constraint after planting. A granite trough or limestone urn typically stays in one location throughout its lifespan. This approach works well for focal point displays or permanent perennial arrangements. The initial effort pays off through durability that spans generations without replacement.
Designing Your Dream Cottage Container Garden
Thriller Spiller Filler
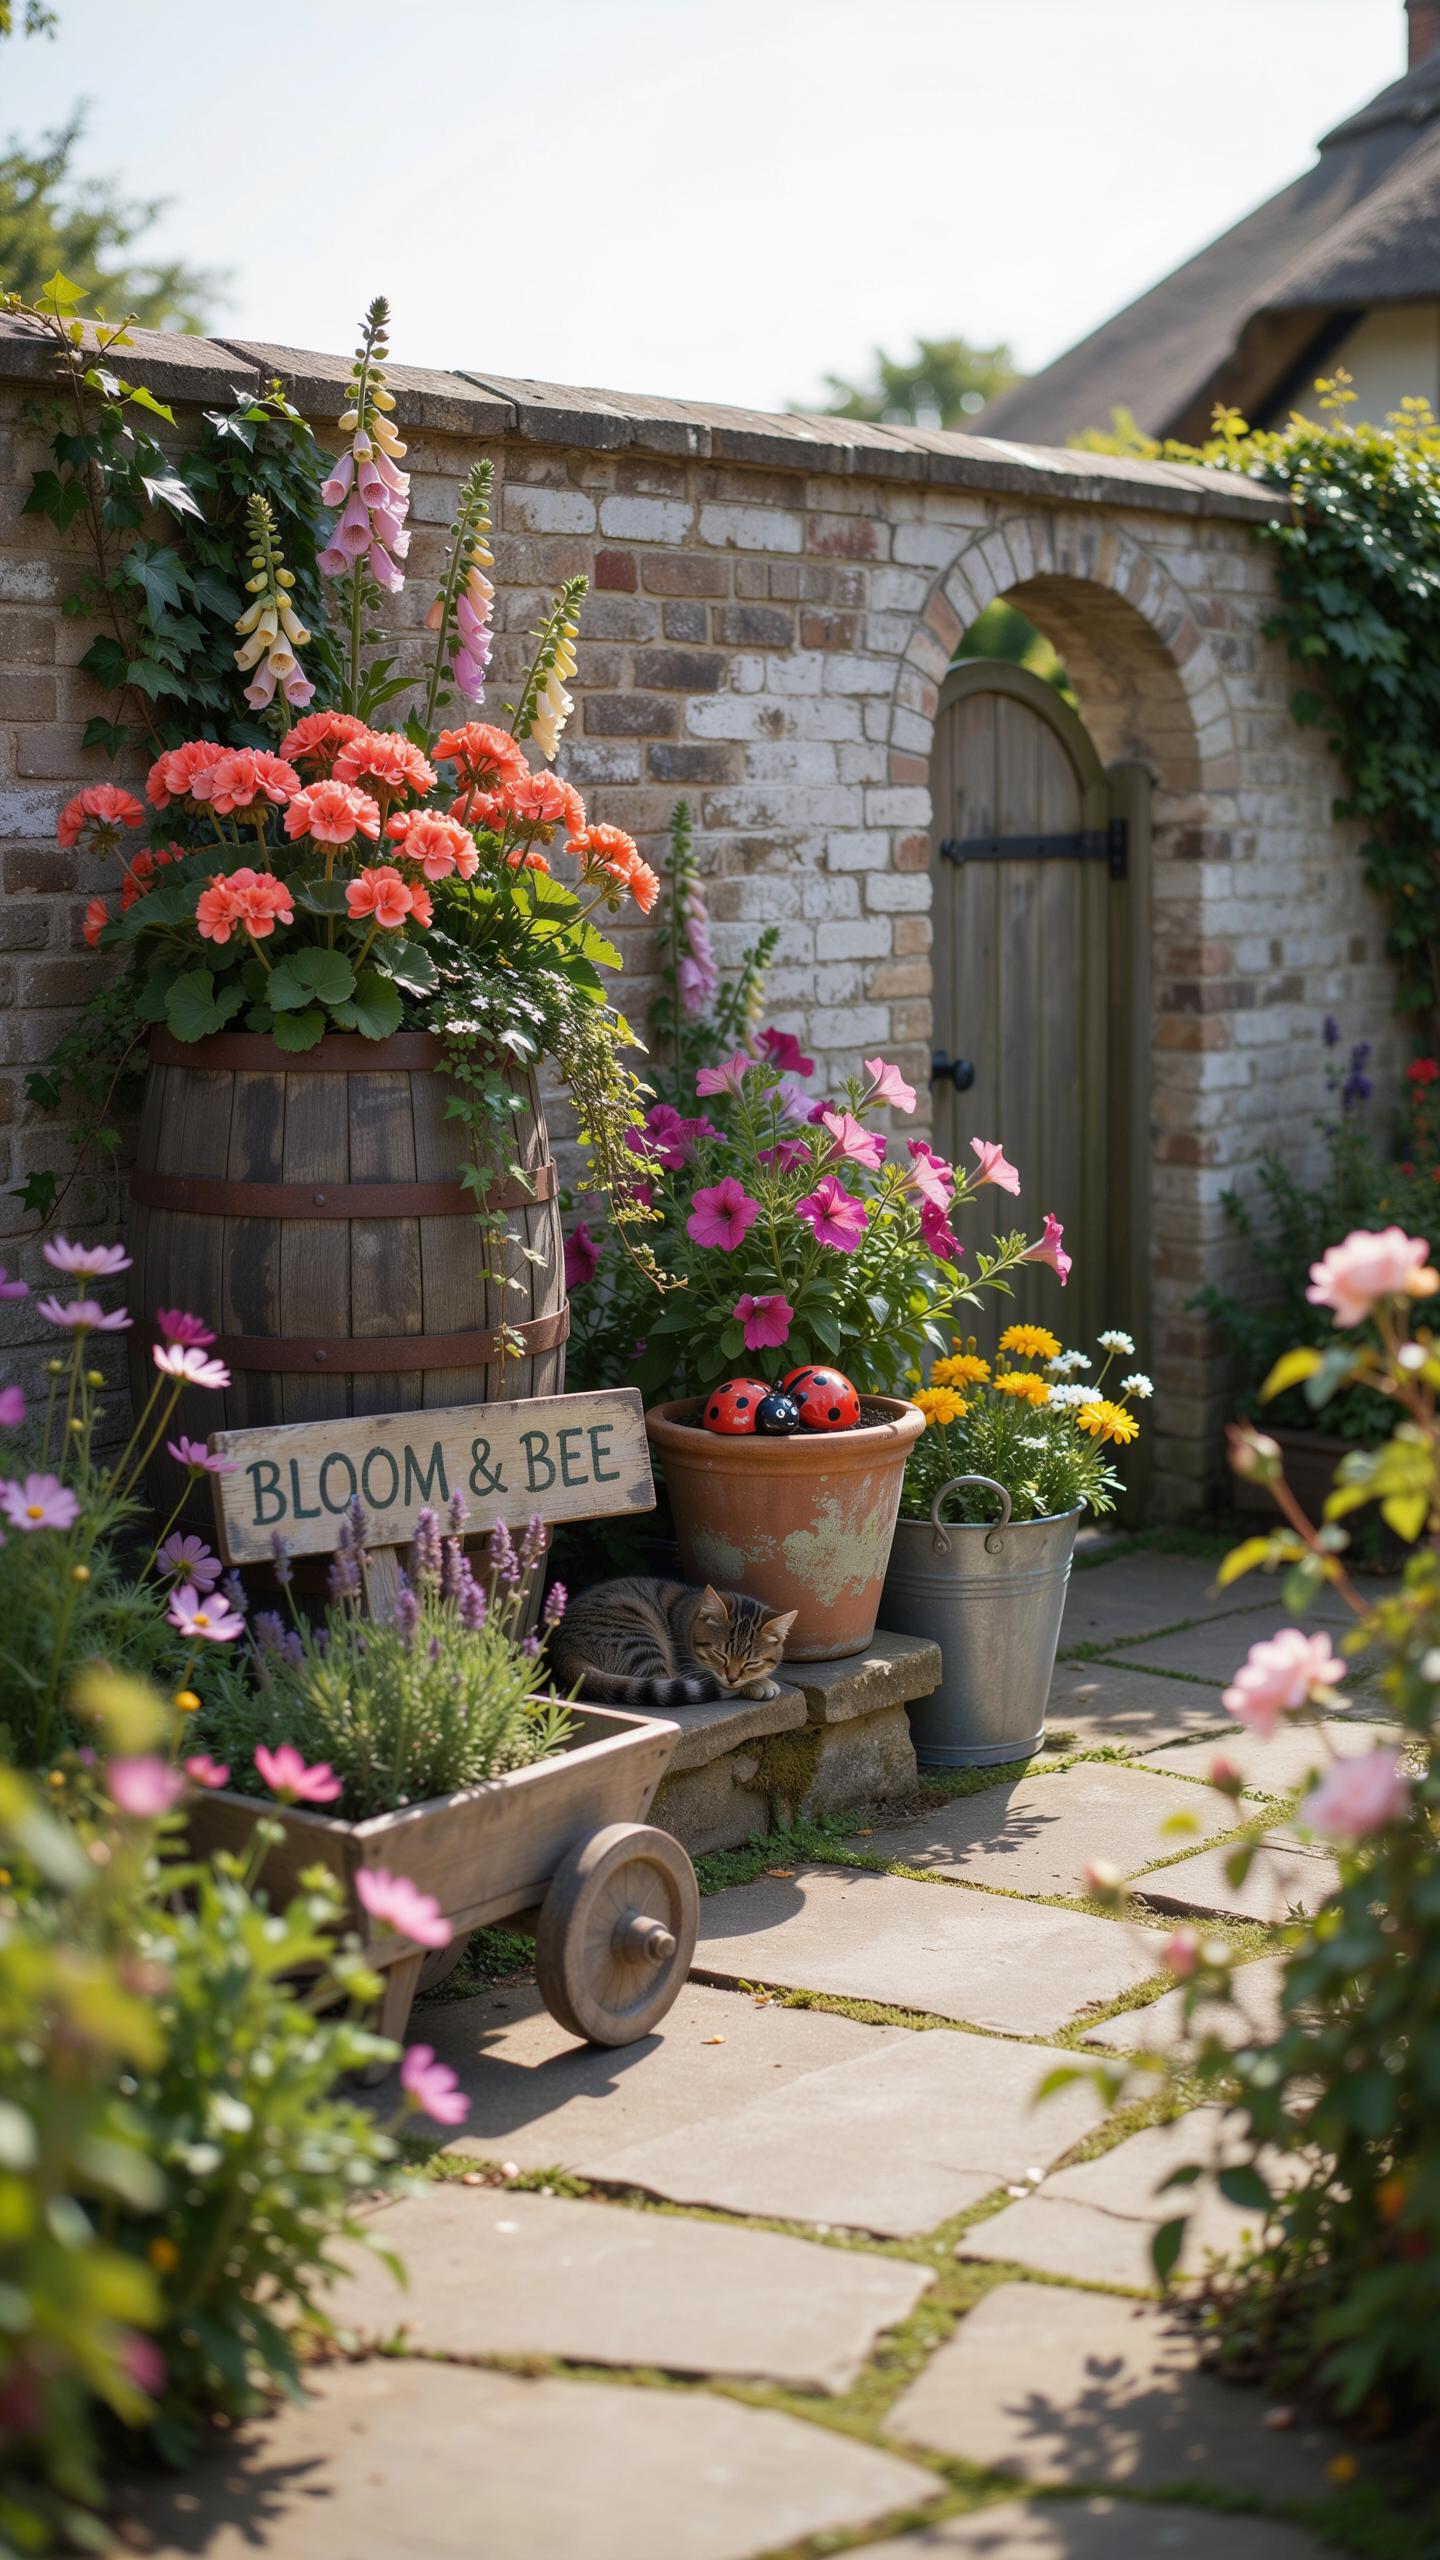
The thriller-spiller-filler formula structures container plantings into three functional layers. The thriller serves as your focal point, typically the tallest plant positioned in the center or back. The spiller cascades over container edges, softening hard lines. The filler occupies middle space, creating density and bridging gaps between thriller and spiller plants for visual cohesion.
- Thriller: Choose upright plants like snapdragons, foxgloves, or ornamental grasses. Height typically ranges from 12 to 24 inches depending on your container size. Position centrally for maximum impact.
- Spiller: Select trailing varieties such as ivy, calibrachoa, or trailing petunias. These plants break the container’s rigid edges and create movement. Allow them to cascade 6 to 12 inches over the rim.
- Filler: Use mounding plants like dianthus, sweet alyssum, or dusty miller to fill gaps. These mid-height plants create density between your thriller and spiller layers. They typically grow 6 to 12 inches tall.
- Ratio Balance: Apply a 1-3-5 planting ratio: one thriller, three fillers, and five spillers per container. Adjust quantities based on your container diameter. This ratio ensures balanced visual weight without overcrowding.
- Container Size: Use containers at least 14 to 16 inches in diameter for proper root space. Smaller containers limit plant options and require frequent watering. Larger containers provide better moisture retention and allow fuller displays.
This formula works because it creates visual depth and prevents flat, one-dimensional arrangements. Your eye moves from the focal thriller downward through filler plants, then follows spillers downward naturally. The layered approach accommodates multiple plant types within limited space while maintaining balance and preventing visual clutter.
The glory of gardening: hands in the dirt, head in the sun, nature at heart. To nurture a garden is to feed not just the body, but the soul.
Color Harmony
Cottage gardens historically embraced mixed color palettes during the Victorian era, but pastel coordination creates intentional refinement within containers. Pairing soft pinks, lavenders, creams, and pale blues produces cohesion without monotony. This approach works because pastels share similar light values, so they read as harmonious even when combined. Select two to three pastel base colors, then add white or silvery foliage plants to unify the display.
Successful pastel combinations require attention to undertones rather than exact matching. Cool pastels like lavender and pale pink work together because they share blue undertones. Warm pastels like peach and cream read as compatible due to yellow undertones. Avoid mixing warm and cool pastels in equal proportions, as this creates visual tension. Use silvery-foliaged plants like dusty miller or senecio as unifying elements throughout your container mix.
How To Plant Your Container Cottage Garden
Planting Steps
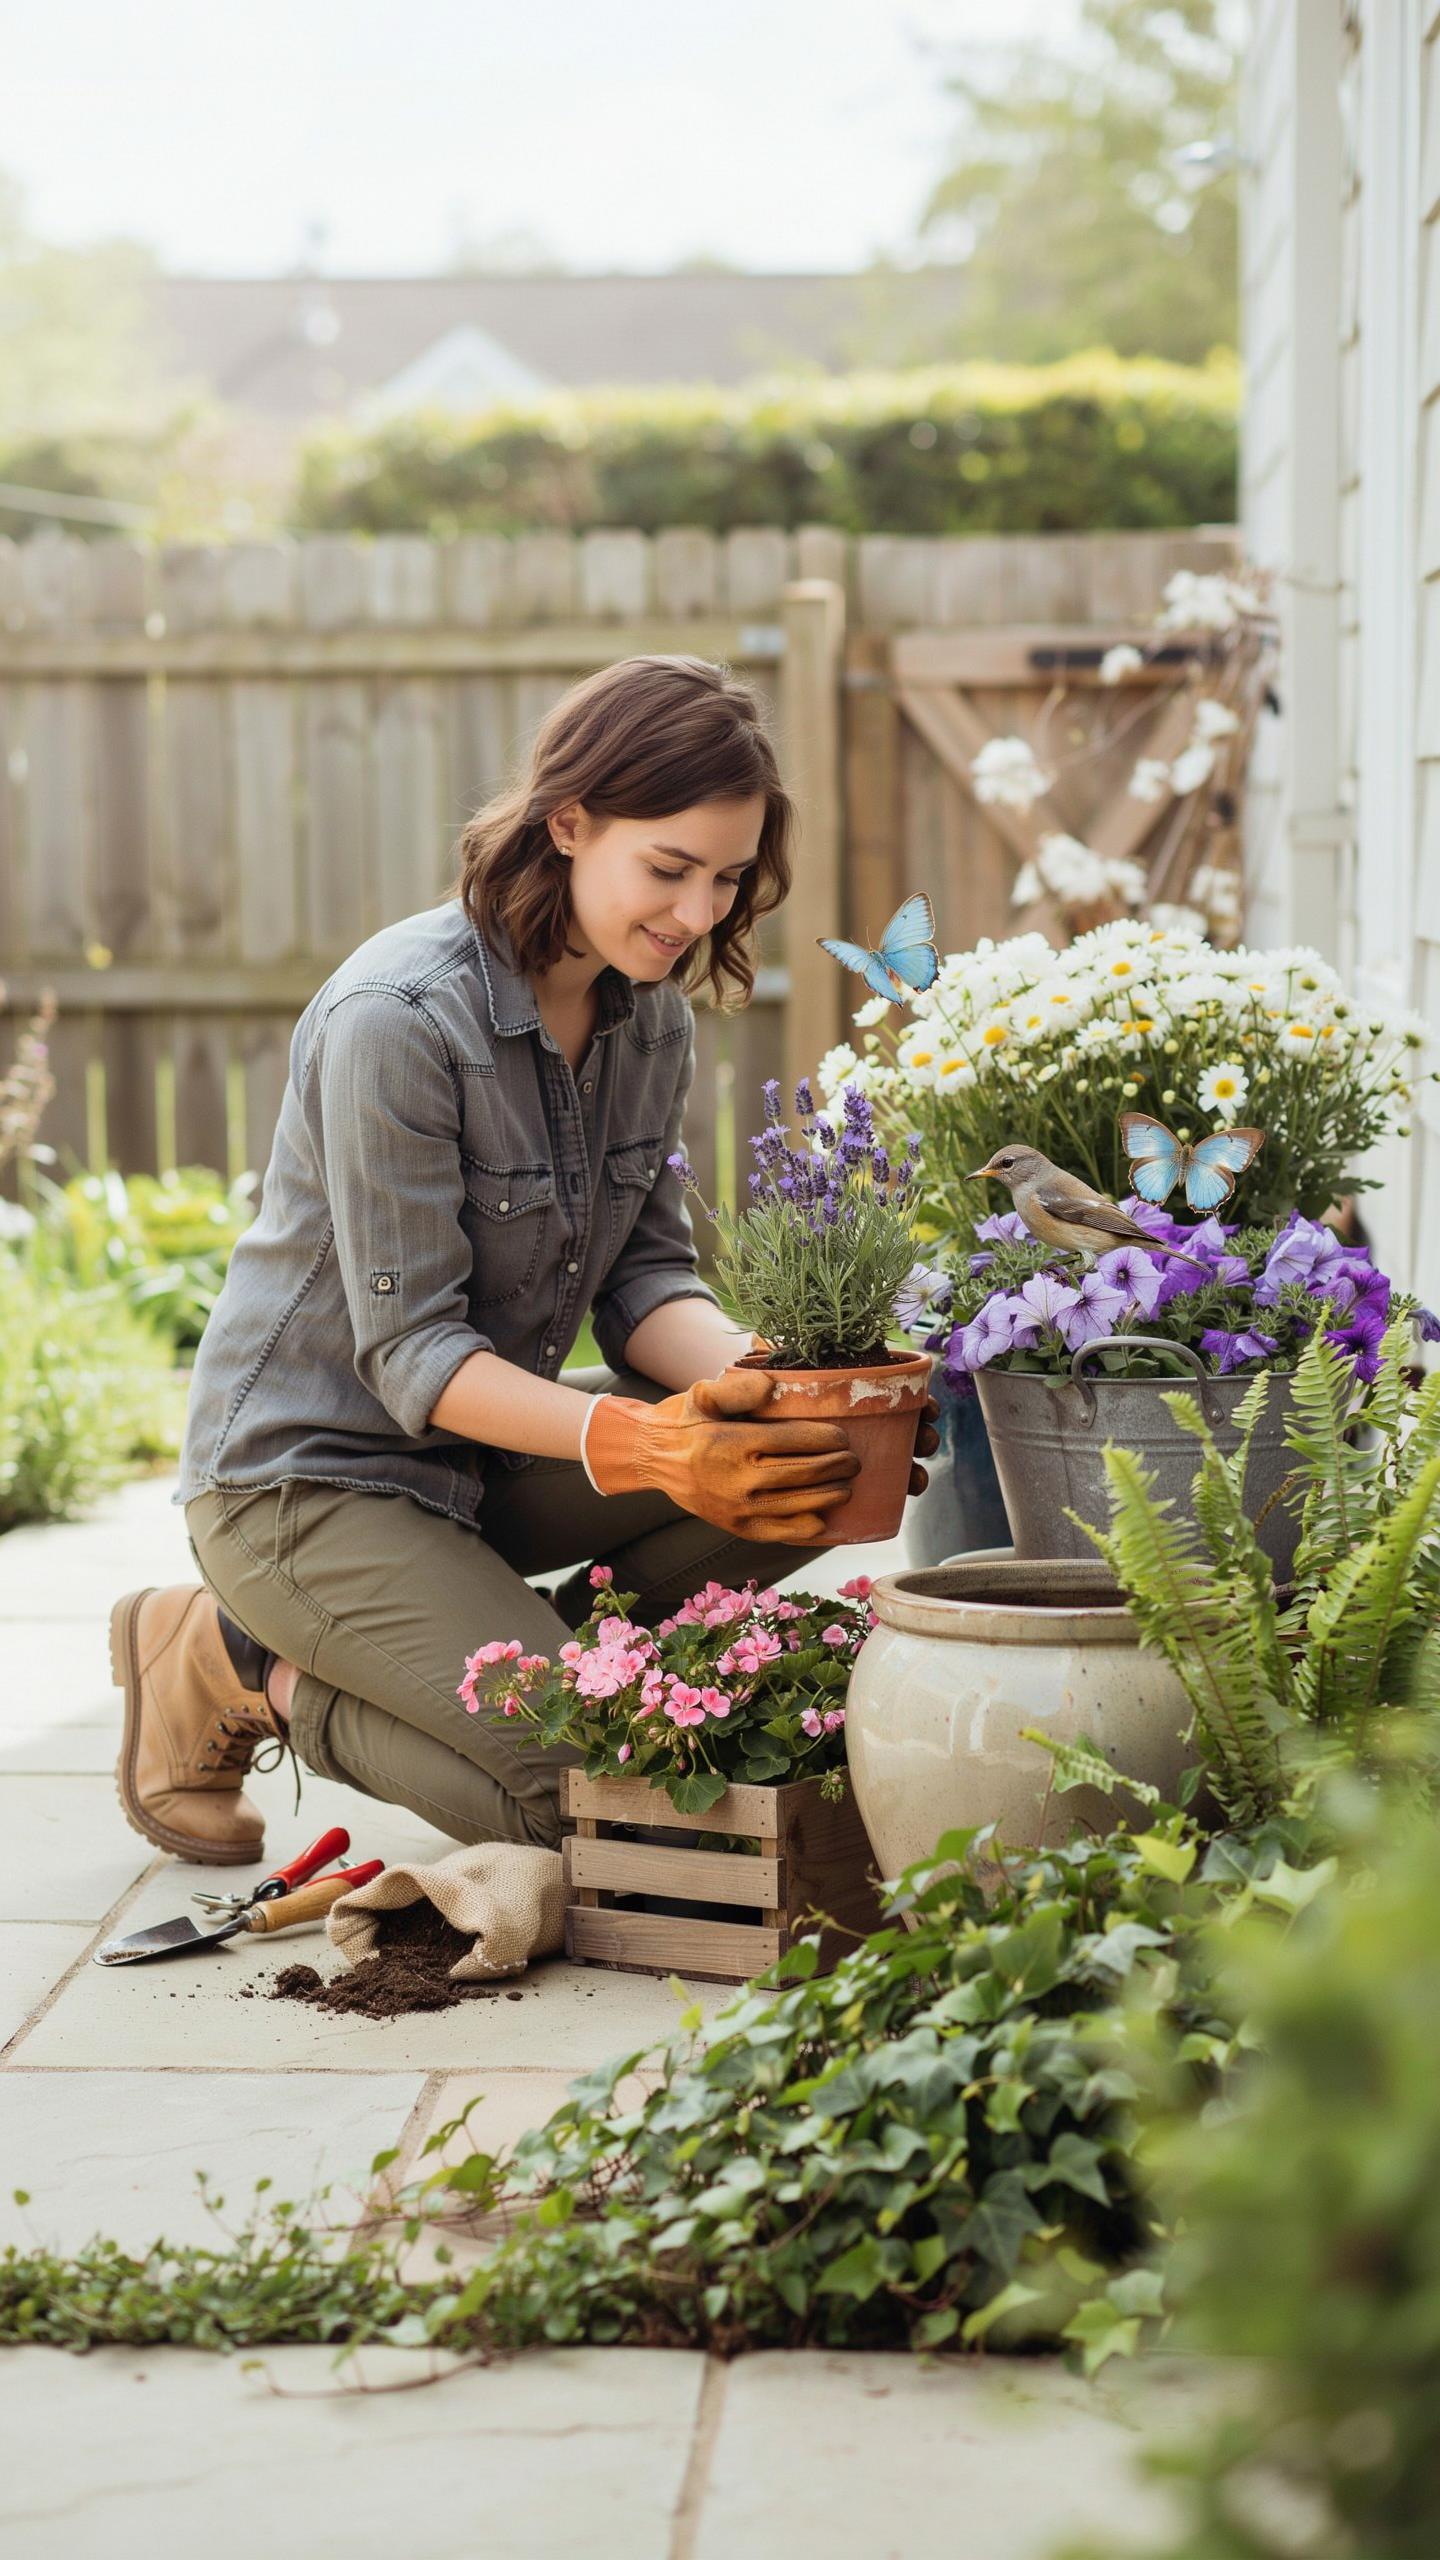
Start with drainage holes in your container. Fill the bottom third with your cottage garden container mix. This base layer prevents waterlogging and root rot. Water the mix lightly before adding plants to settle it and remove air pockets. This prep work saves plant failures later.
- Add the mix gradually: Fill containers in stages, pressing gently between additions to eliminate air gaps that cause settling problems after watering.
- Leave space at the top: Stop filling one to two inches below the container rim to allow water to pool and soak into the soil properly.
- Position tall plants first: Place plants that reach height in the back or center, depending on viewing angle, before adding shorter companions.
- Space plants appropriately: Follow mature size guidelines on plant labels rather than crowding seedlings close together for immediate fullness.
- Water after planting: Soak the entire container until water runs from drainage holes, settling the mix around roots and eliminating voids.
After planting, monitor moisture for two weeks while roots establish. Check daily by pressing your finger one inch into the mix. Adjust watering based on weather and container size. Most cottage garden containers need water when the top inch feels dry to touch.
Careful Transplanting
Handle seedlings and young plants by the root ball, never by the stem. Squeeze the container gently to loosen the root mass before removal. Roots bruise easily when squeezed or bent sharply. Create a hole in your mix slightly larger than the root ball before inserting the plant.
Bury transplants at the same depth they grew in their original containers. Planting too deep suffocates roots and causes rot. Planting too shallow exposes roots to air and drying. Firm the mix around the root ball to eliminate air pockets, then water thoroughly to settle everything in place.
Care Techniques And Garden Planter Ideas
Watering Feeding
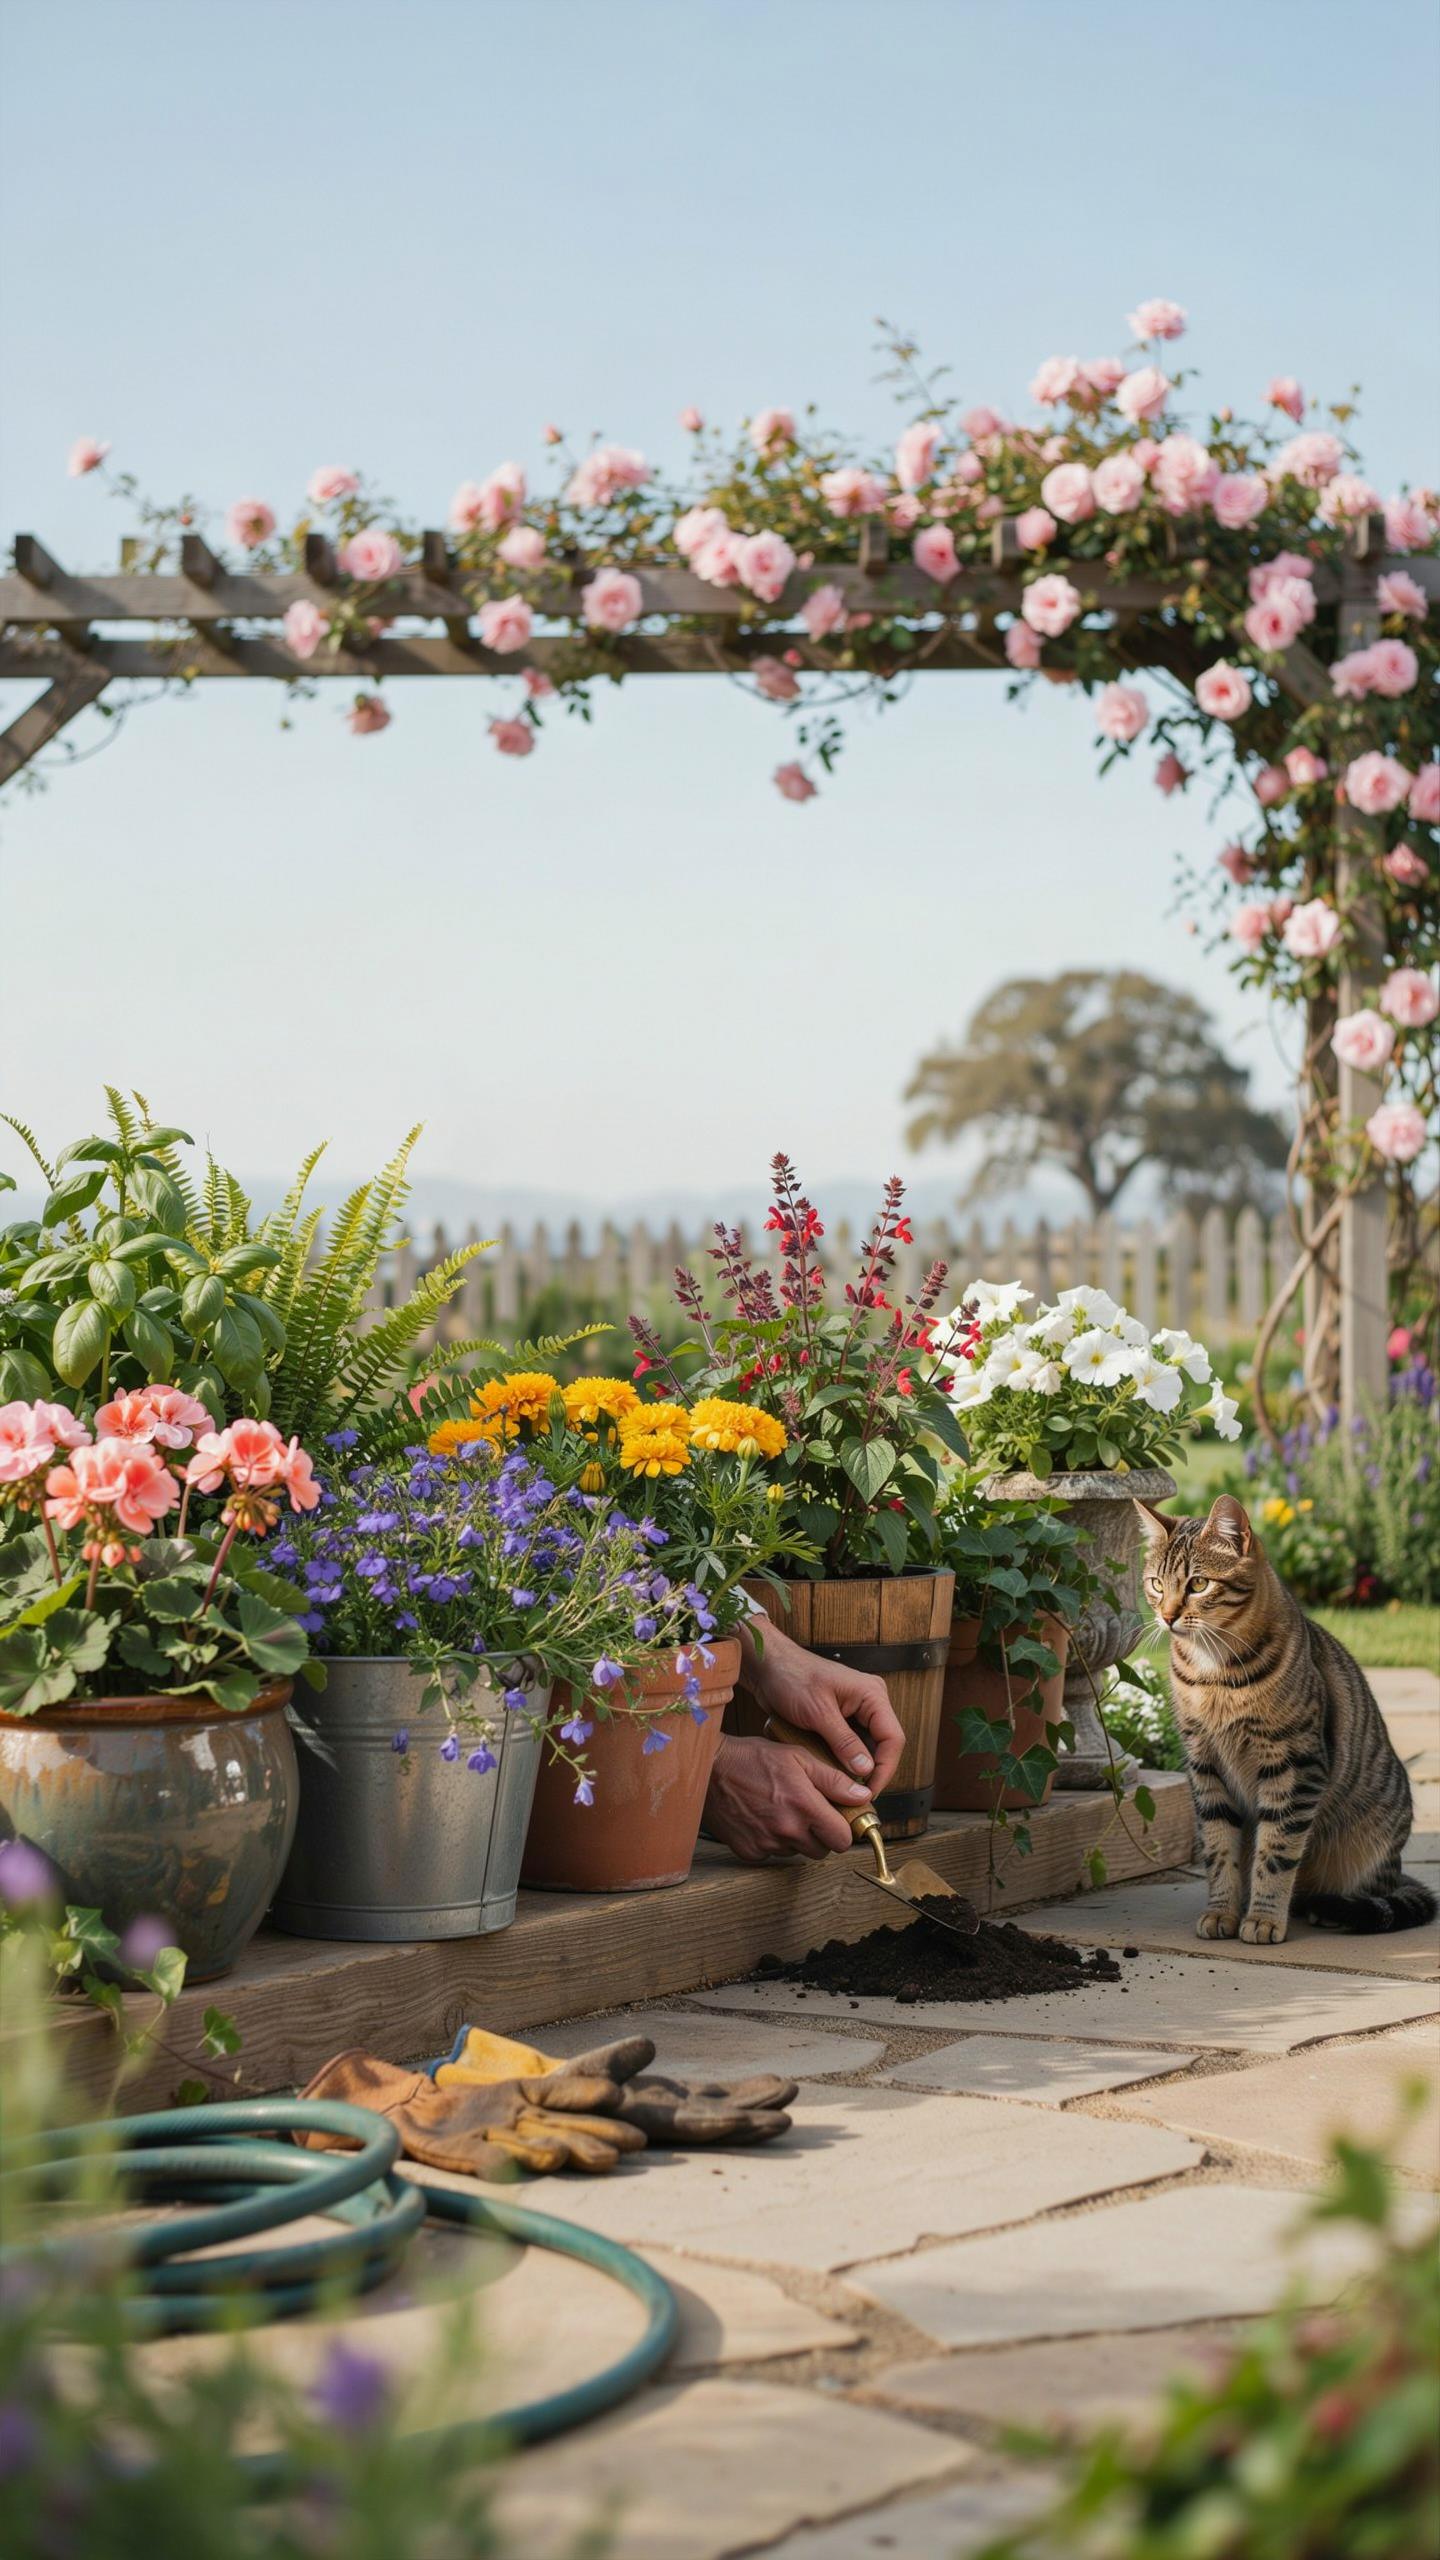
Container plants dry out faster than in-ground gardens because soil volume is limited. Check soil moisture daily by inserting your finger one inch deep. Water when the top inch feels dry. This prevents root rot from overwatering and ensures consistent hydration. Containers in full sun need more frequent watering than those in partial shade.
Feed container plants every two to four weeks during the growing season. Use a balanced, water-soluble fertilizer diluted to half strength. Cottage garden mixes with peat moss or coco coir drain quickly and leach nutrients faster, requiring regular feeding. Stop fertilizing in late fall when growth slows naturally.
Deadheading Maintenance
Remove spent flowers as soon as petals drop or fade. Deadheading redirects plant energy from seed production into new blooms. This extends flowering periods throughout the season. Pinch or cut flowers just below the spent flower head using clean scissors or pruners. Most cottage garden plants respond aggressively to deadheading with multiple new flower stems.
Inspect plants weekly for dead leaves, yellowing foliage, and pest damage. Remove dead material to improve air circulation and reduce disease risk. Prune leggy stems to encourage bushier growth. Cottage garden containers benefit from light pruning every three to four weeks during peak growing season to maintain shape and vigor.
Frequently Asked Questions

What are the essential components of a successful cottage garden container mix for beginners?
For a thriving display, your cottage garden container mix should focus on fluffiness and drainage. A standard blend typically combines high-quality potting soil, nutrient-rich compost, and perlite or vermiculite to encourage airflow. This specific combination ensures that delicate English roses or whimsical foxgloves receive the consistent moisture they crave without the risk of root rot, providing a stable foundation for your new charming outdoor space.
How do I properly layer my pots to ensure my flowers bloom all season long?
To achieve that lush, overflowing look, start by filling your pot with your cottage garden container mix until it is nearly full. Gently pack the soil down to remove large air pockets, leaving two inches of space at the rim. Plant your tall thrillers in the center and trailing spillers near the edges. Regular watering and organic fertilizer will keep this soil blend productive and vibrant throughout the summer.
Can I create an effective potting blend using affordable items from my local hardware store?
Absolutely! You don’t need expensive specialty bags to get started. You can easily mix your own by purchasing affordable bulk bags of peat moss or coco coir, multipurpose compost, and a bit of coarse sand for grit. Mixing these basic ingredients yourself is a cost-effective way to produce a high-performing medium that supports a dense, romantic floral aesthetic while keeping your gardening hobby well within a beginner’s budget.



