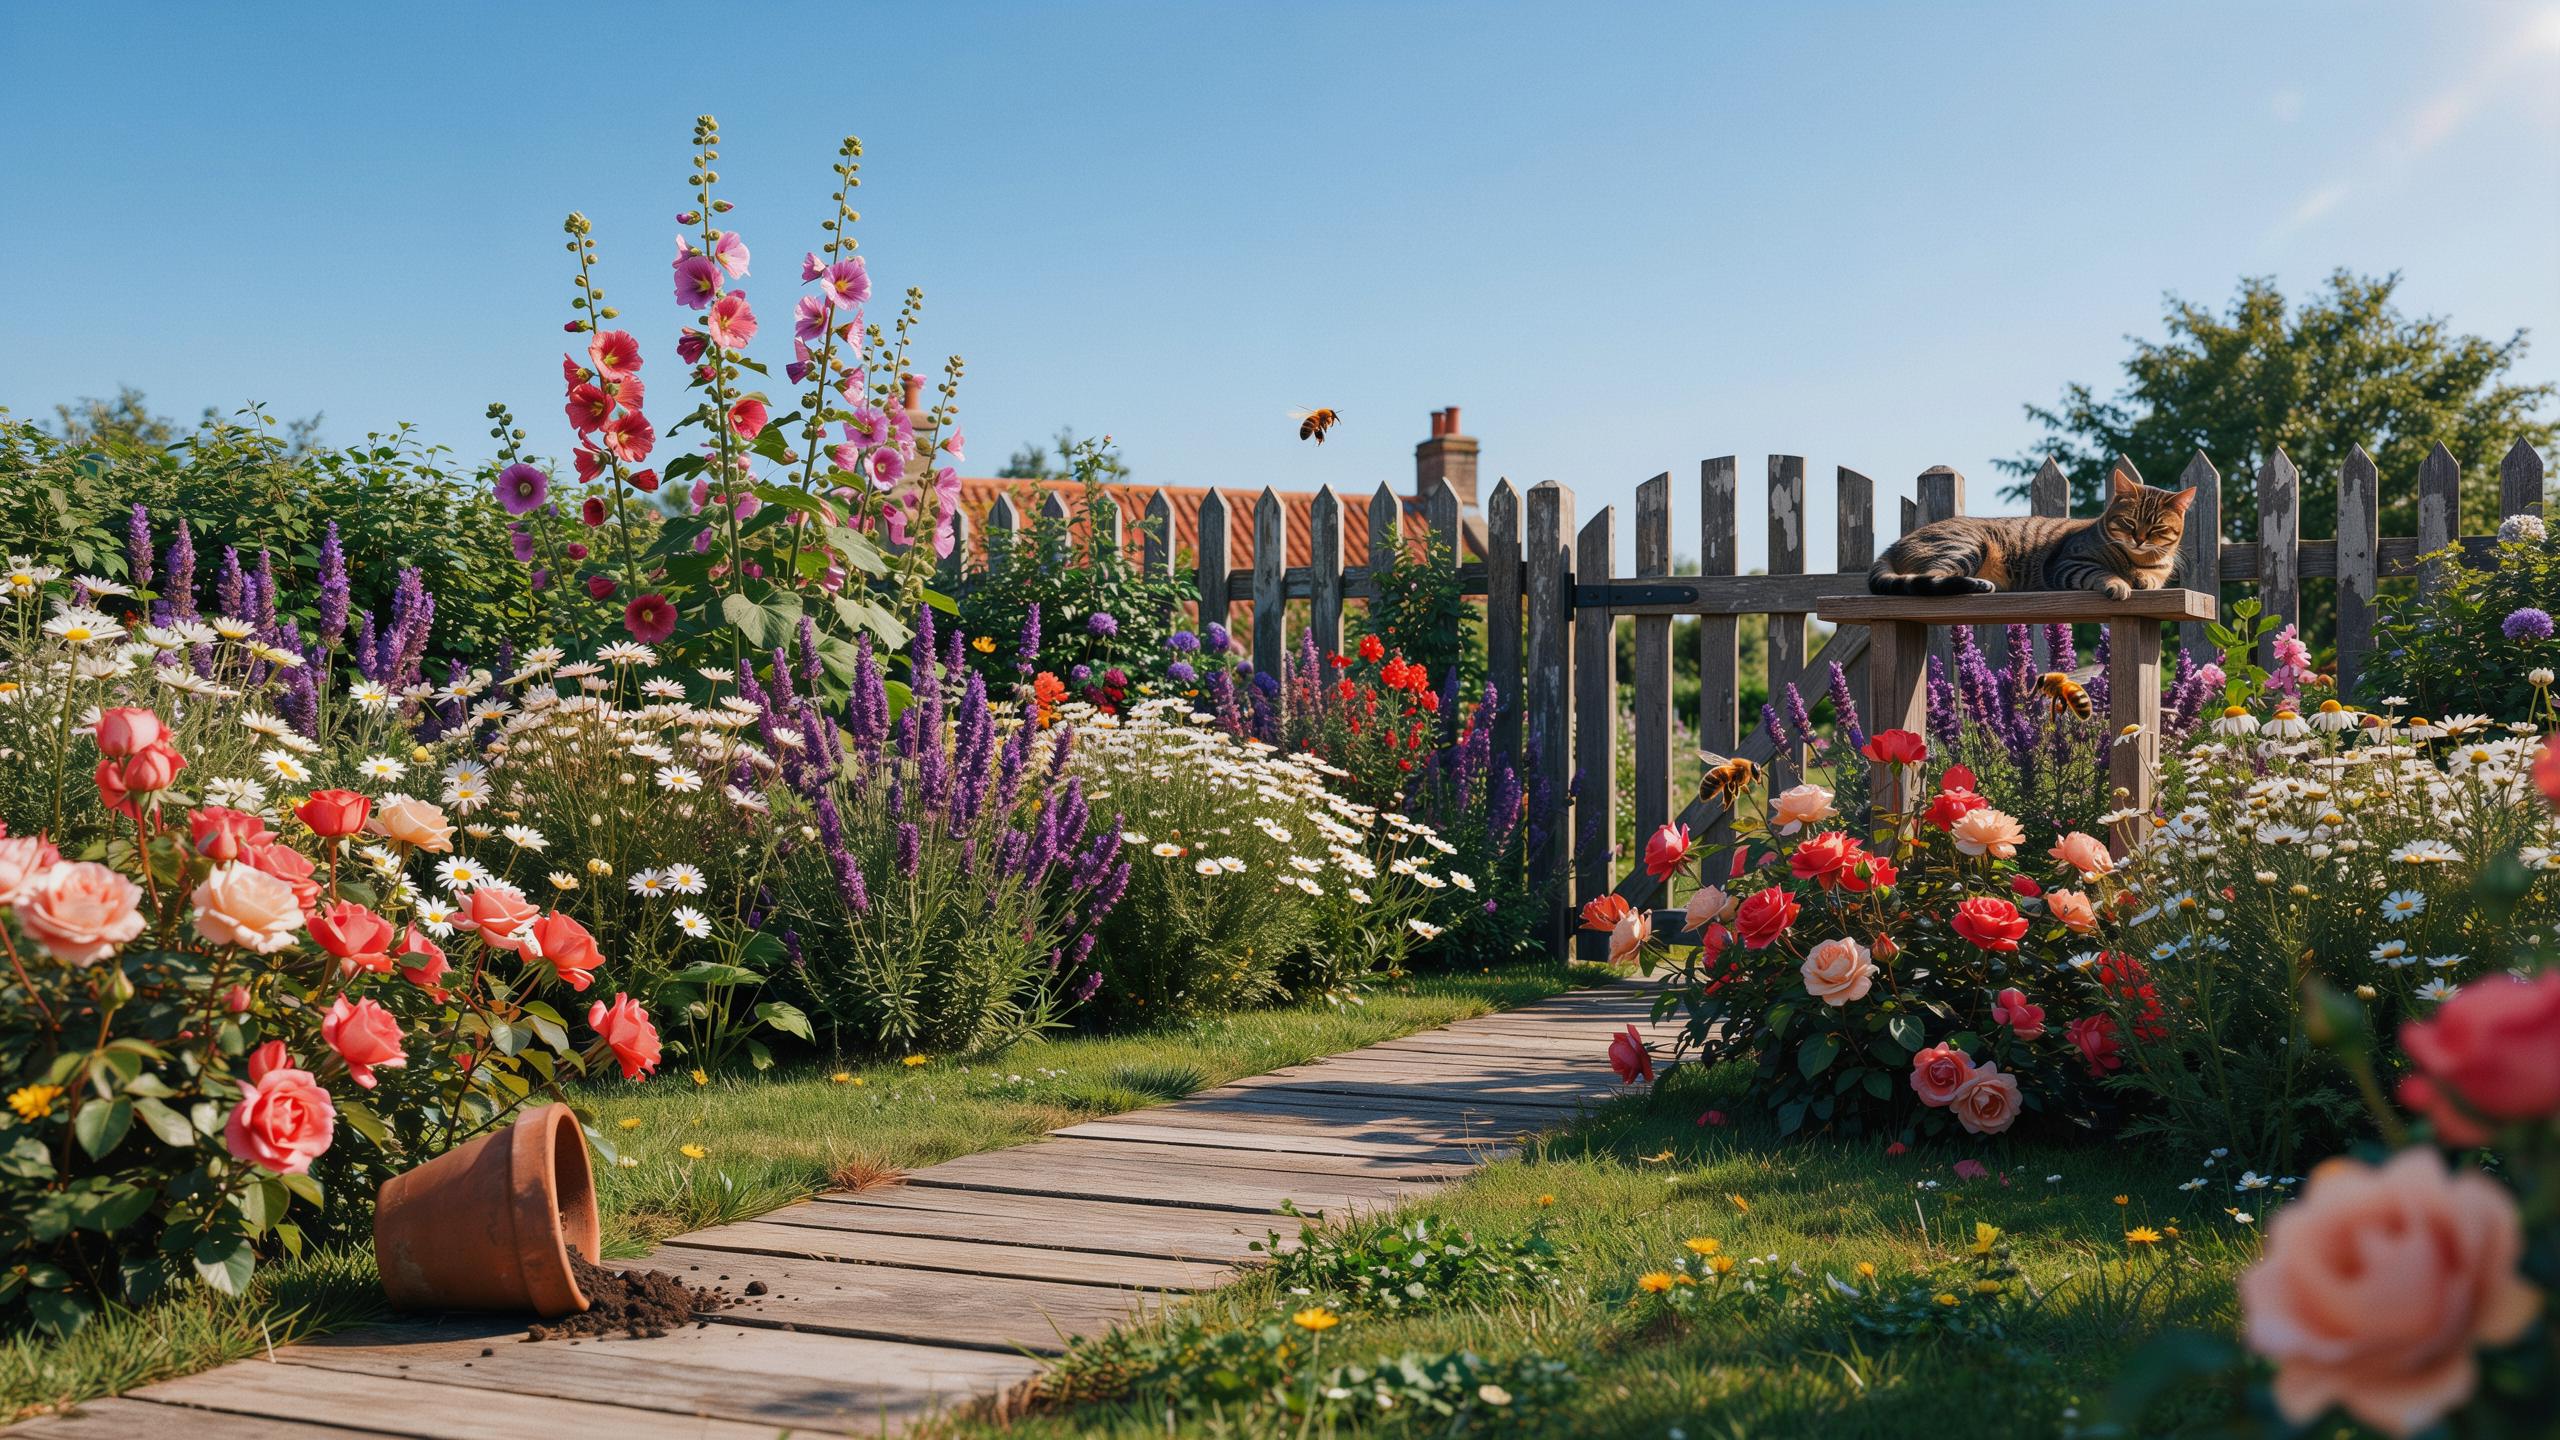
Embracing Cottage Garden Design In Your Backyard
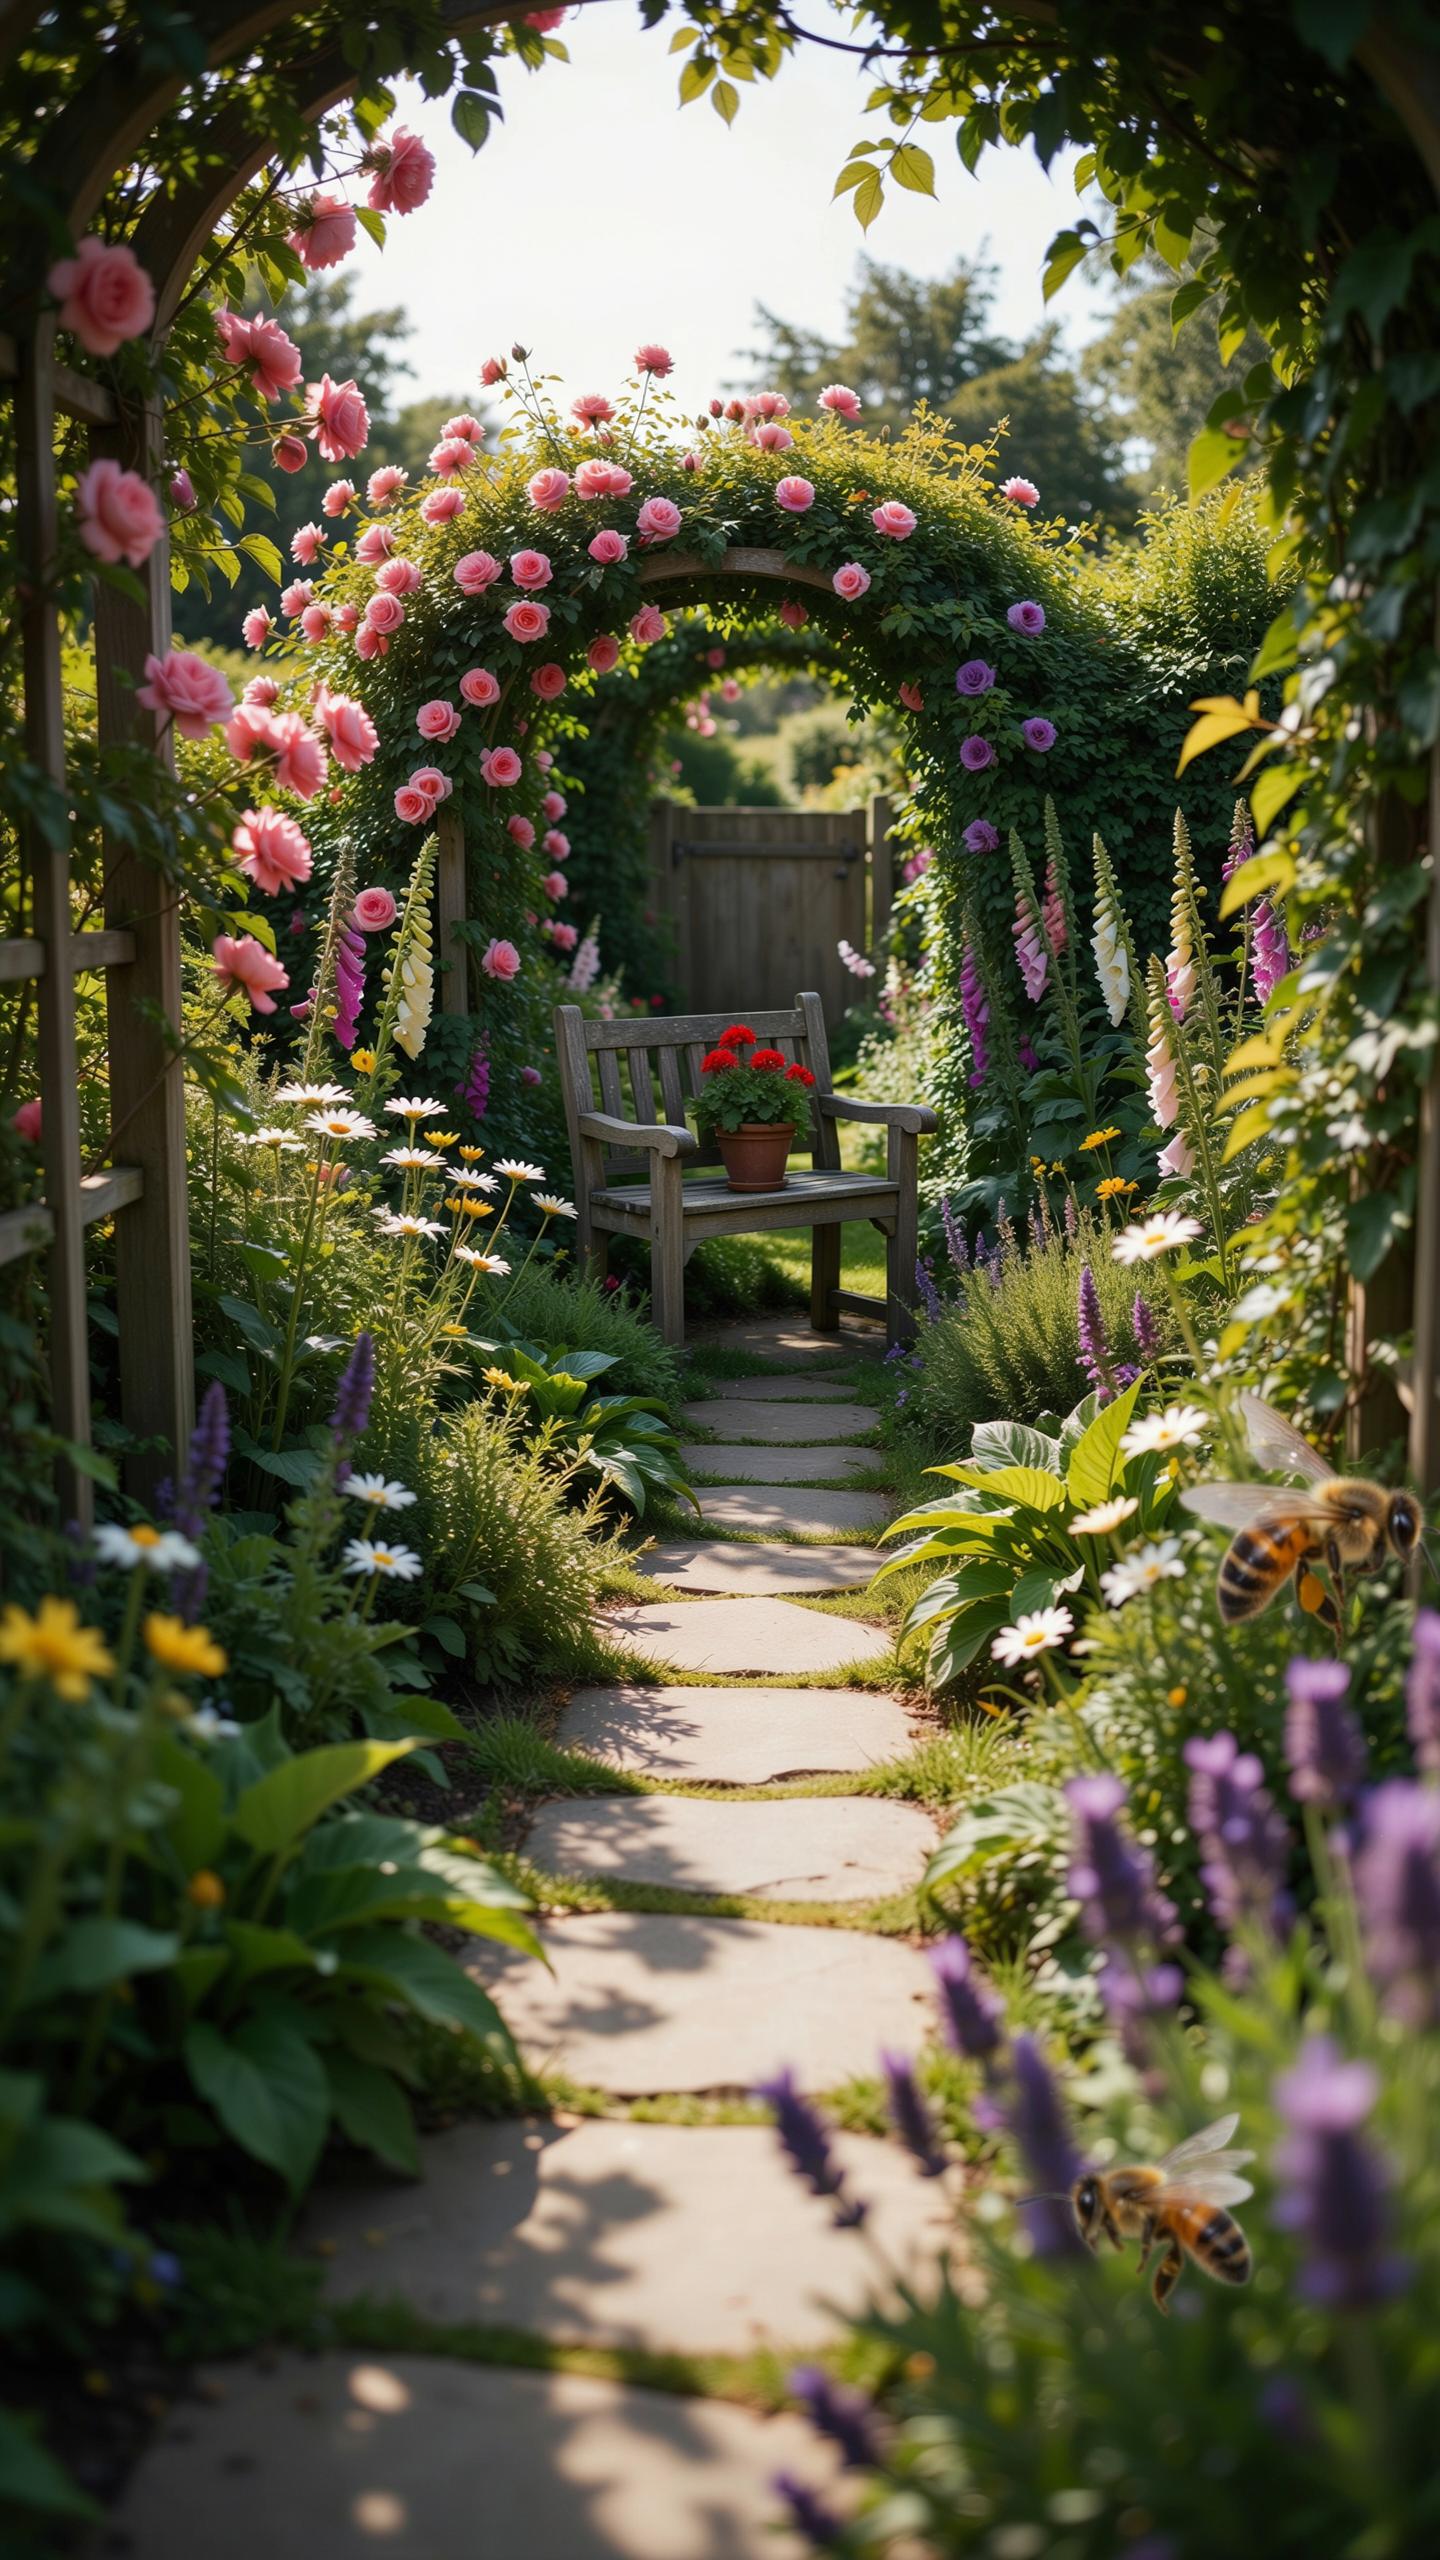
The Core Principles Of Cottage Style Gardens
Cottage gardens emerged from practical necessity rather than aesthetic theory. English gardeners in the 1800s combined vegetables, herbs, and flowers in compact spaces around their homes. The style prioritizes function over formality. Dense planting, mixed plant types, and layered heights define the approach. You work with what grows well in your climate rather than forcing rigid design rules.
The core principle is abundance through variety. Cottage gardens reject empty space and manicured uniformity. You plant perennials, annuals, and woody plants together in the same bed. Self-seeding plants fill gaps naturally over time. This approach reduces maintenance compared to formal gardens because nature handles much of the spacing and succession work for you.
Choosing The Right Location For Informal Planting
Location determines survival rates and bloom quality. Most cottage garden flowers need six to eight hours of direct sun daily. Observe your yard throughout the day before selecting bed sites. South and west-facing areas receive stronger afternoon light. North-facing spots work for shade tolerant plants like hellebores and hostas, but expect fewer flowering plants overall.
Soil drainage matters more than soil quality in cottage gardens. Poor drainage kills more plants than poor fertility does. Build raised beds or mound soil in low spots where water pools after rain. Avoid planting directly against house foundations where soil stays perpetually wet. Test drainage by digging a hole, filling it with water, and observing how long it takes to drain completely.
Selecting The Perfect Color Palette For Garden Harmony
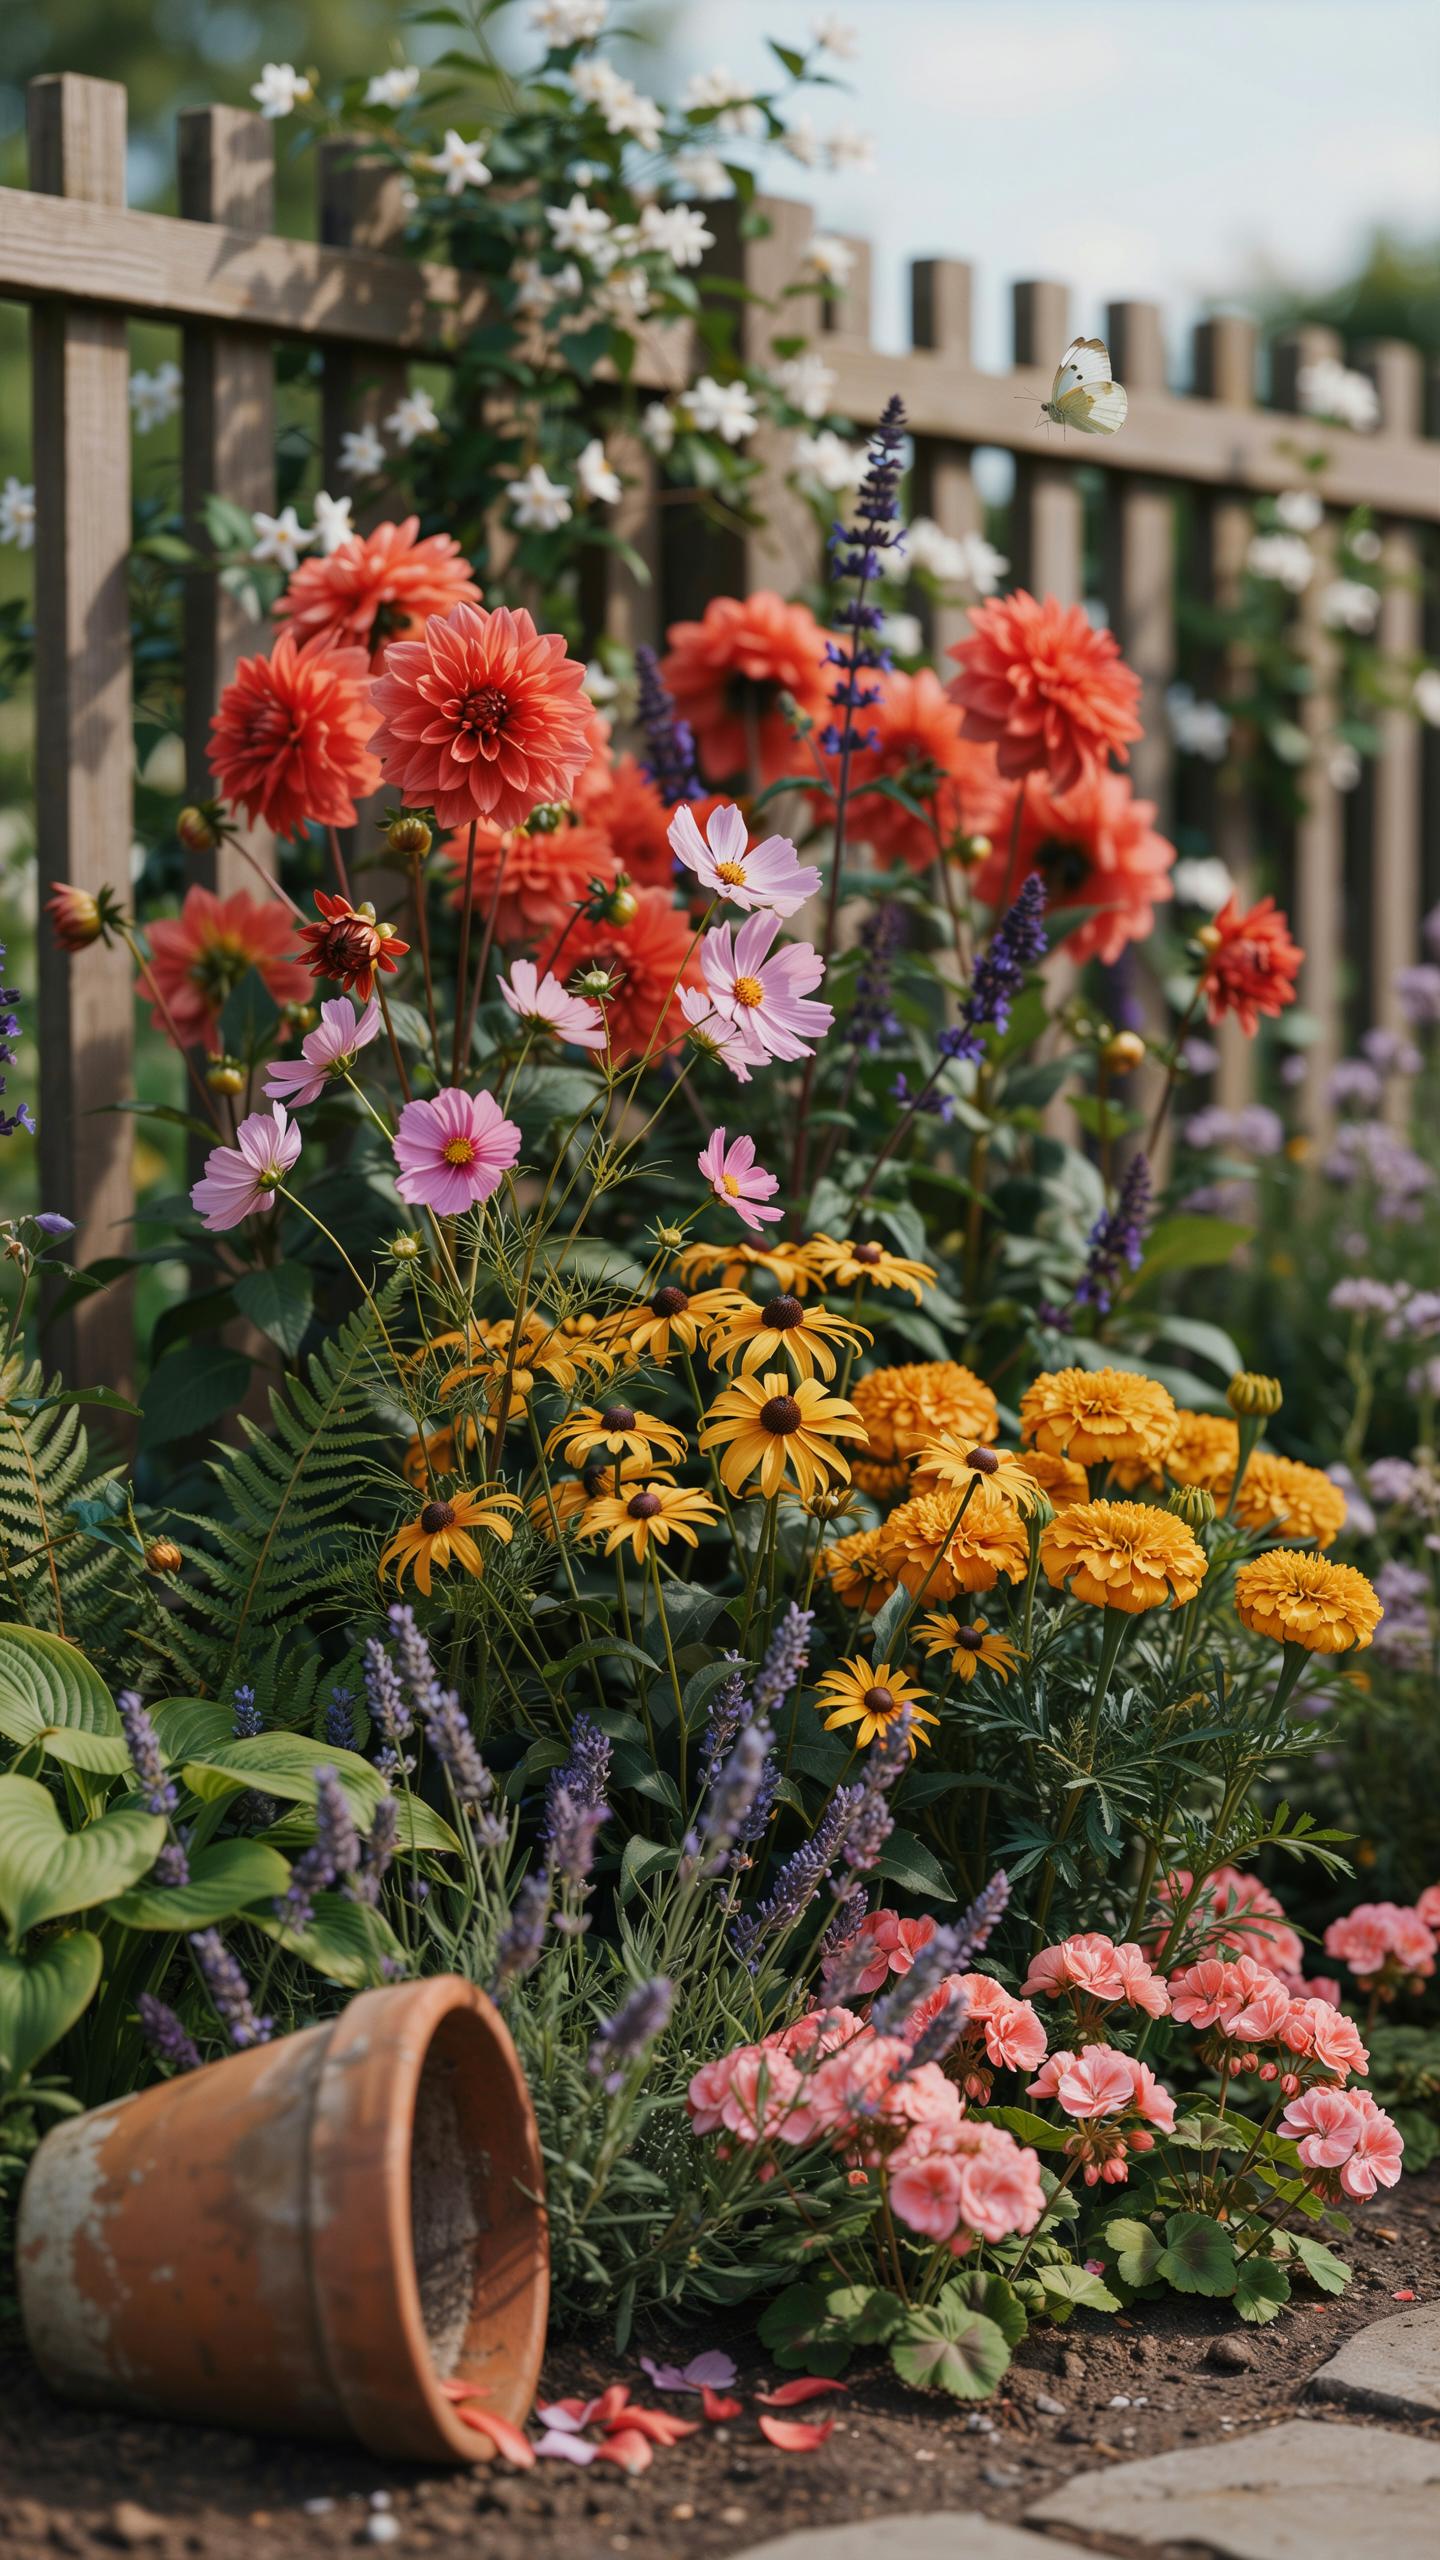
Warm And Inviting Yellows, Pinks, And Oranges
Warm colors advance visually and draw the eye forward. This makes them effective for small cottage gardens where you want to create depth. Yellows, pinks, and oranges trigger psychological responses that feel welcoming. They mimic sunset and dawn light, which cottage garden design historically drew from. These colors work well in morning and afternoon sun exposure.
Pair yellow flowers like rudbeckia with pink roses and orange daylilies for cohesion. The warm palette reduces the perceived distance between plant groupings. This technique works because warm hues reflect more light wavelengths than cool colors. Space these plants 18 to 24 inches apart for proper air circulation. Avoid overcrowding, which diminishes the visual impact of each flower’s individual color contribution.
The buttercup days will soon be around again, and the smell of the wallflowers. There is no blue like the blue of the sower’s forget-me-not.
Cool And Serene Blues, Purples, And Whites
Cool colors recede visually and expand the apparent size of garden spaces. Blues, purples, and whites create calm through color psychology and atmospheric perspective. These hues dominate romantic cottage gardens, particularly those influenced by Victorian-era design principles. They pair effectively with shade areas where warm colors lose vibrancy. Cool palettes also tolerate afternoon heat better in southern exposures.

Combine delphinium, lavender, and white phlox for traditional cottage effect. The cool palette requires less frequent watering since these colors reflect heat rather than absorb it. White flowers serve as visual breaks between purple and blue plantings, preventing monotony. Plant cool-colored combinations on eastern or northern garden sides. This positioning maximizes their calming effect during peak viewing hours.
Planning Your Ideal Garden Layout For Easy Movement
Designing Curved Pathways And Meandering Walkways
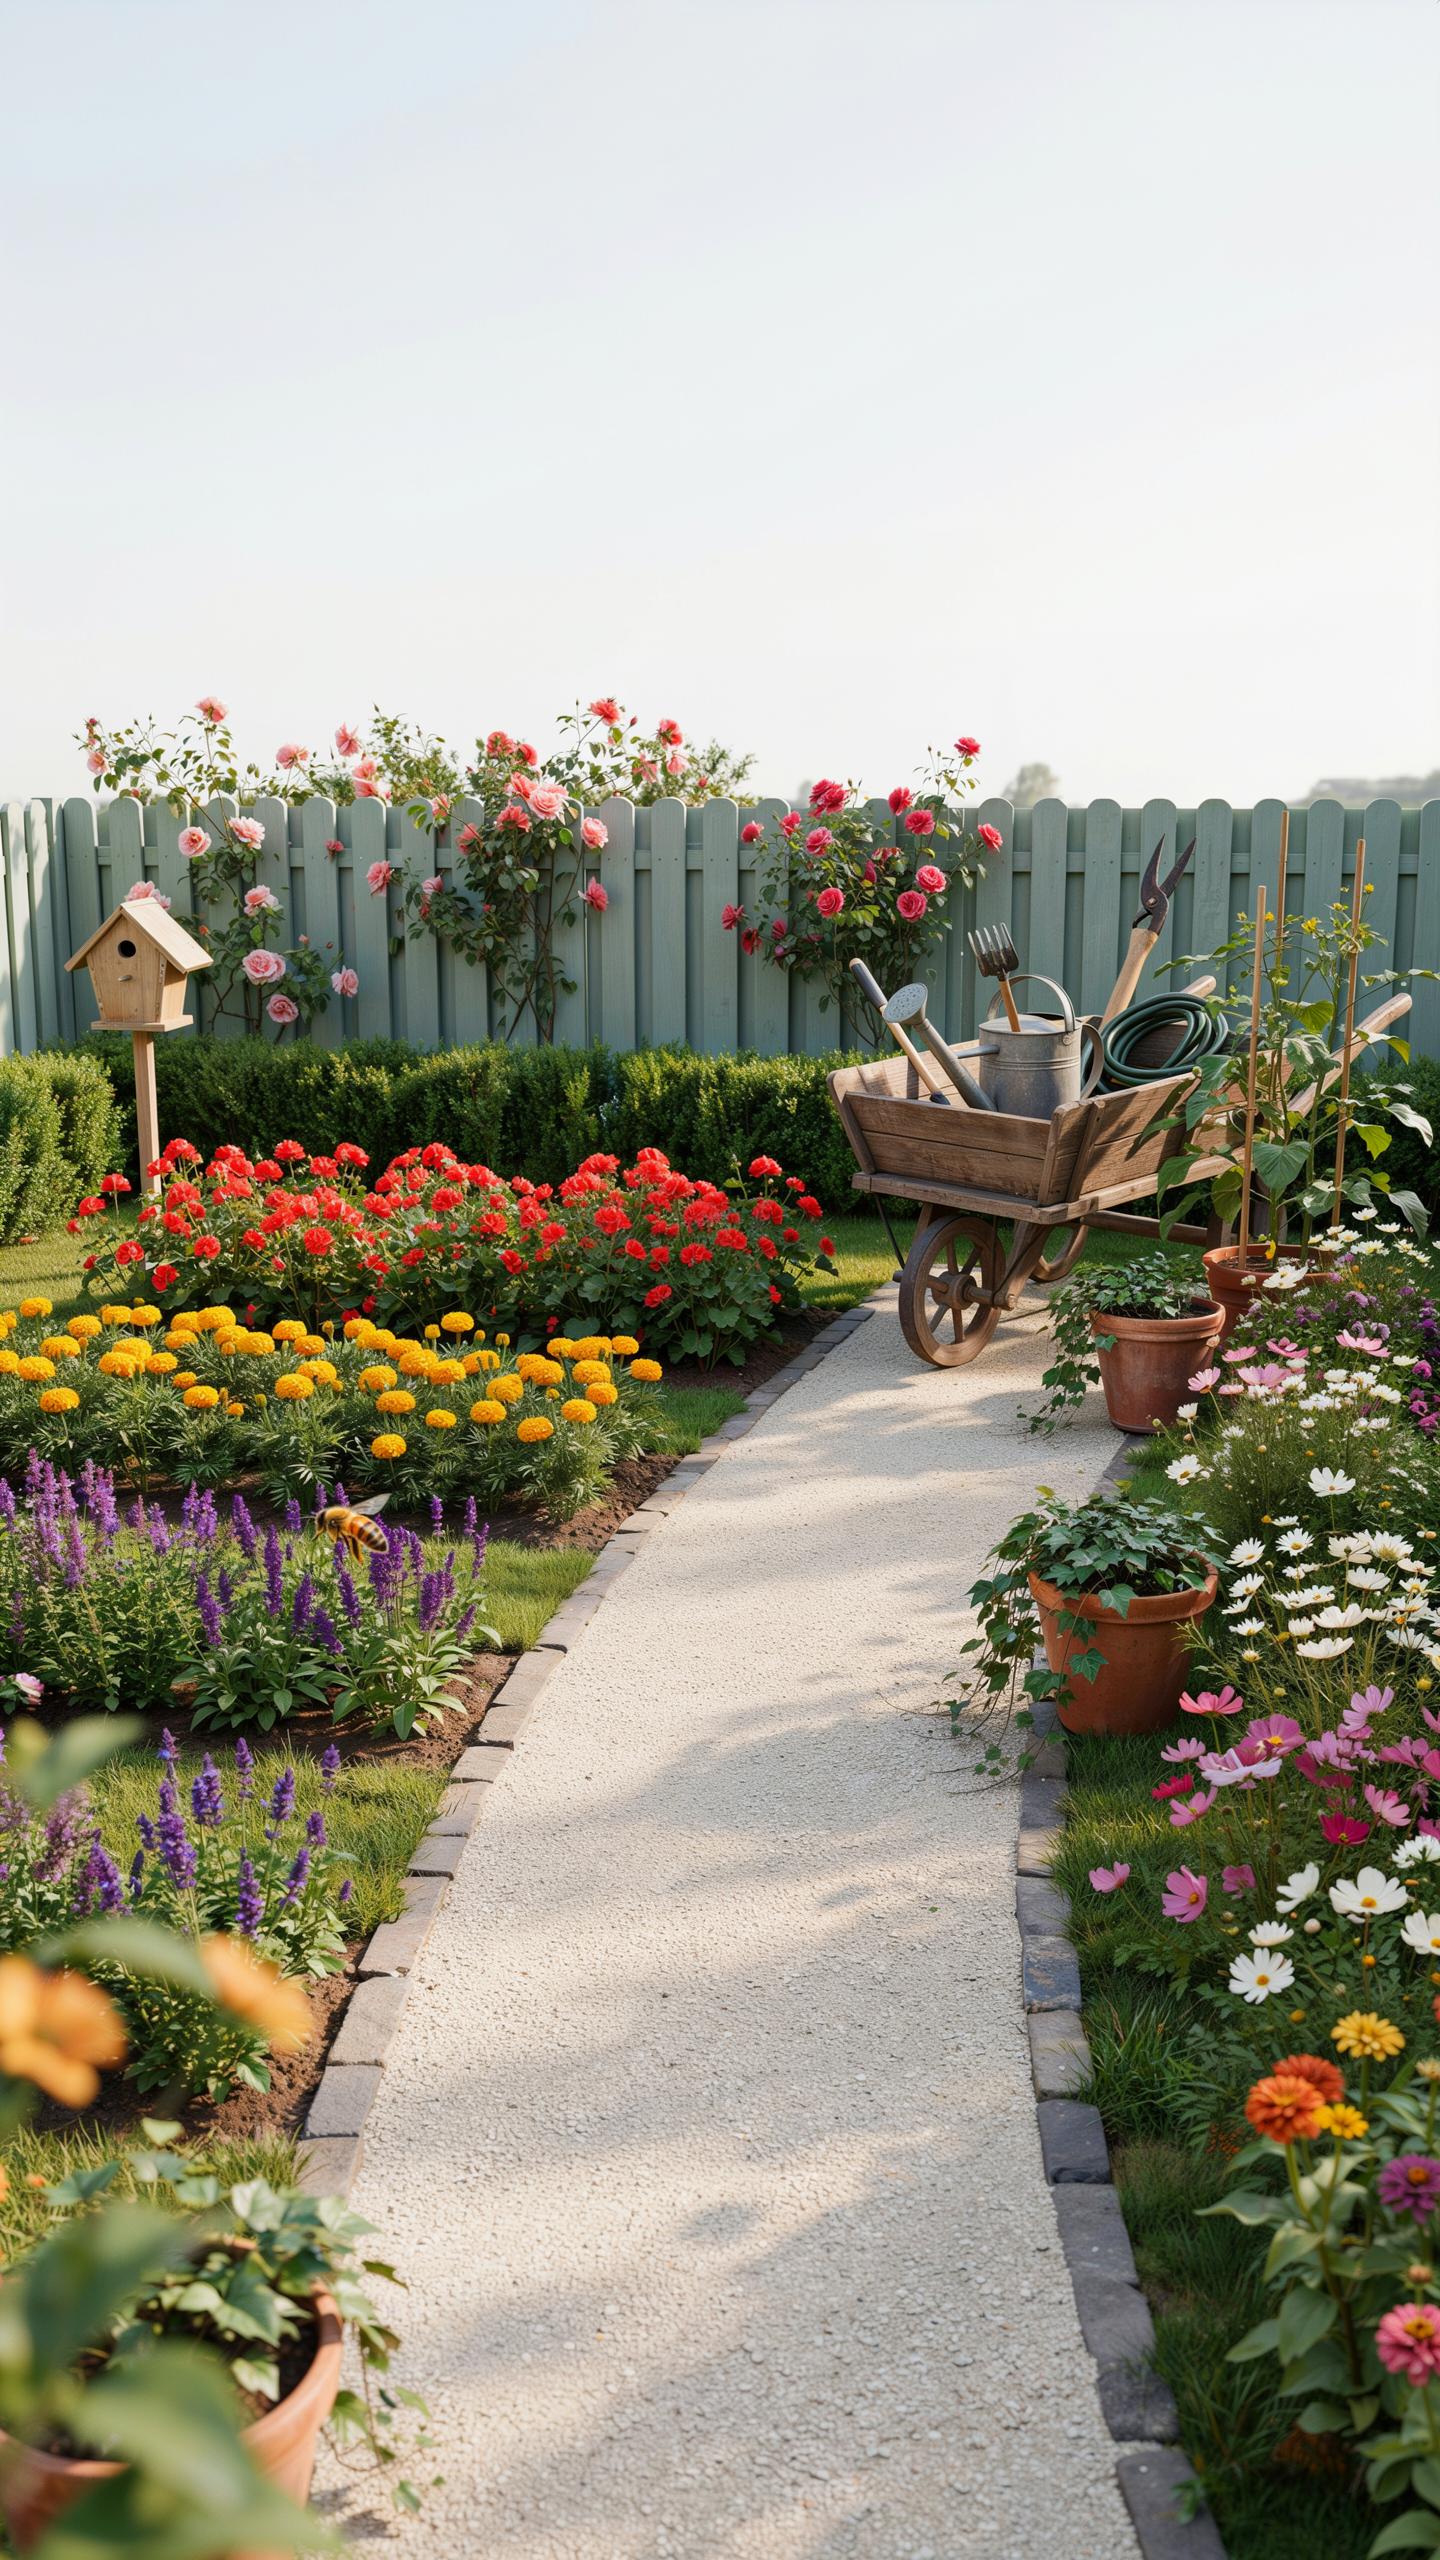
Curved pathways move people through garden spaces more naturally than straight lines. Your body follows curves with less effort. Paths should measure three to four feet wide for comfortable single-file movement and two-person passing. Use gravel, stepping stones, or mulch as practical surface materials. Curves also create visual interest and make small gardens feel larger.
Position curves to connect your home entrance to flower beds and seating areas. Avoid tight turns under three feet of radius. Space stepping stones eight to twelve inches apart for natural stride length. Let pathways reveal beds gradually rather than showing the entire garden at once. This technique keeps people moving and exploring. The path itself becomes part of the garden experience.
Structuring Beds For Layered Vertical Height
Layered height creates rhythm and prevents flat, dull garden designs. Position tall plants at the back and short plants in front to expose all flowers to sunlight. Stagger heights in increments: back layer reaches four to six feet, middle layer grows two to three feet, front layer stays under eighteen inches. This structure works in beds against walls or as island beds visible from all sides.

Use height variation to draw the eye upward and create depth in shallow yards. Cottage gardens traditionally mix heights to achieve this effect without appearing chaotic. Plant taller species like delphiniums or foxgloves behind lower-growing plants such as catmint or dianthus. Remove height variation and your beds flatten visually. Strategic layering makes modest spaces feel substantial and purposeful.
Classic Cottage Flower Bed Combinations For All Seasons
High Impact Perennial And Annual Partnerships
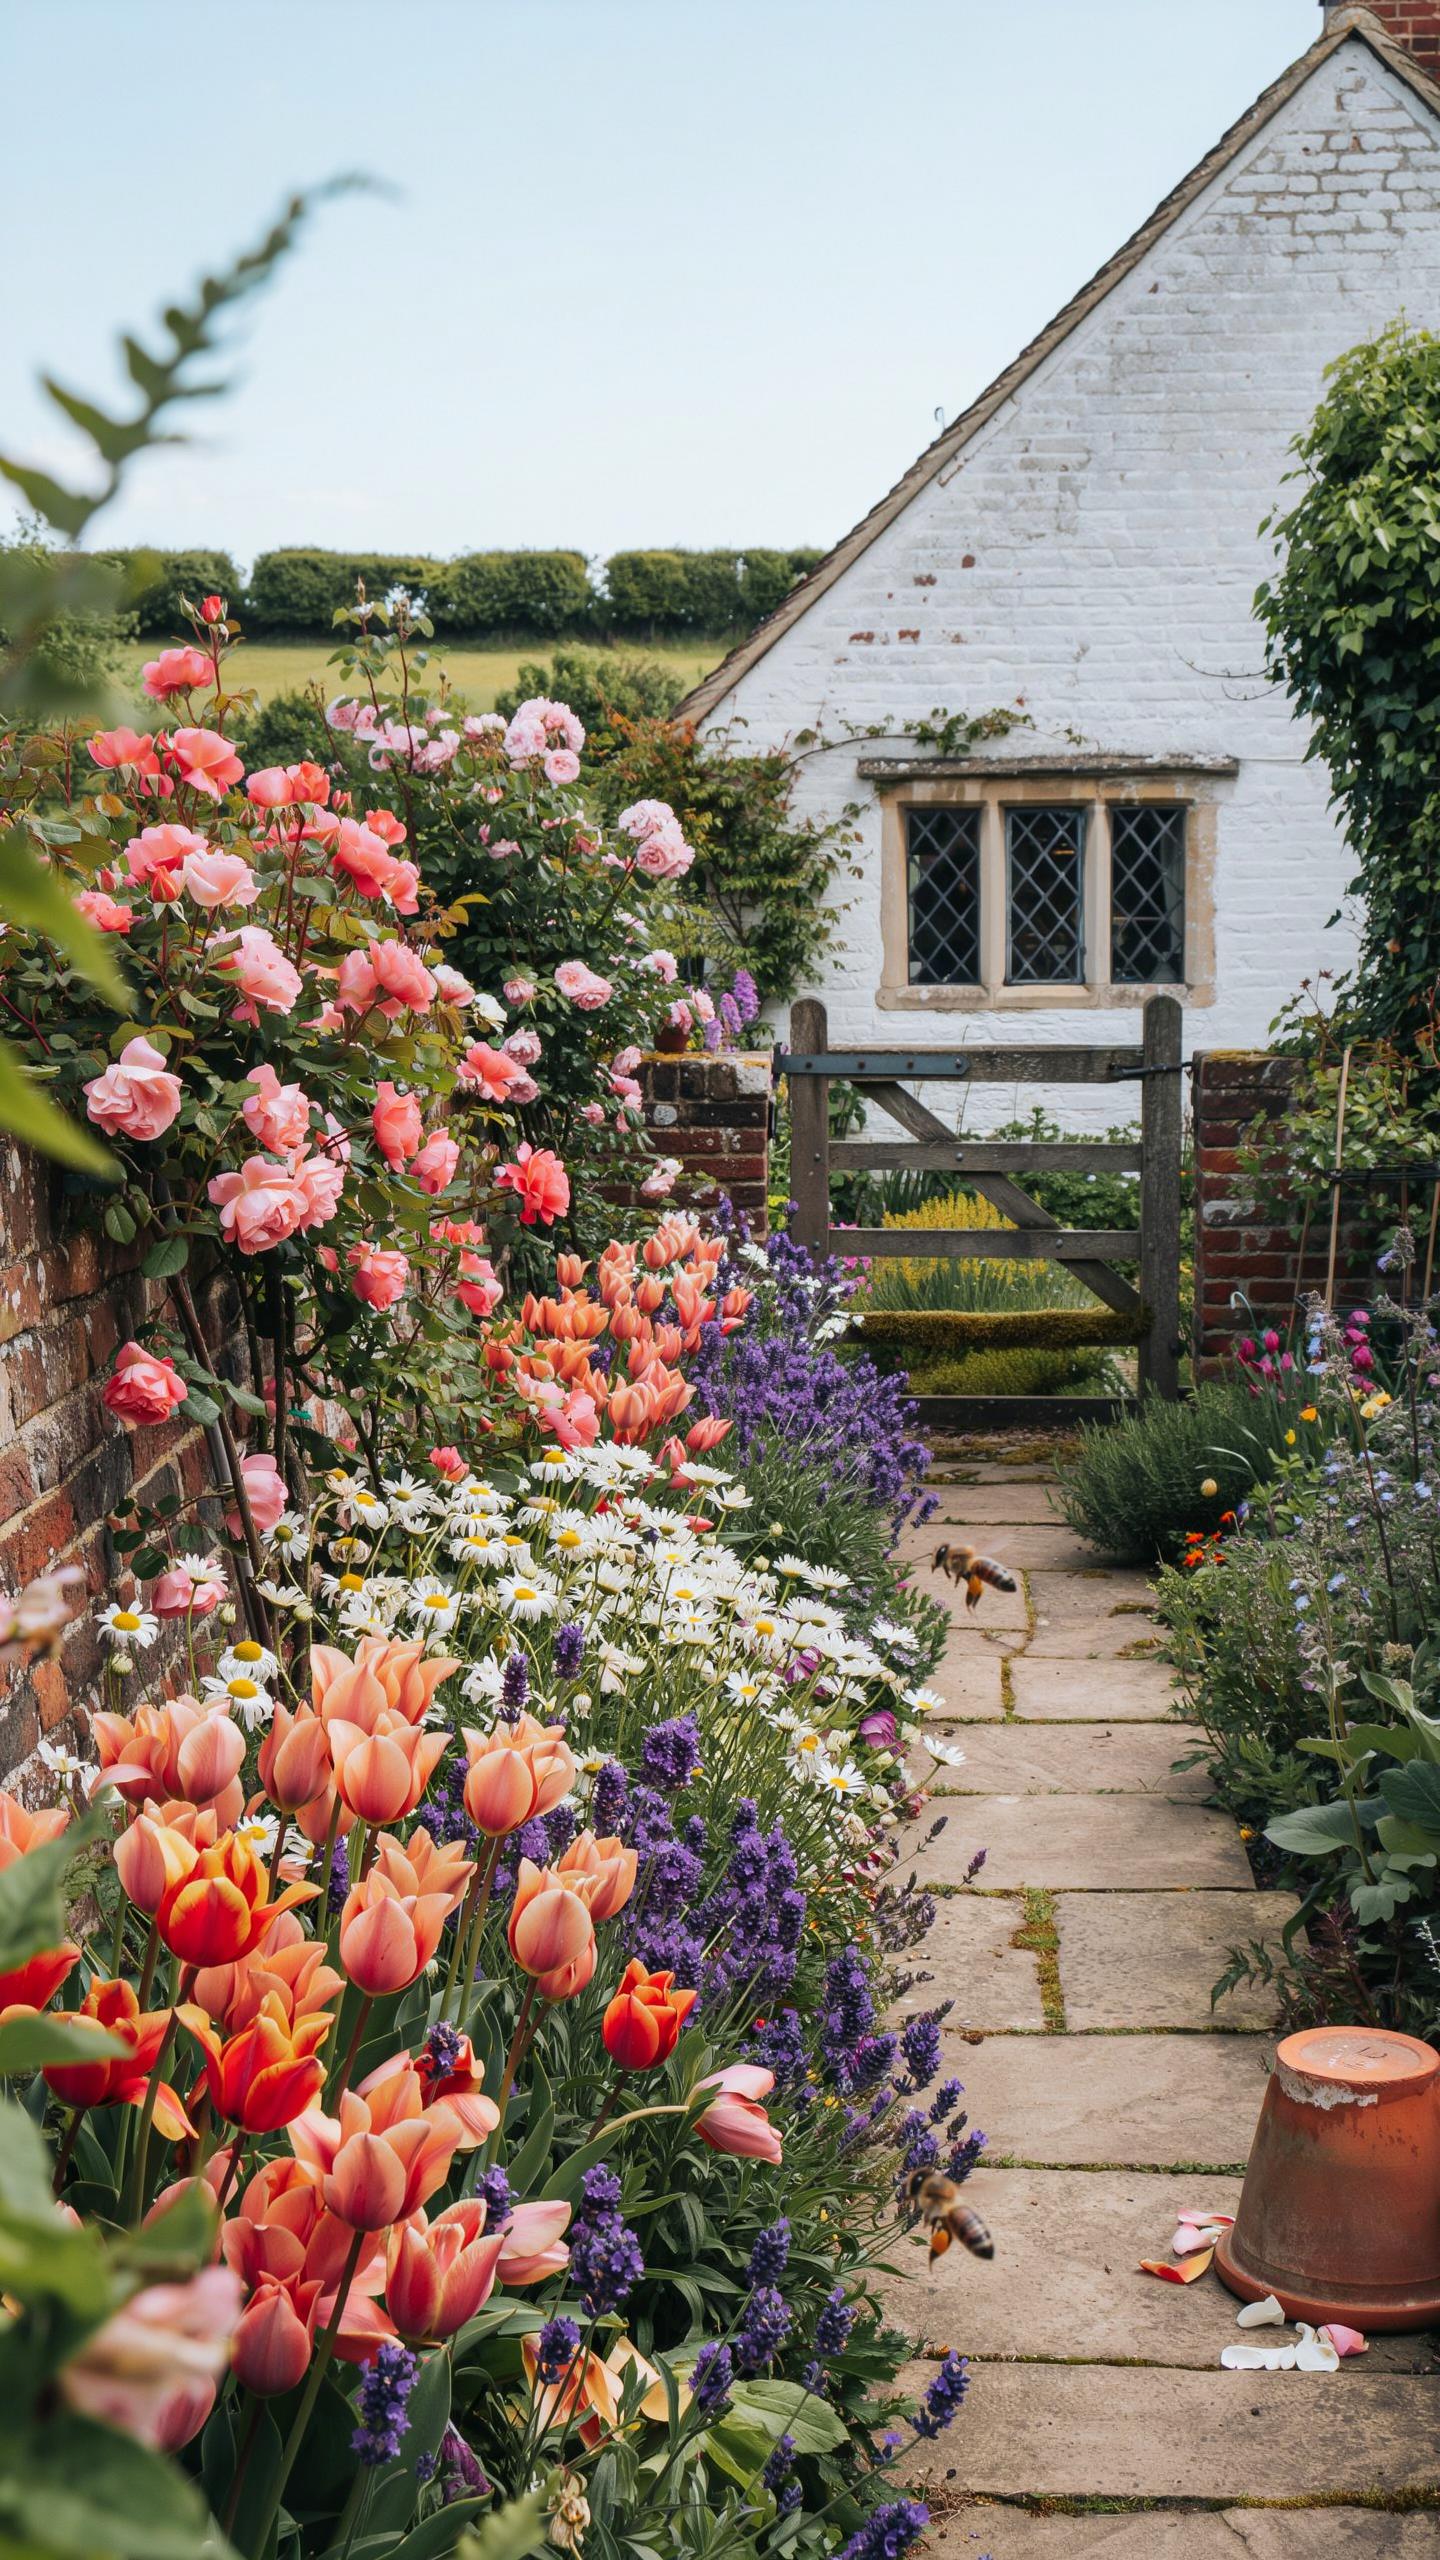
Perennials return year after year without replanting. Annuals complete one life cycle per season. Combining them solves a core cottage garden problem: perennials fill the bed structure while annuals bridge bloom gaps. Perennials establish the backbone. Annuals provide color consistency when perennials rest between bloom cycles.
Pairing works because annuals tolerate partial shade cast by established perennials. Plant annuals in front where they get adequate light. This layering technique maximizes bed density and visual impact without overcrowding. The result is continuous color from spring through frost without redesigning the bed annually.
Our Top Five Flower Pairings For Long Lasting Blooms
Start with tested combinations that perform across climate zones. These pairings have decades of garden performance data behind them. Each pairing addresses specific design goals: height variation, color continuity, or season-long interest. Select based on your hardiness zone and sunlight conditions. All listed combinations tolerate average soil and standard moisture levels.
- Coneflowers with Black-Eyed Susans: Both bloom mid-summer through fall. Purple coneflowers reach 24-36 inches while black-eyed susans stay 18-24 inches. Plant susans in front. Both attract pollinators and handle drought stress well.
- Daylilies with Catmint: Daylilies bloom early summer, catmint extends color through late summer. Catmint reaches 18-24 inches with blue-purple flowers. Daylilies provide structure; catmint fills gaps and softens edges between plants.
- Lavender with Salvia: Both prefer full sun and well draining soil. Lavender blooms early summer, salvia extends into fall. Mix purple, pink, and blue varieties for layered color without monotony. Both tolerate heat and neglect.
- Peonies with Coral Bells: Peonies anchor beds with May blooms and textured foliage. Coral bells provide consistent foliage color year round. Peonies reach 24-36 inches; coral bells stay under 12 inches. Pair this combo in zone 4 or colder.
- Yarrow with Russian Sage: Yarrow blooms June through September in flat clusters. Russian sage reaches 24-36 inches with airy texture. Yarrow stays 18-24 inches. Both handle poor soil and full sun. Plant together for long season interest.

These combinations deliver consistent results because each plant handles similar growing conditions. Spacing matters: plant 18-24 inches apart for mature size. Water during establishment. Once established, all five pairings require minimal maintenance and perform across USDA zones 3-8.
How To Establish Lush And Beautiful Garden Borders
Softening Hard Edges With Spillover Plants
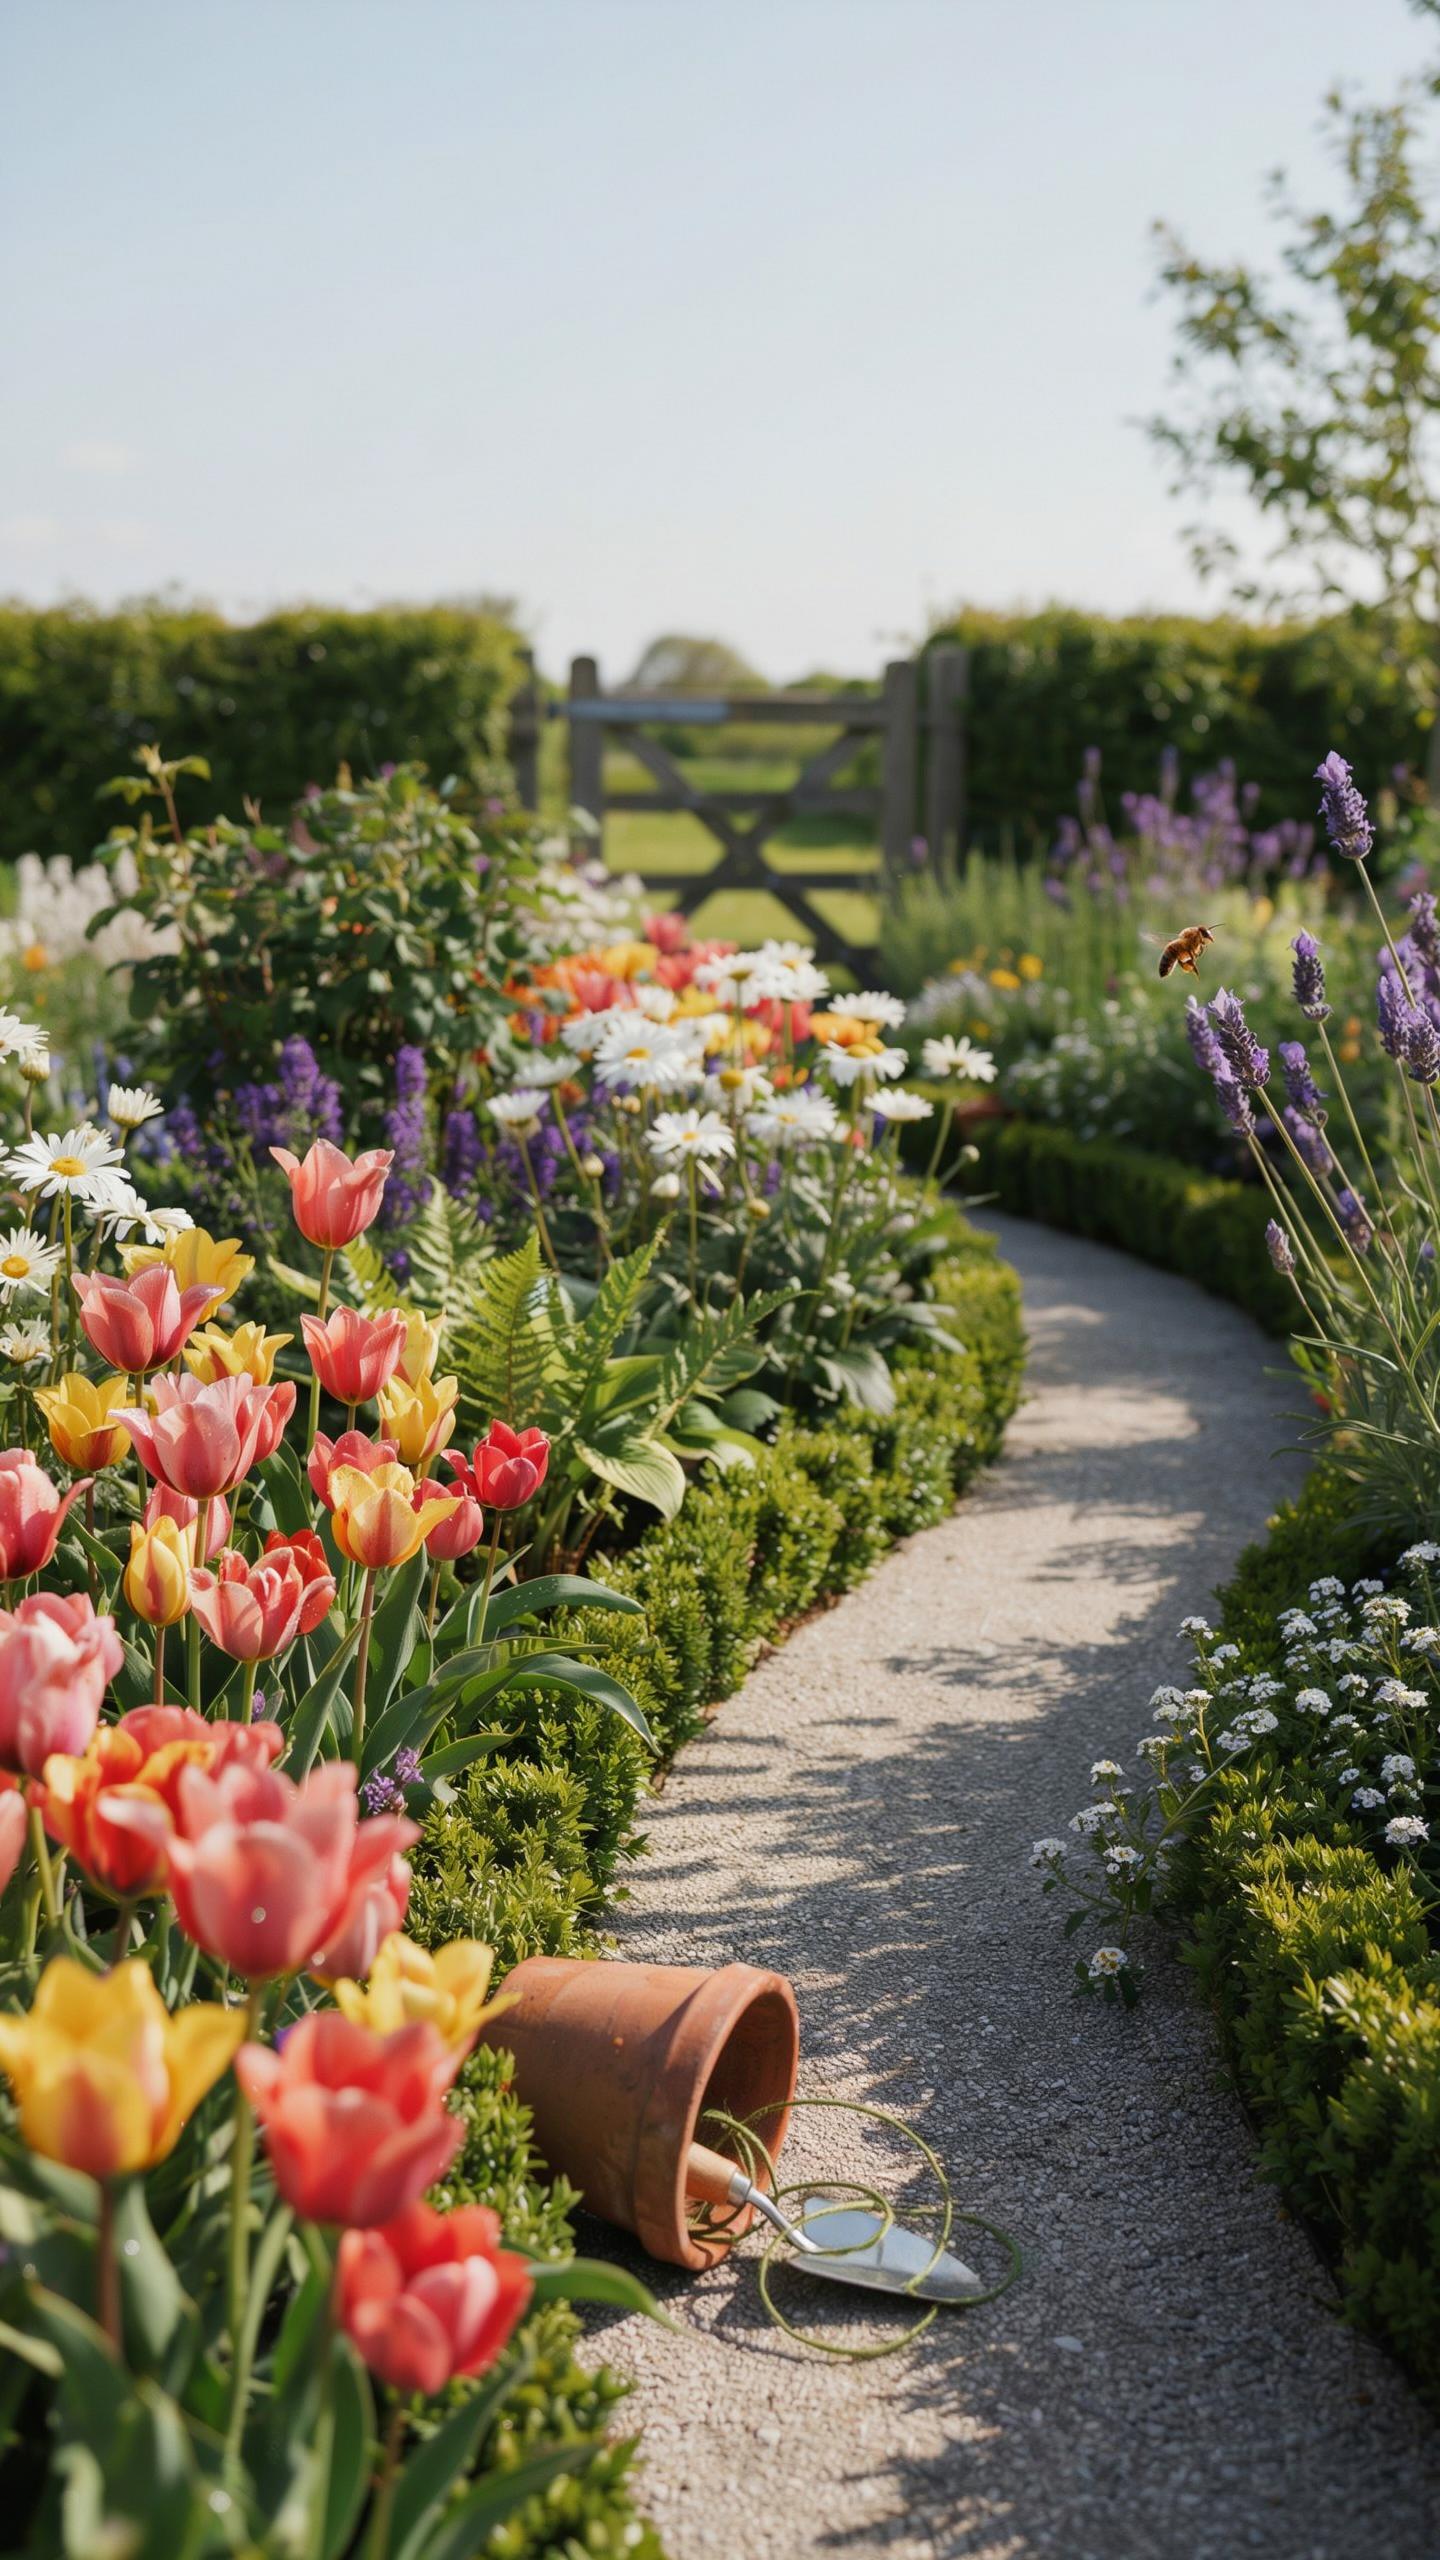
Spillover plants break up rigid lines between planting beds and hardscape. They cascade over edges, soften transitions, and create visual flow. Use plants with trailing or mounding habits. Creeping Jenny, catmint, and coral bells work effectively. Position them at bed perimeters where they can drape naturally over stone or pavers without blocking pathways or sightlines.
Choose spillover plants based on your climate zone and light conditions. Sedums handle dry sites and sun exposure well. Lamium thrives in shade with moisture. Select species that won’t outcompete neighboring plants or require constant pruning. Plant them 12 to 18 inches from the edge so they have room to spread without immediately engulfing adjacent plantings.
Using Evergreen Shrubs As Structure Behind Borders
Evergreen shrubs provide winter structure and create a stable backdrop for seasonal flowers. They anchor the design when perennials die back. Boxwood, privet, and dwarf conifer varieties maintain consistent form year-round. Place them in the middle or back of borders depending on mature height. This prevents them from shading shorter plants during growing season.

Evergreens also serve as wind breaks and define garden rooms within larger landscapes. They reduce maintenance since they don’t require seasonal cutback. Choose varieties suited to your region’s temperature range and soil type. Spacing matters: follow mature width guidelines to avoid overcrowding. Proper placement means fewer pruning hours and better plant health long term.
Selecting Easy Care Gardening Flowers For Beginners
Low Maintenance Perennials That Return Every Year
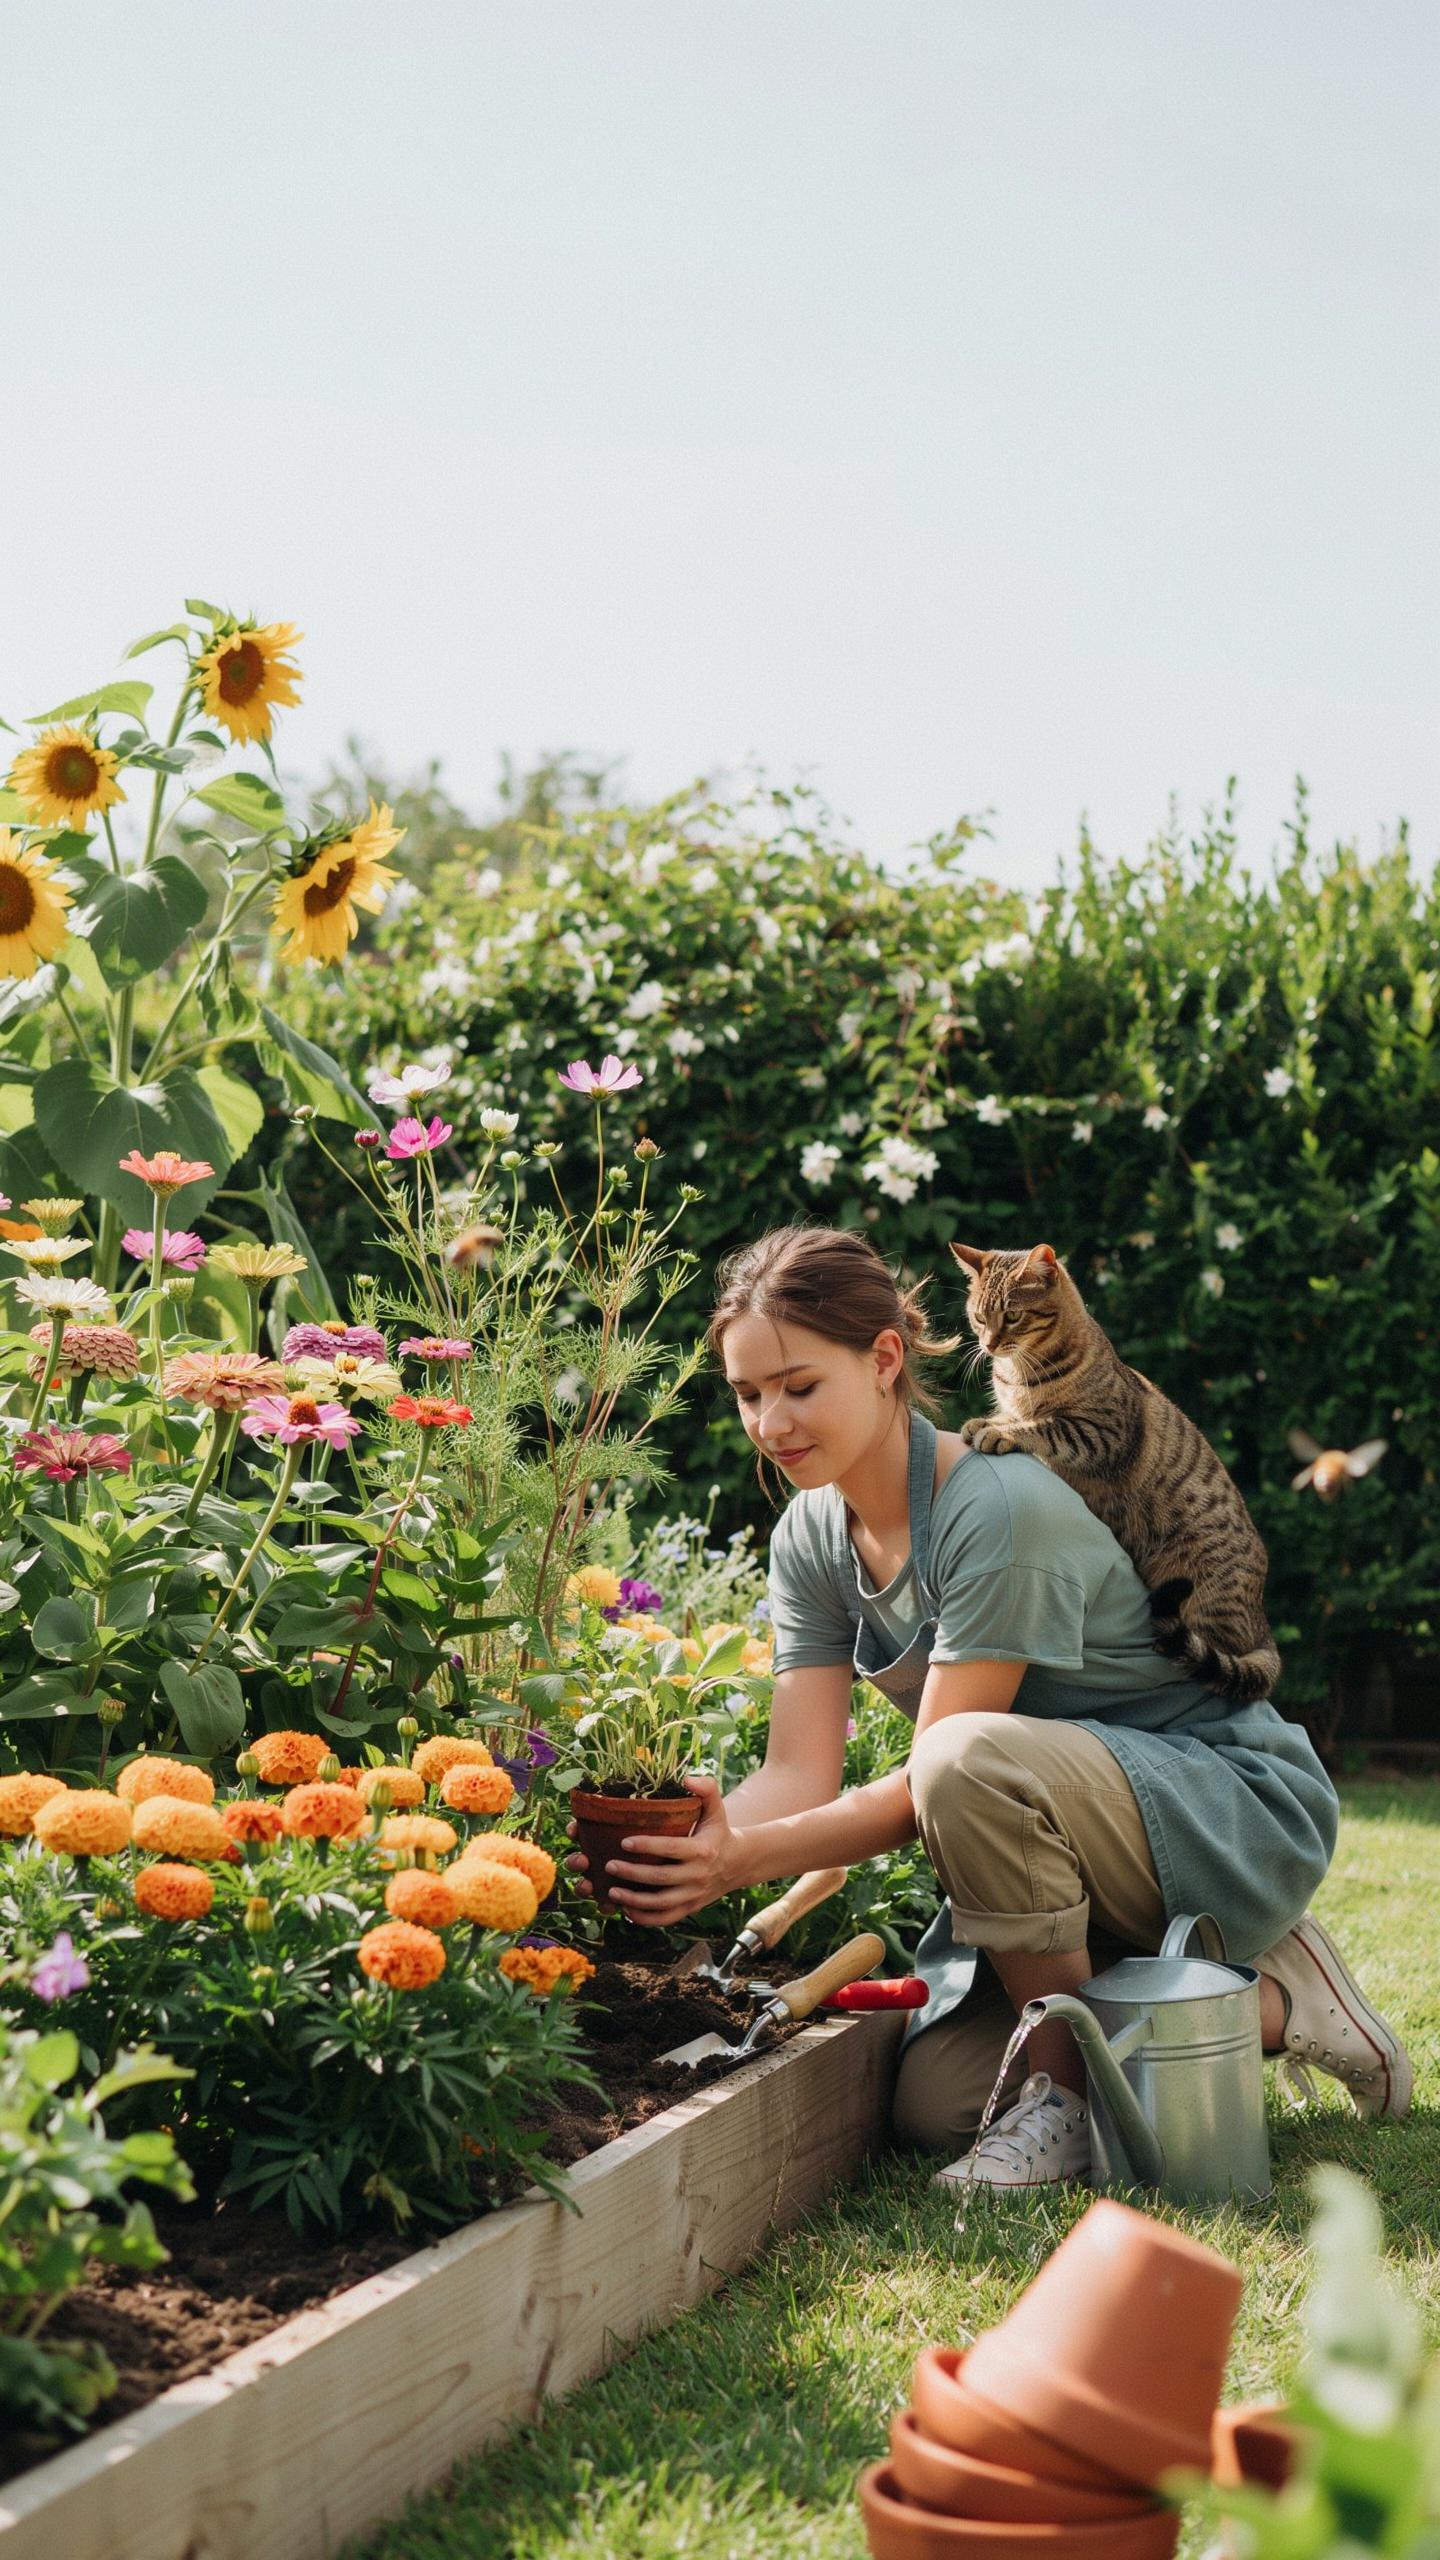
Perennials solve the replanting problem. They establish root systems that survive winter dormancy and emerge each spring without intervention. This trait cuts your annual labor by eliminating the need to start from seed or buy new plants yearly. Choose perennials suited to your USDA hardiness zone for guaranteed winter survival.
Daylilies, coneflowers, and black-eyed Susans perform across most North American regions. These species tolerate poor soil, irregular watering, and neglect. They flower reliably without fertilizer or pruning schedules. Once established in year two, they require minimal attention while producing consistent blooms season after season.
Essential Tools And Soil Amendments For Healthy Growth
Start with basic hand tools: a spade, cultivator, and garden fork. These handle ninety percent of cottage bed work without unnecessary equipment purchases. Quality matters here. Invest in steel tools with ergonomic handles to reduce hand fatigue during digging and soil preparation.
- Spade: A flat-bladed shovel cuts through compacted soil and edges beds cleanly. Essential for initial bed preparation and transplanting established plants.
- Cultivator: This hand rake breaks up soil clumps and removes weeds. Use it to aerate beds before planting and between plants during the growing season.
- Garden fork: A four pronged tool lifts and turns compost or amendments without crushing organic material. Indispensable for mixing soil before planting.
- Compost: Well-aged compost improves soil structure and drainage immediately. Add two to three inches and work it into the top six inches of native soil before planting.
- Peat moss or coconut coir: These amendments increase water retention in sandy soils. Mix one part amendment with three parts native soil in drought-prone regions.
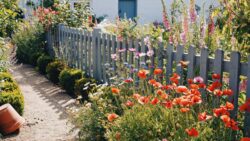
Amend soil before planting rather than after establishment. Cottage beds thrive in slightly acidic to neutral soil with organic matter content above three percent. Test your existing soil first using a basic kit from any garden center. This reveals pH level and nutrient deficiencies, guiding your amendment strategy directly.
Drawing Inspiration From The Traditional English Garden
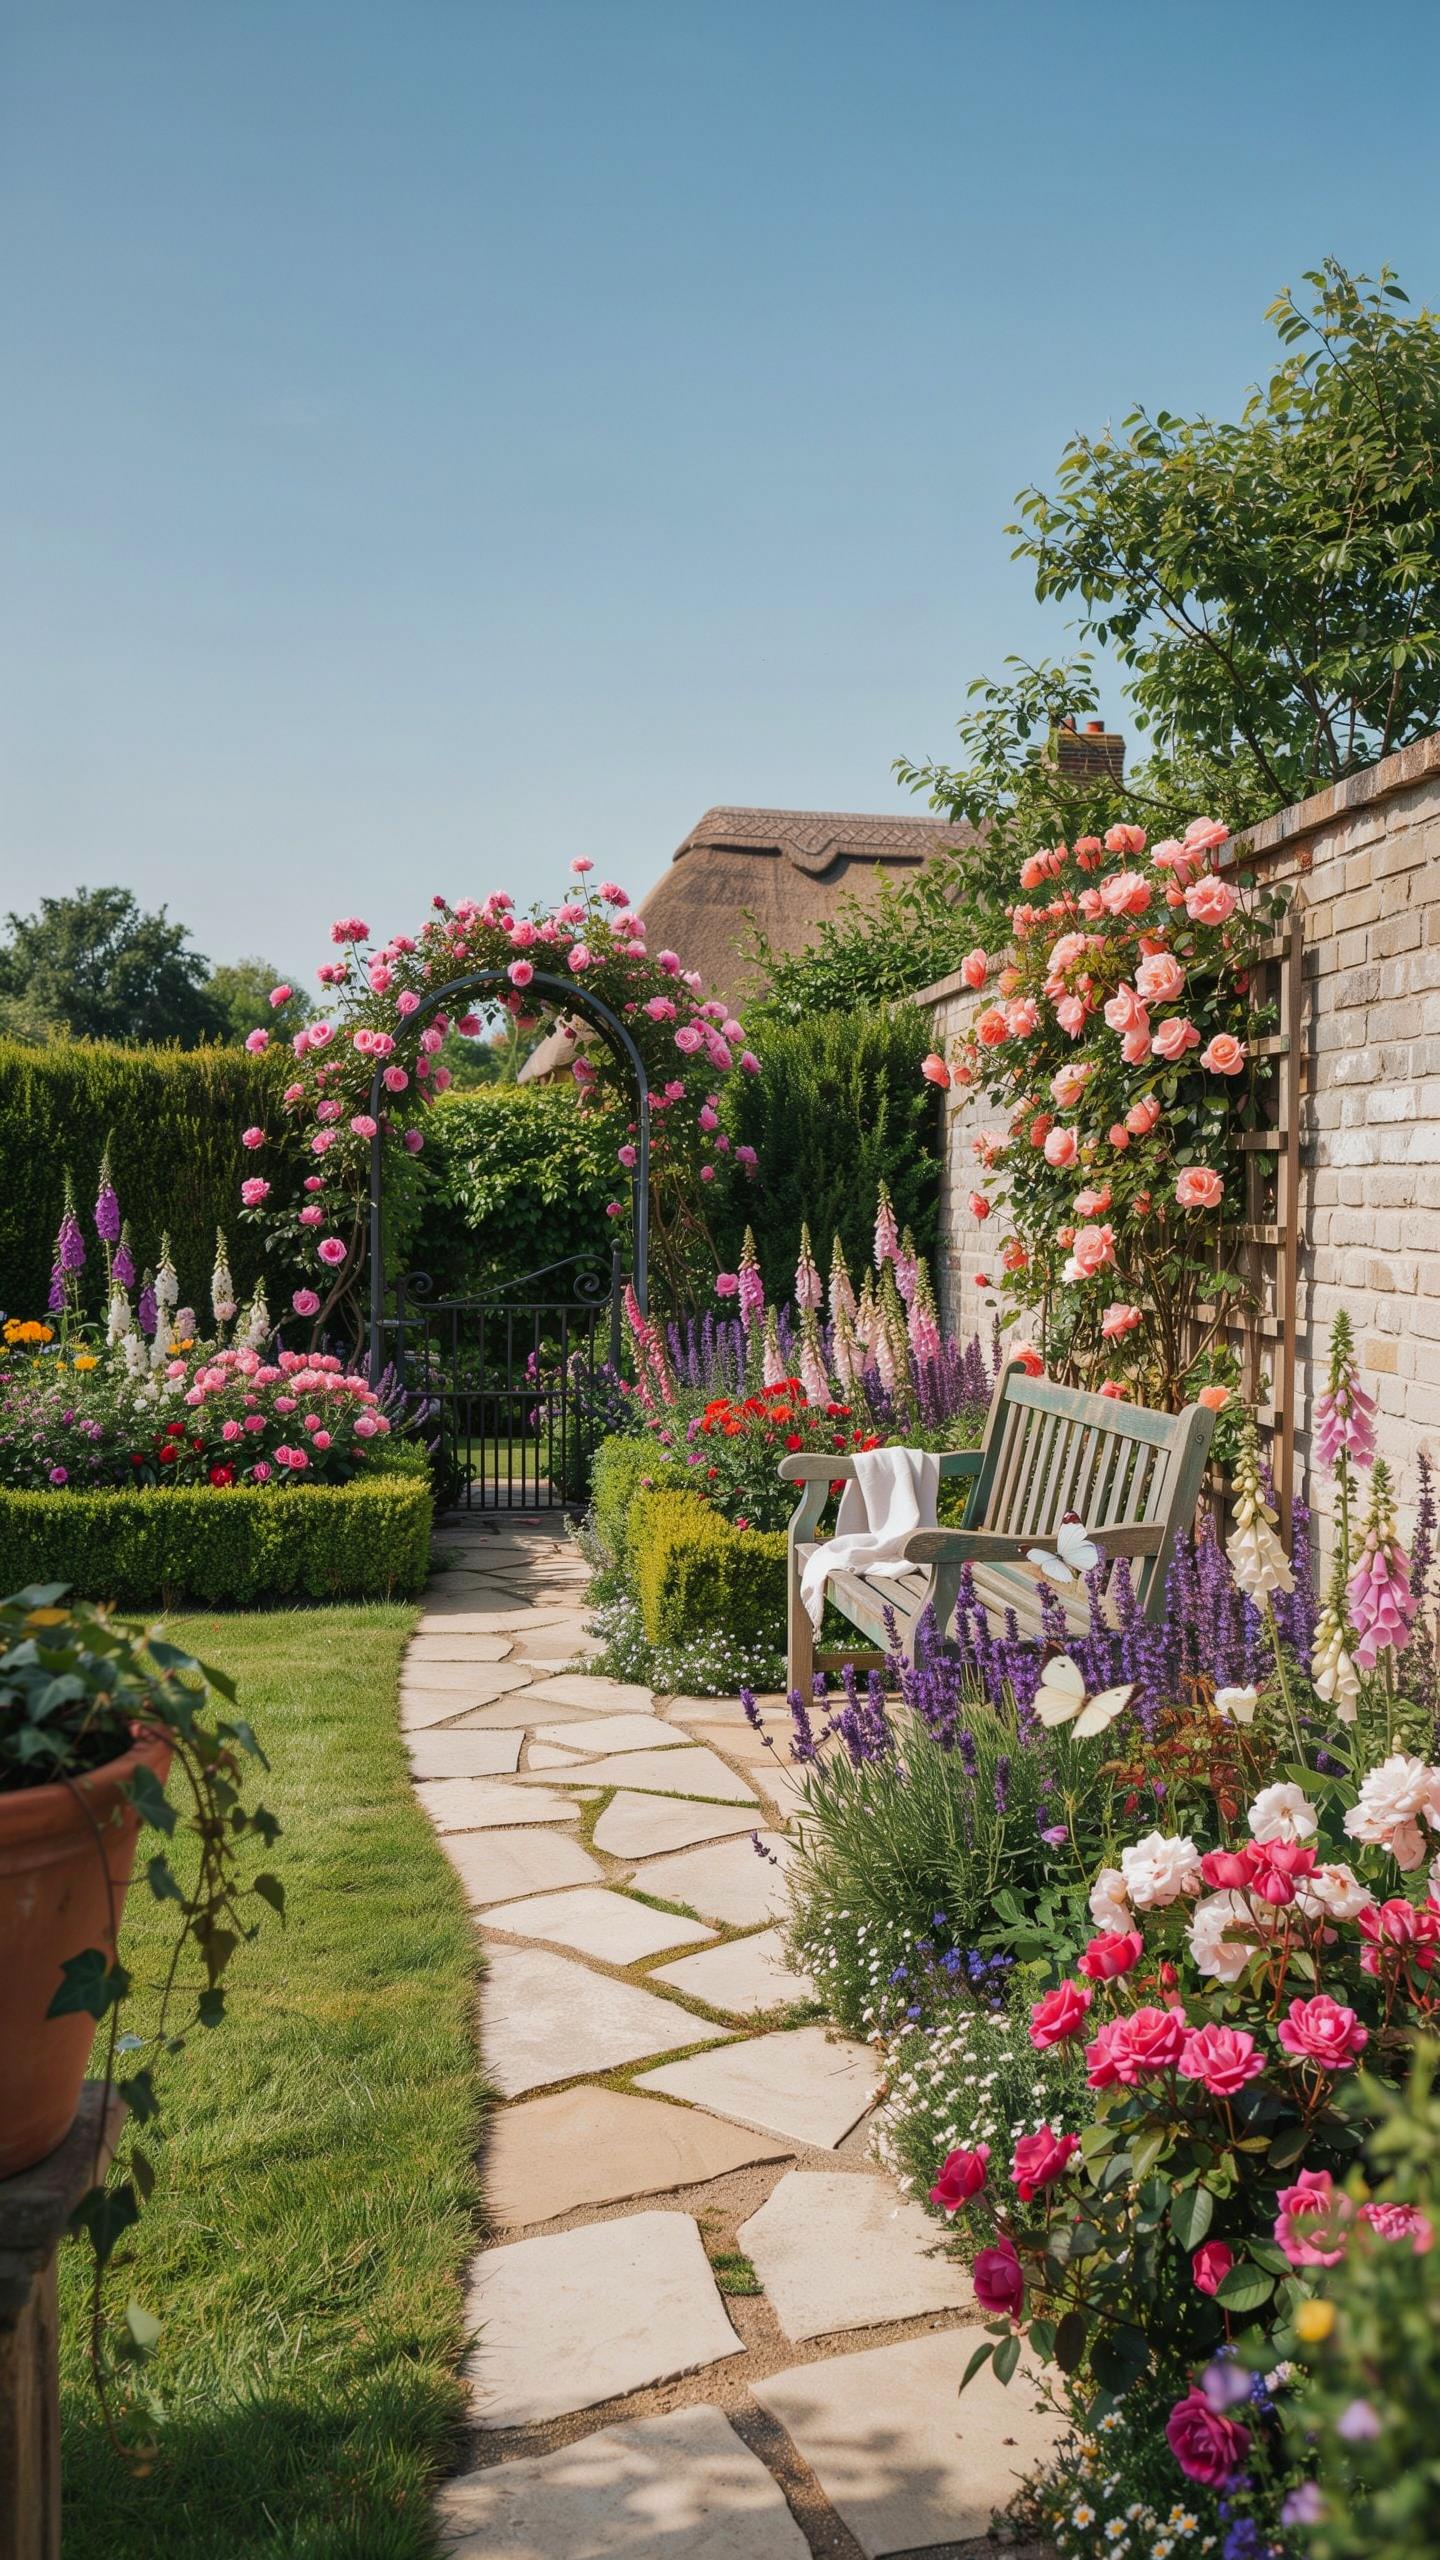
Traditional English Cottage Garden Border Design Principles
English cottage gardens emerged during the medieval period and evolved significantly through the Victorian era. These gardens prioritized mixed plantings over formal layouts. Gardeners combined vegetables, herbs, and ornamental flowers in dense arrangements. The style rejected symmetry and rigid structure. Instead, layers of plants created depth and visual interest. This approach remains practical for modern cottage gardens seeking authentic character without rigid formality.
The English countryside border tradition developed from necessity and experimentation. Gardeners worked with available plants and local growing conditions. They discovered that layering perennials by height and bloom time created sustained color throughout seasons. These borders served both aesthetic and functional purposes. The design principle remains valid today: combine plants with complementary heights, textures, and flowering schedules to maximize visual impact and seasonal coverage.
Combining Roses, Delphiniums, and Foxgloves for Layered Cottage Garden Borders
Roses, delphiniums, and foxgloves form the backbone of traditional English cottage combinations. Roses provide structure and fragrance while blooming over extended periods. Delphiniums contribute vertical architecture with tall spikes of blue, purple, or pink flowers. Foxgloves add textural contrast through tubular blooms and architectural foliage. These three plant types work together because they occupy different heights and bloom at slightly different times. Combining them creates layered depth that reads as intentional rather than random.

Plant roses at the border base or middle depending on variety height. Position delphiniums behind roses to create a tiered effect. Foxgloves should occupy spaces between and around other plants for visual flow. This arrangement exploits natural height differences while preventing crowding. Roses need air circulation to resist disease, so space them adequately. Delphiniums and foxgloves tolerate partial shade created by rose canopies. This trio adapts to most temperate climates and established garden beds.
Designing A Welcoming Front Garden With Cottage Appeal
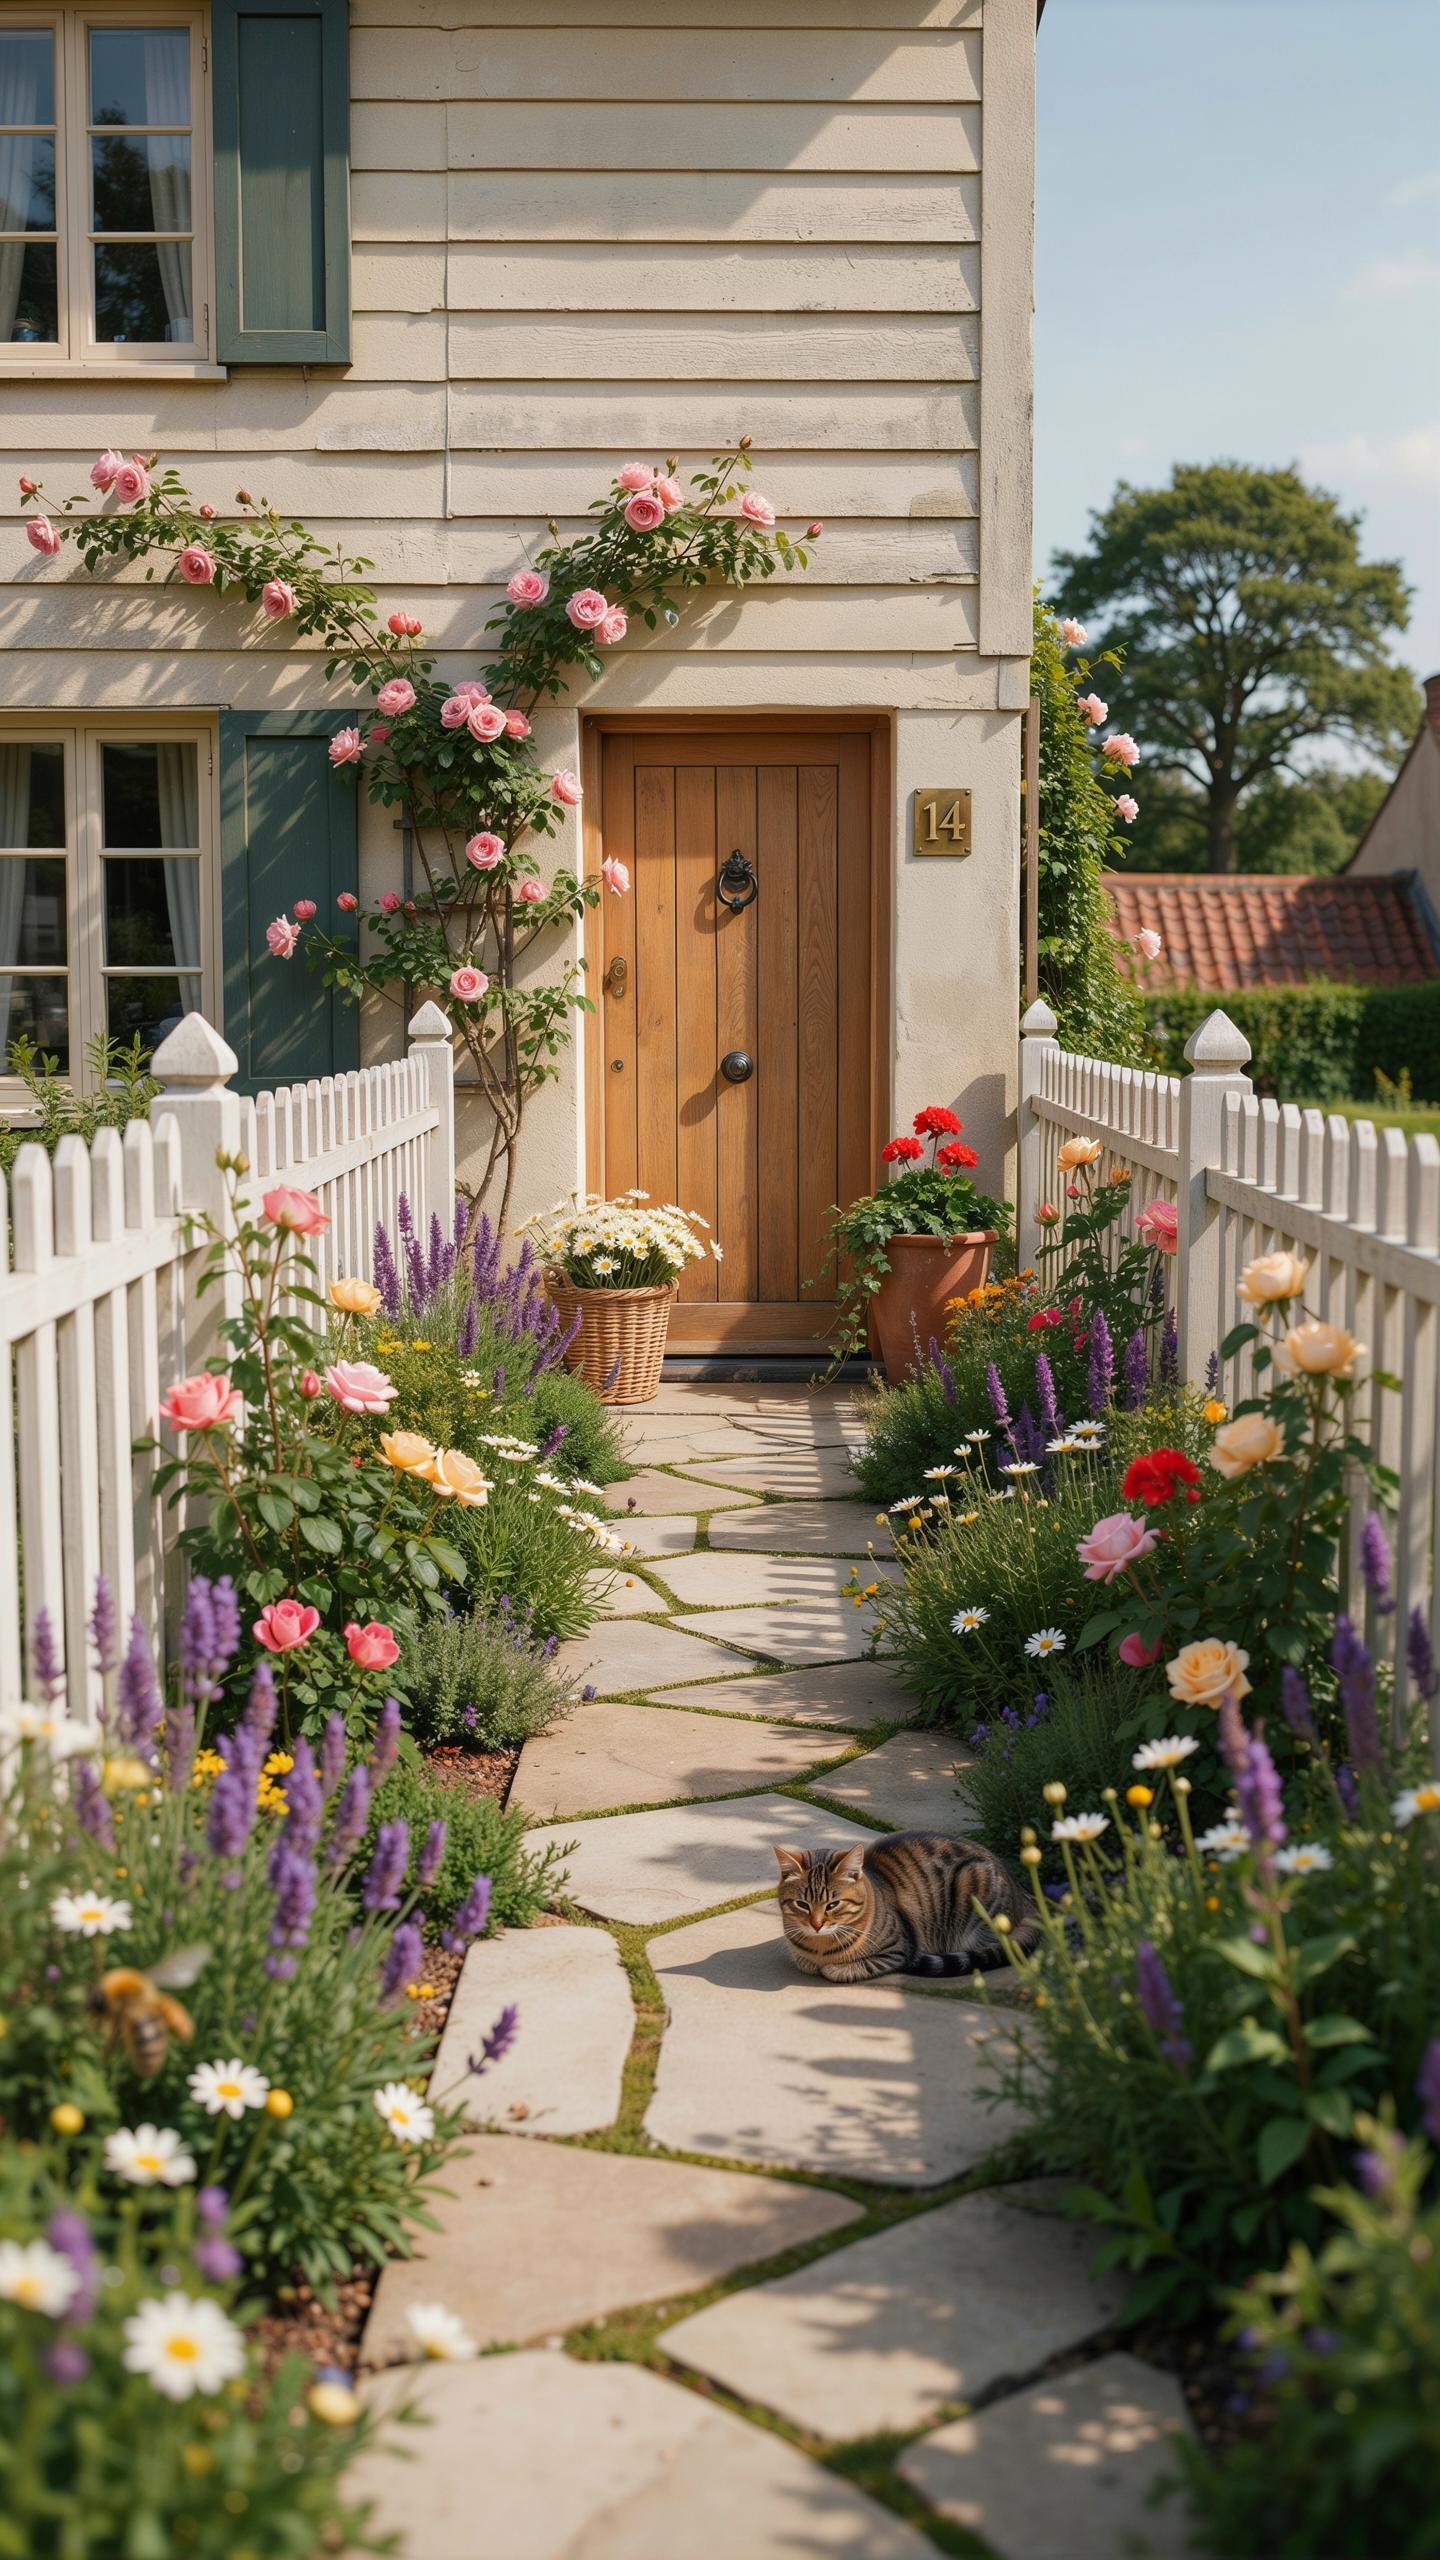
Boosting Curb Appeal With Abundant Planting Layers
Layered planting creates depth and visual interest in cottage gardens. Position tall plants at the back, medium plants in the middle, and low-growing plants at the front. This arrangement lets you see all plants from the street. Dense planting fills space faster and reduces maintenance from weeds competing for nutrients.
Combine perennials, annuals, and shrubs to ensure year-round color. Perennials return each season and reduce replanting costs. Annuals provide continuous blooms through summer and fall. Shrubs anchor the design and give structure when other plants fade. This mix delivers reliable curb appeal without constant overhaul.
Integrating Rustic Fences And Arbors With Climbing Vines
Climbing vines soften hard structures and add vertical interest to gardens. Choose vigorous growers like clematis, honeysuckle, or climbing hydrangea based on your climate zone. Install sturdy trellises or arbors to support mature vines. Vines hide fence wear and create natural screens from neighbors and street traffic.
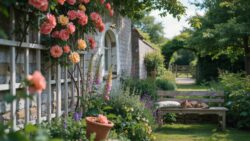
Select vines that match your maintenance capacity and local growing conditions. Some vines need annual pruning while others require minimal work. Install arbors over pathways to frame entrances and create transition zones. This integration turns functional structures into design features that pull the entire front garden together.
Creating Harmonious Flower Bed Color Schemes
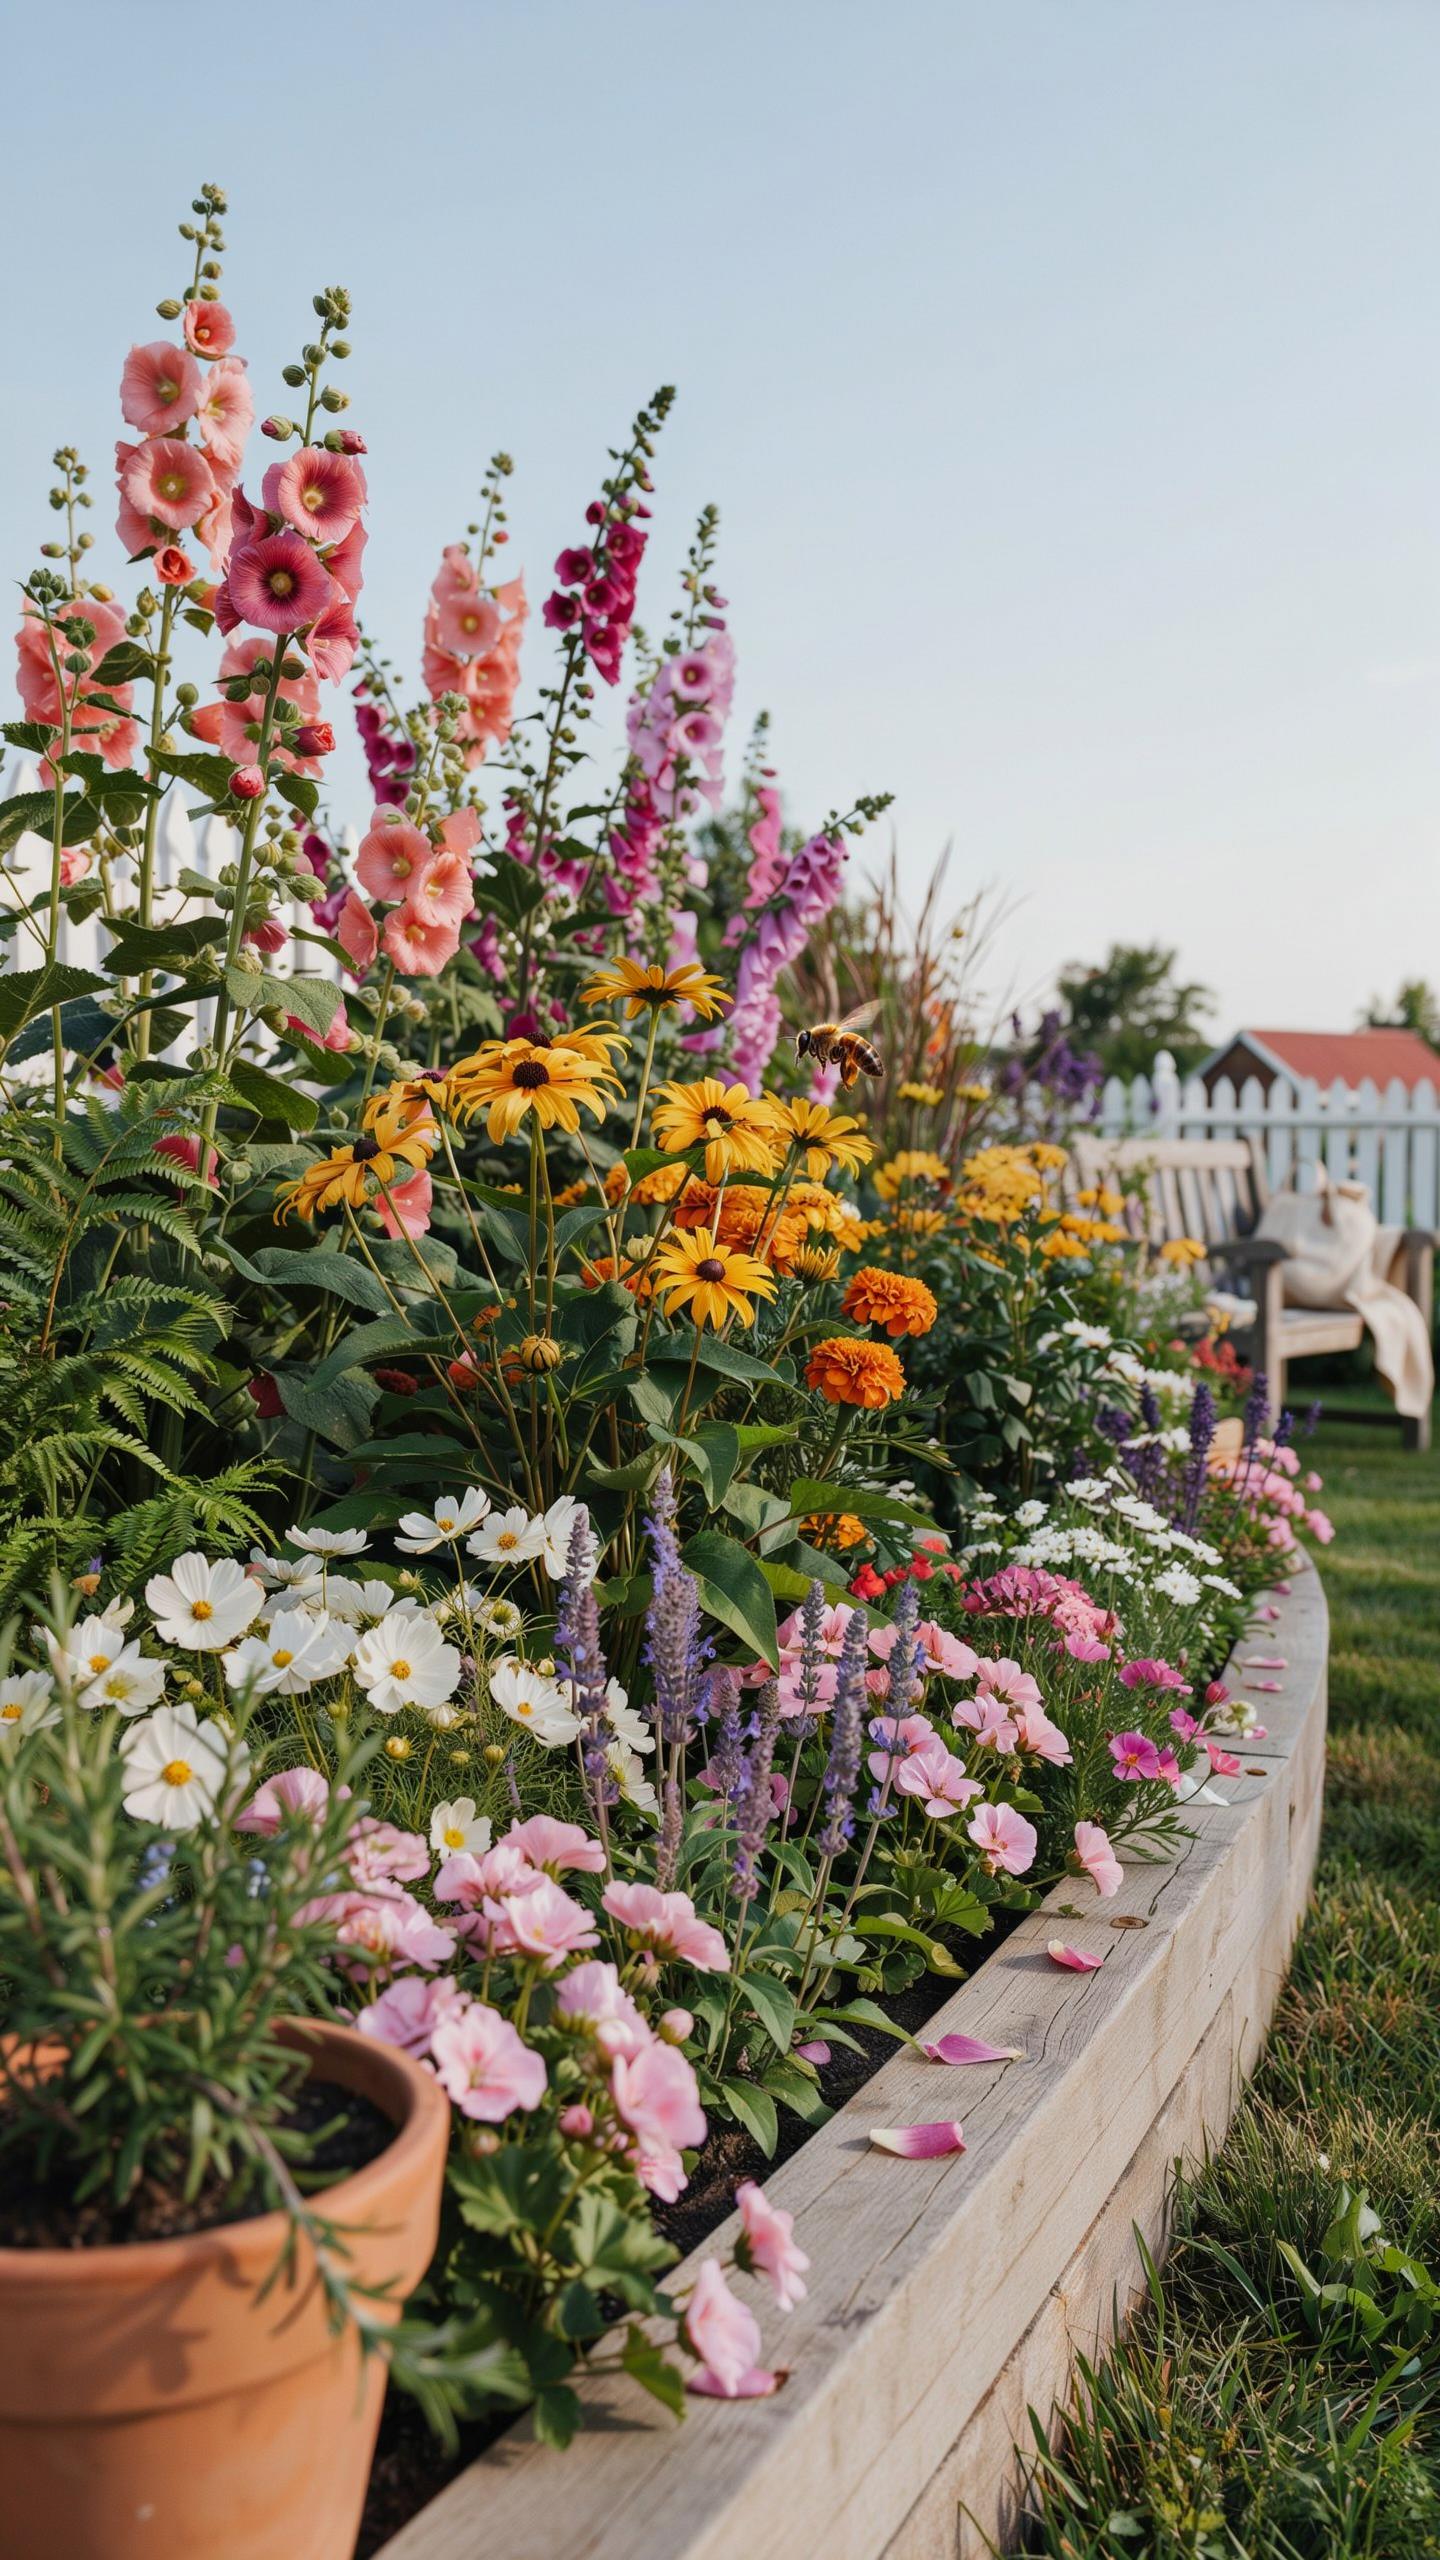
The Power Of Monochromatic And Analogous Palettes
Monochromatic schemes use variations of a single color. You combine different shades, tints, and tones of one hue to build depth without visual competition. This approach simplifies plant selection and creates a calm, unified appearance. Gardeners often choose white, purple, or pink monochromatic beds for cottage settings.
Analogous palettes pair colors that sit next to each other on the color wheel. Blues with purples, yellows with oranges, or reds with pinks create natural harmony. These combinations feel intentional rather than random. They work because human eyes perceive adjacent colors as belonging together, not clashing.
Contrasting Opposite Colors For Vibrant Focal Points
Opposite colors on the color wheel create high-impact focal points. Purple flowers against yellow blooms demand attention. Red paired with green generates visual tension that draws the eye. This contrast works because the colors amplify each other’s intensity, making neither appear muted.
Use contrast strategically in cottage beds to direct movement and highlight specific zones. A small cluster of contrasting colors works better than mixing them throughout the entire bed. Balance matters here. Too much contrast creates chaos. Too little wastes the technique’s power to organize and energize a garden space.
Bringing Your Dream Garden To Life With Intentional Care

Smart Mulching And Watering Practices For Busy Gardeners
Mulch serves three critical functions in cottage flower beds: it regulates soil temperature, reduces water evaporation, and suppresses weeds. Apply two to three inches of organic mulch around plants, keeping it one inch away from stems to prevent rot. This cuts watering frequency by thirty to fifty percent depending on climate and soil type.
Water delivery method matters more than frequency. Drip irrigation or soaker hoses deliver water directly to root zones, reducing waste and fungal disease on foliage. Water early morning before temperatures peak. This timing minimizes evaporation loss and allows wet foliage to dry before nightfall, which prevents mold and mildew problems common in cottage gardens.
Pruning And Deadheading To Encourage Repeat Blooms
Deadheading removes spent flower heads before plants set seed, redirecting energy into new blooms instead of seed production. Pinch or cut flowers off at the base of the stem. Most cottage perennials and annuals respond to deadheading by producing additional flowering cycles throughout the growing season.
Pruning timing depends on plant type and bloom cycle. Cut back spring bloomers after flowering ends. Cut back summer bloomers in early spring before growth starts. Remove dead or diseased wood immediately whenever you see it. These practices maintain plant shape, improve air circulation, and reduce pest and disease pressure in dense cottage plantings.
Frequently Asked Questions

What are the best plants to start with for a beginner cottage garden?
For those new to gardening, the best cottage flower bed combinations prioritize hardiness and self-seeding varieties. Start with reliable perennials like purple coneflowers, shasta daisies, and creeping phlox. These plants offer that quintessential “wild” look while requiring minimal maintenance. Adding biennial foxgloves or easy-to-grow cosmos provides instant height and charm, ensuring your first attempt at a relaxed garden feels lush and successful without needing expert horticultural skills.
How do I layer plants to achieve that effortless cottage garden aesthetic?
Achieving a relaxed look requires intentional layering based on height and bloom time. Position tall structural plants like larkspur or hollyhocks at the back, followed by mid-sized fillers such as peonies or hardy geraniums. Use low-growing sweet alyssum or lobelia to soften the edges of your borders. These layered cottage flower bed combinations create a dense, overflowing tapestry that hides bare soil and mimics the beautiful complexity found in nature.
Can I create a beautiful cottage-style flower bed on a tight budget?
Absolutely! You can build stunning floral displays without spending a fortune by starting plants from seed rather than buying mature nursery pots. Zinnias, sunflowers, and nasturtiums provide massive color impact for just a few dollars. Additionally, many cottage favorites like hostas and daylilies are easy to divide, so you can often source free “pass-along” plants from neighbors to fill out your beds over time for a charming, frugal landscape.



