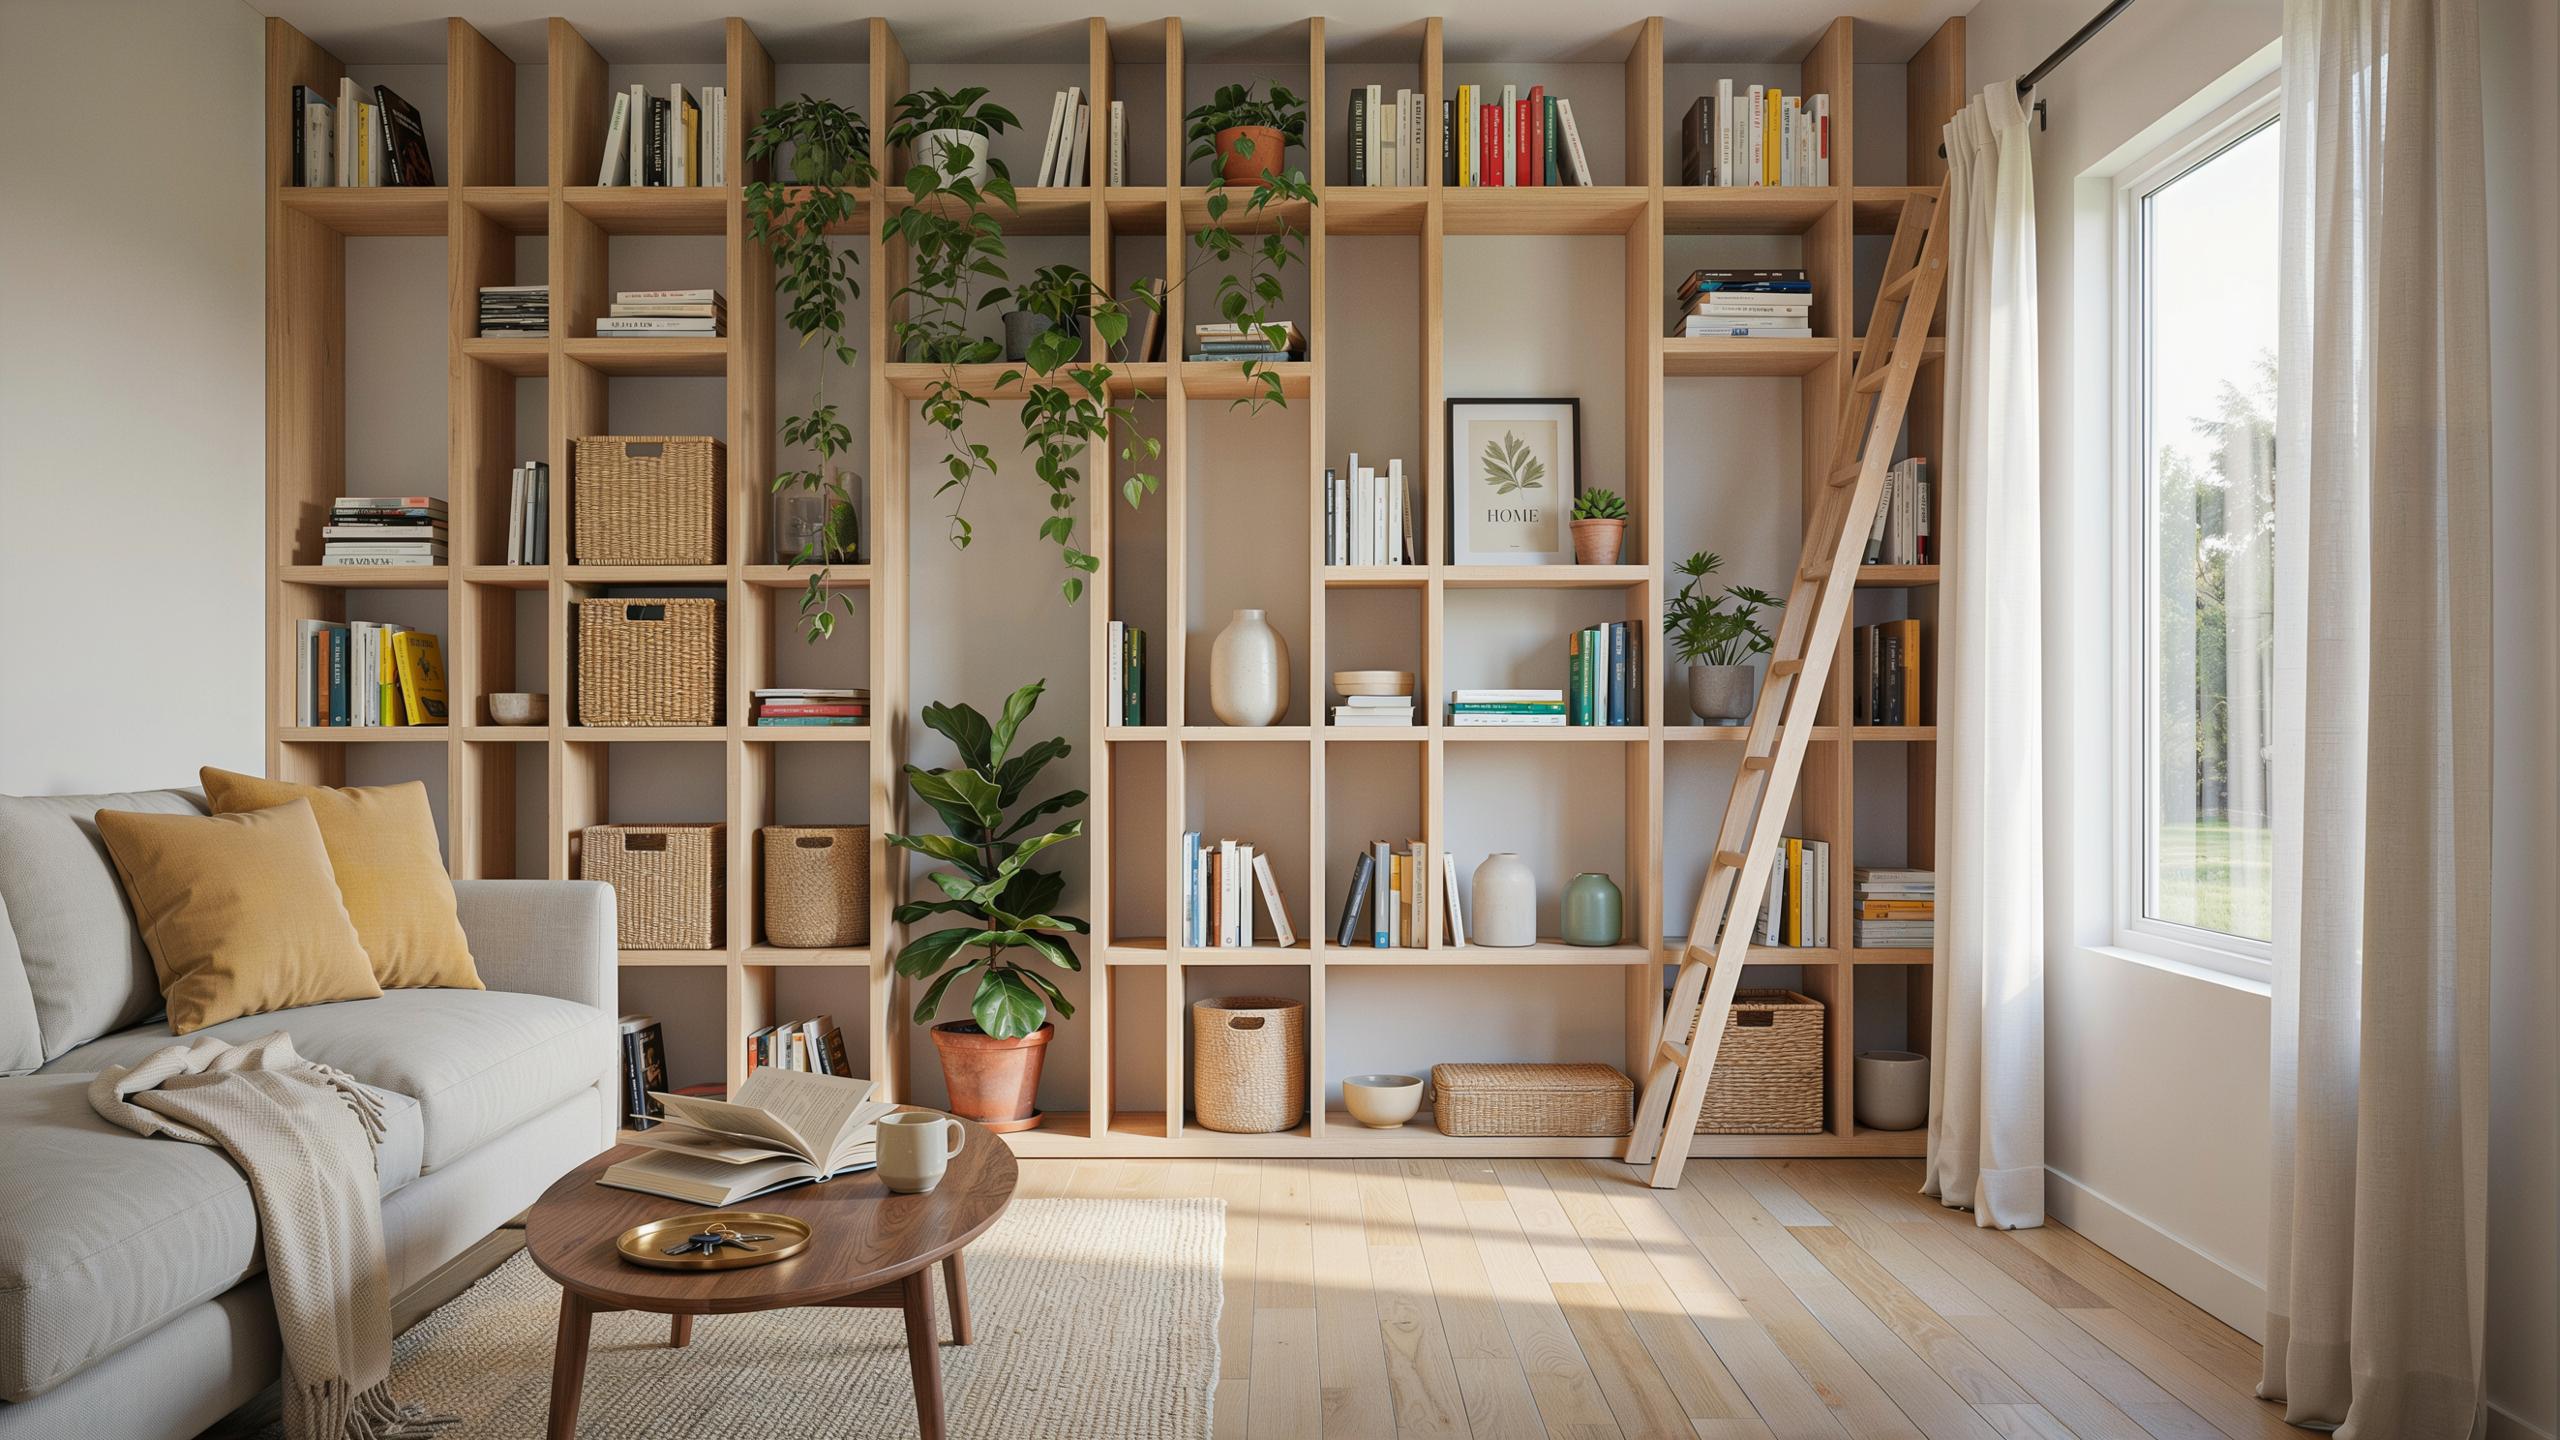
Unlocking Small House Storage Ideas With Vertical Storage
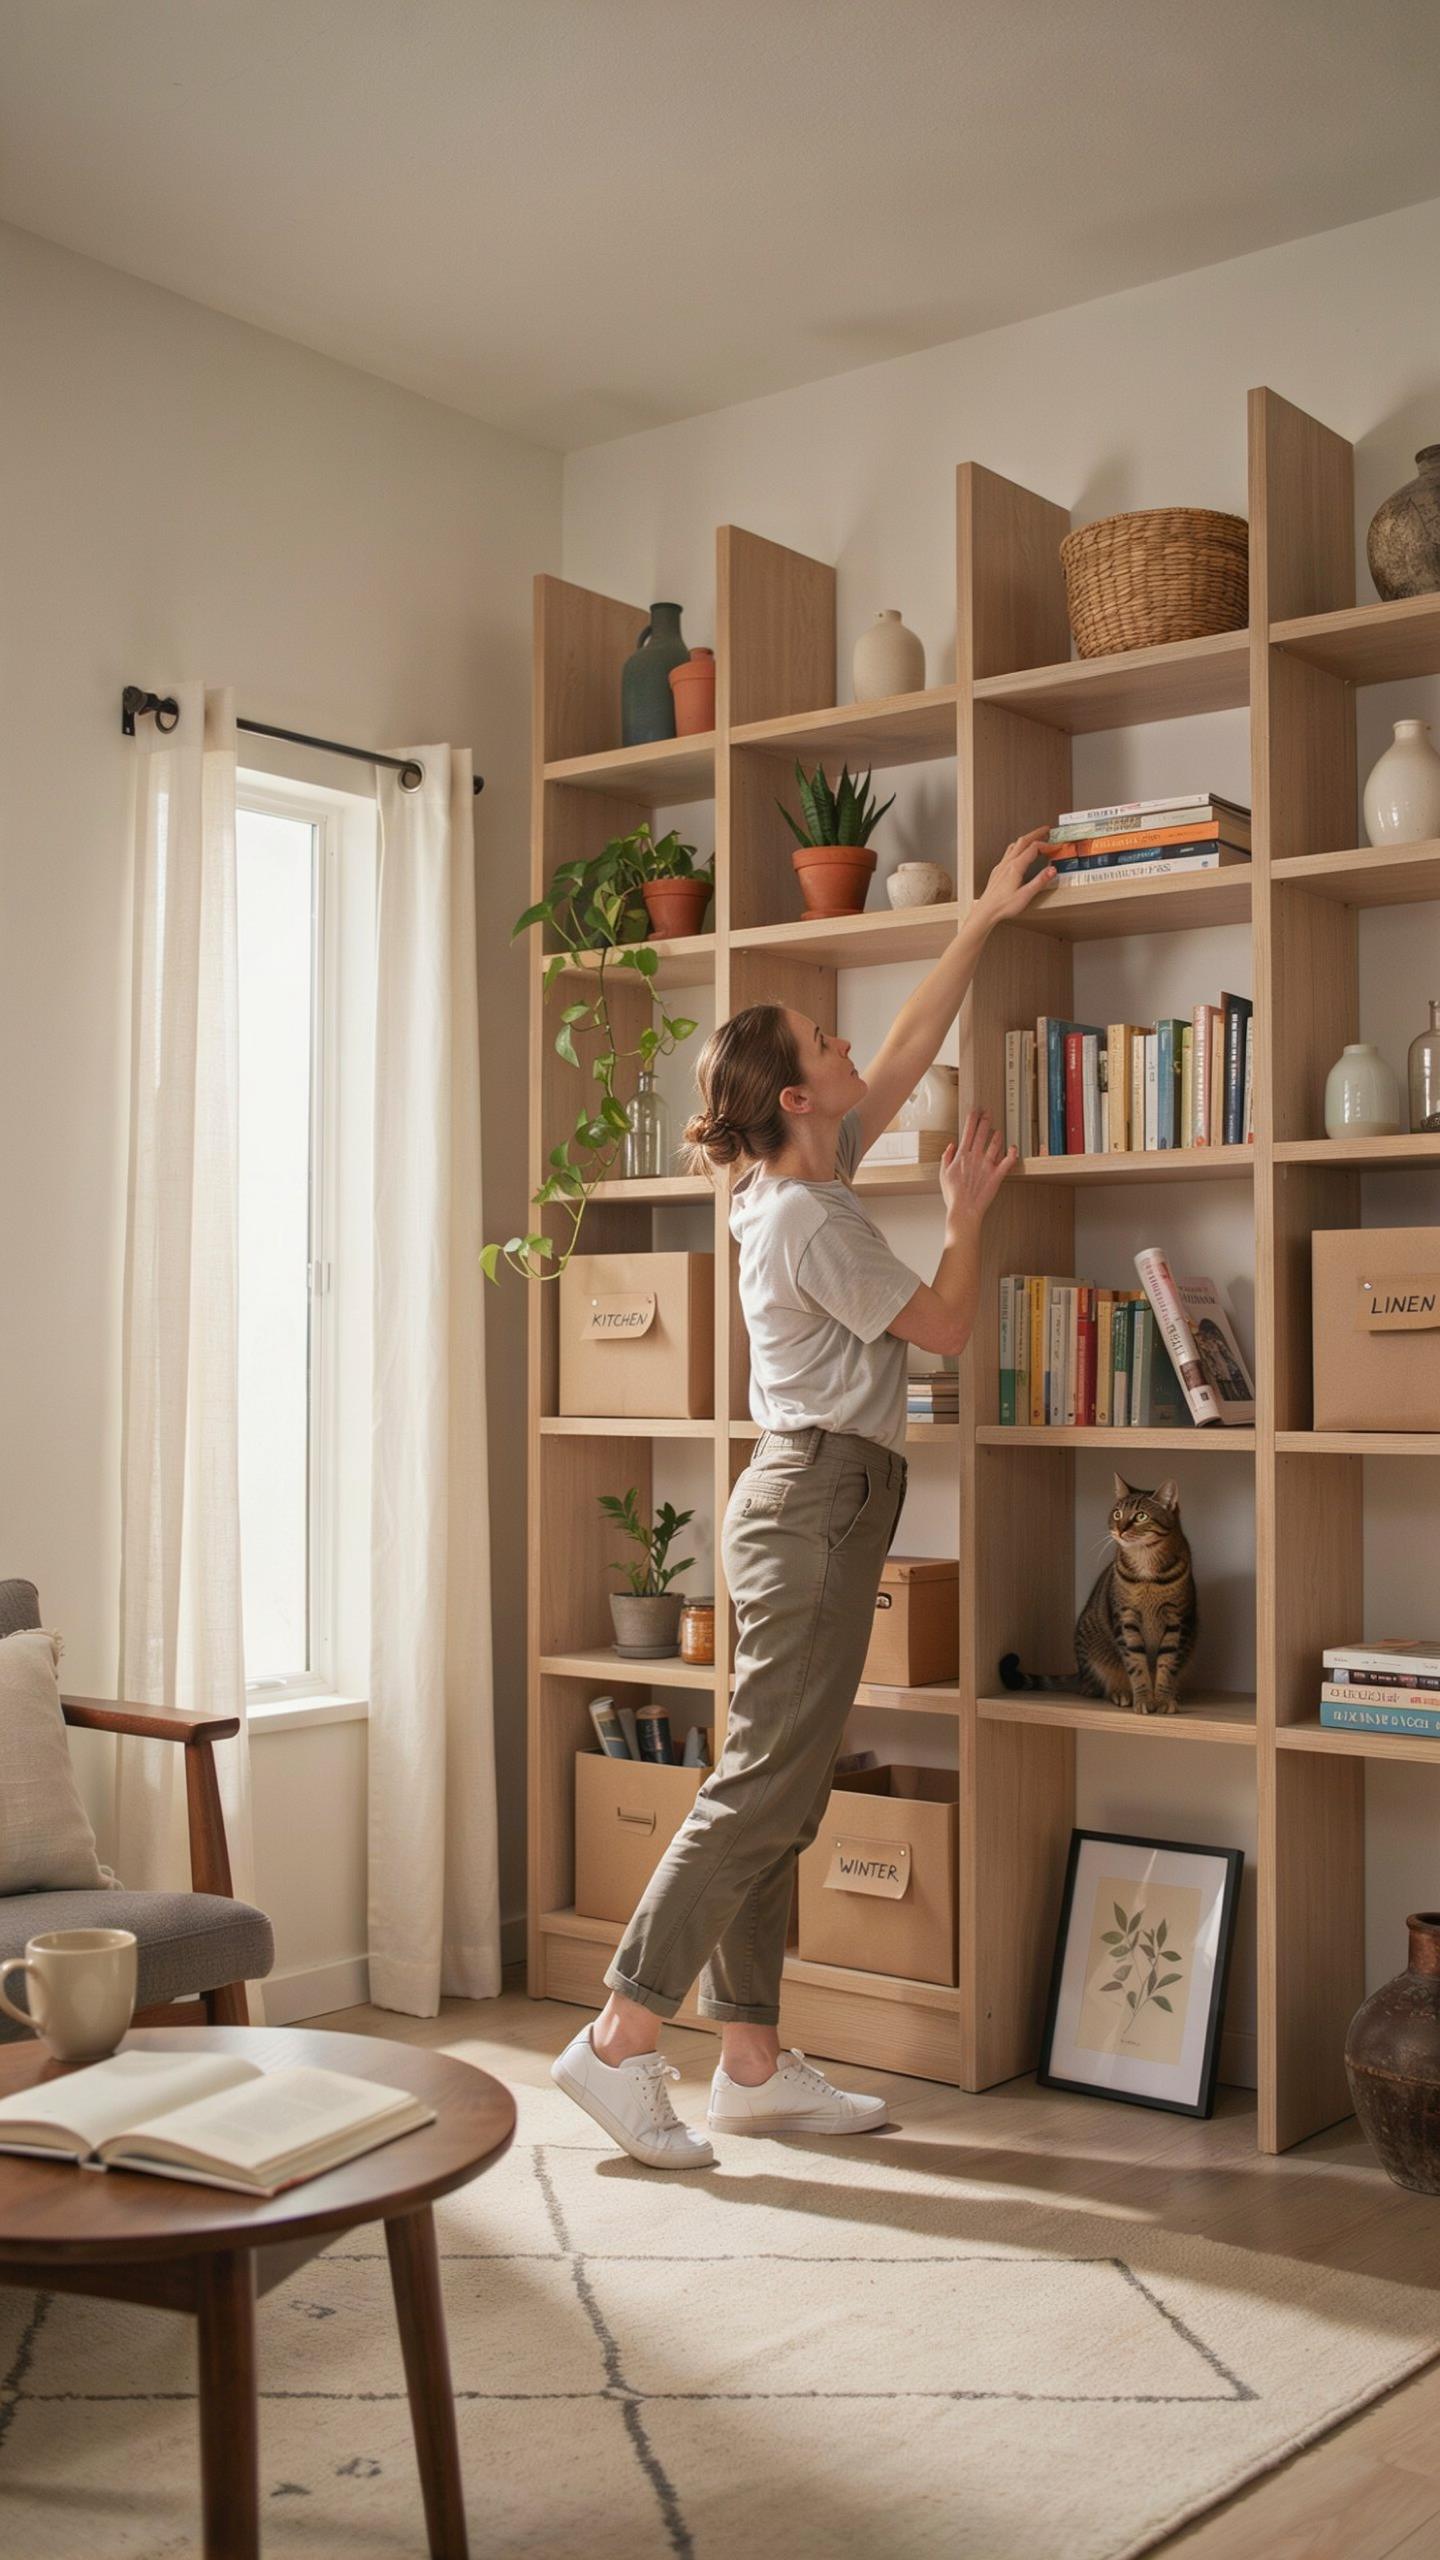
Maximizing Floor Space
Vertical shelving removes clutter from your floor by moving items upward. Small homes operate on tight square footage, and every floor inch counts. Wall-mounted shelves hold the same volume as floor-based units while preserving walkways and open areas. This strategy directly increases usable living space without removing furniture or downsizing your belongings. The math is straightforward: shelving that climbs takes up zero floor real estate.
Going vertical forces you to think differently about storage. Instead of spreading items horizontally across surfaces, you stack them high. This approach works with your room’s architecture rather than fighting it. Walls are underutilized storage zones in most small homes. By installing shelves from waist height to ceiling height, you turn dead space into functional storage that serves daily needs.
Visual Height Illusion
Tall shelving units draw eyes upward and make ceilings feel higher than they actually are. This optical effect stems from basic design principle: vertical lines create an impression of elevation. In cramped quarters, this psychological shift matters. A room with tall shelving feels more spacious than one packed with squat furniture, even when square footage remains identical.
The height of your shelving units directly impacts perceived ceiling height. Shelves that reach seven to eight feet tall establish visual dominance in a room. Your brain registers the top of these units as a reference point, making the ceiling seem more distant. This effect compounds when you space shelves at consistent intervals, creating vertical rhythm that emphasizes upward movement throughout the space.

Essential Tiny House Storage Ideas For Smart Living
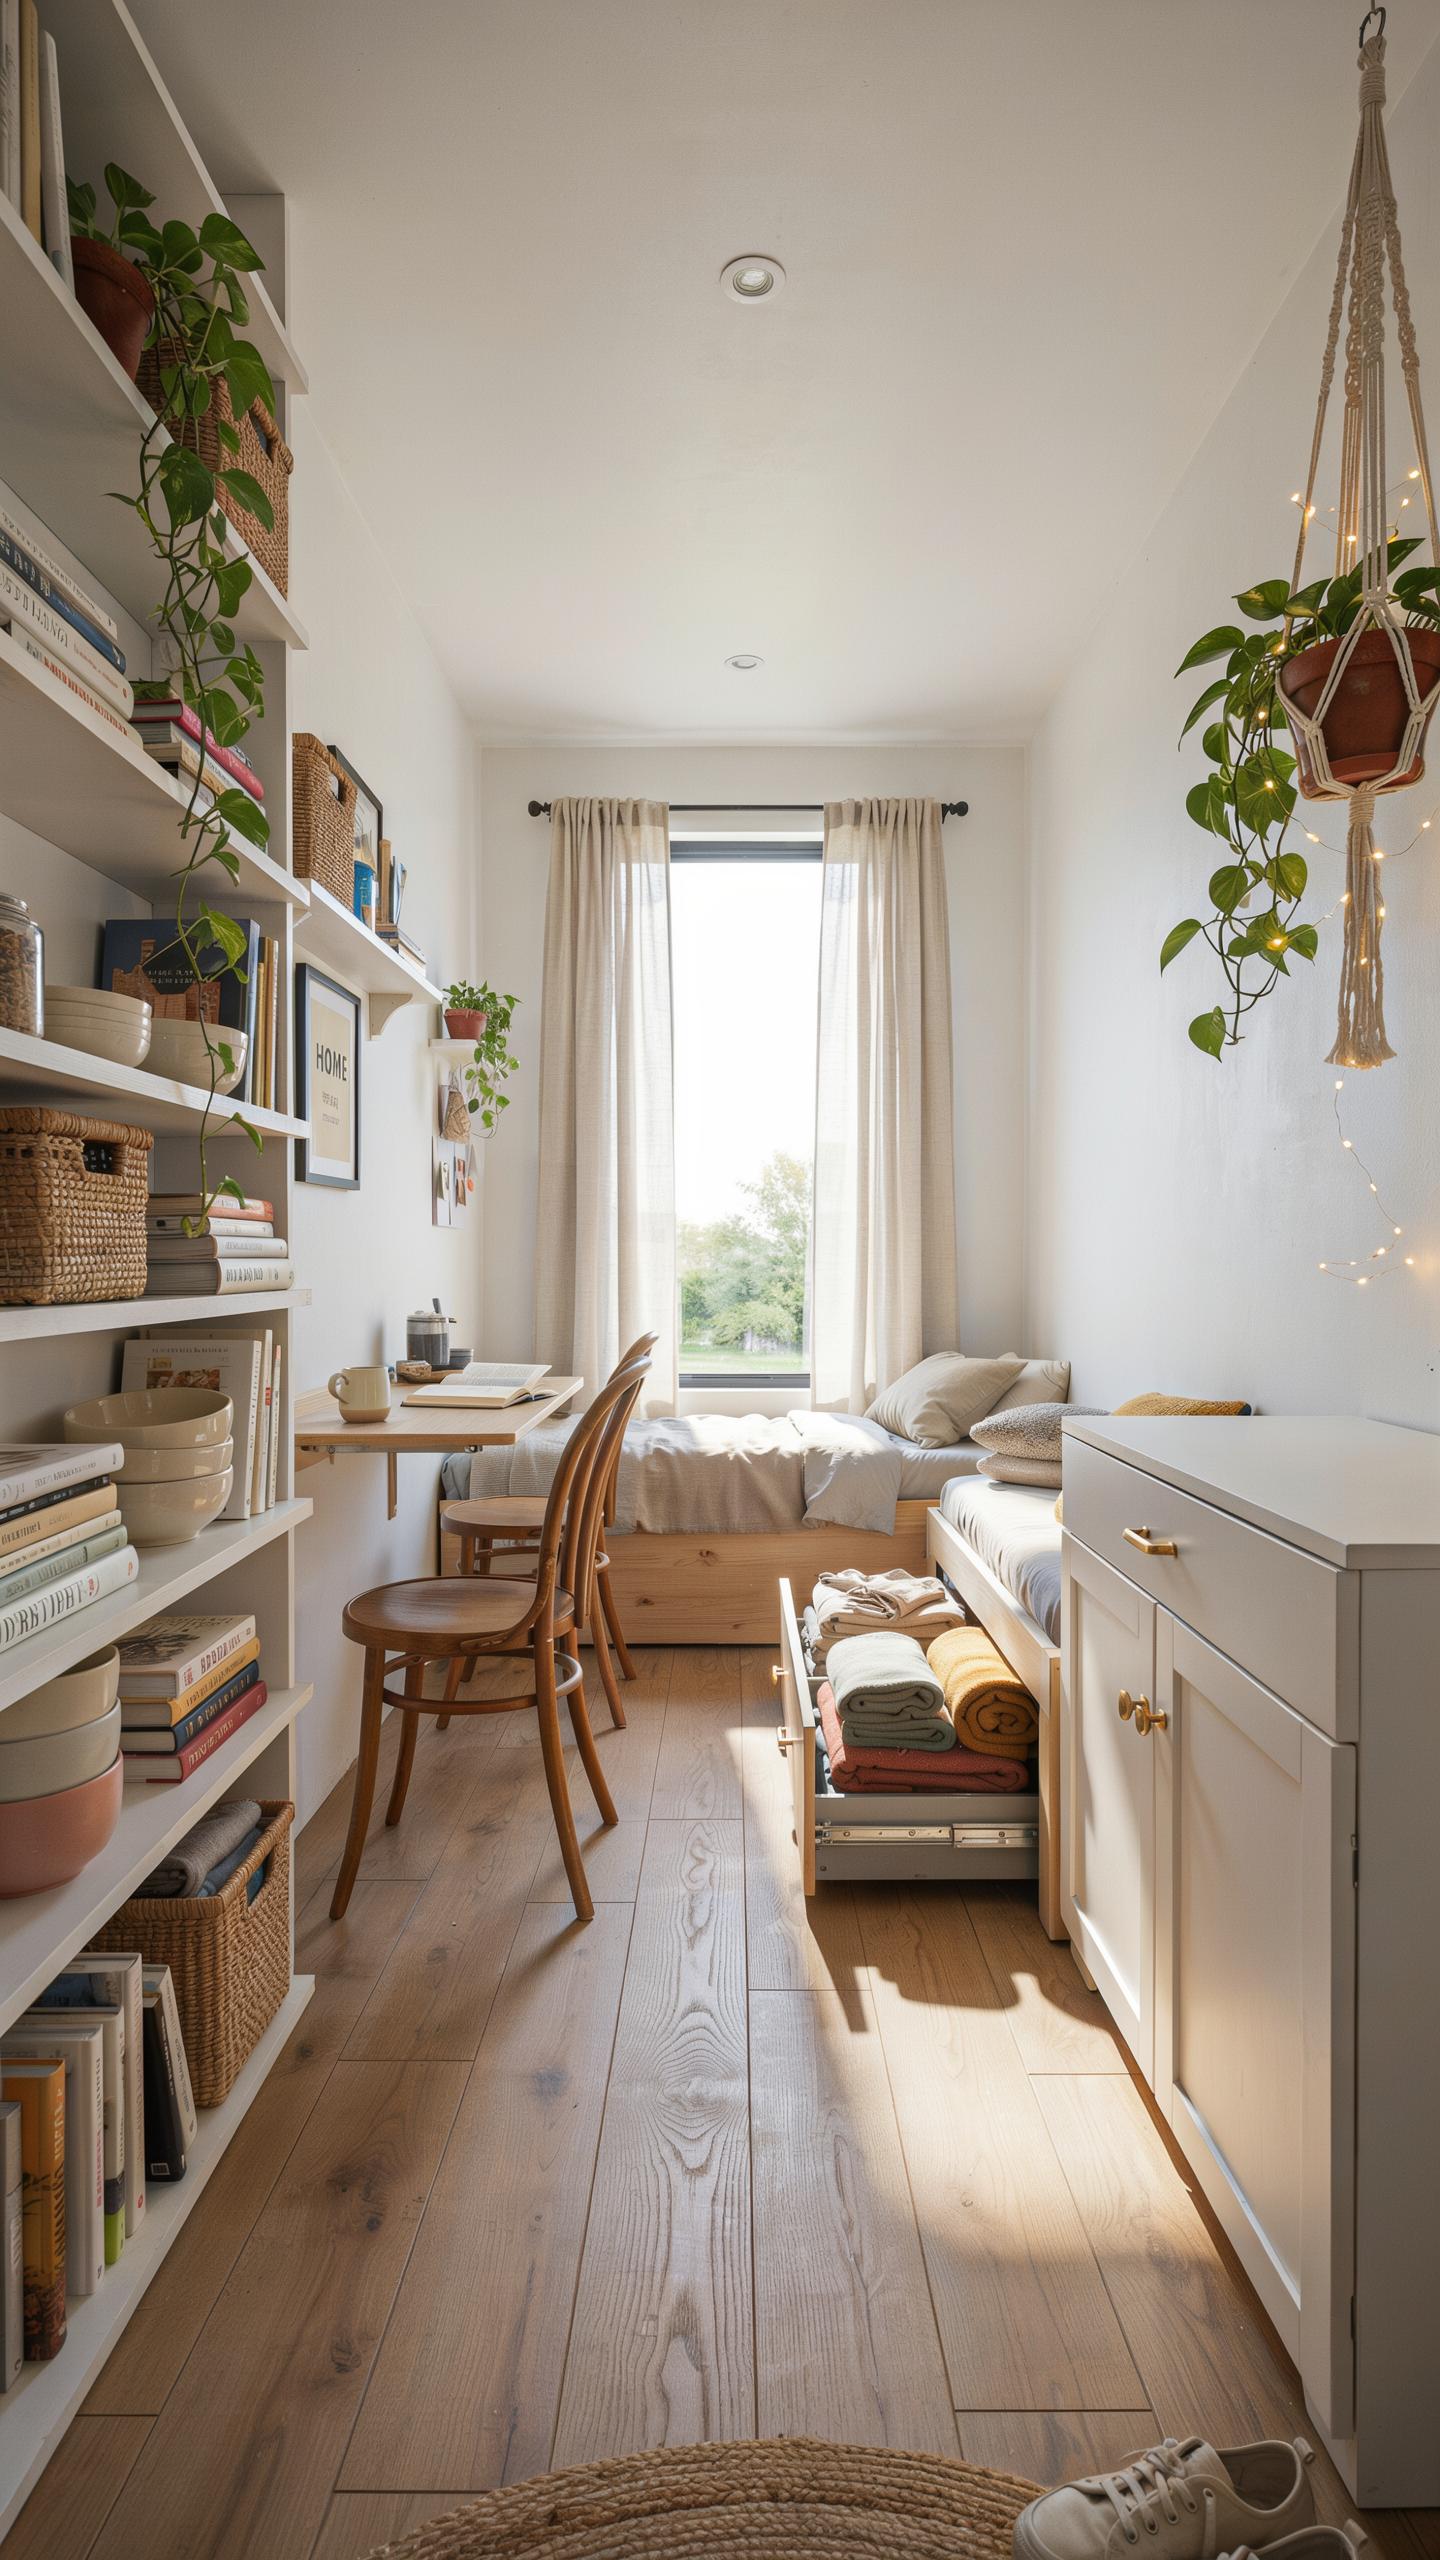
Multipurpose Shelving Fixtures
Multipurpose shelves solve two problems at once in tiny homes. You install floating shelves that also function as room dividers, creating distinct zones without walls. These fixtures hold items while blocking sightlines between spaces. Steel or wood frames anchor shelves to studs, supporting weight safely. The division effect makes small spaces feel larger by organizing flow.
Steps integrated into shelving systems maximize vertical real estate further. Tiered shelf arrangements create natural stair-like progression up walls. Each tier holds storage while doubling as a foothold to reach higher items. This approach works in corners or along walls where floor space is premium. You get storage plus accessibility without adding bulk.
Overhead Loft Shelving
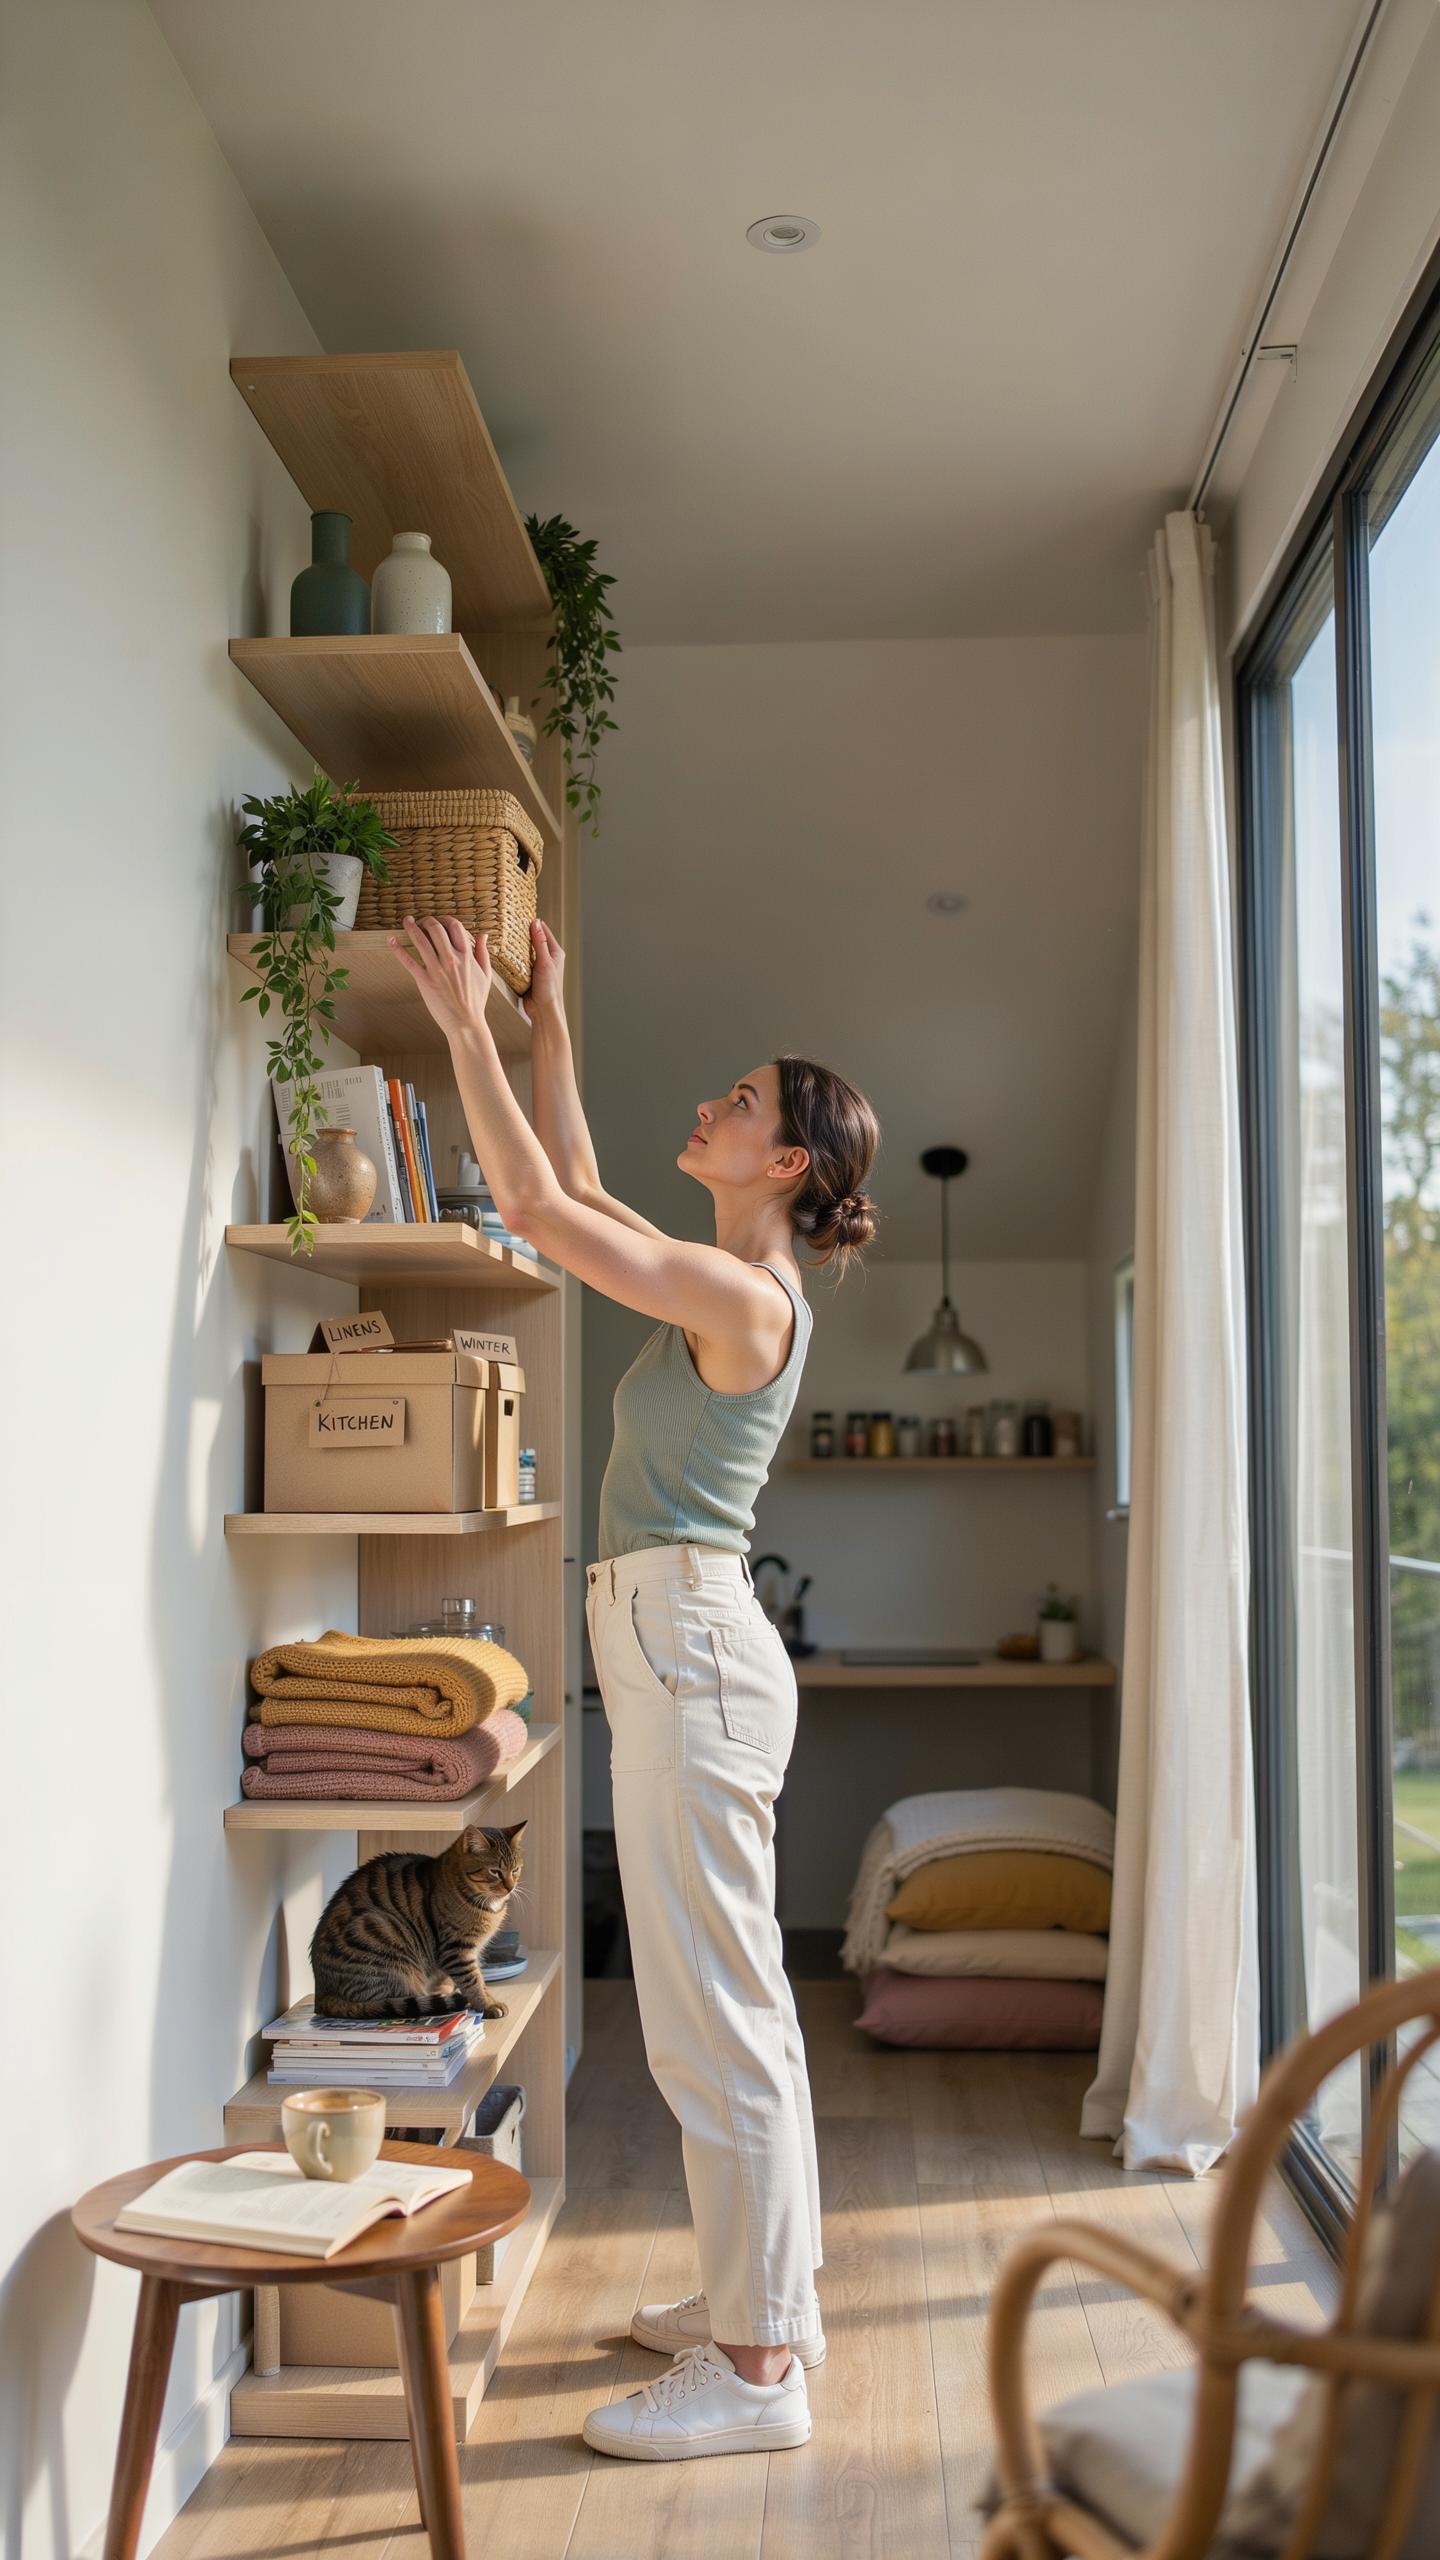
Overhead shelving near ceiling rafters captures unused vertical space most people ignore. This zone stays visible but out of reach, perfect for seasonal items or things you access rarely. Install sturdy brackets rated for your load before mounting shelves. Rafters provide natural anchor points that distribute weight across the home’s structural frame.

Access methods matter when shelving sits eight or nine feet high. Rolling ladders or lightweight step stools let you retrieve items safely without strain. Organize this space by frequency of use, placing rarely needed items higher up. Label shelves clearly so you know what sits above without climbing repeatedly. This strategy frees ground-level storage for daily necessities.
Using Vertical Space Storage Ideas In Every Room
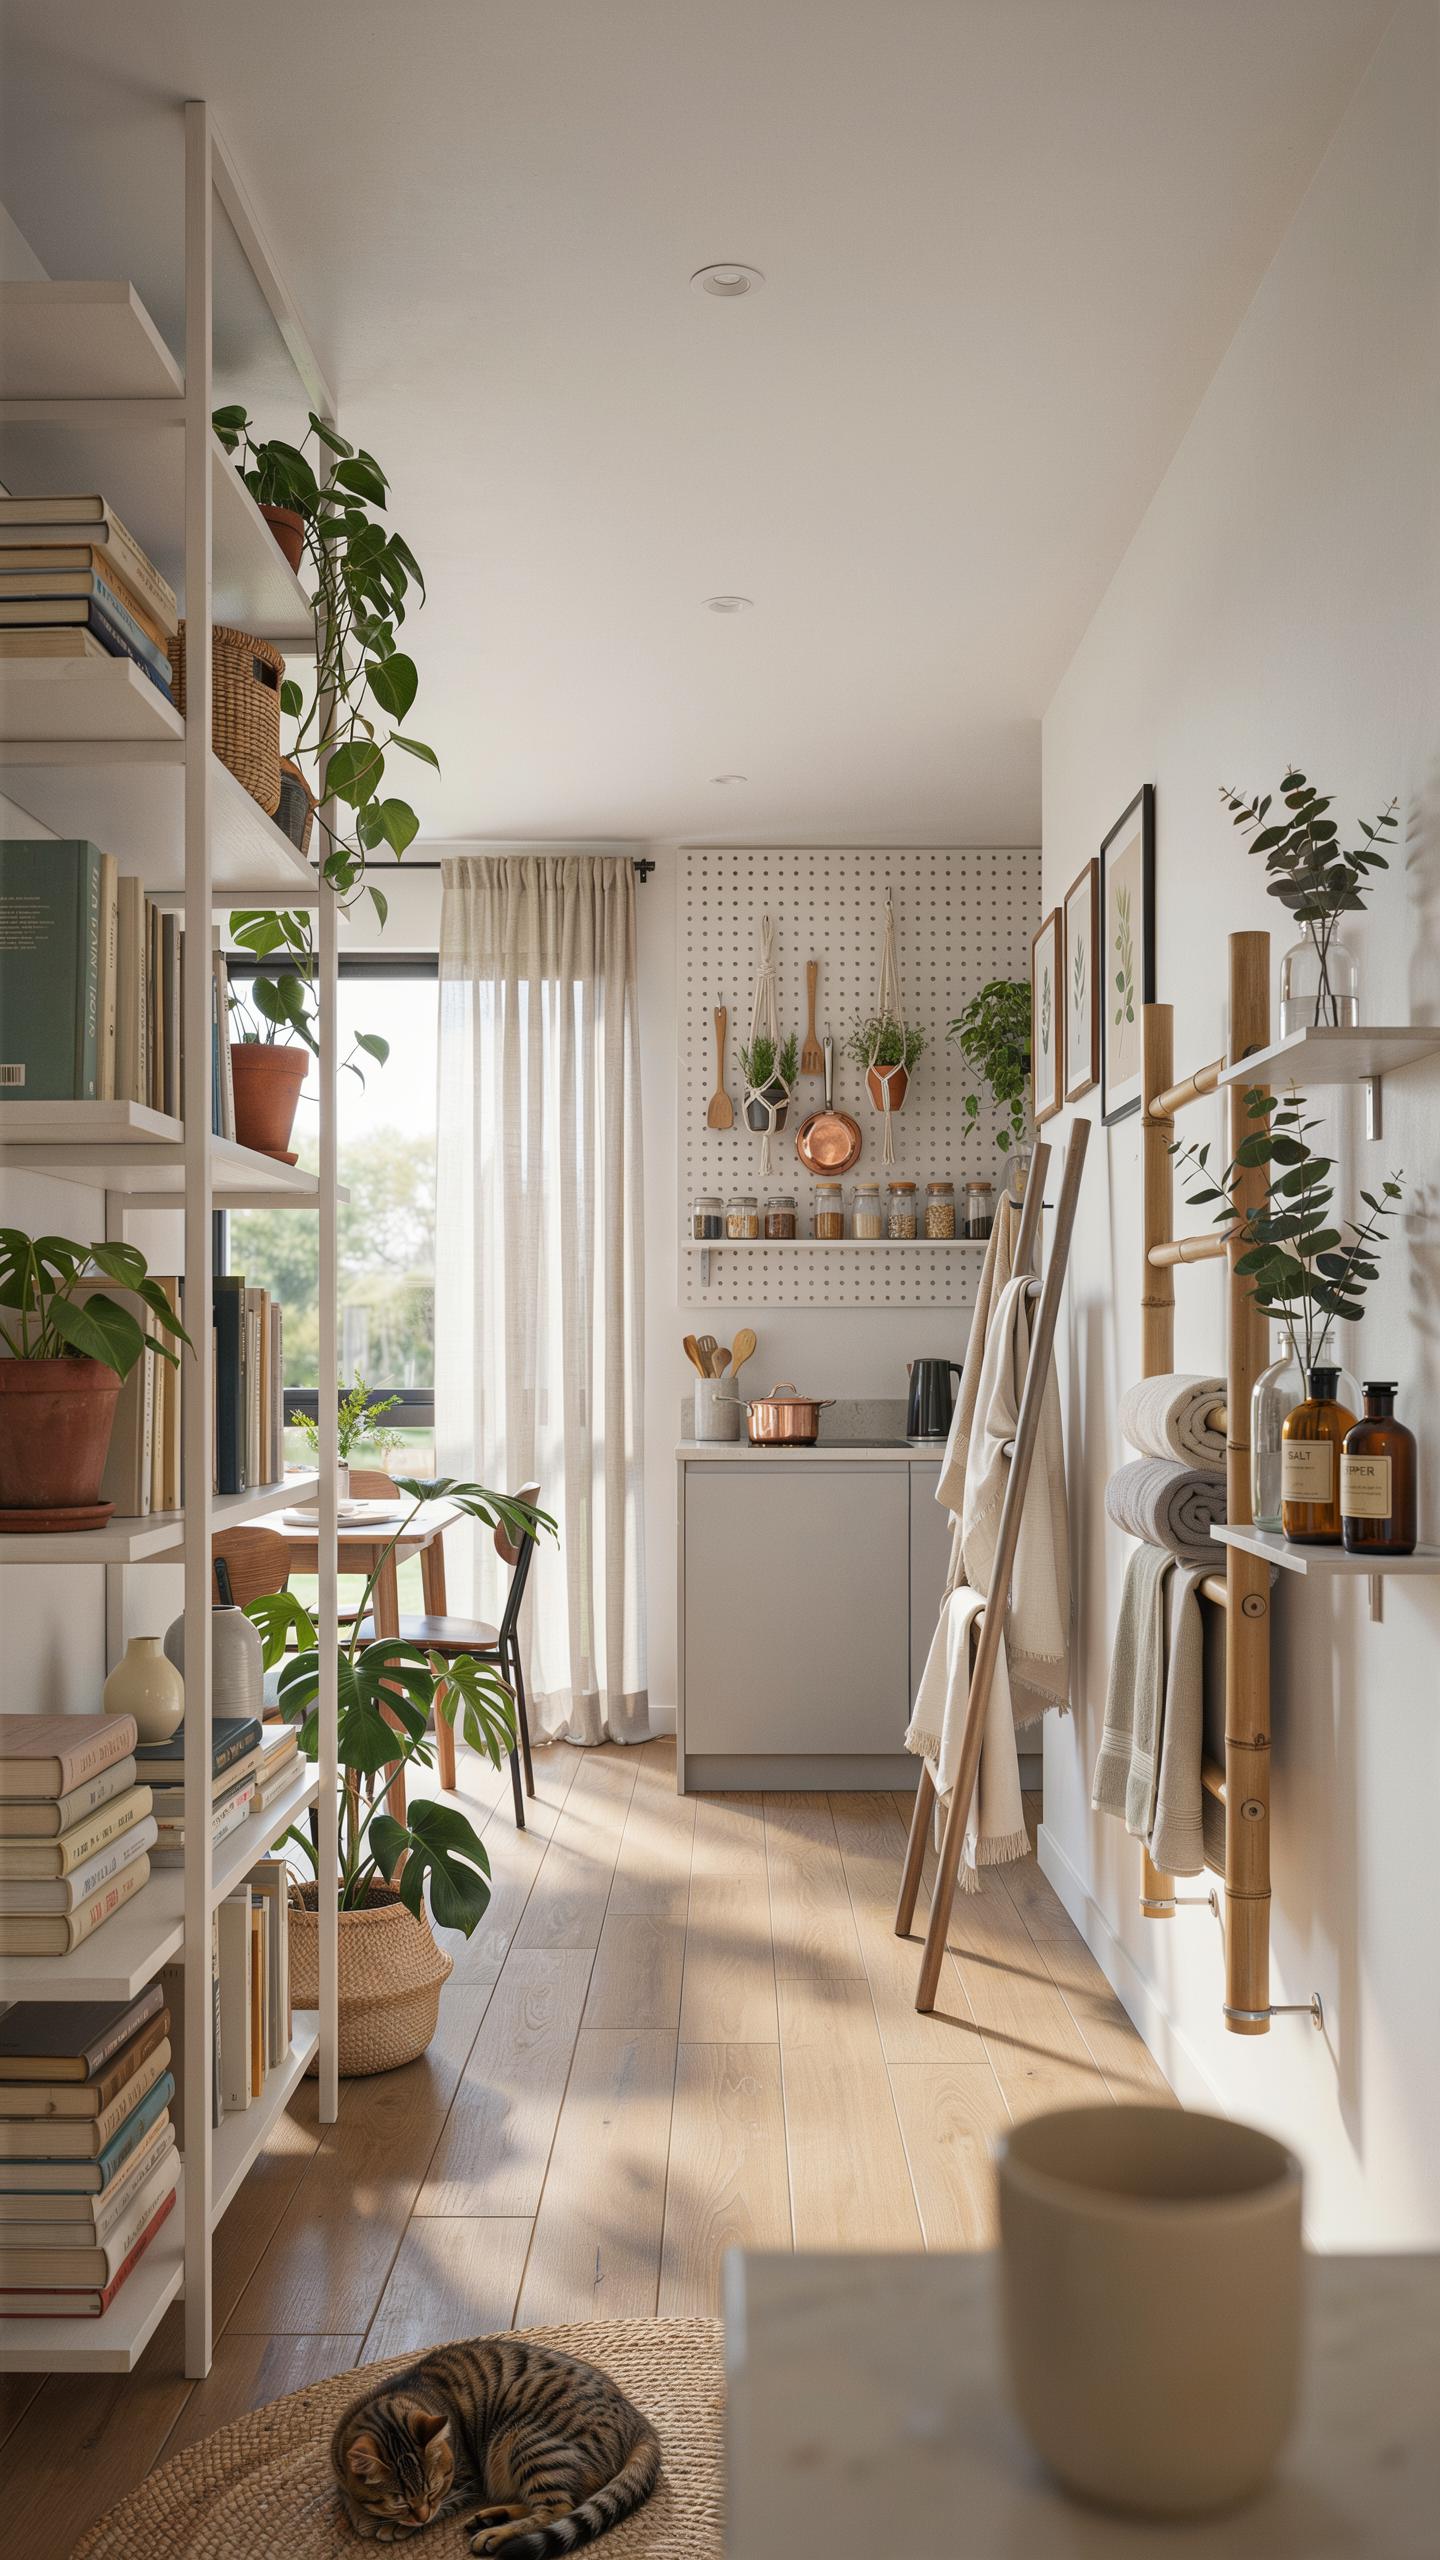
Kitchen Pantry Towers
Narrow pull out pantry towers solve the most common kitchen constraint: linear wall space. Install these units next to refrigerators or ranges where standard cabinets waste depth. Pull out designs give you access to back items without removing front stock. These towers typically measure 9 to 12 inches deep, fitting snugly beside appliances without blocking walkways or door swings.
Pull out pantry towers maximize storage density in tight kitchens. Each shelf glides forward on ball bearing slides, exposing all contents instantly. You store 40 to 60 percent more items in the same footprint compared to fixed shelving. Wire or solid shelves accommodate canned goods, dry ingredients, and small appliances efficiently.
Bathroom Over Toilet Units
Over toilet units exploit unused vertical clearance above standard fixtures. Most bathrooms have 24 to 36 inches of clear space above toilet tanks. Shelving units anchor directly to wall studs or use tension rods between walls and ceiling. This placement keeps supplies accessible without consuming floor space or wall area needed for movement.

Over toilet storage works for towels, toiletries, cleaning supplies, and medications. Measure your ceiling height and toilet tank dimensions before purchasing units. Open shelf designs prevent moisture buildup better than enclosed cabinets in bathrooms. Corner units fit tight spaces where standard rectangles won’t mount properly.
Transformative Wall Storage Solutions To Try Today
Magnetic Strips Pegs Rails
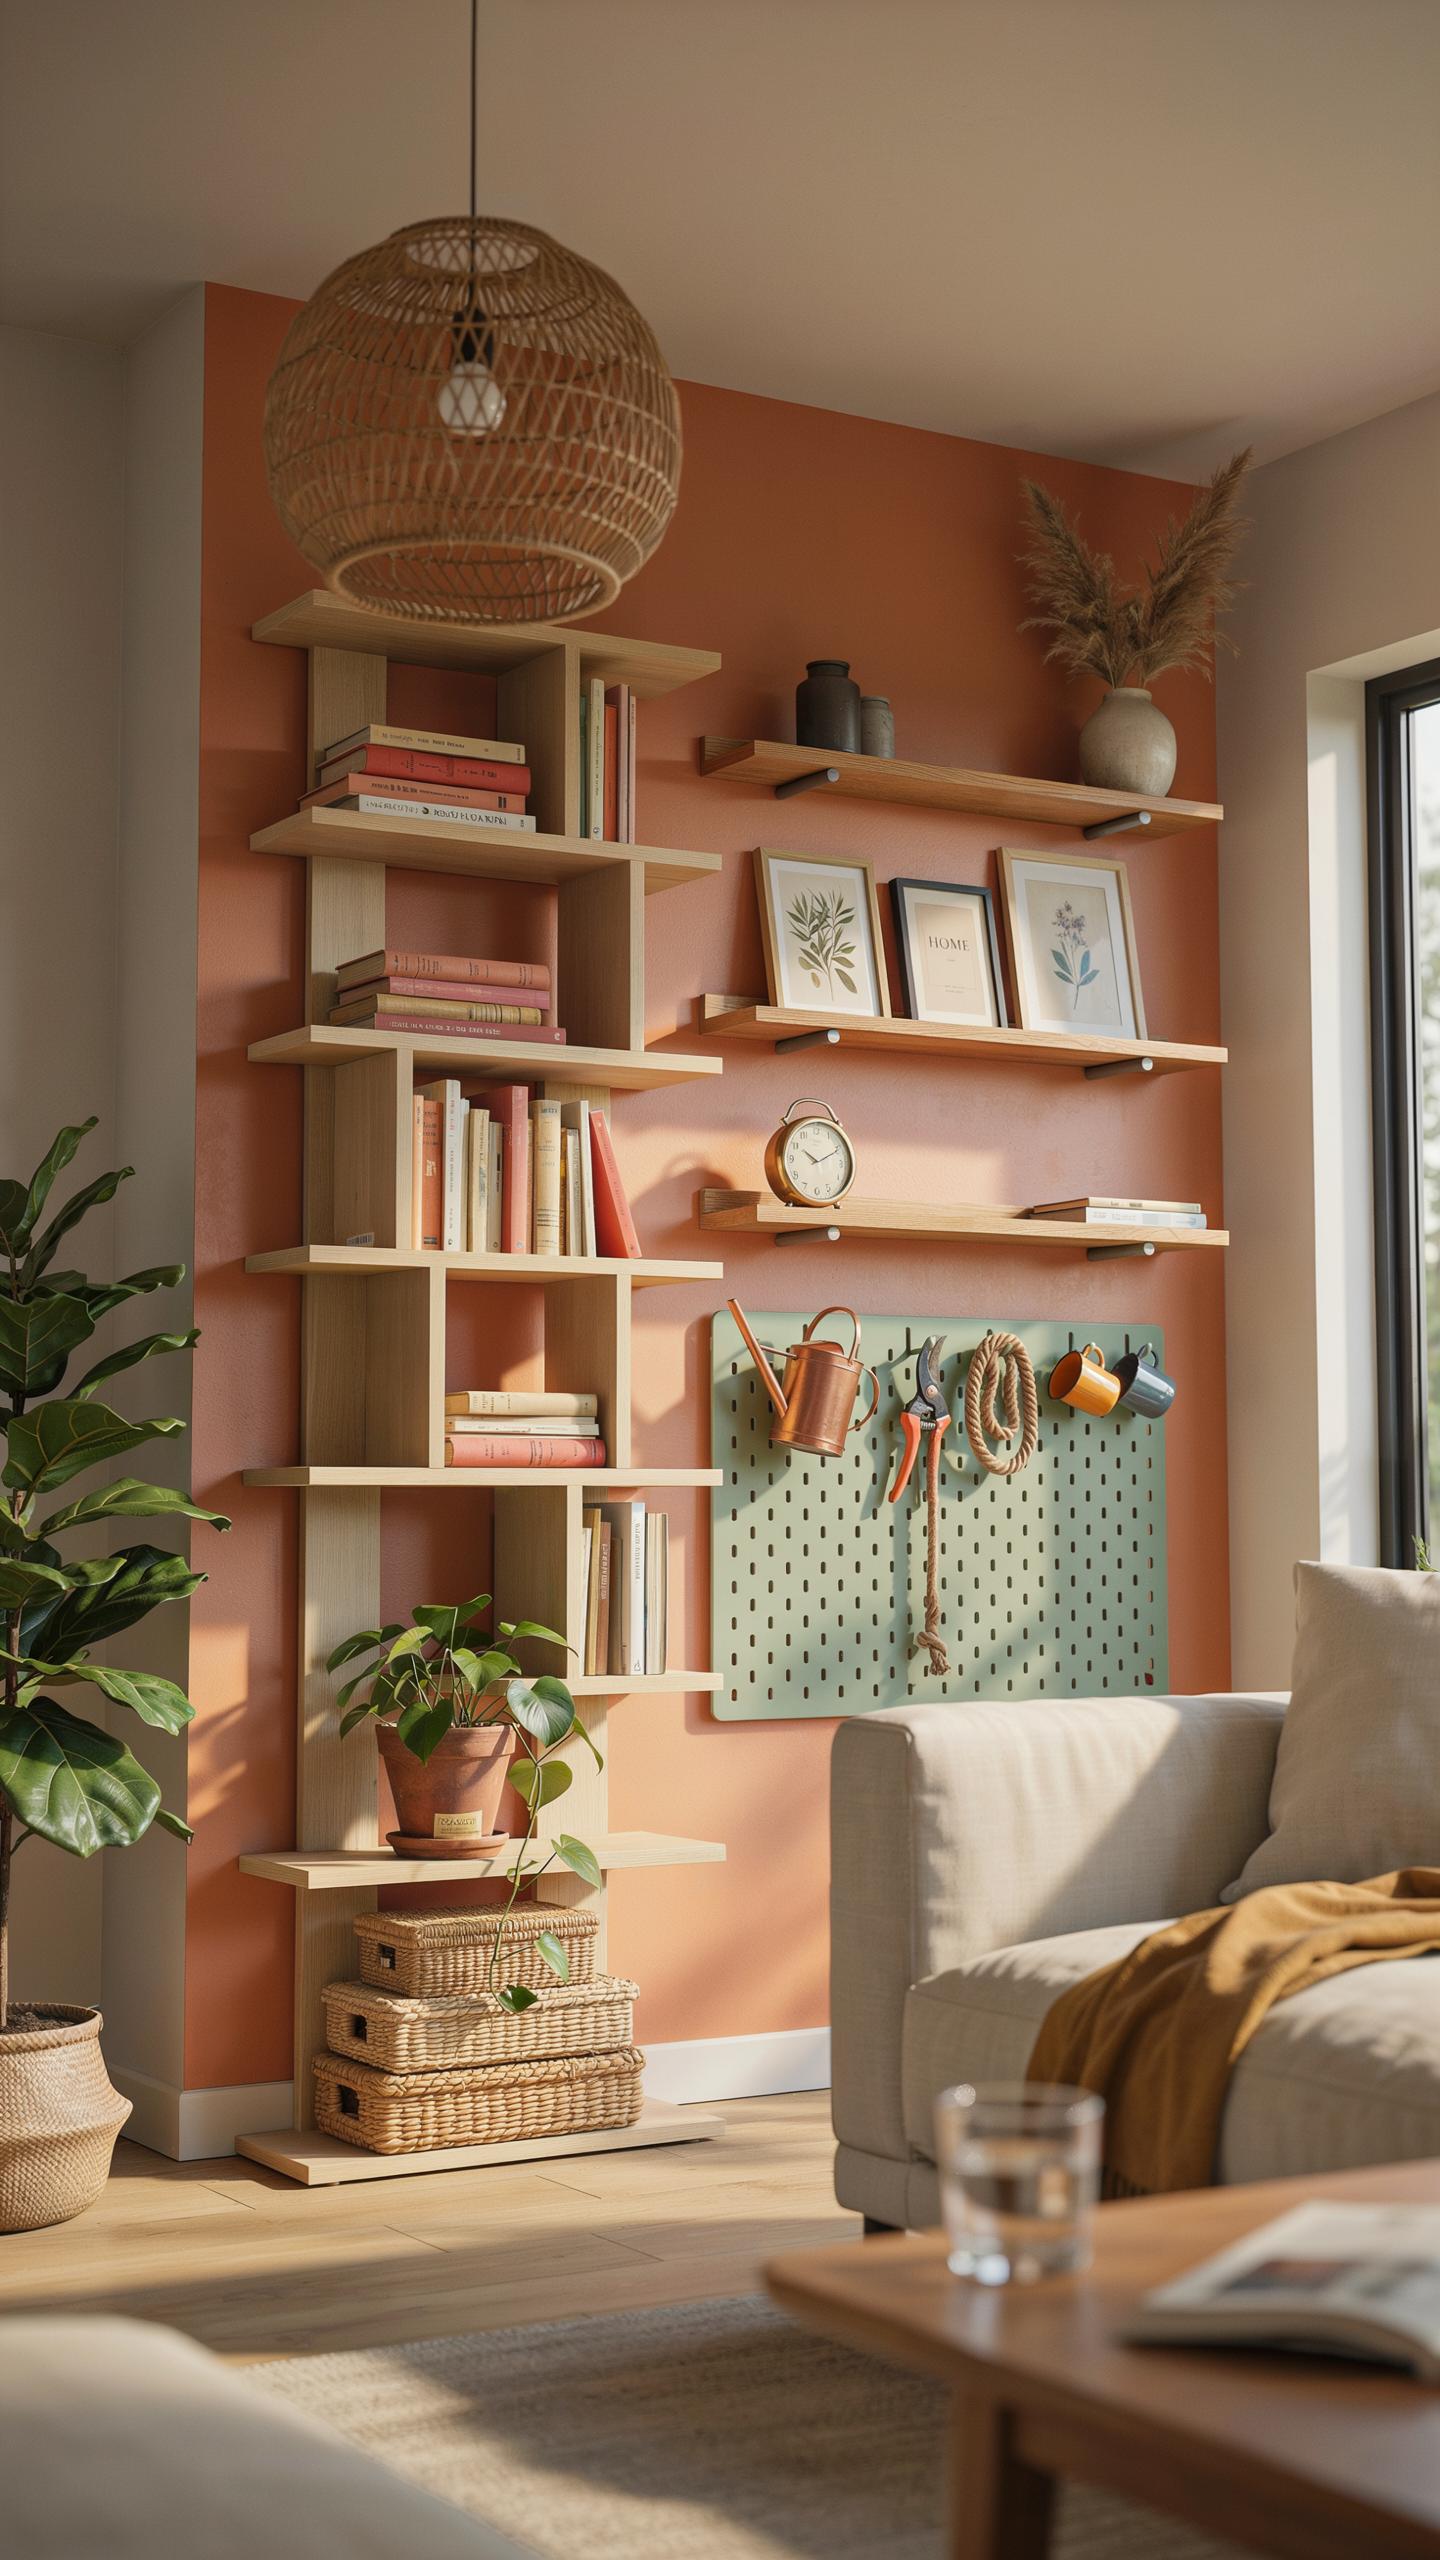
Magnetic strips mount flat against walls and hold steel-based tools without taking up drawer space. Kitchen knives, scissors, and metal measuring spoons attach instantly and stay put. The strips themselves measure between one and three feet long, so you control how much wall real estate you use. Installation requires only a drill, screws, and wall anchors rated for your wall type. This approach works in rentals too if you use adhesive strips instead of fasteners.
Pegboards offer similar functionality with more flexibility. Hooks, baskets, and shelves clip into standardized holes, letting you reconfigure storage as needs change. You can rearrange your setup without tools or damage. The downside is pegboards collect dust in the holes, so they need regular cleaning. For tiny homes, magnetic strips demand less maintenance while delivering the same wall-clearing benefit.
Love grows best in little houses, with fewer things but plenty of room for cherished memories. To build a small home is to dream vertically, reaching for the stars while staying grounded in comfort.
Modular Tracks Baskets
Adjustable track systems use horizontal rails mounted to studs or wall anchors that support sliding brackets and baskets. You position baskets at any height, then slide them horizontally for access. These systems handle serious weight without sagging because the rails distribute load directly to the wall structure. Popular brands use standardized brackets, so you can mix and match components as your storage needs shift. This modularity means you buy exactly what you need now and add later.

Baskets themselves come in wire, fabric, or plastic, each offering different aesthetics and durability. Wire baskets show contents at a glance. Fabric baskets hide clutter but require checking tags to find items. The track system accommodates all types equally. Adjust basket height to match arm reach and item frequency. You relocate heavy items to lower positions and lighter boxes higher up without rebuilding the entire system.
Clever Wall Storage Ideas For Narrow Passages
Hallway Floating Ledges
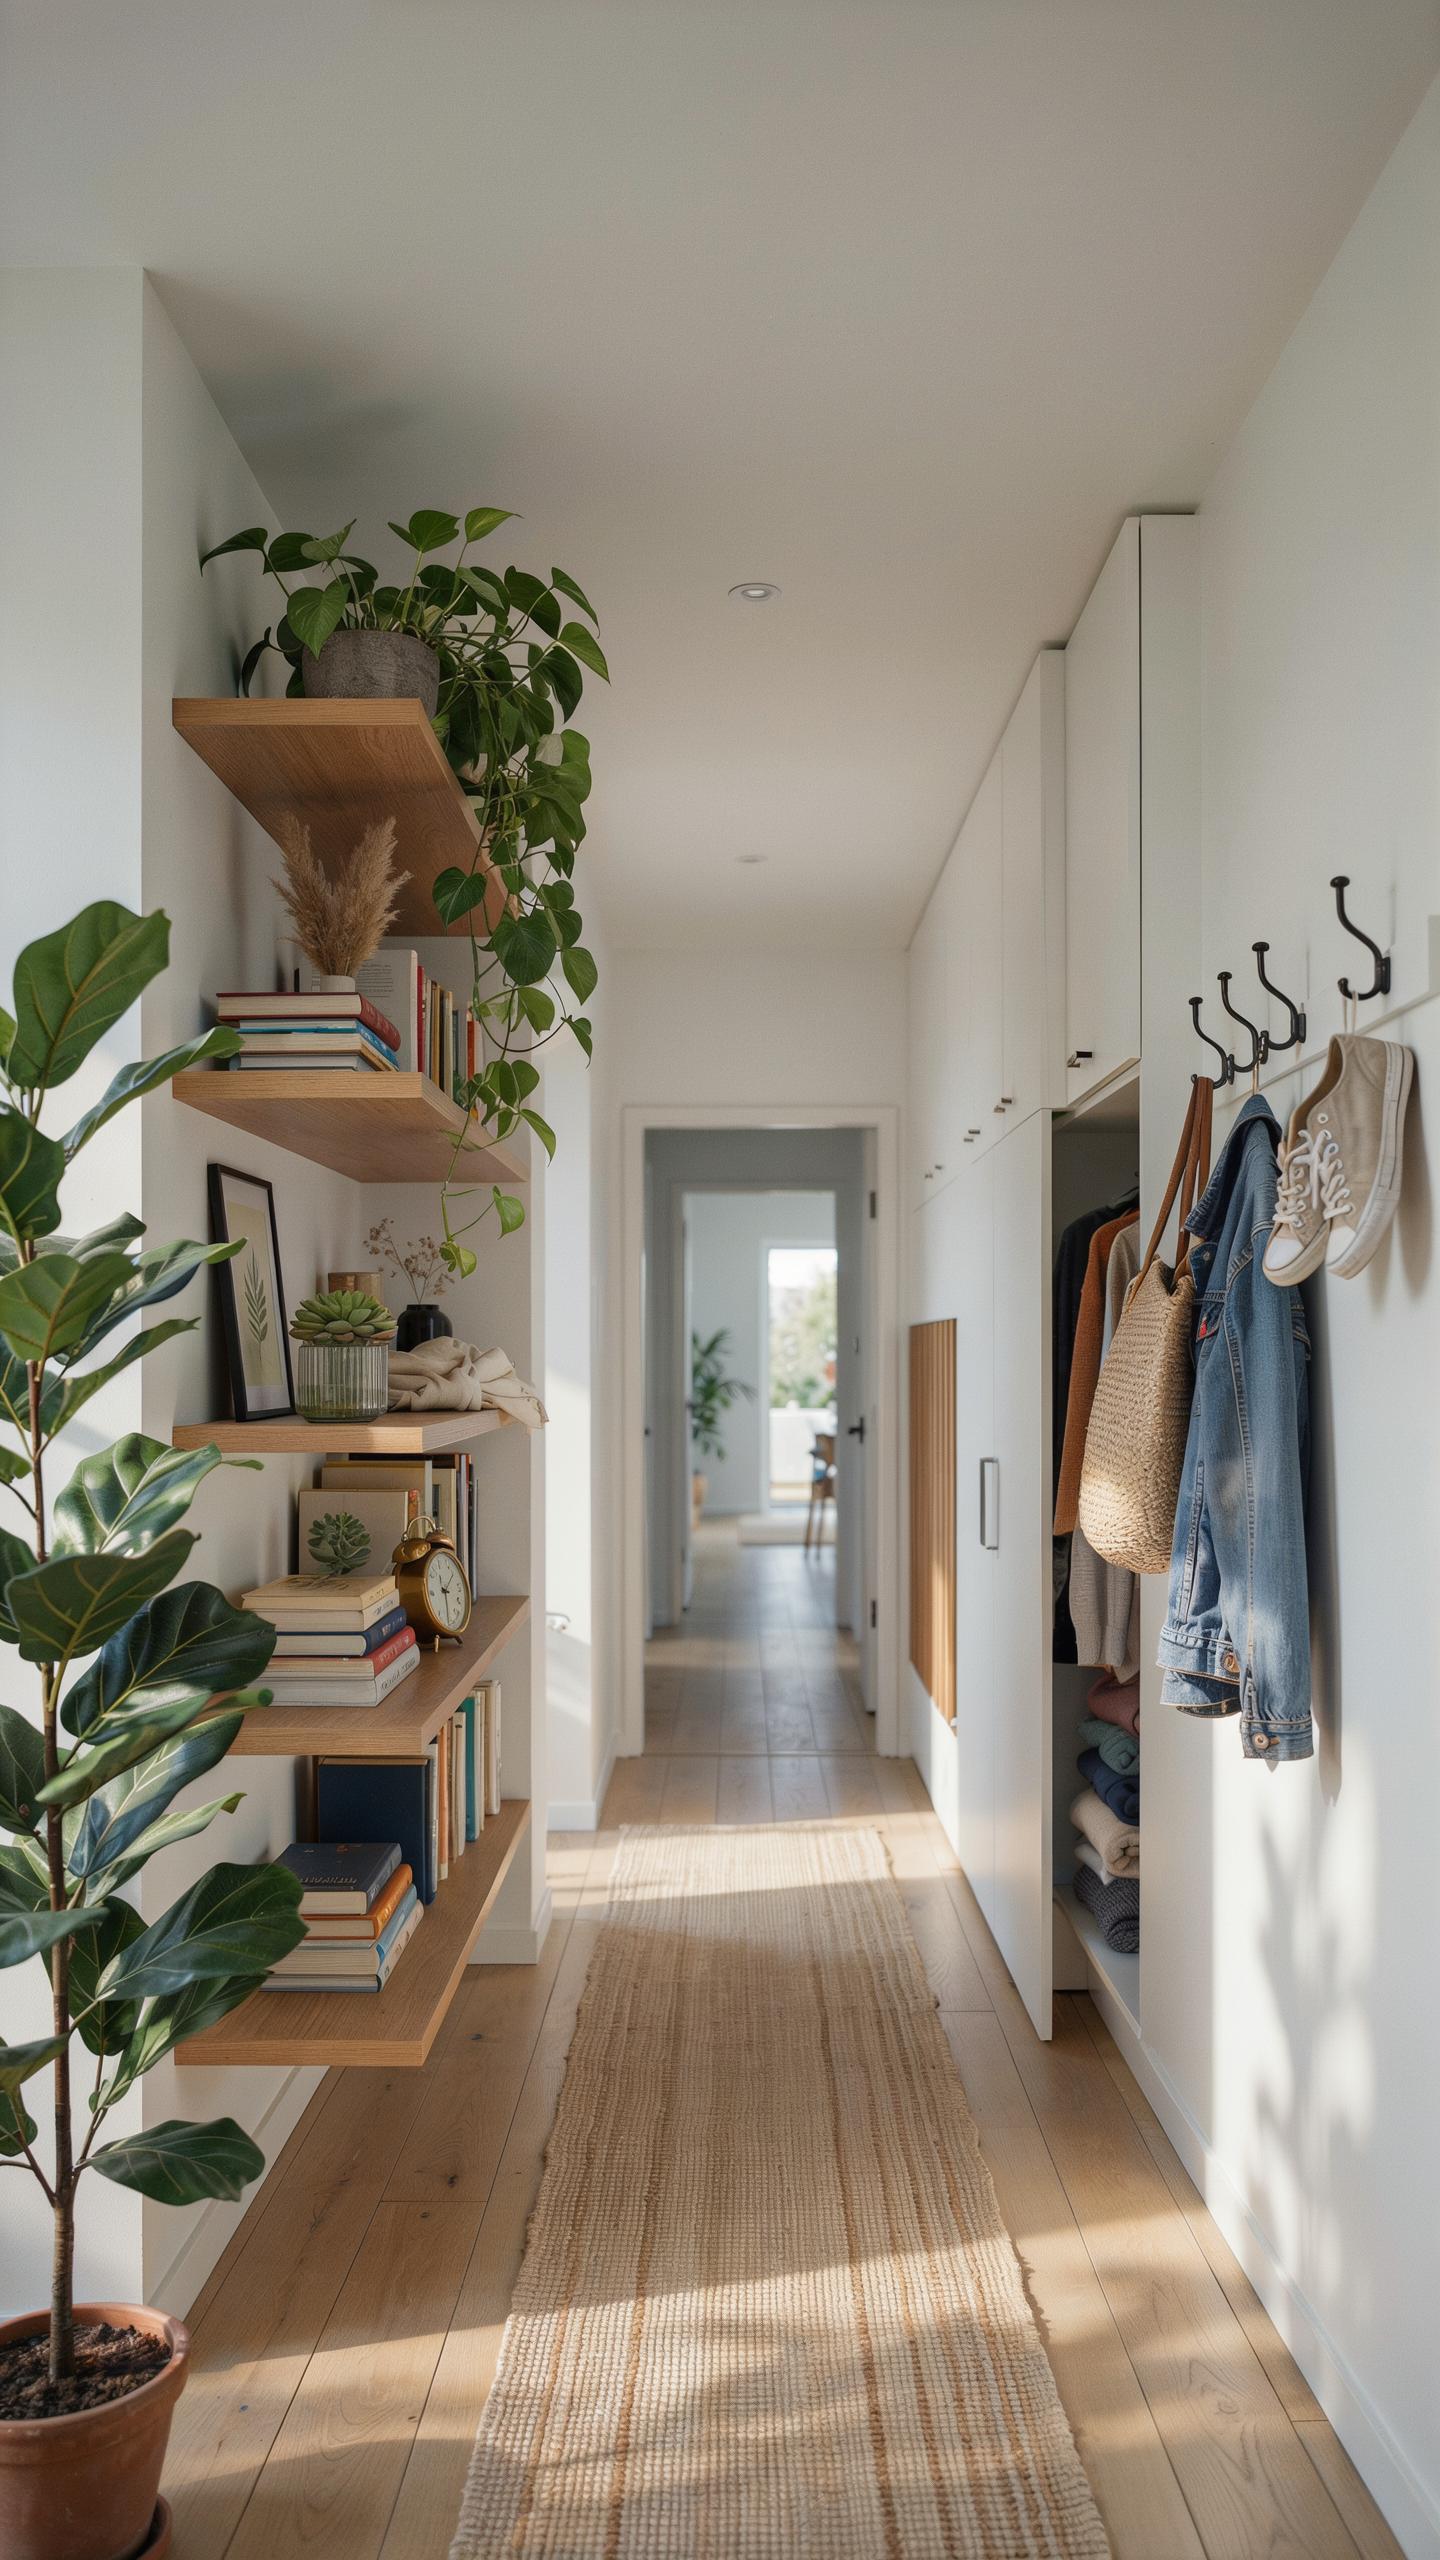
Floating ledges work in narrow hallways because they take zero floor space. Mount them 12 to 18 inches apart vertically to stack items without blocking movement. Use ledges 8 to 12 inches deep. This depth holds books, keys, mail organizers, and small decorative objects without protruding into traffic zones. Shallow ledges force you to keep only active items within reach.
Install ledges at eye level for frequently grabbed items like keys and wallets. Higher ledges store books or seasonal décor you access less often. Use metal brackets rated for your expected weight. Drywall anchors fail over time, so anchor directly into studs when possible. This setup transforms dead wall space in hallways into functional storage without eating square footage.
Fold Down Wall Desks Shelves
Wall-mounted fold-down desks solve the workspace problem in tiny homes without permanent footprint. These desks hinge at the wall and support with fold-out legs or chains. When lowered, they create a full working surface. When raised, they tuck flat against the wall. Narrow hallways benefit from this approach since you gain desk functionality without blocking passage.

Install fold-down desks at a comfortable standing or seated height depending on your work style. Choose models with integrated shelving above the desk surface to maximize vertical storage. The desk itself becomes storage when folded up. Weight capacity typically ranges from 40 to 80 pounds depending on bracket quality. This dual-function approach combines workspace and storage in a single wall installation.
Innovative Vertical Storage Ideas Bedroom Design Guide
Headboard Shelf Integration
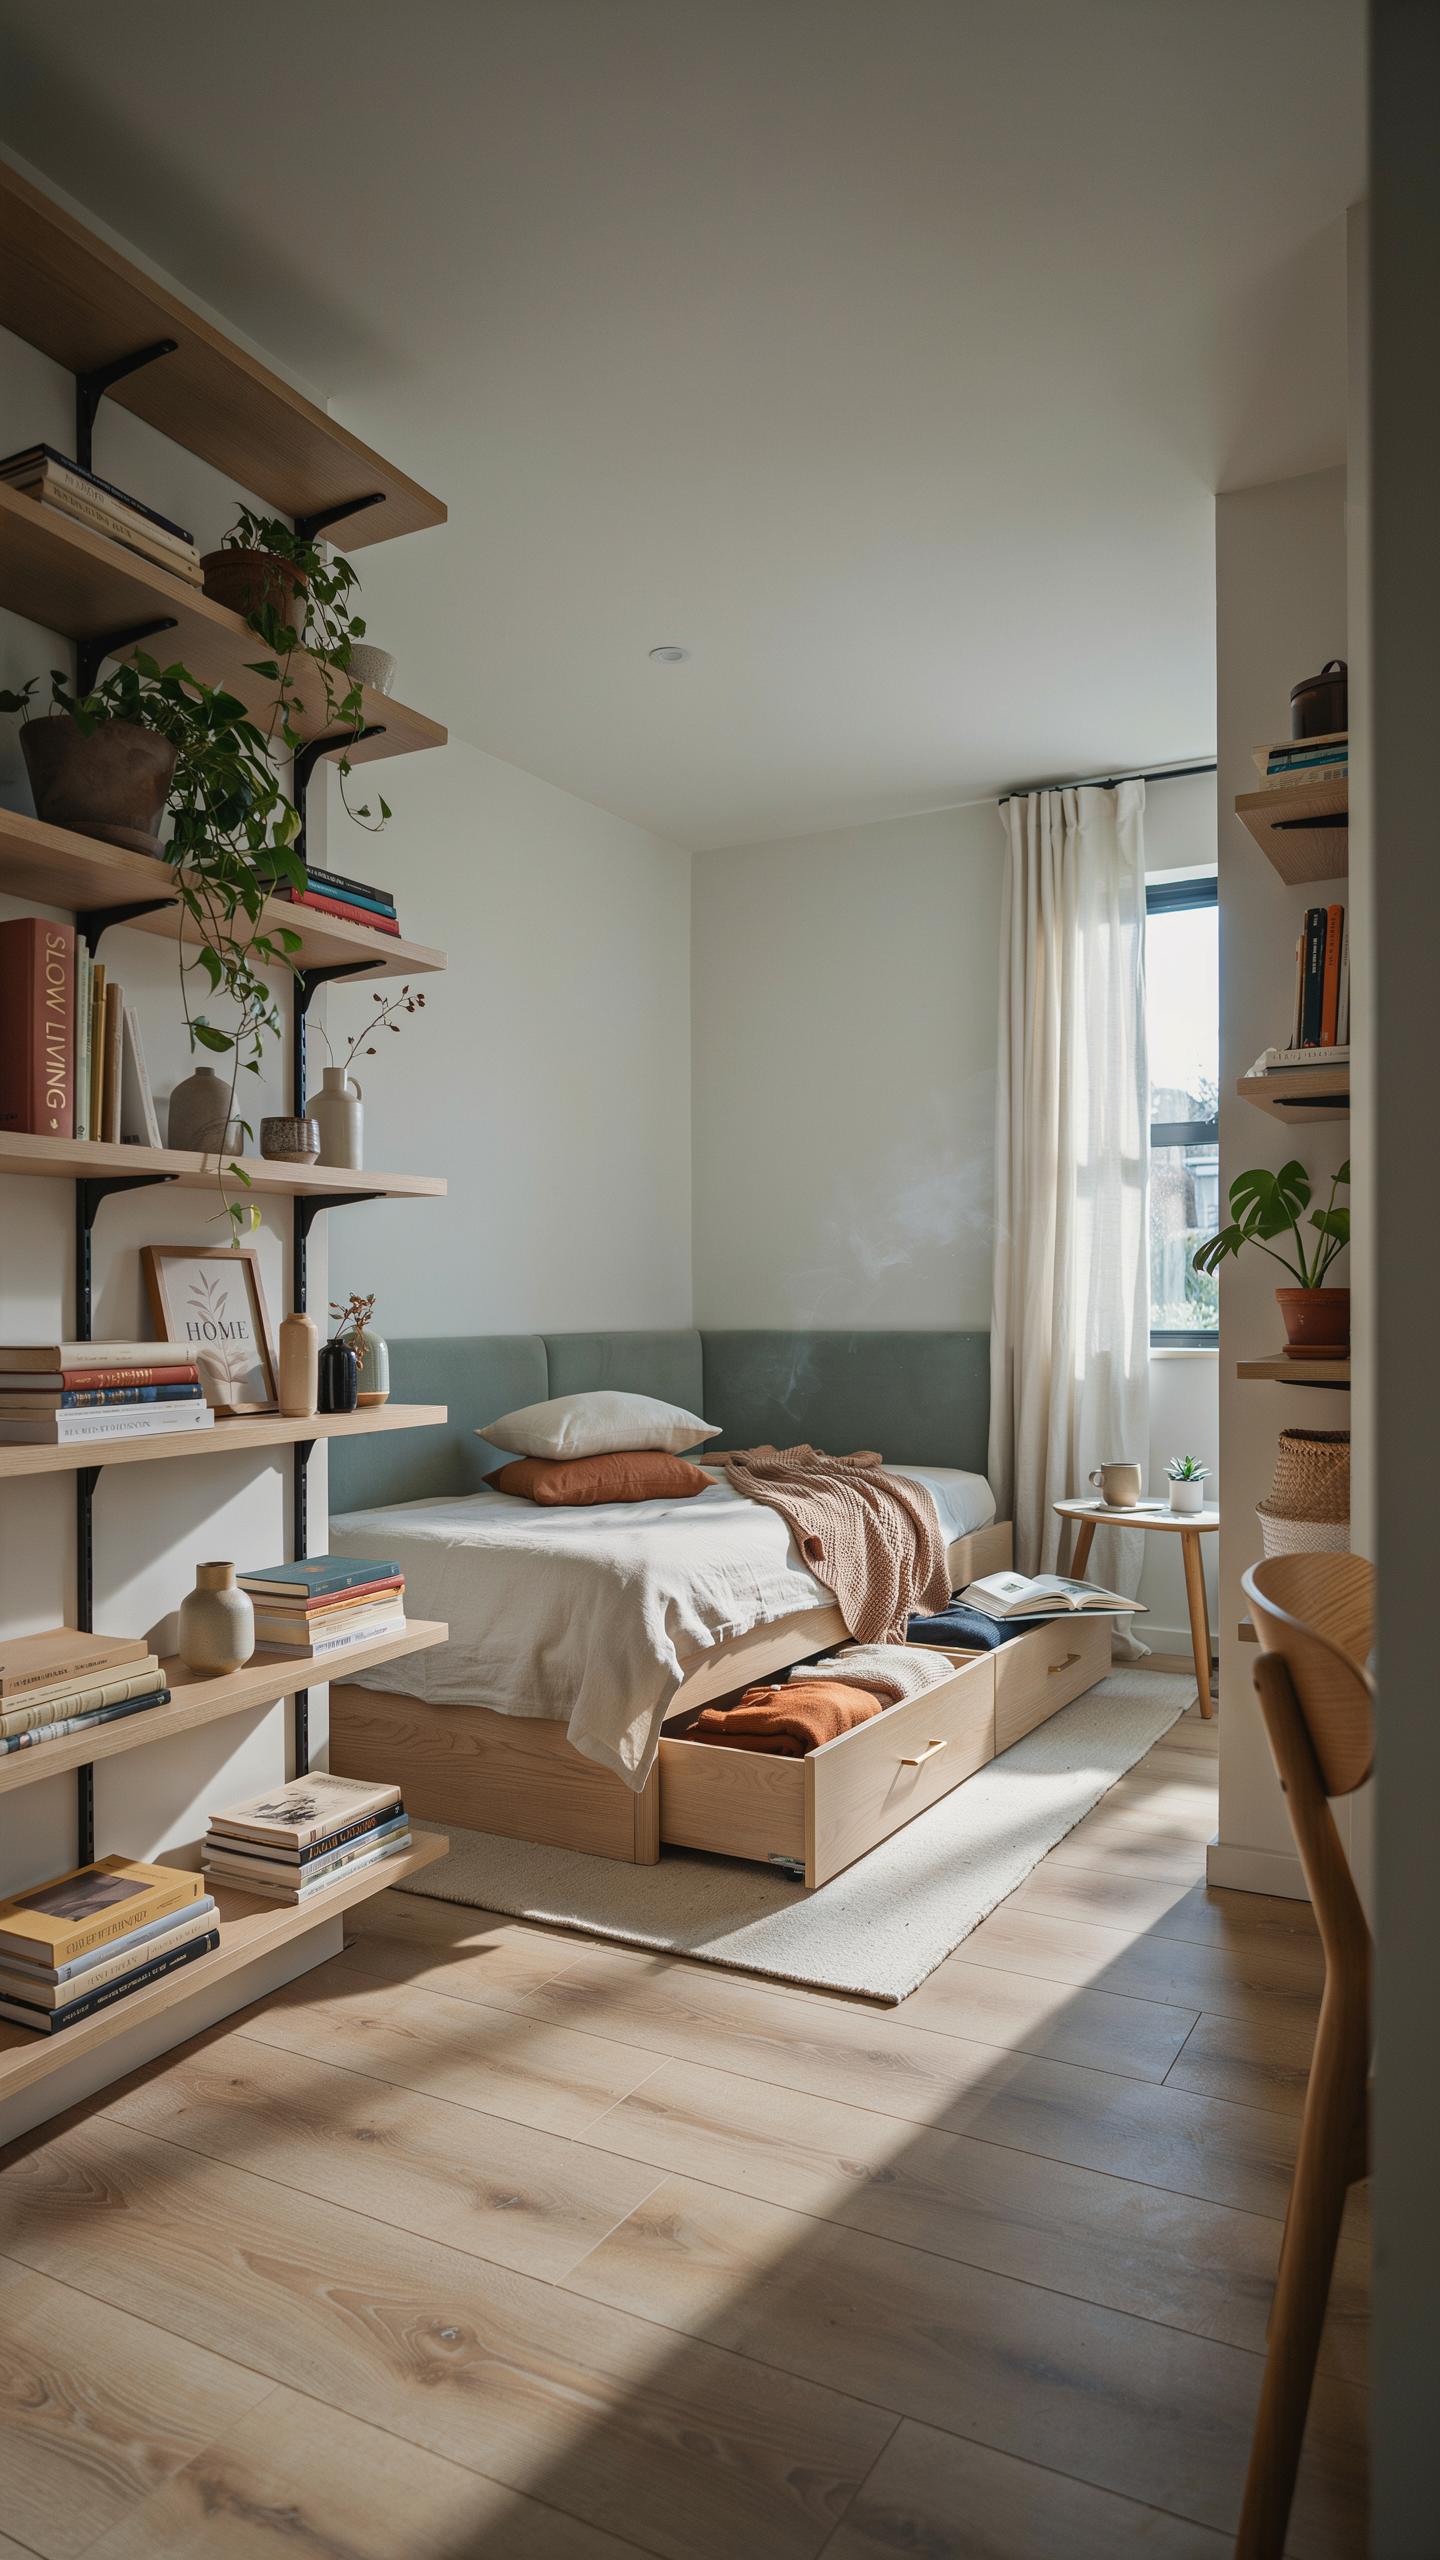
Built-in headboard shelves eliminate the need for separate nightstands. This approach reclaims floor space while keeping essentials within arm’s reach. Mount shelves directly into the wall behind your bed frame, creating dedicated zones for books, lamps, and personal items. The shelves sit 24 to 30 inches above the mattress for comfortable access without bumping your head during sleep.
Headboard shelving works best with floating shelf brackets rated for the weight you plan to store. Use 8 to 12-inch-deep shelves to avoid creating a cramped feeling or obstructing movement around the bed. Install shelves at staggered heights to add visual interest and accommodate items of different sizes. This design choice also simplifies bedroom cleaning since you remove the physical barrier a traditional nightstand creates.
Wardrobe Interior Max Tips
Narrow wardrobe closets demand strategic thinking. Start by measuring your interior dimensions exactly, including depth, width, and height. Use these numbers to order custom shelving units that fit without gaps. Adjustable shelf systems work better than fixed shelves because you can reconfigure them as your storage needs change. Install shelves no more than 12 inches apart to maximize storage density while keeping items reachable.
- Double hanging rods: Install one rod above the other to double your hanging capacity. Space upper rods 65 inches high and lower rods 32 inches high for standard clothing heights.
- Corner shelf units: Utilize corner dead zones with L-shaped shelving. These units capture wasted space that standard straight shelves ignore.
- Shelf dividers and risers: Stack folded items on risers to create air space beneath. Dividers prevent stacks from toppling when you remove one item.
- Pull out baskets: Install sliding baskets on shelves for easy access to back-row items. Choose baskets with handles to prevent strain when pulling from tight spaces.
- Vertical hanging organizers: Mount fabric organizers on the inside of wardrobe doors. These hold accessories, jewelry, and small items without consuming shelf space.

Stack items strategically to prevent crushing delicate fabrics. Place heavier items like sweaters on lower shelves and lighter items like t-shirts on upper shelves. Group by category and color to locate specific pieces quickly. This organization method reduces the time you spend searching through a cramped wardrobe and prevents items from getting damaged through poor stacking.
Classic Vertical Storage Ideas For Living Areas
Floor To Ceiling Bookcases
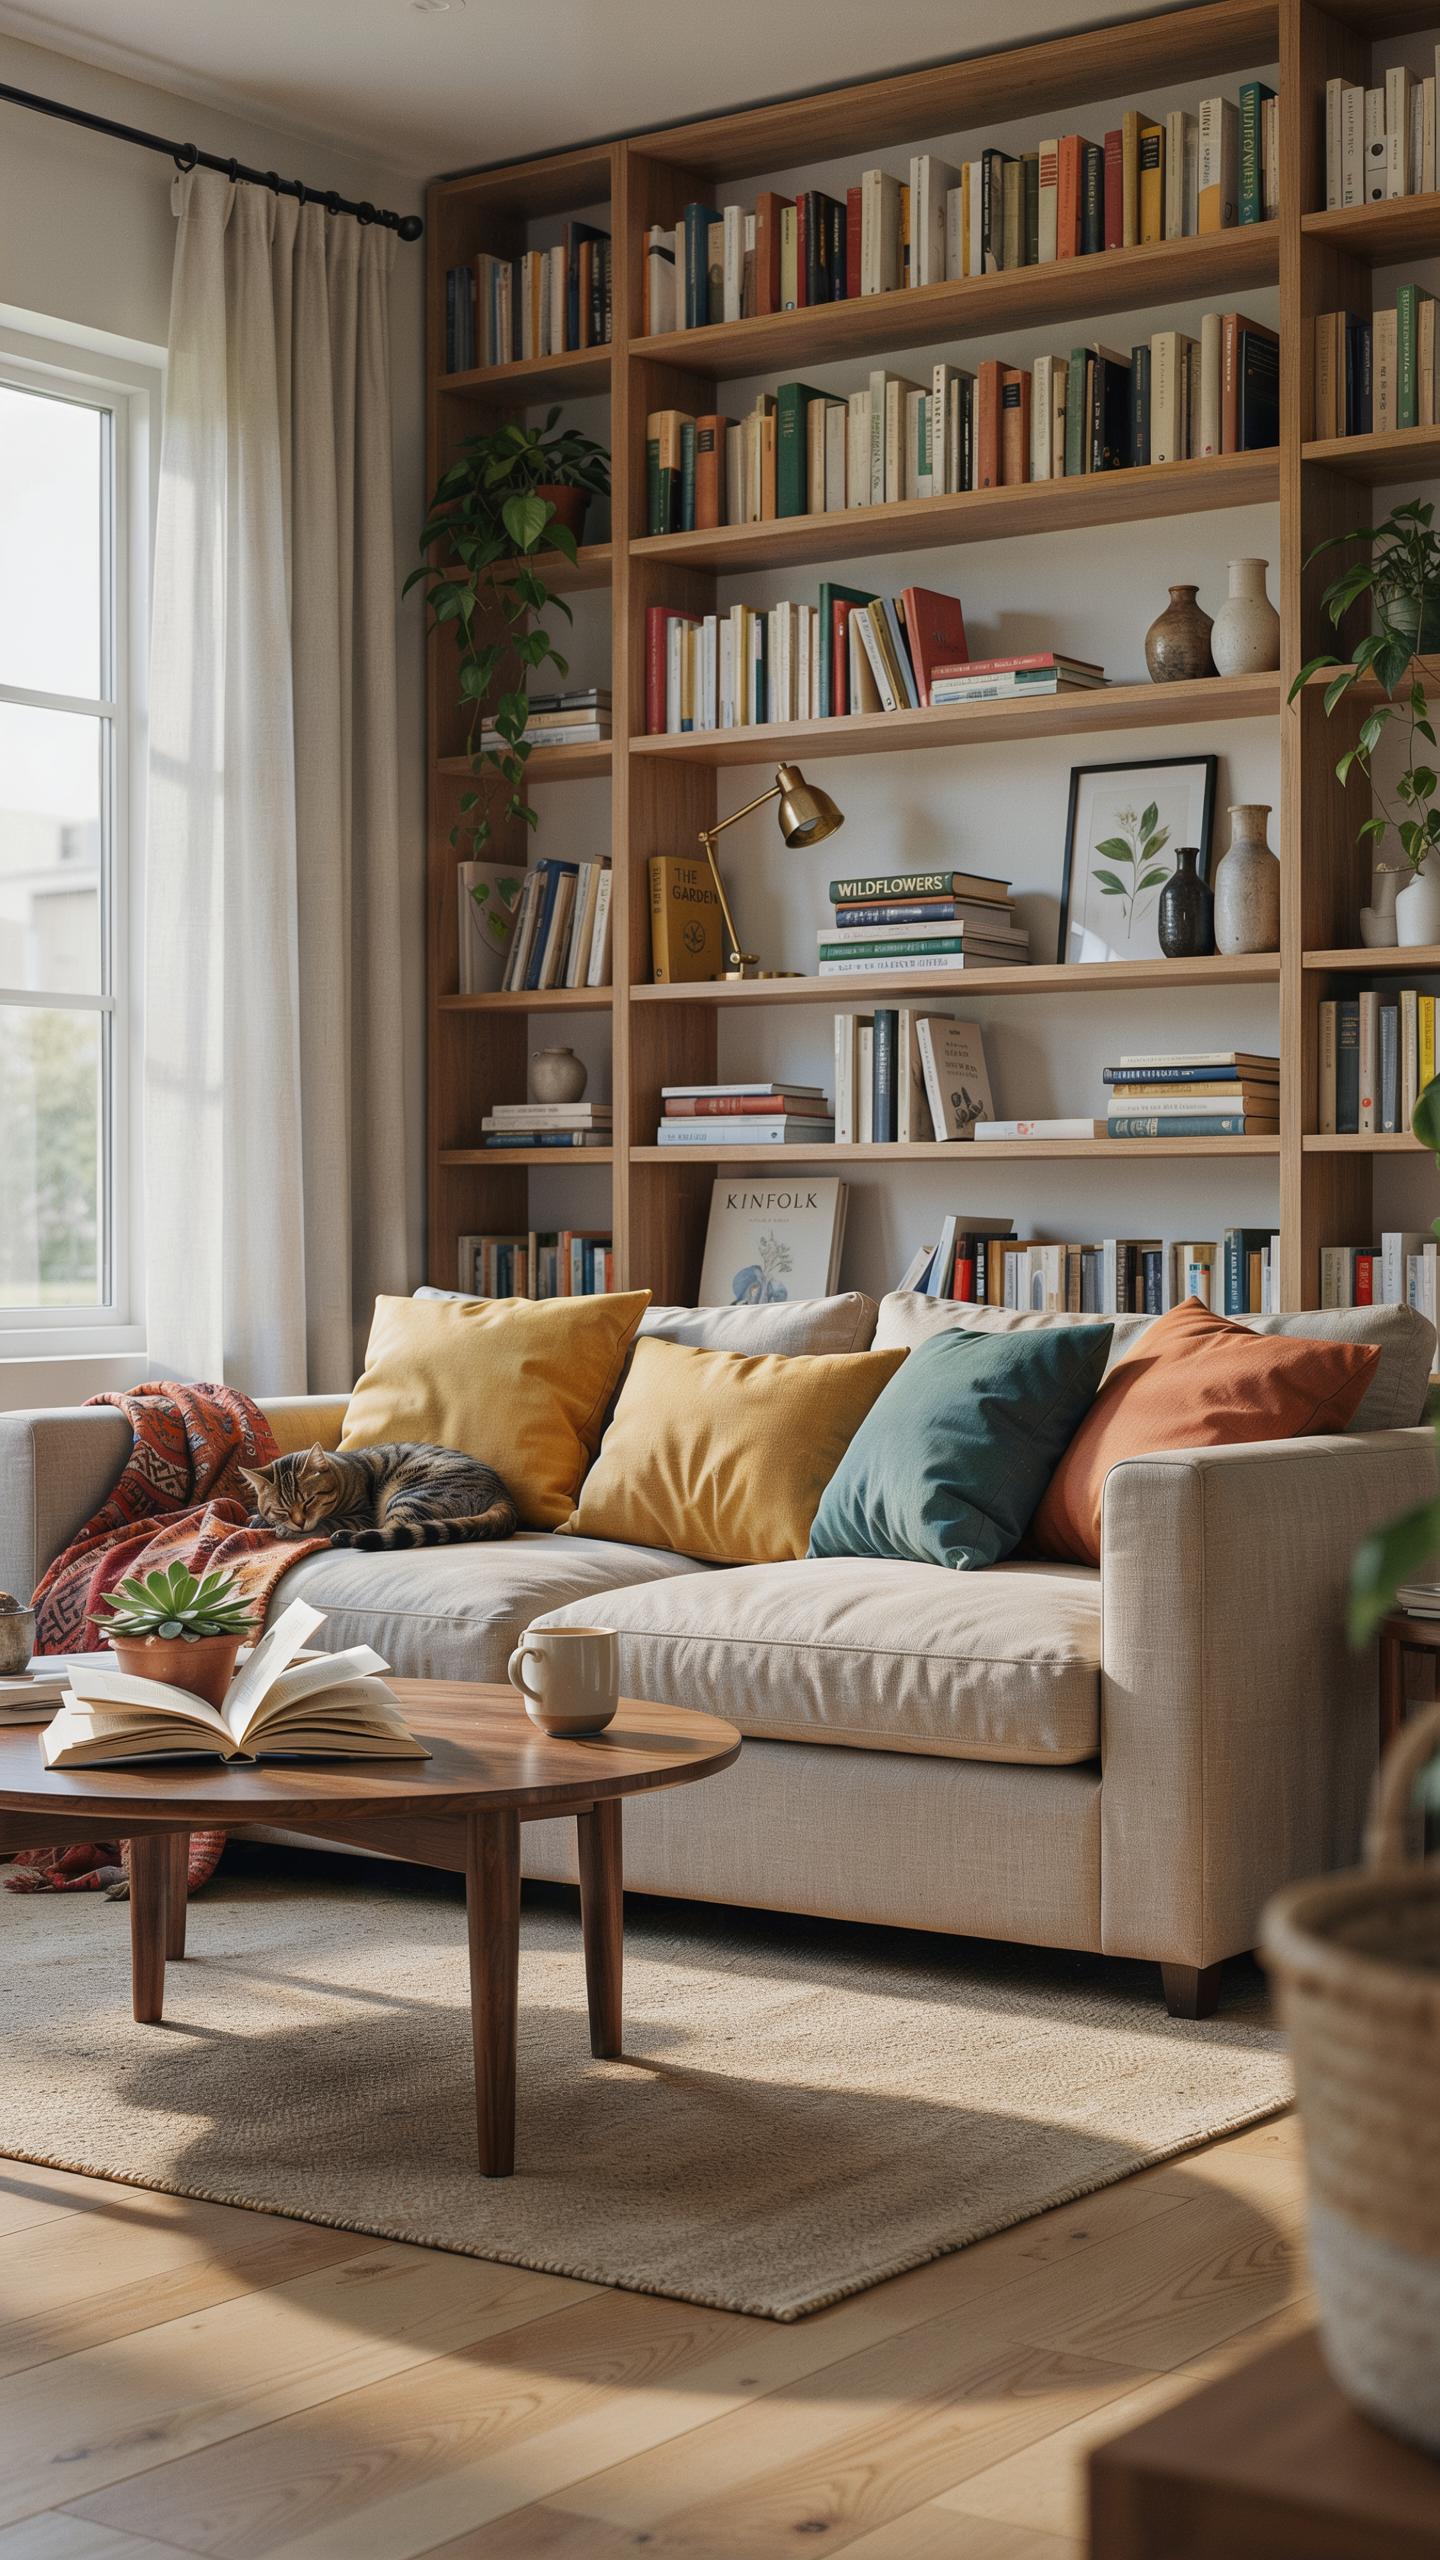
Floor-to-ceiling bookcases work in tiny homes because they maximize unused wall space. You build or install shelving that runs from baseboard to ceiling, capturing vertical real estate most people ignore. This approach works around windows and doors by custom-fitting shelves into the remaining wall sections. The shelves anchor to wall studs for structural integrity. You control the shelf depth and spacing based on what you store, whether books, boxes, or decorative items.
Custom shelving around windows and doors requires measuring twice before cutting or ordering materials. Leave clearance around window operations so you can still open and close them fully. Near doorways, position shelves at heights that don’t interfere with foot traffic or door swings. Adjust shelf heights to accommodate different item sizes. This tactical placement ensures you capture storage without creating obstacles or safety hazards in your living area.
Ladder Style Leaning Shelves
Ladder-style shelves lean against walls at an angle, offering quick installation without permanent wall damage. These units work well in rentals or temporary setups where drilling into studs isn’t an option. Each shelf narrows toward the top, creating a triangular footprint that takes minimal floor space. The angled design provides stability through weight distribution rather than heavy fastening. You move these shelves when you need to rearrange your living area or relocate entirely.

These leaning shelves handle books, plants, decorative boxes, and light to medium-weight items effectively. Secure the top of the unit to the wall with a single bracket or cable to prevent tipping, especially in homes with foot traffic or children. The shelf depth runs shallower than fixed bookcases, so prioritize items you access regularly. Position them away from high-traffic paths where someone might collide with protruding shelves or stored objects.
Unlocking Hidden Compartments Within Vertical Shelves
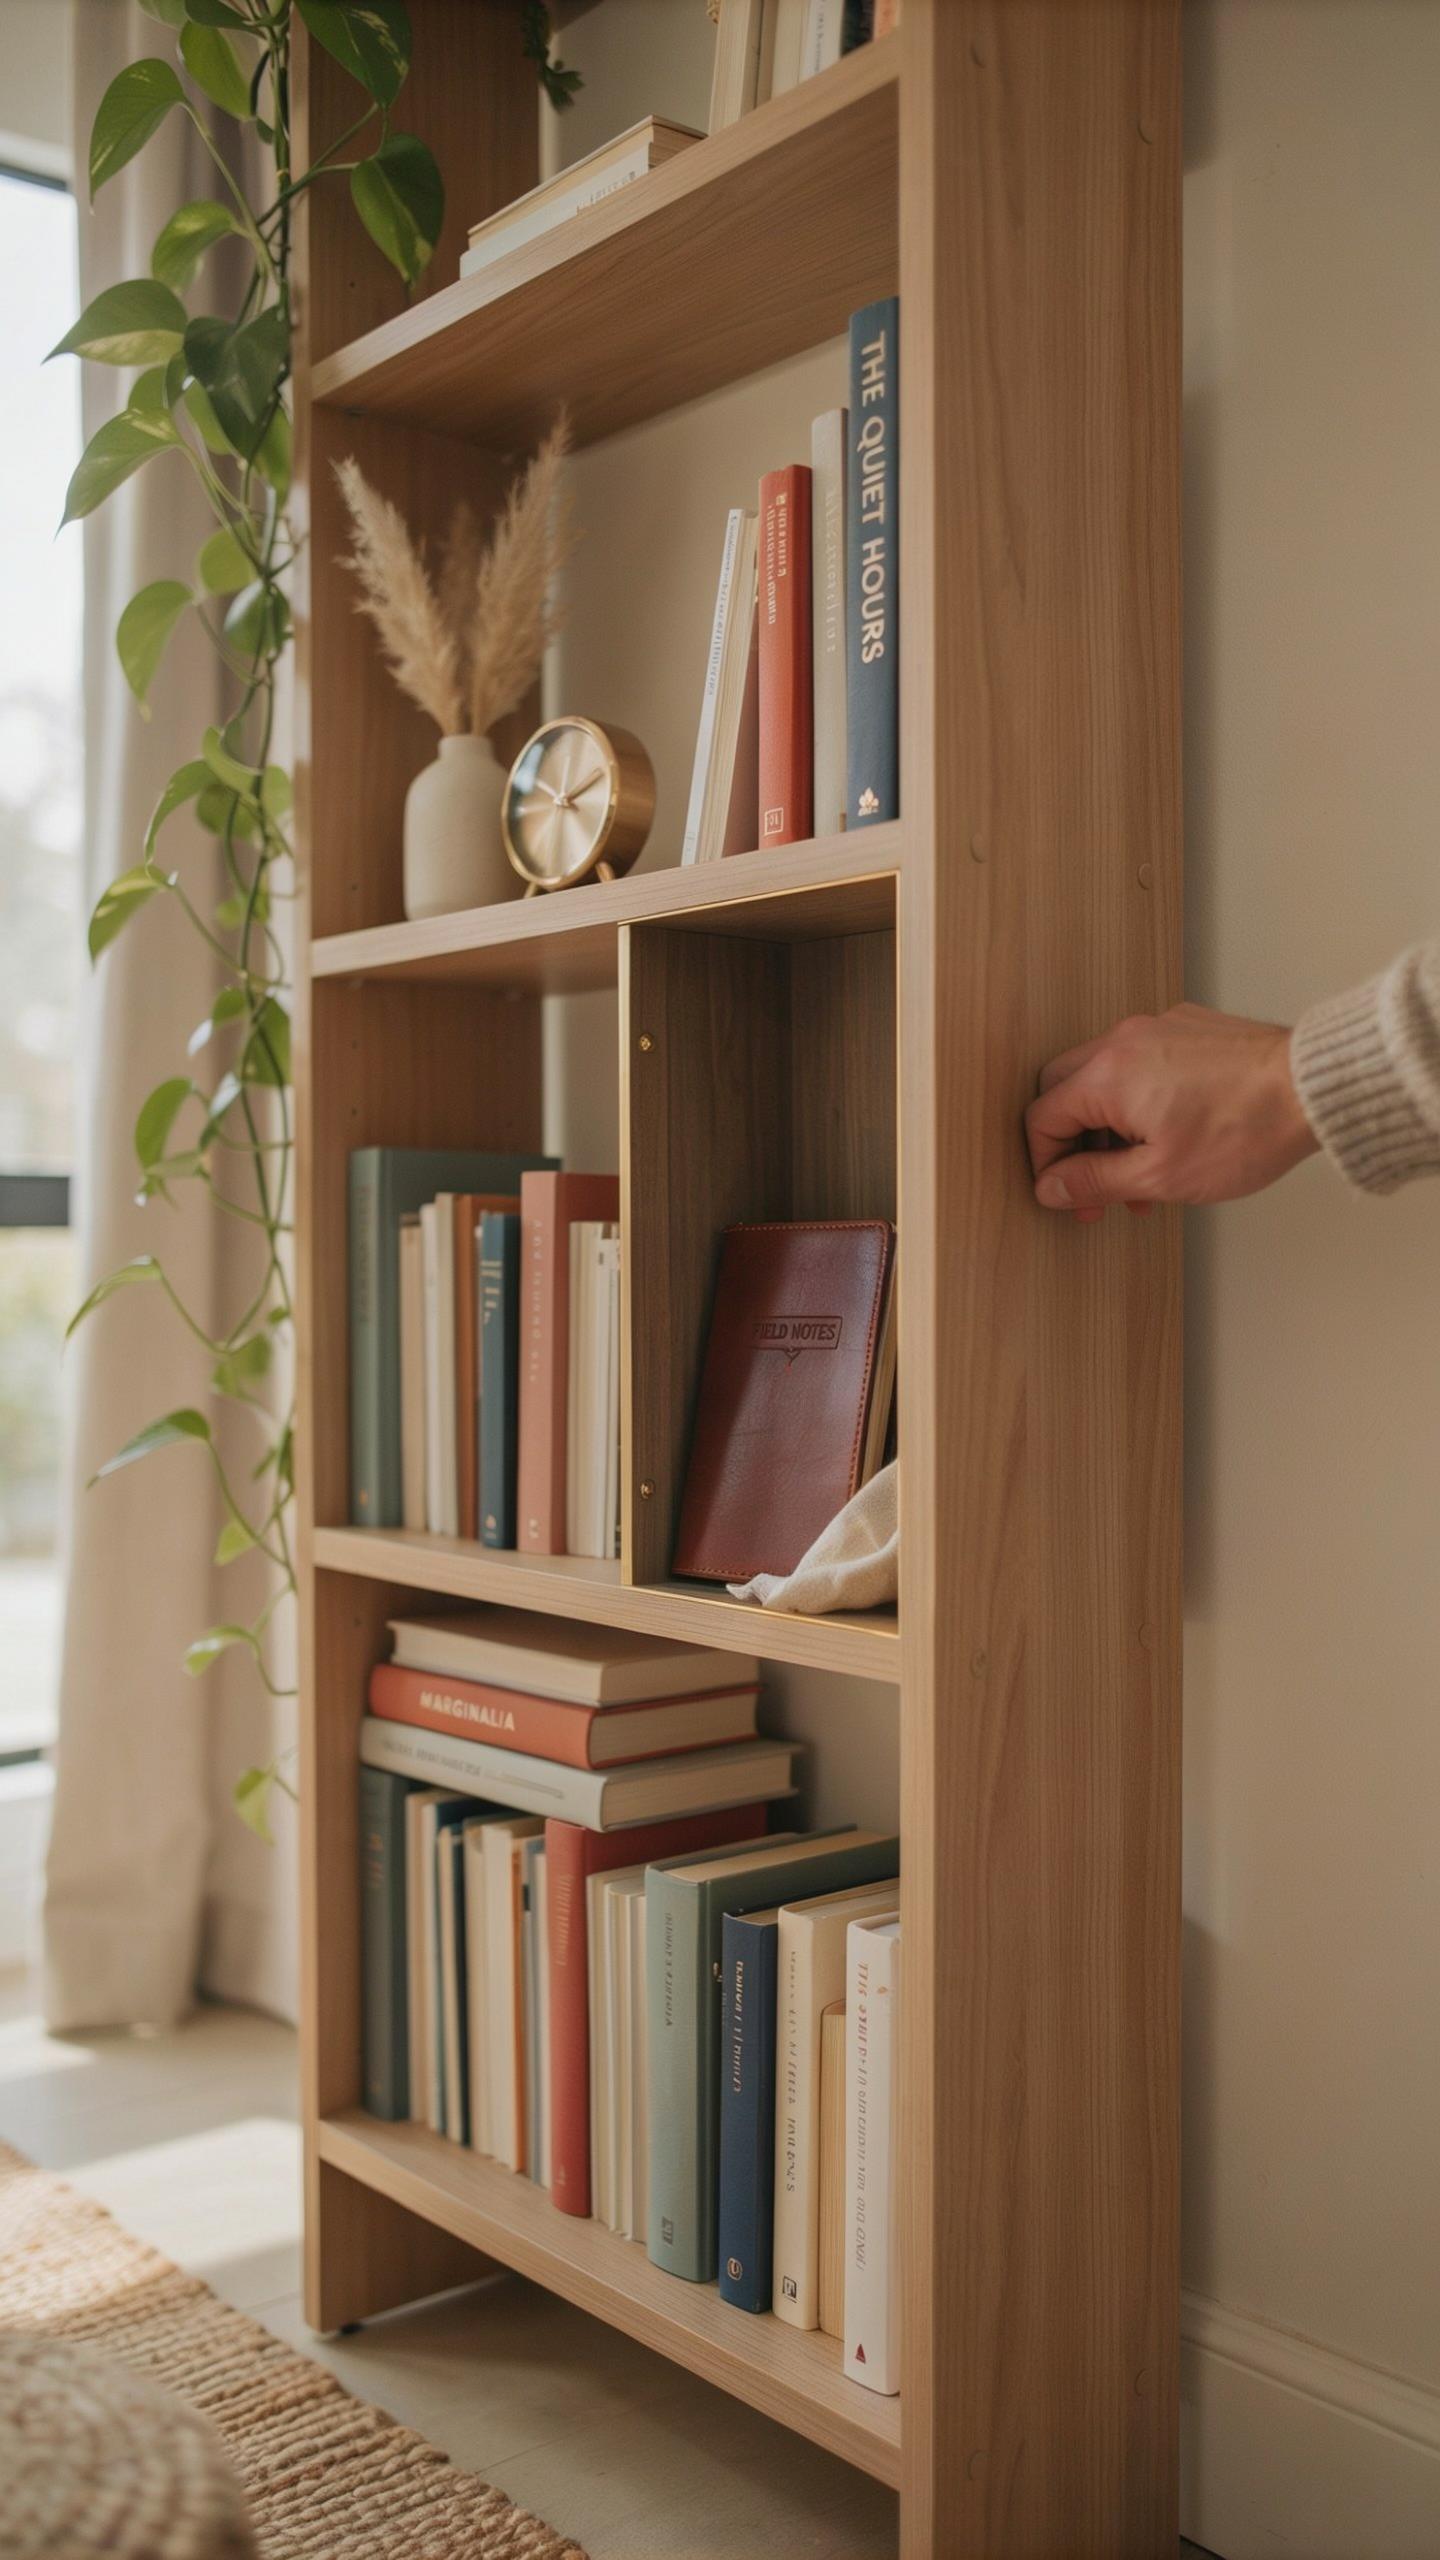
Double Depth Shelving Cavities
Deep shelving units offer practical opportunities for concealment. Install a false back panel that sits several inches forward from the actual wall. This creates a cavity behind the visible shelf face. The gap stores flat items like documents, artwork, or valuables. Secure the false back with removable fasteners so you can access the hidden space when needed. This method uses wasted depth effectively without sacrificing aesthetic shelf display.
False back installation requires minimal carpentry skills. Measure your shelf depth and cut plywood to match shelf dimensions. Mount it forward using L-brackets or cleats attached to shelf sides. Paint or finish the false back to match your shelving color. This keeps the compartment invisible to casual observers. The technique works best on shelves deeper than twelve inches where the hidden space won’t impact storage capacity.
Hollow Shelf Vales Drawers
Floating shelves with integrated bottom drawers maximize storage in minimal space. Design the shelf with a hollow cavity underneath, then add a sliding drawer that extends downward or outward. Use ball bearing slides for smooth operation under repeated use. This eliminates visible storage furniture while maintaining clean sight lines. The drawer slides handle typical household items without structural compromise. Installation requires proper wall anchoring to support the drawer load.
Build the hollow section during shelf construction using frame and panel methods. Create a box structure that matches your shelf thickness, typically one to two inches deep. Install the drawer mechanism before mounting the shelf to the wall. Use quality hardware rated for your expected load. Test the drawer operation before final installation. This approach transforms passive display space into functional concealed storage that suits tiny home constraints.
Actionable Tiny Home Storage Ideas Vertical Shelving Checklist
Shelving Material Durability Guide
Selecting materials for vertical shelving determines how long your storage system performs. Weight matters in tiny homes. Heavier materials strain wall anchors and framing. You need materials that hold items without compromising structural integrity or requiring reinforced installation.
- Plywood: Cost-effective, lightweight, and accepts finishes well. Thickness ranges from half-inch to three-quarter inch. Requires proper edge banding to prevent splintering and deterioration over time in humid environments.
- Metal shelving: Steel or aluminum resists warping and handles heavy loads efficiently. Aluminum weighs less than steel. Both materials suit damp conditions better than wood and require minimal maintenance for longevity.
- Reclaimed wood: Offers character while reducing waste. Verify structural soundness before installation. Older wood can contain hidden damage or pest damage that compromises load capacity.
- Engineered wood: Medium-density fiberboard or particleboard costs less than plywood. These materials sag under sustained weight. Reserve them for light storage only and inspect regularly for moisture damage.
- Glass shelving: Tempered glass handles moderate loads and simplifies visual organization. Glass adds perceived spaciousness. It requires precision installation with proper edge protection and secure mounting hardware.
Match your material choice to expected weight and environmental conditions. Tiny homes often experience temperature and humidity swings. Test your material selection with gradual weight increases before reaching maximum capacity.
Securing Shelves For Mobile Living
Mobile tiny homes experience constant vibration and movement during transport. Standard wall anchors fail under these conditions. Shelves must secure to the frame itself, not just drywall or surface materials.
Direct fastening to wall studs or the home’s structural frame prevents shelf failure during travel. Use lag bolts or through-bolts rated for your expected load. Install diagonal bracing between shelves and the frame for additional stability. Check all fasteners monthly and retighten as needed before trips.
Frequently Asked Questions

Why is vertical shelving considered the best solution for small space living?
When floor space is limited, the only way to expand your living area is by looking up toward the ceiling. Utilizing tiny home storage ideas vertical shelving allows you to keep the floor clear, creating an airy and open feel. By using tall units or wall-mounted tracks, you maximize every square inch of your home, turning empty walls into functional galleries that hold books, kitchen supplies, or decorative accents.
How can I safely install high shelves in a tiny home without damaging the walls?
Safety is paramount when installing tiny home storage ideas vertical shelving. Start by using a stud finder to locate the structural supports behind your walls; securing brackets directly into studs ensures the shelves can handle heavy weight. If studs aren’t available, high-quality toggle bolts are a necessity. Always distribute weight evenly across the shelves and consider adding a small lip or “earthquake rail” to keep items from shifting during movement.
Are there any affordable DIY options for creating vertical storage on a tight budget?
Absolutely! You don’t need a massive budget to organize your home. Consider using inexpensive wooden crates stacked vertically and secured to the wall, or repurpose an old wooden ladder as a leaning bookshelf. Tension rods and “S” hooks are also incredibly cheap ways to add vertical layers inside closets or kitchens. With a little creativity and a coat of paint, budget-friendly materials can look like high-end custom built-ins.



