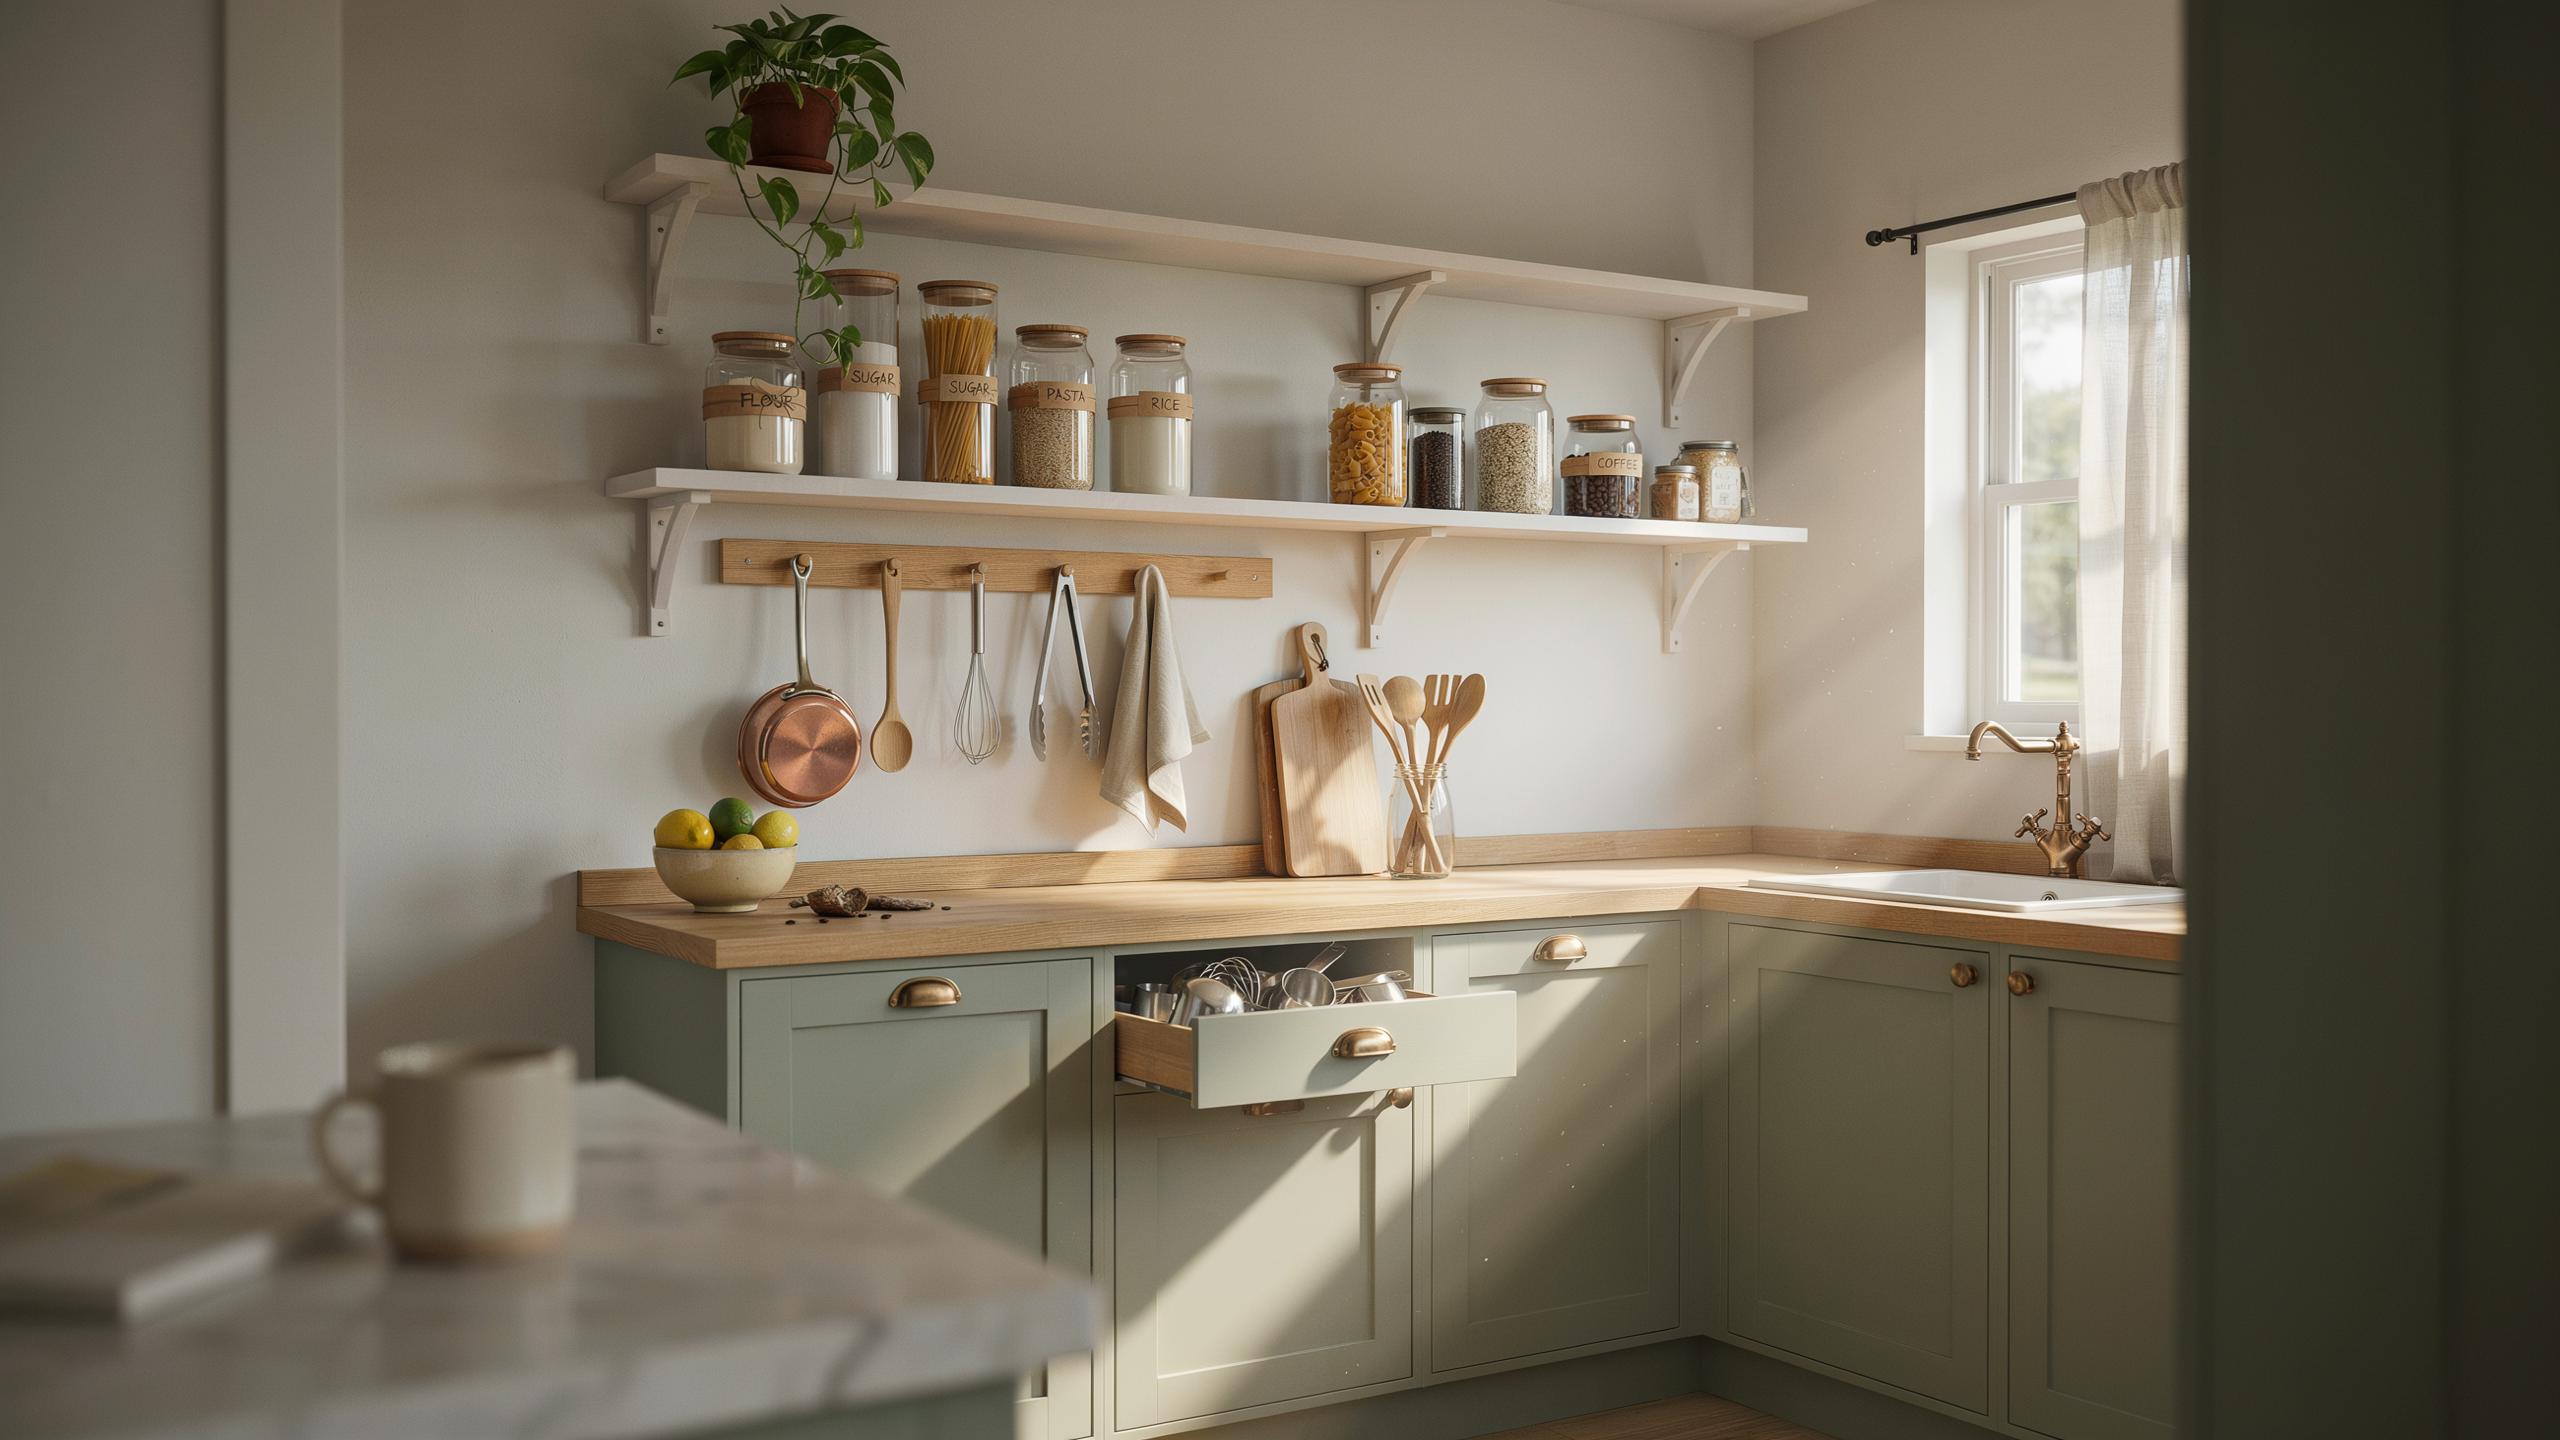
Maximizing Your Tiny Kitchen With Smart Minimalism
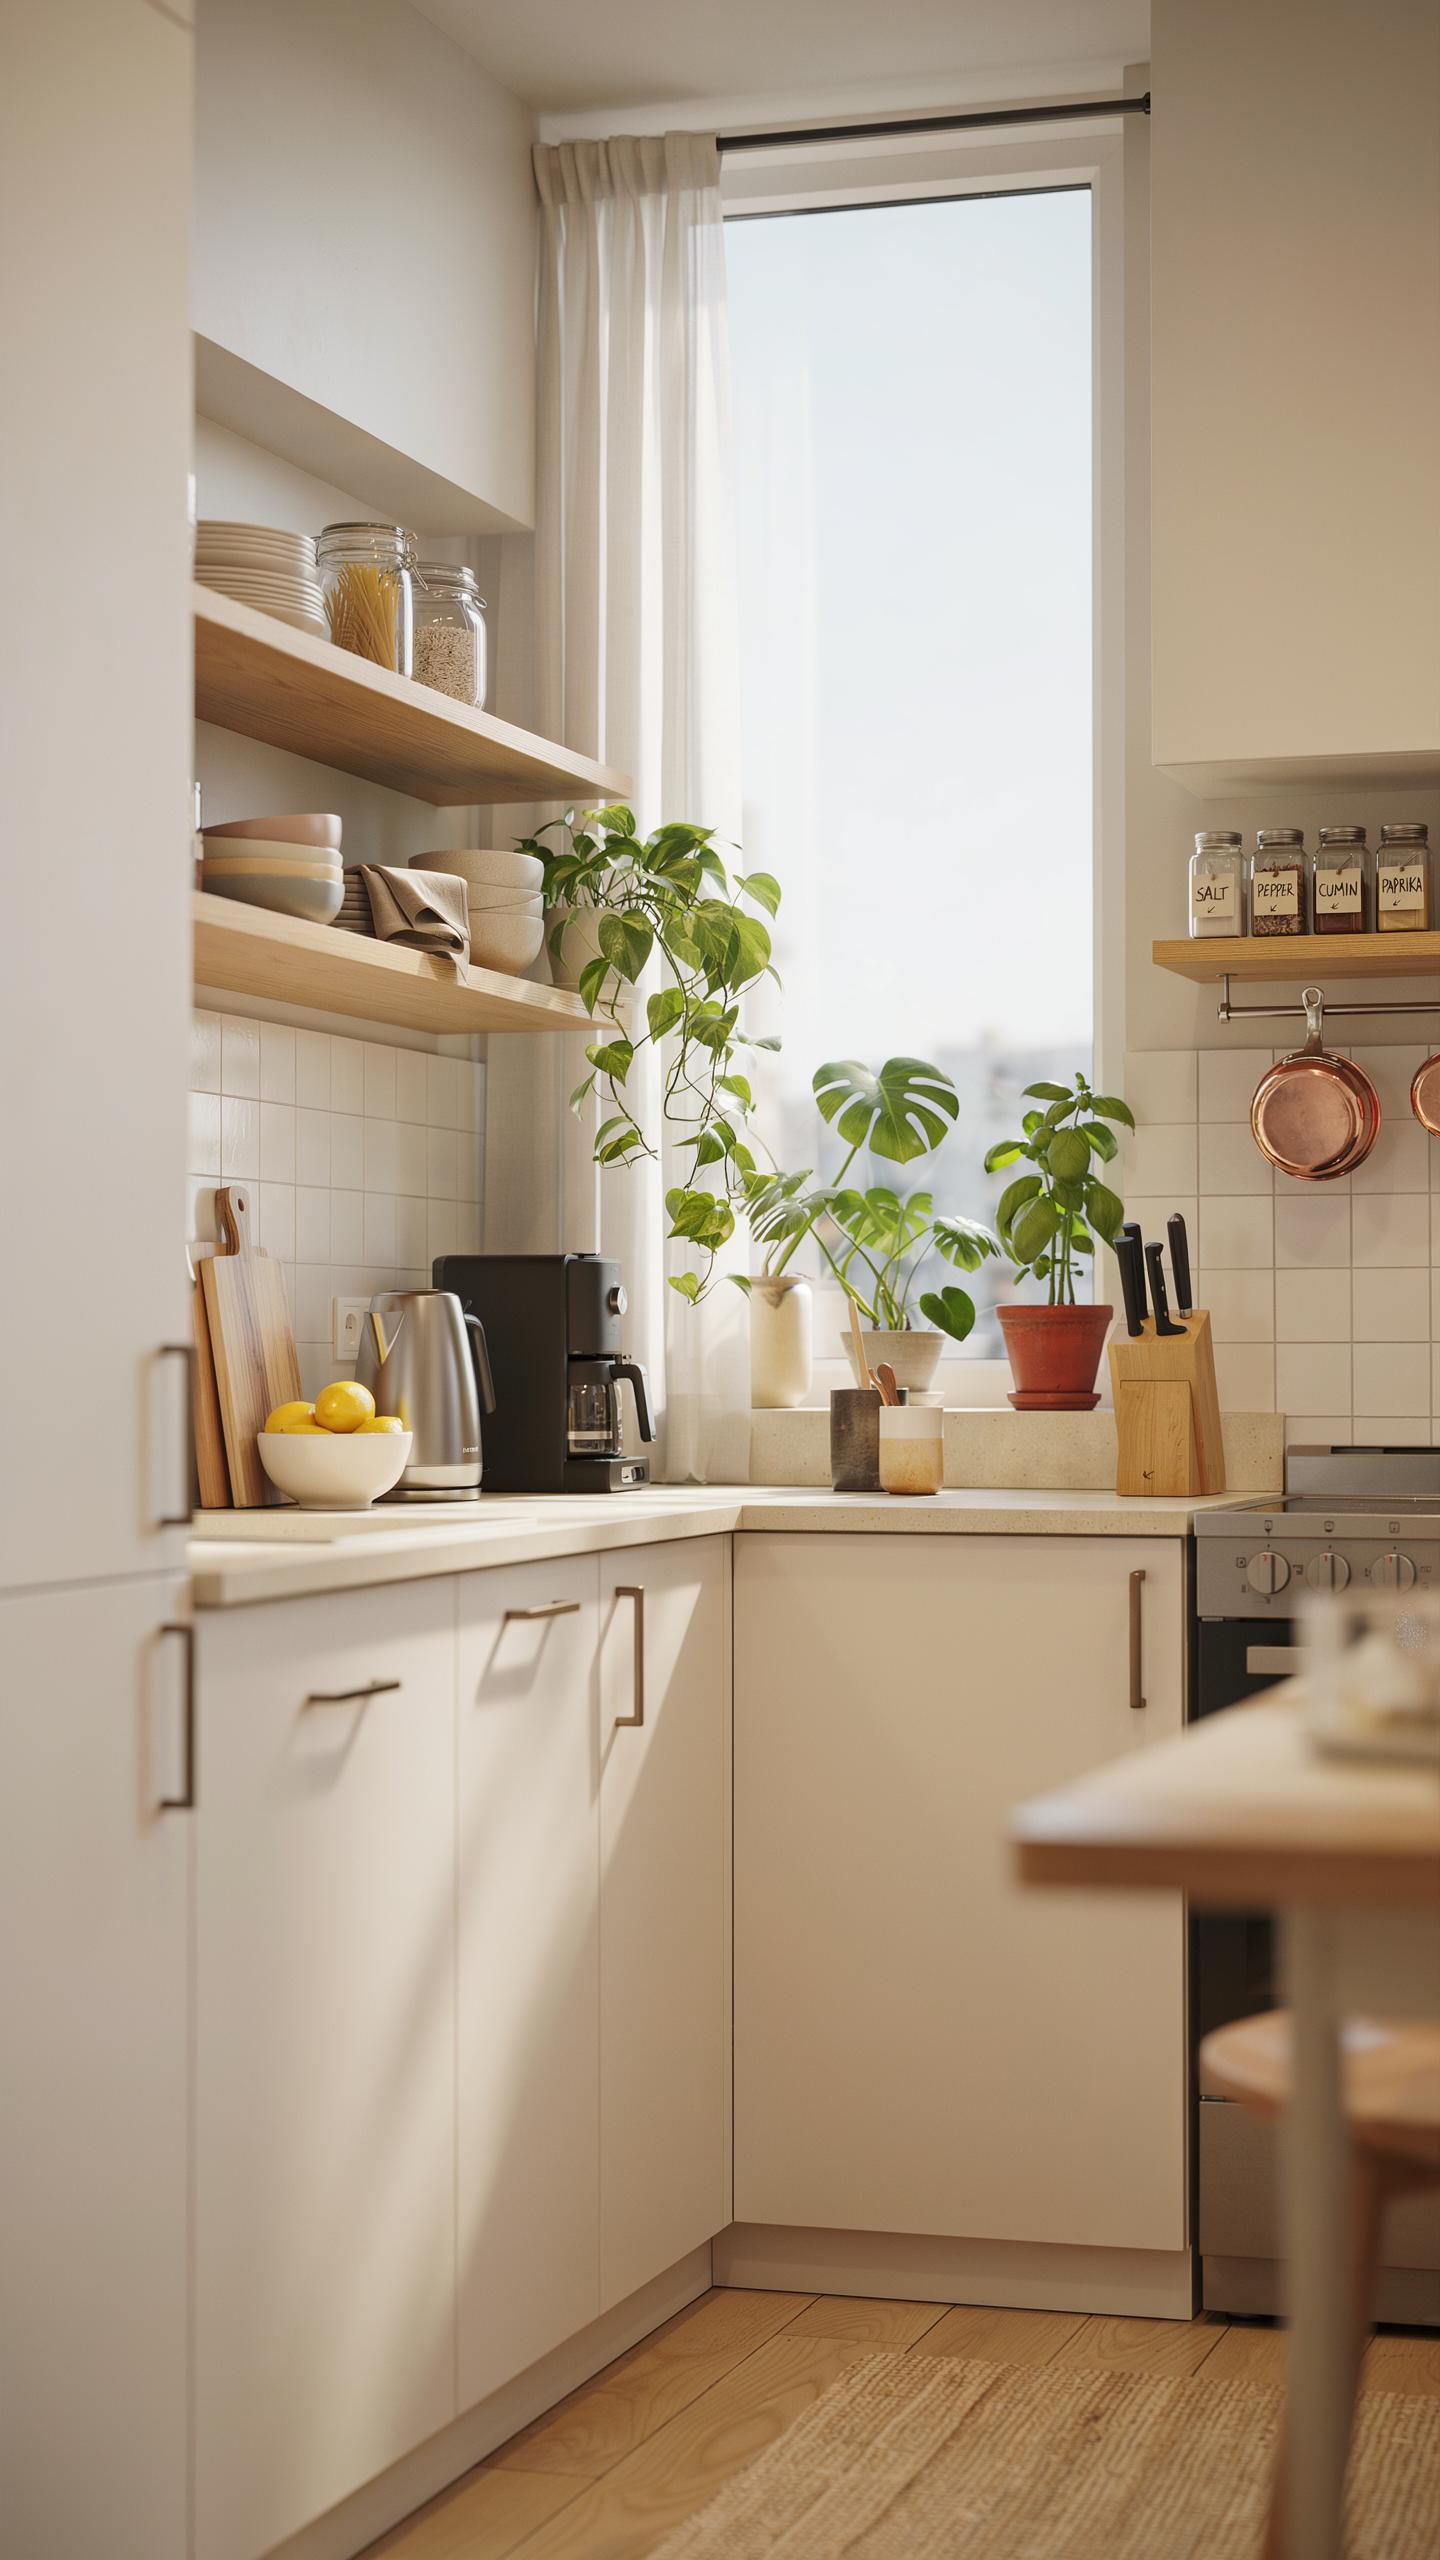
Understanding Tiny Kitchen Space
Tiny kitchens operate under hard constraints. Most measure between 50 and 100 square feet. You work in a linear or galley layout with limited counter space and storage. Every inch counts. Your workflow depends on proximity. The sink, stove, and refrigerator form a triangle. Efficiency breaks down when distances stretch.
Vertical space becomes your primary asset in a tiny kitchen. Walls hold more than cabinets. Upper cabinets, open shelving, and wall-mounted racks absorb tools and ingredients that would otherwise consume counter real estate. You stack strategically, not haphazardly. Access matters. Frequently used items belong within arm’s reach. Dead zones disappear through deliberate placement.
Decluttering Essentials
Start with an inventory. Pull every pan, pot, utensil, and gadget from storage. Sort into three piles: use weekly, use monthly, donate or sell. Most people keep duplicate tools they never use. A tiny kitchen cannot support redundancy. One chef’s knife replaces five mediocre ones. One cutting board serves most tasks. Cookware consolidates into three pans that handle boiling, frying, and baking.
Evaluate each item by its actual utility in your cooking routine. Multi-purpose tools replace single-function gadgets. A heavy-bottomed skillet works for searing and baking. Nesting bowls stack vertically. Utensil sets reduce individual drawer clutter. This audit forces honest decisions about what you actually cook versus what you imagine cooking. Tiny kitchens punish waste. Keep only what earns its footprint through regular use.

Innovative Small Kitchen Storage Solutions For Tight Cabinets
Cabinet Risers Shelves
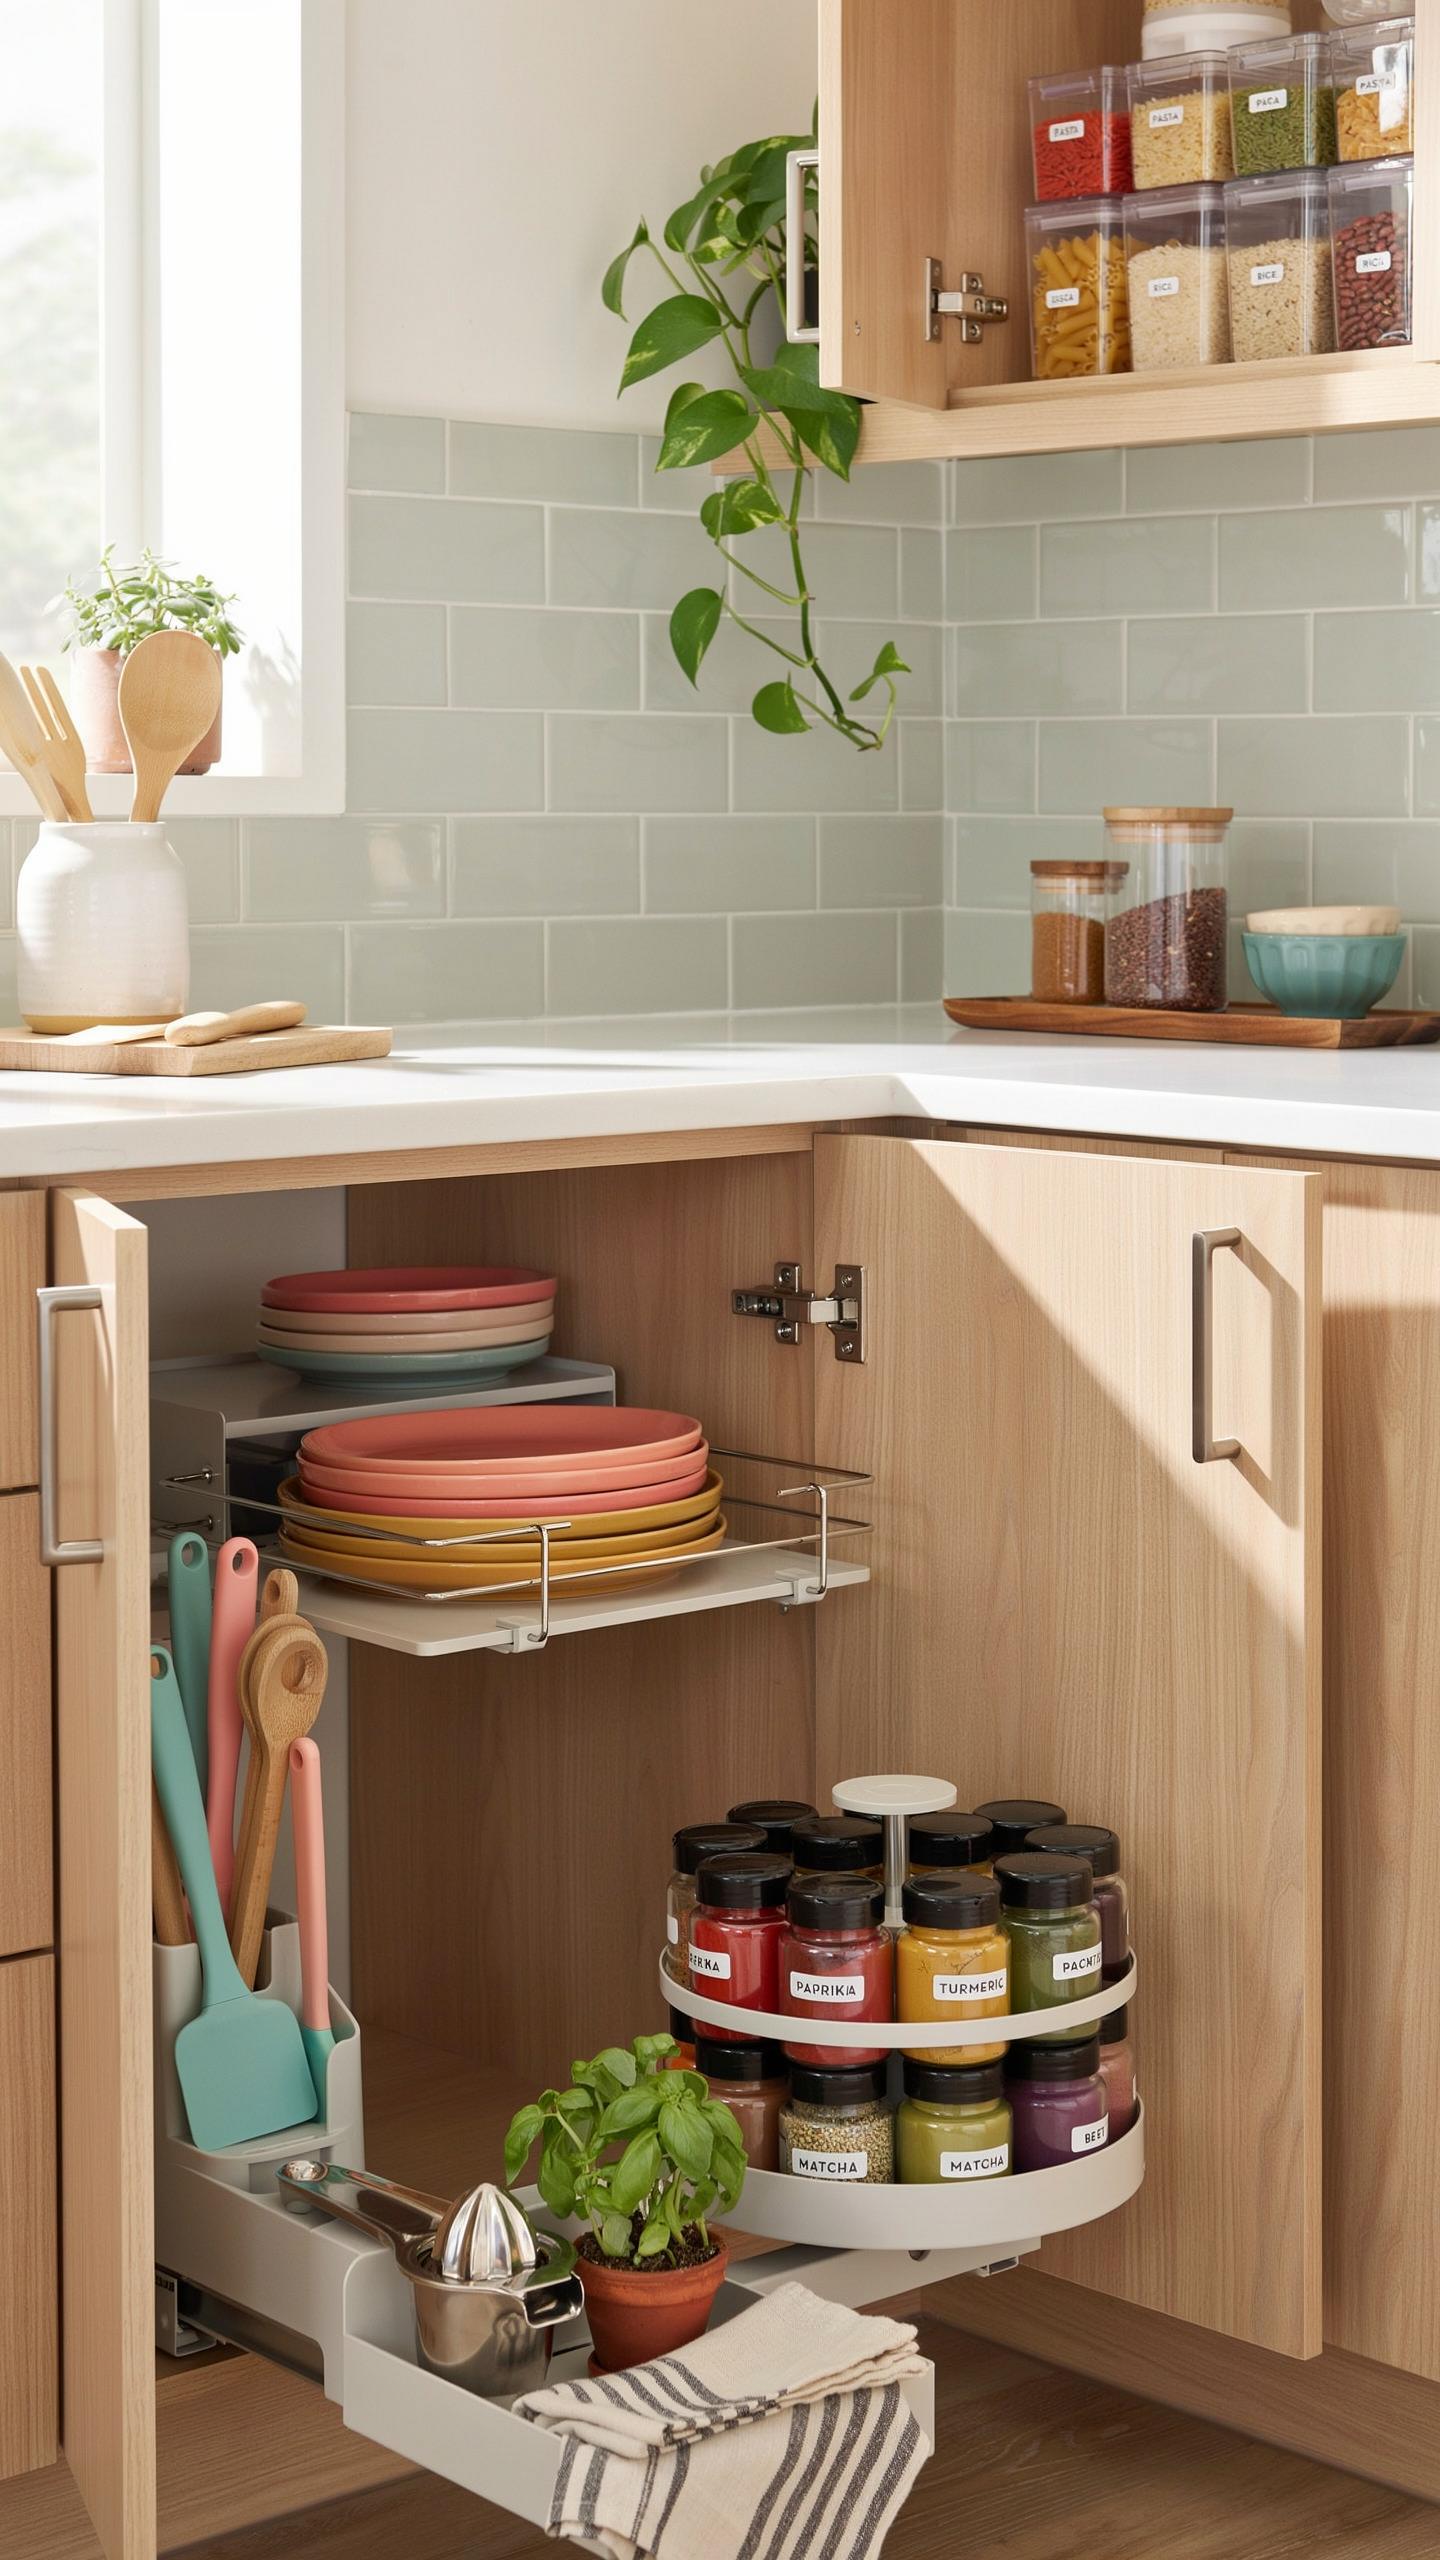
Stackable wire shelves and cabinet risers multiply your usable storage without renovation. Most cabinets waste vertical space between the shelf and the cabinet ceiling. Wire shelves sit directly on existing shelves and create a second tier. This approach costs between 15 and 40 dollars per shelf and installs in seconds. You gain immediate storage for plates, bowls, glasses, and small appliances.
Cabinet risers elevate your existing shelves by two to four inches. This gap creates storage space underneath for flat items like sheet pans, cutting boards, and serving platters. The risers themselves cost under 20 dollars for a set of four. You maintain full access to items on both levels without removing anything. This strategy works in any cabinet depth because risers are adjustable.
Corner Cabinet Lazy Susans
Lazy Susans reach items trapped in blind corners where your arm cannot reach easily. Standard cabinet corners waste 30 to 40 percent of their depth because the back stays inaccessible. A corner lazy Susan spins 360 degrees and brings items to you without moving the cabinet. Installation requires only a level surface and takes minutes. Sizes range from 28 to 36 inches in diameter depending on your cabinet opening.

Blind corner pullout systems offer an alternative to lazy Susans for deep cabinets. These pullouts slide on ball-bearing tracks and extract the entire shelf. You see every item stored in the corner without searching or reaching. Installation involves screwing the track system into existing cabinet shelves and sides. Most pullout systems cost between 40 and 80 dollars and fit cabinets 24 inches or wider.
Creative Kitchen Storage Ideas For Blank Wall Space
Magnetic Knife Strips Racks
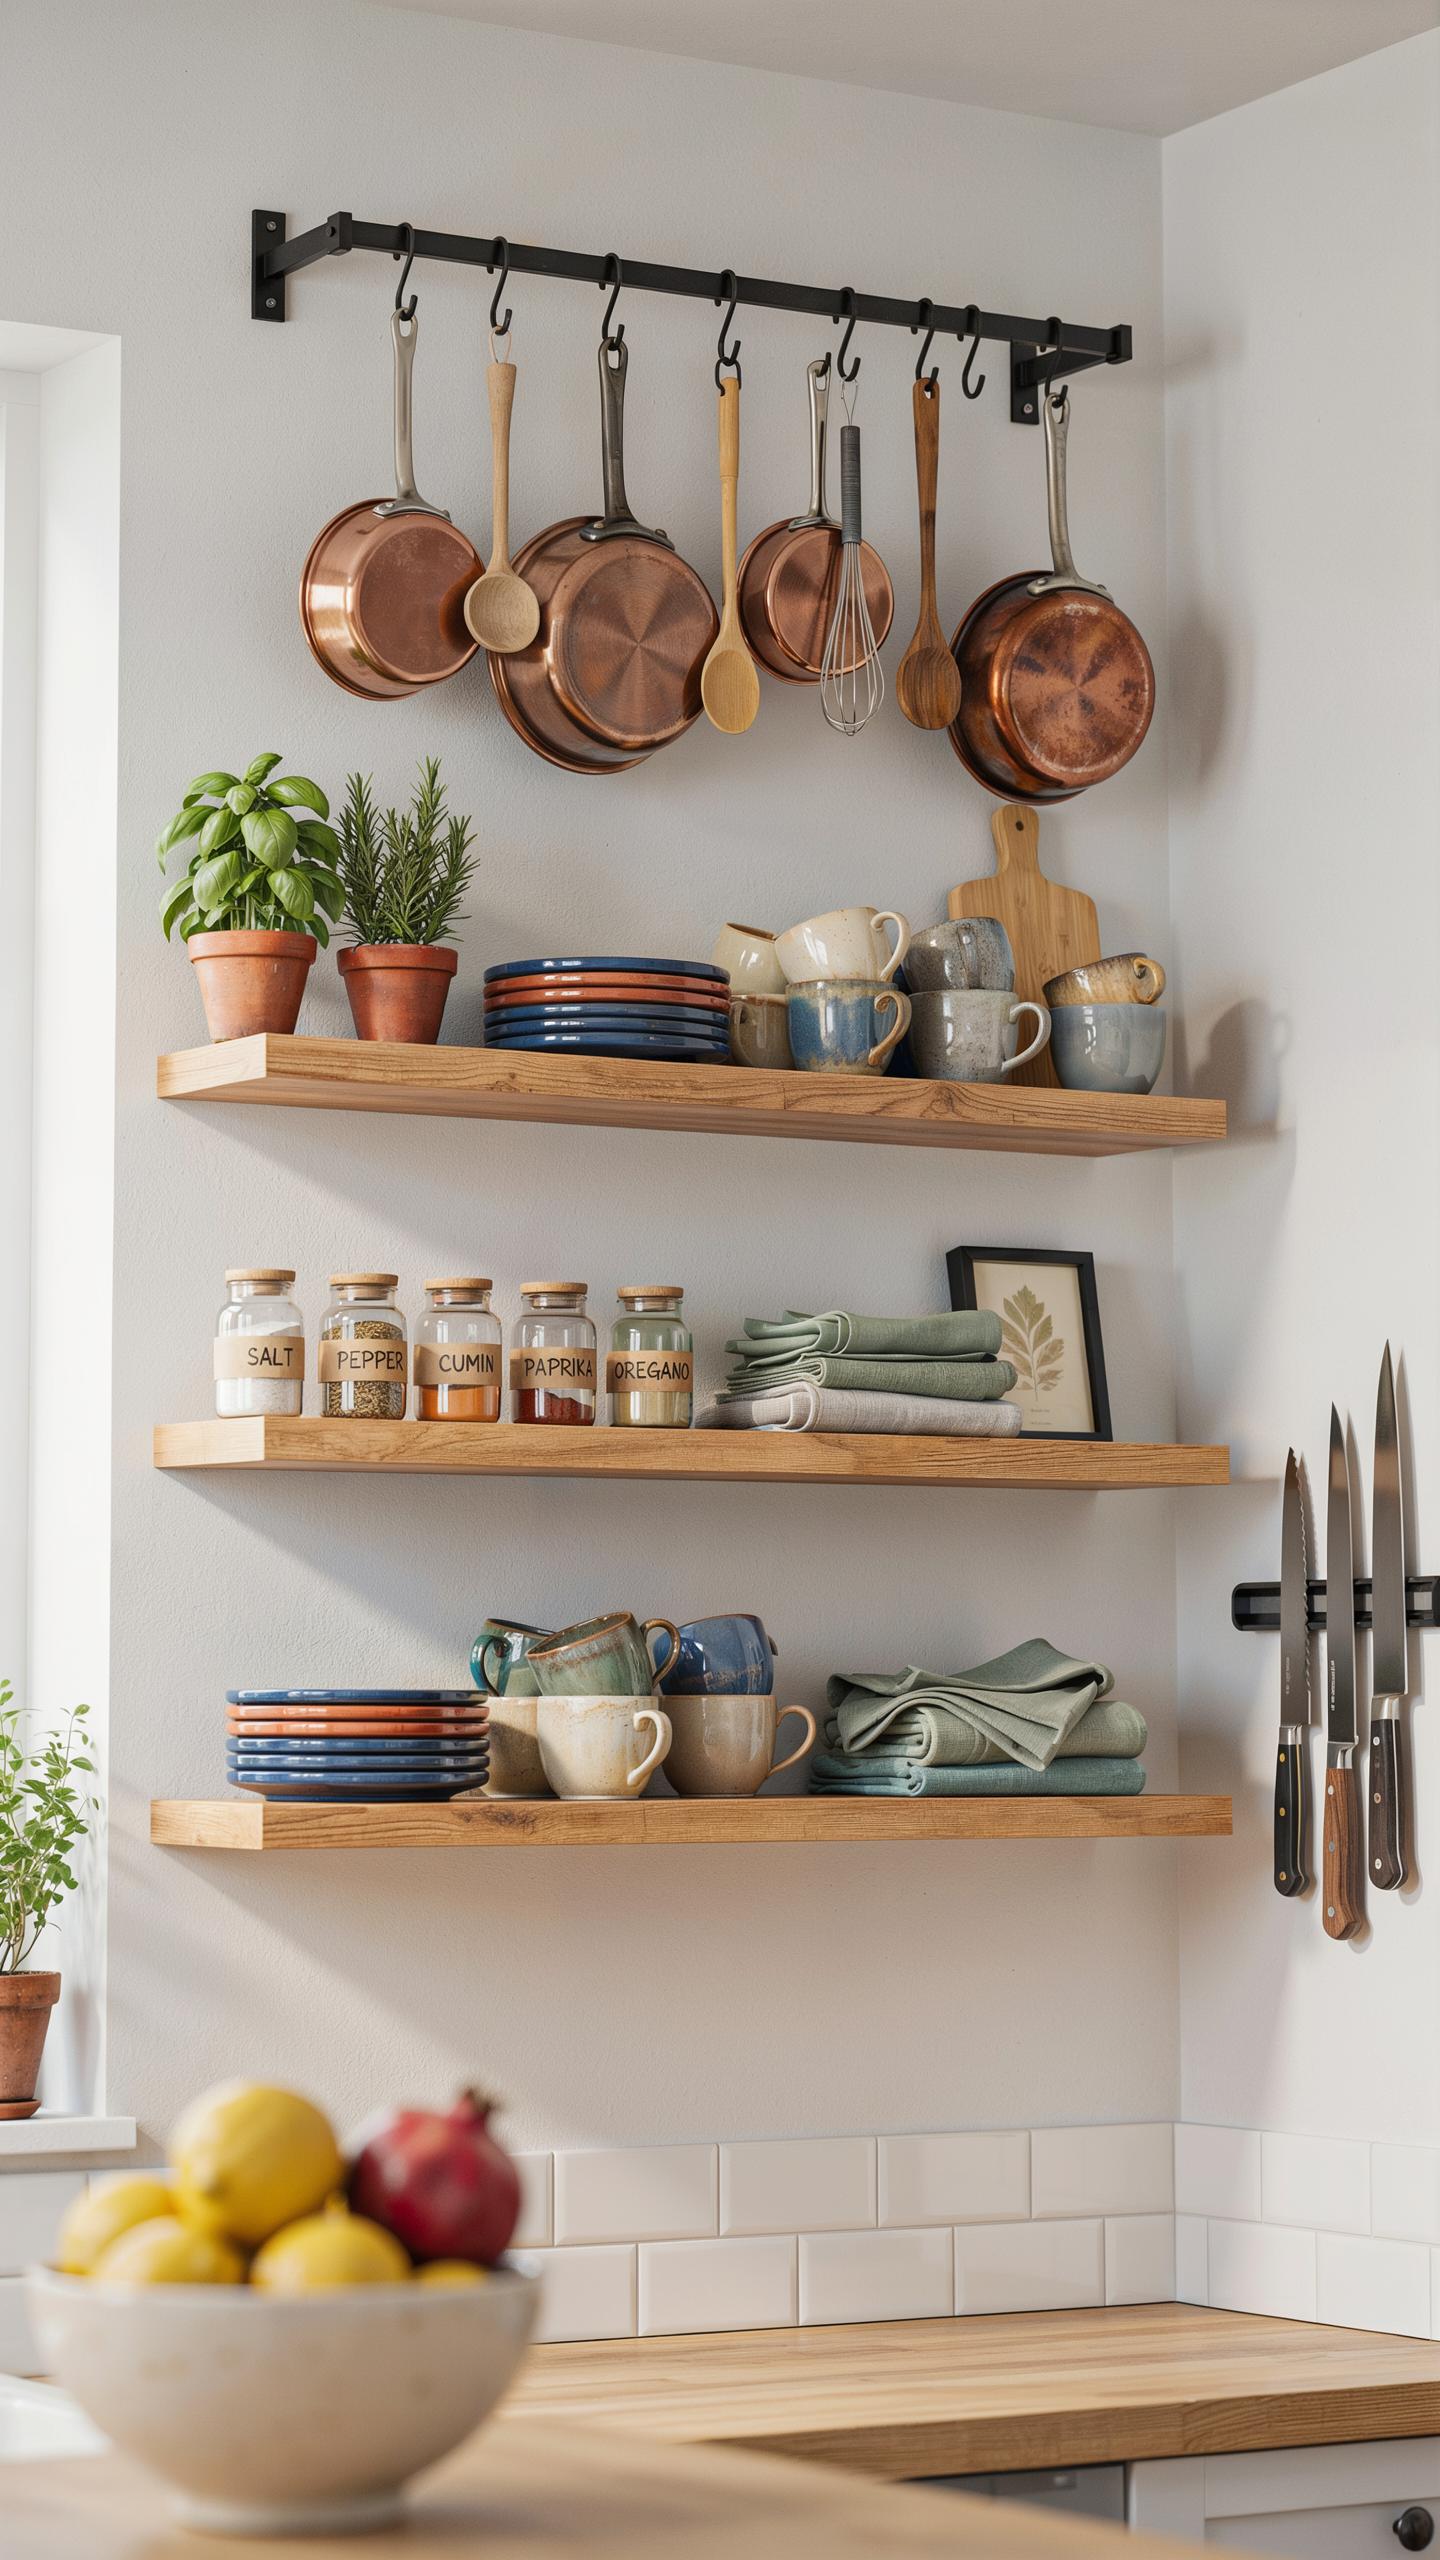
Magnetic strips mount directly to walls and hold steel knives, scissors, and metal utensils without taking up drawer space. Heavy-duty versions rated for 10 to 15 pounds handle full knife sets and larger tools. Installation requires basic wall anchors or studs depending on your wall type. Strips come in stainless steel, plastic, or wood finishes to match kitchen aesthetics. Access improves dramatically since you see every tool at a glance.
The magnetic hold remains consistent over years of use without degradation. Knives stay secure even in tiny kitchens with frequent movement and vibration. Steel utensils organize vertically, freeing horizontal counter and drawer real estate. Cleaning happens quickly since tools sit exposed rather than hidden in drawers. This approach works for renters too when using damage-free adhesive strips rated for the weight you plan to hang.
Fittings Pegboards
Pegboards store pots, pans, utensils, and small appliances on blank walls using adjustable wooden or metal frames. Pegboards use holes spaced at regular intervals to accept hooks, shelves, and baskets. You customize the layout based on what you actually use rather than accepting fixed shelving. Metal pegboards handle heavier cookware while wooden versions suit lighter storage needs.

Installation requires wall studs or heavy-duty anchors to support the distributed weight of your kitchen items. Pegboards adapt as your kitchen needs change. Reorganization takes minutes by moving hooks and shelves to different holes. This system maximizes vertical wall space without permanent modifications, making it ideal for rental properties. The visible organization keeps frequently used items within arm’s reach during cooking.
Vertical Small Kitchen Storage To Utilize High Walls And Ceilings
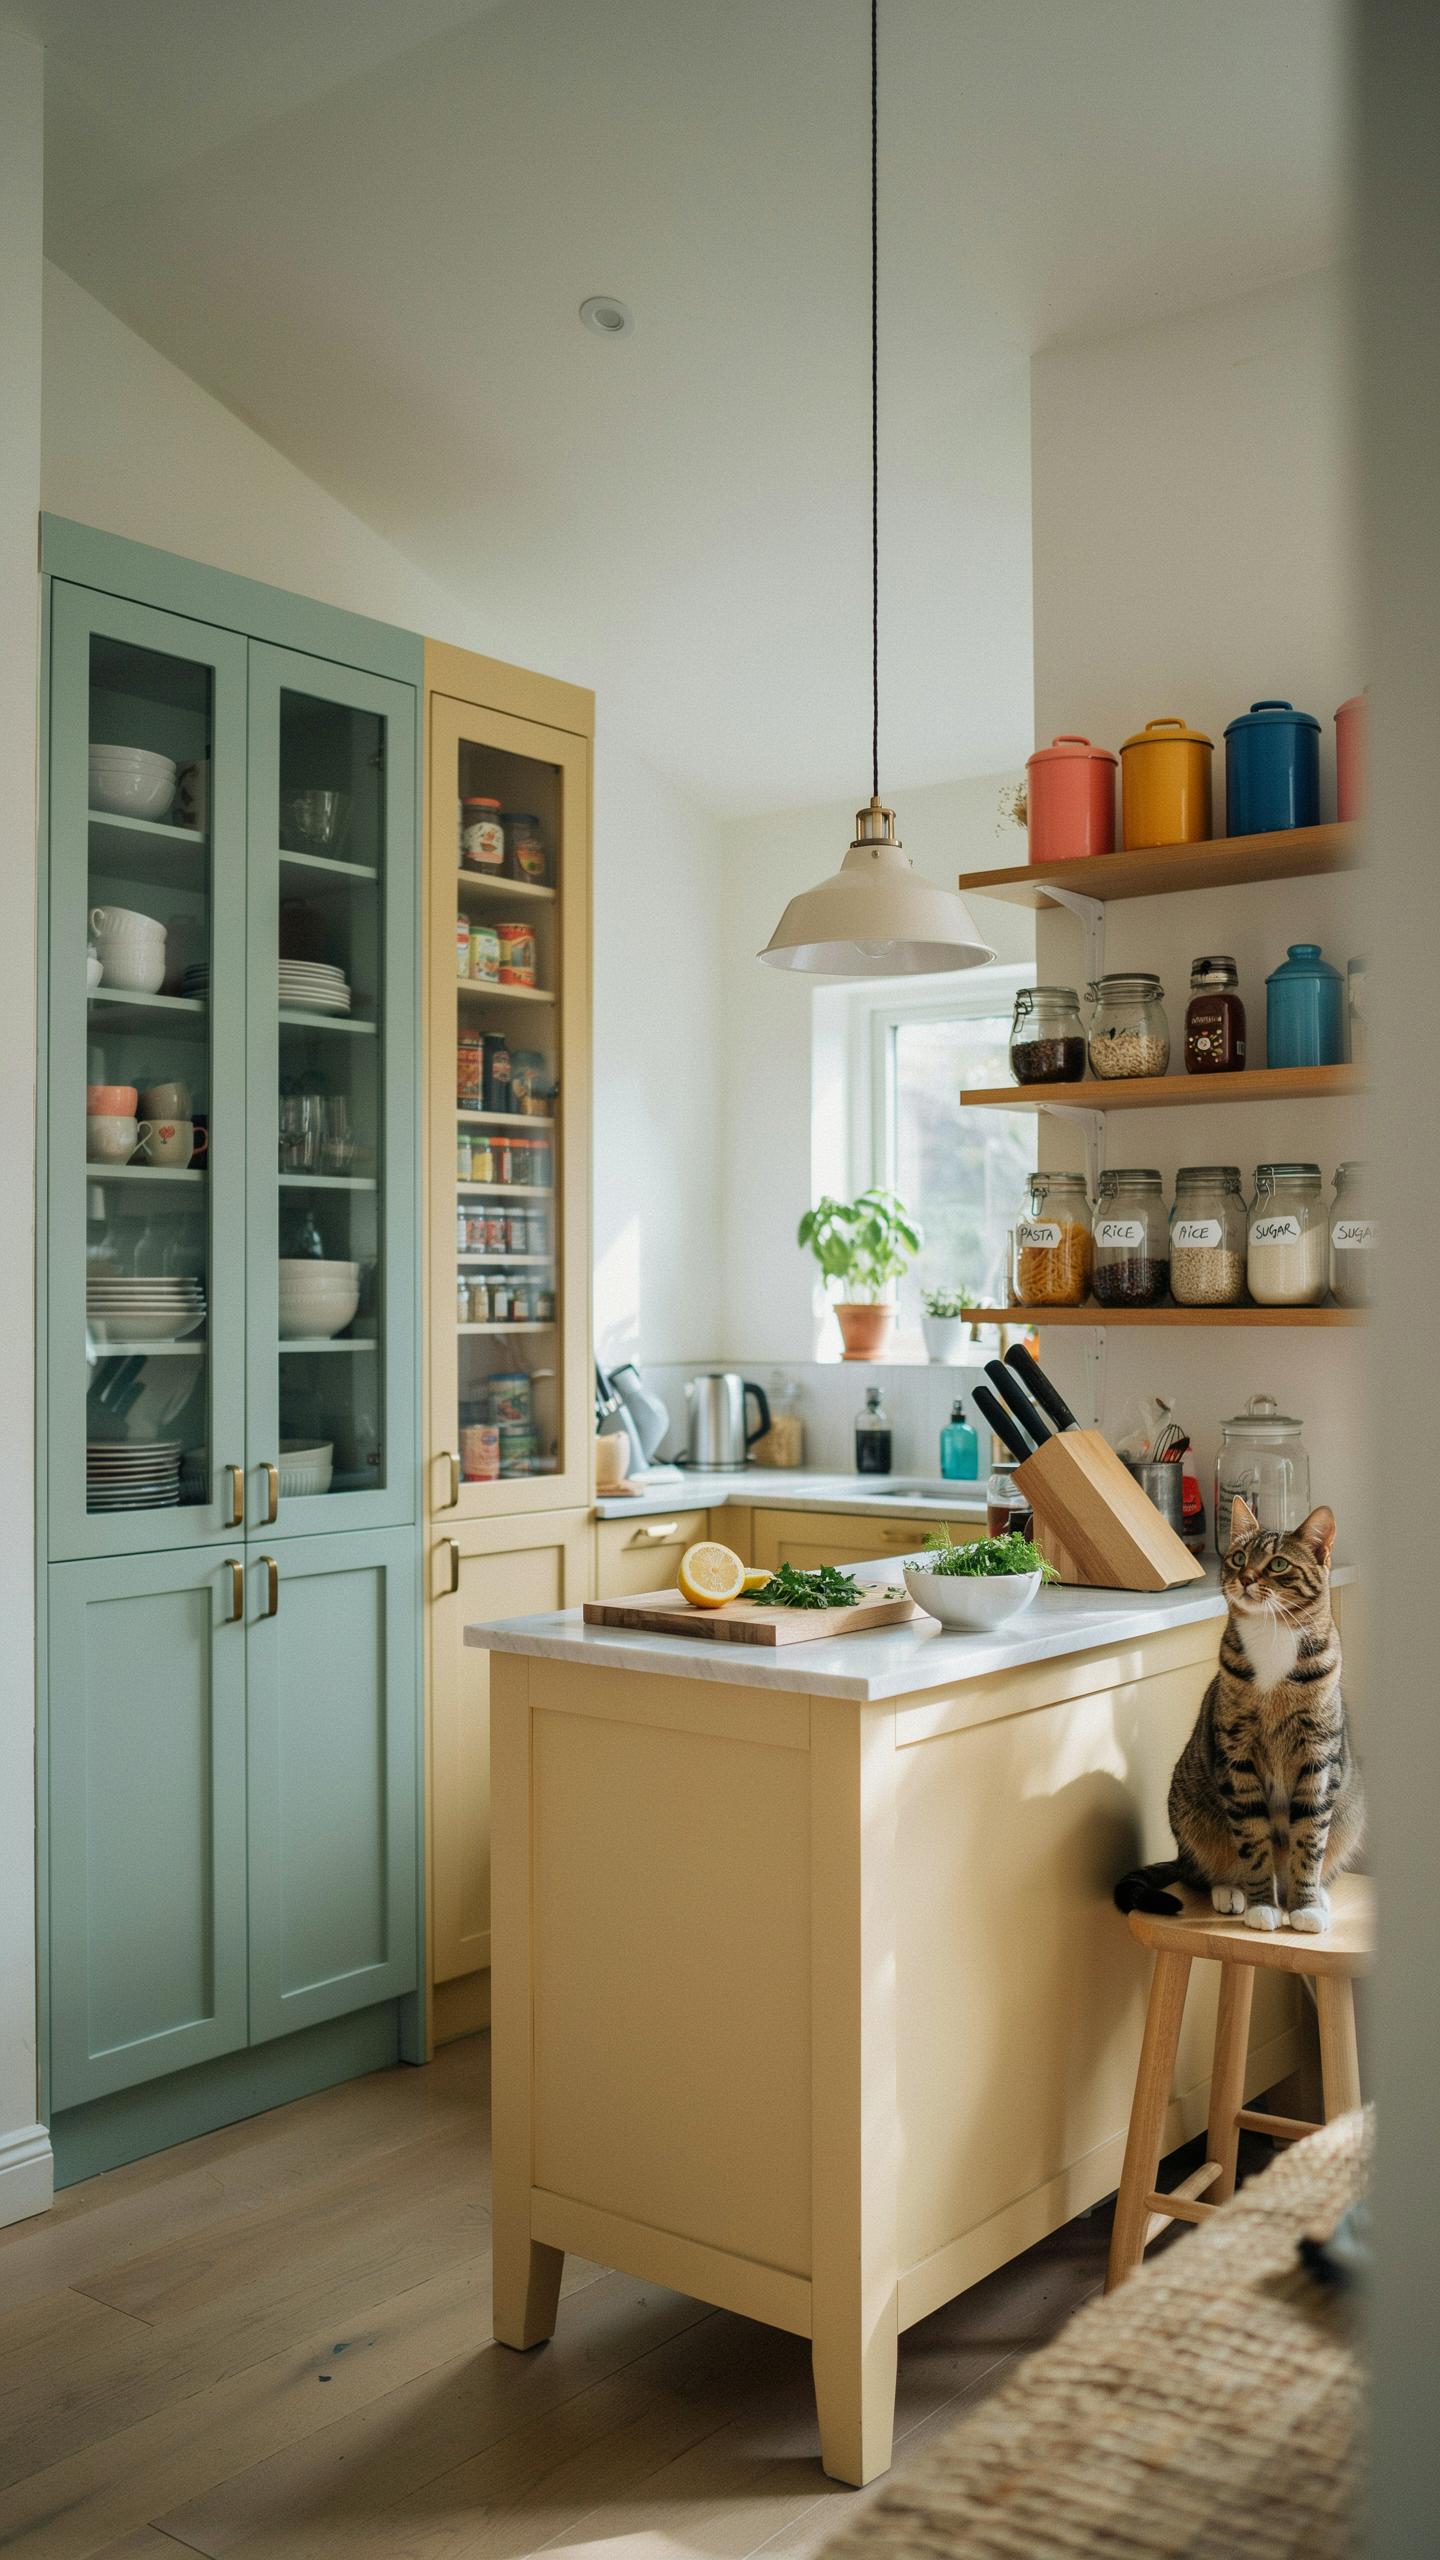
Hanging Pot Racks
Ceiling-mounted pot racks solve a core problem in tiny kitchens: counter clutter. Pots and pans occupy significant drawer and cabinet real estate. By anchoring a rack to ceiling joists or studs, you reclaim that space immediately. The rack hangs cookware within arm’s reach during cooking while keeping it off work surfaces. This strategy works in kitchens with eight-foot ceilings or higher. Installation requires locating structural support to handle weight safely.
Pot racks come in various materials: stainless steel, wrought iron, and wood. Choose based on your kitchen’s load capacity and style preference. Most racks accommodate eight to twelve pots depending on size. The investment ranges from fifty to three hundred dollars depending on material and build quality. Proper installation prevents damage to ceilings and ensures safety during daily use.
Over The Door Solutions
Back-of-door racks capture unused vertical space that most kitchens ignore. These racks hold spice jars, canned goods, oils, and cleaning supplies without requiring wall drilling. They install with adhesive strips or lightweight hardware on existing doors. Rental units benefit since you avoid permanent modifications. The storage capacity depends on rack depth and door thickness.

Over-the-door organizers typically hold fifteen to thirty items depending on configuration. Weight limits range from ten to twenty-five pounds per rack depending on installation method. Adhesive strips work for light loads under ten pounds. Hardware-mounted options support heavier loads reliably. Check door weight capacity before installing to prevent warping or sagging over time.
Clever Storage For Small Kitchen Islands And Mobile Carts
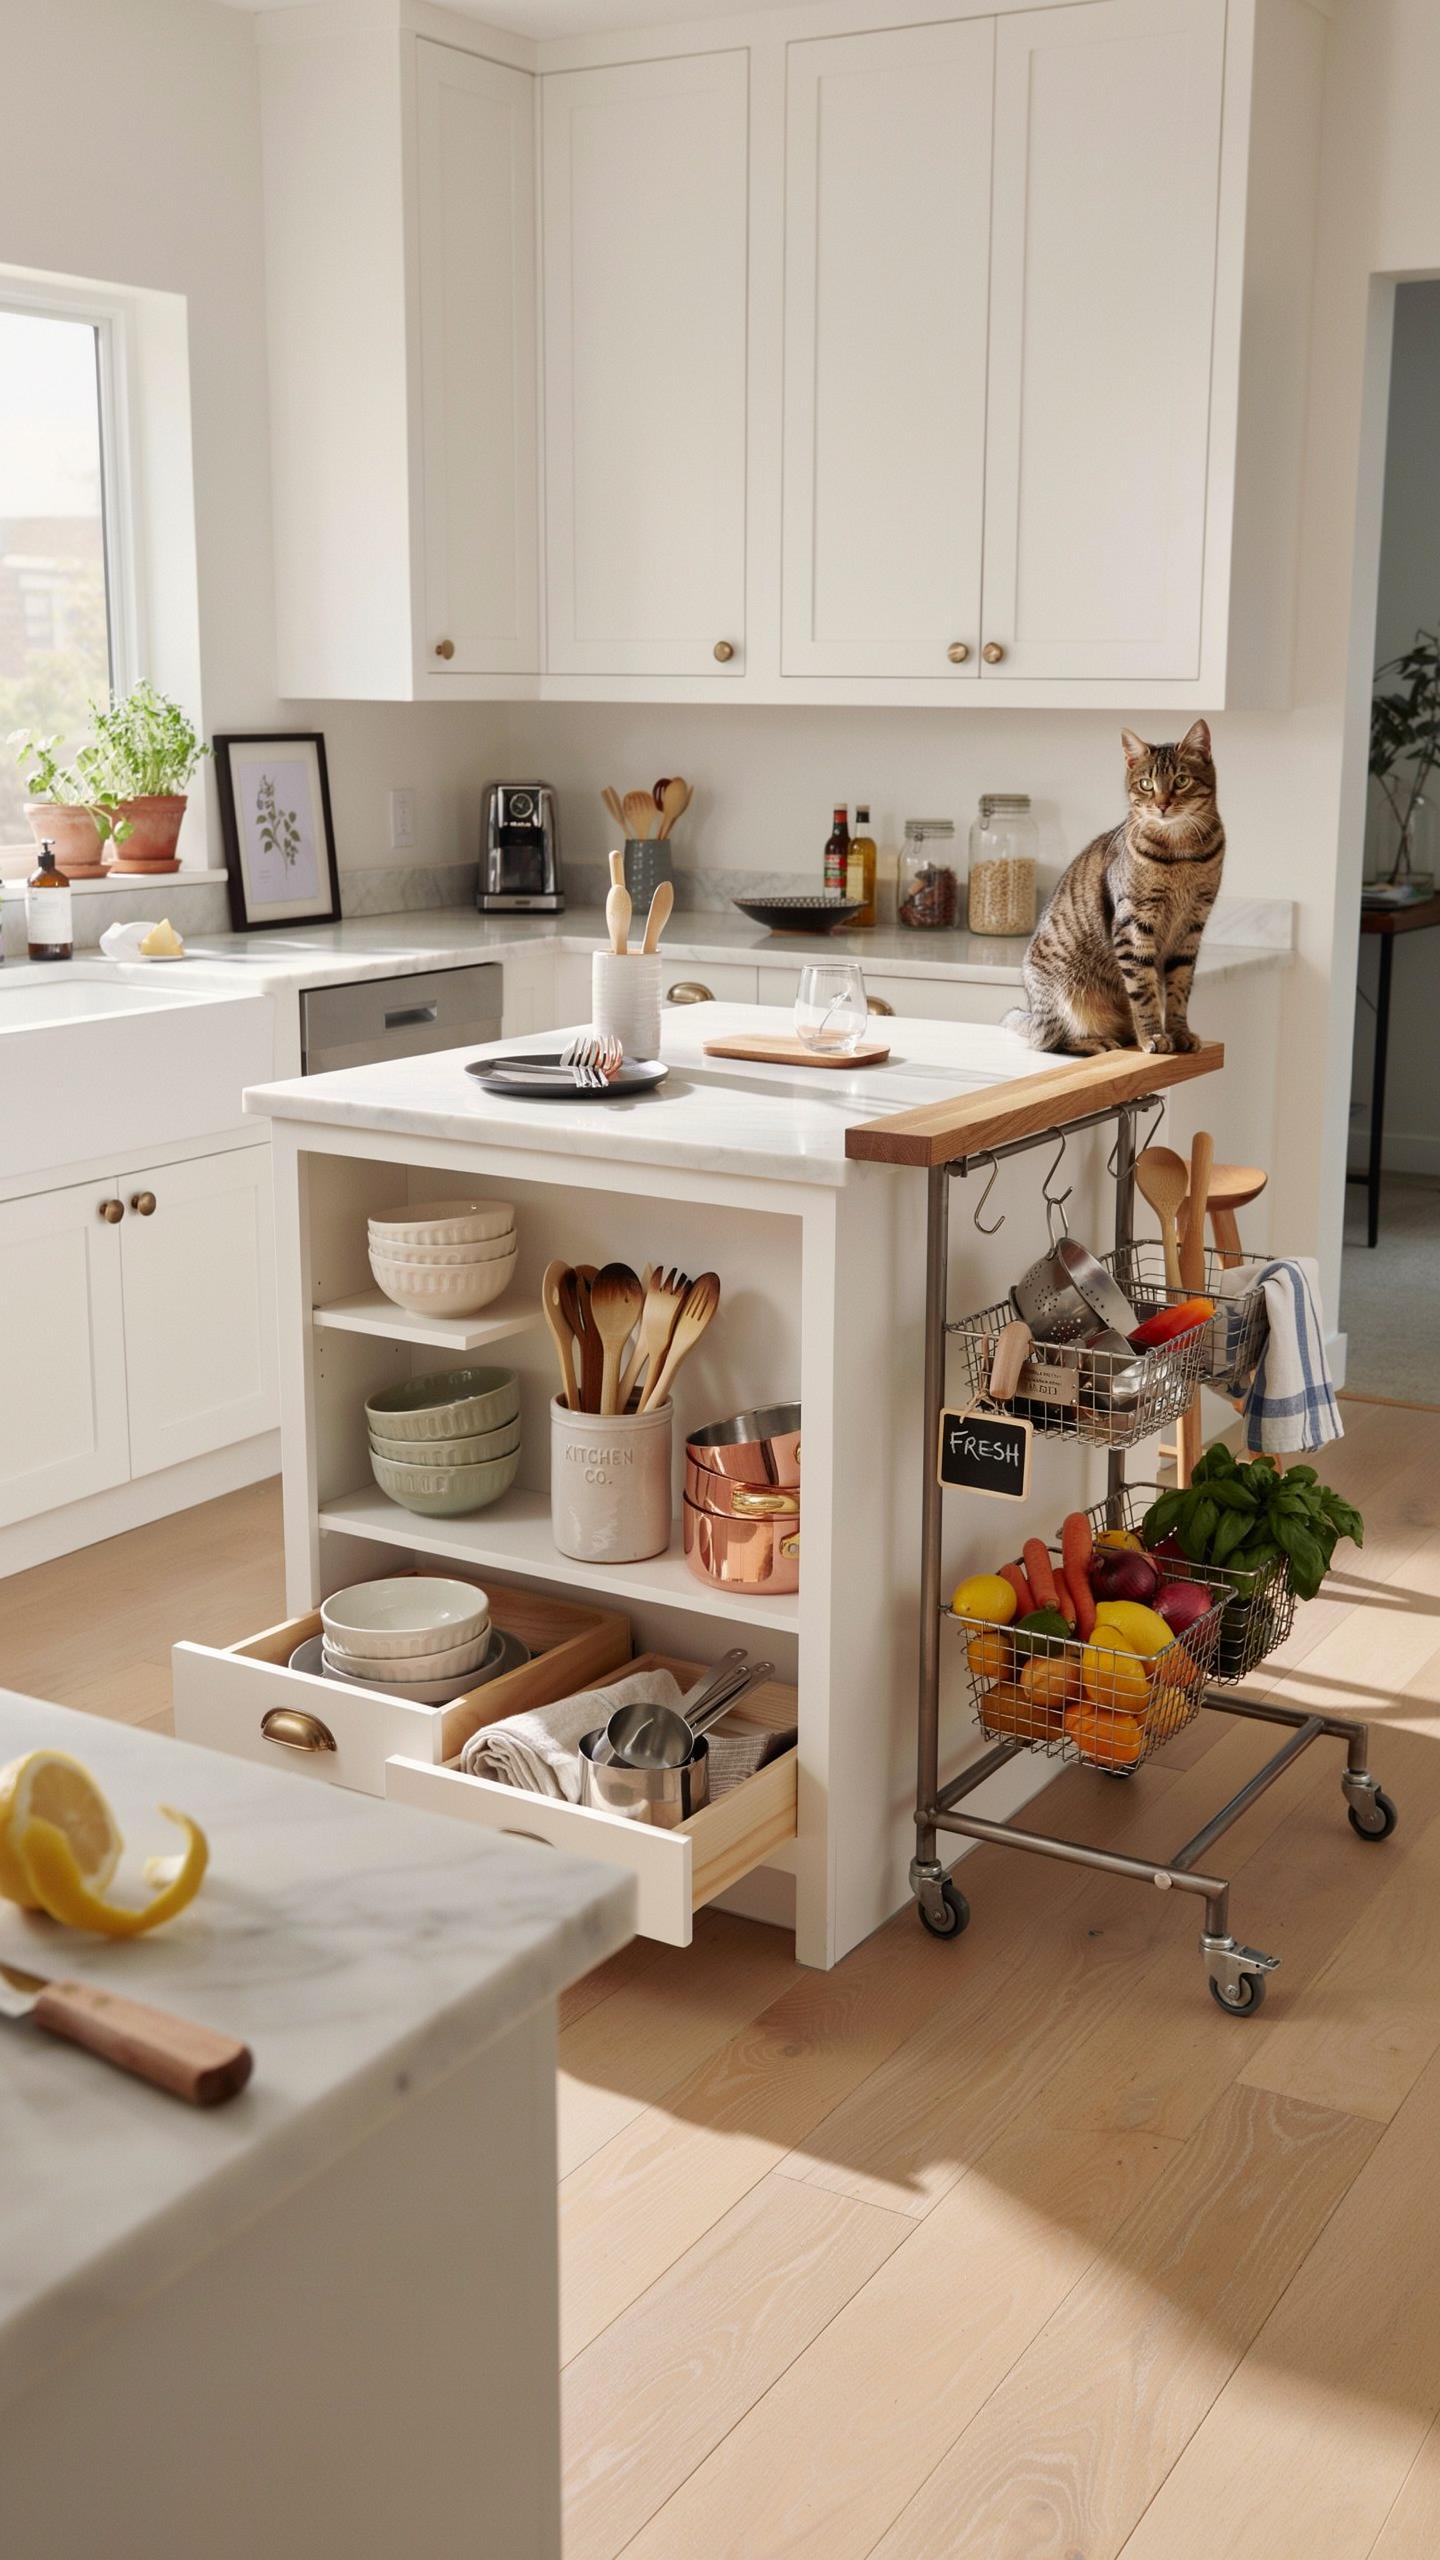
Rolling Utility Carts
Rolling carts function as movable workstations that expand usable counter space without taking permanent square footage. Choose carts with at least two tiers to stack items vertically. Steel frames handle weight better than plastic for cooking equipment and canned goods. Position the cart near prep zones or refrigerators for quick access during meal preparation.
Stock carts with items you access daily. Load lower shelves with heavier pots and pans. Reserve upper shelves for smaller tools, spices, and pantry staples. Lock the wheels when stationary to prevent movement during use. Tuck the cart into corners or against walls when not actively prepping to reclaim kitchen flow.
Fold Down Prep Tables
Wall-mounted drop-leaf tables provide counter space on demand and fold flat to disappear when unused. Install them at standard counter height, around 36 inches, for comfortable prep work. Use sturdy hinges rated for the table weight plus the load you plan to place on top. Position tables adjacent to your stove or sink for functional workflow.

These tables work best for specific tasks rather than general storage. Deploy them during meal prep, then fold up to open the kitchen again. Store small appliances or cutting boards on the underside of the folded table using adhesive hooks or magnetic strips. This approach maintains traffic flow in compact kitchens while preserving valuable workspace.
Under Sink Kitchen Storage Hacks Every Beginner Should Know
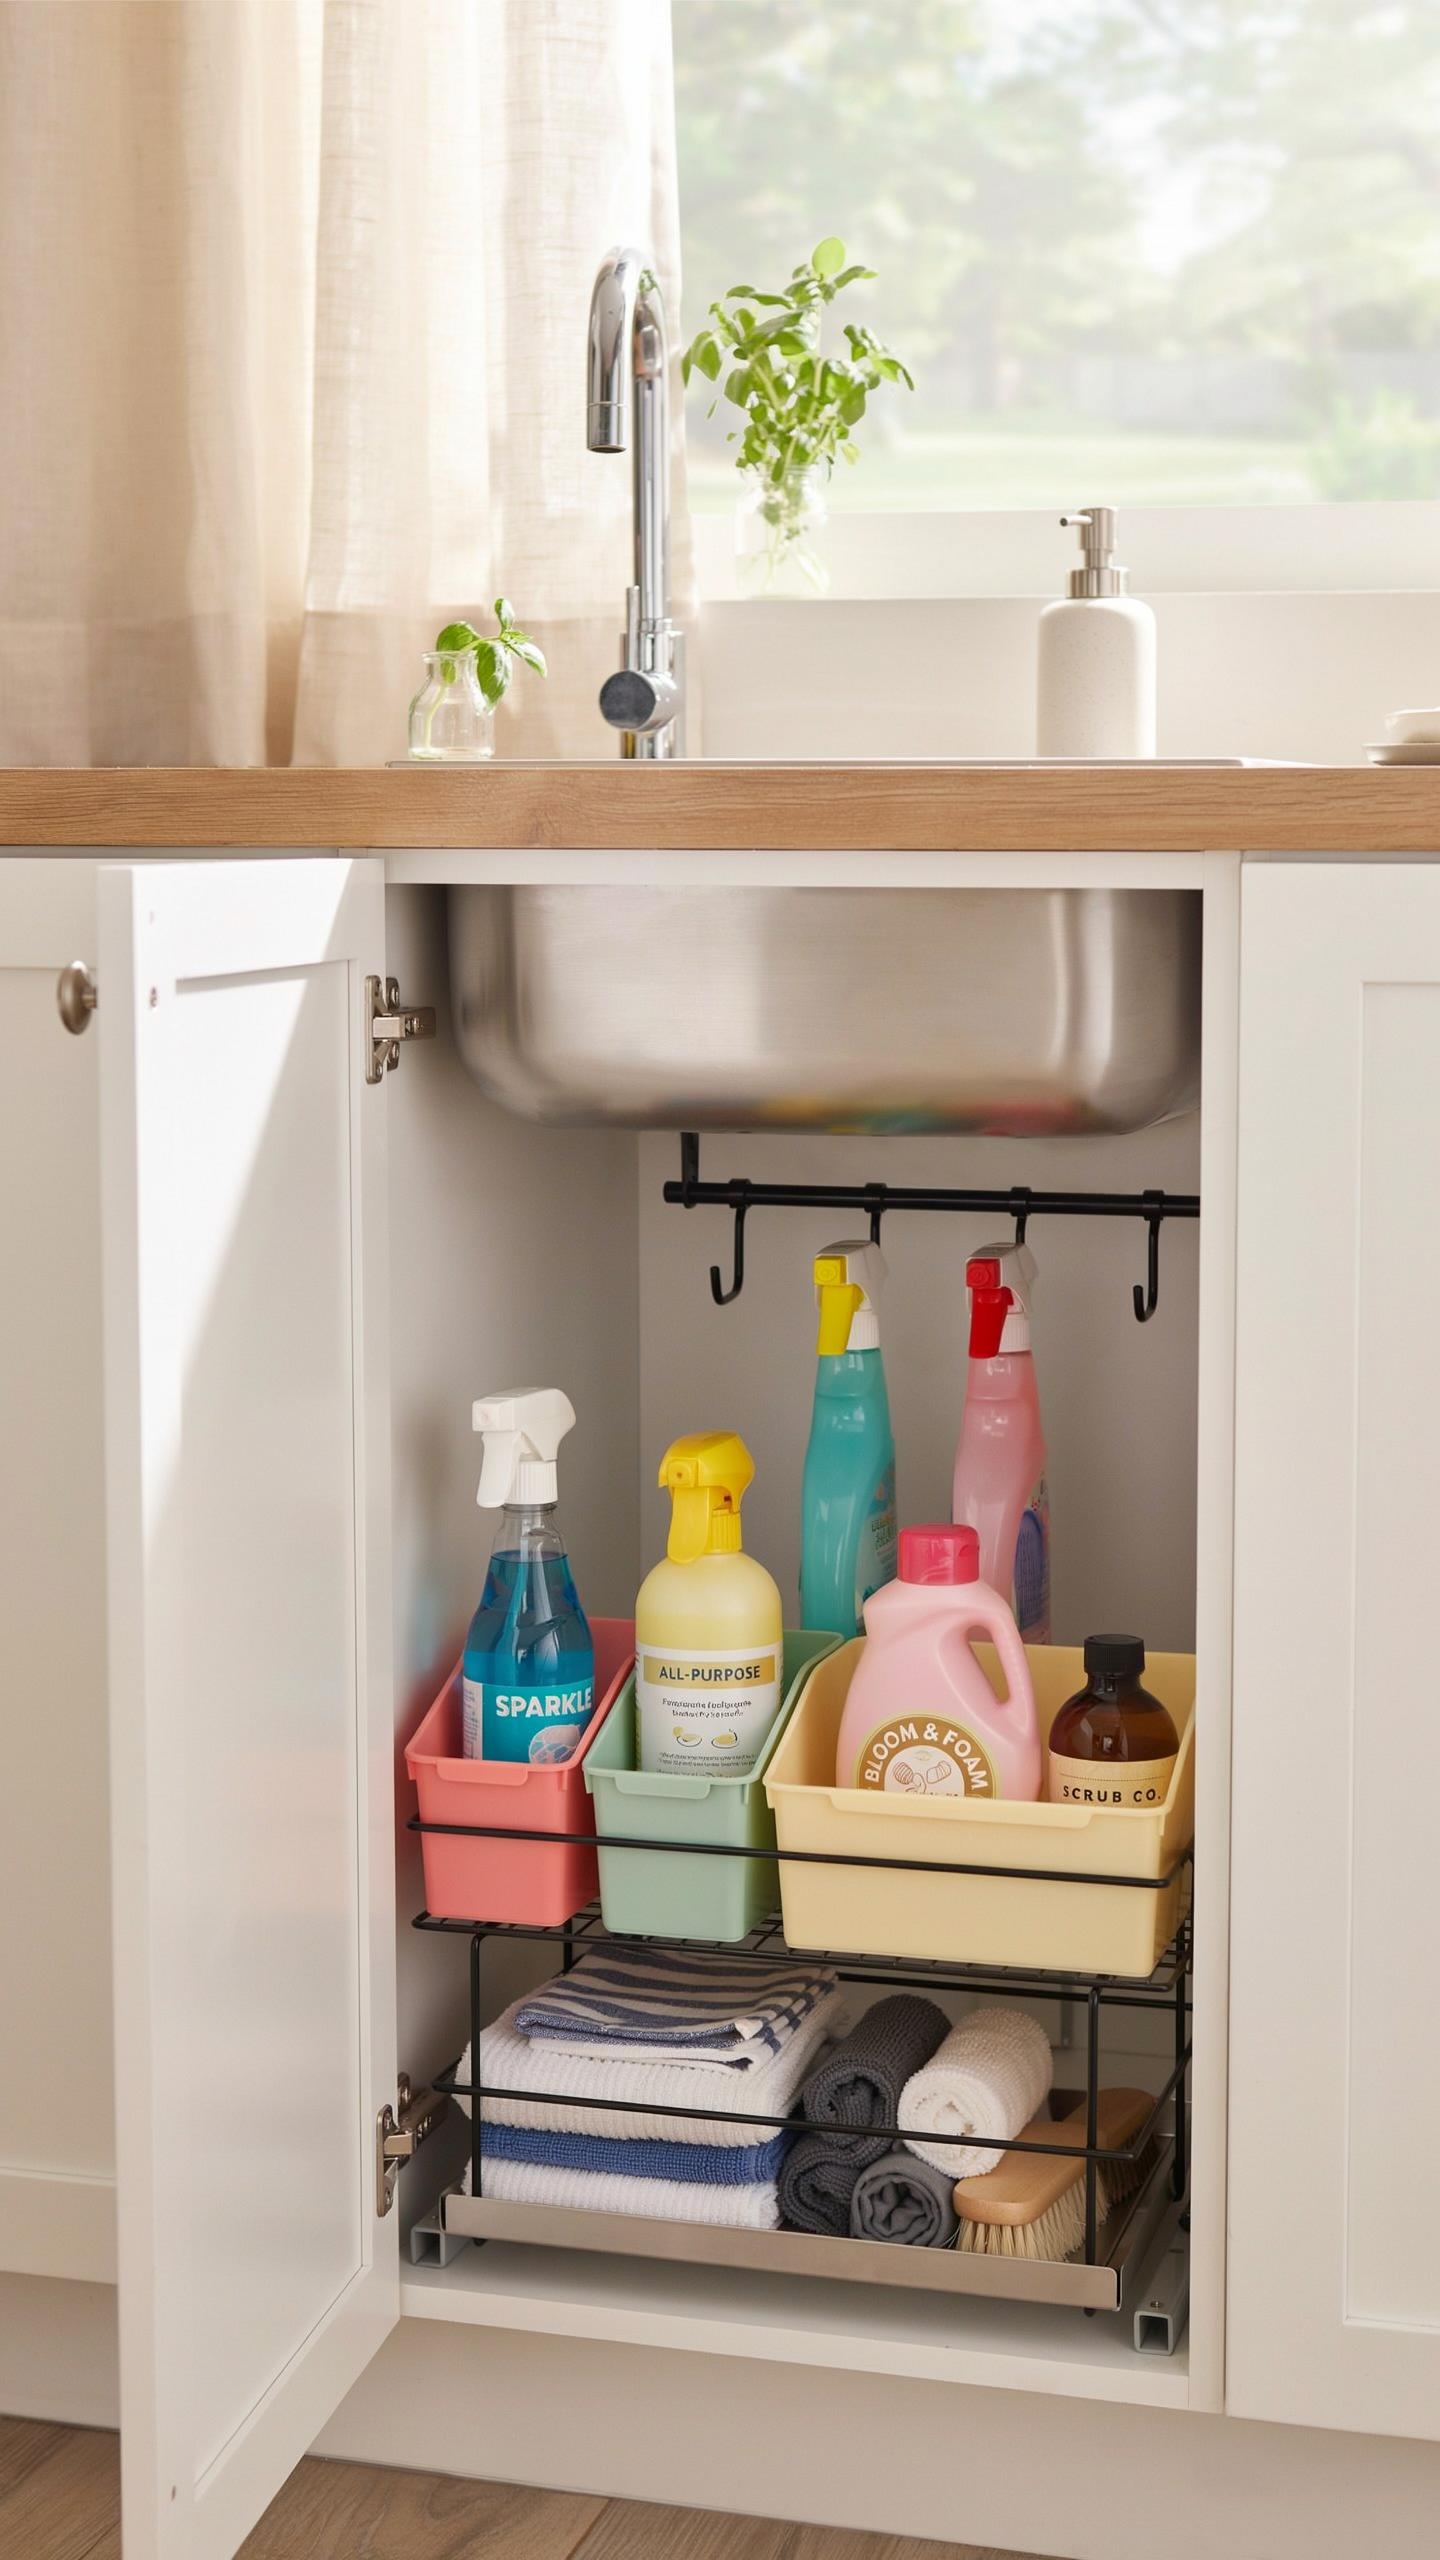
Tension Rod Hanging
Tension rods solve a core problem under tiny home sinks: wasted vertical space. Install one or two rods horizontally between cabinet walls, then hang spray bottles, cleaning cloths, or dish towels from S-hooks. This method works because tension rods stay put without drilling or permanent installation, making them ideal for rental situations.
The payoff is immediate floor space recovery. By moving bottles off the cabinet floor, you eliminate clutter around pipes and create room for additional storage containers. This simple tactic frees up roughly 20 to 30 percent of usable under-sink area in most configurations.
Essential Under Sink Organizers List
Organize under-sink areas strategically by matching containers to your actual plumbing layout. Awkward angles and pipes demand flexible storage solutions that work around obstacles rather than fighting them. The right organizers transform chaotic under-sink zones into functional storage systems.
- Stackable plastic bins: Modular containers that fit around P-traps and pipes. Choose clear options to identify contents quickly without opening each one.
- Slide out drawers: Mounted under the sink basin, these drawers maximize depth while keeping items accessible. They navigate around plumbing efficiently.
- Adjustable shelf risers: Two-tier systems that double your storage without taking up floor space. Position them to clear pipes and valve handles.
- Expandable shelf organizers: Fit between cabinet walls to create separated zones for cleaning supplies, sponges, and dish soap without shifting.
- Door mounted organizer racks: Attach to the inside of cabinet doors for lightweight items like trash bags or aluminum foil, keeping them visible and accessible.

Match your organizers to your plumbing configuration first. Measure pipe locations, valve heights, and available clearance before purchasing anything. Small kitchens demand precision, so generic storage rarely works without customization.
Finding Extra Storage In Small Kitchen Pantries
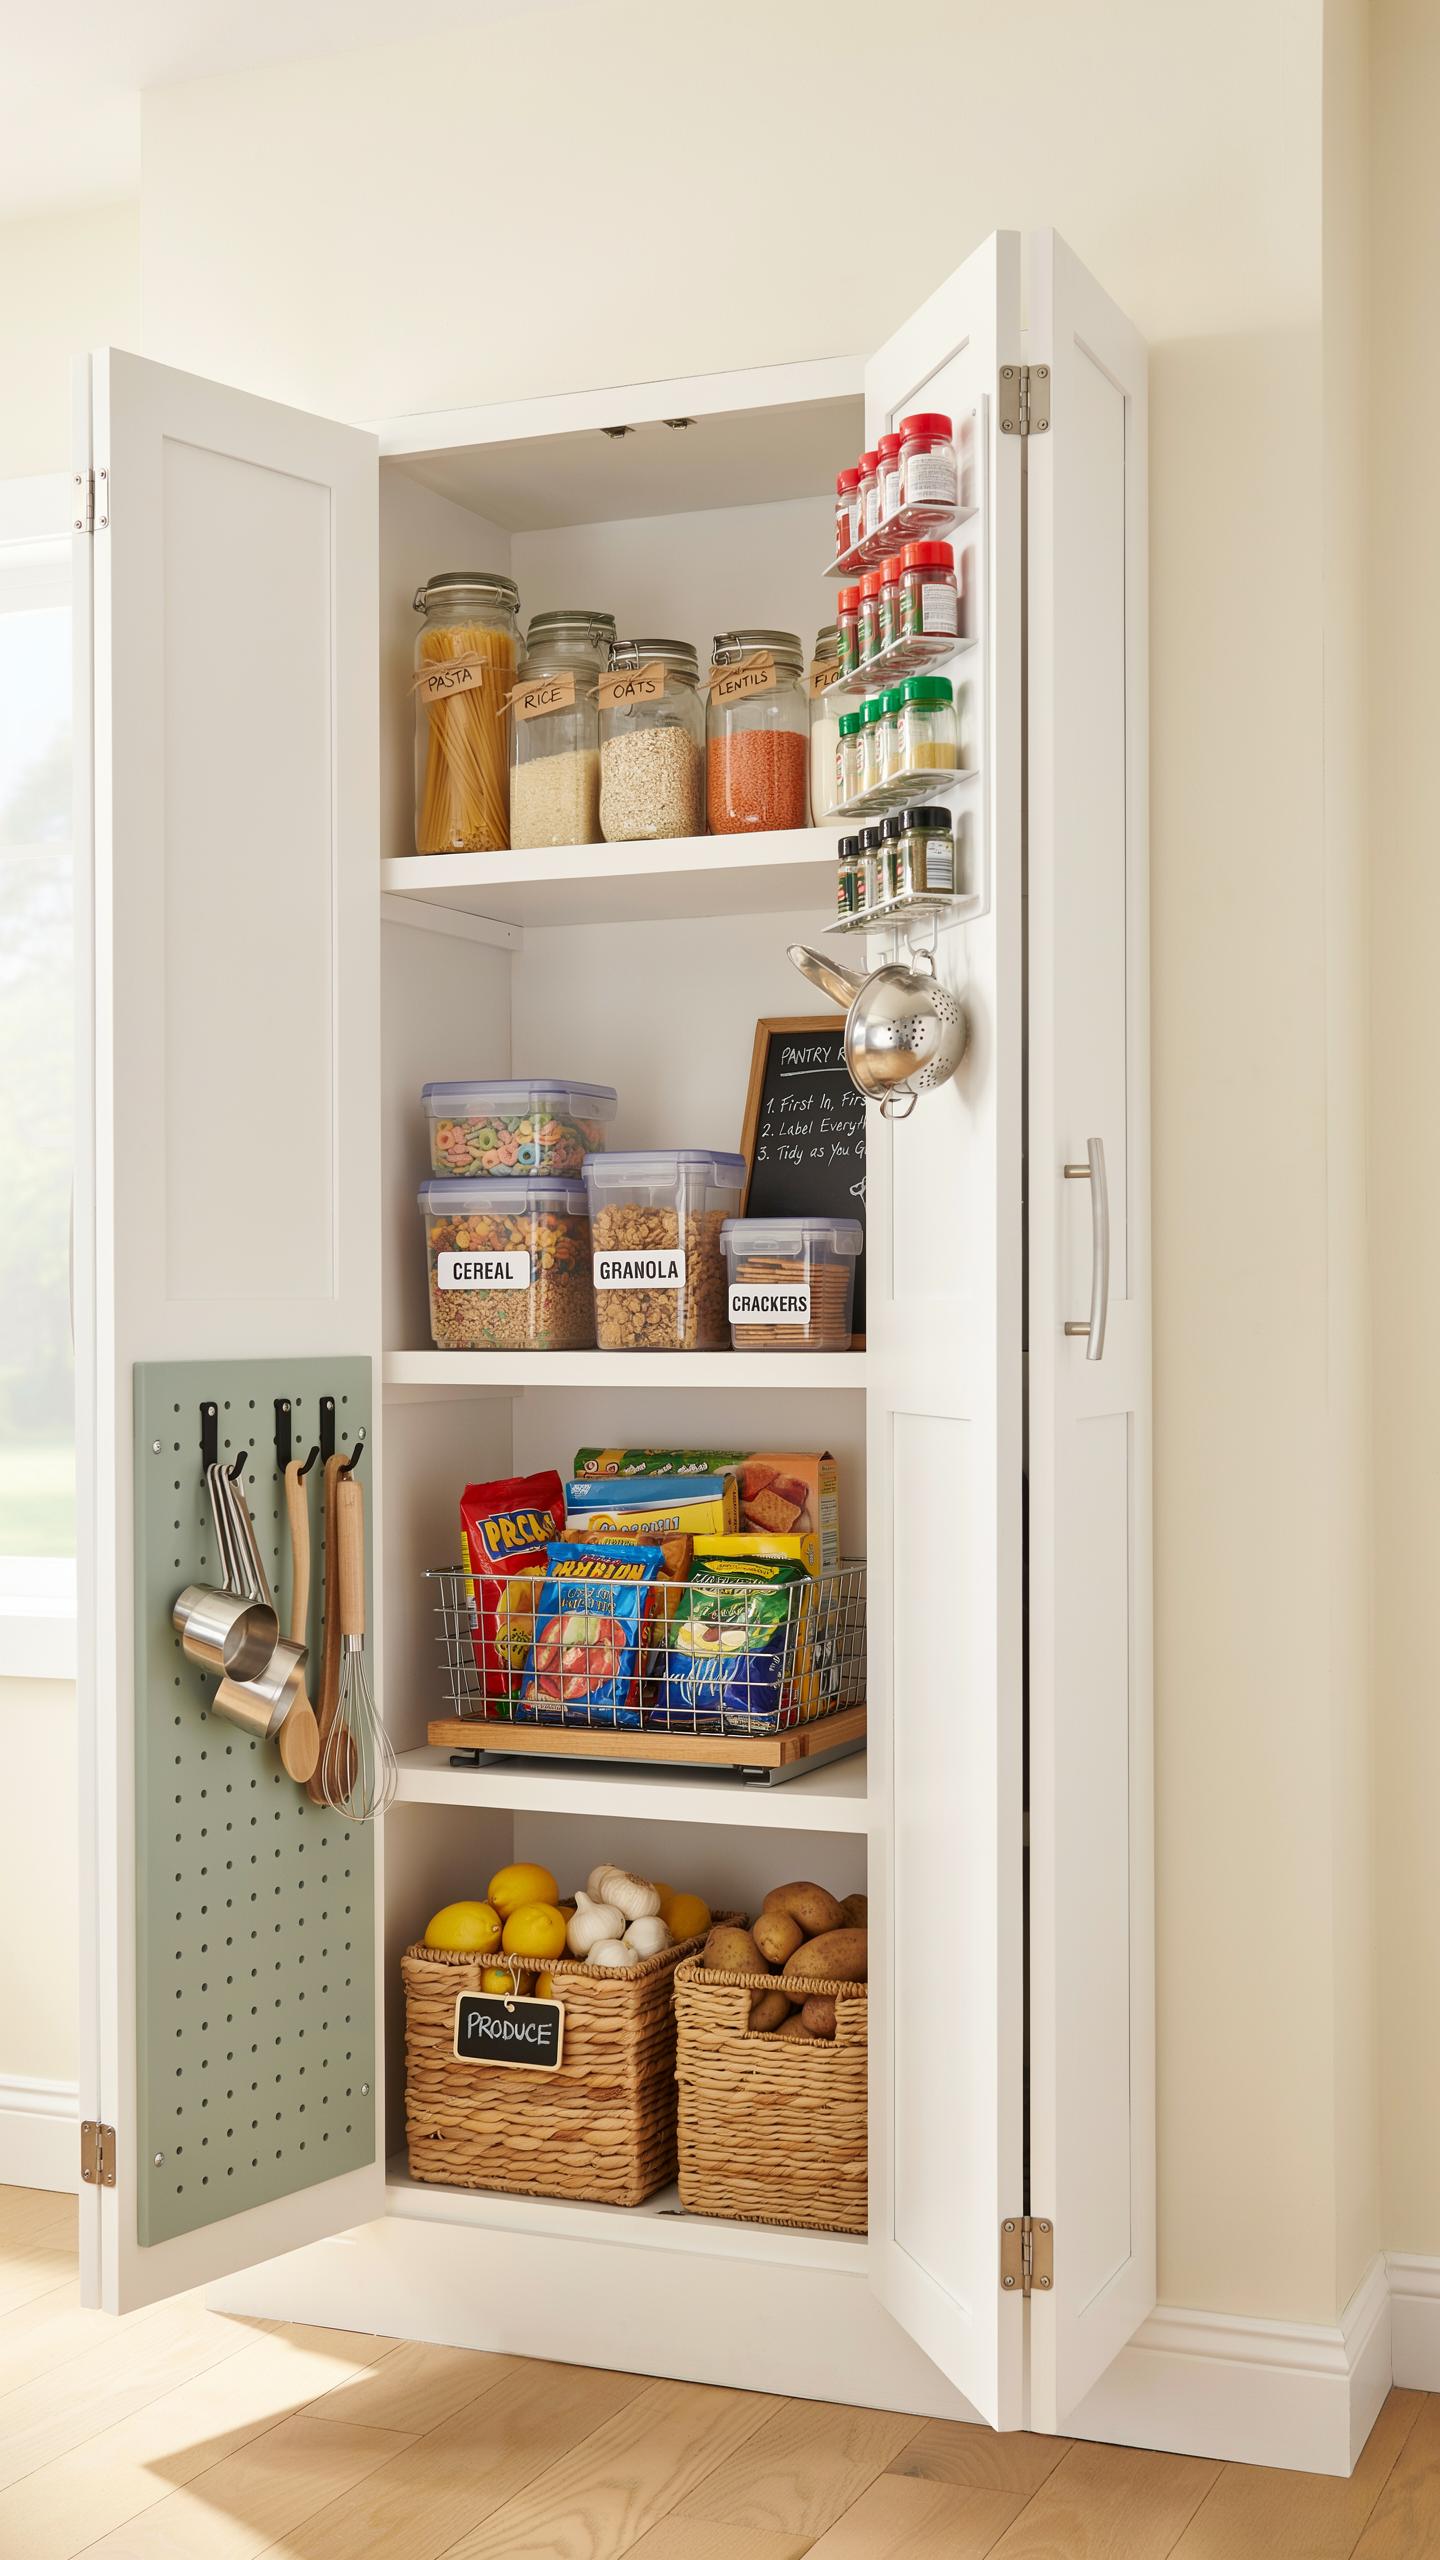
Dry Food Decanters
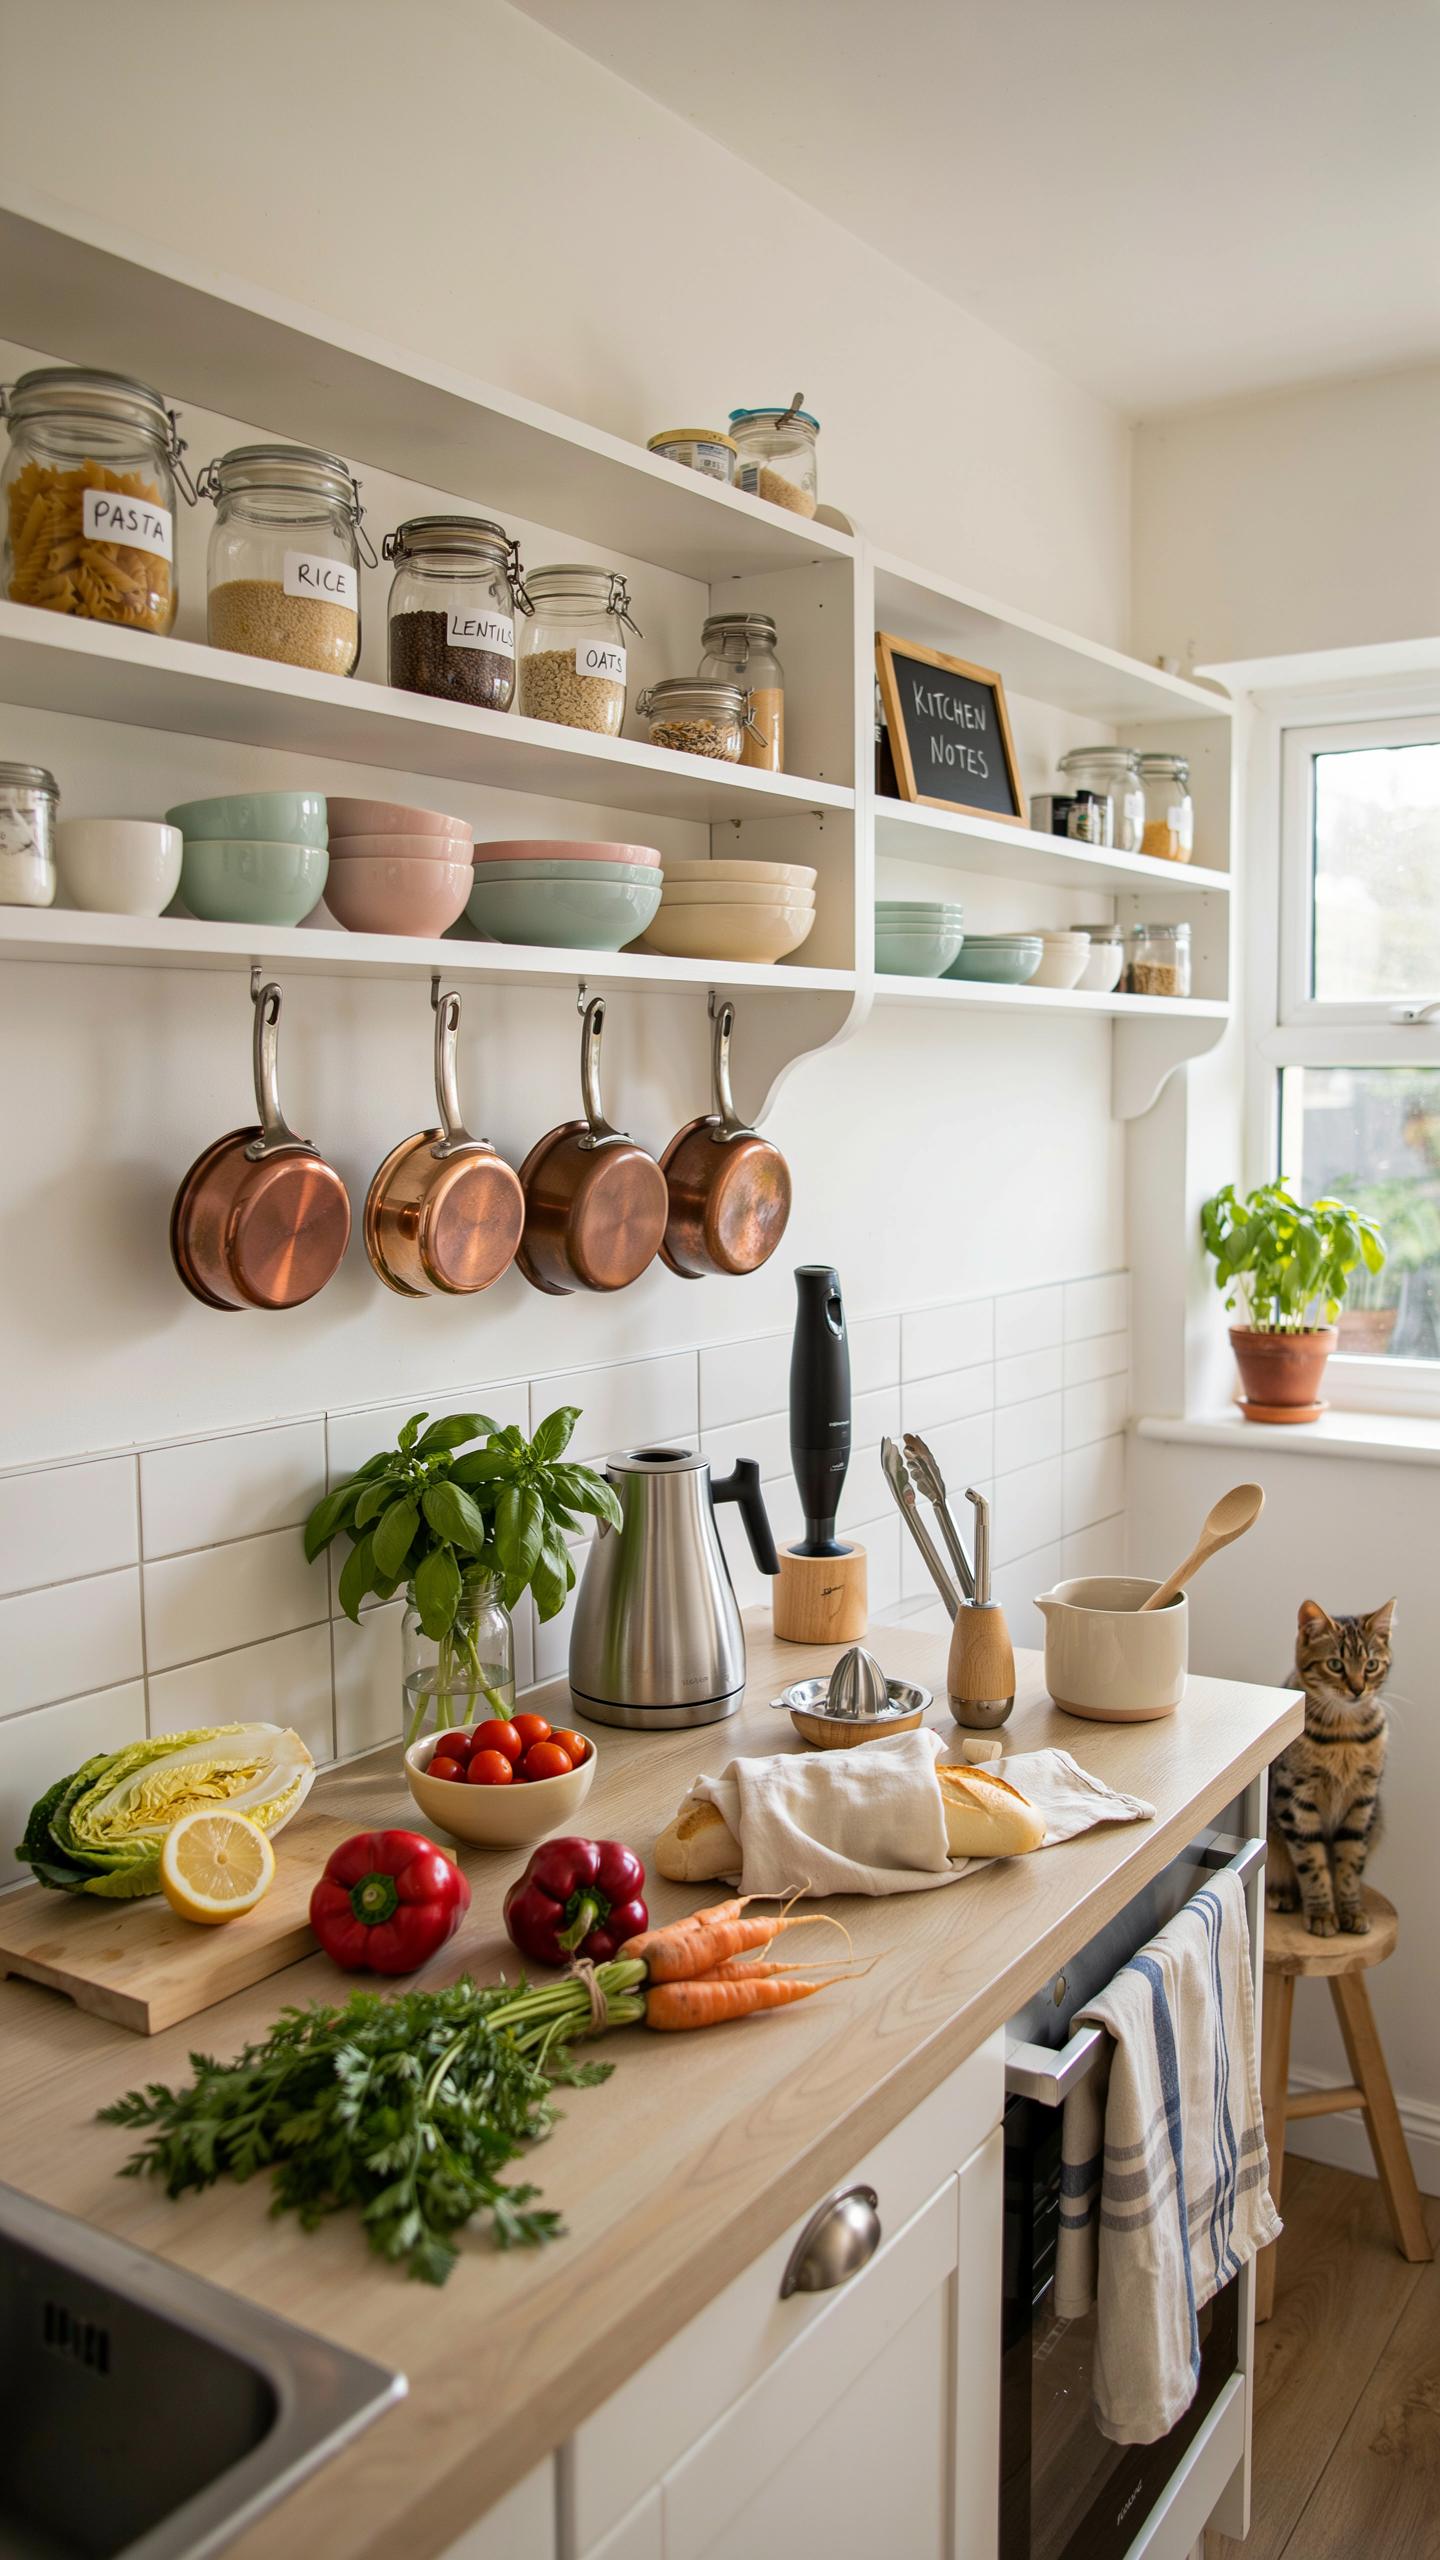
Boxed cereals, pasta, and crackers take up excessive shelf space due to inefficient packaging. Transferring these items into uniform airtight containers cuts wasted air and cardboard bulk by 30 to 50 percent. Containers stack vertically and horizontally, maximizing every inch. Clear containers let you see contents and inventory levels instantly without opening multiple boxes.
Label each container with the food type and expiration date. This system prevents spoilage and eliminates duplicate purchases. Matching containers create visual uniformity, making shelves appear organized and intentional. Small pantries gain usable space immediately through this single change.
The secret of happiness is not in seeking more, but in developing the capacity to enjoy less. Even the smallest kitchen becomes a sanctuary when we cherish every simple tool and its place.
Gravity Fed Can Racks
Angled can dispensers work through simple physics: gravity rolls cans forward as you remove one from the front. This design keeps cans visible and accessible without digging through stacks. Each can sits at an angle between 15 to 30 degrees, depending on the rack model. The system prevents dents and damage from pressure stacking.

These racks fit into tight spaces on shelves and under cabinets. Installation takes minutes and requires no tools or permanent modifications. A single rack holds 8 to 12 cans depending on size and depth. Rotation happens automatically, ensuring older cans get used first and reducing waste.
Our Top Small Kitchen Ideas Organization Tips For Daily Maintenance
Daily Maintenance Habits List
Organization collapses without daily upkeep. You must commit to specific habits that stop clutter from returning. These actions take minutes per day but prevent hours of reorganization later. Start these habits immediately after implementing your storage system.
- Return Items To Designated Spots: Place every tool, container, and gadget back in its assigned location immediately after use. This prevents items from spreading across counters and cabinets.
- Wipe Cabinets Weekly: Remove items, clean shelves, and restock. This catches spills and prevents sticky buildup that attracts items to stay longer than needed.
- Clear Counters Before Bed: Remove everything from counters each night. Empty counters force intentional decisions about what stays visible versus what stores away.
- Check Expiration Dates Monthly: Review pantry items and refrigerated goods on the first of each month. Expired products waste space and trigger premature replacement purchases.
- Audit Drawer Contents Quarterly: Empty each drawer, discard broken items, and reorganize. This prevents drawers from becoming catch-alls for forgotten gadgets and duplicates.
These habits require consistency, not perfection. You will miss days. When you do, spend fifteen minutes the next morning restoring order. Small daily actions cost far less effort than major reorganization cycles.
One In One Out Rule Kitchens
The one-in-one-out rule stops tiny kitchens from reverting to chaos. Before purchasing any new item, you must remove an existing item of similar function. This rule creates a hard boundary on total storage capacity and forces honest assessments about what you actually need versus what you simply want.

This system works because it removes decision fatigue from future purchases. You know your space. You know your limits. The rule applies equally to everything from measuring spoons to small appliances. Implement it ruthlessly. When someone gifts you kitchen items, apply the rule the same day to prevent exceptions that erode the system.
Frequently Asked Questions

Where should a beginner start when organizing a tiny house kitchen?
The best place to start is by decluttering and prioritizing your most-used items. Before implementing complex tiny home storage ideas kitchen organization systems, evaluate your essentials versus your “just in case” gadgets. Once you’ve narrowed down your inventory, group similar items together. This foundational step ensures that your limited square footage is reserved only for things that serve a daily purpose, making the rest of the organizing process much more manageable.
How can I maximize vertical space for better kitchen efficiency?
To truly master tiny home storage ideas kitchen organization, you must look up. Install floating shelves, magnetic knife strips, and pegboards to move items off your precious counter space. Vertical tension rods can also be used to store baking sheets or pot lids upright. By utilizing the full height of your walls and the insides of cabinet doors, you create a highly functional workspace that feels much larger than it actually is.
Can I organize my tiny kitchen effectively on a tight budget?
Absolutely! Effective organization doesn’t require expensive custom cabinetry. You can repurpose glass jars for dry goods, use inexpensive tension rods under the sink, or find affordable over-the-door racks at local thrift stores. Simple DIY solutions, like using Command hooks for mugs or utensils, provide instant structure without a high price tag. Focusing on smart placement and creative repurposing is the most budget-friendly way to achieve a perfectly streamlined cooking environment.



