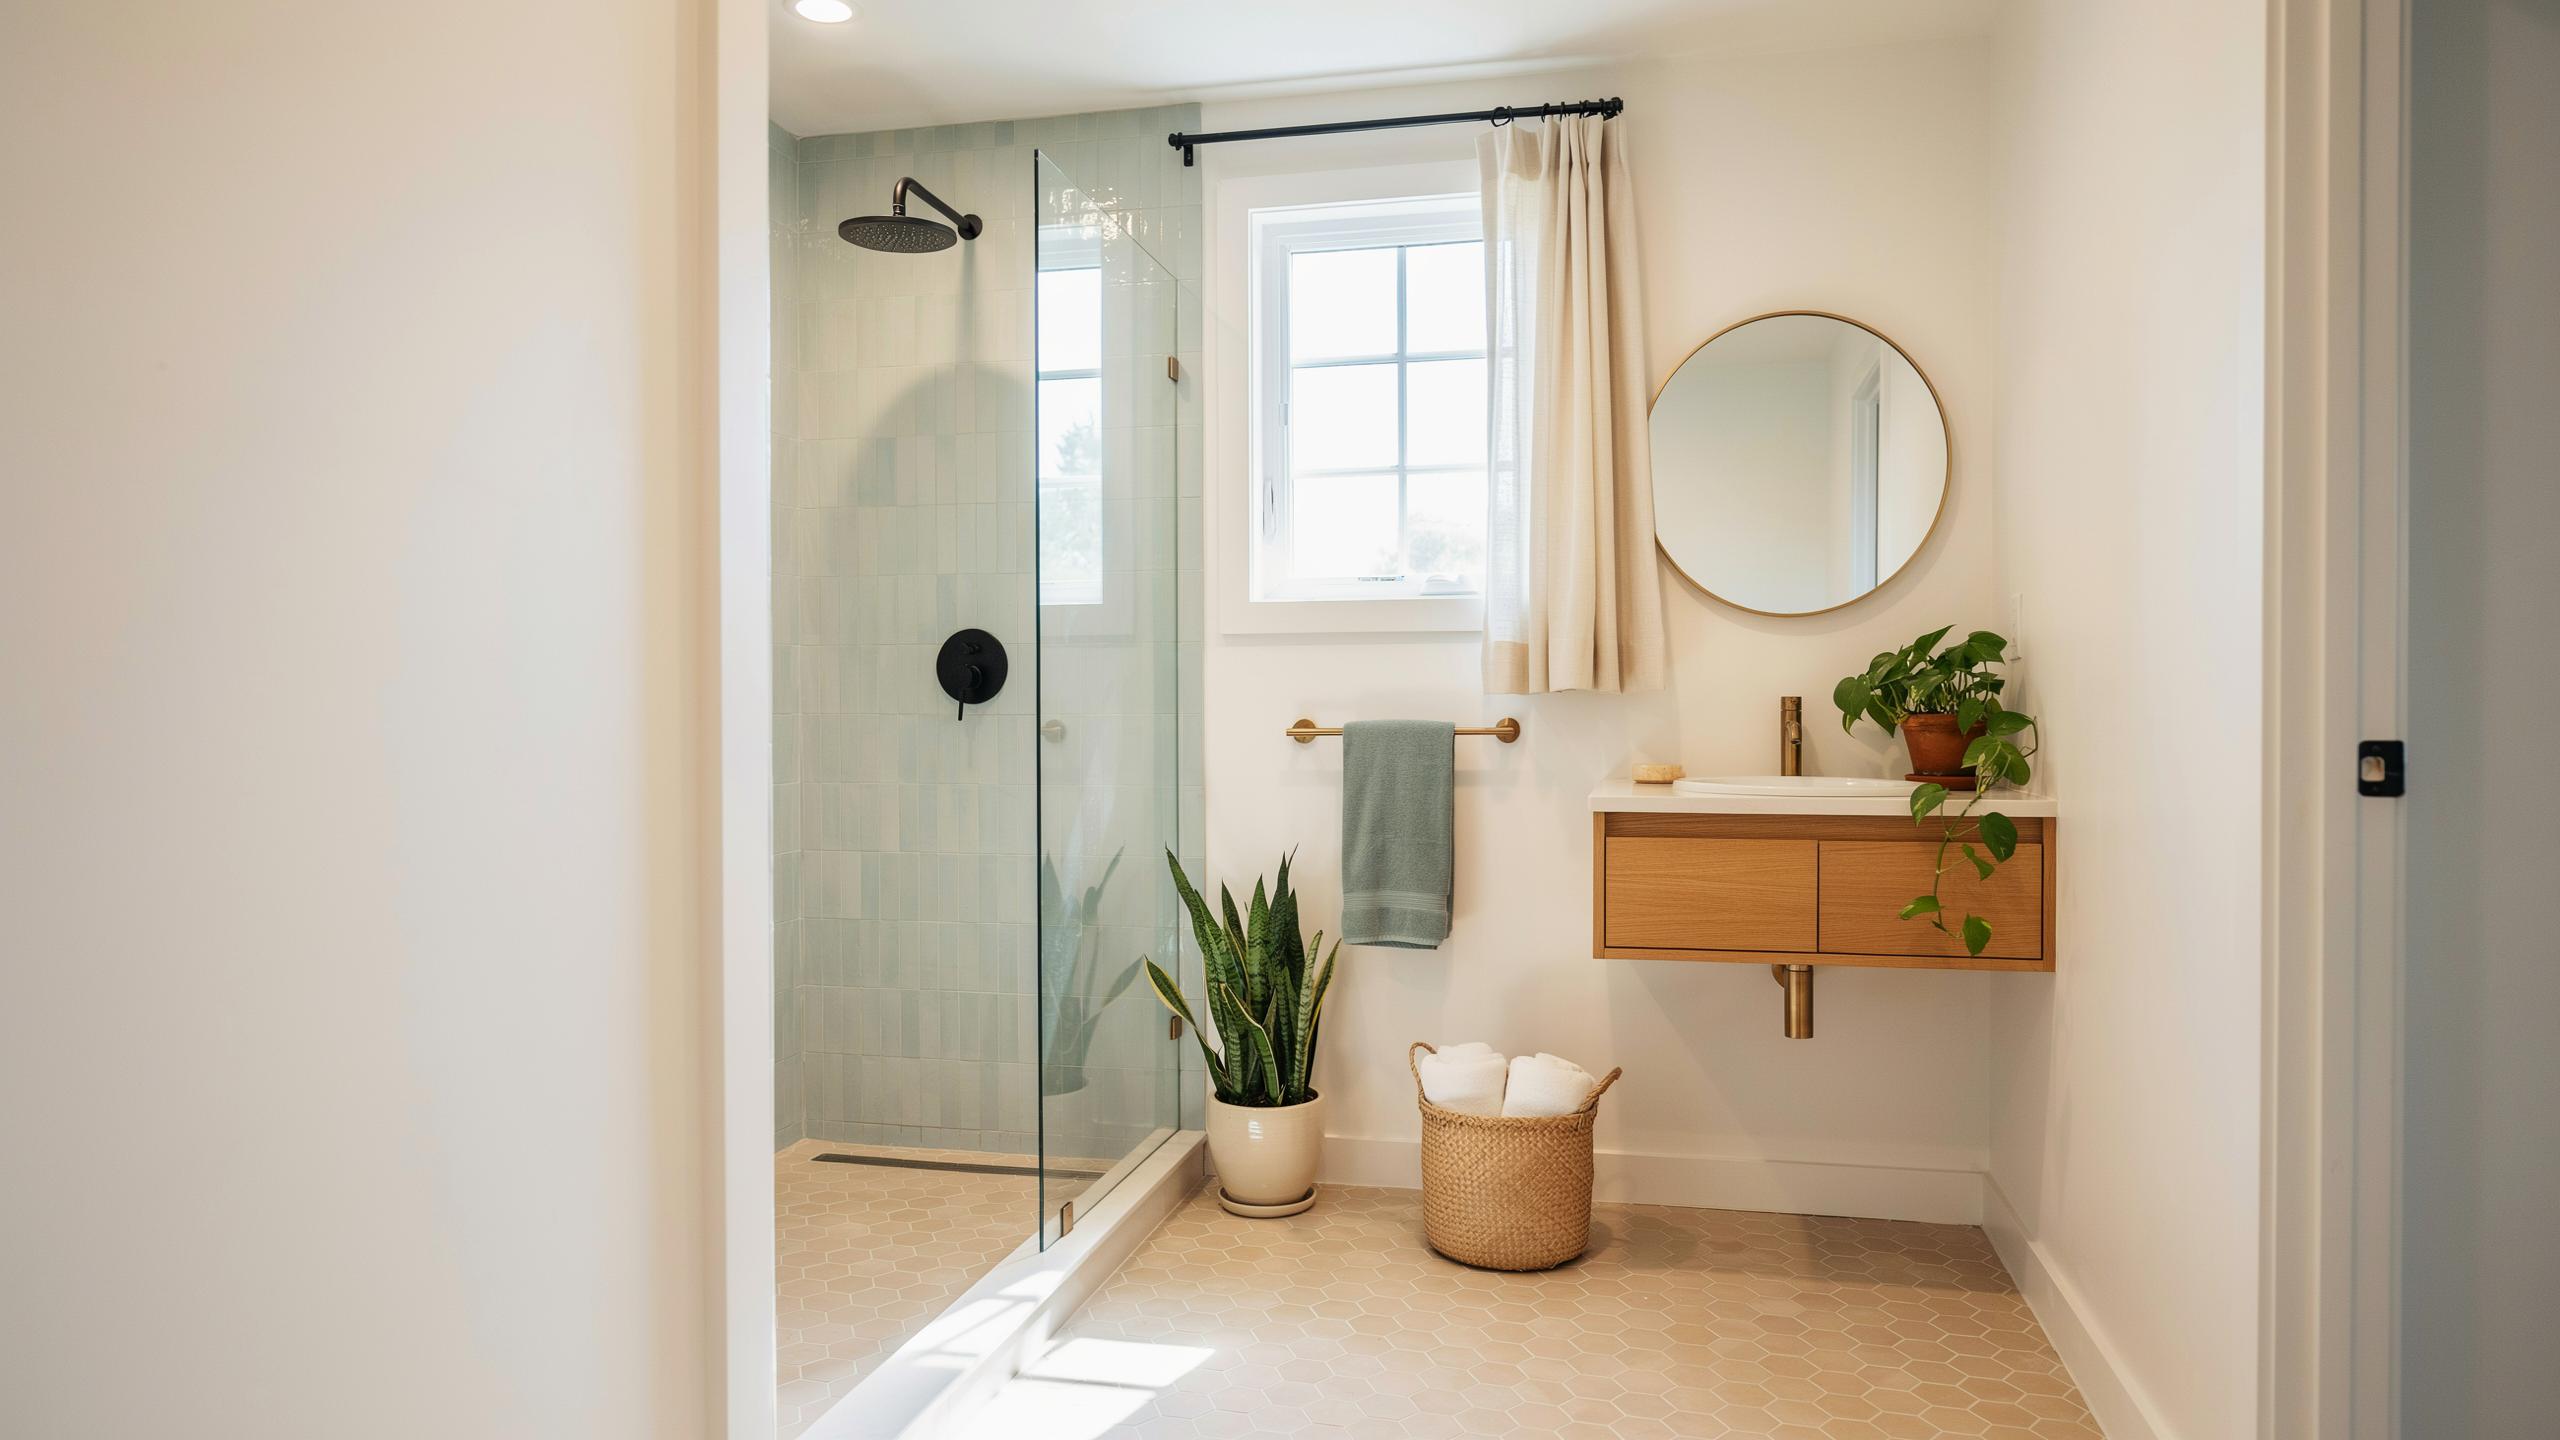
Understanding The Essentials Of A Tiny Home Floor Plan Bathroom Layout
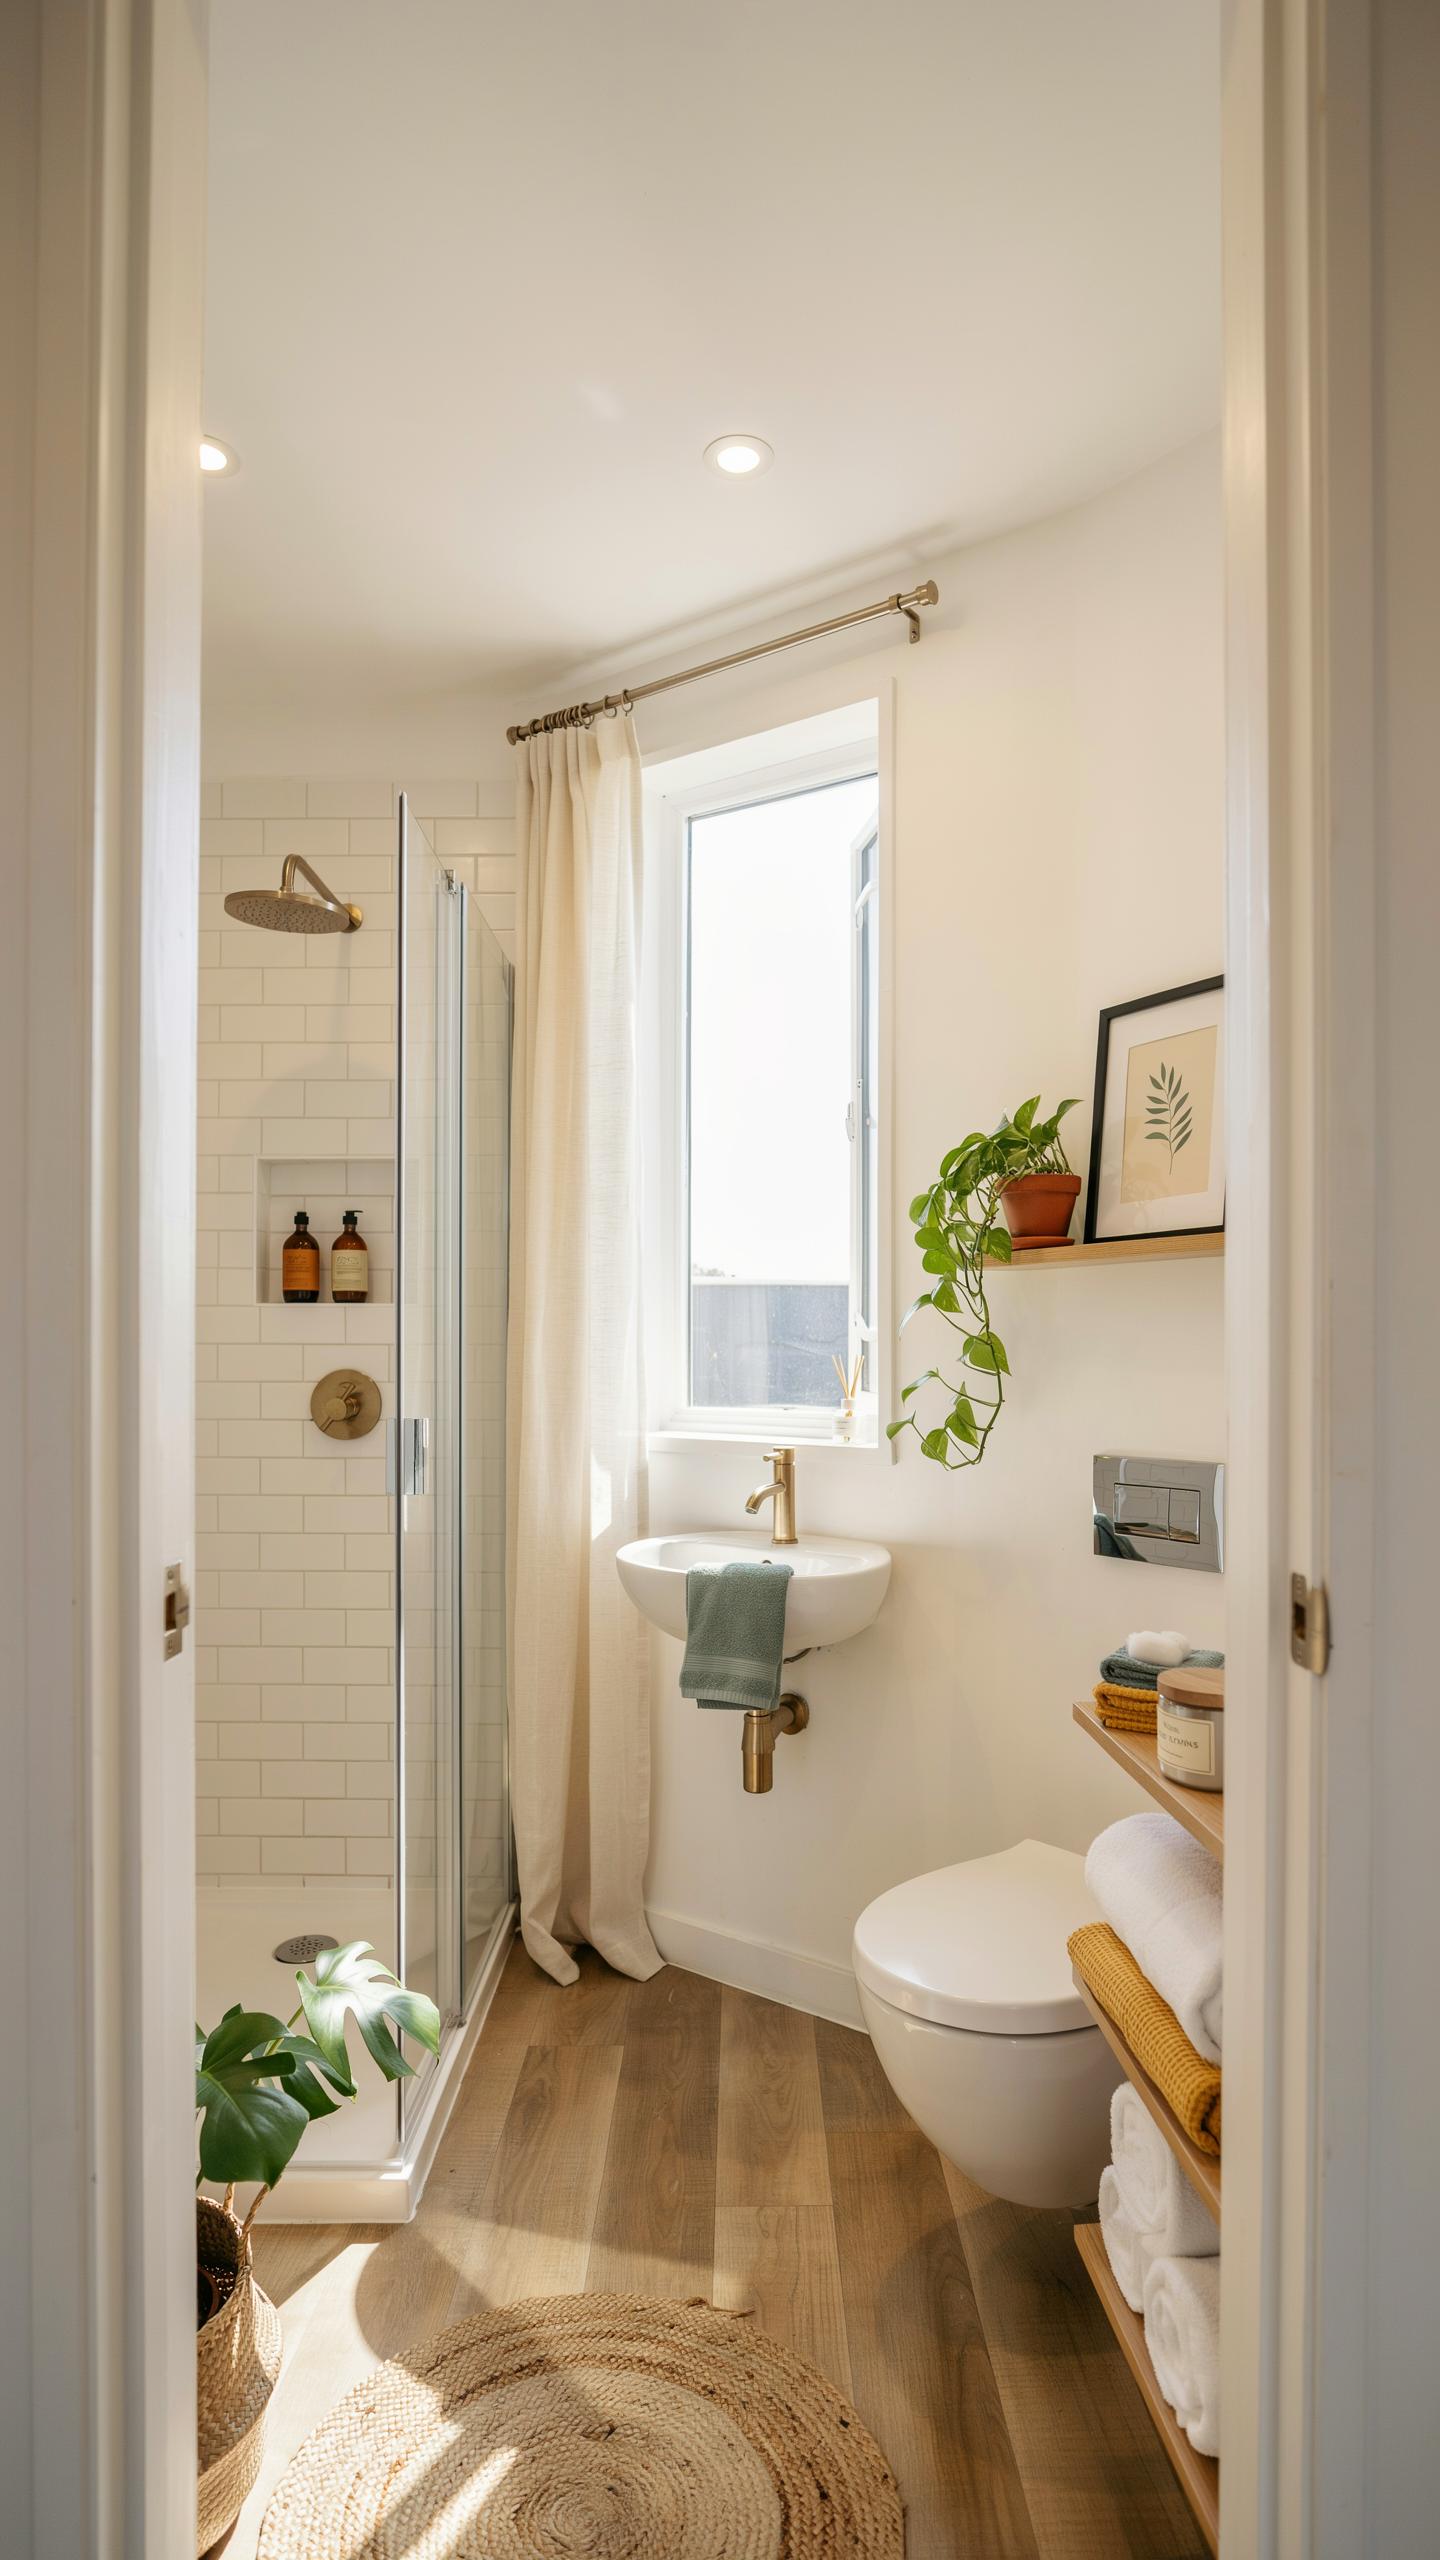
Maximizing Square Footage
Tiny home bathrooms operate within hard constraints. Most tiny bathrooms range from 35 to 75 square feet. You must fit toilet, sink, and shower into this footprint. Every inch either works for you or against you. The plumbing stack determines your layout options. Running water lines and drain pipes costs money and takes space. Corner placement of fixtures saves square footage. Vertical storage replaces horizontal sprawl. Compact fixtures exist specifically for this problem. A corner sink takes less floor space than a centered one. A toilet-and-bidet combination replaces two separate units. Shower stalls consume less volume than tubs.
Your fixture selection directly impacts usable floor space. Standard toilets measure 28 to 30 inches long. Wall-mounted models save several inches of floor clearance. Corner sinks fit into dead space that no one uses otherwise. A 30-inch shower stall works in spaces where a 60-inch tub cannot fit. Stacked washer-dryer units occupy vertical rather than horizontal real estate. Medicine cabinets mount above sinks to store items without eating floor area. Every fixture choice either opens up or closes down movement within the bathroom.
Ergonomic Clearance Standards
Building codes set minimum clearance distances for safety and function. The International Residential Code requires 21 inches of clear space in front of toilets. Bathrooms need at least 30 inches of walkway width throughout the space. Doorways must swing open without hitting fixtures. These rules exist because humans need physical room to move. A 5-foot-by-5-foot bathroom meets code. Anything smaller violates accessibility standards in most jurisdictions. Lenders and inspectors enforce these rules during construction. Your tiny home bathroom must pass inspection to be insurable and sellable.
Fixture placement determines whether you meet or fail clearance requirements. Mount the toilet at least 18 inches from side walls. Space sinks at least 15 inches from the nearest toilet. Leave 12 inches minimum between shower walls and opposite fixtures. These measurements compound. A bathroom that violates one clearance fails inspection entirely. Strategic placement solves multiple requirements at once. A corner toilet position counts as distance from both walls simultaneously. Angled fixtures sometimes work better than straight placement in tight spaces.
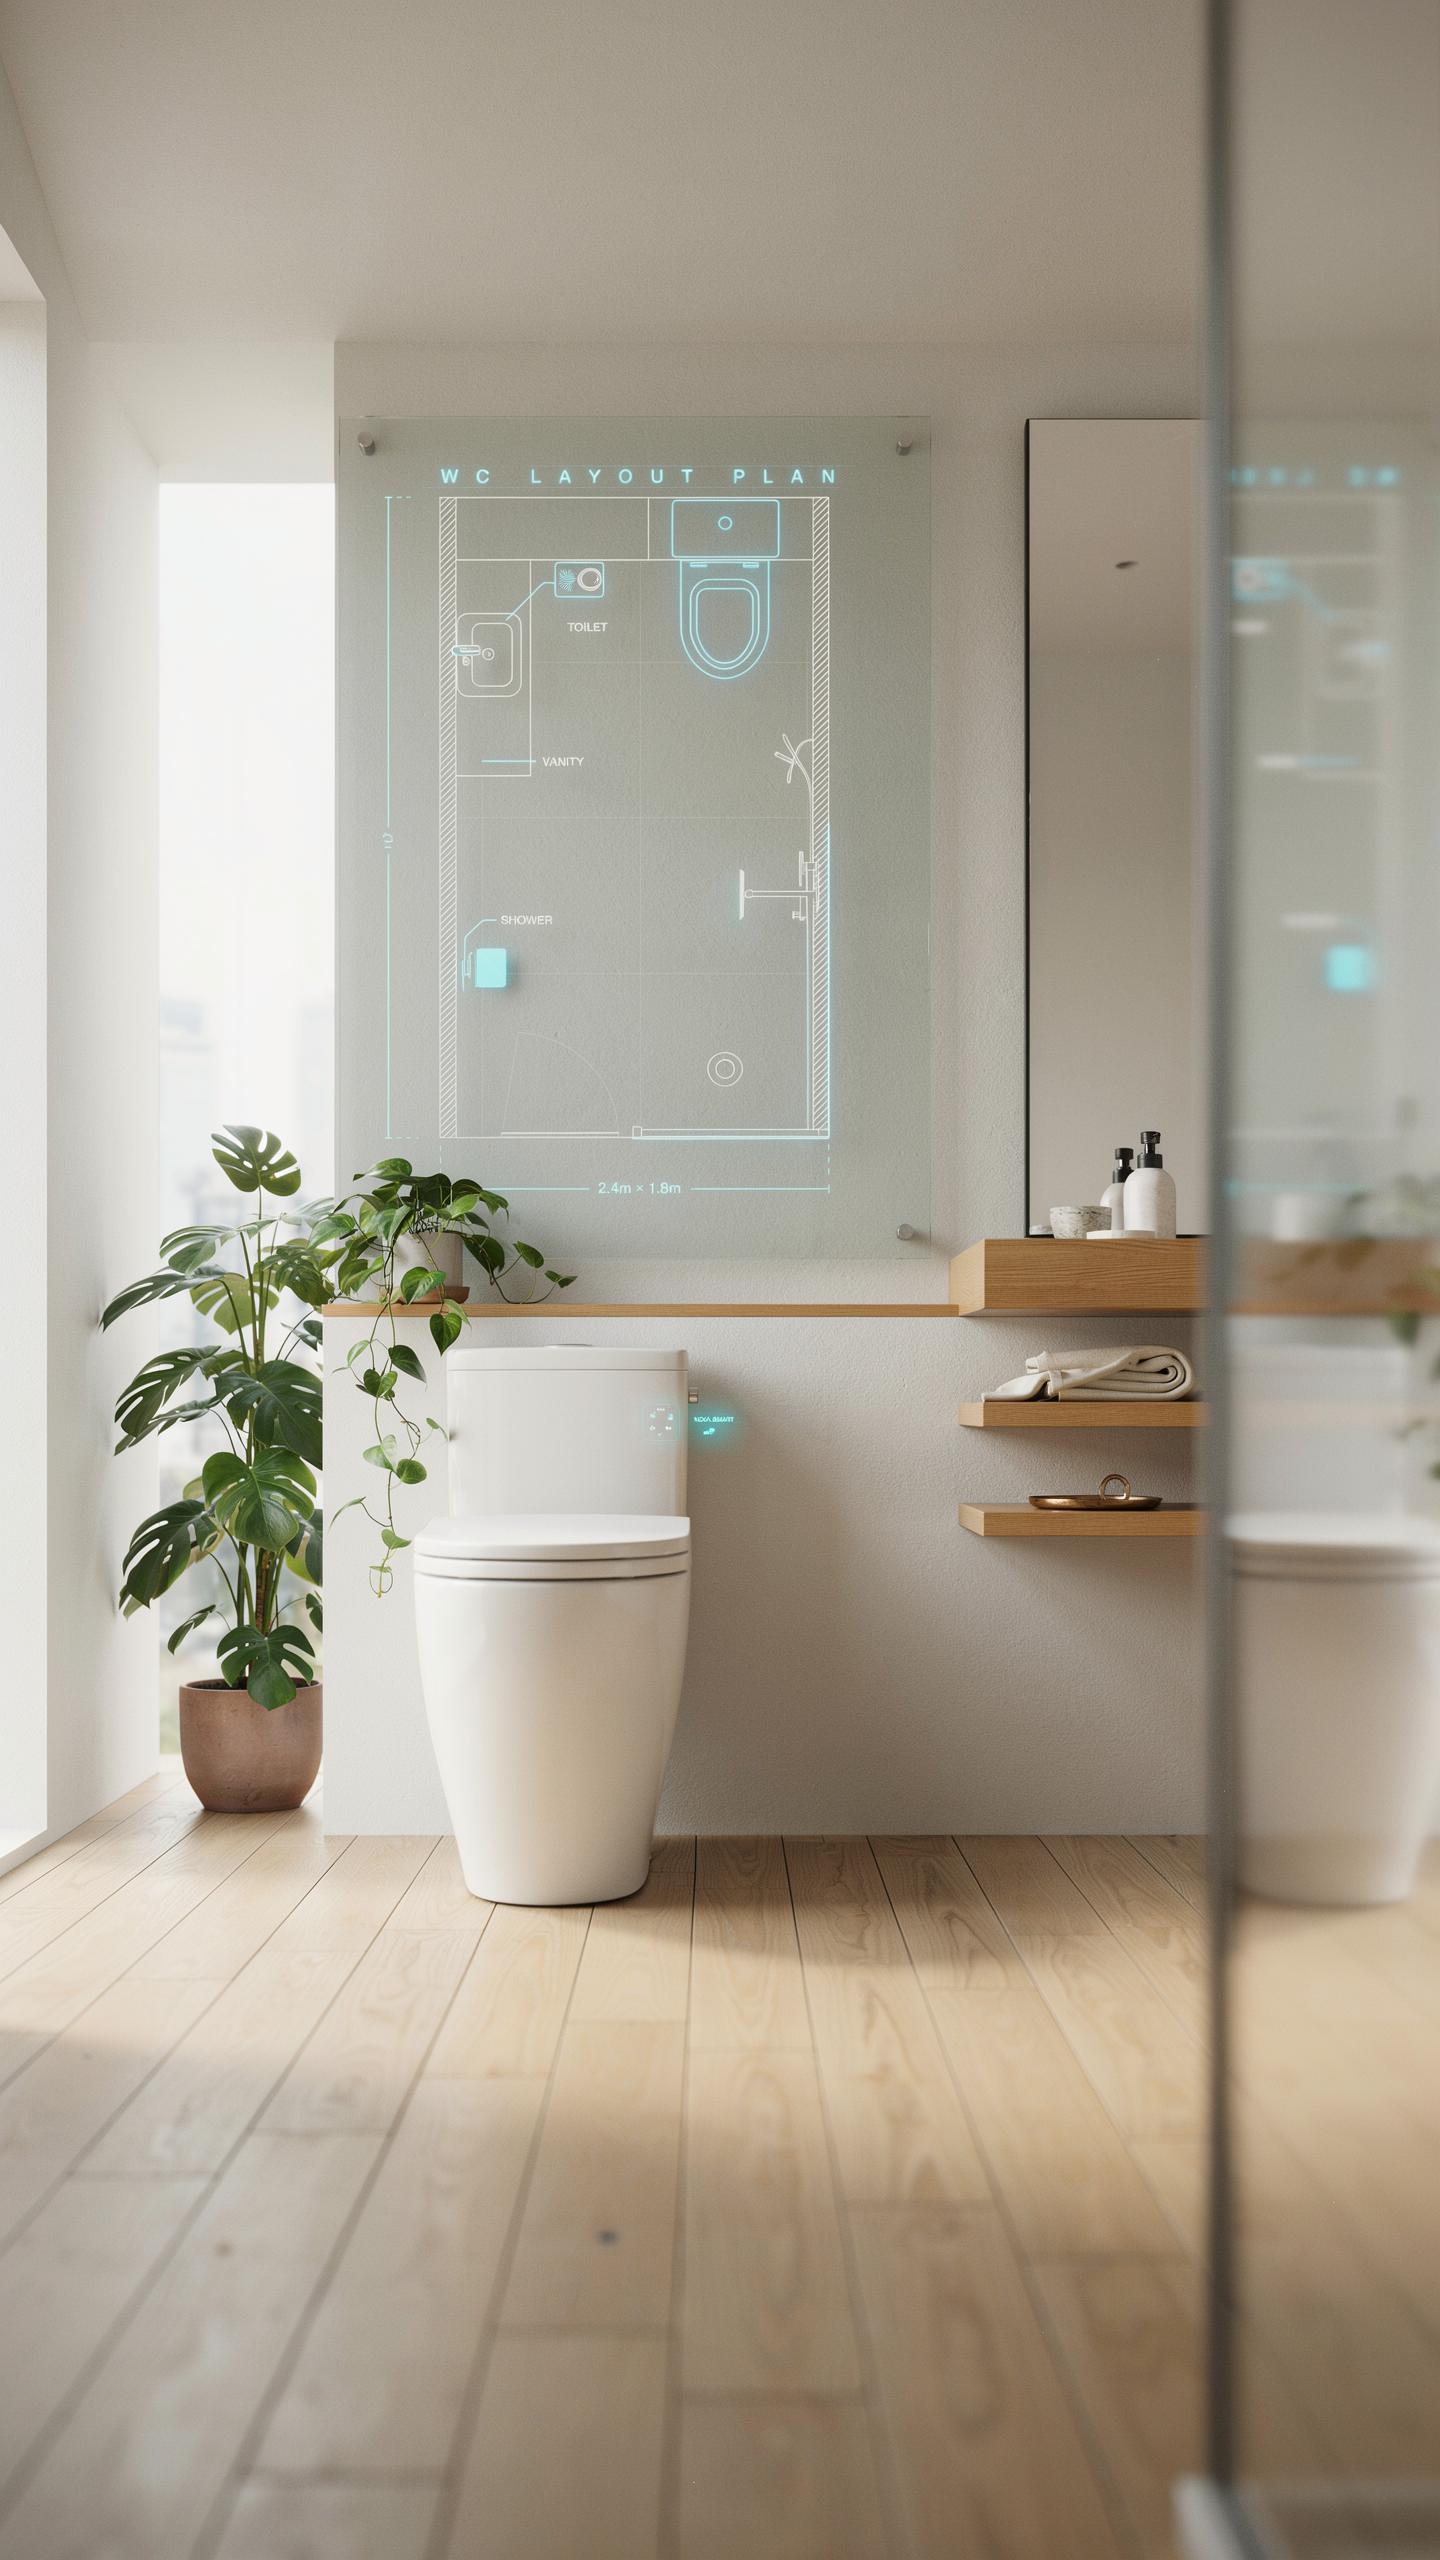
Designing With A Smart Toilet Layout Plan And Wc Layout Plan
Corner Toilet Placement
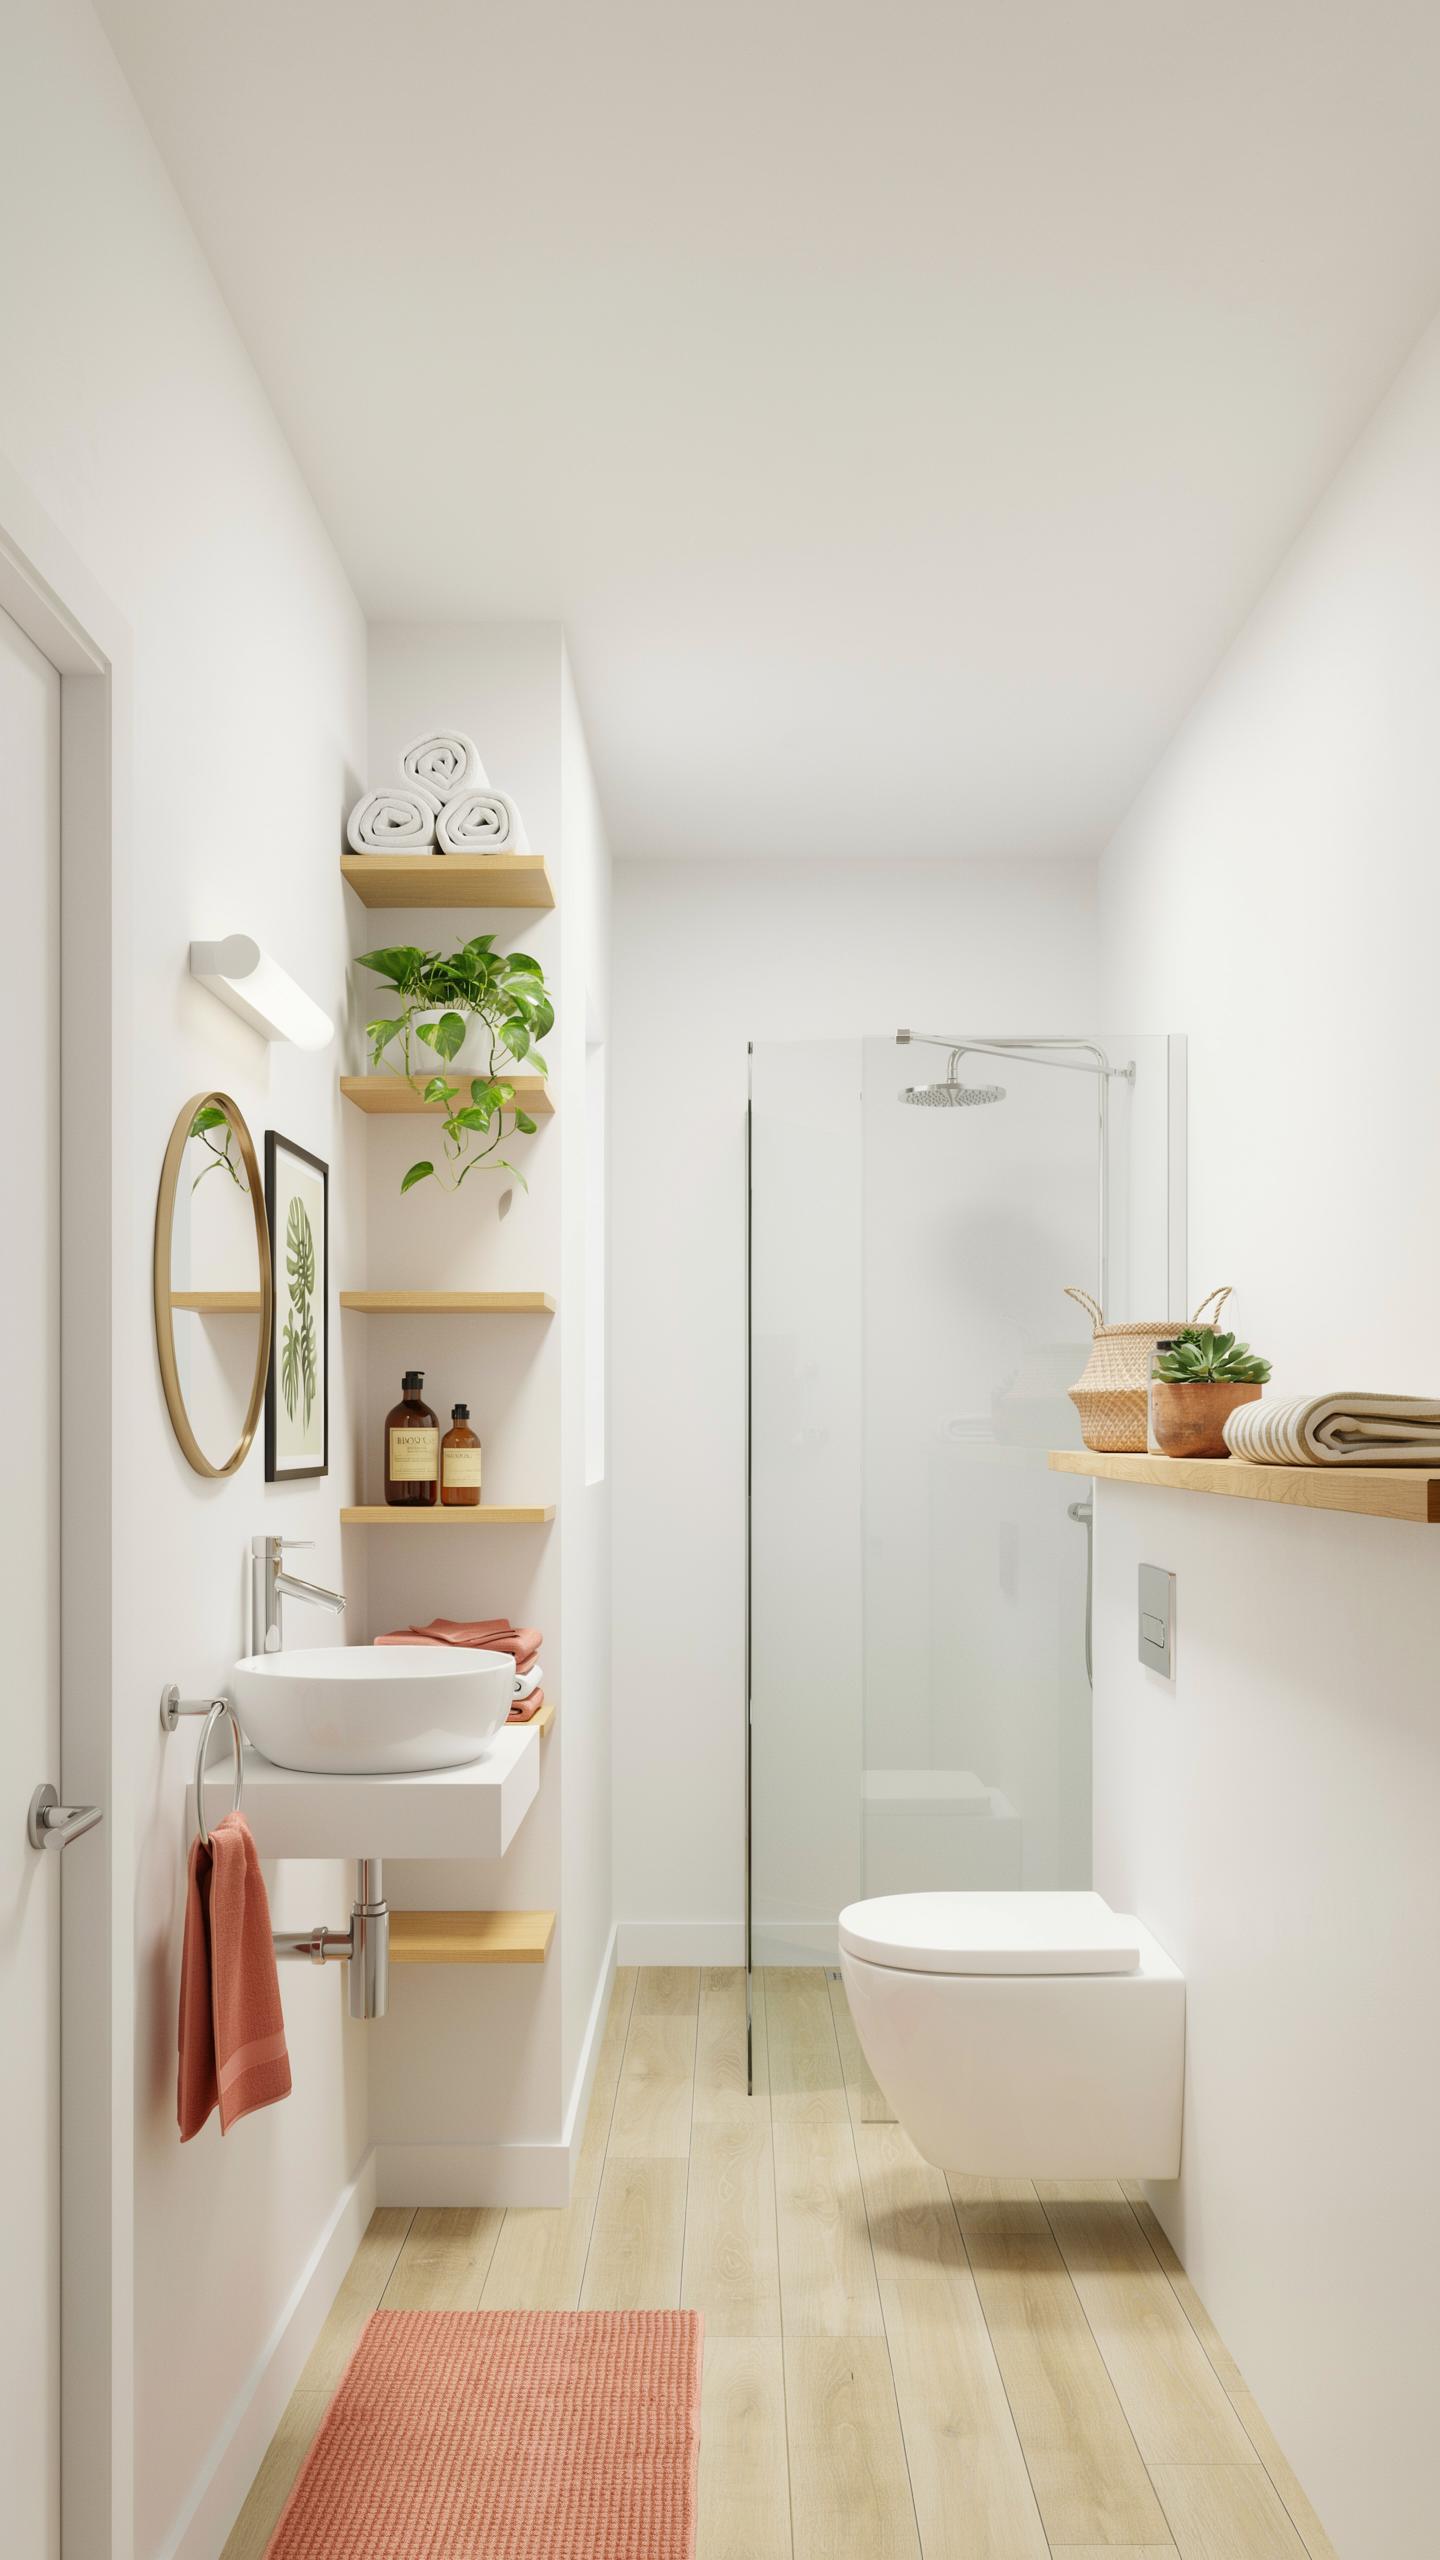
Placing the toilet in a corner creates a fundamental shift in tiny bathroom function. This positioning eliminates wasted wall space and establishes a natural traffic flow away from the sink and shower zones. The diagonal angle created by corner placement actually opens up the center of the room, making the space feel larger than it measures. This strategy works because it removes the toilet from the primary sightline when entering the bathroom, which changes perception of the room’s size.
Corner toilets require specific plumbing rough-in adjustments during construction or renovation. Standard plumbing typically positions the toilet flange 12 inches from the back wall. Corner installations demand careful measurement to ensure the toilet doesn’t protrude into the walkway or interfere with the door swing. Compact and elongated bowl styles both work in corners, but elongated models consume slightly more depth. This placement decision should drive your entire bathroom layout plan because it anchors all other fixture positions.
Wall Hung Wc Systems
Wall-hung toilets conceal the tank inside the wall cavity, saving four to six inches of floor depth compared to standard floor models. This concealment strategy makes the bathroom feel more open because the floor extends visually underneath where the tank would normally sit. The water tank mounts between wall studs during construction, with supply and waste lines running through the walls. Rough-in dimensions shift significantly with wall-hung systems, requiring coordination with plumbing during framing stages.

Wall-hung units demand structural integrity and access for maintenance. You need solid wall framing capable of supporting the weight of water and the toilet assembly itself, typically 150 to 250 pounds when full and in use. The concealed tank sits at a standard height that positions the seat at code-compliant heights without modification. Installation costs run higher upfront, but the space savings in tiny bathrooms justify the investment by improving movement and storage options throughout the room.
Innovative Small Toilet Layout Plan For Maximum Efficiency
Integrated Sink Toilets
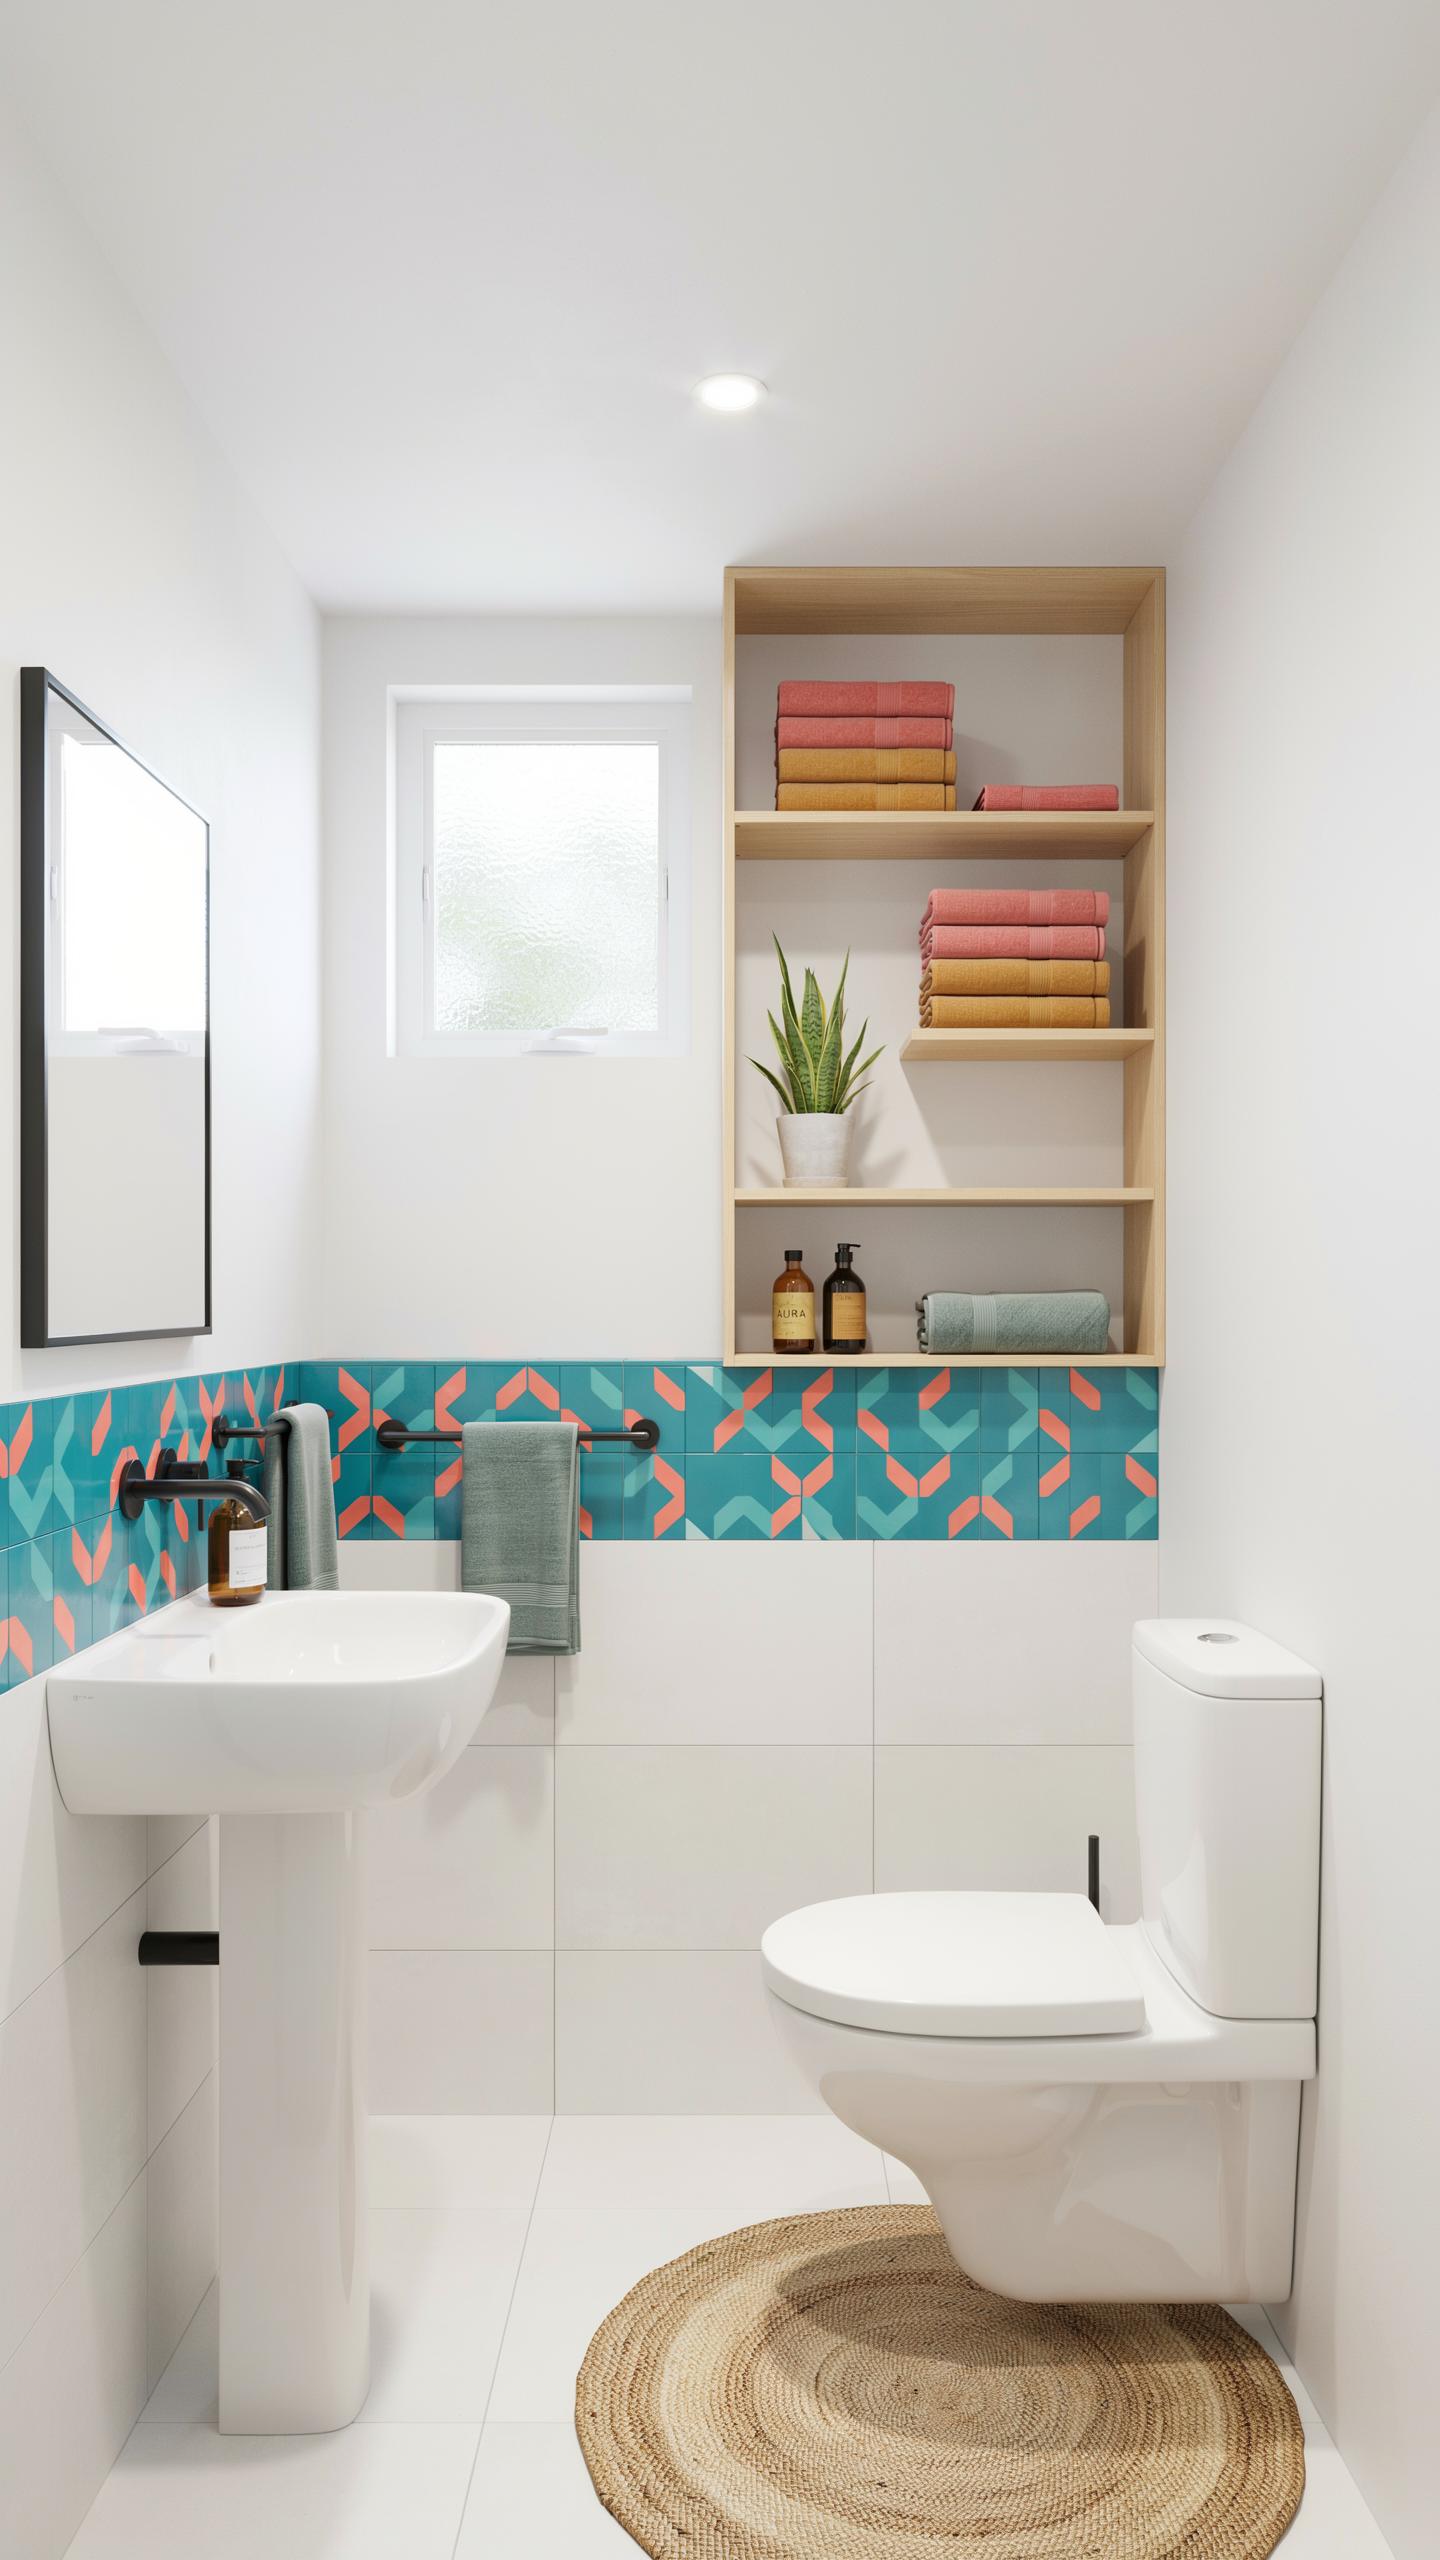
Japanese-style eco-toilets integrate sink basins directly into the toilet tank lid. Water from hand washing flows into a collection system that refills the flush tank for the next cycle. This design cuts water consumption by 25 to 35 percent annually in residential bathrooms. The system works because greywater from sink use meets safety standards for toilet flushing. Installation requires minimal plumbing modifications in tiny homes.
These integrated systems save floor space by eliminating the need for a separate sink vanity in compact bathrooms. A standard model measures roughly 28 inches wide and 20 inches deep, comparable to conventional toilets. The water savings accumulate quickly in homes where multiple occupants use the same fixture daily. Maintenance involves basic cleaning and filter changes every 6 to 12 months. This approach suits tiny homes where square footage directly impacts livability and resale value.
Pocket Door Integration
Pocket doors slide into wall cavities rather than swinging into the bathroom. This eliminates the 24 to 36 inch clearance radius needed for traditional hinged doors. In a tiny bathroom, this reclaimed space converts into usable counter or floor area. The door frame installs during wall construction or retrofit between studs in existing walls. Quality pocket door hardware costs 60 to 150 dollars depending on materials and weight capacity.

Installing a pocket door in a tiny home bathroom requires planning during the design phase. The wall must have sufficient depth to accommodate the door thickness and track assembly. Retrofit installations in existing homes face challenges if plumbing or electrical lines occupy the wall cavity. Maintenance focuses on keeping tracks clean and lubricated for smooth operation. This single modification can increase functional bathroom space by 10 to 15 percent in layouts under 40 square feet.
Creating Your WC Floor Plan And Bathroom Plan Design Strategy
Wet Bath Concepts
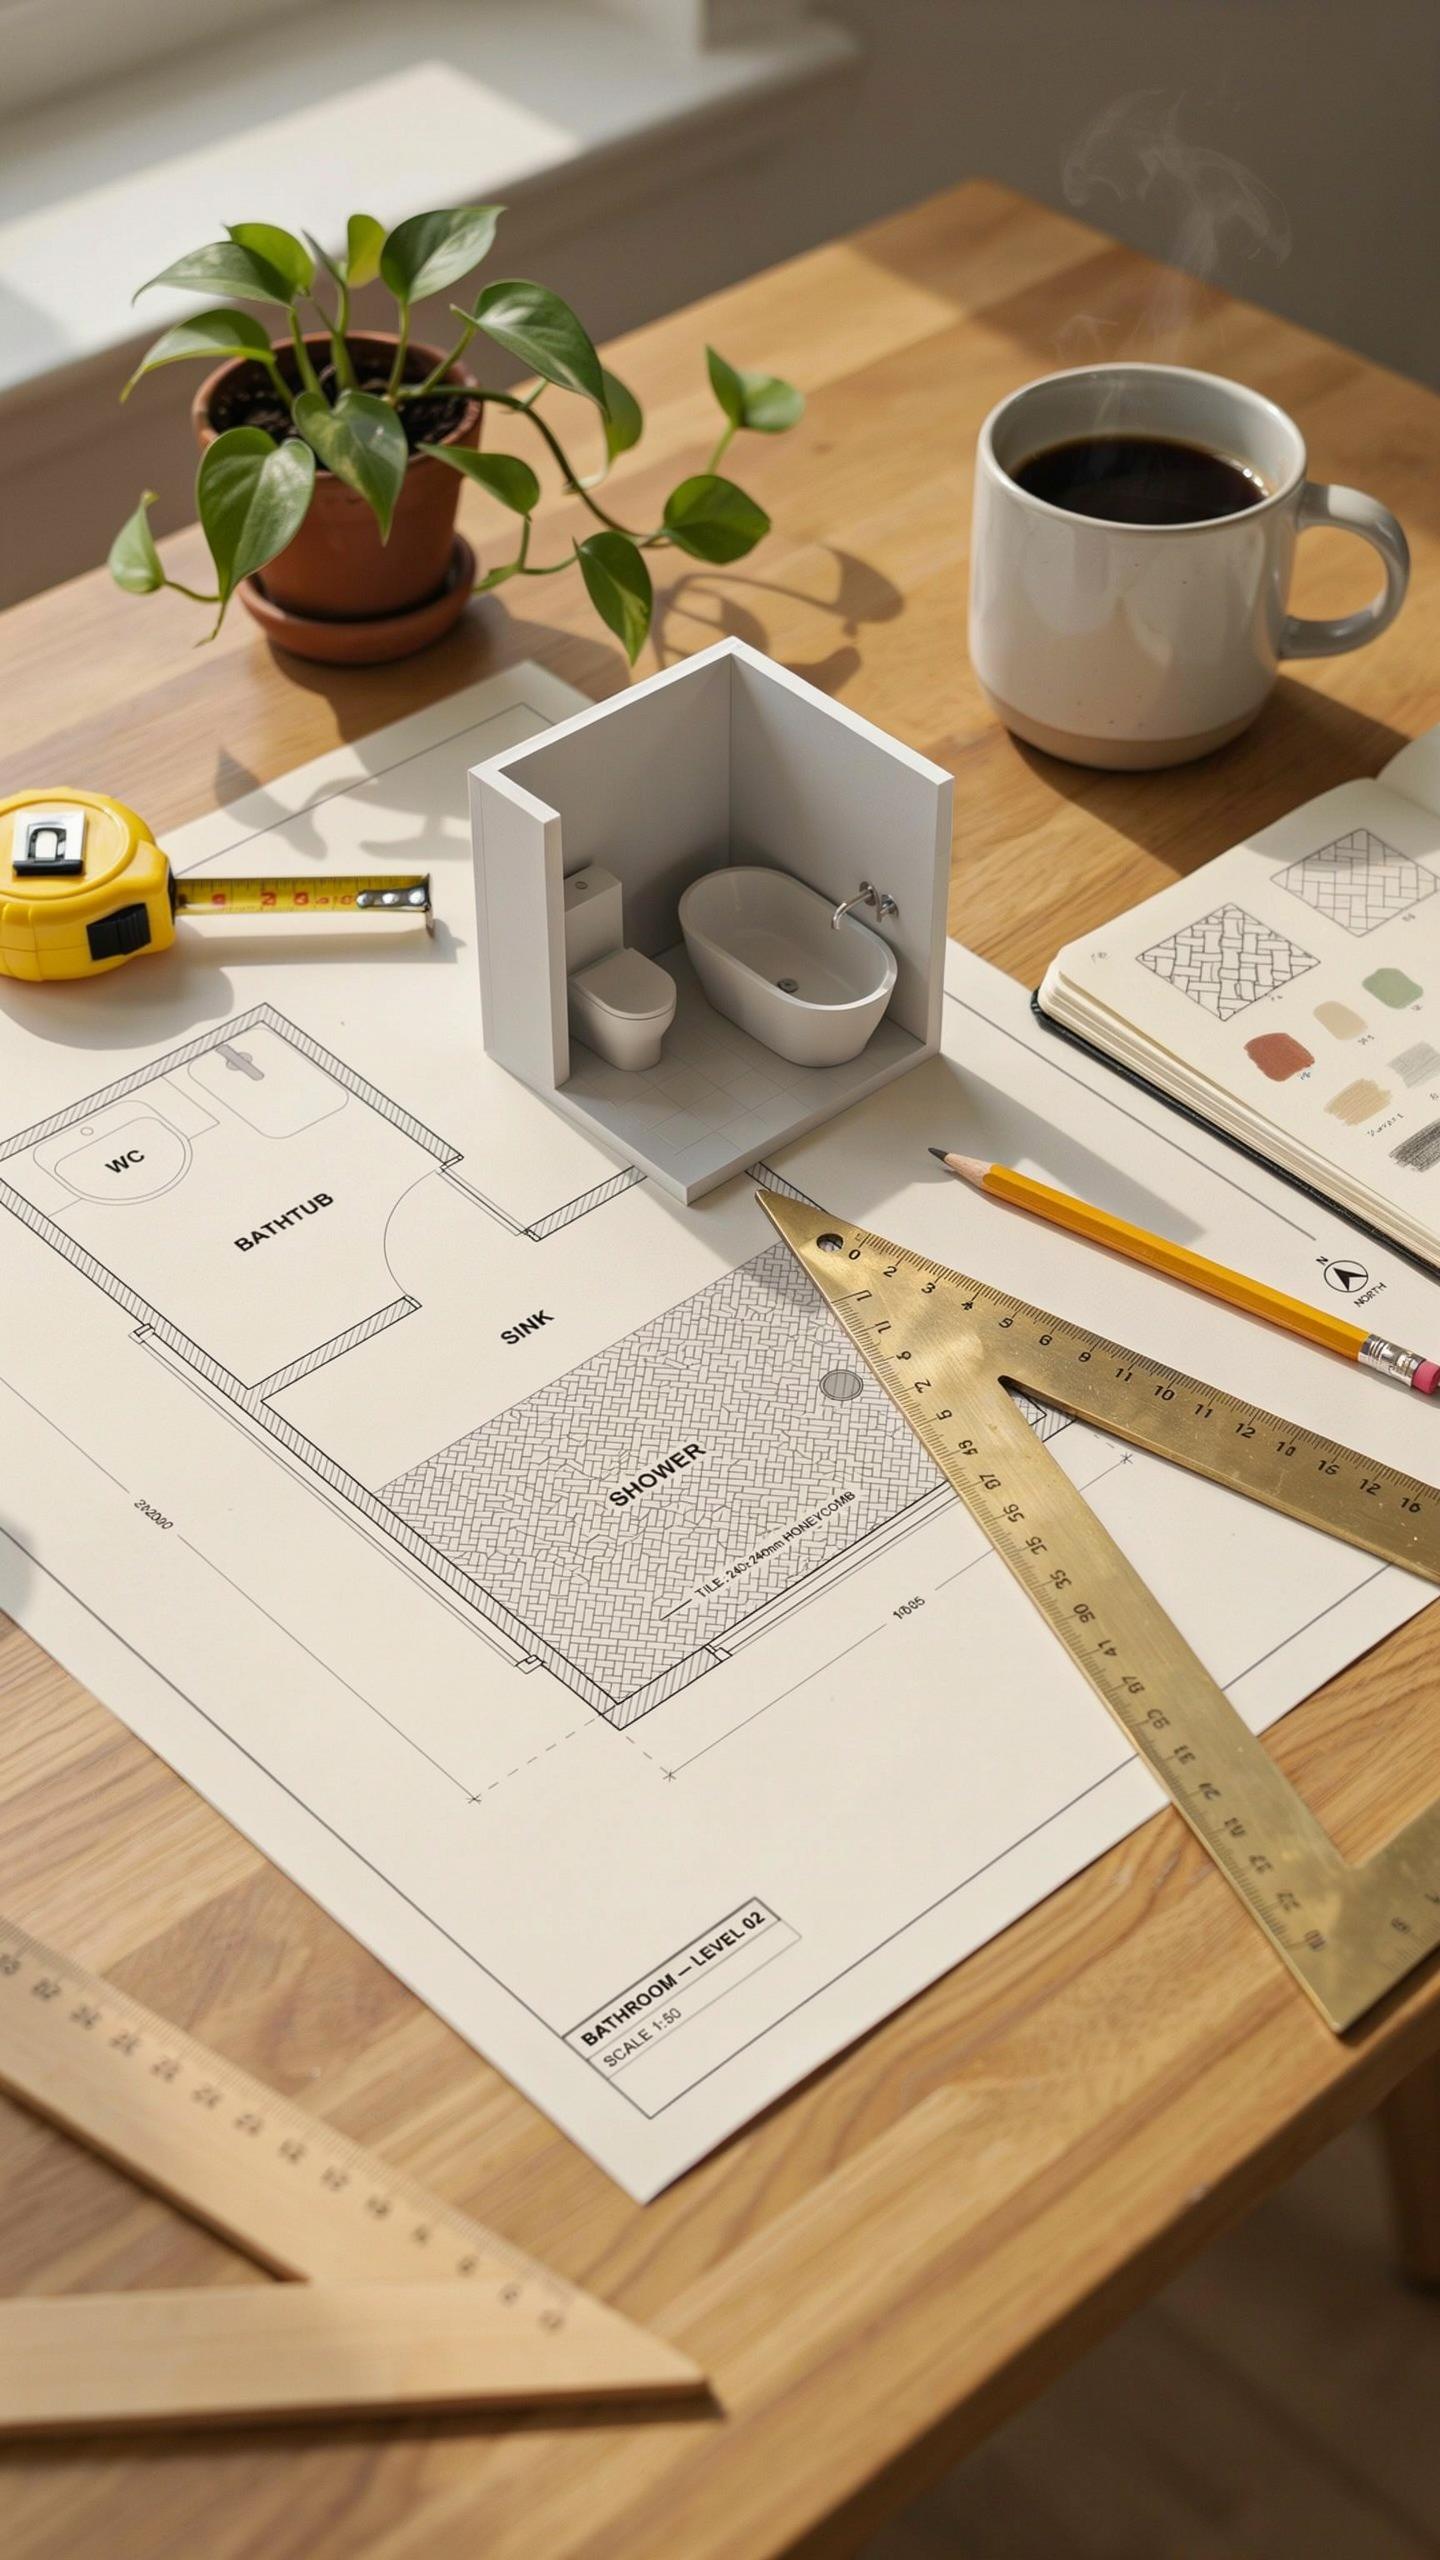
A wet bath combines shower and toilet into one waterproofed room. Water drains from the entire floor through a central or perimeter drain system. This approach eliminates separate shower enclosures and reduces the footprint by 40 to 60 percent. Tiny homes benefit most when square footage is under 400 total.
The wet bath requires proper slope, drainage infrastructure, and moisture-resistant materials throughout. Concrete floors with epoxy coating, tile, or vinyl sheet flooring work well. Walls need waterproof drywall or tile to withstand constant moisture exposure. Ventilation must run continuously to prevent mold and structural damage in confined spaces.
Dry Bath Delineation
Ultra-slim glass partitions create visual separation between wet zones and dry areas without consuming floor space. These partitions use frameless or minimal-frame designs, typically between 3.5 to 5 inches thick. They allow light to flow through while containing spray and moisture. Positioning them strategically maintains open sightlines in compact bathrooms.

Dry zones include vanities, storage, and dressing areas kept separate from shower and toilet water exposure. This hybrid approach avoids full wet bath commitment while maximizing usable space. Glass partitions cost more upfront but preserve functionality and comfort. They work best in tiny homes between 200 and 300 square feet where every inch matters.
Functional WC Layout And Creative Bathroom Layout Ideas
Space Saving Fixtures Checklist
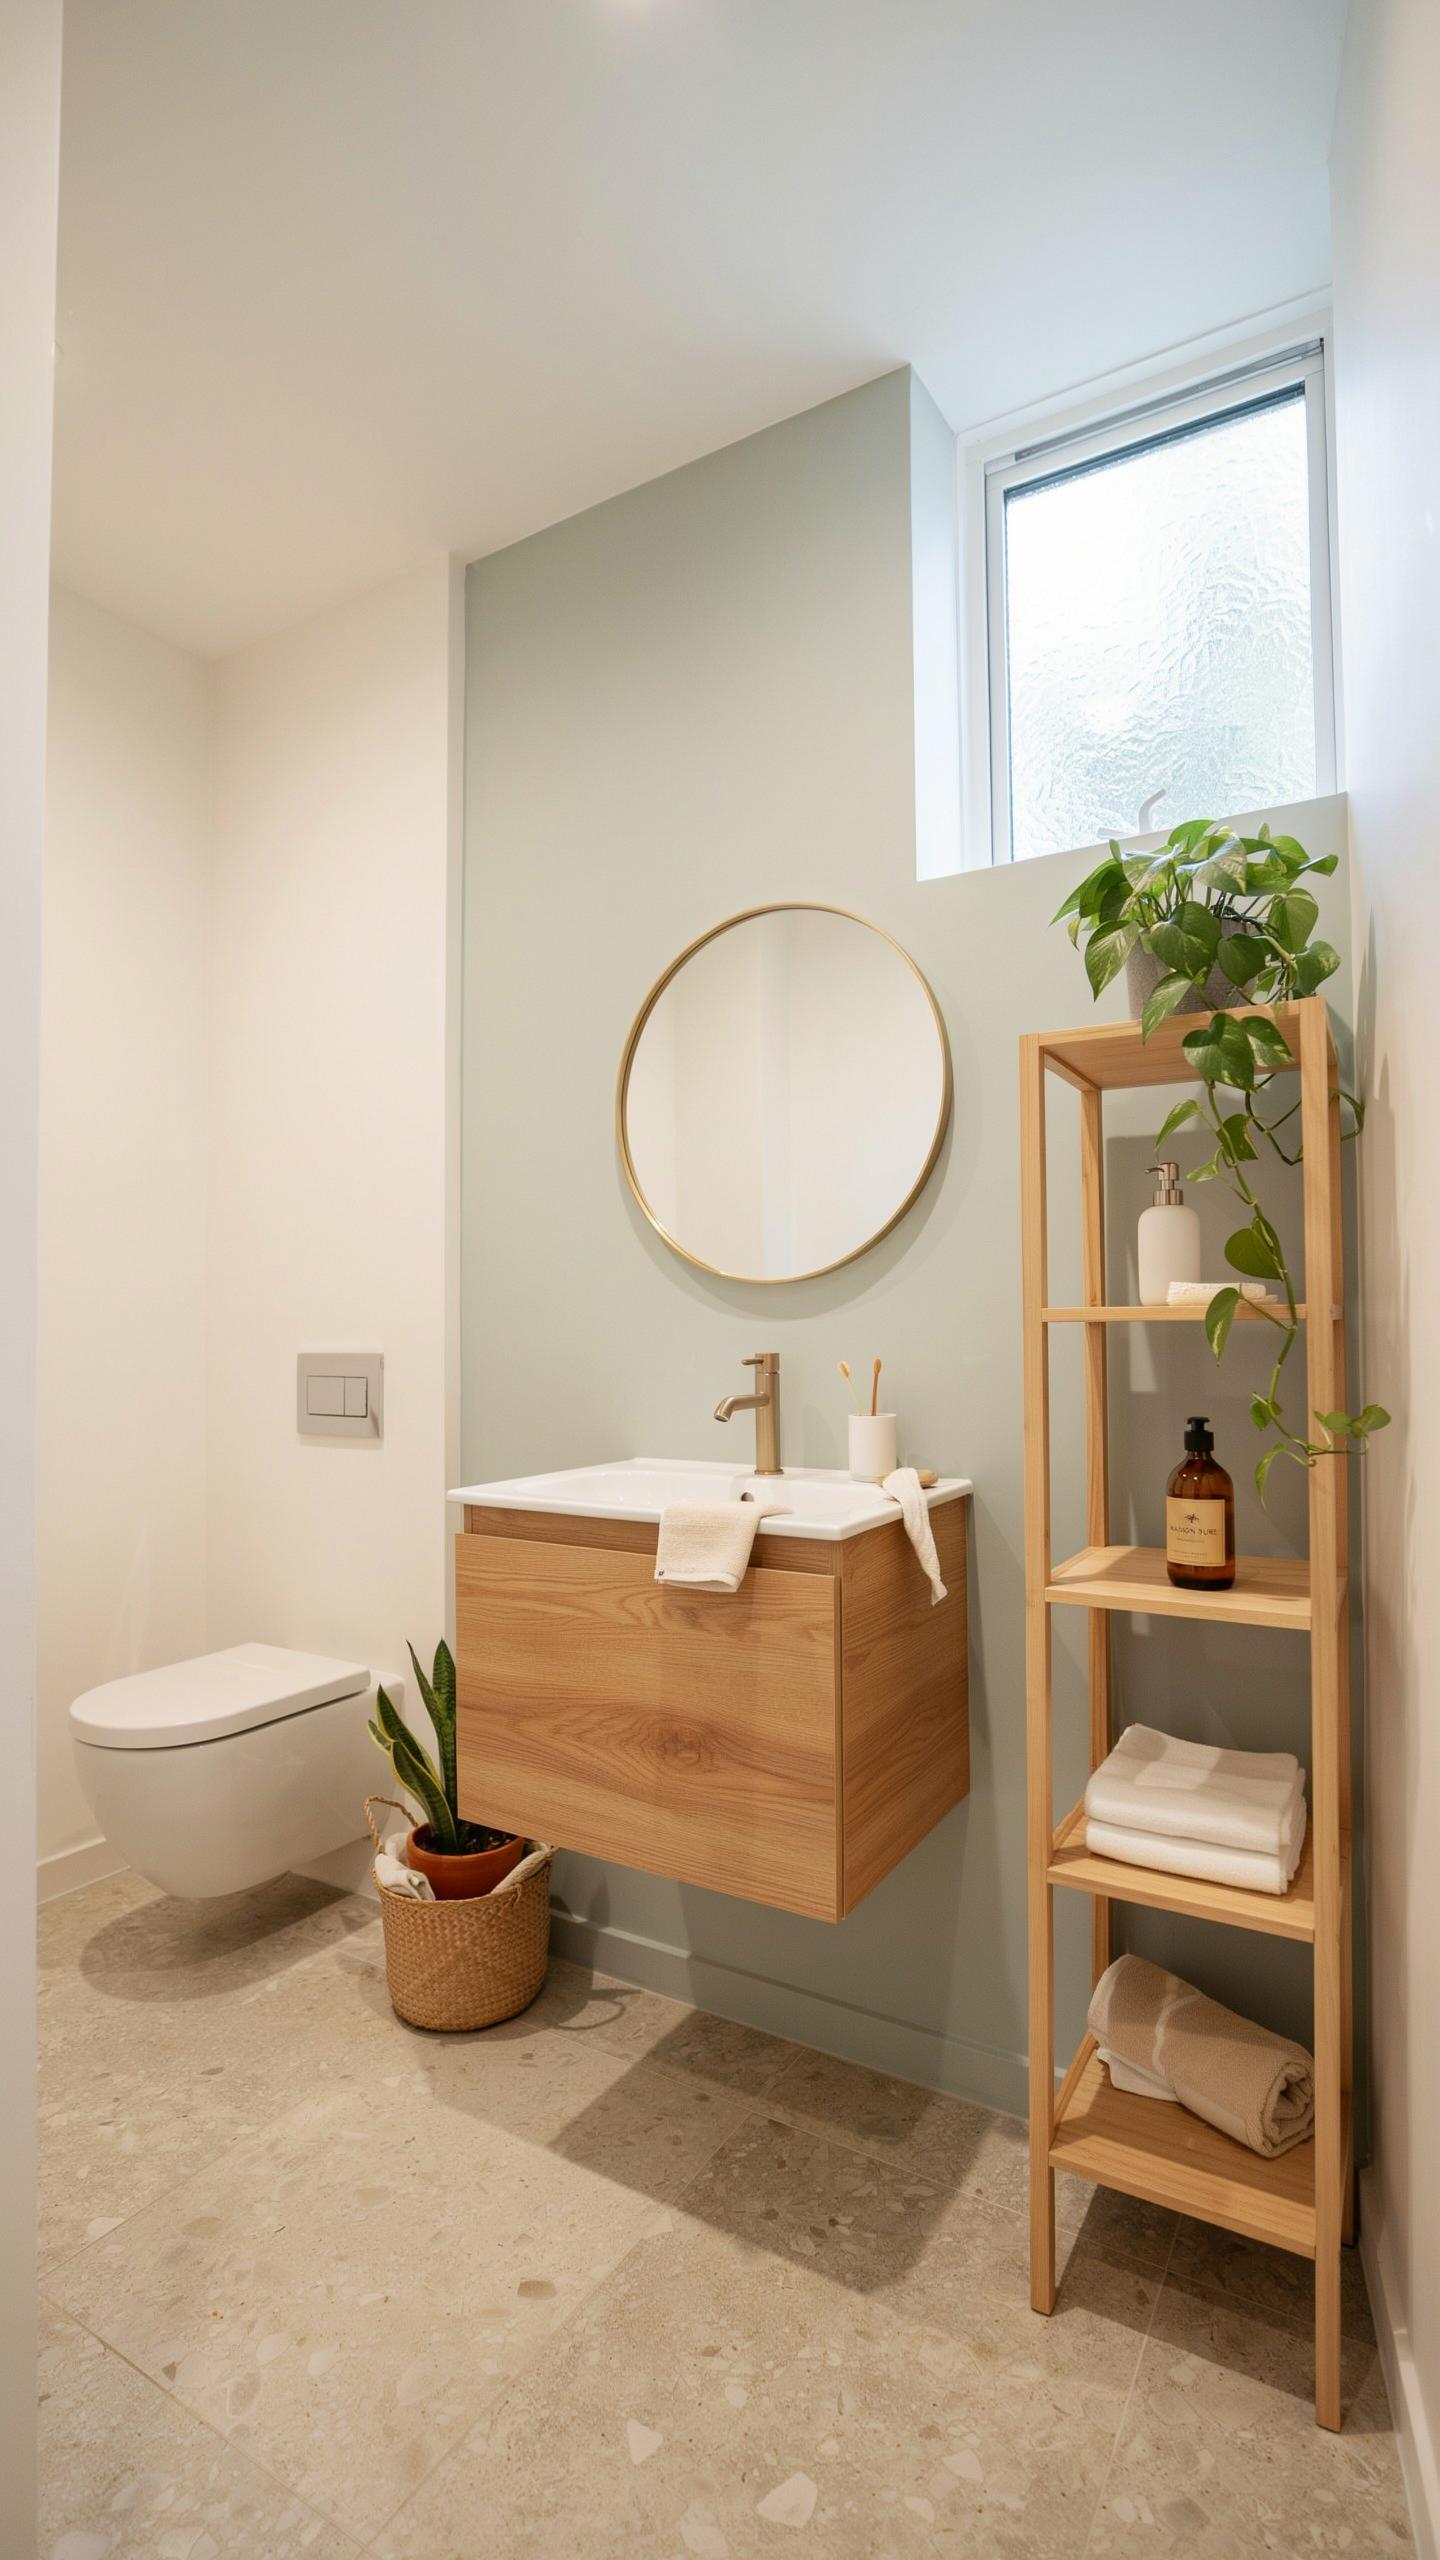
Tiny home bathrooms demand fixtures that deliver function without consuming square footage. Wall-mounted options eliminate the floor footprint of traditional pedestal or vanity sinks. Corner installations maximize unused wall space. Compact toilets and curved sink designs fit tight floor plans. These choices work because they preserve the walking path and sightline, two critical factors in bathrooms under 35 square feet.
- Corner Sinks: Position sinks at 90-degree angles to use wasted corner space. Reduces overall footprint by 15 to 20 percent compared to center-mounted vanities.
- Wall-Mounted Faucets: Attach faucets directly to walls rather than sink decks. Eliminates the need for deck-mounted hardware and opens up counter workspace.
- Compact Toilets: Choose round-bowl models instead of elongated versions. Round designs save 5 to 7 inches of floor depth without sacrificing function.
- Floating Vanities: Mount cabinets 12 to 18 inches above the floor. Creates visual lightness and allows sight lines under the vanity to expand perceived space.
- Sliding Medicine Cabinets: Opt for recessed or semi-recessed models that recess into wall cavities. Avoids cabinet doors that swing into the walking zone and reduces bump hazards.
Wall-mounted and corner fixtures reduce clutter and maintain usable floor area. This approach applies across all climate zones and construction types. The strategy works in modular, manufactured, and custom-built tiny homes because the physics of space remain constant regardless of structure type.
Under Sink Storage Solutions
Plumbing lines underneath sinks create obstacles for standard storage boxes and drawers. Custom cabinetry built around P-traps and supply lines uses this dead space effectively. Installers measure existing plumbing precisely, then construct tiered shelving or pull-out drawers that fit the specific configuration. This approach converts wasted volume into functional storage for cleaning supplies, toiletries, and maintenance items.

Experienced builders install cabinetry after finalizing plumbing connections to avoid costly modifications. They use adjustable shelving systems that adapt to different pipe diameters and locations. Access panels or removable shelves allow future plumbing repairs without destroying cabinetry. The key is measuring twice and building custom, not forcing off-the-shelf solutions into non-standard spaces created by existing plumbing infrastructure.
How To Implement A Small Bathroom Layout With Style
Color Theory And Lighting
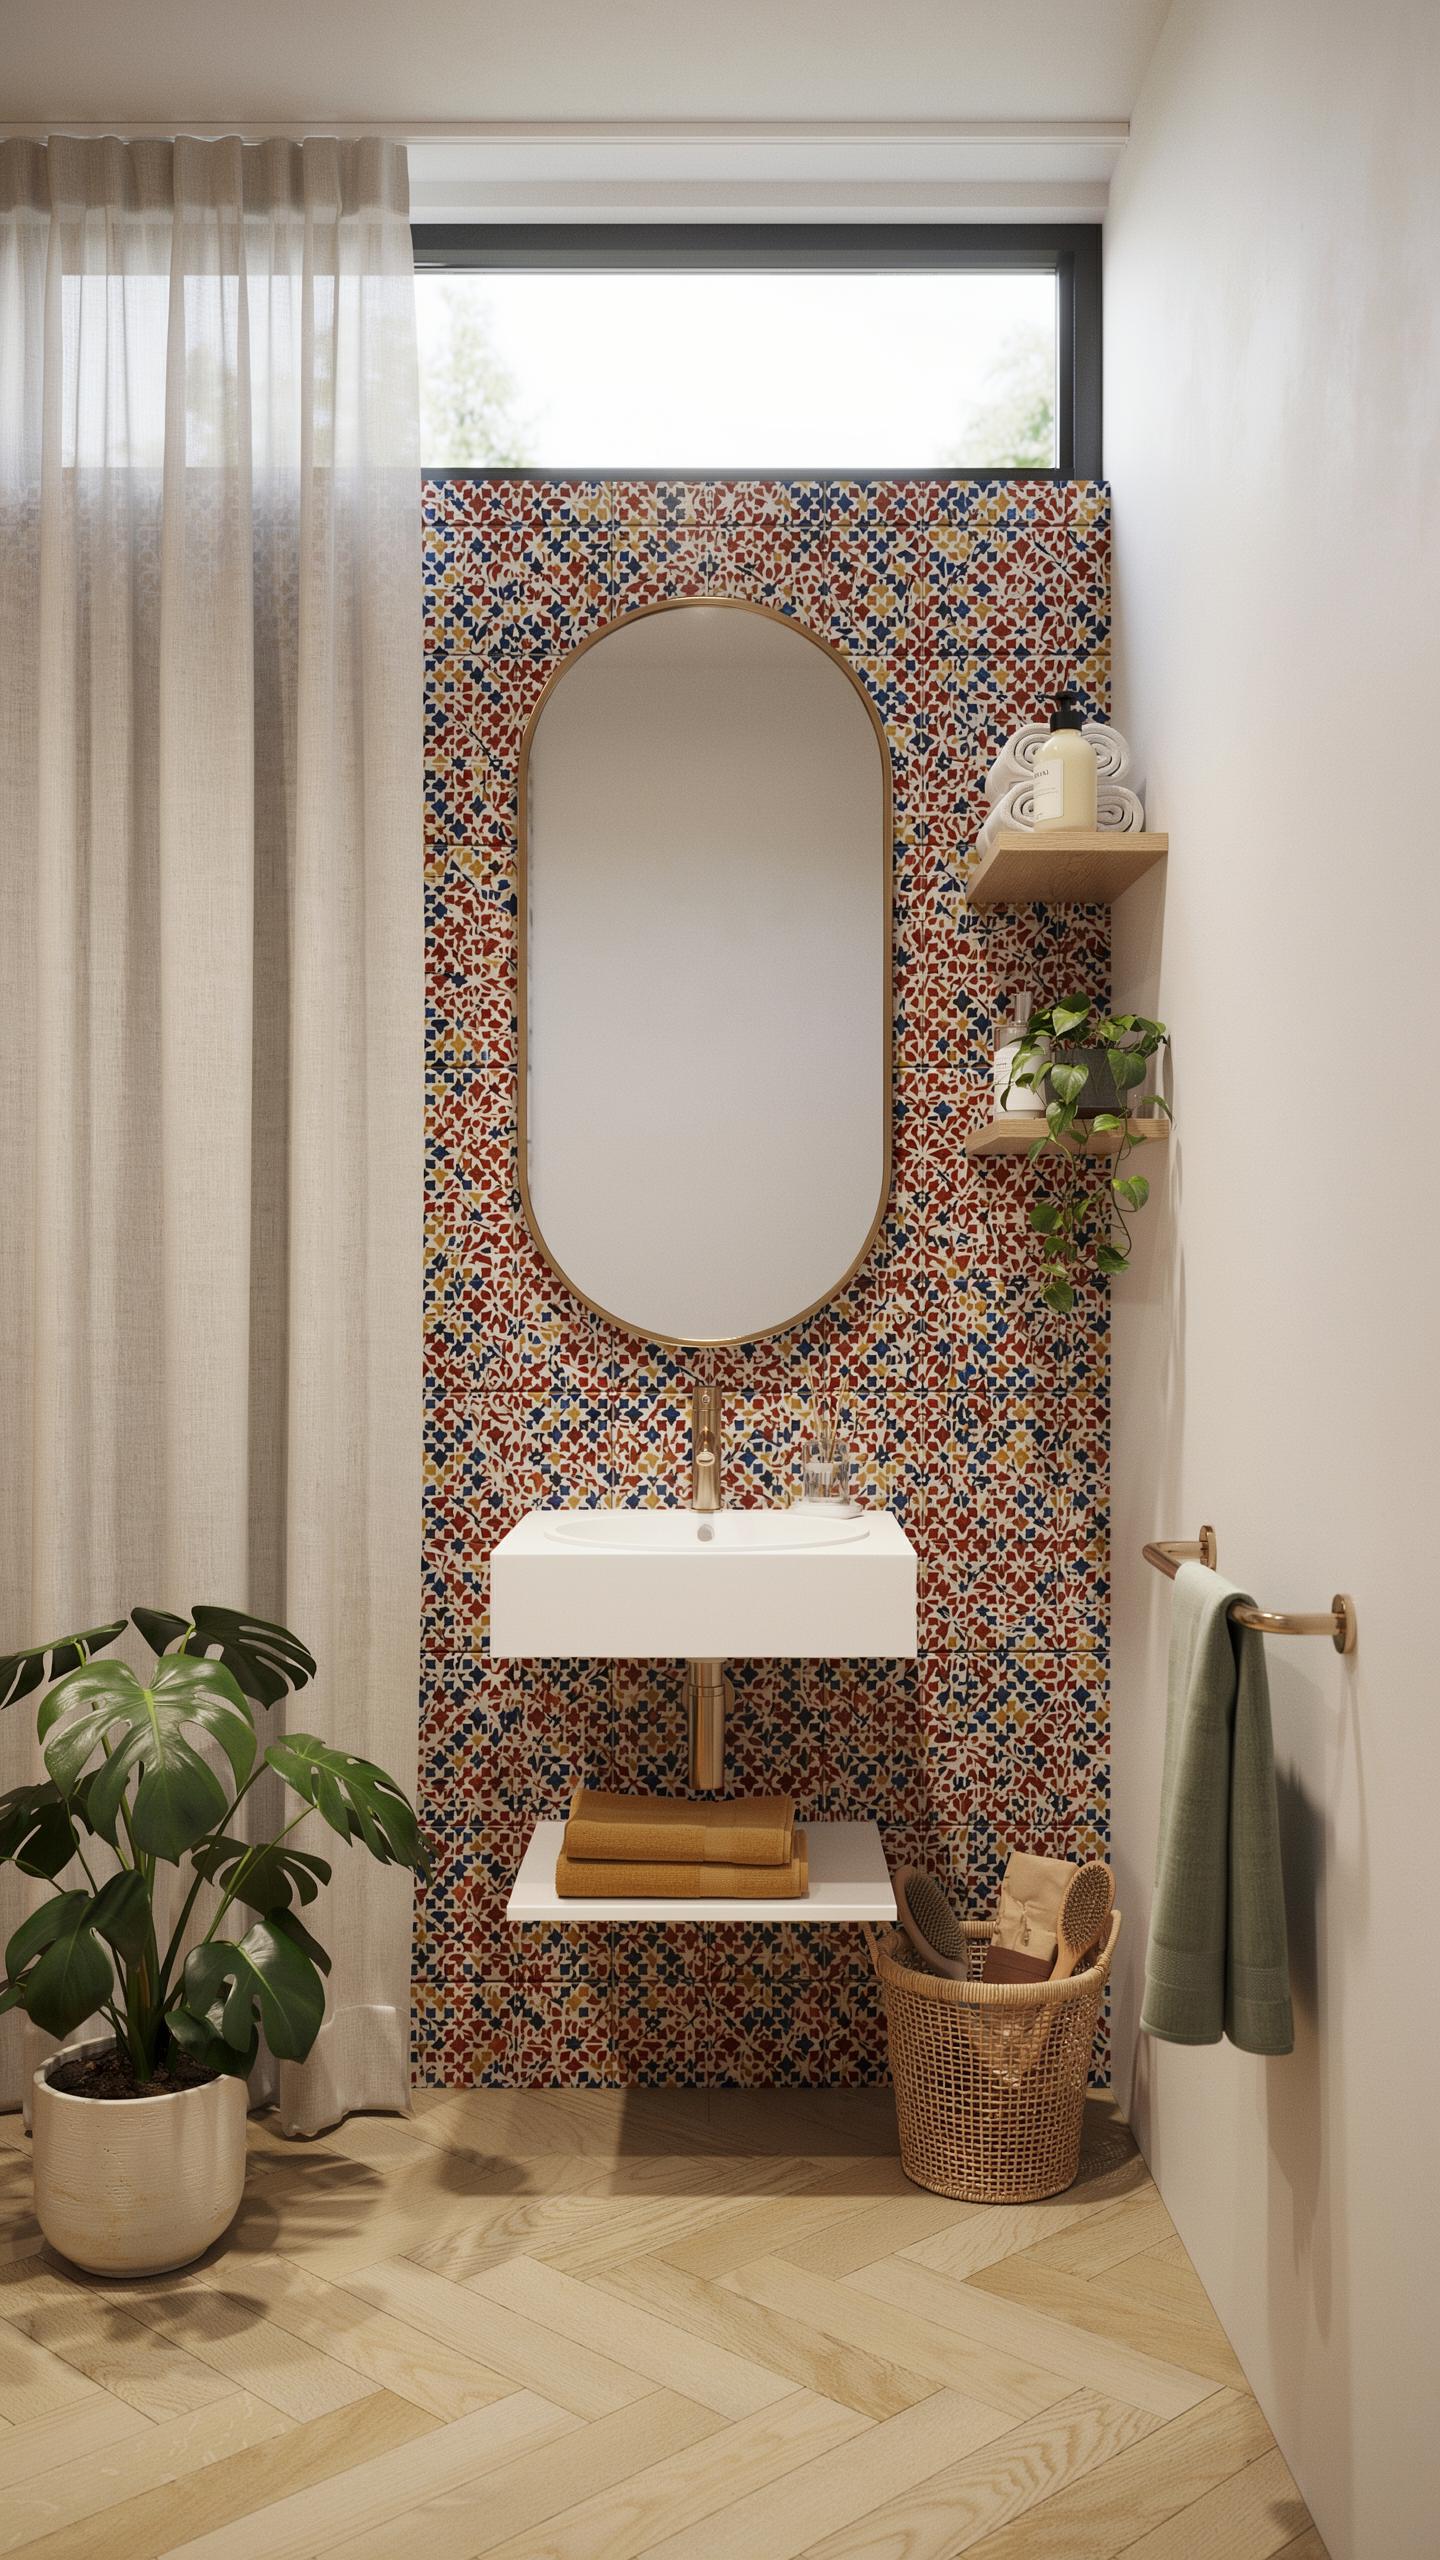
Light colors expand perceived space by reflecting light rather than absorbing it. Whites, soft grays, and warm beiges create visual continuity in tiny bathrooms. Natural skylights amplify this effect by flooding the room with daylight, which eliminates shadows that make spaces feel cramped. Strategic placement of skylights above the shower or vanity maximizes their impact without requiring structural compromises.
Artificial lighting must complement natural sources. Recessed ceiling lights provide even illumination without taking up wall or counter space. Install lights around mirrors to eliminate facial shadows, which improves functionality and comfort. LED strips along shelving or baseboards add depth without clutter. Dimmer switches give you control over intensity and mood based on time of day and user preference.
Large Format Tile Benefits
Large format tiles reduce grout line frequency, which creates visual continuity across walls and floors. A 24×24 inch tile produces fewer interruptions than standard 12×12 inch tiles, making the space feel larger and less segmented. Fewer grout lines also mean less maintenance and fewer places for mold and mildew to develop. This direct connection between visual perception and material choice drives the trend in contemporary tiny home design.

Install large format tiles on both walls and floors to maximize the effect. Vertical tile orientation on walls draws the eye upward, emphasizing ceiling height in cramped spaces. Matte finishes reduce glare while maintaining the seamless appearance that glossy tiles provide. Choose neutral colors that align with your color palette to maintain the expanded spatial feeling throughout the bathroom.
Finding The Best Bathroom Layout For Your Tiny Lifestyle
Composting Vs Flush Toilets
Composting toilets eliminate the need for traditional plumbing lines and septic systems. They work through aerobic decomposition, breaking down waste into usable compost over time. This system requires no water connection, making it ideal for off-grid tiny homes. Installation costs run lower than flush systems. Composting toilets demand regular maintenance and proper ventilation to function correctly.
Flush toilets depend on water supply and waste removal infrastructure. They connect to municipal sewers or septic tanks, requiring standard plumbing runs through your tiny home. Flush systems occupy slightly less interior space than composting alternatives. Water usage increases utility costs and environmental footprint. Choose flush toilets if your tiny home sits on serviced land with existing infrastructure.
Even in the smallest corner of a home, a well-placed bath can cradle the soul and turn a simple routine into a cherished sanctuary.
Loft Adjacent Bath Challenges
Installing bathrooms near or under loft areas creates structural complications. Floor joists must support concentrated plumbing weight and water loads. Vanities and fixtures positioned below lofts require reinforced framing to prevent sagging or failure. Water supply lines and drain pipes need adequate clearance around existing support beams. Improper installation leads to plumbing failures and costly repairs.

Ventilation becomes critical when bathrooms sit directly under sleeping lofts. Moisture from showers and sinks rises into the loft space, causing mold and wood rot. Install exhaust fans vented directly outside, not into attic cavities. Consider moisture barriers and improved insulation around the loft area. Strategic bathroom placement away from lofts simplifies construction and eliminates long-term moisture damage.
Seasonal Upgrades For Your Tiny Home Floor Plan Bathroom Layout
Winterization Insulation Tips
Frozen pipes destroy tiny home bathrooms fast. Tight spaces mean pipes run closer to exterior walls. Cold air penetrates thin walls easily. You need a winterization checklist before temperatures drop.
- Insulate exposed pipes: Wrap all visible water lines with foam pipe insulation sleeves. This is the first line of defense against freezing in unheated crawl spaces or exterior walls.
- Seal air leaks around fixtures: Caulk gaps where pipes enter walls. Cold air flows directly onto pipes through these openings. Use weatherproof caulk rated for bathrooms.
- Add cabinet insulation: Remove cabinet panels under sinks. Install fiberglass batts or foam board on exterior walls behind pipes. This creates a thermal barrier.
- Heat tape installation: Apply electric heat tape to pipes in zones below 32 degrees regularly. Use thermostatic tape that activates only when needed to save energy.
- Drain winterization: Shut off water to exterior hose bibs. Open valves to drain lines completely. Trapped water freezes and expands, cracking pipes.
- Ventilation control: Close bathroom exhaust dampers in winter. Open dampers pull warm air outside. Manual dampers work better than automatic ones in tiny homes.
Tiny homes lose heat three times faster than standard houses. Bathroom pipes in external walls face the most risk. These steps prevent costly emergency repairs during winter months.
Efficient Heating Solutions
Radiant floor heating mats solve tiny bathroom cold spots without taking wall space. Mats install directly under tile or vinyl flooring. They provide consistent warmth across the entire floor. Energy consumption runs 30 to 50 percent lower than forced air heating for this single room.

Heated towel racks serve dual purposes in tiny bathrooms. They warm towels and provide supplemental heat to the space. Electrical models draw 100 to 400 watts depending on size. Select models with timers to avoid wasting energy. Mount them on interior walls to radiate heat into the room rather than to exterior walls.
Frequently Asked Questions

What are the most popular tiny home floor plan bathroom layout options for beginners?
For those new to small-scale living, the most popular tiny home floor plan bathroom layout typically features a linear or corner configuration. A wet room design is a fantastic starting point because it combines the shower and toilet area into one waterproof zone, maximizing every square inch. This approach simplifies plumbing while creating a sleek, modern aesthetic that makes the entire home feel more spacious and professionally designed for comfort.
How can I maximize storage within a compact tiny home bathroom?
To optimize your tiny home floor plan bathroom layout, look toward vertical space and multifunctional fixtures. Install recessed shelving inside shower walls and use over-the-door organizers for toiletries. Choosing a vanity with deep drawers instead of a pedestal sink provides essential hidden storage. Additionally, mounting a mirrored cabinet can reflect light to brighten the room while keeping your daily essentials tucked away, ensuring the small footprint remains clutter-free and highly functional.
Is it possible to design a luxurious tiny home bathroom on a limited budget?
Absolutely. You can achieve a high-end look without overspending by focusing on impactful details like matte black hardware or stylish peel-and-stick tiling. Save money by choosing a standard fiberglass shower insert but elevate the space with a premium rainfall showerhead. Prioritizing one or two “splurge” items, such as a high-quality teak floor mat or designer lighting, creates an upscale atmosphere that proves affordable materials can still look incredibly sophisticated.



