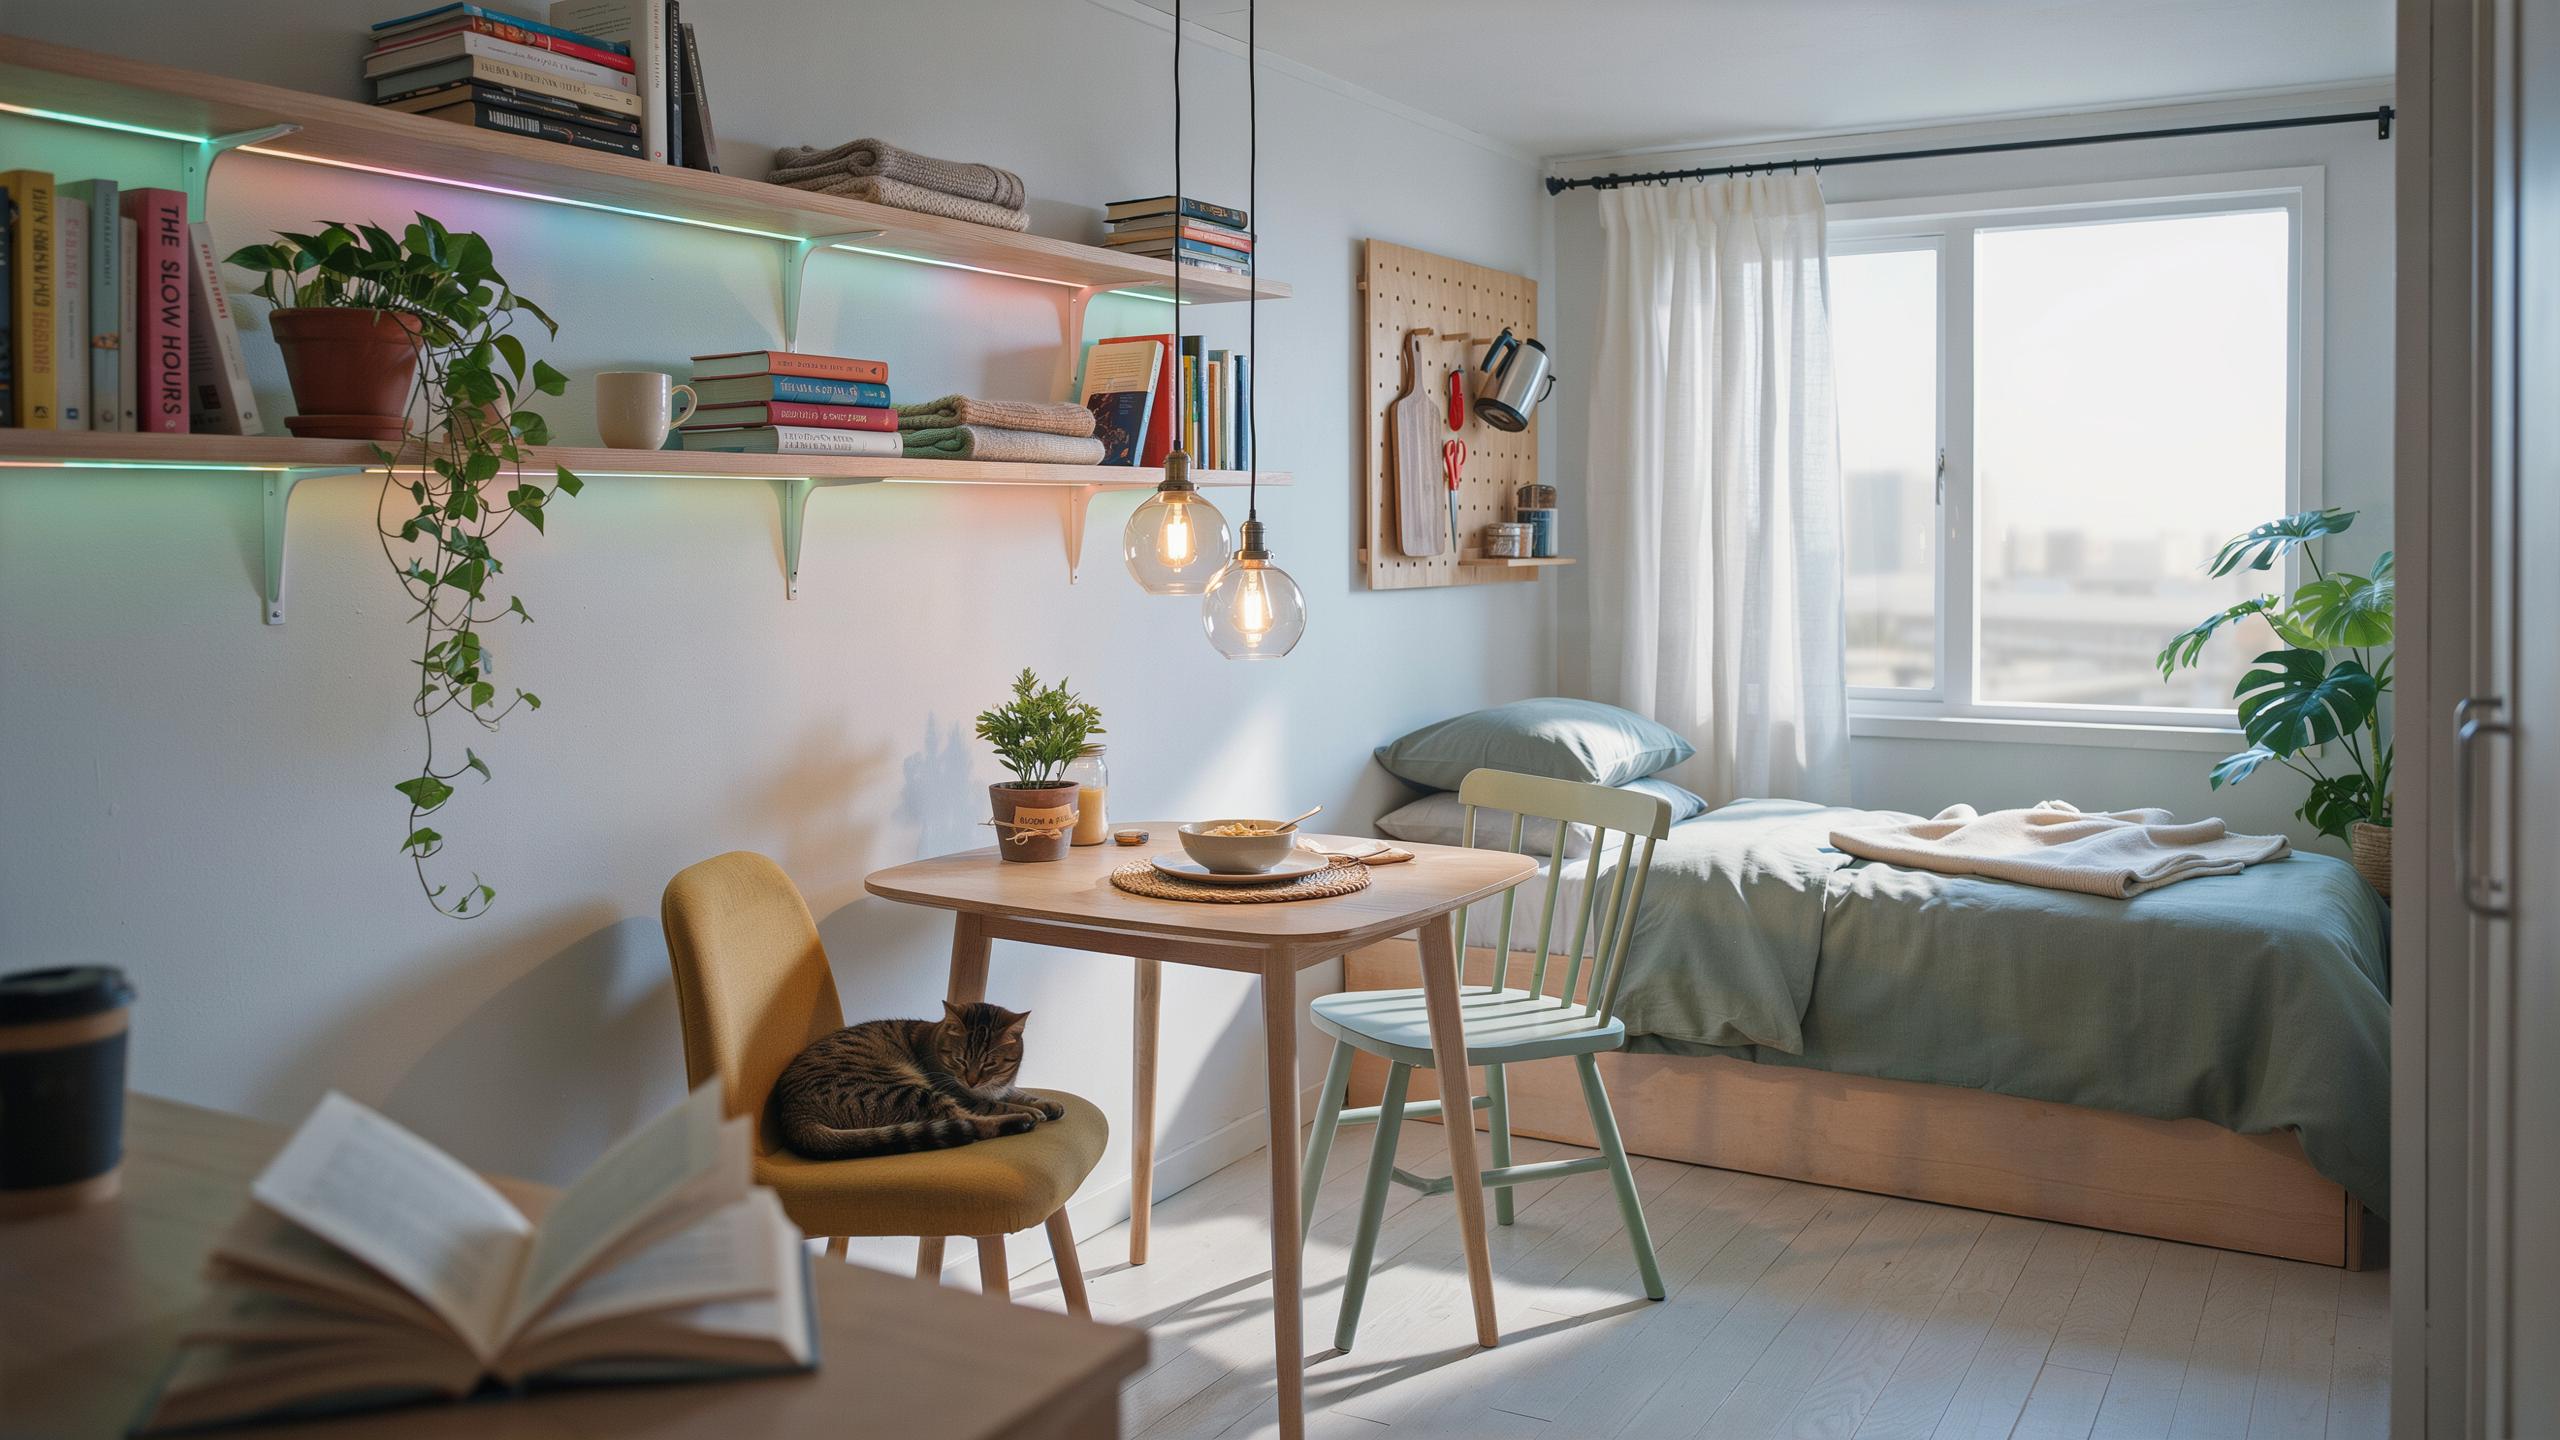
Understanding Your Tiny House Electrical Layout For Lighting
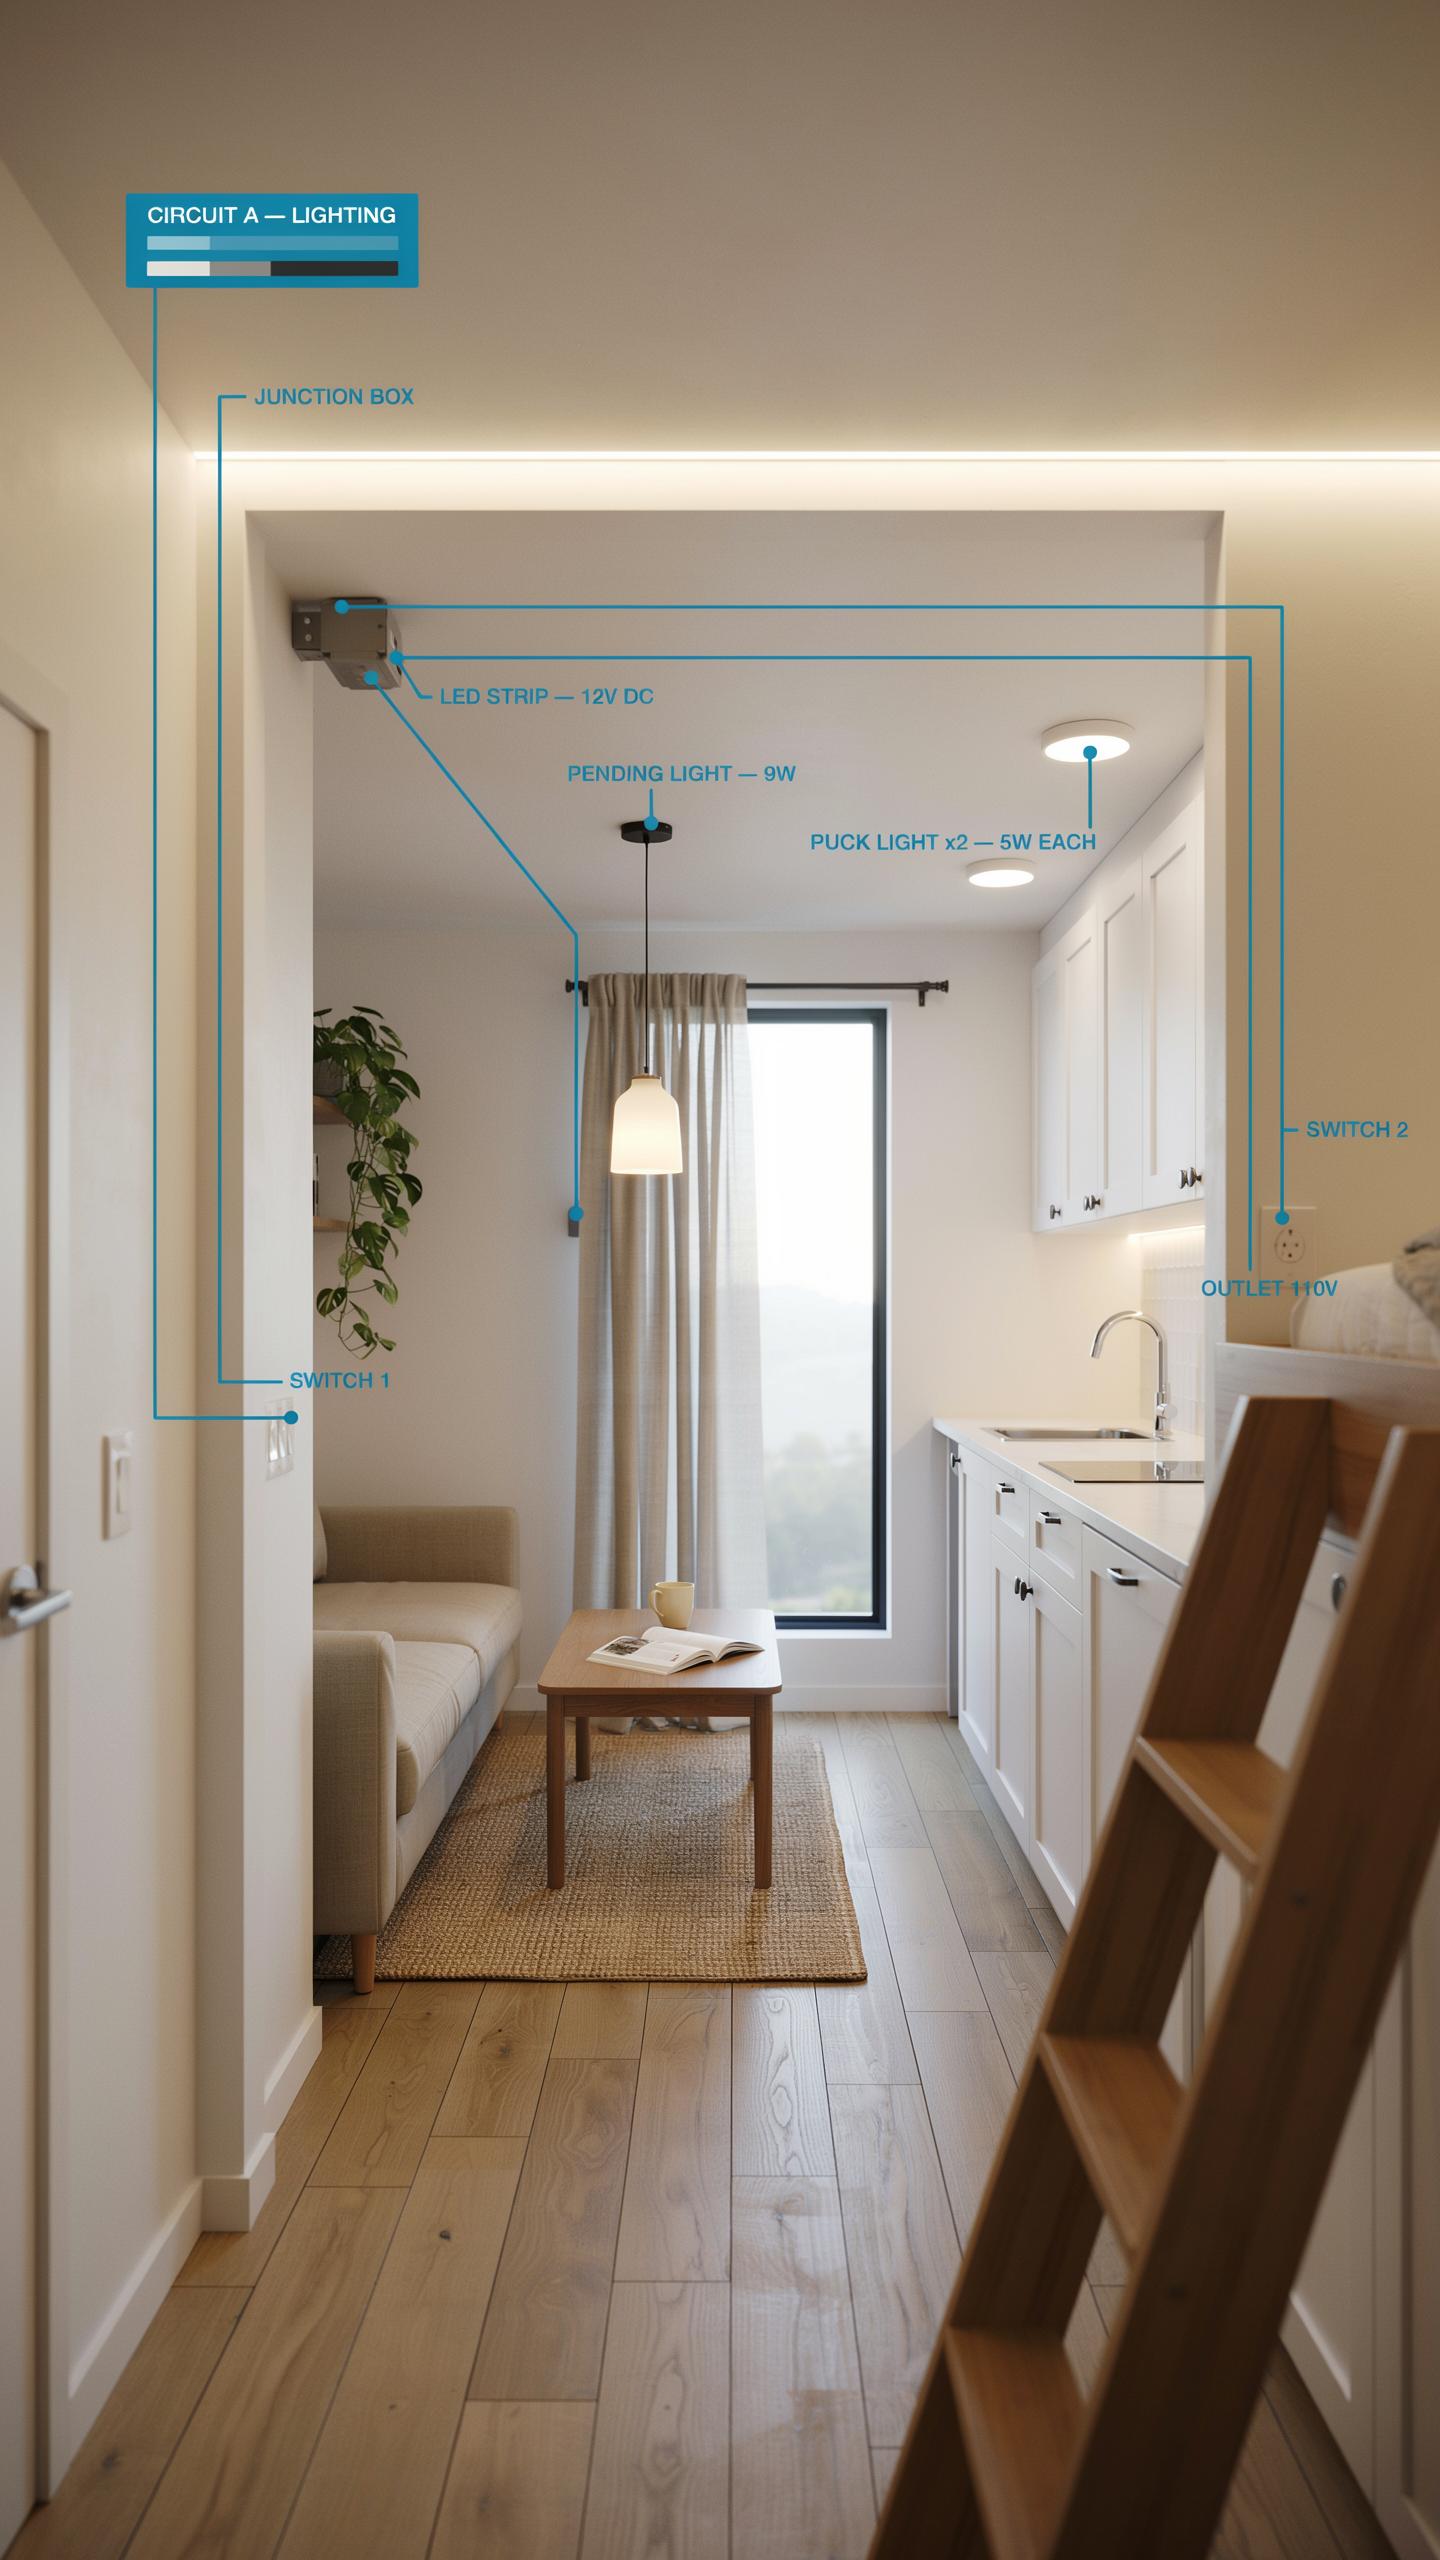
Mapping Out Your Living Zones And Power Outputs
Tiny homes demand intentional electrical planning because space constraints eliminate wasted circuits. Start by identifying each functional zone: sleeping area, kitchen, bathroom, living room, and work space. Each zone requires different lighting levels and fixture types. Document where outlets and switches currently exist. Measure distances from your electrical panel to each zone. This baseline tells you what you can realistically power without expensive rewiring or upgrades.
Power output determines your lighting capacity. Most tiny homes run 100-200 amp service, compared to 200+ amps in standard homes. Calculate your total wattage needs by listing every light fixture, appliance, and device you plan to use simultaneously. LED bulbs consume 8-12 watts per 60-watt equivalent, freeing up capacity for other needs. Know your circuit breaker ratings before installing dimmer switches or adding recessed lighting. Overloading circuits causes breaker trips and creates safety hazards that interrupt daily function.
Considering Low Voltage And Off Grid Electrical Systems
Low-voltage systems operate at 12V or 24V instead of standard 120V household current. These systems reduce fire risk, allow thinner wiring, and enable easier installation in tight spaces. LED strip lights, under-cabinet fixtures, and accent lighting work efficiently at low voltage. Install a dedicated transformer to convert standard household current to low voltage in specific zones. This hybrid approach gives you standard outlets where needed while optimizing lighting efficiency elsewhere.
Off-grid systems combine solar panels, batteries, and charge controllers to generate independent power. Tiny homes on wheels often use this setup due to location flexibility and utility costs. LED lighting is essential for off-grid viability because it draws minimal power compared to incandescent or halogen options. Battery banks typically store 10-20 kilowatt hours, requiring strategic decisions about what you power 24/7 versus seasonally. Start small with one solar panel and expand as your power needs stabilize.

Inspiration From Plans Petite Maison Moderne And Minimalist Architecture
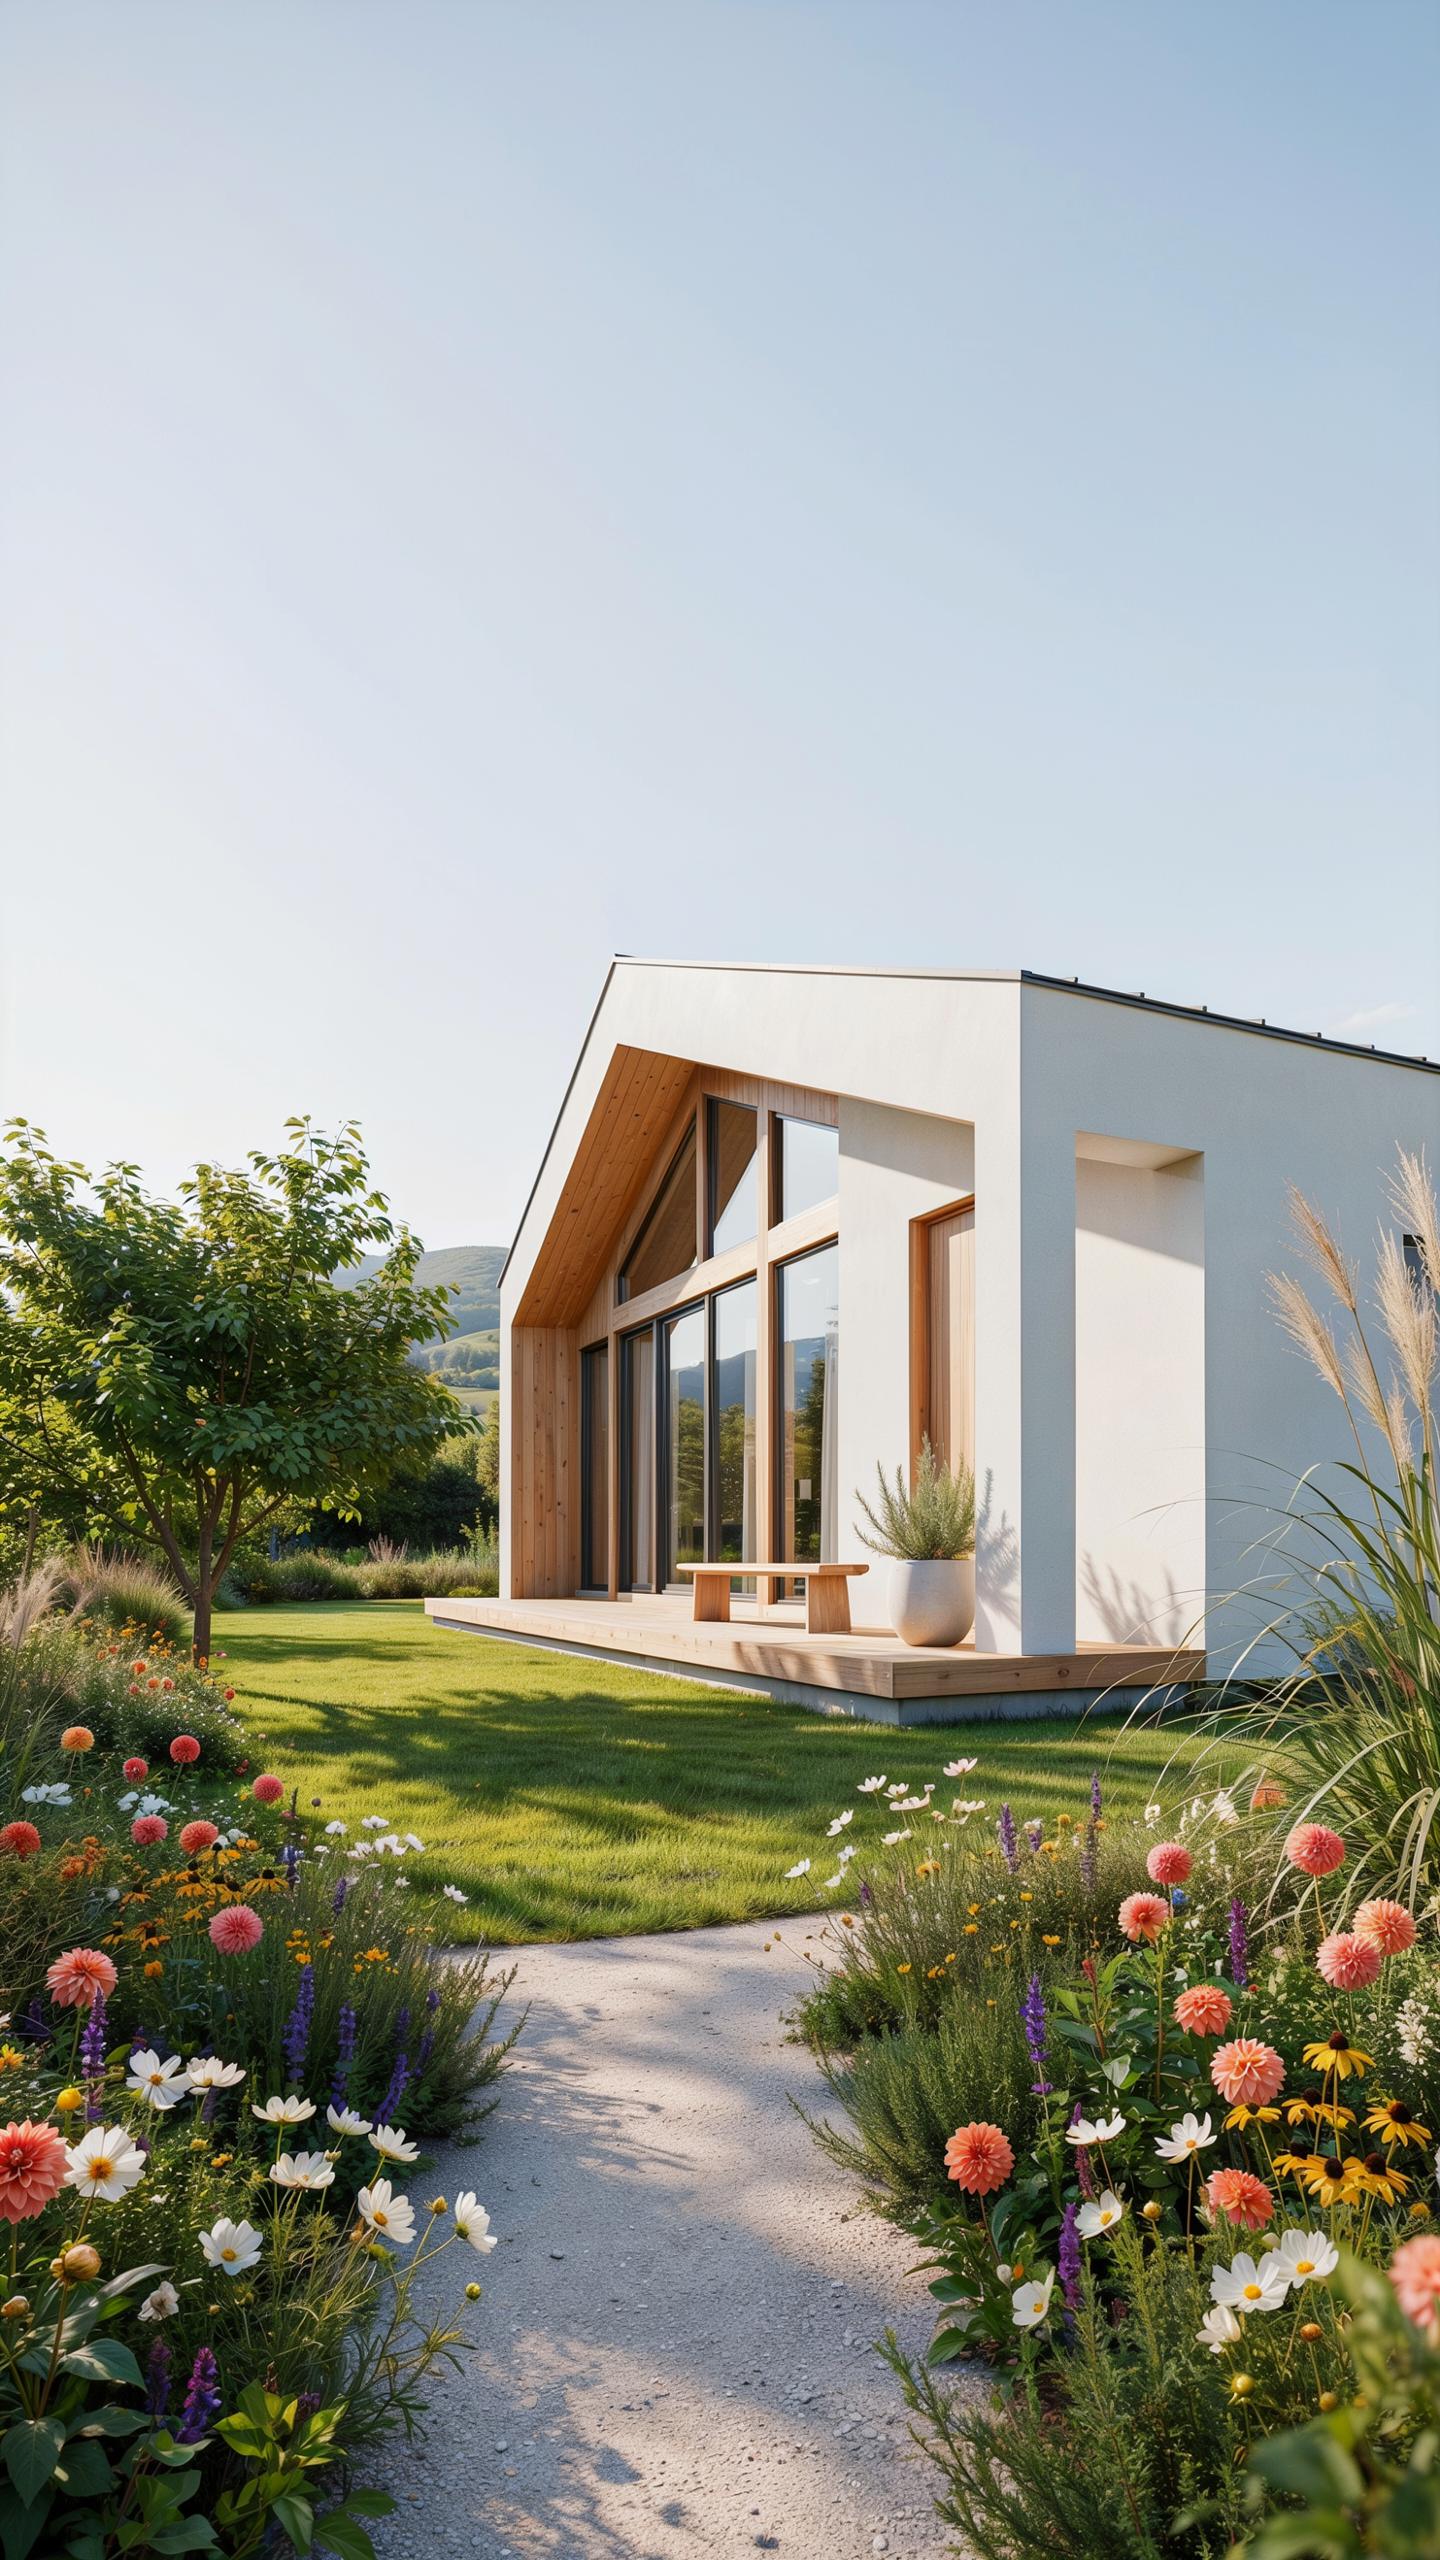
Scandinavian Influences
Scandinavian design emerged in Denmark, Sweden, and Norway during the mid-20th century. It prioritizes functionality over decoration. Light becomes a tool for survival in regions with limited daylight hours. This philosophy translates directly to tiny homes where every square foot matters. Scandinavian interiors use pale walls and strategic lighting to maximize perceived space and distribute light evenly throughout rooms.
French minimalism complements Scandinavian principles by emphasizing quality over quantity. It strips away excess elements to create calm, uncluttered environments. In tiny homes, this means selecting fixtures that serve multiple purposes. Neutral color palettes reflect light rather than absorb it. Combined, these approaches create lighting plans that feel spacious without wasting budget on unnecessary fixtures or decorative elements.
Architectural Integration
Modern cabin blueprints demonstrate how natural light windows position themselves to reduce artificial lighting needs during daylight hours. Strategic window placement on south-facing walls captures solar gain in winter while overhangs block summer heat. Skylights in vaulted or cathedral ceilings bounce light deeper into living spaces. Artificial lighting then supplements these natural sources during evening hours or cloudy days. This hybrid approach cuts energy costs while maintaining consistent illumination.
Architects integrate artificial and natural light by calculating room dimensions and existing natural sources first. They place overhead fixtures at specific heights to fill shadows natural light cannot reach. Task lighting near work areas eliminates the need for bright general lighting throughout entire rooms. Wall sconces distribute light horizontally, covering more area with fewer watts. This integration strategy maximizes light coverage while minimizing fixture count and electricity consumption in compact spaces.
The Core Principles Of Tiny House Interior Space Maximization
Vertical Space
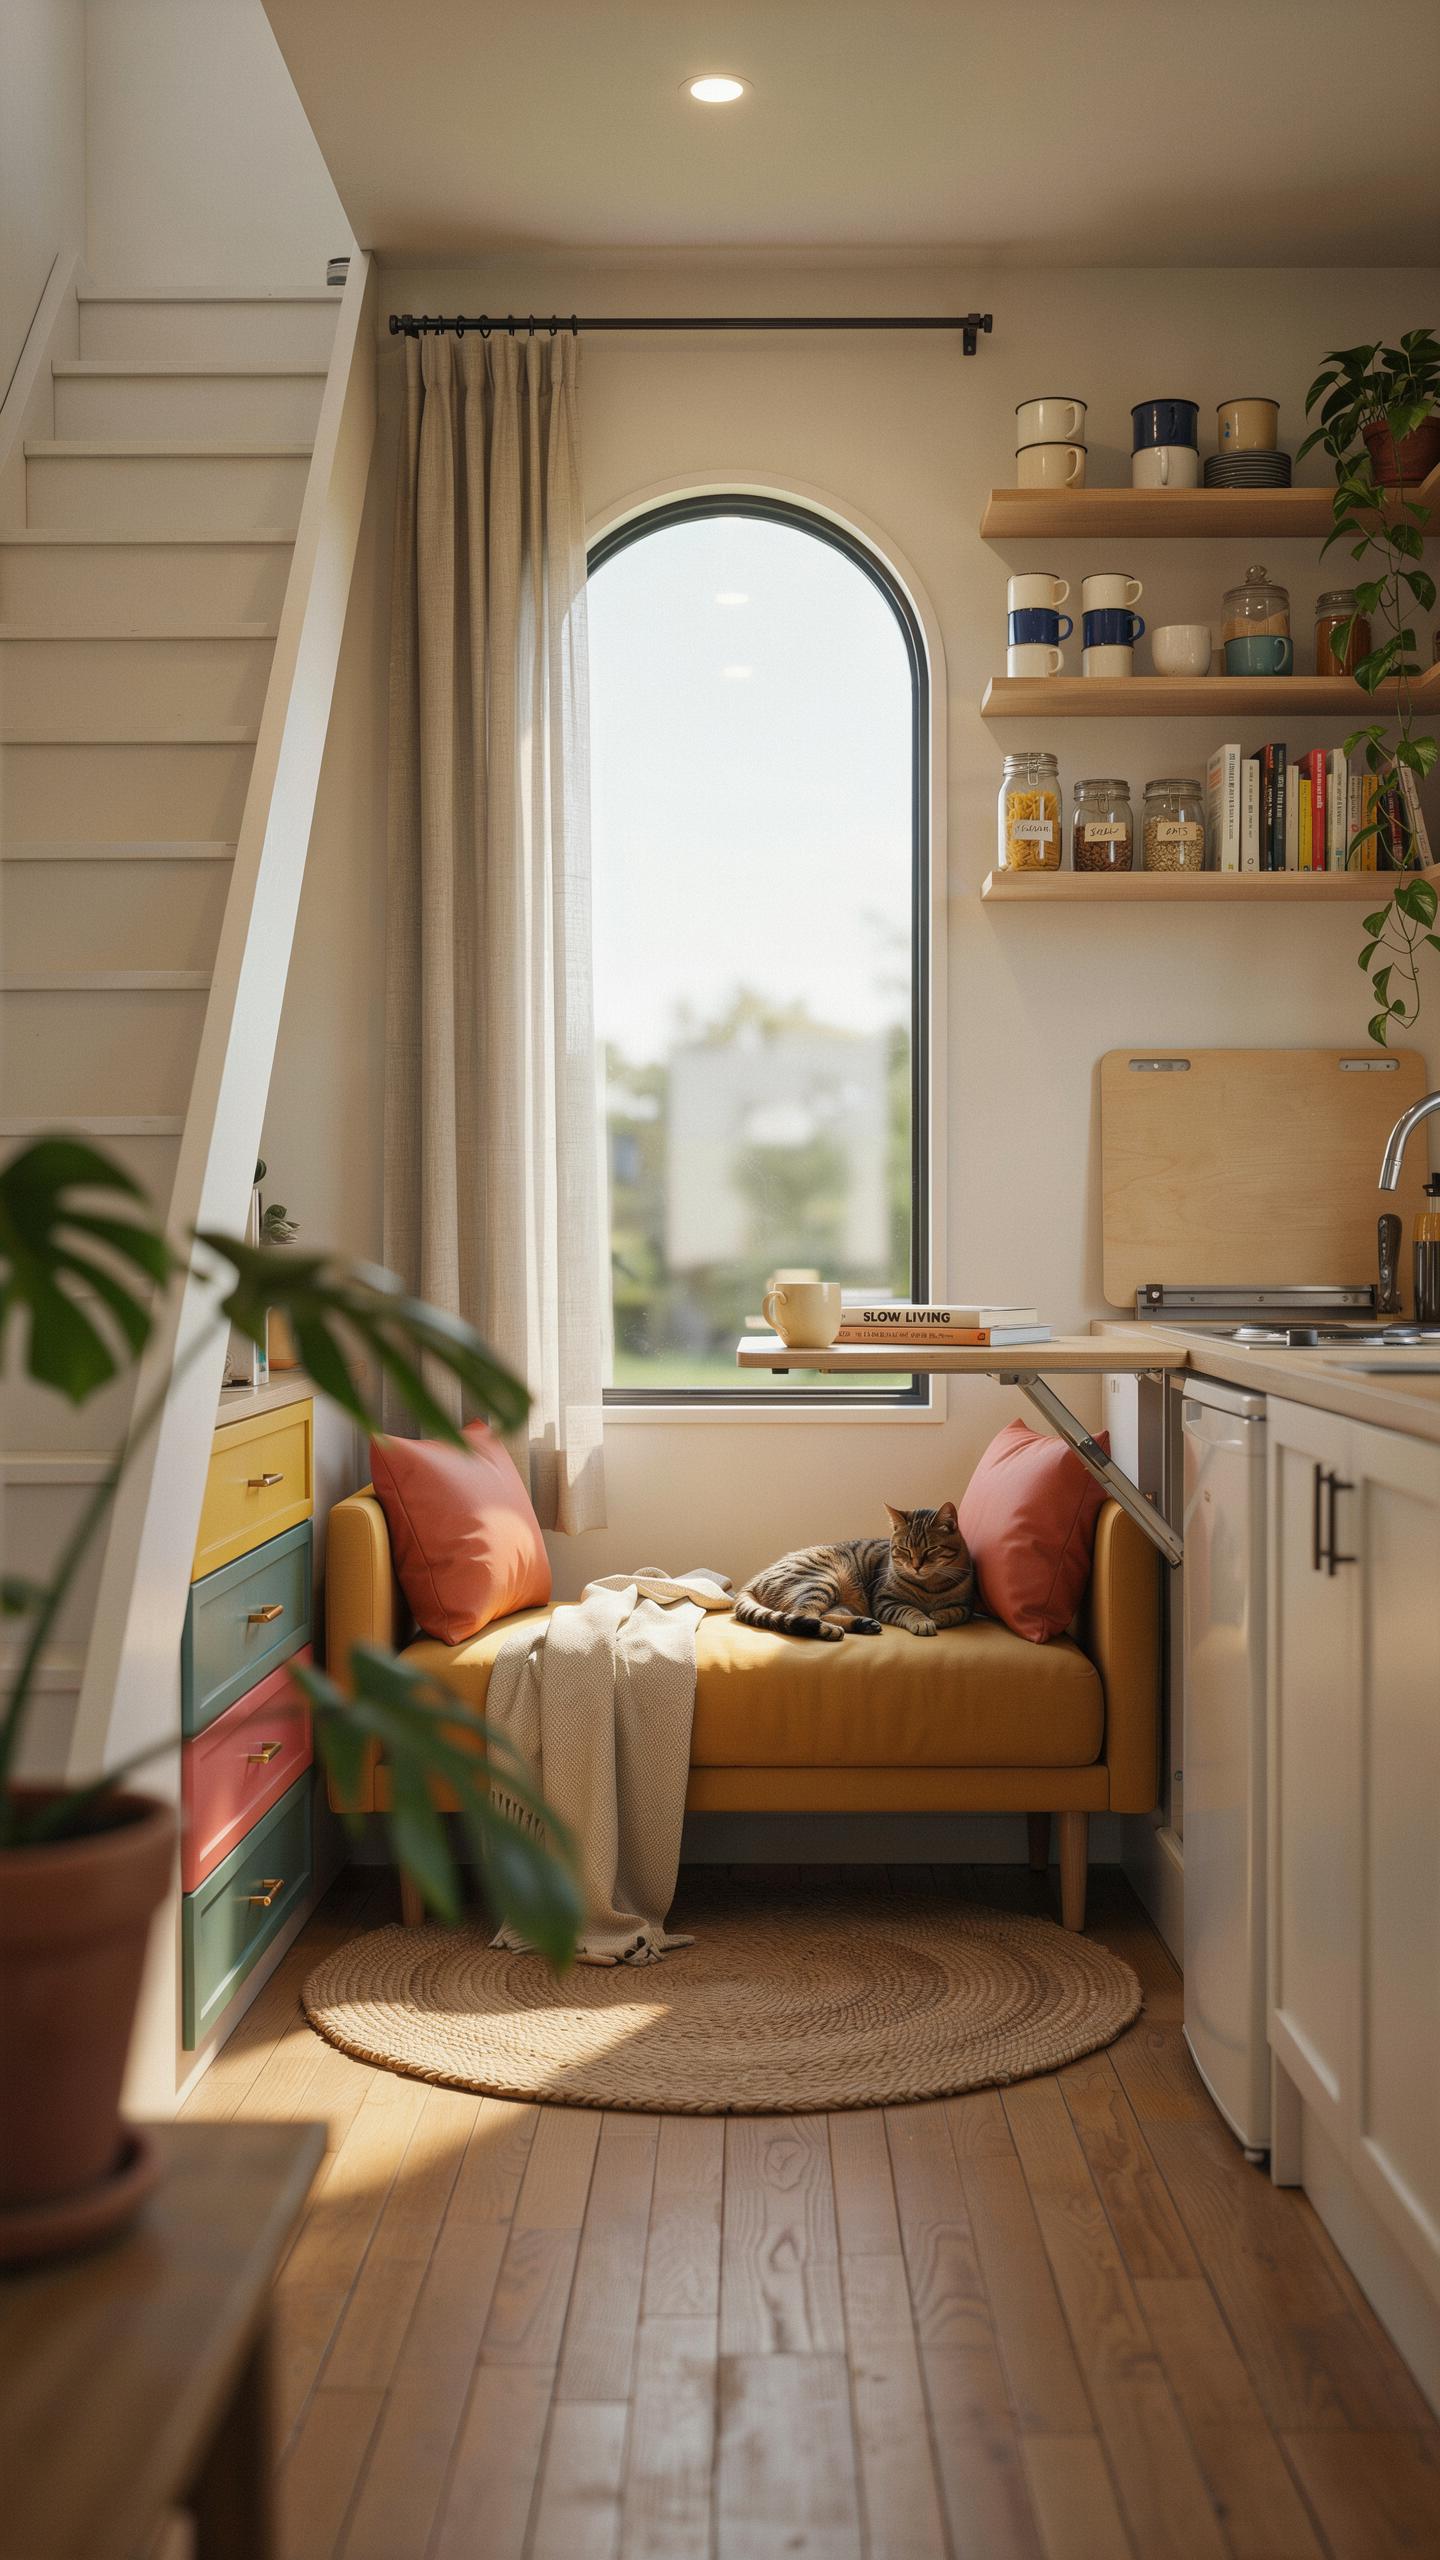
Tiny homes lack square footage. You reclaim usable space by lighting upward instead of outward. Wall-mounted sconces positioned high draw the eye toward ceilings, making rooms feel taller than they are. This strategy costs less than expanding floor space and delivers immediate visual impact. Uplighting creates depth perception without consuming valuable real estate.
High-mounted fixtures serve dual roles in compact layouts. They illuminate functional zones while establishing vertical sightlines that interrupt horizontal monotony. Pendant lights hung from ceiling corners achieve the same effect with added task lighting capability. Strategic vertical placement maximizes both illumination and perceived square footage in constrained environments.
Mirror Reflection
Mirrors amplify light output without adding fixtures or electricity costs. Position reflective surfaces opposite or adjacent to light sources. This doubles illumination reach across the room. Small mirrors accumulate significant results in tight spaces. One fixture effectively lights multiple zones through strategic mirror placement.

Mirror-backed wall sconces intensify their output substantially. The reflective surface behind the bulb bounces light forward and sideways simultaneously. This technique reduces the number of fixtures needed for adequate brightness. Combining mirrors with budget fixtures delivers lighting performance typically requiring expensive installations.
Strategic Tiny House Interior Design With Budget Friendly Lumens
Affordable Materials
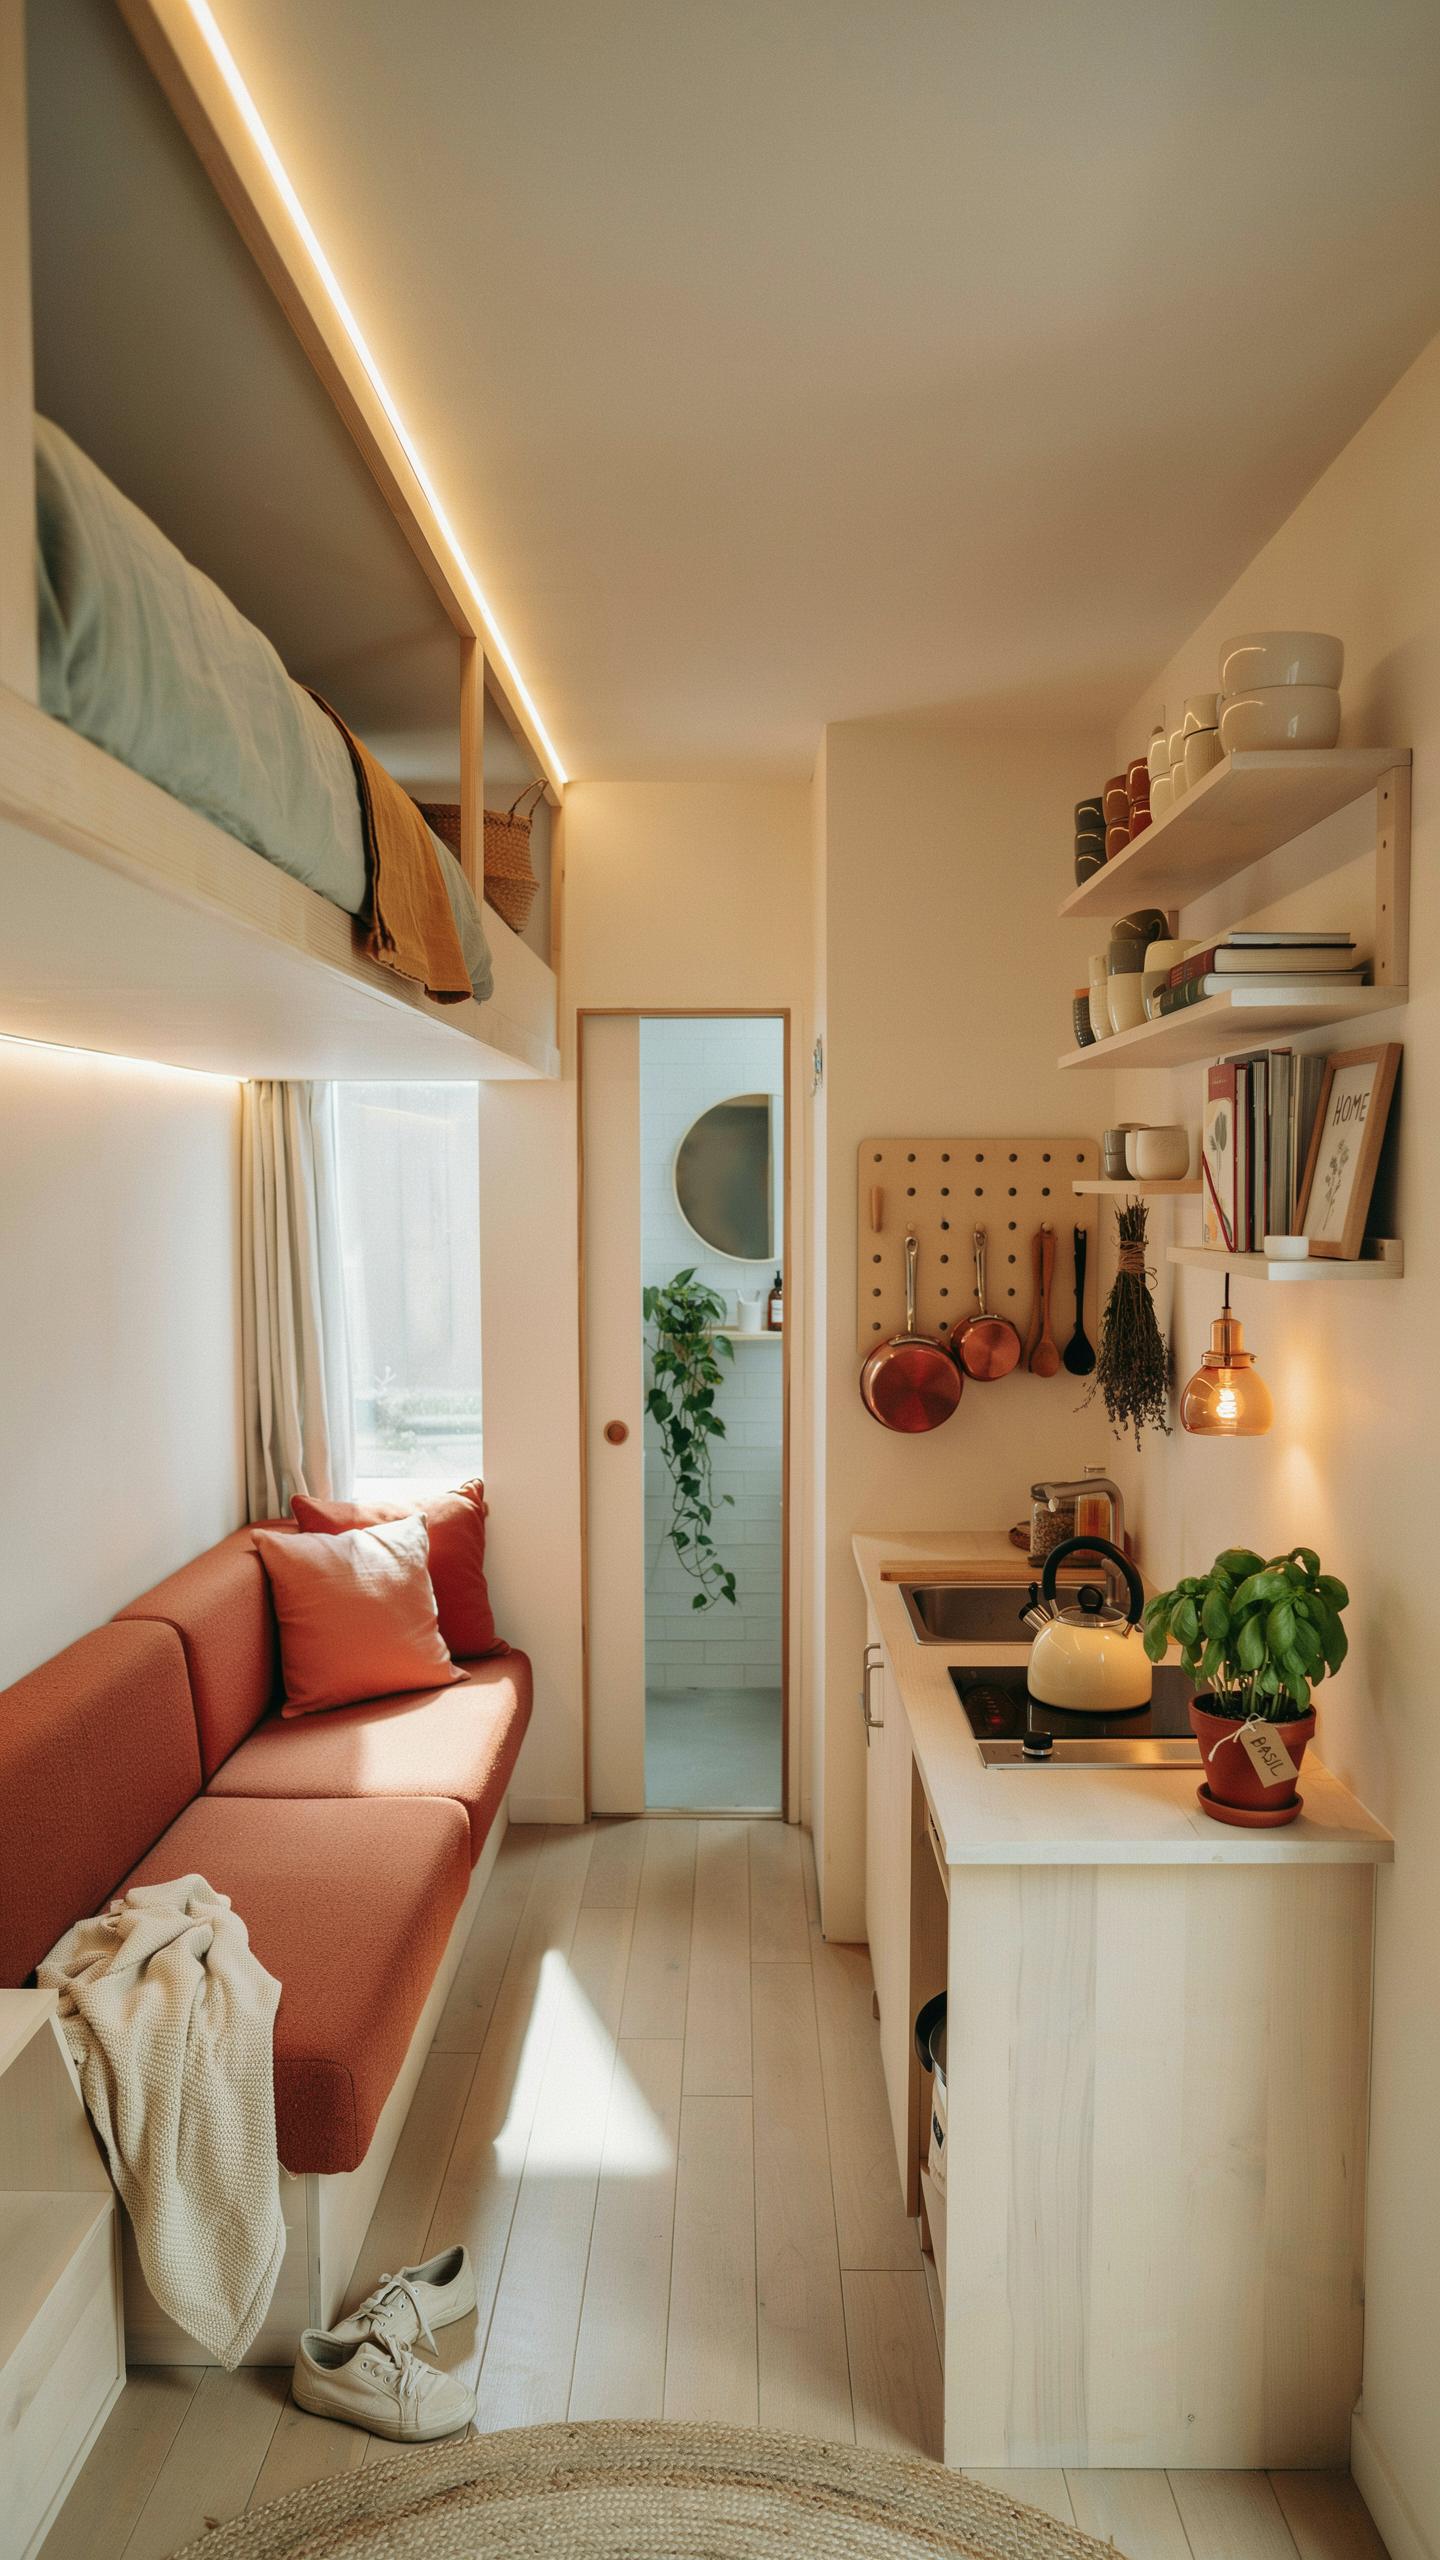
LED strips cost 70 percent less to operate than incandescent bulbs over five years. Buy strips from bulk retailers or online marketplaces where pricing drops significantly during off-season months. Verify lumen output on packaging rather than wattage. Standard residential LED strips deliver 80 to 100 lumens per watt. This metric tells you actual brightness, not energy consumption.
Fixture costs fall when you skip designer brands. Commercial-grade ceiling fixtures from industrial suppliers perform identically to residential equivalents at half the price. Aluminum extrusions for strip mounting cost under five dollars per linear foot. Drywall anchors and basic wiring components remain consistent across all retailers, so source them locally to eliminate shipping fees.
DIY Placement
Run wiring along existing wall studs and ceiling joists to avoid drywall patching. Mark your circuit layout on graph paper first to prevent mistakes that waste materials. Standard 14-gauge wire handles most tiny home lighting loads without upgrades. Connect LED strips directly to existing outlets using plug-in transformers instead of hard wiring into walls.
Install junction boxes where wires meet to maintain code compliance and enable future modifications. Use adhesive-backed LED strips on ceilings to skip drilling and anchoring work entirely. Test all connections before sealing them behind trim or drywall. This prevents costly rework after walls close.
Applying Interior Design For Tiny Homes To Achieve Multi Functional Rooms

Convertible Furniture
Lighting multi-use spaces requires you to plan for two distinct functions in one area. A bedroom that doubles as a workspace needs different light quality for each task. Bedroom function demands warm, dimmed light around 2700K color temperature. Workspace function requires bright, cool light at 4000K or higher to support focus and reduce eye strain.
Position your primary light source to avoid casting shadows on work surfaces during the day. Use task lighting like a desk lamp for focused illumination when working. For nighttime, keep bedroom lighting separate from workspace lighting using independent fixtures. This separation lets you activate only the lighting you need for your current activity.
Dimmers Control
Dimmer switches solve the core problem of tiny homes: one space, multiple needs. Without dimmers, you choose between full brightness or darkness. Dimmers let you adjust light output from zero to one hundred percent, matching your activity and time of day.

Install dimmers on all ceiling fixtures in convertible rooms. Pair them with warm-toned bulbs rated as dimmable to prevent flickering or buzzing. During work hours, run lights at eighty to one hundred percent. At night, drop to thirty to fifty percent for relaxation. This single control strategy cuts your need for multiple light fixtures by half.
Charming Rustic Lighting Inspired By ChalS Pequenos Cozy Aesthetics
Chalet Materials
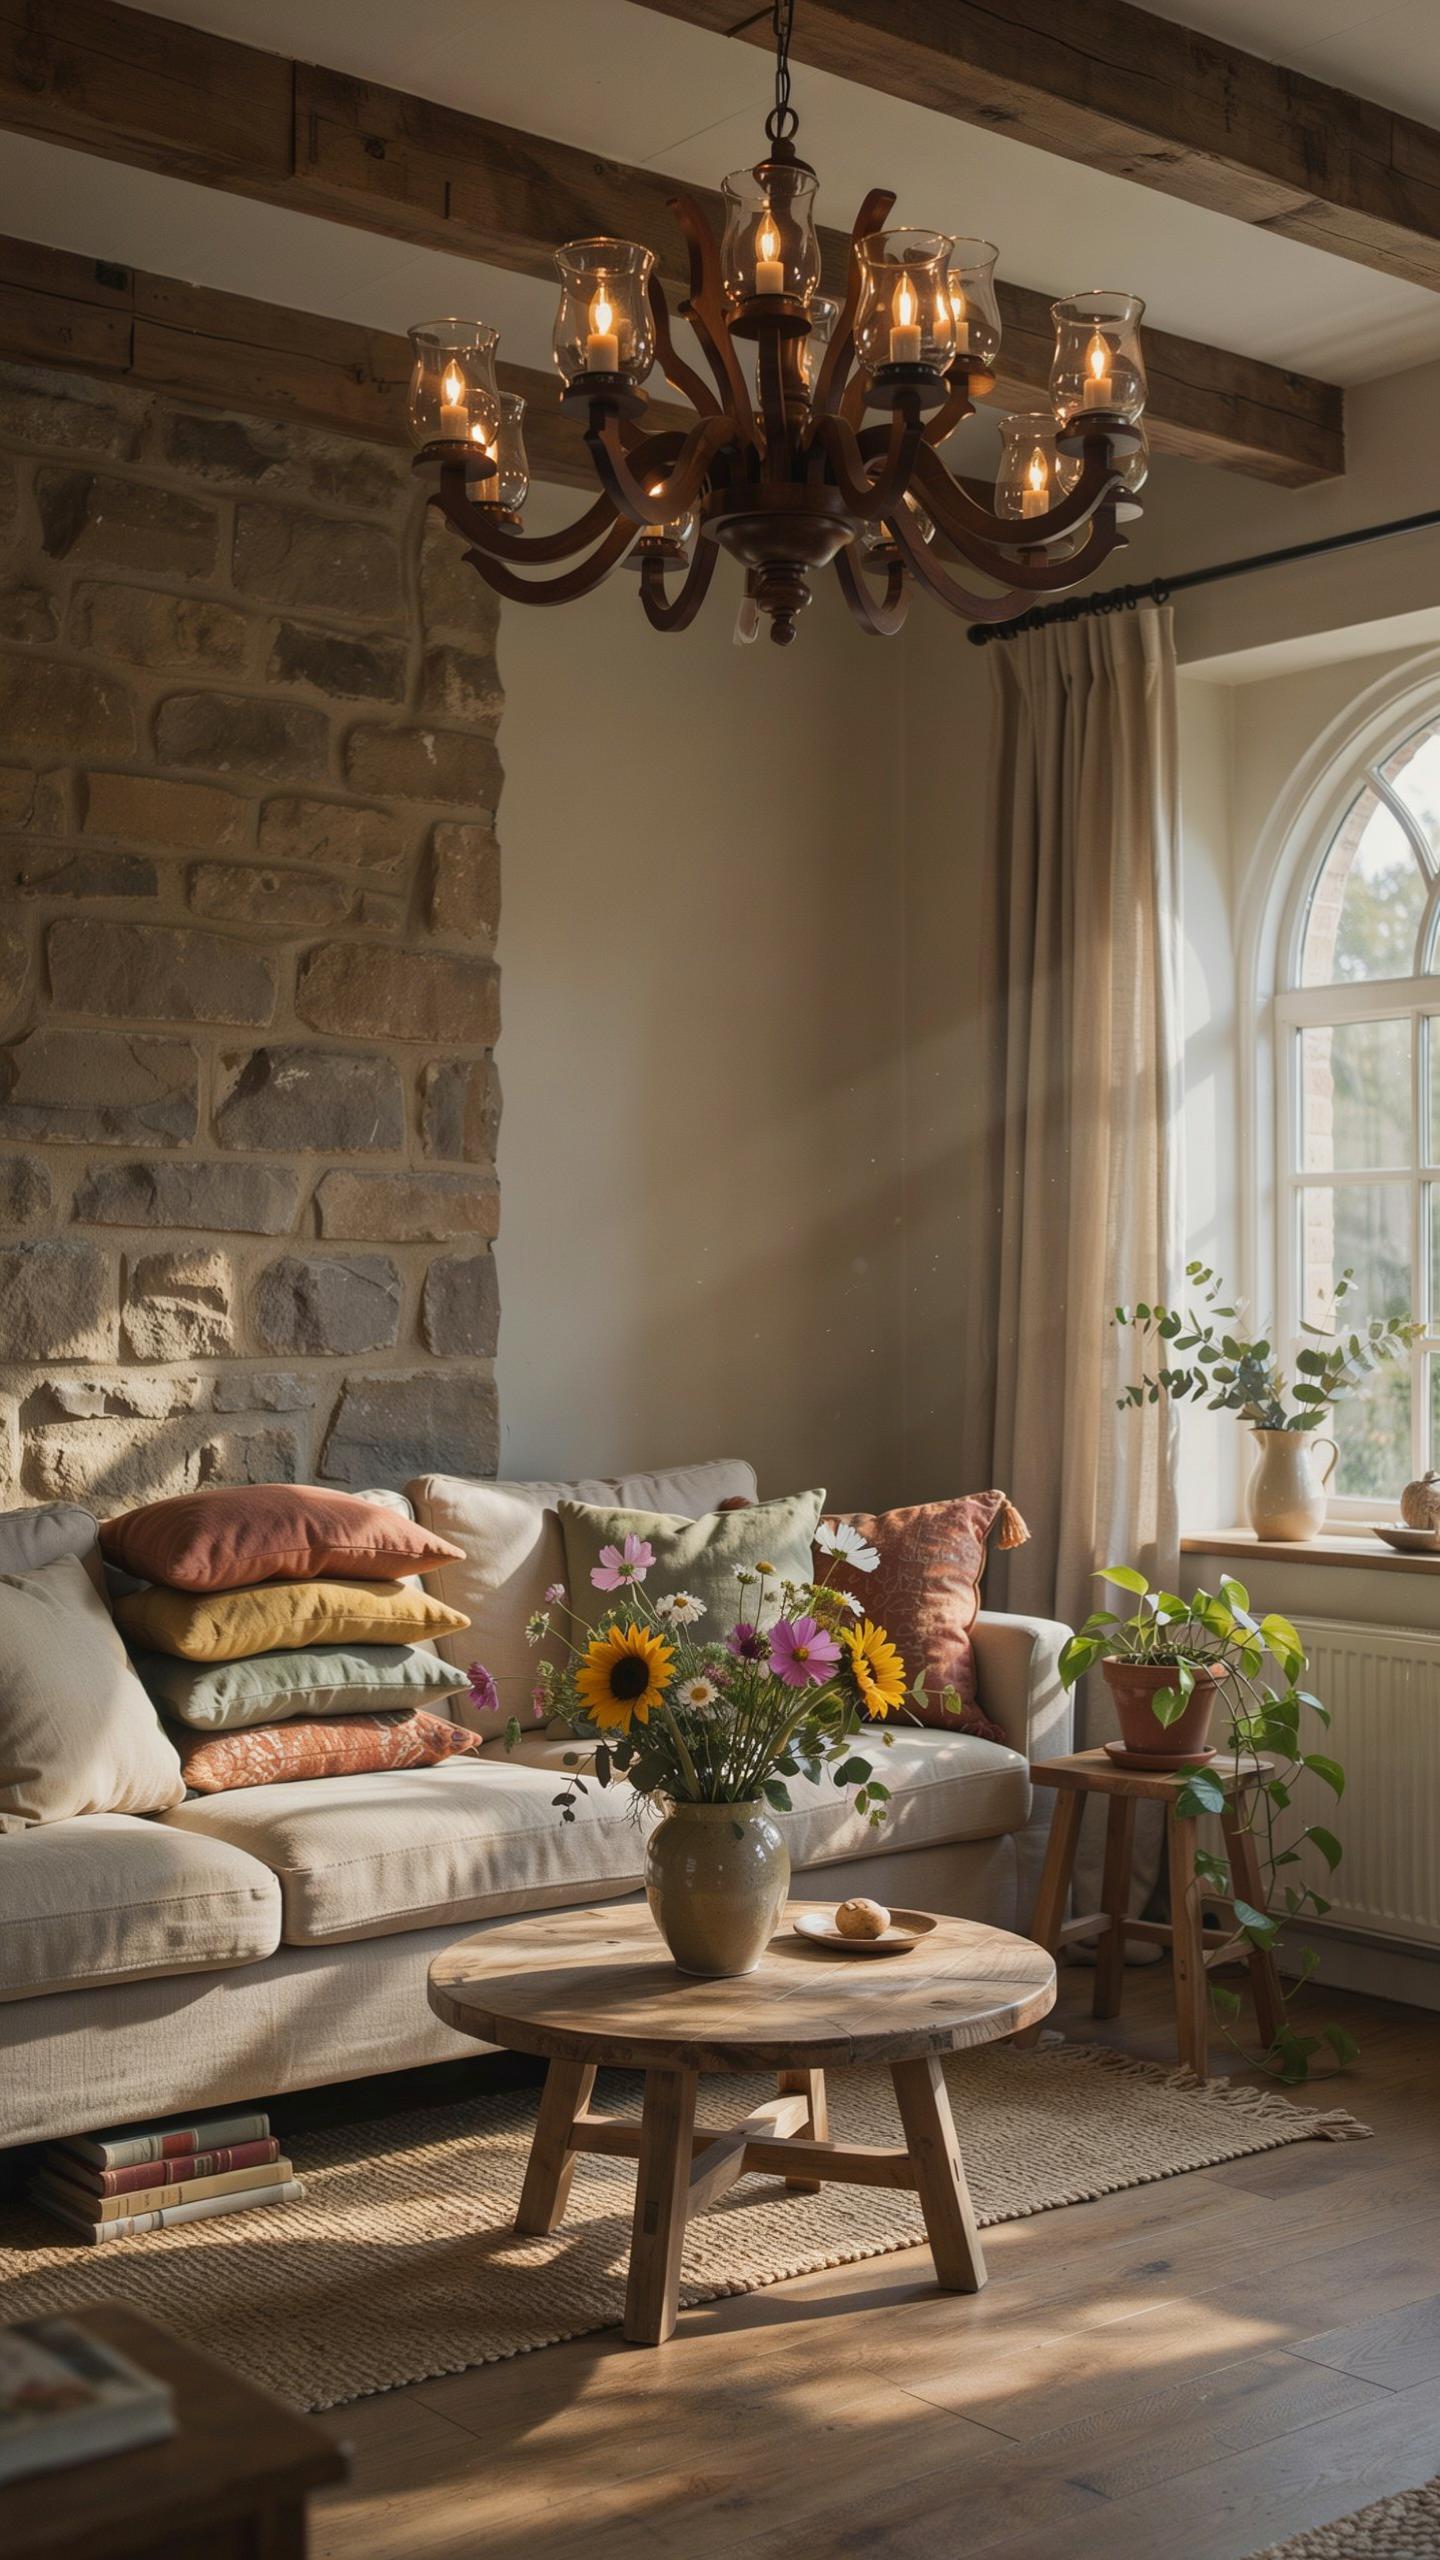
Incorporating warm woods and industrial brass requires strategic sourcing. Reclaimed wood works well for fixture frames because it costs less than new materials and adds authentic character. Brass accents pair naturally with wood, creating visual contrast without competing for attention. Source these materials from salvage yards, online marketplaces, and discount home improvement stores. DIY assembly keeps labor costs down while maintaining the rustic aesthetic that defines chalet design.
Brass naturally resists corrosion, making it practical for long-term use in fixtures. Its warm undertones complement wood grain and enhance ambient light distribution. Mix matte brass with shiny brass finishes across different fixtures to avoid monotony. Budget brass pendant lights and wall sconces cost significantly less than copper or chrome alternatives. This combination delivers the chalet look without premium pricing.
Warm Temperatures Niches
Color temperature directly impacts how a space feels. Chalet aesthetics demand warm light in the 2700K range, which mimics candlelight and fireplace glow. This temperature range reduces eye strain during evening hours while triggering natural relaxation responses. Tiny homes benefit from this warmth because it makes compact spaces feel intimate rather than institutional. Avoid cool white light above 4000K, which contradicts the cozy cabin intention.

Layering different light sources at the same warm temperature creates depth without complexity. Combine ceiling fixtures, table lamps, and accent lighting all set to 2700K for cohesive results. Dimmers give you control over intensity and mood without purchasing additional fixtures. This approach works in tiny homes because it maximizes the impact of each light source. Test bulb temperatures before committing to full installation across your space.
Mastering Different Types Of Lighting In Houses For Small Spaces
Three Layers Lighting
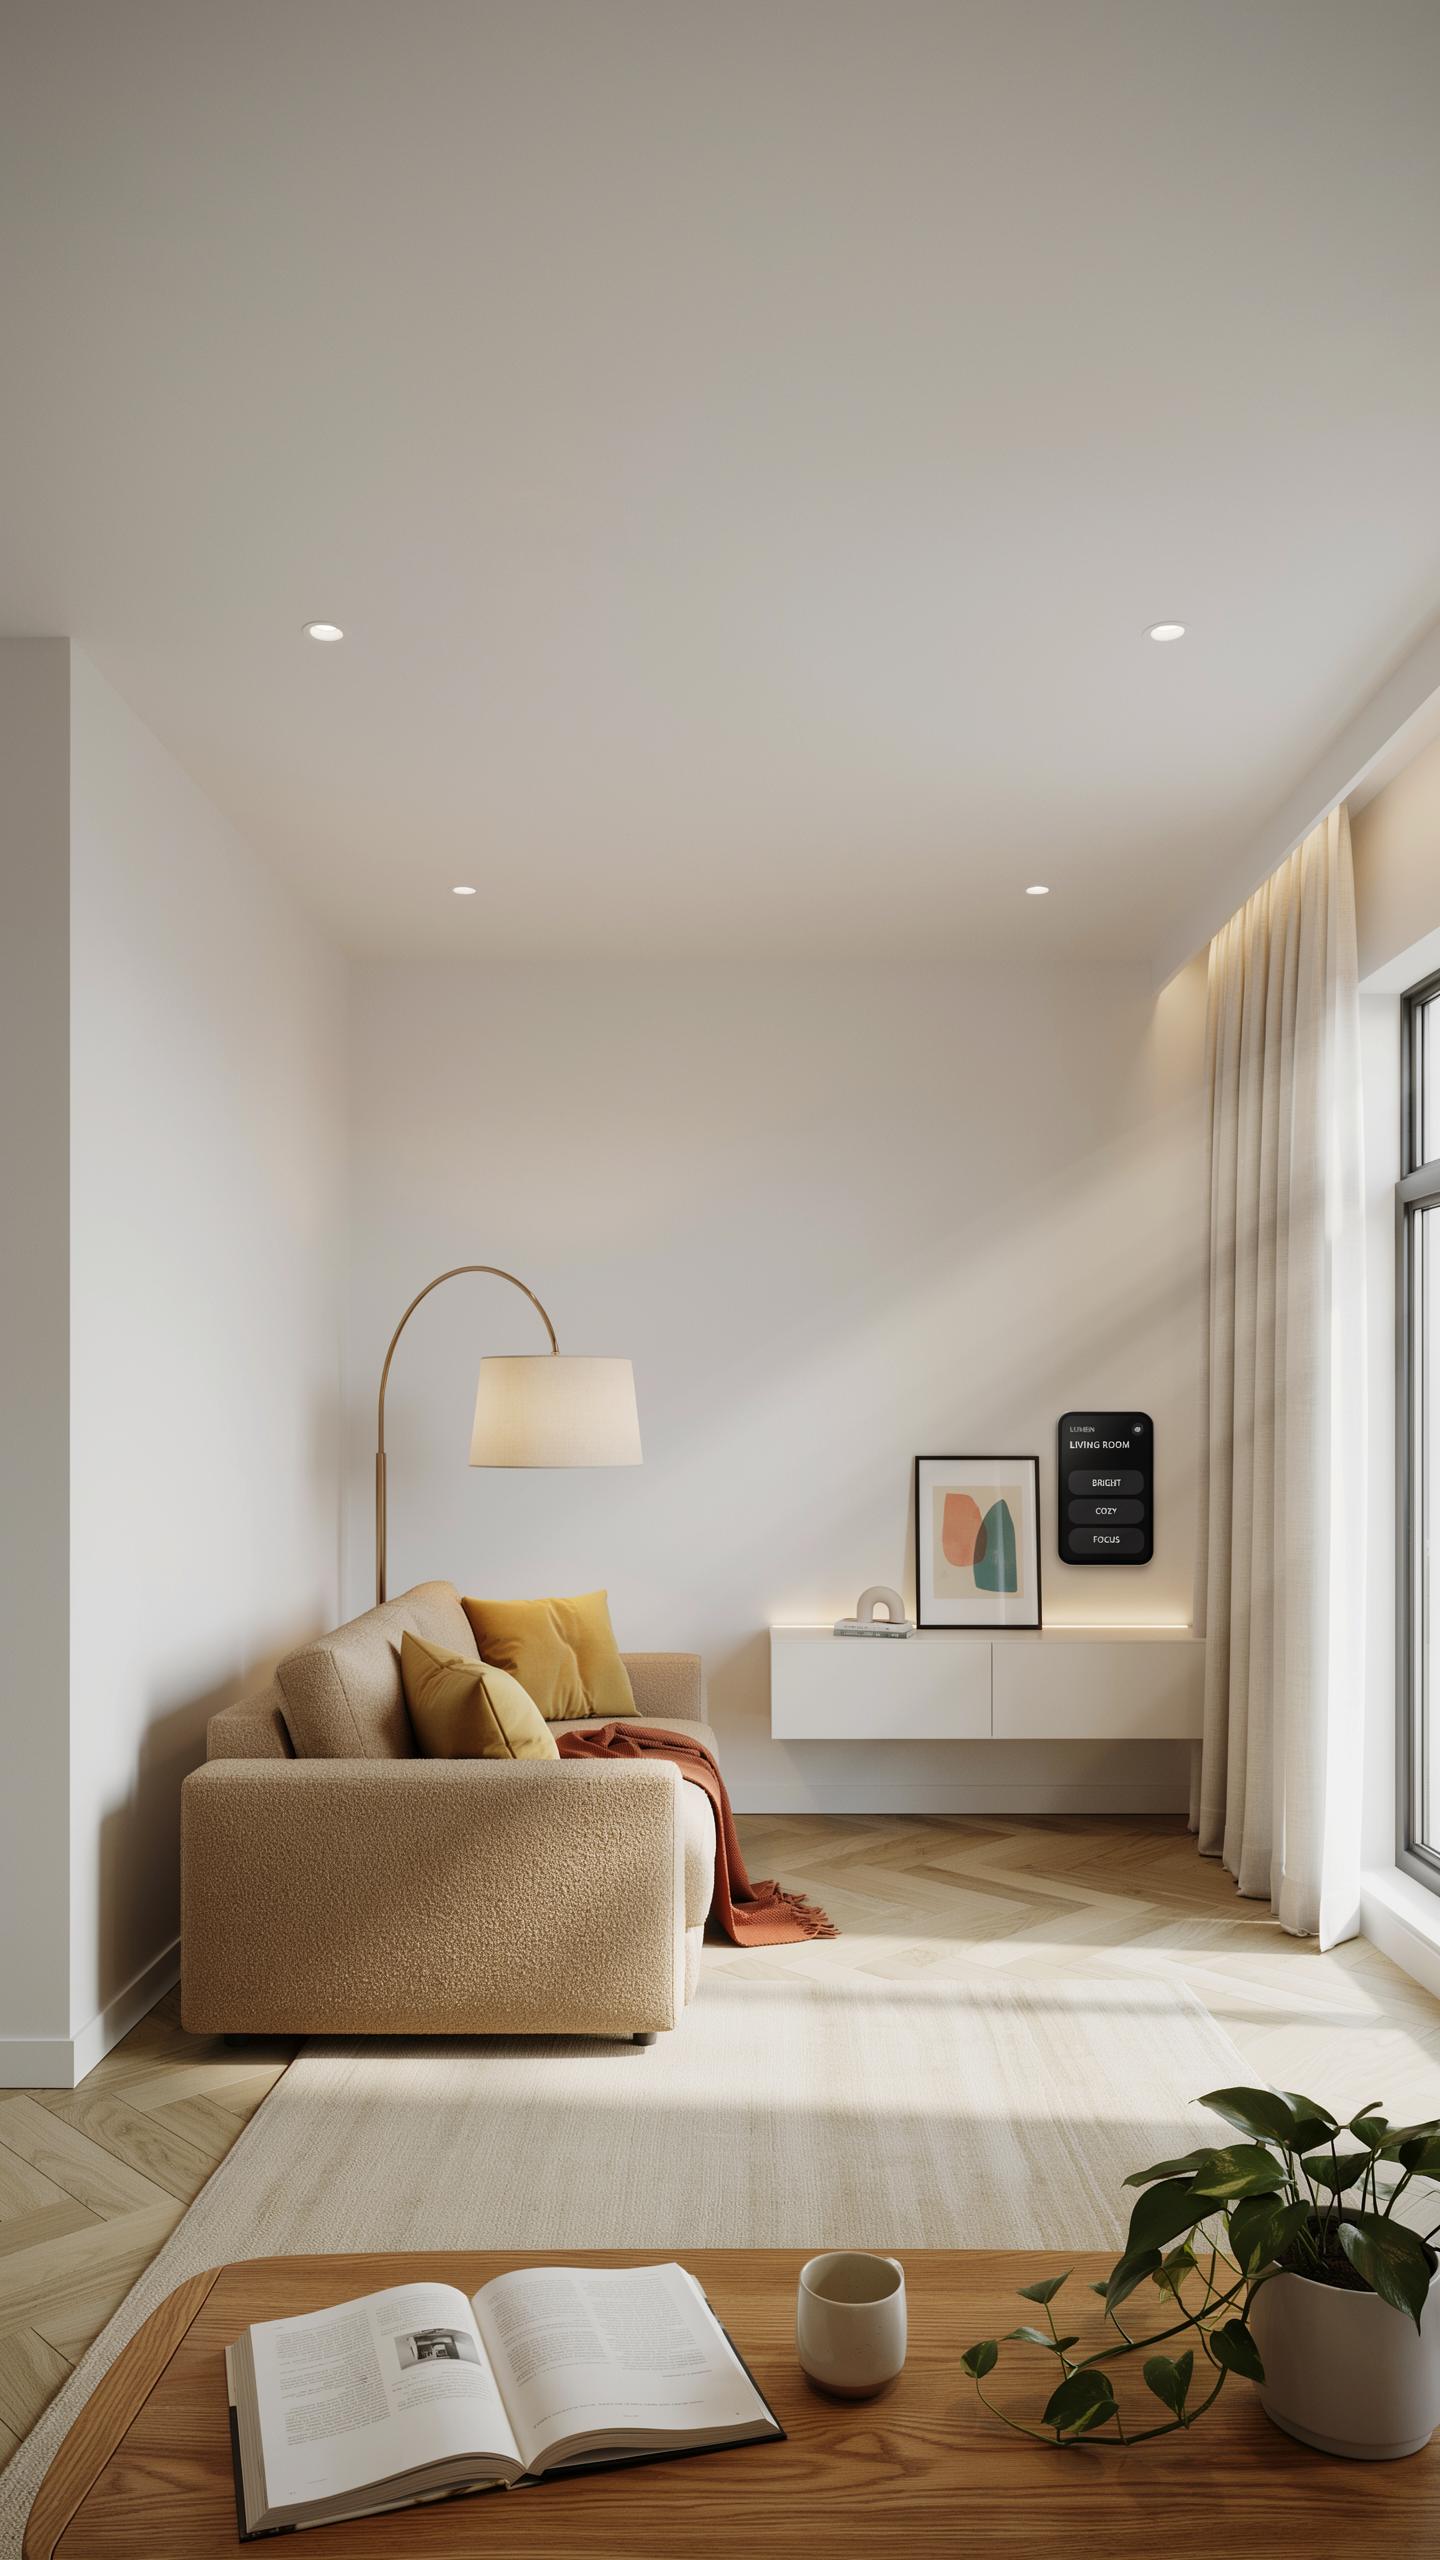
Tiny homes demand layered lighting because single-source illumination creates dead zones and wastes energy. You need ambient light for general visibility, task light for function, and accent light for depth. This three-layer approach fits small spaces efficiently and costs less than retrofitting later. Each layer serves a specific purpose and prevents over-lighting or under-lighting problems.
- Ambient Lighting: Overhead fixtures or flush mounts provide base illumination. Use dimmable options to adjust brightness based on time and activity. This layer covers the entire room uniformly without creating harsh shadows or wasted light spillage.
- Task Lighting: Directed light at work surfaces like kitchen counters, desks, or bedside tables. Under-cabinet strips, pendant lights, or clip-on lamps put light exactly where you need it. Task lighting reduces eye strain and eliminates the need for brighter ambient sources.
- Accent Lighting: Wall sconces, strip lights, or small spotlights highlight architectural features or decor. Accent light creates visual interest and makes tight spaces feel larger and intentional. This layer requires minimal wattage but delivers maximum design impact in small rooms.
- Dimmer Controls: Install dimmers on ambient and accent layers to adjust intensity. Dimmers let you match lighting to time of day and mood without adding fixtures. Small spaces benefit from flexibility because the same room serves multiple functions daily.
- Fixture Placement: Position lights strategically to avoid shadows in work areas and corners. Mount fixtures high on walls to maximize ceiling height perception. Vertical light distribution opens up square footage psychologically and improves usable space sensation.
Layering prevents the trap of over-lighting, which makes tiny homes feel cramped and institutional. You control atmosphere while maintaining function. This approach also reduces energy bills because you run only needed layers at any given time, not everything at full brightness constantly.
LED Vs Incandescent
LED bulbs consume 75 to 80 percent less energy than incandescent bulbs while producing equivalent light output. Incandescent bulbs waste most energy as heat rather than visible light, making them poor choices for small enclosed spaces. In a tiny home, every watt counts because tight quarters amplify heat buildup. LEDs generate minimal heat and fit cooler, smaller fixtures without thermal stress.
LEDs last 25,000 to 50,000 hours compared to incandescent bulbs at 1,000 hours. You replace incandescent bulbs constantly, creating ongoing expenses and maintenance disruptions in compact homes. LED upfront costs are higher but total cost of ownership drops significantly over three to five years. In small spaces where fixture access may be difficult, longer bulb life saves time and frustration.
Smart Home Lighting Layout Ideas To Optimize Your Ground Floor
Under Cabinet And Toe Kick LED Lighting In Tiny Kitchens
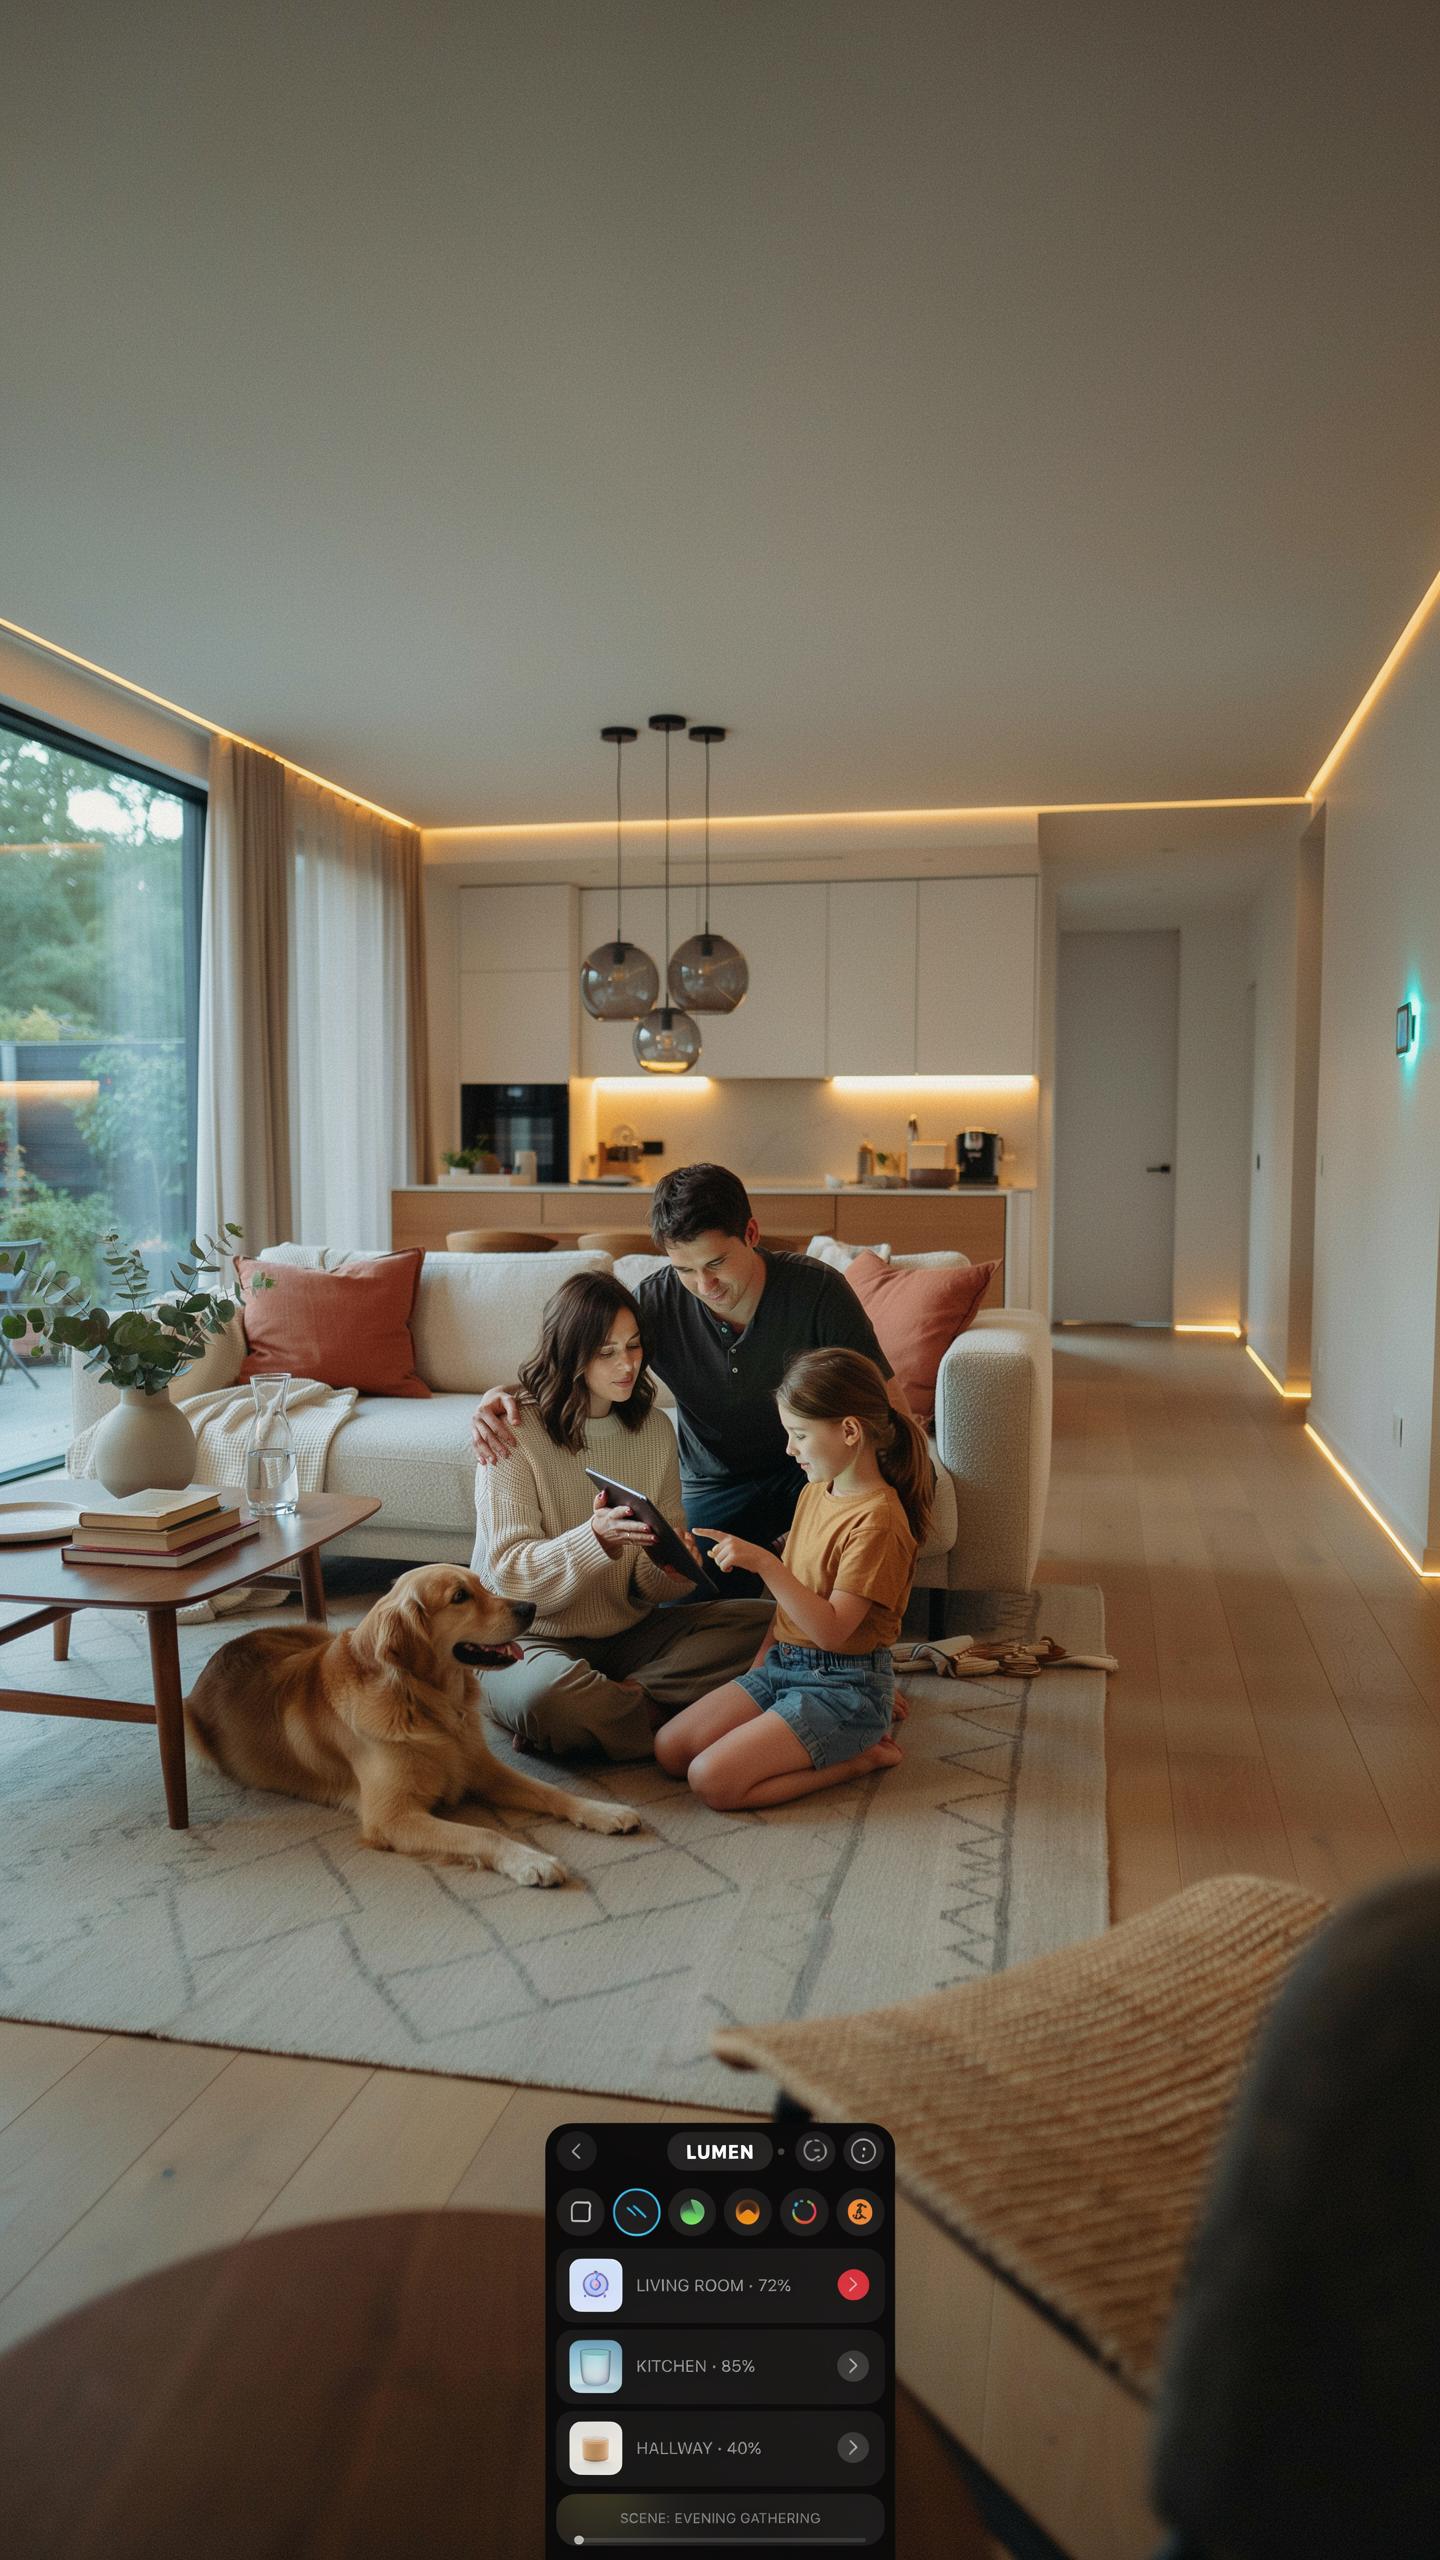
Under-cabinet lighting solves a core problem in tiny kitchens: work surface shadows. LED strips mount directly to cabinet undersides, eliminating the shadow your body casts when prepping food or cooking. This setup costs between 20 and 60 dollars for quality strips and requires no electrician. The light bounces off countertops and improves visibility without adding bulk or heat to confined spaces.
Toe-kick lighting serves dual purposes in cramped kitchens. It marks floor boundaries at night and creates visual separation between base cabinets and flooring. Install warm white LEDs, around 2700K color temperature, to maintain coziness while keeping the kitchen functional. Battery-operated strips work here if running wiring proves difficult, trading convenience for occasional battery replacement.
Pathway And Staircase Lighting For Safer Access To Loft Bedrooms
Staircase lighting prevents falls in loft-access situations where steps are often steep and narrow. Install lights at each step’s edge, either recessed into treads or mounted on adjacent walls. Aim for consistent, low-level illumination rather than bright overhead fixtures that create glare and shadows on steps. Motion sensors reduce energy use while ensuring lights activate before anyone navigates stairs.
Pathway lighting connects ground living spaces to staircase entries and extends up toward loft access points. Strip lights along hallway baseboards or wall edges guide foot traffic without requiring overhead installation in low-ceiling areas. Position lights at roughly 12 inches from floor level to cast light upward onto walking surfaces. This approach consumes minimal power and keeps head clearance unobstructed in tight layouts.
Where To Put Lights In Your House A Tiny Home Placement Map
Ceiling Versus Wall
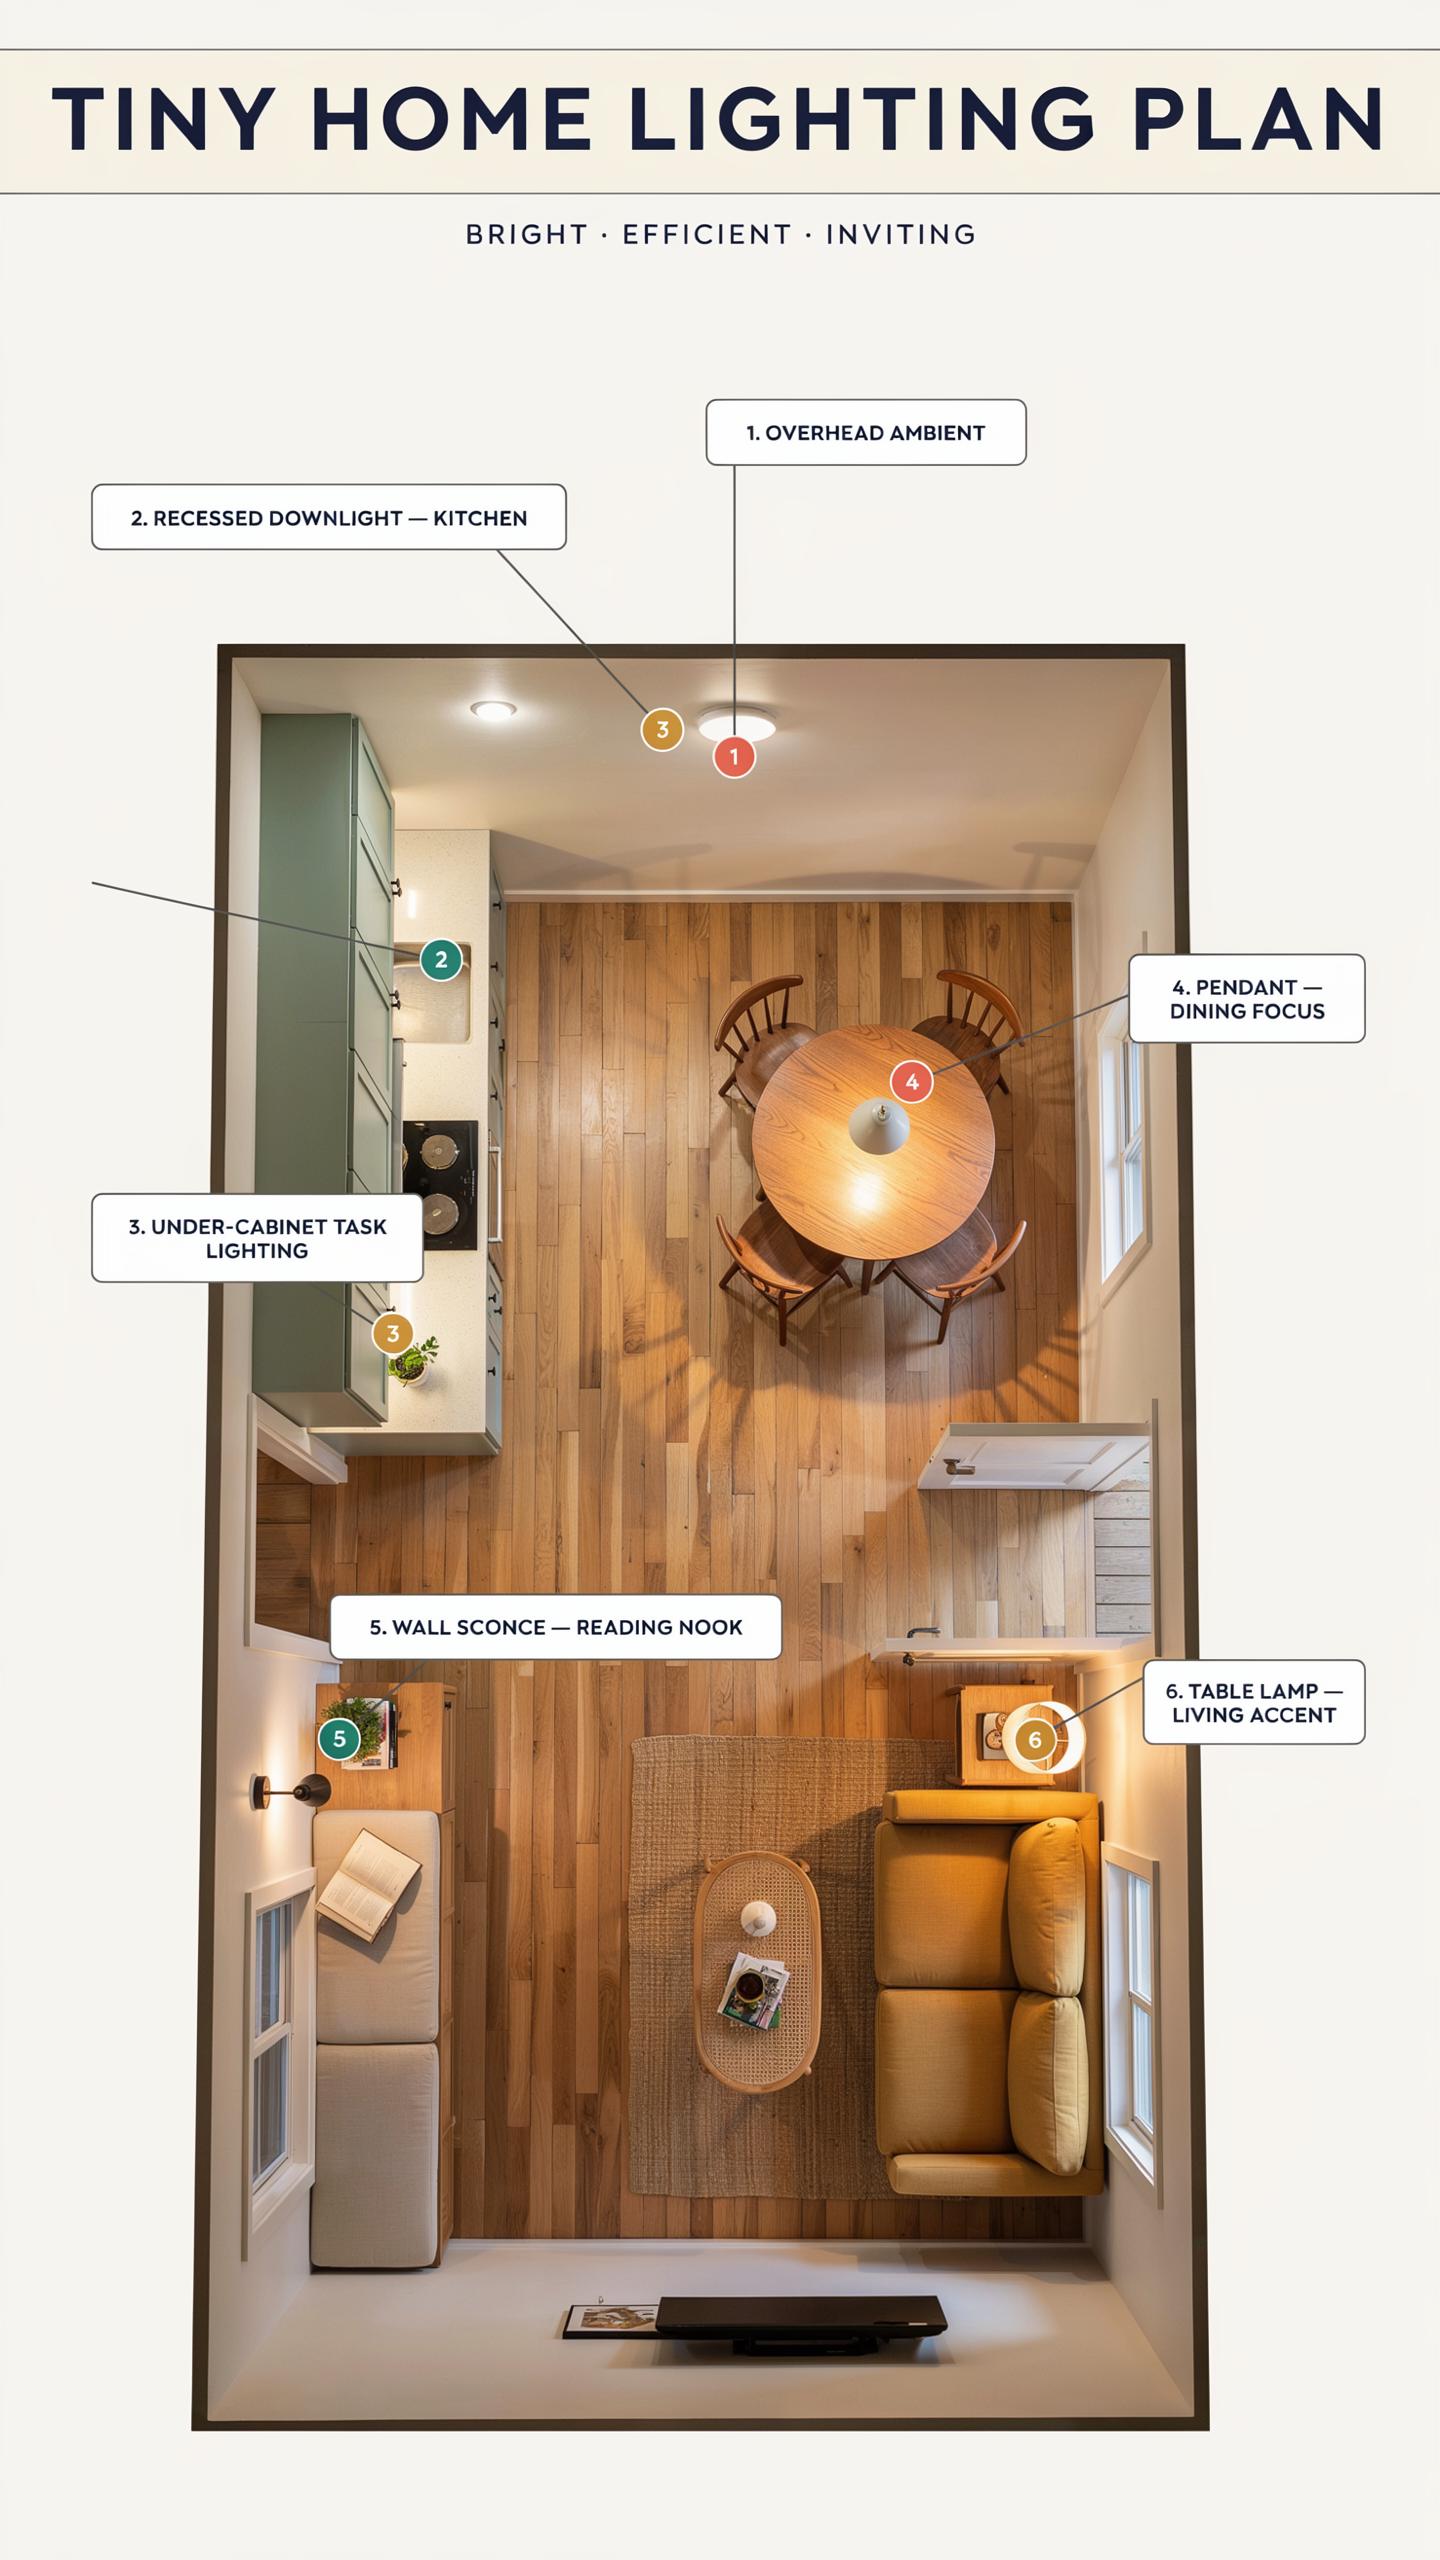
Wall sconces outperform ceiling pendants in tiny homes because they consume less visual space and create usable light where you need it. Ceiling fixtures draw the eye upward and occupy overhead real estate that already feels cramped. Sconces mount flush to walls, leaving your ceiling uncluttered. They also distribute light more evenly across a room without creating harsh shadows or glare that makes small spaces feel smaller.
Ceiling pendants work only if you have 9 feet or higher clearance, which most tiny homes lack. A single pendant above a small table or counter takes up mental real estate and restricts furniture placement below it. Wall fixtures mount at eye level or slightly above, providing task lighting for cooking, working, or dressing without the bulk. This strategy frees your ceiling and opens up the perceived dimensions of your space.
Interior design is not just for the rich, but for anyone with a little imagination and a few warm bulbs to make a small space feel like home.
Reading Nook Lights
Position reading lights at a 45-degree angle behind your shoulder or slightly to the side of your seating. Direct light from above or in front causes glare on pages and creates shadows. A wall-mounted swing arm lamp works best because you control the angle and can adjust it based on time of day or book size. Mount it 48 to 60 inches from the floor for most seating arrangements.
Task lamps for reading need between 400 to 500 lumens to prevent eye strain without overwhelming a small nook. Place the light source 15 to 20 inches from your reading material. A dimmer switch gives you flexibility to reduce brightness for evening reading or increase it for detailed work. This targeted approach lets you read comfortably without lighting your entire tiny home.
Step By Step Tiny Home Interior Design Lighting Plan On A Budget
Budget Lighting Steps
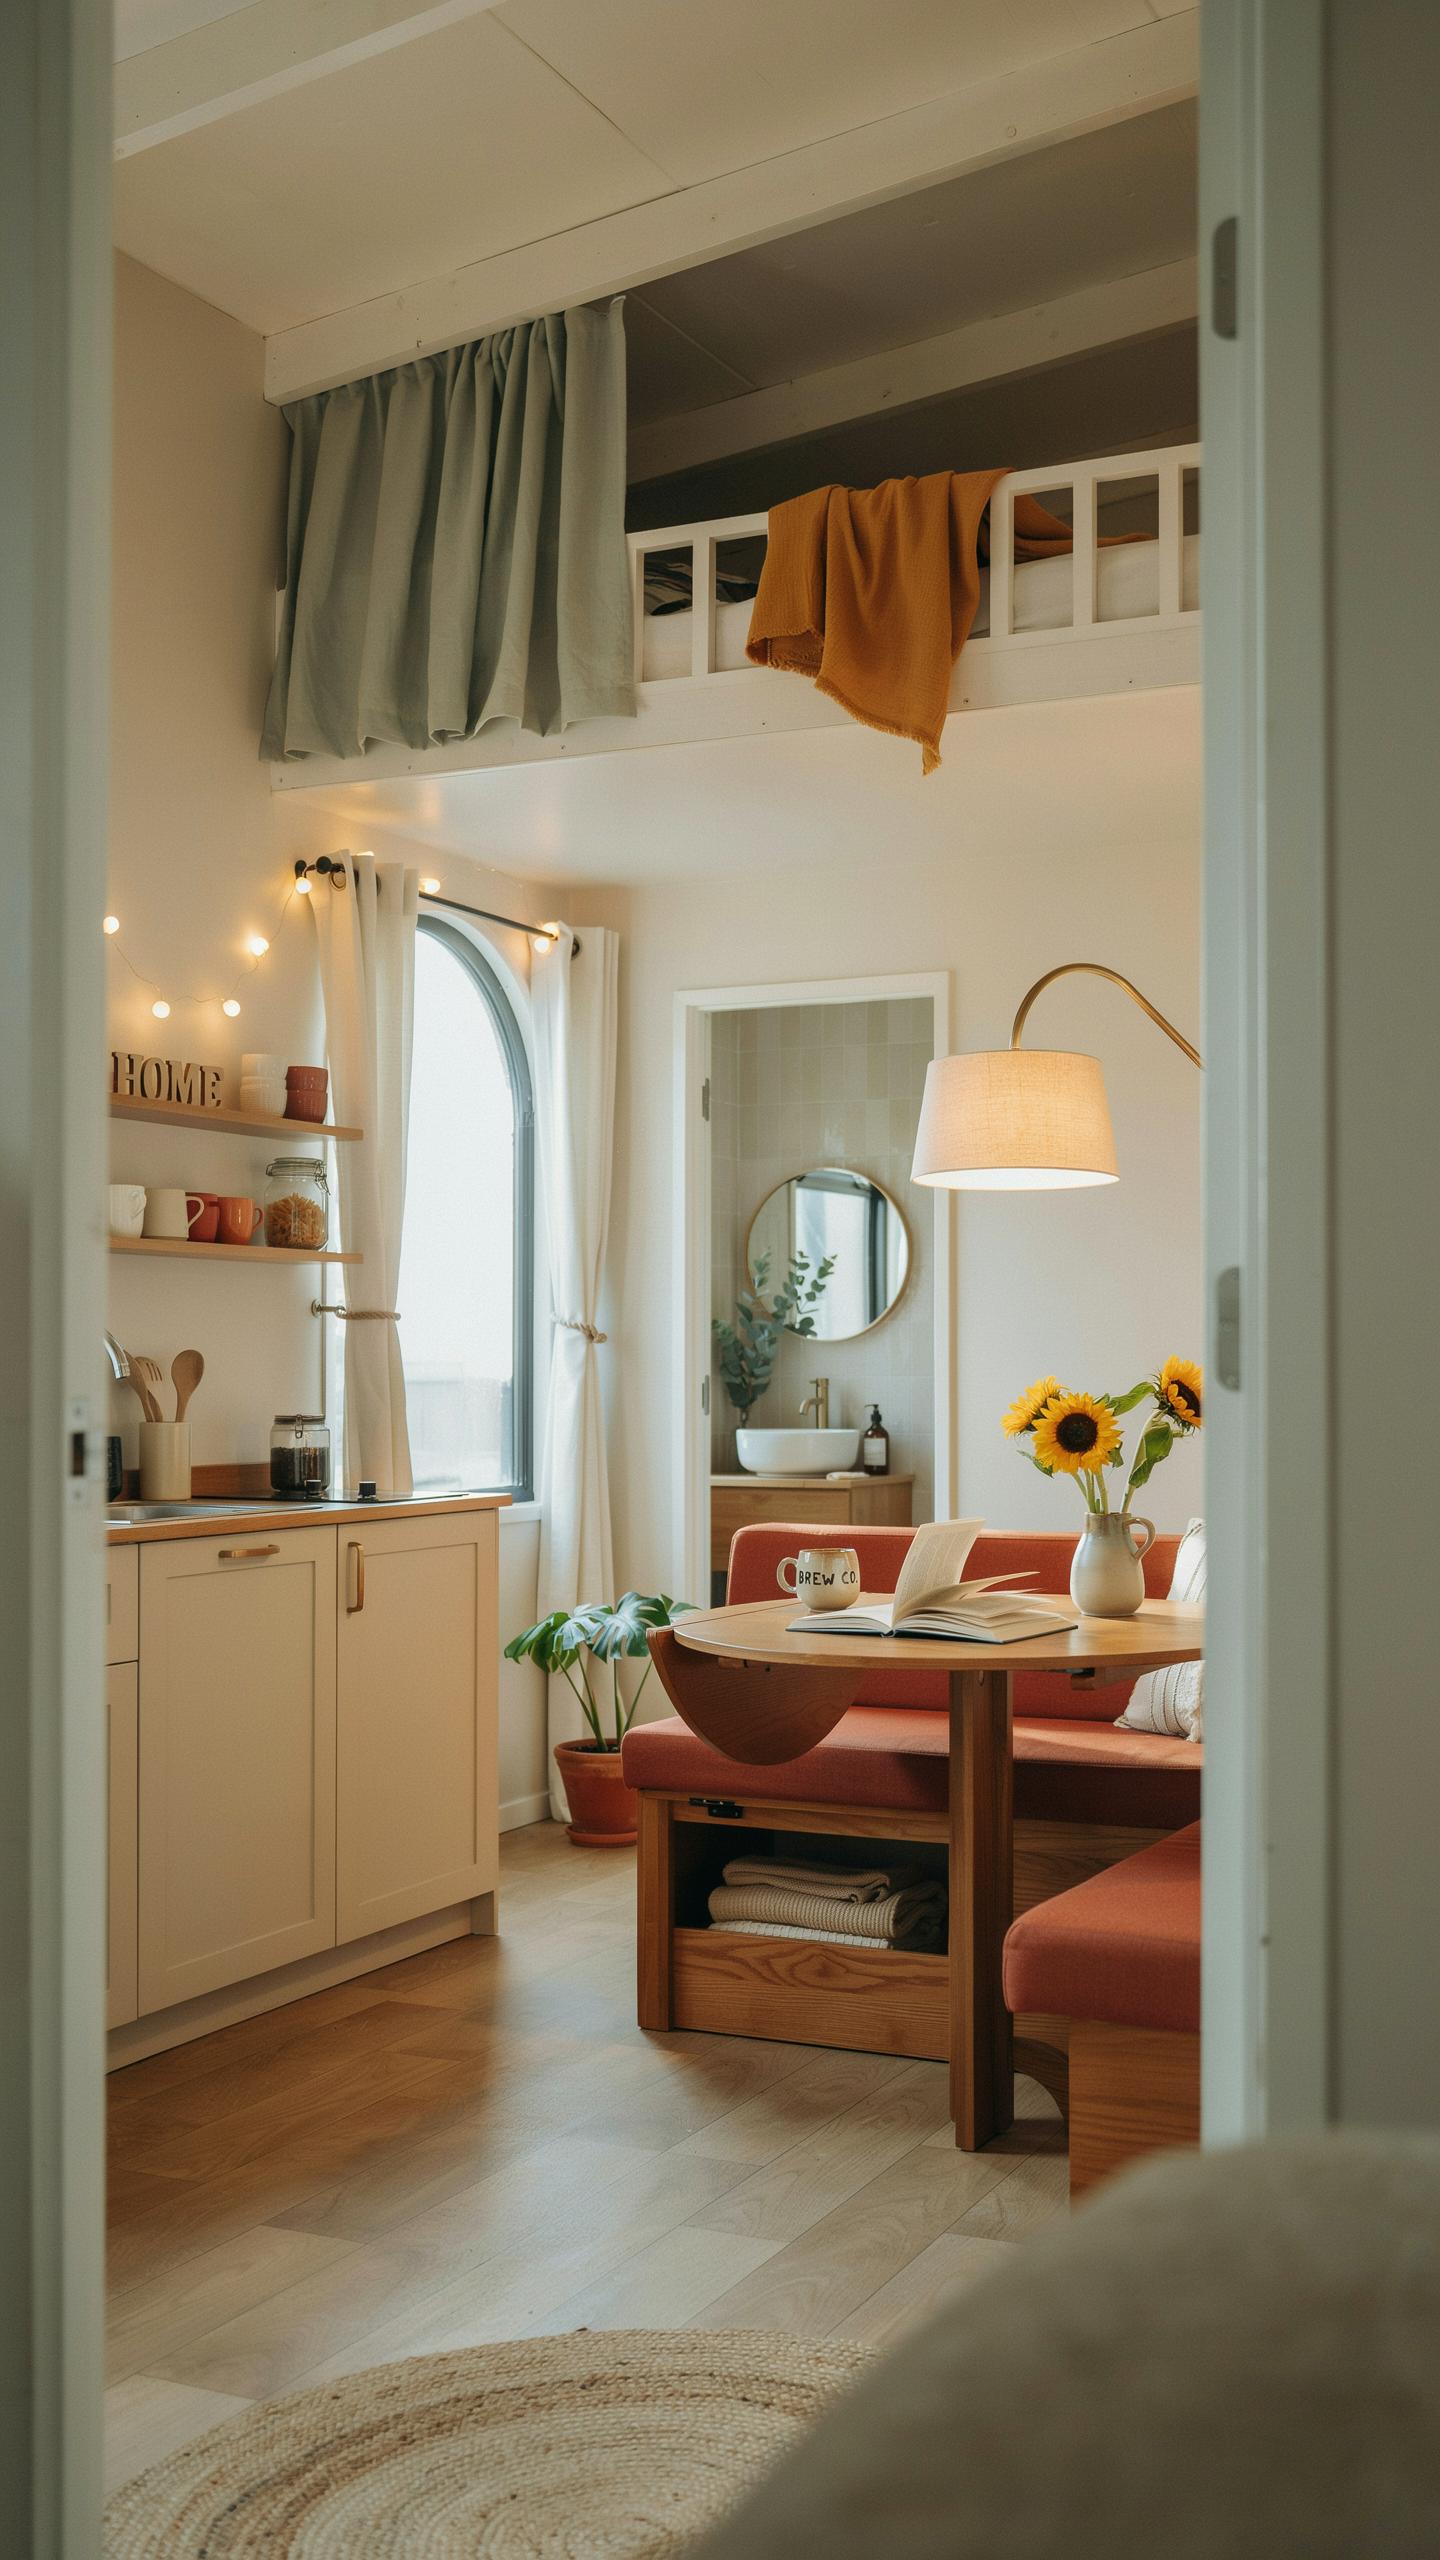
Start with an audit of your space. Measure each room and identify where you spend the most time. Determine which areas need task lighting versus ambient lighting. Task lighting handles specific activities like cooking or reading. Ambient lighting sets the overall mood. This foundation prevents wasted spending on unnecessary fixtures.
- Prioritize high traffic zones first: Kitchen, bathroom, and bedroom areas demand reliable lighting. These spaces see daily use and impact your quality of life most directly.
- Choose LED bulbs exclusively: LED technology costs more upfront but uses 75% less energy than incandescent bulbs. They last 15,000 to 25,000 hours compared to 1,000 hours for traditional bulbs.
- Install dimmer switches: Dimmers reduce energy consumption and let you adjust light intensity based on time of day and activity. This single upgrade cuts electricity costs significantly without buying new fixtures.
- Use existing fixtures strategically: Before buying new lights, reposition current fixtures to maximize coverage. Paint walls lighter colors to reflect light further. This approach costs almost nothing.
- Layer your lighting: Combine overhead lights, table lamps, and wall sconces. Layering creates depth and prevents harsh shadows. You need fewer total watts when light comes from multiple sources at lower power levels.
- Source fixtures from discount retailers: Box stores and online outlets sell functional fixtures at 40 to 60% below designer prices. Functionality matters more than brand names in tight spaces.
Execute your plan room by room rather than tackling everything at once. This approach spreads costs over time and lets you adjust as you learn what works. Document which fixtures and bulb types perform best so you replicate success throughout your home.
Troubleshooting Glare
Glare occurs when light sources sit at eye level or reflect directly off surfaces. Position table lamps on surfaces slightly below eye height when seated. Move overhead lights away from reading zones and work surfaces. Reposition mirrors and glass objects that bounce light into your eyes. Test each adjustment before purchasing additional fixtures.
Aim your light sources at walls and ceilings rather than directly at people. Bounce light off flat surfaces to create indirect illumination that feels softer. Install lampshades that diffuse light instead of directing it in one sharp beam. Matte finishes on walls and ceilings scatter light more evenly than glossy surfaces. Make these changes first before assuming you need dimmer switches or different bulbs altogether.
Frequently Asked Questions

What are the essential layers of a tiny home lighting design?
A successful tiny home interior design lighting plan relies on three essential layers: ambient, task, and accent lighting. Ambient light provides general illumination, task lighting focuses on work areas like the kitchen or desk, and accent lighting adds depth. By layering these elements, you can make a small space feel dynamic and functional without the clutter of bulky fixtures, ensuring every corner of your home feels bright and purposeful.
What type of lighting fixtures work best in a space with low ceilings?
Flush mount and semi-flush fixtures are the safest choice, since anything that hangs down eats into already limited headroom. Wall sconces and picture lights are excellent alternatives that add ambient and accent lighting without consuming any ceiling clearance at all. Where you do want a pendant, choose a compact, low-profile design and hang it only over a specific task area, like a dining table, rather than as general room lighting.
How can I add lighting to a tiny home without professional electrical work?
Plug-in wall sconces, battery-powered puck lights, and LED strip lighting with adhesive backing let you add a full lighting plan without opening a single wall. Smart plugs let you control lamps and fixtures from your phone or a schedule, adding convenience without any wiring. This approach is especially useful in rentals or mobile tiny homes where permanent electrical changes aren’t practical or allowed.



