Building Your Small Garden Layout For Maximum Efficiency
Maximizing Vertical Areas
Vertical gardening expands your growing space without consuming ground area. Walls absorb and reflect heat, creating microclimates that benefit plants. Trellises support climbing vegetables like beans and cucumbers while freeing up soil space for shallow-rooted crops. Hanging planters hold herbs and trailing plants at eye level, improving air circulation and reducing pest pressure on lower foliage.
Install support structures before planting to avoid root damage. Use sturdy materials that withstand seasonal weather changes and plant weight. Position vertical systems where they receive appropriate light for your chosen crops. This approach transforms unused wall space into productive growing zones that yield multiple harvests per season.
Zoning Your Plant Groups
Group plants by their water and light requirements to streamline maintenance. Plants needing afternoon shade cluster together in one zone. High water demand plants occupy another zone near water sources. This prevents overwatering shade lovers or underwatering sun-hungry crops. Grouping also reduces the time spent moving between different care routines.
Zone placement directly impacts your watering schedule efficiency. Herbs and succulents tolerate dry spells and occupy one area. Leafy greens and fruiting vegetables need consistent moisture and occupy another. Seasonal crops rotate through zones as you plan succession planting. This tactical arrangement cuts daily maintenance time while maximizing yield across limited square footage.
Designing The Ideal Raised Vegetable Garden Layout
Selecting Raised Bed Materials
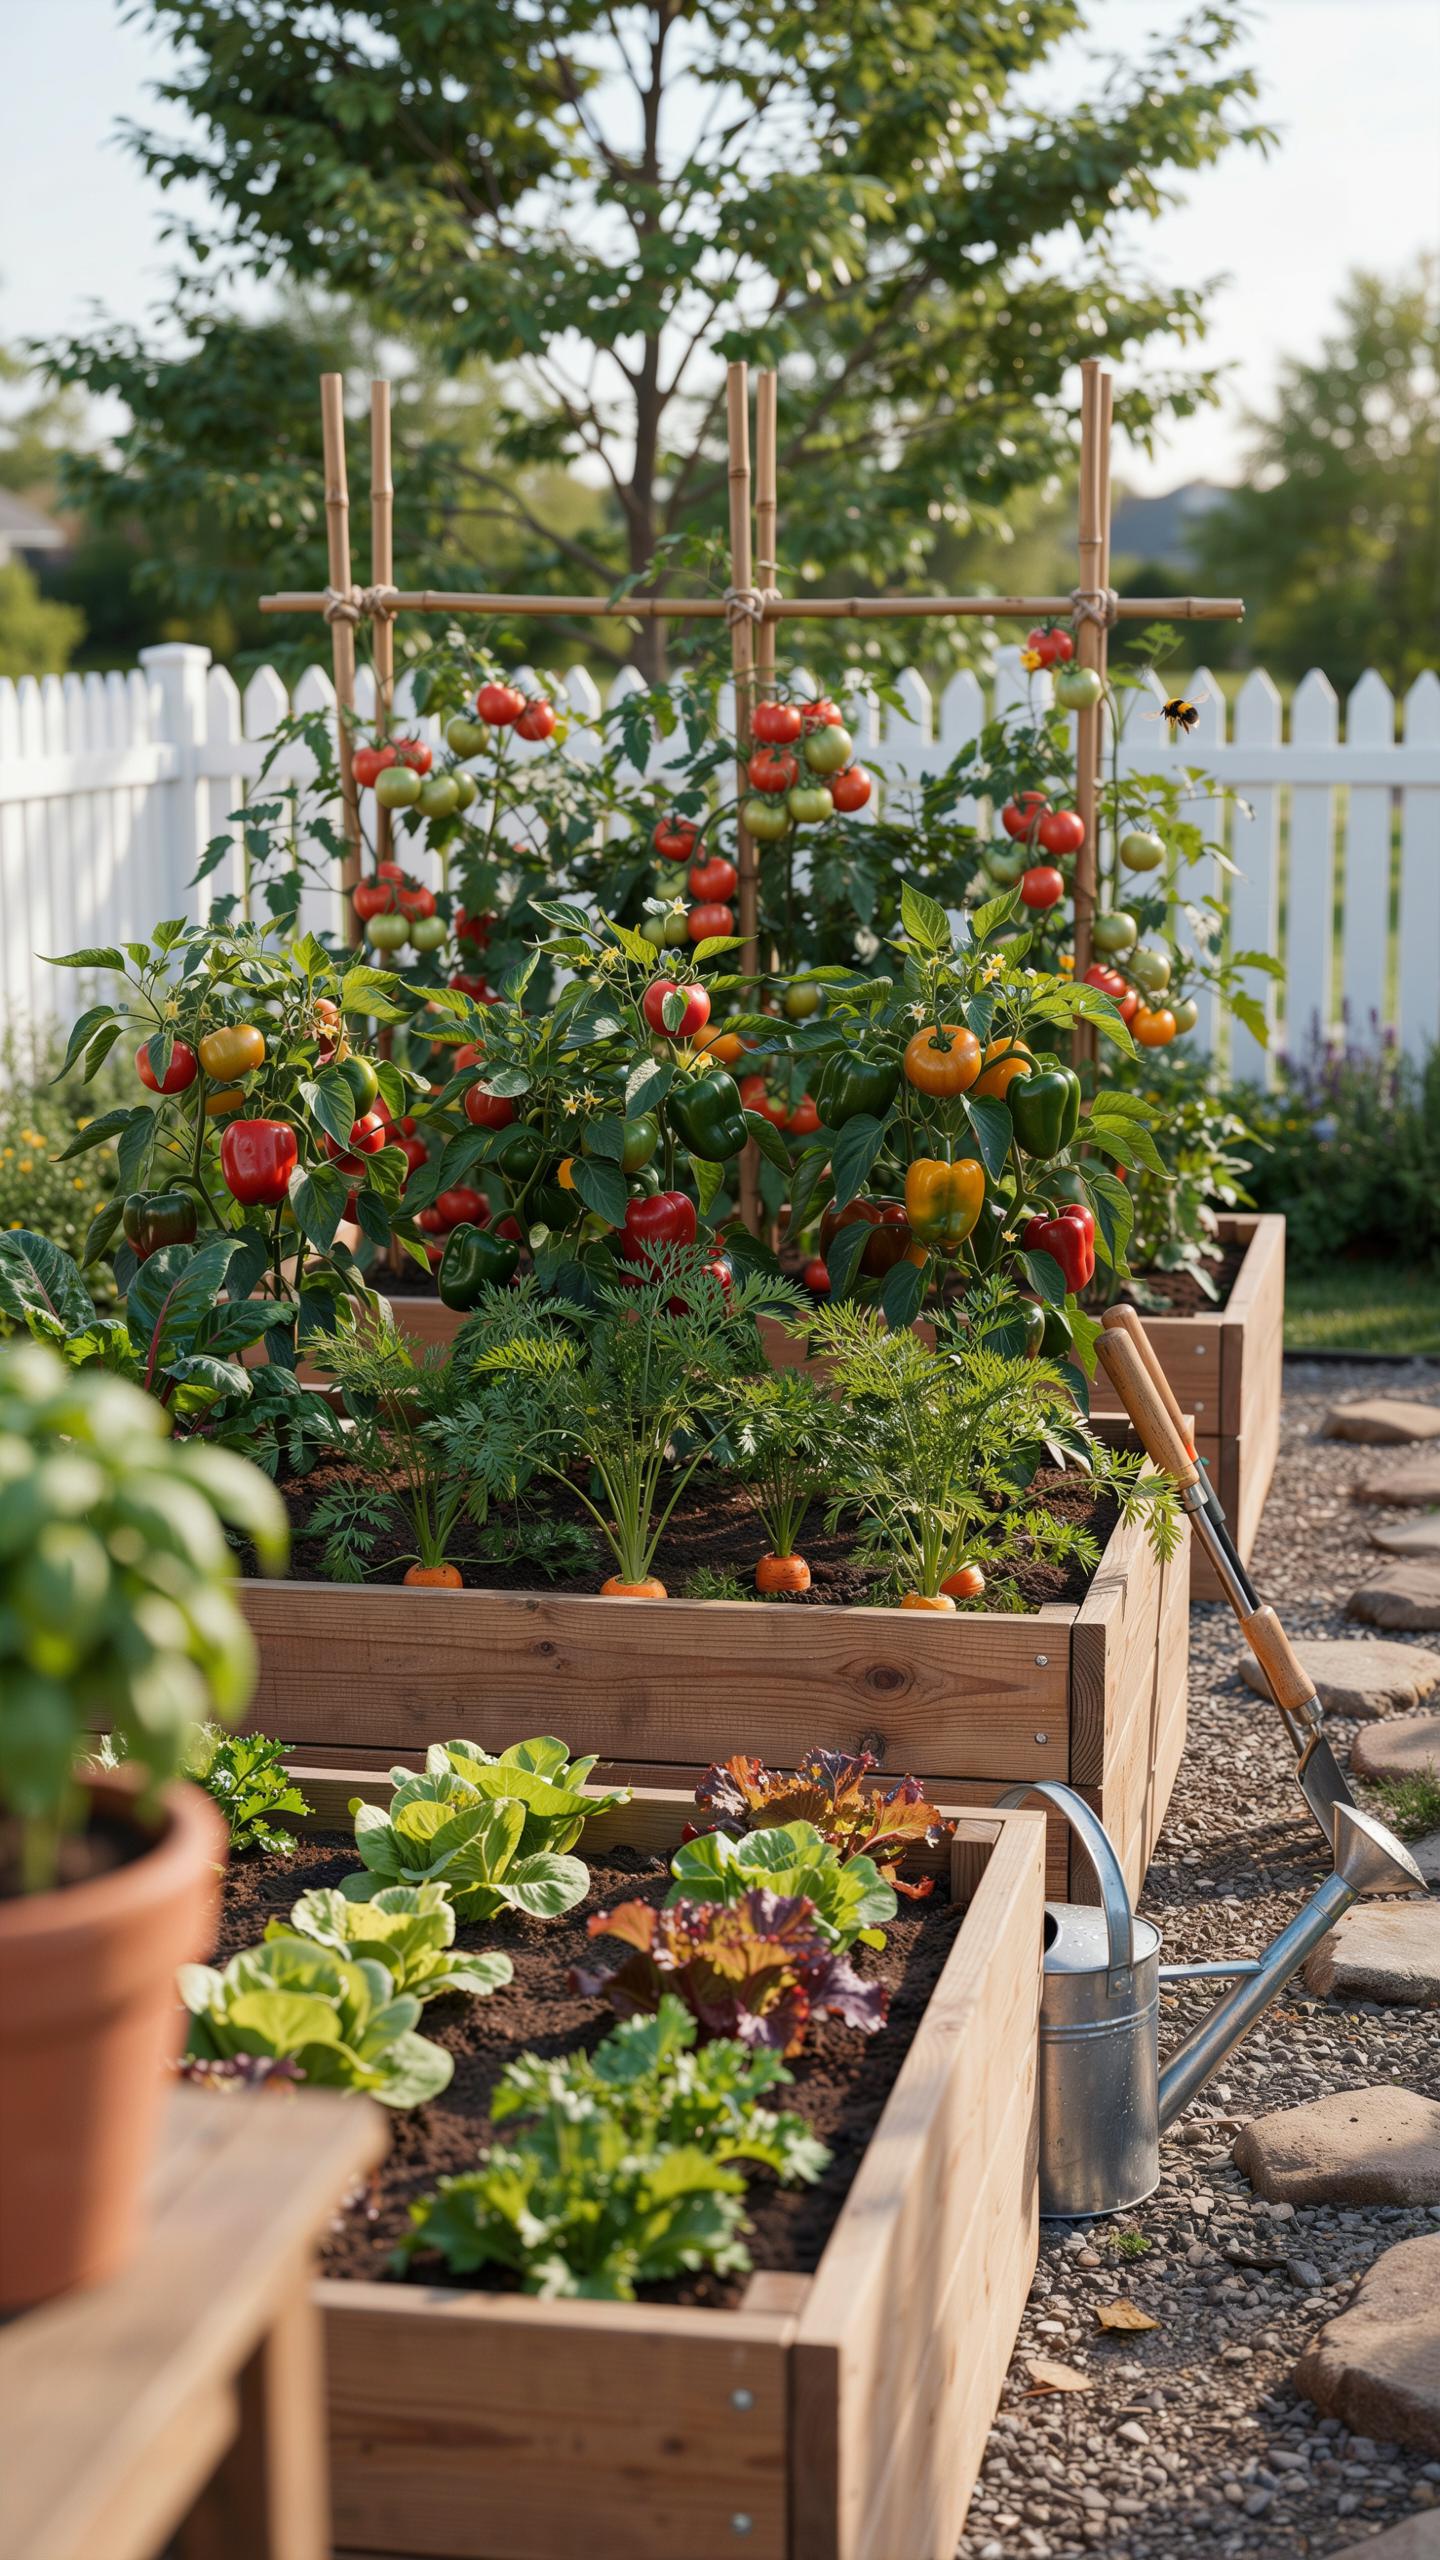
Cedar and untreated fir are your best options for raised beds. Both resist rot without chemical treatment. Cedar naturally contains oils that slow decay. Untreated fir costs less but requires replacement sooner. Avoid treated lumber, railroad ties, and composite materials that leach toxins into soil where food grows.
Galvanized steel and composite boards work as alternatives. Steel lasts 10 to 15 years and won’t leach chemicals. Composites mimic wood appearance but cost more upfront. Your choice depends on budget, climate, and how long you want beds to last. Plan replacement timelines accordingly.
The glory of gardening: hands in the dirt, head in the sun, heart with nature. To nurture a garden is to feed not just on the body, but the soul.
Sizing Beds For Easy Access
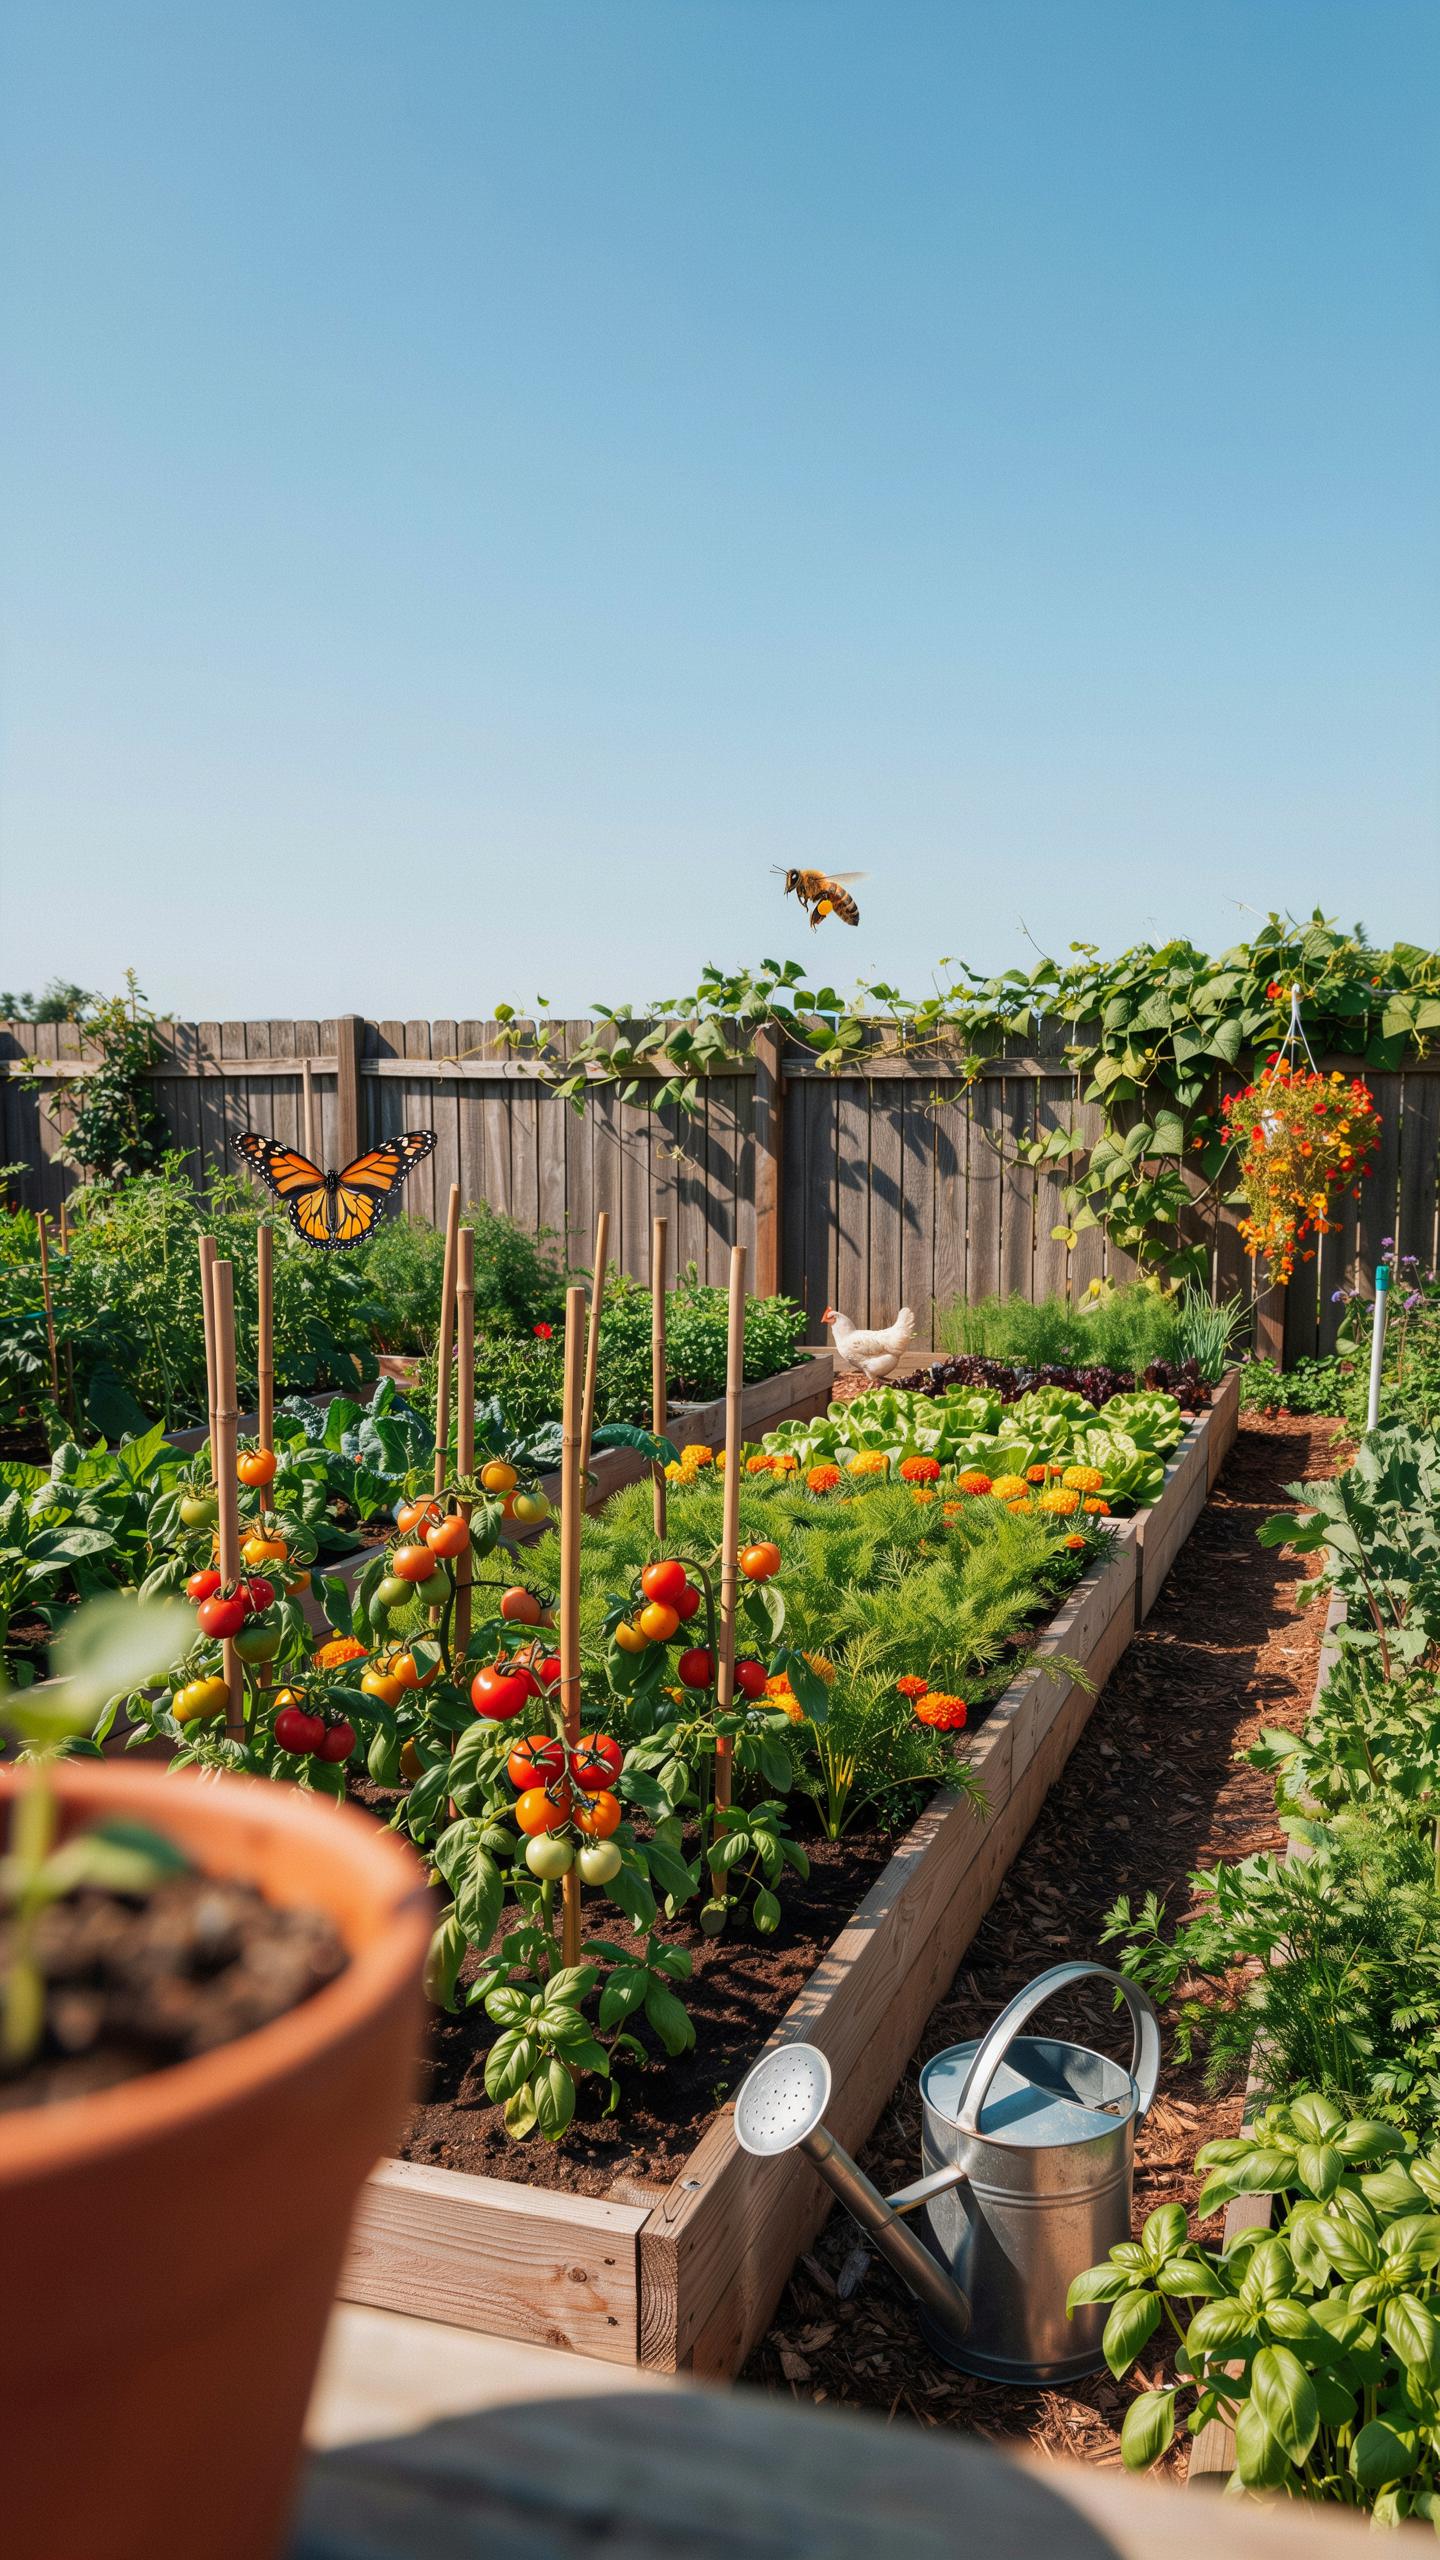
Make beds four feet long by two to three feet wide. This width lets you reach the center from either side without stepping into the bed. Stepping compacts soil and damages root systems. Narrower beds also reduce water runoff and heat stress on plants during summer months.
Height matters too. Beds two feet tall reduce bending strain on your back and knees. Lower beds at 12 inches work in small spaces but require more bending. Taller beds cost more materials but improve accessibility for year round gardening. Match bed height to your physical needs and available space.
Using Companion Planting To Refine Your Veggie Garden Ideas Layout
Strategic Plant Partnerships
Companion planting works because certain plants support each other’s growth through root systems, nutrient uptake, and structural support. The Three Sisters method combines corn, beans, and squash. Corn provides vertical structure for climbing beans. Beans fix nitrogen into soil that corn and squash require. Squash leaves shade soil, retaining moisture and suppressing weeds.
This layout maximizes yield in confined spaces by using vertical and ground layers simultaneously. Stack these three crops together in containers or raised beds measuring 4 by 8 feet. Start corn first, add beans two weeks later, then plant squash seeds at the base. Each plant pulls nutrients the others don’t need, reducing competition and eliminating the need for extra fertilizer applications.
Natural Pest Management Layouts
Flowering herbs act as pest deterrents and pollinator attractants when positioned throughout vegetable beds. Marigolds repel aphids, spider mites, and whiteflies through chemical compounds in their roots and leaves. Basil repels thrips, flies, and mosquitoes while improving flavor in nearby tomatoes. Plant these herbs in clusters between vegetable rows rather than isolated spots.
Position herbs every 2 to 3 feet along bed perimeters and between vegetable groups. This spacing ensures adequate coverage for pest suppression while leaving room for vegetables to mature. Herbs also attract beneficial insects like ladybugs and parasitic wasps that hunt garden pests. Replace herbs seasonally since they’ll flower and eventually decline as the growing season progresses.
Creating Dynamic Small Garden Plans For Tiny Yards
Container Gardening Strategies
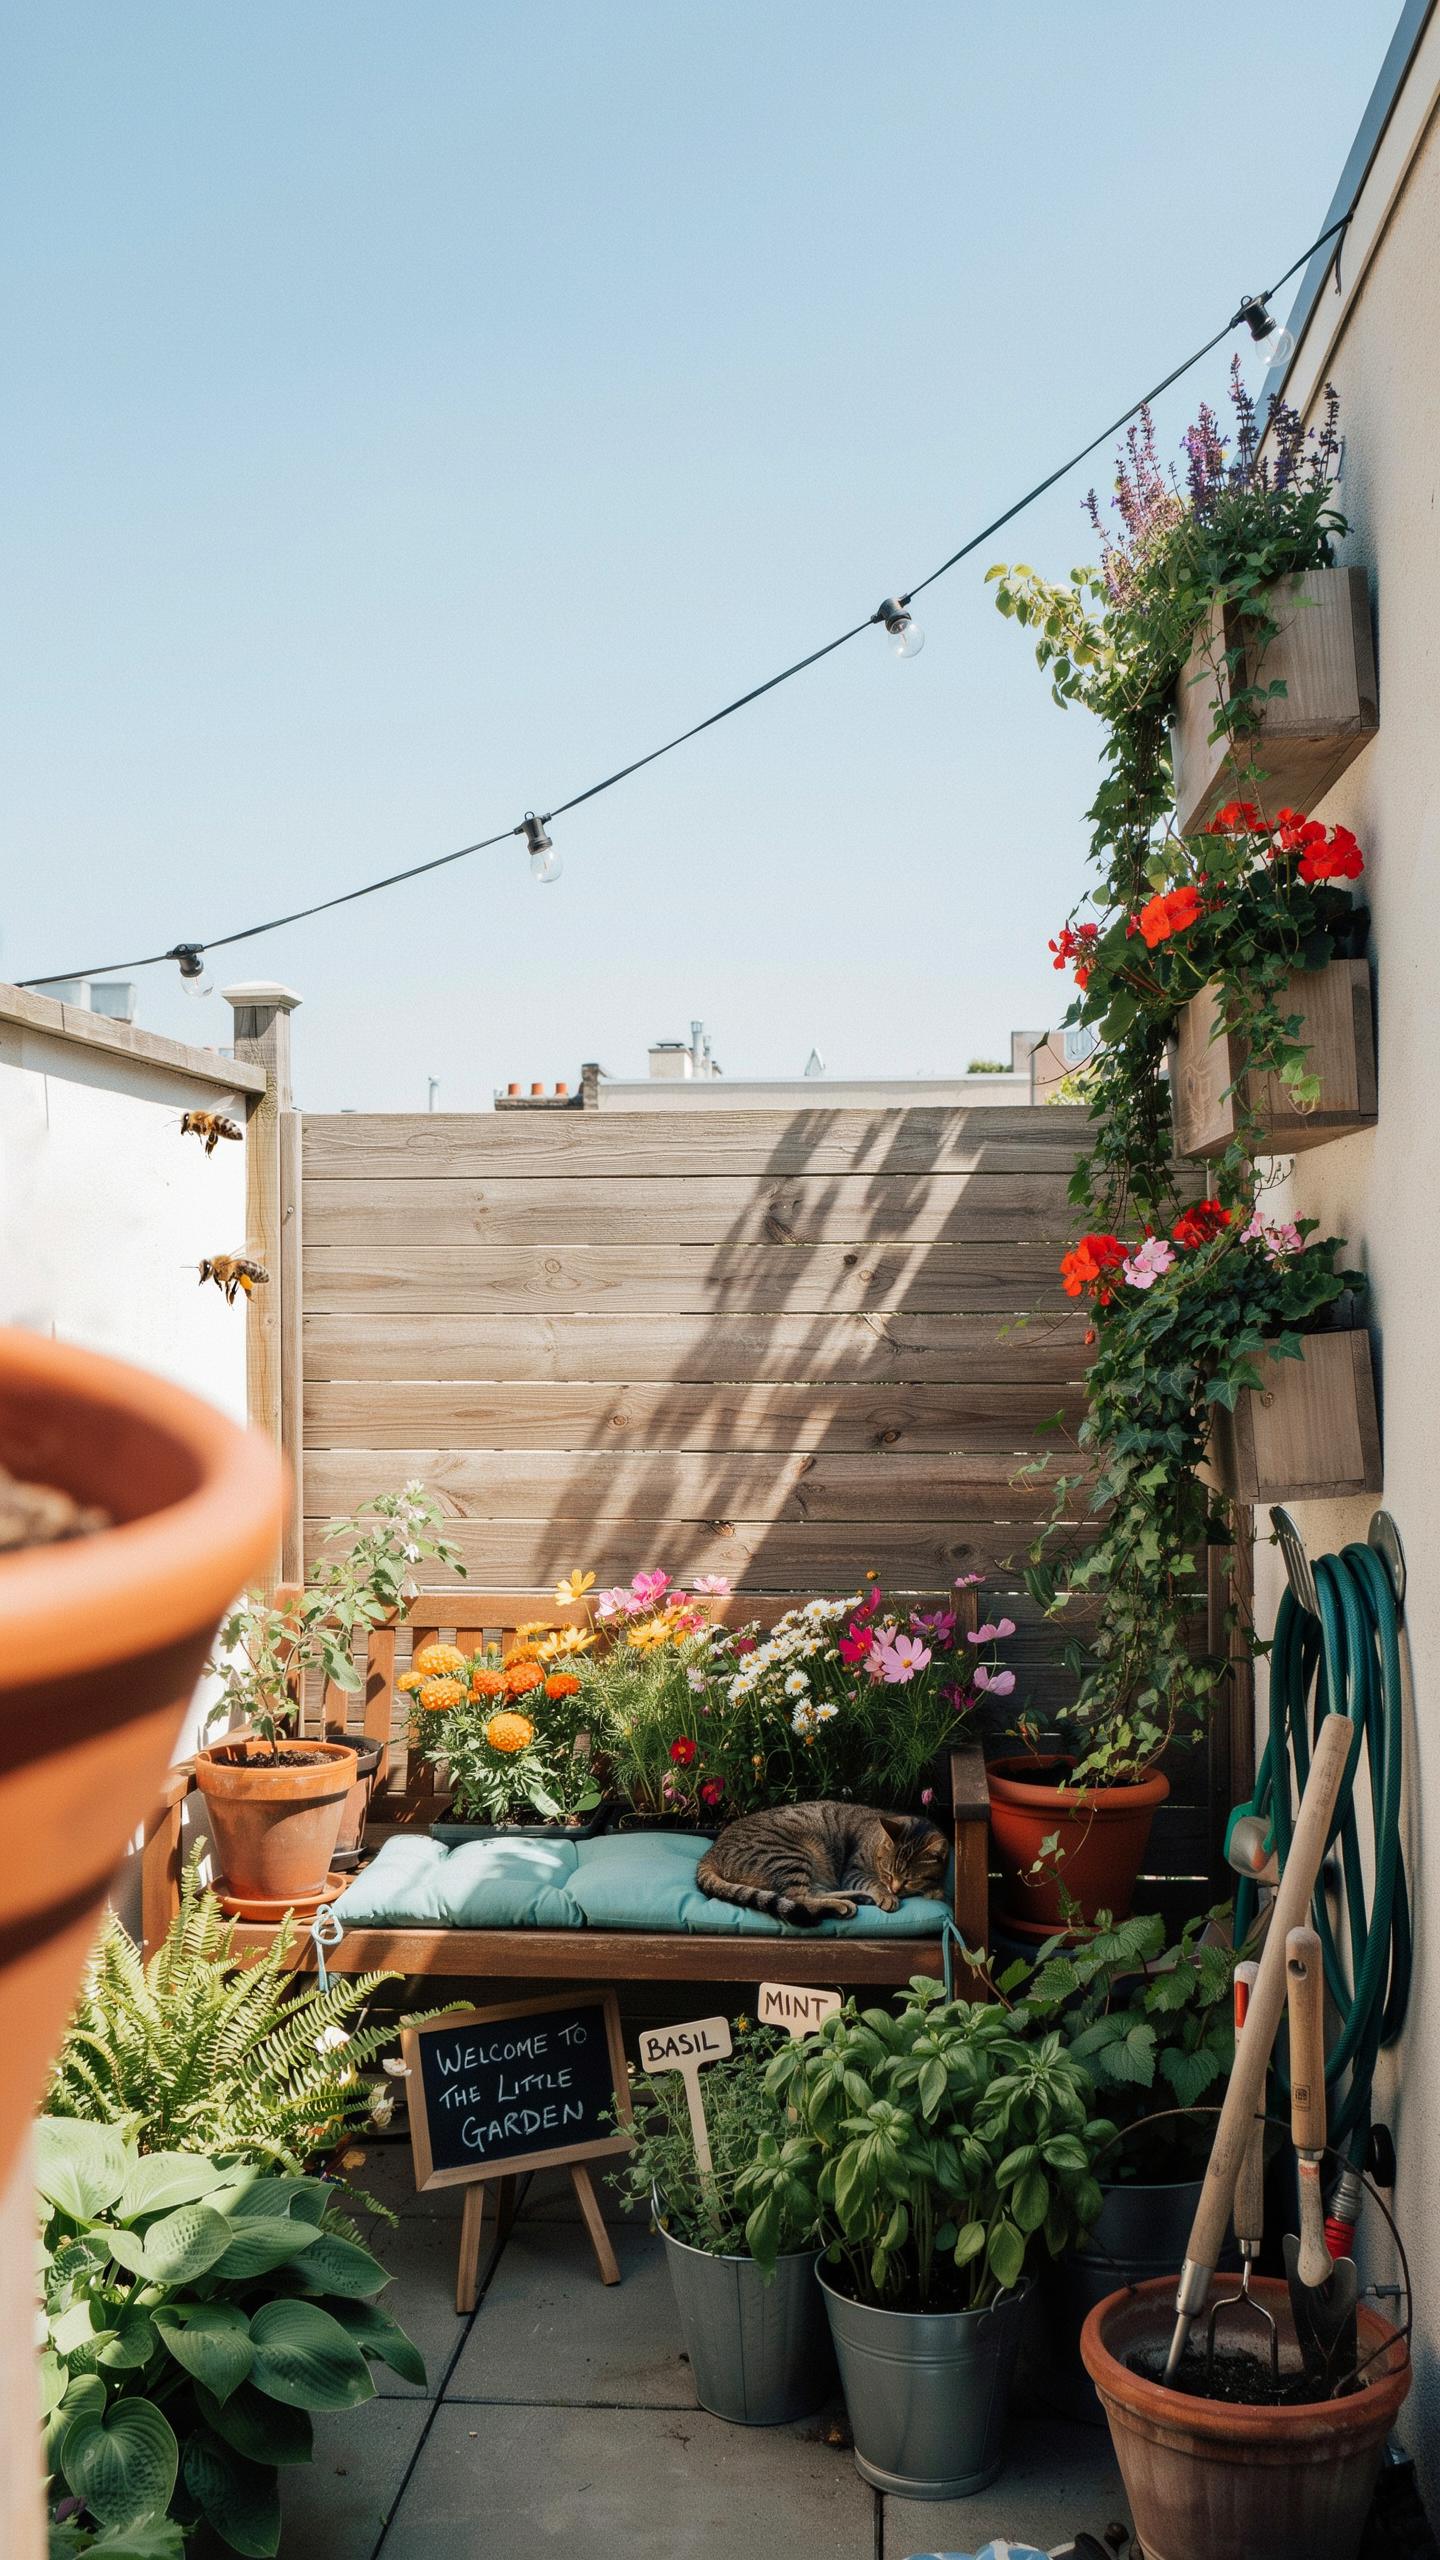
Lightweight containers move easily as sun patterns shift throughout the year. Smart pots with air pruning technology prevent root circling and improve drainage. Small urban spaces receive inconsistent sunlight. Relocating containers tracks seasonal sun movement from south to north facing walls. This flexibility extends your growing season and accommodates both spring through fall crops and winter hardy varieties in the same footprint.
Container size directly impacts plant health and water retention. A 5-gallon container holds soil moisture longer than smaller pots in hot months. Drainage holes prevent waterlogging that kills roots. Grouping containers together creates microclimates and reduces evaporation. Vertical stacking and tiered arrangements maximize yield per square foot without expanding your yard footprint.
Integrating Edibles With Ornamentals
Swiss chard and kale thrive in flower beds alongside perennials and annuals. Their textured leaves and varied colors function as design elements. These leafy greens tolerate partial shade better than fruiting crops. Planting edibles in ornamental spaces eliminates the need for separate vegetable garden areas. This approach yields food while maintaining visual appeal in confined spaces.
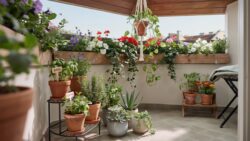
Herbs like parsley and cilantro integrate seamlessly into border plantings. Lettuce varieties provide ground cover while producing harvests. Succession planting of greens every two weeks maintains continuous production. Interplanting edibles with flowering plants attracts pollinators that benefit both food and ornamental crops. This strategy transforms decorative garden space into productive landscape.
Developing A Year Round Garden Planting Calendar
Monthly Planting Tasks Checklist
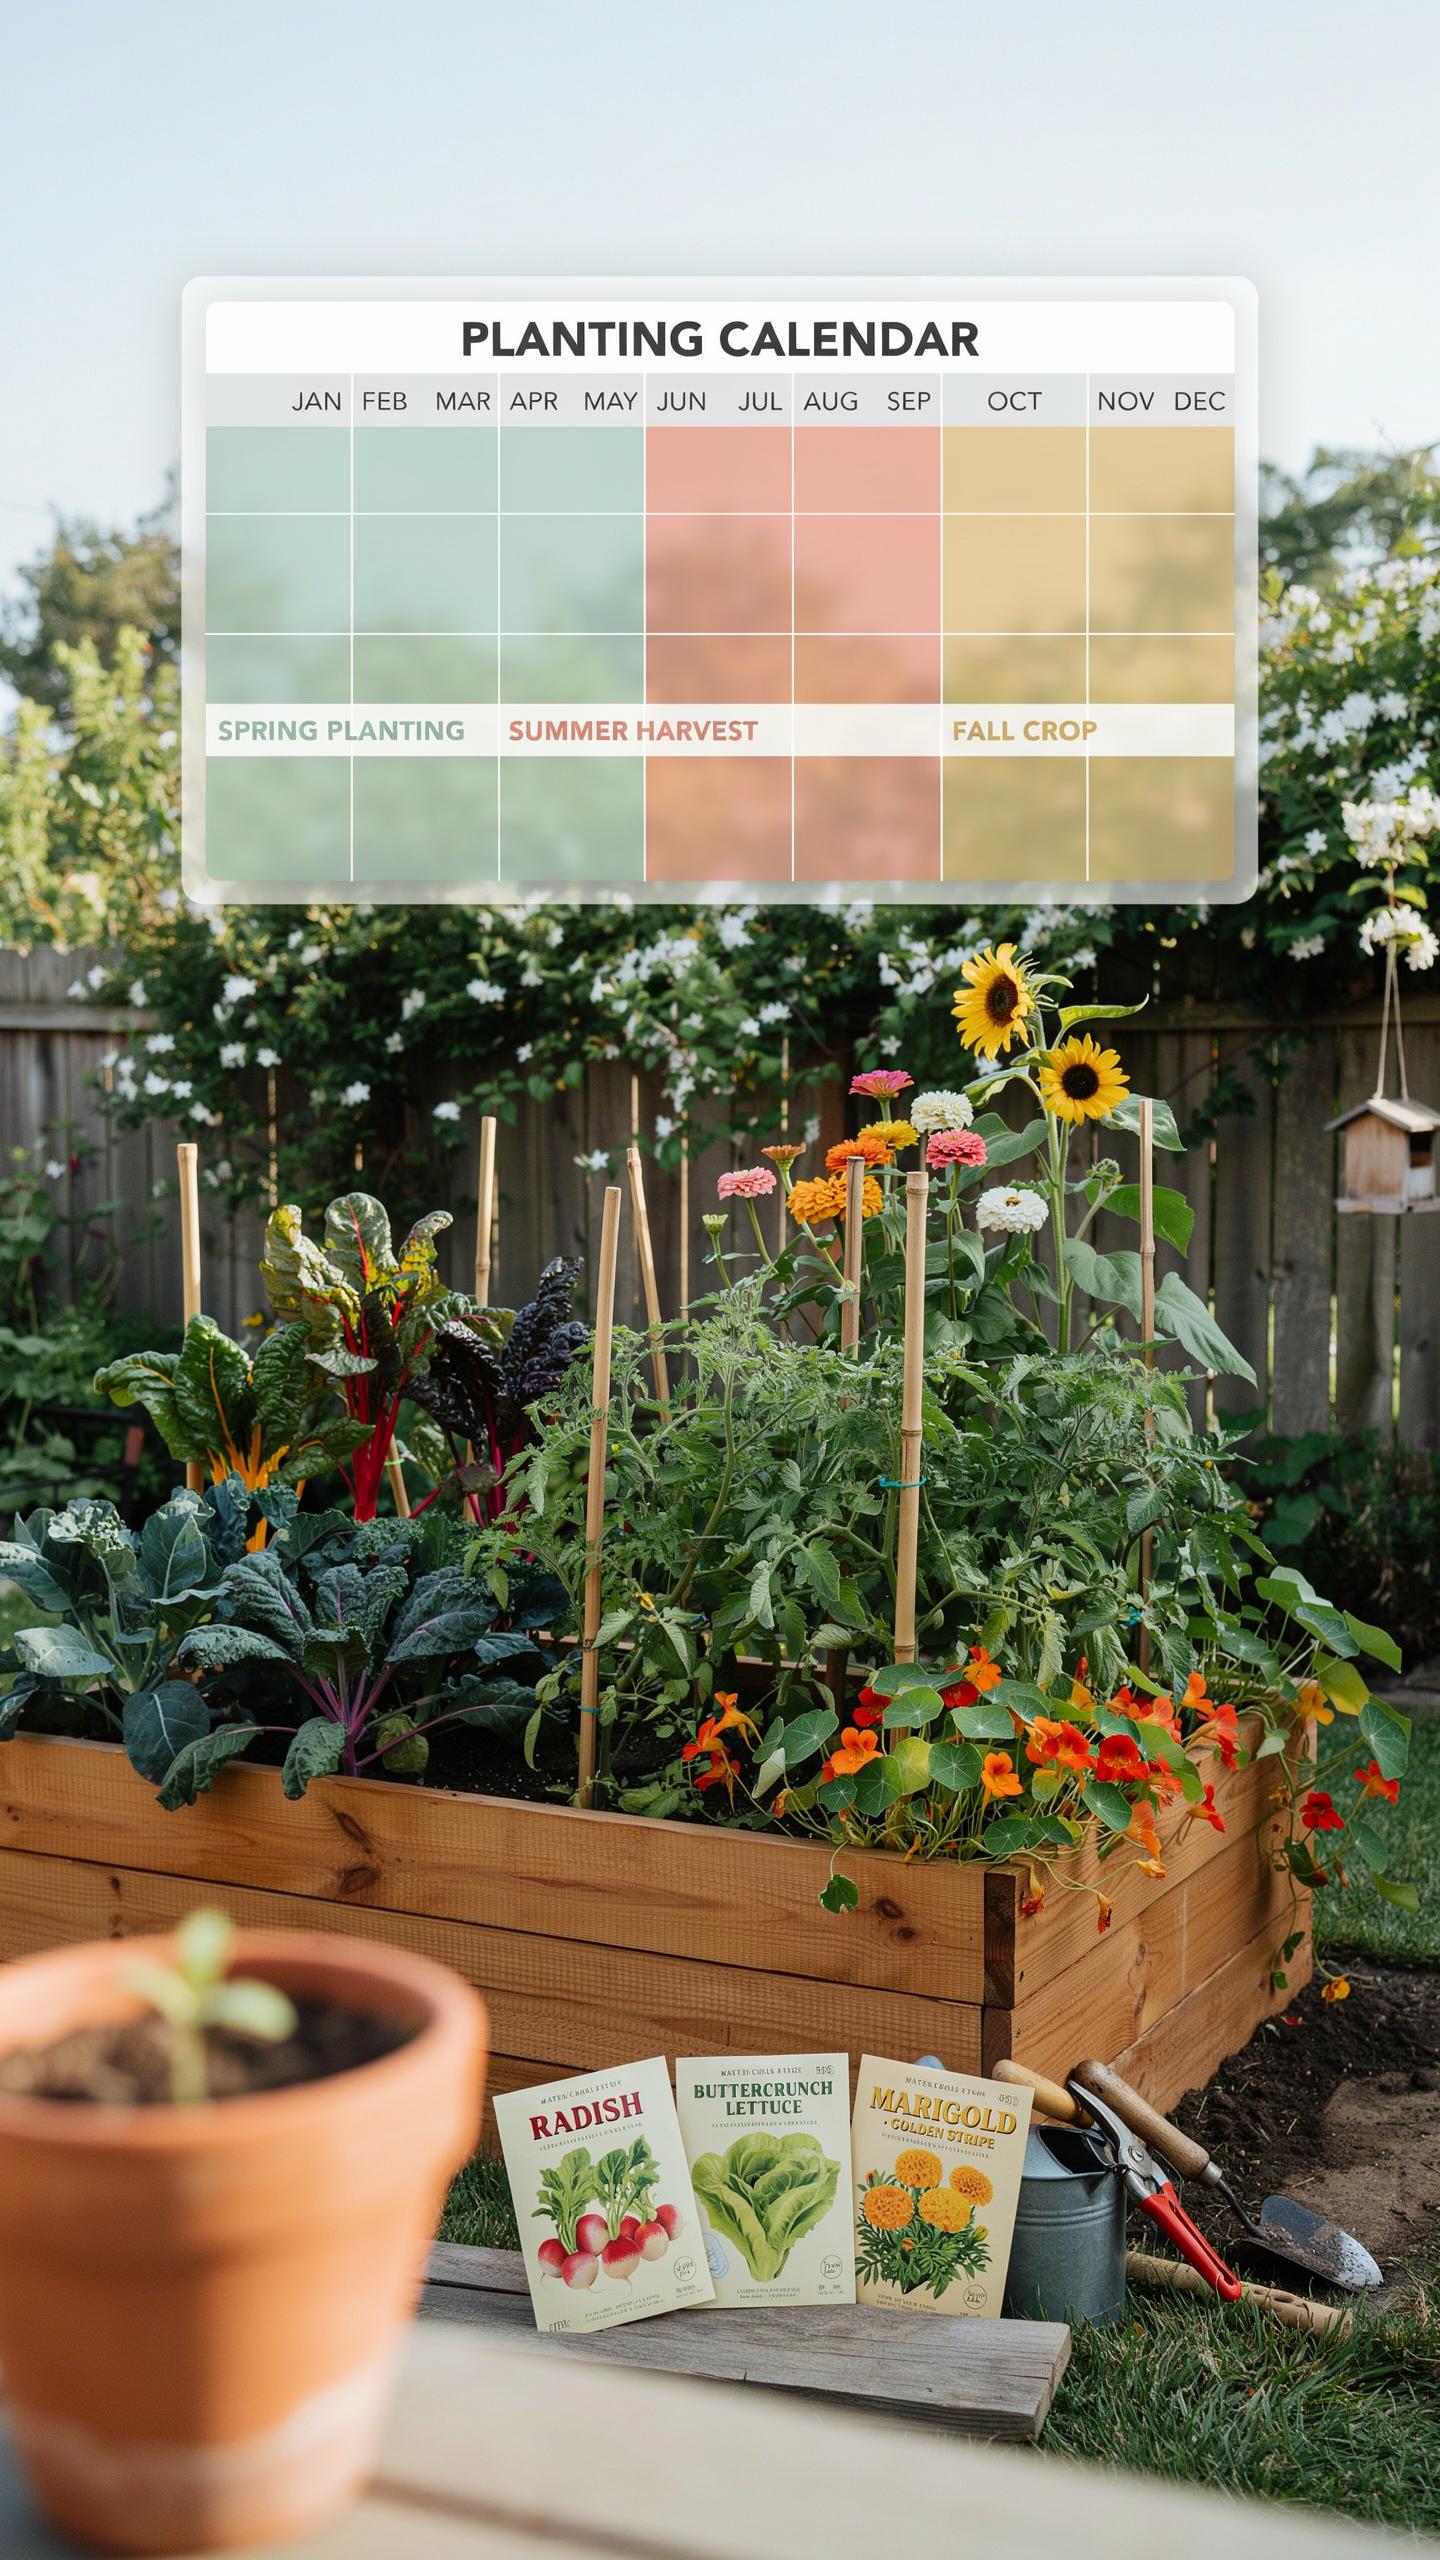
A structured planting calendar removes guesswork from small space gardening. You control what grows when by assigning specific tasks to each month. This prevents crop failures, reduces waste, and maximizes your limited space. Start tracking now to align your planting with seasonal conditions in your zone.
- Late Winter (February-March): Test soil pH and nutrients. Add compost or amendments. Start seeds indoors for cool-season crops. Prune dead growth from perennials.
- Early Spring (March-April): Direct sow cool-season greens, peas, and root vegetables outdoors. Harden off seedlings started indoors. Install trellises and supports for vining crops before planting.
- Late Spring (May-June): Transplant warm-season crops after frost risk passes. Sow succession plantings of greens every two weeks. Mulch soil to retain moisture and suppress weeds.
- Mid Summer (July-August): Start fall crop seeds indoors. Harvest regularly to trigger continued production. Monitor for pest pressure and address early.
- Early Fall (September-October): Direct sow cold-hardy crops like kale, spinach, and mâche. Plant garlic cloves for spring harvest. Clear spent warm-season plants.
- Late Fall and Winter (November-January): Plant cover crops or leave beds fallow. Plan next year’s layout. Maintain cold frames or row covers for winter harvests.
Following this checklist prevents overlapping harvests and empty beds. You build momentum by working with natural seasonal shifts. Consistency beats perfection in year-round gardening.
Tracking Local Frost Dates
Your average first and last frost dates determine when you can safely plant tender crops. These dates vary by geographic location and elevation. Contact your local cooperative extension office or search online databases for your specific area. These dates anchor your entire planting calendar.

Map your frost date window to plan succession planting. Count backward from your last spring frost to time seed starts indoors. Count forward from your first fall frost to schedule cool-season crops for winter harvest. This calculation prevents wasted seeds and seedlings that freeze before producing.
Establishing A Realistic Garden Planting Schedule
Setting Seed Sowing Windows
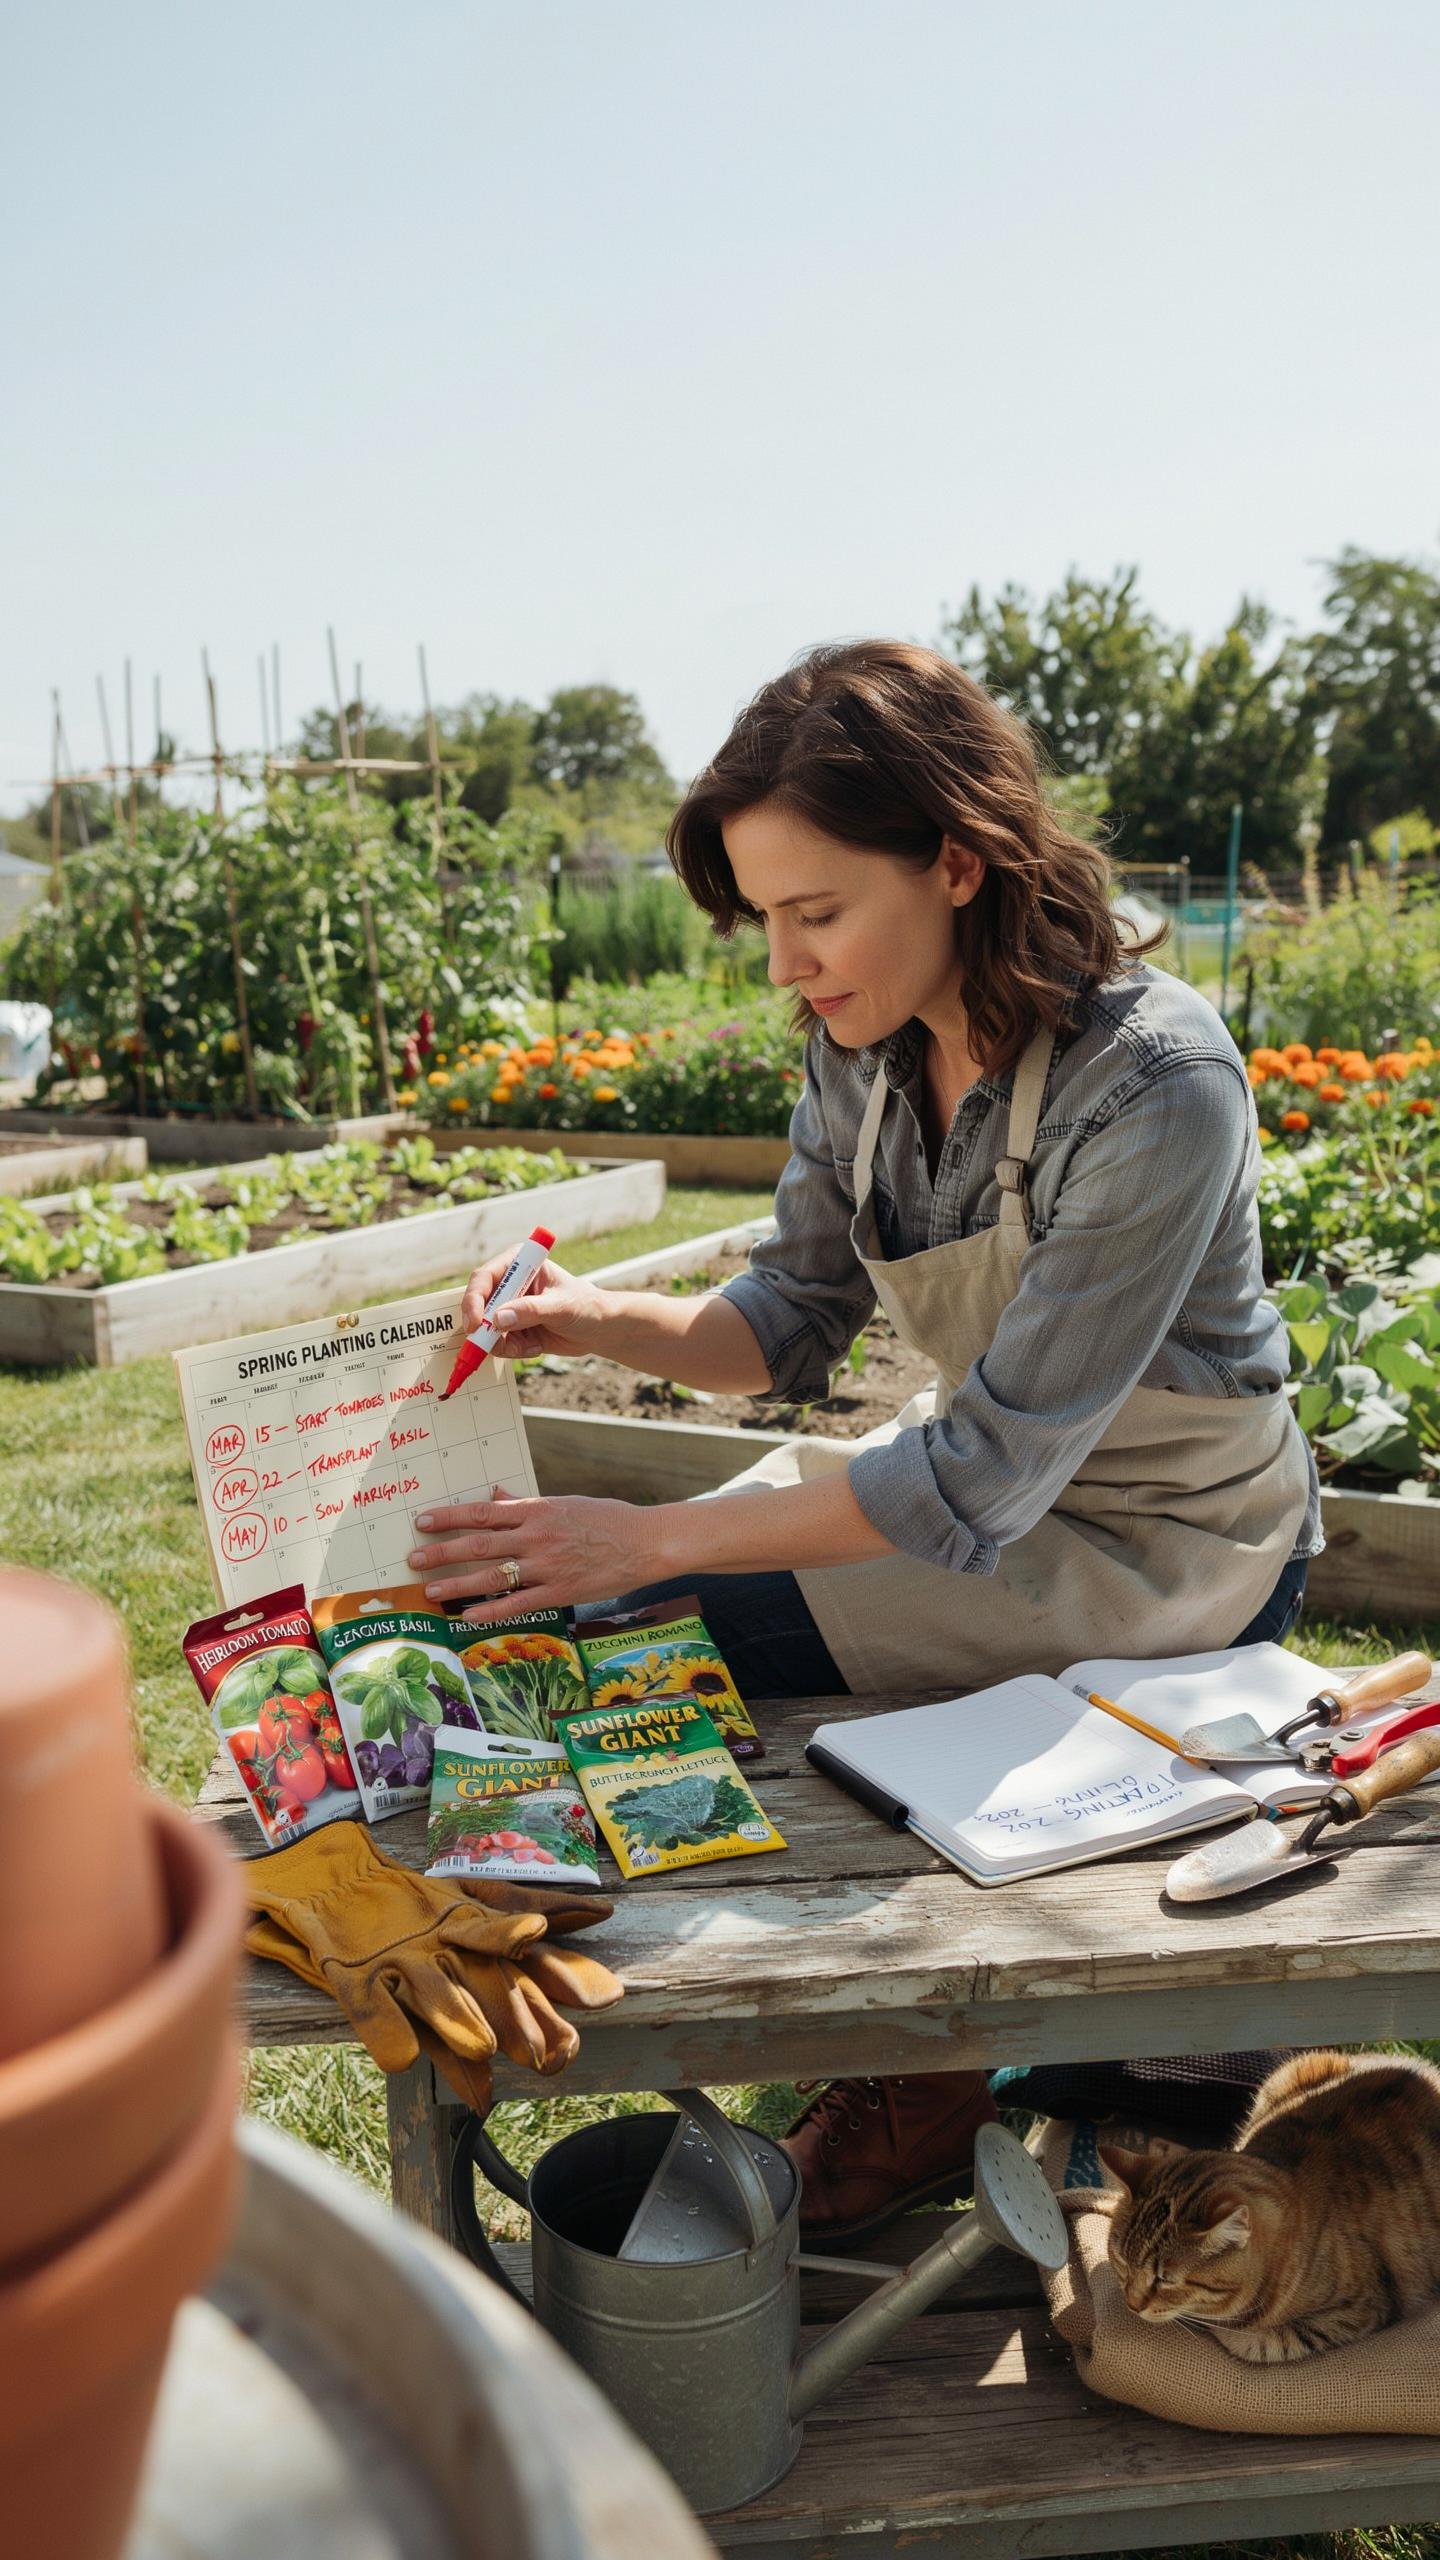
Start seeds indoors 6 to 8 weeks before your last spring frost date. Tomatoes and peppers need this lead time to develop strong root systems and multiple leaf sets before transplanting outdoors. Check your local frost date through your regional cooperative extension office or USDA hardiness zone data. This timing applies across most climates in North America.
Indoor seed starting requires consistent temperatures between 65 and 75 degrees Fahrenheit and 14 to 16 hours of light daily. Use grow lights positioned 2 to 3 inches above seedlings to prevent leggy growth. Water seedlings from below to keep foliage dry and reduce disease risk. Harden off seedlings over 7 to 10 days before transplanting by gradually exposing them to outdoor conditions.
Planning For The Mid Season Transition
Remove spent spring crops like lettuce and peas immediately after harvest to free up container space. Don’t wait for complete plant deterioration. Pull plants while soil still holds nutrients you can recycle into compost or new planting beds. This prompt removal prevents disease buildup and maximizes your growing season in limited space.

Replant summer varieties like beans, squash, and cucumbers in the cleared containers within days of spring crop removal. Refresh soil with compost or balanced fertilizer before planting. Succession plant warm season crops every 2 to 3 weeks through early summer to stagger harvests into fall. This approach keeps containers producing continuously rather than creating gaps in your food supply.
Boosting Harvests With Succession Planting Techniques
Top Crops For Succession Planting
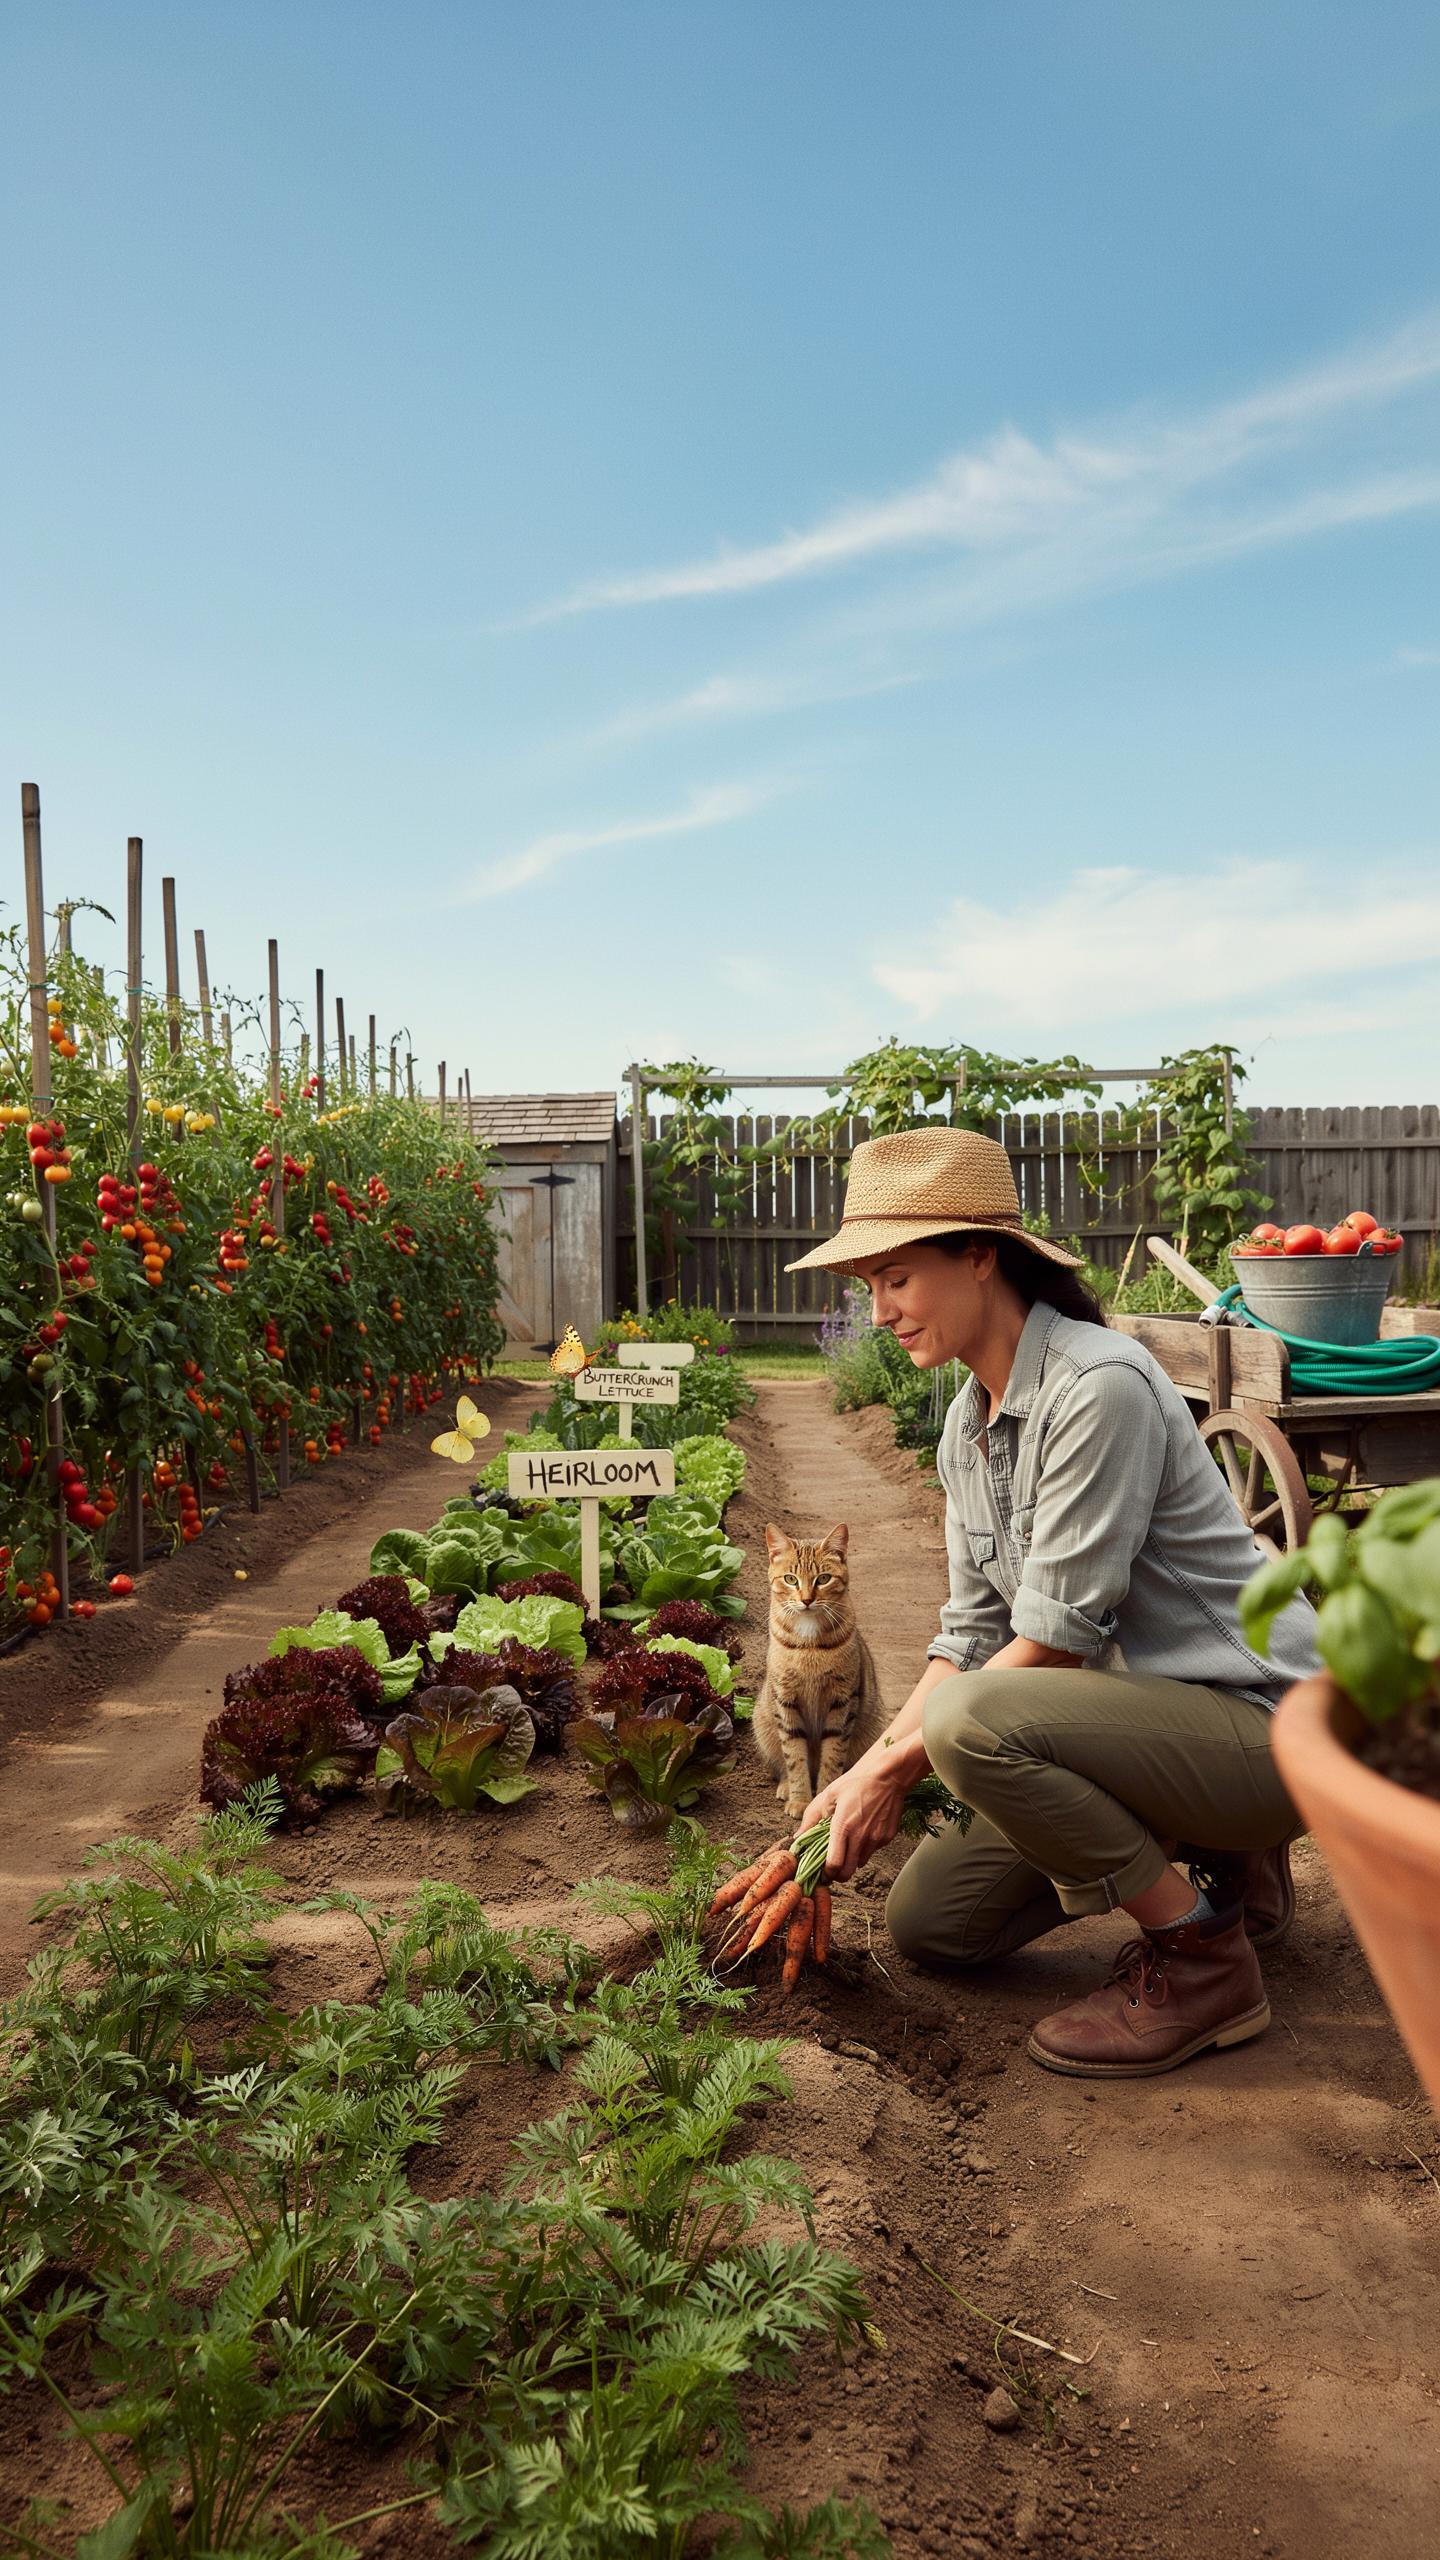
Succession planting works because you plant the same crop in small batches across weeks rather than all at once. This approach keeps your harvest flowing instead of creating feast-or-famine cycles. Choose crops that mature quickly, typically within 30 to 60 days. These varieties occupy your space efficiently while delivering consistent yields throughout the season.
- Radishes: Mature in 25 to 30 days with minimal space requirements. Direct seed them and harvest before they become woody or pithy.
- Bush Beans: Produce pods within 50 to 60 days. They fix nitrogen in soil, improving fertility for subsequent plantings in the same spot.
- Leaf Lettuce: Ready to harvest in 30 to 45 days. Cut outer leaves repeatedly or harvest the whole plant to make room for the next planting.
- Spinach: Thrives in cool seasons and matures in 40 to 50 days. Plant in spring and fall for best results in most climates.
- Green Onions: Ready in 60 to 90 days from seed or 30 days from sets. Succession plant every 10 days for year-round supply in mild climates.
These crops tolerate container growing and vertical arrangements, making them ideal for small spaces. Their rapid turnover means you replace them multiple times per growing season, maximizing your productivity per square foot.
Staggering Your Sowing Intervals
Plant small batches every two weeks rather than sowing everything at once. This eliminates gluts of produce ripening simultaneously while preventing bare stretches in your garden. Two-week intervals align with the natural growth cycles of fast-maturing crops, ensuring fresh harvests align with consumption.
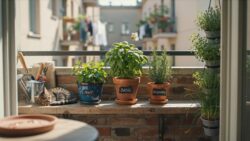
Track your sowing dates with a simple calendar or spreadsheet. Note the planting date and expected harvest date for each batch. This prevents overlapping plantings and helps you identify which intervals work best for your climate and space. Adjust timing based on seasonal changes, extending intervals in winter when growth slows significantly.
Analyzing Functional Sample Garden Plans For Beginners
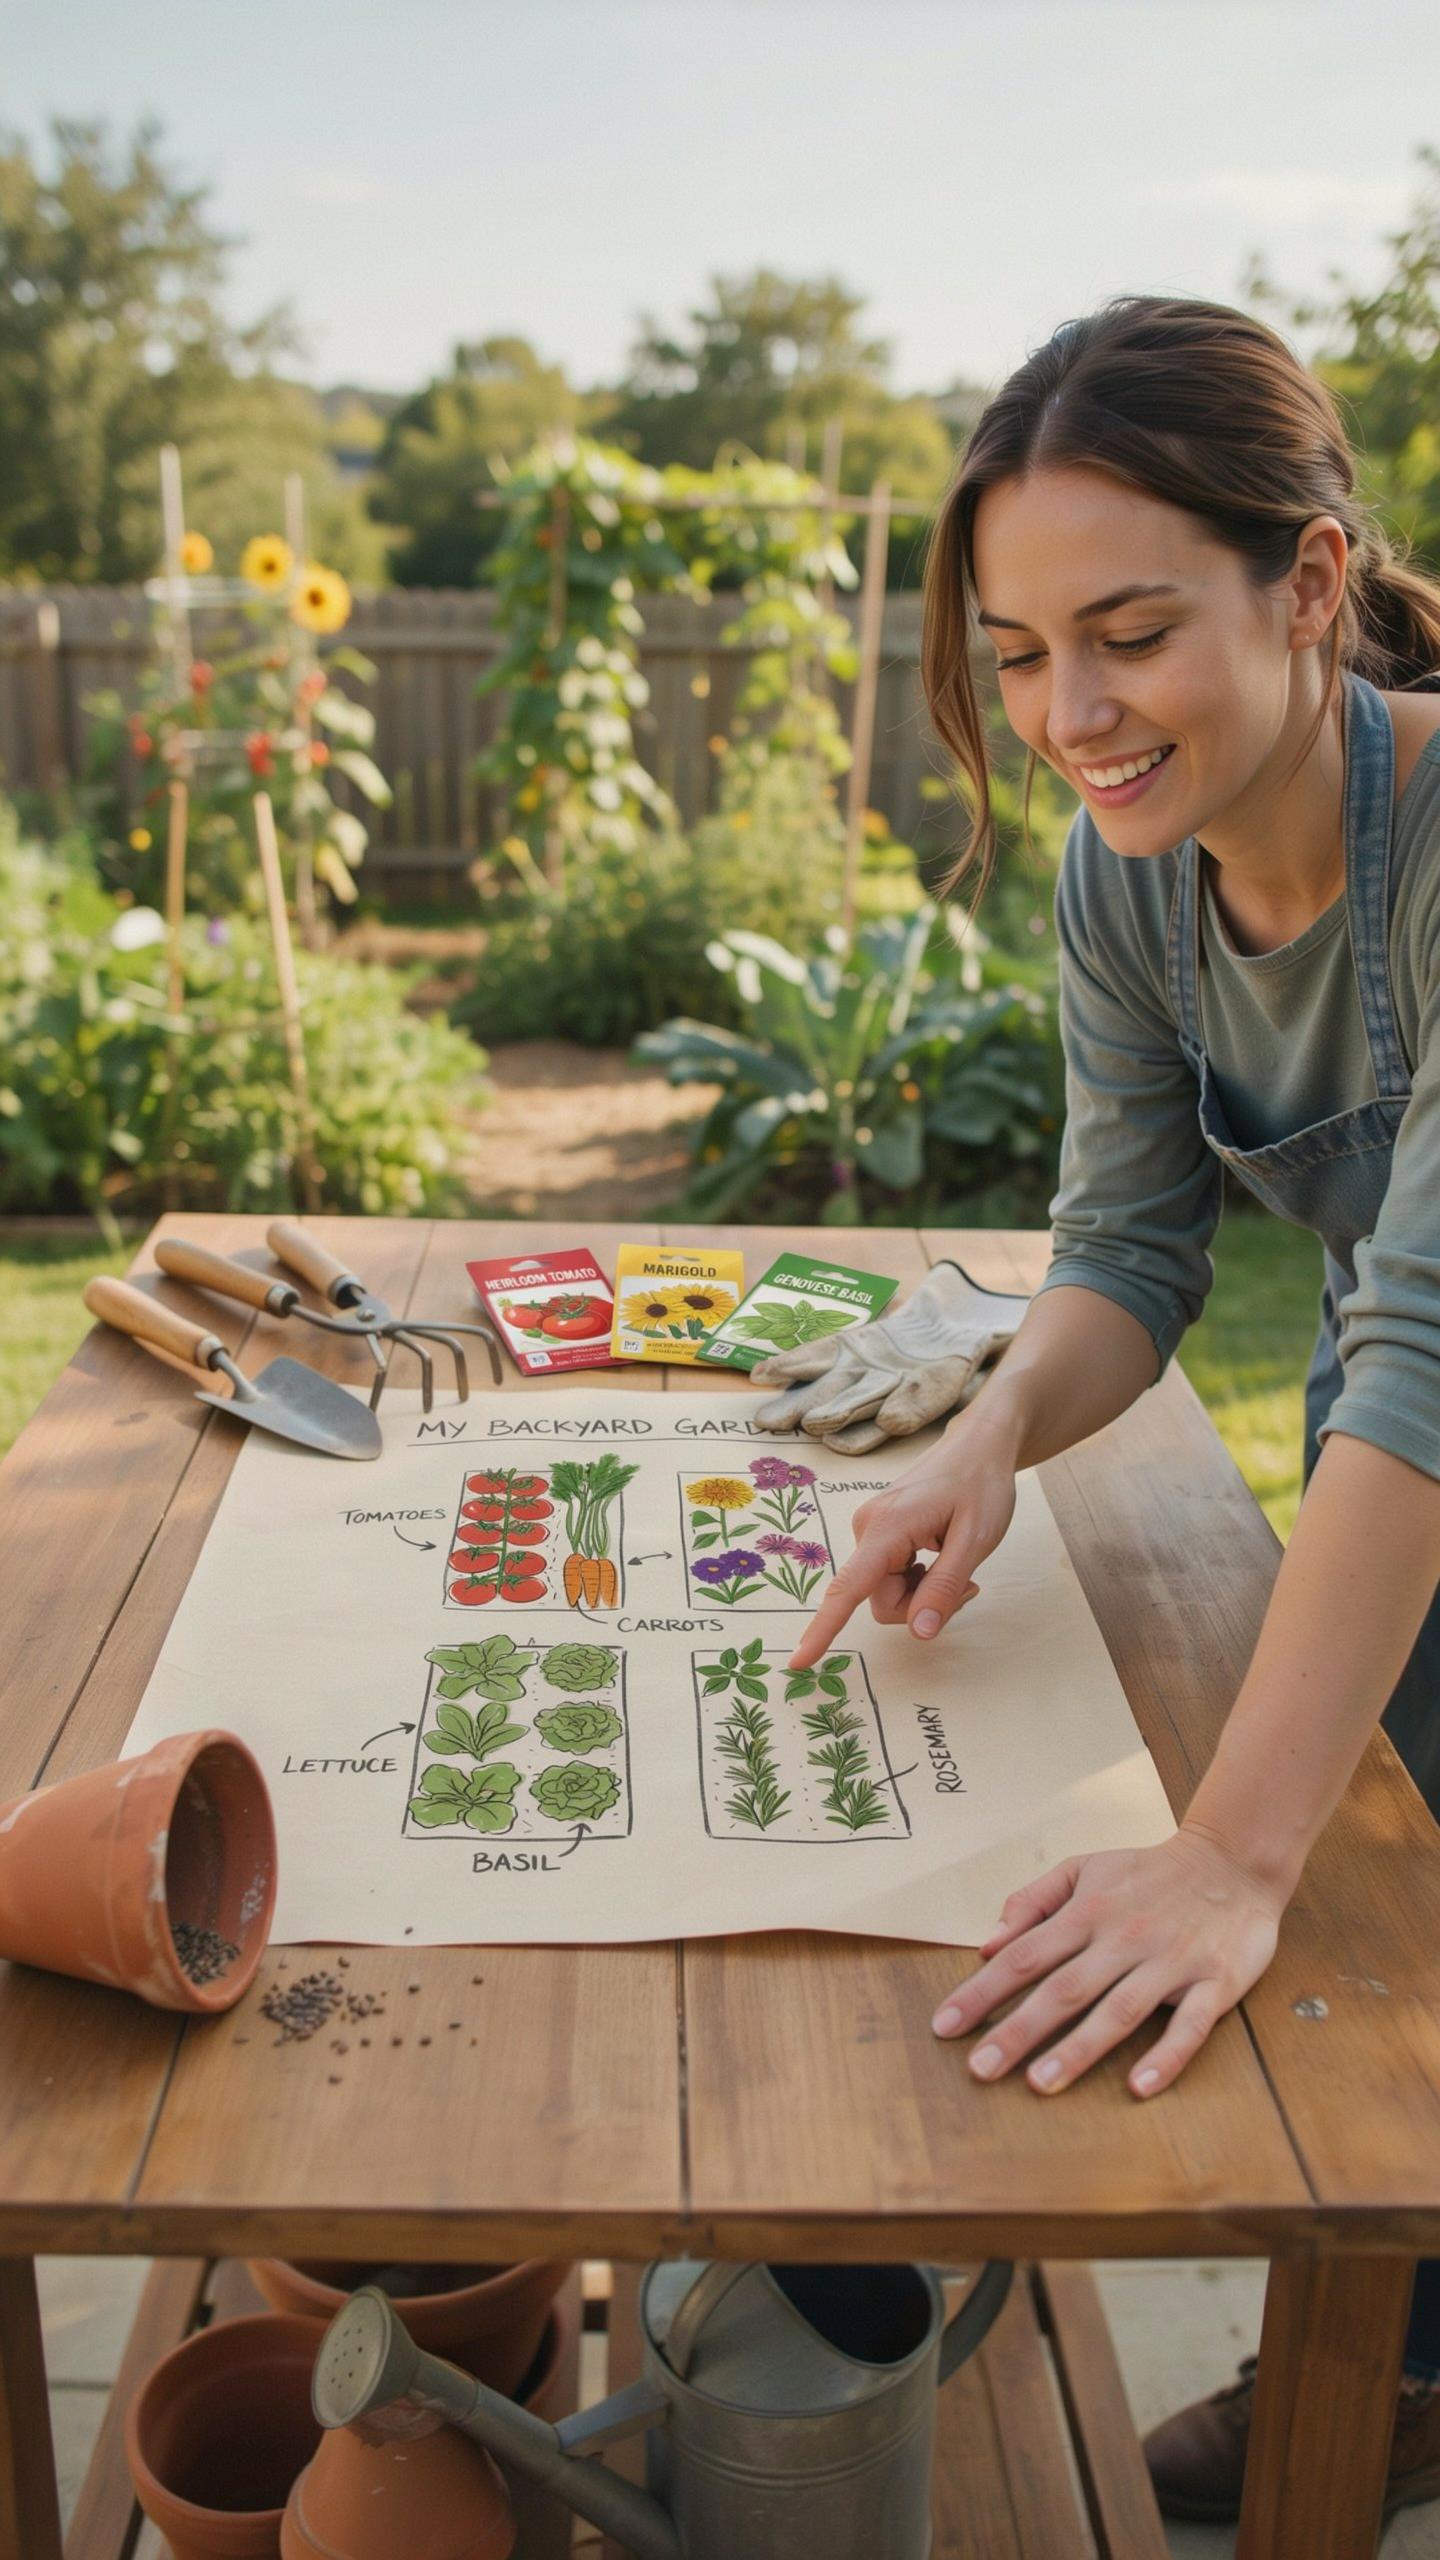
The Compact 4×4 Square Layout
The 4×4 square-foot garden divides a four-by-four foot bed into sixteen one-foot squares. Each square holds a specific crop based on plant size and spacing needs. Lettuce occupies one square per plant. Tomatoes and peppers take one square each. Root vegetables like carrots fit four to nine plants per square depending on variety. This method eliminates wasted space between rows and reduces water runoff.
Beginners adopt this layout because it requires minimal soil volume, fits standard patio dimensions, and works in raised beds or directly on ground. The grid system simplifies crop rotation planning across seasons. You plant cool-season greens in spring and fall squares, then shift to heat-tolerant herbs and peppers in summer squares. Winter production uses the same squares for garlic, onions, and cold-hardy kale. Track which crops occupied each square to prevent disease buildup.
The Vertical Urban Balcony Plan
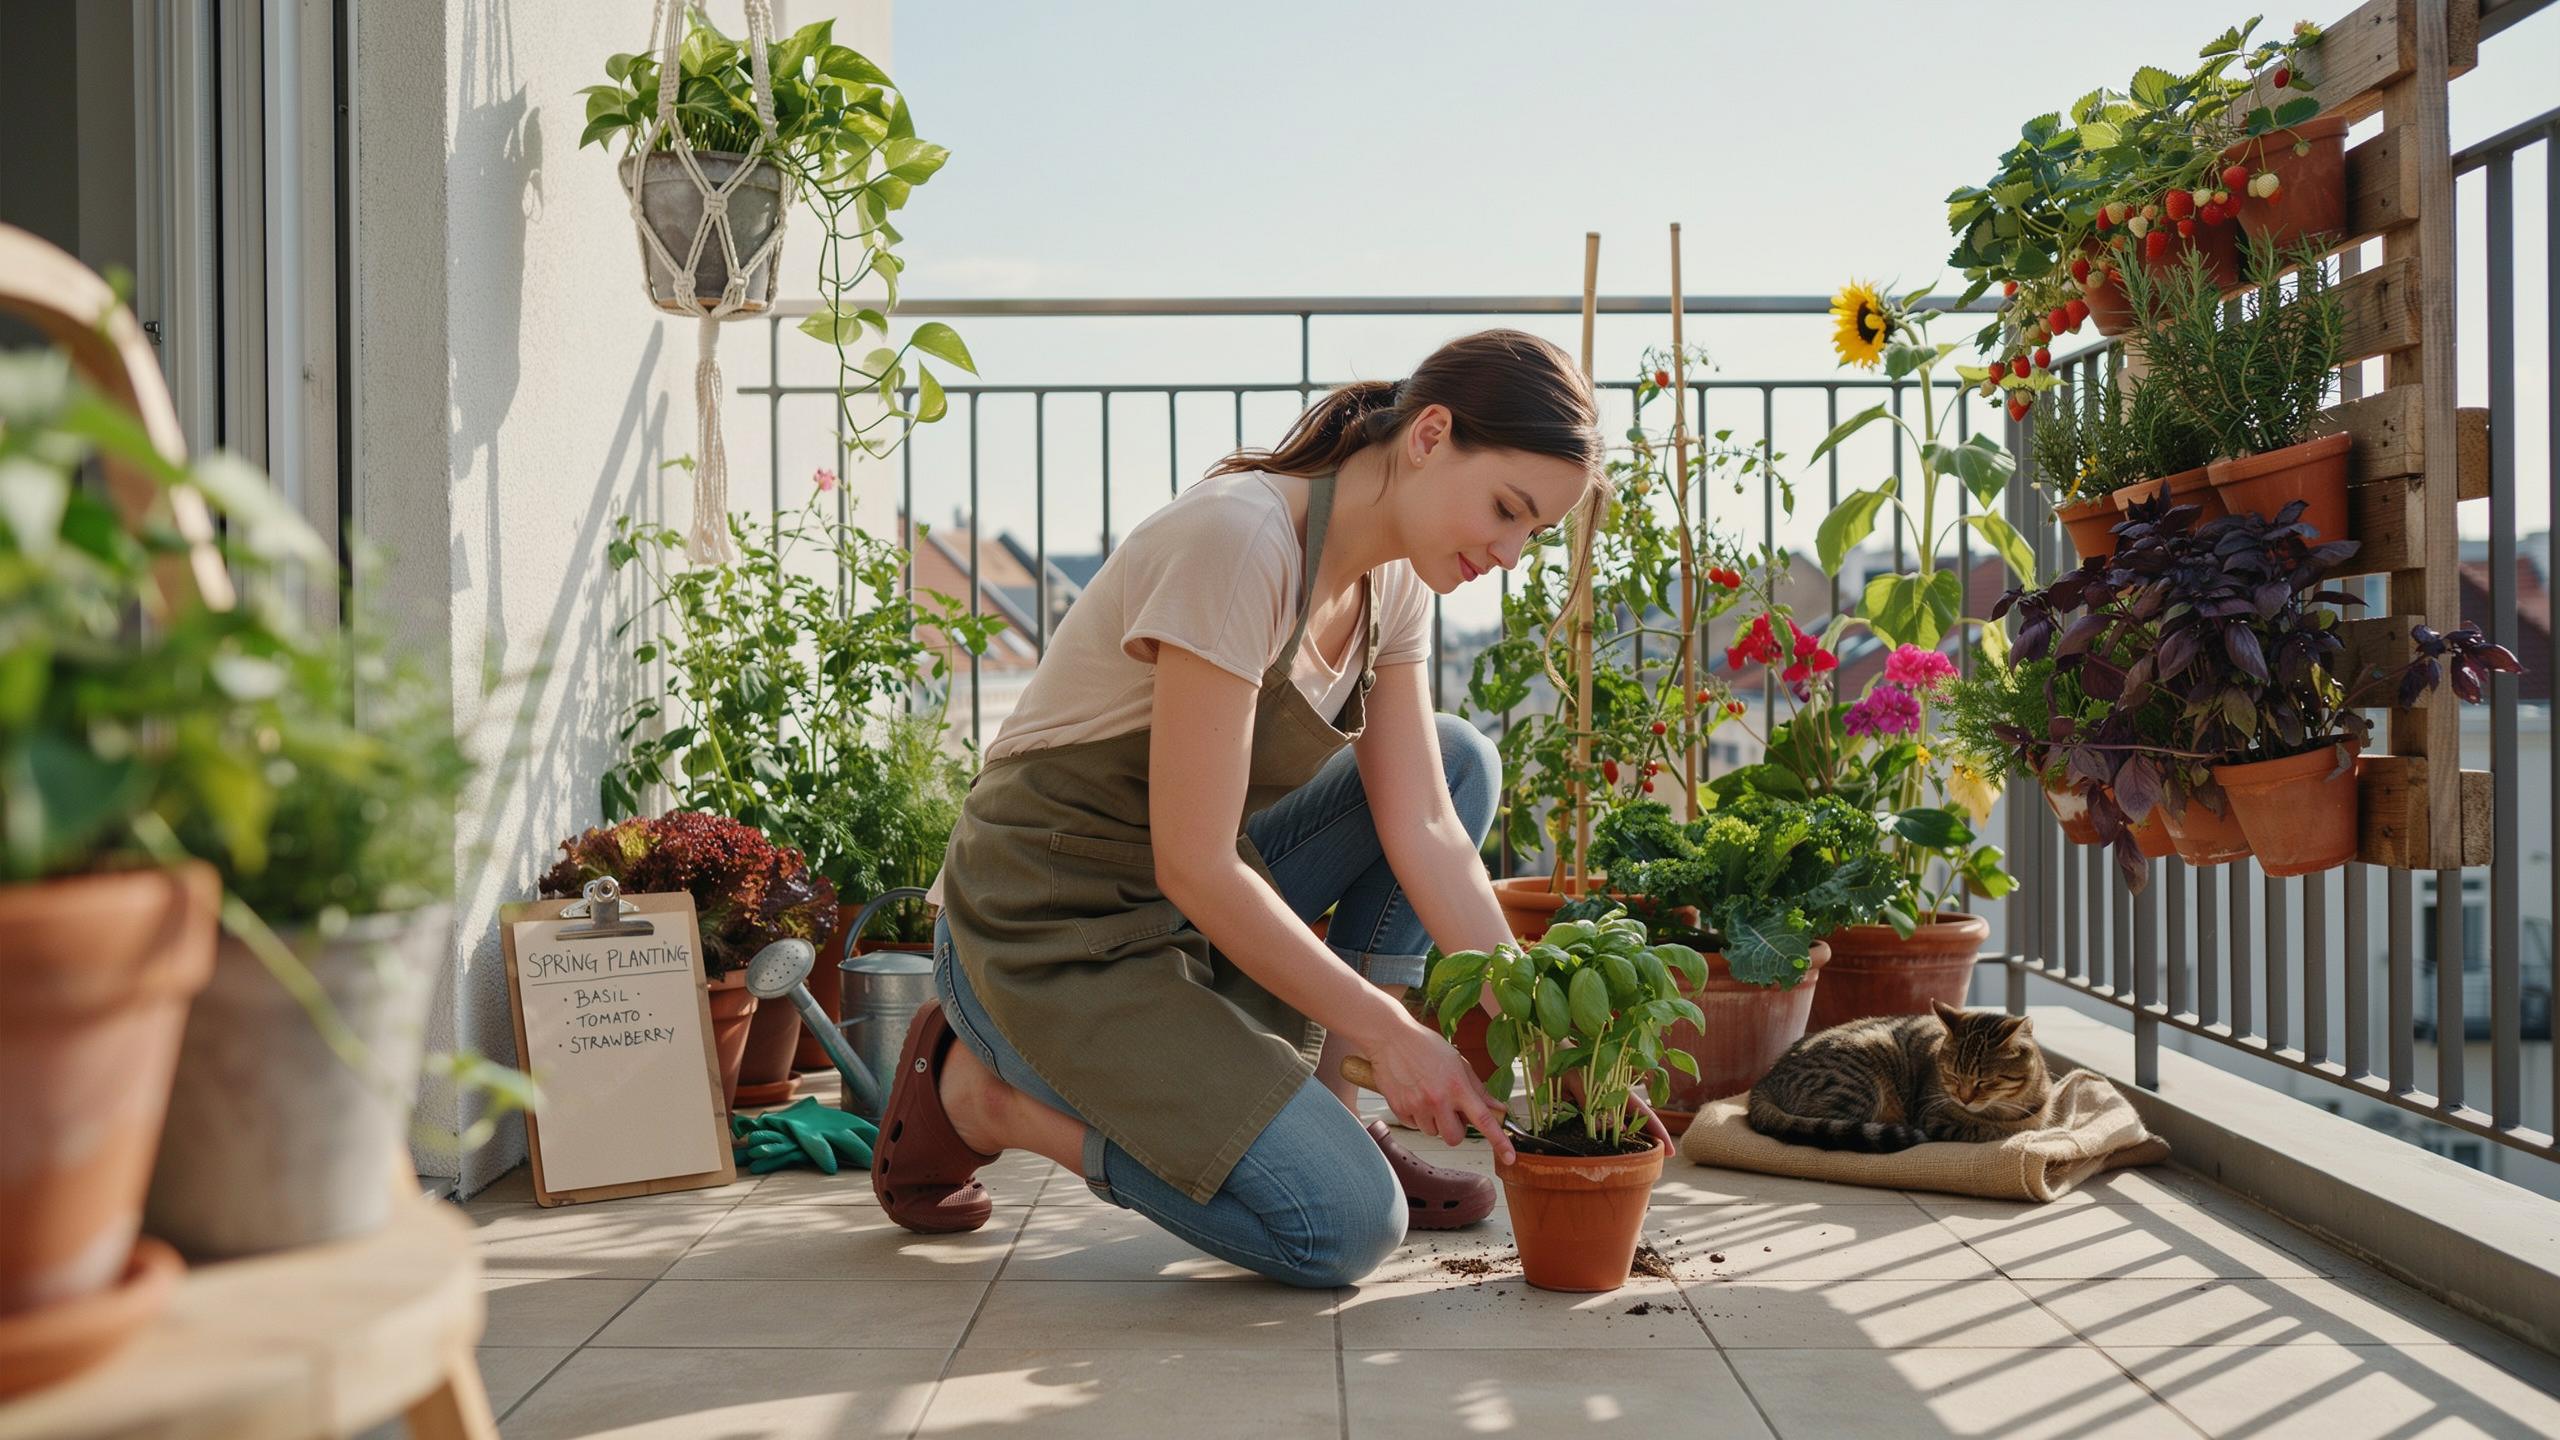
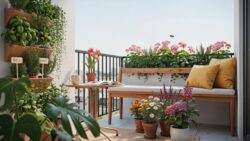
Vertical systems stack shallow-rooted crops to use limited floor space on balconies and patios. Wall-mounted pocket planters, tiered shelving units, and hanging baskets hold herbs, lettuce, spinach, and strawberries. Orient planters toward available sunlight, typically south or west-facing exposures on balconies. Each tier needs drainage holes to prevent water from pooling on lower plants. Soil dries faster in elevated containers, so check moisture levels daily during warm months.

This layout works for apartments and condos where ground space does not exist. Start with low-maintenance herbs like basil, oregano, and thyme on upper tiers. Position heavier fruiting plants like determinate tomatoes on lower shelves to handle weight. Rotate crops through tiers seasonally, moving cold-hardy greens to shadier positions during heat and shifting sun-loving herbs forward as seasons change. Water drip lines or self-watering containers reduce daily management time.
Transforming Space With Garden Bed Layout Landscape Design
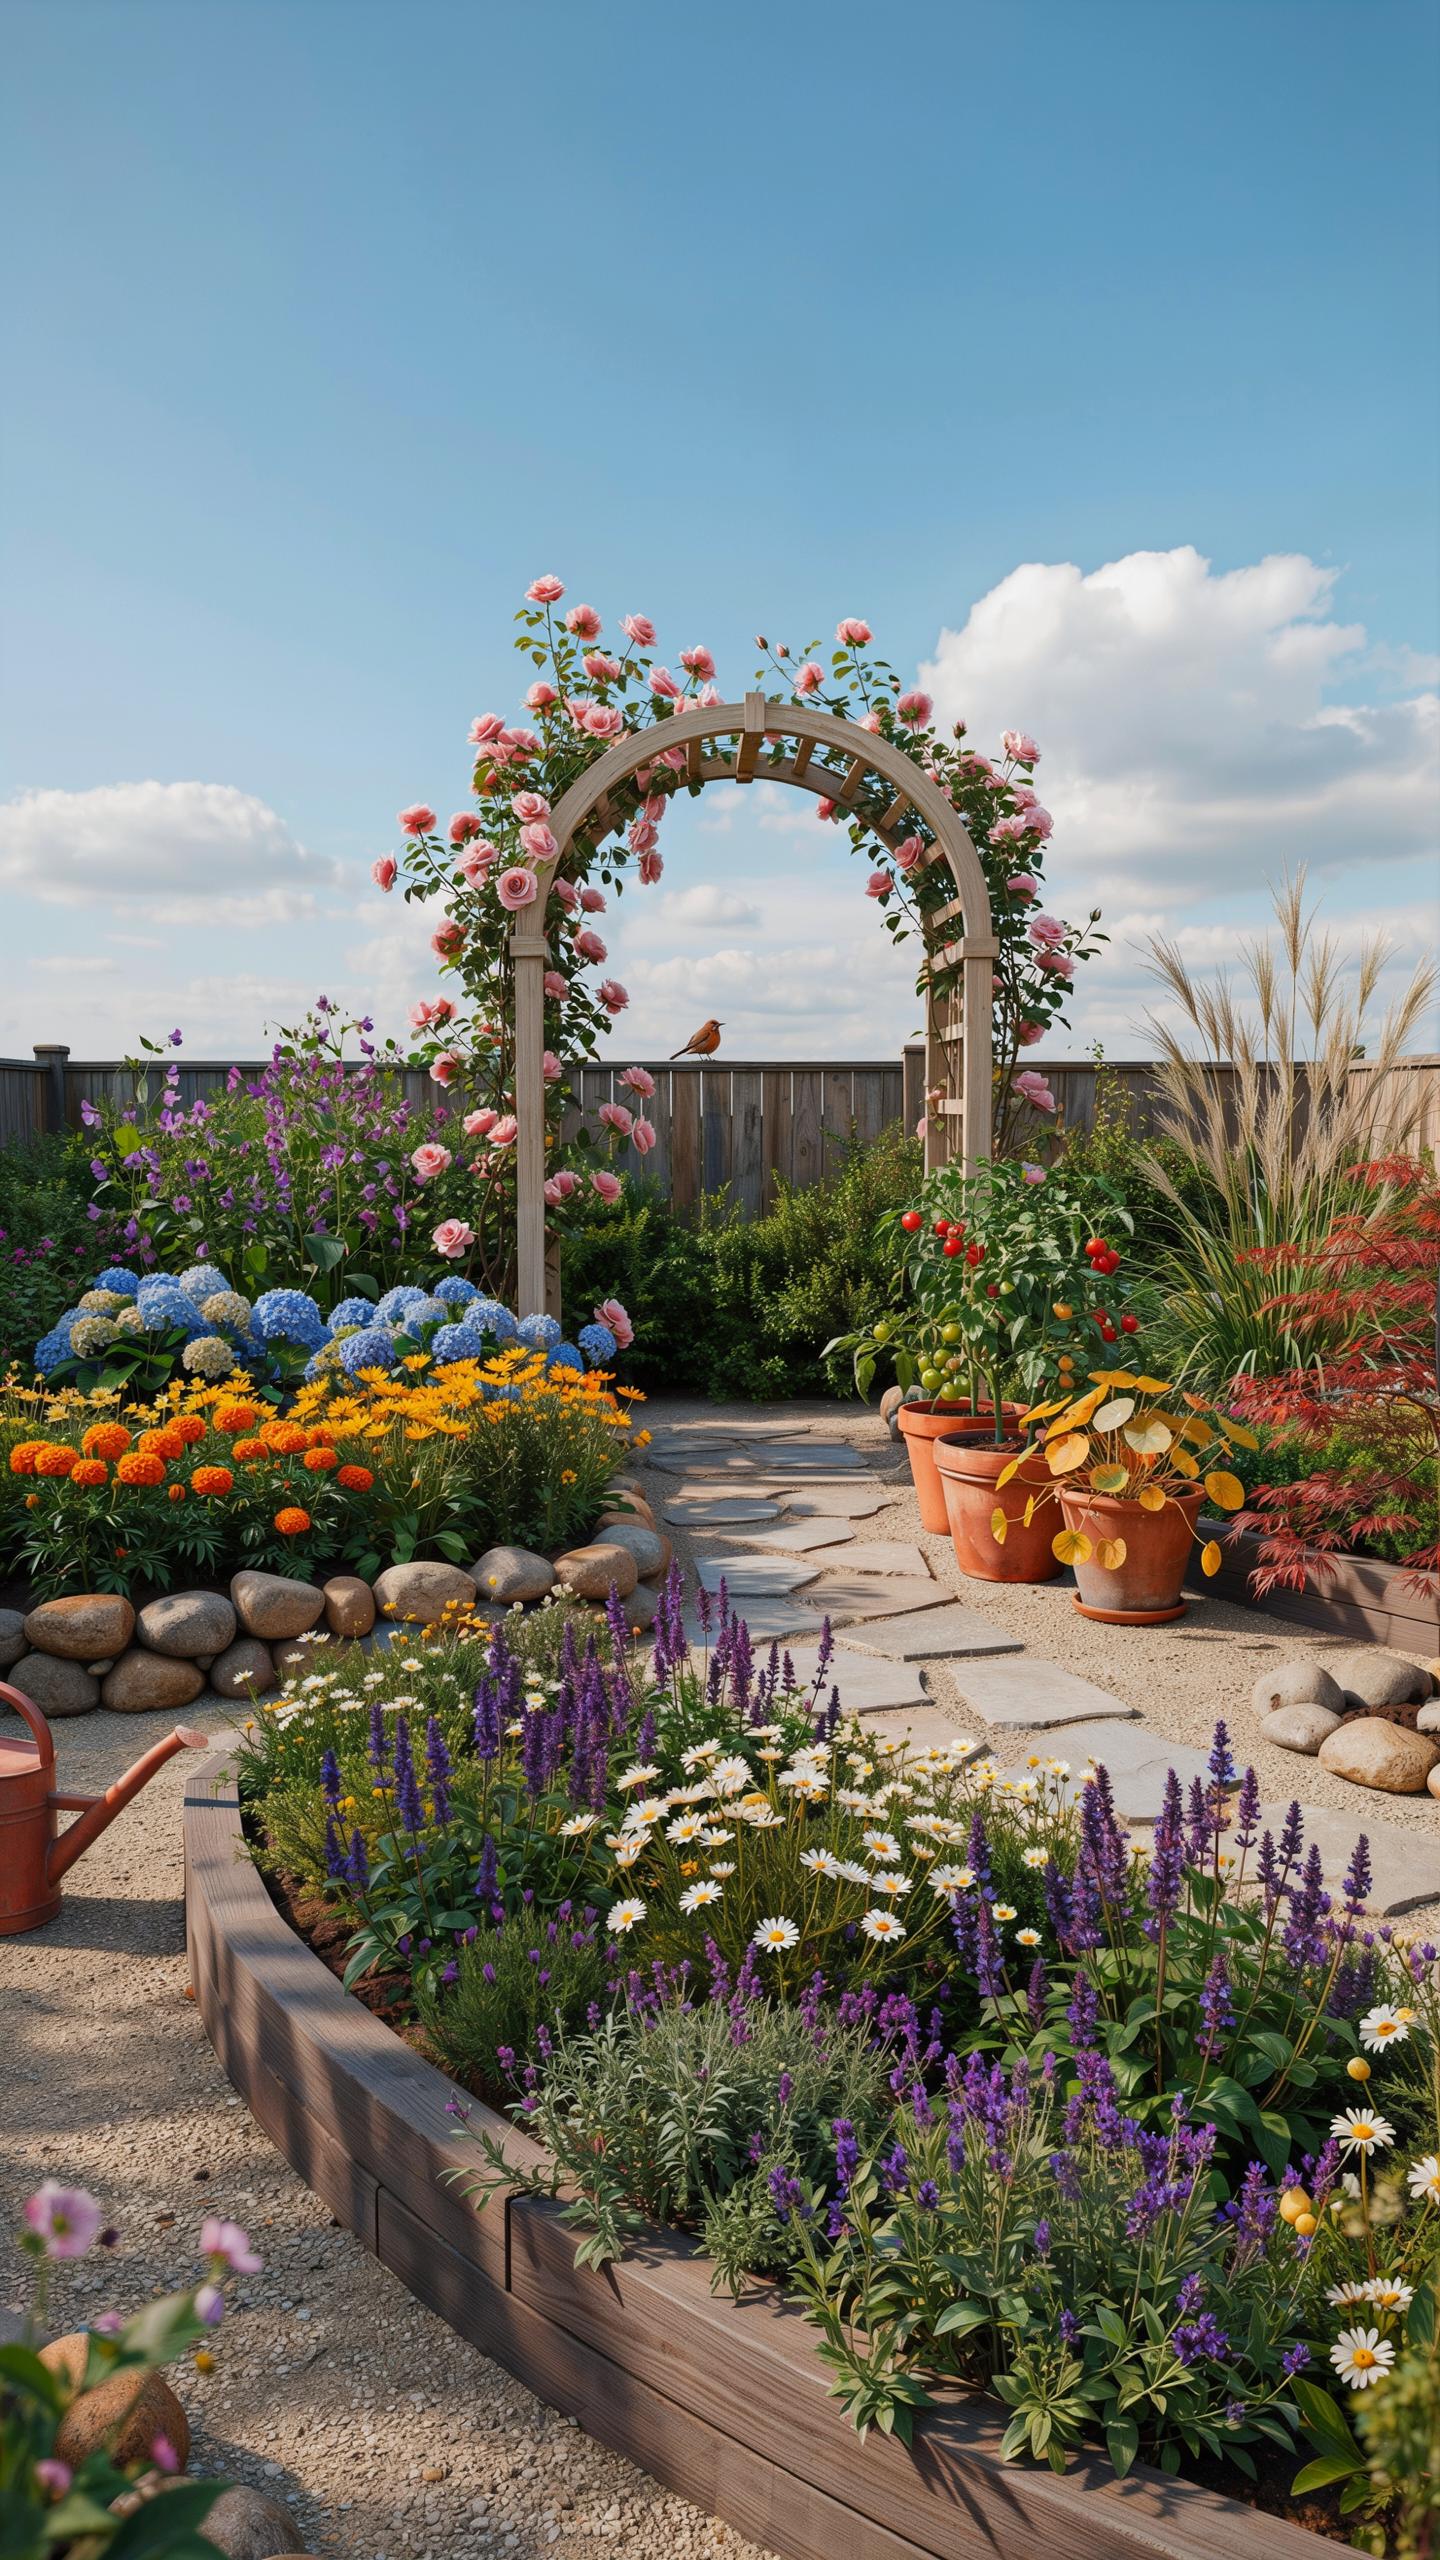
Aesthetic Pathways And Borders
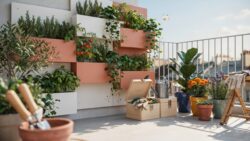
Define your garden beds with clear pathways using gravel, mulch, or pavers. Borders separate planting areas from walkways and reduce maintenance time. Physical boundaries prevent soil compaction in planted zones and protect young plants from foot traffic. Strategic pathways improve access for watering and harvesting in tight quarters.
Narrow pathways work best in small spaces. Use materials that drain well and won’t create puddles. Two to three feet wide accommodates most people comfortably. Borders made from wood, metal, or composite materials create visual structure and last multiple seasons. Defined edges keep soil in place during rain and irrigation cycles.
Focal Points And Architectural Plants
Select plants with strong structural forms to anchor your layout. Artichokes work well for year round gardening because they produce edible buds while offering visual impact. Dwarf fruit trees like columnar apples or pears provide height without consuming excessive space. These focal points draw the eye and organize smaller plants around them hierarchically.
Position focal points where they’re visible from your main viewing area. Place them off center using the rule of thirds for natural balance. Architectural plants need adequate spacing for air circulation and growth. This approach maximizes visual interest while maintaining functional growing space for seasonal crops and perennials throughout the year.
Frequently Asked Questions

How can a beginner start a garden if they only have a tiny balcony?
Getting started is easier than you think when you prioritize vertical space and container selection. To execute a successful small space gardening year round plan, begin with hardy herbs or greens that thrive in pots. Focus on high-quality potting mix and consistent watering habits. By using tiered shelving or hanging planters, you can maximize your footprint and enjoy a lush, productive green oasis regardless of your square footage.
How do I transition my small garden between different seasons?
Successful transitions require timing and crop rotation. As one season ends, clear out spent plants and replenish the soil with organic compost to prepare for the next cycle. Following a small space gardening year round plan involves swapping heat-loving summer tomatoes for frost-tolerant kale or spinach in the fall. Using portable containers makes this easier, allowing you to move plants indoors or into sunnier spots as the light coverage shifts.
Can I maintain a year-round garden on a very tight budget?
Absolutely! Gardening doesn’t have to be expensive if you focus on DIY solutions and seed starting. You can repurpose household containers like yogurt tubs or wooden crates for planters and make your own nutrient-rich compost from kitchen scraps. Purchasing seeds instead of established nursery starts significantly lowers costs, making it accessible for anyone to maintain a vibrant, productive garden throughout every season without overspending on fancy designer equipment.



