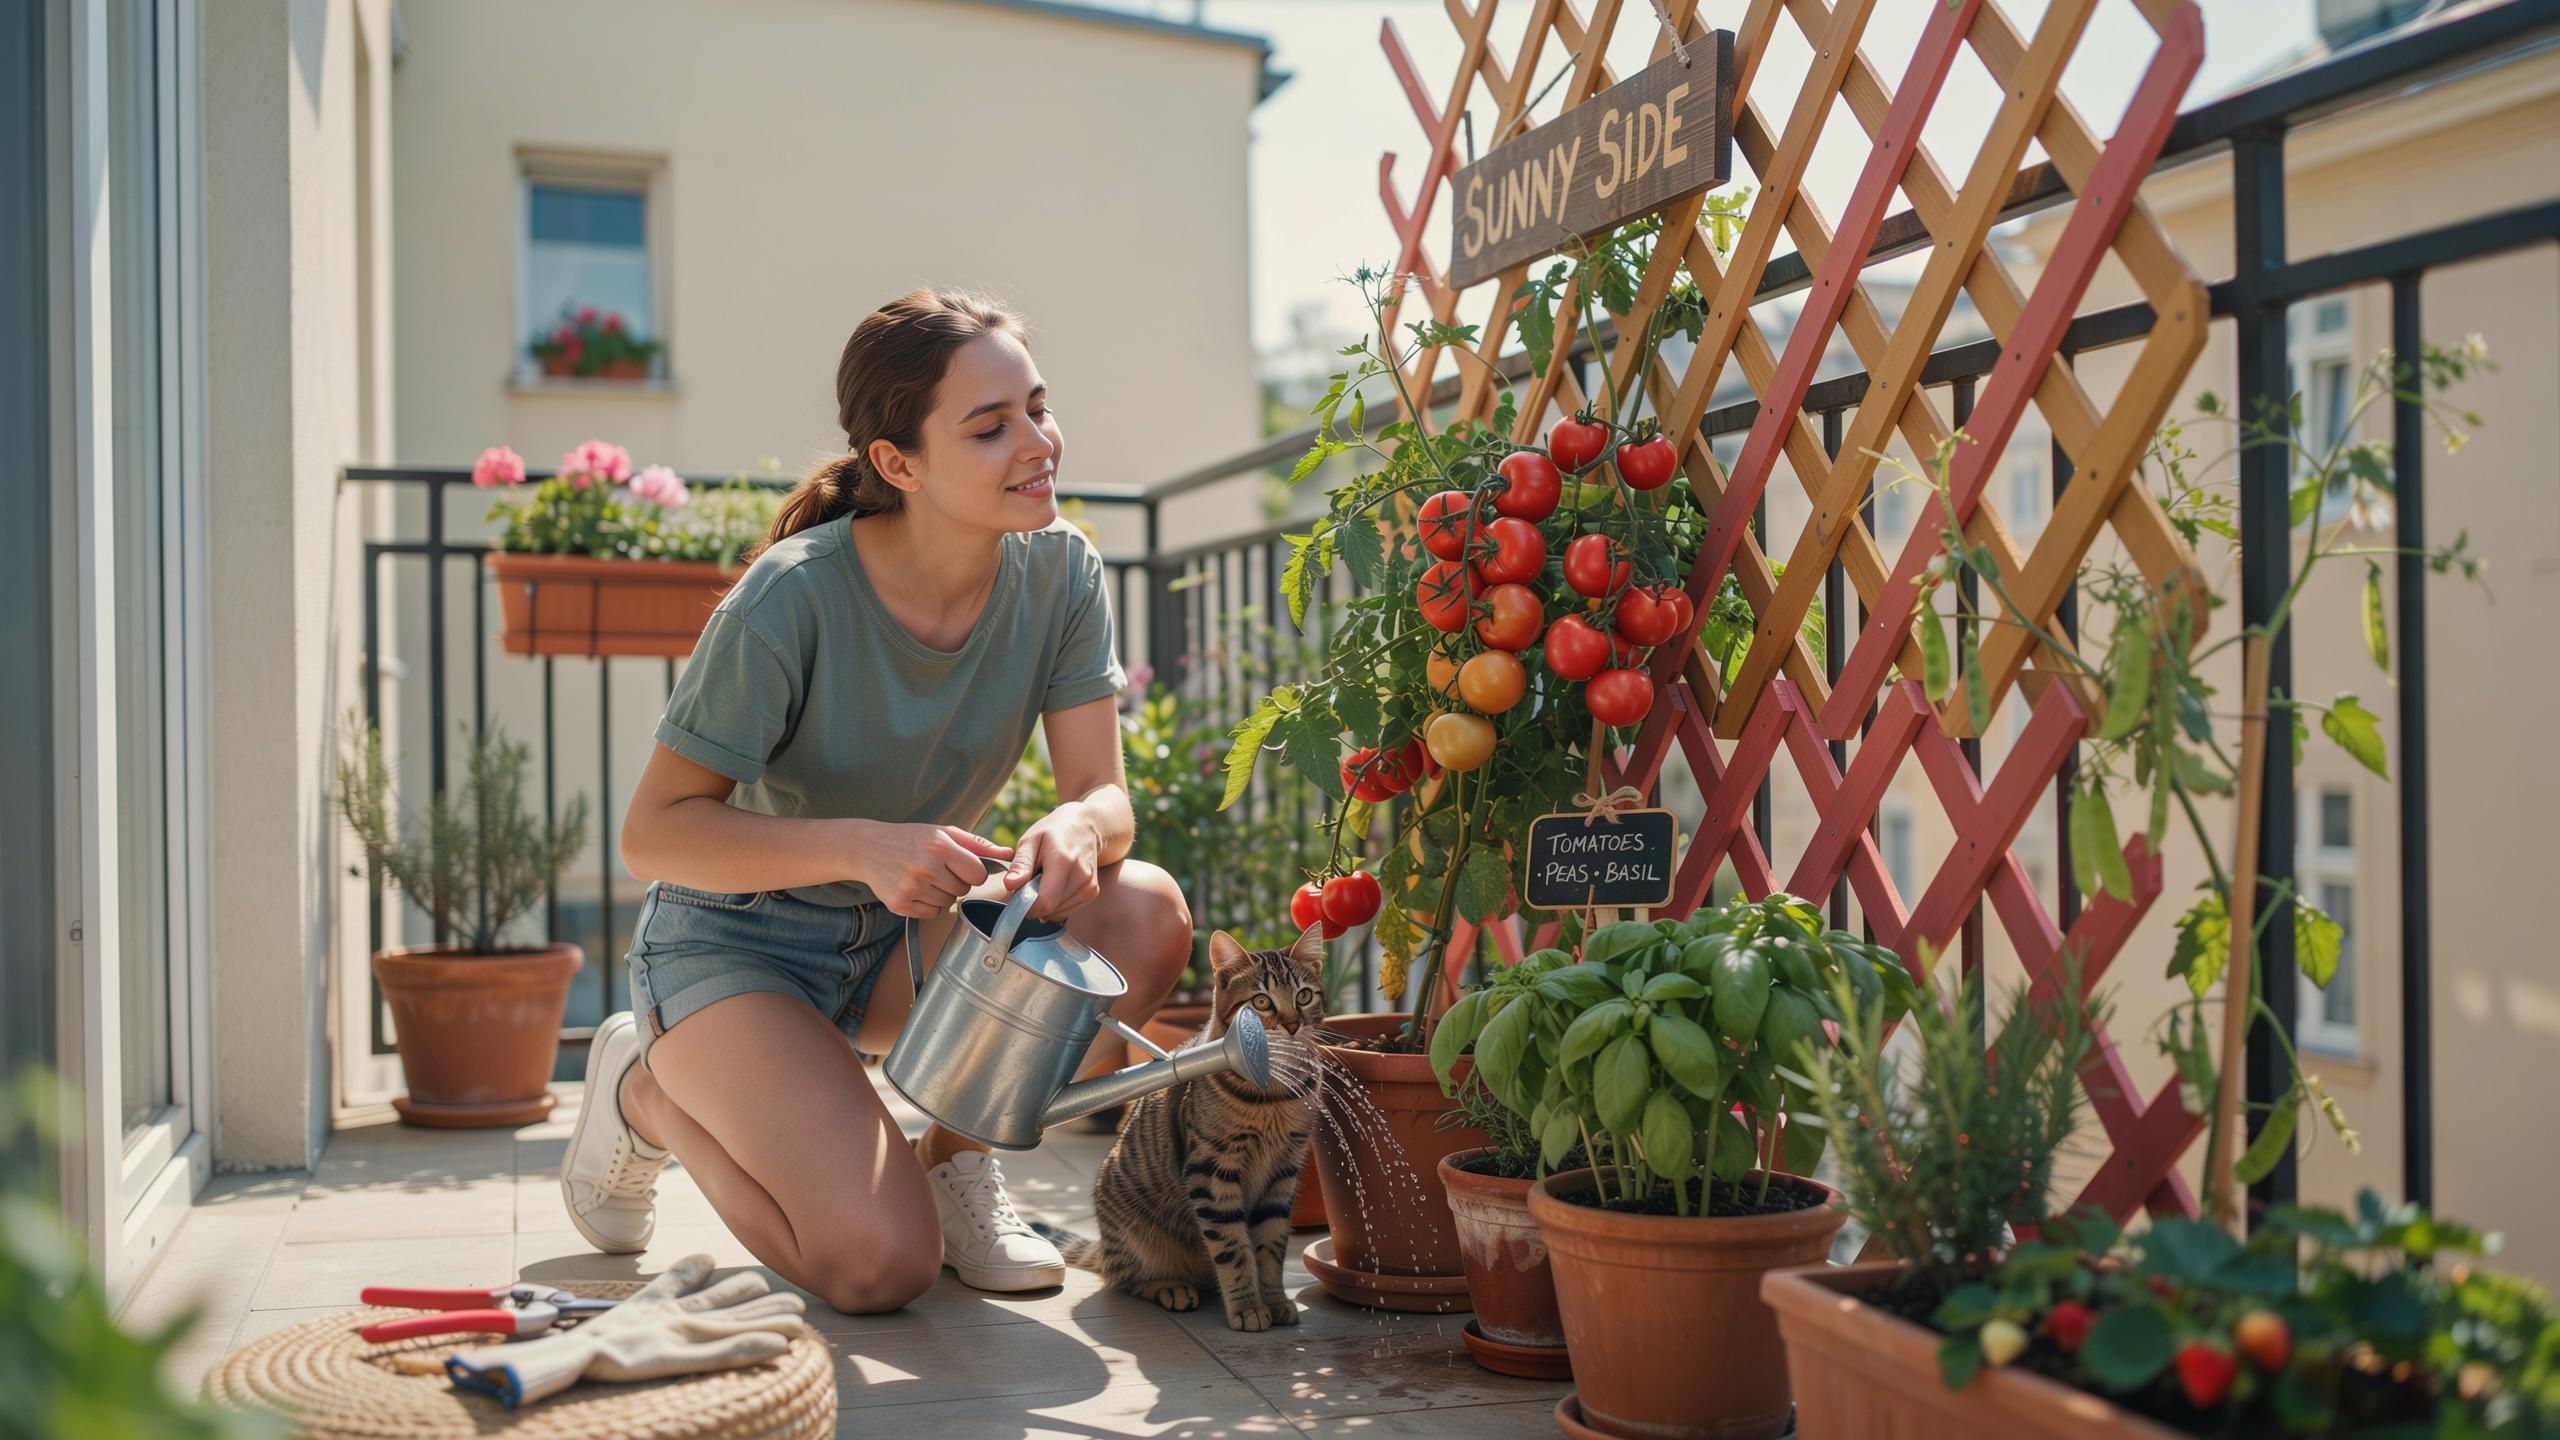
Maximizing Your Yard With Small Garden Spatial Planning
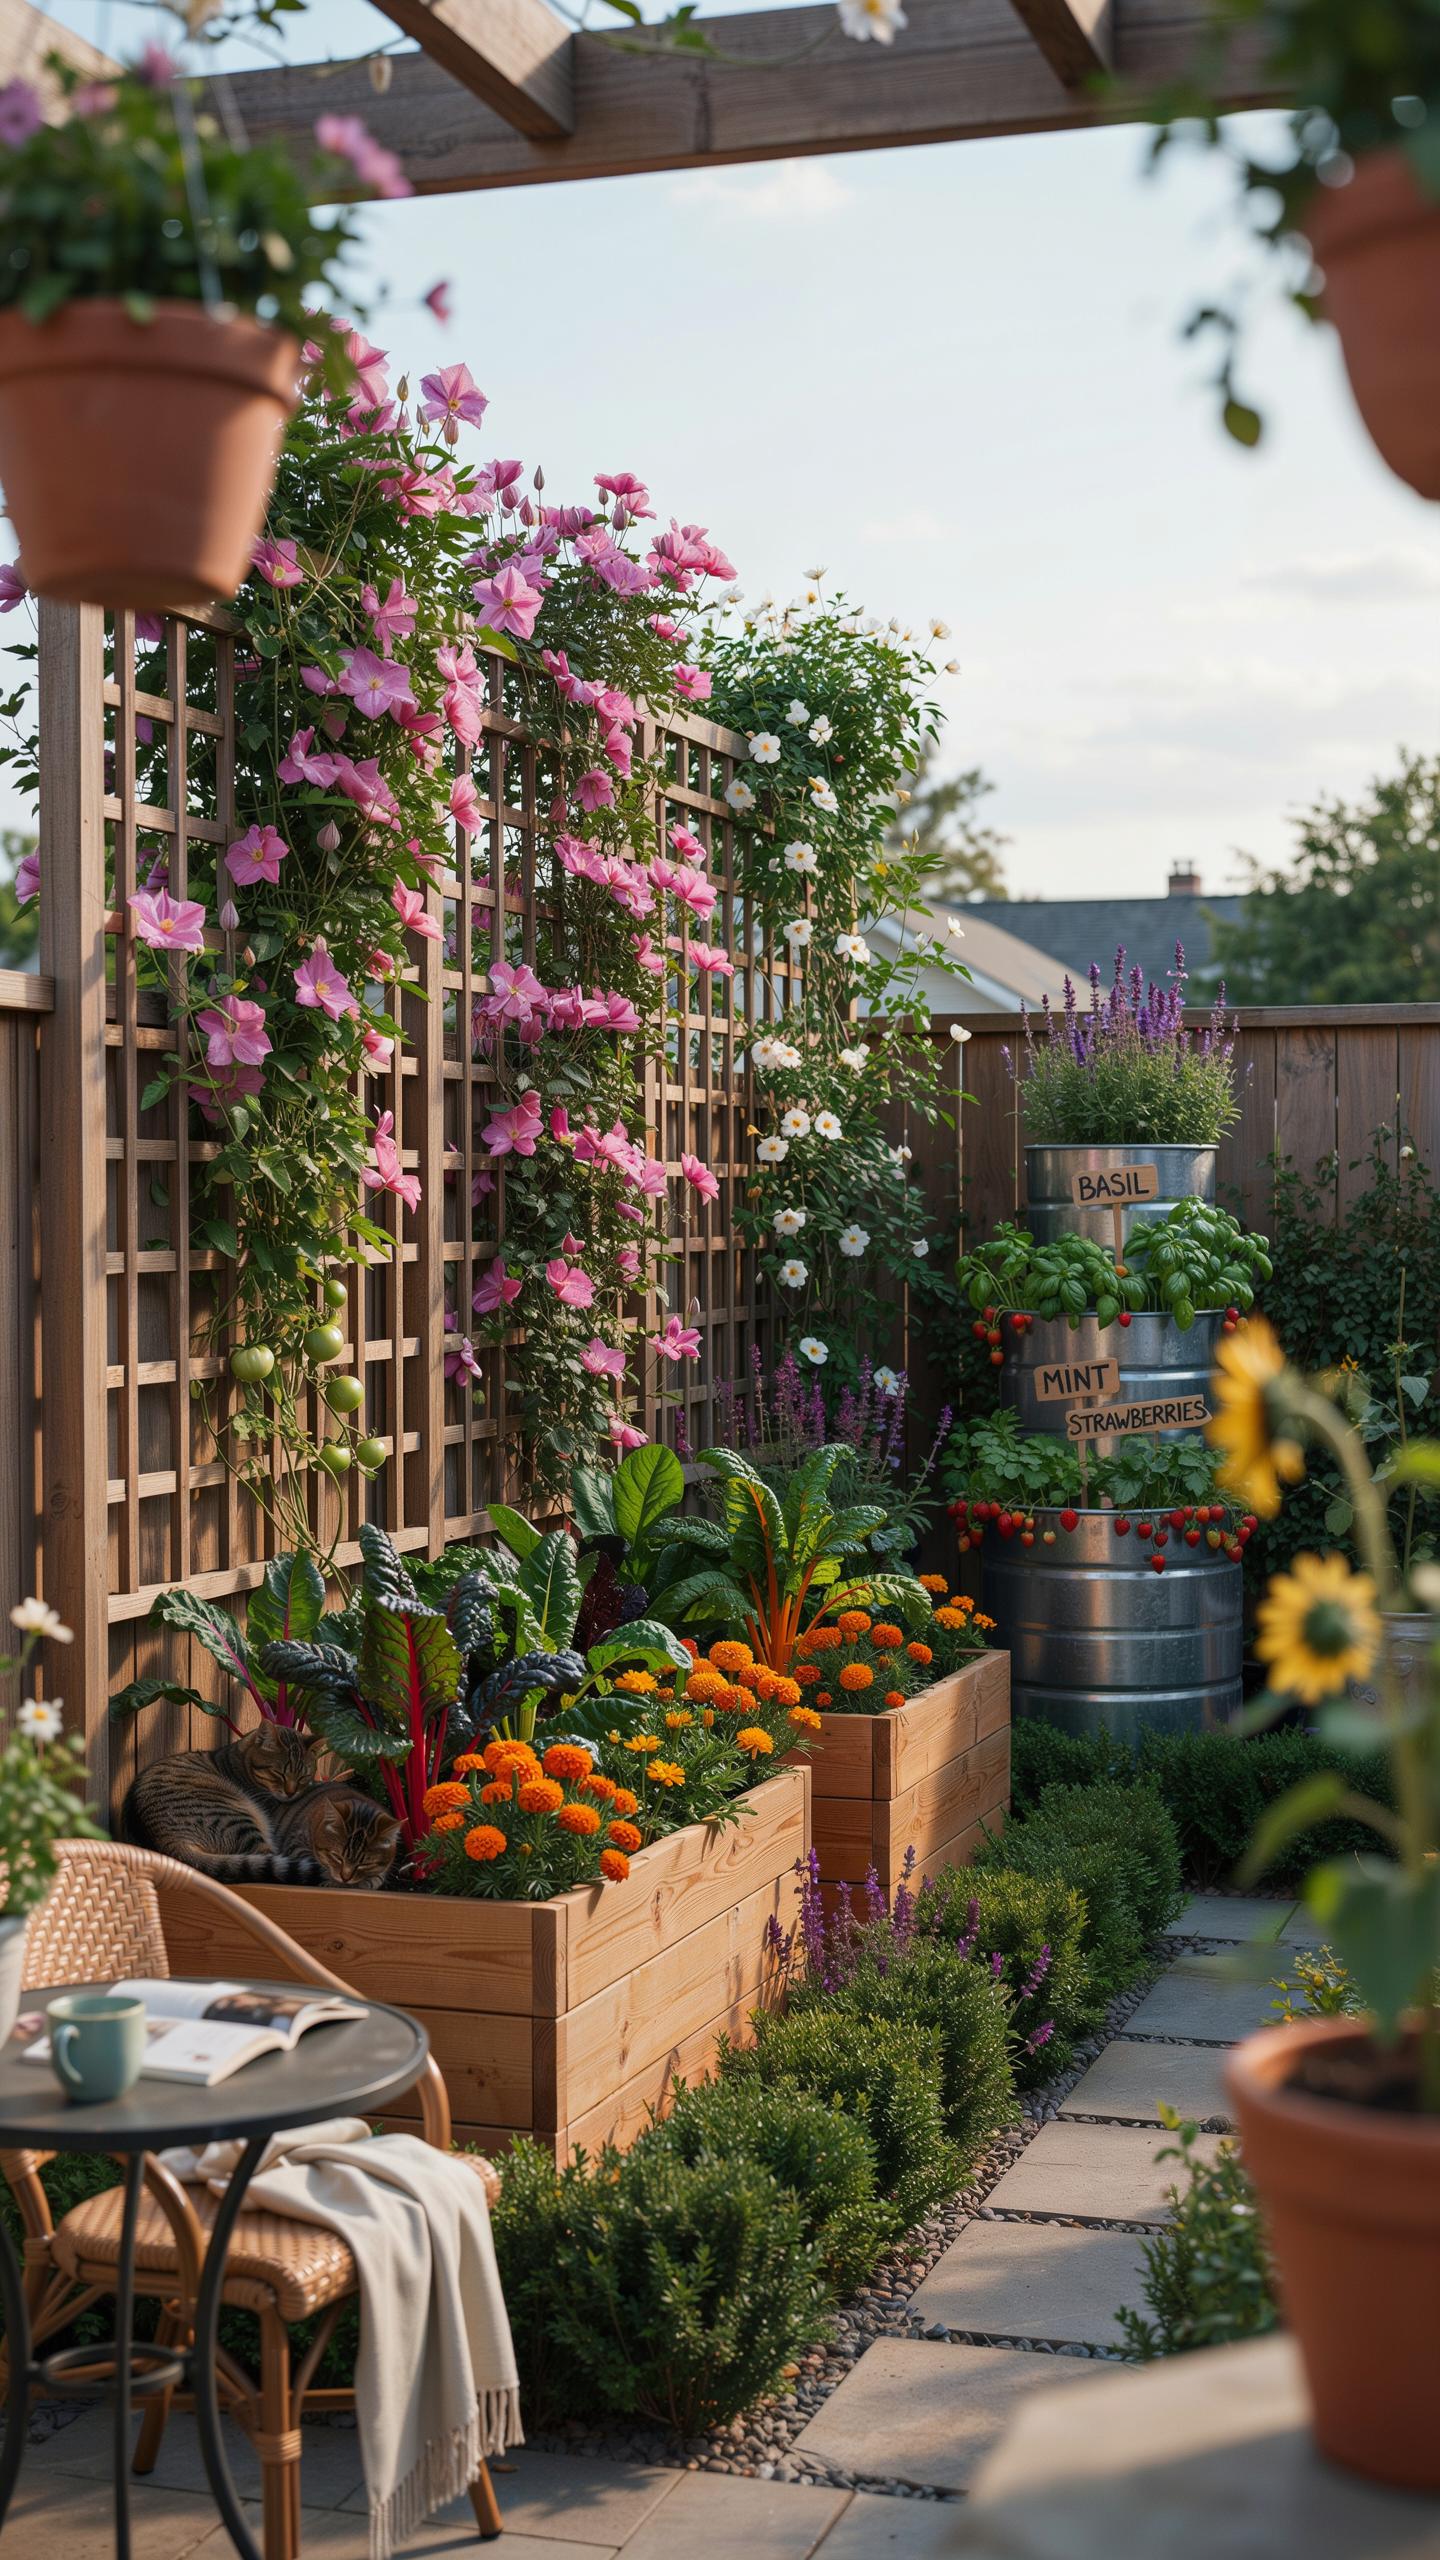
Understanding Spatial Efficiency
Assess your outdoor space before planting anything. Measure sunlight exposure at different times of day. Document which areas get full sun, partial shade, and full shade. This data determines what grows where. Vertical growing structures let you plant more in less ground area. Trellises, wall planters, and hanging systems stack production upward instead of outward.
Choose plant varieties bred for compact growth. Dwarf tomatoes, bush beans, and trailing herbs fit tight spaces without sprawling. Vertical systems double or triple your planting capacity within the same footprint. This approach works for balconies, patios, and small yards. The key is using height as your expansion strategy when horizontal space runs out.
Strategic Plant Placement
Position tall trellised plants on the north side of your garden. This prevents them from casting shade on shorter plants that need direct sunlight. Arrange remaining plants from shortest to tallest moving southward. This layering system ensures every plant receives adequate light during peak hours. Taller structures should never block smaller plants’ access to morning or afternoon sun.
Build your layout with sight lines in mind. Taller elements behind shorter ones create visual depth while maintaining function. This arrangement prevents crowding and improves air circulation between plants. Spacing matters even in compact gardens. Poor air flow invites disease and pest problems that spread fast in confined areas.

2 The Advantages Of Vertical Garden Systems
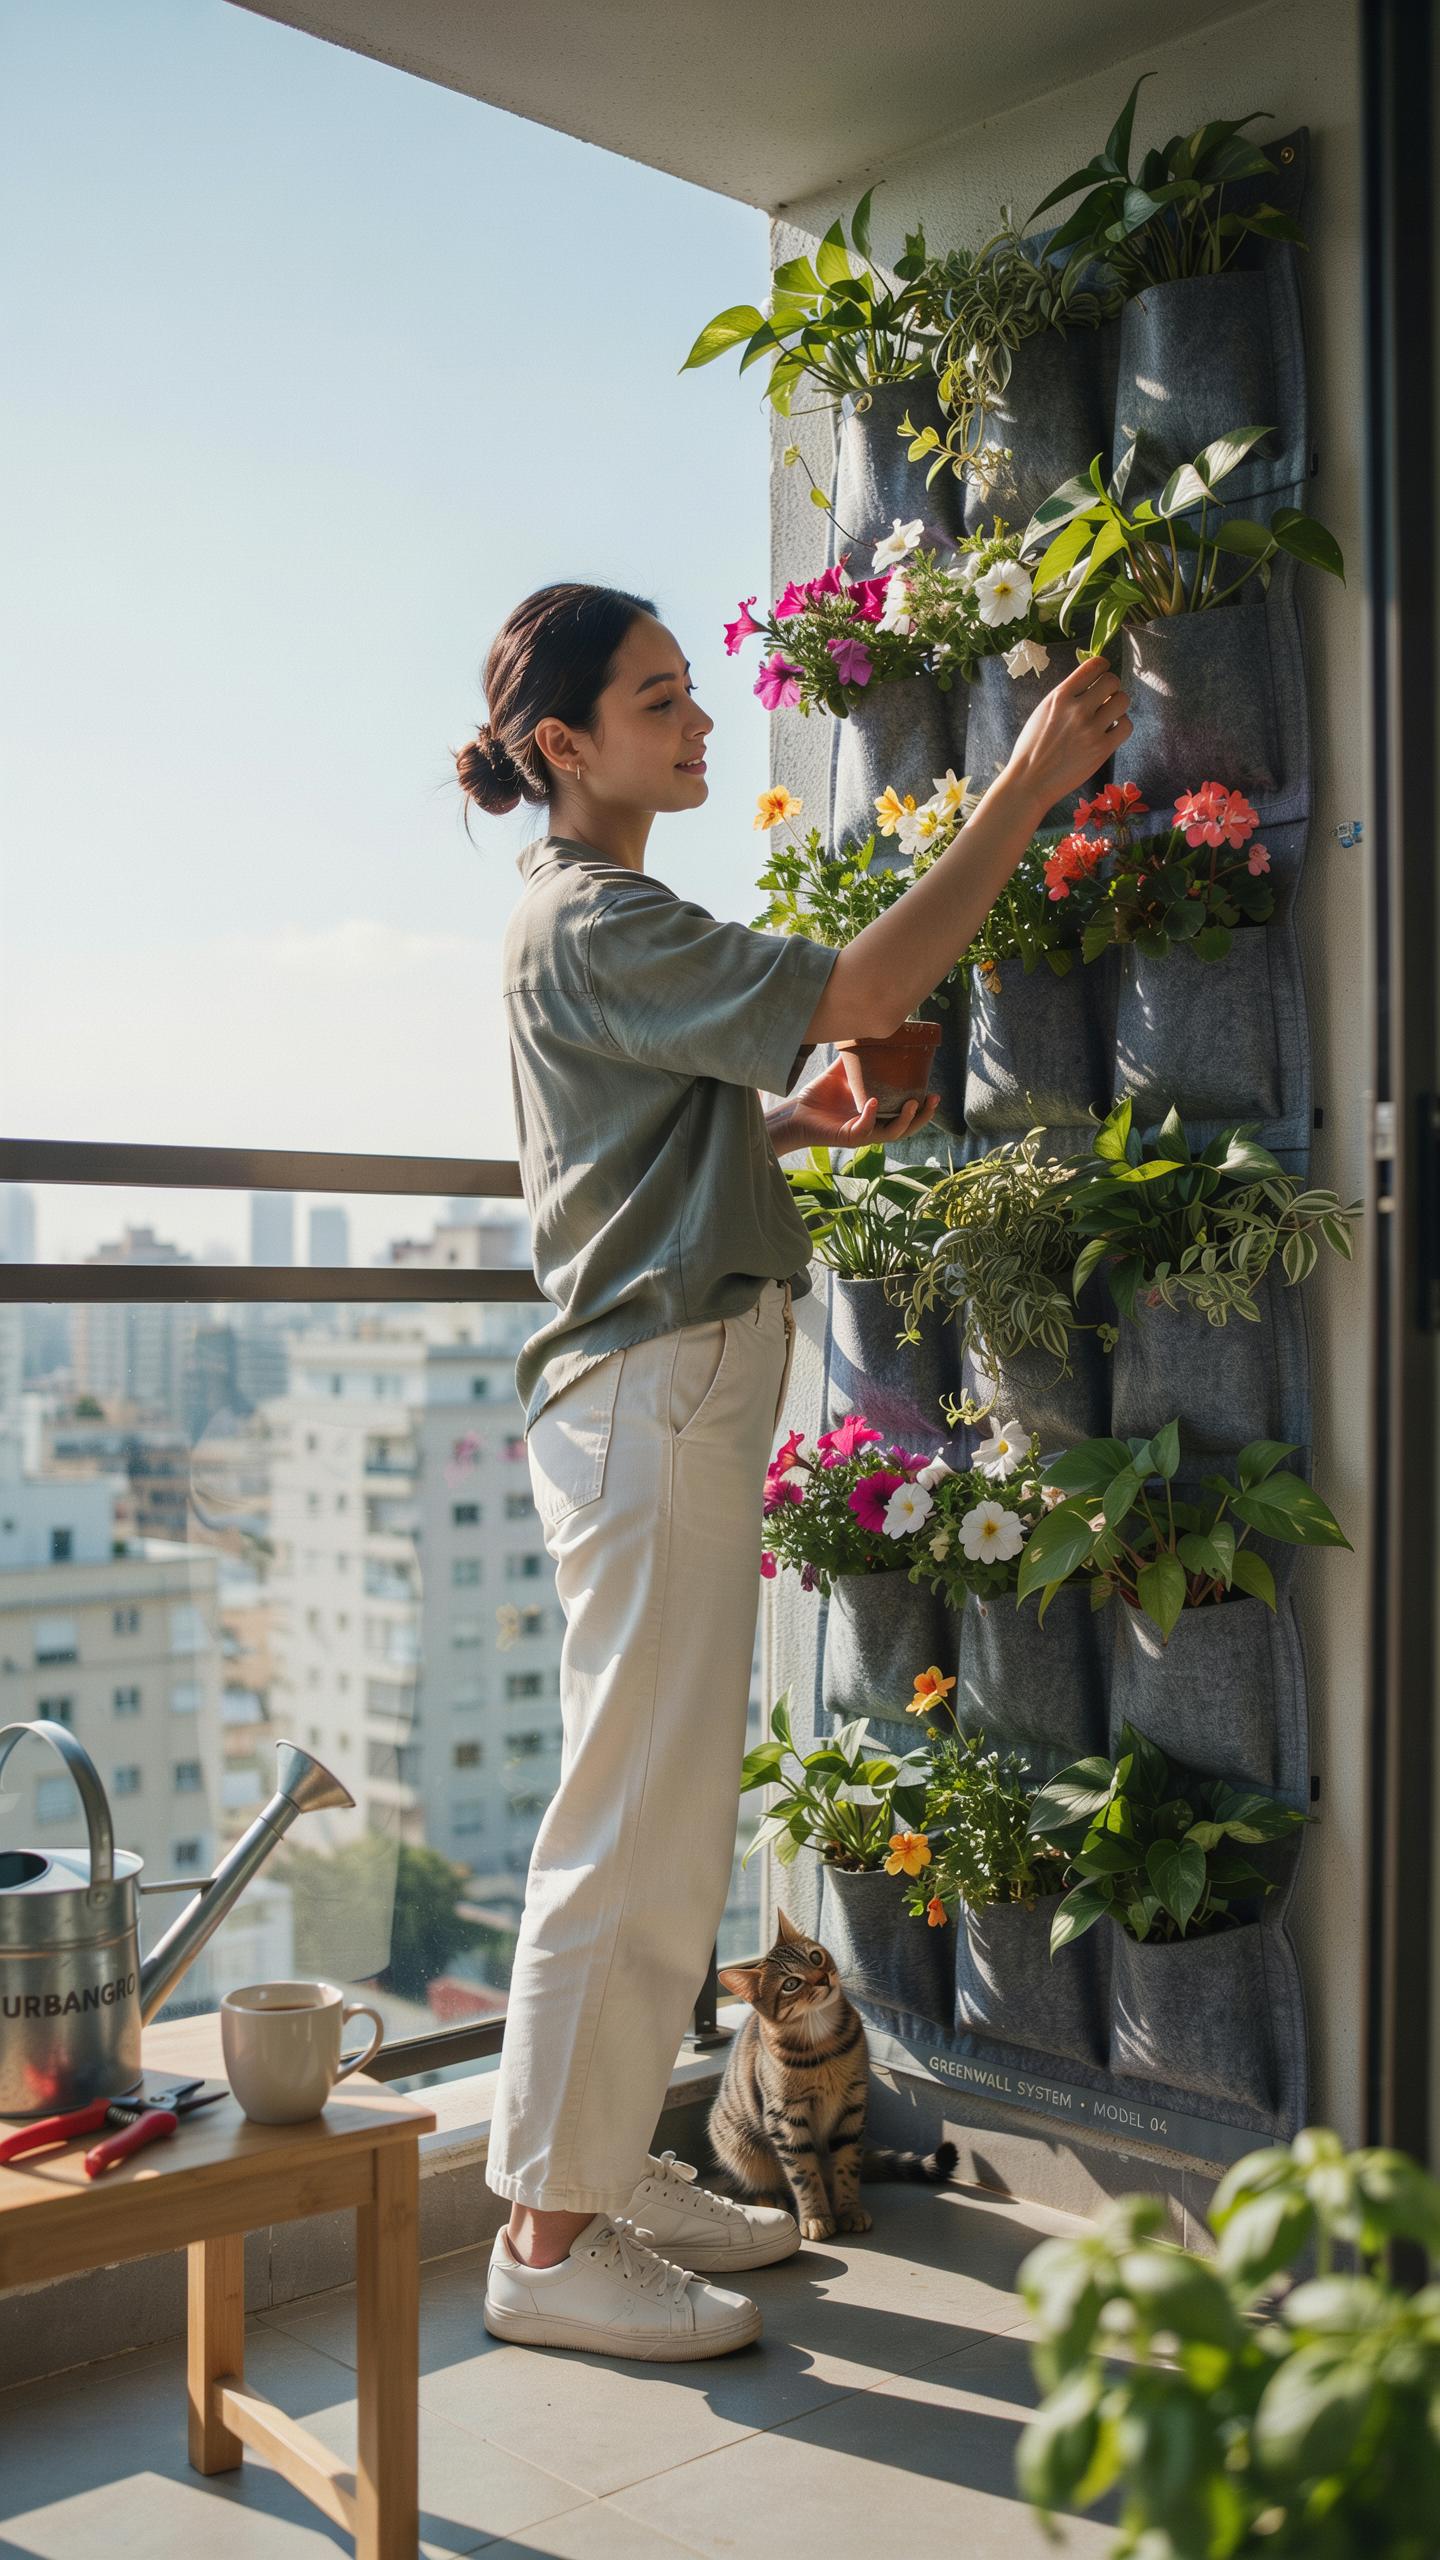
Improving Air Circulation
Elevating foliage off the ground increases airflow around leaves and stems. This airflow reduces fungal infections and dampness-related diseases. Better circulation prevents mold, mildew, and powdery mildew from taking hold. Wet leaves dry faster when air moves freely around them. You catch pest problems earlier because plants sit at eye level.
Vertical trellises force you to inspect plants regularly. You spot spider mites, aphids, and whiteflies before infestations explode. Improved visibility means faster intervention. Pests hide less effectively on exposed vertical growth. Your disease pressure drops when plants dry quickly after rain or watering.
Maximizing Yield Per Square Foot
Training plants upward multiplies your harvest in limited space. A single square foot of ground can produce vegetables from a plant canopy stretching three to six feet tall. Tomatoes, beans, cucumbers, and peas all thrive on trellises. Urban gardeners overcome space constraints by going vertical instead of expanding outward. You get more pounds of produce per square foot than ground planting allows.
Vertical growing works for flowers too. Climbing roses, clematis, and morning glories cover walls without consuming floor space. You transform small patios and balconies into productive growing areas. The same trellis footprint that holds one spreading plant holds multiple vertical specimens. Your total plant count increases. Your total yield increases. Your space stays the same.
Creative Trellis Garden Ideas For Limited Spaces
Wall Mounted And Folding Options
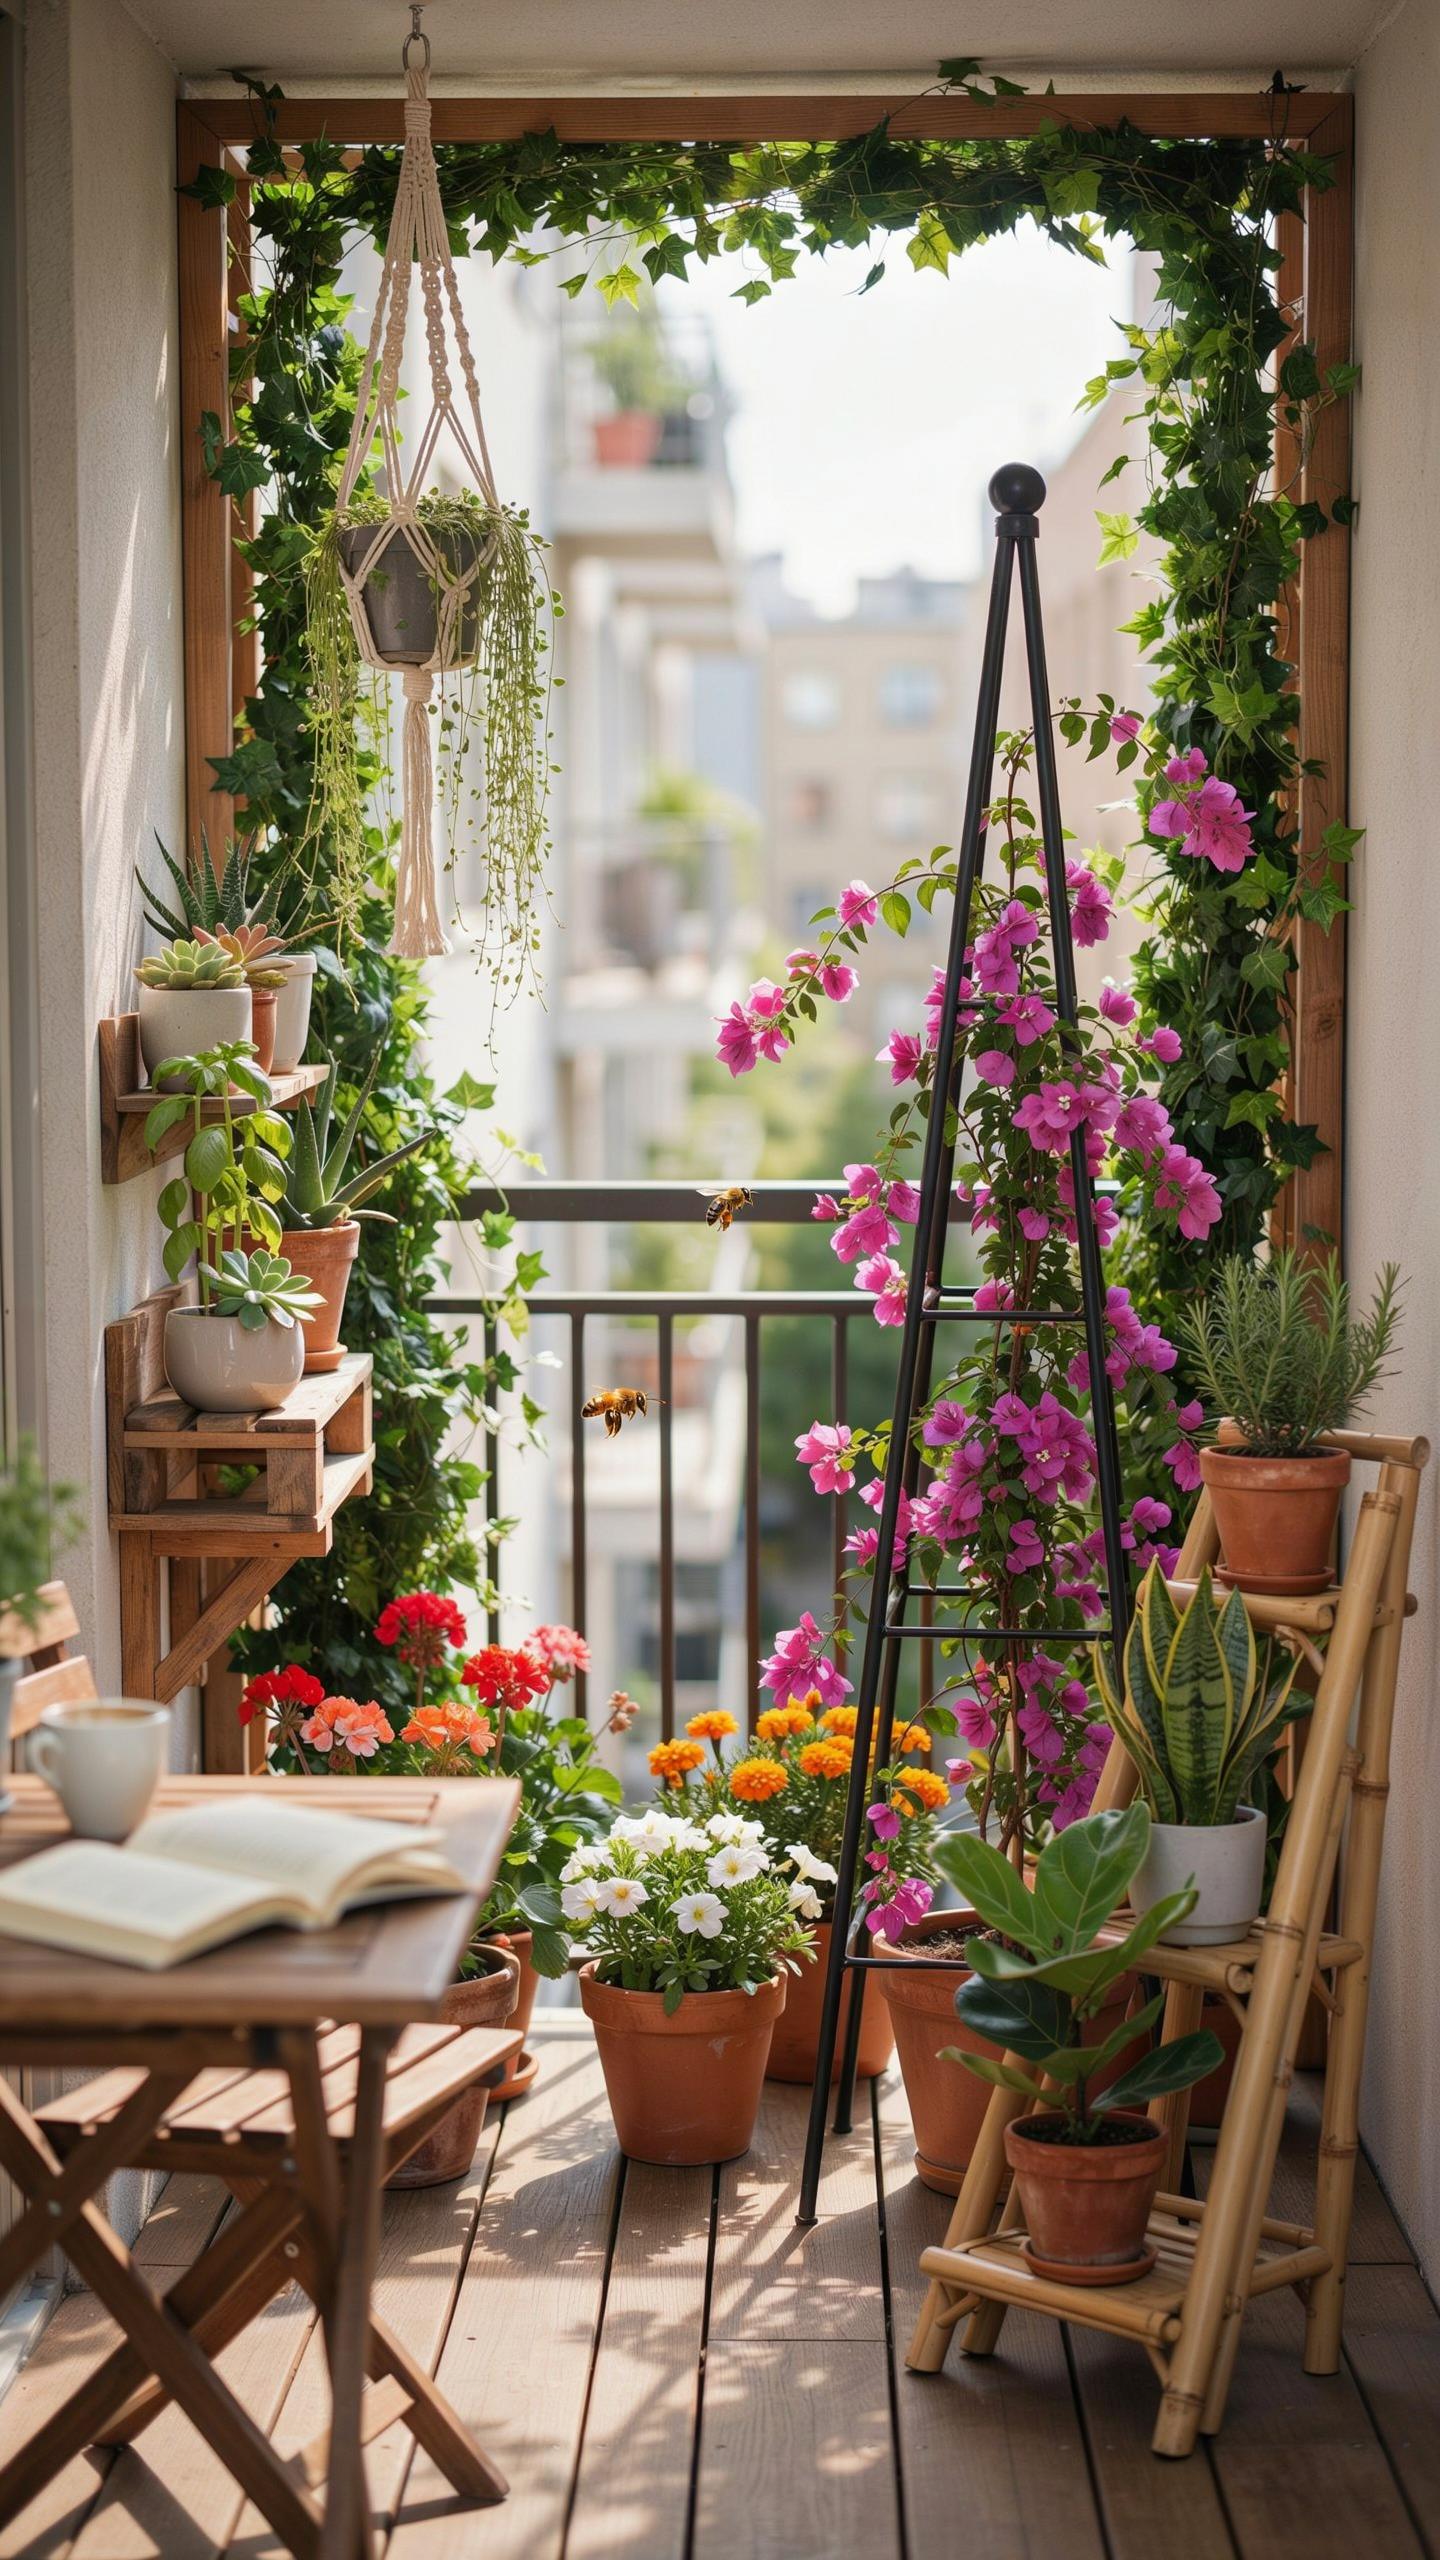
Wall-mounted lattices bolt directly to existing structures, eliminating footprint entirely. You attach them to fences, siding, or garden walls. Folding designs collapse flat when not in use, perfect for renters or seasonal gardeners. Both options support vining crops like beans, peas, and cucumbers without consuming ground space.
These structures handle plant weight differently based on material and installation. Lightweight aluminum frames support leafy vines effectively. Heavy-duty wood or metal versions manage fruiting plants like melons. Folding models store compactly in sheds between seasons, making them practical for small yards where permanent structures aren’t feasible.
Even in a tiny patch of sun, a simple trellis lets your dreams climb toward the sky just like the vines in a grandmother’s garden. With a little string and a bit of wood, anyone can weave a vertical sanctuary of their own.
A Frame And Arch Designs
An A-frame trellis creates two vertical growing surfaces back-to-back, doubling your planting capacity. The angled design creates natural shade underneath the structure. This shade keeps soil cooler and protects cool-season crops like spinach, lettuce, and peas from heat stress. The overhead canopy also reduces evaporation, cutting watering frequency.
These structures work as visual dividers in small spaces, breaking up flat garden areas. A-frames typically measure four to six feet tall and two to three feet wide at the base. Arch designs function similarly but create a tunnel effect. Both designs maximize vertical production while maintaining walkway access, making them ideal for compact yards under 200 square feet.
Selecting The Perfect Garden Trellis Material
Wooden And Bamboo Options
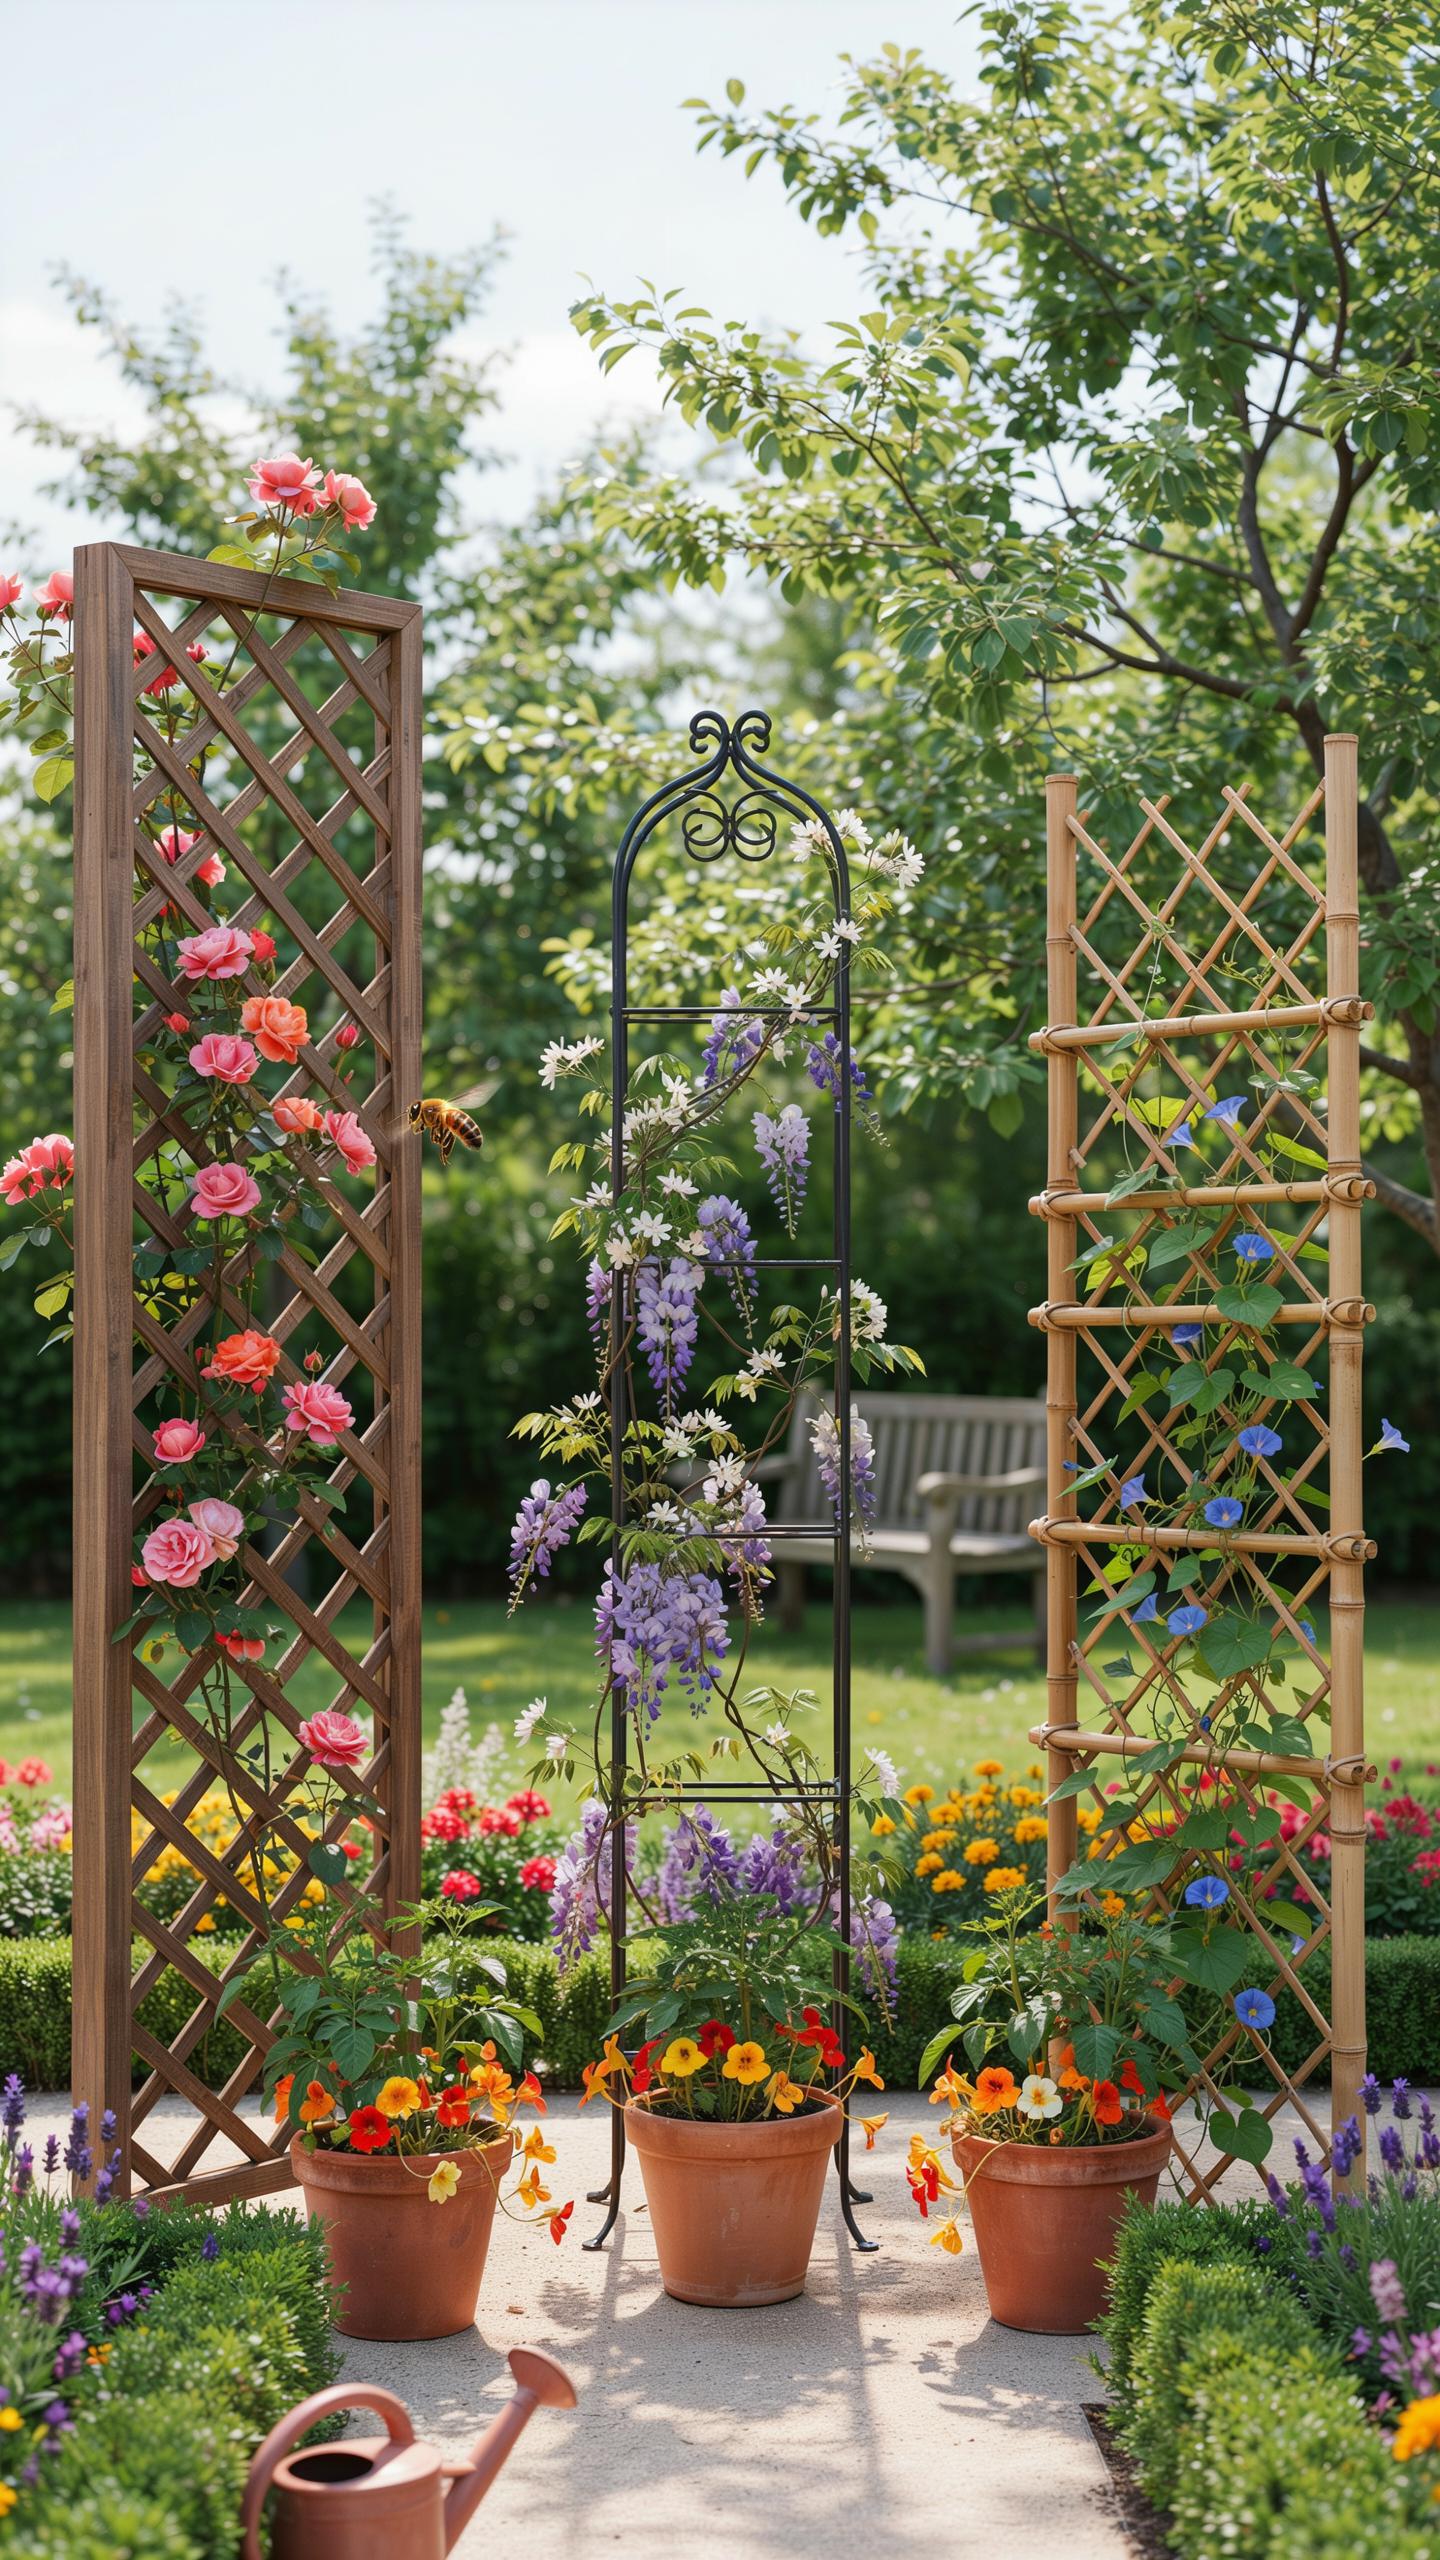
Wooden and bamboo trellises work well for small spaces because they’re light and easy to move. Both materials cost less than metal alternatives. You can cut them, adjust them, or replace damaged sections without special tools. They integrate into existing landscapes without looking industrial. These materials naturally decay over time, so you’ll replace them every five to ten years depending on climate conditions.
Bamboo resists rot better than untreated wood in wet climates. Wood requires staining or sealing to extend its lifespan. Both materials work best for lightweight climbing vegetables like peas and beans. Heavier vines will eventually bow wooden structures. Paint or stain wooden trellises before installation to reduce maintenance later. Bamboo needs minimal treatment if left natural, though it will gray over time.
Metal And Plastic Durability
Powder-coated metal trellises last fifteen to twenty years with minimal maintenance. The coating prevents rust on steel or aluminum frames. Metal supports heavy fruit-bearing crops like grapes and kiwis without sagging. Plastic trellises cost less upfront but degrade under direct sunlight within five to eight years. Metal conducts heat, which can warm soil in early spring but may stress plants in extreme heat.
Heavy-duty plastic withstands winter freezing better than wood because it won’t crack or warp. Metal requires occasional inspection for coating damage that exposes bare metal to rust. Both materials handle strong winds without breaking like wood does. Metal trellises work best in permanent installations where you won’t relocate them seasonally. Choose metal for perennial vines that stay rooted in one location year after year.
5 Beginner Steps For Building A Trellis At Home
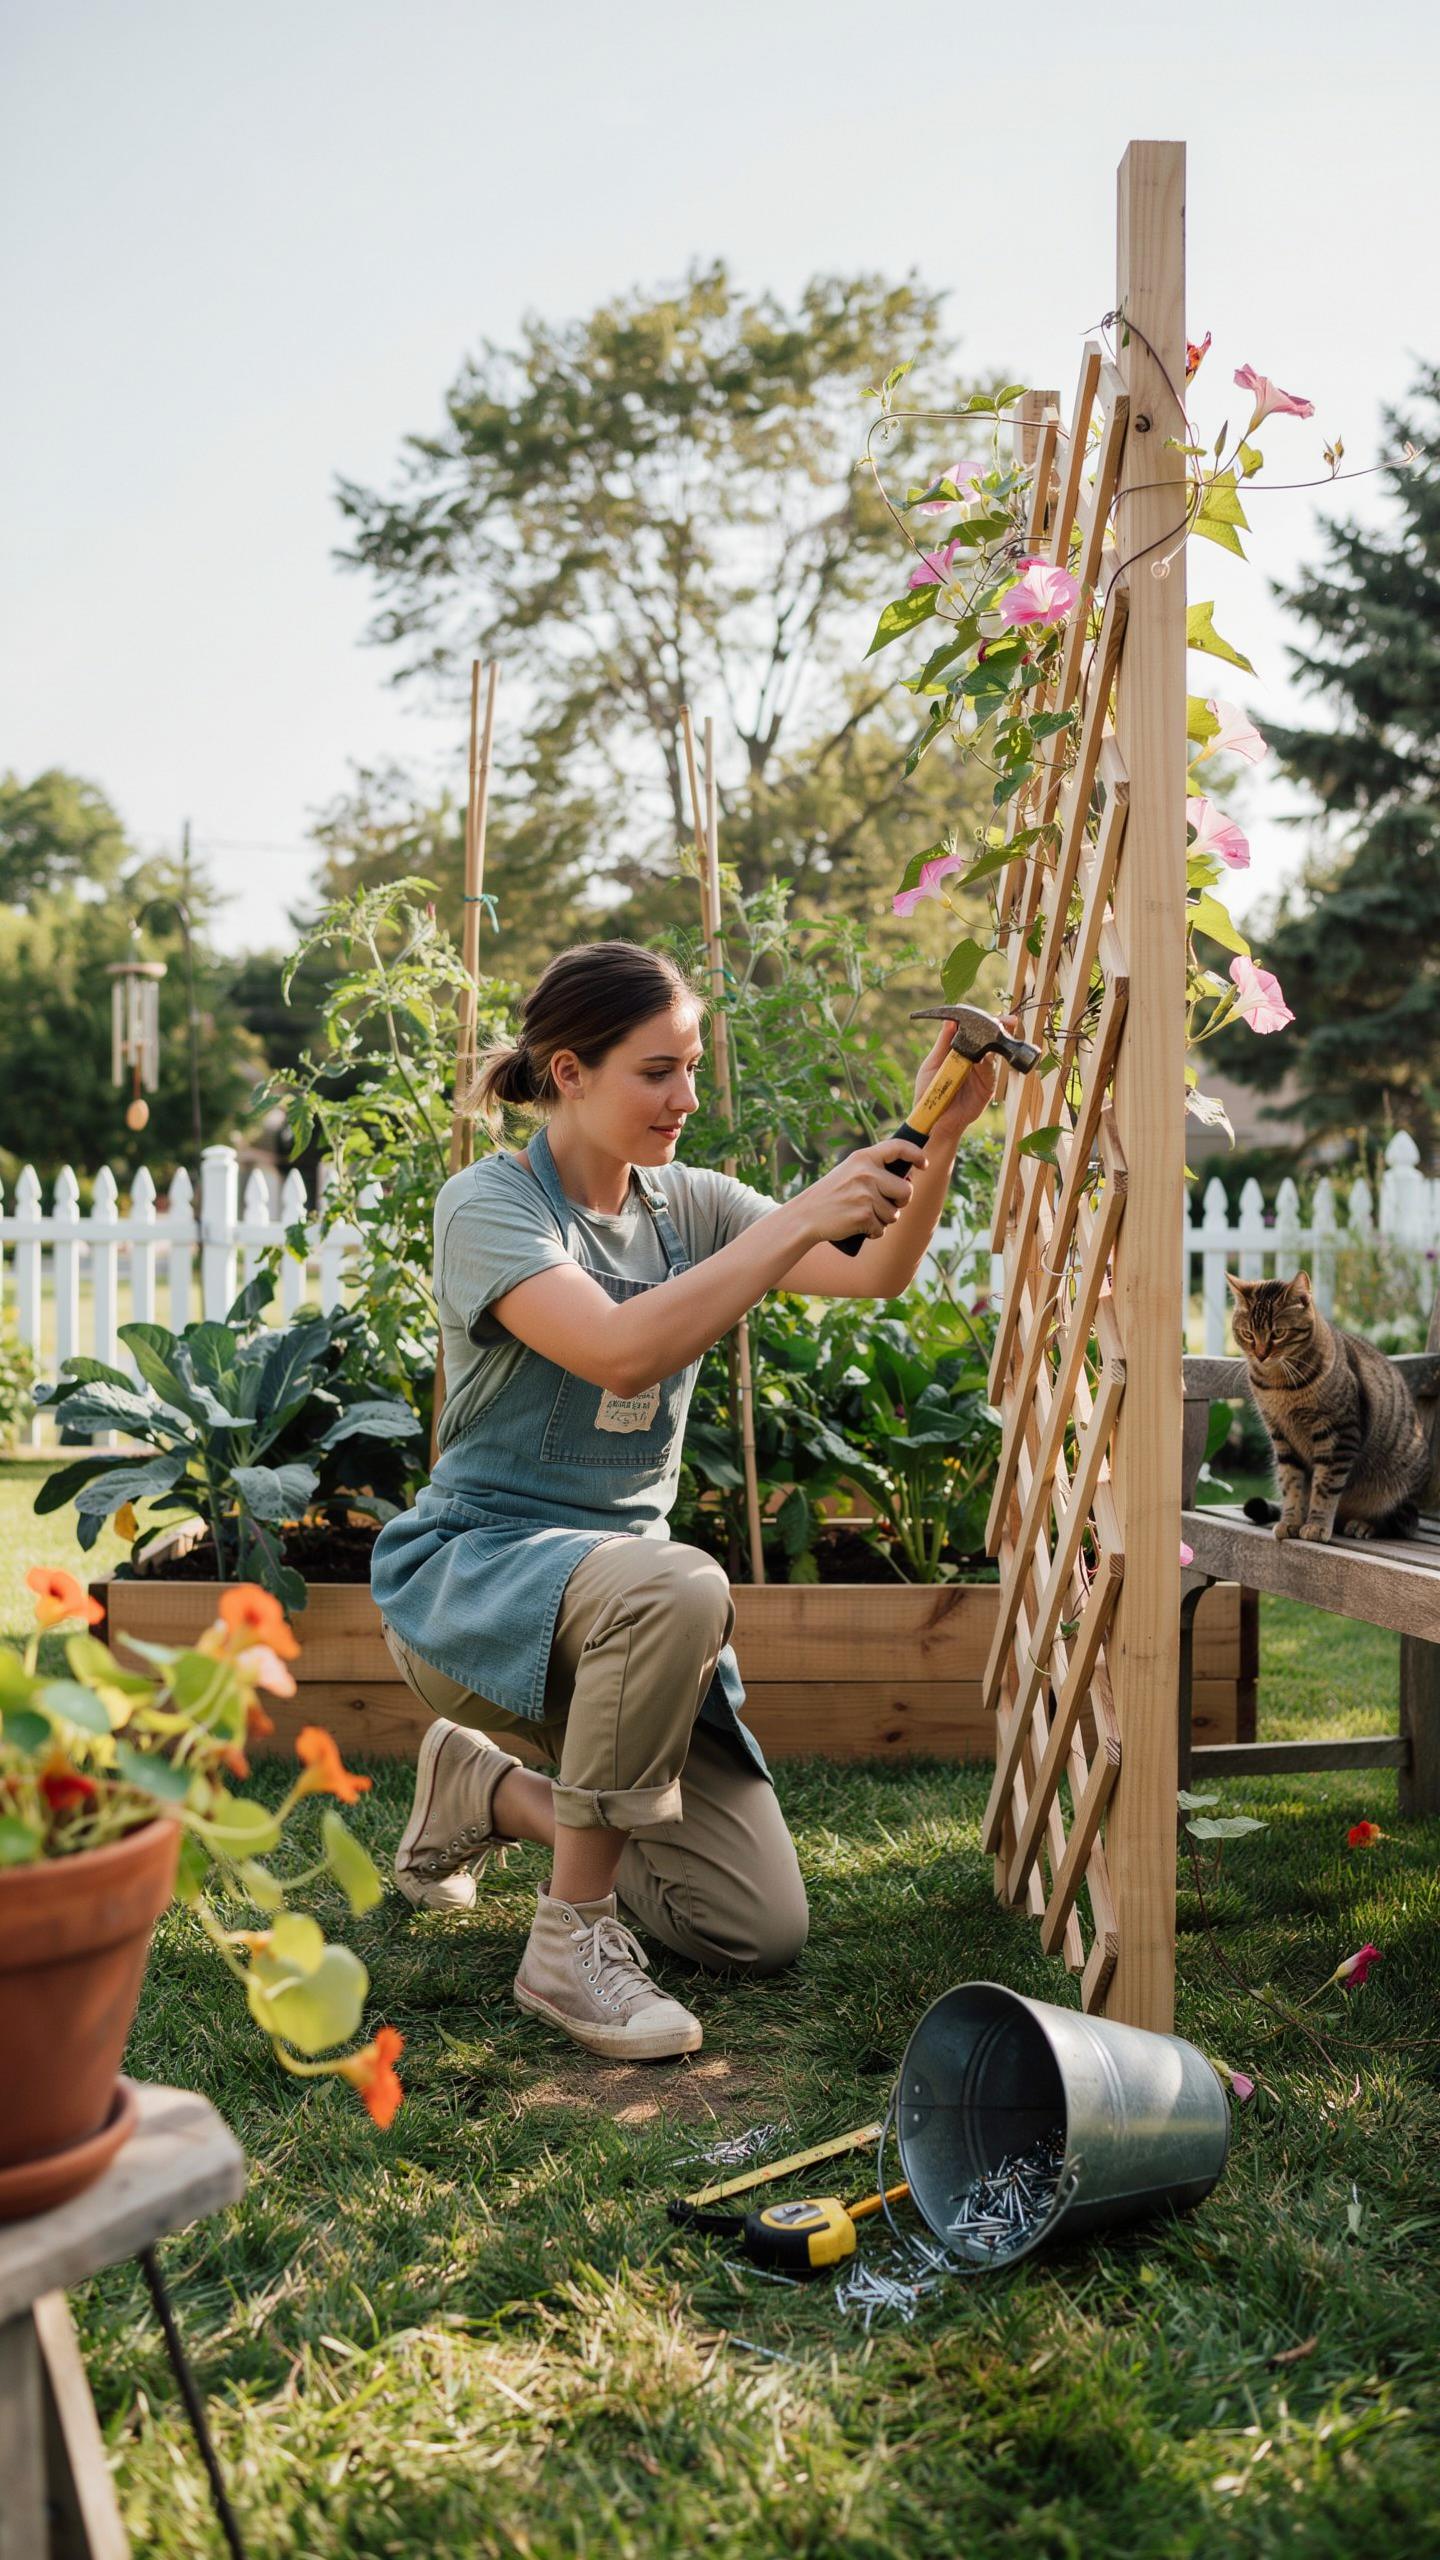
Essential Tools And Materials Needed
You need basic tools to assemble a functional trellis frame. Most beginners already own these items at home. Collect everything before you start to avoid project delays and frustration during assembly.
- Hammer or Mallet: Drives wooden stakes or metal posts into soil. Use a 2-pound hammer for standard garden work without excessive force needed.
- Drill with Bits: Creates holes for bolts, screws, and fasteners. A basic cordless drill handles wood and plastic materials efficiently for DIY frames.
- Measuring Tape: Ensures even spacing between vertical supports. Accurate measurements prevent unbalanced structures that fail under plant weight.
- Wire Cutters or Pruning Shears: Cuts twine, wire, and rope to correct lengths. Sharp cutters make clean cuts and reduce hand strain during assembly.
- Level Tool: Confirms vertical poles stand straight and true. Tilted supports cause uneven plant growth and structural weakness over time.
- Work Gloves: Protects hands from splinters, sharp edges, and wire cuts. Durable leather or reinforced gloves improve grip and safety during assembly.
Gather wood stakes, metal posts, twine, galvanized wire, and fasteners before construction. Cedar and treated lumber resist rot and last longer outdoors than untreated wood. Metal components withstand weather better than plastic alternatives in most climates.
Step By Step Construction Guide
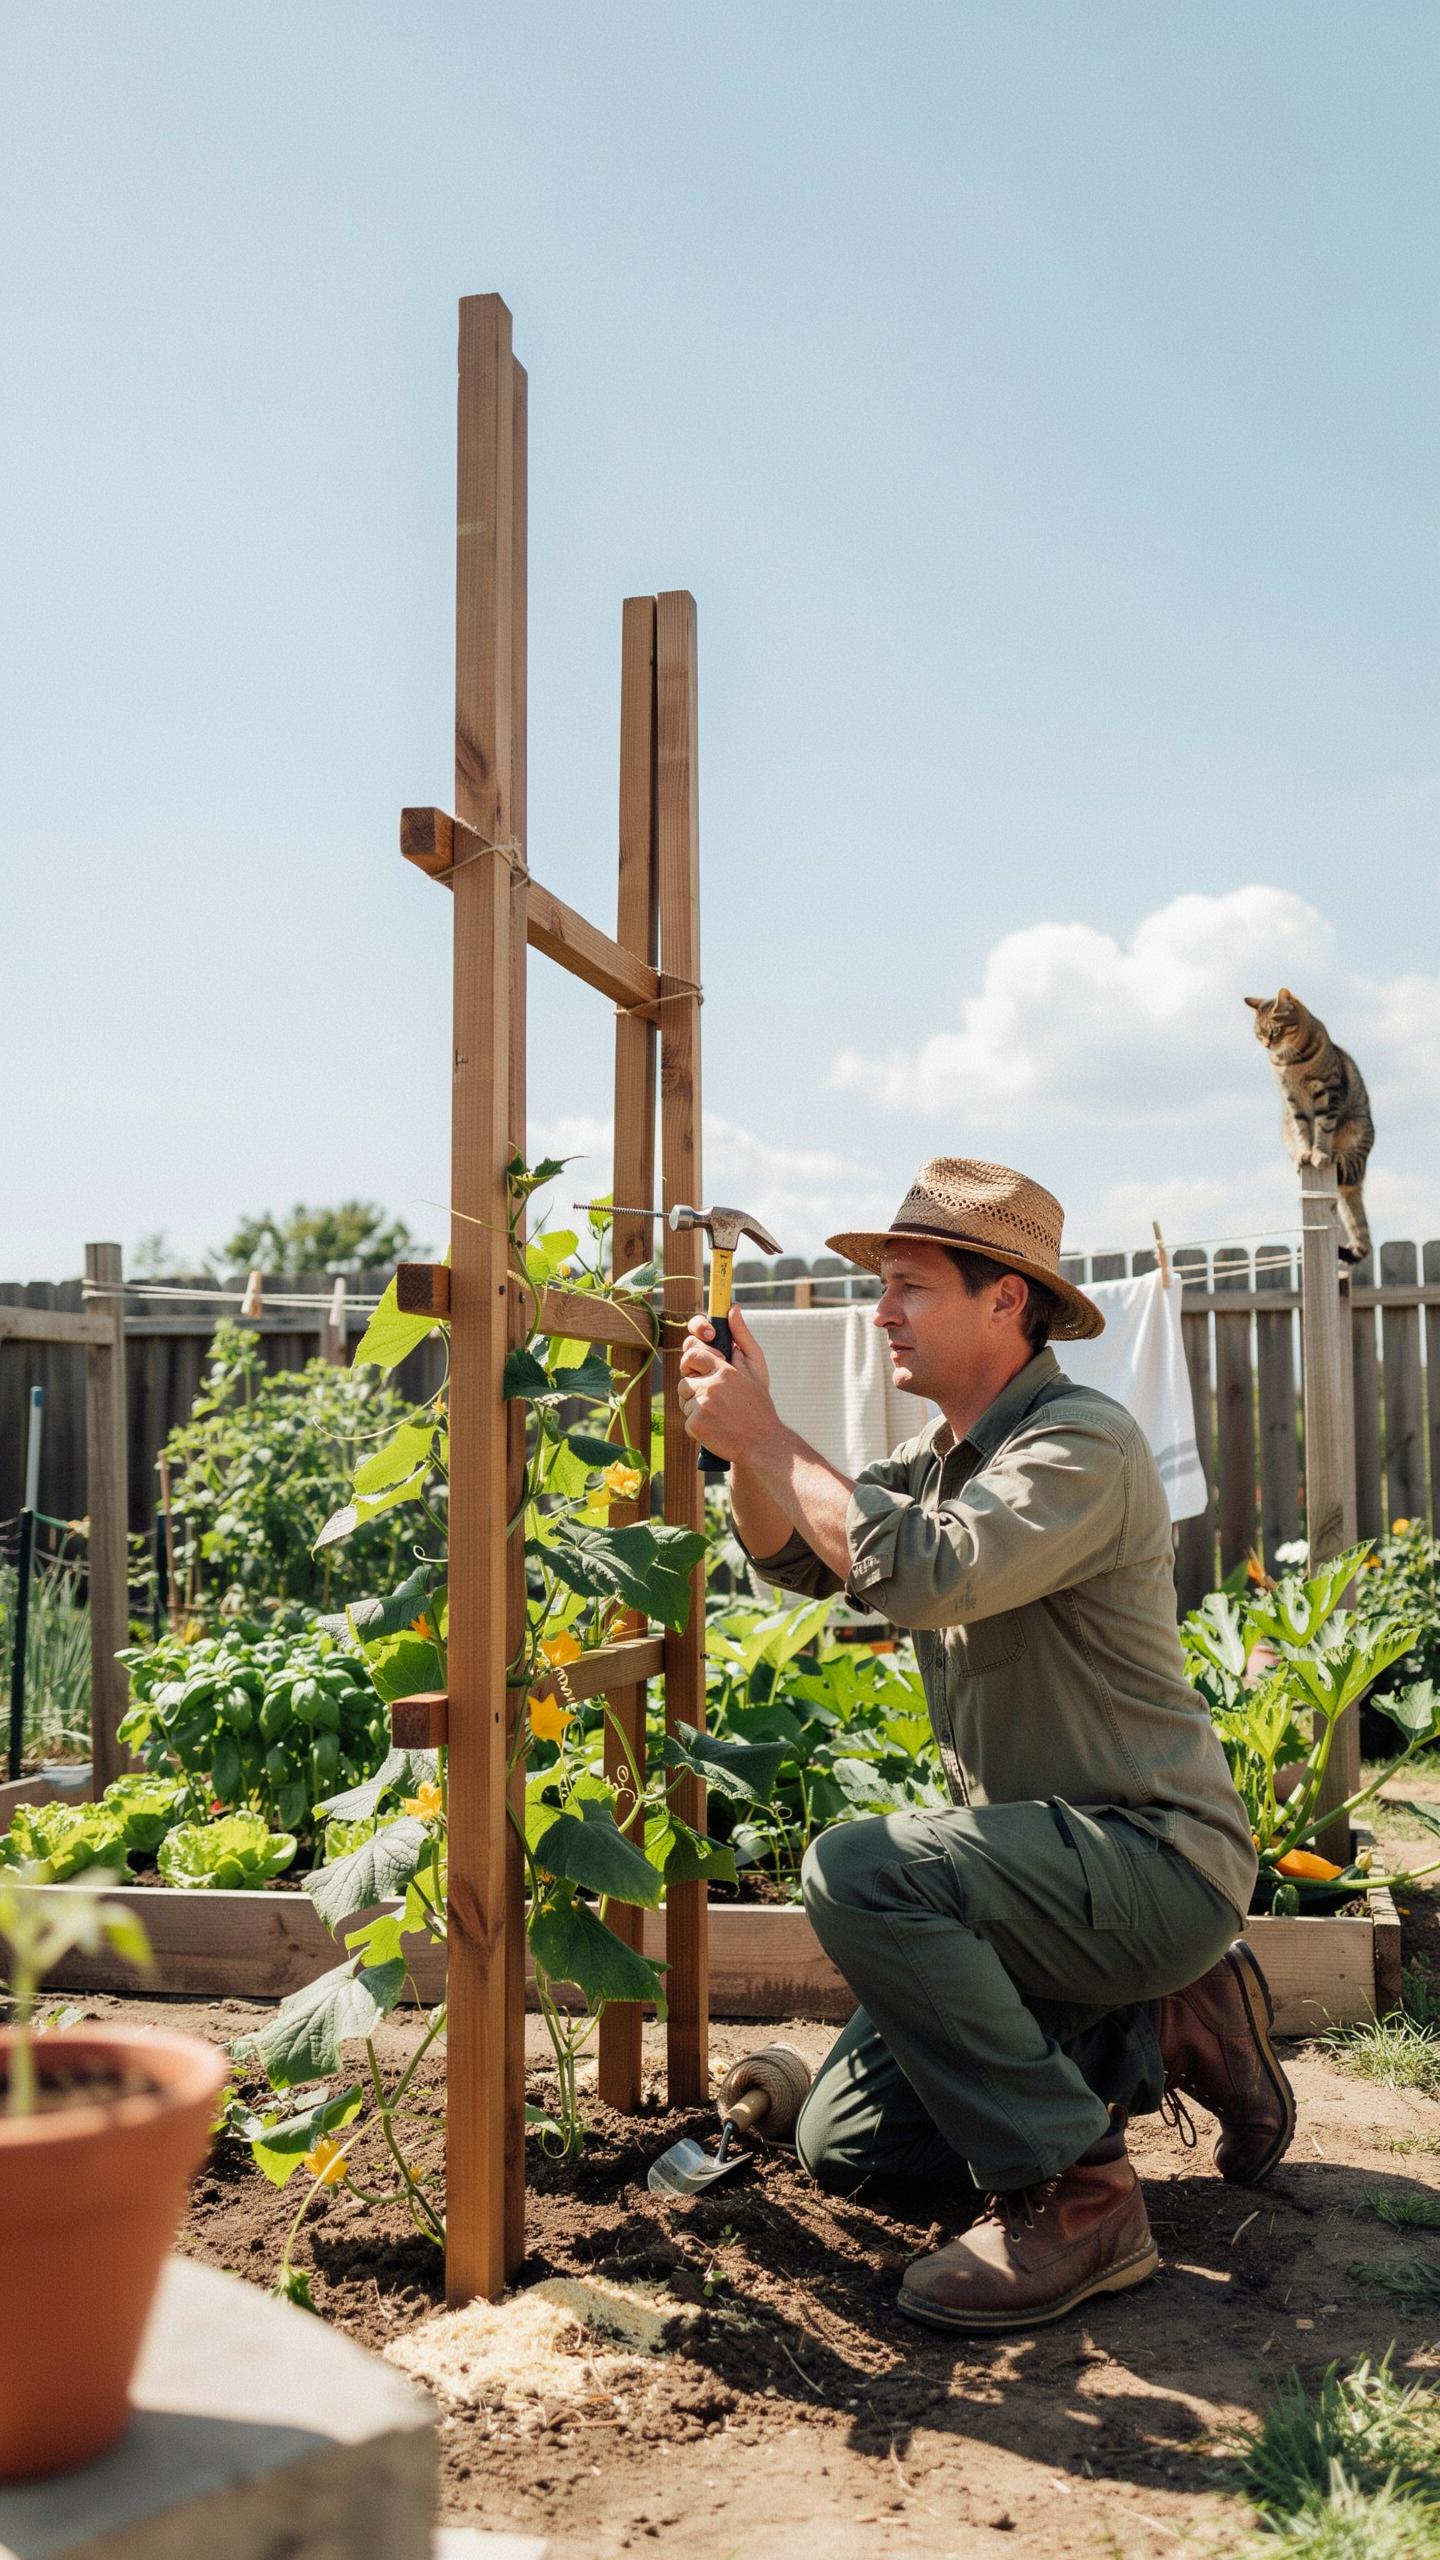
Drive vertical support poles into the ground at 2 to 3-foot intervals, depending on your plant type and trellis design. Push poles at least 12 inches deep to anchor them against wind and mature plant weight. Check each pole with a level tool to ensure vertical alignment before moving to the next installation.
Wind horizontal twine or galvanized wire across the vertical poles in a grid pattern. Space horizontal lines 6 to 12 inches apart based on plant size and climbing capability. Double-knot every intersection point where horizontal and vertical elements meet. Tight knots prevent slippage when plants grow heavy and shift during wind or rain events.
6 Choosing The Right Climbing Plants For Beginners
Easy To Grow Annual Vines
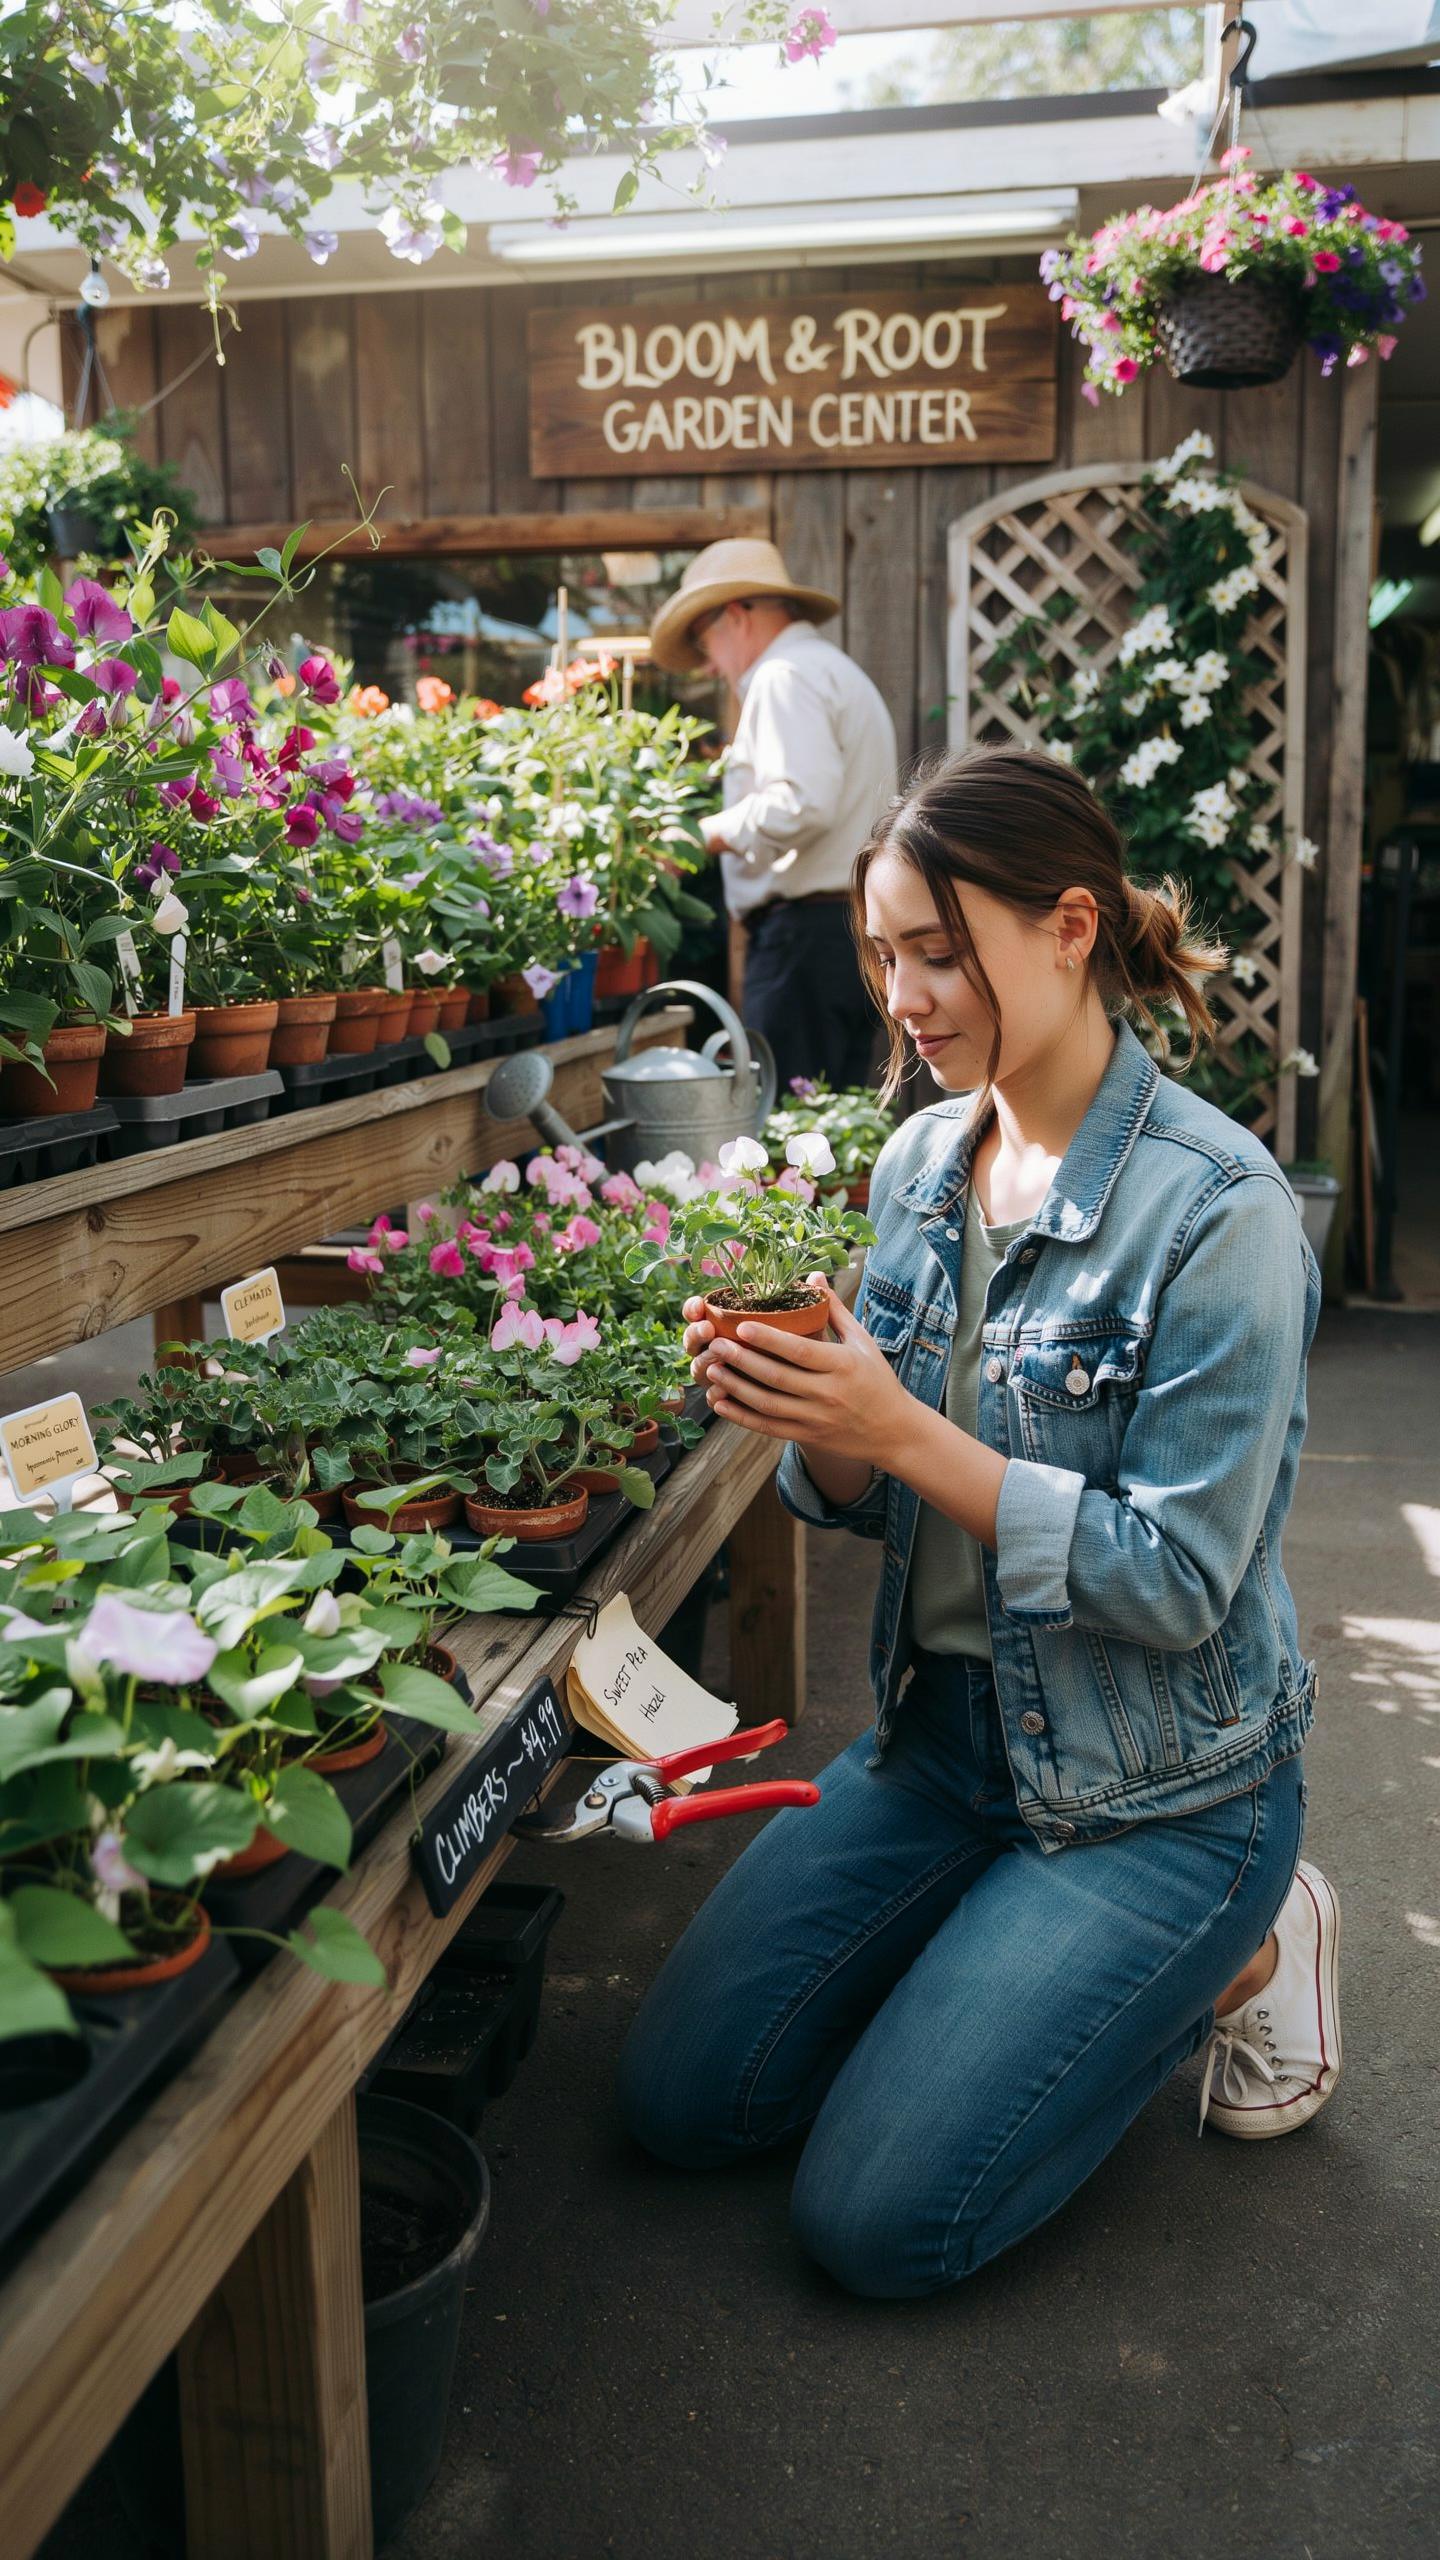
Annual vines complete their life cycle in one growing season, then die back. Sweet peas, morning glories, and climbing nasturtiums germinate quickly and reach mature height within weeks. They require basic watering and minimal fertilizer. Most tolerate partial shade and average soil. Beginners see results fast, making these plants ideal for gaining confidence with trellis systems.
These annuals produce flowers throughout the season without deadheading demands. You replant each year, which means you can rotate crop types or redesign your vertical space. They cost less than perennials since you buy new seeds annually. For small space gardeners who want immediate visual impact, annuals deliver results within two to three months of planting.
Resilient Perennial Climbers
Perennial climbers live for multiple years, establishing root systems that support larger growth. Clematis and jasmine species thrive in most climates when matched to your hardiness zone. Once established, they require minimal intervention beyond annual pruning. These plants reduce your workload significantly compared to replanting annuals every season.
Perennials create permanent structure on trellises, screening fences or unattractive walls. Their established root systems make them drought tolerant after the first year. You invest time upfront, but these plants reward you with decades of coverage. For long term small space solutions, perennials provide stability and reduced maintenance.
Setting Up A Highly Productive Veggie Garden
Top Vertical Vegetables To Plant
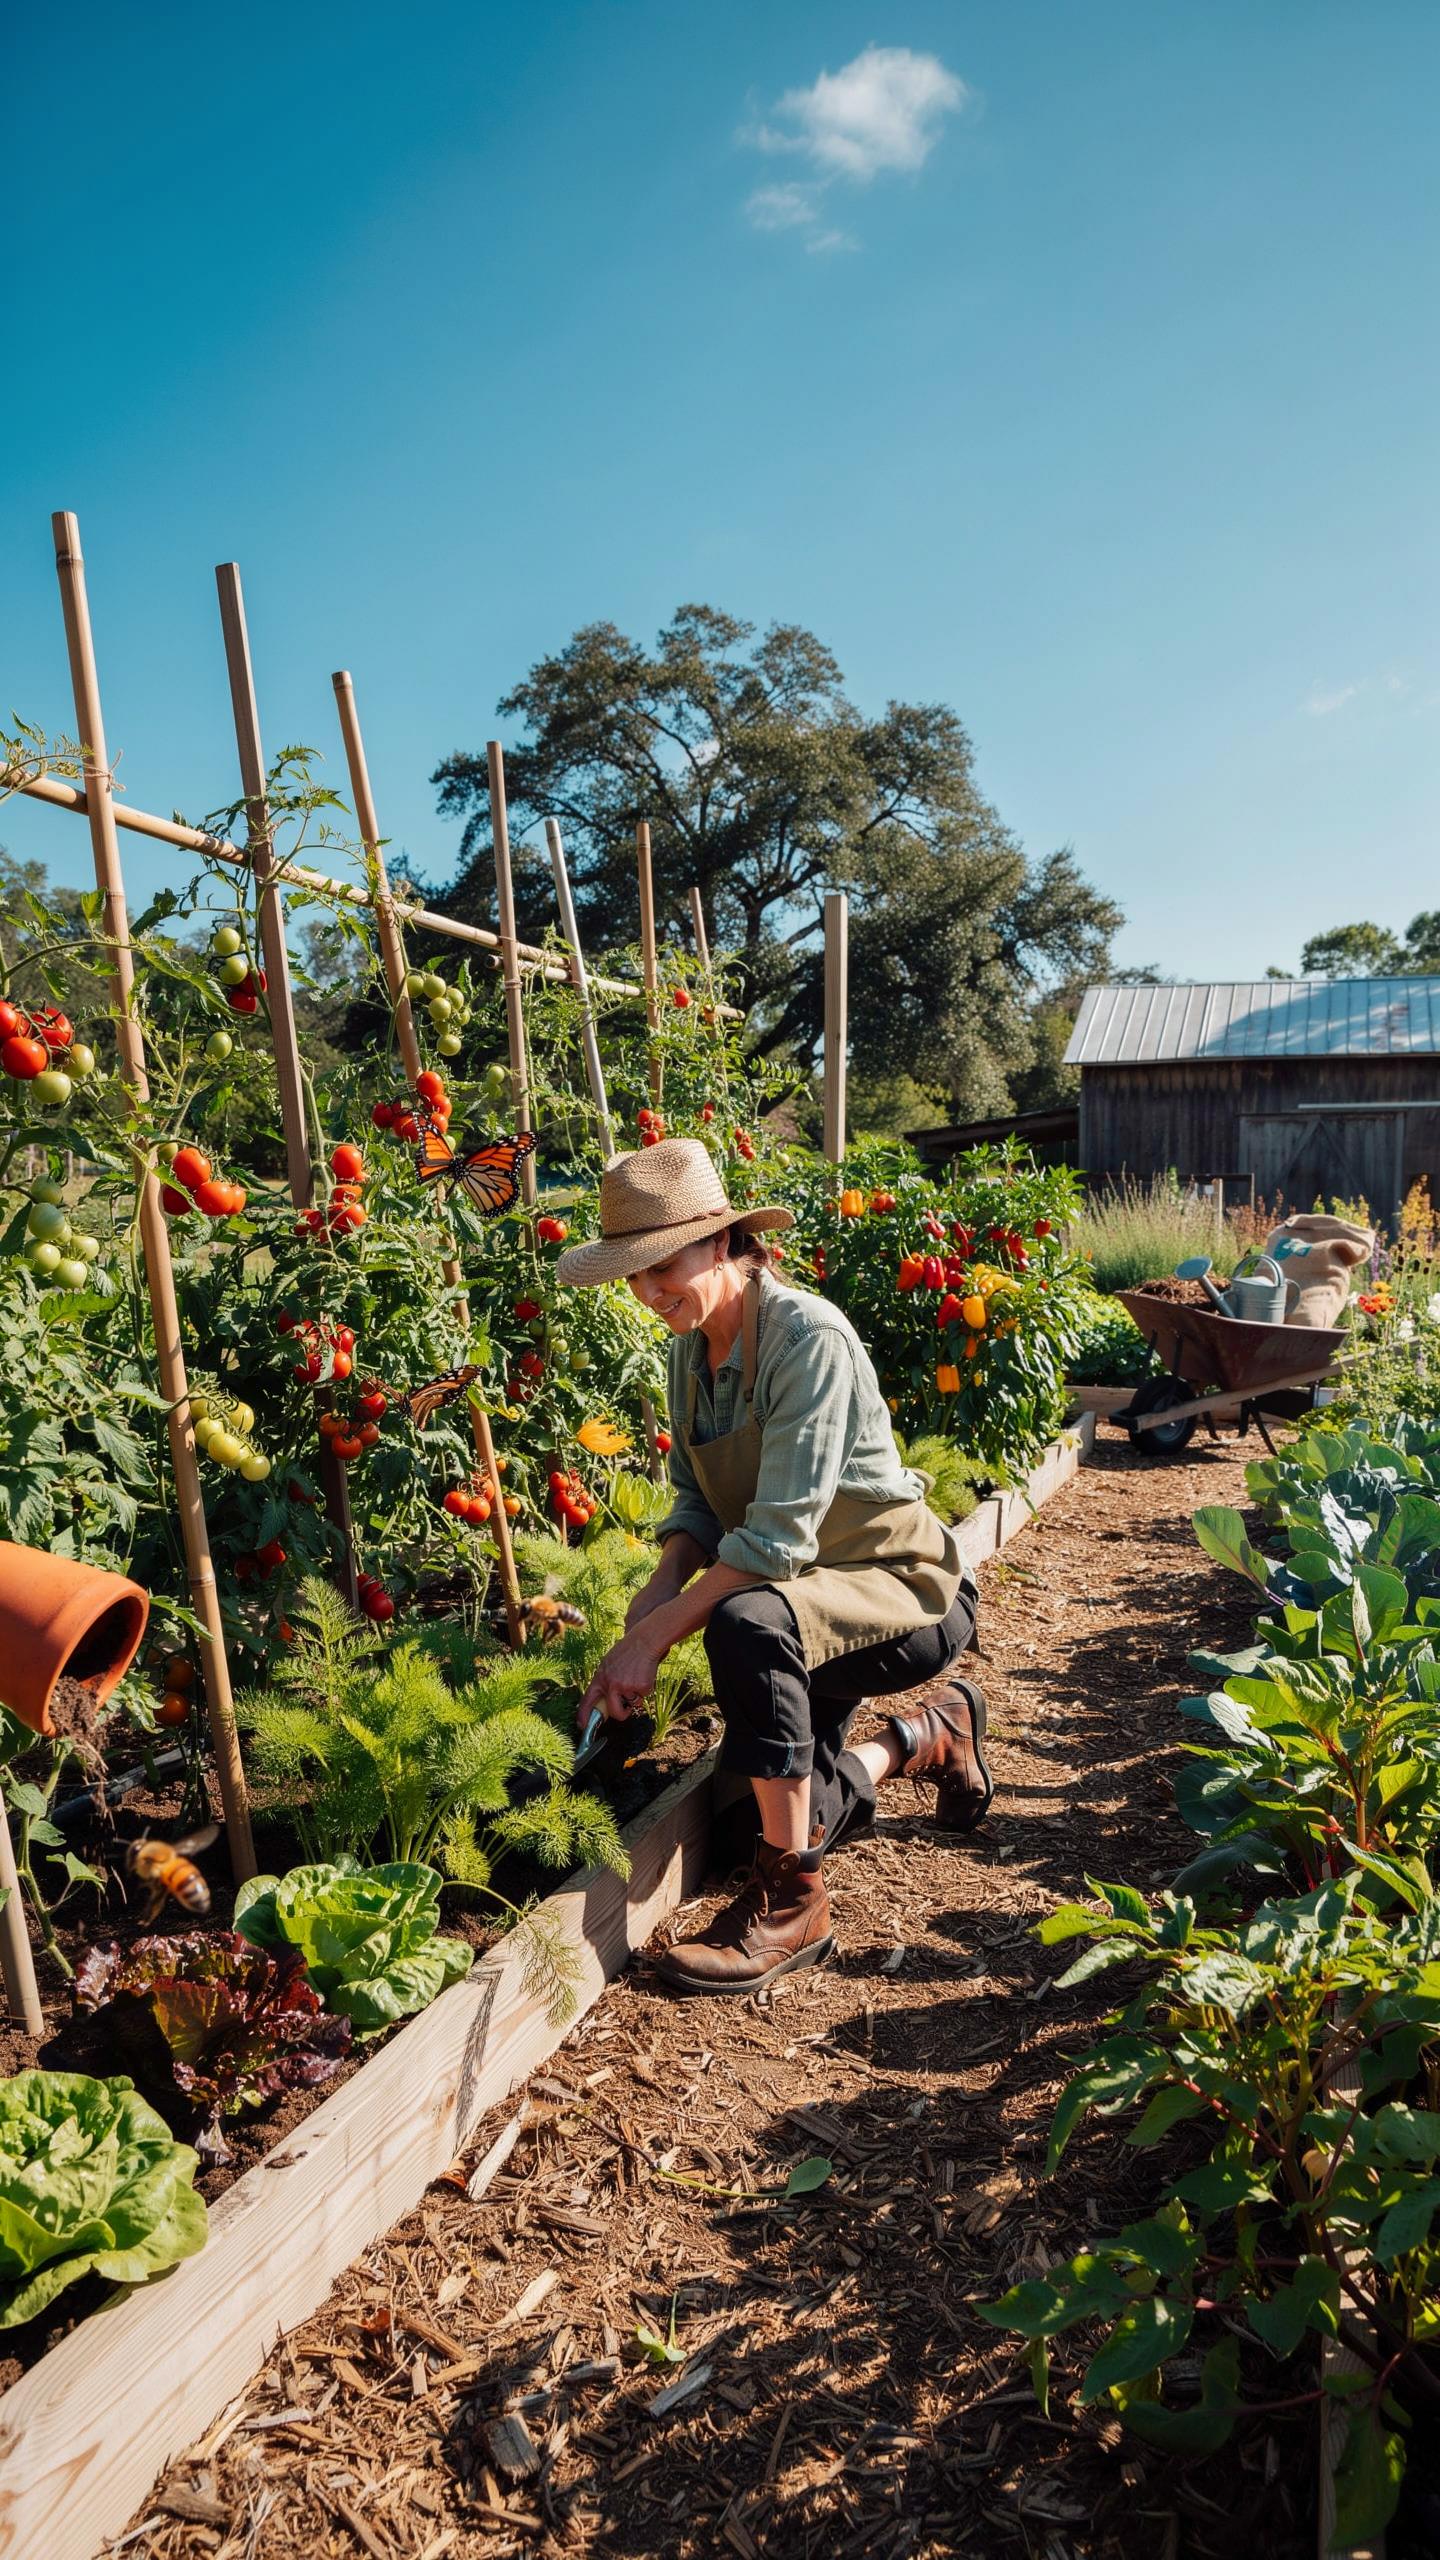
Climbing vegetables produce high yields in minimal footprint. These crops naturally climb and thrive on trellises, maximizing your harvest per square foot. Select varieties bred for vertical growth to optimize your space and reduce disease pressure through improved air circulation.
- Pole beans: Nitrogen-fixing legumes that produce continuously throughout the season. They climb naturally and tolerate partial shade, making them reliable for dense plantings.
- Peas: Cool season crops that climb via tendrils. Plant in spring or fall for best results, as summer heat reduces production and flavor.
- Cucumbers: Vining varieties climb effectively and produce more fruit when supported vertically. Train them early to prevent tangling and simplify harvesting.
- Tomatoes (indeterminate): Indeterminate types grow continuously upward. Stake or trellis them to improve sun exposure, airflow, and reduce fungal disease incidence.
- Squash and melons: Smaller varieties tolerate vertical growing with sling supports. They need sturdy trellises to handle fruit weight as they mature.
Vertical growing increases yields per square foot compared to sprawling ground cultivation. These crops occupy 75 to 90 percent less ground space while producing similar or greater harvests. Use sturdy trellising materials to handle mature plant weight and fruit load.
Soil And Nutrient Management
Vertical plantings concentrate root systems in confined spaces and demand nutrient-rich soil. Add 3 to 4 inches of quality compost or aged manure before planting. Soil depletes faster in containers and raised beds, requiring supplemental feeding throughout the growing season.
Water vertically planted crops consistently to maintain soil moisture near the roots. Daily watering may be necessary during hot weather since elevated plants dry faster than ground level beds. Drip irrigation or soaker hoses deliver water directly to roots and reduce leaf wetness that promotes disease.
Constructing A Sturdy Cucumber Trellis
Preventing Fruit Rot And Soil Pests
Cucumbers sitting on wet soil develop rot quickly. Ground contact also exposes fruit to slugs, beetles, and other crawling pests that damage the skin and create entry points for disease. Vertical growing solves both problems at once. Air circulation around elevated fruit prevents moisture buildup. Pests lose easy access to your harvest.
The payoff is significant. You get straighter cucumbers suitable for pickling or slicing. Fruit stays clean and unblemished. Disease pressure drops because leaves and fruit dry faster after rain or watering. Your total yield increases because plants channel energy into producing more fruit instead of fighting rot and pest damage.
Training And Securing Vines
Start guiding cucumber tendrils to the trellis when plants are young and stems are still tender. Direct growth toward lower rungs first. This establishes the climbing habit early and prevents tangled, matted growth. Soft plant ties made from fabric strips or specialized garden tape support heavy stems without cutting into the plant tissue.

Check ties weekly as stems thicken. Loosen ties that become tight to prevent girdling, which cuts off nutrient flow and kills the branch above the tie. The plant will naturally climb as it matures, but strategic support during early growth determines whether your cucumber trellis stays organized or becomes a chaotic mess.
9 Transforming A Small Patio Into A Green Oasis
Container Gardening With Lattices
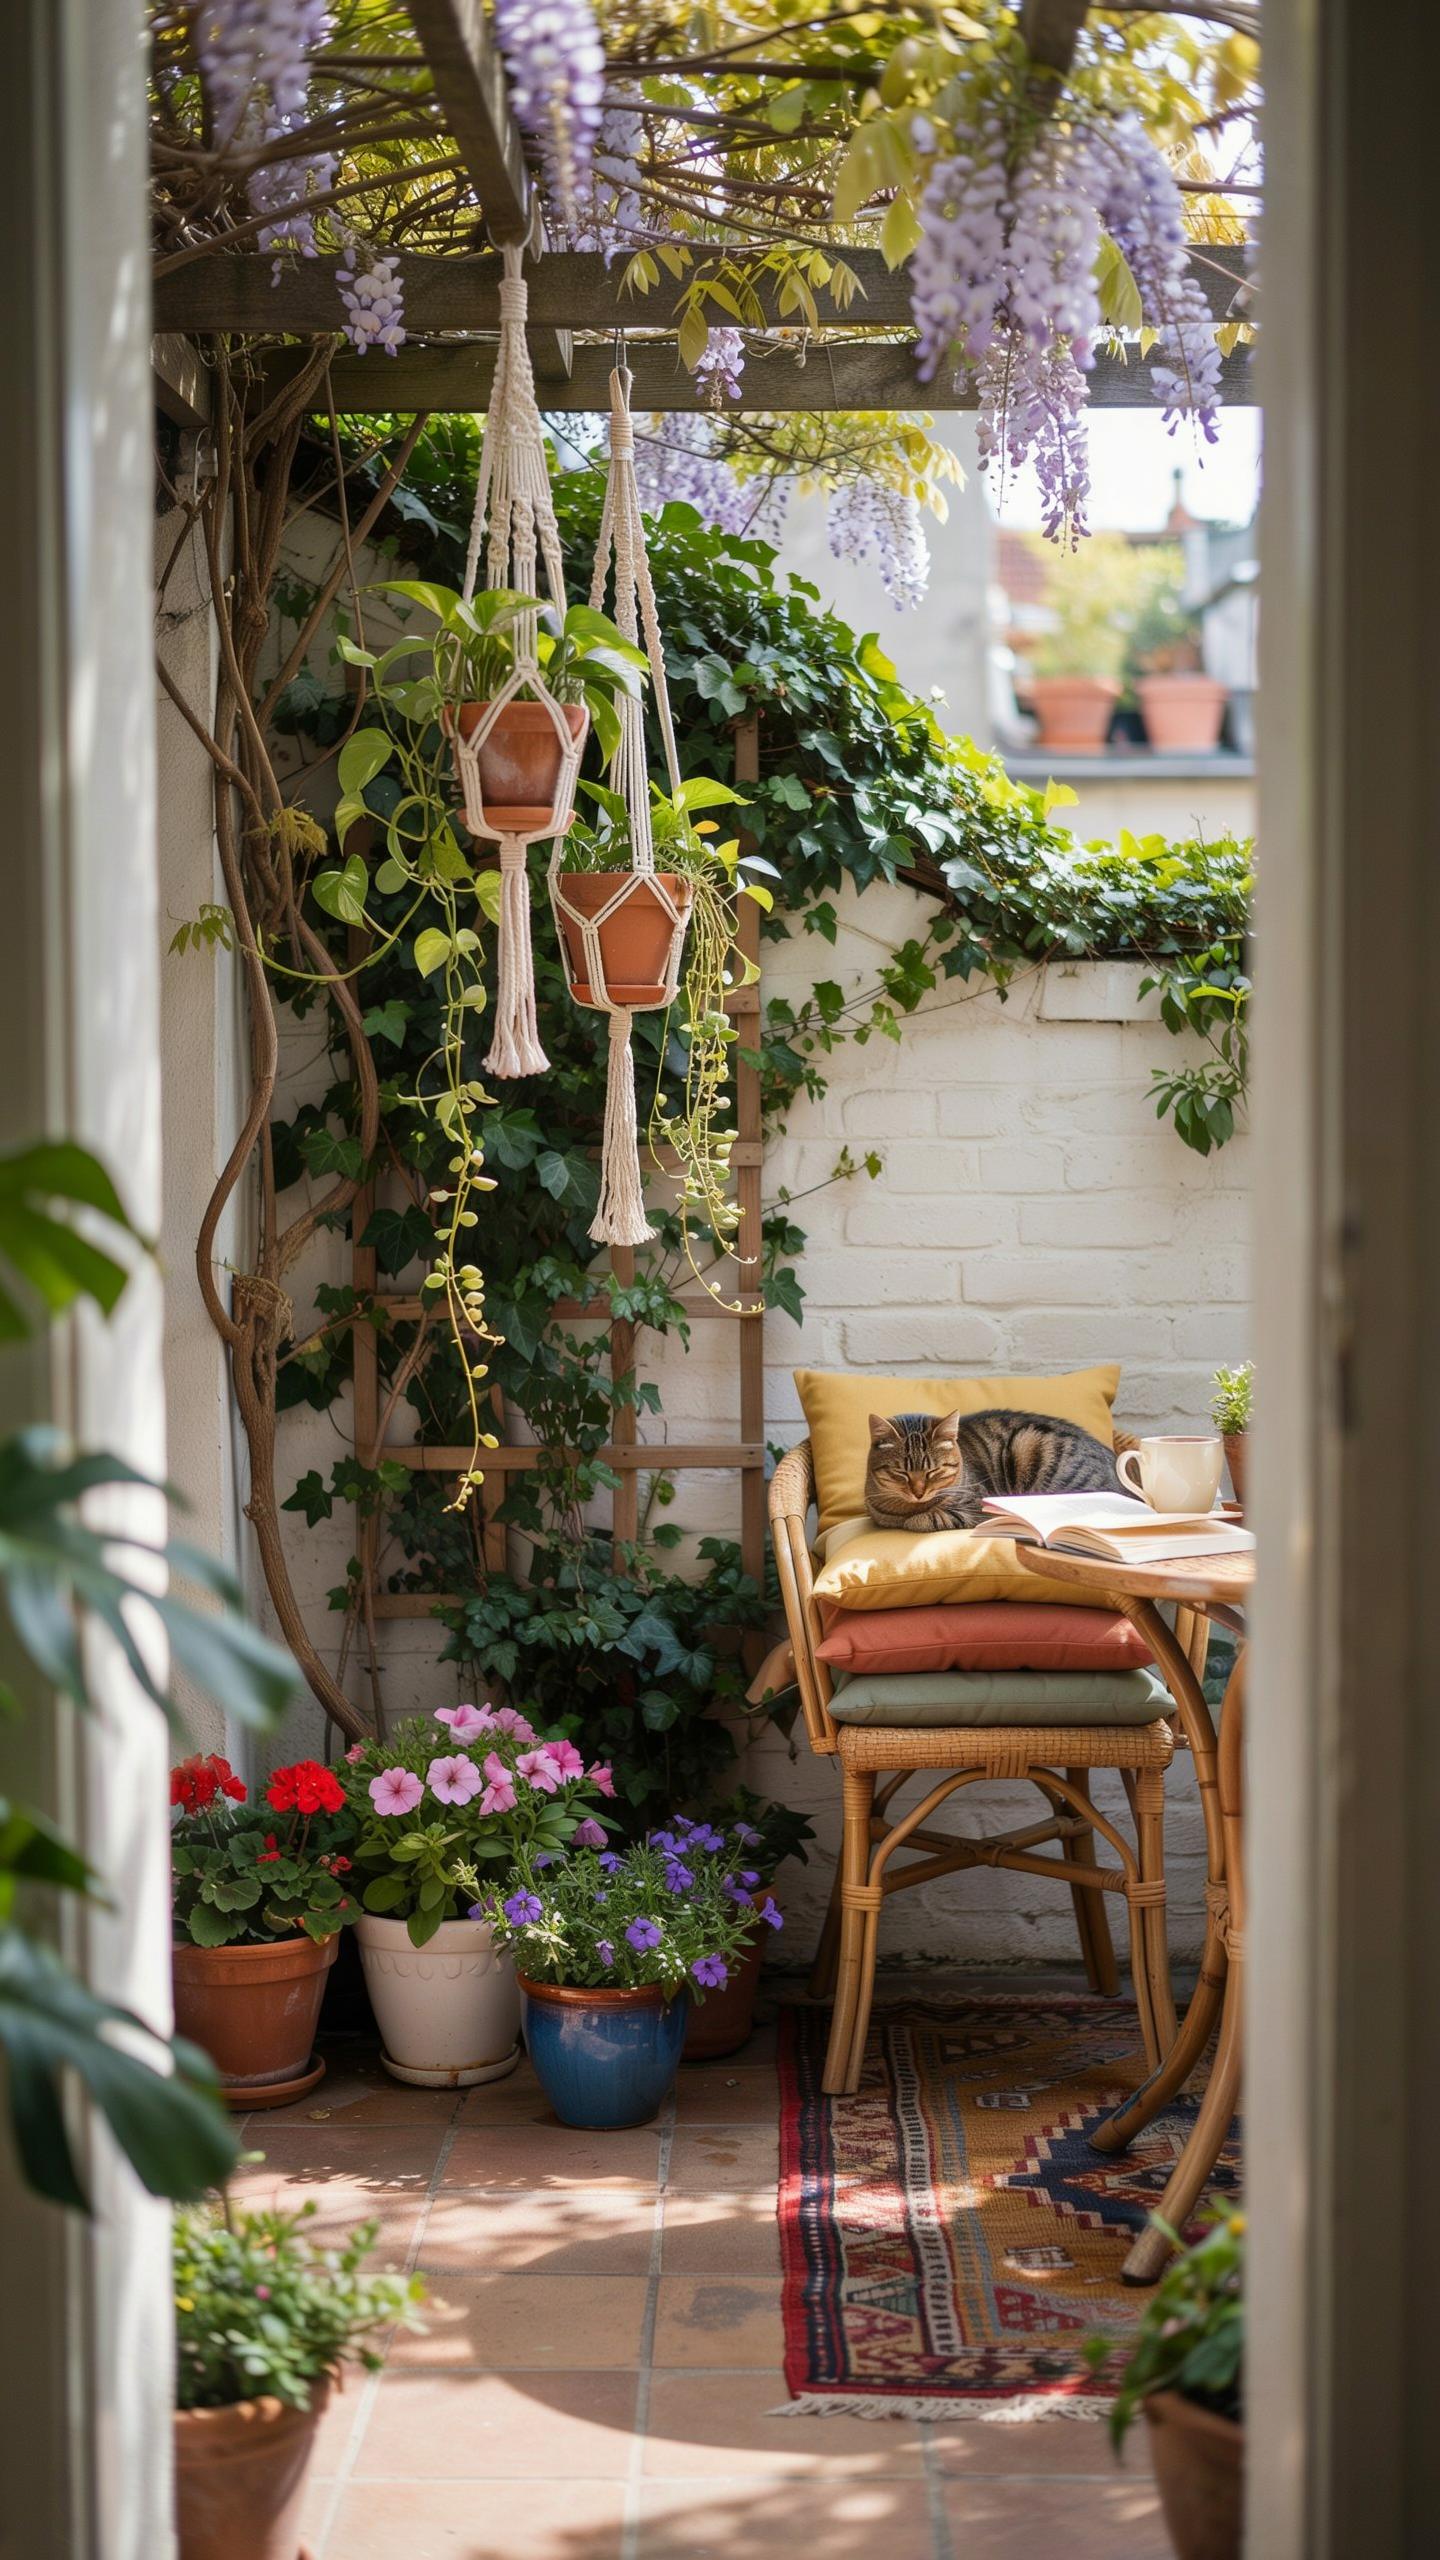
Heavy ceramic or resin containers hold soil and plant roots while supporting inserted lattice panels. This setup works on concrete balconies, decks, and patios where digging into ground soil is impossible. The lattice gives vining plants like clematis, beans, and cucumbers a structure to climb. Weight distribution matters. Heavier containers resist tipping when wind catches tall vines.
Insert lattice panels directly into containers at planting time or secure them afterward with brackets. Use lightweight wood or plastic lattices to avoid excessive weight load. Ensure drainage holes exist in container bottoms to prevent root rot. Water reaches roots faster in containers than ground soil, so check moisture levels every two to three days during growing season.
Creating Privacy And Shade Screenings
Position tall vining systems along balcony edges and fence lines to block sightlines from neighbors. Vines like ivy, honeysuckle, and climbing hydrangea fill lattice frames within one to two growing seasons. This living barrier reduces heat gain on south and west facing walls by blocking direct sunlight. Strategic placement matters more than plant selection alone.
Install lattices at least six inches from building walls to allow air circulation behind the vines. This prevents moisture buildup and mold growth on siding. Afternoon shade from mature vines can lower patio temperatures by five to ten degrees Fahrenheit. Train vine growth horizontally as well as vertically to maximize coverage and create denser privacy screening.
Frequently Asked Questions

Why is vertical growth beneficial for a beginner with limited outdoor space?
Vertical growth is a game-changer because it maximizes your harvest without needing a large backyard. By focusing on small space gardening trellis use, you can grow climbing vegetables like peas or cucumbers in compact containers or narrow balcony spots. This method keeps foliage off the ground, which improves airflow, reduces the risk of soil-borne pests, and makes it much easier for beginners to monitor and maintain their plants at eye level.
How do I choose and install the right support system for my balcony plants?
First, identify the climbing habit of your plant to ensure the structure can handle its weight. For a simple setup, lean a lightweight cedar frame against a sunny wall or secure a wire mesh panel to your railing. Effective small space gardening trellis use involves ensuring the base is anchored firmly in a sturdy pot. As your plants grow, gently weave the young stems through the gaps to guide them naturally upward.
Can I create an effective vertical garden setup on a very tight budget?
Absolutely! You do not need expensive store-bought equipment to start your vertical garden journey. Many urban gardeners successfully repurpose affordable materials like bamboo stakes, discarded wooden pallets, or even simple nylon netting attached to a basic frame. These DIY options provide the necessary structure for your vines to thrive. Focus on functionality over aesthetics initially, and you will find that a budget-friendly approach makes starting vertical gardening both accessible and rewarding.



