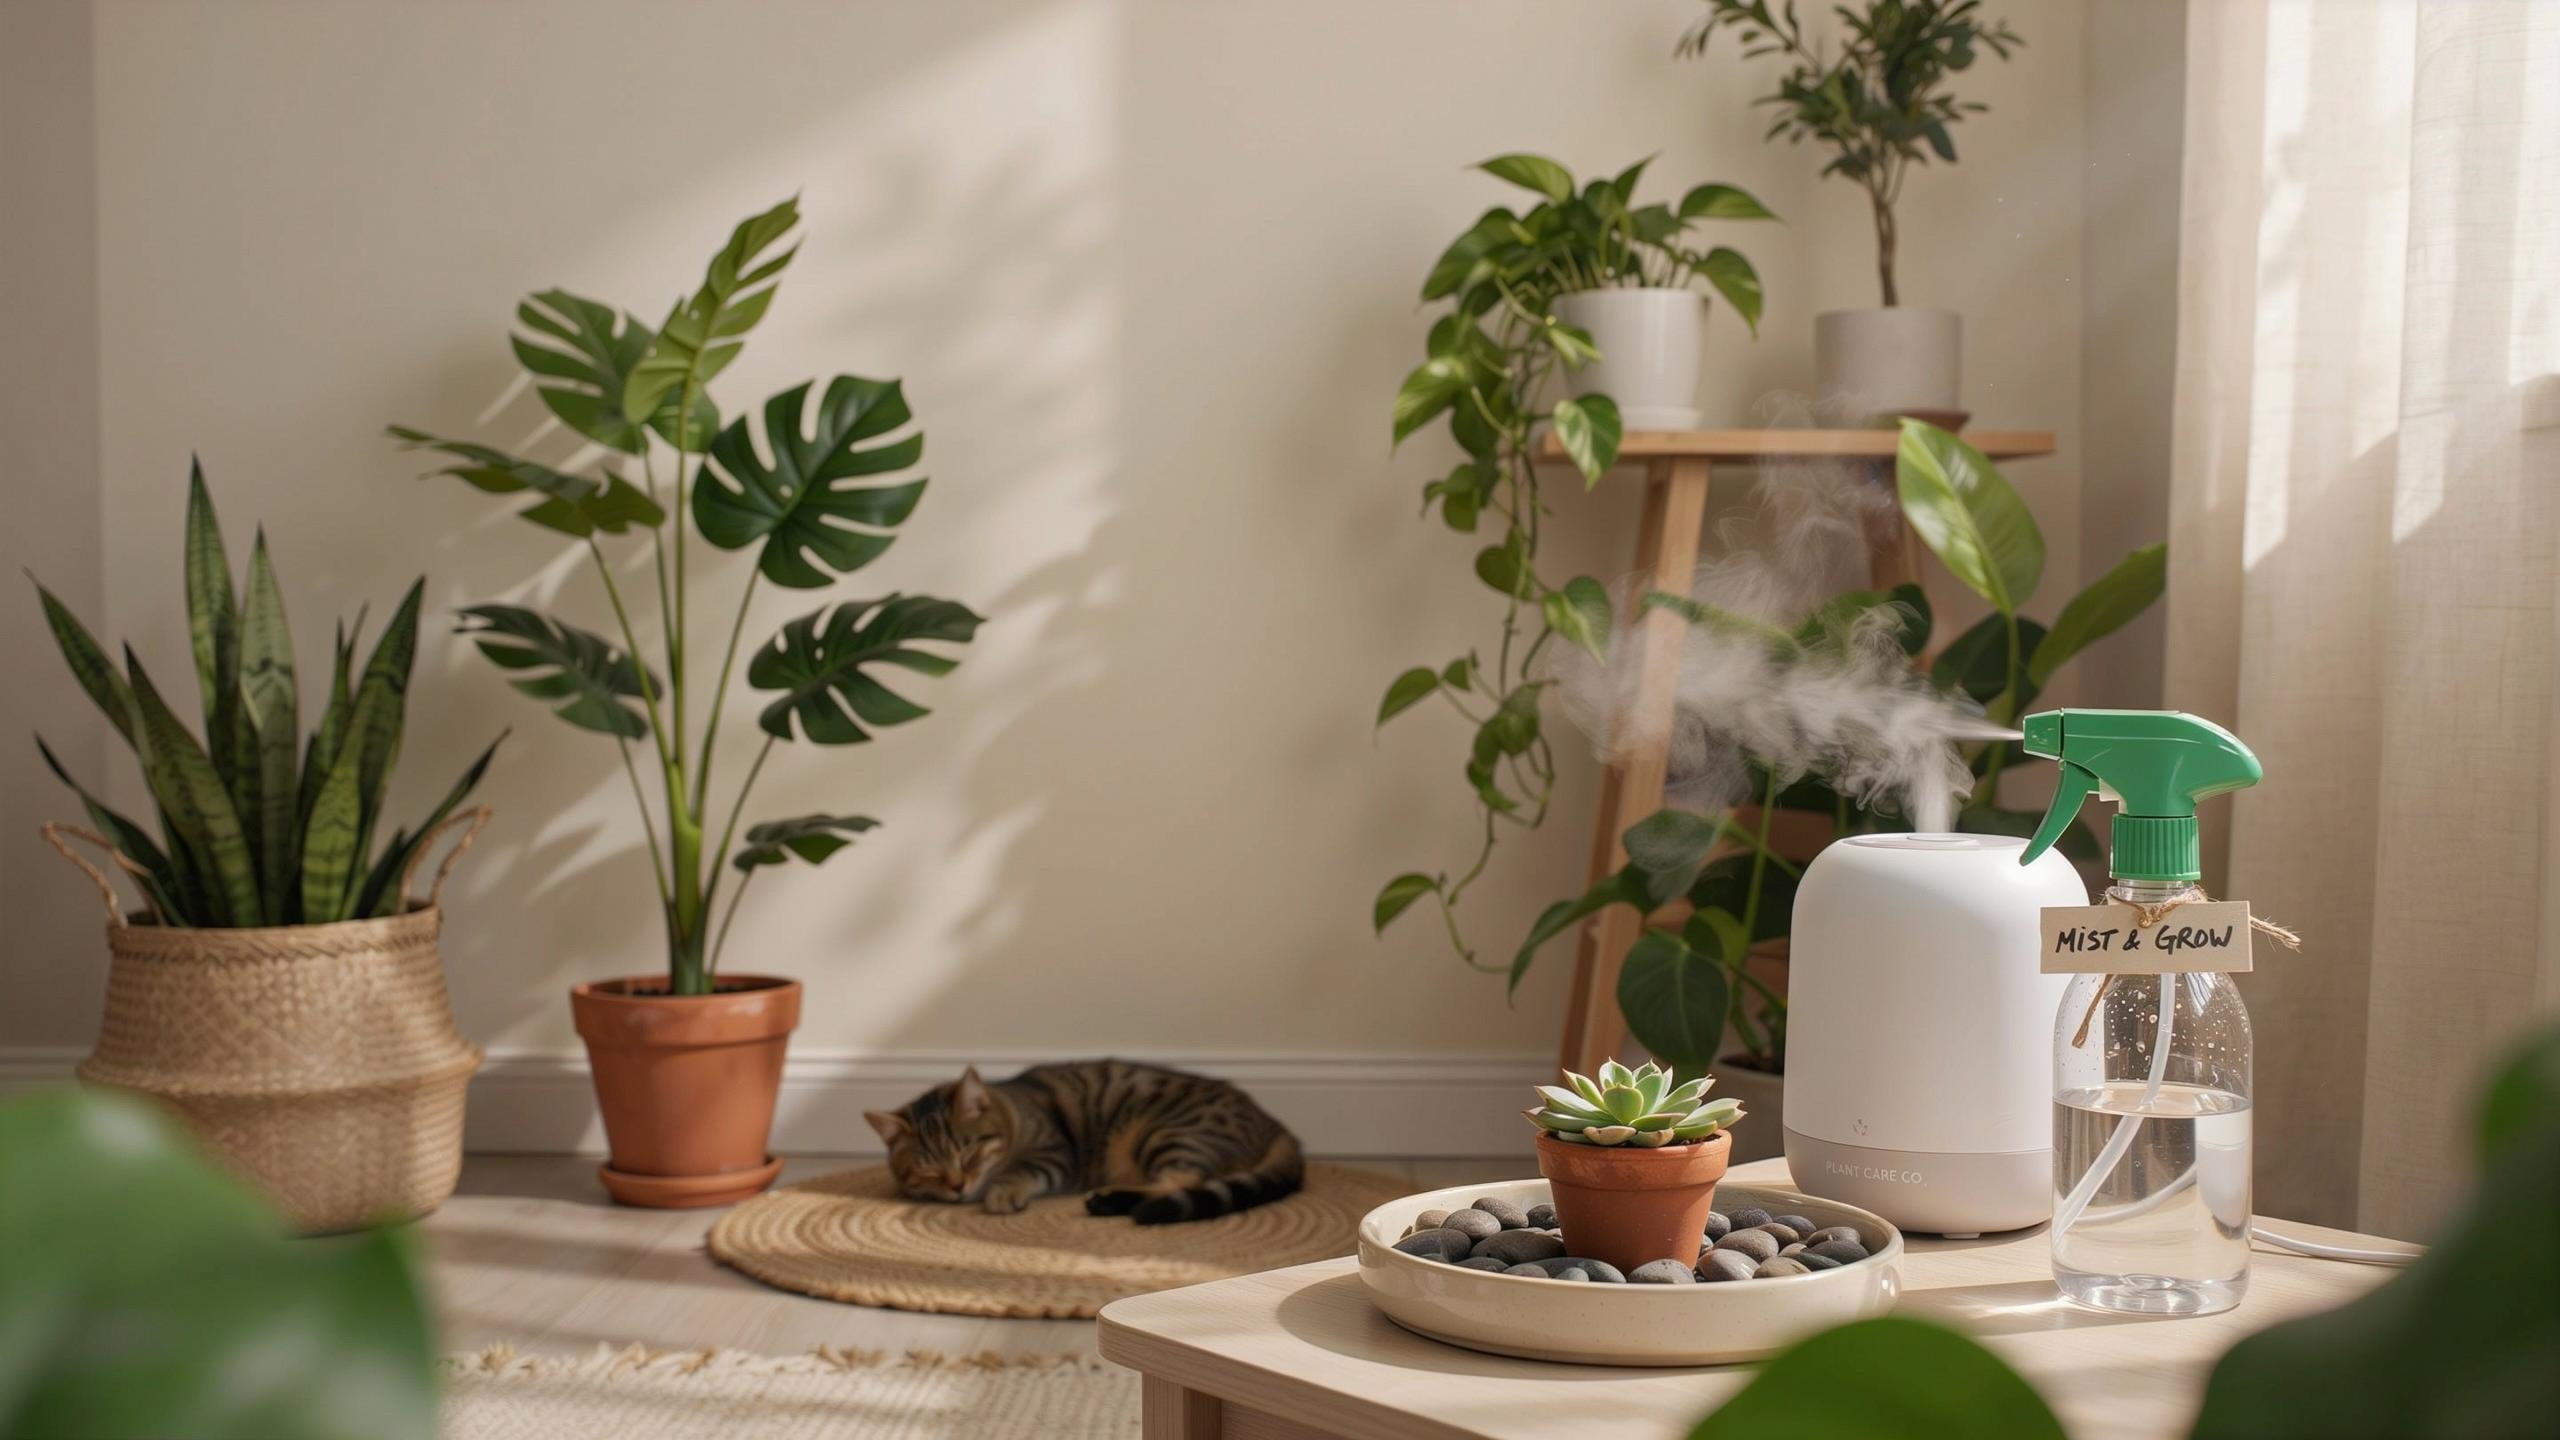
Understanding Your Houseplant Care Humidity Tips For Beginners
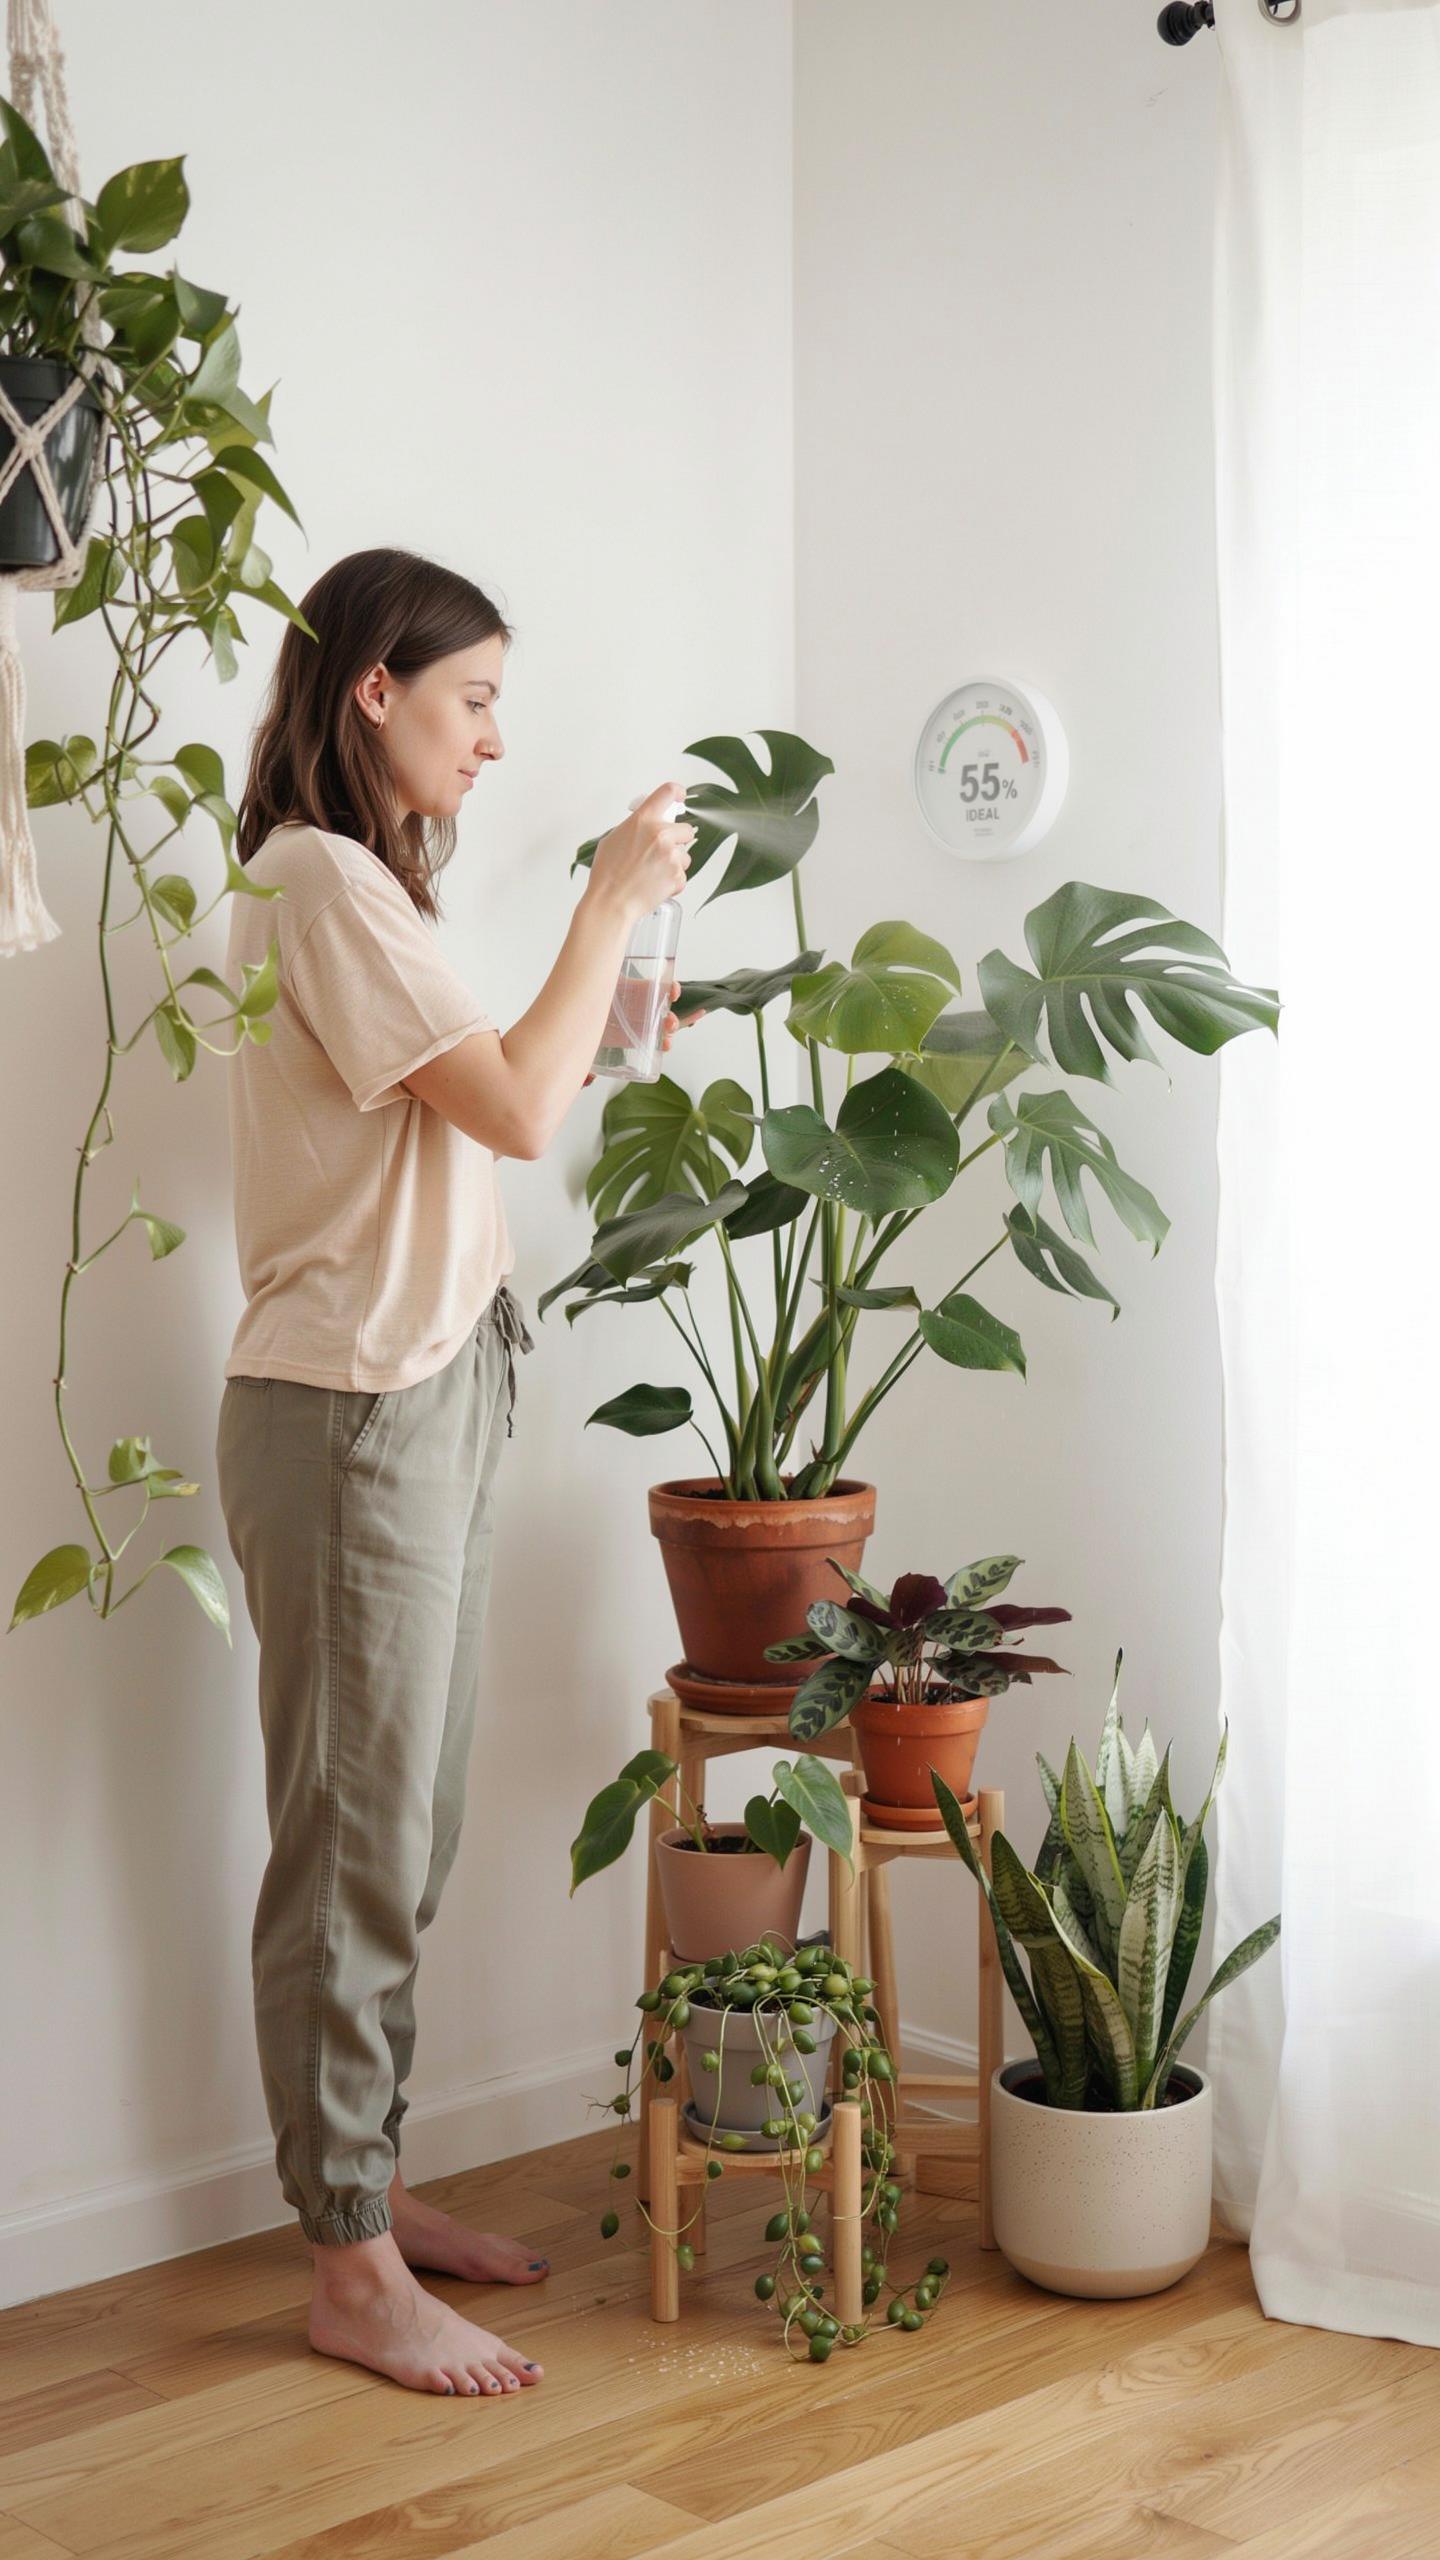
Recognizing Signs Of Low Humidity In Tropical Plants
Brown leaf tips appear first when humidity drops below what tropical species need. Your plant loses water through its leaves faster than roots can replace it. Curling edges follow as the plant pulls inward to conserve moisture. Crispy patches on leaf surfaces indicate severe dehydration. These symptoms tell you your indoor air is too dry for the species you’re growing.
Check leaf undersides regularly since damage often starts there before spreading to leaf tops. Wilting occurs even when soil stays moist because the air pulls water directly from foliage. Spider mites thrive in dry conditions and compound the problem by feeding on leaves. Once you spot these signs, humidity levels have already dropped too low. Acting fast prevents permanent leaf damage and stunts plant growth.
Why Moisture Levels Matter For Internal Plant Physiology
Transpiration is the process where plants release water vapor through tiny leaf pores called stomata. This system cools the plant and moves nutrients from roots upward through the stem. When humidity drops, stomata stay more open to pull in carbon dioxide, causing excessive water loss. The plant cannot control this water escape when surrounding air is dry. Maintaining adequate humidity helps stomata open and close normally for efficient nutrient transport.
Consistent moisture levels keep plant cells firm and turgid, maintaining leaf structure and strength. Low humidity triggers the plant to close stomata as a survival mechanism, reducing photosynthesis and growth. Cellular damage occurs when water stress persists, leading to yellowing and leaf drop. Your plant expends energy fighting dry conditions instead of growing new leaves and roots. Stable humidity between 40 and 60 percent supports normal cellular function in most tropical houseplants.

How To Increase Humidity For House Plants With Grouping Techniques
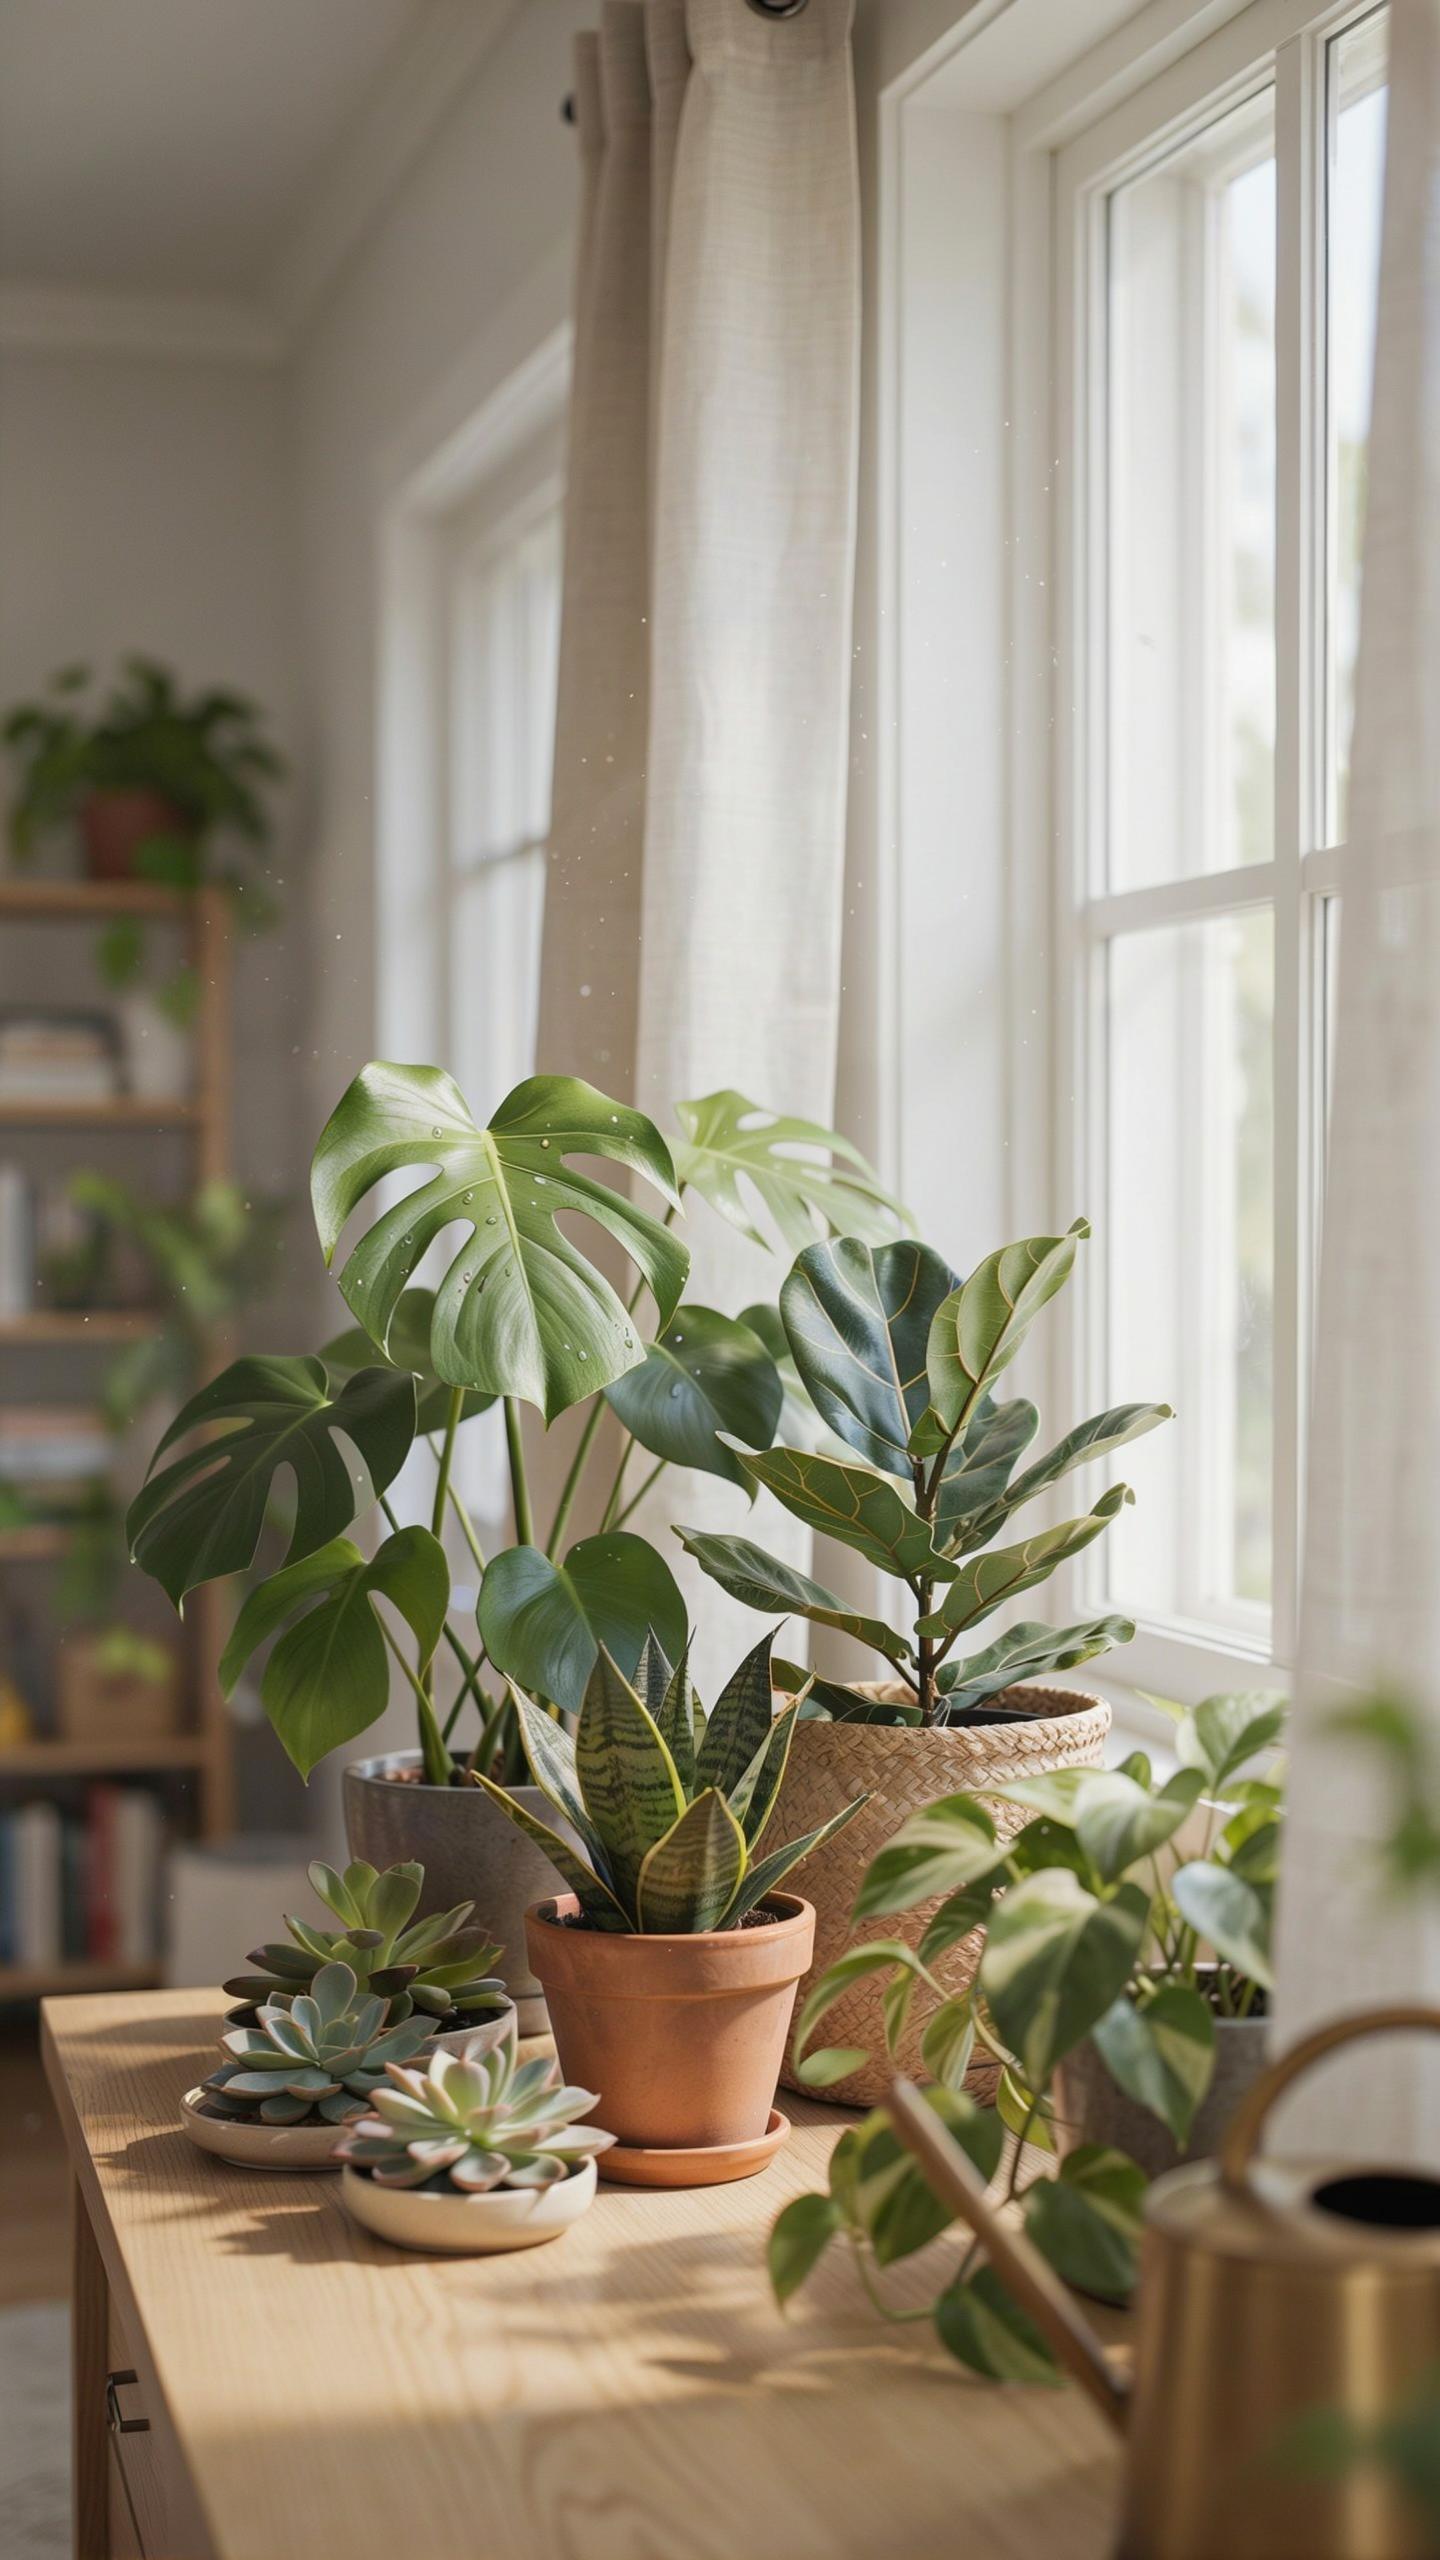
The Power Of Microclimates In Plant Styling
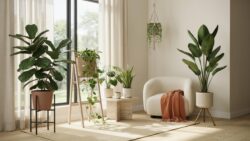
Grouping plants together creates a microclimate that amplifies humidity naturally. Plants release water vapor through transpiration. When you cluster them, that moisture stays trapped in the immediate air space instead of dispersing throughout your room. Multiple plants grouped closely generate measurable humidity increases within their zone. This costs nothing and requires no equipment.
Position grouped plants away from direct air vents and fans. Tight spacing between pots intensifies the effect. The humidity pocket forms within hours of grouping. You benefit all plants in the cluster simultaneously. This approach works indoors year-round, regardless of climate or season.
Arranging Plants By Similar Environmental Needs
High humidity species like Calatheas, Ferns, and Philodendrons belong in one cluster. Drought tolerant plants like Succulents and Snake Plants need separate placement. Mixing these types defeats the grouping strategy. Each group develops its own microclimate matched to plant requirements. This prevents overwatering low-humidity plants and underwatering high-humidity species.
Assess each plant’s native environment before grouping. Tropical species thrive together in humid clusters. Desert plants need air circulation and lower moisture. Separate placement protects both groups. Your arrangement becomes efficient and plants stay healthy because conditions match their actual needs.
Using Evaporative DIY Trays How To Increase Humidity For Indoor Plants
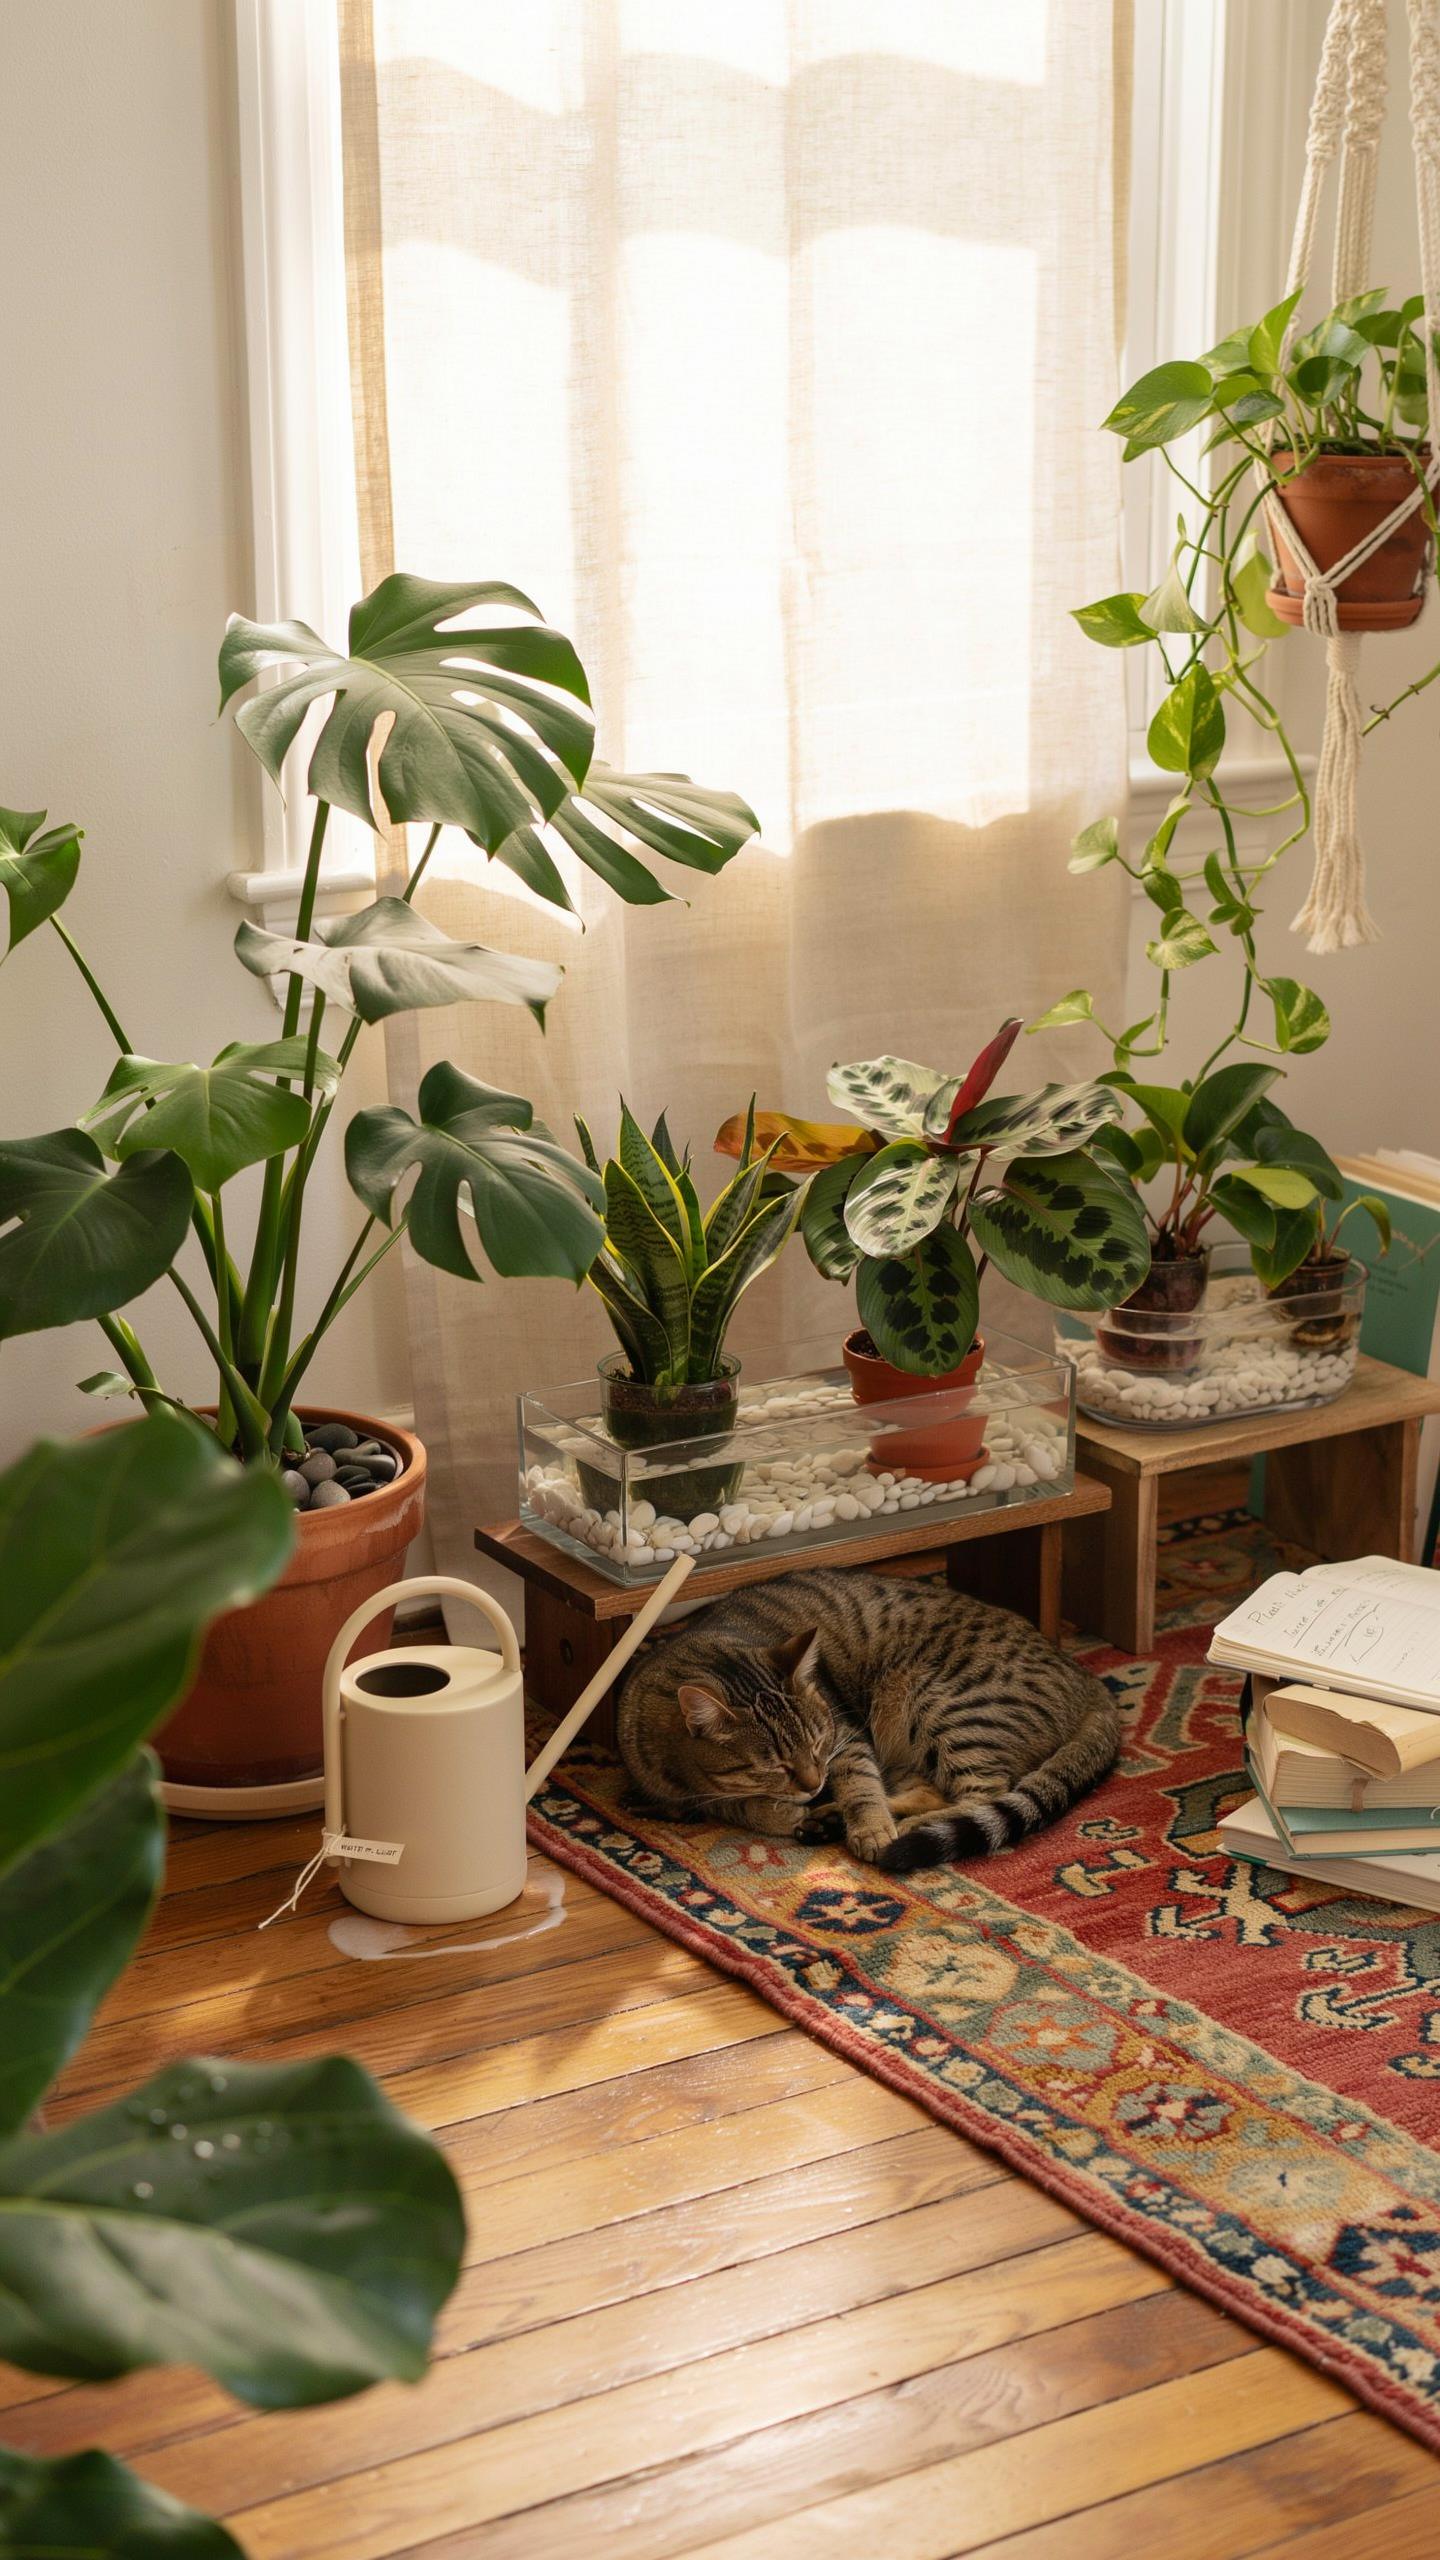
Setting Up A Simple Pebble And Water Tray
Fill a shallow tray or saucer with pebbles or small stones. Pour water into the tray until it reaches halfway up the pebbles. Place your potted plant on top of the pebbles so the pot sits above the water line. The water evaporates naturally and creates humid air around your plant. This method works because the plant never sits directly in water, preventing root rot.
Check the water level every two to three days and refill as needed. The evaporation rate depends on temperature and air circulation in your space. Warmer rooms evaporate water faster, requiring more frequent refilling. This setup costs almost nothing if you already have trays and pebbles at home. The humidity boost is real and measurable for tropical plants that demand it.
Budget Friendly Materials For Homemade Humidifying Trays
Raid your recycling bin and storage areas for materials. Plastic saucers from old pots work perfectly as shallow trays. River rocks, aquarium gravel, or even broken terracotta pieces serve as your pebble base. Collect smooth stones from outside or ask neighbors for extras they no longer need. Empty takeout containers and plastic lids become functional trays with zero cost.

Layer your chosen material in any container that holds water without leaking. The goal is creating space between water and the pot bottom. Repurposed materials perform identically to store-bought options. Your plants respond to humidity levels, not to whether materials came from a store or your basement. Rotate materials between plants as needed to maximize your supply and minimize waste.
Maximizing Household Moisture Smart Indoor Humidity Advice
The Kitchen And Bathroom Sanctuary Strategy
Bathrooms and kitchens maintain higher humidity levels than other rooms because water use occurs regularly in these spaces. Plants placed near showers, tubs, or sinks absorb moisture from the air without requiring extra effort from you. This positioning works because humidity naturally rises and spreads in enclosed or semi-enclosed areas. Ferns, pothos, and philodendrons thrive in these conditions. You eliminate the need for misting or humidifiers by using your home’s existing moisture patterns.
Kitchens work equally well since cooking generates steam throughout the day. Place plants on windowsills or shelves near your sink or stove where moisture lingers. Ensure plants receive adequate light in these locations since bathrooms often lack windows. North-facing kitchen windows still provide enough indirect light for shade-tolerant species. This strategy costs nothing and works with your daily routine instead of against it.
Utilizing Steam From Showers And Cooking Boils
Boiling water releases significant moisture into the air within minutes. Run your kettle or cook pasta regularly and position plants in the same room to capture this humidity. The steam rises and disperses through the space, creating temporary pockets of high moisture that benefit nearby foliage. This happens naturally during cold months when you cook more indoors. You gain humidity control as a byproduct of meals you prepare anyway.
Showers generate sustained moisture over 15 to 30 minutes per session. Place plants on bathroom shelves, counters, or window ledges where shower steam reaches them. Multiple daily showers compound the humidity effect, creating an ideal microclimate for tropical plants. Ensure adequate air circulation so steam doesn’t cause mold on leaves or soil. This method requires zero additional equipment or maintenance beyond normal household routines.
Natural Evaporation Methods Increase Humidity For Plants On A Dime
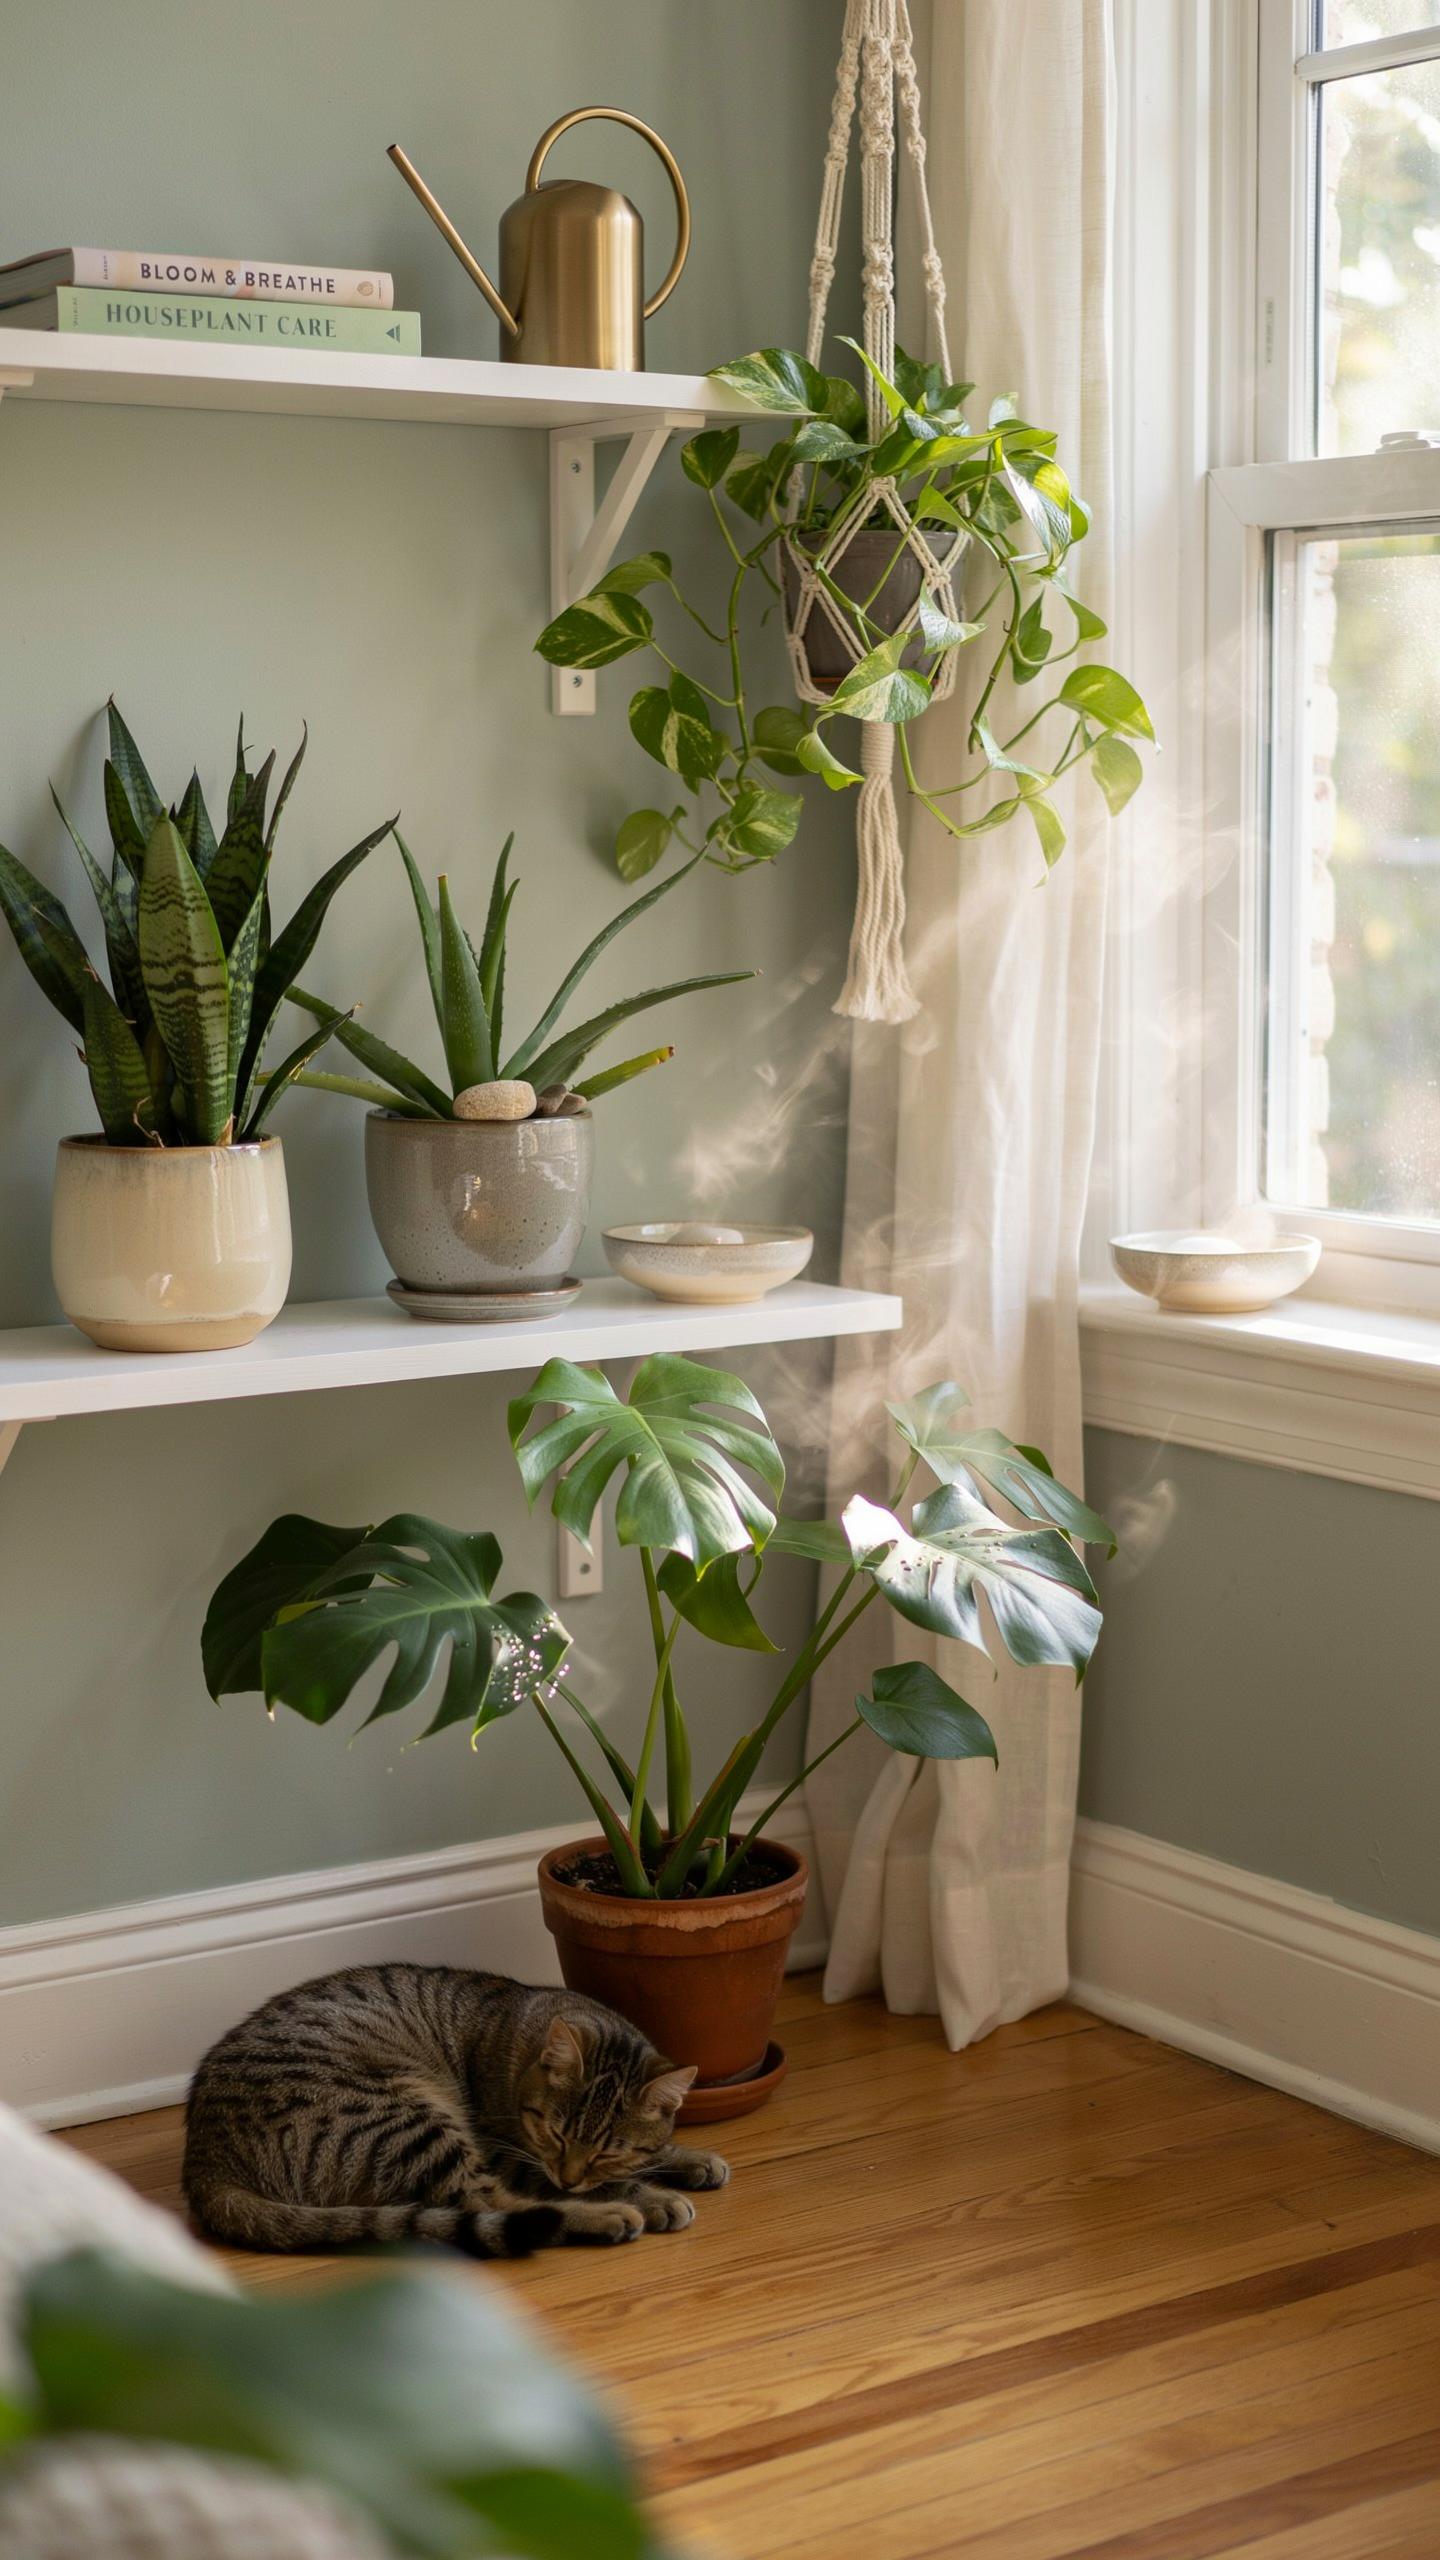
Placing Water Vessels And Bowls Near Pots
Water evaporates from any open container. The moisture enters the air around your plants. Small bowls, jars, or saucers filled with water work effectively. Position them near plant clusters or on shelves adjacent to foliage. This costs nothing beyond water you already use. Evaporation happens continuously, especially in warm rooms or near heat sources.
Refill vessels as water depletes. Placement matters more than container size. Grouping plants together with water bowls between them maximizes humidity concentration around leaves. The effect is localized but measurable. This method requires zero electricity and no special equipment. Monitor water levels weekly to maintain consistent evaporation.
Drying Laundry Indoors To Raise Room Moisture
Wet clothes release moisture into the air as they dry. A drying rack placed in your plant room adds humidity naturally. This works because water from fabric evaporates into the surrounding environment. Your plants benefit from the increased moisture without additional effort. This approach doubles the usefulness of your laundry process.
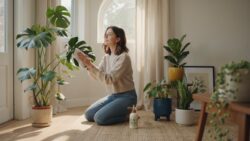
Place the drying rack near plants but not directly touching them. Adequate air circulation prevents mold growth on clothes and plants alike. Drying laundry indoors works best during cooler months when you need supplemental heating anyway. The humidity boost is temporary but significant during the drying cycle. Combine this with other passive methods for stronger results.
Cost Effective Ventilation And Terrarium Indoor Plant Humidity Tips
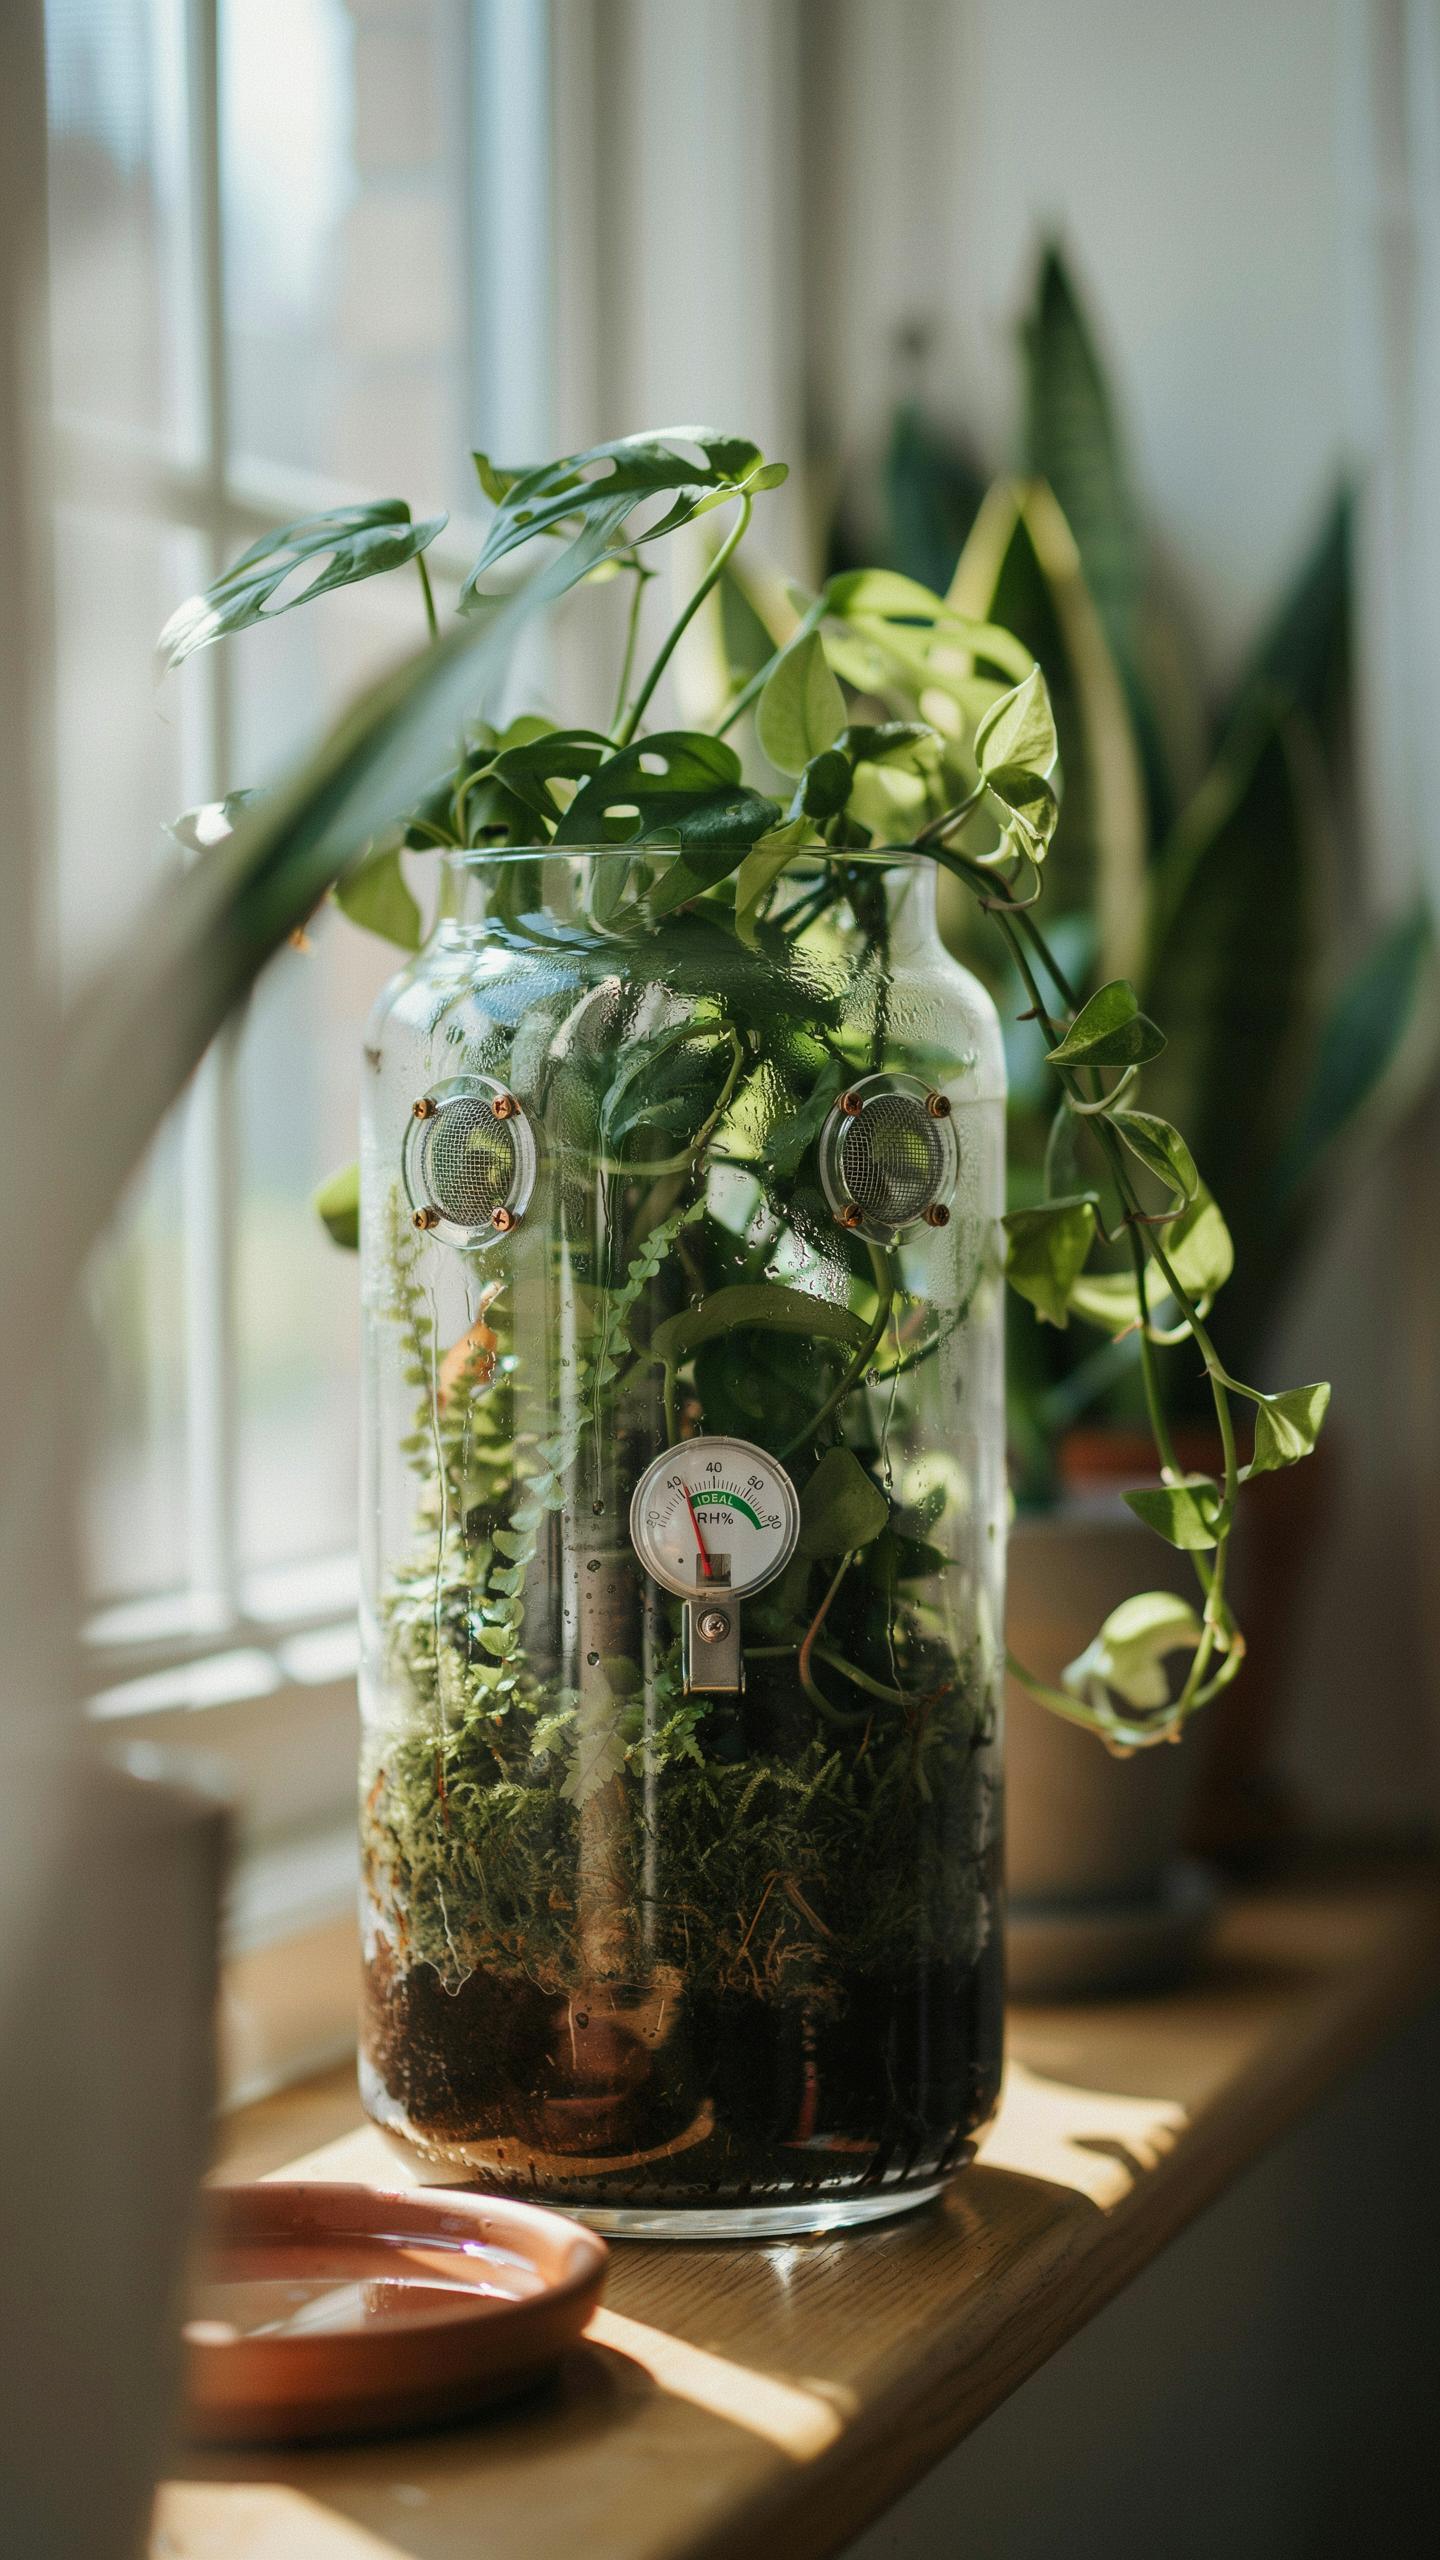
The Benefits Of Glass Cloches And Upcycled Jars
Glass covers trap moisture around individual plants by creating a sealed microclimate. The trapped air prevents water vapor from escaping, raising humidity levels significantly. This method works for plants like orchids, African violets, and ferns that need consistent moisture. You need nothing but a clear glass dome, cloche, or old mason jar placed over the plant base.
Monitor condensation buildup inside the glass cover. Too much moisture causes fungal problems and root rot. Crack the cover open for ventilation if water droplets coat the interior surface heavily. Remove the cover entirely for a few hours when you notice this issue. This simple adjustment prevents disease while maintaining the humidity benefit.
A simple tray of pebbles and water can transform a dry corner into a lush sanctuary for your green friends. True gardening is the art of making the most of what you have to help life flourish.
Building DIY Plastic Tent Canopies For Sensitive Ferns
Use clear plastic bags or plastic sheeting supported by wooden stakes to build a temporary humidity tent. Insert stakes into the soil around the plant, then drape plastic over them without touching the leaves. This creates a contained humid environment perfect for struggling ferns or newly propagated cuttings. The setup costs almost nothing and takes minutes to assemble or remove.
Ventilation prevents mold and mildew growth inside the tent. Open the plastic sides daily for fifteen to twenty minutes to allow air circulation. Remove the tent entirely after two to three weeks once the plant recovers and stabilizes. Reuse the same plastic and stakes for future humidity rehabilitation of other struggling plants.
Choosing And Positioning A Plant Humidifier Strategically
Key Features Of Budget Friendly Humidifiers
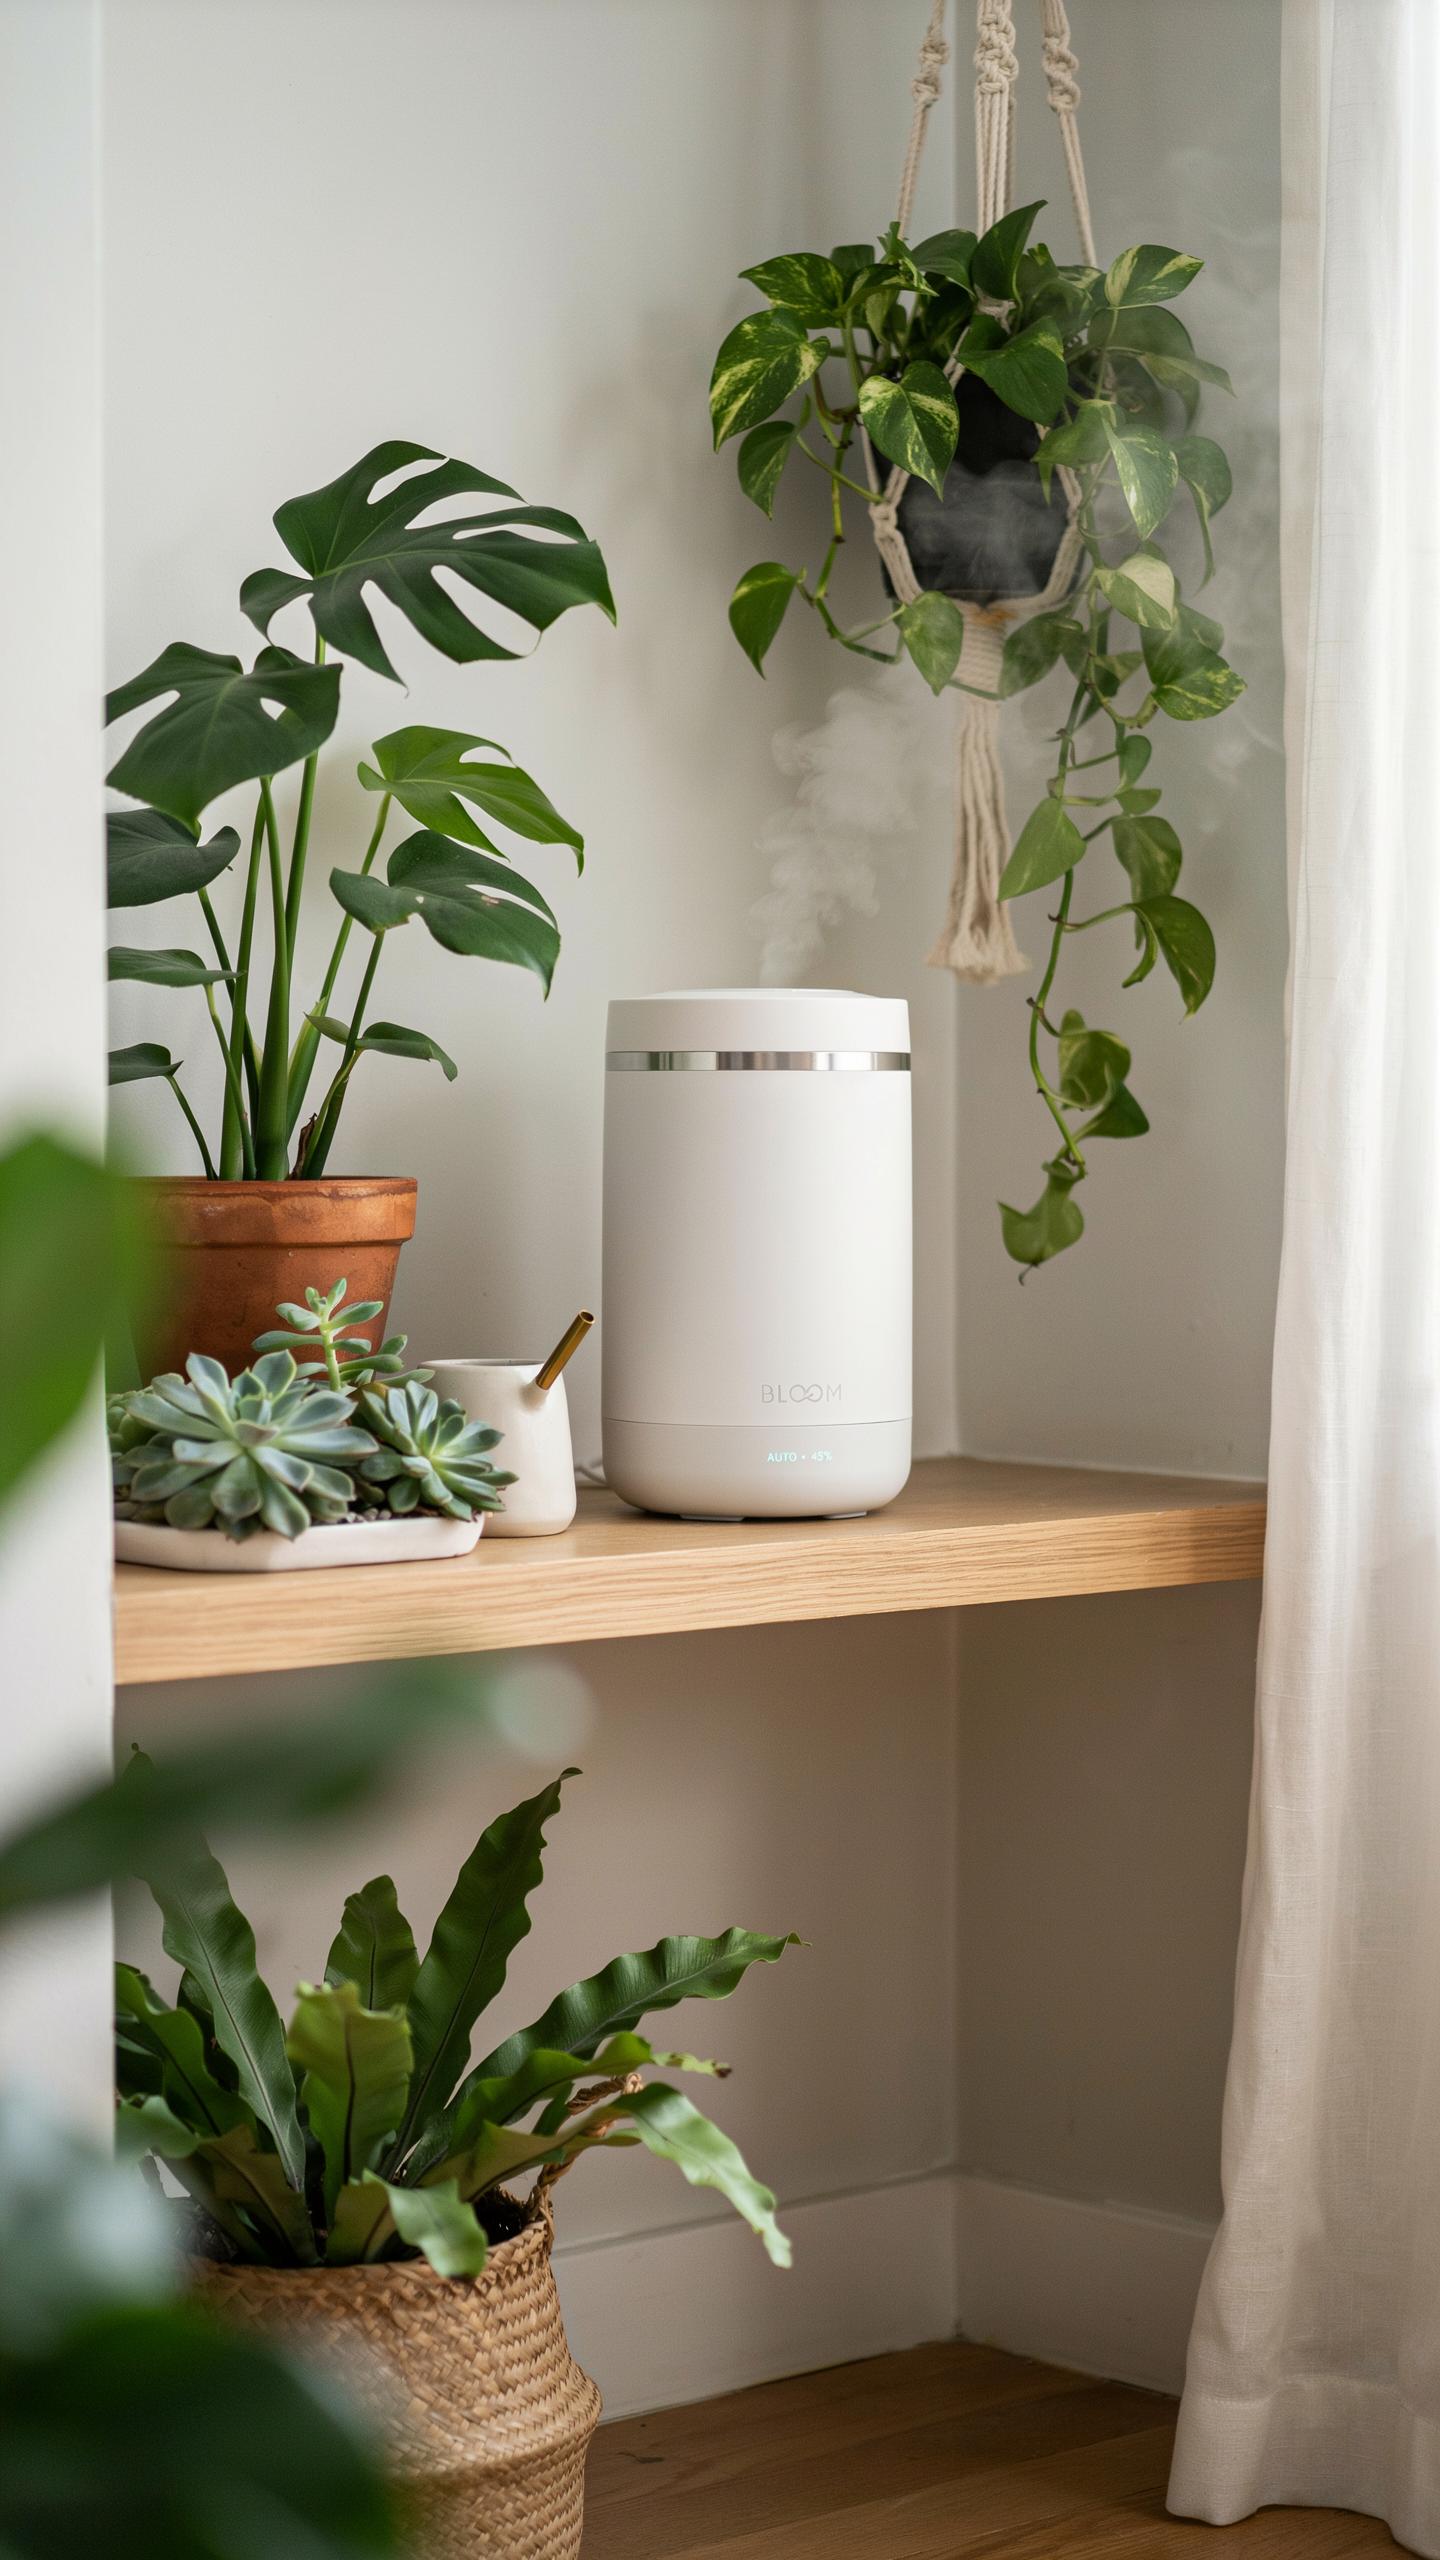
Buy a humidifier with cool mist output, not warm mist. Cool mist models cost less to operate and work better for most houseplants. Skip heated models. They consume more energy and raise room temperature, which contradicts humidity goals for tropical plants that need cooler air with moisture.
- Cool mist technology: Releases water vapor at room temperature without heating elements. Reduces energy use and prevents heat damage to delicate foliage.
- Manual dial controls: Simple on-off switches and output dials eliminate digital components that fail. Fewer parts mean lower repair costs and longer lifespan.
- Ultrasonic operation: Uses vibration instead of fans to create mist. Operates quietly, allowing placement near sleeping areas without noise disruption.
- Removable water tank: Design lets you access and scrub the reservoir interior. Prevents mineral buildup and mold that reduces humidifier effectiveness.
- Large tank capacity: Holds 2 to 4 liters of water. Longer runtime between refills saves time and reduces daily maintenance demands.
Budget humidifiers don’t need smart controls or app connectivity. Those features add cost without improving humidity output. A basic model runs 8 to 12 hours on a single tank fill. This covers your plants during peak active growth hours without constant supervision.
Perfect Positioning For Safe Air And Mist Flow
Position the humidifier 3 to 6 feet away from plants. Direct mist hitting leaves causes mineral deposits and fungal growth on foliage. The mist needs space to dissipate and circulate through the air before reaching plant surfaces. This indirect approach hydrates the surrounding environment instead of coating leaves with moisture.
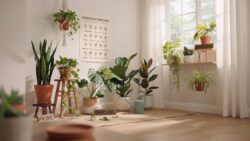
Place the humidifier at ground level or on a low table in the center of your plant cluster. This positioning lets moisture rise and distribute evenly around all plants in the area. Avoid corners and enclosed spaces where stagnant air traps moisture without circulation. Keep the unit away from windows where mist condenses on cold glass and drips back down, creating pooling issues.
Mistakes To Avoid Crucial Humidifier Tips For Plants And Foliage
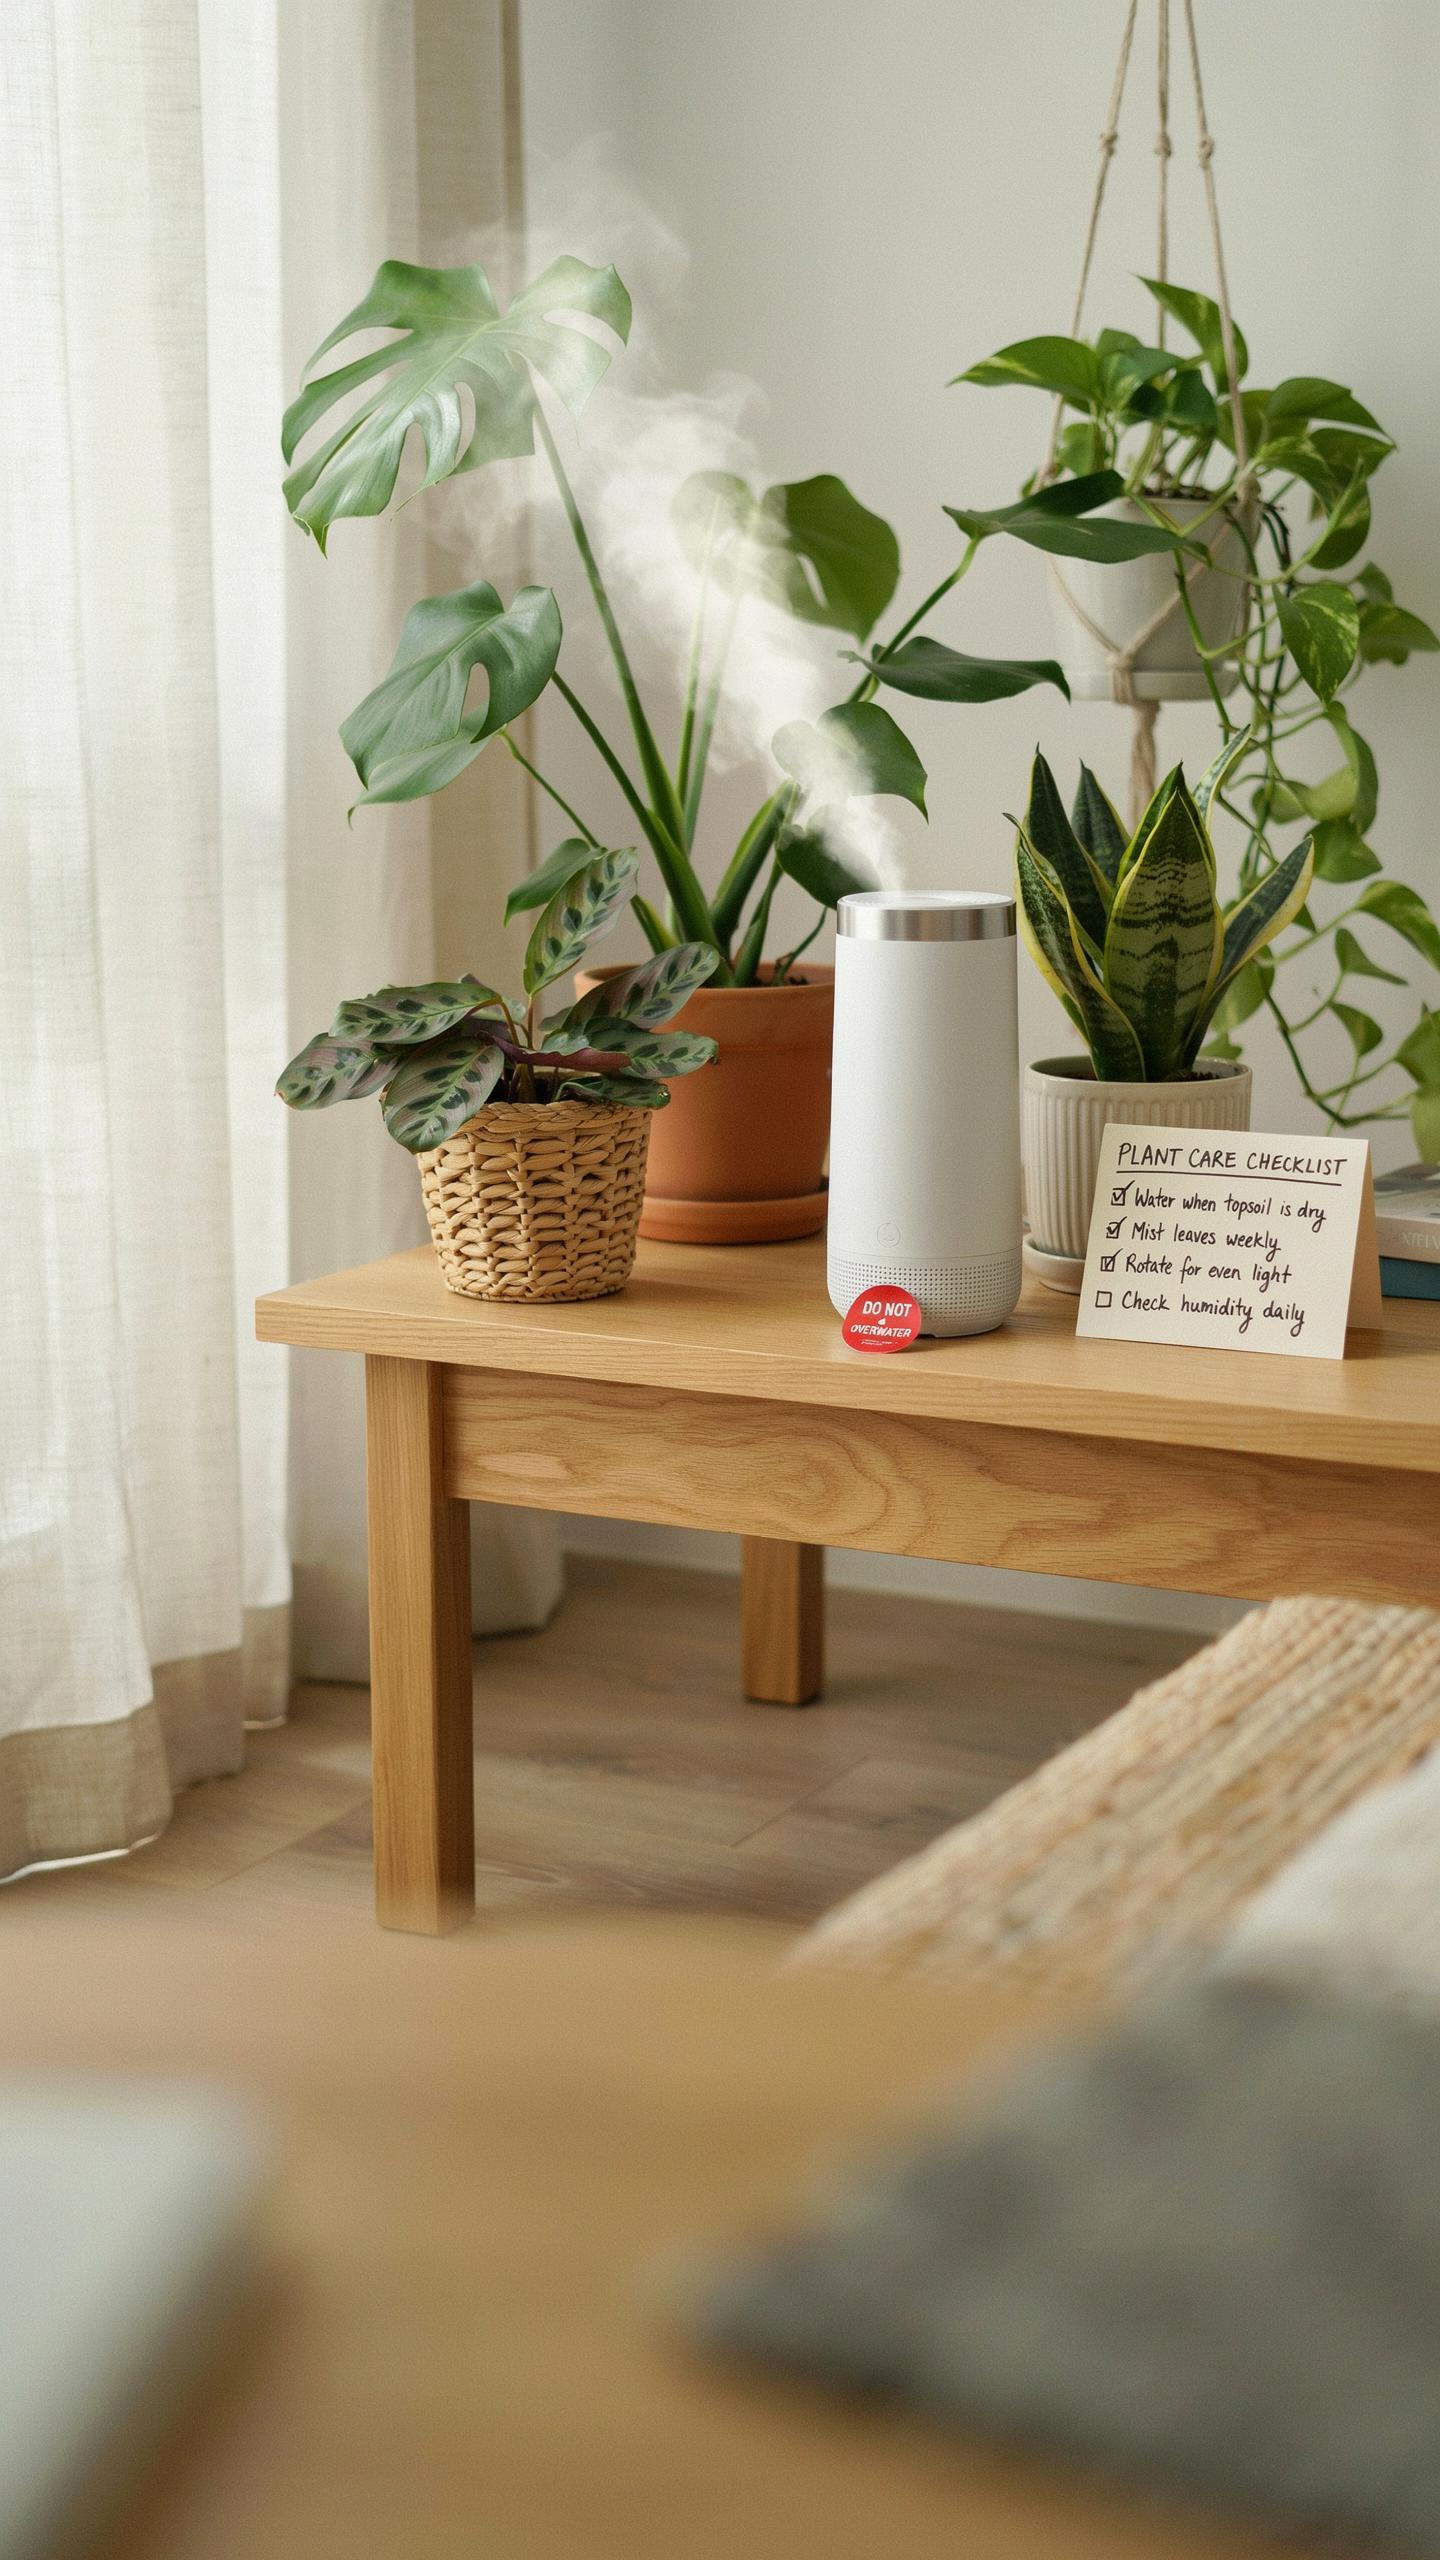
Misting Warnings That Can Prevent Fungal Diseases
Misting leaves with a spray bottle creates wet surfaces that stay damp for hours. This environment breeds bacterial leaf spot, powdery mildew, and crown rot. Water sits on foliage instead of evaporating quickly. Fungi and bacteria thrive in these conditions. Misting works against your plant’s health in most indoor settings.
- Bacterial leaf spot: Water droplets trap bacteria on leaf surfaces, causing dark lesions that spread rapidly across foliage and weaken the plant structure.
- Crown rot: Moisture accumulating at the base of leaves where they meet the stem creates ideal conditions for rotting to begin and spread downward.
- Powdery mildew: High leaf moisture combined with poor air circulation causes white fungal coating that blocks photosynthesis and stunts growth.
- Timing matters: Misting in evening or low-light hours means water stays on leaves longer because evaporation slows without direct heat from sun exposure.
- Leaf spot on sensitive species: African violets, begonias, and succulents show damage faster than other plants because their leaf texture traps and holds water longer.
Skip the misting can. Use a humidifier instead to raise air moisture without wetting leaves. Increase air circulation with a fan to speed any accidental water evaporation. These methods protect foliage while delivering the humidity your plants need.
Monitoring Soil Dampness When Increasing Air Moisture
High humidity slows water evaporation from soil dramatically. Soil that normally dries in five days may take nine or ten days in humid conditions. This extended wet period invites root rot and fungal issues. You must adjust your watering schedule when humidity rises, not stick to old routines.
Check soil moisture before watering every single time. Push your finger one inch into soil to feel moisture. Water only when the top inch feels dry. In humid environments, water less frequently than you did before. Most plants prefer drying out slightly between waterings, and humidity magnifies the cost of overwatering.
Tracking Moisture Levels To Optimize Your House Plant Care Routine
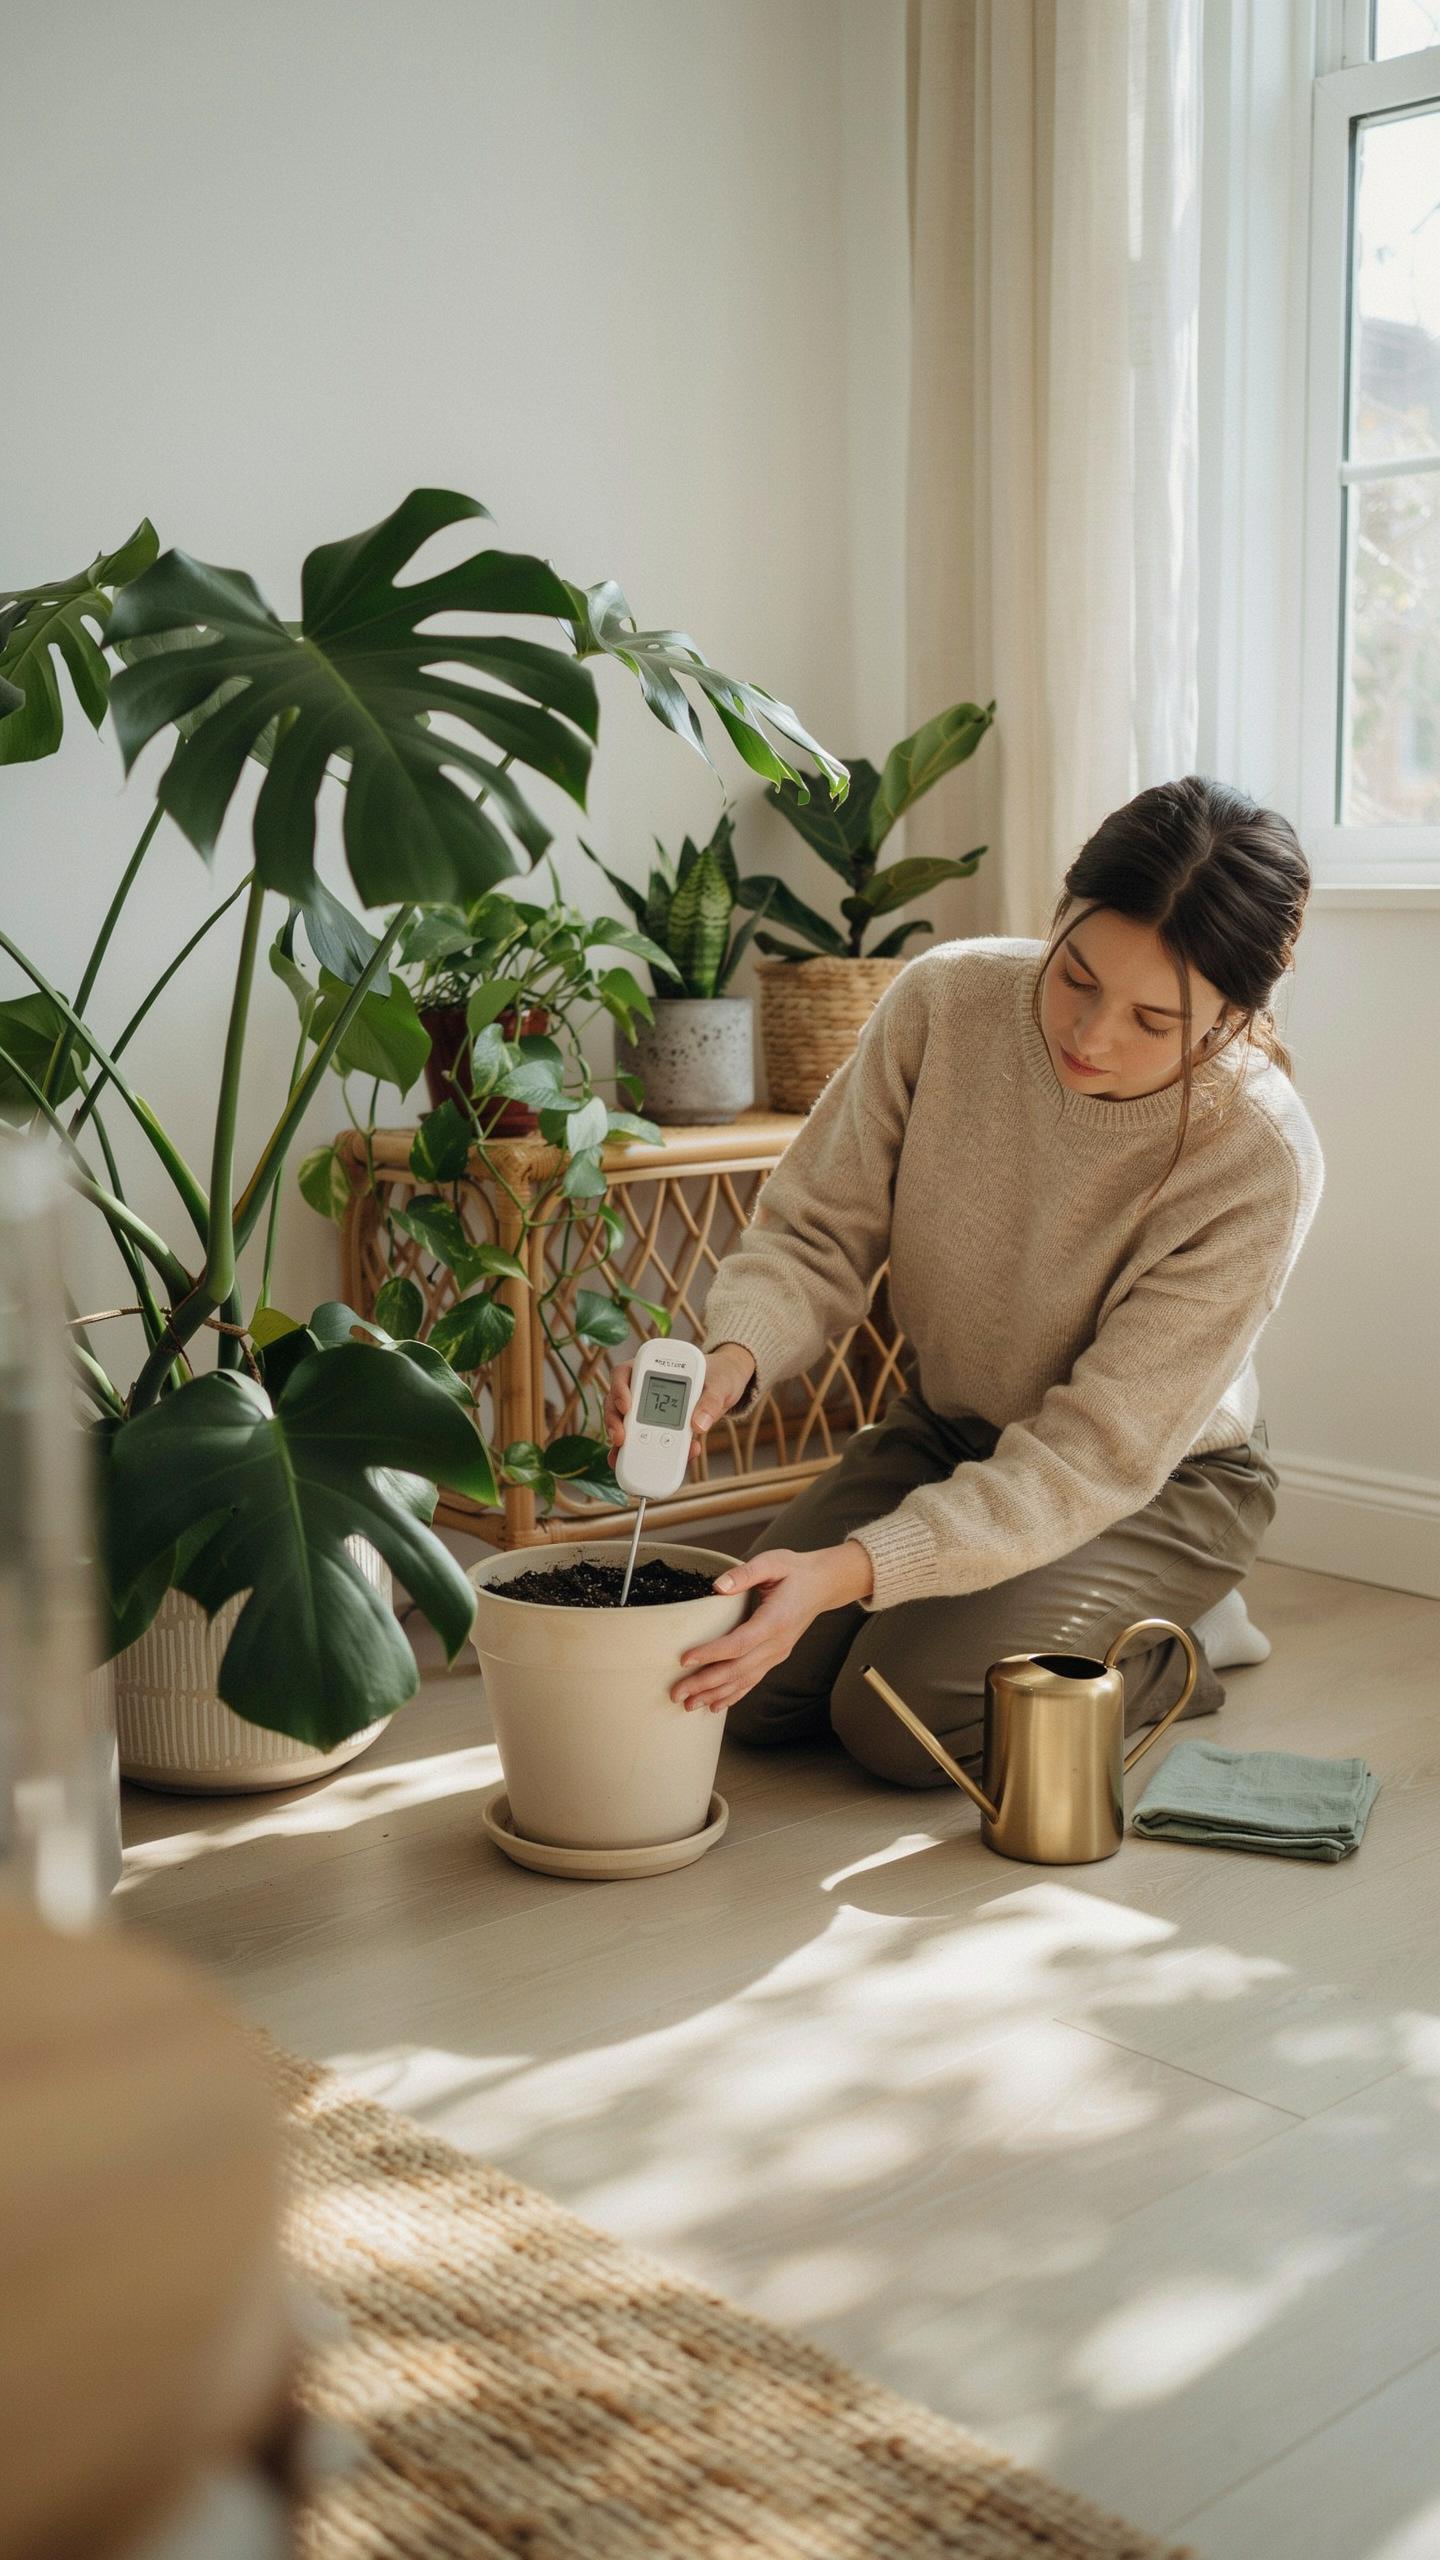
The Importance Of Using A Cheap Hygrometer
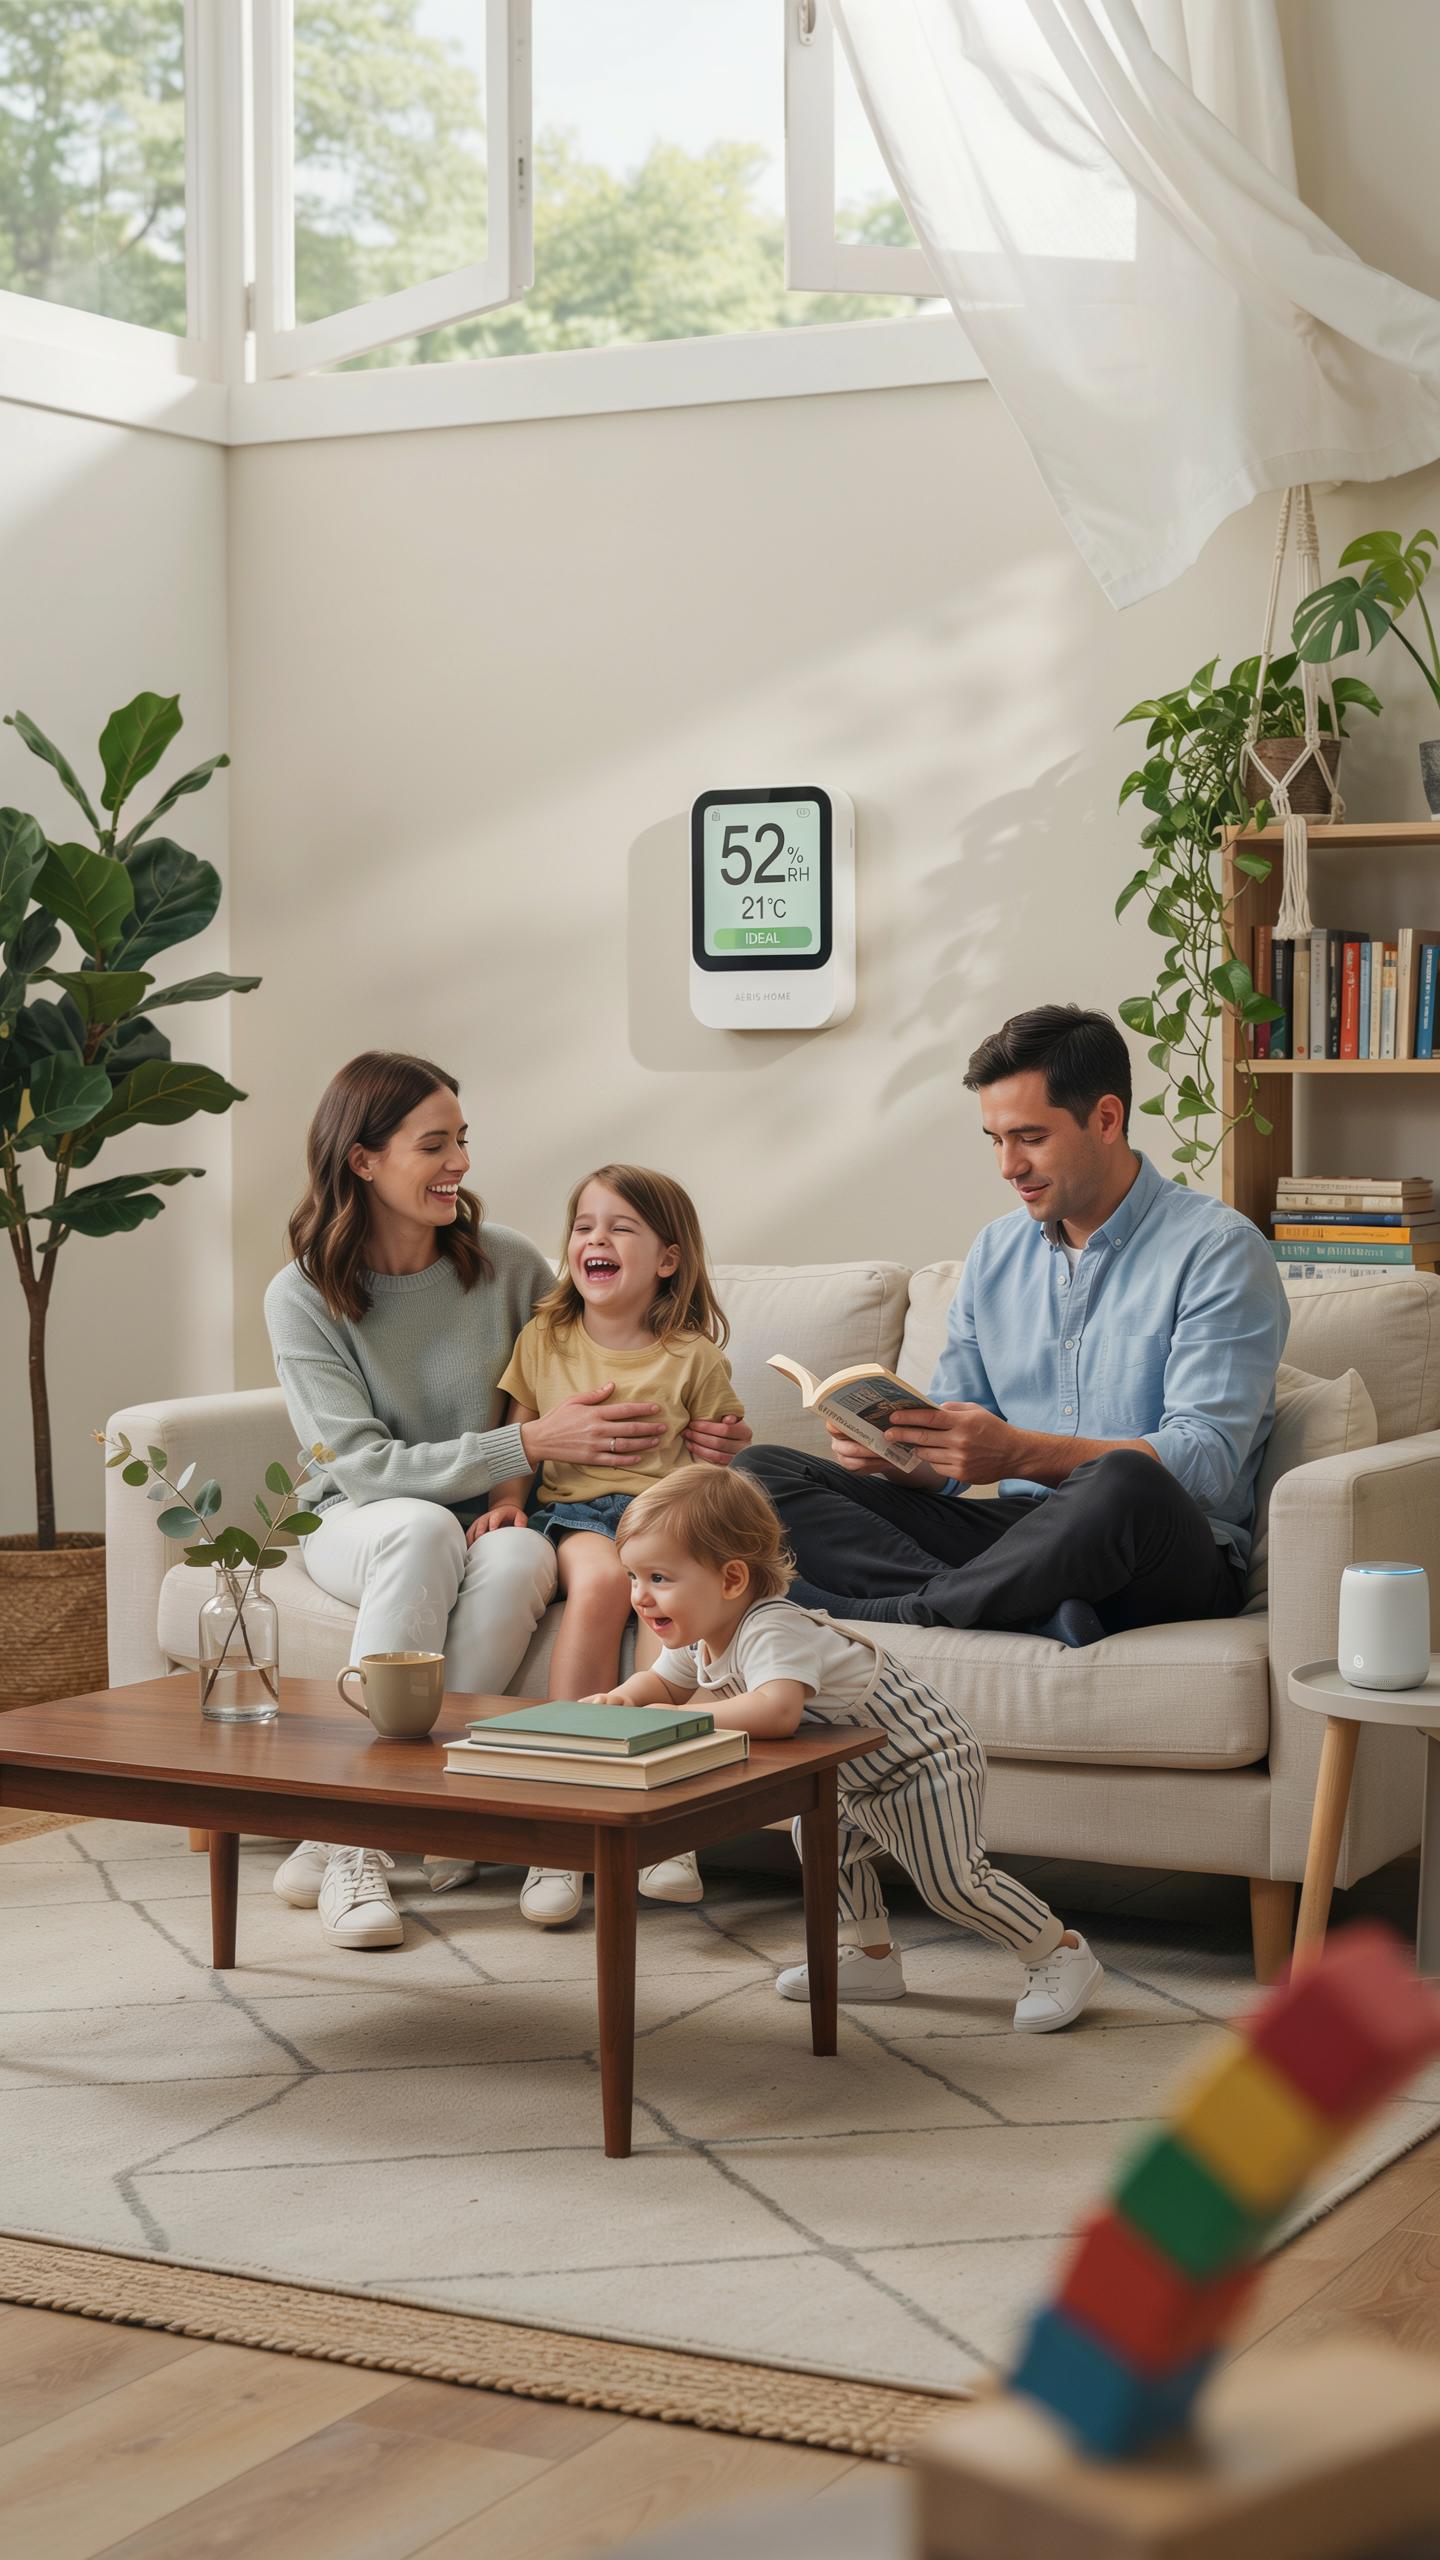
A digital hygrometer costs between 10 and 25 dollars and eliminates guesswork from humidity tracking. These devices display exact humidity percentages in real time. You place one in each room where plants live. The data removes assumptions about whether your space is too dry or too wet for specific plant species.
Most plants thrive between 40 and 60 percent humidity. Your hygrometer tells you where your rooms actually sit. When you know the number, you make informed decisions about misting, grouping plants together, or using a humidifier. This single tool transforms plant care from trial and error into a system based on facts.
Seasonal Adjustments For Winter Heating Dryness
Winter heating systems drop indoor humidity levels dramatically. Furnaces and space heaters pull moisture from the air as they warm rooms. Your hygrometer readings will plunge once heating kicks in, often dropping to 20 or 30 percent humidity. Plants adapted to tropical or subtropical climates suffer immediate stress at these low levels.
Respond by clustering plants together to create a microclimate. Group pots closely so they share the moisture each plant releases through its leaves. You can also move plants away from heating vents and radiators. Run a humidifier near your plant collection during the coldest months. These adjustments counteract the drying effect and maintain humidity levels plants require to stay healthy.
Frequently Asked Questions

How can I tell if my indoor plants need more humidity?
Recognizing when your plants are thirsty for moisture is the first step in mastering houseplant care humidity tips. Look for telltale signs like brown, crispy leaf tips, curling edges, or buds that drop before blooming. If the soil dries out unusually fast or the foliage looks dull despite regular watering, your home’s air is likely too dry. Tropical varieties are especially vocal about needing a boost in ambient moisture to thrive.
What is the most effective way to group plants together for moisture?
Grouping your greenery is one of the easiest houseplant care humidity tips to implement. By huddling plants together, you create a localized microclimate where moisture released through transpiration stays trapped around the foliage. Place your most humidity-sensitive plants in the center of the cluster. For the best results, ensure there is still enough airflow to prevent mold while keeping the pots close enough to share their collective water vapor naturally.
Can I increase humidity for my plants without buying an expensive humidifier?
Absolutely! You can achieve great results by using a DIY pebble tray. Simply fill a shallow saucer with decorative stones and water, then set your pot on top, ensuring the roots aren’t touching the liquid. Another budget-friendly trick is placing small bowls of water near your stems or relocating moisture-loving species to naturally damp areas like the kitchen or bathroom. These low-cost methods provide excellent environmental benefits without any extra electricity costs.



