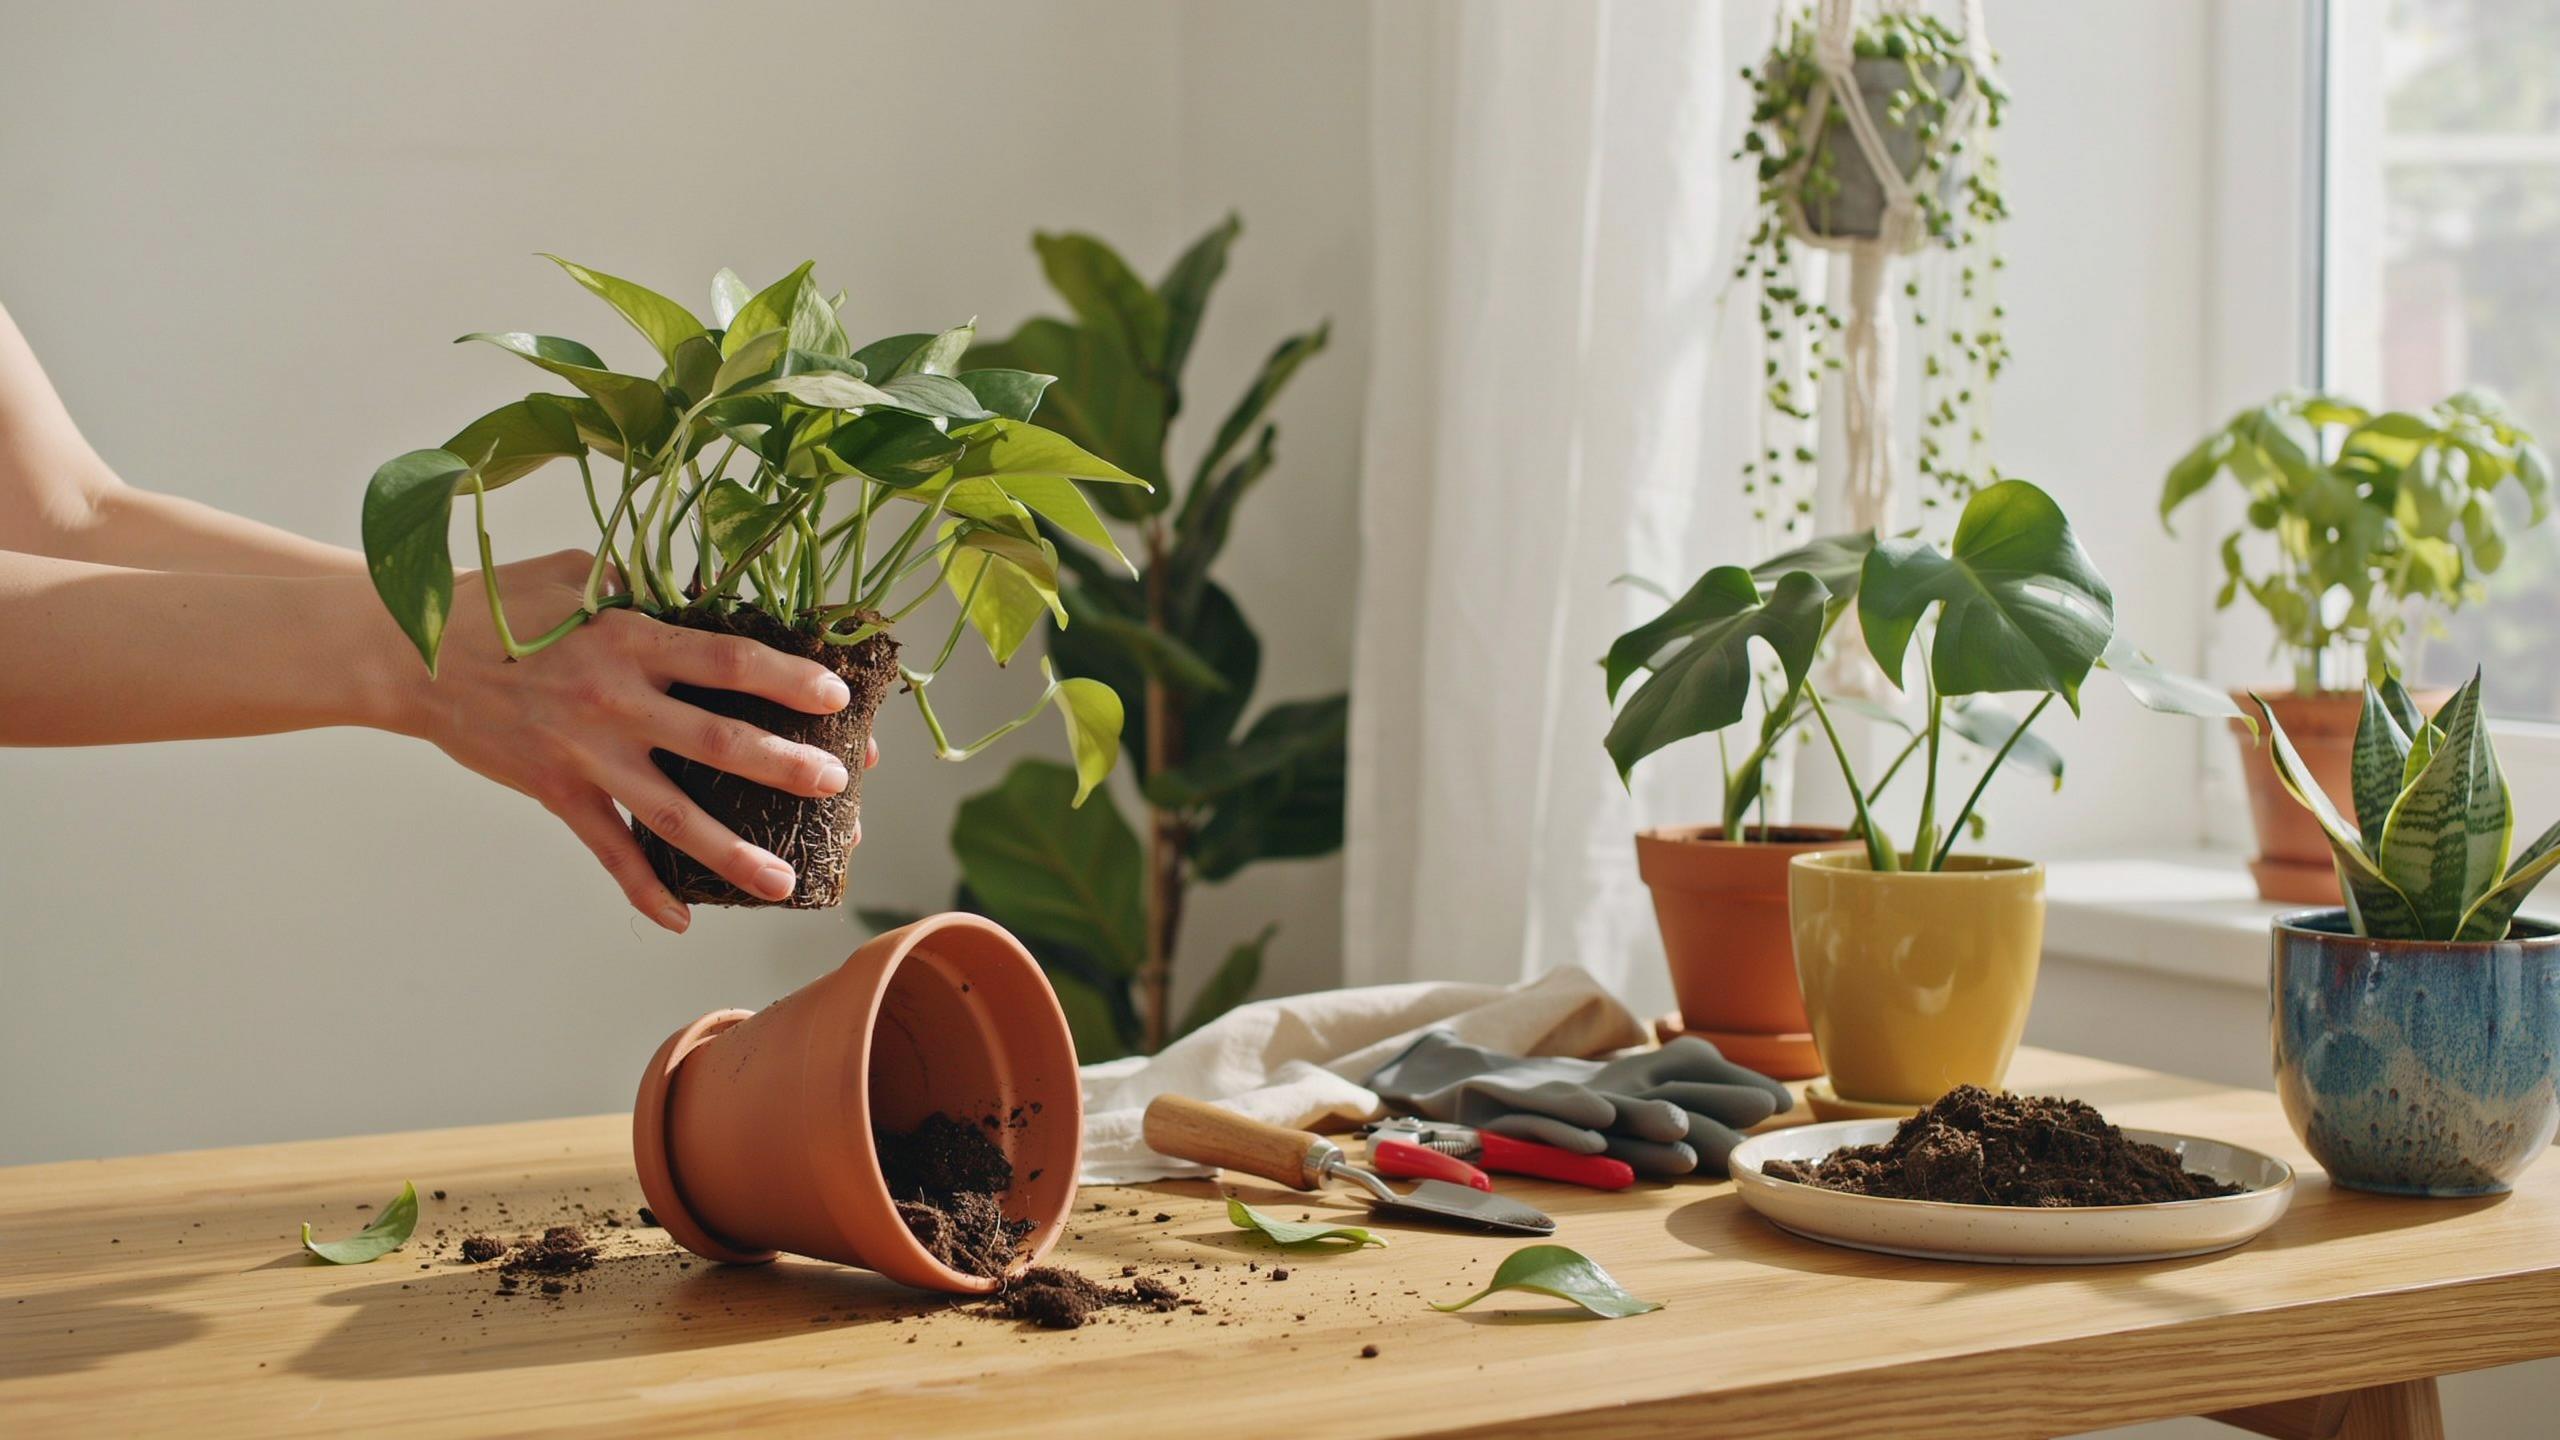
Recognizing The Essentials Of Repotting House Plants
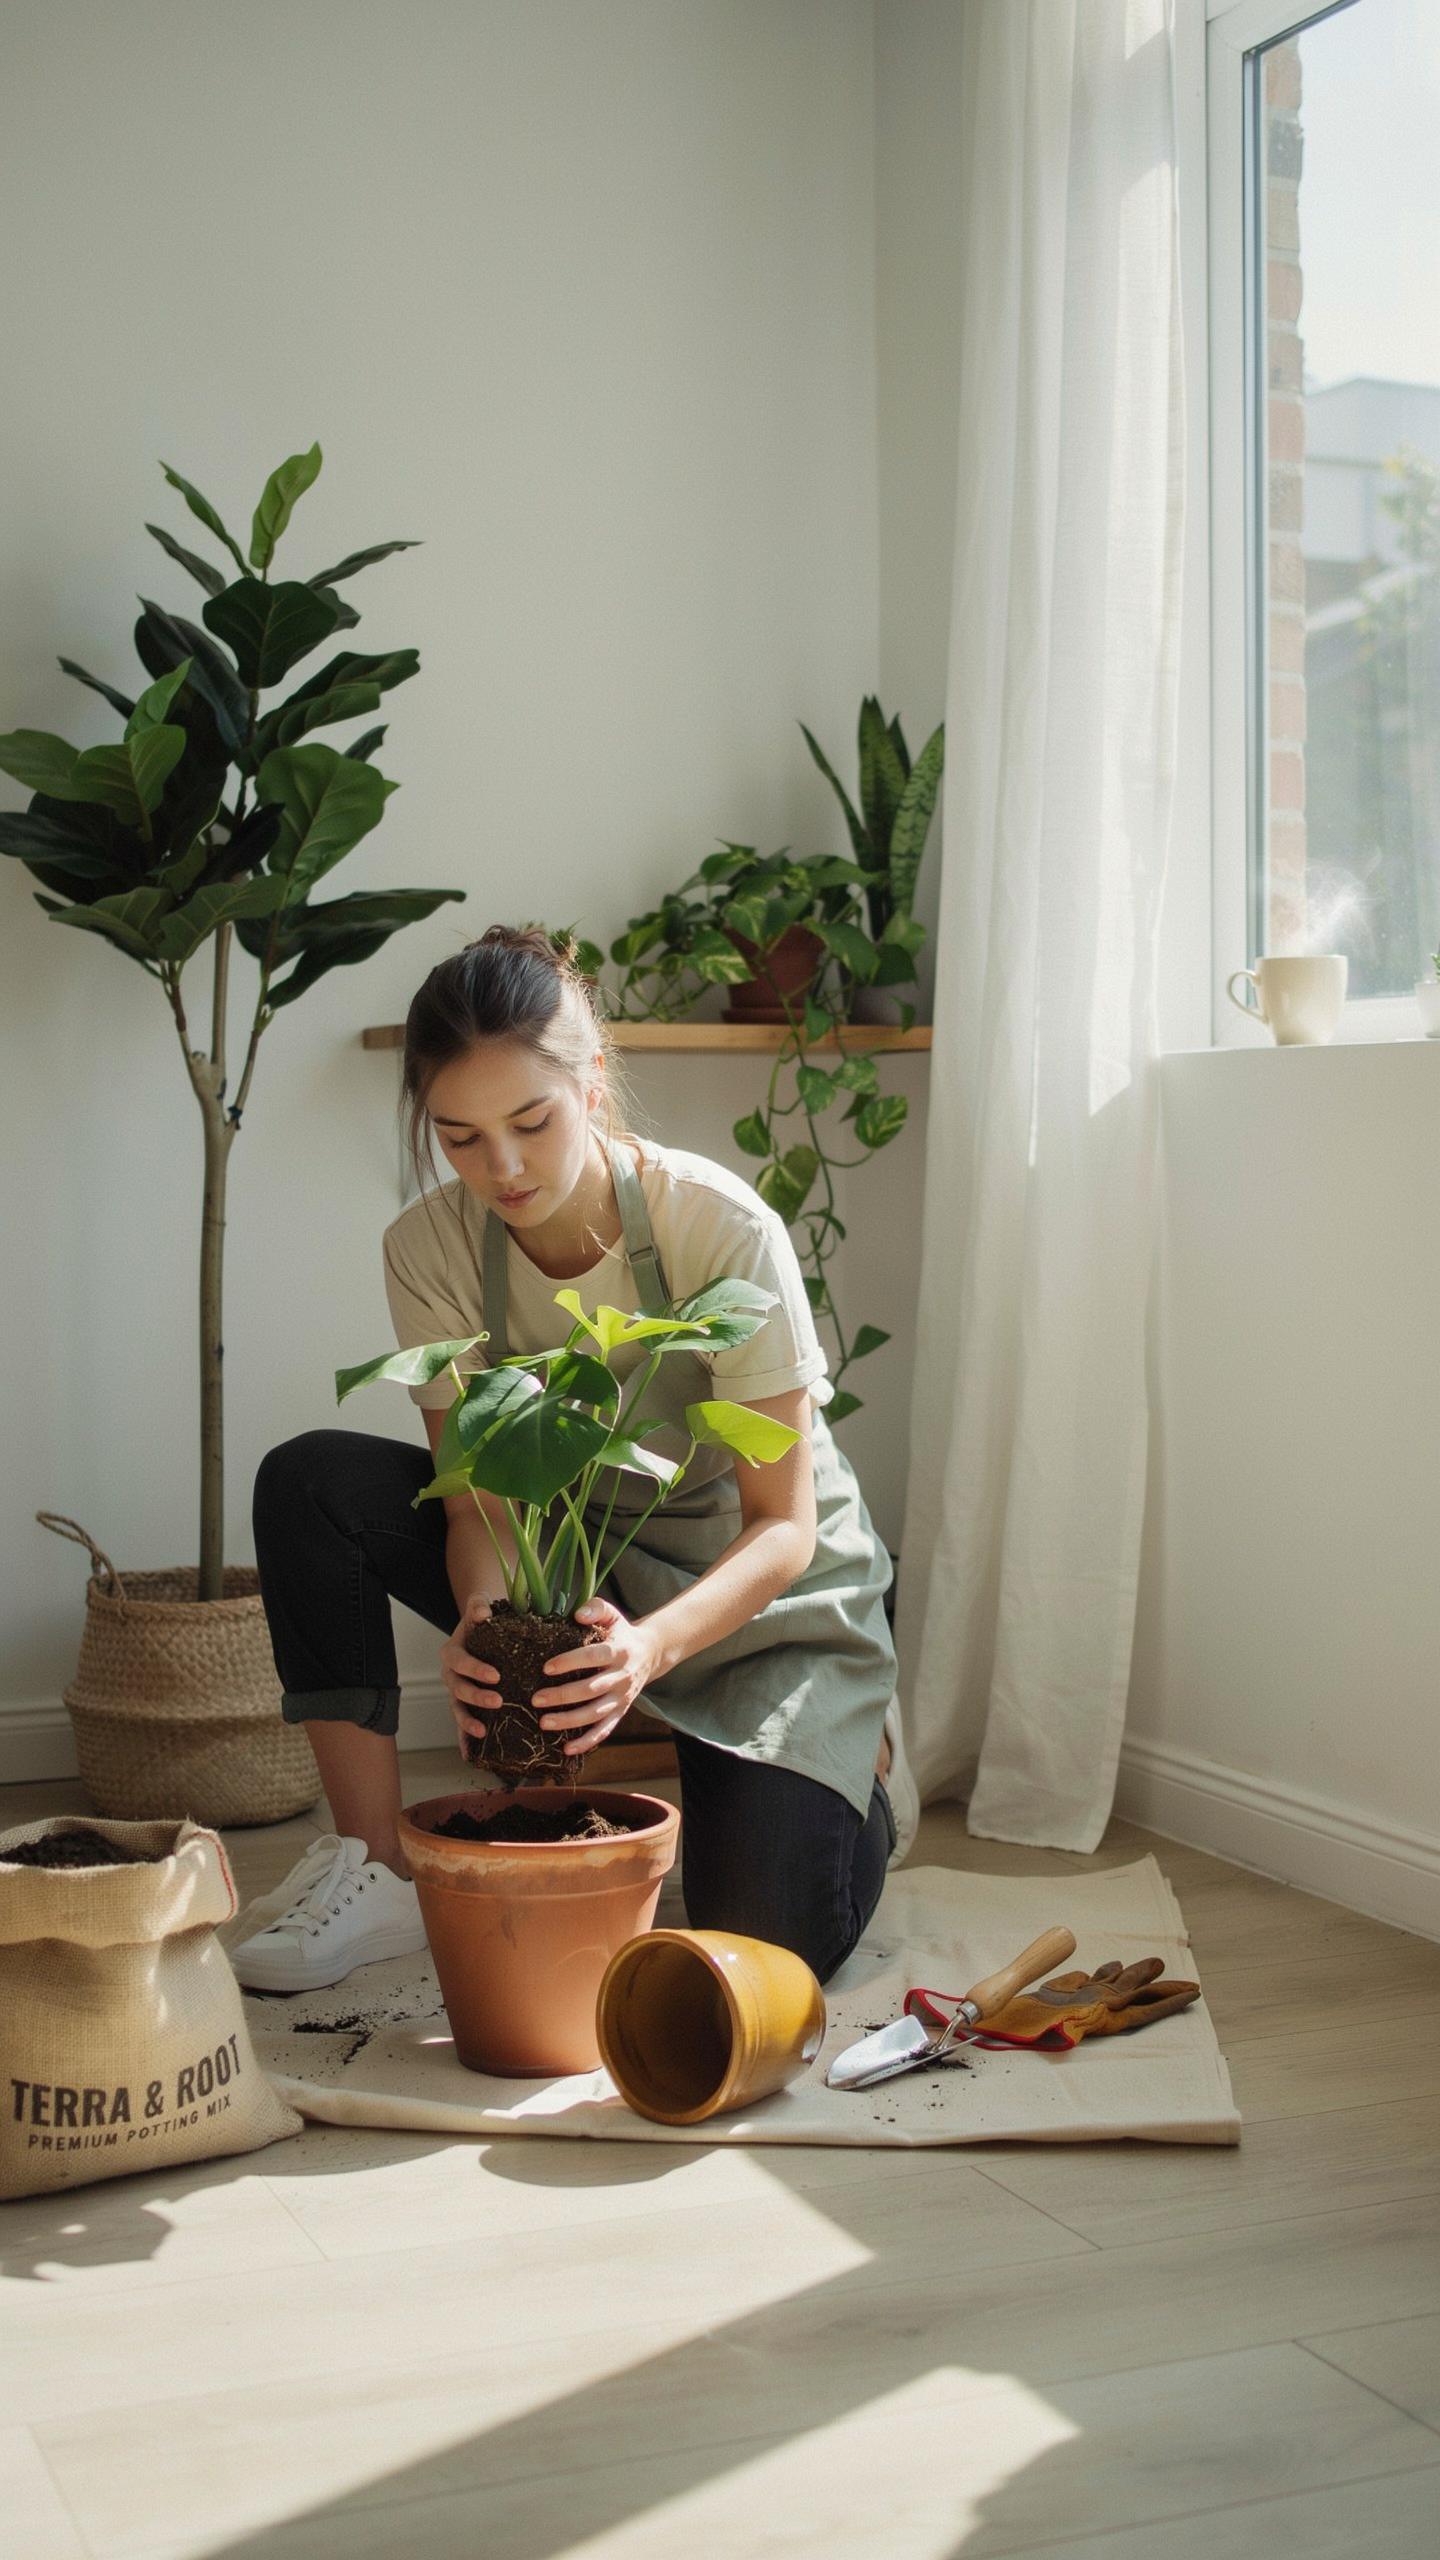
Visible Roots
Check your pot’s drainage holes every month during the growing season. Roots pushing through these holes signal your plant needs more space. This is the clearest indicator that repotting is necessary. Don’t wait for roots to circle the soil surface. Act when you spot them at the drainage point.
Visible roots above the soil line also matter. If roots spiral tightly around the root ball or emerge from the top, your plant is root bound. This condition restricts water absorption and nutrient uptake. Repotting within two weeks prevents damage to the root system and restores plant function.
Stunted Growth
New leaf production stops when roots hit container walls. During spring and summer, healthy plants generate fresh foliage consistently. If growth halts during these months, root space is your culprit. Check the soil moisture retention. If water runs straight through, roots have nowhere to absorb it.
Stunted growth also appears as smaller leaves or shorter stems than normal. Your plant may produce fewer leaves or thinner growth patterns. This happens because crowded roots cannot deliver enough nutrients and water. Repotting into a container one to two inches larger restores vigor within four to six weeks.

Deciding When To Repot House Plants For Maximum Health
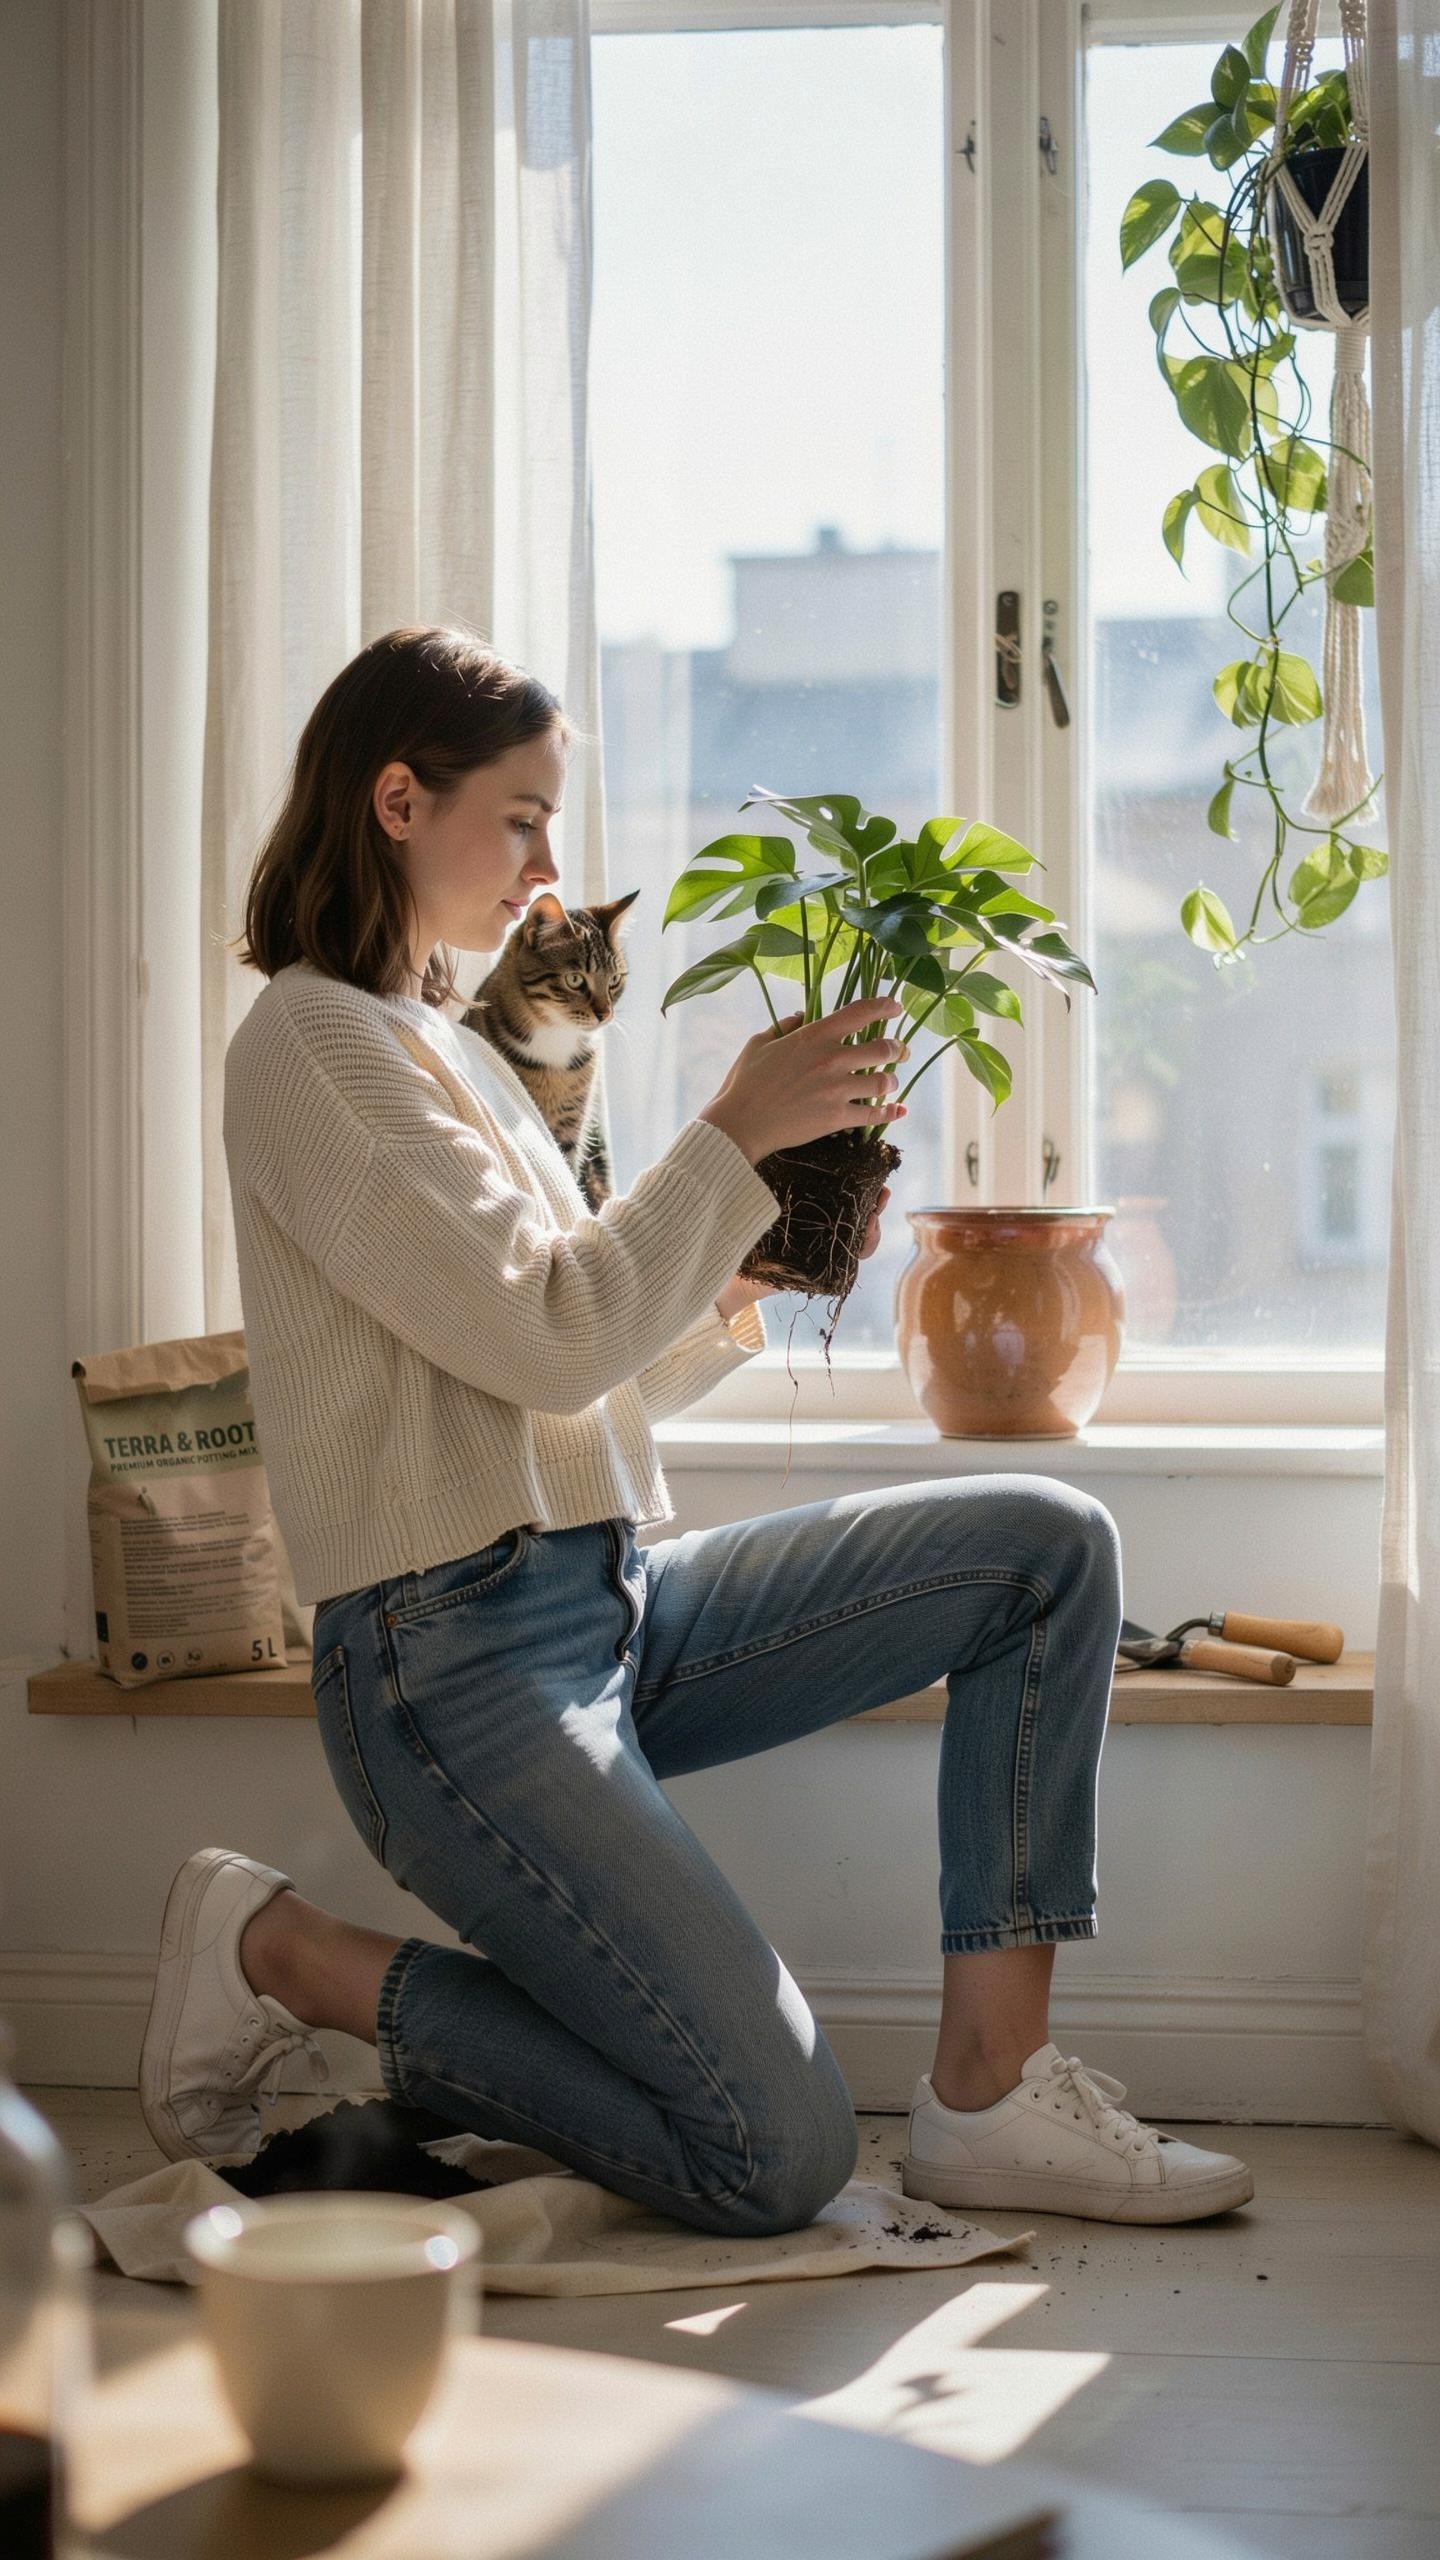
Spring Repotting Window
Spring and early summer mark the ideal time to repot because plants enter their growth phase. During this period, roots recover faster from disturbance and establish themselves in fresh soil quickly. The plant’s natural energy surge supports root development without the stress that repotting causes during dormancy or decline cycles.
Repotting outside the spring window slows recovery. Fall and winter repotting forces plants to heal when growth naturally slows, wasting energy on root recovery instead of new growth. Winter dormancy makes this timing particularly risky since plants cannot efficiently process the stress of container transition.
Rapid Drying Soil
Soil drying between waterings faster than before signals root overgrowth. When roots occupy most of the container, they absorb water quickly and leave little soil to retain moisture. This forces you into frequent watering schedules that become impractical and stress the plant through inconsistent hydration.

Frequency of watering reveals root density problems clearly. If watering intervals shrink from every five days to every two days, roots have colonized the container. This compression leaves minimal soil volume to buffer water availability, making the plant vulnerable to both underwatering and root rot from missed days.
Integrating Soil Science Into Your Routine Plant Care
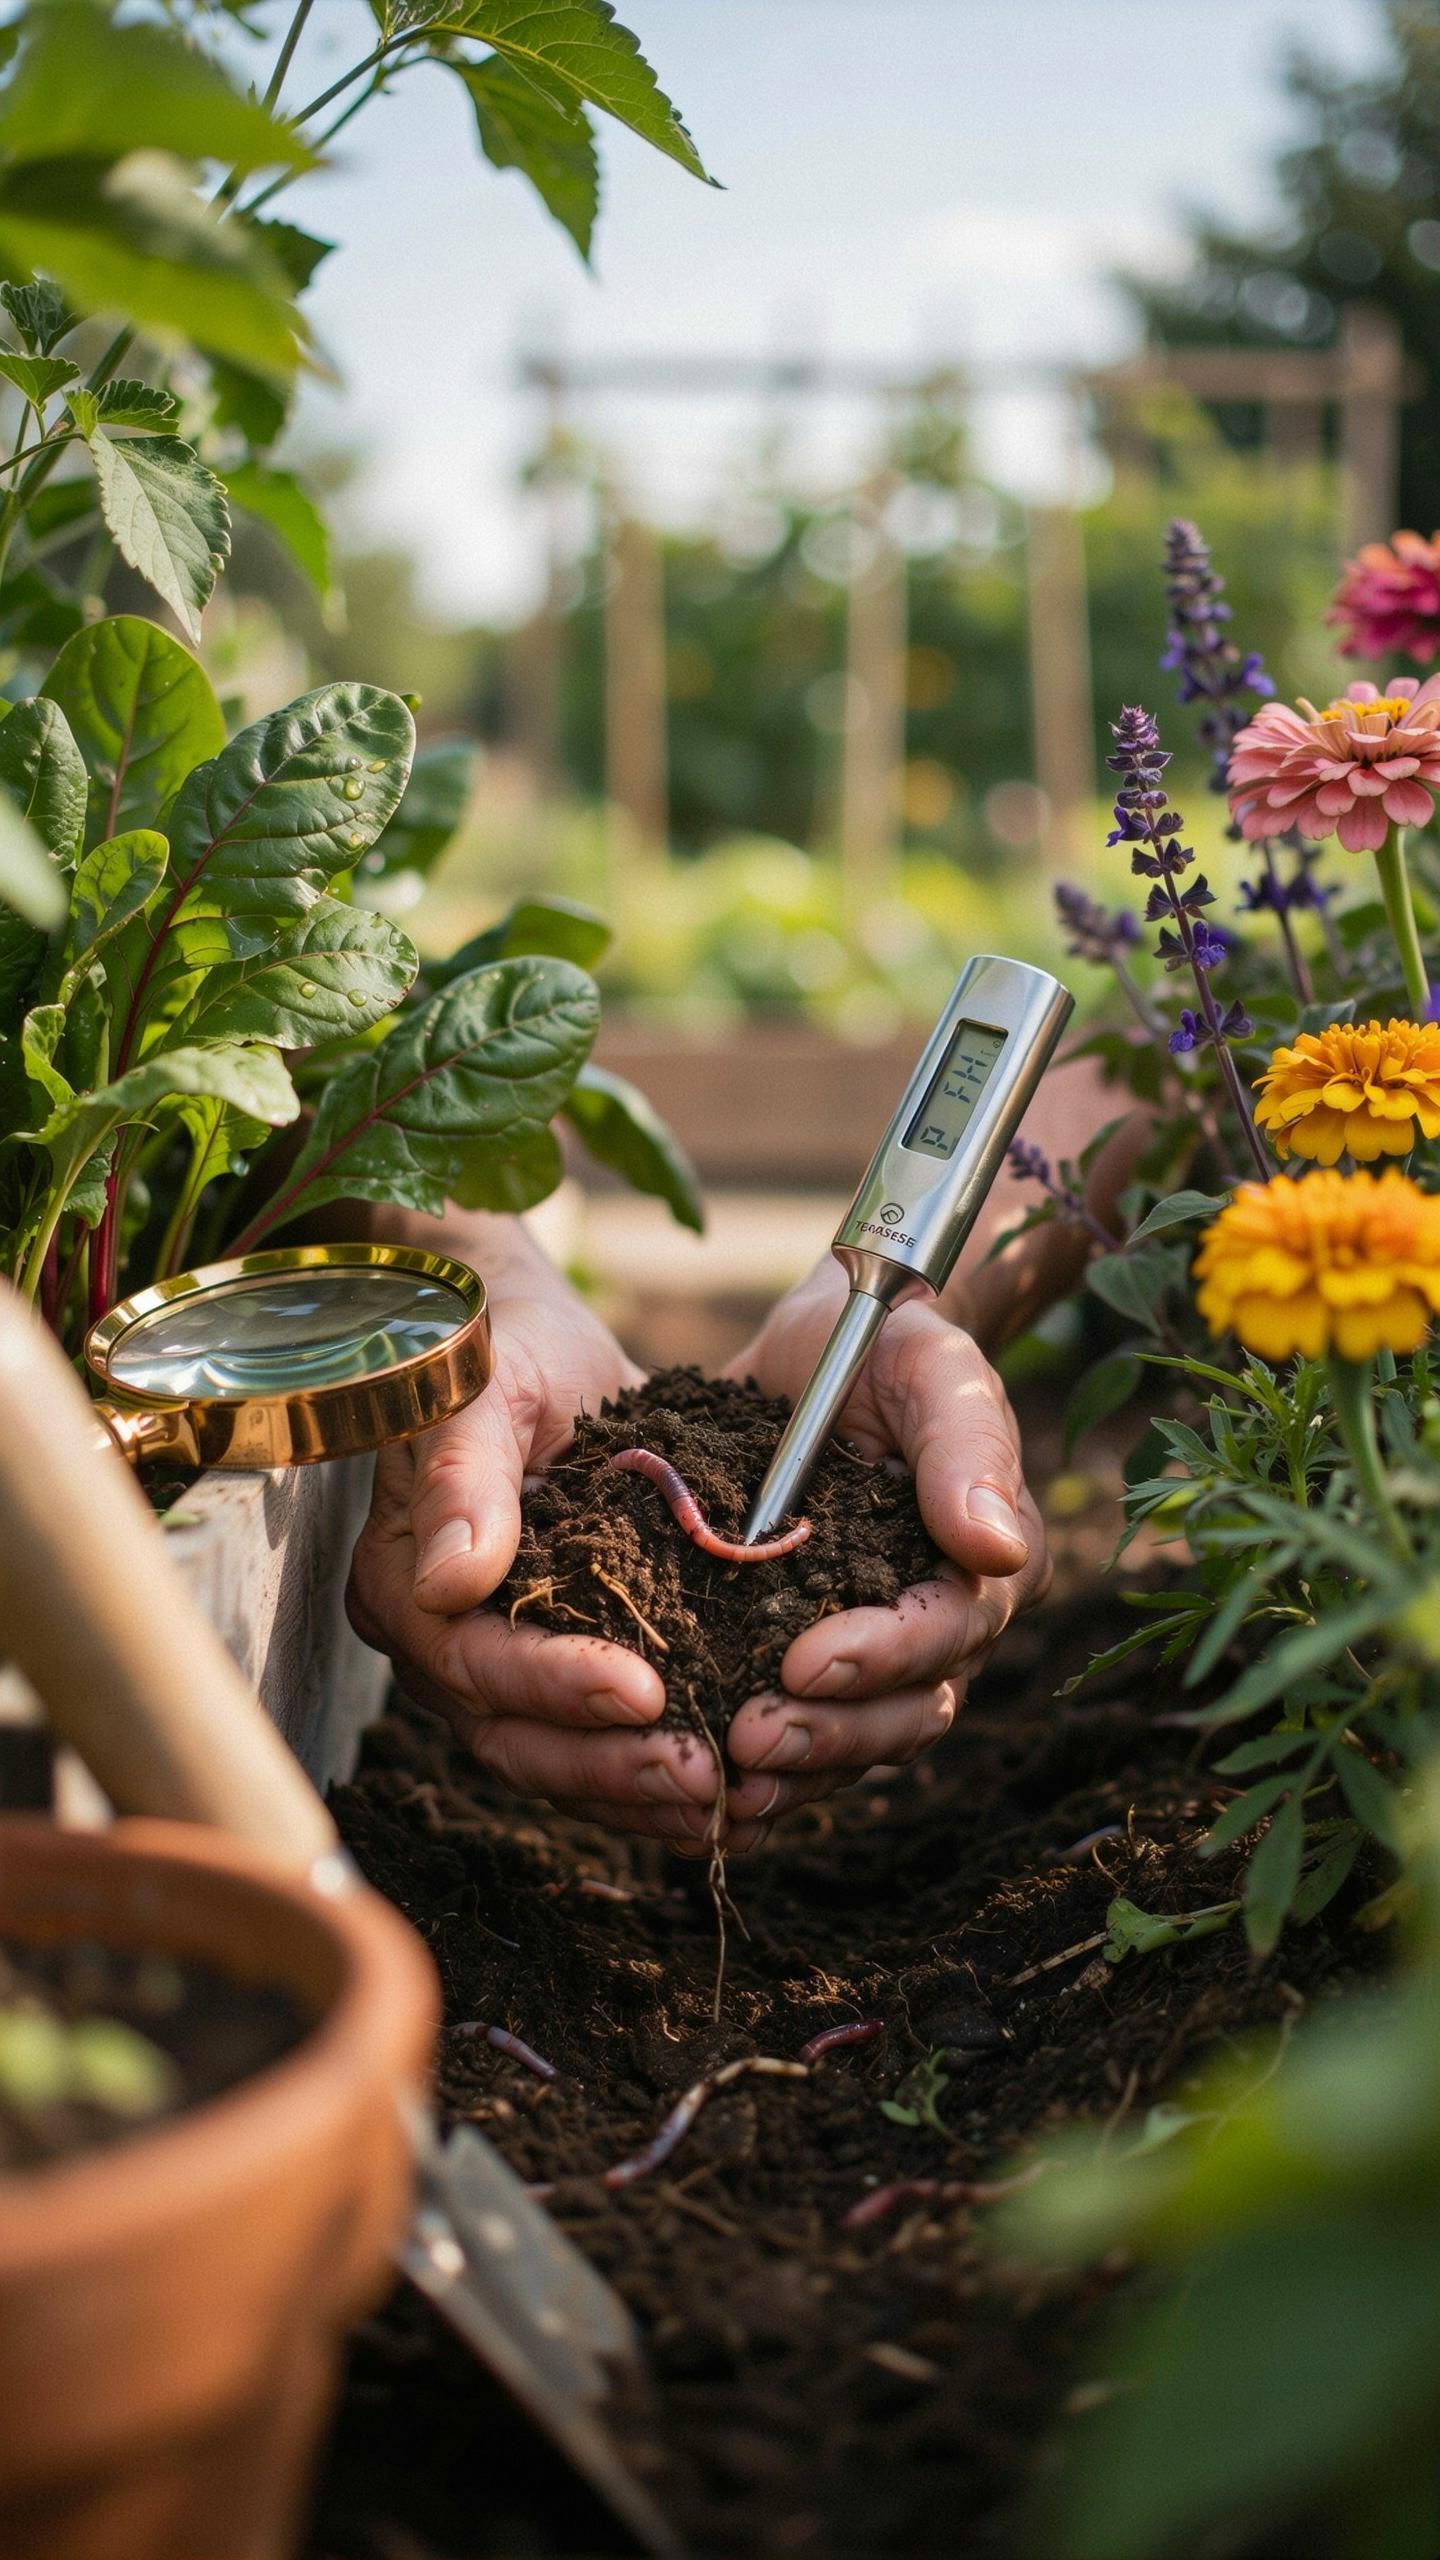
Nutrient Depletion
Potting soil breaks down over time. Microorganisms consume organic matter. Nutrients leach away with each watering cycle. After 12 to 18 months, most commercial potting mixes lose their nutrient density significantly. Plants extract remaining reserves, leaving depleted substrate behind. Fresh soil restores the nutrient foundation your plant needs to maintain growth and leaf color.
Repotting with new soil gives your plant access to nitrogen, phosphorus, potassium, and trace minerals. These elements fuel photosynthesis and strengthen cell structure. Without repotting, even well-fed plants eventually show stunted growth and pale foliage. The expense of new soil is minimal compared to replacing a struggling plant.
Organic Matter And Drainage
Soil compaction happens naturally as plants settle into their containers. Organic matter breaks down and compresses. Dense soil holds excess moisture around roots, creating conditions for rot and fungal disease. Repotting with fresh substrate restores air pockets that roots need to absorb oxygen and water efficiently.

Well-structured potting mix contains perlite, bark, or coconut coir to maintain porosity. These materials resist compaction longer than peat alone. Proper drainage allows roots to access moisture without sitting in waterlogged conditions. Replacing compacted soil every 18 to 24 months prevents most drainage problems before they damage your plant.
Step By Step Methods For Repotting Indoor Plants
Container Selection
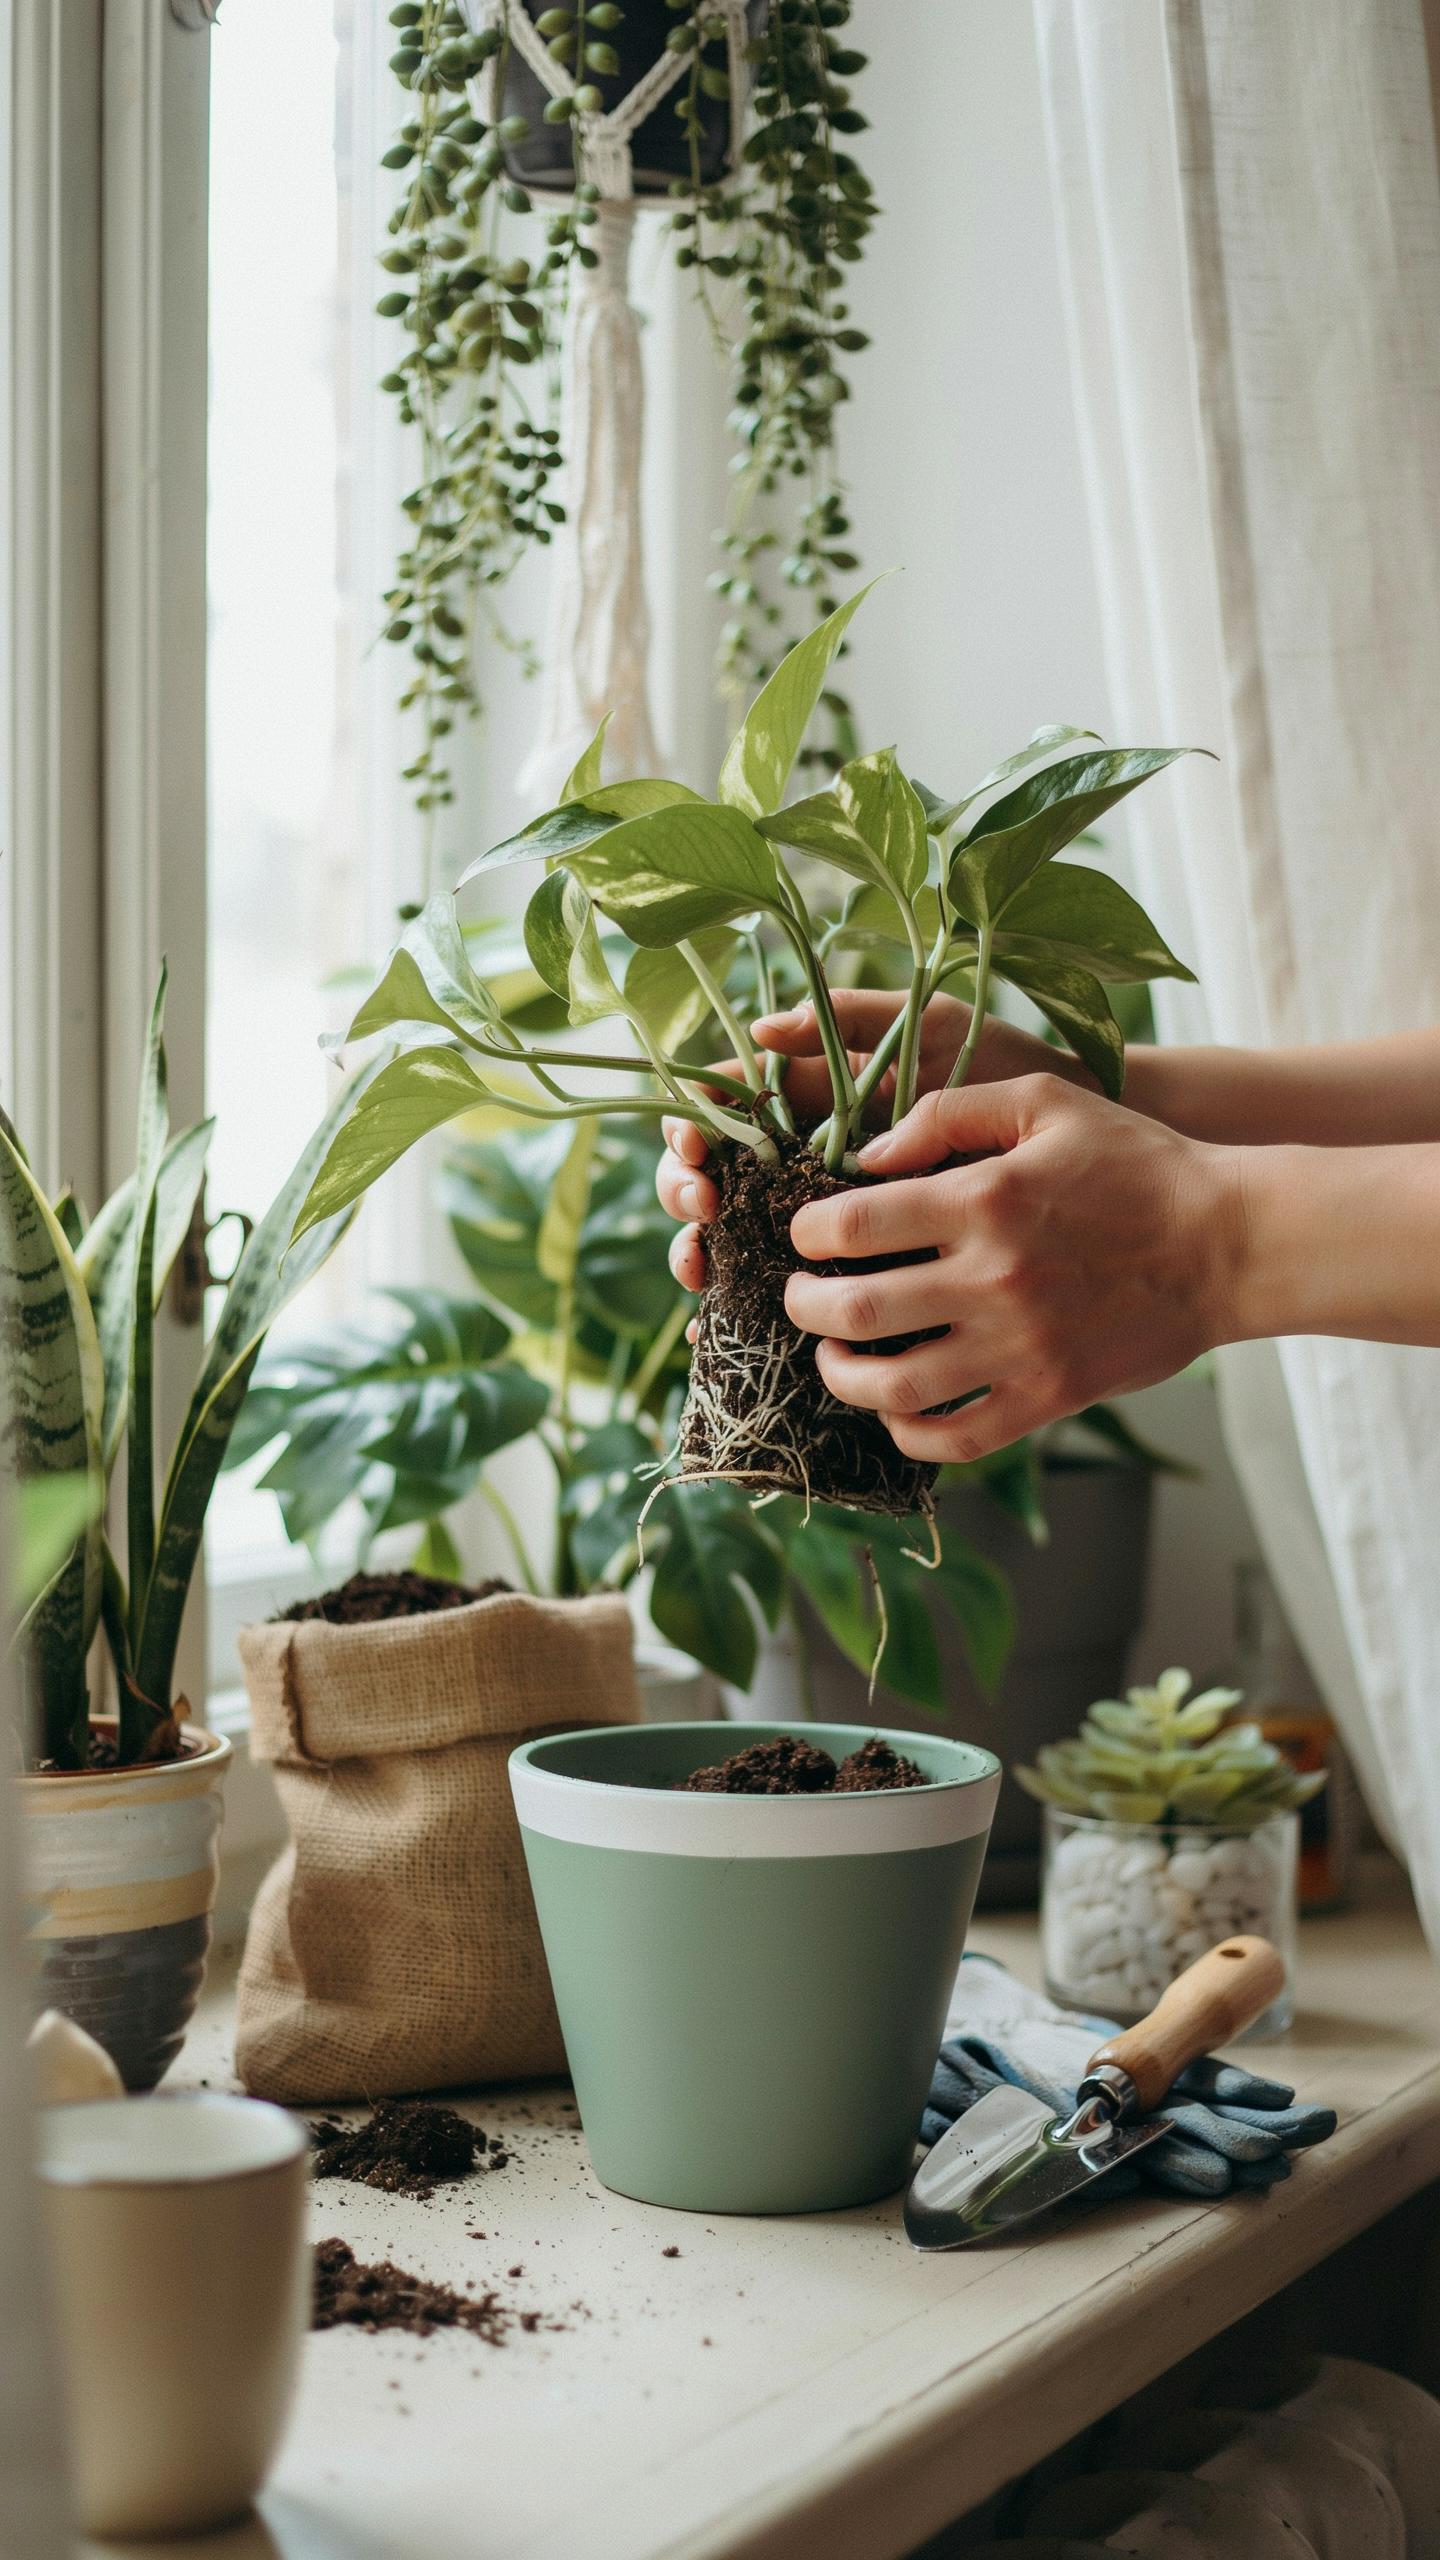
Choose a container one to two inches larger in diameter than the current pot. This sizing prevents waterlogging by limiting excess soil that retains moisture around roots. Larger containers trap water and create anaerobic conditions that kill roots. The new pot must have drainage holes to allow water to escape freely.
Material matters for moisture retention rates. Terracotta breathes and dries faster than plastic or ceramic. Plastic retains moisture longer, which suits drought-tolerant plants. Ceramic offers moderate drainage depending on its porosity. Match the container material to your plant’s water needs and your watering consistency.
Step By Step Repotting
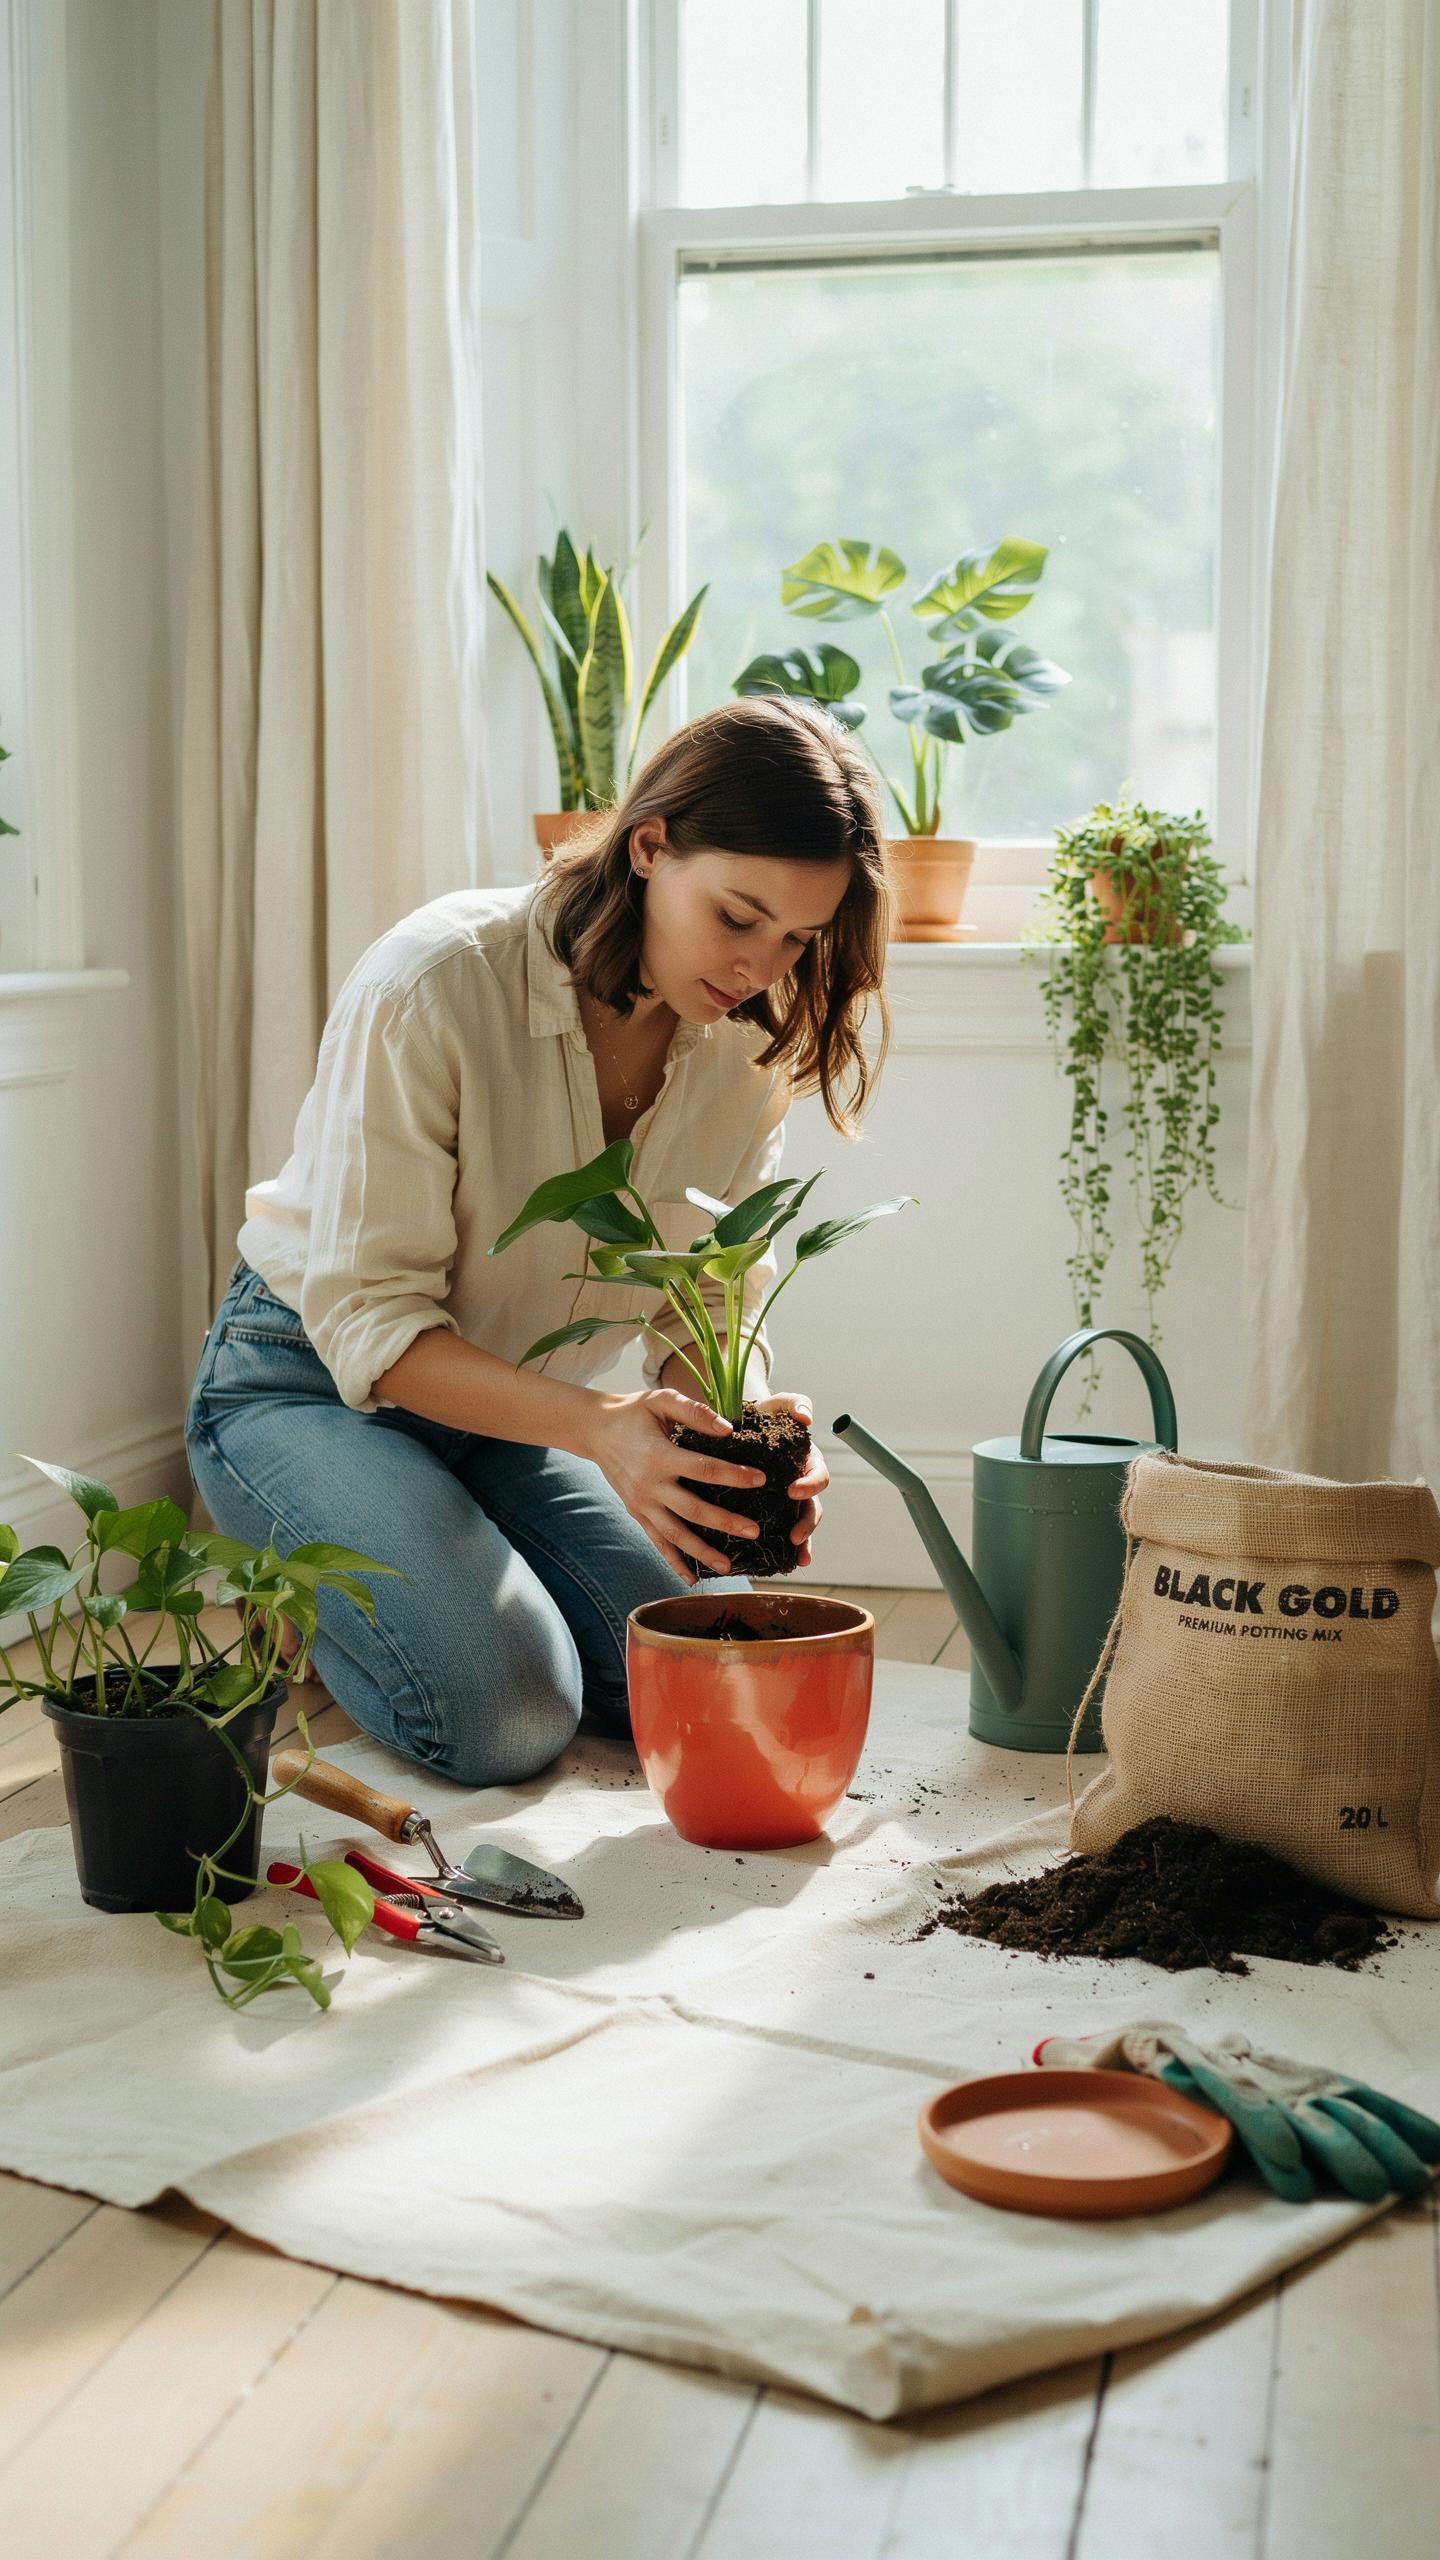
Water your plant one to two days before repotting. Moist soil loosens from the root ball and reduces transplant shock. Dry soil cracks and separates from roots, making extraction difficult and stressful for the plant.
- Remove the plant: Tip the pot sideways and gently pull the base of the stem. Support the root ball with your other hand to prevent damage during extraction.
- Loosen the root ball: Use your fingers to gently separate compacted roots. Break up circling roots that wrap around the soil mass, as they won’t extend into new soil.
- Prepare new soil: Fill the new pot one third full with fresh potting mix. Use soil appropriate for your plant type, such as orchid bark for epiphytes or cactus mix for succulents.
- Position the plant: Center the root ball in the new pot at the same depth it occupied before. The soil line should match the original planting depth to avoid burying the stem.
- Fill and water: Add soil around the root ball until the pot is full. Water thoroughly to settle soil and eliminate air pockets within the root zone.
Wait one week before fertilizing to allow roots to recover from the repotting process. New growth indicates successful establishment. Most indoor plants need repotting every twelve to eighteen months when they outgrow their current containers.
How To Repot A Plant Safely And Avoid Transplant Shock
Necessary Repotting Tools
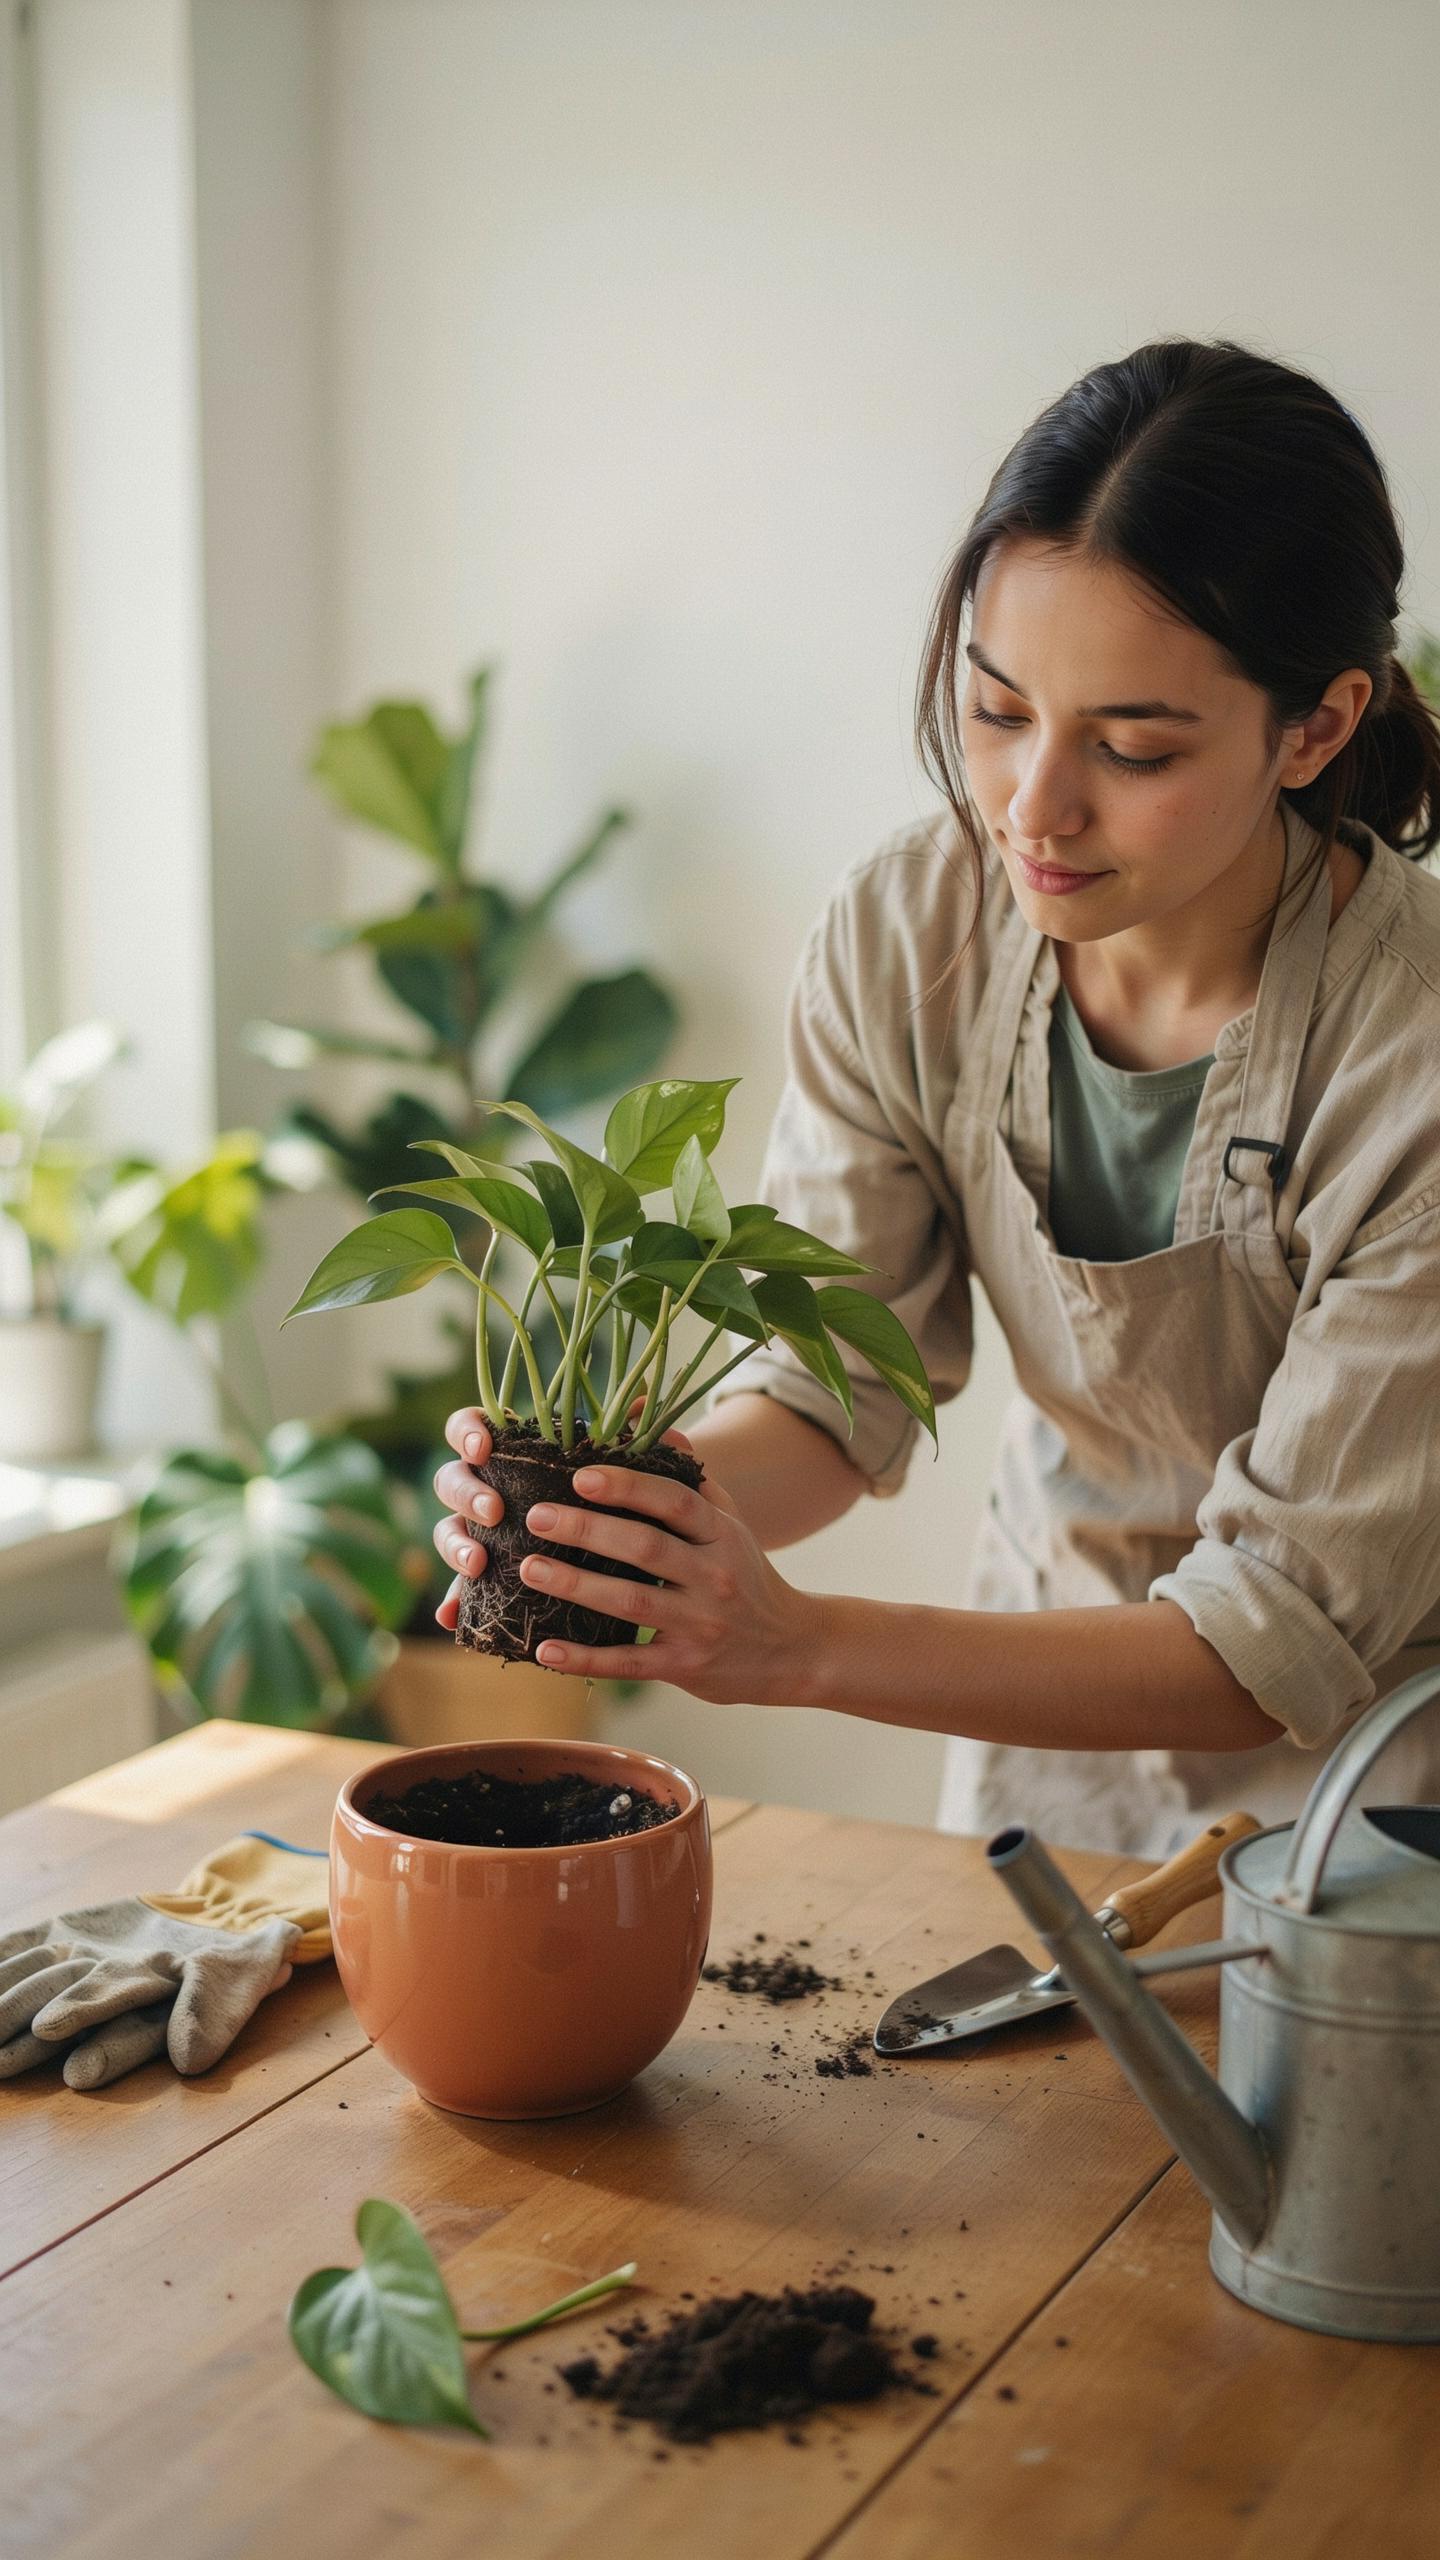
Repotting requires specific tools to minimize damage to roots and soil structure. Gather everything before you start so you work efficiently and reduce plant stress during the transition.
- Potting soil or growing medium: Use a mix matched to your plant type. Cacti need gritty mixes. Tropical plants need moisture-retentive blends. Never reuse old soil from previous plants.
- Container with drainage holes: The new pot should be 1 to 2 inches larger in diameter than the current one. Oversized pots trap excess moisture and cause root rot.
- Pruning shears or scissors: Sharp tools cut roots cleanly without crushing tissue. Dull shears create jagged edges that invite disease and slow healing.
- Wooden stick or chopstick: Use this to gently loosen compacted soil and roots. Avoid metal tools that can damage tender root tissue.
- Newspaper or drop cloth: Contain the mess and protect your work surface from soil spillage and water.
Prepare your workspace near natural light and a water source. Having supplies within arm’s reach prevents you from abandoning the plant mid-repot, which stresses it further.
Just as our ancestors watched for the subtle shifts in a plant’s vitality, look for the quiet roots seeking room to breathe as a signal to provide a new home. Tending to these timeless signs of growth honors the enduring bond between the gardener and the pot.
Untangling Root Balls
Root-bound plants develop dense, circular root patterns that choke growth. Gently massage the root ball with your fingers to break up these tight spirals before placing it in fresh soil.

Start at the base of the plant and work outward with light pressure. Use your wooden stick to separate stubborn sections without tearing healthy roots. This action signals the plant to expand roots outward into the new medium rather than continuing inward spiral patterns. Damaged roots cannot absorb water and nutrients effectively, so handle them with precision, not force or aggression.
Key Signals That Tell You When To Repot Plants
Salt Mineral Crust
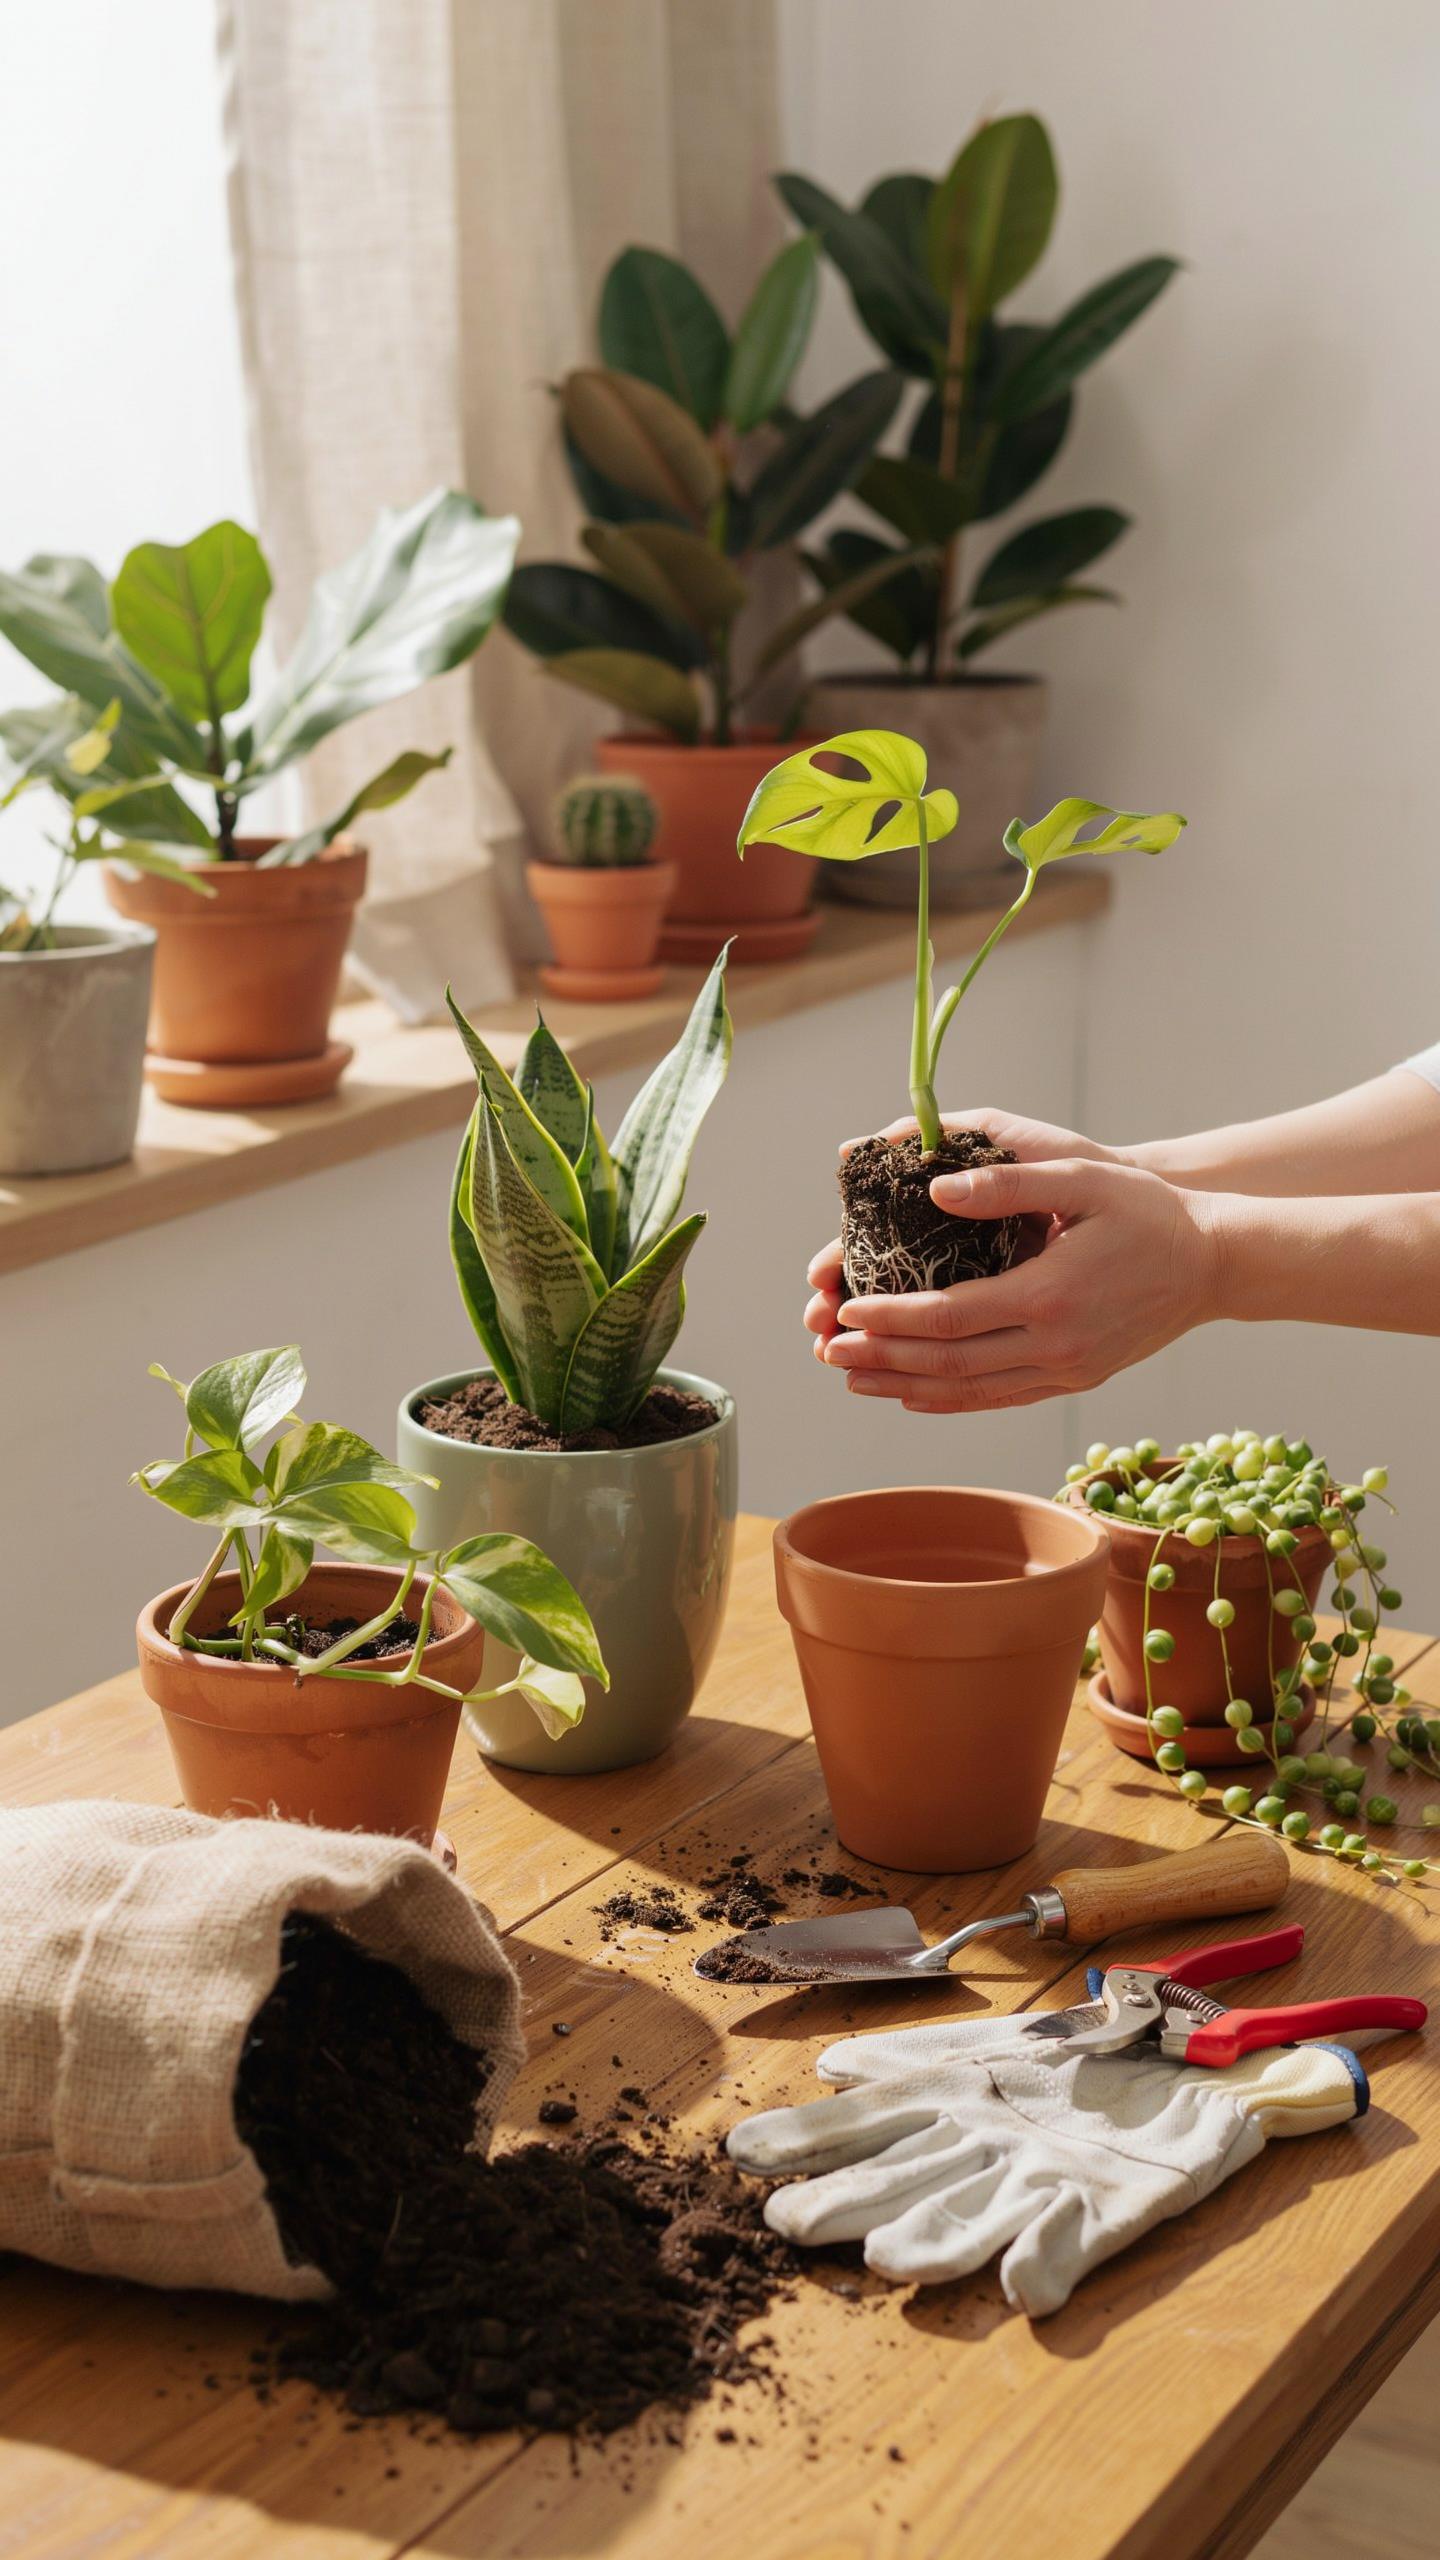
White or gray crusty deposits on clay pots or soil surfaces signal salt and mineral buildup from tap water and fertilizer residue. This accumulation blocks water absorption and nutrient uptake. Plants struggle to access moisture even when soil feels wet. Repotting with fresh soil stops this problem immediately.
These deposits form faster in areas with hard water or when you use heavy fertilizer applications. Clay pots show crusts more visibly than plastic containers because minerals leach through the porous material. Inspect pot exteriors and soil surfaces monthly. Once crusts appear, fresh soil replacement becomes necessary for plant recovery.
Push Out Of Pot
Roots expanding forcefully can lift the entire plant upward, exposing the root crown above the pot rim. This physical displacement happens when roots have nowhere else to expand. The plant becomes unstable and roots begin drying out from exposure. Immediate repotting into a larger container prevents root damage.

This signal appears in actively growing plants during spring and summer months. You may notice the soil drying faster than usual or the plant becoming top heavy. Some plants literally push themselves out of pots as roots continue expanding. Act quickly when you observe this behavior to restore proper root containment and stability.
Accommodating Different Varieties Of House Plants
Succulent Repotting Needs
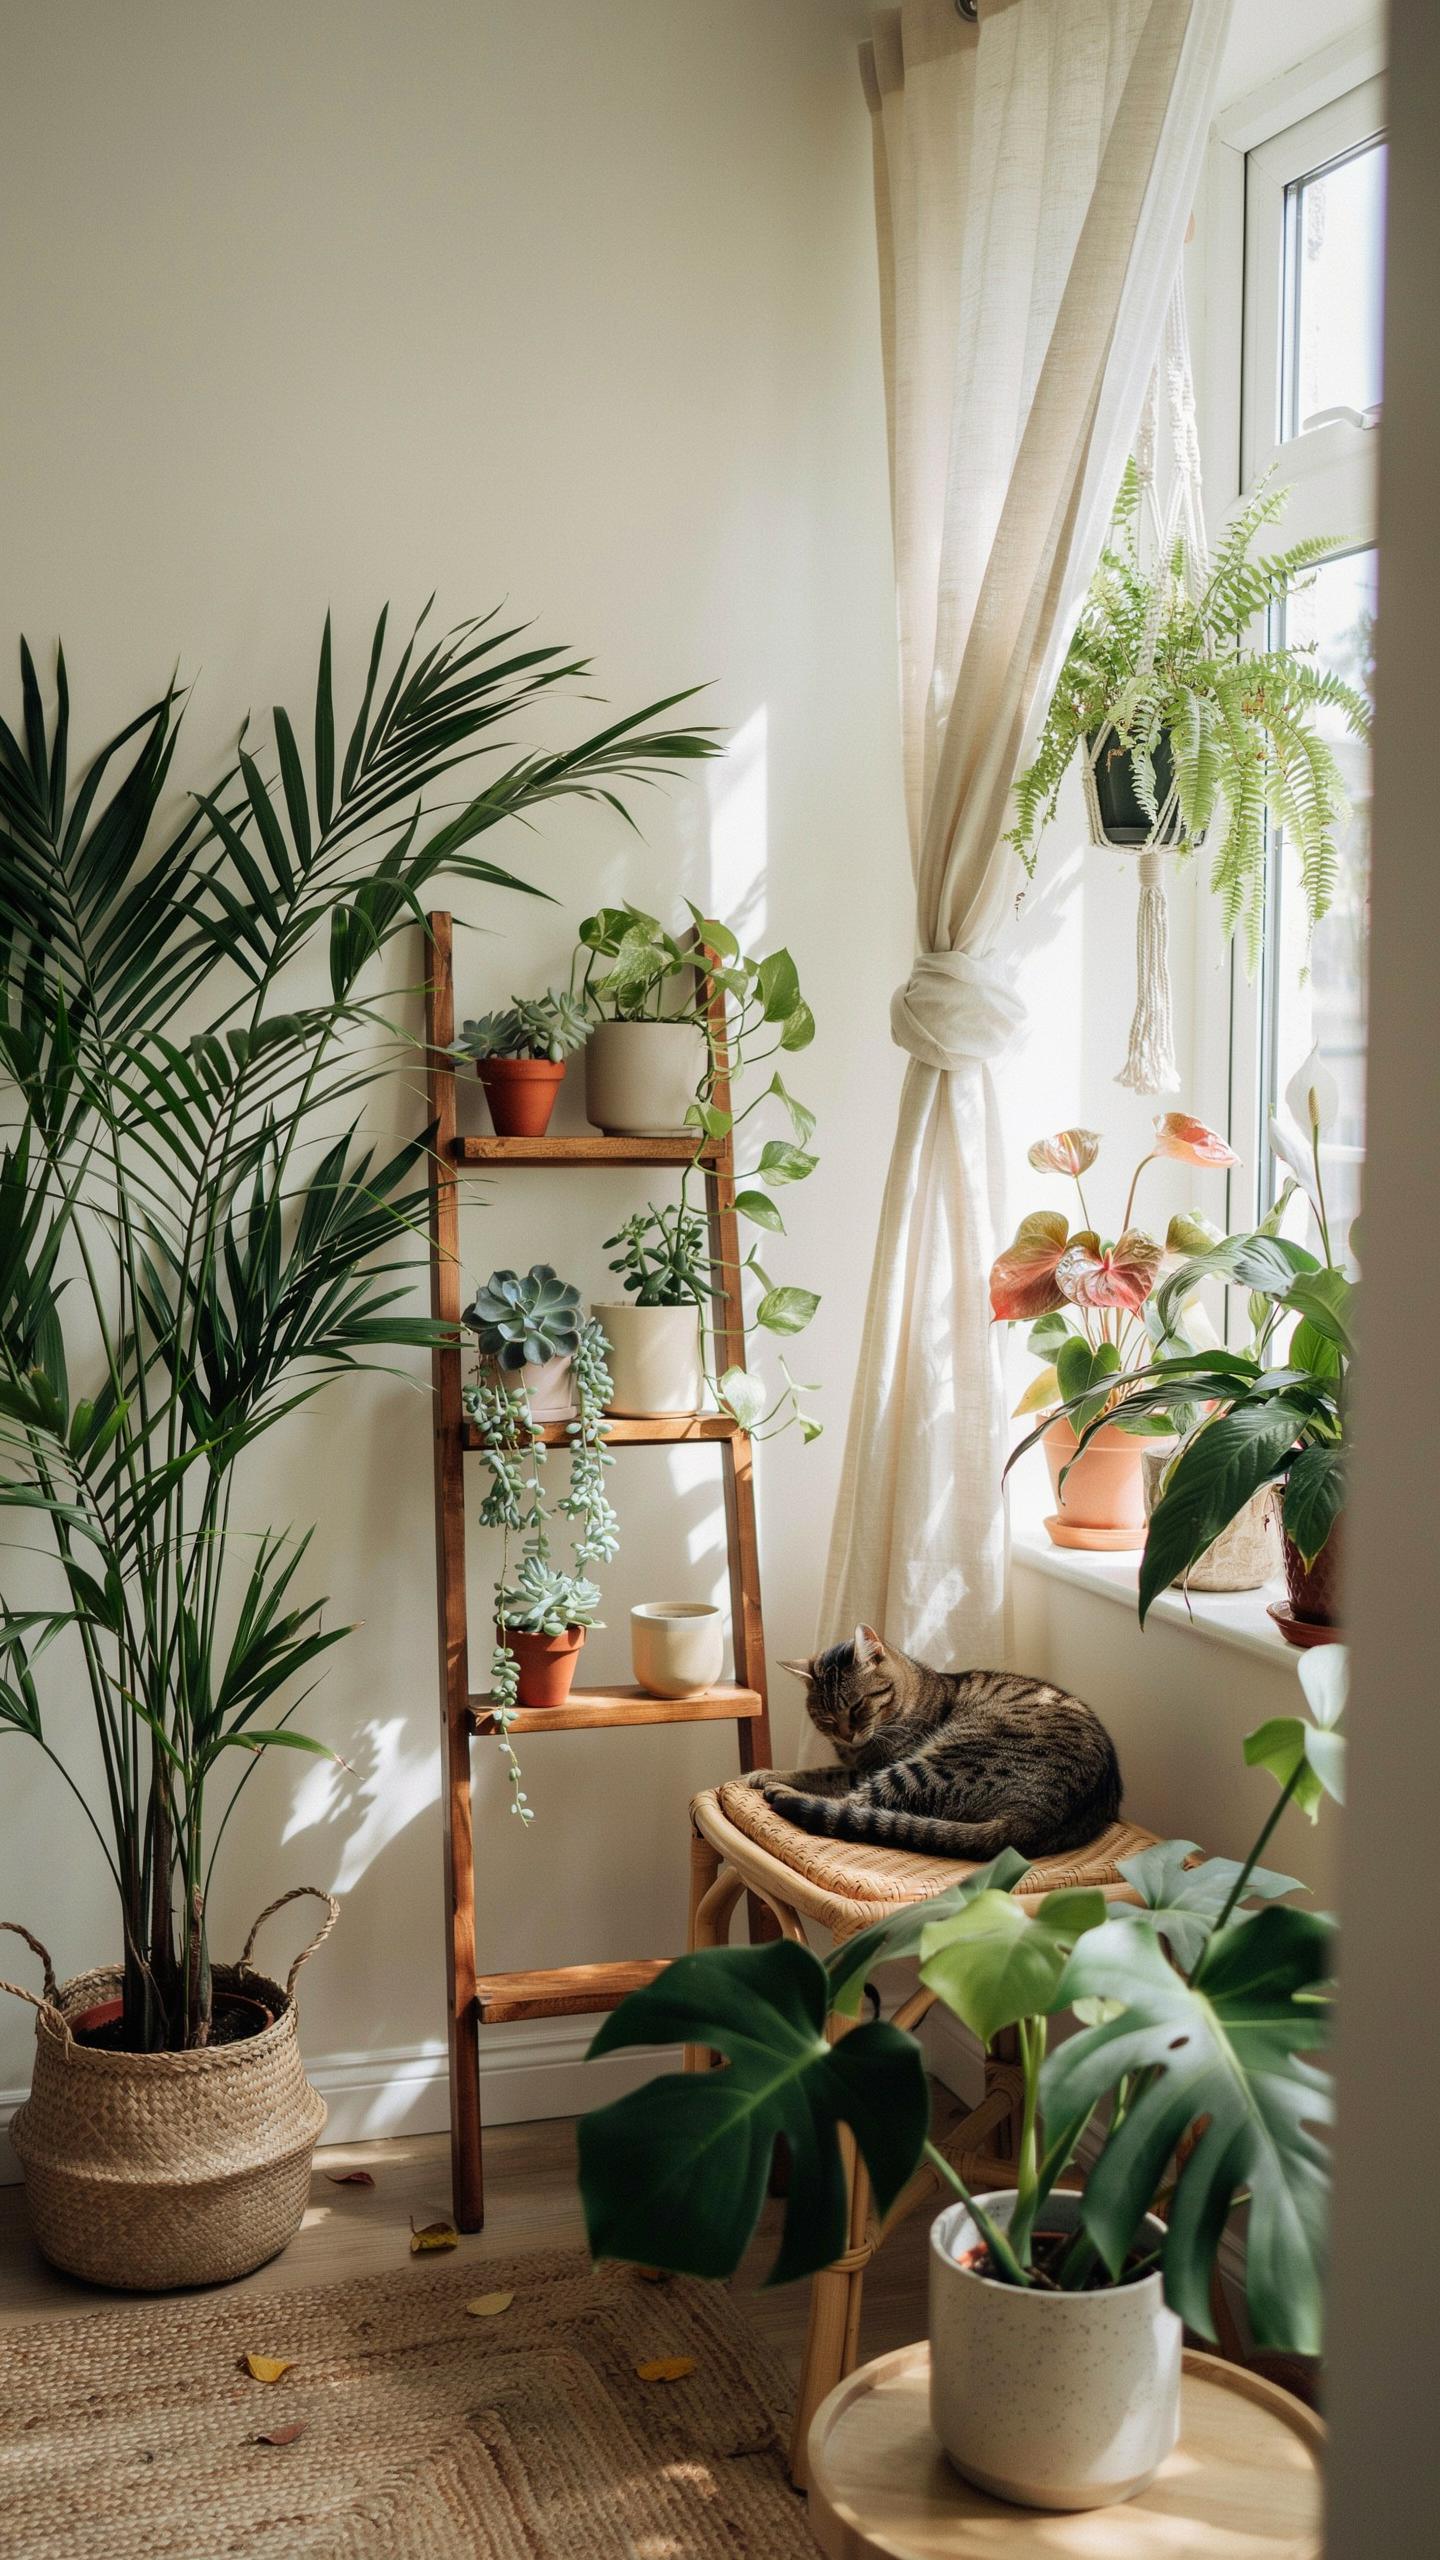
Succulents store water in their leaves and stems, making them vulnerable to root rot in standard potting soil. When you repot succulents, use a gritty mix with perlite or coarse sand to ensure water drains immediately. This mix mimics their native desert conditions and prevents moisture from lingering around roots.
Wait ten to fourteen days after repotting before watering your succulent. The roots need time to heal from transplant shock and establish themselves in the new soil. Watering too soon traps moisture around vulnerable new roots and triggers fungal decay that kills the plant.
Tropical Humidity Care
Tropical plants evolved in humid environments where soil stays consistently moist and air contains abundant water vapor. These plants need repotting soil rich in organic matter like peat moss or coconut coir to retain moisture between waterings. The organic material helps roots recover faster during the stress of pot transition.

Create humidity around tropical plants immediately after repotting by grouping them together or placing them on pebble trays filled with water. Mist the leaves every few days to replicate their native conditions. Higher humidity reduces transplant stress and speeds recovery, allowing the plant to establish roots in its new container more quickly.
Long Term Plant Care Tips For Post Repotting Success
Post Repot Lighting
Newly repotted plants need a recovery period. Move them to indirect, moderate light for three to five days after repotting. This reduces transplant shock. The root system has experienced disturbance and damage during the repotting process. Harsh direct light stresses the plant further during this vulnerable window.
After the recovery period ends, return your plant to its normal light requirements. Most houseplants thrive in bright, indirect light. Check your specific plant species for its baseline light needs. Resume your standard light schedule once the plant shows new growth or stabilizes.
Delay Fertilizer Application
Fresh potting soil contains nutrients that feed new roots for weeks. Adding fertilizer immediately after repotting burns tender roots and causes damage. Wait four to six weeks before applying any liquid fertilizer. This timeline gives roots time to establish and grow into the new medium.

After six weeks, resume your normal fertilizer schedule at half strength. Start with diluted solutions to test how your plant responds. Gradually increase to full strength over the next few applications. This cautious approach prevents nutrient burn and supports steady root development.
Avoiding Common Mistakes When Repotting Plants Houseplant
Oversized Pots Danger
Pot size directly controls soil moisture retention. A container that is too large holds excess water around the root zone. The soil stays wet longer than the plant needs. This creates anaerobic conditions where oxygen becomes depleted. Roots cannot function without oxygen. They suffocate and begin to rot within days or weeks of repotting into oversized containers.
Root rot from oversized pots is irreversible once it takes hold. The decay spreads quickly through the root system. The plant collapses even though you watered it correctly. Choose a pot only one to two inches larger than the current container. This ensures soil dries between waterings while giving roots minimal room to expand into fresh substrate.
Physical Root Damage
Pulling plants by their stems during repotting tears feeder roots and damages main root structures. These delicate roots are the plant’s lifeline for water and nutrient uptake. One aggressive pull can sever dozens of fine root hairs that take weeks to regenerate. The plant enters transplant shock with reduced capacity to absorb water and nutrients.
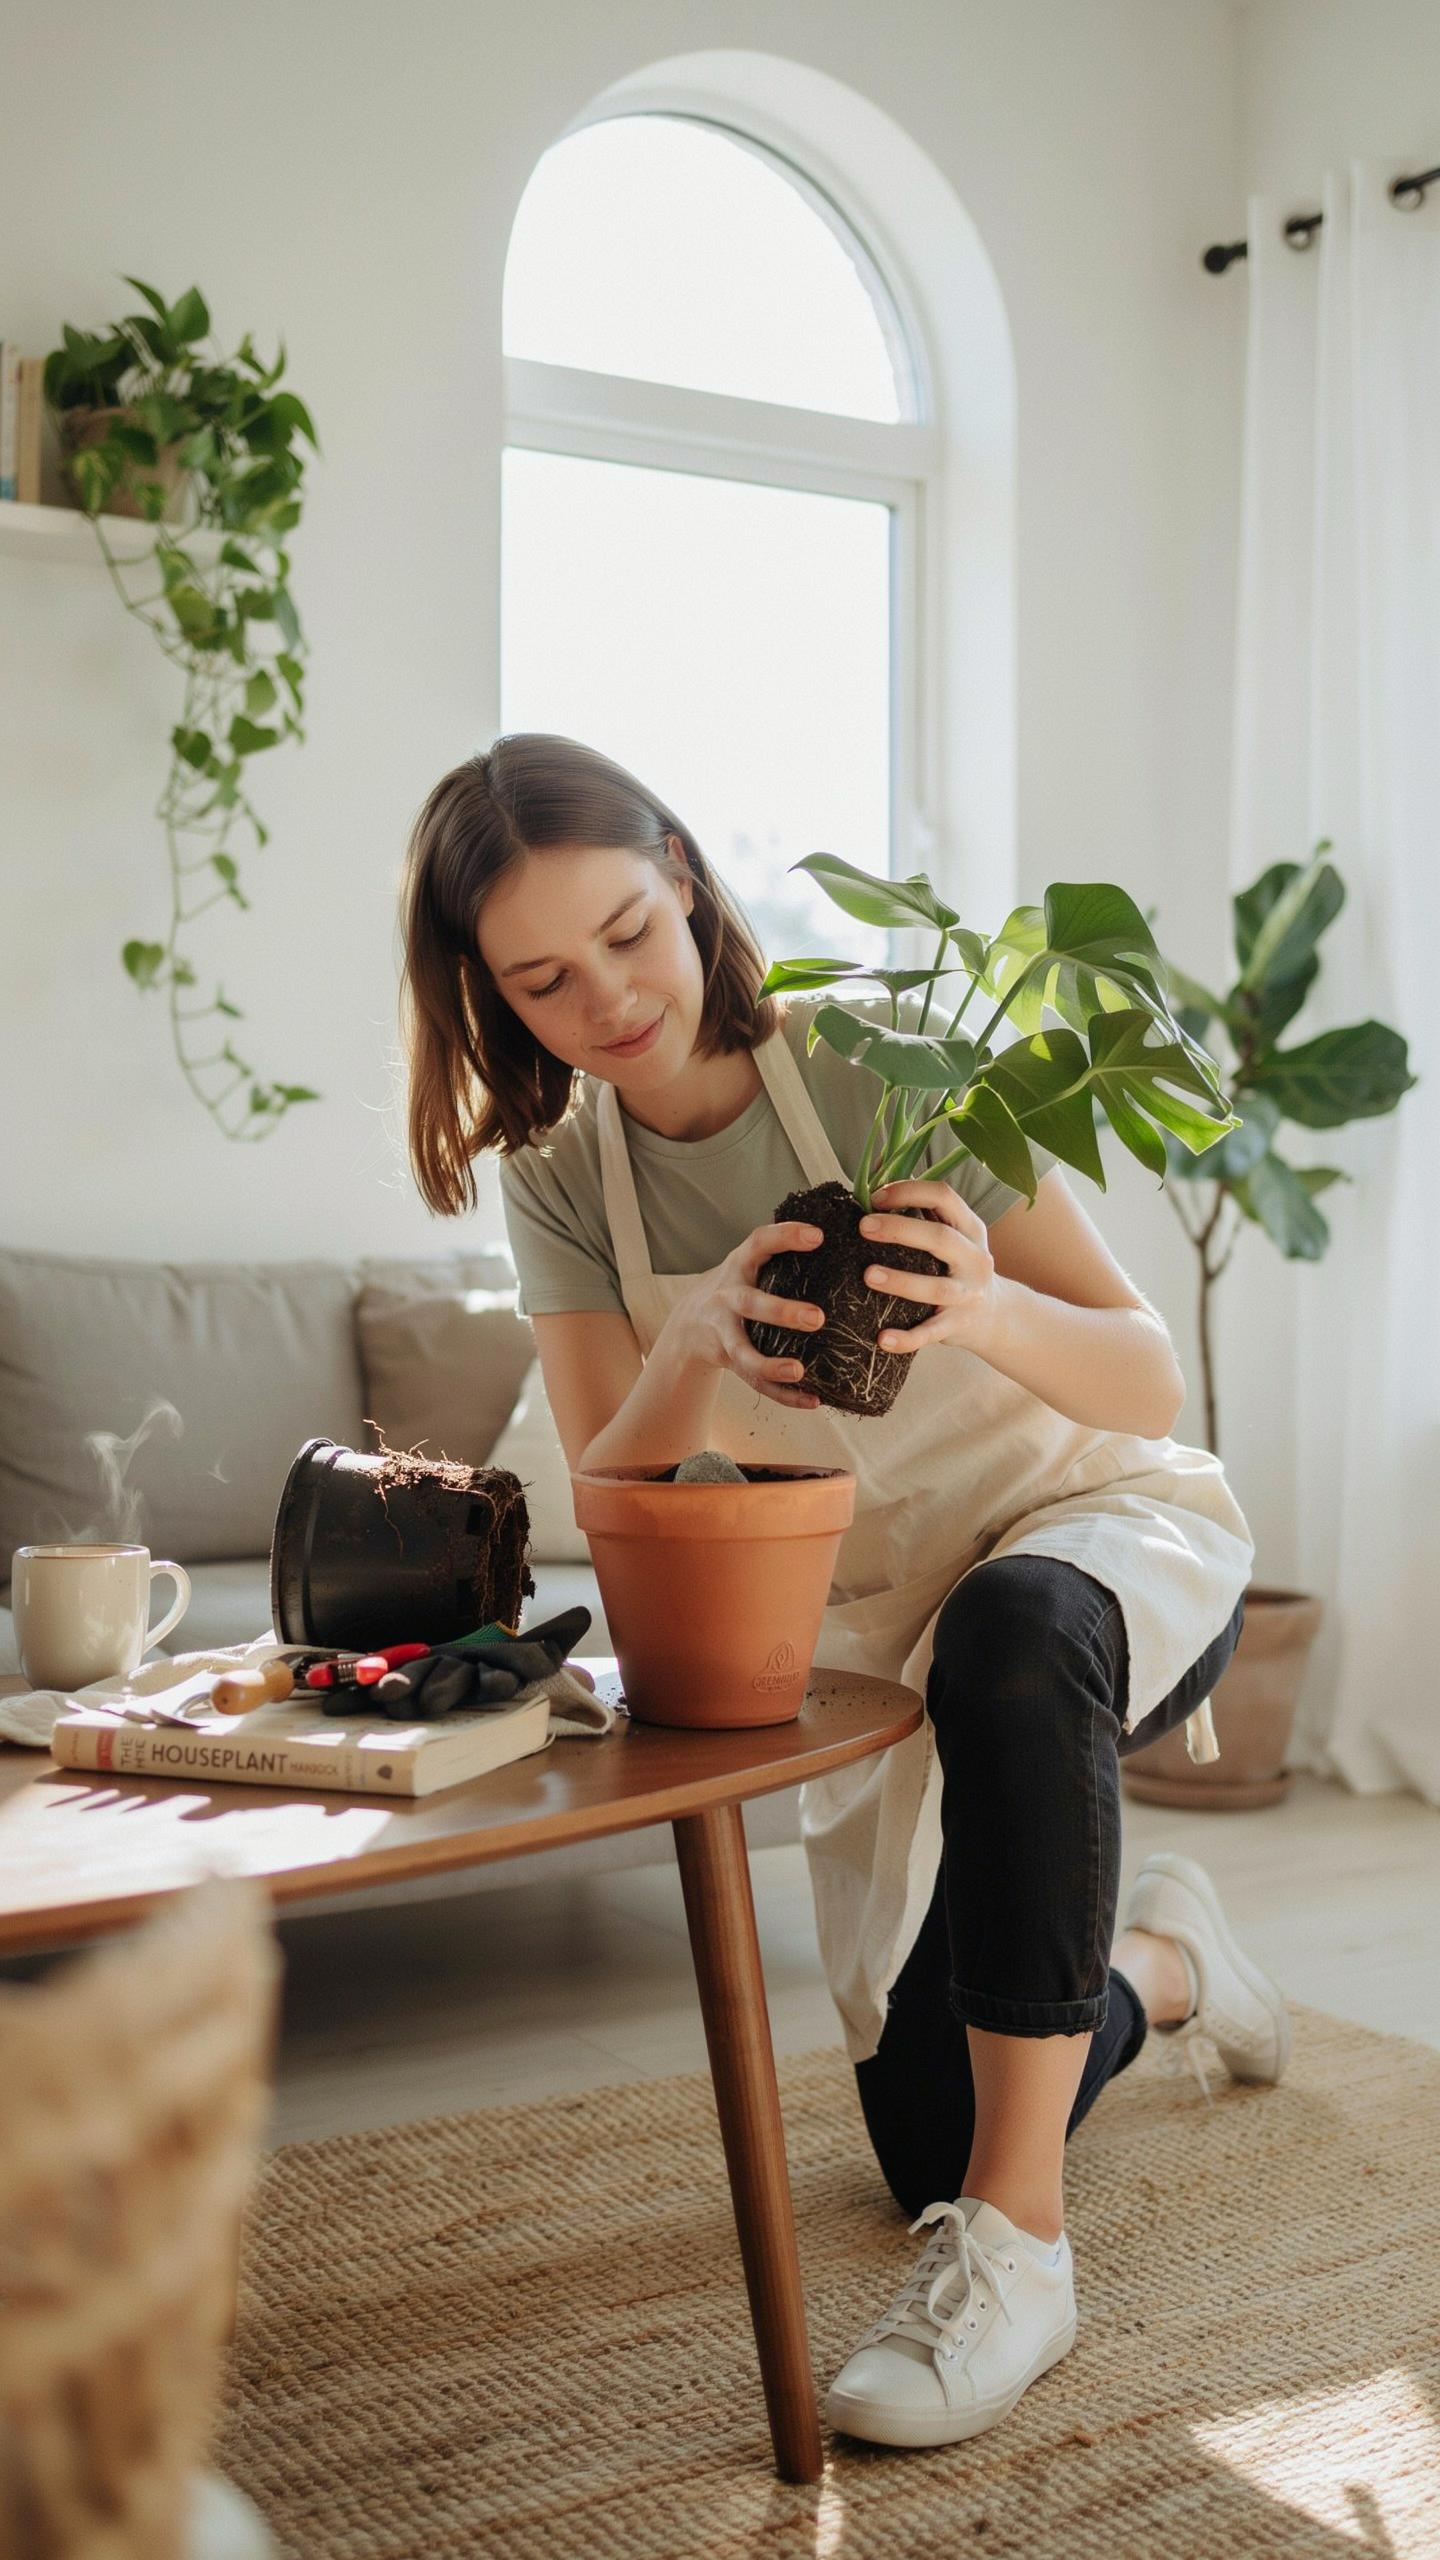
Remove plants by gently tipping the pot sideways and supporting the base of the root ball with your other hand. Tap the bottom and sides of the pot to loosen the soil. Let gravity assist the removal process. If the plant resists, run a knife around the inside edge of the pot to break the soil seal. Patient removal prevents root damage and ensures successful establishment in the new container.
Frequently Asked Questions

How can I tell if my plant has actually outgrown its current pot?
Recognizing common houseplant care repotting signs is the first step toward a thriving indoor jungle. Look for roots circling the surface of the soil or poking through the drainage holes at the bottom. If you notice your plant requires watering much more frequently than usual or if the growth has completely stalled during the spring season, it is likely root-bound and desperately needs a larger home to continue flourishing.
What is the best way to repot a plant without causing transplant shock?
To safely transfer your greenery, water it thoroughly a day in advance to keep the root ball moist. Gently slide the plant out, tease the outer roots, and place it into a pot only two inches wider than the last. Monitoring houseplant care repotting signs like wilted leaves afterward helps you react quickly. Keep it in indirect light and maintain consistent humidity for a week to help it settle into its new environment.
Can I repot my houseplants successfully using simple household items?
Absolutely! You don’t need expensive designer gear to upgrade your plants. You can repurpose plastic yogurt containers or glass jars as long as you drill or melt drainage holes into the bottom. For a budget-friendly drainage layer, use crushed aluminum cans or clean pebbles from your yard. Improving your plant’s health is more about timing and technique than high-end supplies, making it a very accessible project for any home gardener.



