
Why Plant Cleaning Is Essential For Houseplant Health
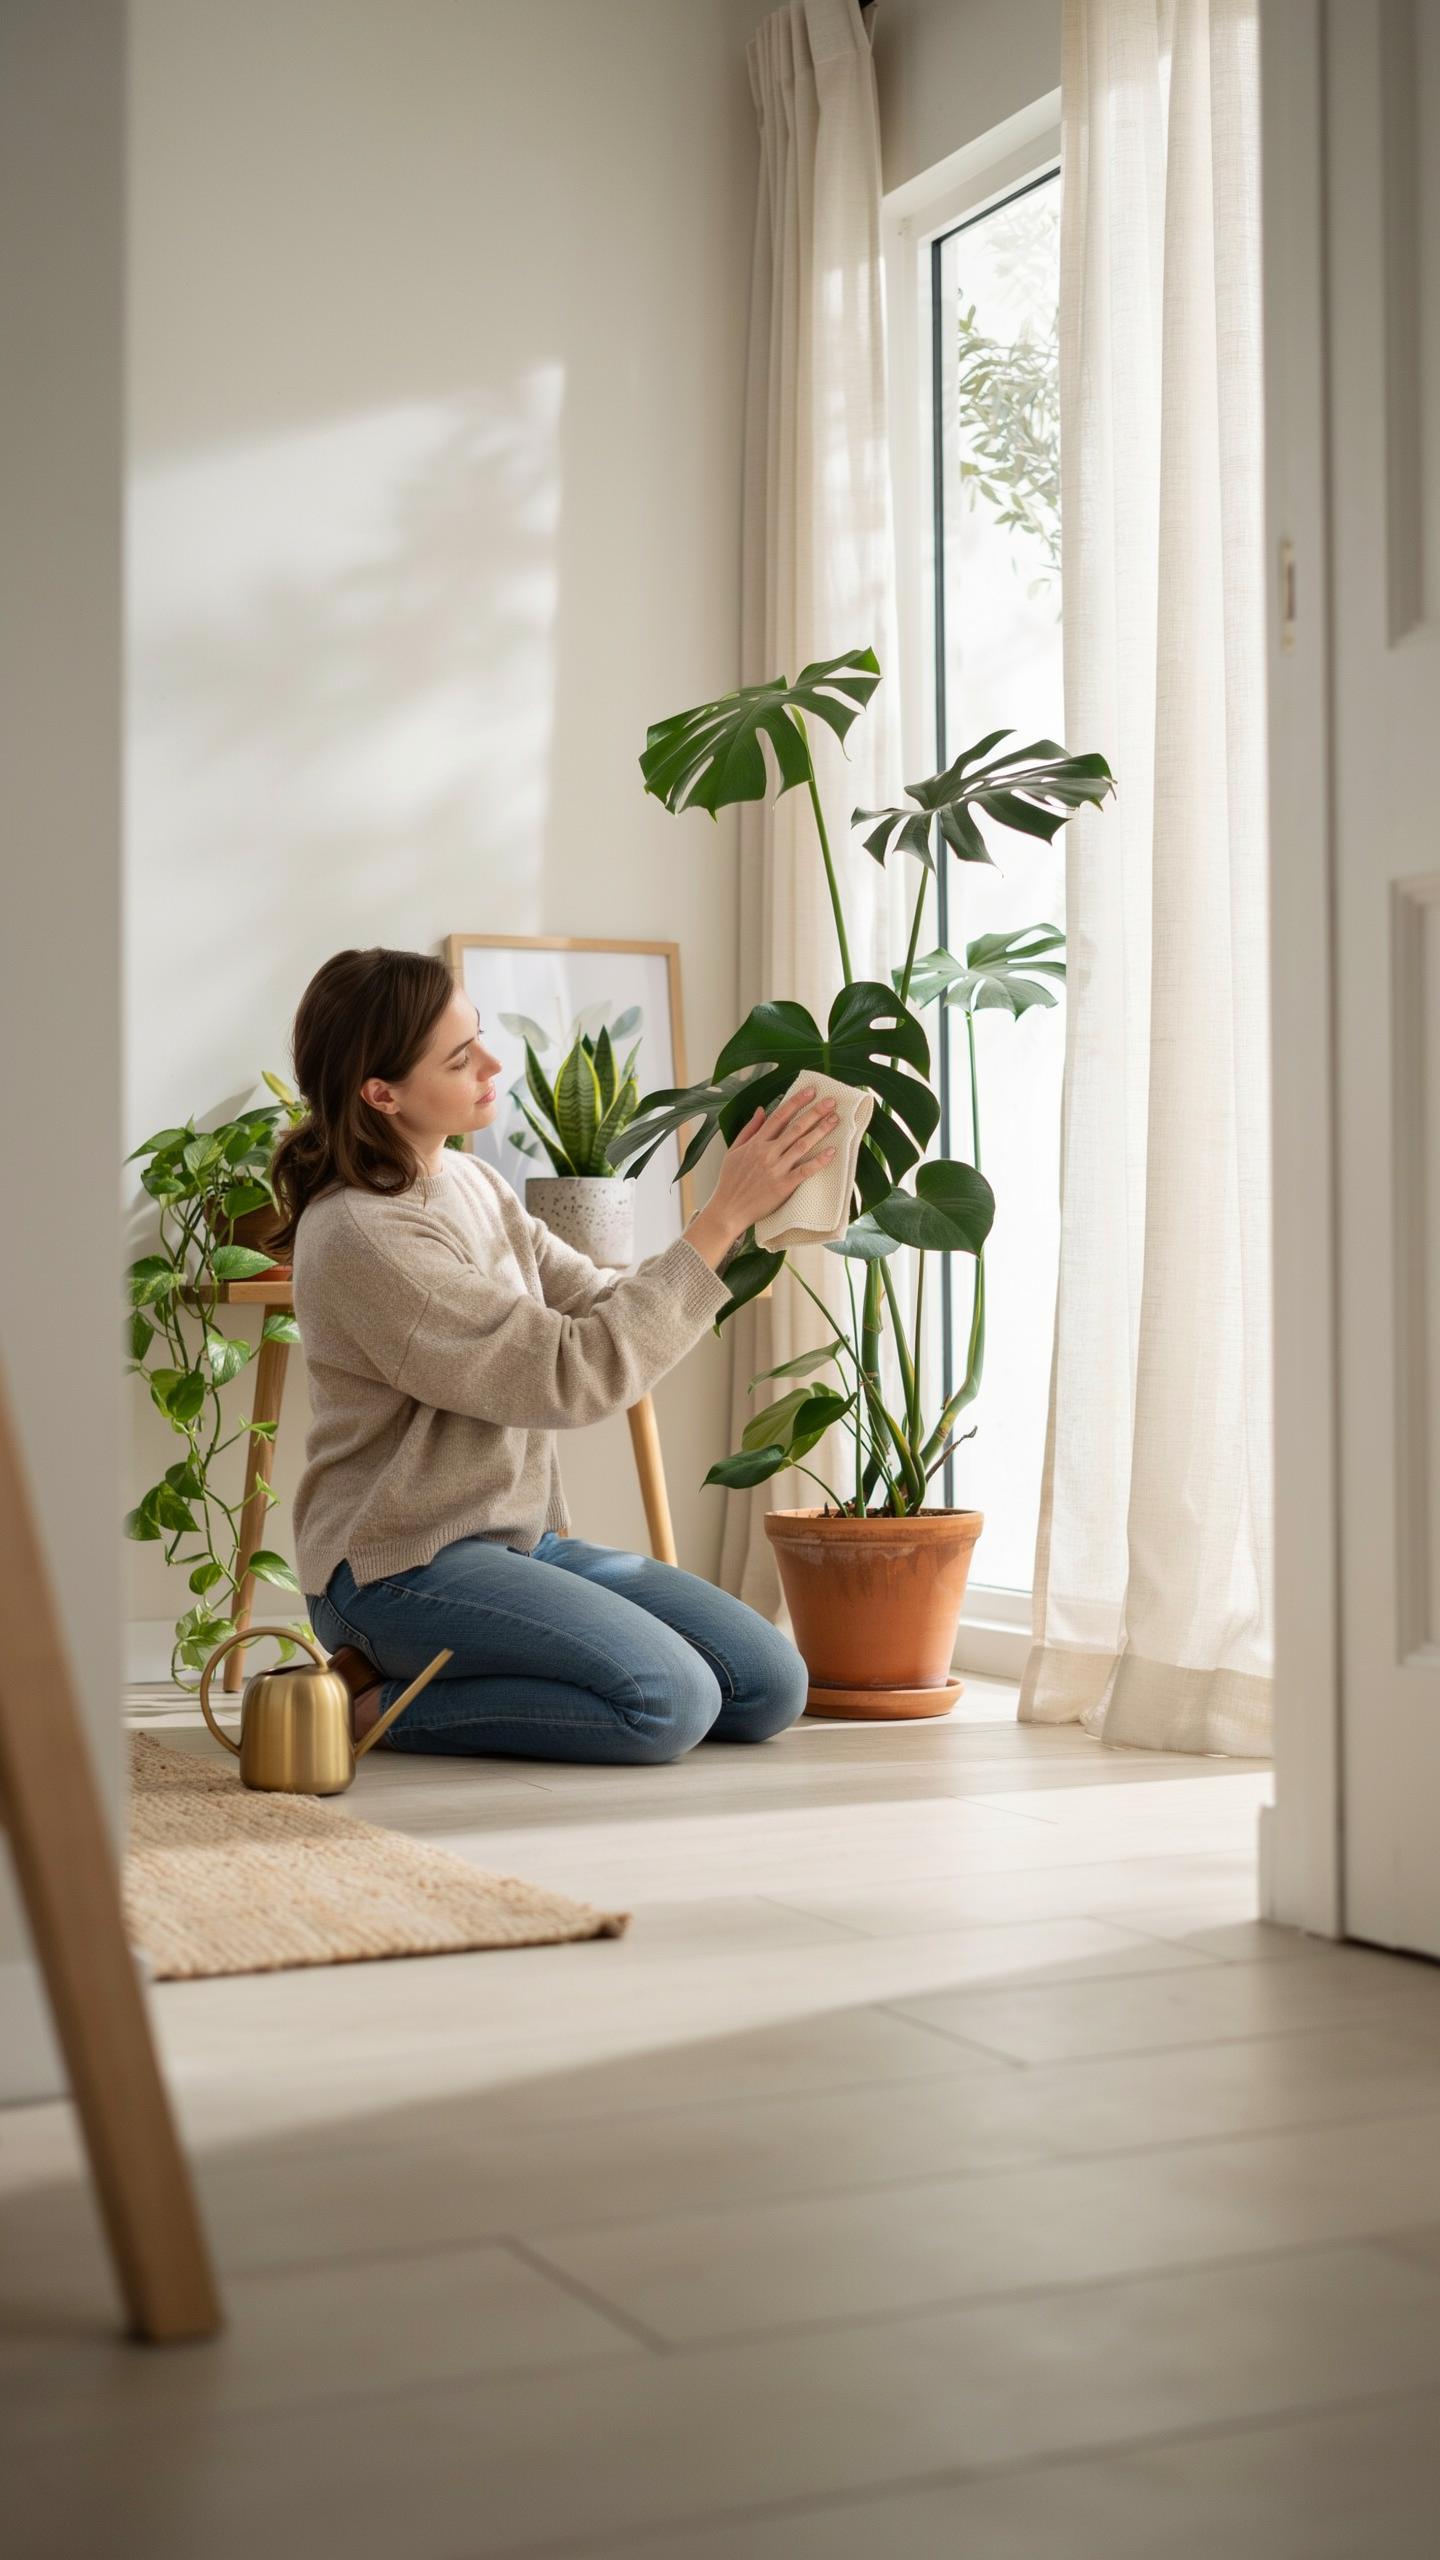
Removing Dust To Improve Sunlight Absorption
Dust accumulates on leaves and blocks light from reaching the plant’s surface. Plants need light to convert it into energy through photosynthesis. When dust builds up, less light penetrates the leaf, reducing the plant’s ability to produce food and grow. Regular cleaning removes this barrier and restores full light access to your plant.
Cleaning leaves also helps you spot problems early. You can identify yellowing, spots, or damage while wiping each leaf. This hands-on inspection catches issues before they become serious. A clean plant performs better because it receives the full light spectrum it needs to thrive.
Preventing Pest Infestations Through Regular Inspections
Dust and debris on leaves create hiding spots for pests like spider mites, mealybugs, and scale insects. These pests feed on plant sap and weaken your houseplant over time. Cleaning removes both pests and the environment they prefer. Regular wiping disrupts their colonies before infestations spread to other plants in your home.
Inspecting leaves during cleaning lets you catch pest activity early. You can see webbing, sticky residue, or actual insects while cleaning each leaf surface. Early detection makes treatment easier and more effective. This preventive approach stops minor pest problems from becoming expensive, time consuming infestations that damage multiple plants.

The Ultimate Houseplant Care Leaf Cleaning Method For Beginners

Wiping Leaves With A Damp Microfiber Cloth
Dust accumulates on leaves and blocks light absorption. This reduces photosynthesis and weakens plant growth. Microfiber cloth removes dust without scratching or damaging leaf surfaces. The material traps particles better than cotton or paper towels, which can leave residue or fibers behind.
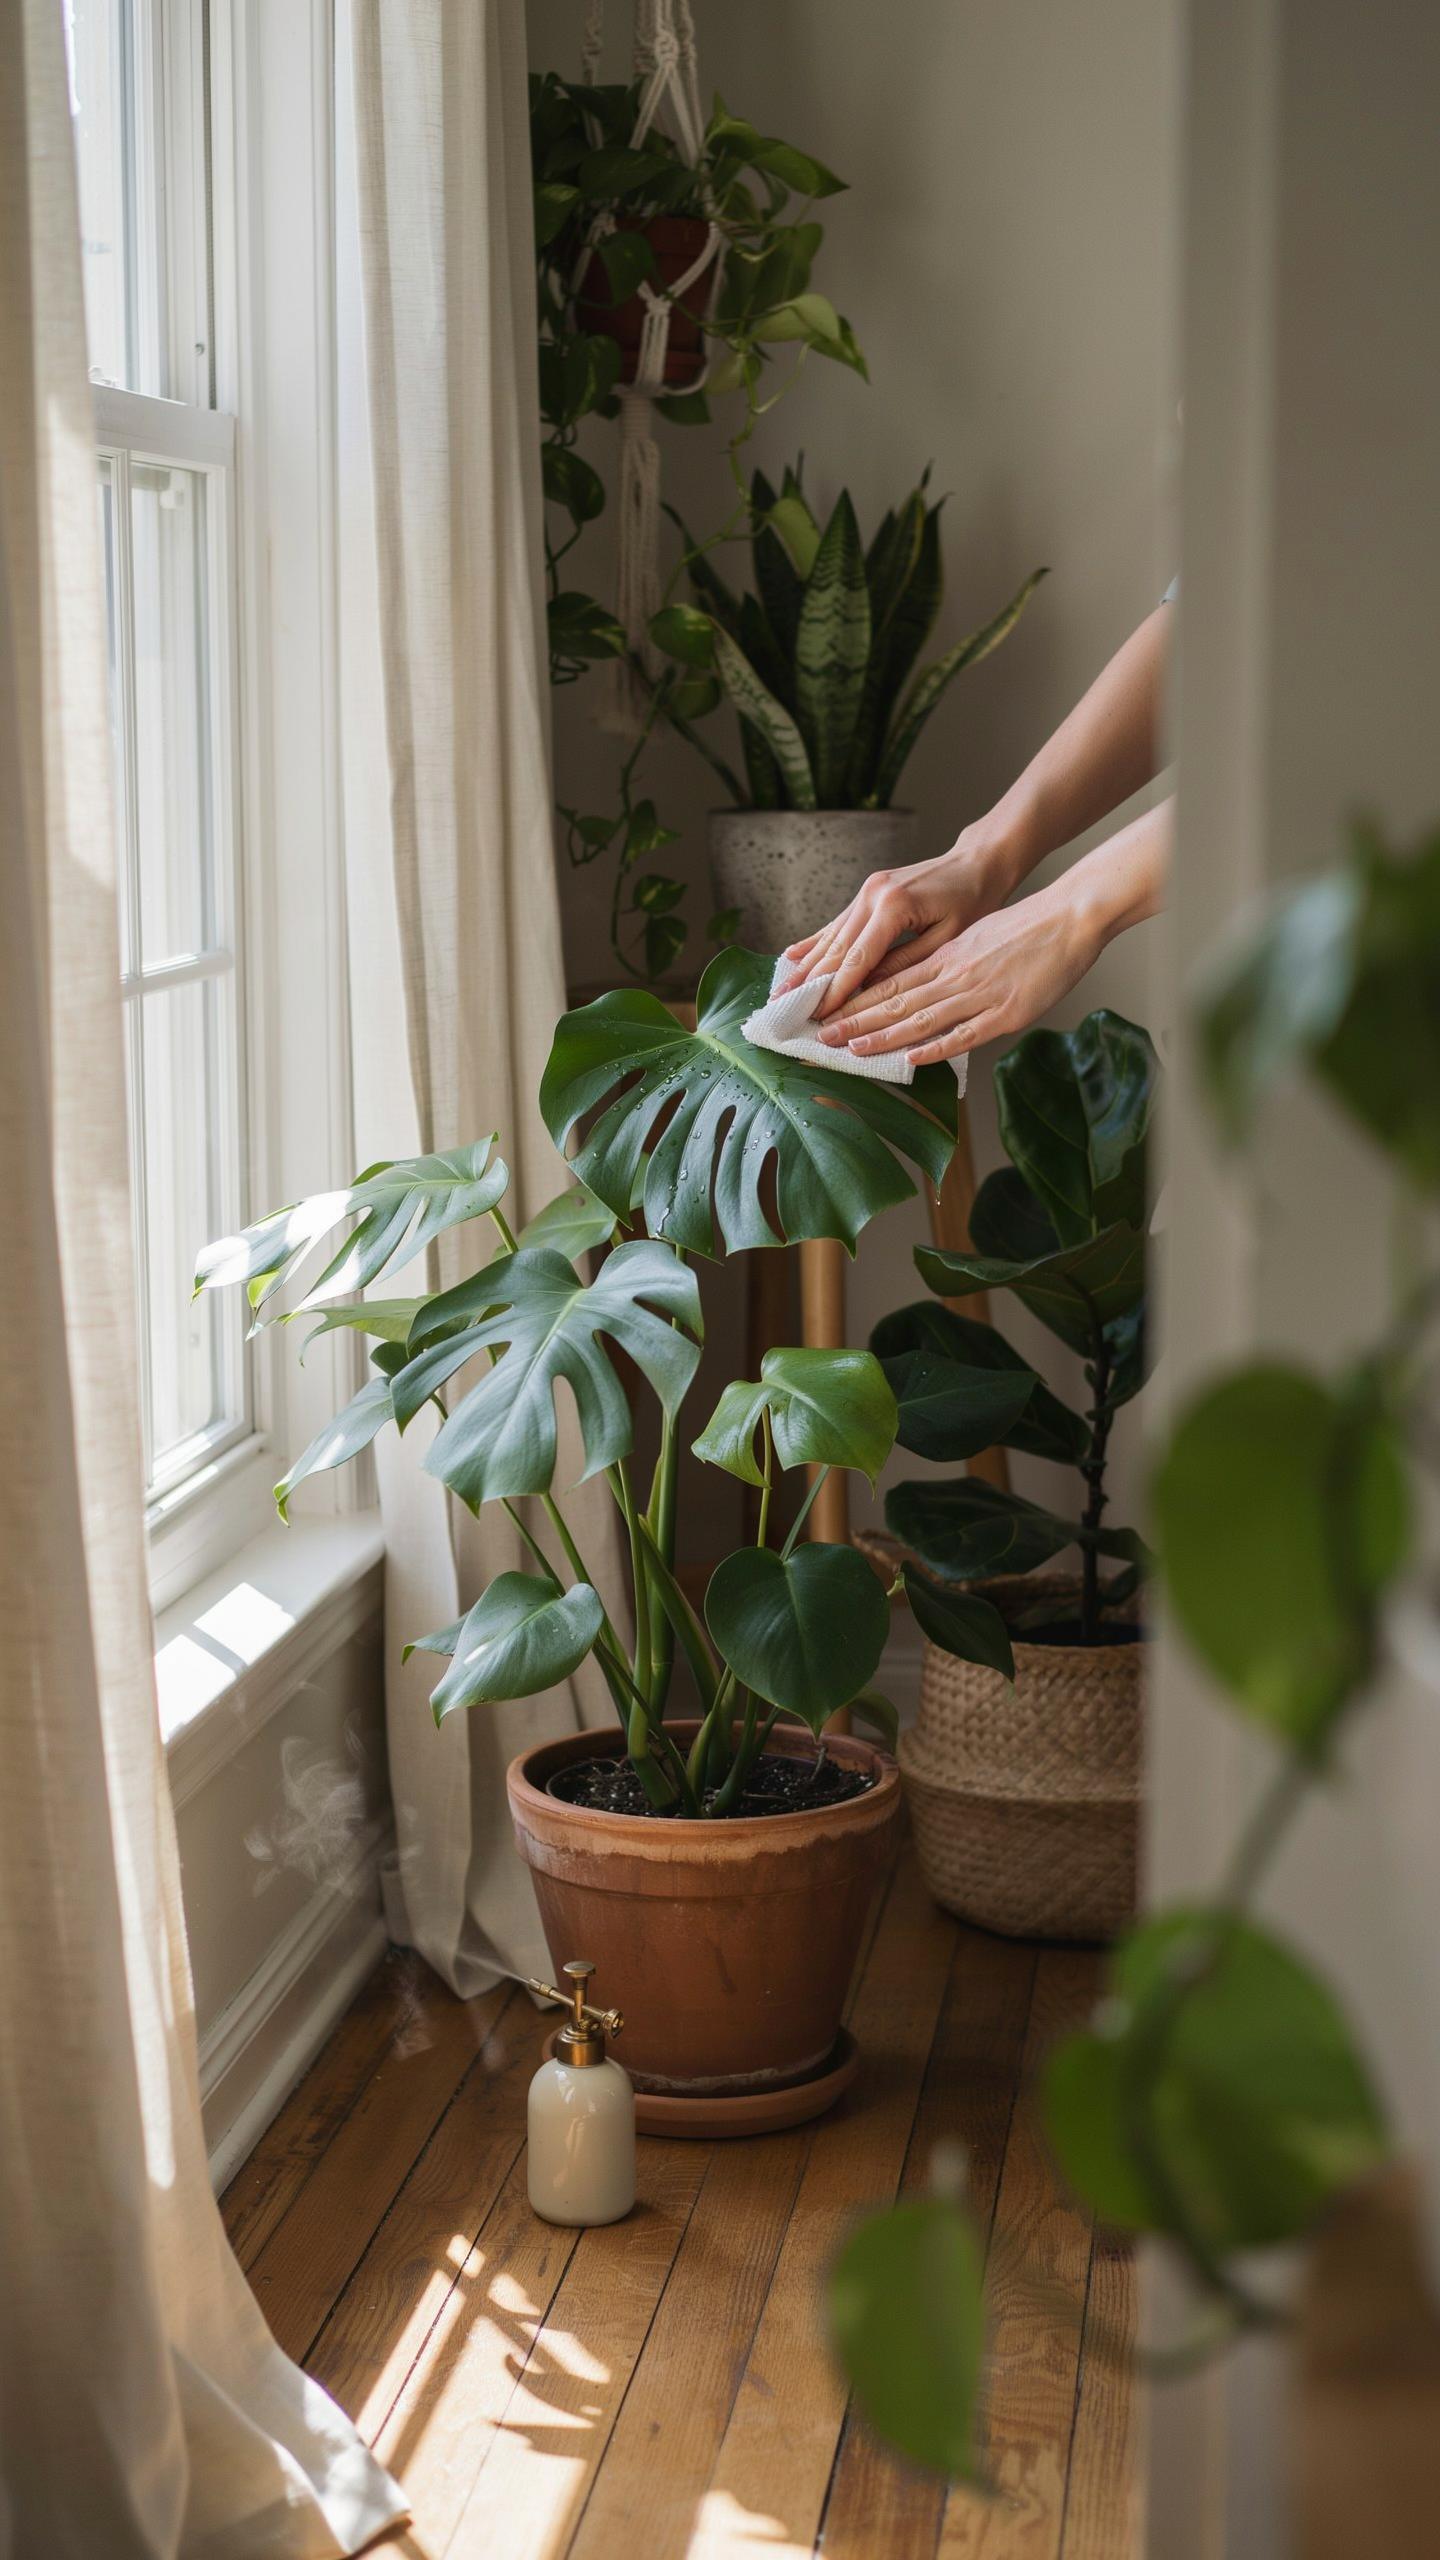
Use distilled water or room temperature tap water on your microfiber cloth. Wring out excess moisture so the cloth stays damp, not dripping wet. Support the leaf with one hand while wiping gently in the direction of the leaf veins. Work from the base of the leaf toward the tip to avoid forcing water into the plant’s pores.
Supporting Plant Stems To Prevent Accidental Damage
Leaves attach to stems that bend under pressure. When you wipe a leaf, the stem absorbs the force of your hand. Failing to support the stem risks breaking branches or tearing leaves where they connect. One hand stabilizes the stem while your other hand cleans the leaf surface.

Place your supporting hand under the leaf or on the stem itself just below the leaf base. This distributes pressure evenly and prevents the leaf from folding backward. Never lean on the plant or use excessive force while cleaning. Work deliberately but gently to maintain plant structure and health.
How To Clean Plant Leaves To Maximize Photosynthesis
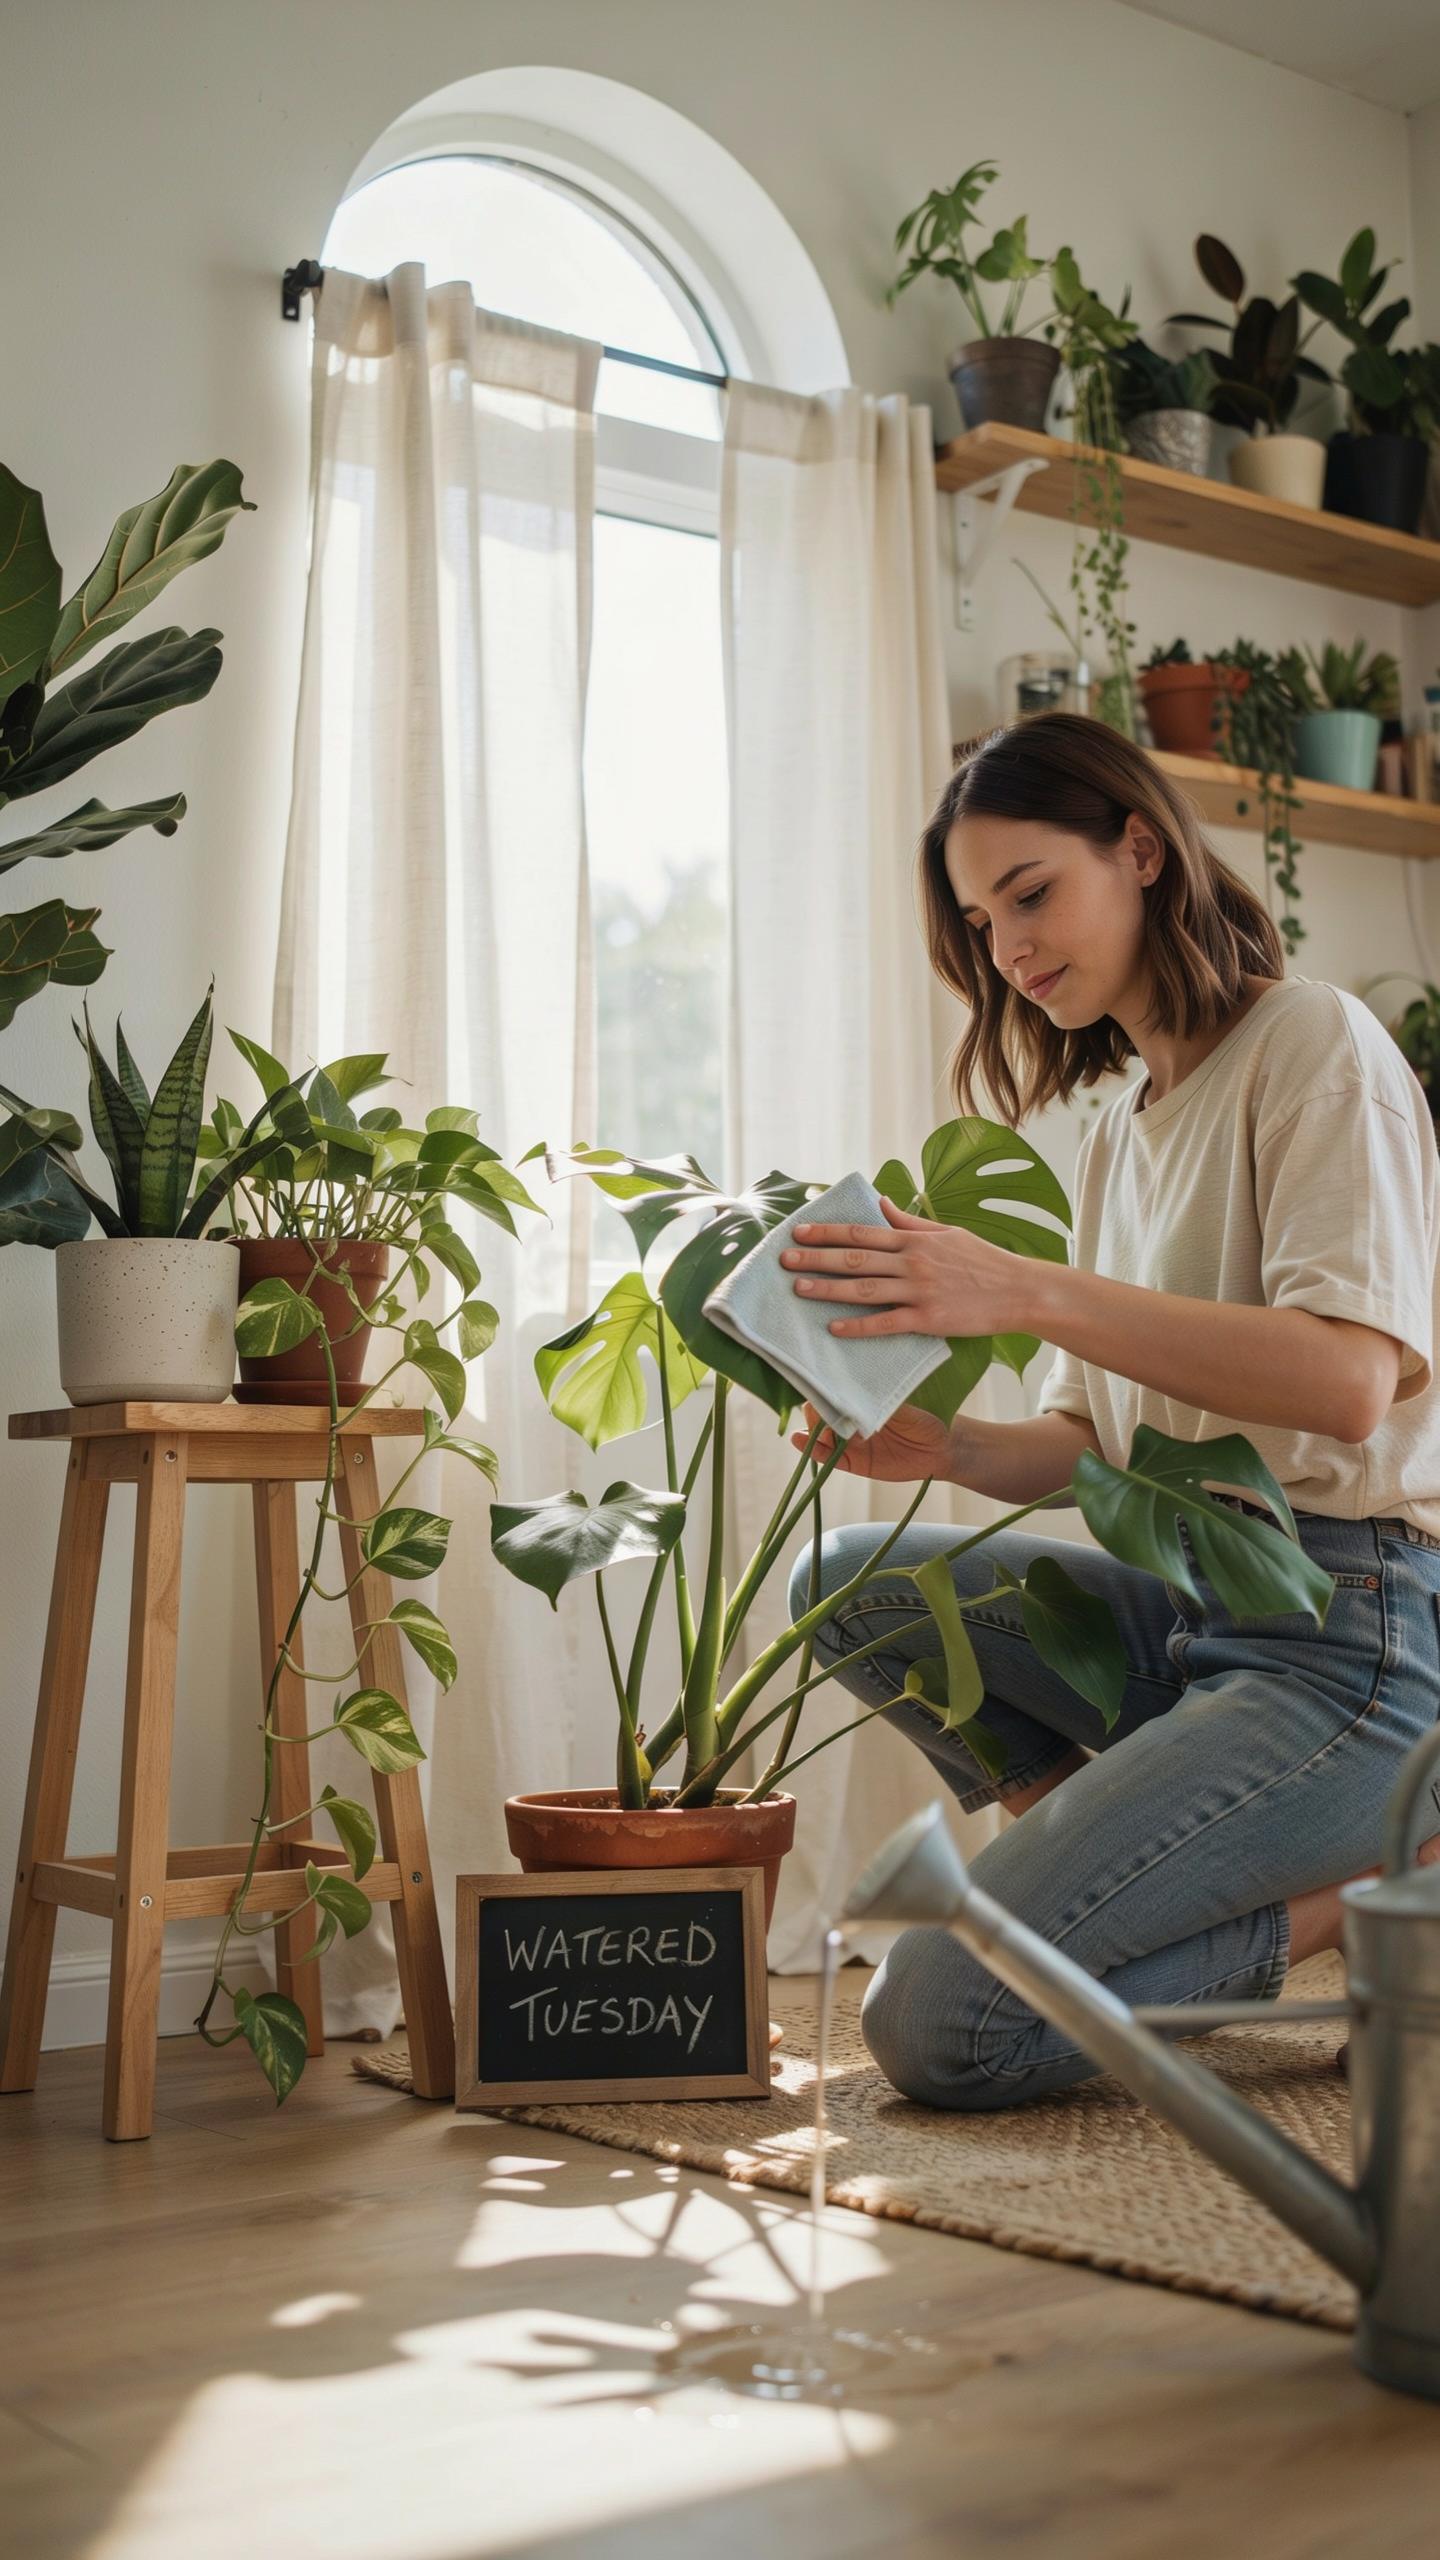
Stomata And Gas Exchange
Plant leaves contain stomata, which are microscopic pores on the leaf surface. These pores open and close to regulate gas exchange. Carbon dioxide enters through stomata for photosynthesis. Oxygen exits as a byproduct. Water vapor also escapes through these openings. Dust accumulation blocks stomata, restricting gas flow and reducing photosynthetic efficiency.
Dust particles physically obstruct stomatal openings and reduce light penetration to leaf cells. When stomata cannot function properly, plants cannot absorb sufficient carbon dioxide. Photosynthesis slows down dramatically. The plant produces less energy and grows more slowly. Cleaning leaves removes this barrier and restores normal stomatal function, allowing the plant to process light and gases more effectively.
Recognizing Signs Of Light Deprivation In Dusty Plants
Dusty leaves reflect and scatter incoming light instead of absorbing it. Plants covered in dust receive less usable light energy for photosynthesis. Over time, this creates visible stress symptoms. Leaves may yellow or fade in color. Growth slows noticeably. New leaves emerge smaller than normal. The plant appears weak and stalled in development compared to identical plants in clean conditions.

Inspect leaf surfaces regularly for dust buildup. Use a magnifying glass if necessary to see fine particles. Check undersides of leaves where dust accumulates heavily. If leaves look dull or matte rather than glossy, cleaning is overdue. Act before yellowing or stunted growth appears. Regular cleaning prevents light deprivation before damage occurs, maintaining consistent photosynthetic output and plant vigor throughout the growing season.
Step By Step Cleaning House Plants Leaves Safely
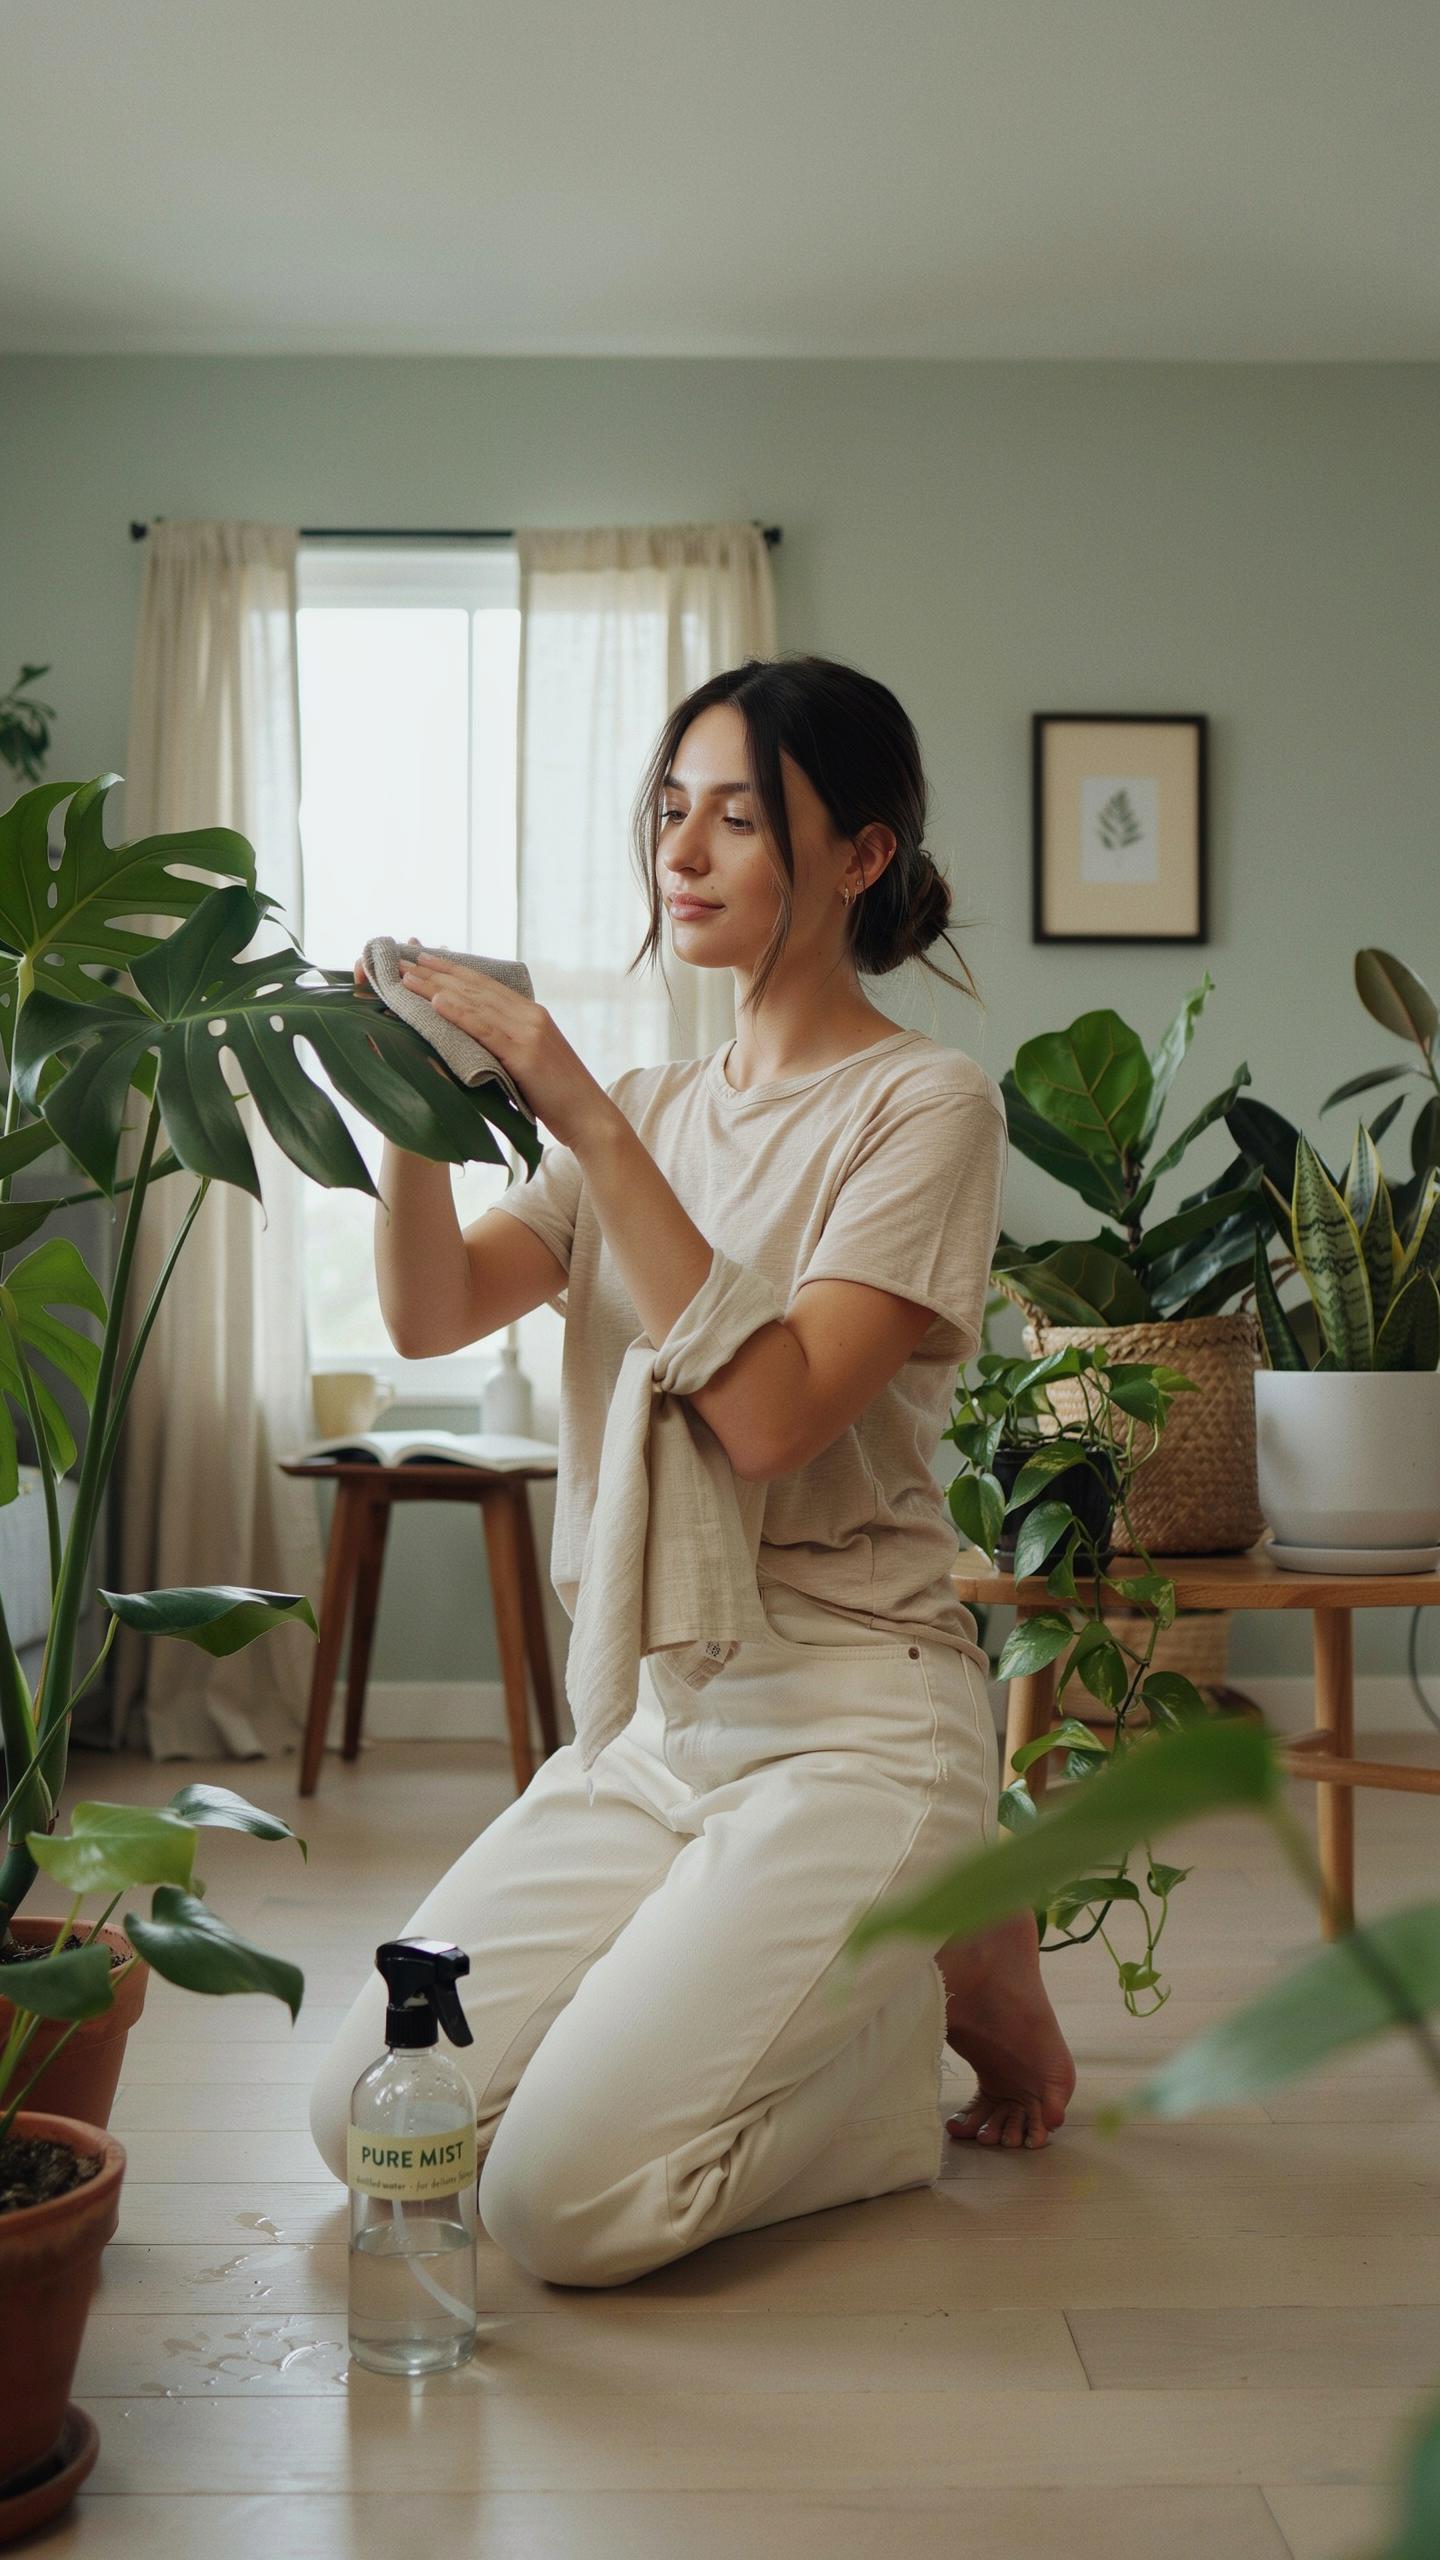
Step By Step Routine
A Step-By-Step Routine for Smooth Leaf Varieties
Start by gathering supplies before touching any plant. You need distilled water, a soft cloth or sponge, and a small bowl. Room temperature water works best. Never use tap water with high mineral content as it leaves white residue on leaves. Work in indirect light to see dust clearly and avoid leaf damage from direct sun exposure during cleaning.
To wipe a leaf is to touch the soul of the home, clearing the dust of yesterday to let the light of tomorrow shine through. When we tend to our plants with such care, we are softly polishing the very air we breathe.
- Distilled water: Use distilled or filtered water to prevent mineral buildup that tap water leaves behind on leaf surfaces.
- Soft cloth or sponge: Choose microfiber cloths or natural sponges that won’t scratch or damage the leaf cuticle layer.
- Support the leaf: Place one hand under the leaf while wiping with the other to prevent stress on the petiole and stem connection.
- Wipe from base to tip: Move in one direction along the leaf veins to remove dust and debris effectively without causing damage.
- Work during low light: Clean plants in shade or early morning to prevent water droplets from magnifying sunlight and burning leaves.
- Dry completely: Use a dry cloth to remove excess moisture after cleaning to prevent fungal growth and spots on the leaf surface.
Clean one leaf at a time using gentle pressure. Never rub aggressively or use circular motions that stress the leaf tissue. Most houseplants tolerate this method monthly or when visible dust accumulates. Check the underside of leaves where pests often hide. Complete the process within 15 to 20 minutes to minimize plant stress from handling.
Handling Delicate And Variegated Foliage With Care
Delicate leaves require modified techniques to prevent tearing or damage. Plants like African violets, begonias, and calatheas have fragile leaf structures that break easily under pressure. Use only distilled water without any additives or commercial leaf shine products. These products clog leaf pores and interfere with gas exchange. Test your approach on the lowest leaf first before working on visible leaves.
For variegated plants, water pooling in the leaf pockets causes spotting and discoloration. Blot excess moisture immediately after cleaning rather than letting it air dry. Some variegated varieties show stress from excessive handling, so limit cleaning to once every two months. Inspect leaves for thin or translucent spots that indicate the plant cannot tolerate standard cleaning methods.
How To Clean Indoor Plant Leaves With Gentle Hand Washing
Sponge And Bucket Technique
Fill a bucket with room temperature water. Add a drop of mild dish soap if leaves have stubborn residue. Wet a soft sponge and wring it out completely so it is barely damp. This prevents water from pooling on leaves and causing damage. Work on one leaf at a time, supporting the stem with your other hand as you wipe.

Use gentle pressure and wipe in one direction from stem to leaf tip. This follows the natural direction of leaf growth and prevents damage to the waxy coating. Flip the sponge frequently to avoid spreading debris. Rinse the sponge between leaves to keep your cleaning effective. Large plants like Ficus or Monstera respond well to this method because you control water application precisely.
Supporting The Underside Of Leaves During Wiping
Cup the back of each leaf in your non-cleaning hand before you wipe the top surface. This support prevents the leaf from bending backward and snapping at the petiole, the point where the leaf connects to the stem. Hold steady and let the sponge do the work rather than applying force from above.
When cleaning the underside, use the same cupping technique but reverse your hands. Many plants store dust and spider mites on leaf undersides, so this step matters for plant health. Move slowly to avoid accidentally tearing young or delicate leaves. This two-handed approach takes more time but eliminates the most common damage from leaf cleaning.
Creating An Effective Plant Leaf Cleaner DIY At Home
Natural Ingredients For Solutions
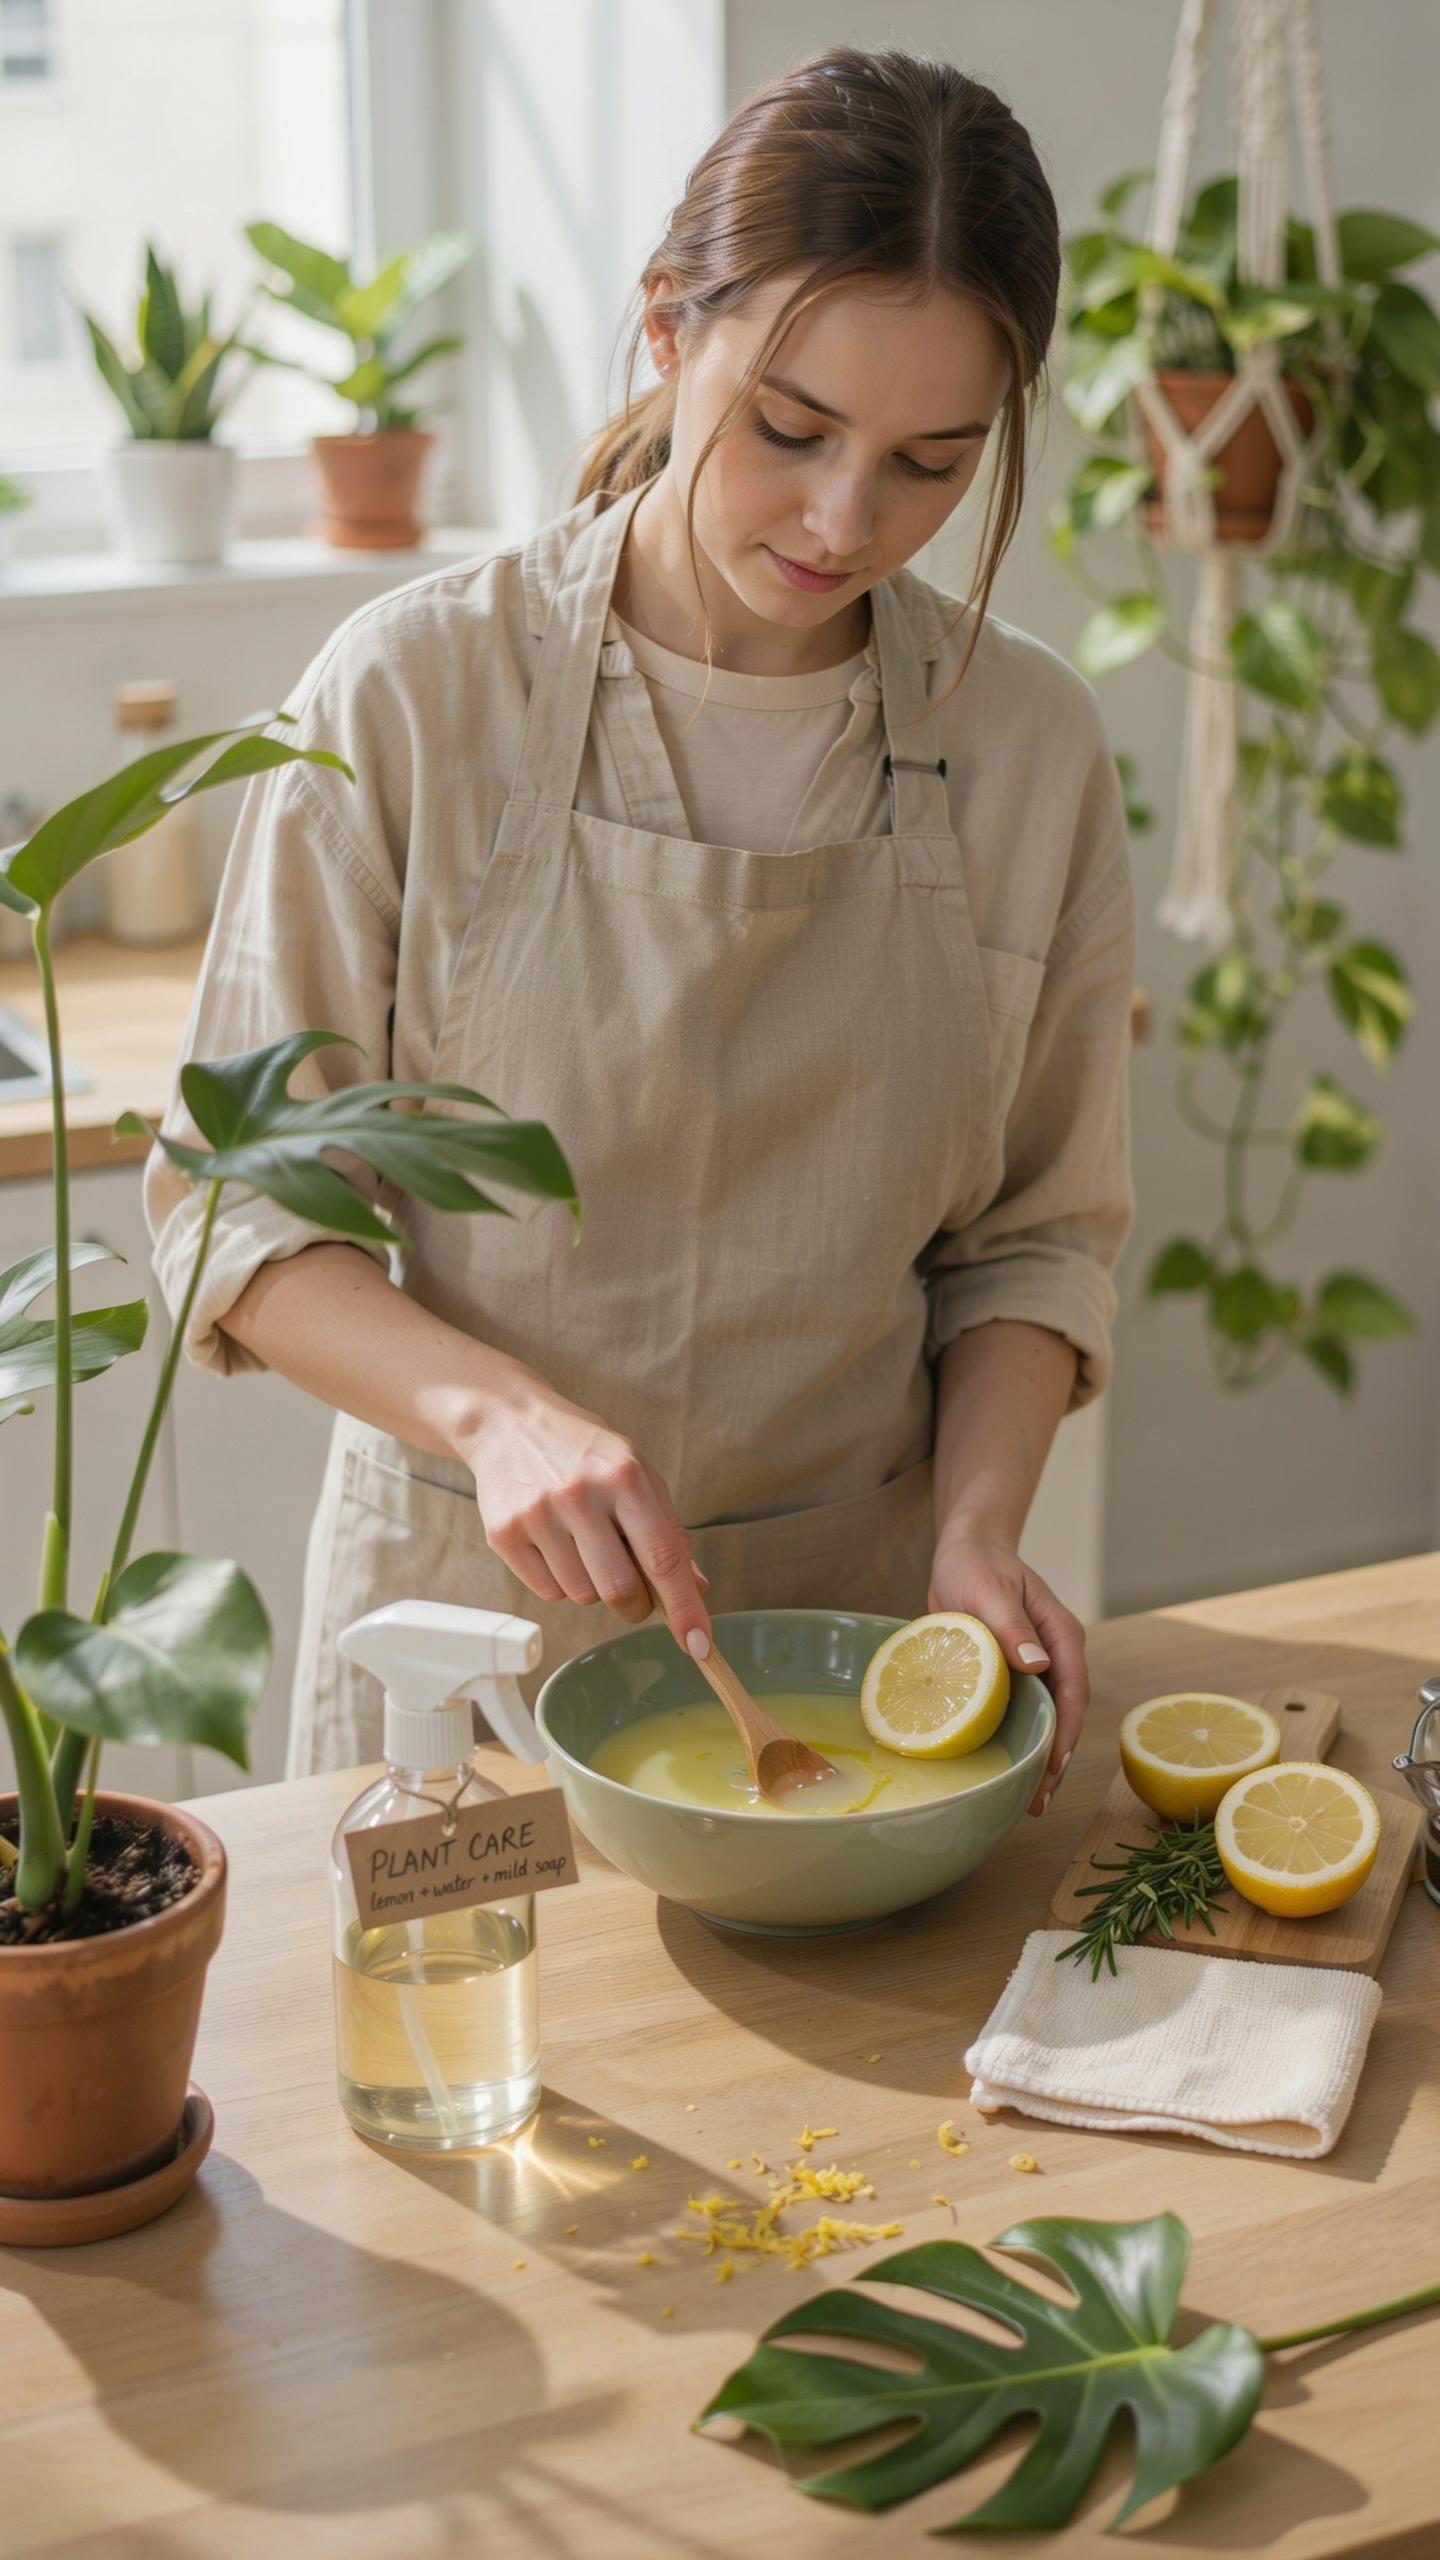
Water forms the foundation of any effective leaf cleaning solution. Distilled water works best because it lacks minerals that tap water contains, preventing white residue on leaves. Mix distilled water with one tablespoon of mild dish soap per quart for basic cleaning. This combination removes dust, spider mites, and debris without harming plant tissue or clogging stomata.
- Distilled Water: The base ingredient that prevents mineral buildup on leaf surfaces and maintains plant health during cleaning.
- Mild Dish Soap: A few drops break down dust and oils without toxic residue. Use unscented varieties to avoid chemical interference.
- White Vinegar: Mix one part vinegar with three parts water to cut through stubborn mineral deposits and pest residue effectively.
- Neem Oil: A plant-derived option that cleans leaves while addressing spider mites and mealybugs naturally without synthetic pesticides.
- Lemon Juice: Combines acidic properties to dissolve buildup with antimicrobial benefits. Use sparingly as citric acid can irritate sensitive leaves.

Apply solutions with a soft microfiber cloth or natural sponge. Wring out excess liquid to prevent water damage and root rot. Test any new solution on a single leaf first to check for adverse reactions before treating the entire plant.
Avoiding Commercial Leaf Shine
Commercial leaf shine products contain heavy silicone oils and waxes that clog plant stomata. Plants absorb oxygen, carbon dioxide, and water vapor through these pores on leaf undersides. Blocked stomata reduce photosynthesis, slow growth, and compromise plant health over time. Most commercial formulas also leave sticky buildup that traps dust and pests.
These products create a glossy appearance that masks plant problems. Yellowing, pest damage, and disease progress invisibly under the coating. Natural leaf health produces its own subtle shine without artificial enhancement. Stick to water-based solutions that clean without creating barriers between the leaf and air.
How To Clean House Plants Leaves Using The Shower Method
Showering Large Sturdy Plants In The Bathroom
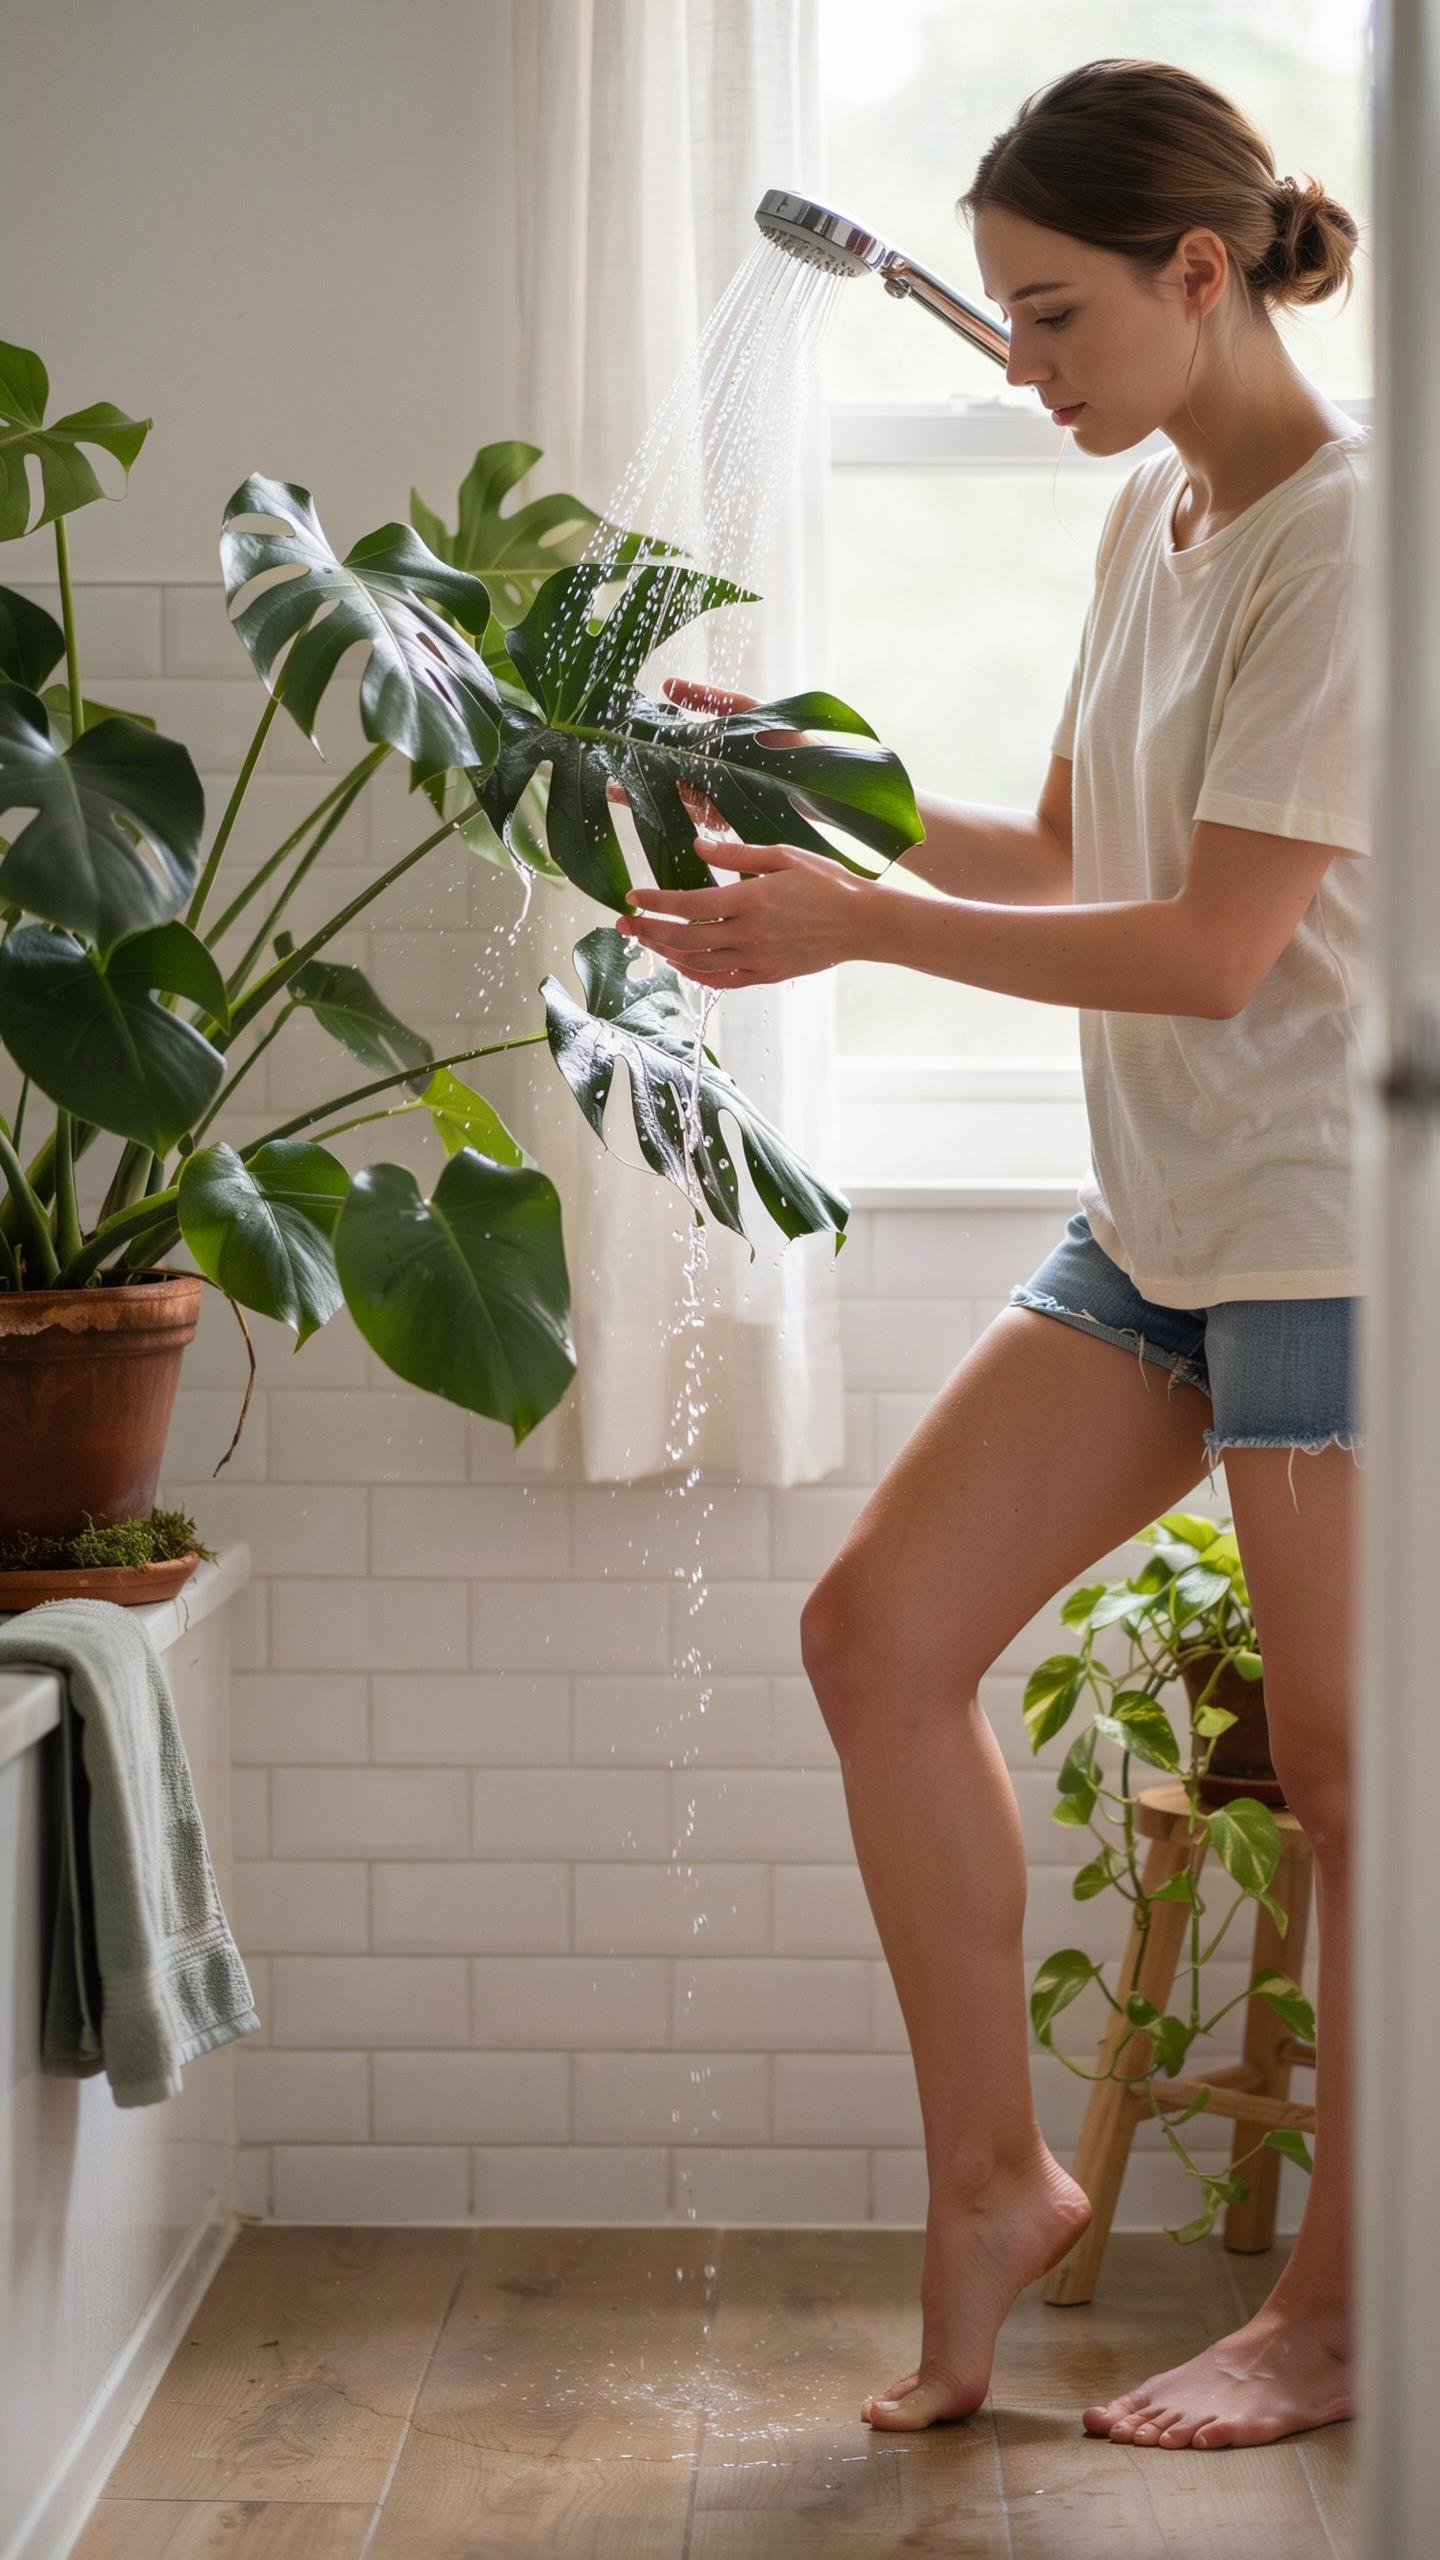
Place large plants directly in the shower or bathtub. Use lukewarm water at low pressure to avoid damaging leaves and stems. Start from the top and work downward, letting water cascade over all leaf surfaces. This removes dust, pests, and debris efficiently. Support the plant with one hand while spraying with the other.
Shower cleaning works best for plants with thick leaves like pothos, philodendrons, and rubber plants. Avoid using hot water, which stresses foliage. Keep the spray gentle to prevent leaf tearing. Position plants away from direct shower spray initially, then gradually increase water contact as leaves acclimate. Let excess water drain completely before returning plants to their locations.
Drying Tips To Prevent Soil Over Saturation
After showering, tilt pots to drain water from drainage holes completely. Use a clean cloth or paper towel to absorb standing water from saucers and pot bases. This prevents root rot by eliminating prolonged soil moisture exposure. Move plants to a well-ventilated area with indirect light to air dry remaining moisture on leaves.
Space plants apart during drying to promote air circulation around foliage. Open windows or run a fan to accelerate moisture evaporation. Avoid placing plants in direct sun immediately after cleaning, as wet leaves are vulnerable to sunburn damage. Wait until soil moisture returns to normal before resuming your regular watering schedule.
Essential Tips For Cleaning Plant Leaves Houseplant Owners Often Ignore
Cleaning Both The Tops And Bottoms Of Foliage
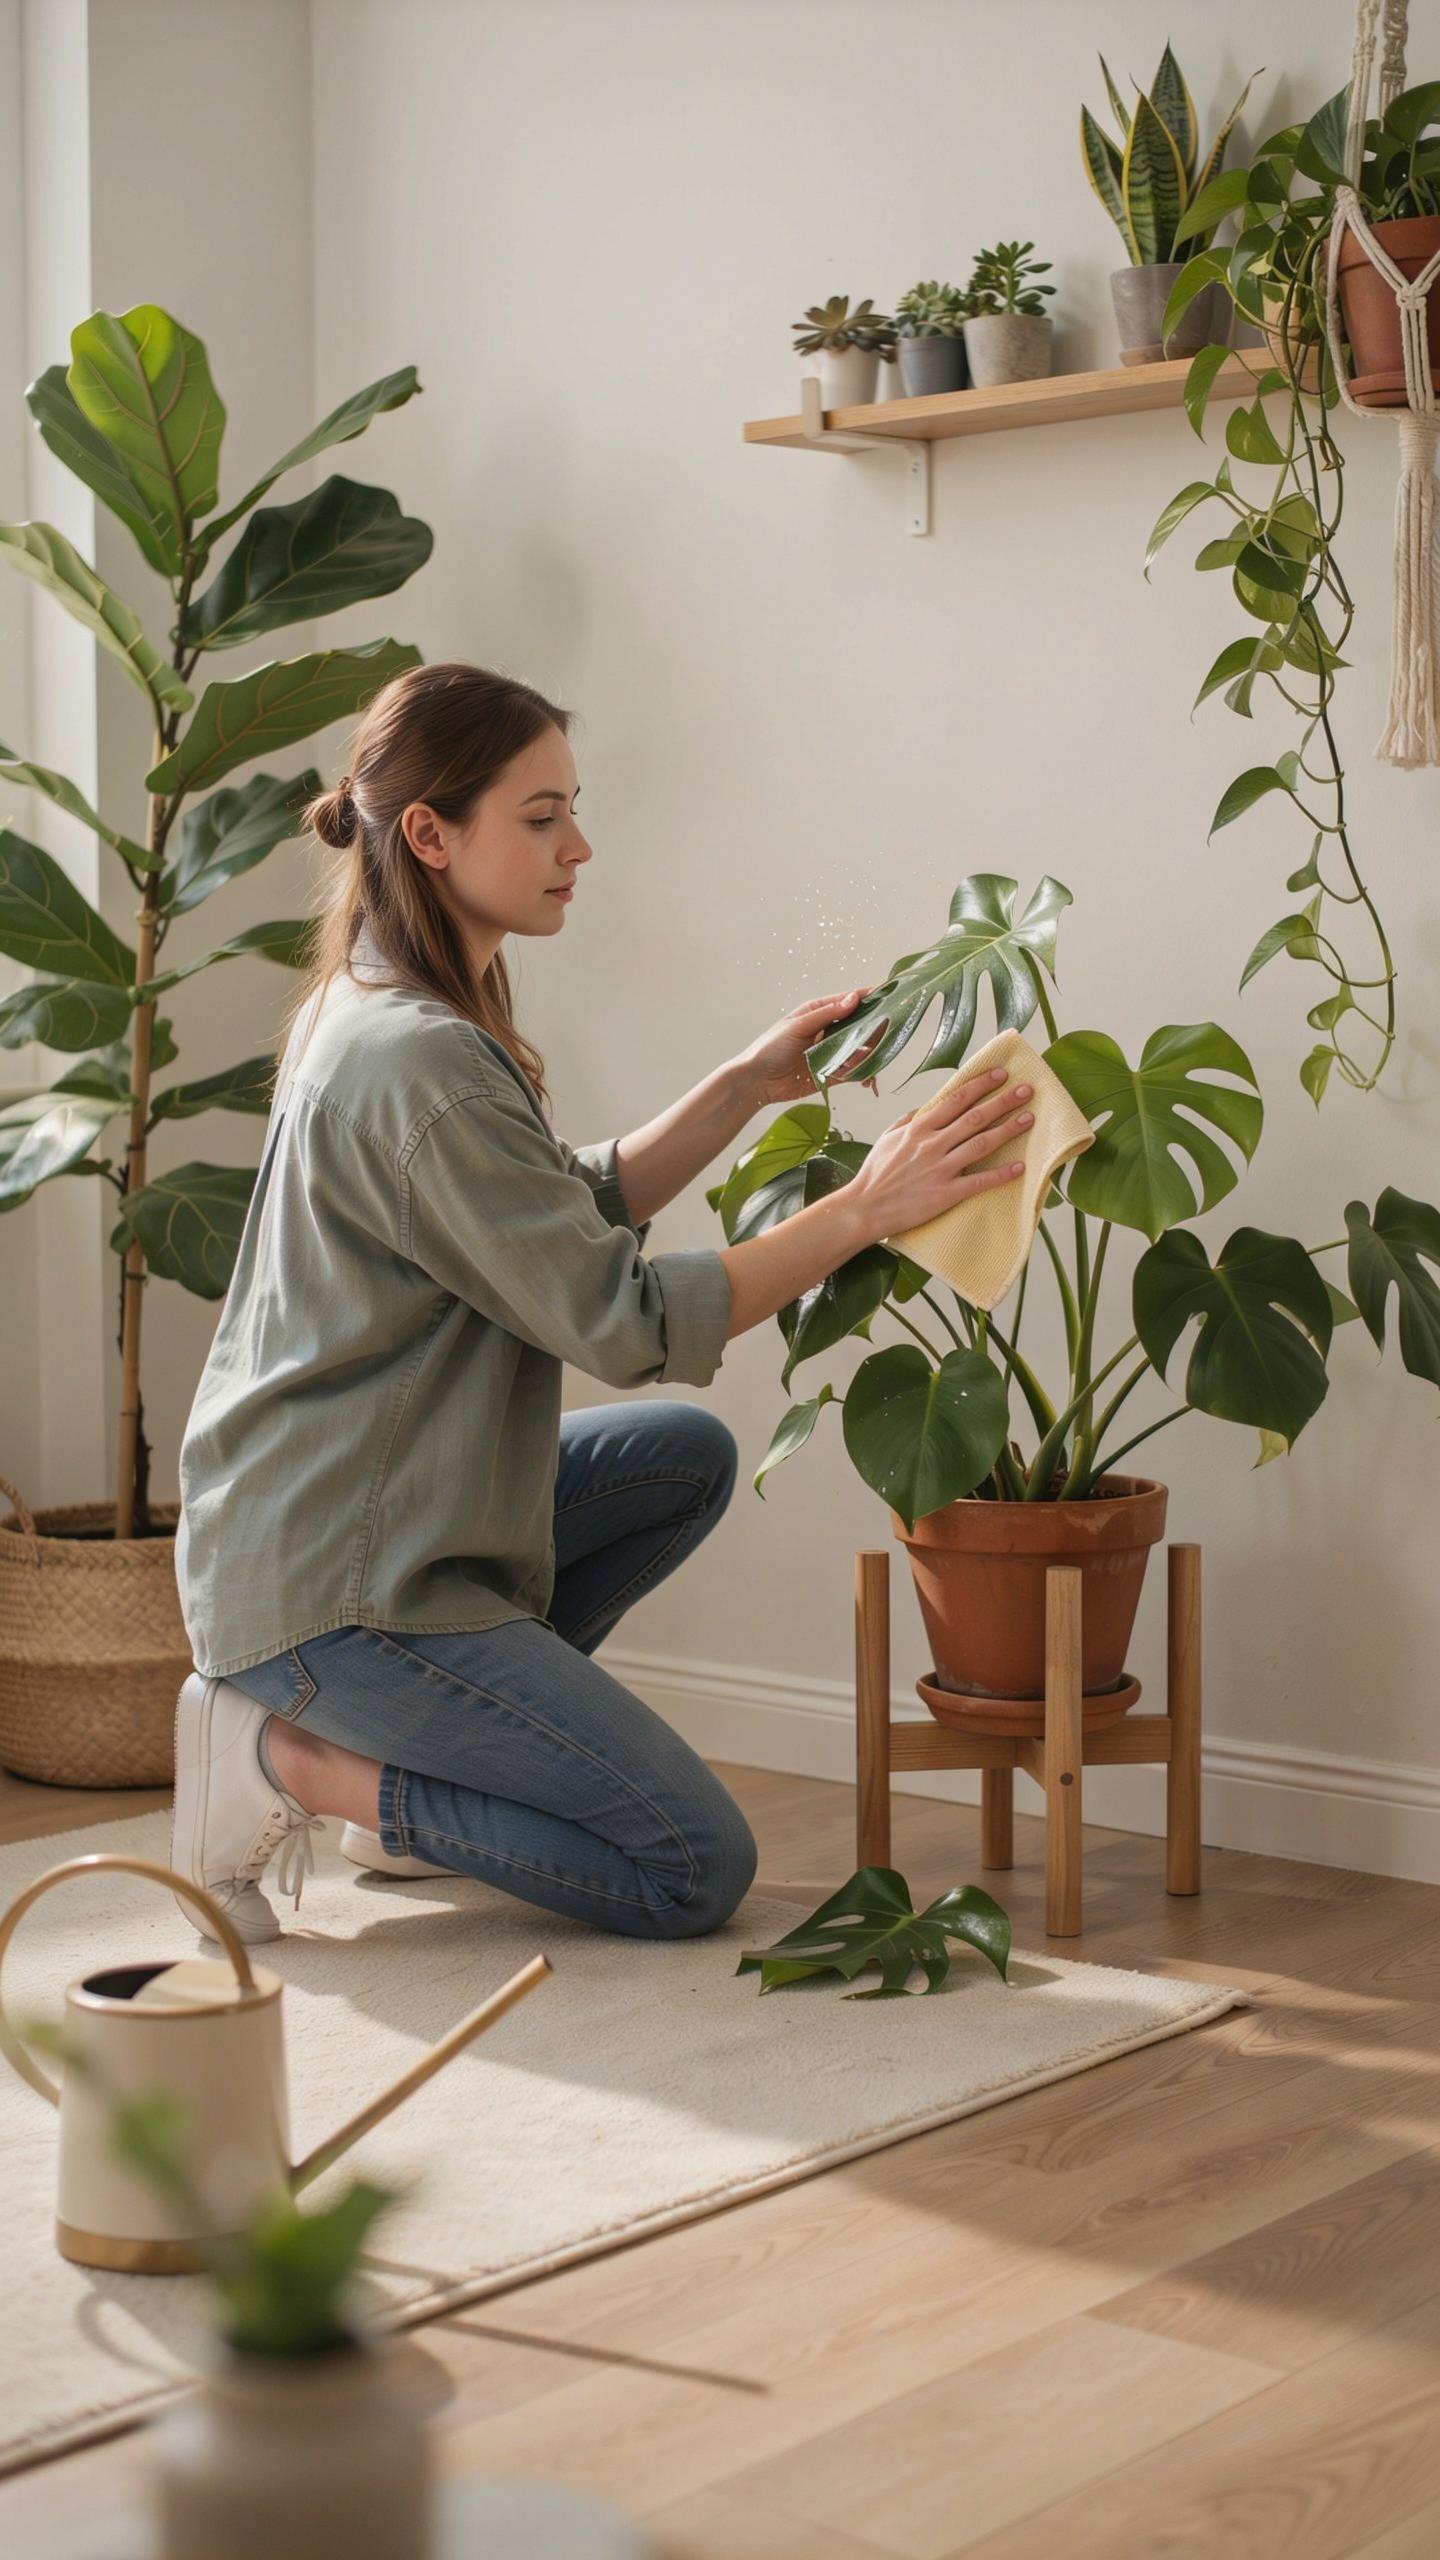
Most houseplant owners clean only the visible top surface of leaves. This misses half the problem. Dust and debris accumulate on leaf undersides where stomata, the pores plants use to breathe, concentrate. Ignoring the bottom surface reduces photosynthesis efficiency and restricts gas exchange. Your plants work harder and grow slower as a result.

Flip each leaf gently and wipe the underside with a soft cloth or sponge. Use the same cleaning solution you apply to the top. Pay special attention to leaves with textured or ridged undersides, as dust settles deeper in these grooves. This two-sided approach takes extra time but directly improves plant health and appearance.
Choosing The Right Water Temperature To Prevent Thermal Shock
Cold water shocks plant tissues and can damage delicate foliage. Water temperature extremes trigger stress responses in plants and may cause leaf spotting or browning. Room temperature water, between 65 and 75 degrees Fahrenheit, keeps plants comfortable during cleaning.
Test the water with your finger before application. Avoid tap water directly from cold lines. Let water sit for 30 minutes after running from the tap, or mix cold and warm water to reach the target range. This simple step prevents visible damage and protects your plant’s ability to process nutrients effectively.
How To Clean Plant Leaves Houseplant Varieties With Fuzzy Foliage

Soft Bristled Brushes
Use soft-bristled brushes on fuzzy-leafed plants like African violets and certain succulents. These brushes remove dust without damaging delicate trichomes, the fine hair-like structures covering velvety leaves. Work gently in one direction, following the leaf’s natural growth pattern. Brush toward the leaf tip to avoid pushing debris into the plant’s stomata.
African violets need particular care because their fuzzy coating protects against water damage. Use a dedicated brush with bristles no firmer than a makeup brush. Damp the bristles slightly with distilled water to improve dust capture. Test on one leaf first to confirm the plant tolerates your technique before cleaning the entire plant.
Liquid Sprays And Rot
Liquid sprays cause rot on velvety leaves because water sits on the fuzzy surface instead of running off. Fuzzy foliage traps moisture in the trichomes, creating conditions for fungal and bacterial growth. These organisms thrive in damp environments and penetrate leaf tissue through damaged hairs. African violets and begonias are especially vulnerable to crown rot from water exposure.
Skip misters and spray bottles for fuzzy-leafed varieties. Standing water on these leaves leads to visible spots, leaf collapse, and stem rot at the crown. If you must hydrate the foliage, use a barely damp cloth and support the leaf from underneath. Allow the plant to dry completely in a well-ventilated space within two hours.
Best Practices For Plant Leaf Cleaning And Ongoing Maintenance
Consistent Cleaning Schedule
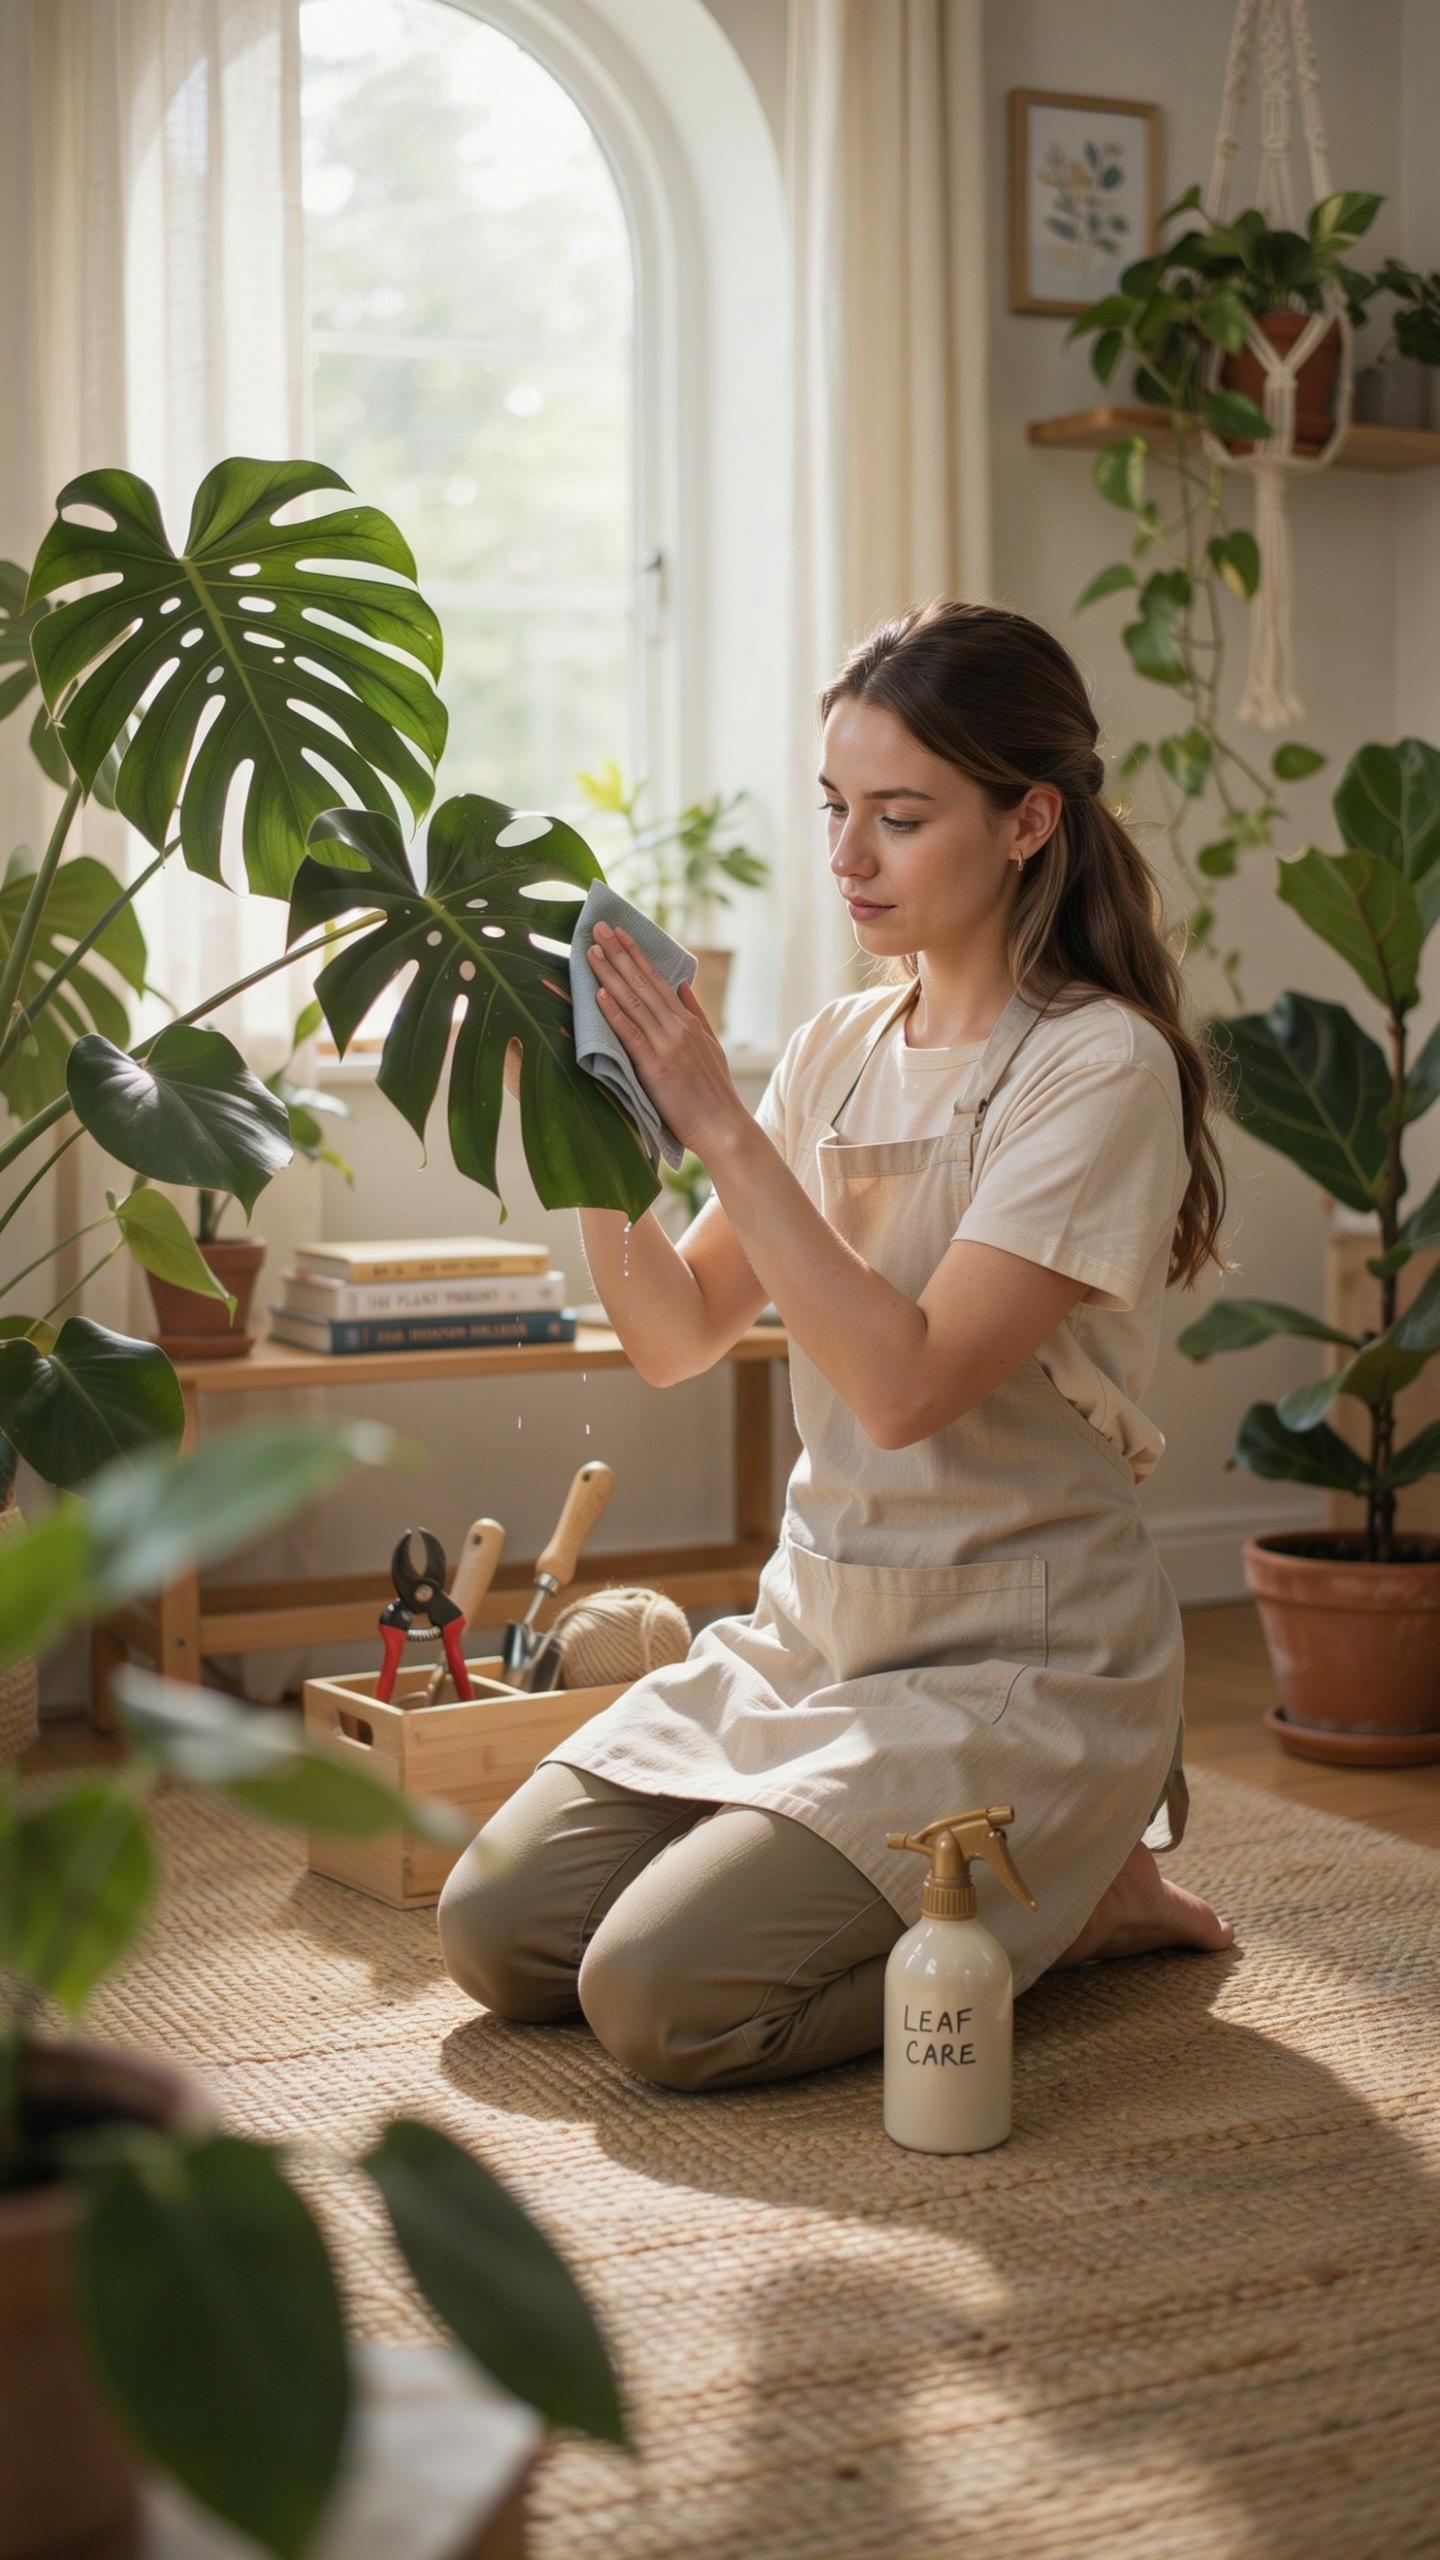
Clean leaves every two to four weeks depending on your environment. Dusty indoor spaces need more frequent cleaning than naturally humid areas. Plants in kitchens or near windows accumulate dust faster. Check leaves weekly to assess dust buildup and plan your cleaning accordingly. Consistency matters more than perfection here.
Establish a routine that fits your schedule and stick to it. Morning cleaning works best because it allows leaves to dry before nightfall, reducing fungal issues. Mark your calendar or set phone reminders to stay on track. Plants in low-light areas need less frequent cleaning than those in bright spots. Regular cleaning prevents pest infestations and keeps stomata open for better photosynthesis.
Trimming Dead Or Damaged Foliage During Cleaning
Remove dead leaves and damaged sections while you clean. Use sharp, sterilized pruning shears or scissors to make clean cuts. Never tear or pull leaves by hand, as this damages plant tissue and invites disease. Cut damaged leaf sections at the natural leaf line or where damage begins. Discard removed material immediately, not near other plants.
Trimming improves air circulation and redirects plant energy toward healthy growth. Remove leaves that show yellowing, browning, pest damage, or disease spots first. Make cuts at a forty-five degree angle just above leaf nodes when trimming stems. Clean your tools with rubbing alcohol between cuts to prevent disease spread. This practice keeps plants looking healthy and functioning at peak performance.
Frequently Asked Questions

Why is it important to clean the leaves of my indoor plants?
Dust buildup on foliage acts like a barrier, blocking sunlight and reducing the plant’s ability to photosynthesize efficiently. By using a regular houseplant care leaf cleaning method, you ensure your greenery stays healthy and vibrant. Removing dust also allows the plant to breathe through its pores and helps discourage pests like spider mites from settling in, ultimately keeping your indoor urban jungle looking refreshed and beautiful.
What is the most effective way to wipe down large plant leaves?
For plants with broad leaves like Monstera or Fiddle Leaf Figs, the best houseplant care leaf cleaning method involves using a soft, damp microfiber cloth. Gently support the underside of the leaf with one hand while wiping away dust with the other using lukewarm water. Avoid using harsh chemicals or commercial leaf shiners, as these can clog pores. Always work from the stem toward the tip for a streak-free finish.
Can I clean my plants using common household items I already have?
Absolutely! You don’t need expensive specialty products to maintain a stunning indoor garden. A simple mixture of filtered water and a few drops of mild dish soap or diluted lemon juice works wonders. For fuzzy-leafed plants like African Violets, a soft-bristled paintbrush or an old makeup brush is the perfect accessible tool to whisk away debris without damaging the delicate foliage, making plant maintenance easy and affordable for everyone.



