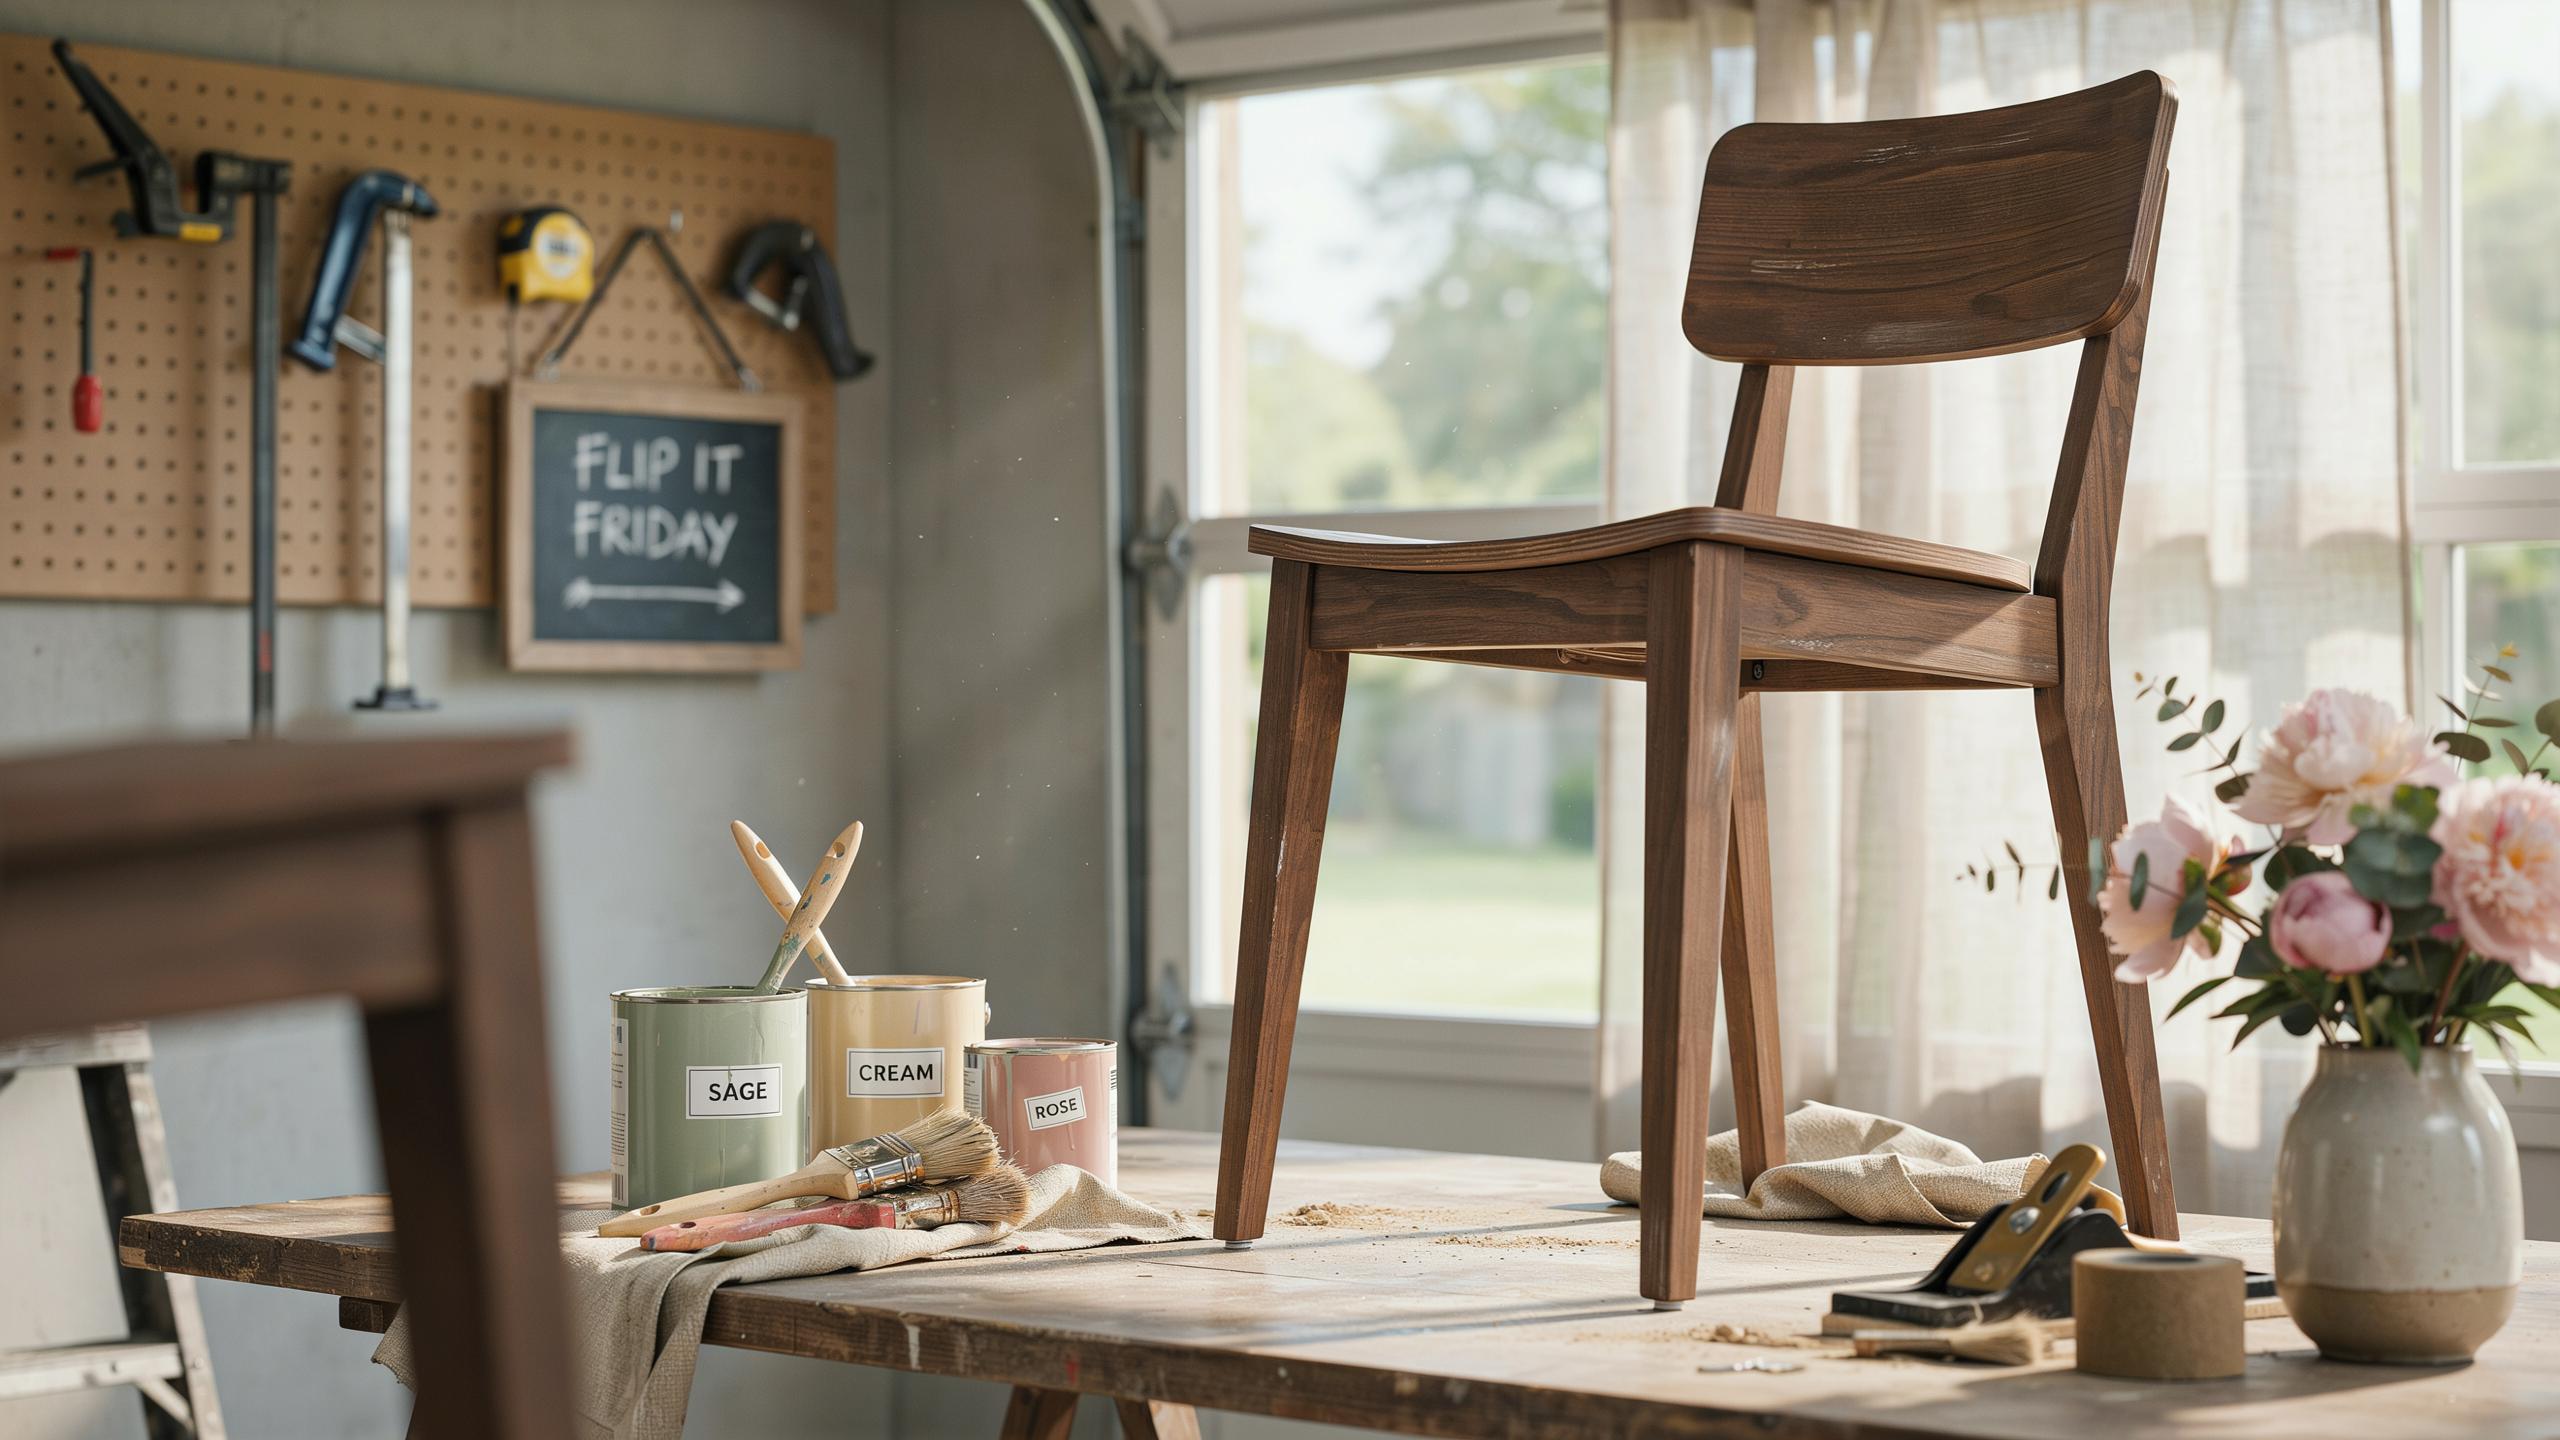
Why A Furniture Flip Project Distressing Method Is Perfect For Your Home
The Aesthetic Appeal Of Distressed Decor
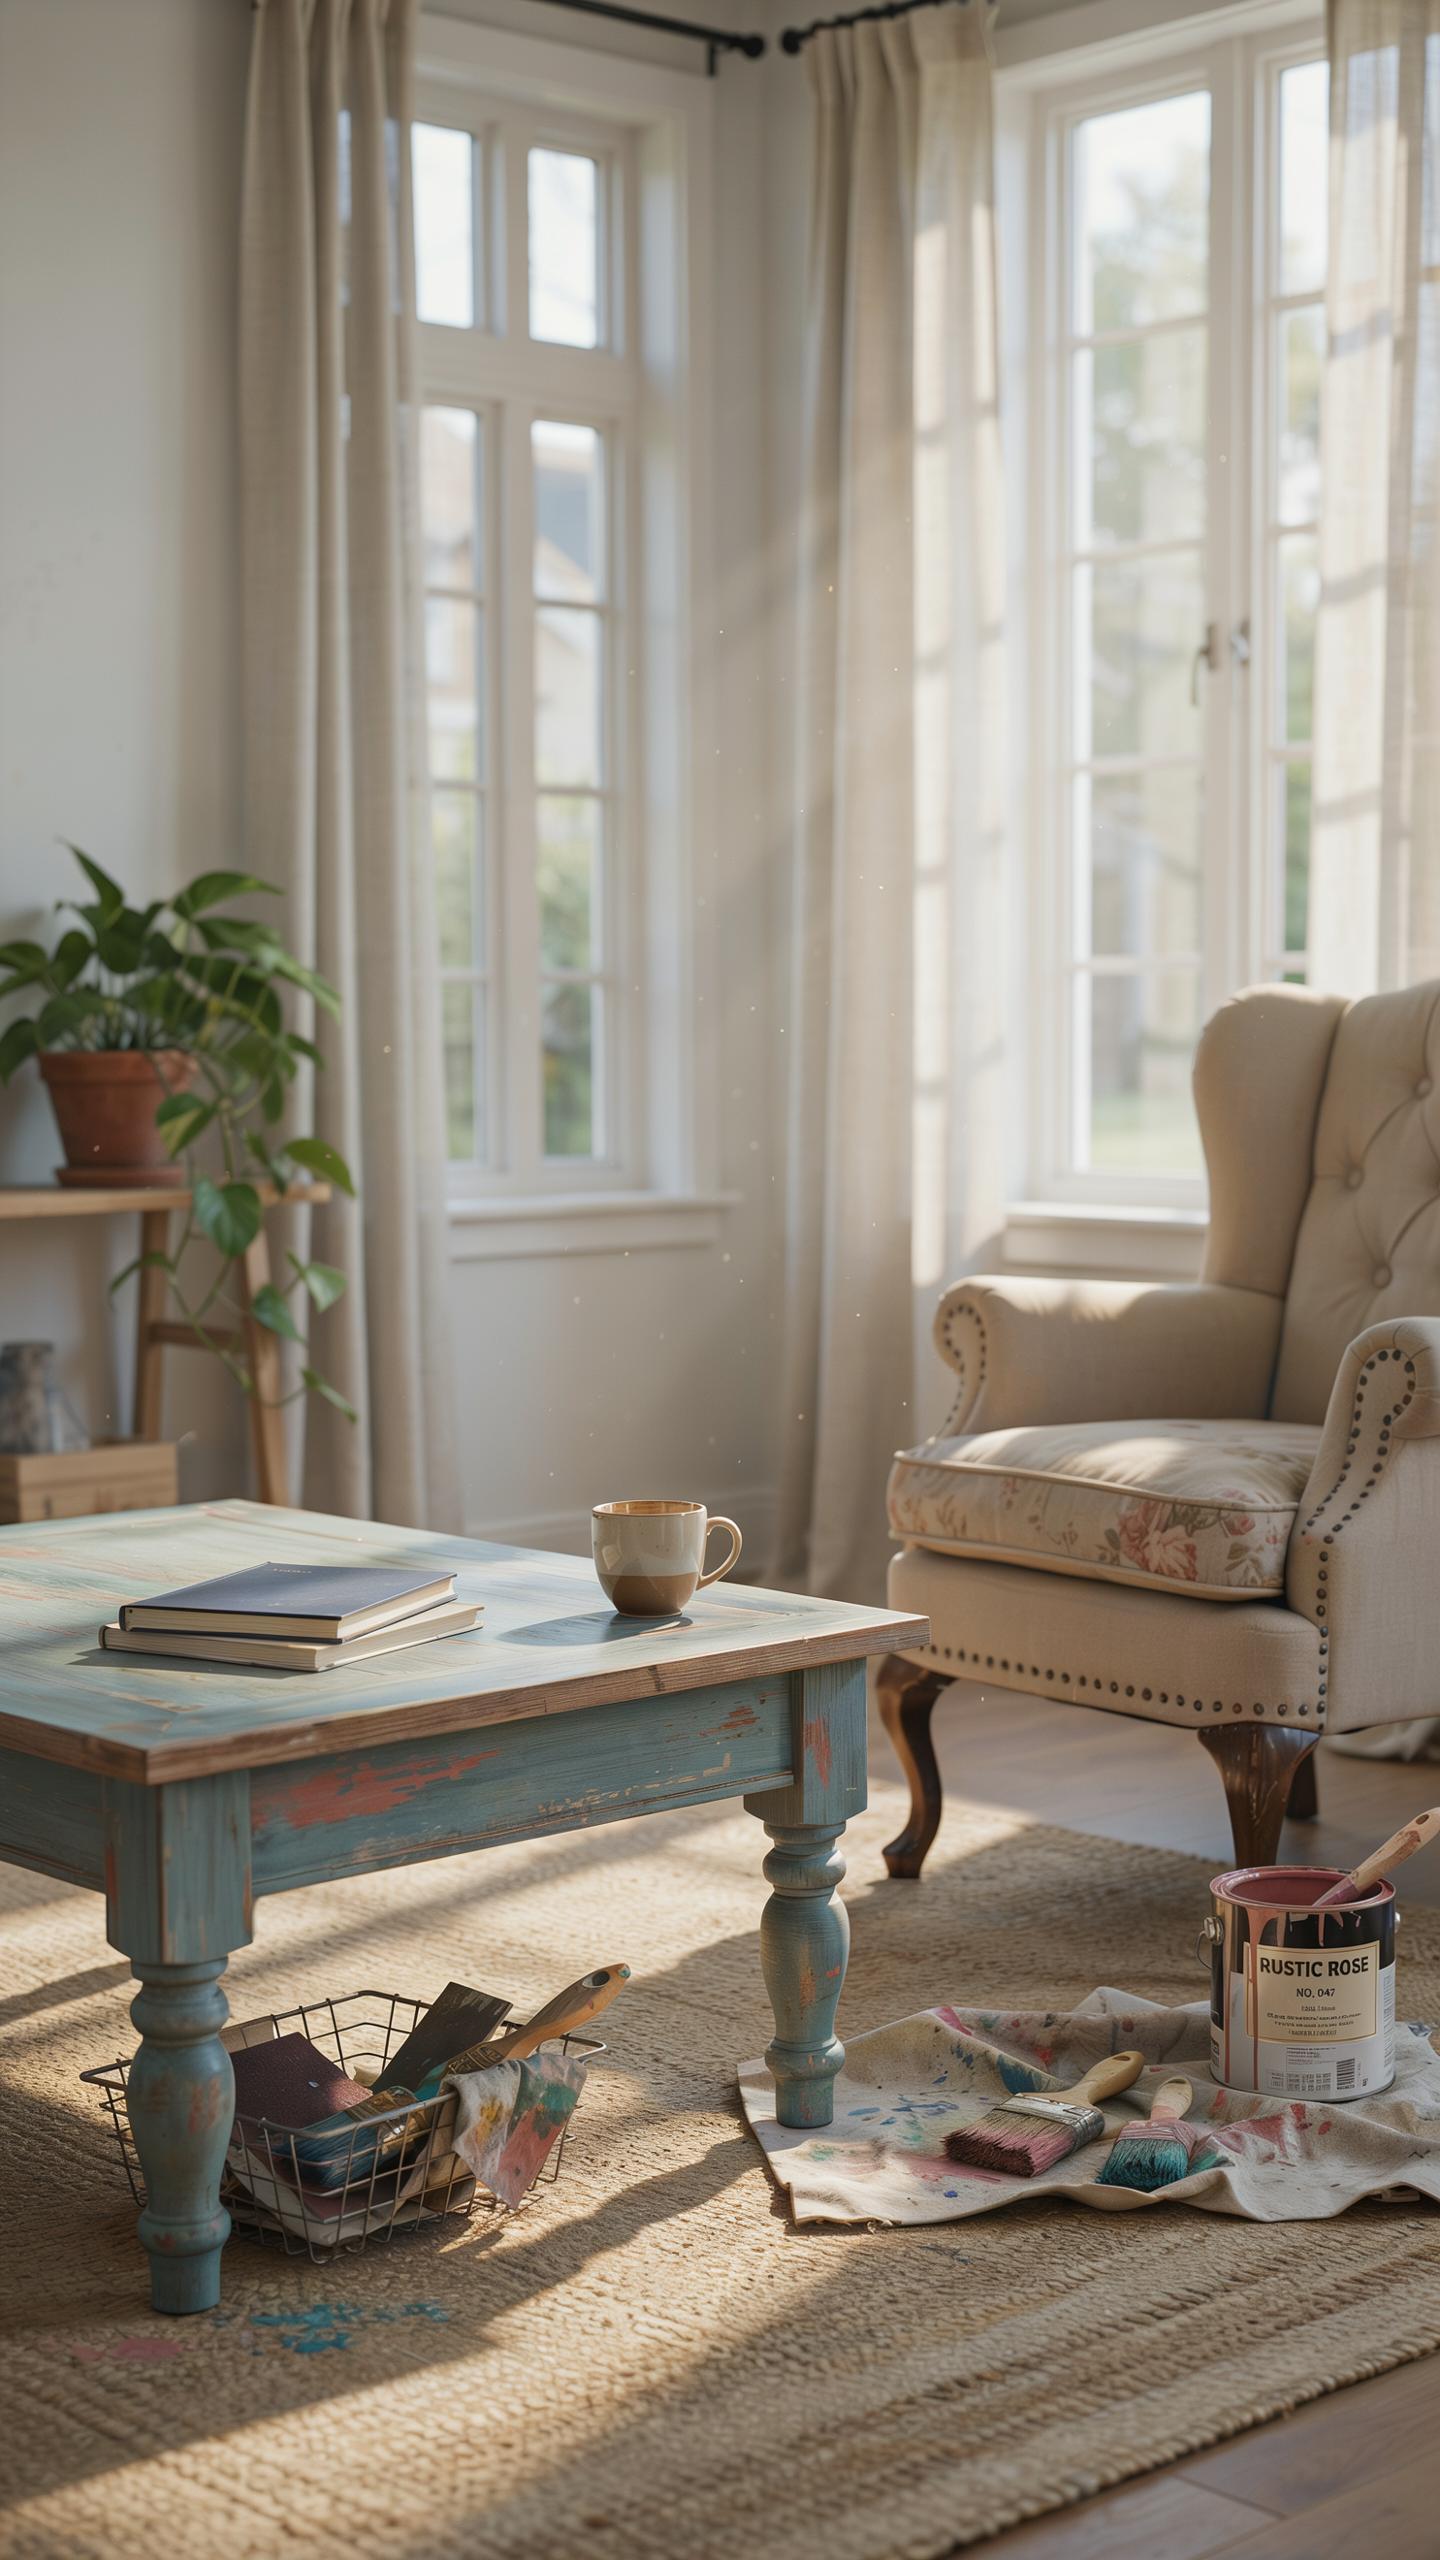
Distressed finishes create visual texture that draws the eye. The worn, weathered look signals authenticity and history. Furniture with distressed surfaces breaks up flat, uniform finishes that feel sterile. This technique exposes layers of paint or wood underneath, mimicking natural aging. The result is depth that photographs well and engages viewers in person.
Distressed furniture fits multiple design schemes without conflict. Farmhouse, industrial, and vintage styles embrace worn aesthetics. The technique masks minor imperfections and surface damage. Rooms feel less staged when furniture shows intentional aging marks. This approach works across price points since both expensive and budget pieces benefit from strategic distressing.
Cost Effective Ways To Refresh Your Living Space
Distressing existing furniture eliminates replacement costs entirely. You work with pieces you already own or source cheaply from secondhand markets. Paint, sandpaper, and basic tools cost under fifty dollars for most projects. The labor is yours, so no professional refinishing fees apply. This method stretches renovation budgets significantly compared to buying new pieces.
Distressing transforms dated or mismatched furniture into cohesive collections. A worn finish unifies pieces from different eras or styles. You skip expensive reupholstering by updating only the exterior surface. The technique requires no specialized equipment or training. One successful project typically costs ten to twenty percent of purchasing equivalent new furniture.
How To Flip Furniture For Beginners And Find The Best Pieces
Scouting Thrift Stores And Garage Sales
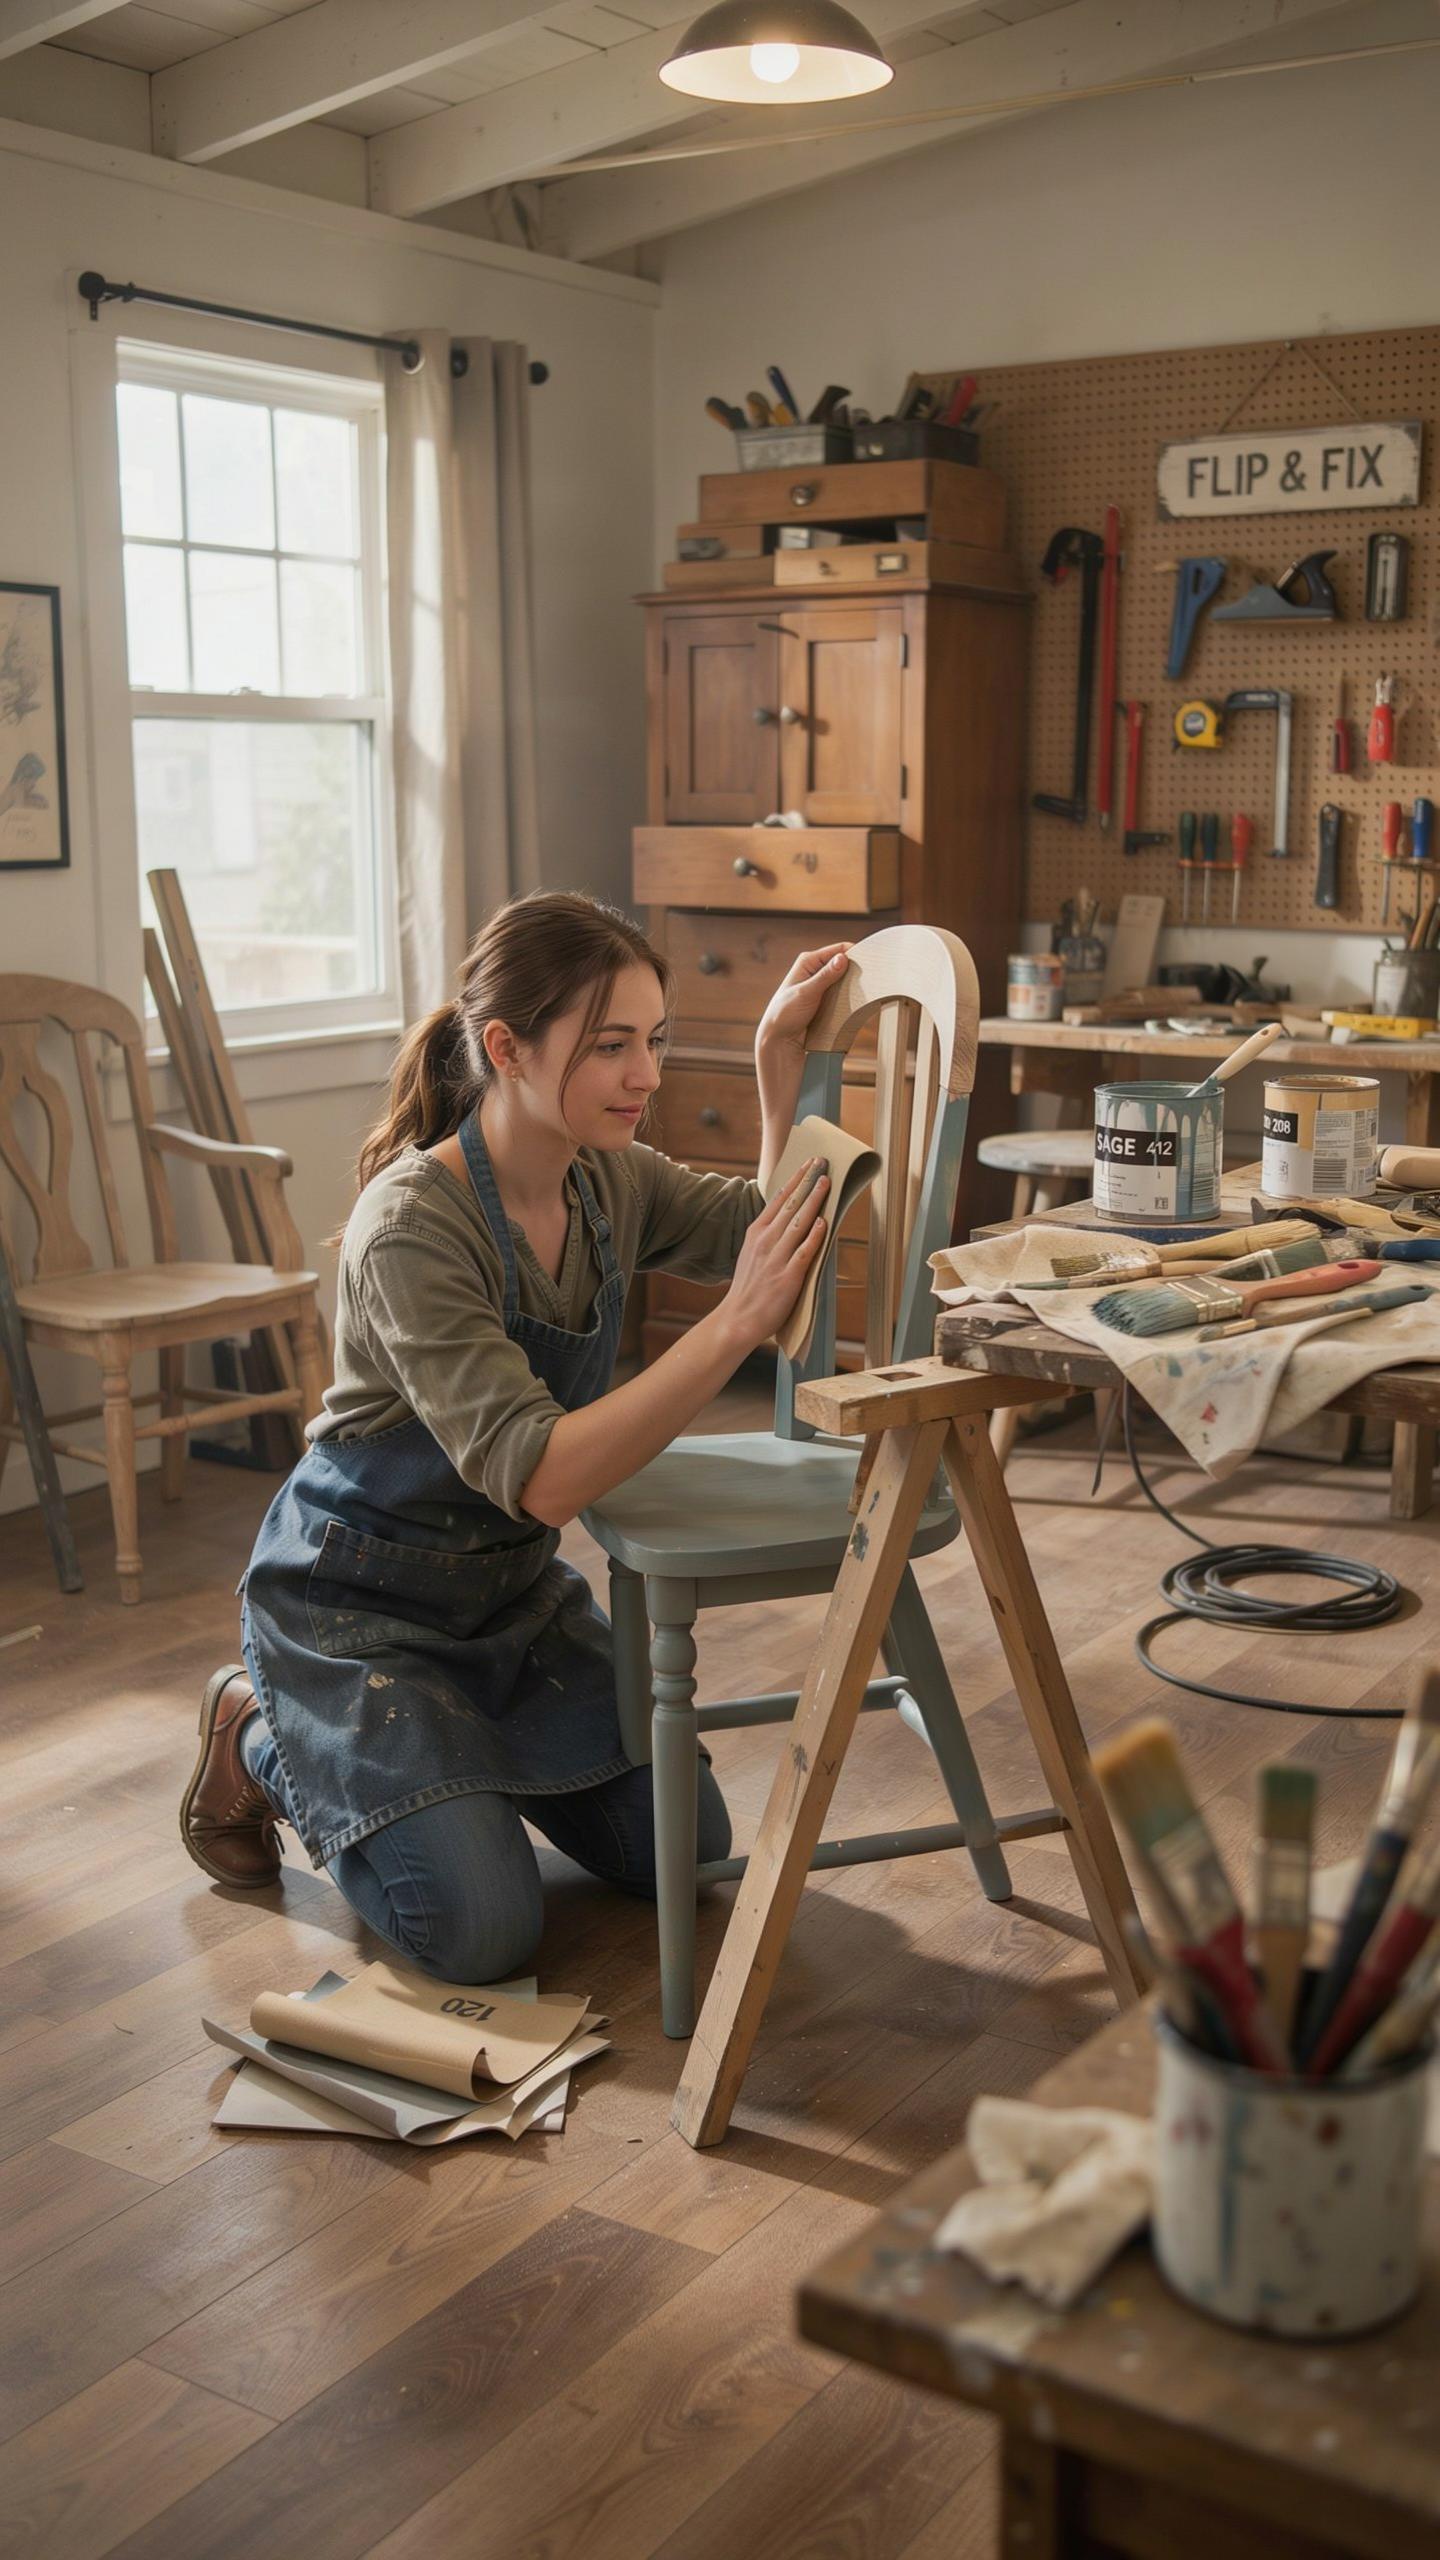
Thrift stores and garage sales are your hunting grounds. Visit multiple locations weekly to build a supply pipeline. Focus on solid wood furniture rather than particleboard or veneer. Check local community boards, online marketplaces, and seasonal estate sales. Timing matters. Early morning at garage sales and weekday visits to thrift stores reduce competition and increase selection.
Price is your main filter. Buy pieces at 60 to 70 percent below what you can resell them for after distressing. Learn local market values by researching completed sales on online platforms. Build relationships with thrift store managers and estate sale companies. They alert you to incoming inventory before items hit shelves.
Evaluating Structural Integrity And Wood Quality
Inspect furniture for water damage, loose joints, and missing hardware before purchase. Shake the piece to test for wobbling or creaking. Check drawers and doors for smooth operation. Press on tabletops and seats to identify soft spots from rot or moisture damage. Skip pieces with significant structural problems unless repair costs stay below your profit margin.
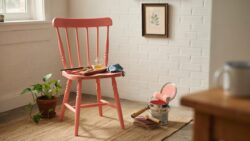
Wood type determines your distressing outcome. Hardwoods like oak and walnut accept distressing techniques better than softwoods. Avoid veneered surfaces if your distressing method involves sanding or heavy wear patterns. Examine the underside and interior surfaces to confirm solid wood construction. Take photos and measurements at purchase to plan your distressing approach before transport.
Essential Tools And Materials For Your Next Flip Furniture Venture
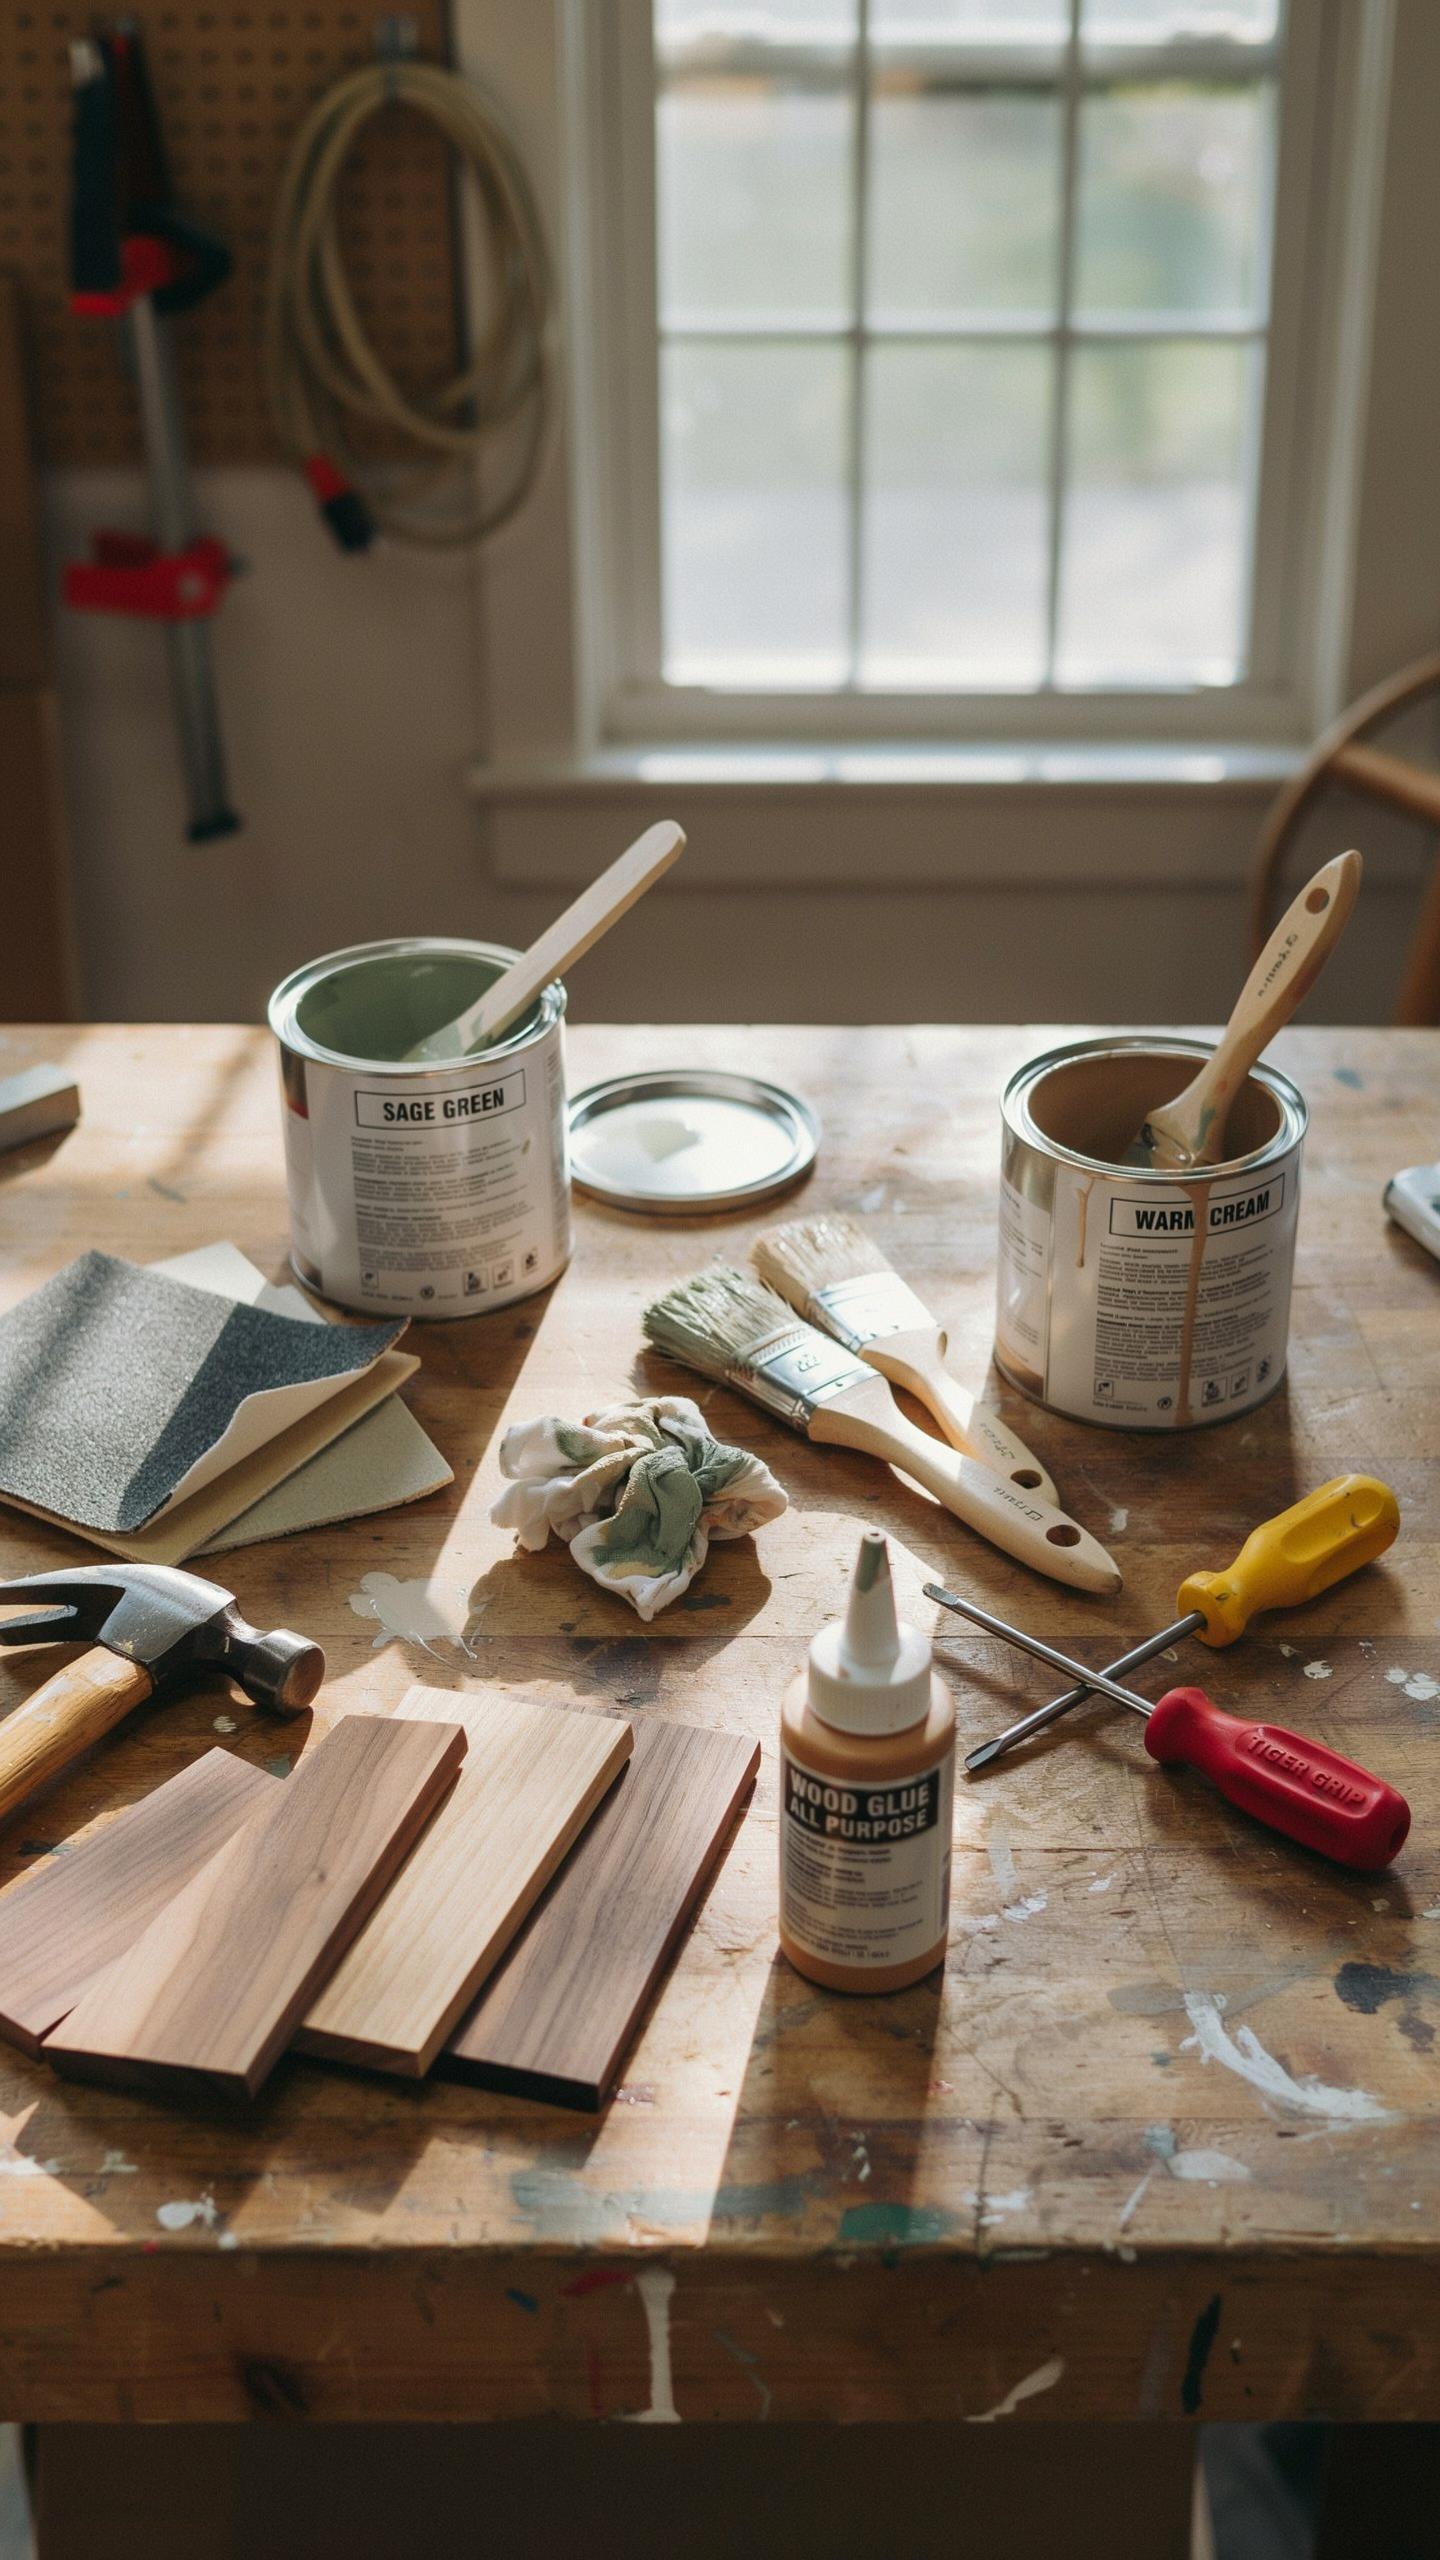
Sandpapers Paints And Waxes
You need the right abrasives to strip old finishes and prepare surfaces. Start with coarse grits for heavy removal, then progress to fine grits for smoothing. Different grits serve different stages of the distressing process, so stocking multiple options matters.
- 60 to 80 grit sandpaper: Aggressive removal of thick finishes, paint layers, and varnish. Use this first stage to strip down to bare wood or primer. Best for initial prep work on heavily finished pieces.
- 120 to 150 grit sandpaper: Mid stage smoothing after coarse sanding removes bulk material. Creates even surface before paint application or staining. Eliminates scratches left by coarser grits.
- 220 grit sandpaper: Final smoothing stage before finishing products. Produces clean surface for paint adhesion and wax application. Critical for professional looking results on distressed furniture.
- Latex or acrylic paint: Water based option that dries fast and releases low fumes. Available in matte, satin, and eggshell finishes. Easier cleanup than oil based alternatives.
- Wax finishes: Applied after paint hardens to add depth and protection. Clear wax enhances natural wood tones while dark wax adds aged appearance. Provides durable topcoat against scratching and moisture.
Paint selection depends on your final aesthetic goal and the furniture material. Latex paints work on most pieces and dry within hours. Wax serves as both protective coating and visual aging tool on distressed work.
Safety Gear And Workspace Preparation
Sanding generates dust that damages lungs, so respiratory protection ranks first. Wear an N95 mask minimum during aggressive sanding, preferably a powered respirator for extended work. Eye protection prevents debris from scratching corneas during high speed operations.

Set up your workspace to contain dust and fumes effectively. Ensure adequate ventilation by opening windows or using fans that push air outside. Work on a sturdy table at waist height to reduce strain and improve control. Lay tarps or cardboard underneath to catch dust and paint drips. Position your sander correctly to minimize kickback and maintain balance.
Creative Furniture Flipping Ideas To Inspire Your Makeover
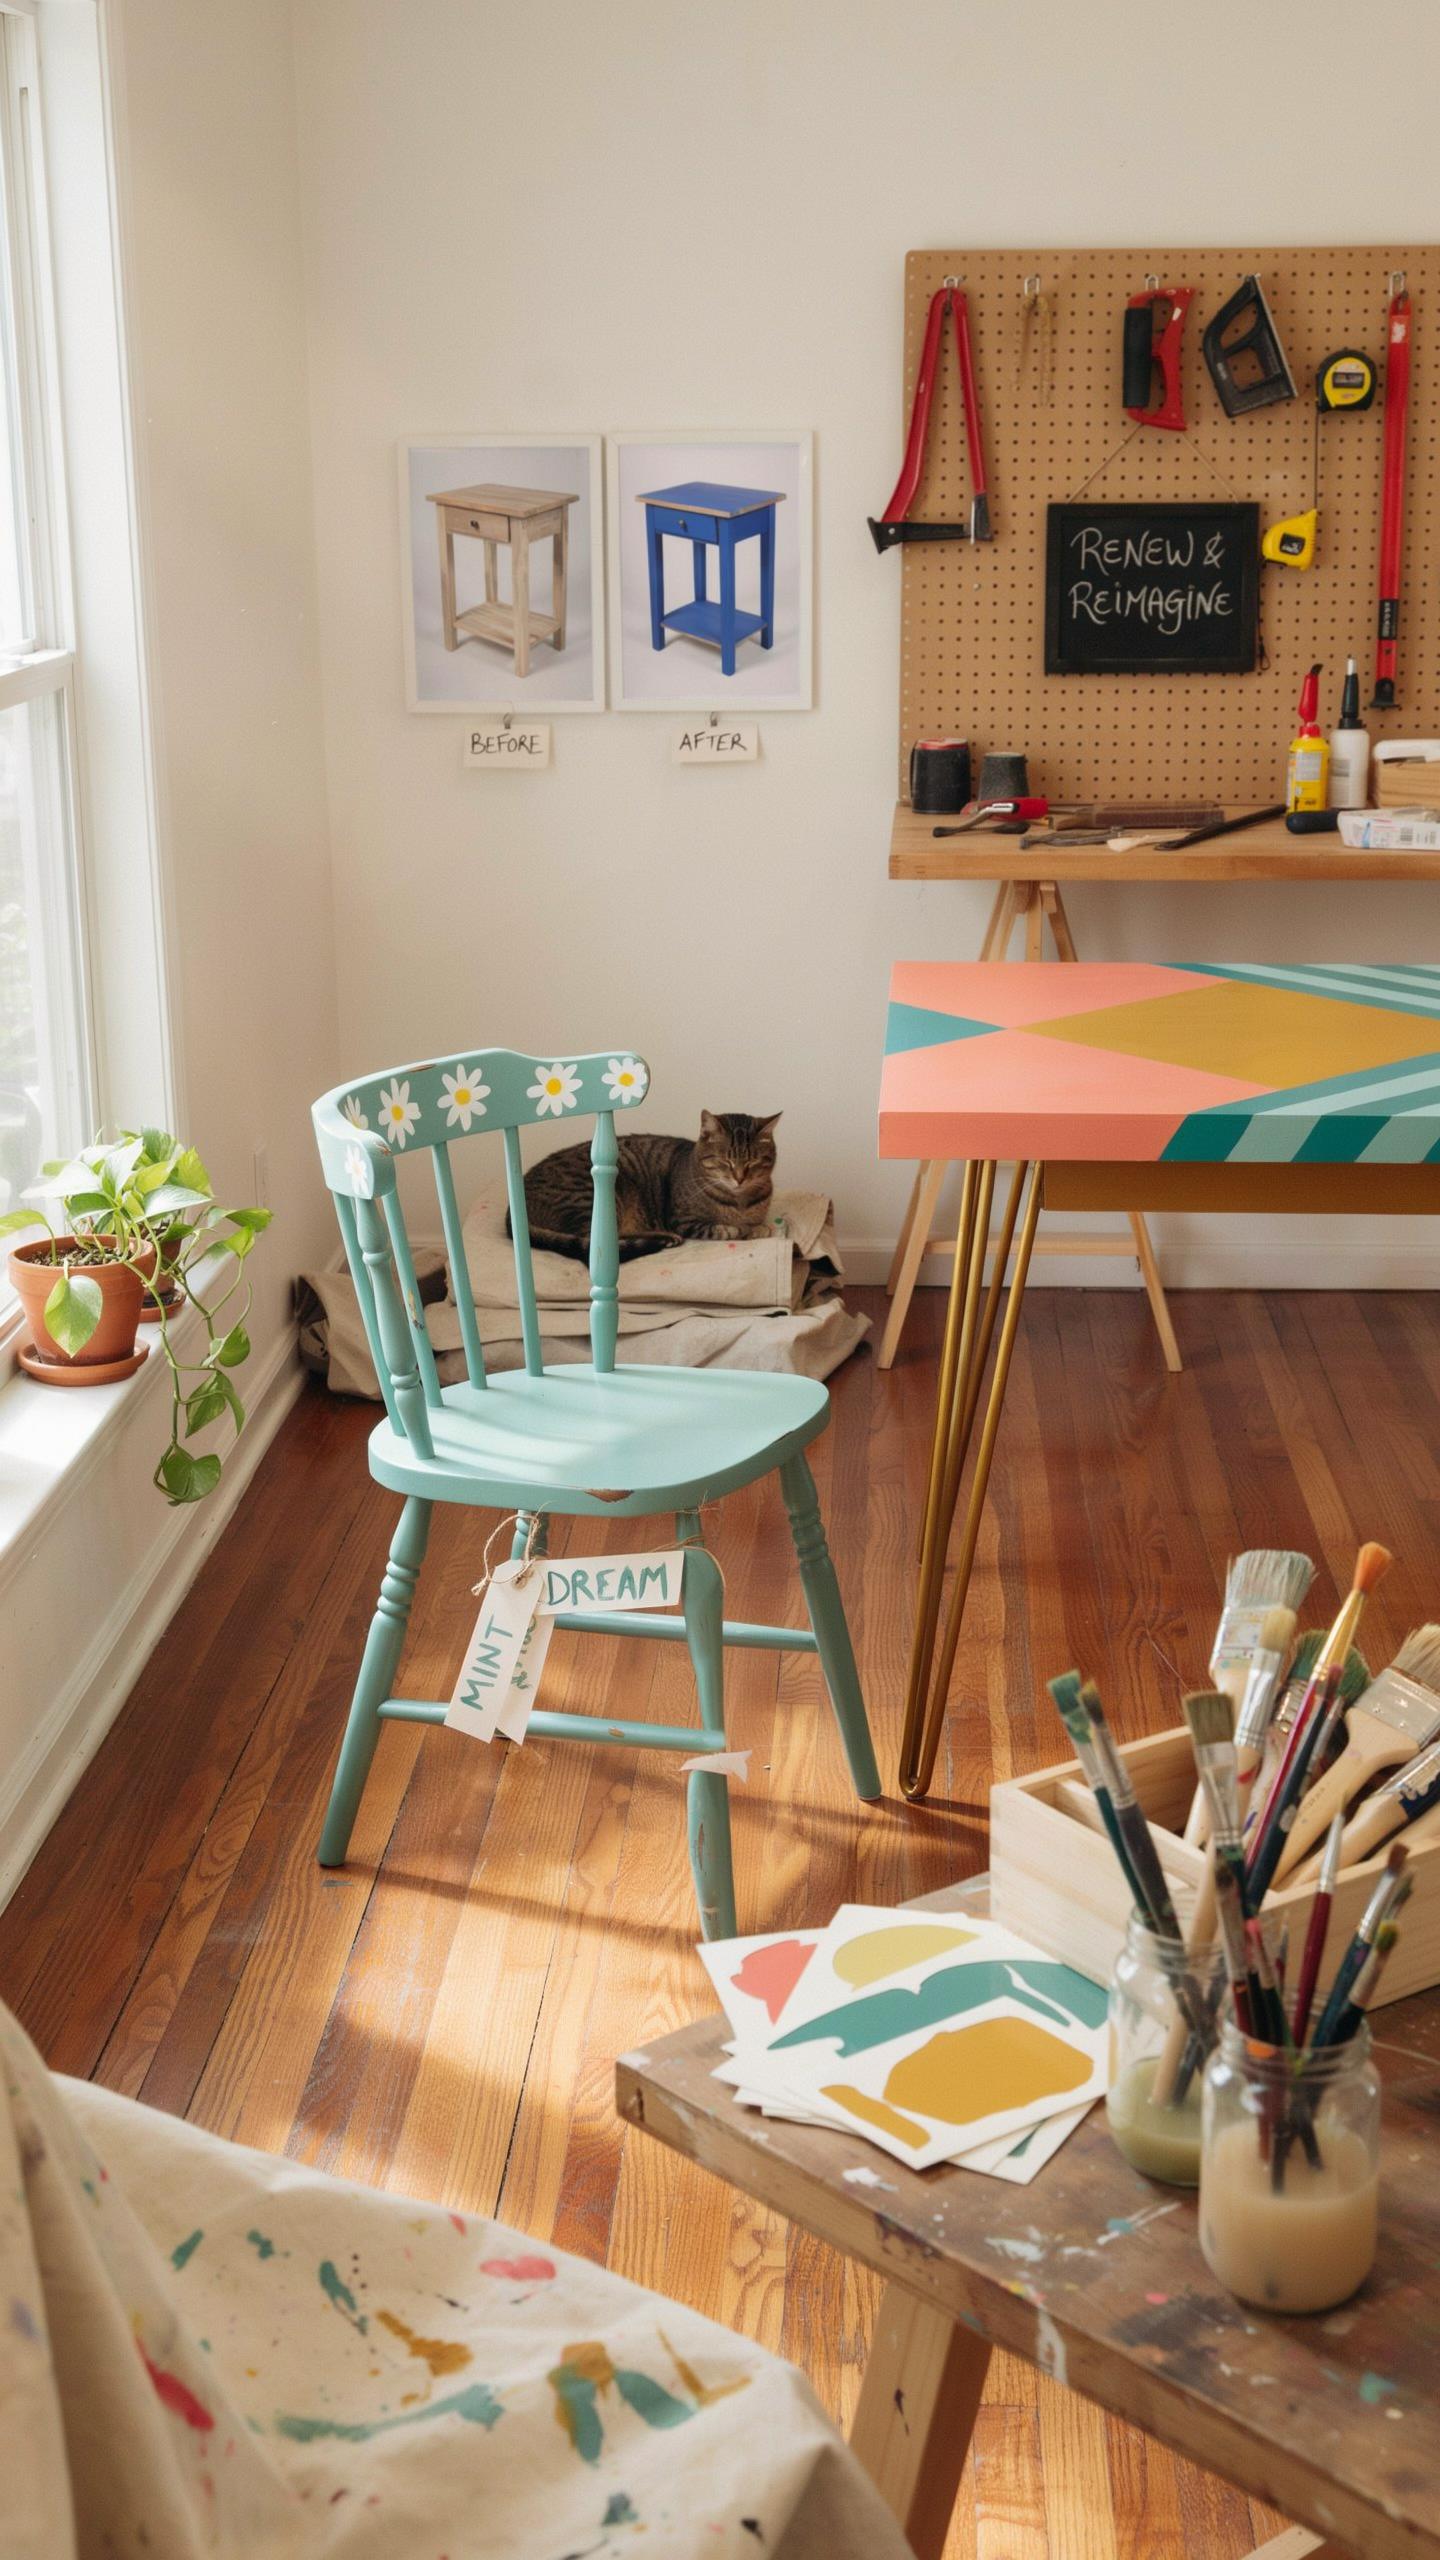
Farmhouse And Rustic Style Transformations
Farmhouse style pulls from rural American and European design. The aesthetic values worn surfaces, exposed wood, and muted colors. Distressing methods work directly with these principles because they create the aged appearance farmhouse demands. Sand edges and surfaces to reveal wood grain underneath paint or stain. This technique mimics decades of use without the wait. Apply darker stain to crevices and joints to simulate authentic wear patterns.
The distressing approach for farmhouse requires strategic material choices. Use reclaimed wood when possible, or treat new wood to look reclaimed. Chalk paint distresses easily and suits the farmhouse palette of whites, creams, and soft grays. Focus distressing on high-traffic areas like chair legs, armrests, and table edges. This placement mirrors where actual wear would accumulate over time. The result reads as genuinely aged rather than artificially weathered.
Mid Century Modern And Boho Highlights
Mid-century modern emerged between the 1930s and 1960s with emphasis on clean lines and functional form. Distressing this style requires restraint. Apply minimal surface wear to legs or edges only. Avoid heavy distressing that contradicts the streamlined aesthetic. Use stain rather than paint to highlight wood grain. Boho style, by contrast, embraces layered textures and mixed materials that tolerate more visible distressing.
Boho incorporates global influences and celebrates imperfection. Distress boho pieces more aggressively than mid-century pieces. Combine multiple distressing techniques on single furniture items. Layer painted finishes and sand through to reveal contrasting colors underneath. This approach aligns with boho’s eclectic visual language. Both styles benefit from distressing when the method matches the design movement’s core values and visual hierarchy.
Step By Step Guide On How To Distress Furniture Like A Pro
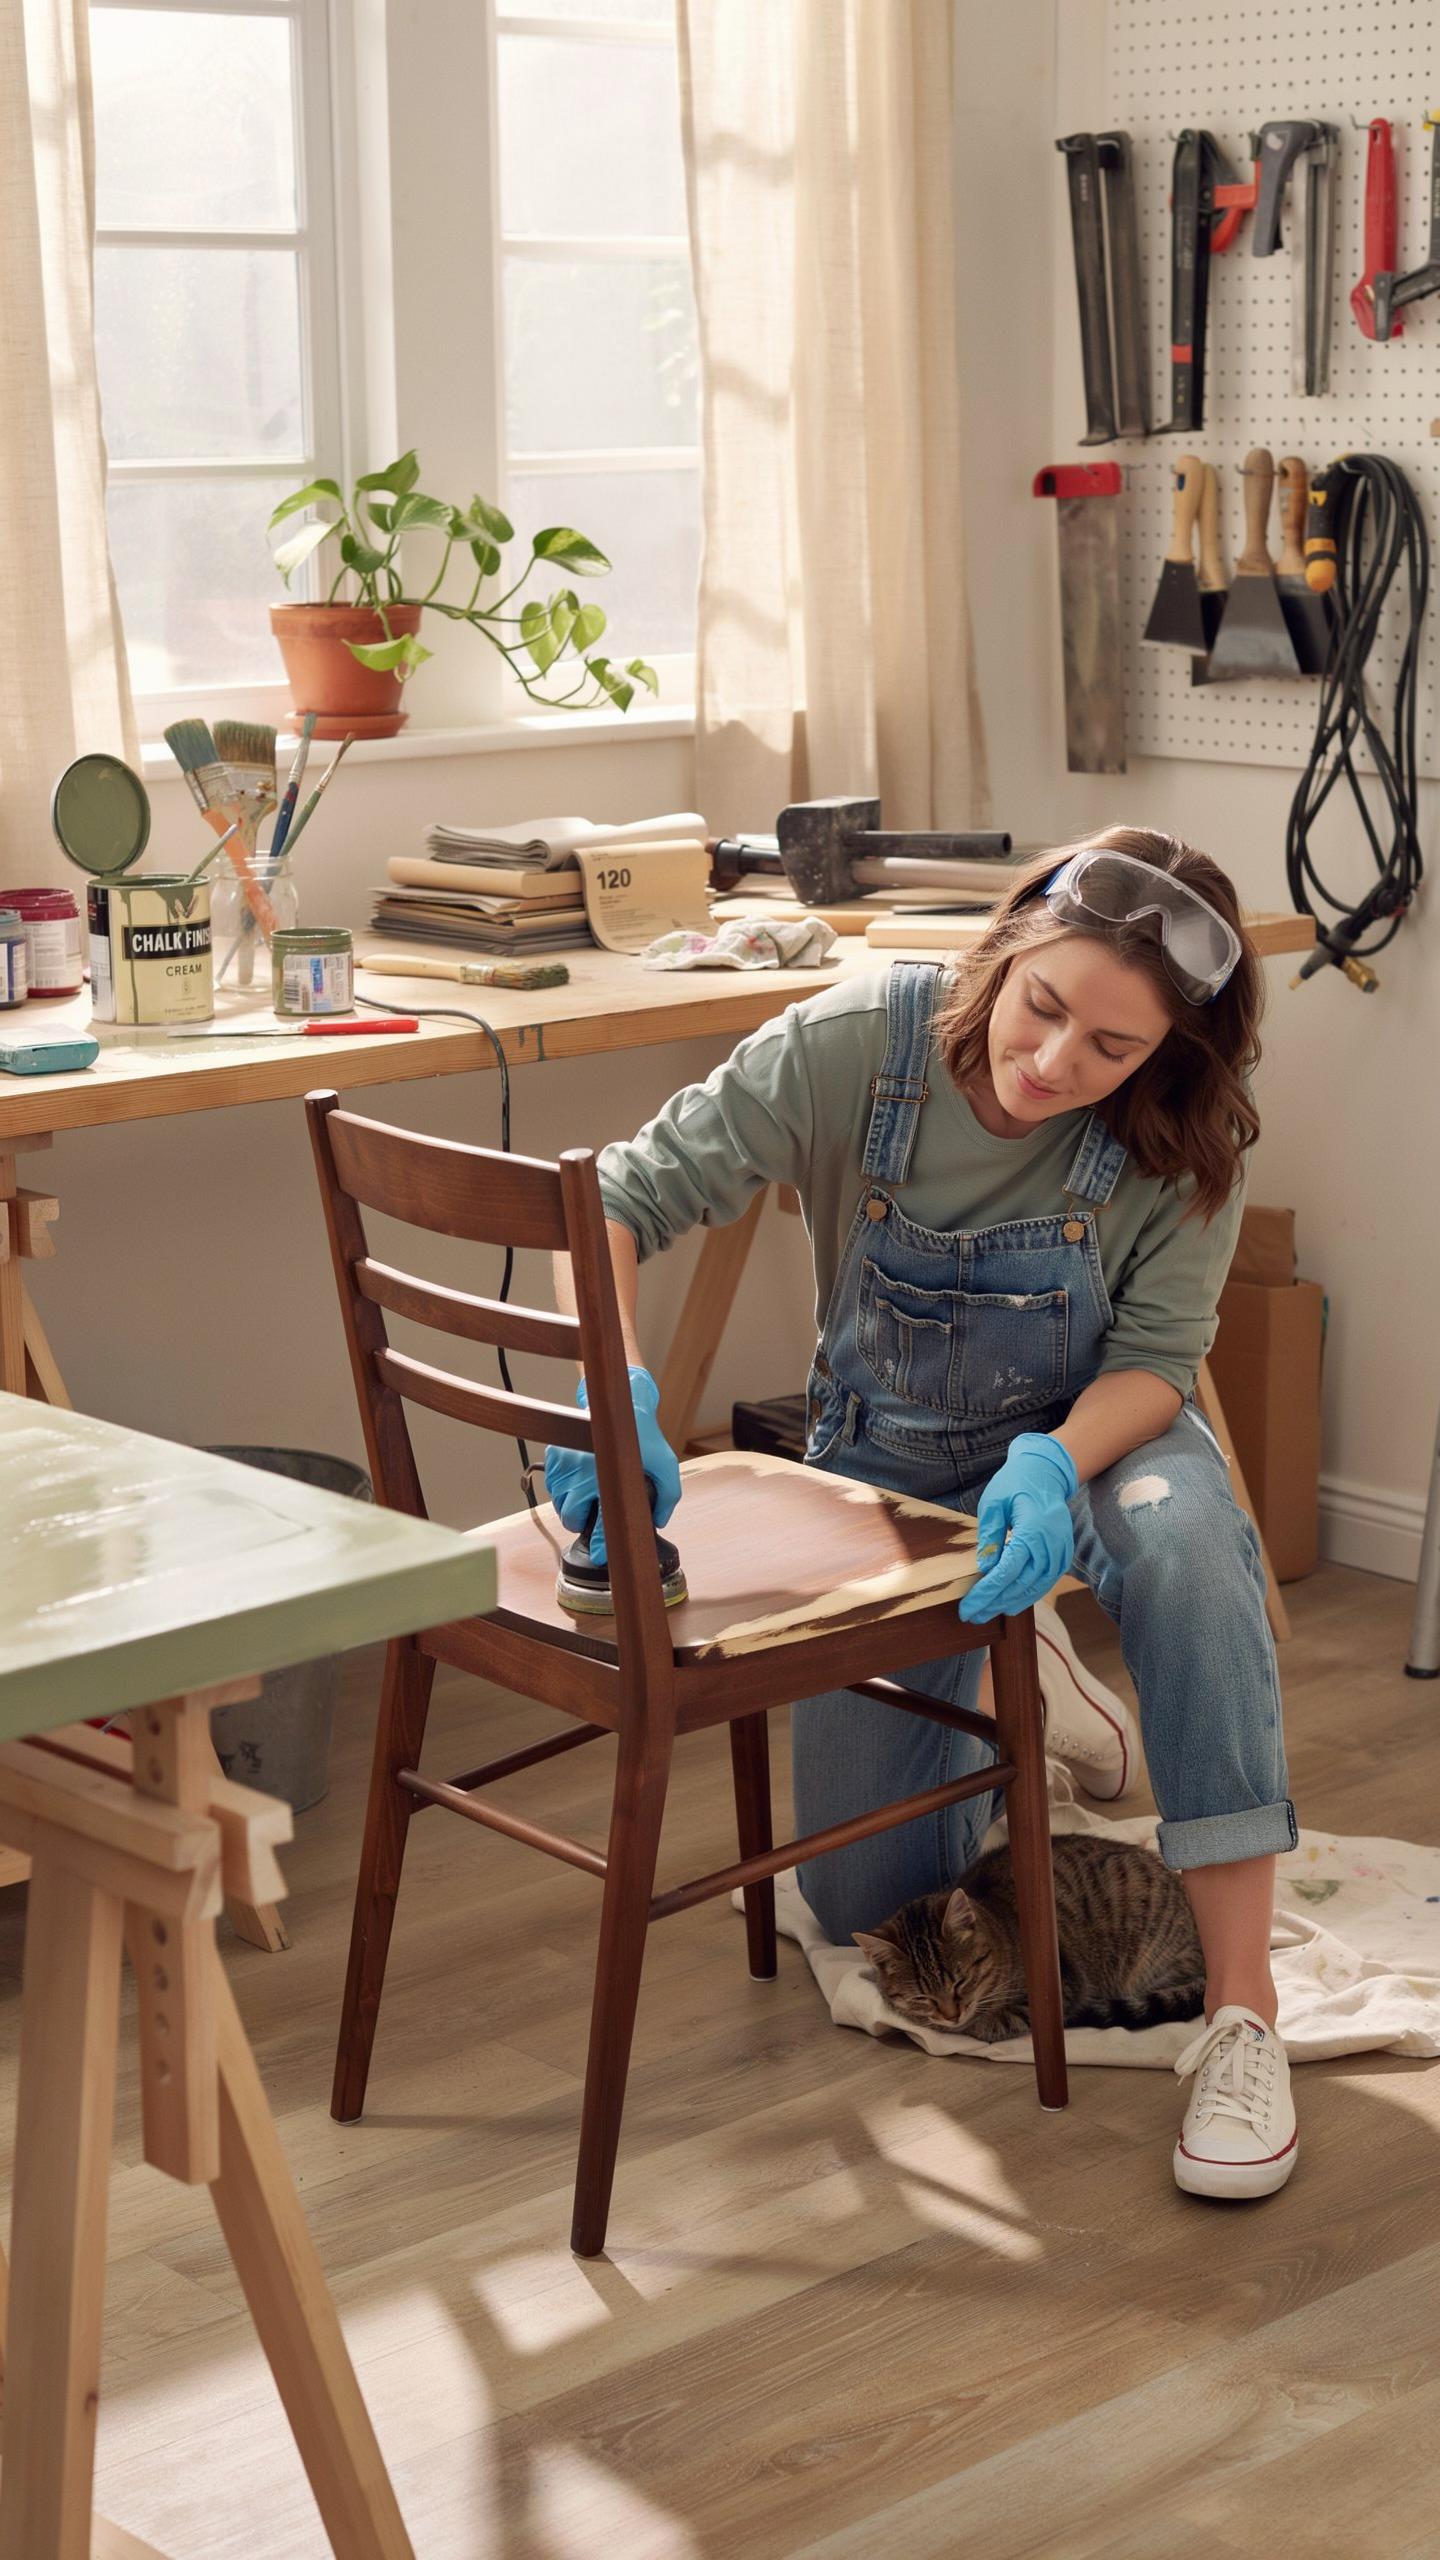
Cleaning And Sanding The Base Layer
Start with a clean surface. Dust removes debris that blocks sandpaper contact and ruins your finish. Use a damp cloth to wipe down the entire piece. Let it dry completely before moving forward. Moisture interferes with adhesion and creates blotchy results later.
Sand the existing finish with 120 to 150 grit sandpaper. This removes the protective layer and opens the wood pores. Work in straight lines following the grain direction. Sand edges and corners with extra pressure to simulate natural wear. This creates the foundation for authentic distressing that follows.
Strategic Sanding For Natural Wear And Tear
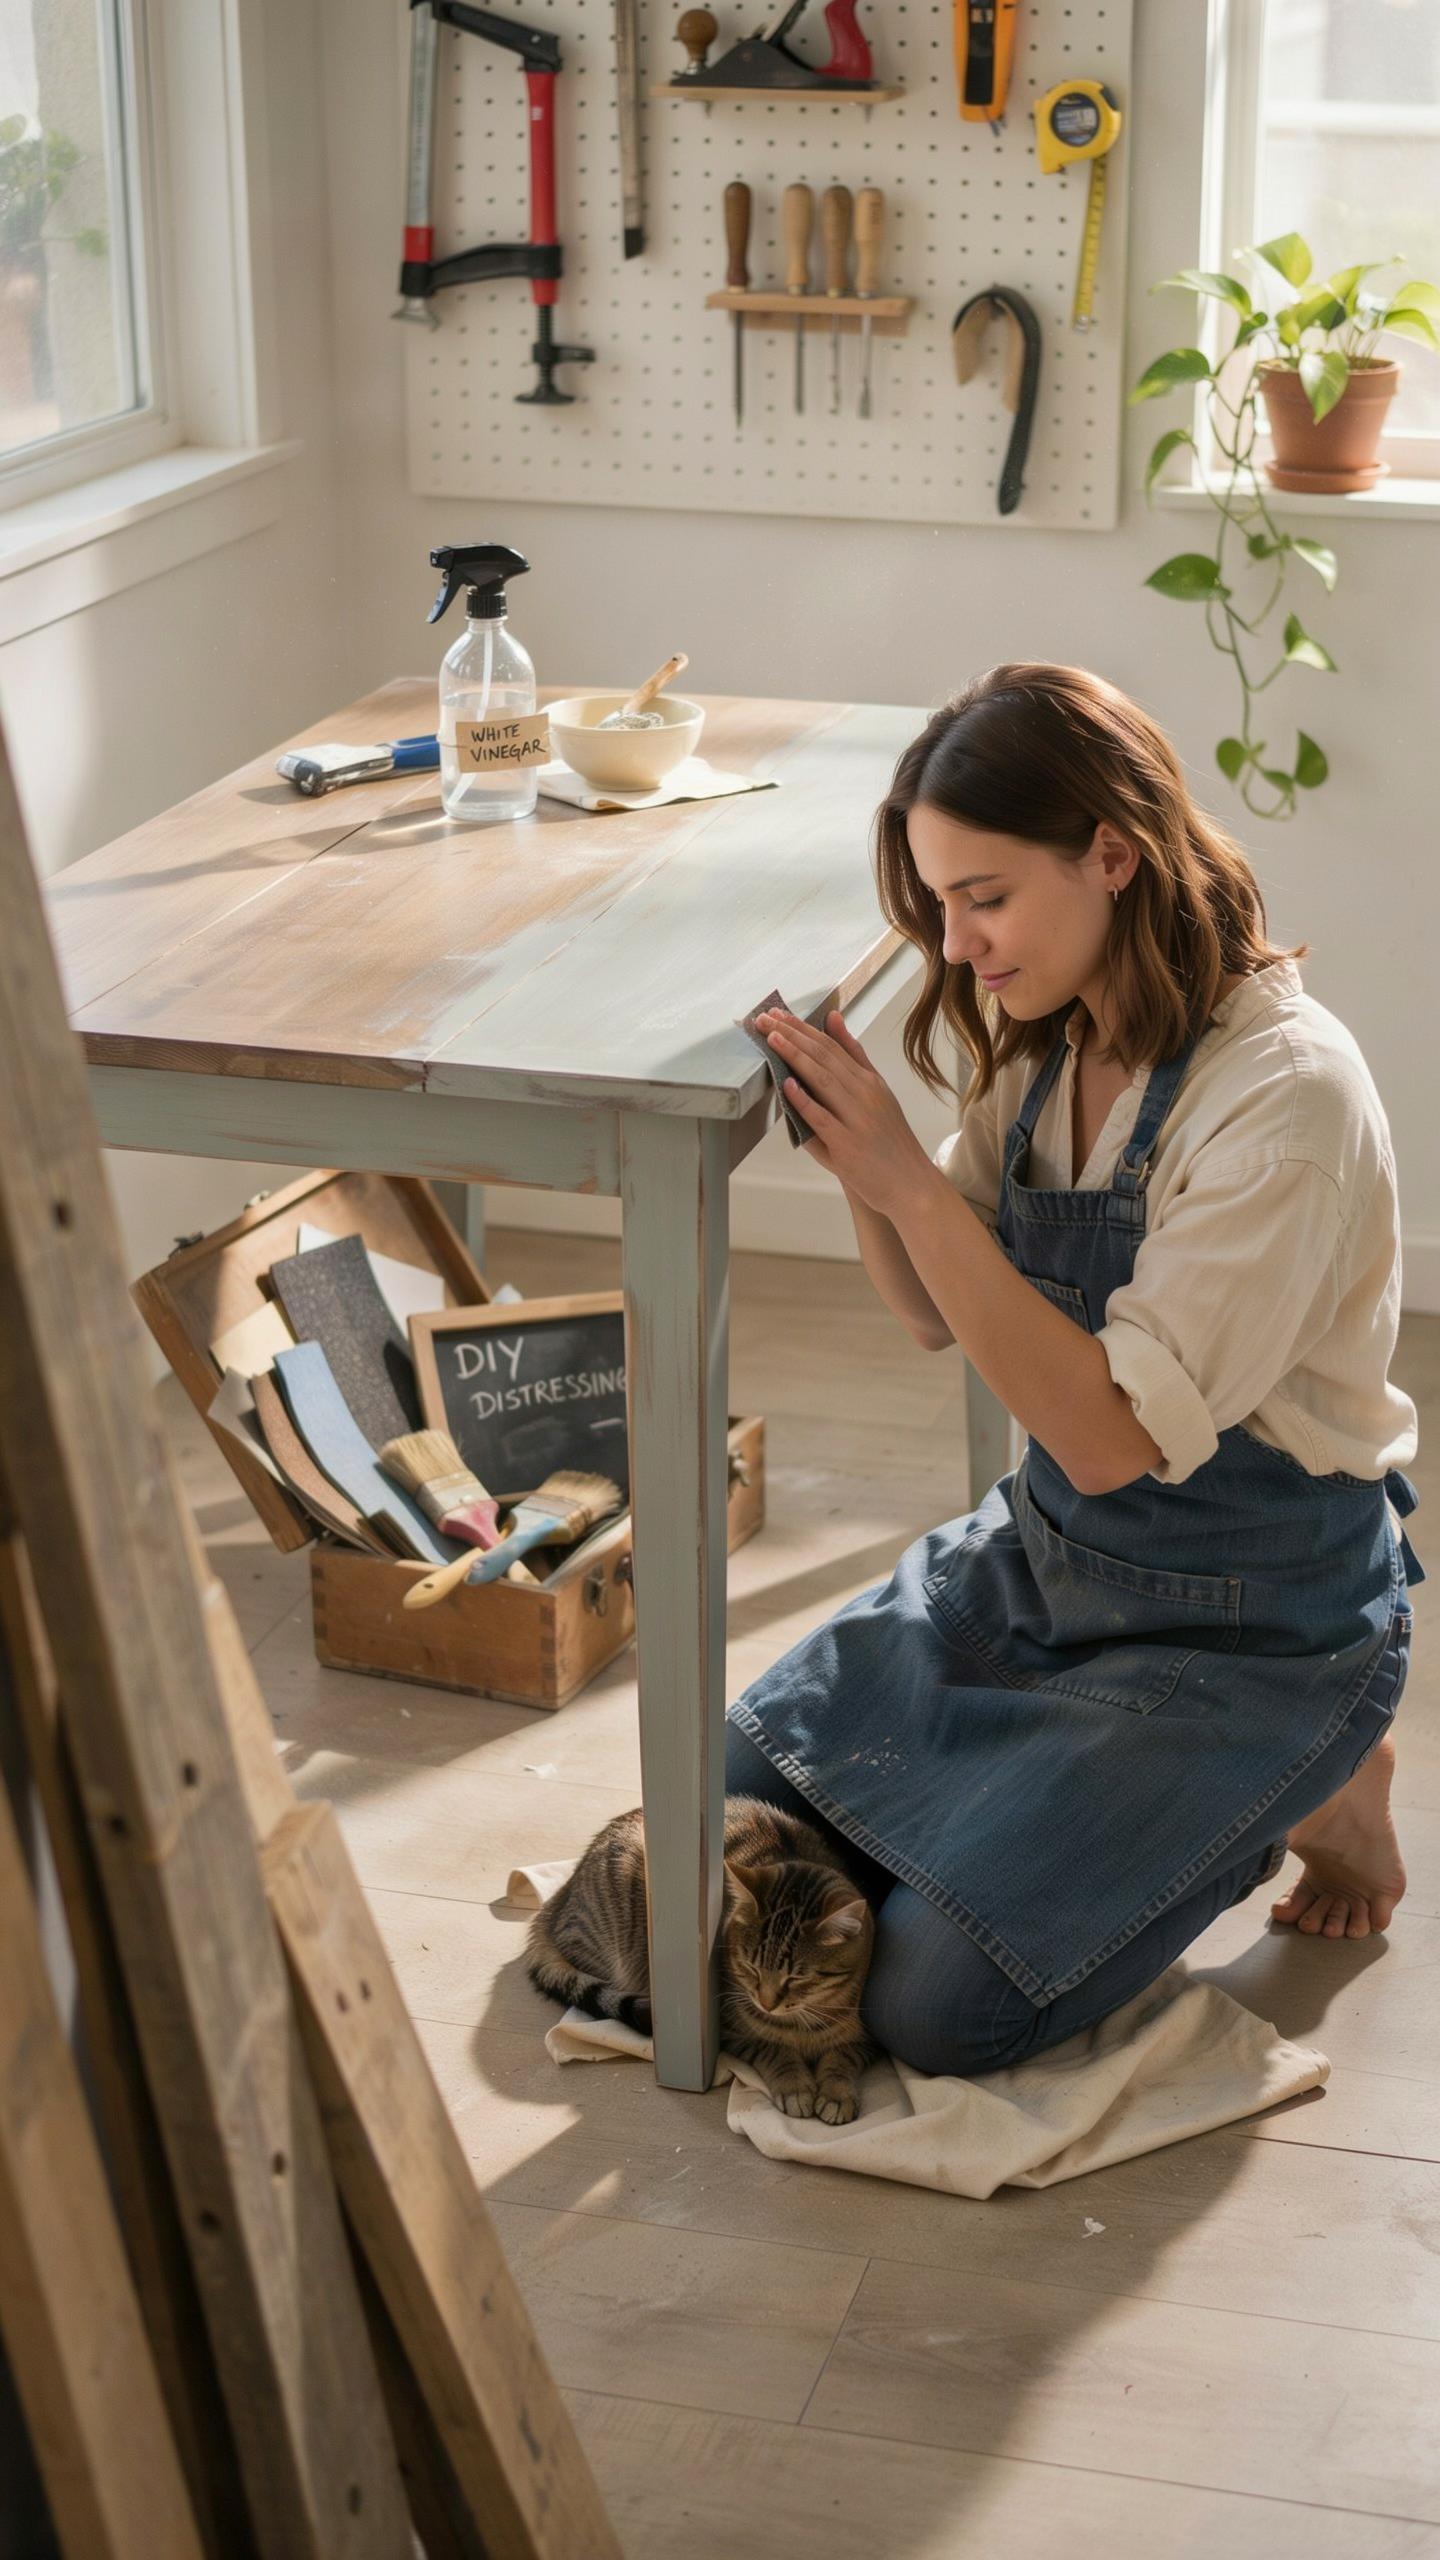
Focus sanding on high traffic zones where furniture experiences real contact. Sand edges, corners, and arm rests more aggressively than flat surfaces. Apply lighter pressure on drawer fronts and table tops. Target areas where your hands naturally rest during use. This mimics decades of actual handling and movement.
Blend your sanding marks by transitioning from heavy to light pressure in surrounding areas. Avoid creating obvious straight lines or uniform patterns across the surface. Layer multiple passes with different grits to build depth and authenticity. Step back frequently to assess coverage and ensure the distressing looks earned rather than forced.
Best Techniques On How To Distress Wood Furniture For A Vintage Look
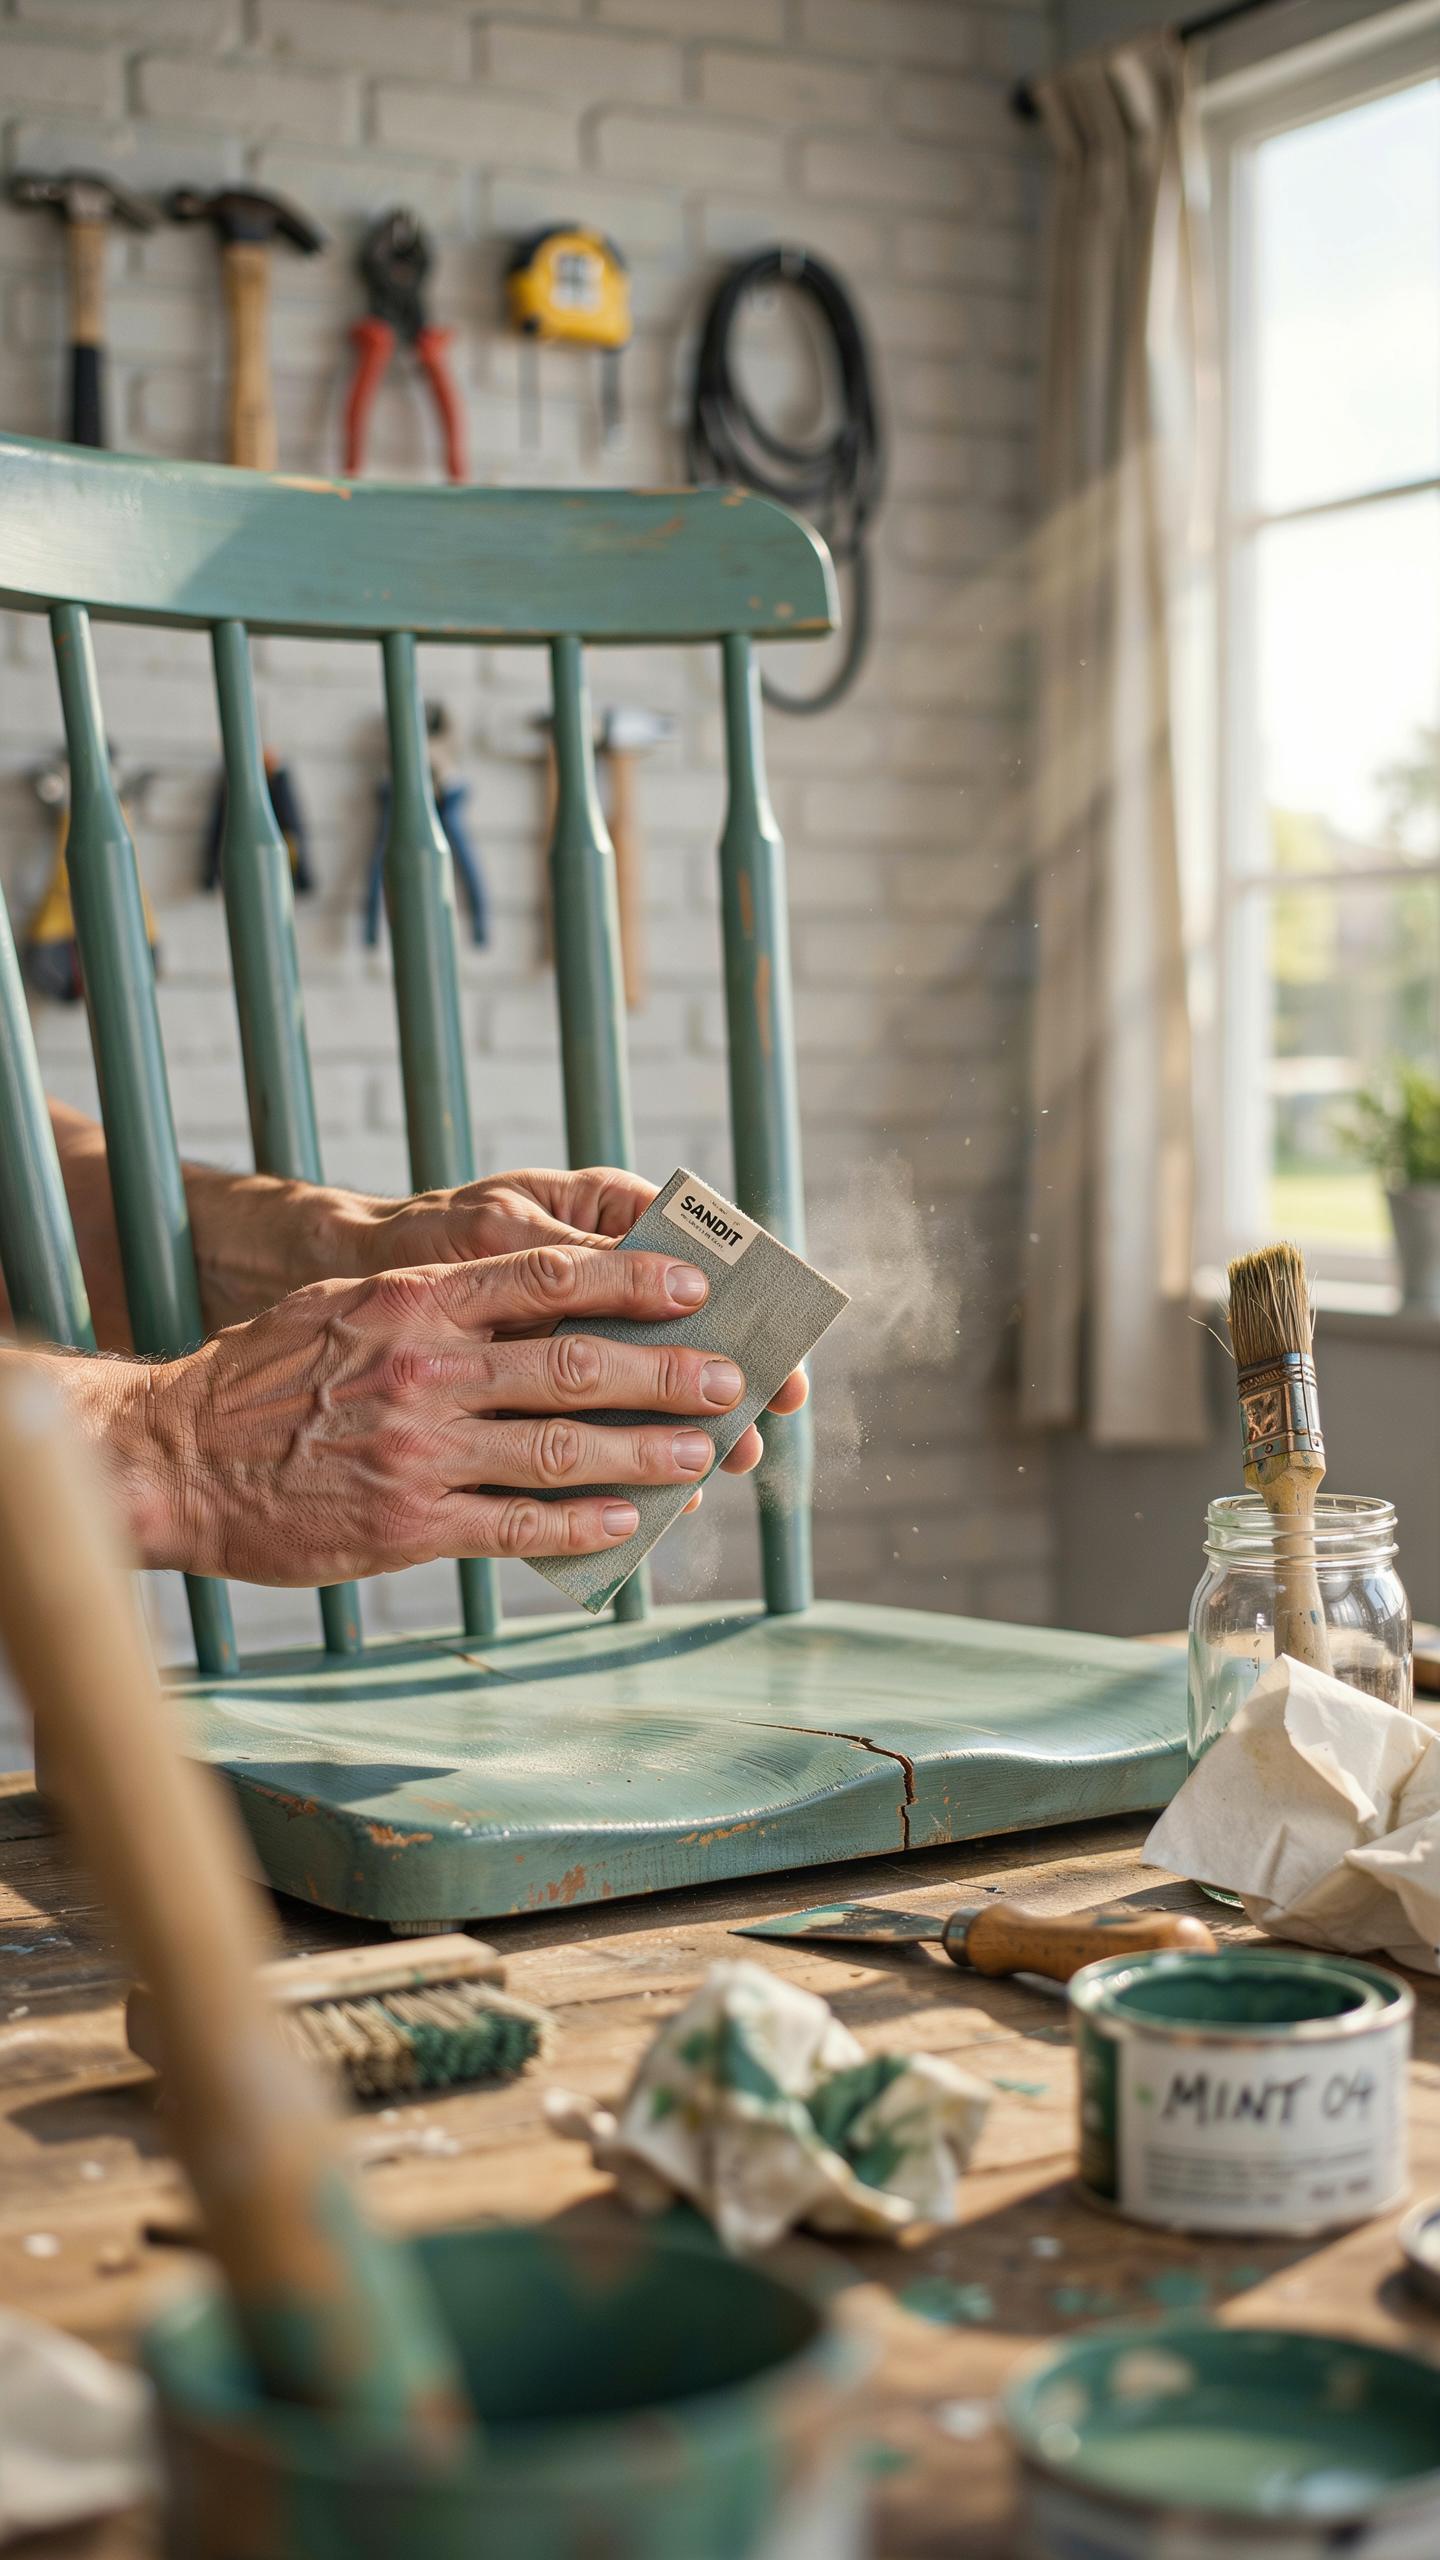
The Classic Dry Brushing Technique
Dry brushing works by applying paint with minimal water content onto wood surfaces. Load your brush with paint, then remove most of it on a cloth before applying to the furniture. This creates uneven coverage that mimics natural wear patterns. The technique works on any wood type and requires only basic materials: paint, a brush, and cloth.
The method reveals the base layer underneath, simulating how furniture ages through handling and exposure. Focus dry brushing on edges, corners, and high-traffic areas where wear naturally occurs. Multiple thin applications build depth better than one heavy coat. Adjust your pressure and brush direction to control how much base color shows through.
Using Vaseline Or Beeswax For Resist Distressing
Resist distressing uses a barrier substance to prevent paint adhesion in specific areas. Apply vaseline or beeswax to wood surfaces before painting. Paint over the entire piece, then remove the barrier material to expose the wood or base layer underneath. This creates deliberate wear patterns that look authentic rather than random.

Beeswax and vaseline both work identically for this purpose. Position these substances on edges and corners first, then add them to areas you want distressed. Apply paint over the barrier completely, let it dry fully, then scrape or rub away the barrier to reveal the effect. This method produces consistent, controllable results that resist distressing excels at delivering.
DIY Distressed Furniture Wood Methods Using Household Items
Creating Dents And Scratches With Chains And Keys
Chains and keys create authentic wear patterns on furniture surfaces. Strike wood with chains to produce random, irregular marks that mimic decades of use. The impact breaks the finish and exposes wood underneath. Keys work for smaller details and concentrated damage spots. This method requires no skill and produces reproducible results across multiple pieces.
The chain technique works best on flat surfaces like tabletops and cabinet doors. Drape the chain loosely and strike it with a hammer using moderate force. Vary your strikes in intensity and spacing to avoid a uniform pattern. Keys scratch and gouge when dragged across edges and corners. These tools cost nothing if you already own them, making this method the cheapest distressing option available.
True beauty lies in the touch of time, where every worn edge and faded layer tells the story of a home coming back to life. Distressing a piece is not about damage, but about revealing the soul that was there all along.
Step By Step Guide To Applying Vinegar And Steel Wool Stain
Vinegar and steel wool create a chemical reaction that darkens wood and ages it naturally. The tannins in vinegar react with steel wool to produce a gray-brown stain. This method requires only two materials and produces consistent results on softwoods. Combine equal parts white vinegar and steel wool in a glass jar. Let the mixture sit for 24 to 48 hours before applying.
- Prepare the surface: Sand the furniture piece to remove existing finish and create a clean working area for the stain to absorb evenly into bare wood.
- Filter the mixture: Strain the vinegar solution through cheesecloth to remove steel wool particles before application for smoother results and easier cleanup.
- Apply with a brush: Use a natural bristle brush to apply the stain in the direction of the wood grain, working in manageable sections across the entire piece.
- Control coverage: Apply multiple thin coats rather than one thick coat to build color gradually and achieve the exact darkness level you want for your design.
- Dry completely: Allow 24 hours of drying time between coats and after the final coat before applying topcoat sealer or wax for protection.
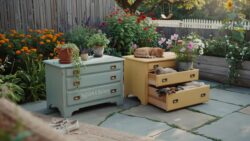
The vinegar and steel wool method produces authentic aging because it stains wood chemically rather than coating the surface. Test the mixture on scrap wood first to match your desired color. This technique works on pine, oak, and other softwoods but produces minimal effect on hardwoods like maple. The stain won’t scratch off like paint, making it durable for high traffic furniture pieces.
How To Age Chalk Painted Furniture With Dark Wax And Glazes
Applying Clear Wax As A Base Coat
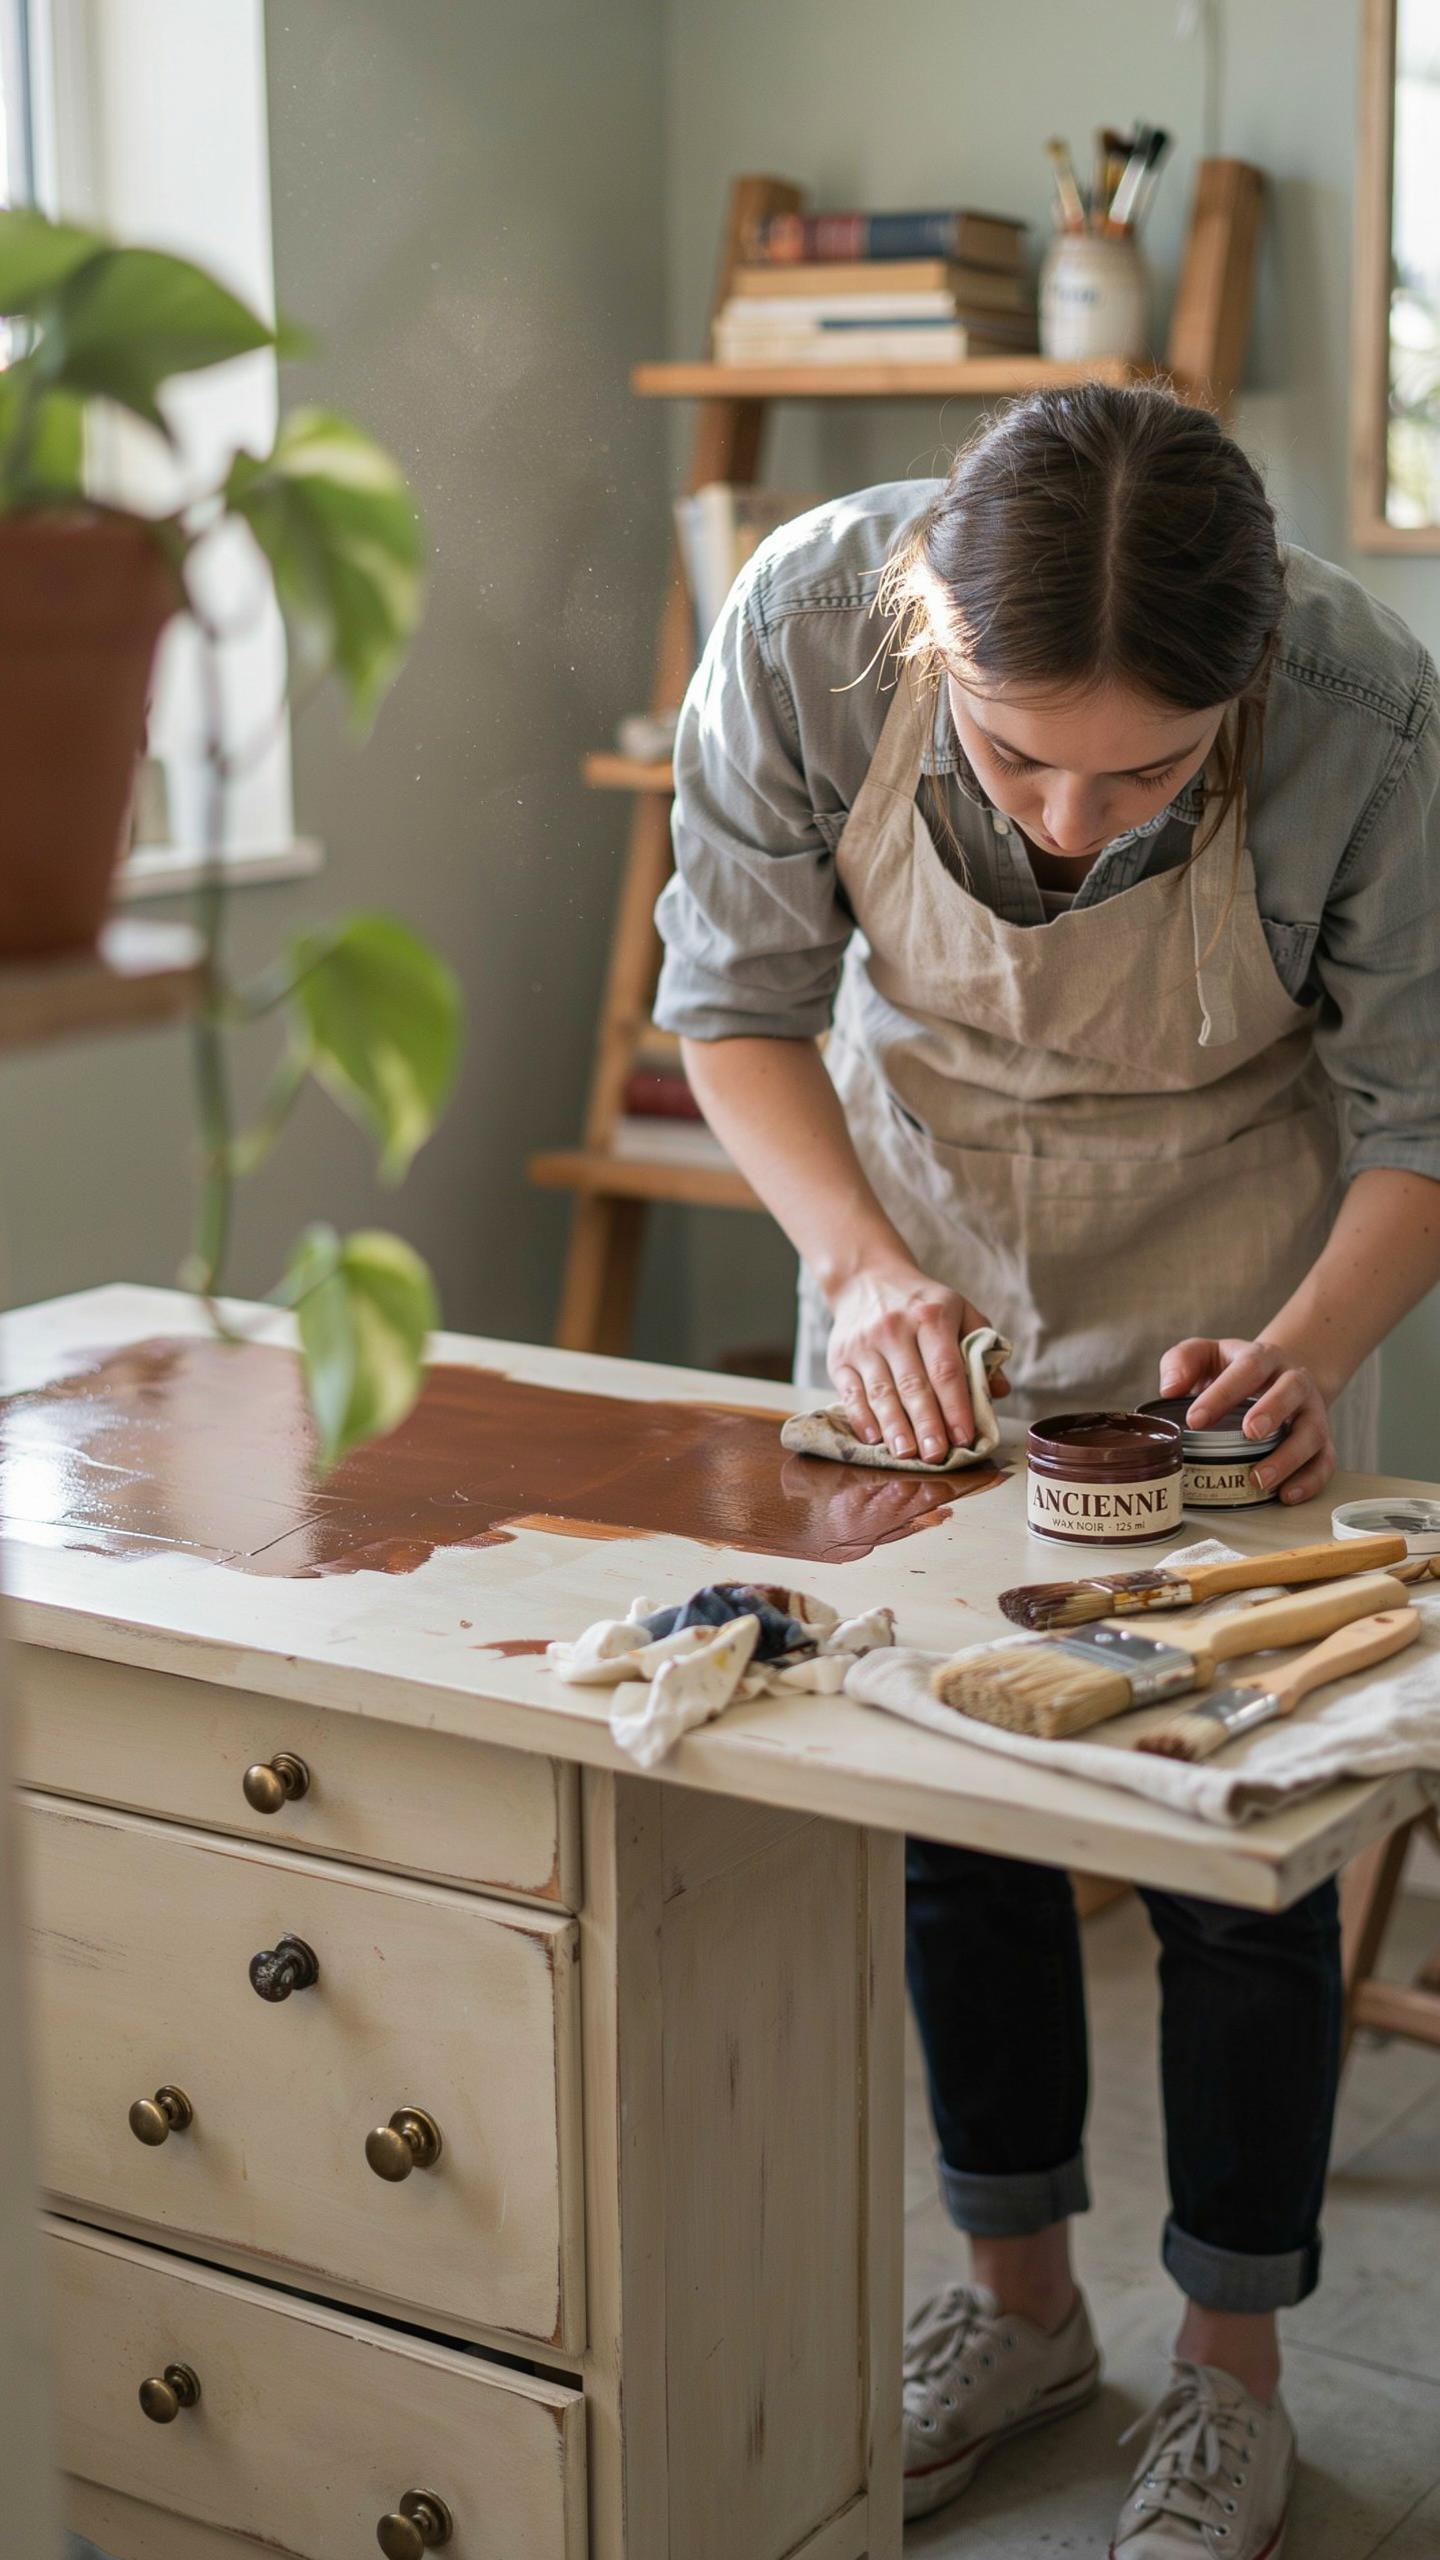
Clear wax seals chalk paint and creates a foundation for dark wax application. Apply clear wax with a brush or cloth in thin, even coats. Work in sections and allow each coat to dry before adding another. Clear wax prevents dark wax from absorbing unevenly into the chalk paint surface. This step controls where aging effects appear on your piece.
Clear wax also protects the chalk paint underneath from damage during the distressing process. The wax layer acts as a barrier between your furniture and the dark wax you apply next. Quality matters here because thin, consistent coverage prevents blotchy results. Let clear wax cure fully before moving to dark wax application. Rushing this step compromises the final aging effect.
Working Dark Wax Into Crevices For Depth
Dark wax creates shadow and depth by settling into grooves, corners, and recessed areas. Load a cloth or brush with dark wax and apply it generously to detailed sections. Focus on areas where dirt would naturally accumulate over time. Use a clean cloth to wipe excess wax from flat surfaces while leaving it packed in crevices. This contrast between light and dark surfaces mimics authentic aging.
Layering dark wax takes multiple applications to build convincing depth. Apply wax, let it set for several minutes, then wipe away surface wax. Repeat this process two to three times in targeted areas for stronger effects. The dark wax oxidizes slightly as it cures, deepening the aged appearance. This technique works best on furniture with carved details, molding, or turned legs where crevices naturally exist.
Showcasing Flipped Furniture Before After Real Life Success Stories
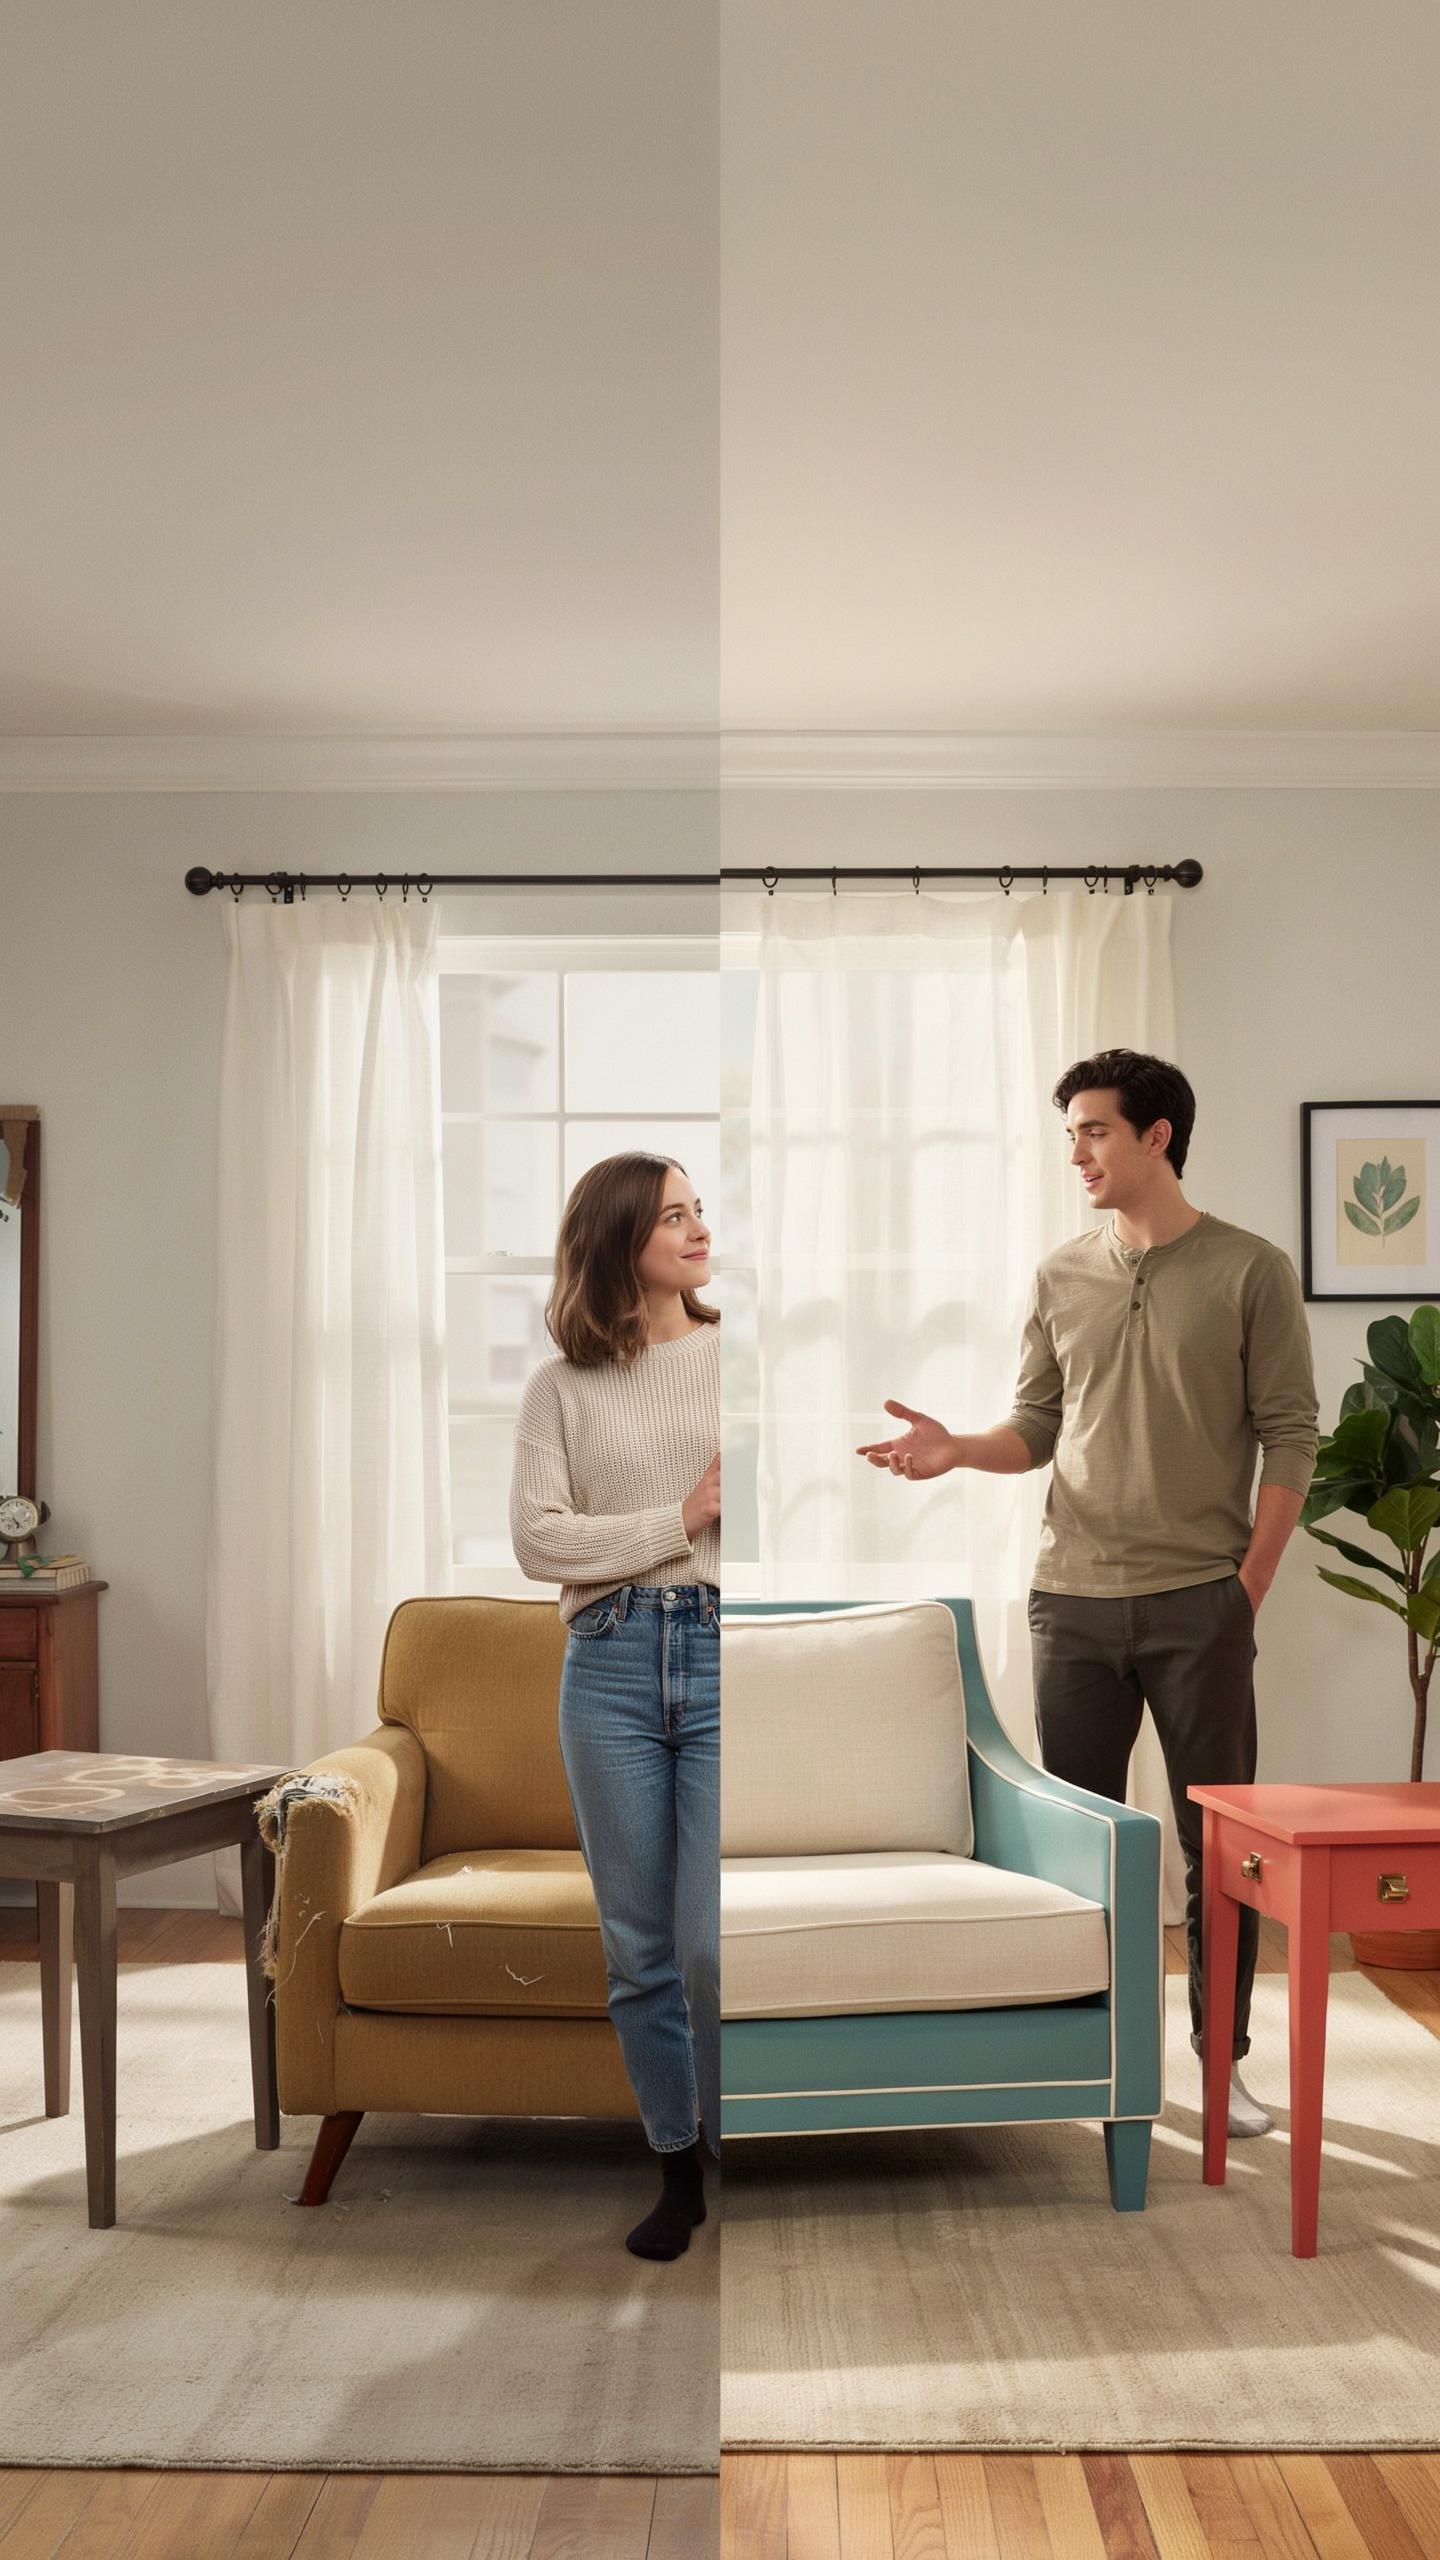
From A Scratched Dresser To A Chic Buffet
A scratched dresser becomes functional storage through distressing methods that work with existing damage rather than against it. Strip the original finish using chemical stripper or sanding. The goal is exposing bare wood to apply new stain and protective coating. Distressing techniques like dry brushing highlight edges where wear naturally occurs. This approach transforms cosmetic flaws into design features that appear intentional and planned.
Repurposing a dresser as a buffet requires repositioning for horizontal display rather than vertical storage. Apply distressing paint techniques using light topcoats over darker base layers. Sand through high-traffic areas like edges and corners to reveal underlying color. This creates authentic aging that matches farmhouse or cottage design aesthetics. The piece gains value through function change and refined finish rather than original condition.
Transforming A Dated Dining Table Into A Rustic Masterpiece
A dated dining table gains new life through distressing that emphasizes wood grain and reveals multiple paint layers. Start by removing the existing finish completely with stripper or aggressive sanding. Apply primer, then base coat color, followed by a contrasting topcoat. Wet sand the surface lightly before distressing for easier paint removal in targeted areas. This layering creates depth that single-coat painting cannot achieve.
Strategic distressing on table edges and corners mimics genuine wear from decades of use. Sand edges by hand rather than machine for irregular, natural results. Expose wood grain in high-impact zones where hands and objects make contact. Apply wood stain to bare spots for color variation and authenticity. The final result functions as a centerpiece while serving everyday dining needs without requiring restoration.
Maximizing Value And Profit From Your Furniture Flips
Staging Your Flipped Items For Social Media
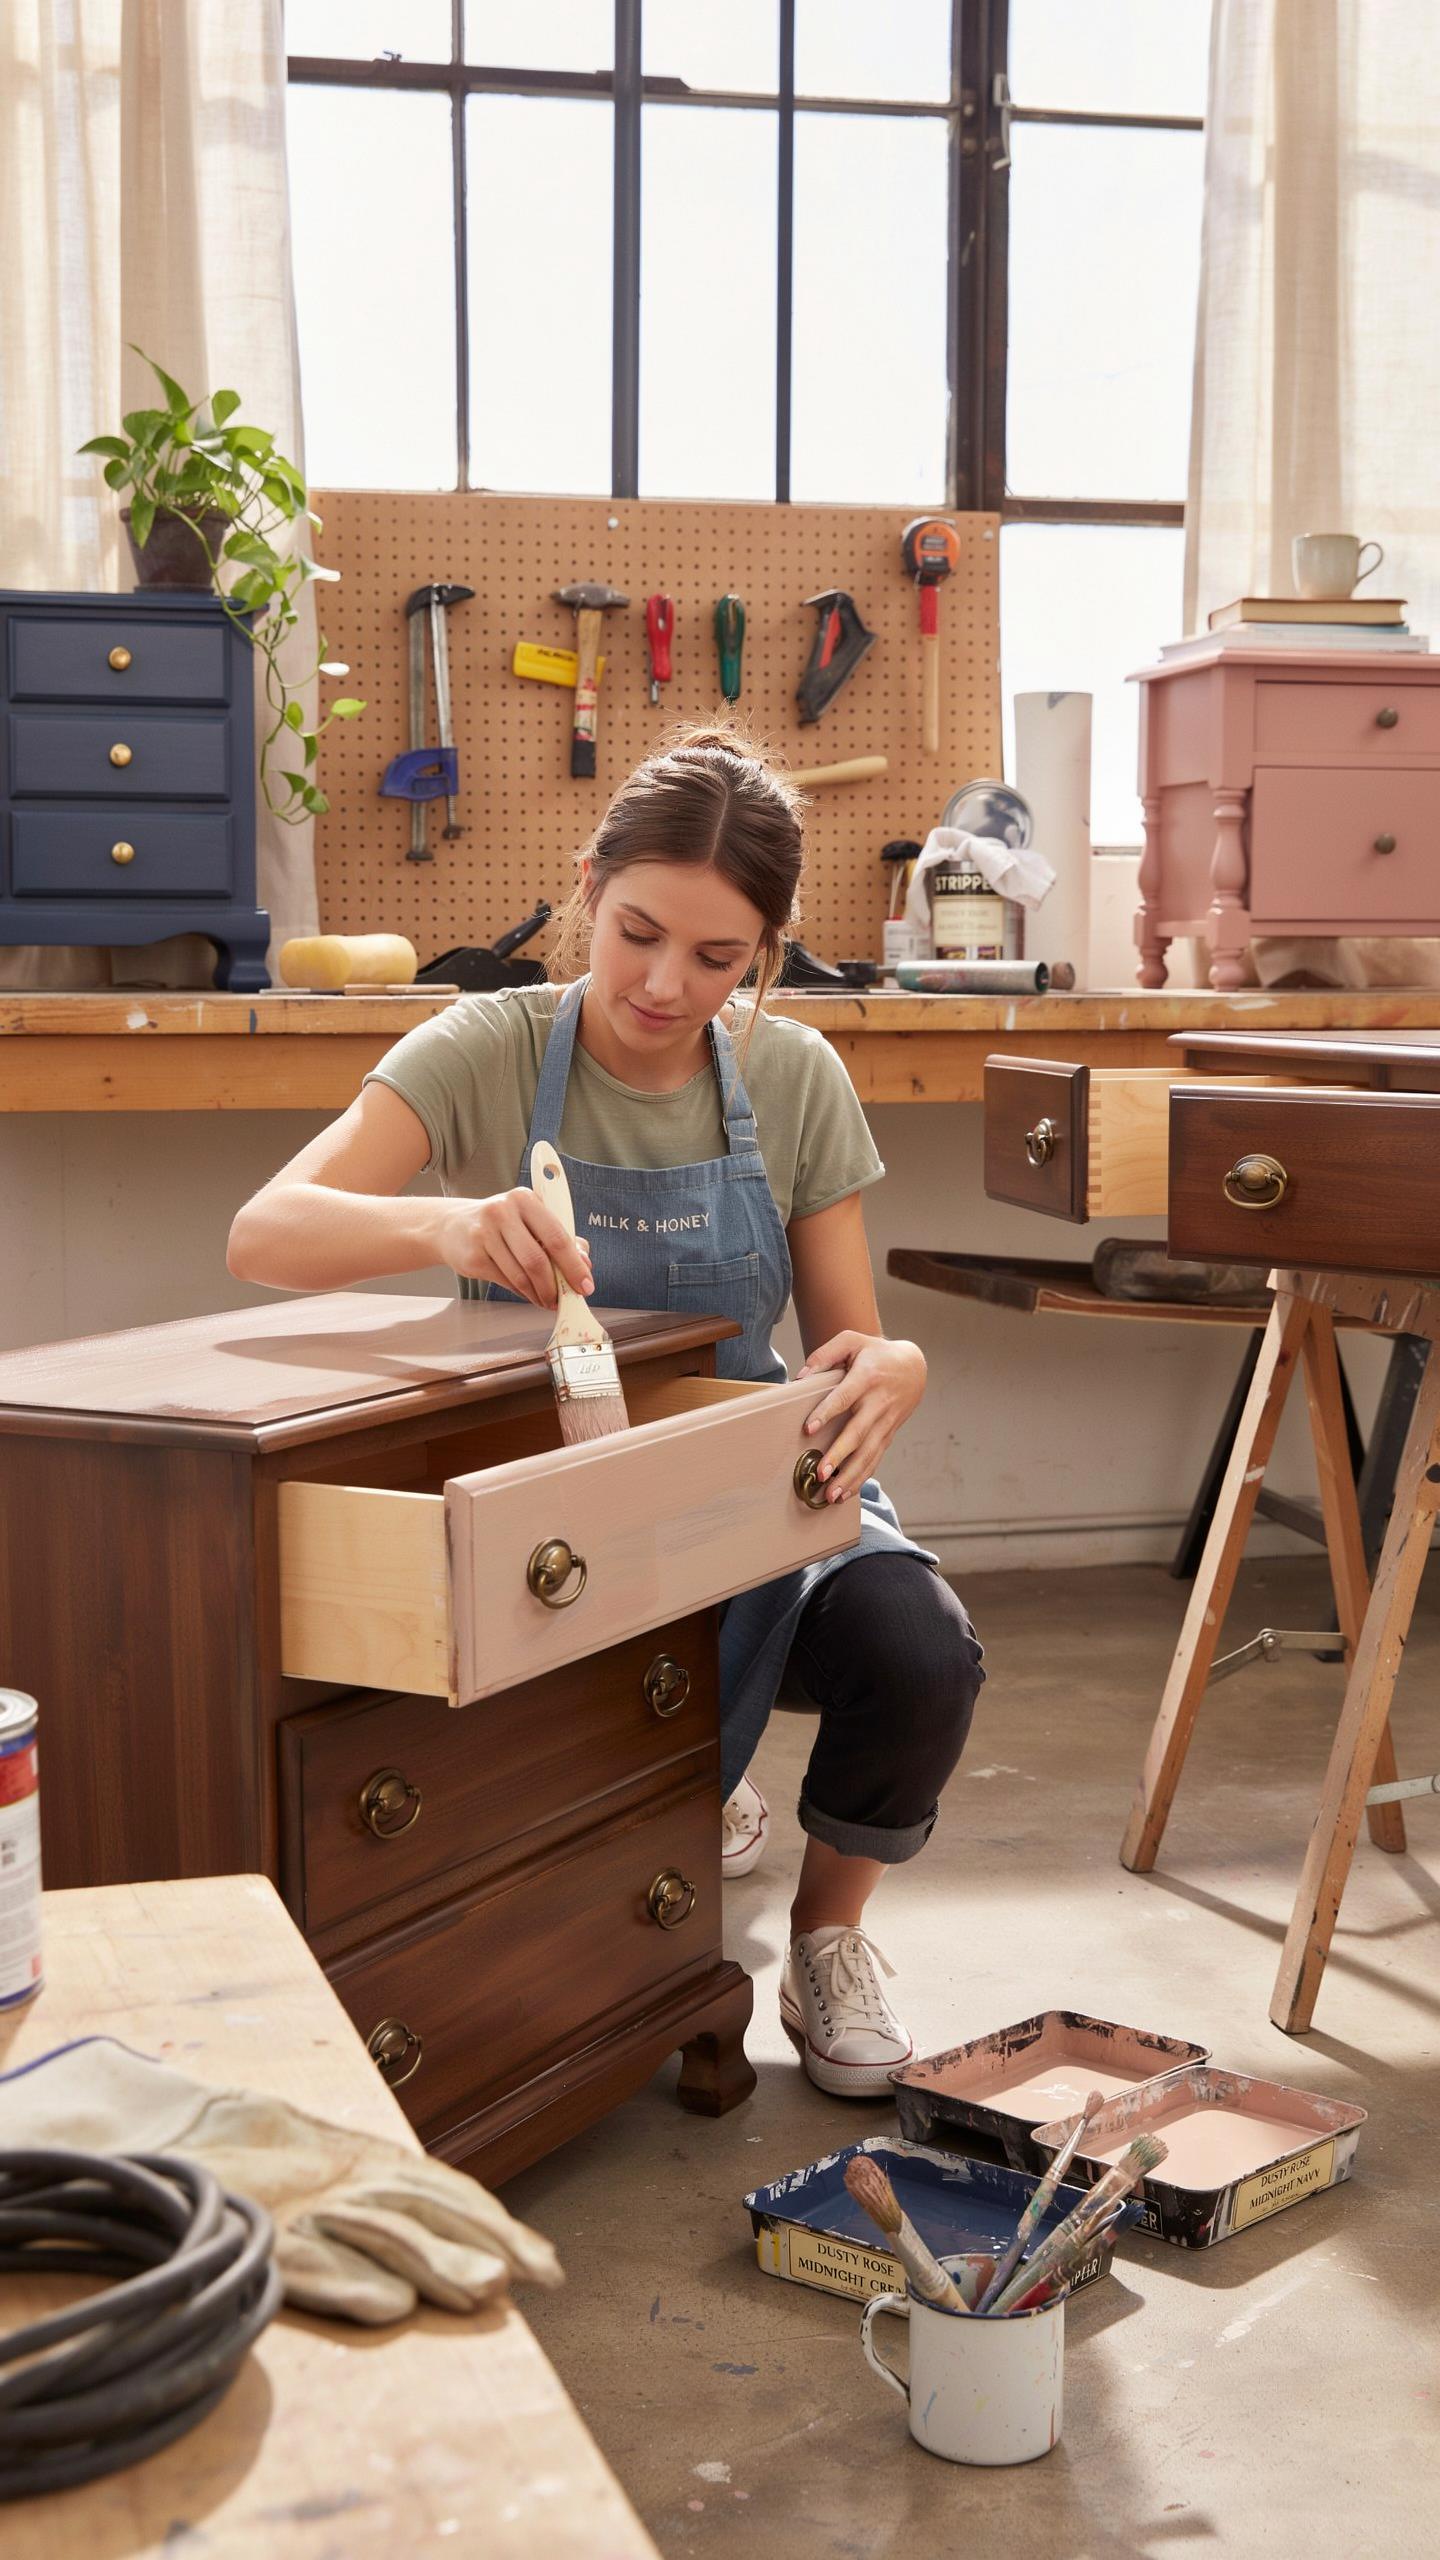
Photography drives sales in the furniture flip market. Position pieces in natural light to show distressing details clearly. Photograph from multiple angles. Include close-ups of texture, paint application, and hardware. Show the piece styled in a room setting to help buyers visualize ownership. Consistent lighting across your product photos builds brand recognition and increases click-through rates.
Write descriptions that focus on construction quality and distressing technique used. Mention specific methods like dry brushing, sanding, or antiquing that you applied. State dimensions accurately. Disclose any damage or repairs. Buyers research before purchasing, so transparency builds trust and reduces return requests. Clear product information converts browsers into buyers faster.
Pricing Strategies For Selling Your Refurbished Art
Market research determines your baseline price. Check comparable pieces on resale platforms like Facebook Marketplace, Craigslist, and Etsy. Factor in your labor hours, materials cost, and overhead. A standard markup ranges from 200 to 400 percent of total investment depending on the original piece quality and your distressing skill level. Research your local market demand for your specific style.
Adjust pricing based on piece condition, size, and market demand. Vintage mid century modern pieces with quality distressing command higher prices than mass produced furniture. Test pricing on slower moving inventory by offering bundle deals or seasonal promotions. Track which price points generate inquiries versus sales to refine your strategy. Remove underperforming pieces and reinvest in higher margin items.
Frequently Asked Questions

What is the best type of paint to use for a beginner distressing project?
For your first furniture flip project distressing method, chalk paint is the absolute best choice. It adheres beautifully to most surfaces without heavy sanding and dries to a matte, porous finish that is incredibly easy to sand down for that aged look. Because it is water-based and forgiving, beginners can experiment with different levels of pressure to reveal the wood underneath while achieving a professional, vintage aesthetic effortlessly.
How do I achieve a natural-looking distressed finish without overdoing it?
To master the furniture flip project distressing method, focus on “high-traffic” areas where natural wear would occur over time. Lightly sand the corners, edges, and raised decorative details of your piece using fine-grit sandpaper. By mimicking authentic aging, you create a sophisticated look rather than a messy one. Always start with a light touch, as it is much easier to remove more paint later than it is to fix an over-sanded spot.
Can I distress furniture on a tight budget using items I already have?
Absolutely! You don’t need expensive power tools to refresh your space. Common household items like steel wool, an old candle, or even a crumpled piece of brown paper bag can be used to create texture and wear. Petroleum jelly applied to edges before painting also prevents paint from sticking, creating a beautiful resist effect. Distressing is one of the most cost-effective ways to transform thrift store finds into high-end statement pieces.



