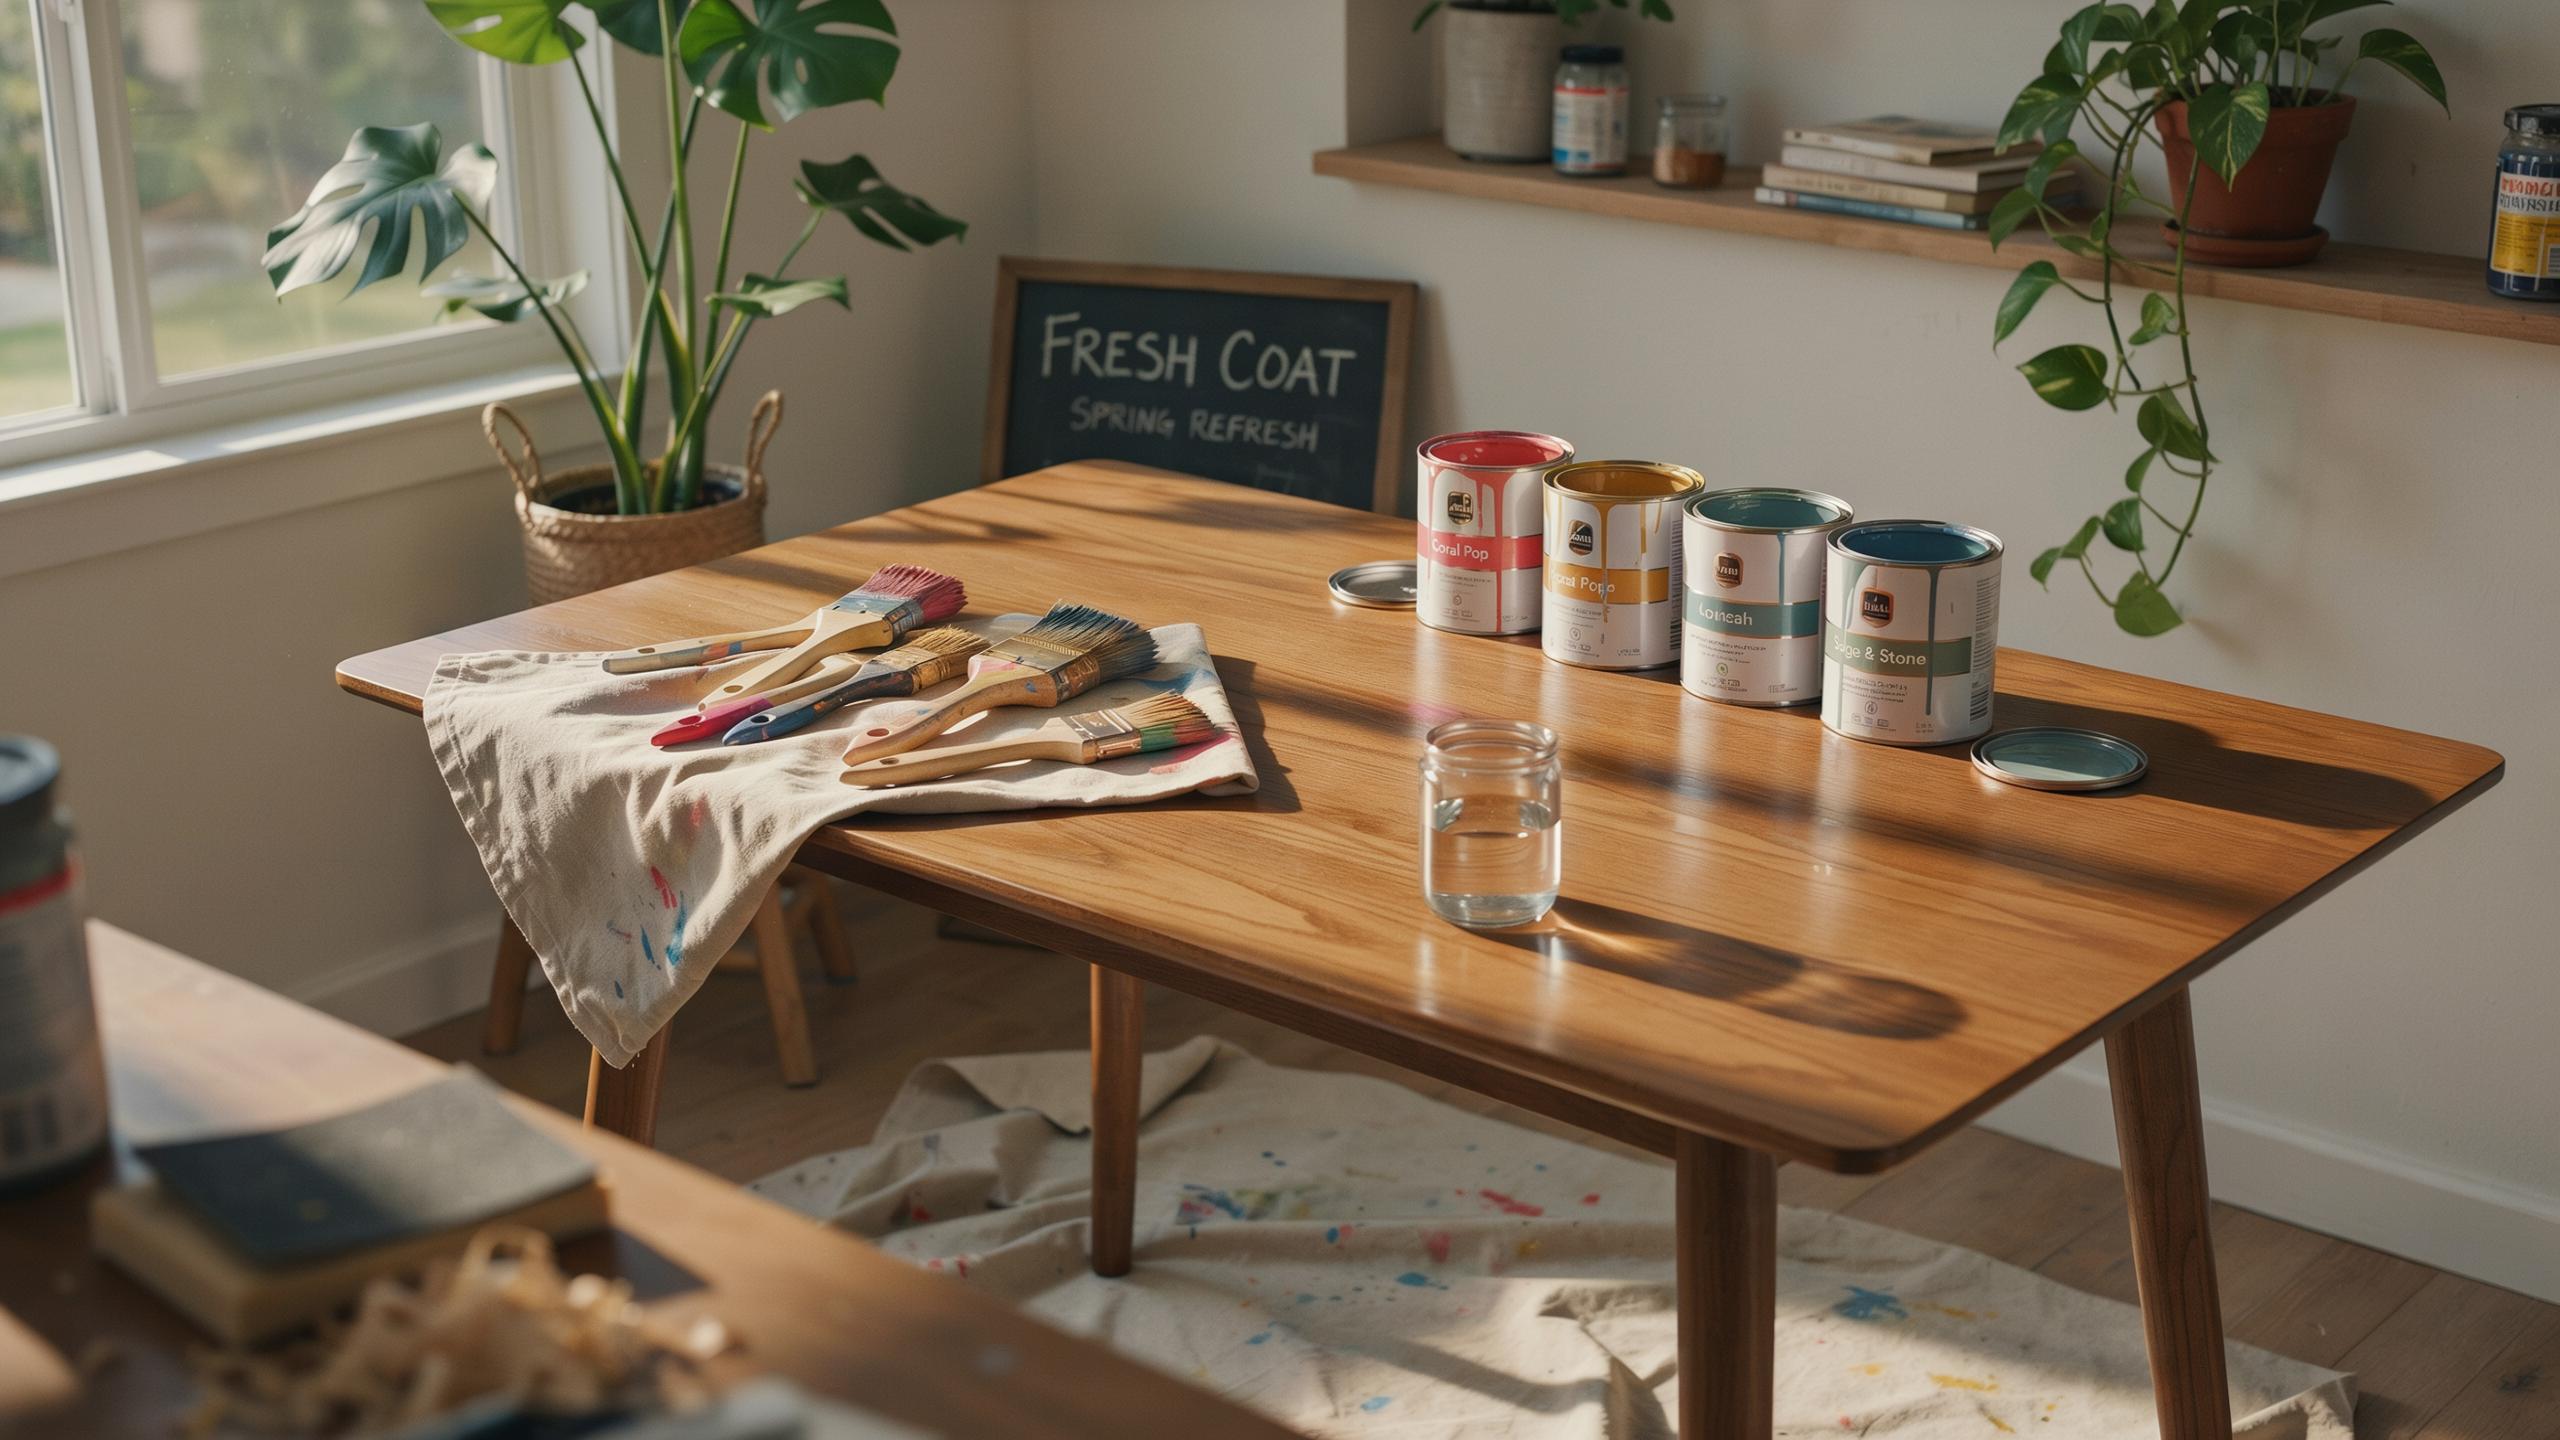
Embrace The New Season Your Ultimate Furniture Flip Project Table Refinish Guide
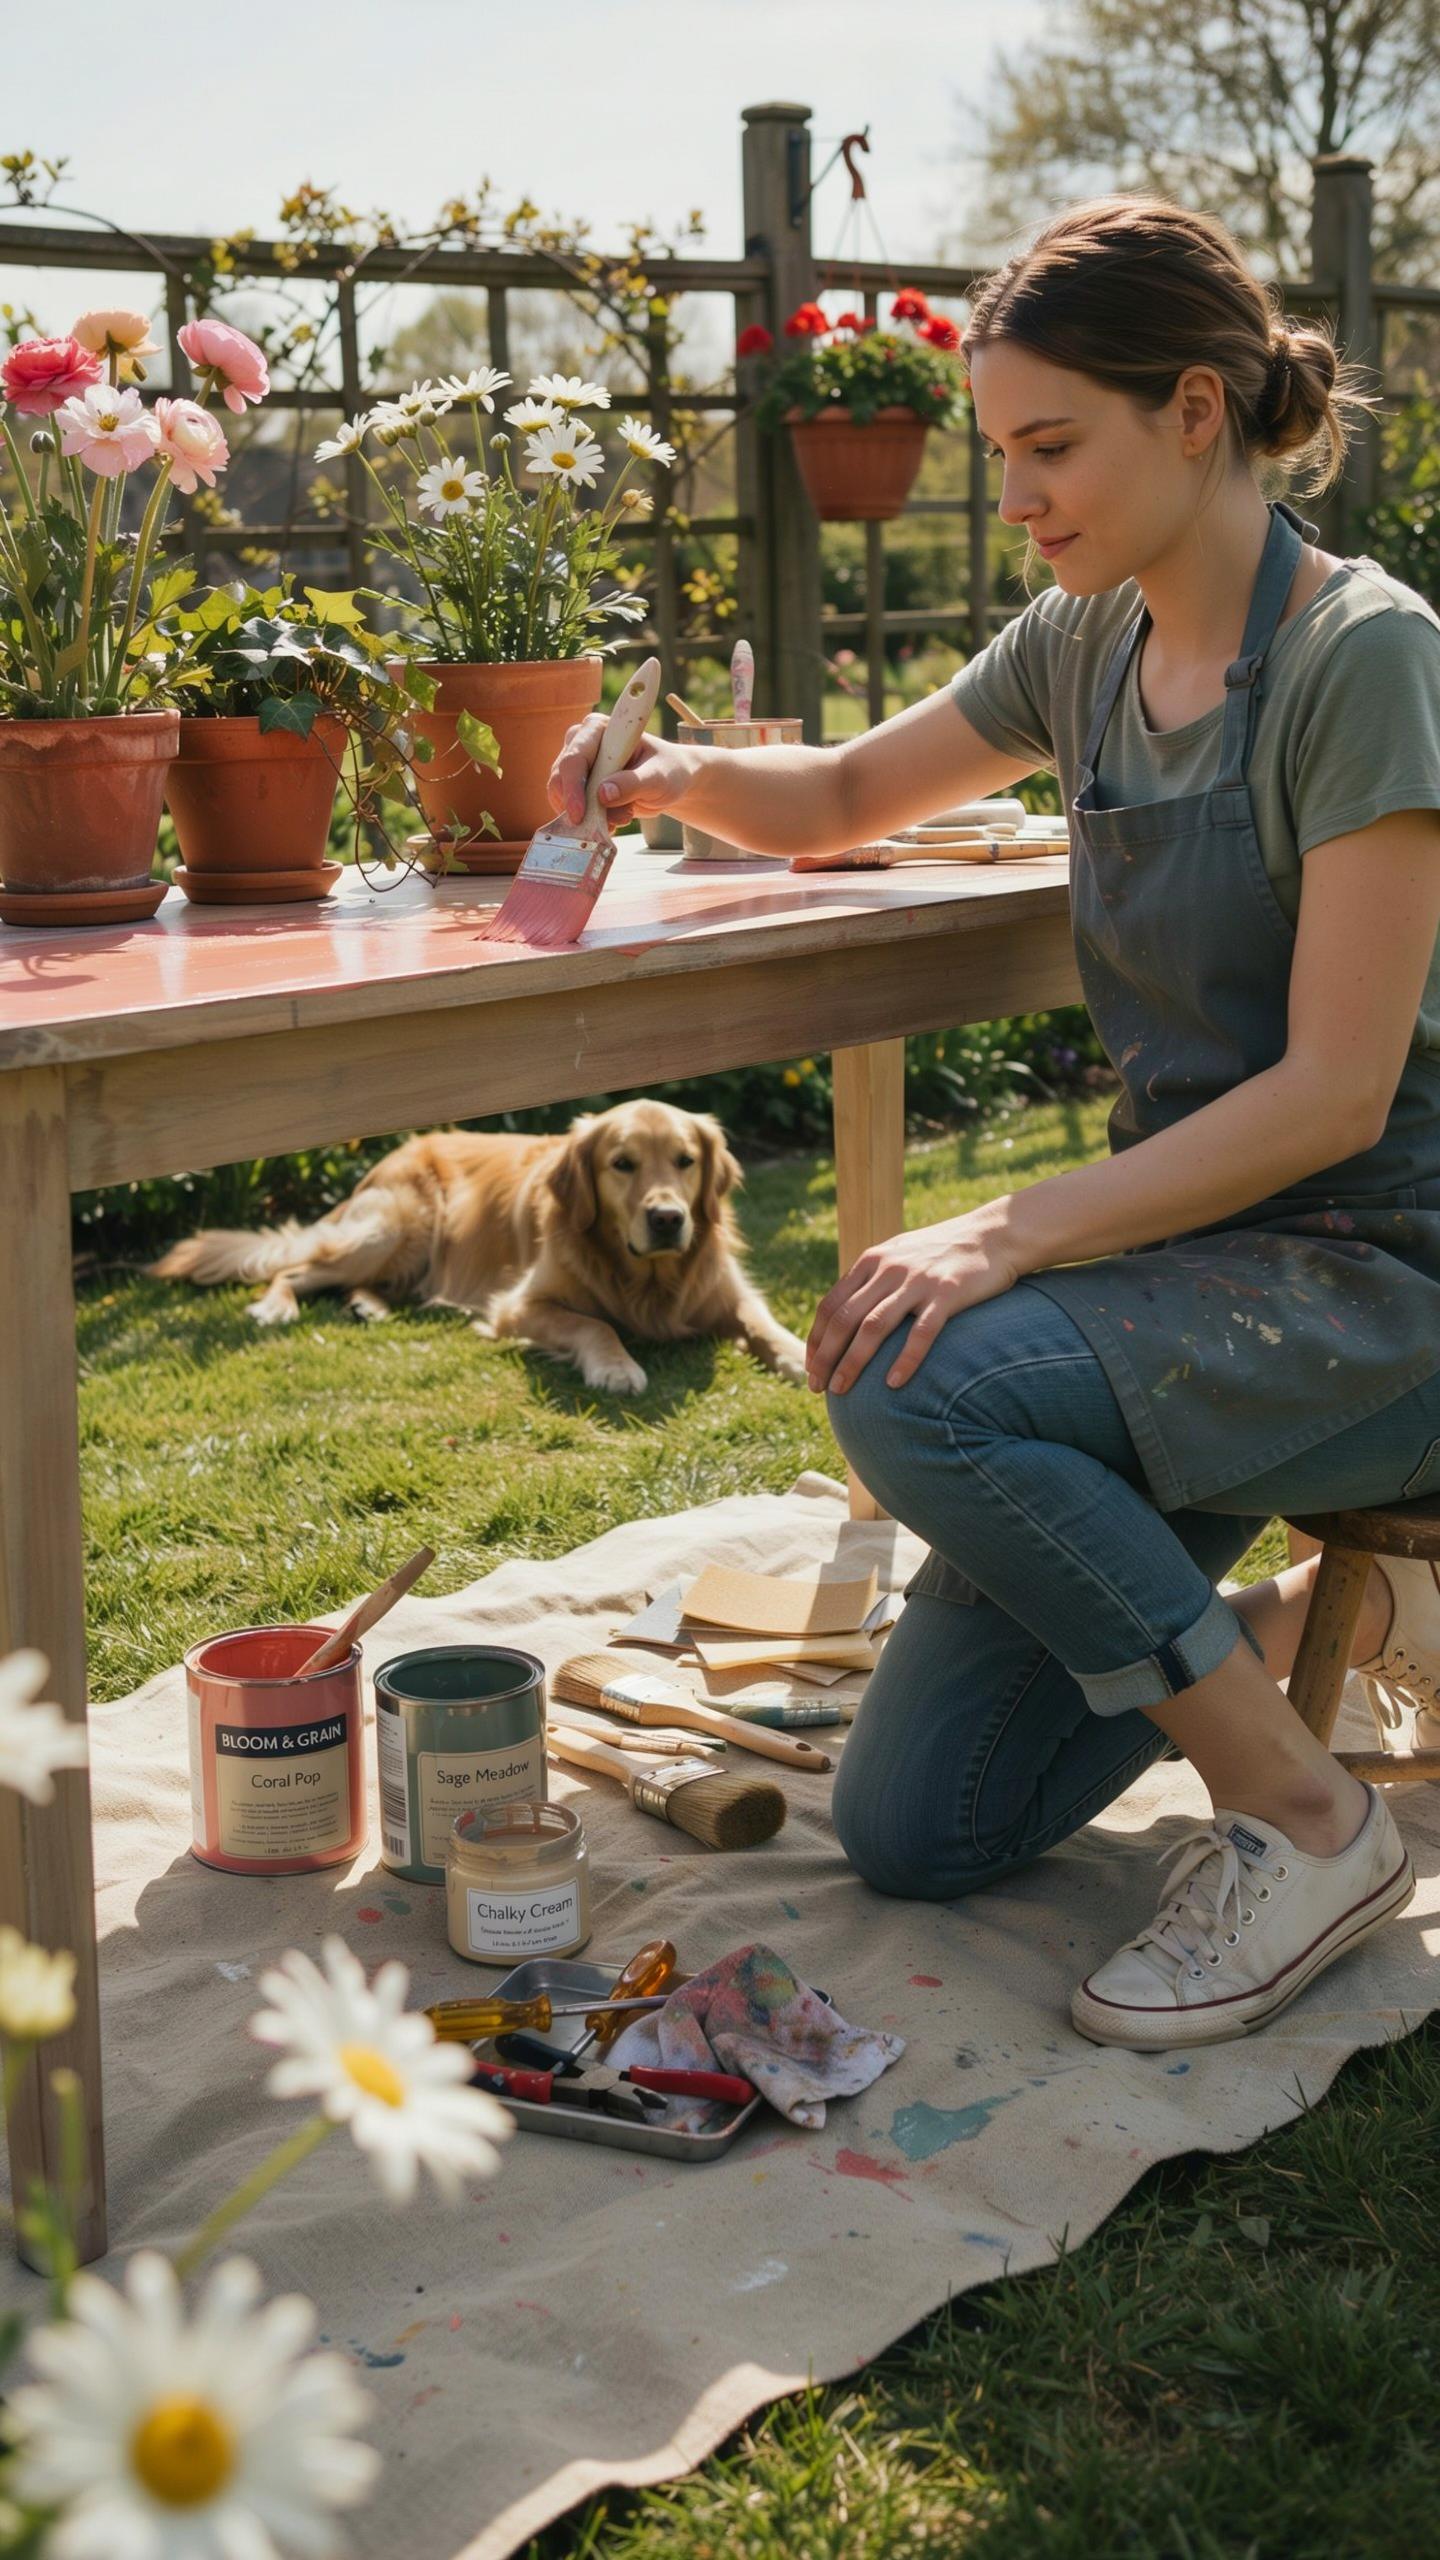
Assessing Furniture Before Refinishing: Structural Repairs vs. Cosmetic Fixes
Before you commit resources to refinishing, determine what the piece actually needs. Inspect all glue joints for separation or looseness. Check veneer for lifting or bubbling. Identify the wood type because hardwoods and softwoods respond differently to refinishing techniques. Structural damage costs more to fix than surface problems. A wobbly leg or cracked apron requires rebuilding before refinishing makes sense.
Sound joints and stable veneer mean refinishing is your path forward. Loose joints demand glue injection and clamp time before any sanding starts. Separated veneer needs adhesive reattachment. If the table rocks or flexes, fix the frame first. Refinishing a structurally compromised piece wastes time and money on cosmetics covering real problems.
Cleaning Wood Surfaces: Mineral Spirits vs. Soapy Water for Stain Prep
Dirt, wax, and grease block stain penetration and prevent finishes from bonding properly. Use mineral spirits on surfaces with heavy wax buildup or unknown finish types. Mineral spirits cut through old wax without raising the wood grain like water does. Work in a ventilated space. A clean cloth dampened with mineral spirits removes decades of accumulated residue quickly.
For lighter soiling, mild soapy water works if you dry the surface immediately afterward. Never let water sit on wood. Allow the piece to dry completely for 24 hours after cleaning before proceeding. A truly clean surface accepts stain evenly and lets topcoats adhere without peeling. Surface prep determines finish quality more than any other single factor.
Choosing Your Canvas Where To Find A Worthy Dining Table Refurbish Candidate
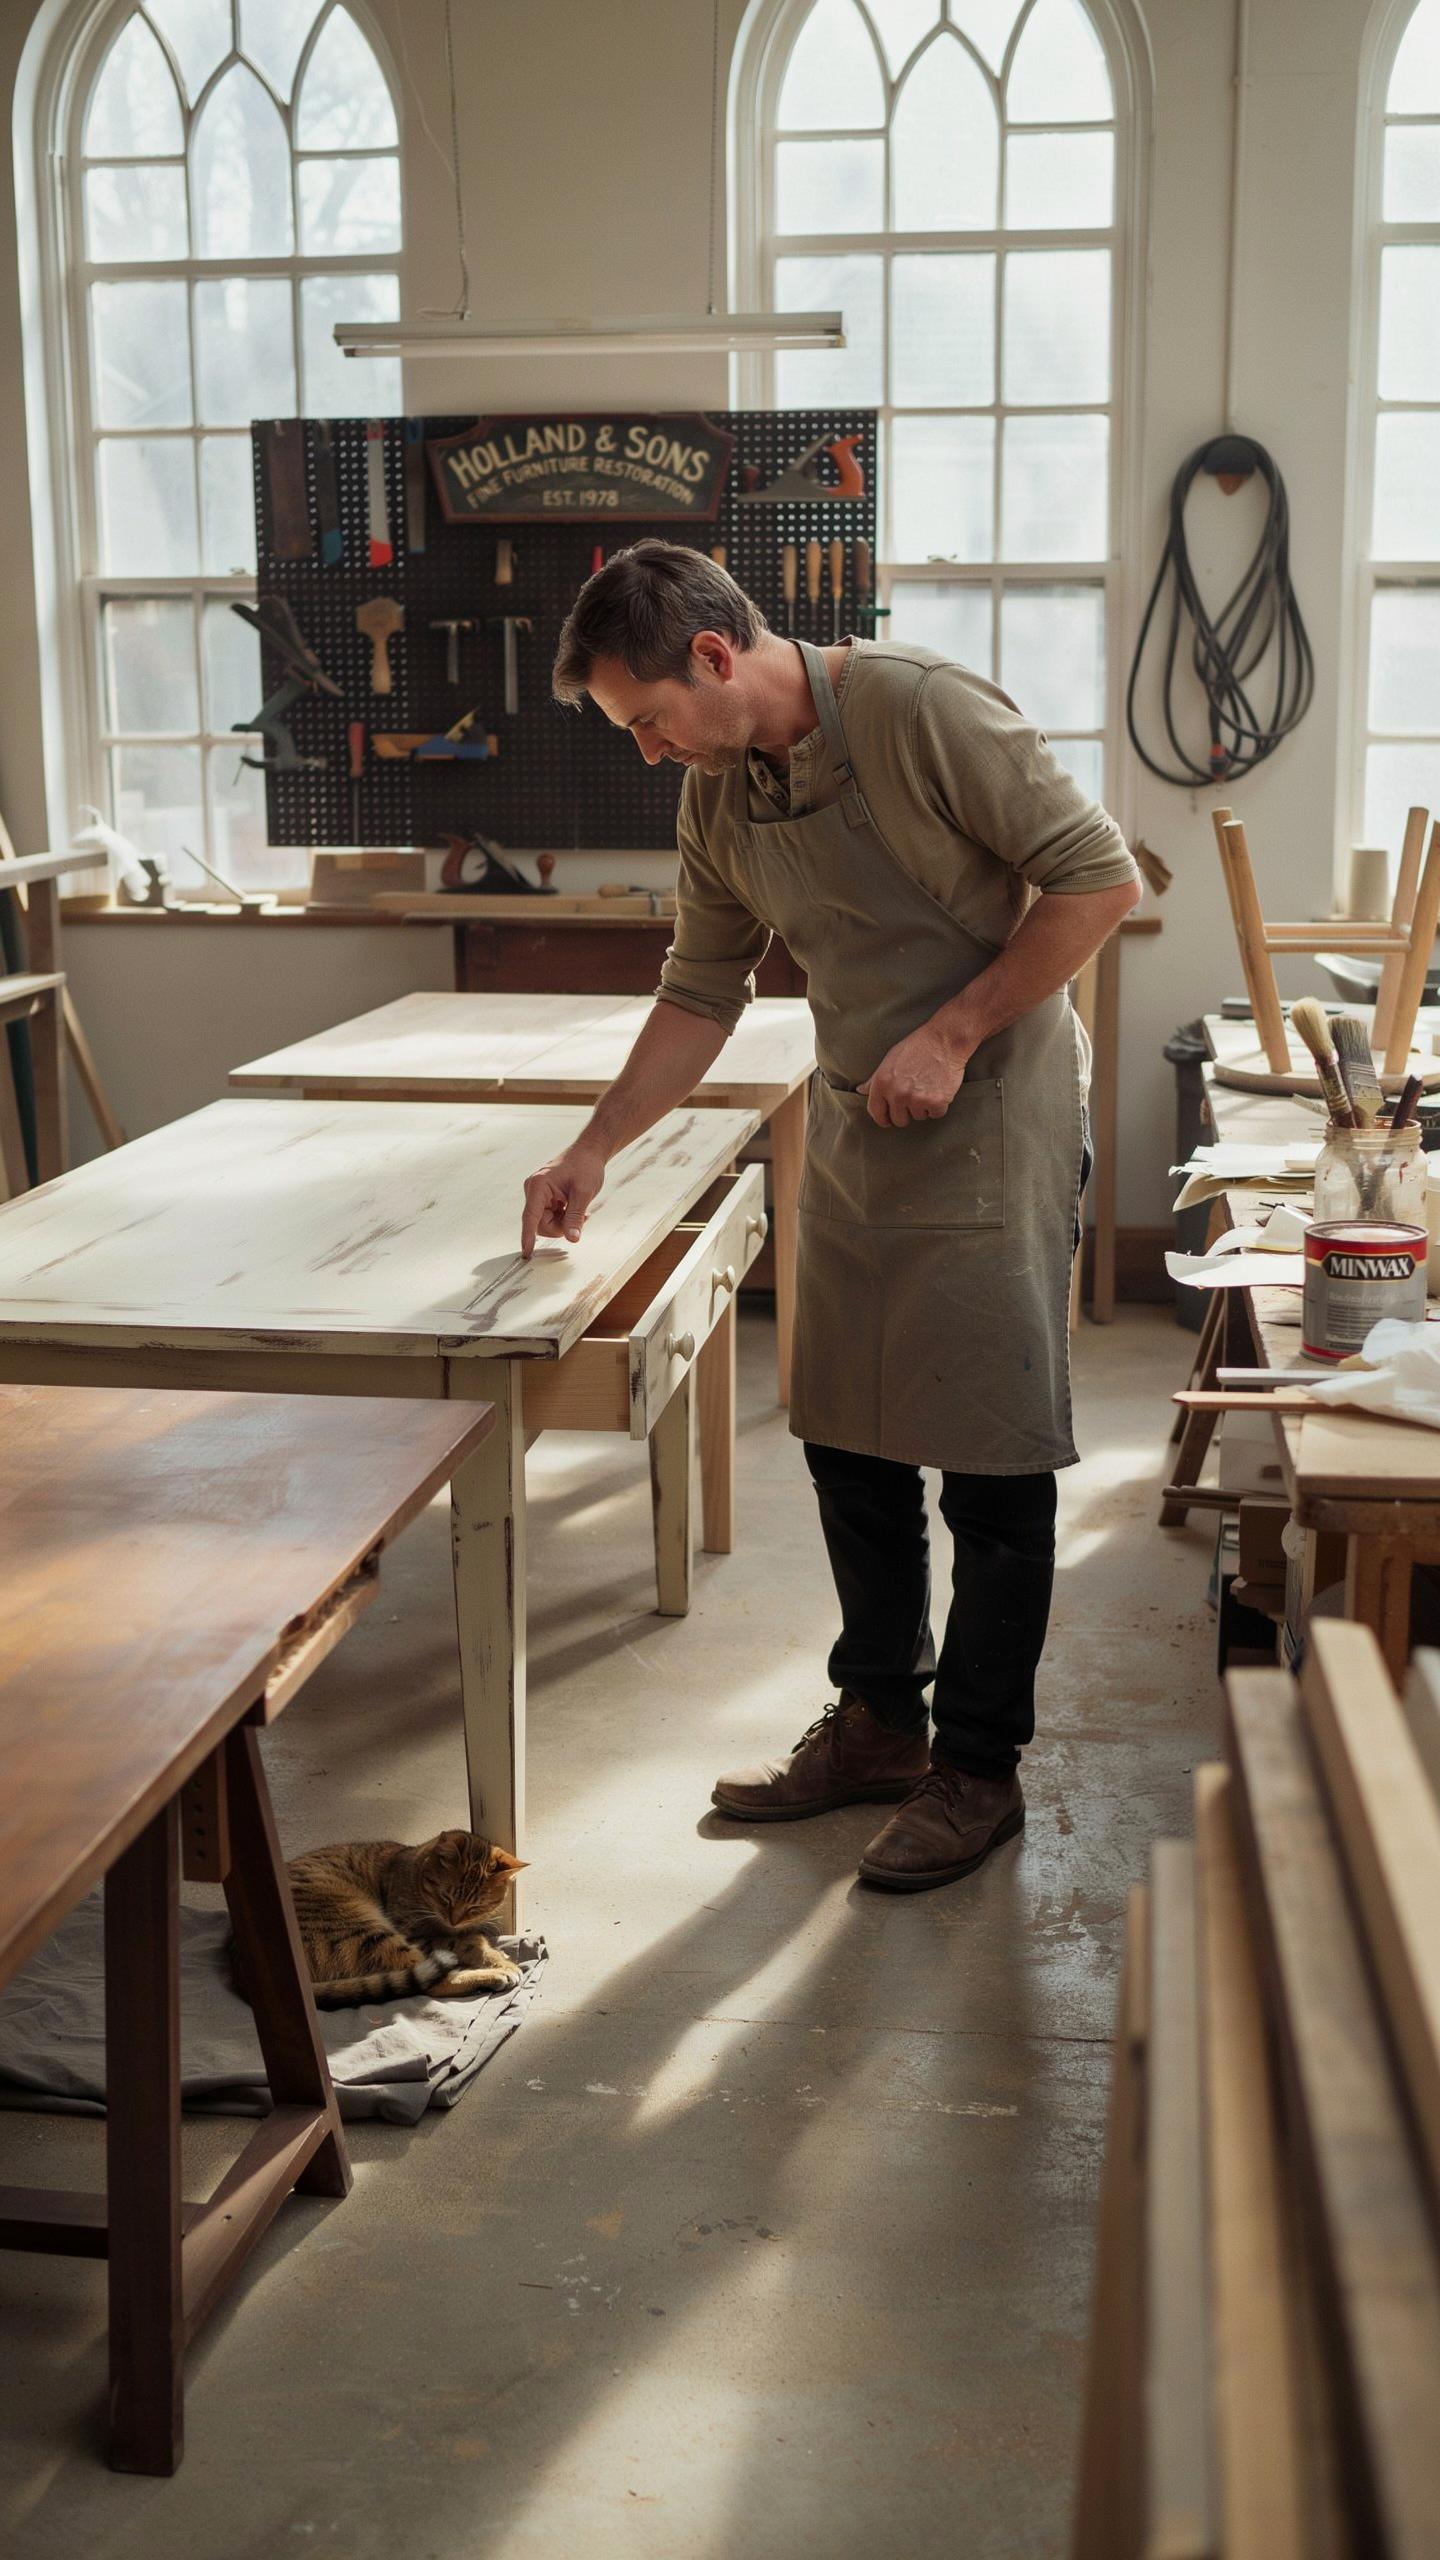
Where to Find Refinishing-Worthy Dining Tables: Thrift, Estate Sales, and Online Marketplaces
Thrift shops, estate sales, and online marketplaces hold inventory of dining tables worth refinishing. Target solid wood construction over veneer. Look for pieces with straight legs, minimal warping, and joints that hold tight. Skip tables with deep gouges, water damage, or structural cracks. Classic lines from mid-century designs or traditional styles refinish better than trendy pieces. Inspect underneath for maker marks and construction quality before purchasing.
Online marketplaces like Facebook Marketplace and Craigslist offer local pickup options that save shipping costs on heavy furniture. Estate sales yield higher quality vintage pieces because sellers liquidate entire collections. Thrift stores rotate inventory frequently, so visit weekly for fresh finds. Negotiate prices on tables with cosmetic damage since your refinishing work will handle surface issues. Build relationships with estate sale companies to get early previews of upcoming auctions.
Identifying Wood Type and Assessing Table Condition Before Refinishing
Identify wood type by examining unexposed areas where finish has worn or chipped away. Oak shows visible grain patterns and lighter color when stripped. Maple appears dense and uniformly light. Walnut displays deep brown tones naturally. Each wood species responds differently to stain and finish products. Knowing your wood type determines which refinishing approach works best and what final appearance you’ll achieve after stripping old polyurethane layers.

Run a test scrape on an inconspicuous spot to gauge finish thickness and wood condition beneath. Old polyurethane often hides quality wood that refinishes beautifully. Solid construction and strong joinery matter more than current finish condition. A table with good bones but poor appearance is your ideal candidate. Poor bones with pristine finish waste your time and effort since structural issues cannot be fixed through refinishing alone.
Stripping And Sanding Secrets To Successfully Refurbish Table Surfaces
Chemical Stripper Application And Ventilation Protocol
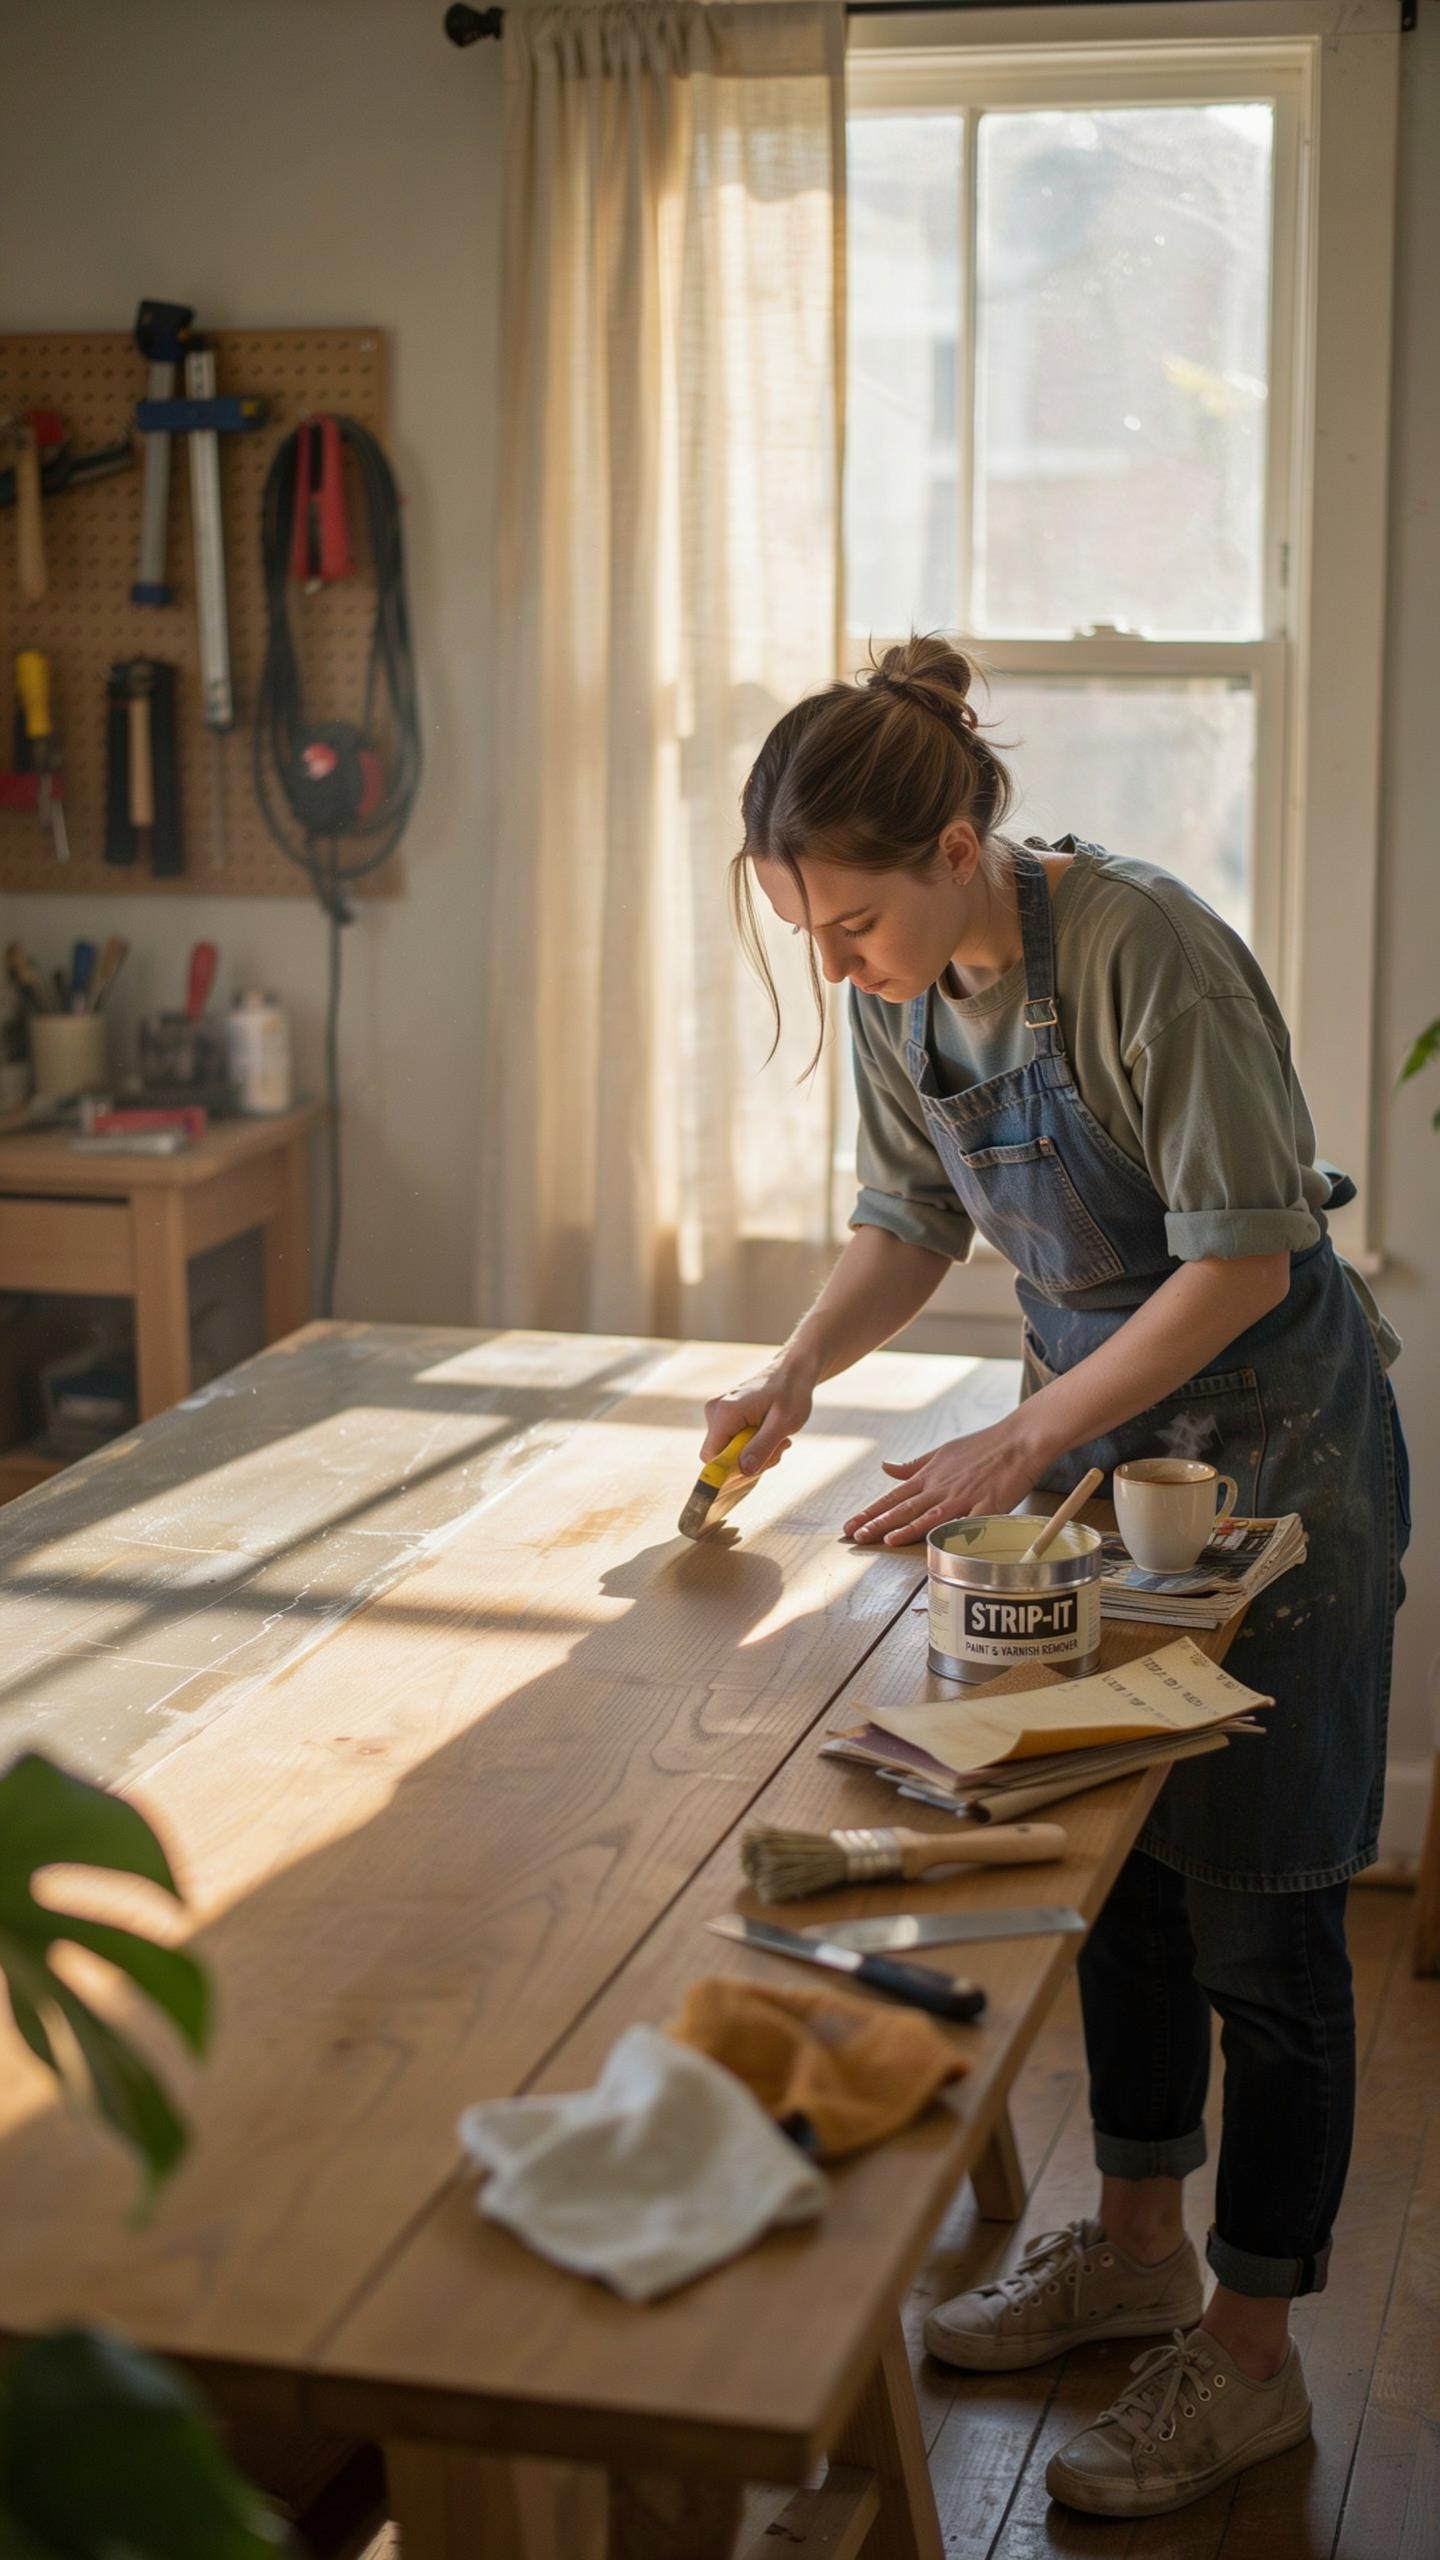
Chemical strippers work by breaking down the bond between finish and wood. Apply the stripper generously with a brush, following the product instructions for dwell time. The solution softens old lacquer, varnish, or polyurethane so you can scrape it away. Ventilation matters because stripper fumes are toxic. Open windows, use fans to push air out, and wear a respirator rated for organic vapors. Poor ventilation causes headaches, dizziness, and respiratory irritation.
Work in sections to prevent the stripper from drying before you scrape. Once the finish bubbles and wrinkles, use a putty knife or paint scraper to remove the softened coating. Wipe the stripped surface with mineral spirits or the stripper manufacturer’s recommended solvent. This removes residue and prepares the wood for sanding. Rushed stripping leaves finish particles embedded in the grain, which creates problems during staining and finishing.
Sanding Progression From Coarse To Fine Grit
Start sanding with coarse grit paper between 60 and 80 grit to remove stripper residue and level the surface. Move to medium grit 120 to 150 grit next. This stage eliminates scratches from the coarse pass. Finish with fine grit 180 to 220 grit for a smooth foundation that accepts stain evenly and prevents blotching.
- 60 to 80 grit: Removes stripper residue, old finish particles, and surface imperfections. This aggressive stage levels uneven areas and speeds up the refinishing timeline.
- 120 to 150 grit: Eliminates scratches left by coarse sanding. This stage prepares the wood grain to receive the next finer grit without visible gouges.
- 180 to 220 grit: Creates the final smooth surface for stain application. Fine grit sanding closes the wood pores slightly, ensuring even stain absorption.
- Orbital sander usage: Random orbital sanders reduce visible scratch patterns compared to belt sanders. They provide consistent pressure and cover large flat surfaces faster than hand sanding.
- Dust collection: Attach a vacuum to your sander or use a shop vac nearby. This reduces airborne dust, improves visibility, and protects your lungs during extended sanding sessions.
- Tack cloth application: Wipe the table with a tack cloth after final sanding to remove all dust particles. Even small dust specs on the surface disrupt stain uniformity and create a rough finish.
Skipping grit stages or rushing through sanding creates visible scratches in the final finish. Sand with the grain whenever possible to avoid cross-grain marks that show through stain. Allow dust to settle after sanding before moving to the stain application phase.
Beautiful Stain Trends Transforming Refinished Tables With Modern Colors
Warm Natural Wood Tones: Moving Away From Dark Finishes
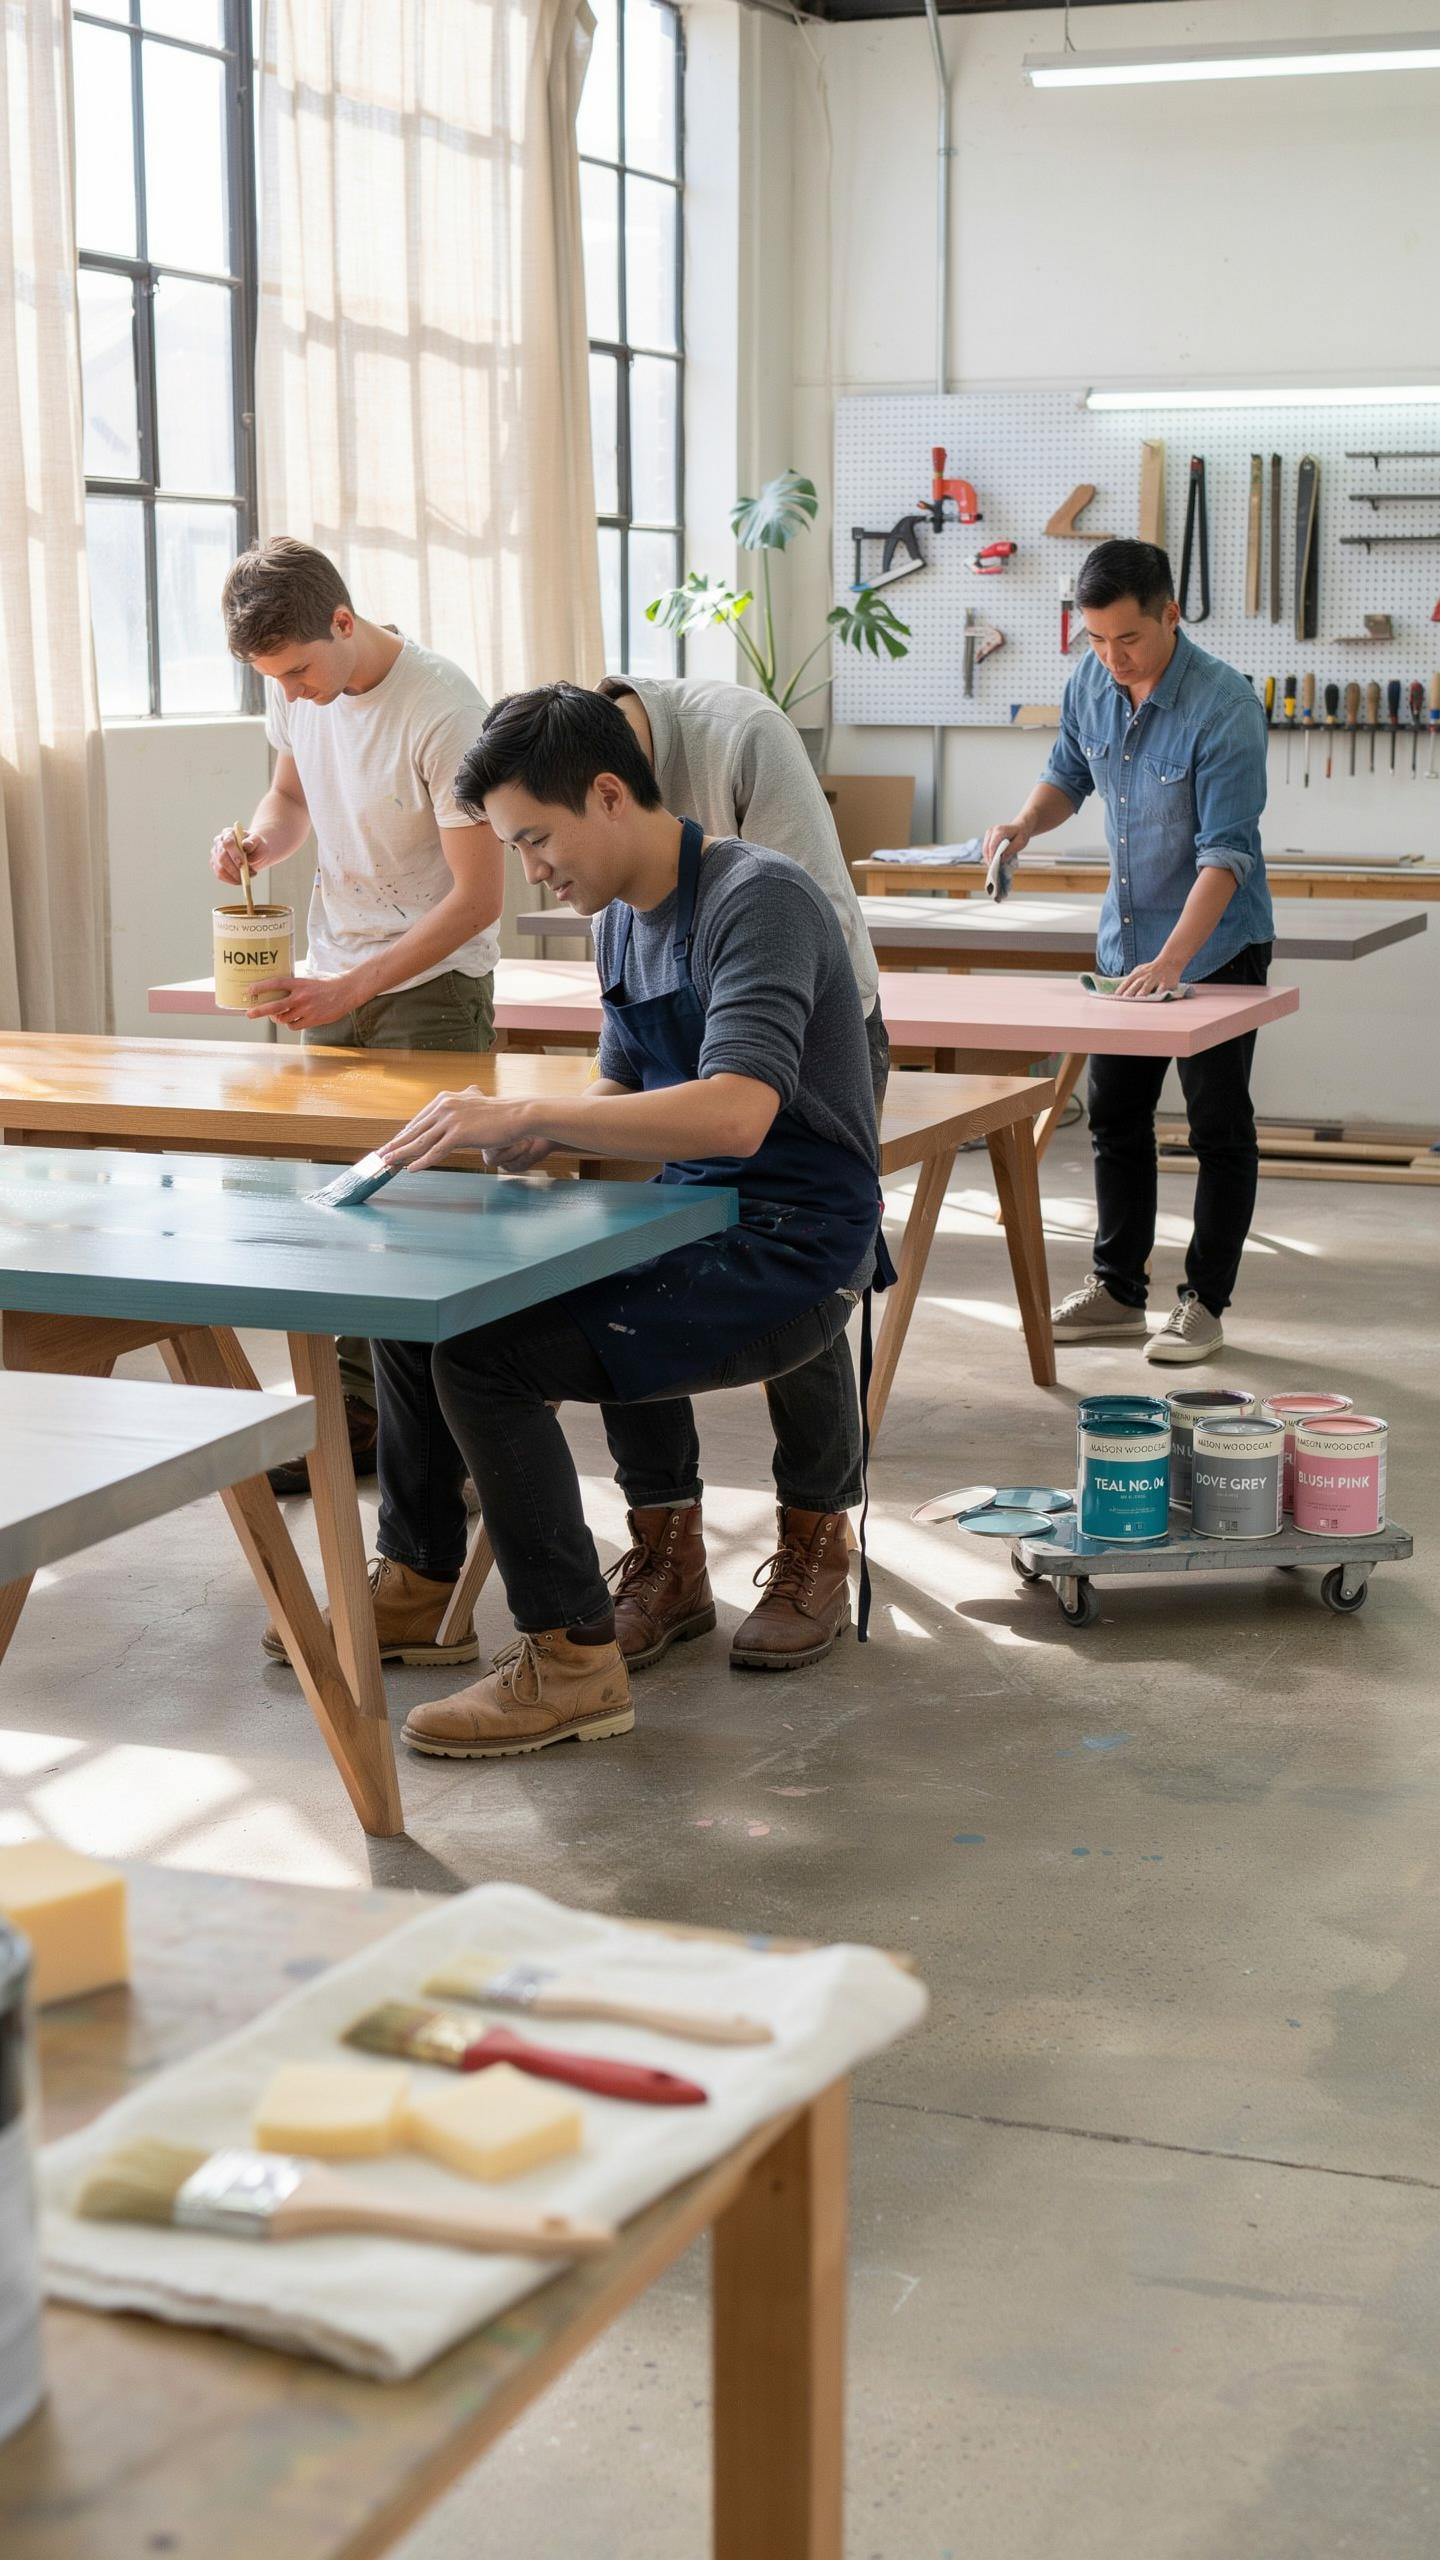
White oak and light walnut dominate current furniture flip projects because they showcase grain patterns without heavy color masking. These stains work on tables because they highlight the wood’s natural character instead of covering it. Dark mahogany stains fell out of favor as buyers shifted toward Scandinavian and mid-century modern aesthetics. Light stains also hide dust and minor scratches better than dark finishes. The grain texture becomes the visual focus when you use warm, natural tones.
Light wood tones cost less to produce than dark stains and dry faster on project timelines. White oak accepts light stains uniformly because of its dense grain structure. Light walnut stains range from pale honey to soft caramel, giving you flexibility across different wood species. These finishes pair with both contemporary and farmhouse design styles. Buyers recognize light stains as current market preference, which increases resale value on flipped furniture.
Pre Stain Wood Conditioning: The Critical Step Most Flippers Skip
Pre-stain wood conditioner prevents blotchy absorption on soft woods like pine, birch, and alder. These species have inconsistent grain density, causing stain to penetrate unevenly and create dark patches. Conditioning seals the wood surface partially, allowing more uniform stain application. Without conditioning, soft woods absorb stain rapidly in loose-grain areas and slowly in dense areas. The result destroys the finished appearance and forces expensive sanding and restaining.
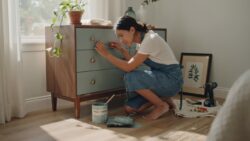
Apply wood conditioner 15 minutes before staining on all softwoods. The conditioning product sits on the surface briefly, then you wipe excess away. Wait the full time the manufacturer specifies before applying stain. Dense hardwoods like oak sometimes need conditioning if the wood is old or over-sanded. Testing on scrap pieces of the same wood type prevents costly mistakes on your actual project table.
Creative Painting Table Ideas Injecting Color And Character Into Your Flip
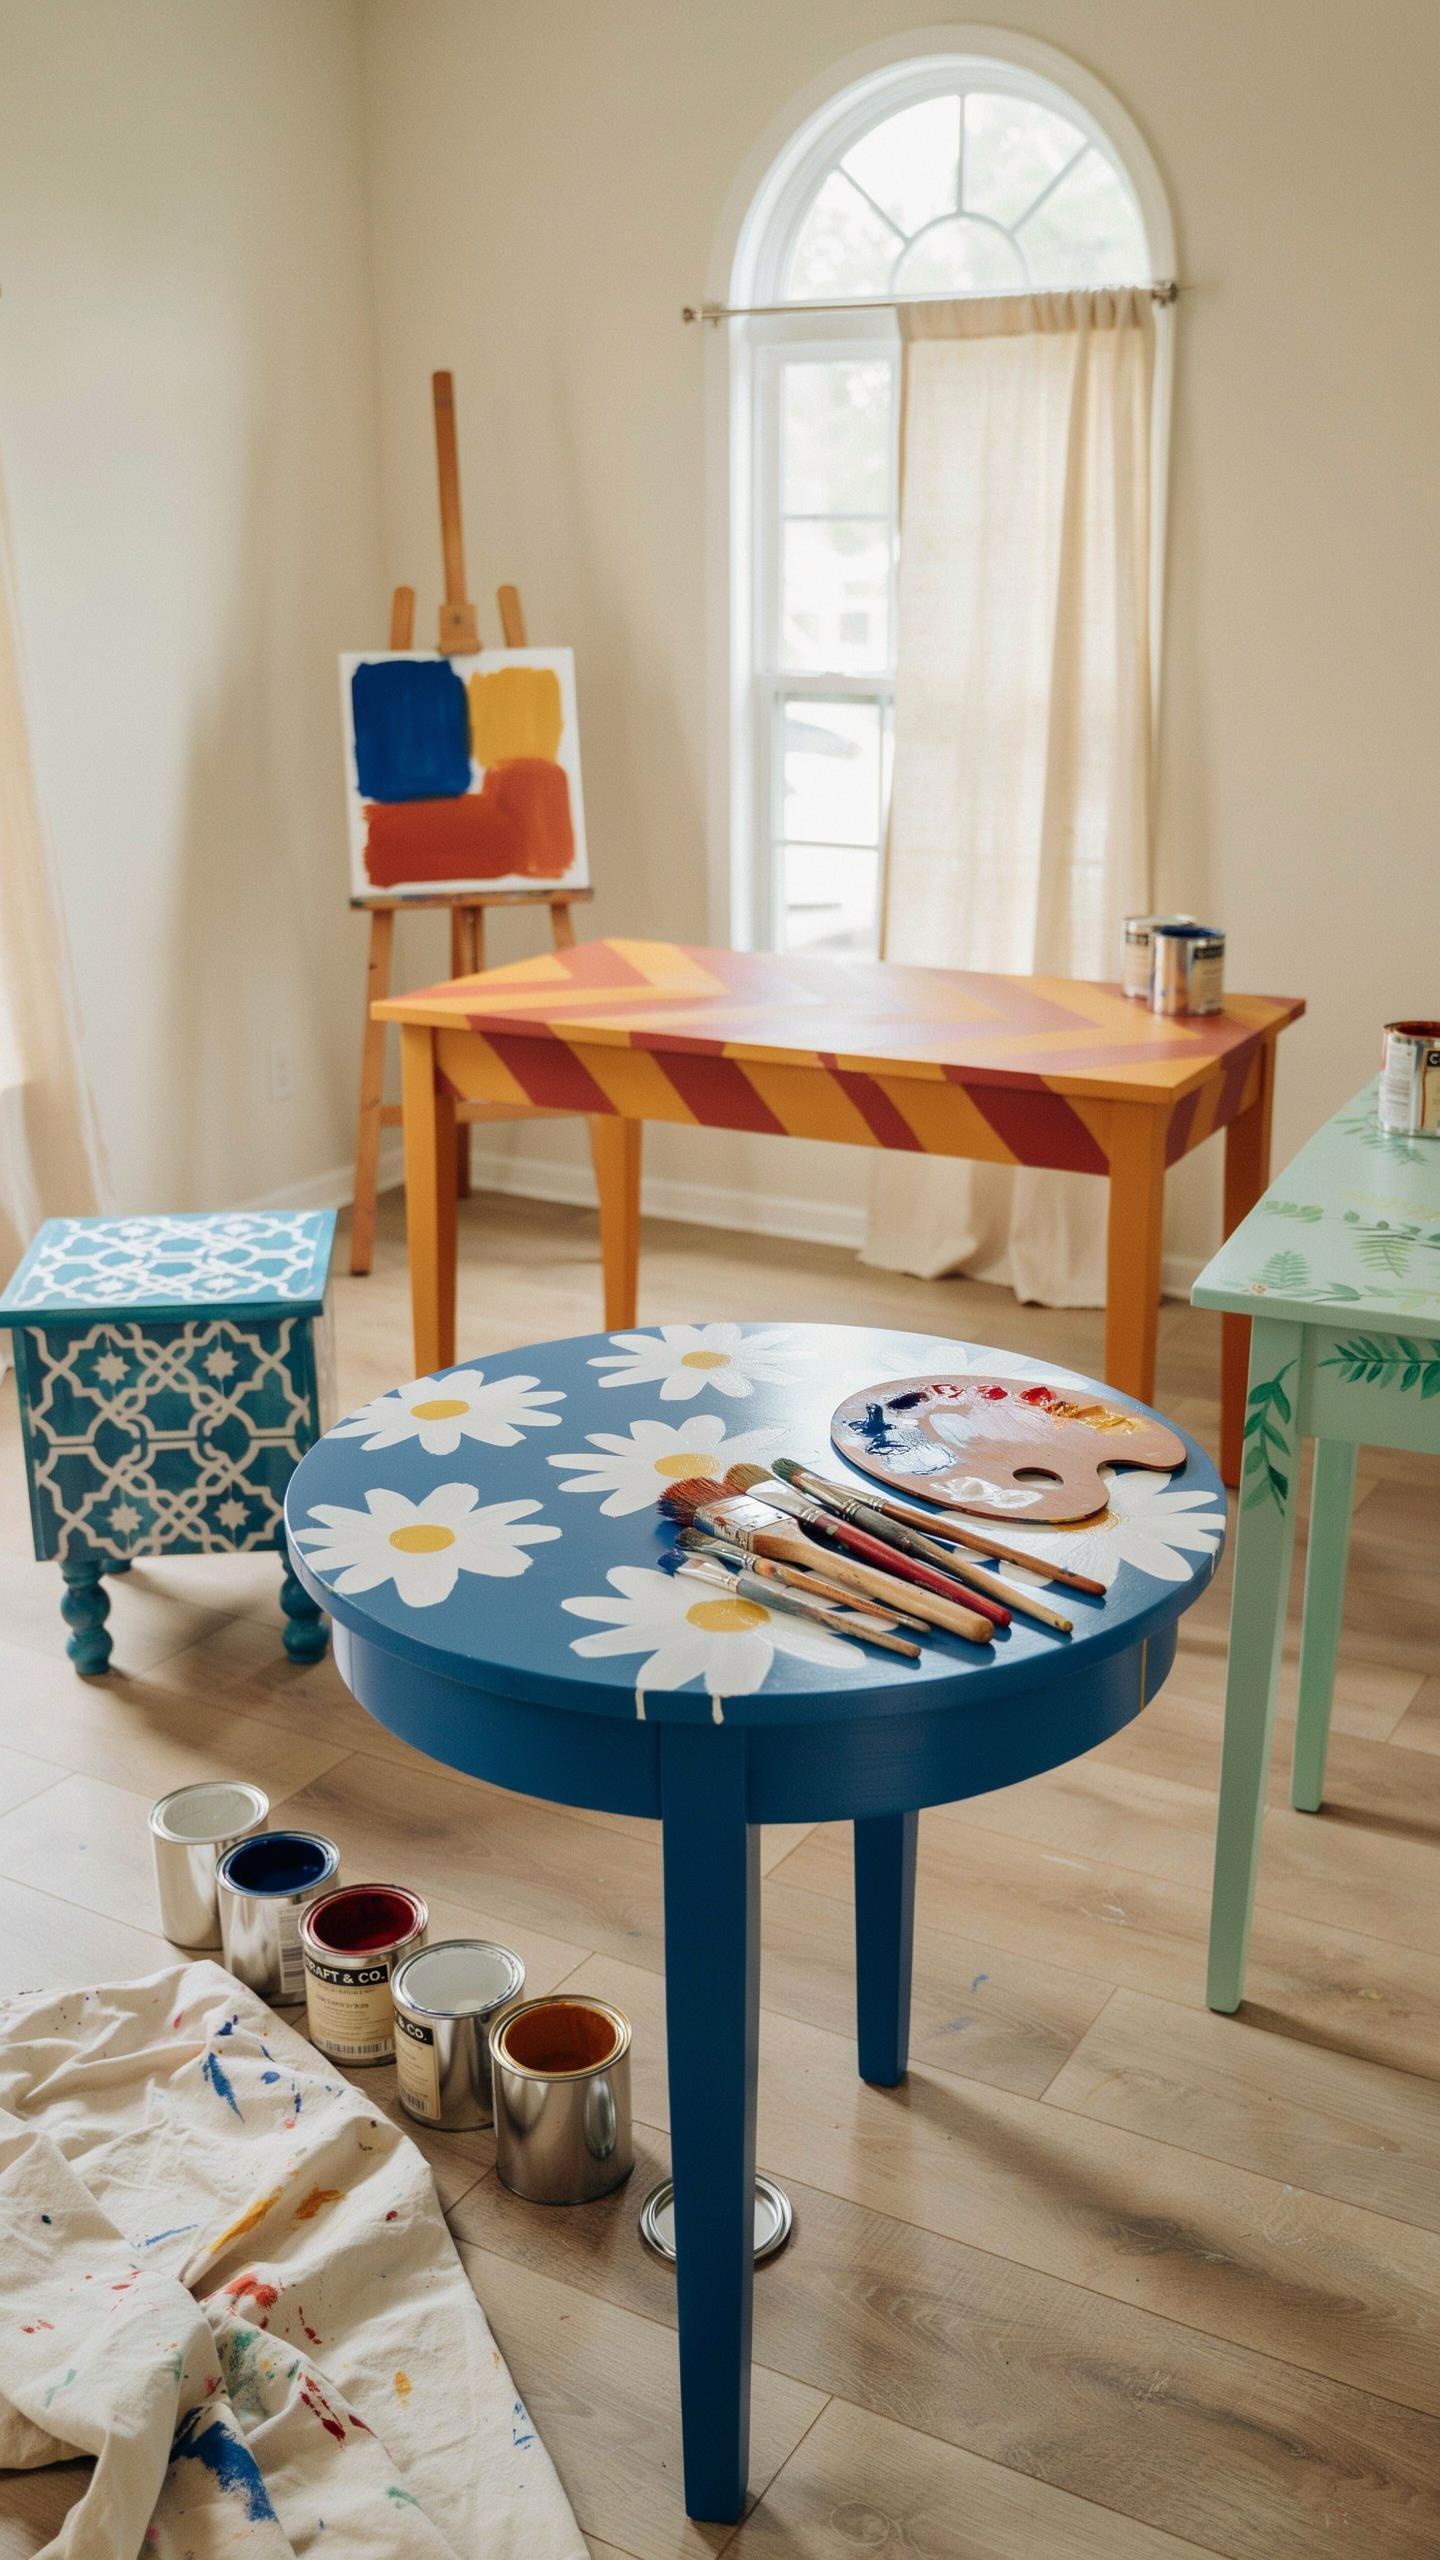
Choosing the Right Paint: Mineral, Milk, and Chalk Finishes for Furniture Flips
Mineral paint, milk paint, and chalk finish paints deliver matte surfaces that resist chipping better than standard latex or oil-based alternatives. These formulations bond directly to wood without requiring primer in most cases. Mineral paint contains crushed stone particles that create durability. Milk paint uses natural casein proteins as binders, producing a flat finish that ages predictably. Chalk finish paint relies on talc or gypsum to achieve its signature matte appearance.
Select paint type based on your table’s end market. Mineral and chalk paints work for high-traffic pieces because they withstand repeated contact. Milk paint suits vintage farmhouse flips where authentic aged finishes command premium prices. Test samples on hidden surfaces before committing to full application. Matte finishes hide dust and fingerprints better than glossy alternatives, reducing maintenance complaints from buyers.
Geometric Patterns with Tape and Stencils: Boosting Farmhouse Furniture Flip Value
Painters tape and stencils create geometric patterns and borders that define farmhouse and transitional design aesthetics. Apply tape in straight lines for stripes, or use stencils for repeating shapes like diamonds and hexagons. Clean tape edges before paint dries to prevent bleed-through. Remove tape immediately after painting for sharp lines.

Geometric designs increase perceived value by 15 to 20 percent in farmhouse category flips, according to furniture reseller data. Two-tone tables with painted tops and stained legs sell faster than solid color pieces. Geometric borders on table edges draw buyer attention during showings. This technique requires minimal skill but demands precision and patience during execution.
Step By Step Table Redo Ideas Diy Simple Upgrades With Maximum Impact
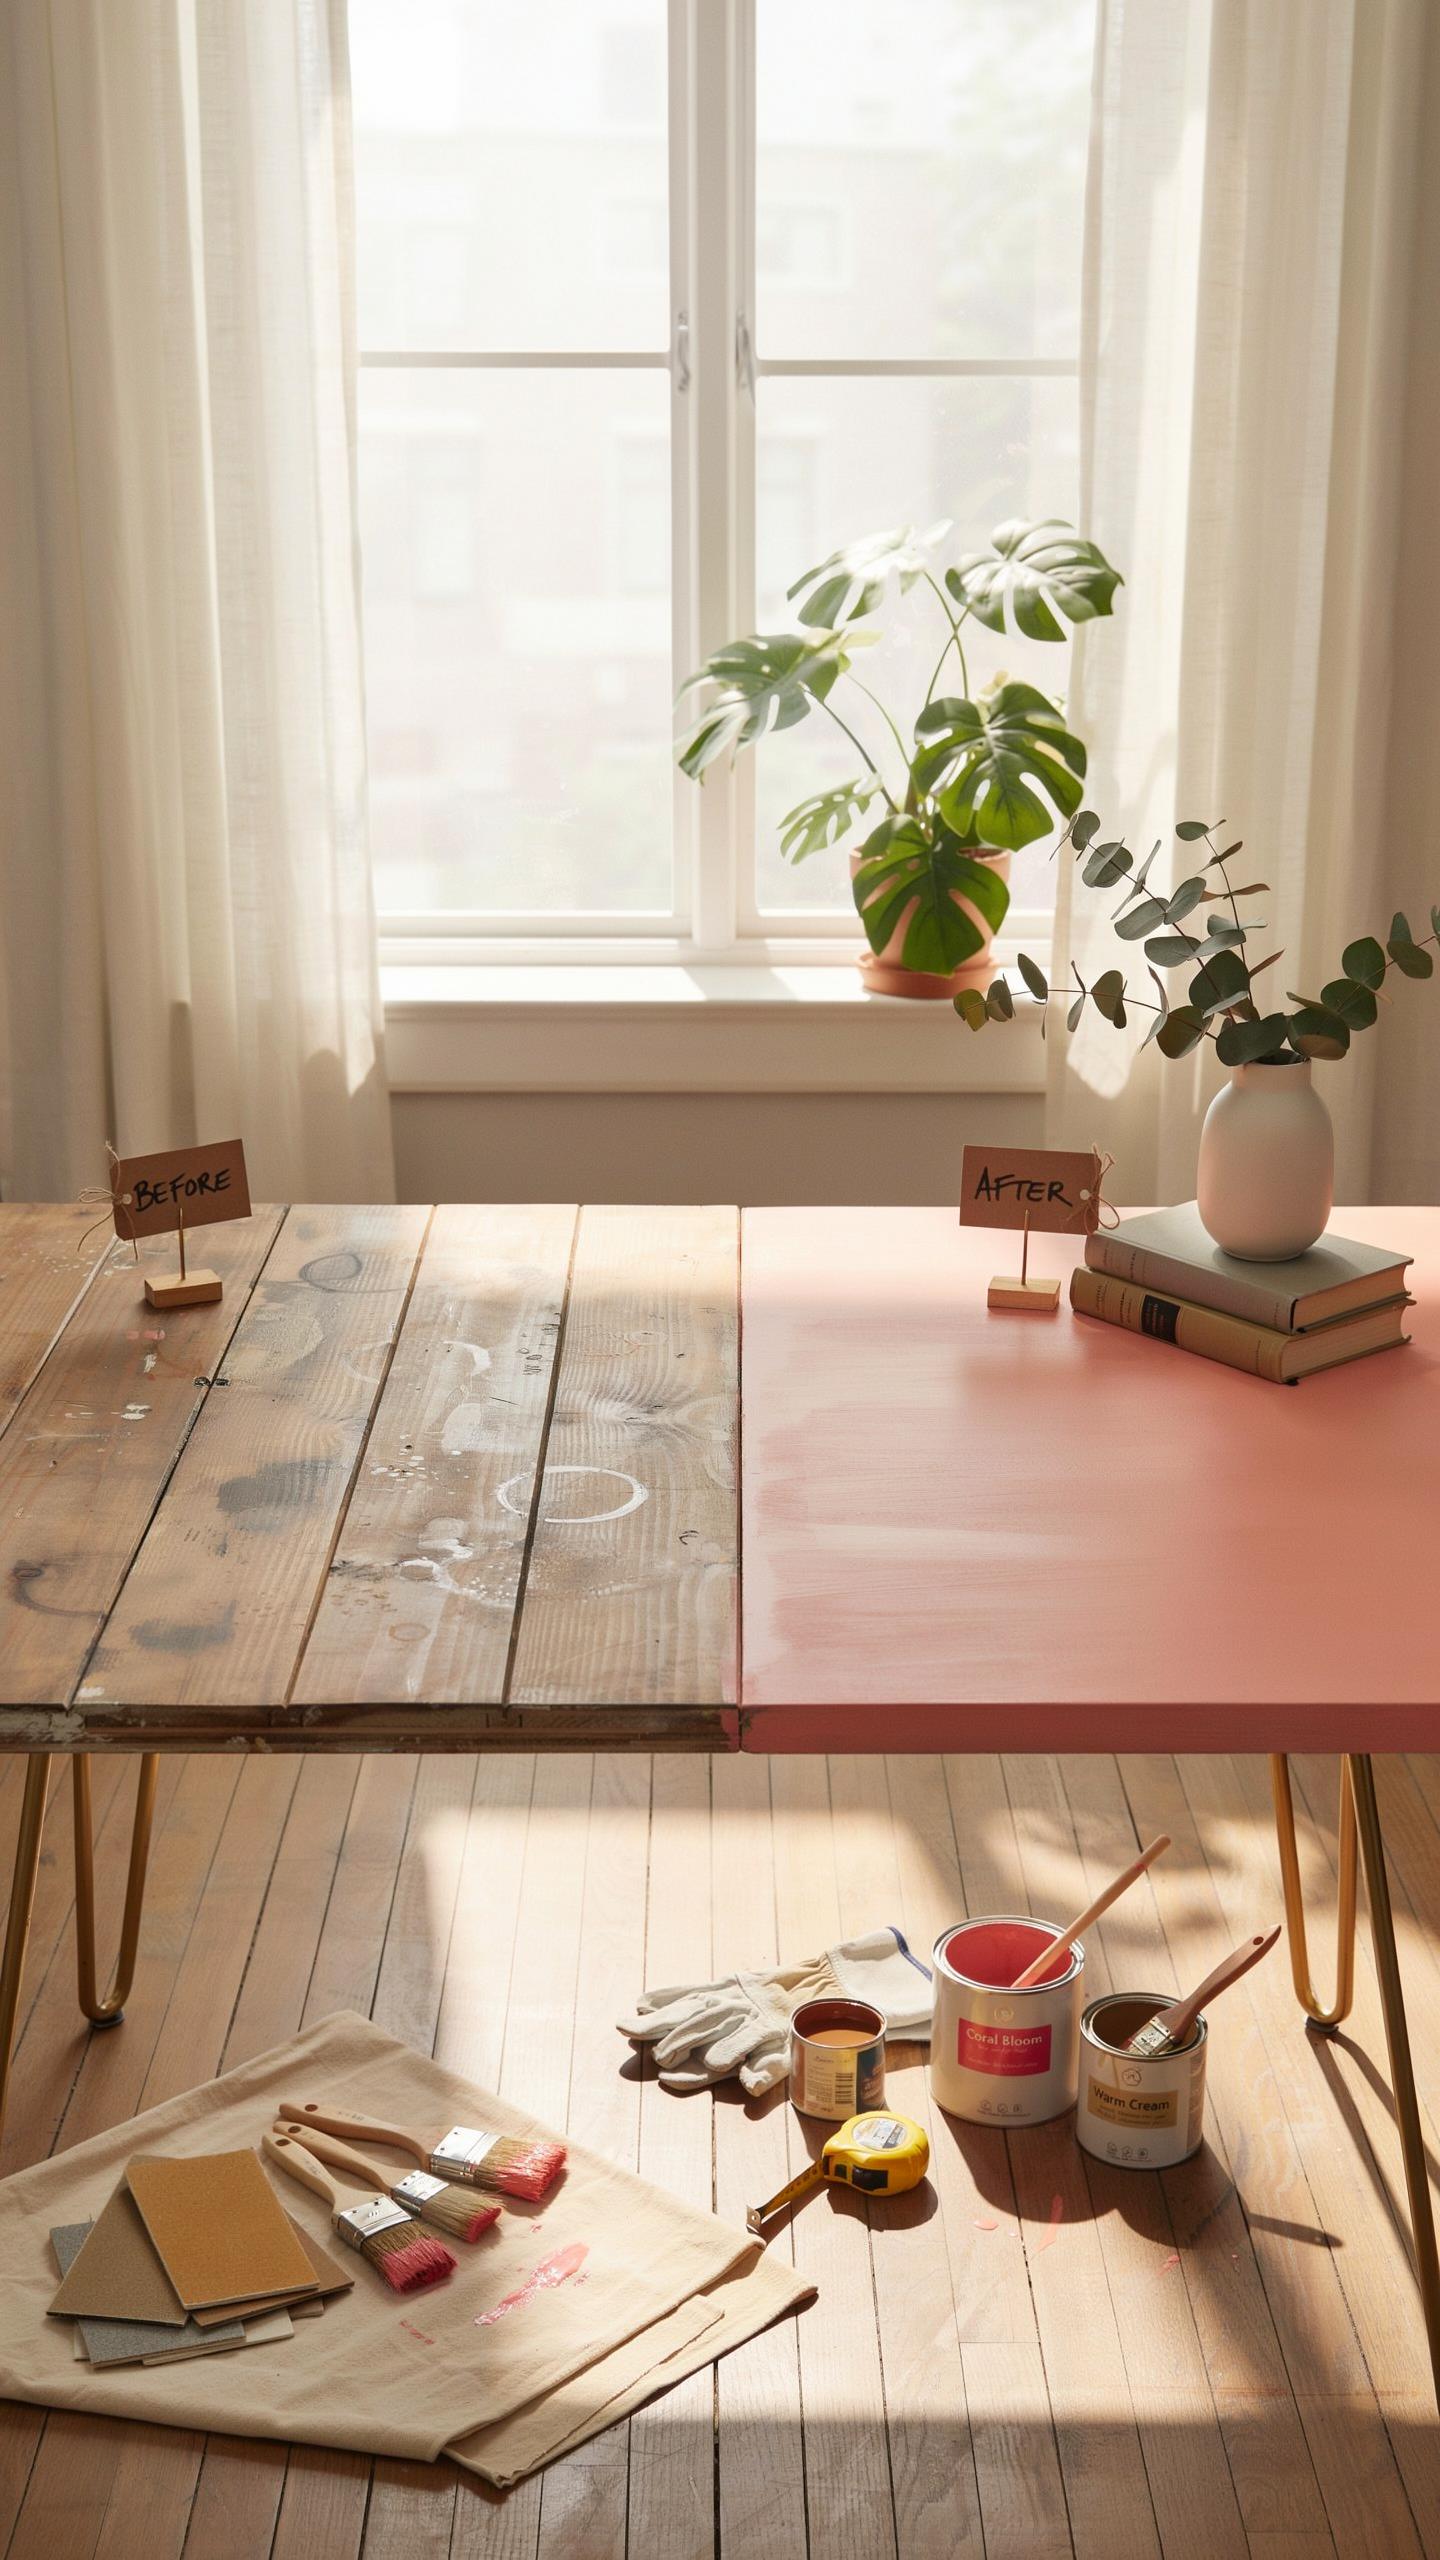
Essential Toolkit For Table Refinishing
You need specific tools to execute a furniture flip project table refinish without wasting time or money on mistakes. Gather these items before you start work to avoid mid project interruptions that kill momentum and increase your labor costs.
- Tack Cloths: Remove dust and debris from wood surfaces before staining or painting. These sticky cloths capture particles that would otherwise create rough finishes and visible imperfections on your refinished table.
- Protective Respirators: Prevent inhalation of fumes from stains, polyurethane, and paint products. A quality respirator protects your lungs during extended refinishing work and ensures safer working conditions in enclosed spaces.
- Foam Brushes: Apply finishes with minimal streaking and bristle marks. Foam brushes deliver even coat distribution and work efficiently with water based products, stains, and topcoats on furniture surfaces.
- Safety Goggles: Protect your eyes from dust particles, chemical splatter, and wood debris during sanding and finishing. Proper eyewear prevents serious injury and keeps you working without interruption from discomfort.
- Drop Cloths: Contain spills and protect surrounding floors and surfaces from stains and finishes. Canvas or plastic drop cloths catch drips and prevent costly cleanup or damage to your work area.
Organizing your workspace with these tools accessible keeps your workflow efficient and reduces the chance of contaminating your work. Professional refinishers stock these items because they directly impact final quality and turnaround time on every project.
Selecting And Applying Modern Top Coats
Choose your top coat based on durability needs, appearance preference, and end user requirements for the finished table. Polyurethane, water based polycrylic, and natural furniture wax each deliver different protection levels and aesthetic outcomes that affect your project’s market value.
Polyurethane provides maximum durability and handles heavy daily use on dining tables and work surfaces. Water based polycrylic dries clear without amber tint and suits lighter wood finishes and contemporary design aesthetics. Natural furniture wax creates a warm patina but requires regular maintenance and works best for display pieces rather than functional tables. Apply your chosen top coat in thin, even layers using foam brushes or lint free applicators. Sand lightly between coats with fine grit paper to ensure adhesion and eliminate dust nibs. Multiple thin coats outperform single thick applications because they dry evenly and create superior hardness without drips or sag marks.
The Two Tone Look How To Redo Dining Table Aesthetics With Contrast
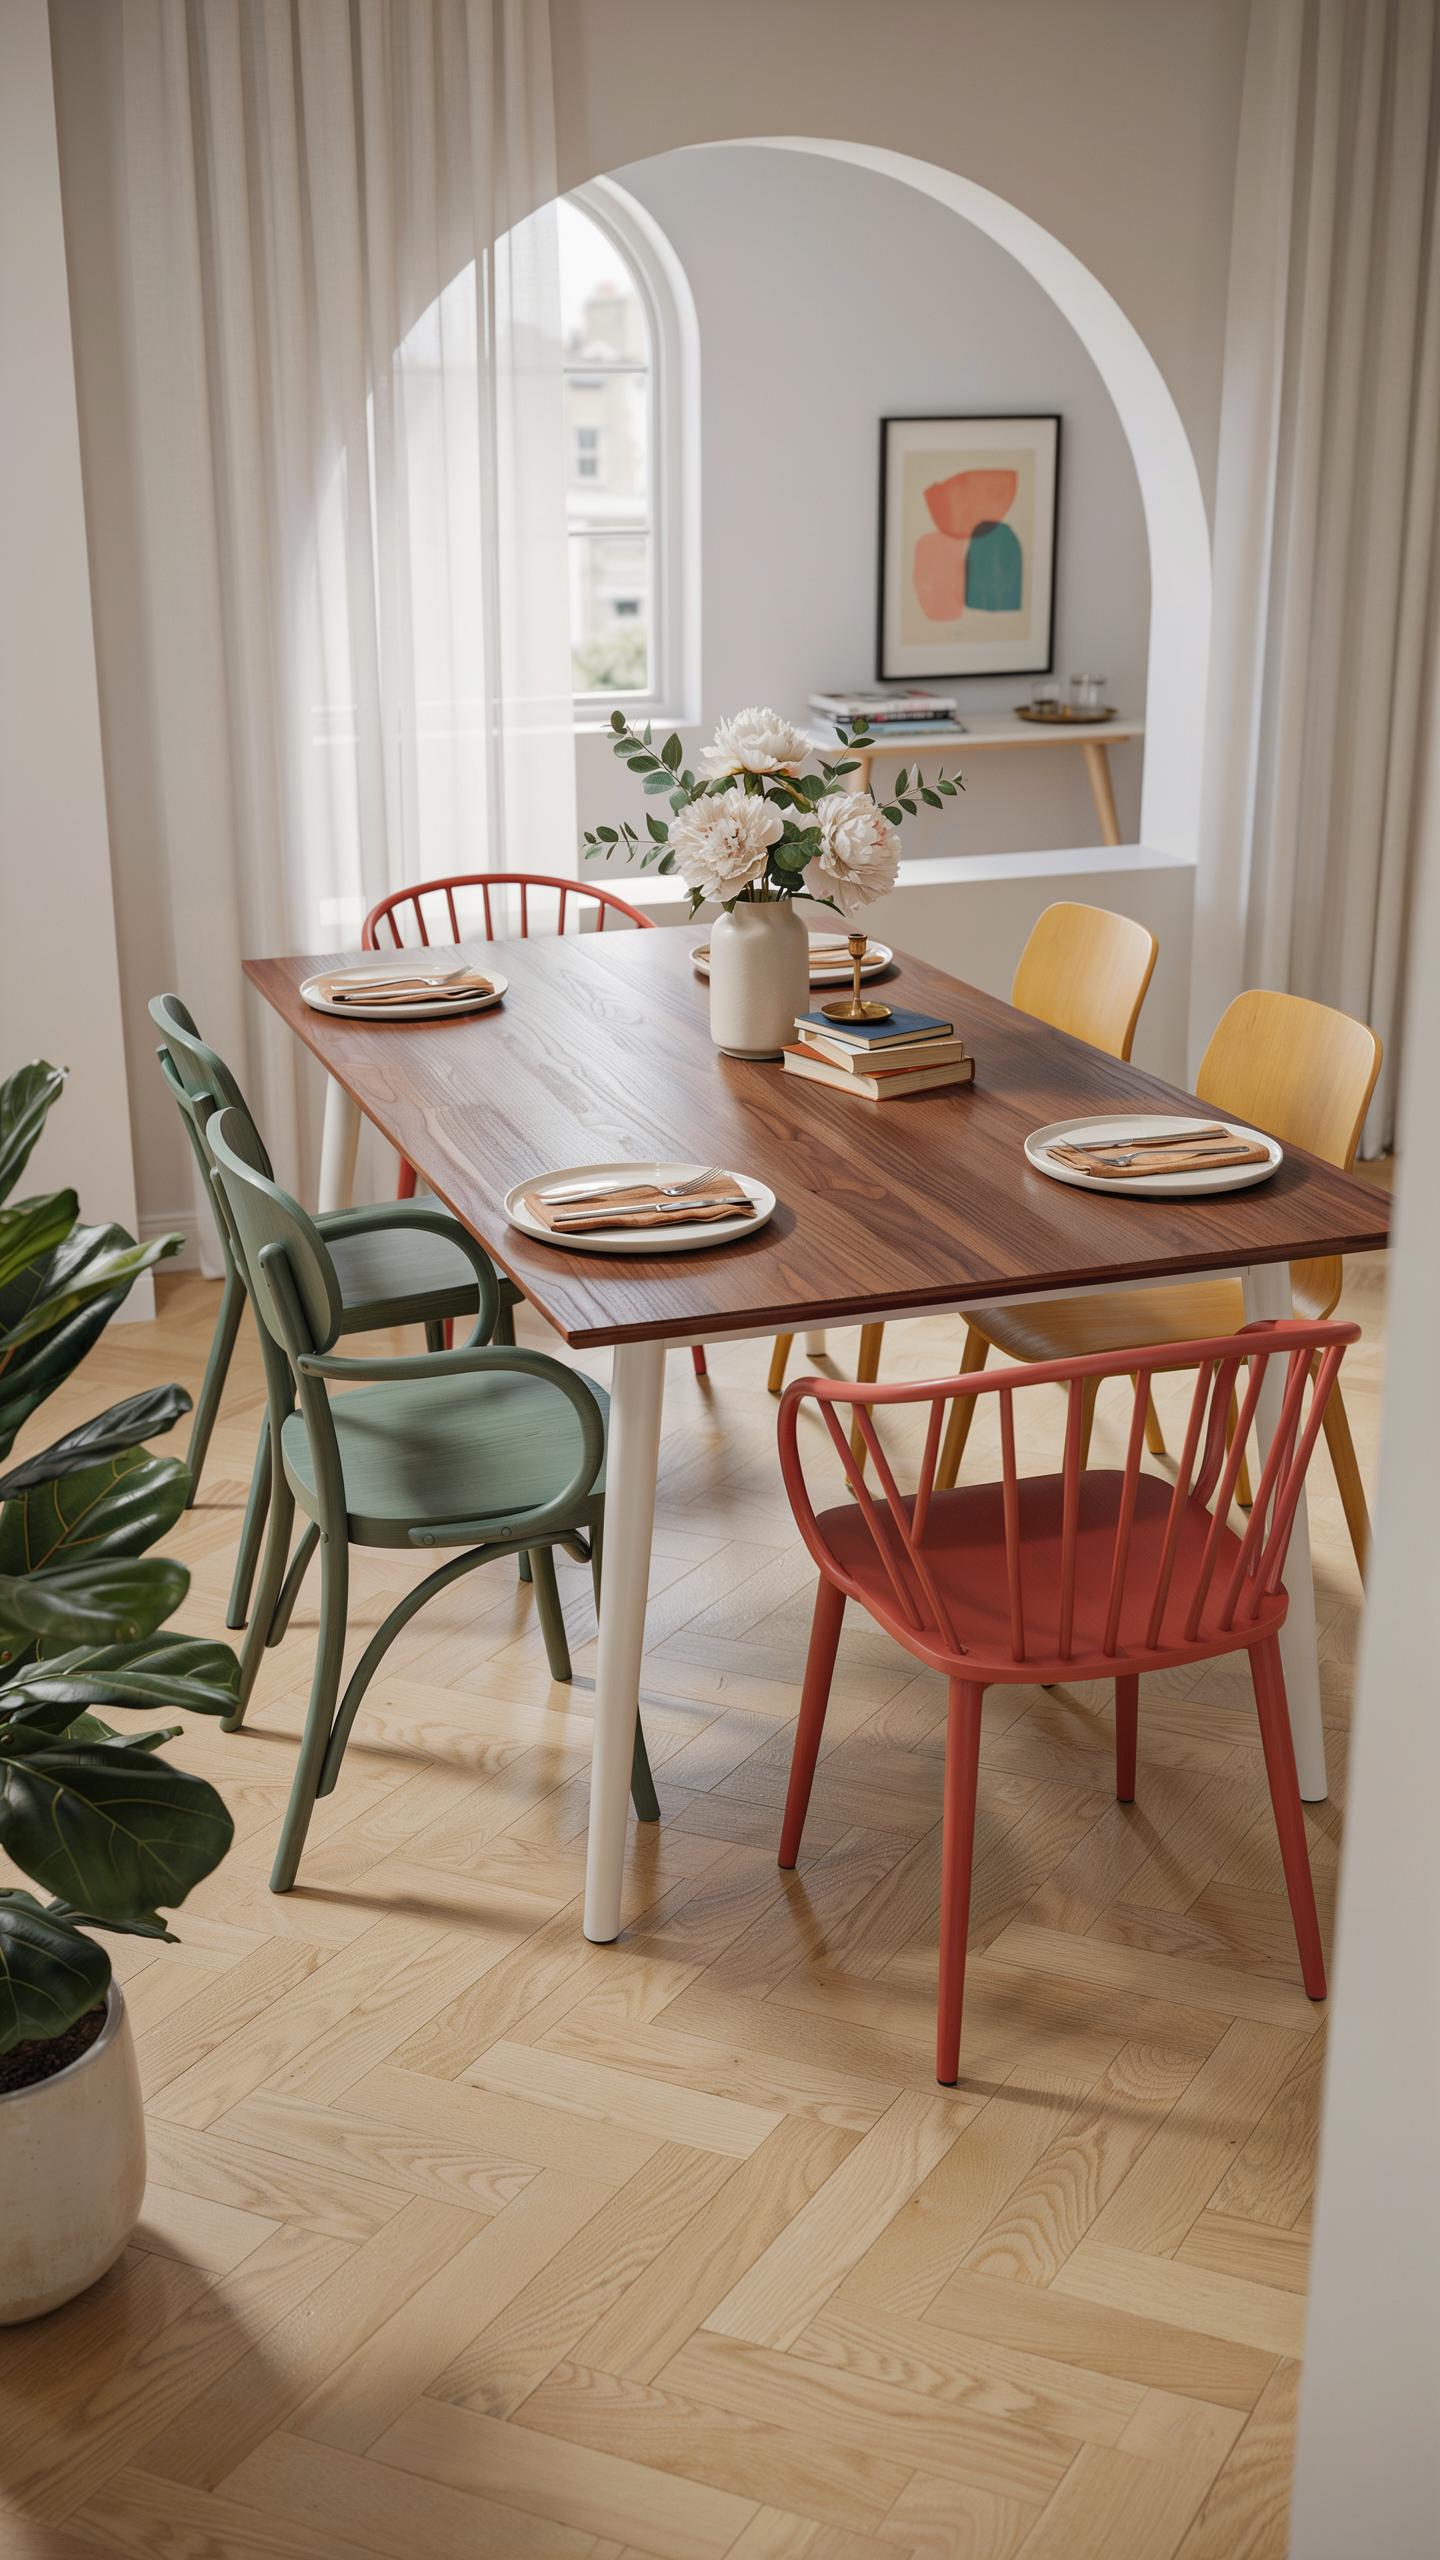
Two-Tone Table Design: Stained Tops with Painted Legs
Two-tone tables split the design between the tabletop and base. The top gets a stained wood finish that shows grain and natural color variation. The legs receive paint in a solid, neutral shade. This combination works because it balances visual weight and creates focal interest without overwhelming the space.
The stained top draws the eye upward while painted legs ground the piece. Wood stain penetrates the surface, highlighting the grain pattern and creating depth. Paint on the base provides a clean, modern counterpoint. This approach solves the problem of aging tables that need visual reset while keeping functional wood surfaces protected by stain.
Every piece of furniture holds a story waiting for a new chapter to be written in the warmth of a fresh season. A beautiful table is the heart of the home, where memories are gathered and honored through the art of restoration.
Walnut Stain Pairings: Charcoal Grey vs. Antique Cream for Table Bases
Walnut stain pairs effectively with charcoal grey paint. Walnut delivers warm, medium brown tones with reddish undertones. Charcoal grey absorbs light and creates visual weight at the table’s base. This combination maintains balance because neither finish dominates. The warm top prevents the grey from feeling cold or sterile in the dining space.
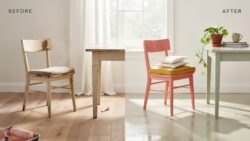
Antique cream paint works with walnut when you need softer contrast. Cream reflects light and opens up smaller rooms. Walnut’s depth prevents cream from appearing washed out or cheap. Test both combinations on scrap wood before committing. Light conditions in your specific space affect how these pairings perform. Apply stain and paint samples to the actual table in natural and artificial light to confirm your choice.
Eco Friendly Transformations How To Repurpose Table Parts And Leftover Trim
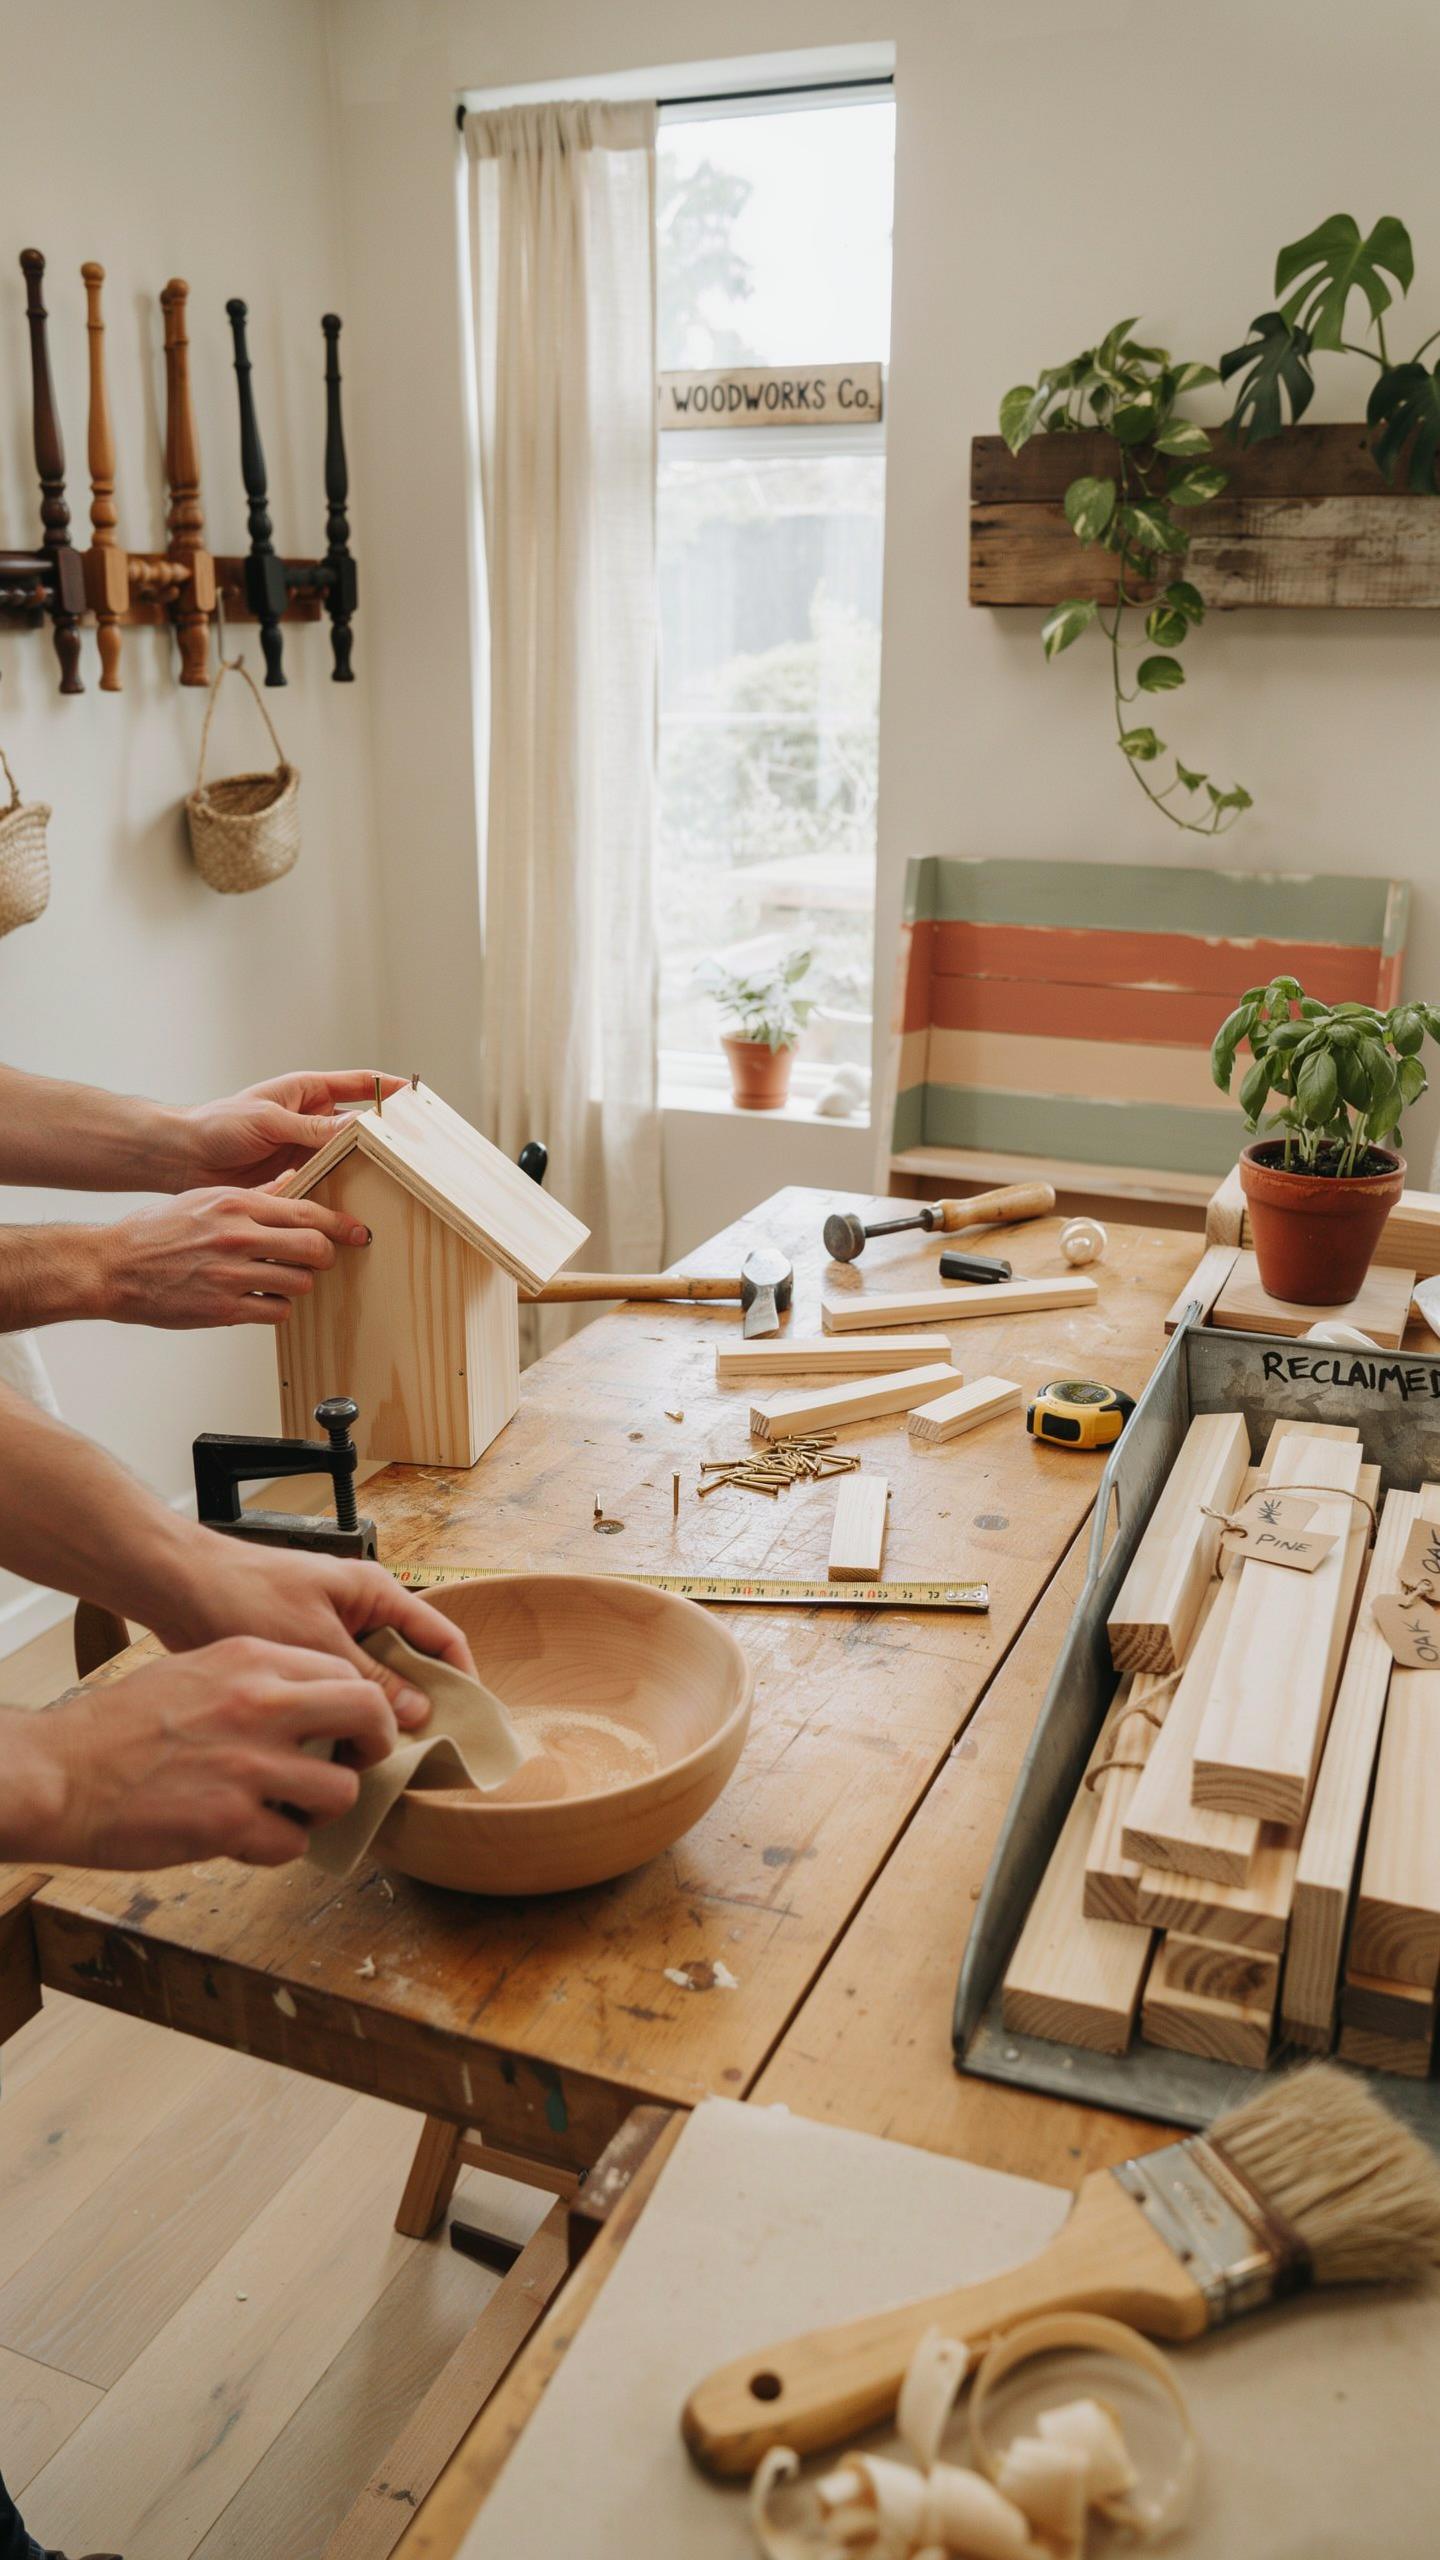
Repurposing Salvaged Table Legs: Cost Savings and Sustainable Material Sourcing
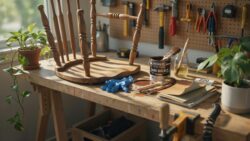
Broken furniture contains salvageable components that work in refinish projects. Heavy wooden dining legs from damaged tables become pedestal bases for new tables or standalone end tables. This approach reduces landfill waste while providing structural quality you cannot replicate with new material. Assess each component for stability before repurposing. Test joints and wood integrity before committing to a design.
Calculate your material costs against new production. Salvaged legs eliminate expensive woodworking fees. You gain authentic grain patterns and aged wood character. The time investment in sourcing and prep work pays off through lower overall project expenses. Quality hardwood legs from mid century or older pieces outperform modern alternatives.
Reclaimed Wood and Vintage Hardware: Strategic Upcycling for Furniture Flips
Upcycled hardware and reclaimed wood tiles reduce your material spending and project waste. Vintage hinges, handles, and brackets add function and visual interest to refinished tables. Reclaimed wood tiles create textured surfaces on tabletops or create inlay patterns. These materials combine practicality with authentic design depth. Source from salvage yards, estate sales, and demolition sites for consistent supply.
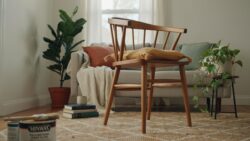
Mix reclaimed elements strategically to avoid cluttered results. One statement hardware piece works better than random mixed handles. Reclaimed wood tiles work as accent borders rather than full surface coverage. Balance old materials with cohesive stain or paint choices. This restraint keeps rustic designs readable and marketable for resale flips.
Inspirational Table Redo Ideas To Try This Weekend
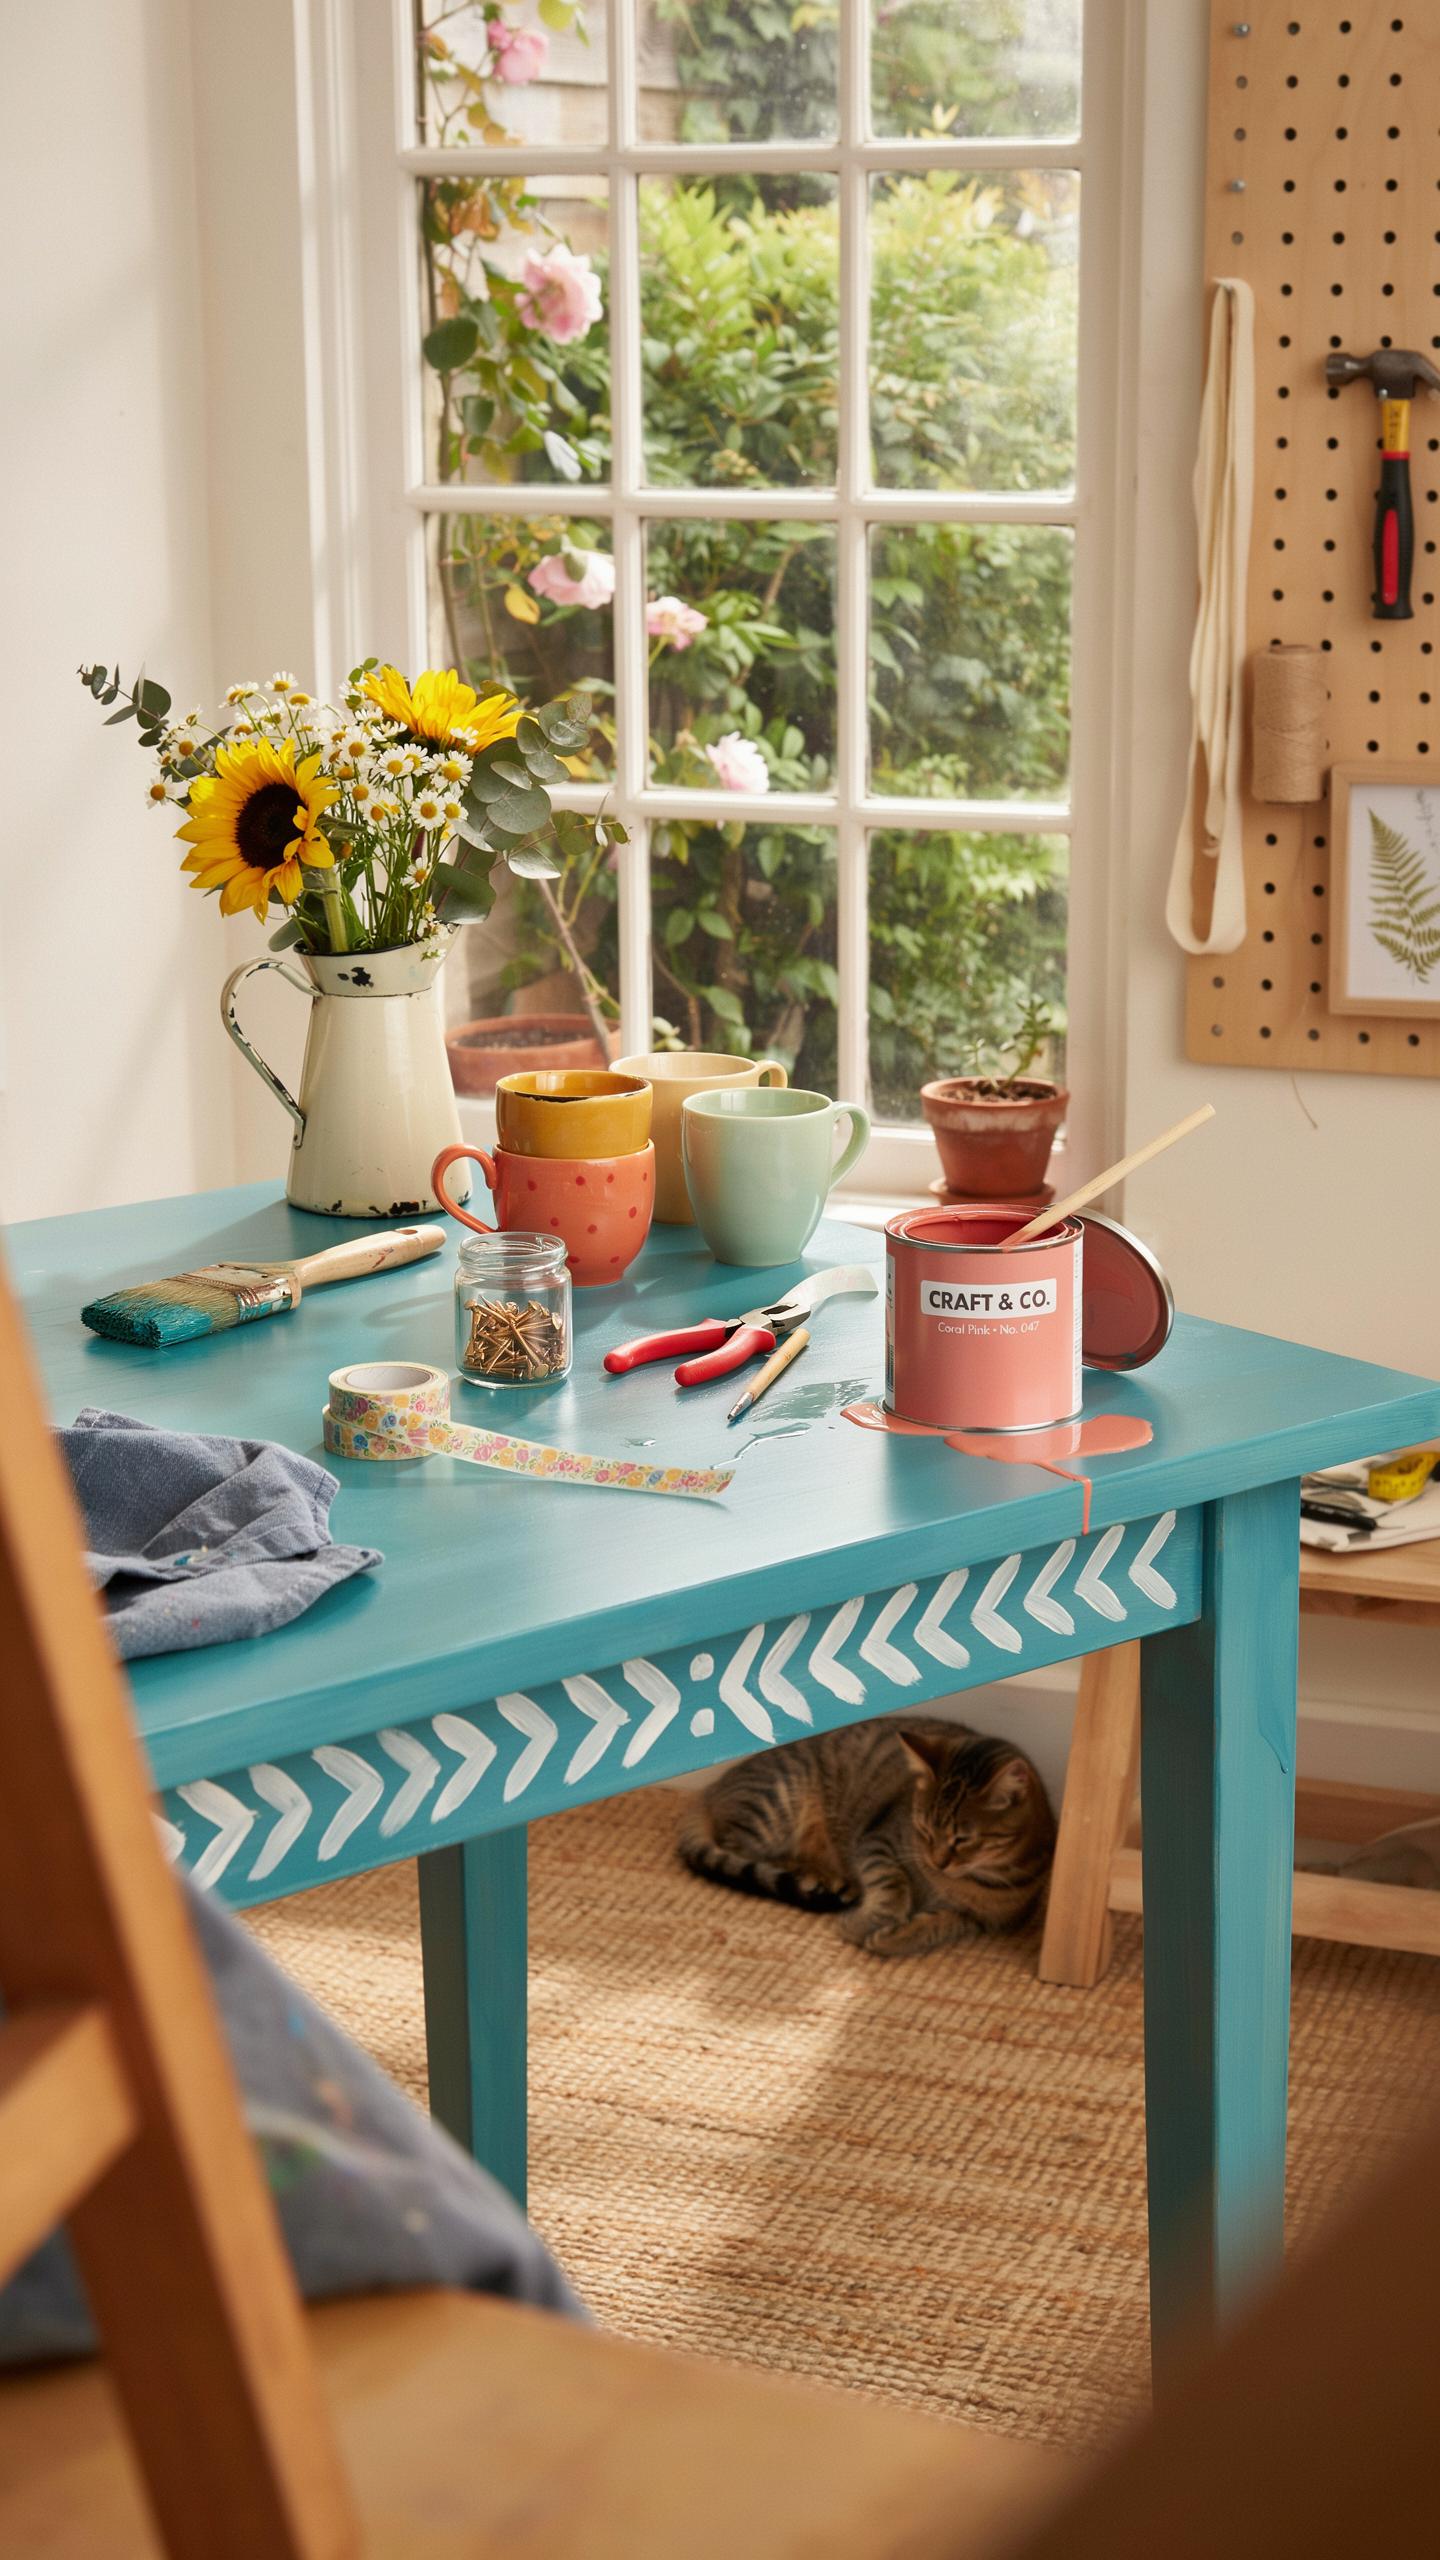
Whitewashing vs. Lime Washing: Pedestal Table Finishing Techniques
Pedestal tables work well for whitewashing because their single support column exposes more surface area than traditional four-leg designs. Start by sanding the table surface with 120-grit sandpaper to open the wood grain. Mix white latex paint with water at a 1:1 ratio. Apply this mixture with a brush, then wipe it back with a damp cloth within minutes. This creates translucent coverage that shows wood grain underneath rather than solid paint.
Lime washing differs from whitewashing by using calcium hydroxide instead of latex paint. Lime wash penetrates wood fibers rather than sitting on top, creating a more durable finish on pedestal tables. Apply lime wash in thin coats and let it cure for 48 hours between applications. The coastal modern aesthetic emerges through the soft, chalky appearance and the way lime wash develops character over time through weathering.
Styling Your Refinished Pedestal Table: Runners, Eucalyptus, and Stoneware Accents
Your finished pedestal table becomes a styling focal point when you layer functional and visual elements intentionally. Seasonal table runners anchor the surface and add texture without overwhelming the refined wood finish you just created. Choose runners in natural linen or cotton that complement your whitewashed or lime washed base rather than compete with it.
Eucalyptus arrangements bring organic form to the tabletop while requiring minimal maintenance compared to fresh flowers. Stoneware vessels in neutral earth tones hold these arrangements and reinforce the coastal aesthetic through their tactile, handmade quality. Group odd numbers of pieces together and vary heights to create visual interest that draws the eye across your refinished table surface.
Frequently Asked Questions

How do I choose the right piece for my first furniture flip project table refinish?
When starting your first furniture flip project table refinish, look for items made of solid wood rather than particle board or laminate. Solid wood is much more forgiving for beginners because it can be sanded down multiple times to remove imperfections. Check for structural stability and avoid pieces with major cracks or missing chunks. A simple coffee table or side table is the perfect canvas for practicing your new staining and painting techniques.
What is the most effective way to prepare a surface for a professional-looking finish?
Preparation is the secret to a high-end result. Always begin by cleaning the piece thoroughly with a degreaser. Next, sand the surface following the wood grain to remove old varnish and create a “tooth” for the new finish to grip. This step is essential for any furniture flip project table refinish to ensure durability. Finally, use a tack cloth to remove every speck of dust before applying your primer, paint, or stain.
Can I achieve seasonal furniture trends on a small budget?
Absolutely! You do not need expensive tools to stay on trend. Many beautiful refinishing projects are completed using affordable supplies like high-quality sandpaper, a few foam brushes, and sample-sized paint jars. Upcycling hardware or using painter’s tape to create geometric patterns can completely transform a dated table without a huge investment. Focus on color trends like earthy terracottas or moody forest greens to give your old furniture a modern, sophisticated look.



