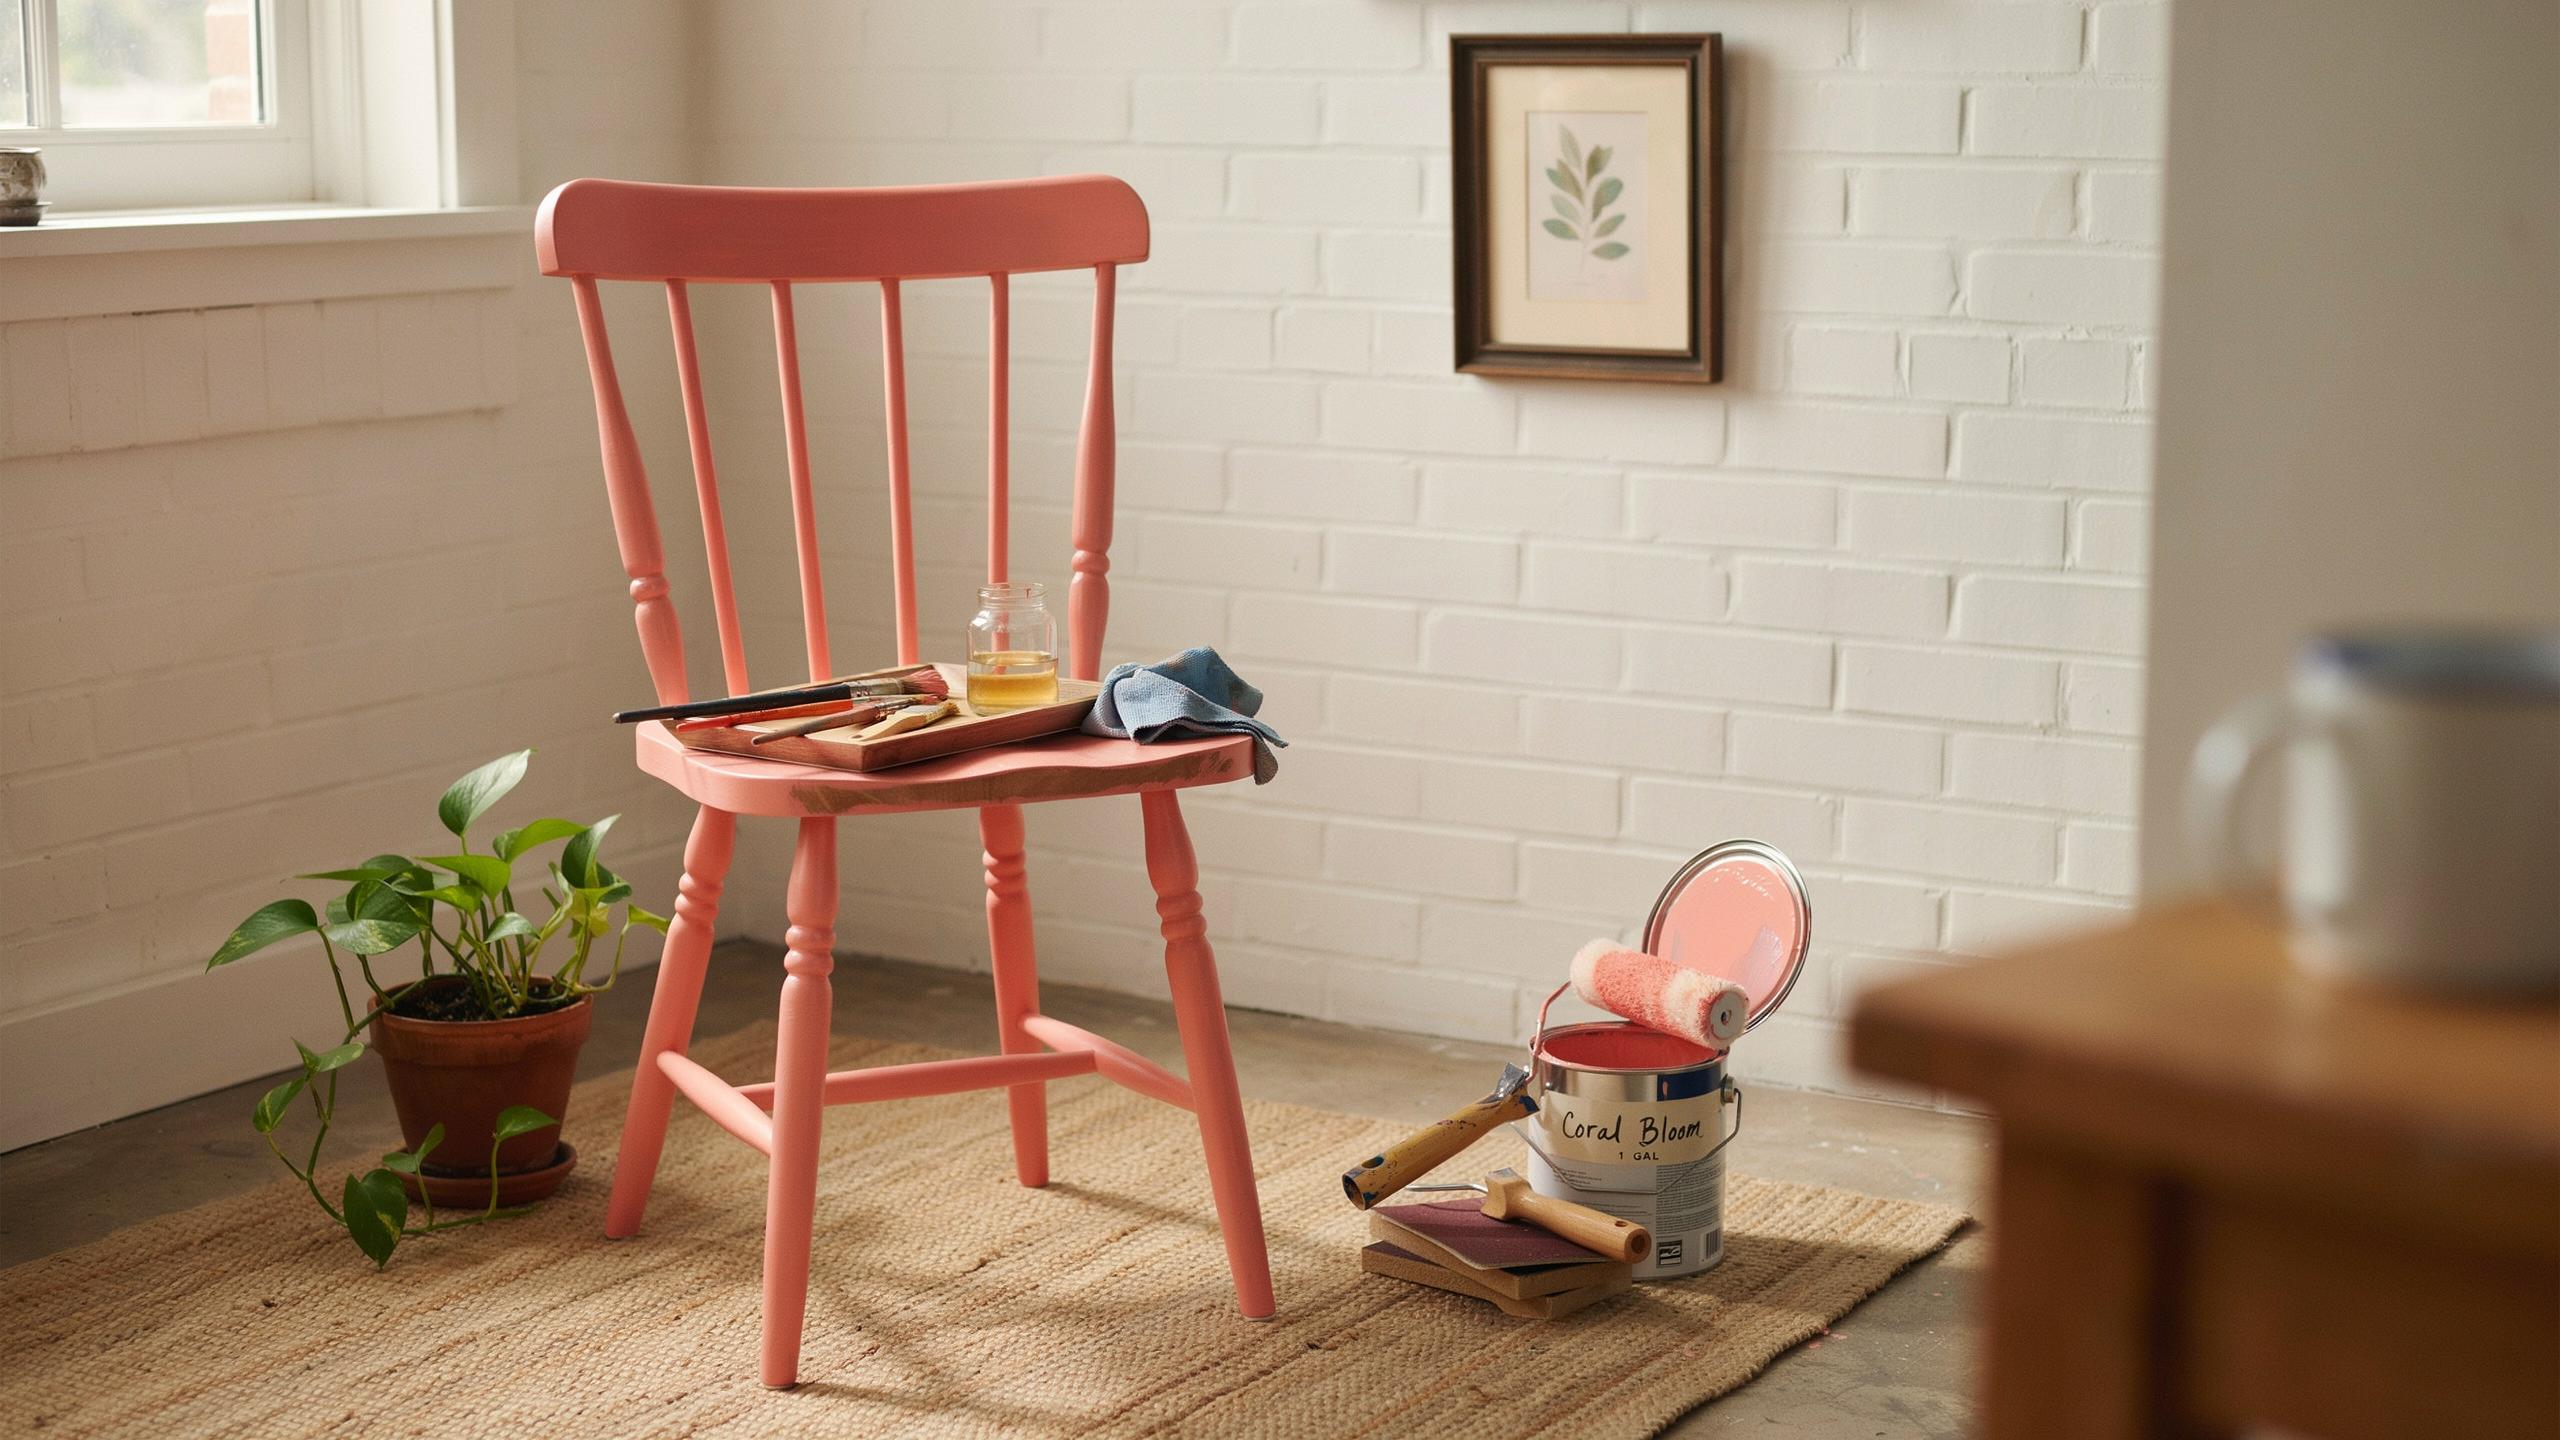
Sourcing Your Next Project Thrift Store Chair Makeover Hunt

Identifying Quality Wooden Chair Makeover Candidates
Solid hardwoods like oak, maple, and walnut withstand refinishing and reupholstering work. Check the frame by pressing firmly on joints and corners. If the chair flexes or wobbles, inspect whether glue joints separated or if structural damage runs deeper. Avoid chairs with cracked frames, warped legs, or particle board construction.
- Oak: Dense hardwood commonly found in vintage furniture. Resists damage and accepts stain well. Popular in mid-century and traditional designs.
- Maple: Hard, fine-grained wood that takes finishing smoothly. Less prone to dents than softer woods. Works well for contemporary and period styles.
- Walnut: Premium hardwood with natural dark tones. Expensive when new, but thrifted pieces offer value. Refinishes beautifully and gains character with age.
- MDF and Particle Board: Compressed wood products that crumble when sanded or damaged. Skip these entirely for flip projects. Not worth repair time or material investment.
- Joinery Quality: Mortise and tenon joints indicate better construction than dowel or pocket holes. Dovetail joints signal higher original value. Inspect these connection points for separation.
Structural stability determines whether a chair flip pays off. A chair needing only glue and clamps costs five dollars in materials. One requiring leg replacement or frame rebuilding eats into profit margins fast. Buy chairs you can actually fix within your skill level and budget.
Essential Tools And Safety Gear For A Chair Flip
Start with screwdrivers, sandpaper in various grits, drop cloths, and paintbrushes. A sander speeds work dramatically but isn’t mandatory for small projects. Gathering tools before purchasing the chair prevents delays and frustration. Organize them in a single location for efficient workflow.
Dust masks filter particles during sanding and chemical application. Safety glasses protect eyes from flying debris and splatter. Gloves shield skin from solvents, stains, and sharp wood edges. Ventilation matters when using chemical strippers or stains. Work outdoors or in spaces with open windows to manage fumes effectively.
Creative Inspiration And Chair Flip Ideas For Beginners
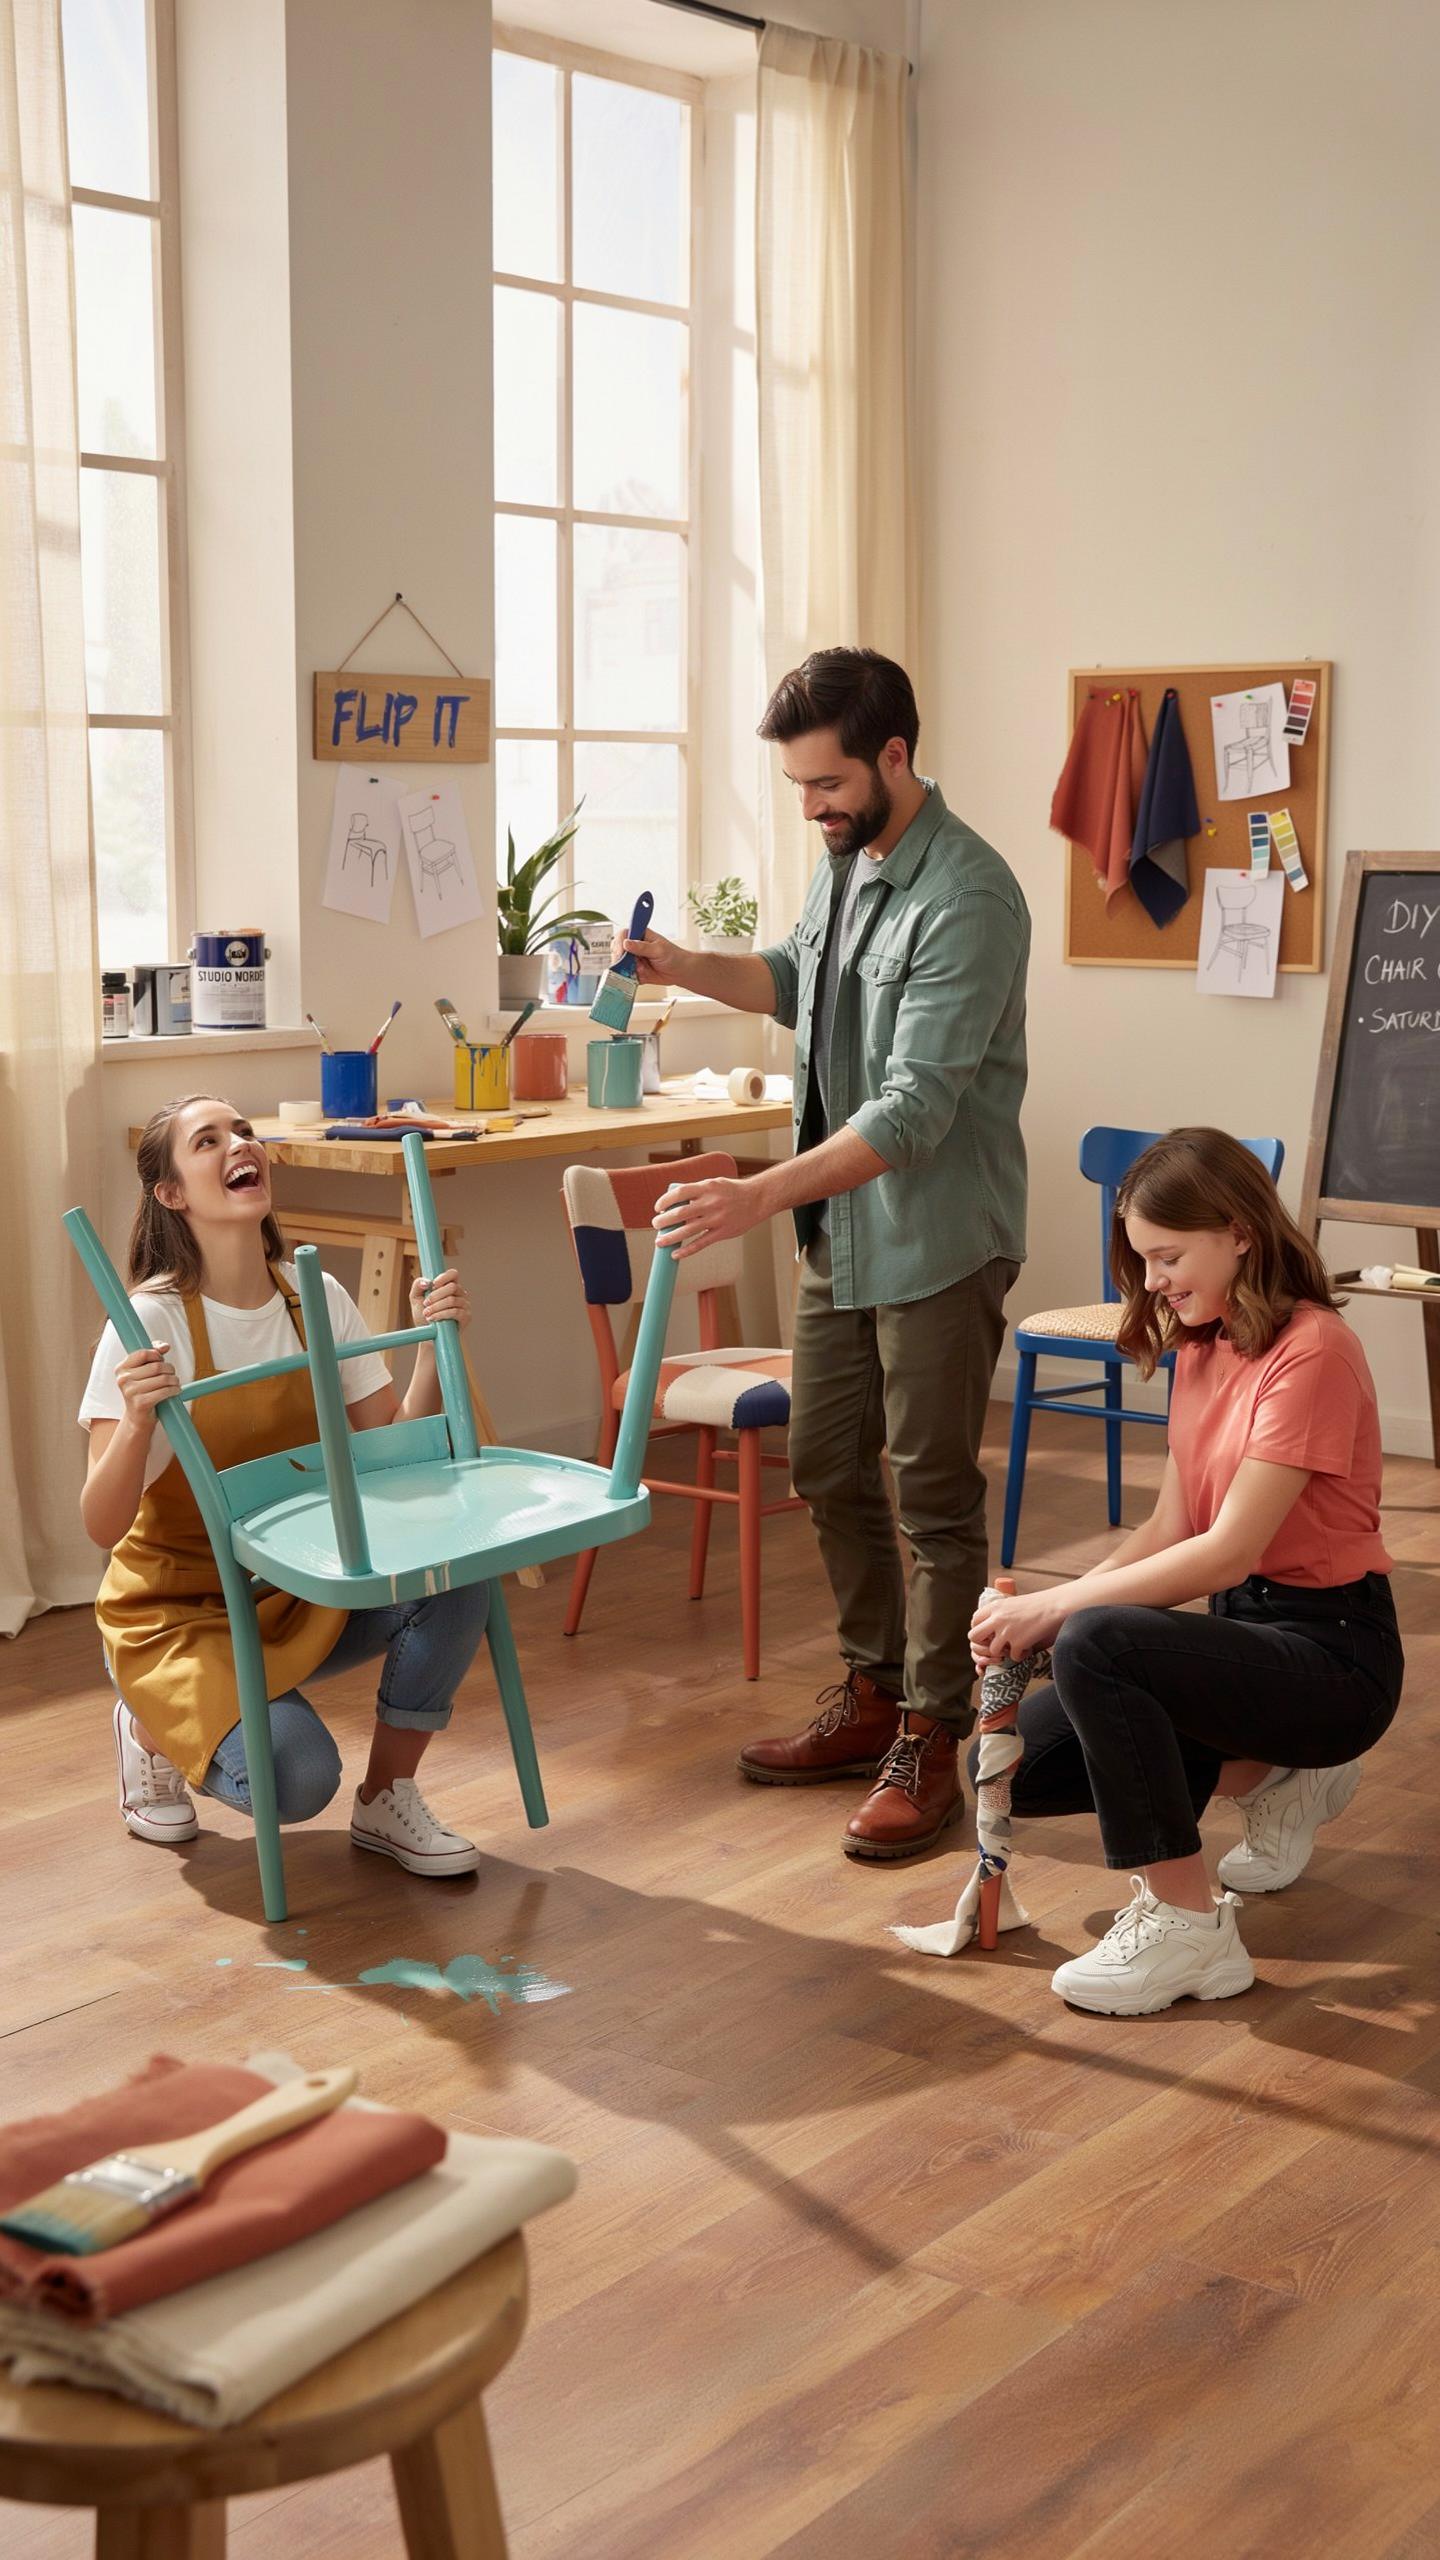
Selecting A Cohesive Design Style For Furniture Flip Chairs
Your design choice determines the chair’s market appeal and resale value. Match your flip to existing home trends or target a specific buyer demographic. Farmhouse style works well for rural markets. Mid-century modern attracts design-conscious urban buyers. Contemporary colors appeal to younger homeowners. Research your local market before committing to a style.
The most profitable flips solve a specific design problem. A mismatched thrifted chair becomes valuable when it matches a popular aesthetic. Study design blogs, furniture retailers, and social media platforms to identify what buyers actively seek. Your chosen style should reflect genuine market demand, not personal preference alone.
Deciding Between Painted Stained Or Natural Finishes
Inspect the wood grain carefully before selecting your finish method. High-quality hardwoods with attractive grain patterns benefit from stain or clear varnish. These finishes showcase the wood’s natural character and command higher prices. Softwoods and particleboard with visible damage require paint to achieve professional results.

Paint covers multiple surface problems that stain cannot hide. Mismatched wood tones, scratches, water marks, and previous finishes disappear under quality paint. Choose paint when the chair’s underlying wood lacks visual appeal. Stain works only when the wood itself justifies the investment. This decision directly impacts both labor time and material costs.
Prepping The Surface How To Prep A Wooden Chair Makeover
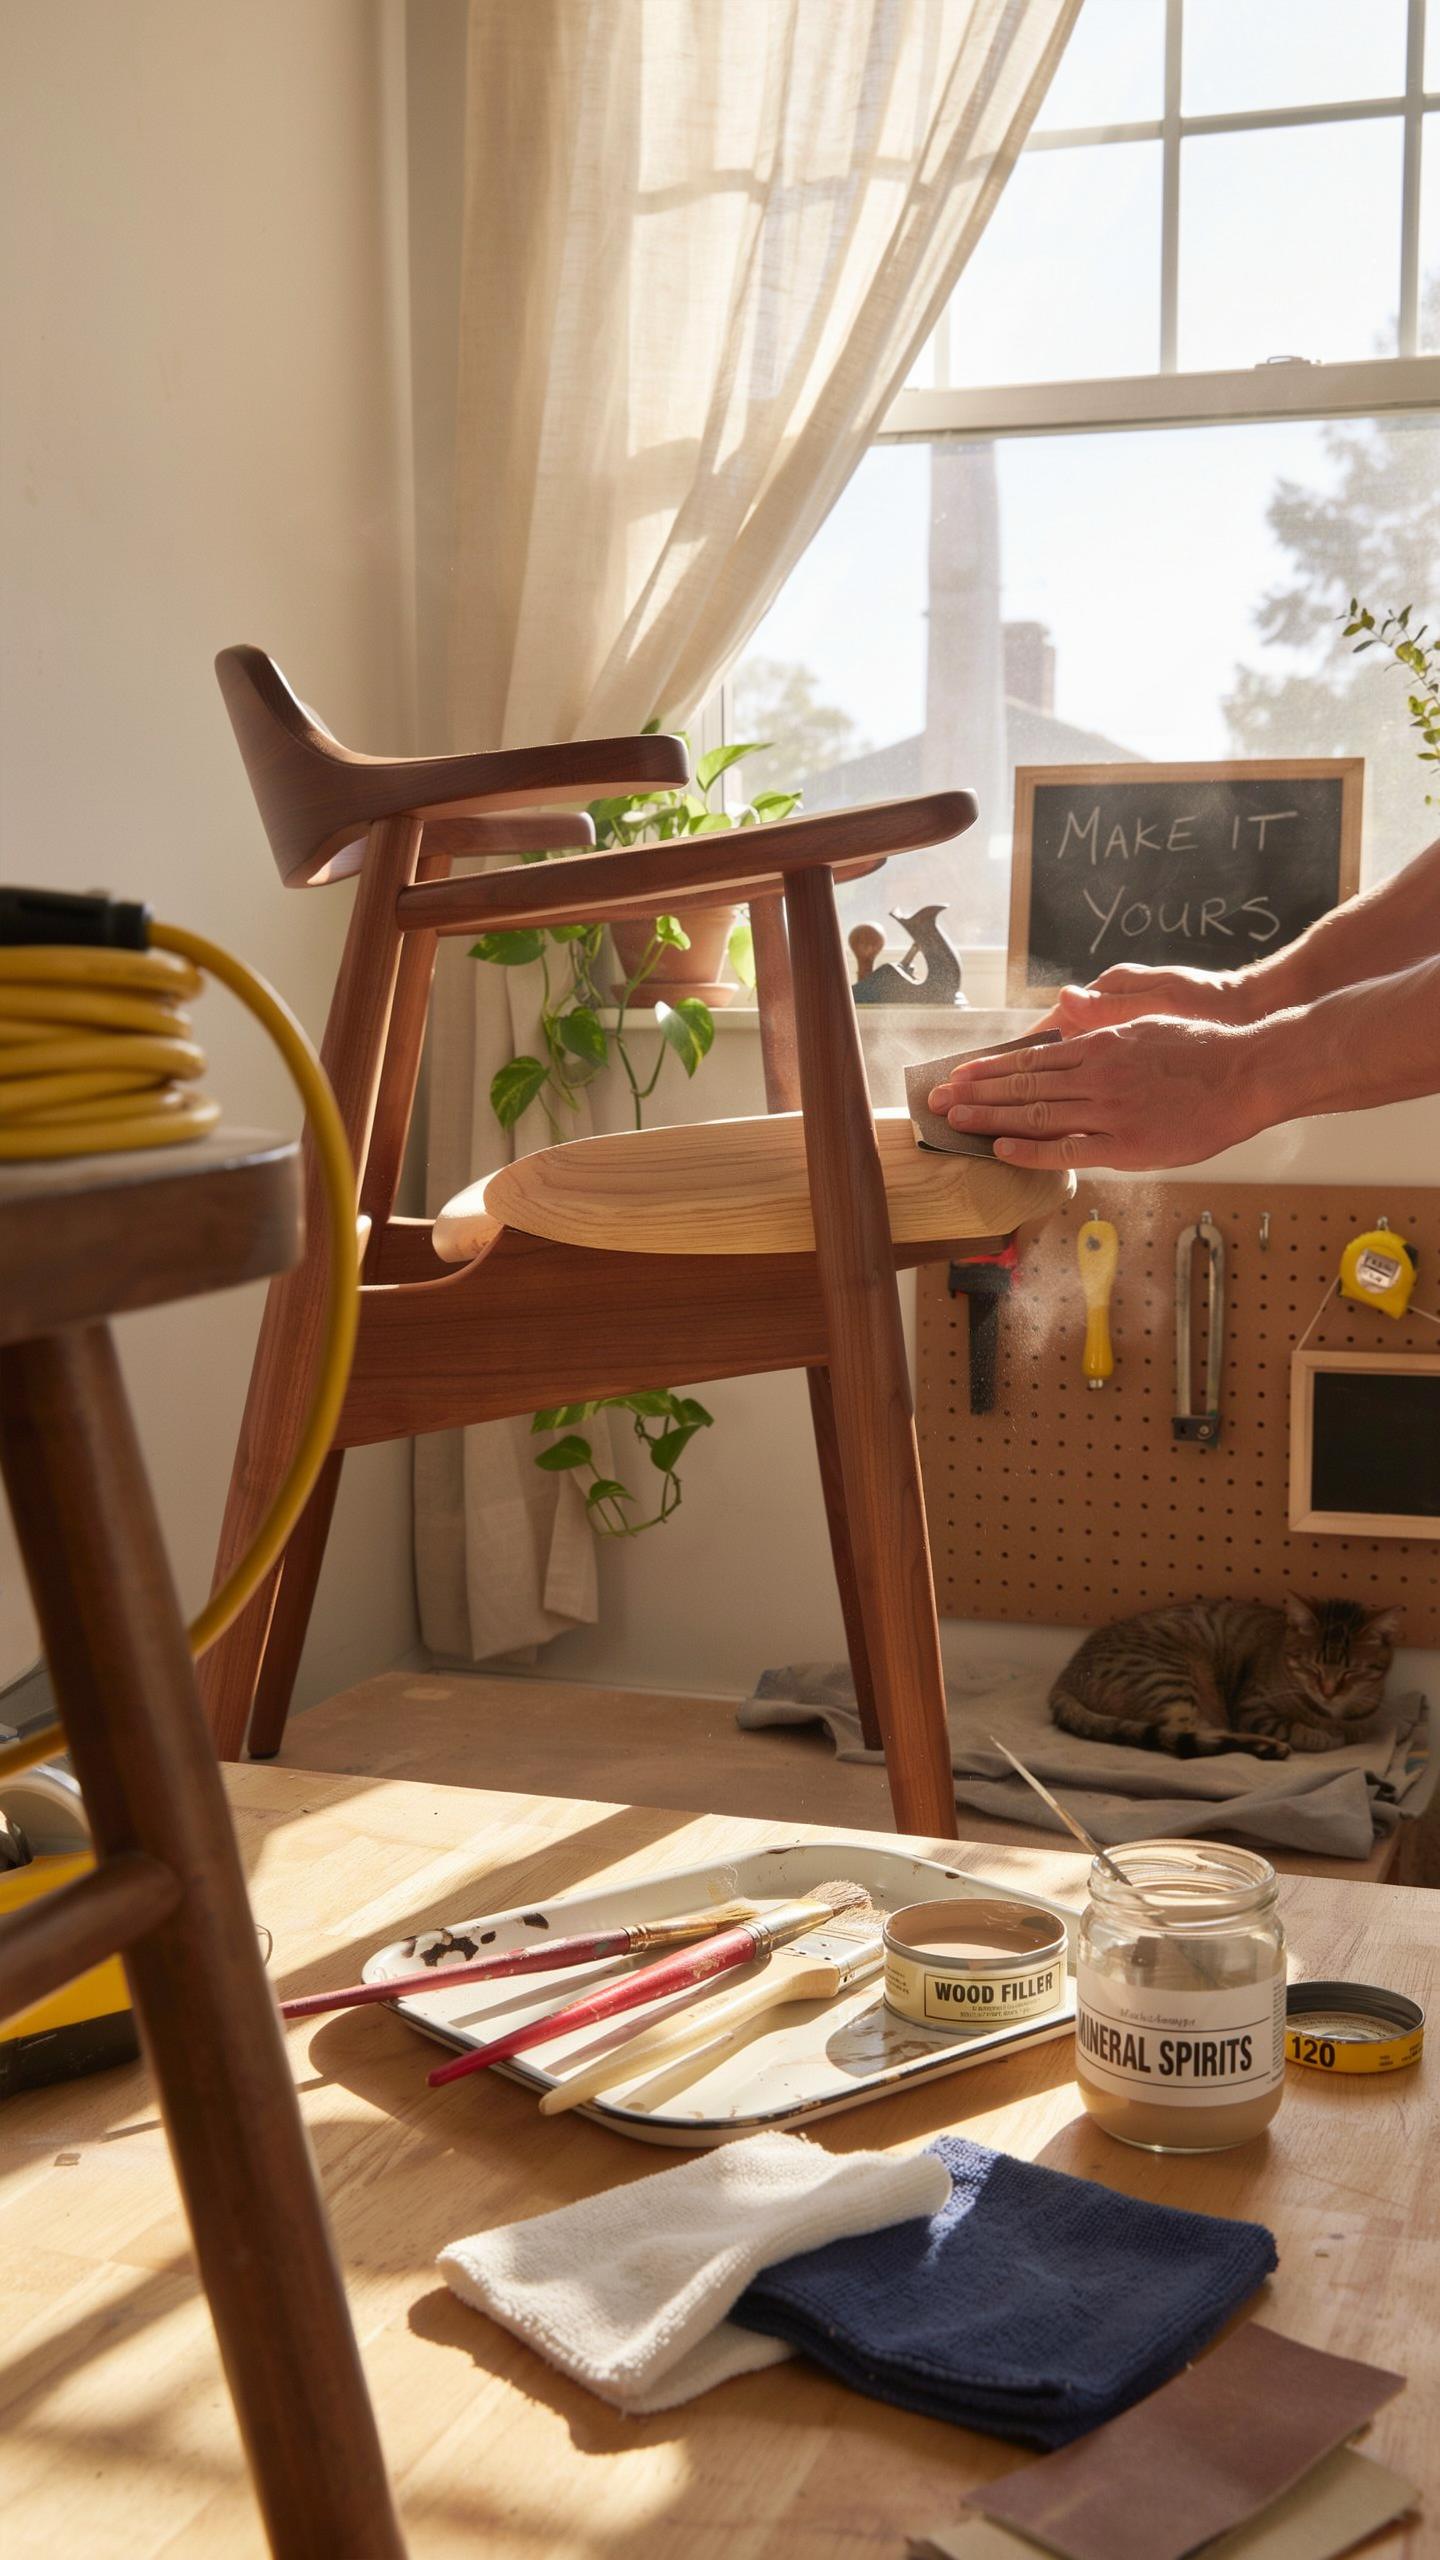
Cleaning And Stripping Old Varnishes And Grime
Start with a degreasing agent or sugar soap. Apply it to the entire chair surface and scrub away accumulated oil and dirt. This step removes contaminants that prevent new finishes from bonding. A clean surface is non-negotiable for durable results.
If the old finish is peeling, cracking, or built up in thick layers, use a chemical stripper or scraper. Follow product instructions carefully. Work in ventilated spaces. Remove all old material until you reach bare wood or a solid base layer. Incomplete stripping causes adhesion problems later.
Sanding Techniques For A Smooth, Long Lasting Finish
Sand the chair in two stages. Start with 120-grit medium sandpaper to cut through gloss and remove surface irregularities. This grit removes the old finish’s shine, allowing primer and paint to grip the wood fibers effectively.
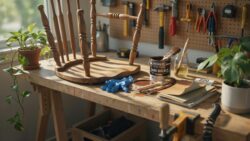
Follow with 220-grit fine sandpaper for the final pass. This creates a smooth texture that accepts primer and paint uniformly. Sand with the wood grain, not against it. Wipe away all dust with a tack cloth before applying any coating. Dust remaining on the surface creates bumps in your finish.
Mastering The Paint Brush How To Paint Thrifted Chairs
Choosing The Right Primer And Paint Types
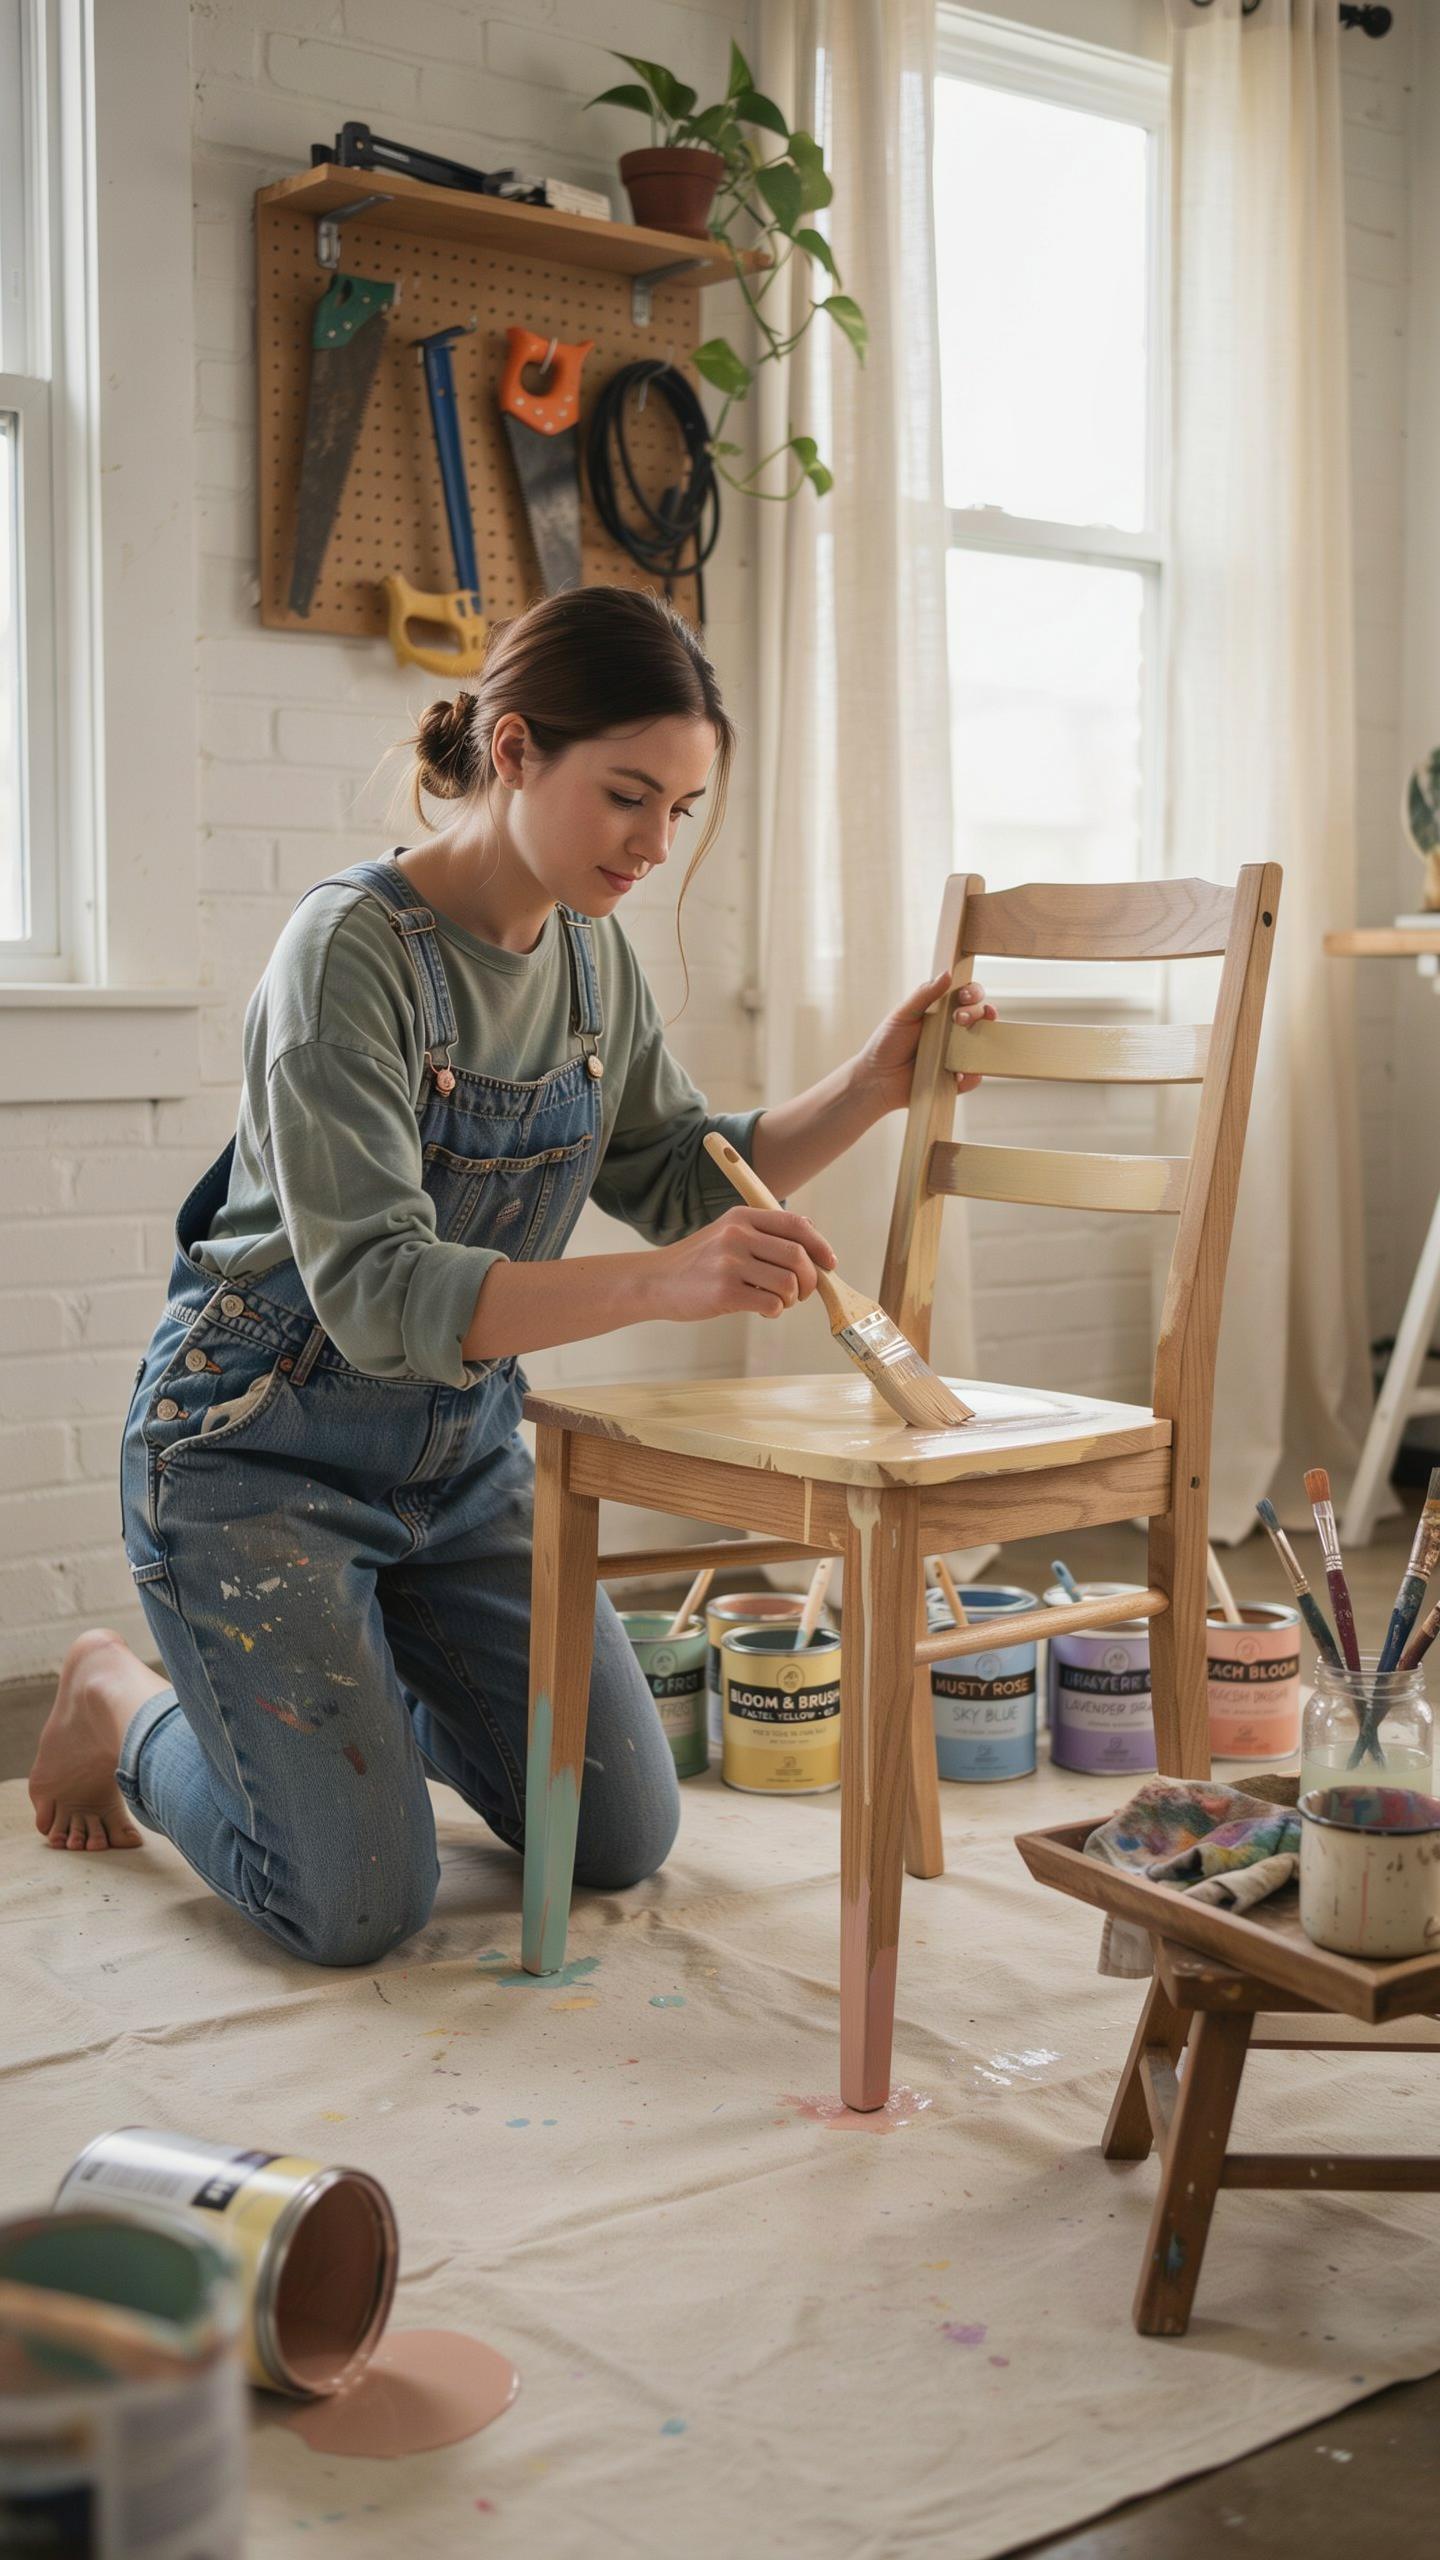
A bonding primer is non-negotiable when working with thrifted furniture. Thrift store chairs often have glossy finishes, stains, or previous paint layers that reject new paint. Bonding primers contain higher resin content and adhere to slick surfaces that standard primers cannot grip. This prevents oil bleed-through and ensures your topcoat stays put without peeling or flaking months later.
Chalk paint, mineral paint, and acrylic latex each serve different purposes on thrifted chairs. Chalk paint provides a matte, velvety finish and requires no primer on most surfaces, saving time and money. Mineral paint offers superior durability and breathability for wood. Acrylic latex dries quickly and cleans up with water, making it practical for beginners. Match your paint type to the chair’s material and your desired finish.
Applying Even Coats And Preventing Paint Runs
Thin coats prevent drips and visible brush marks that ruin the final look. One thick coat creates pooling and runs that dry uneven. Apply paint in light layers, allowing each coat to dry completely per manufacturer instructions before adding the next. Two to three thin coats always outperform one thick coat on thrifted furniture.
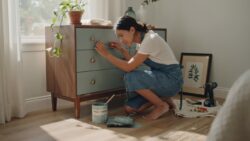
Sand between coats using ultra-fine sandpaper like 220-grit or higher to break the gloss and improve adhesion. This step eliminates dust nibs and creates a smooth surface for the next coat. Light sanding takes minutes and transforms a mediocre finish into a professional result. Never skip this step if you want streak-free results that look intentional rather than rushed.
Alternative Painting Methods How To Paint Thrift Store Chairs
The Pros And Cons Of Spray Paint Vs. Brush On Paint
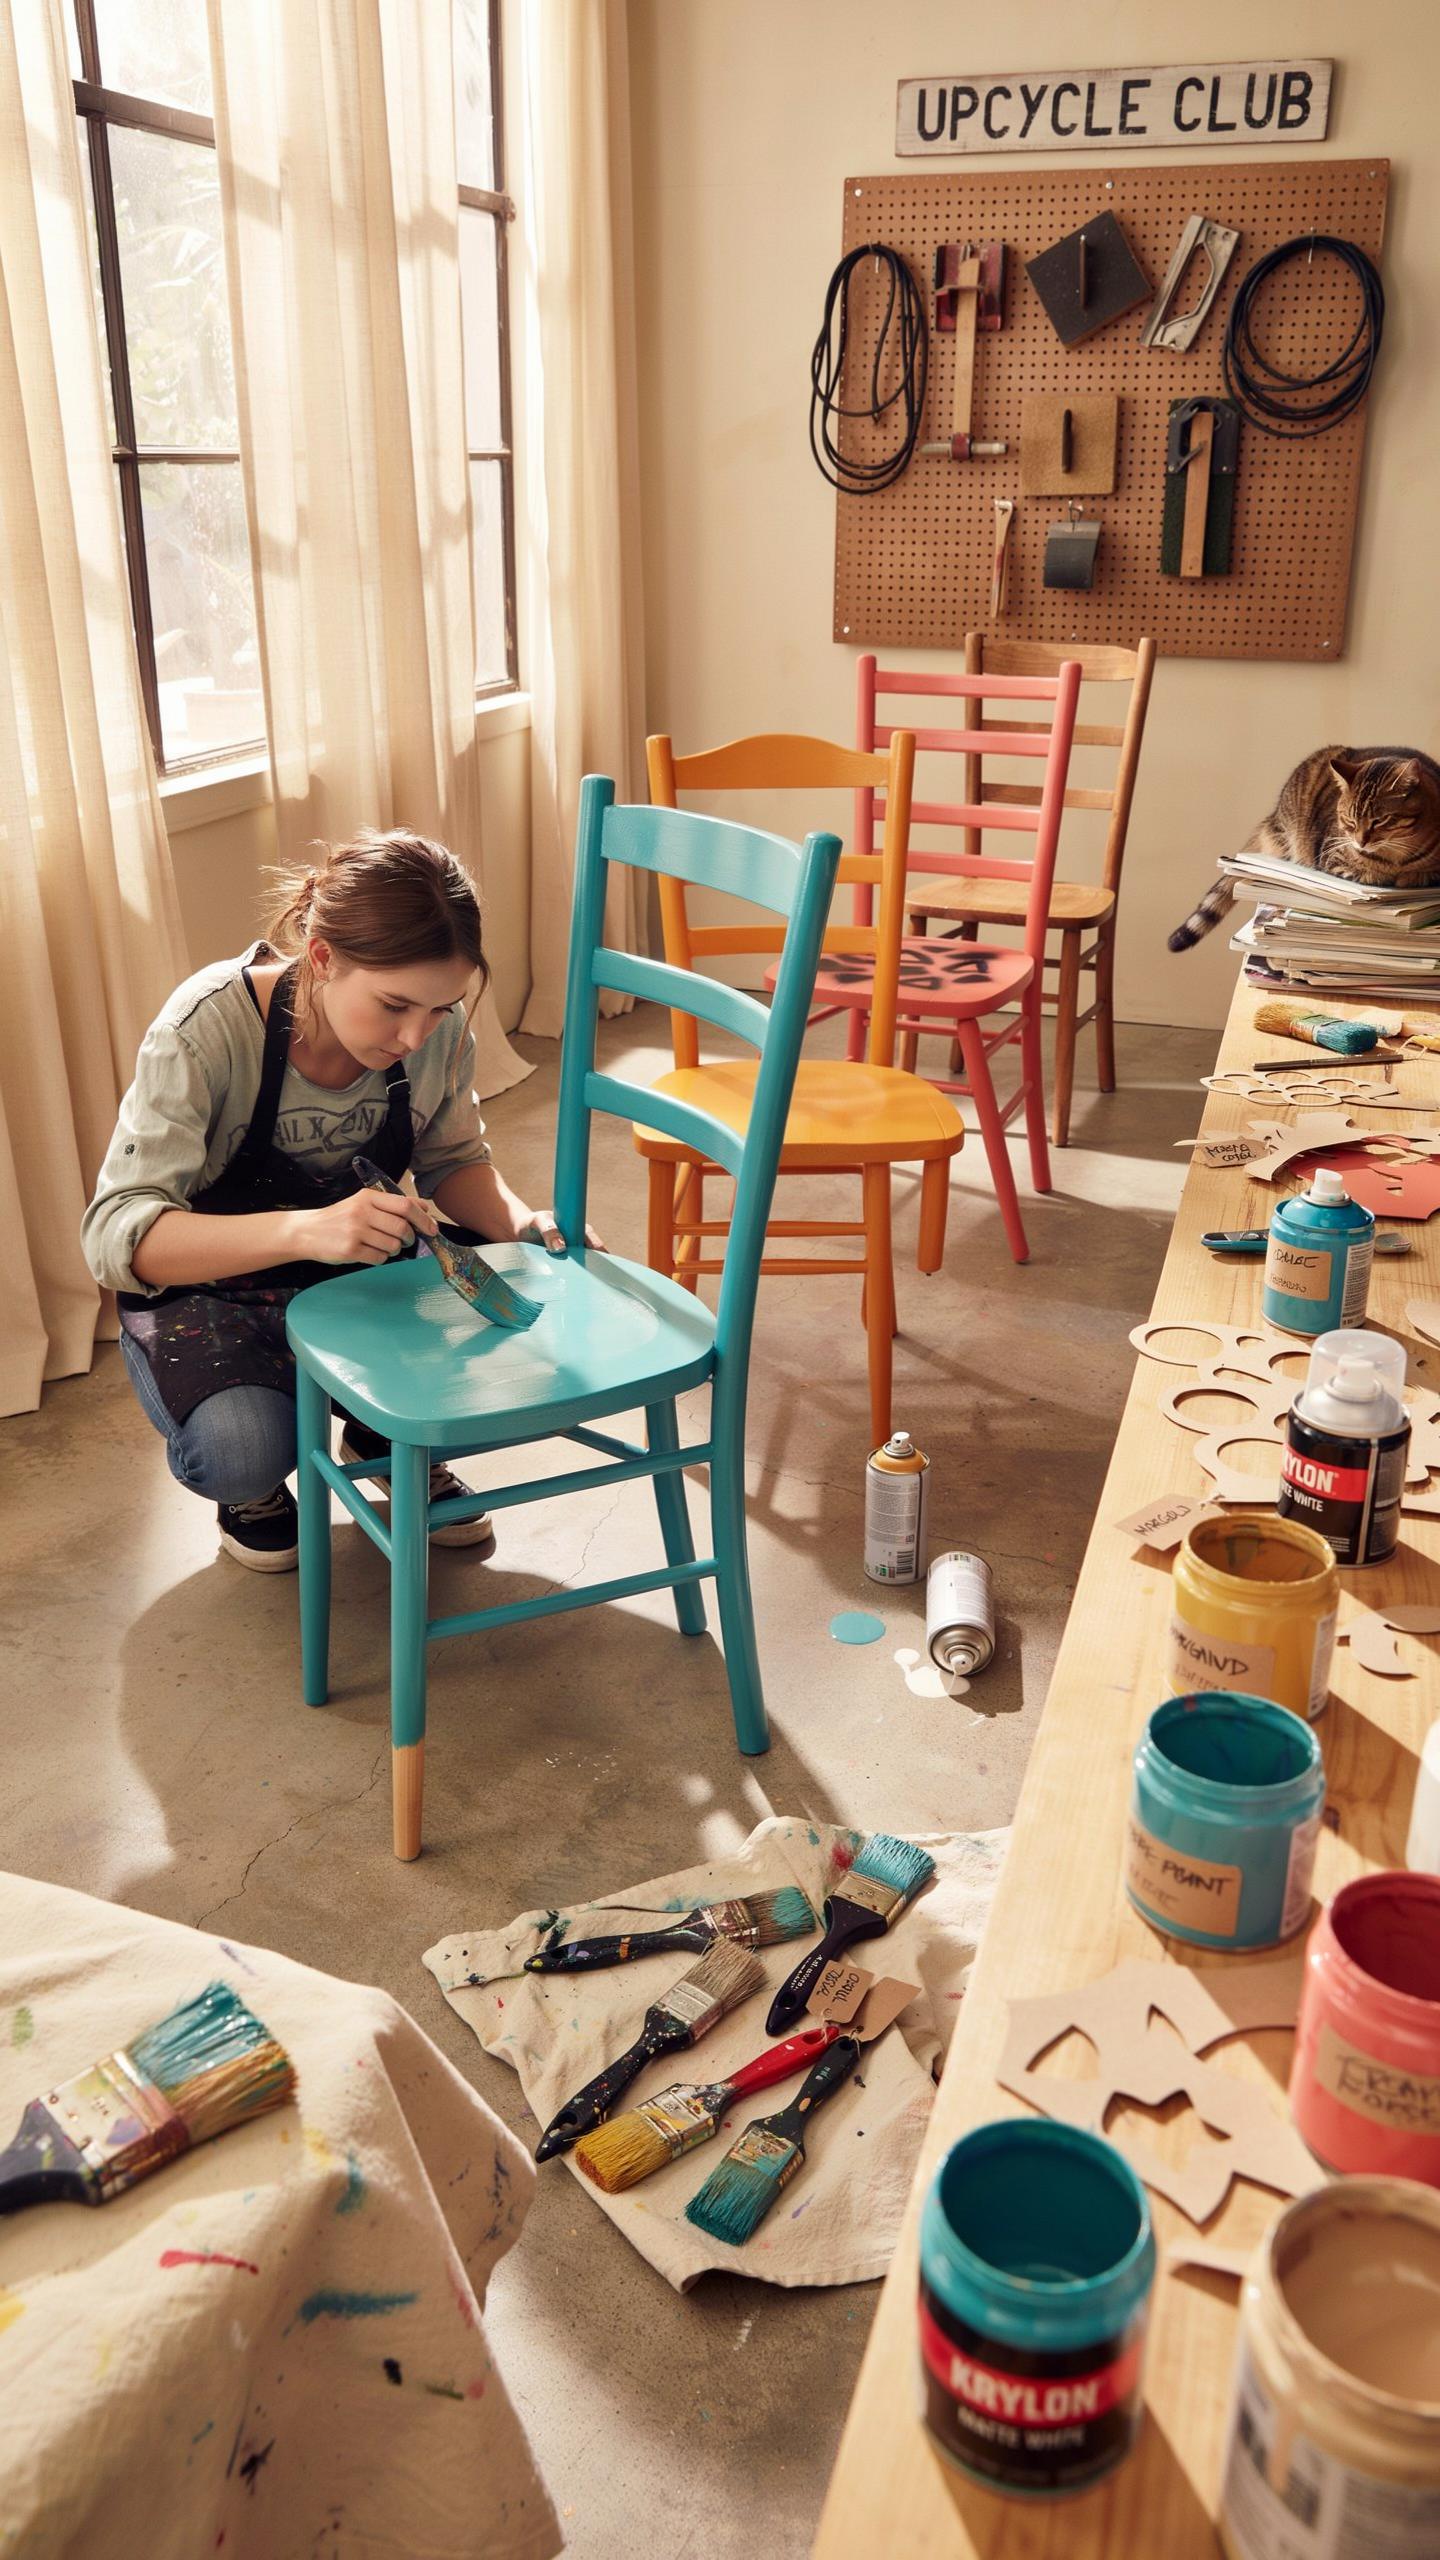
Spray paint delivers fast, even coverage without brush marks, making it ideal for spindles and carved details. You apply thin layers quickly and reach tight spaces easily. The drawback is less control over application and potential overspray waste. Spray paint also dries faster, which speeds up the project timeline considerably.
Brush-on paint gives you precise control and builds thicker protective layers. You control exactly where paint goes and apply custom thicknesses. The tradeoff is visible brush strokes on flat surfaces and longer drying times between coats. Brush application works best on simple frame designs where stroke visibility matters less or adds character.
The best heirlooms are the ones we make ourselves, breathing new life into a forgotten chair. Every piece of furniture has a soul worth saving and a story that is never truly finished.
Achieving A Distressed Or Antique Aesthetic
Paint the chair with thin coats first, allowing proper drying between applications. Light coats prevent drips and create a foundation for distressing. Once dry, use fine grit sandpaper on edges, corners, and high traffic areas. Sand gently to expose the wood underneath and create worn, aged appearance naturally.

The distressed technique works because wear patterns follow predictable paths on furniture. People touch armrests, lean against backs, and sit on seats. Sand these zones to reveal what lies beneath the paint layer. This method produces authentic aging without artificial techniques or chemical treatments.
Upholstery Basics How To Re Cover A Dining Chair Cushion
Selecting The Best Upholstery Fabrics And Materials
Fabric choice determines how long your chair survives daily use. Heavy cotton, canvas, performance velvet, and outdoor fabrics resist wear better than lightweight options. These materials handle spills, friction, and repeated sitting without deteriorating. Skip delicate fabrics like linen or silk for dining chairs. They fail fast in high traffic areas.
You need more than fabric. High density upholstery foam provides structure and comfort under the new cover. Batting acts as a buffer between foam and fabric, preventing fabric from snagging. A staple gun rated for upholstery work secures everything to the wooden seat frame. Cheap staple guns jam and misfire, costing time and frustration.
- Canvas: Durable plain weave fabric that resists fraying and handles frequent washing without breaking down structurally.
- Heavy Cotton: Thick natural fiber that accepts stain treatments and maintains color longer than lightweight alternatives.
- Performance Velvet: Engineered synthetic pile that repels liquids and resists staining while maintaining soft texture.
- Outdoor Fabrics: Solution dyed polyester that handles moisture, UV exposure, and constant use without fading or weakening.
- High Density Foam: Cushioning rated 1.8 pounds per cubic foot or higher for durability under weight and repeated compression.

Invest in quality materials upfront. Cheap foam compresses flat within months. Poor fabric tears easily when you pull it tight during installation. A commercial grade staple gun drives staples flush and consistent every time, reducing rework.
Step By Step Guide To Re Covering The Seat Cushion
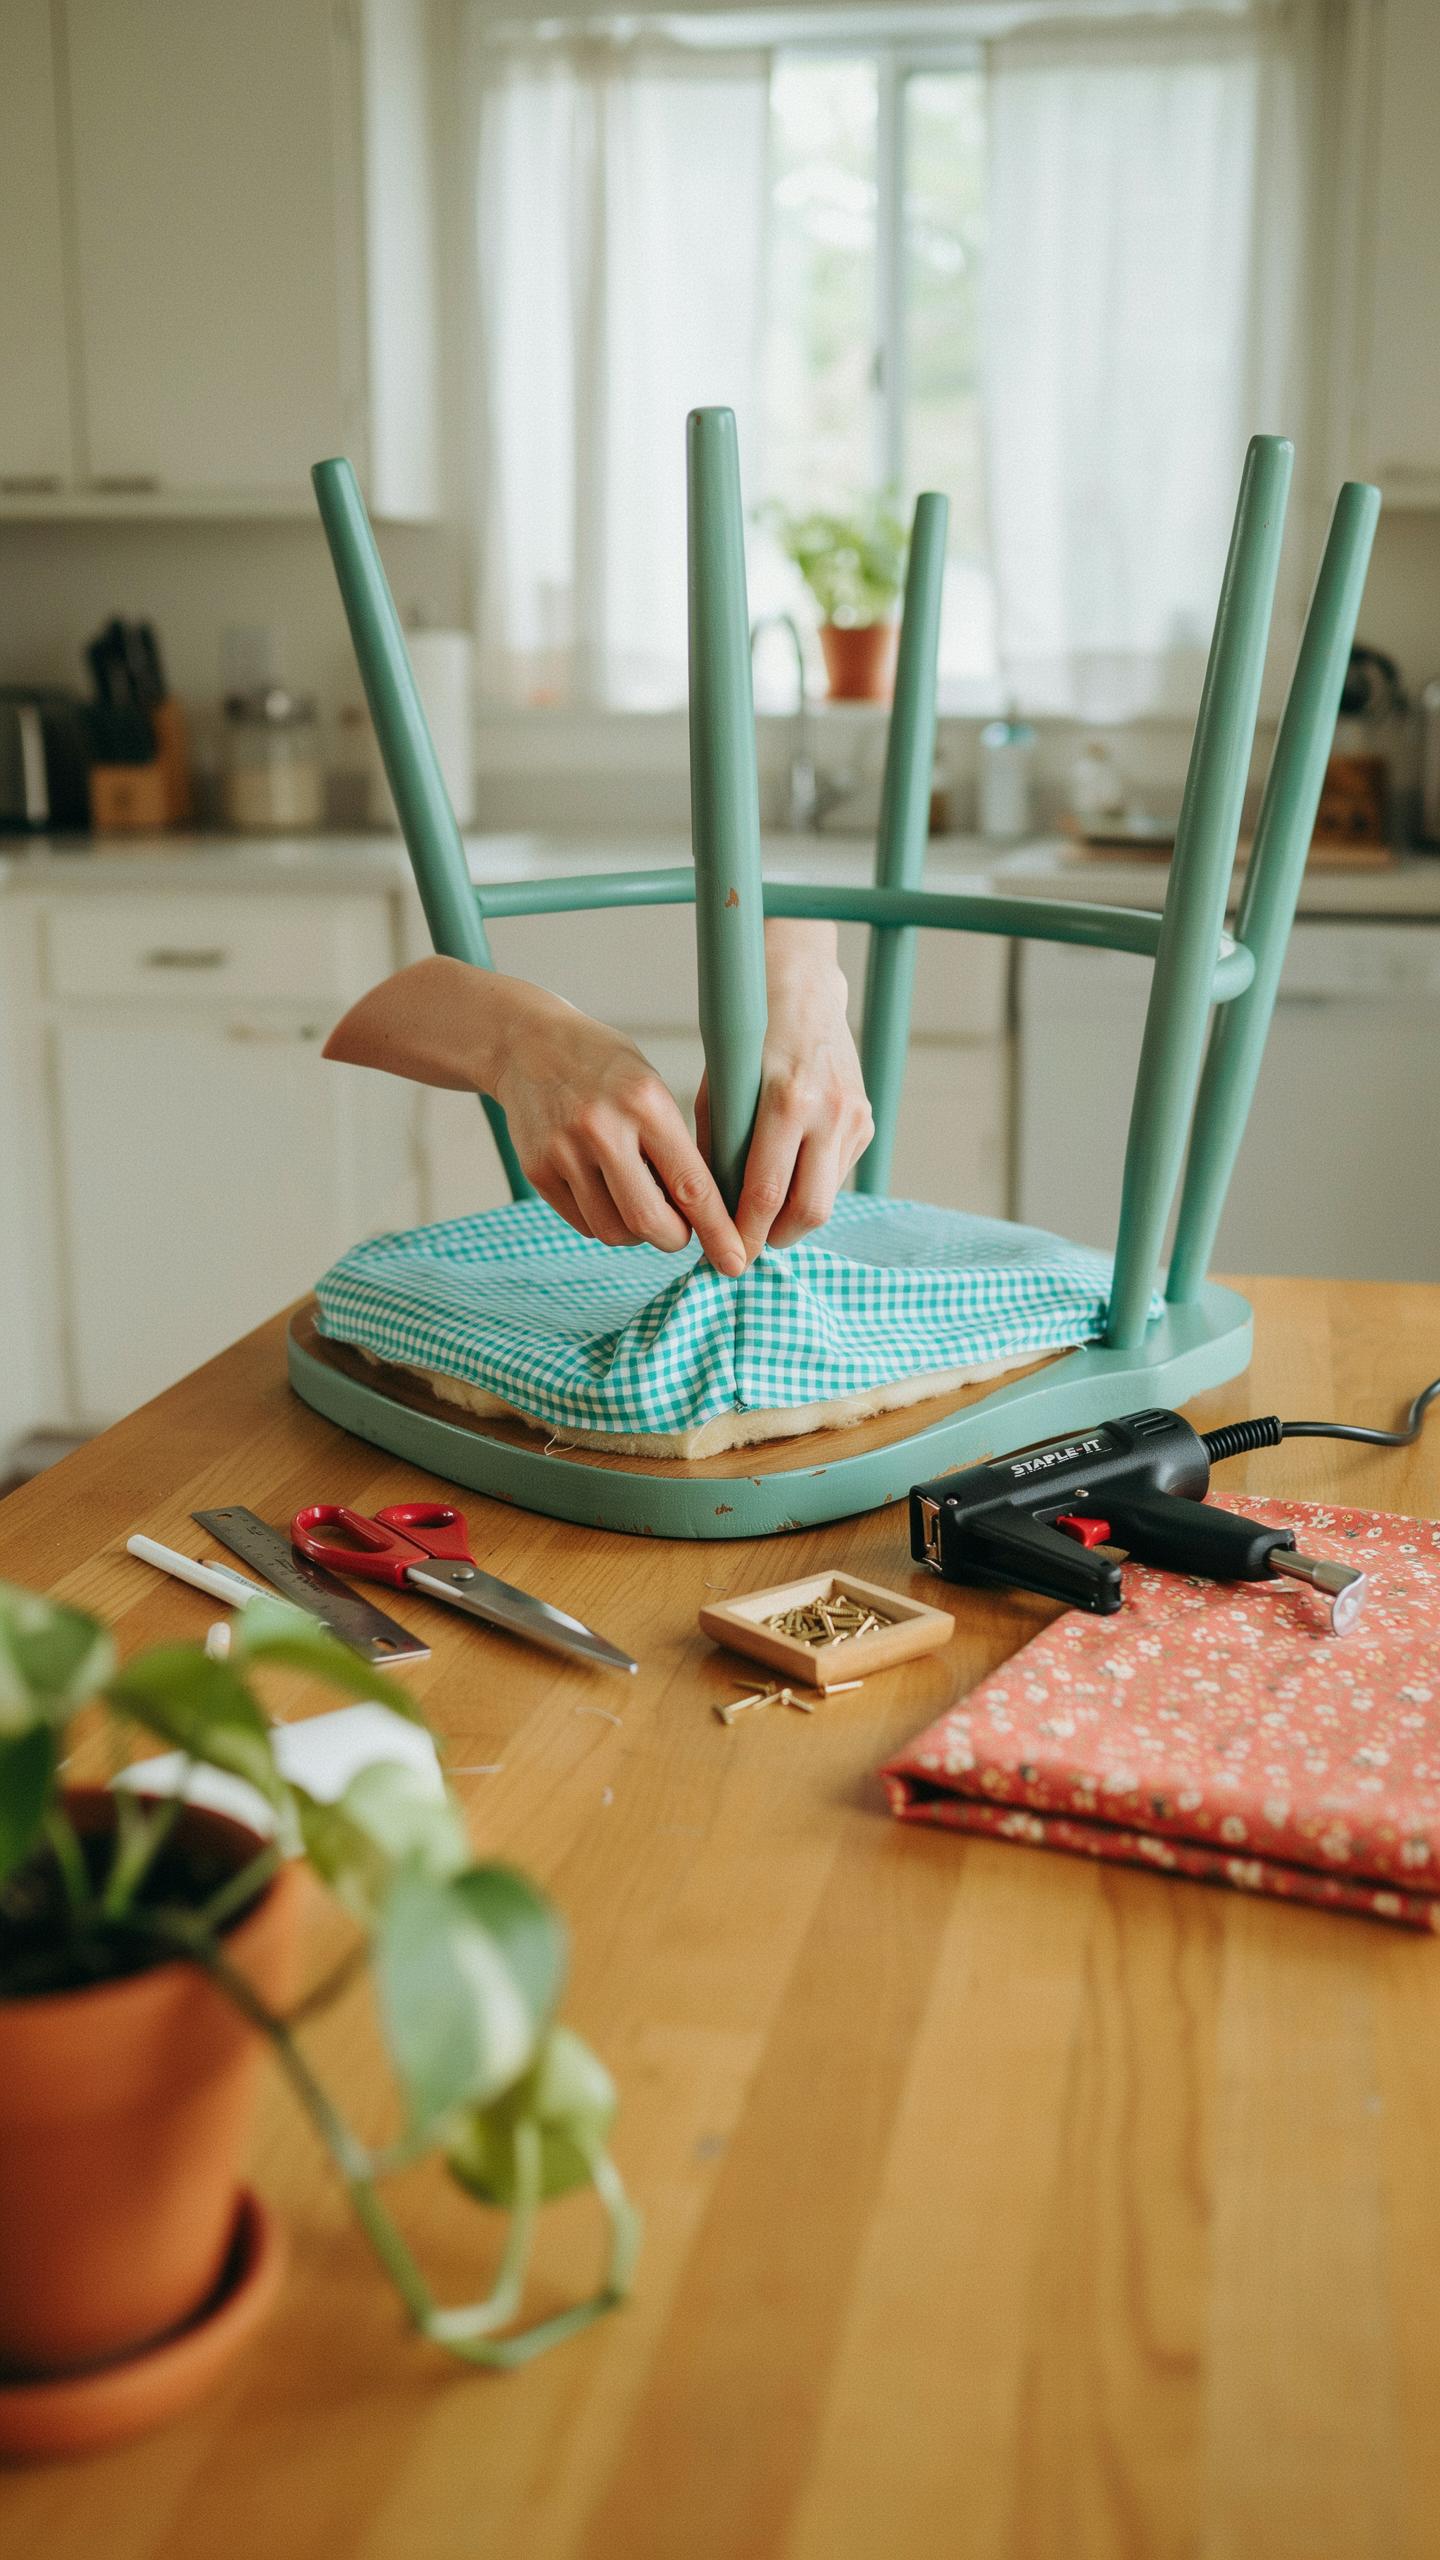
Remove the seat cushion by flipping the chair and unstapling the fabric from underneath. Pull steadily to avoid breaking staples that grip the wood. Once free, strip all old fabric, foam, and batting down to bare wood. Scrape away debris and staple remnants. Inspect the wood frame for damage or warping before proceeding.
Cut new high density foam to match the seat dimensions exactly. Layer batting over the foam to create a smooth surface. Lay your new fabric face down on a clean workspace. Center the seat on top, foam side down. Pull the fabric tautly to the underside and staple one side partially, then the opposite side, then the remaining two sides.
Work gradually to keep tension even. Fold corners into clean triangles and staple them last. Overstretching causes wrinkles and fabric tears. Understretching creates sags that look sloppy and invite premature wear. Flip the chair upright and test the seat. It should feel firm and look flat with no ripples or loose areas.
Assembling And Detailing Your Renewed Thrift Chair Makeover
Reassembling And Securing Loose Wood Joints
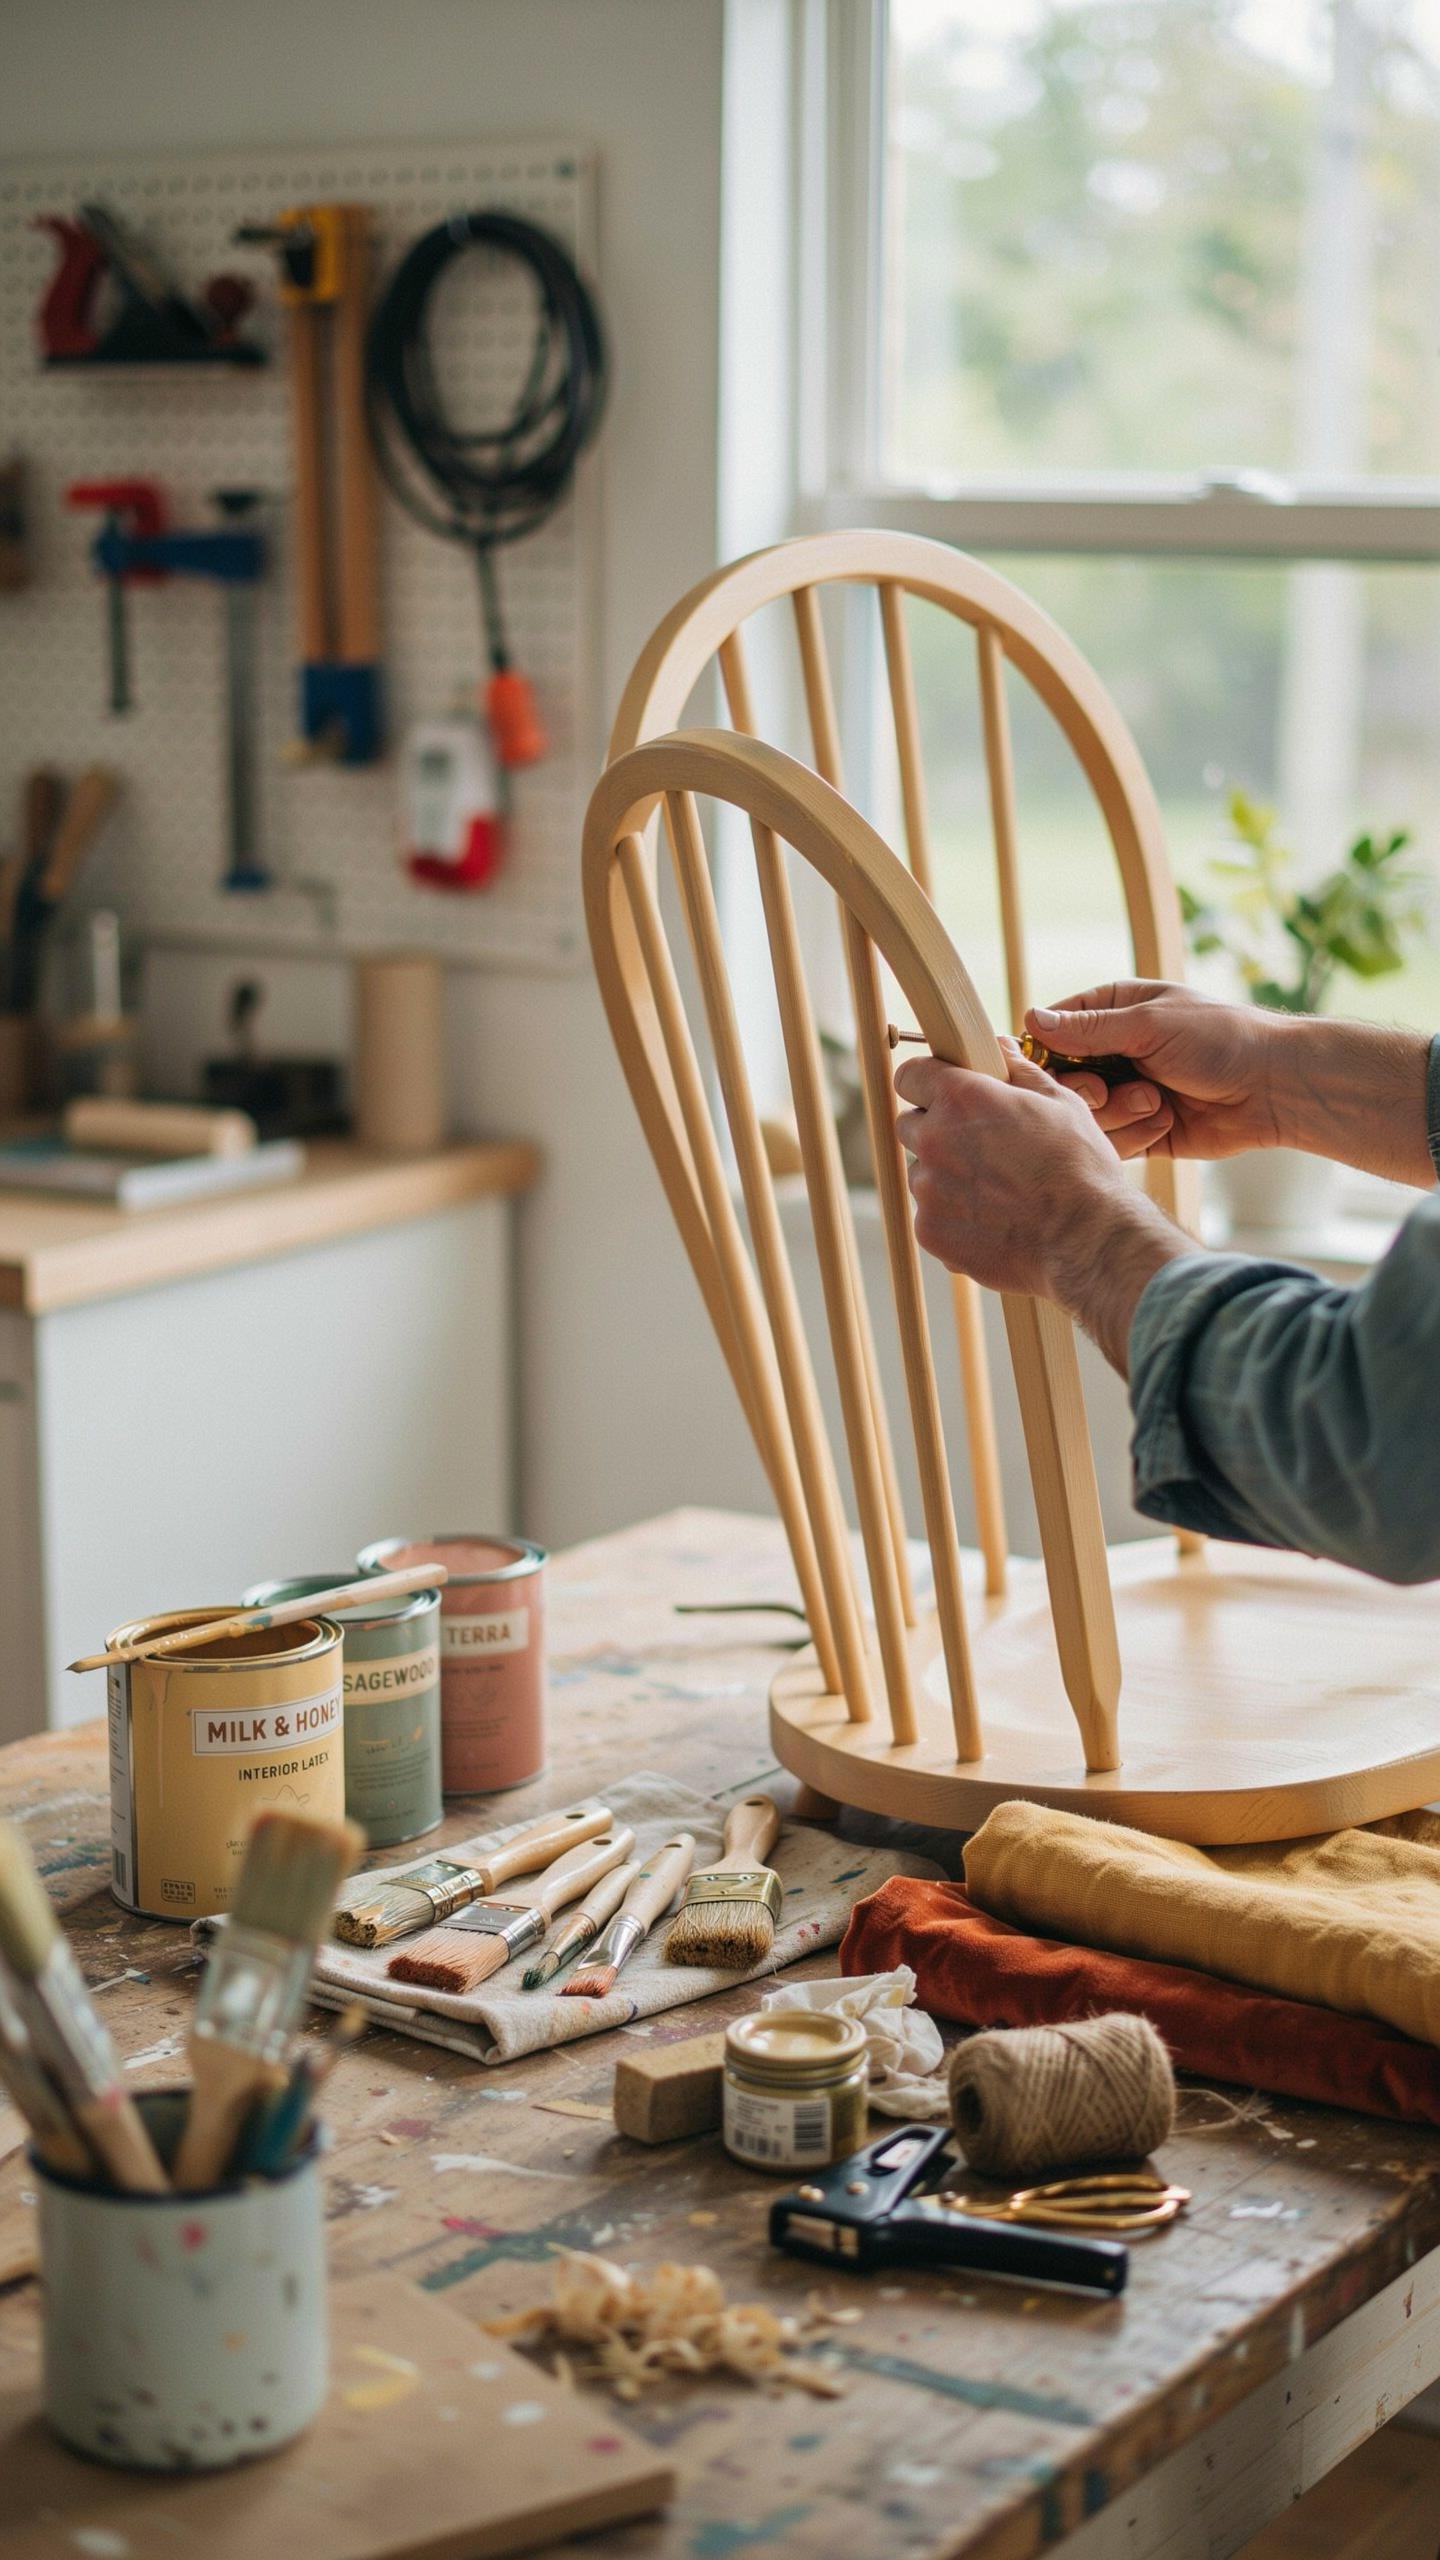
Once all components dry completely, reassemble the chair methodically. Check every joint for movement before applying glue. Use wood glue on dowels and tenons, then clamp for 24 hours to set properly. This prevents future wobbling and extends chair life significantly.

Secure the upholstered seat to the wooden frame using screws from underneath. This approach keeps the underside clean and prevents visible hardware. Tighten all bolts and fasteners with appropriate tools. Test the chair’s stability by applying downward pressure before declaring the project complete.
Adding Protective Topcoats And Waxes
Polycrylic topcoats protect painted finishes from scratches, spills, and daily wear. Apply two to three thin coats rather than one thick coat to avoid drips. Sand lightly between coats with fine-grit sandpaper. Polycrylic dries clear and resists yellowing, making it ideal for light and medium paint colors.
Furniture wax creates a traditional vintage appearance with a soft satin finish. Apply wax after your paint dries using a lint-free cloth in circular motions. Buff the surface to reveal the sheen. Wax requires reapplication every six to twelve months depending on use, but delivers authentic aesthetics that suit mid-century and vintage chairs.
Styling And Maintenance After A Successful Chair Flip
How To Style Your New Chair In Modern Interiors
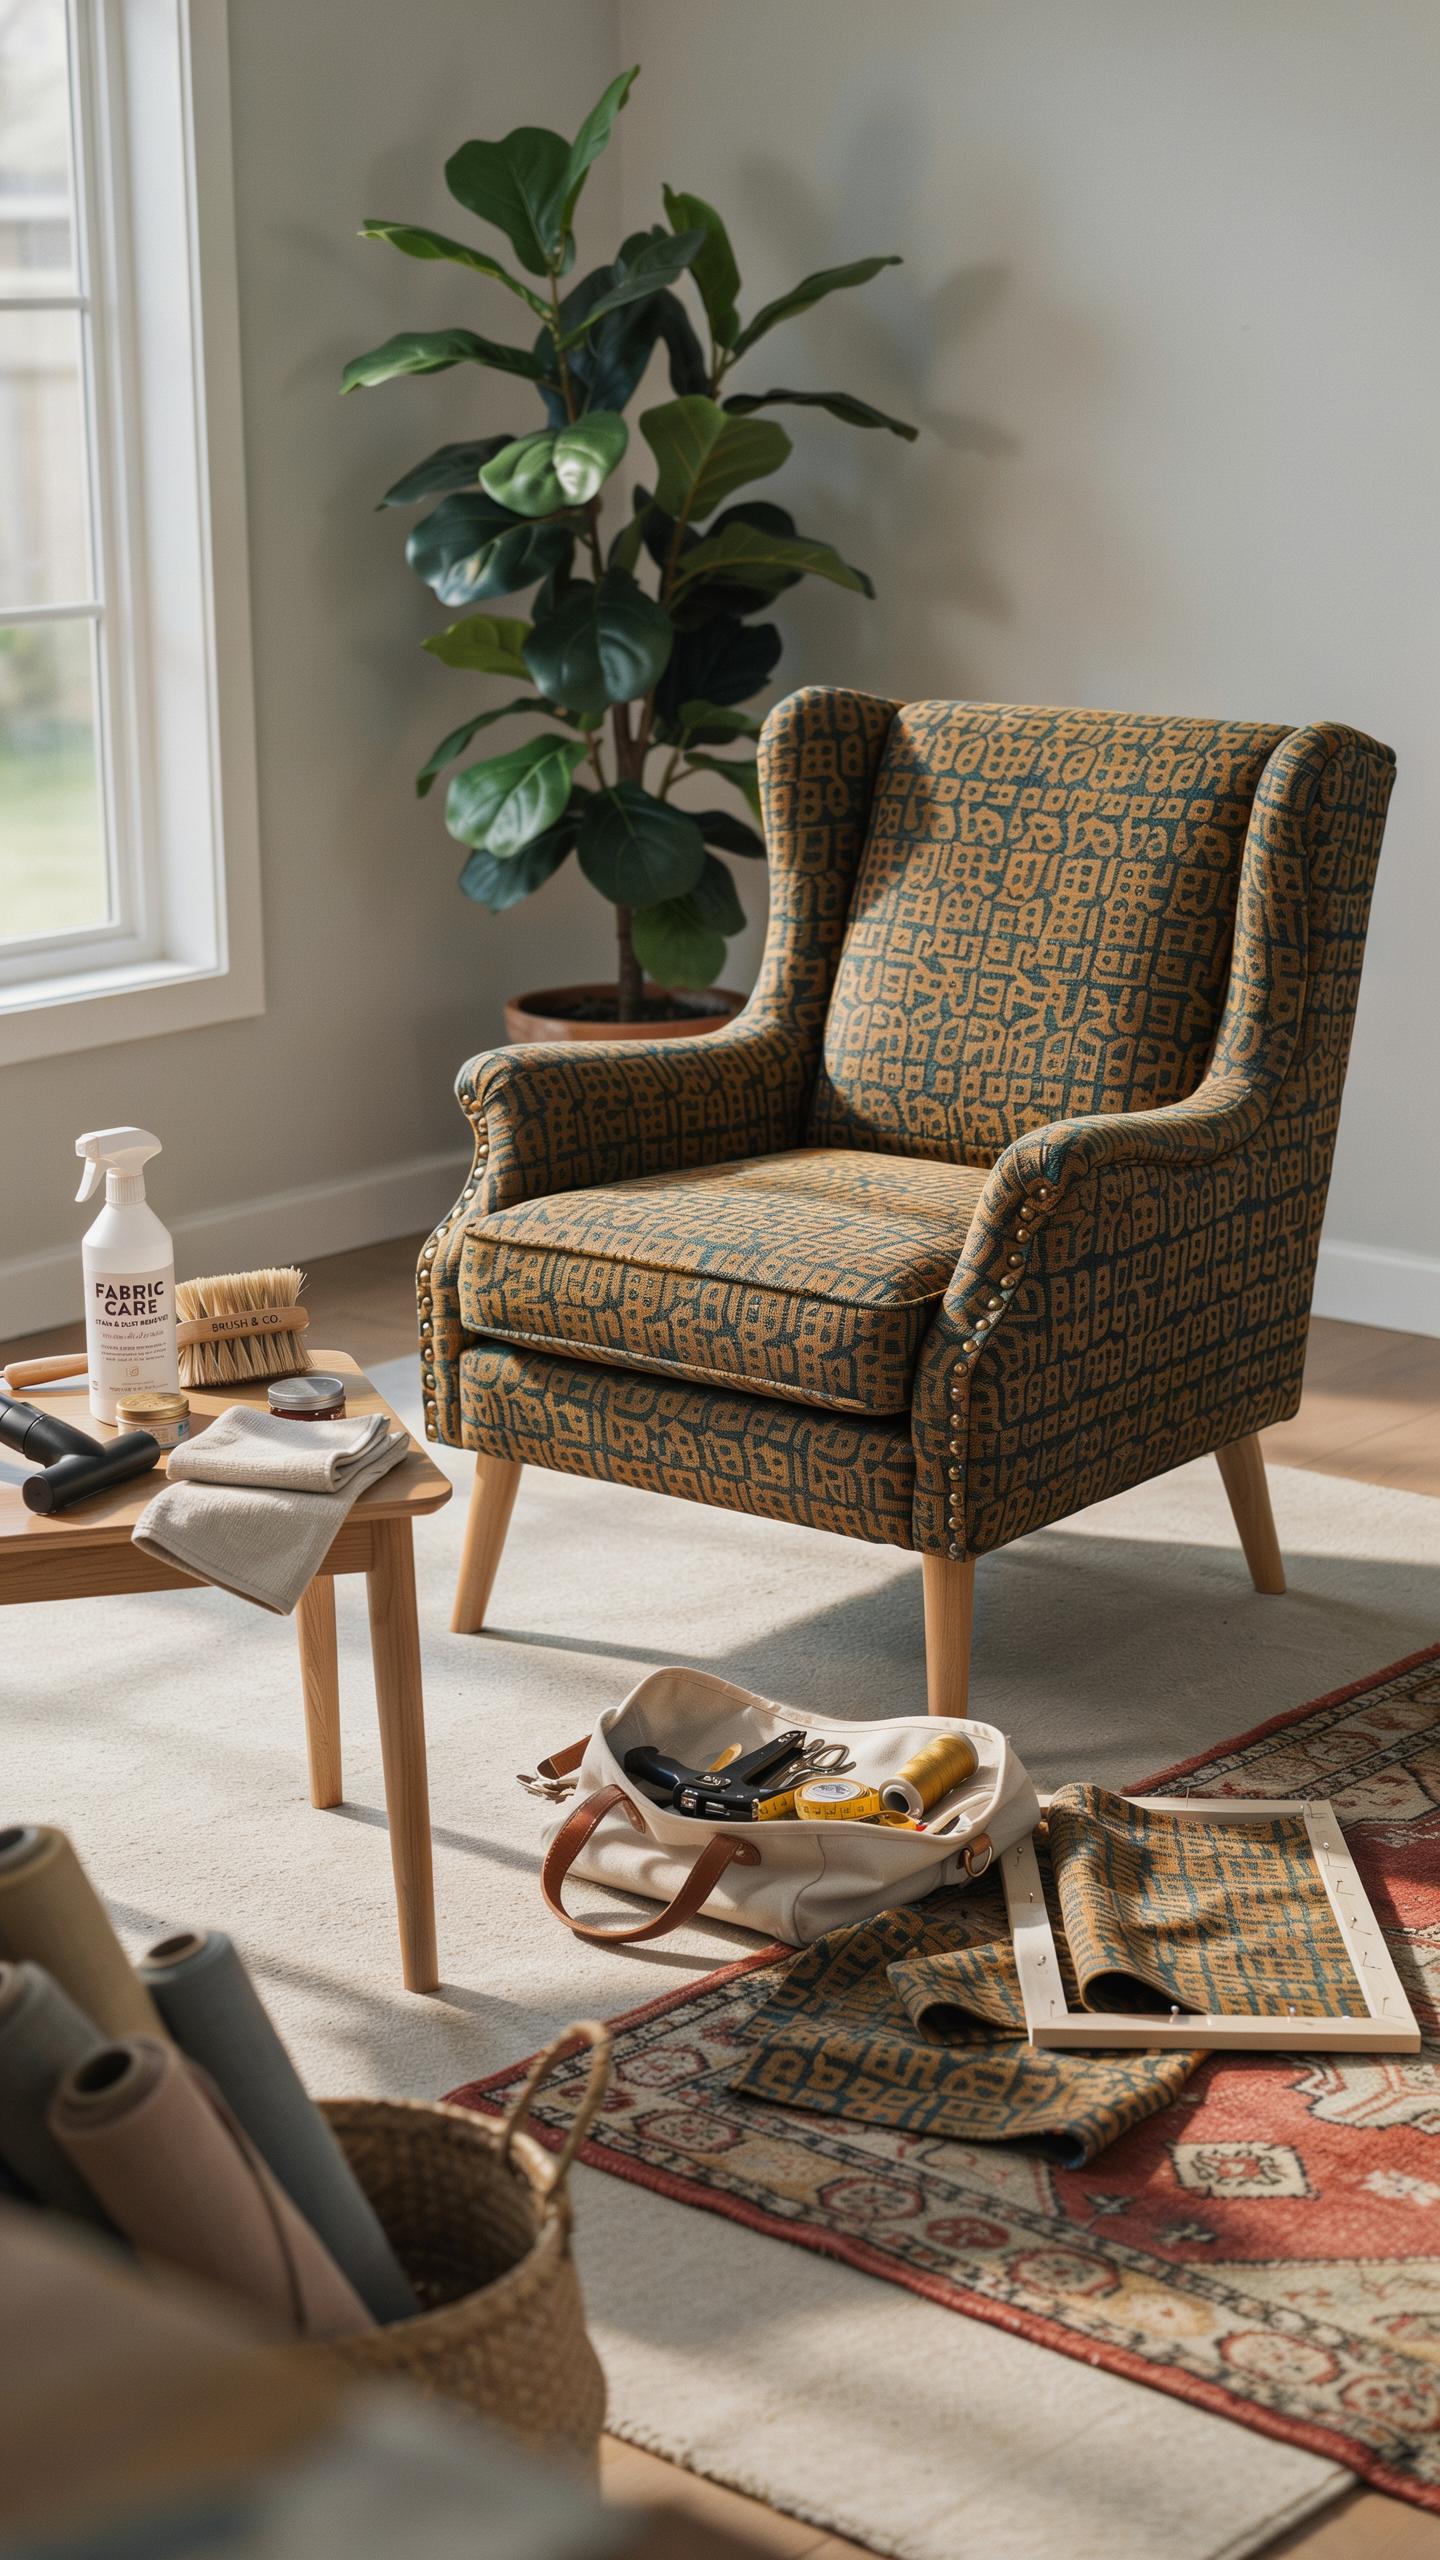
Your flipped chair works best as a functional accent piece, not background furniture. Place it in your entryway to make an immediate visual statement or use it as a desk chair in home offices. Dining room sets benefit from matching pairs or singles that anchor one end of the table. Coordinate accent pillows or throws in complementary colors to tie the chair into your existing décor scheme.

The chair’s finish and color determine its placement strategy. Bold painted finishes demand neutral surrounding walls and minimal pattern competition. Subtle, natural wood stains integrate into traditional or transitional spaces without visual conflict. Position the chair where it receives adequate lighting to showcase the craftsmanship. This tactical placement maximizes your investment and prevents the piece from becoming wasted potential.
Tips For Cleaning And Maintaining Painted Wood Furniture
Clean your chair every two to four weeks with a soft, damp microfiber cloth to remove dust and debris. Avoid commercial furniture polishes and chemical sprays that strip paint finishes and degrade wood over time. Wipe spills immediately using only water and a cloth to prevent staining or finish damage. Never allow moisture to sit on the surface or seep into joints where wood swelling occurs.
Direct sunlight fades paint and wood finishes progressively, so position your chair away from windows or use curtains during peak daylight hours. Temperature and humidity fluctuations cause wood to expand and contract, potentially cracking joints or paint. Keep your chair in climate-controlled environments between 40 and 50 percent humidity. This maintenance approach preserves your flipped chair’s appearance and structural integrity for five to ten years or longer.
Frequently Asked Questions

Is a thrifted furniture flip chair makeover suitable for someone with no DIY experience?
Absolutely! A chair is one of the best projects for beginners because it offers a manageable surface area to practice basic techniques. Starting a thrifted furniture flip chair makeover allows you to experiment with sanding, priming, and painting without the intimidation of a large wardrobe. With a little patience and the right tutorials, you can transform a dated find into a stunning statement piece for your home while building your DIY confidence.
What are the essential steps for ensuring a high-quality finish on a chair?
To achieve a professional result, start by deep cleaning the piece and sanding away old varnish to ensure paint adhesion. After wiping away dust, apply a high-quality primer followed by two thin coats of furniture paint. If your thrifted furniture flip chair makeover involves fabric, use a heavy-duty staple gun for a taut upholstery finish. Finally, protect your hard work with a clear topcoat or wax to ensure the chair stays beautiful.
How much does a typical chair makeover cost compared to buying new furniture?
Flipping a chair is incredibly budget-friendly, often costing a fraction of retail prices. While a new designer chair can cost hundreds, a secondhand find usually runs between five and thirty dollars. When you factor in the cost of a pint of paint and a small remnant of fabric, you can complete a high-end transformation for under fifty dollars. It is a sustainable way to achieve a luxury look on a modest budget.



