Introduction To Your Next Furniture Flip Project With Chalk Paint
The Appeal Of Relaxed Living Aesthetics
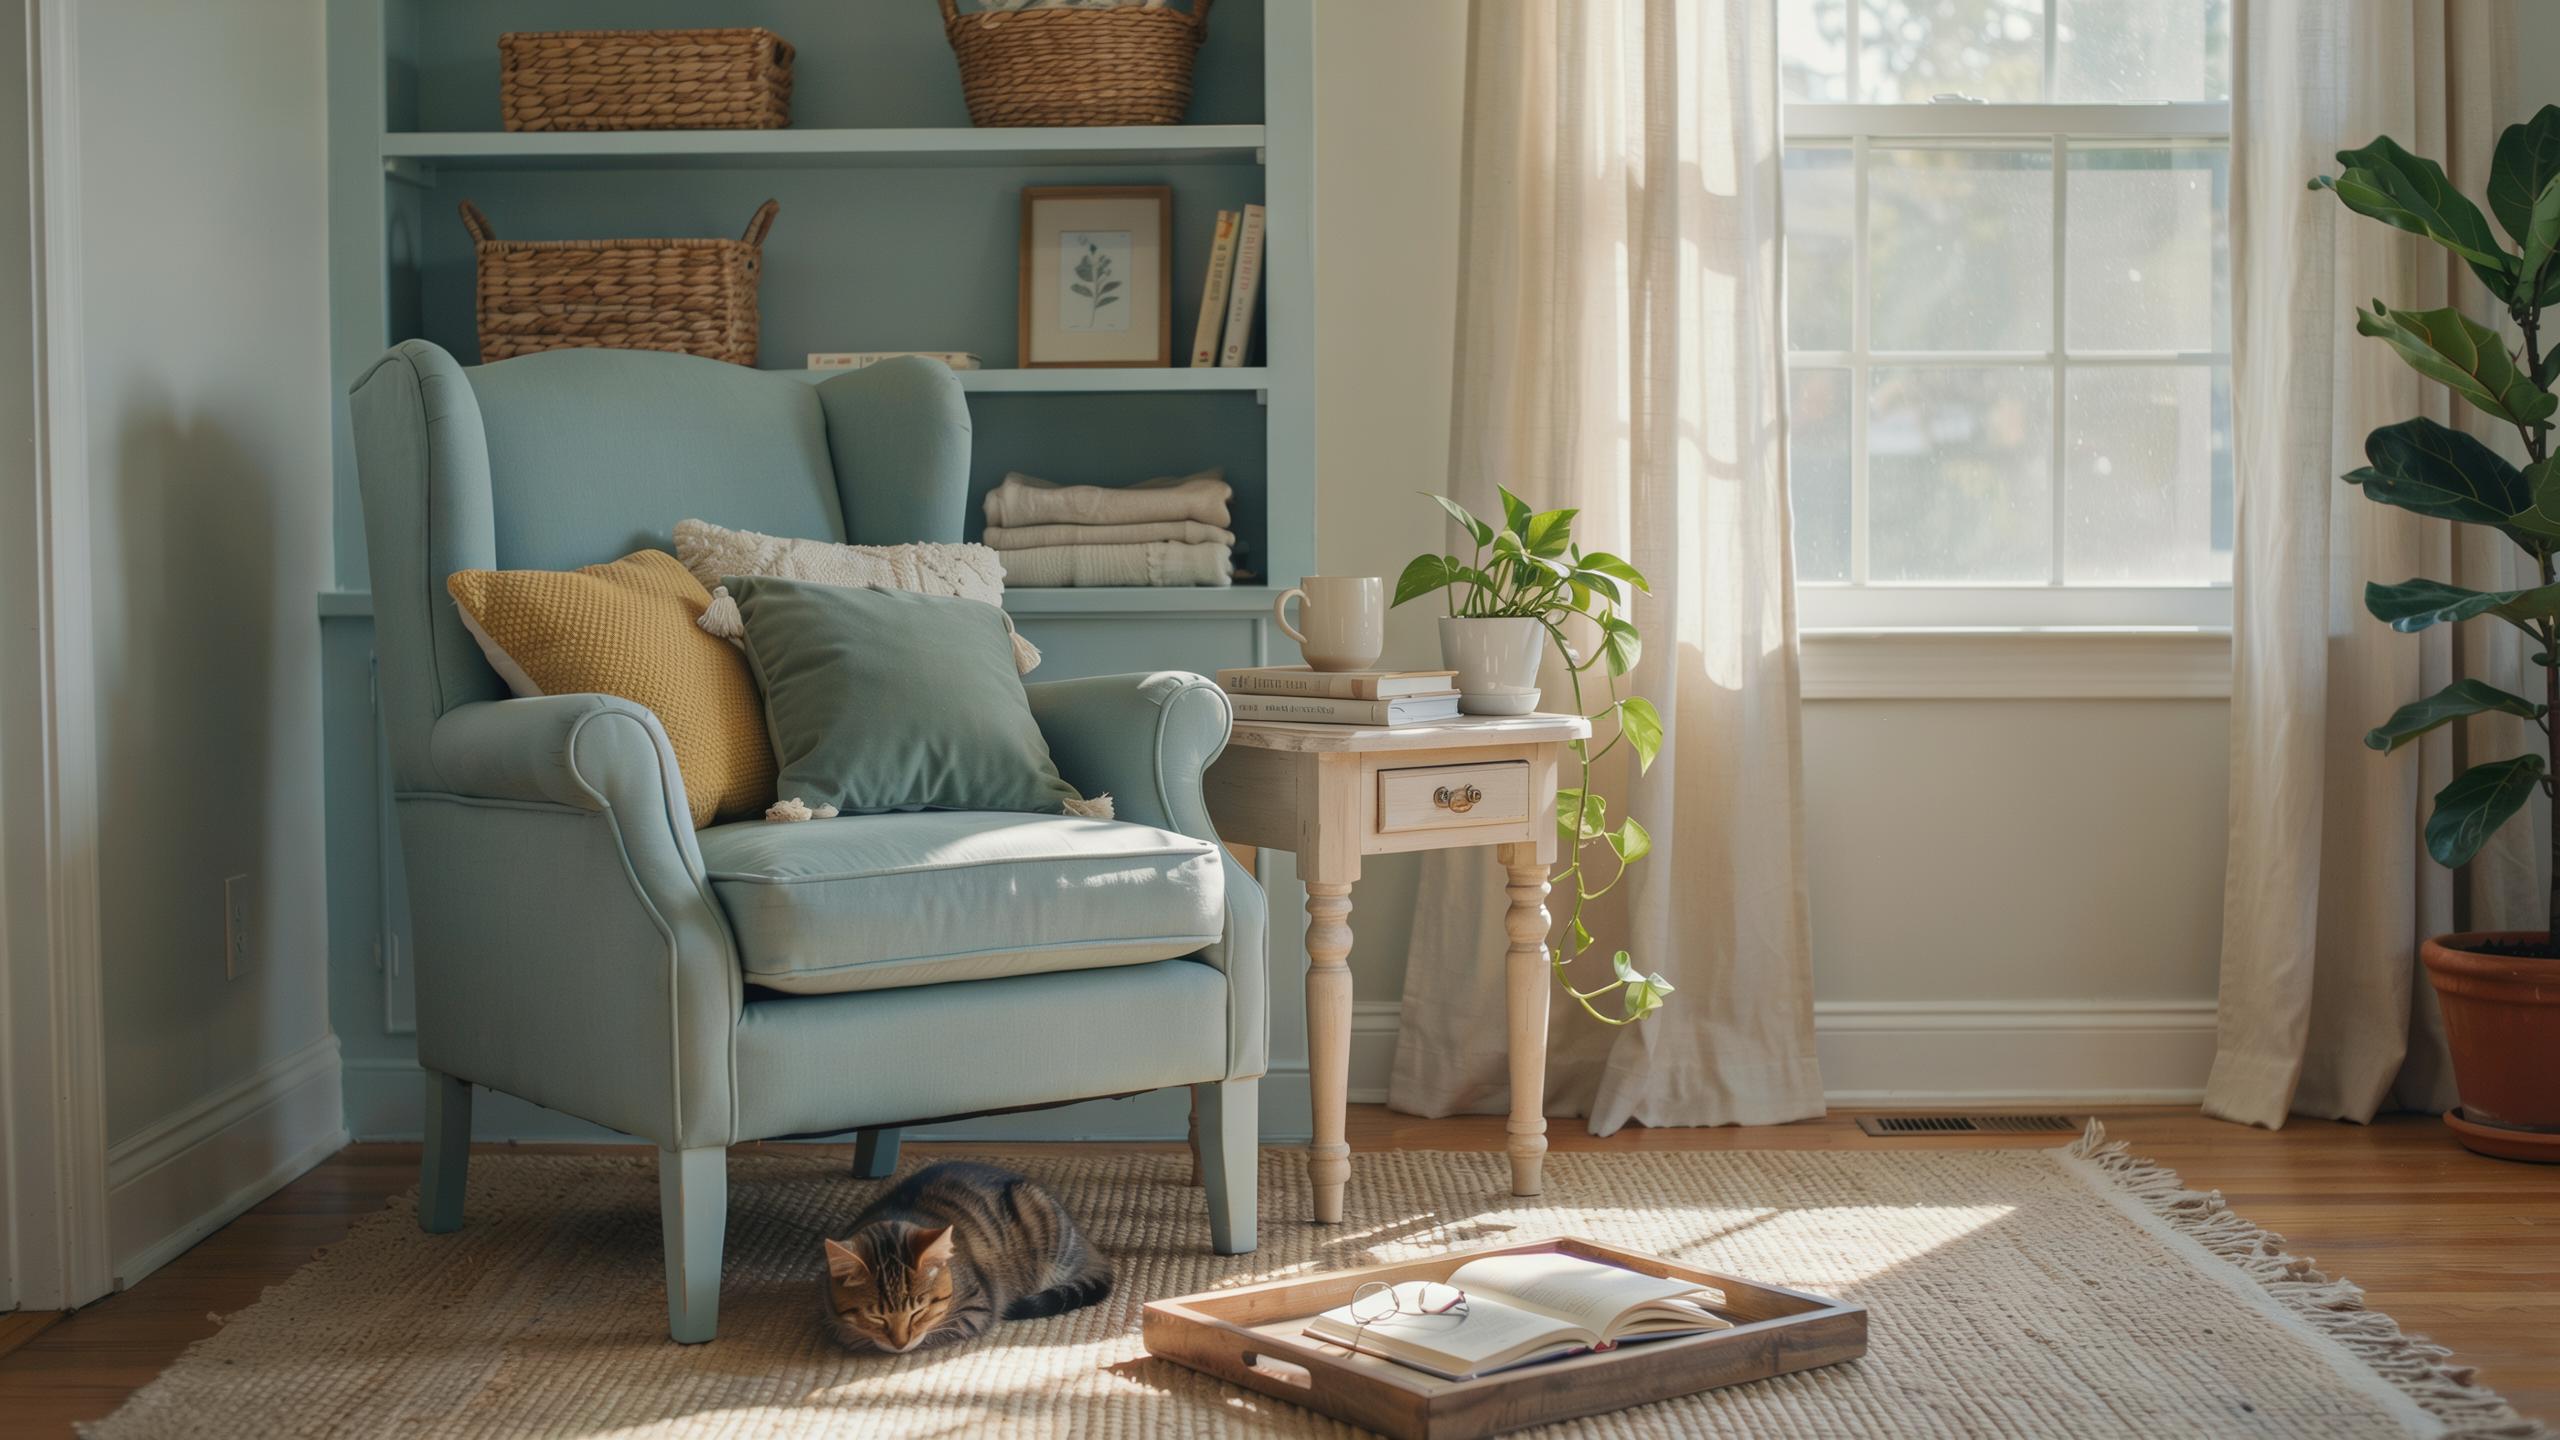
Relaxed living spaces prioritize comfort and authenticity over polish. Chalk paint delivers a matte finish that reads as intentional rather than worn. This texture aligns with modern design preferences for lived-in spaces. The soft, non-reflective surface absorbs light instead of bouncing it back, creating visual calm. Homeowners and interior designers use chalk finishes to signal approachability and ease in their environments.
Cozy chic design movements favor imperfect surfaces. Chalk paint’s velvety texture supports this aesthetic without requiring distressing or artificial aging techniques. The finish works across multiple design styles from farmhouse to minimalist. It communicates restraint and intentionality. This aesthetic shift away from high-gloss surfaces reflects broader consumer preference for spaces that feel genuine rather than staged.
Why Chalk Paint Is Perfect For Home Flips
Chalk paint adheres to existing finishes without extensive surface preparation. You can apply it directly over glossy, sealed surfaces, varnish, and lacquer. This eliminates hours of sanding and stripping work. The forgiving application process masks minor imperfections in brush technique. Fast drying times allow multiple coats in a single day, accelerating project timelines for flippers working under tight deadlines.
Old wooden furniture pieces often have compromised original finishes. Chalk paint covers discoloration, water rings, and stains effectively. Its opacity and coverage rate reduce the number of coats needed compared to standard latex paint. The low sheen hides application marks and roller patterns. These practical advantages translate directly into reduced labor costs and faster project completion, making chalk paint the logical choice for volume flippers focused on return on investment.
Chalk Painting Furniture For Beginners Getting Started
Essential Supplies For Your First Project
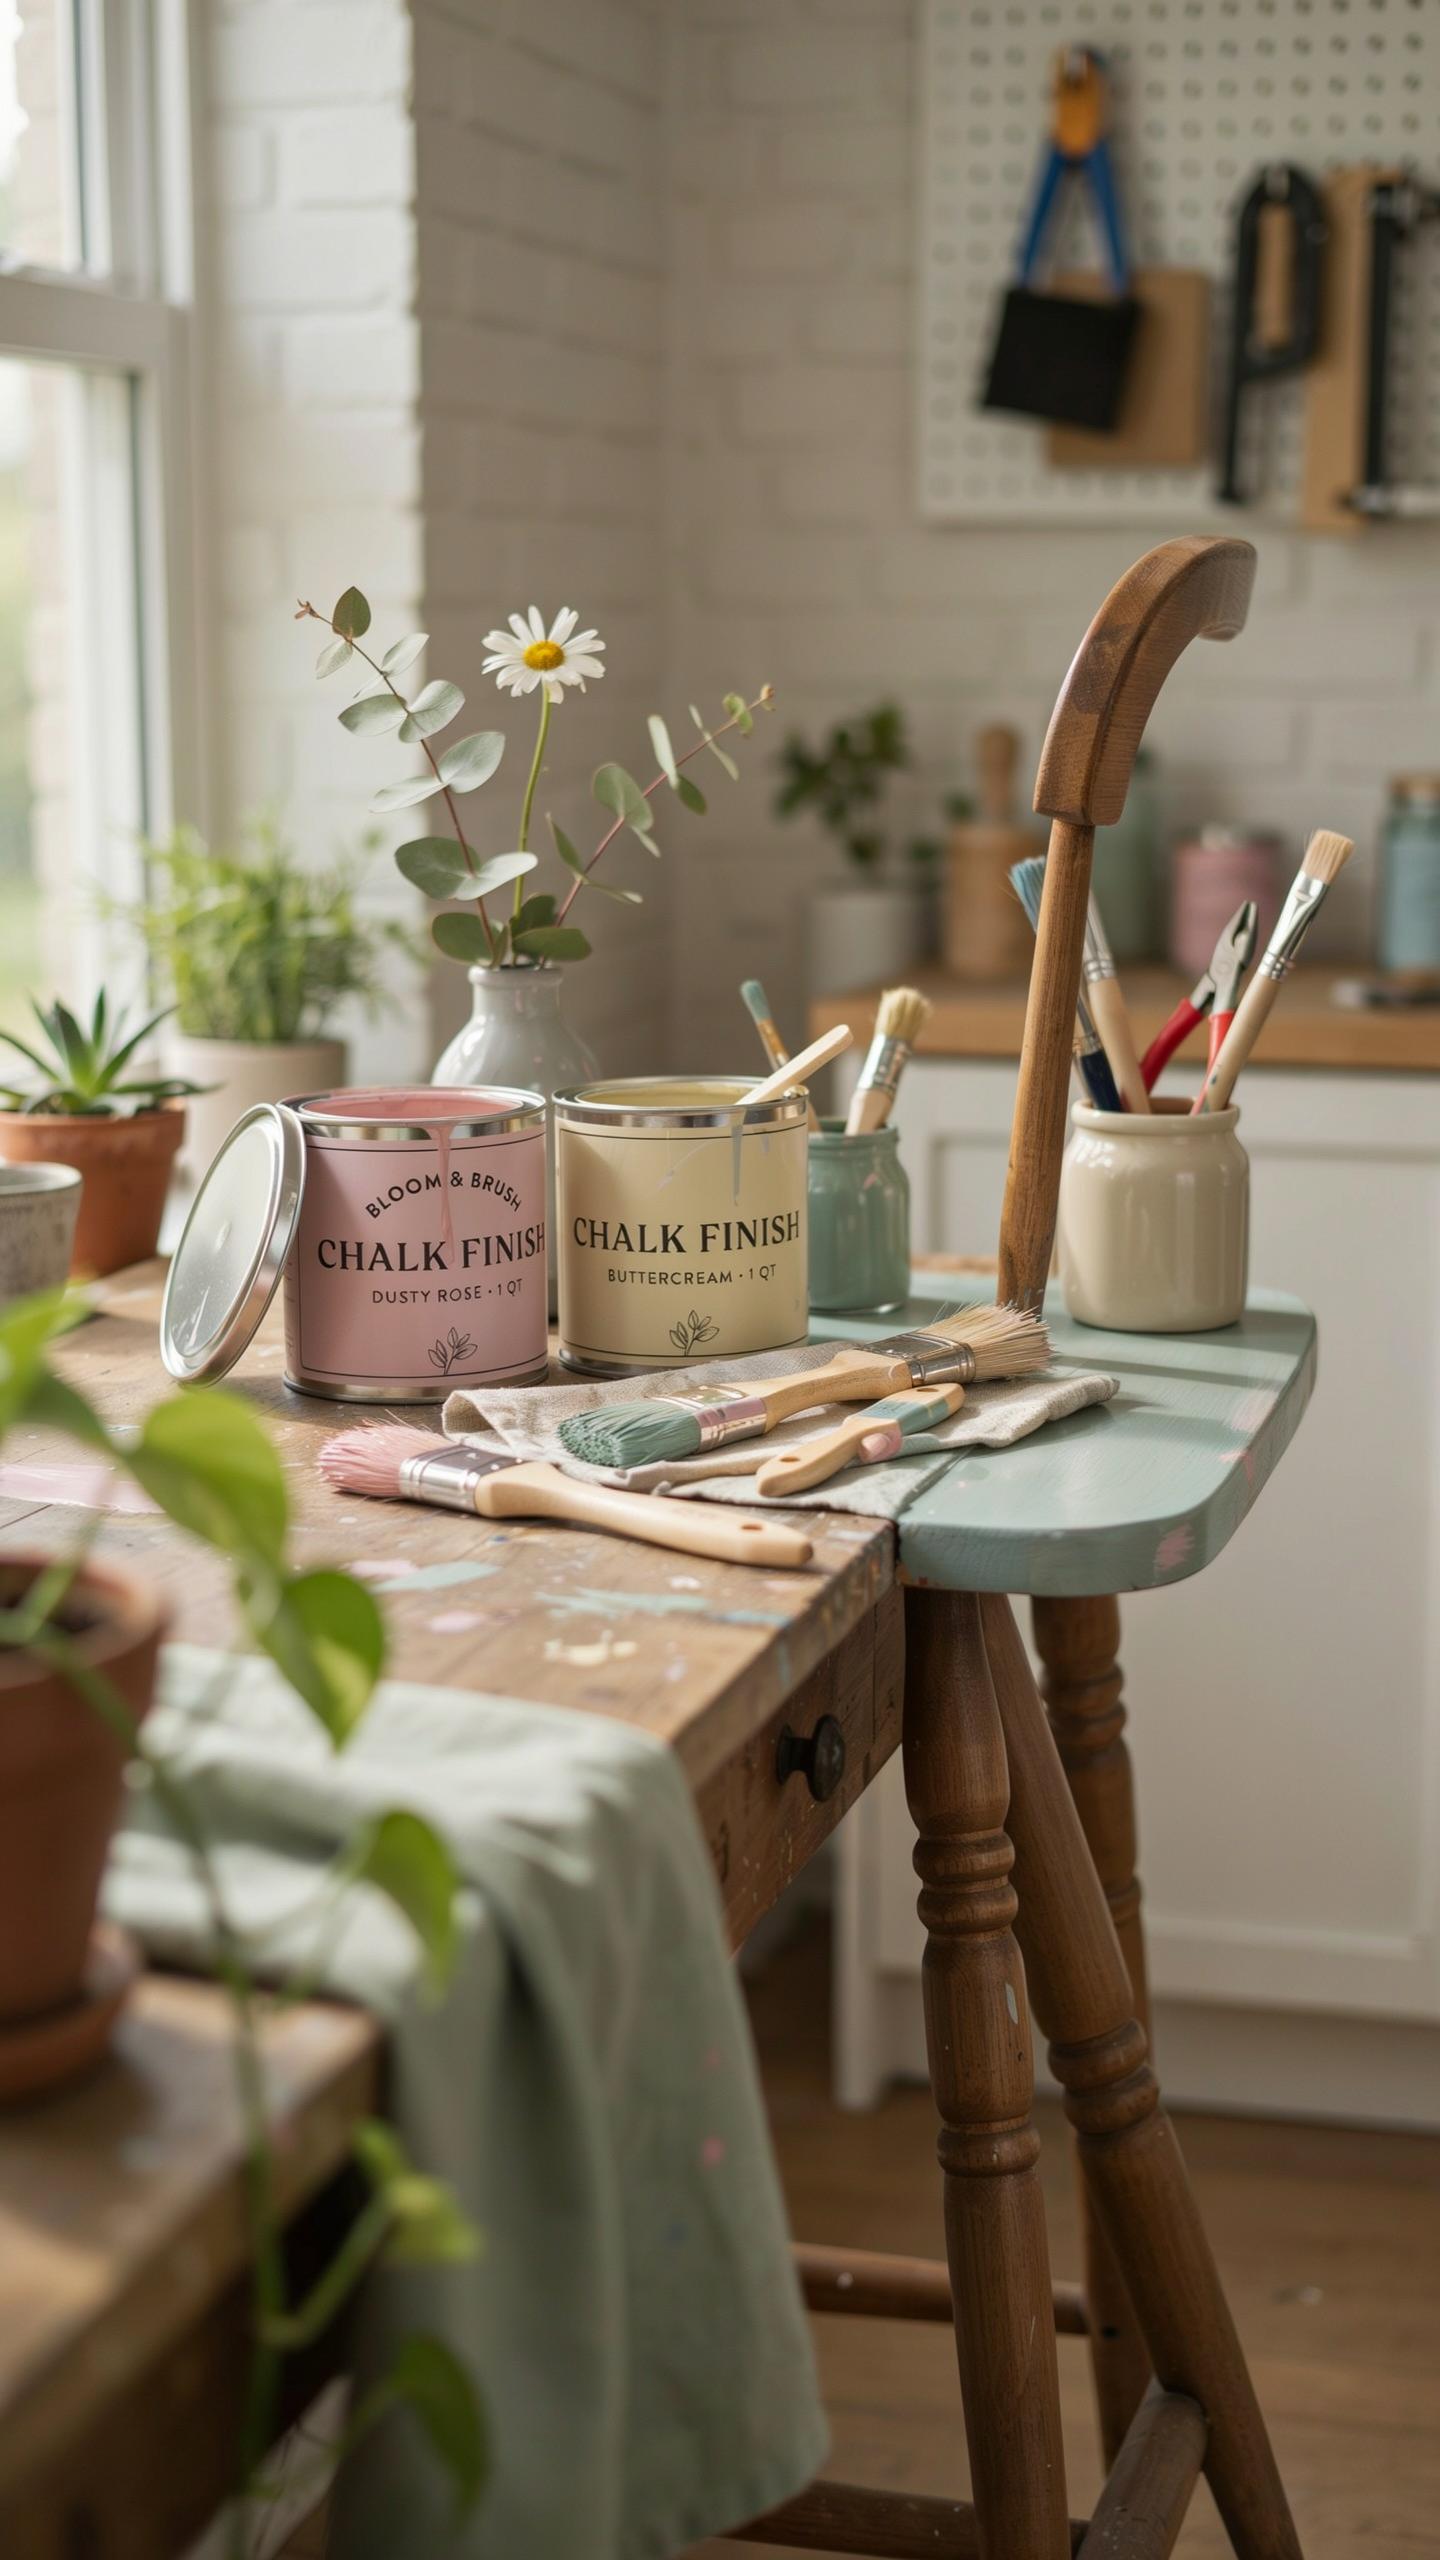
You need specific materials to execute a furniture flip with chalk paint. Skipping quality supplies wastes time and money. Build your toolkit before starting any project to avoid mid-process failures and frustration.
- Chalk Style Paint: Water based paint formulated for furniture. Available from brands like Annie Sloan and Rust Oleum. Covers well and adheres to most surfaces without primer in many cases.
- Painter’s Tape: Use high quality versions to prevent paint bleed. Cheap tape allows seepage under edges. Apply firmly to all areas you want to protect from paint.
- Sanding Blocks: Essential for surface prep and distressing. 120 grit prepares surfaces. 220 grit smooths between coats. Hand sanding gives you control over distressing patterns.
- Topcoat or Sealant: Protects finished work from wear. Wax topcoats offer traditional matte finish. Polyurethane provides durable gloss or satin protection for high traffic pieces.
- Brushes: Use synthetic bristle brushes for chalk paint application. Natural bristles absorb water based products poorly. Quality brushes prevent brush marks in your final finish.
Invest in basic supplies upfront. You reuse these items across multiple projects. The cost spreads across many flips, making per project expenses reasonable.
Selecting Your Mockup Or Practice Piece
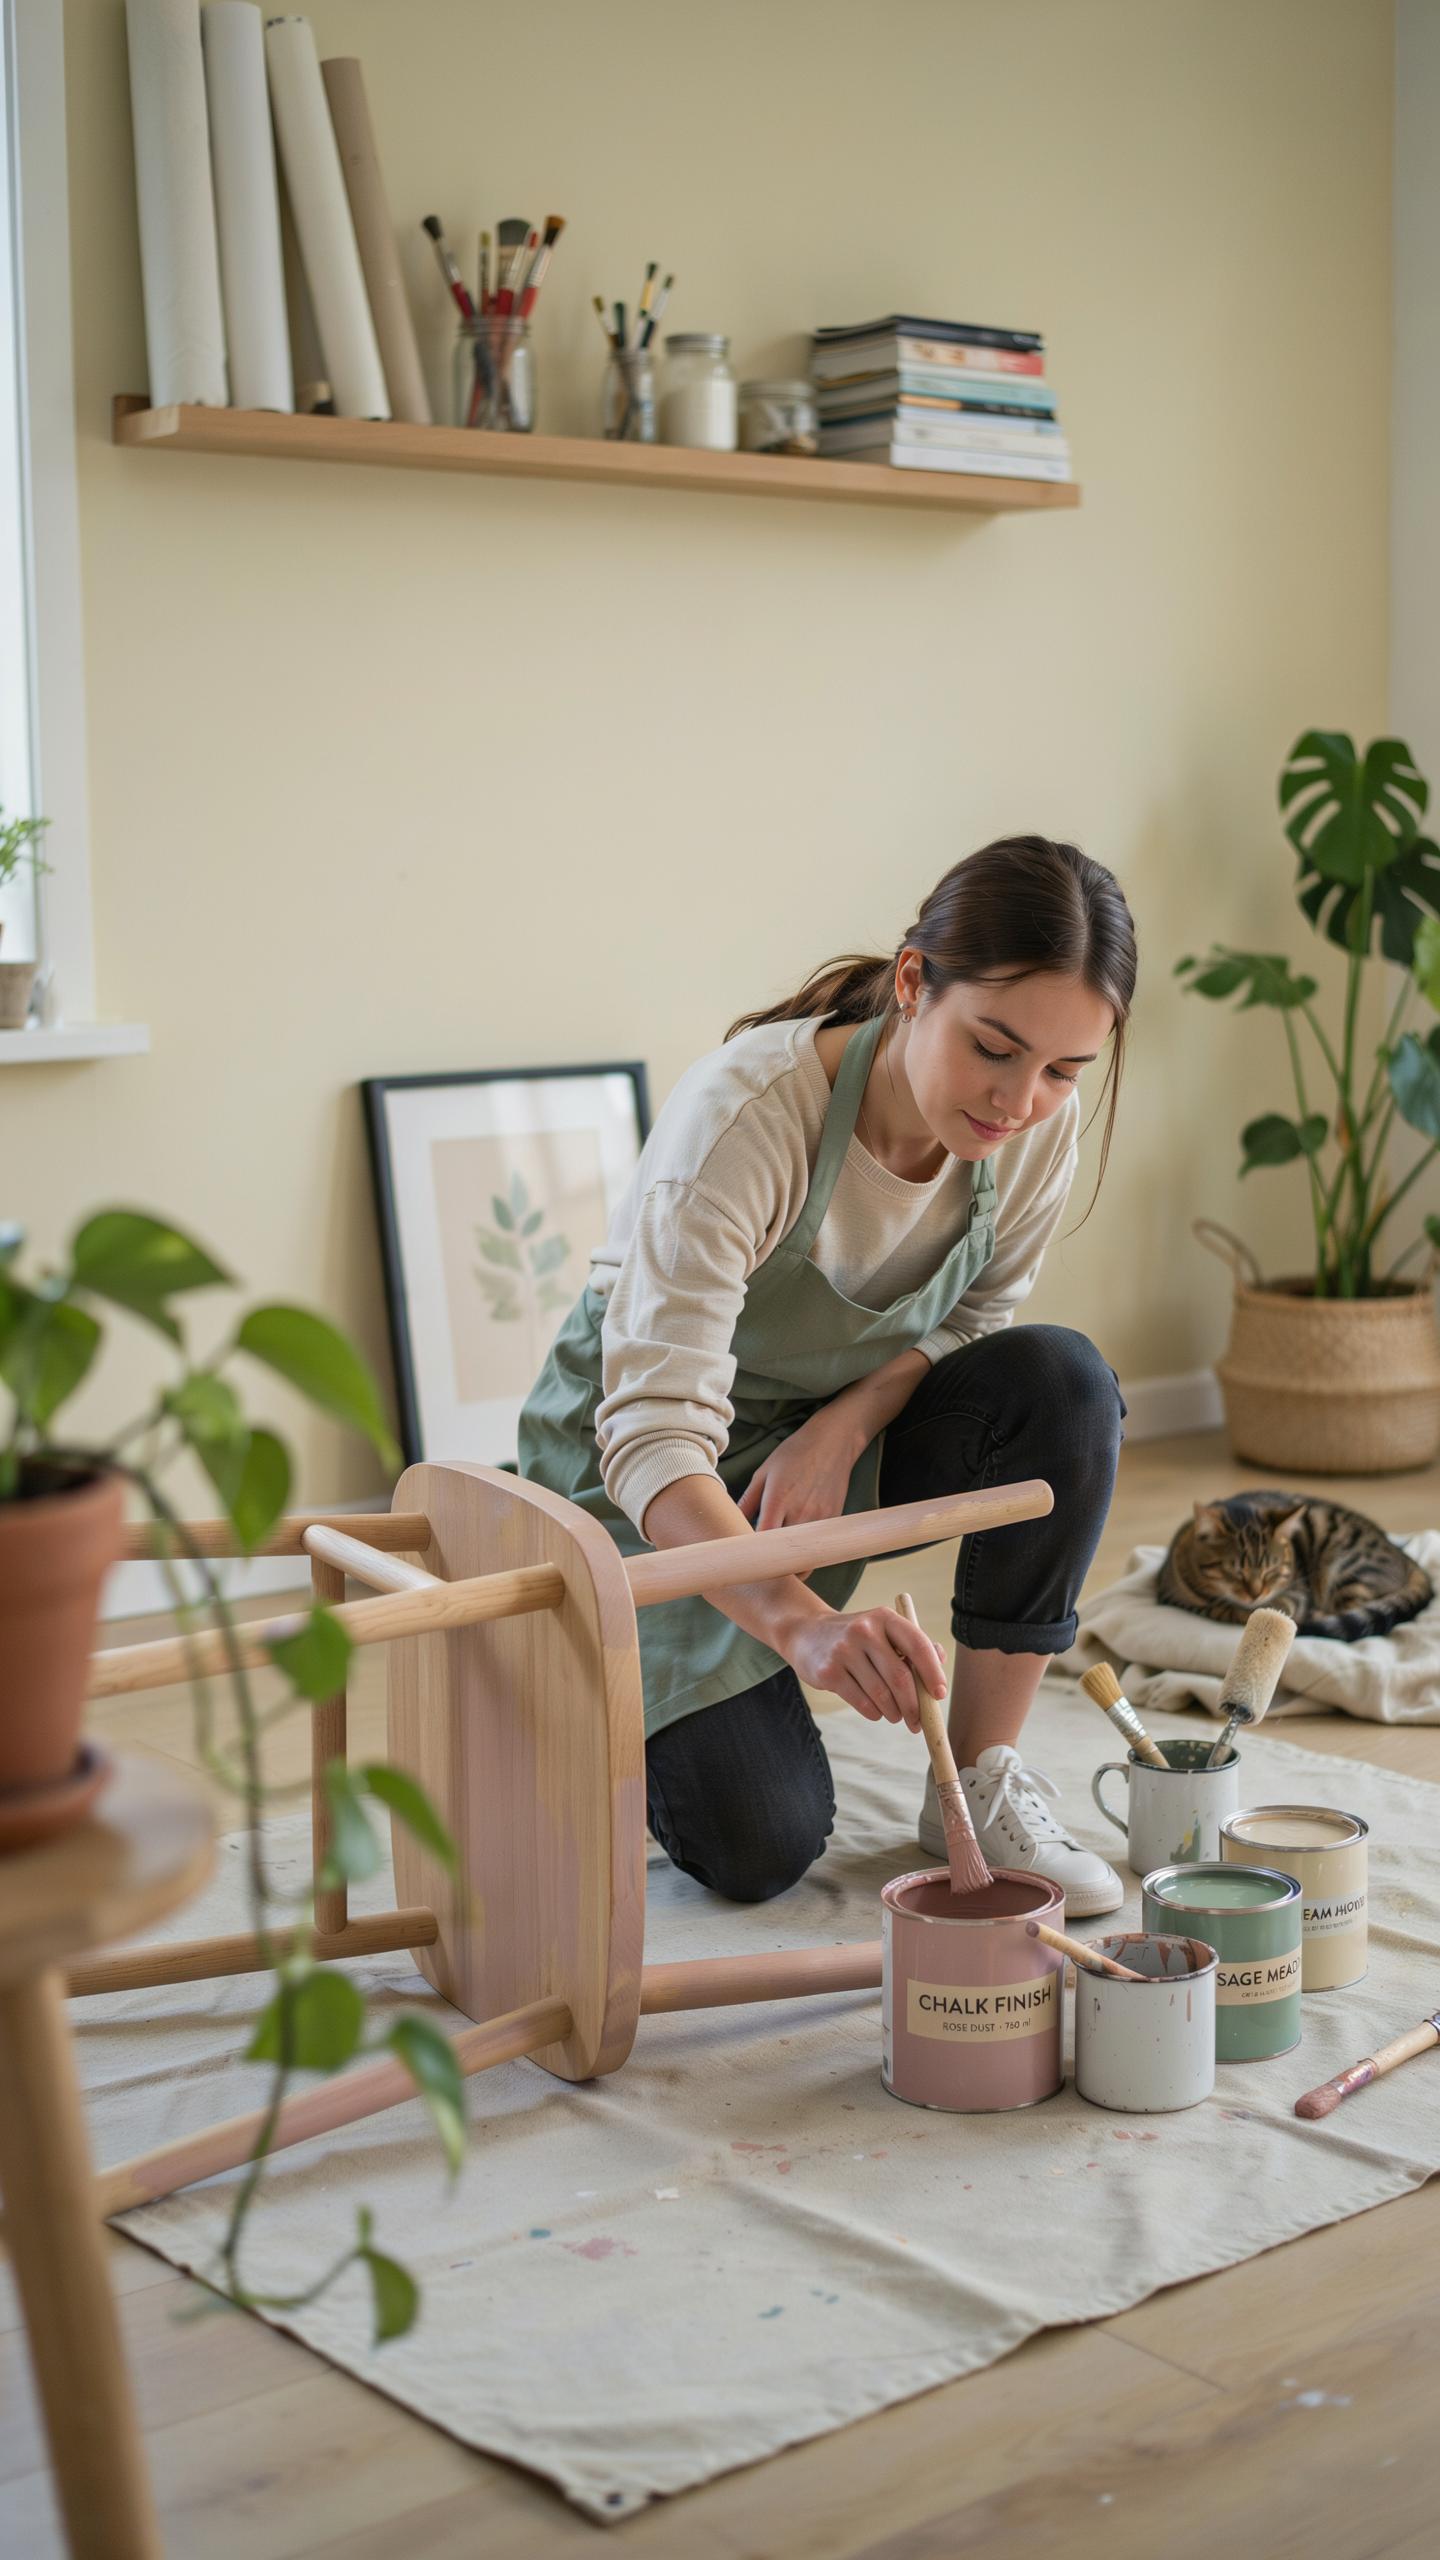
Start with small wooden furniture that costs little. Thrift stores and estate sales offer cheap options like side tables, wooden stools, or small dressers. These pieces teach you paint application, surface prep, and distressing without financial risk.
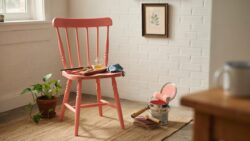
Choose solid wood over veneer for your first project. Veneer splinters and peels under sanding pressure. Solid wood handles aggressive surface prep. Once you master basics on solid wood, veneer projects become manageable and less likely to fail.
How To Chalk Paint Furniture Wood Step By Step
Prepping The Wooden Surface Correctly
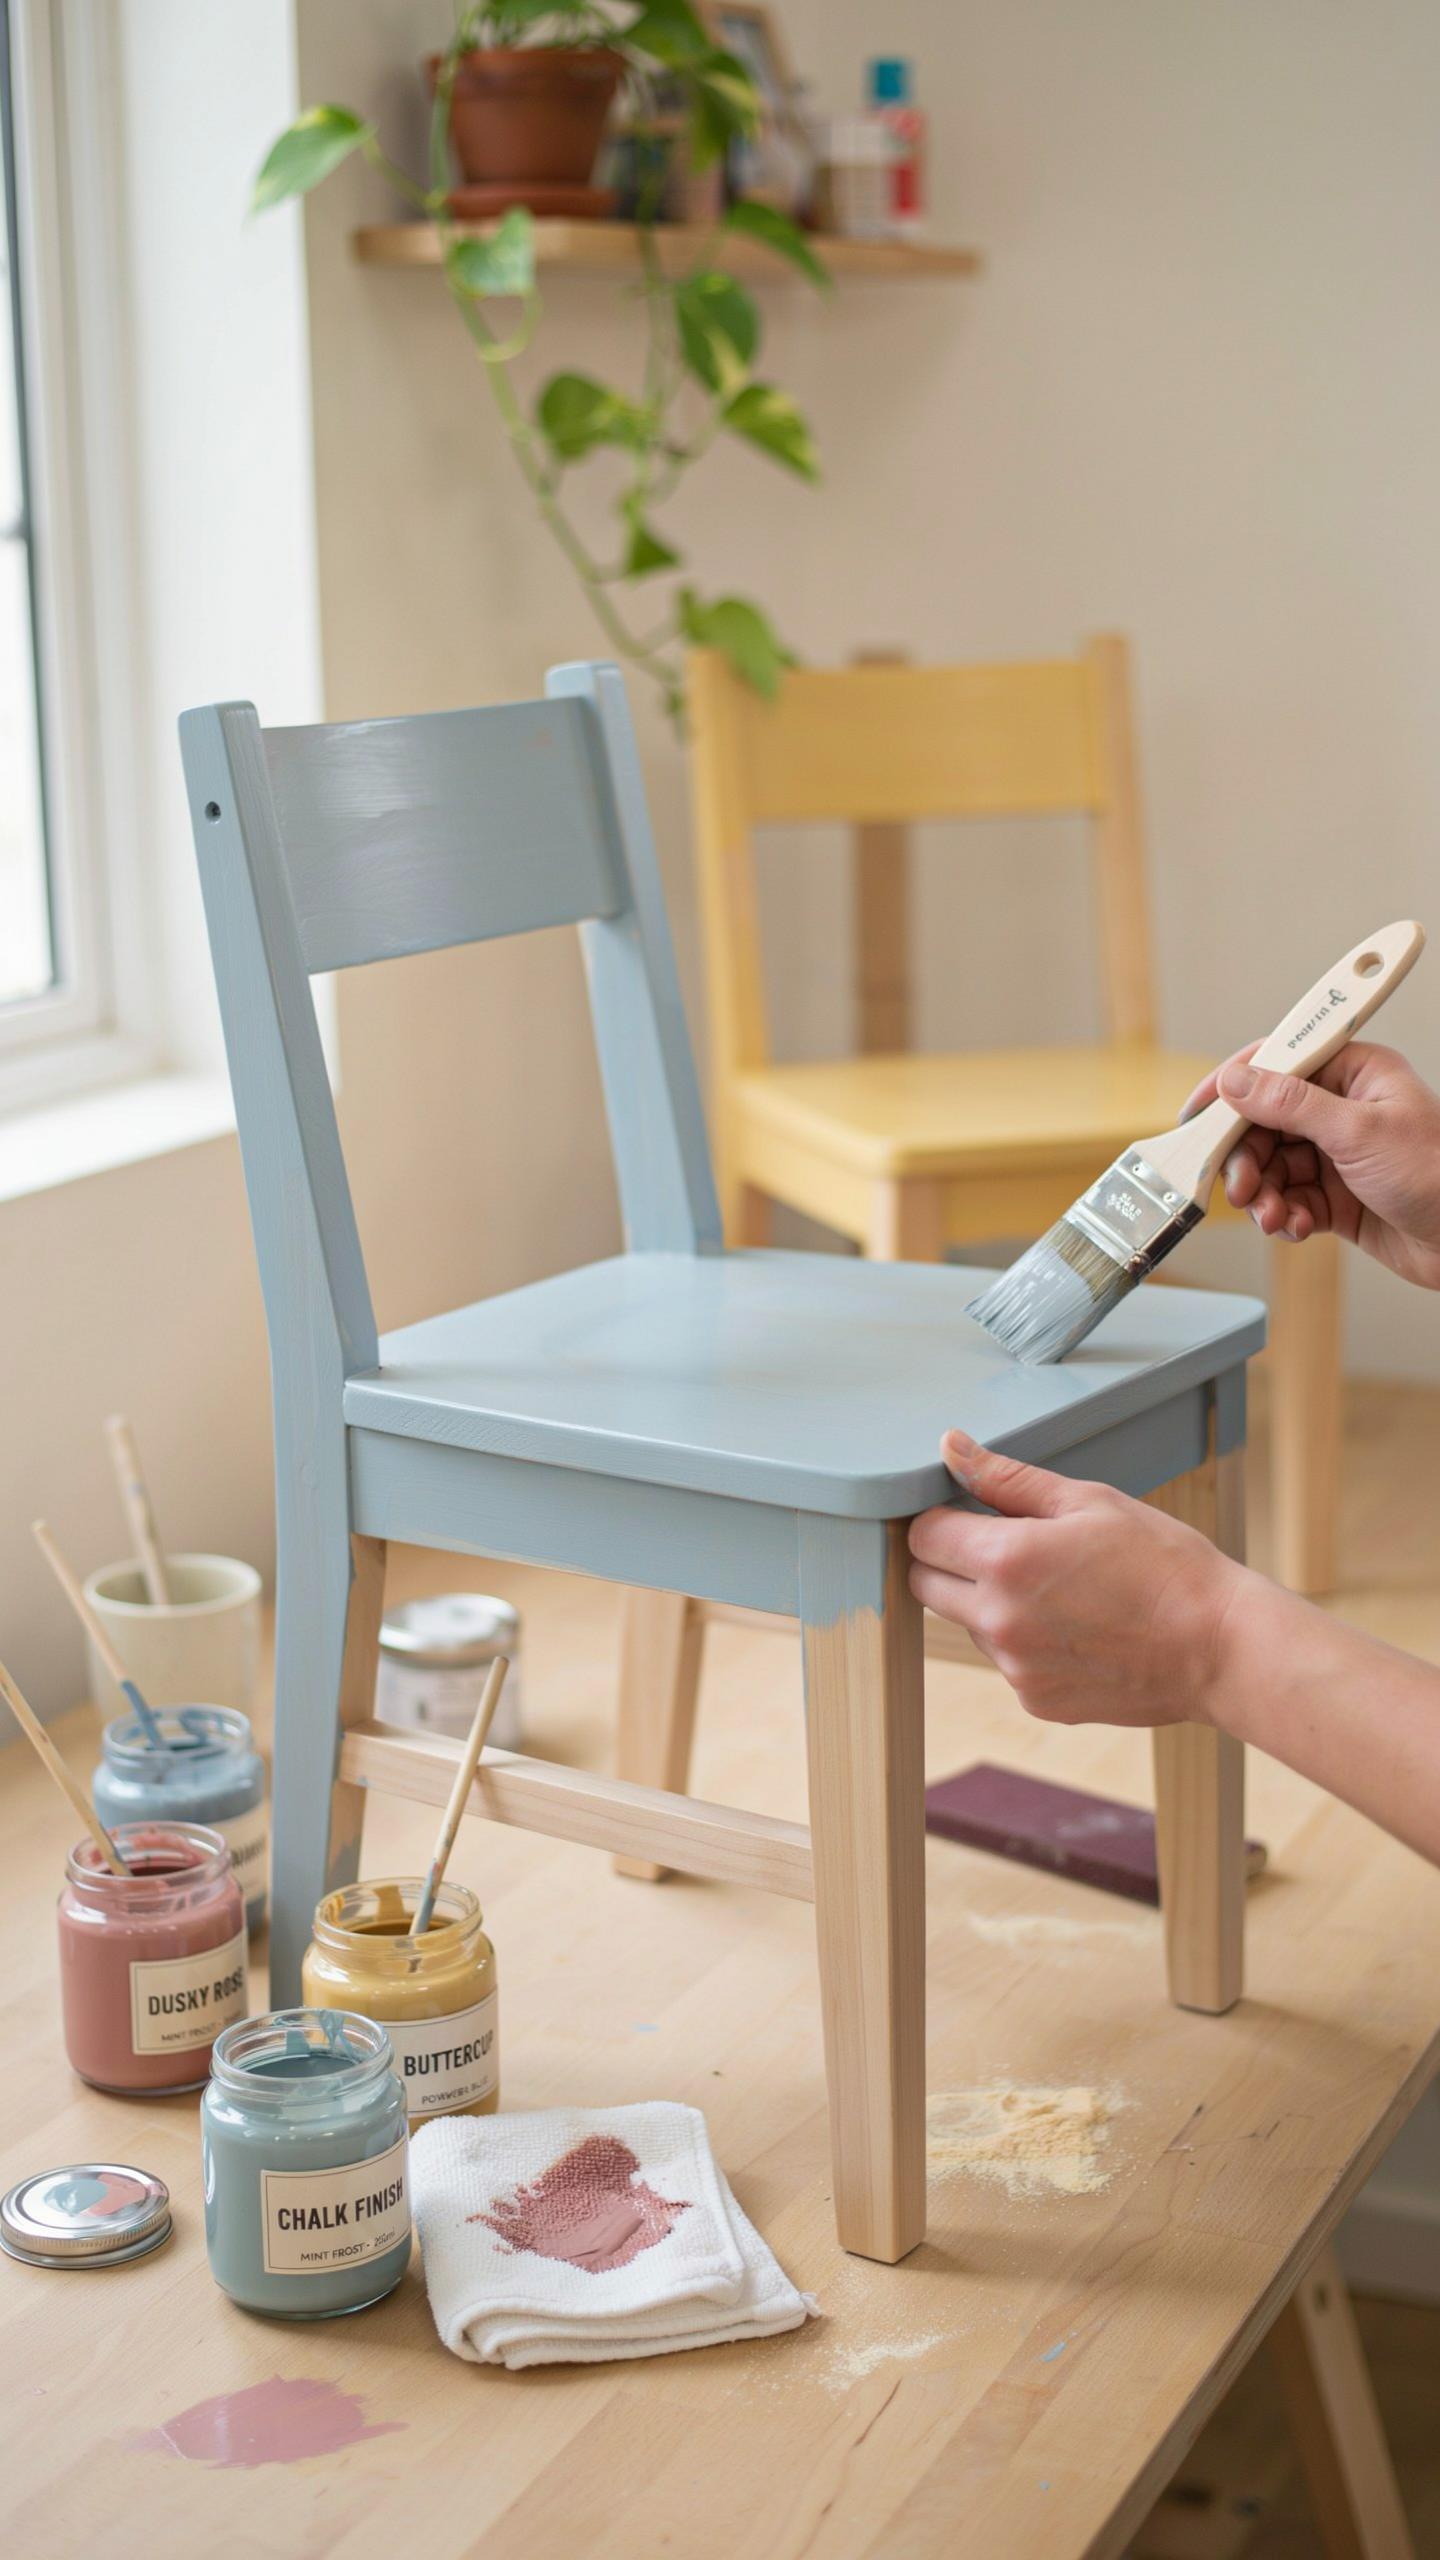
Start by cleaning the furniture with a damp cloth or TSP (trisodium phosphate) solution to remove dust, dirt, and grease buildup. Grease prevents paint adhesion, so this step is non-negotiable. Work systematically across the entire surface, paying attention to crevices and corners where debris accumulates. Allow the surface to dry completely before moving forward.
Next, lightly sand the wood with 120 to 150 grit sandpaper using gentle pressure in the direction of the grain. You don’t need to strip the finish or create a rough surface. Light sanding breaks the seal and helps the calcium carbonate-based chalk paint grip the wood. Wipe away all dust with a tack cloth or damp rag before applying paint.
Applying The Paint Layers Smoothly
Load your brush with paint and use crisscross strokes on flat panels to distribute the product evenly and reduce visible brushmarks. Work in sections rather than across the entire piece at once. Apply thin coats instead of one thick coat, which prevents drips and ensures better coverage. A damp brush minimizes drag and helps the paint flow smoothly across the wood surface.

Allow adequate drying time between coats, typically one to two hours depending on humidity and temperature. Most chalk paint projects need two coats for uniform color and coverage. Sand lightly between coats with 220 grit sandpaper if needed, then wipe clean. This second coat seals the first and creates a more professional finish on your flipped furniture piece.
Best Chalk Paint Colors For Furniture In Lived In Spaces
Warm Neutrals And Earthy Tones
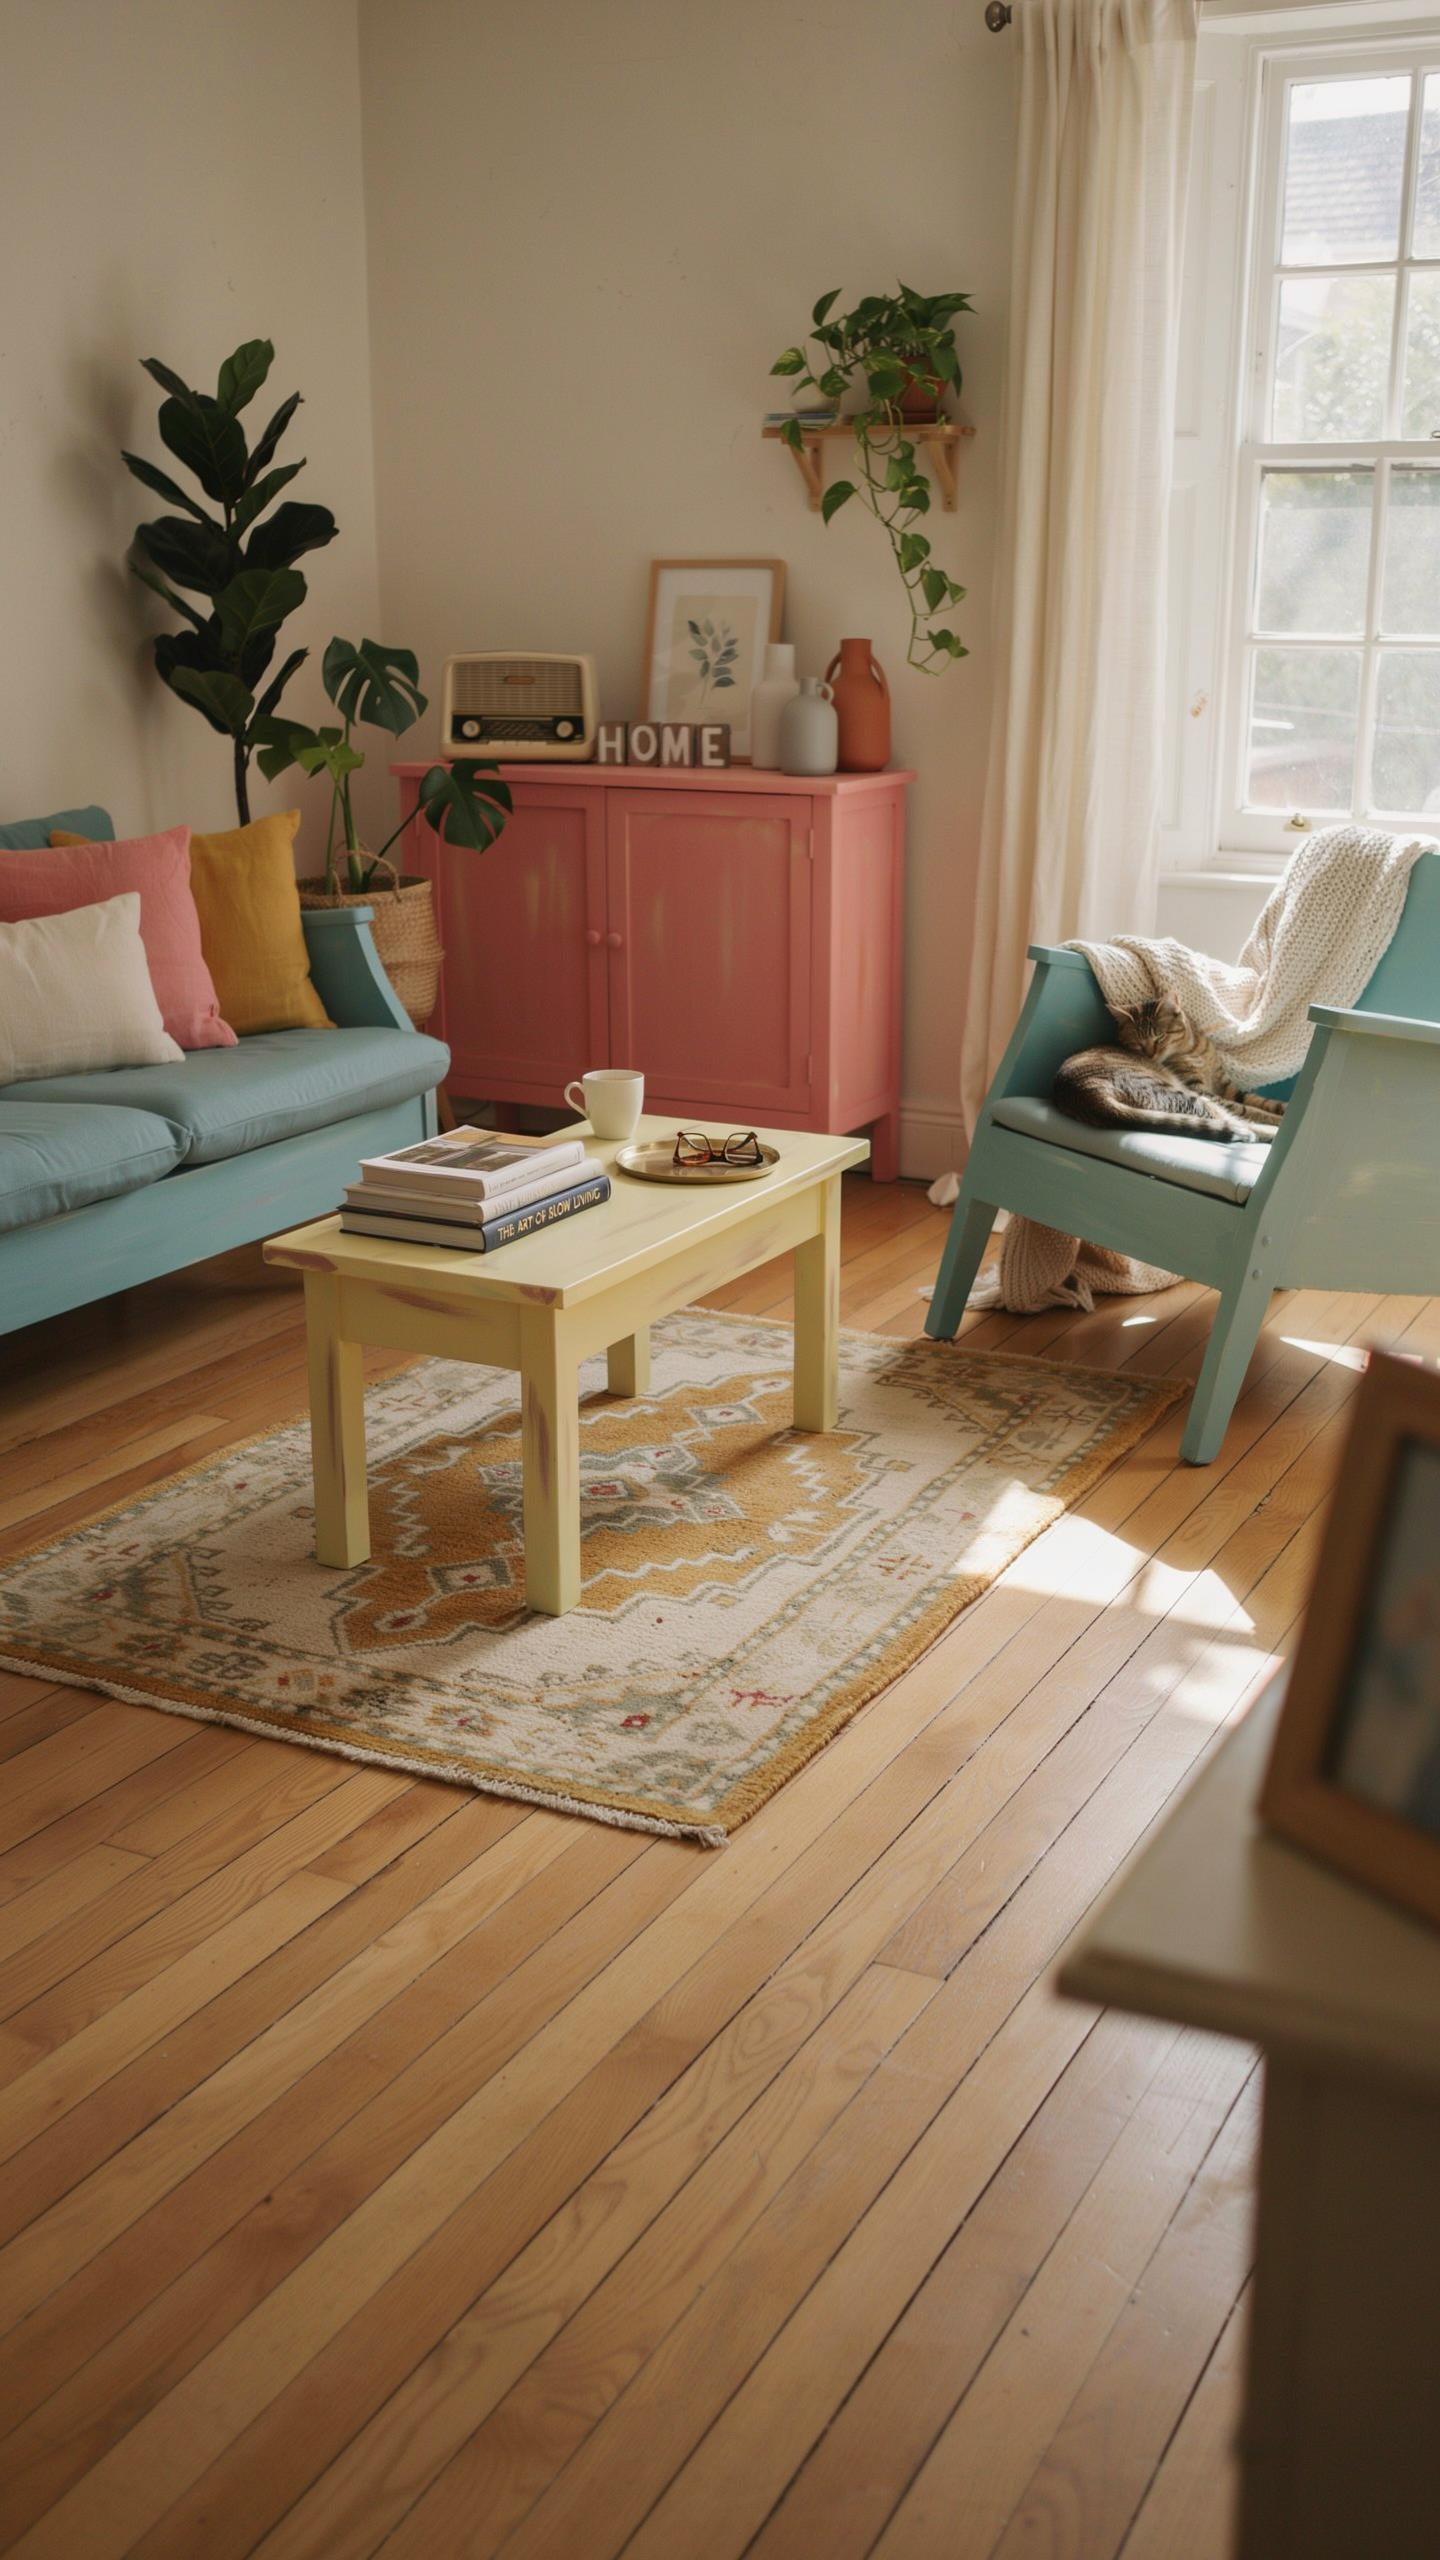
Warm neutrals perform well in lived-in spaces because they hide wear patterns and maintain visual continuity across rooms. Beiges, soft creams, and muted greys work with existing decor without demanding attention. These colors reflect light effectively, making rooms feel larger and more open. They also accommodate changing design preferences over time without requiring frequent repaints.
Chalk paint in warm neutrals adheres well to furniture surfaces and develops a naturally aged appearance as the piece gets used. The flat finish masks dust and minor imperfections that show prominently on glossy surfaces. These tones work across furniture styles from modern to traditional pieces. Homeowners report that neutral chalk-painted furniture stays visually relevant for years.
Serene Pastels And Deep Jewel Tones
Sage greens and duck egg blues create subtle focal points without overwhelming small rooms or open living areas. Deep navy hues anchor spaces while remaining calm and grounding. These colors work particularly well on accent pieces like nightstands or chairs where you want to draw the eye without dominating the room. Jewel tones maintain their visual impact even as chalk paint ages and develops a patina.

Pastel versions of these hues soften the color intensity while maintaining the same undertones that make them work in relaxed environments. Chalk paint’s porous finish allows these colors to sit authentically on wood without the plastic appearance of modern latex paints. Deep tones require fewer coats to achieve full coverage on darker furniture. Both pastel and jewel tone choices resist showing fingerprints and daily wear marks effectively.
Chalk Painted Furniture Ideas For The Living Room
Refreshing The Classic Coffee Table
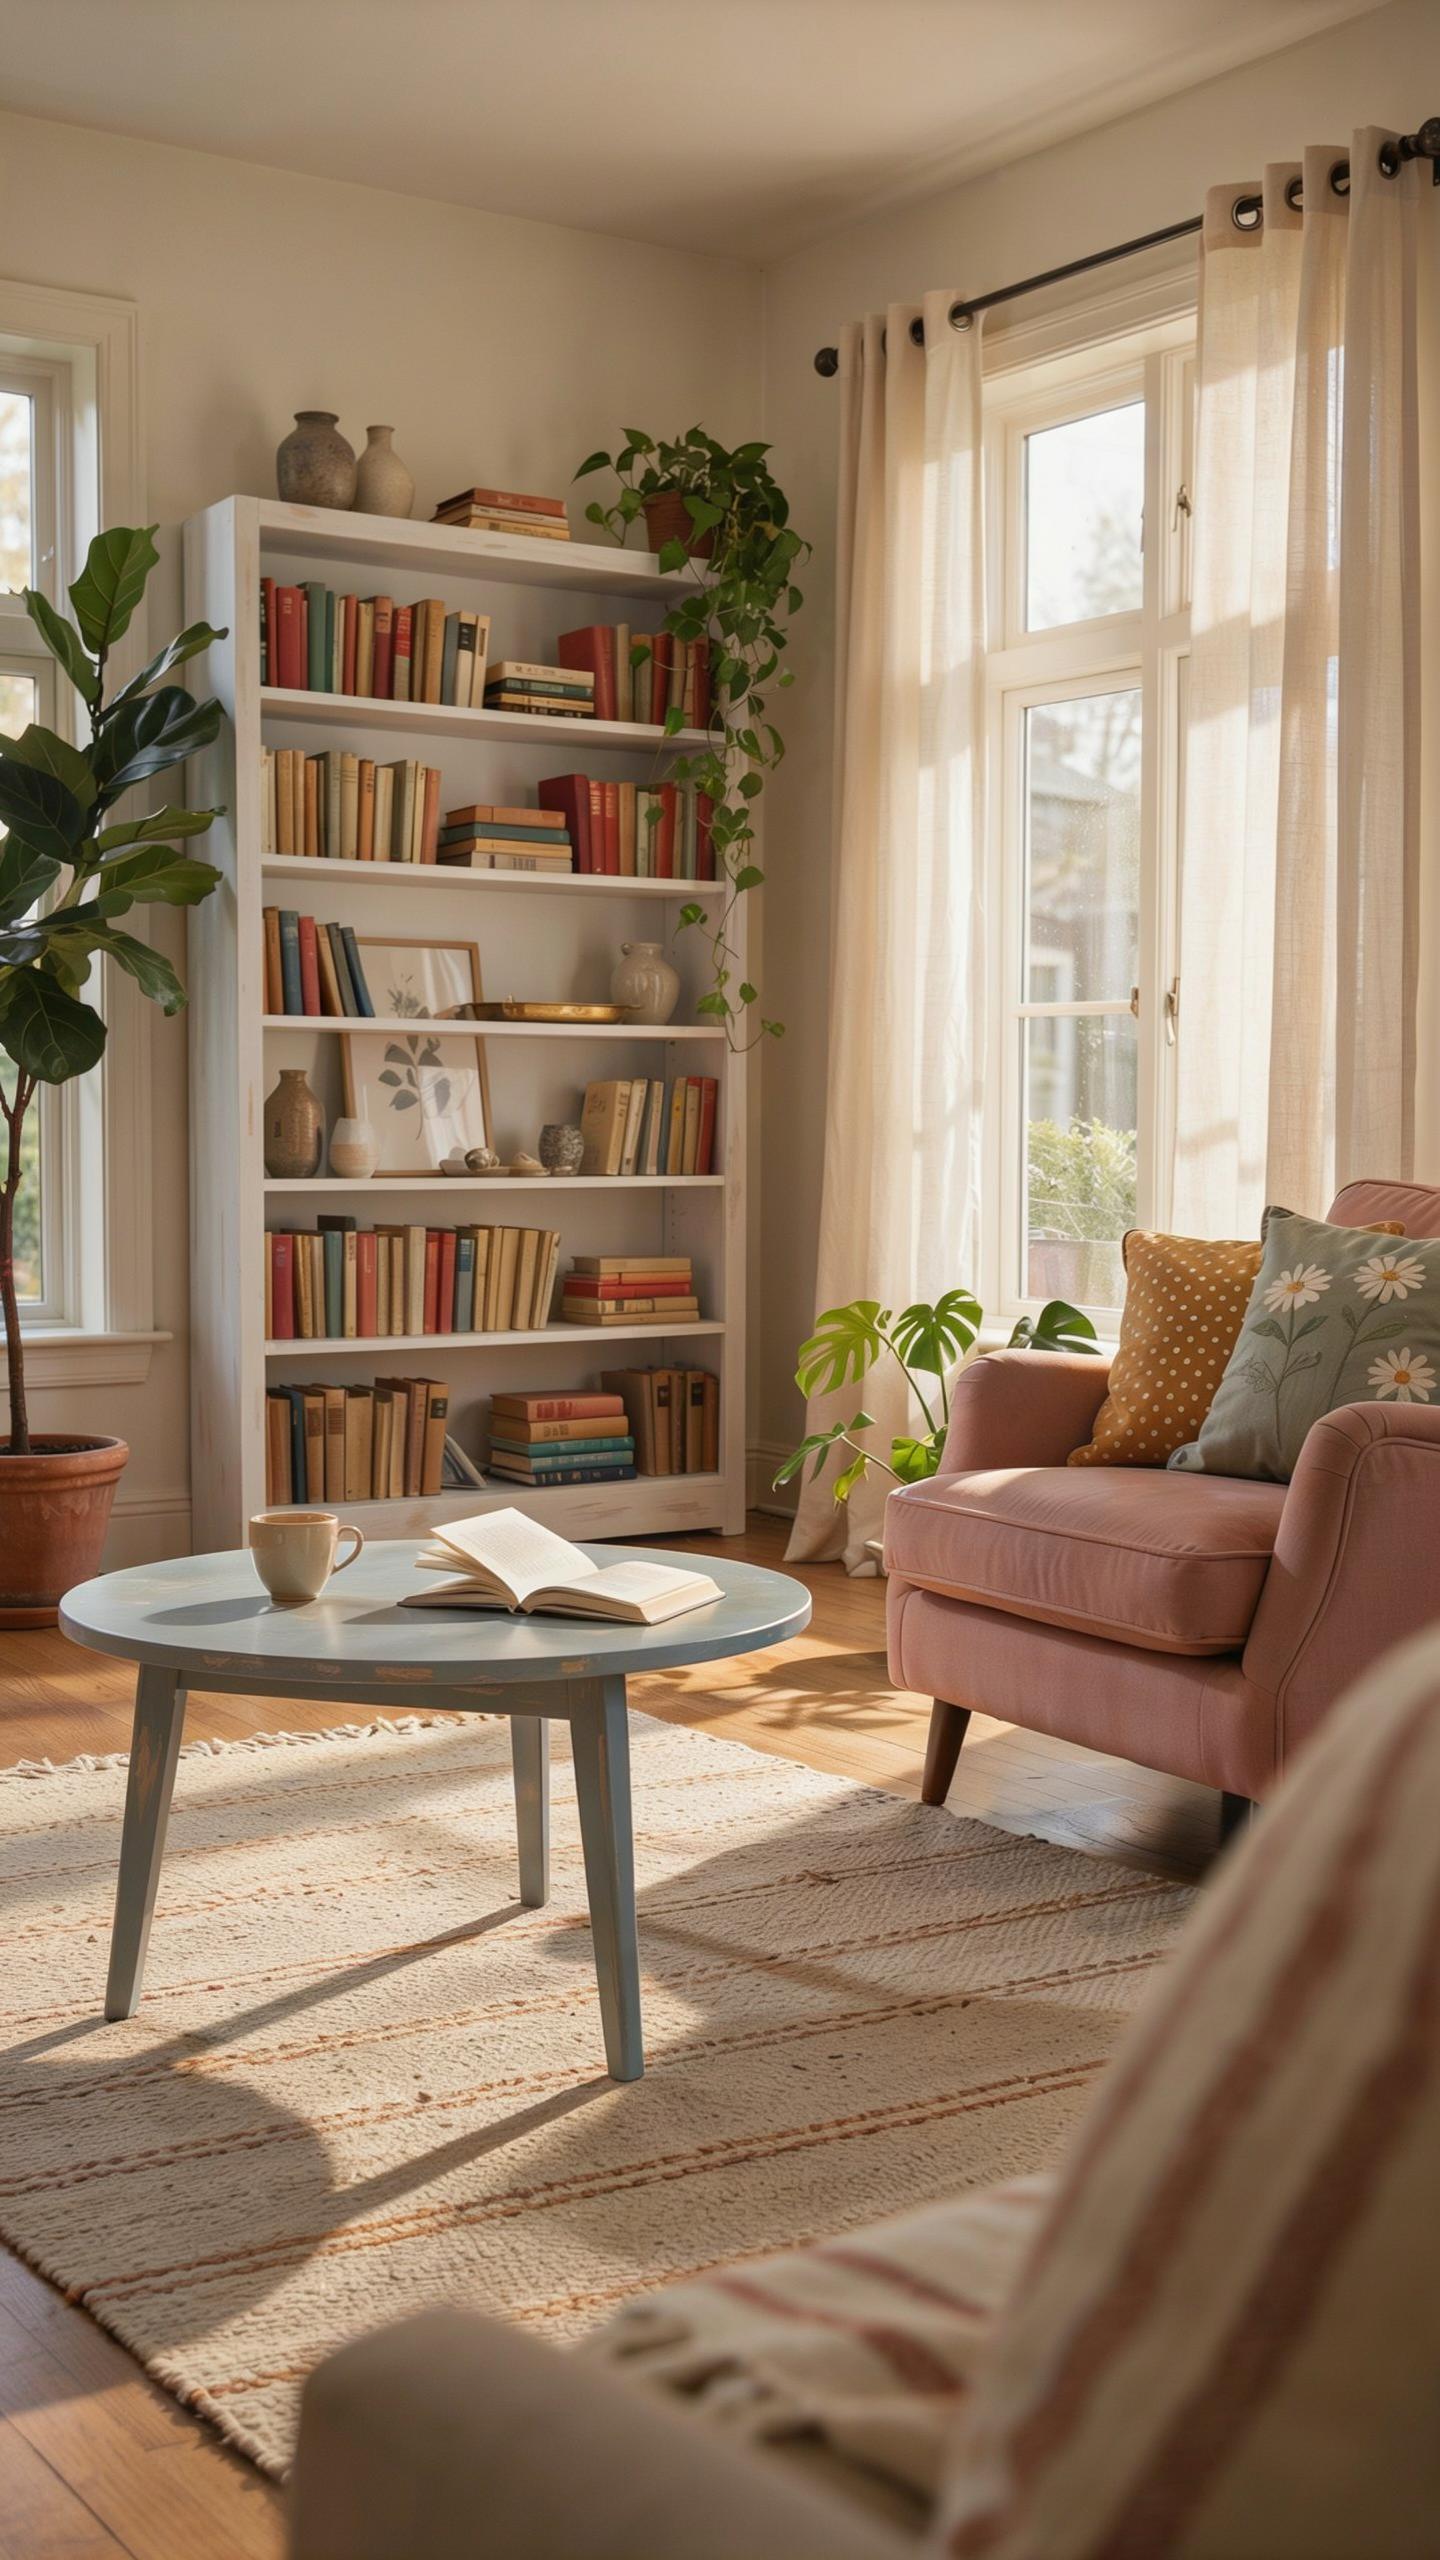
Wooden coffee tables benefit from chalk paint because the paint adheres to existing finishes without heavy sanding. Apply two coats of chalk paint to the legs and frame, allowing proper drying time between coats. Sand lightly with fine-grit sandpaper after the final coat to create a smooth surface and prepare for distressing if desired.
The tabletop works best with a contrasting approach. Leave the wood surface exposed and apply a clear matte or satin finish stain to highlight the grain. This strategy keeps the table functional while the painted legs anchor the visual weight. Distressing edges where paint meets wood creates texture that masks wear patterns over time.
Revamping Cozy Media Consoles And Sideboards
Heavy oak entertainment centers respond well to neutral chalk paint in warm whites, soft grays, or warm beiges. These colors strip away visual bulk and allow the piece to recede into the room rather than dominate it. Chalk paint’s matte finish eliminates reflective surfaces that can feel heavy in tight living spaces.
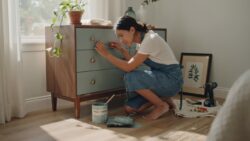
Apply chalk paint in thin, even coats on large surfaces to prevent drips and buildup. Focus on exposed wood frames and side panels while considering whether to paint interior shelving. Pair painted consoles with lightweight fabric textures like linen or cotton throws to reinforce the relaxed aesthetic and complete the visual softness.
Chalk Furniture Paint Dresser Tutorial Bedroom Cozy Upgrade
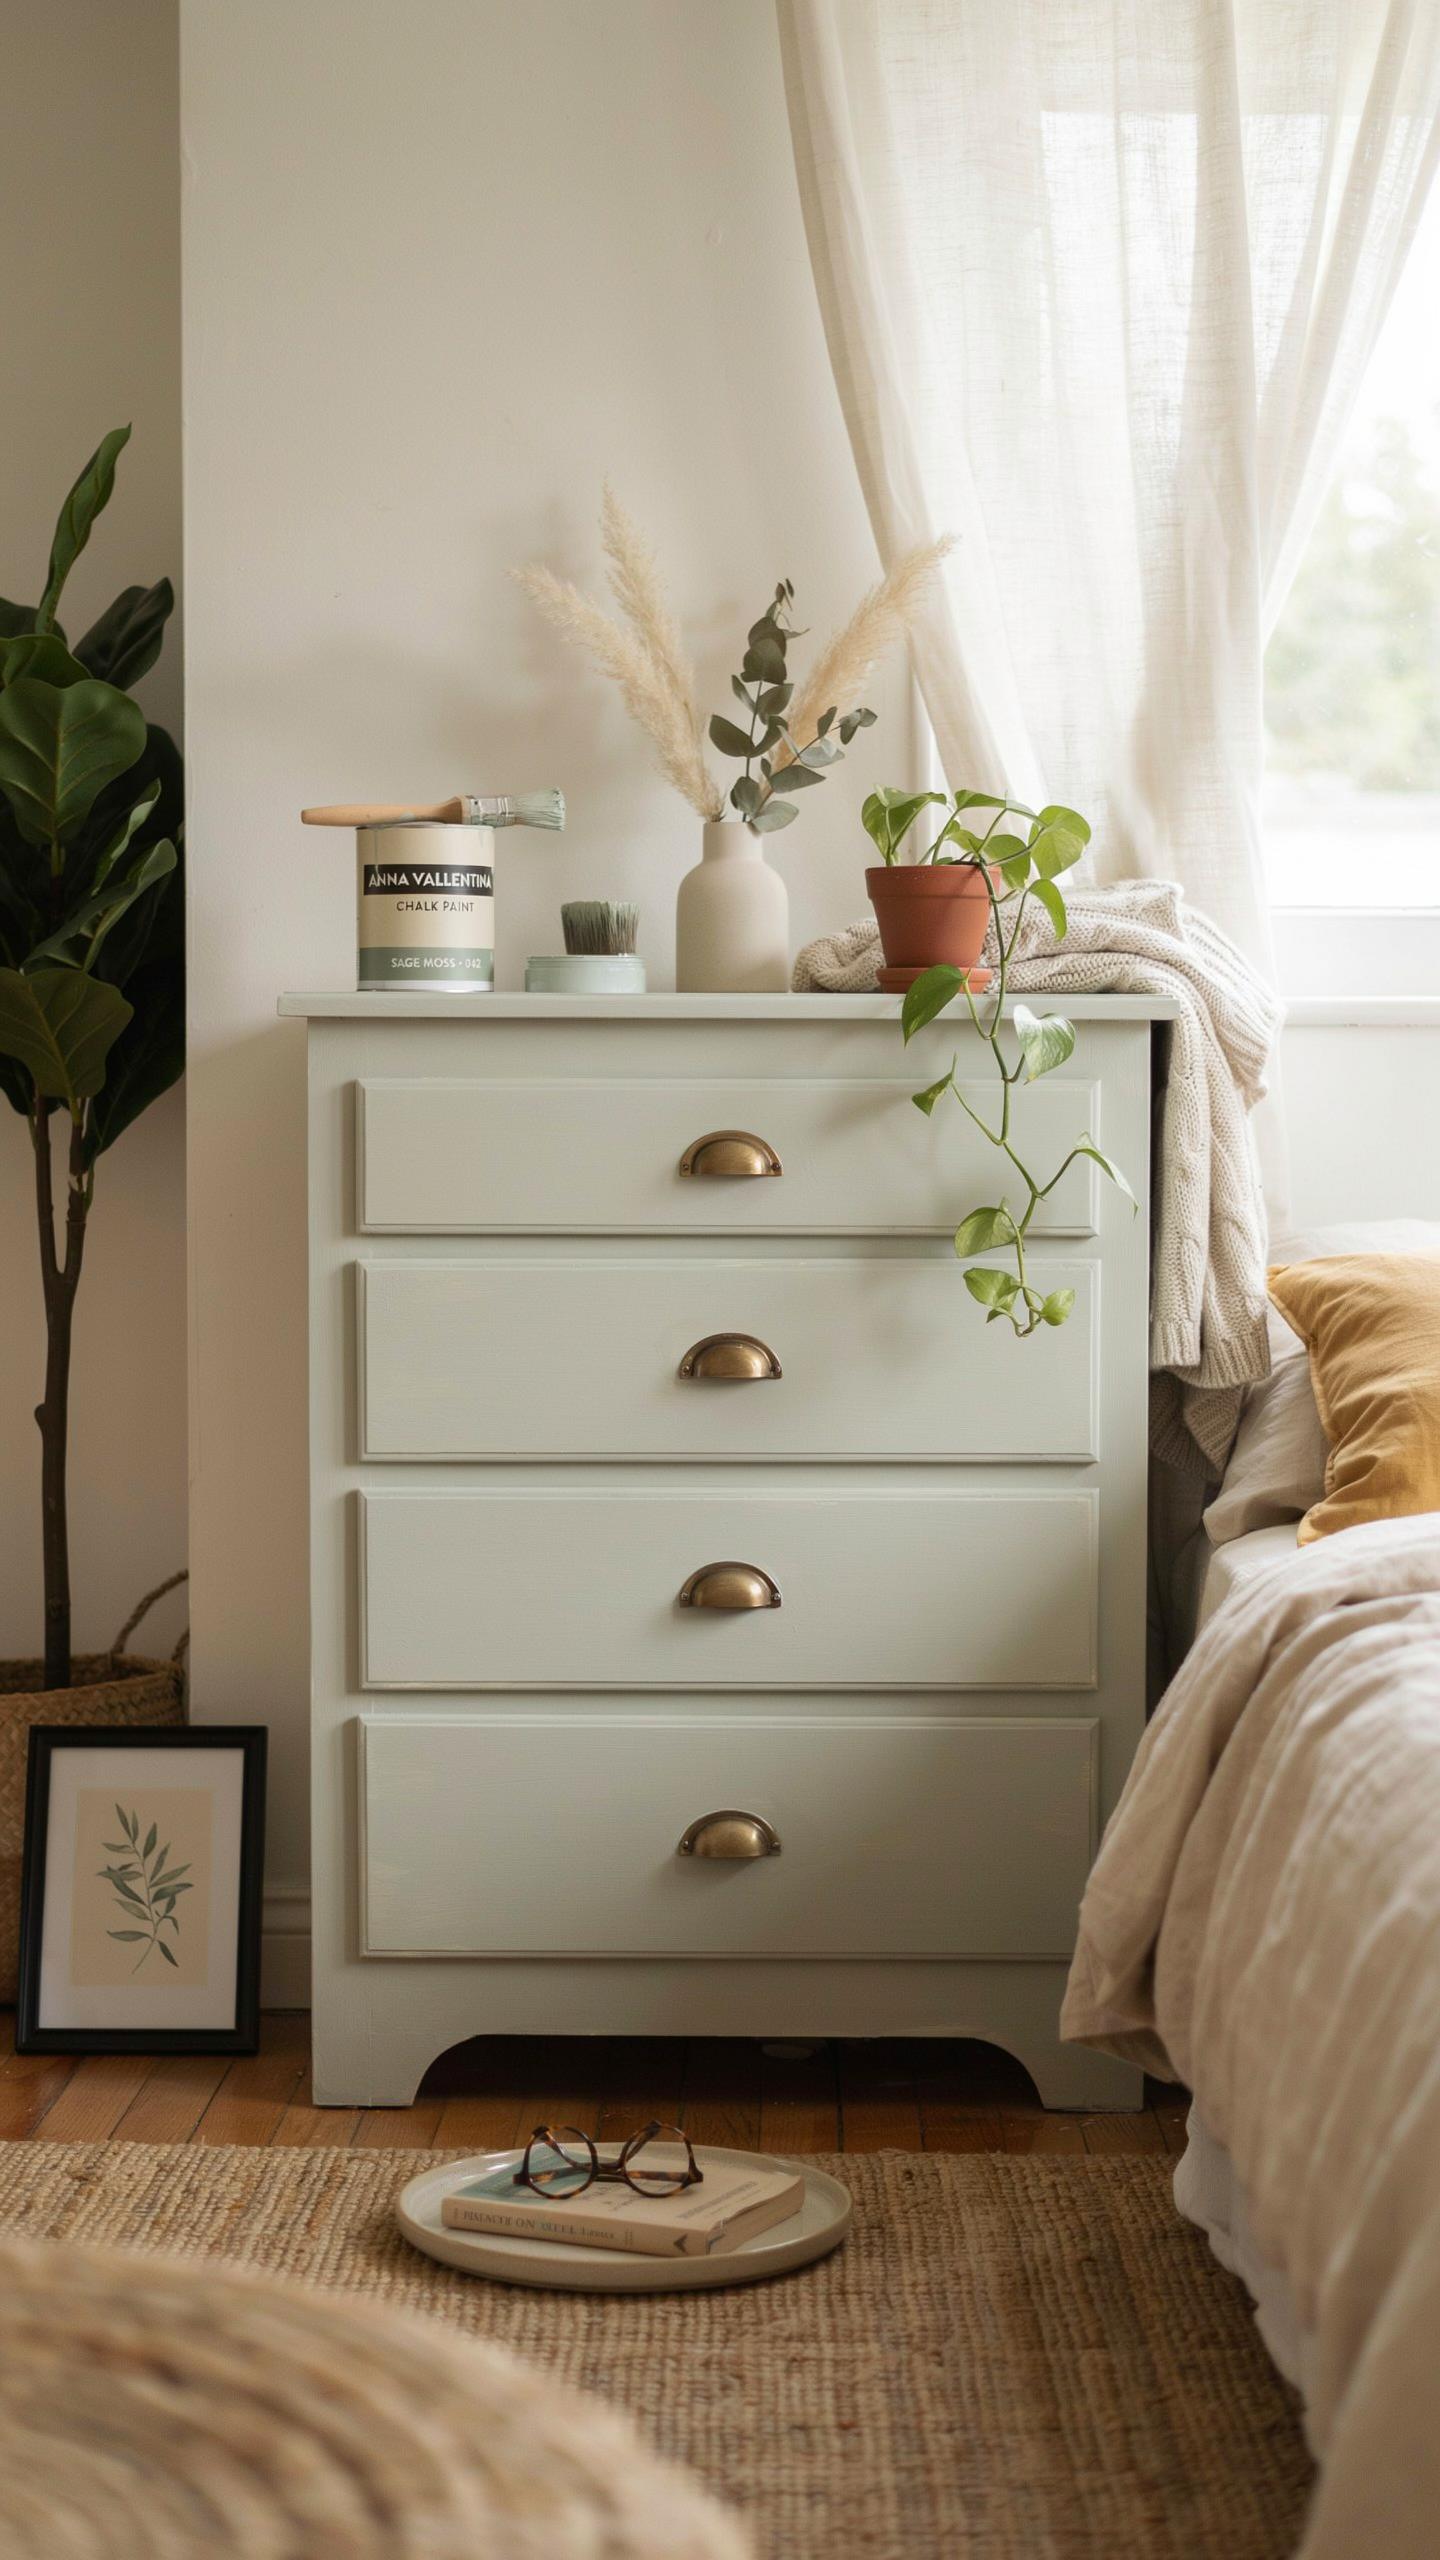
Dresser Disassembly And Hardware Prep Step By Step
Start by removing all drawer pulls and knobs. Use a screwdriver to unscrew each one and set them aside in a labeled container. Taking hardware off first prevents paint buildup and gives you clean surfaces to work with later. This step takes minutes but saves hours of cleanup work.
- Remove Drawer Pulls: Unscrew all knobs and pulls using the appropriate screwdriver size. Store hardware in a labeled container to avoid losing pieces during the project.
- Label All Drawers: Mark each drawer and its corresponding slot with masking tape and pen. This prevents mixing up drawers during reassembly and ensures smooth operation afterward.
- Patch Deep Gouges: Fill gouges and dents with wood filler using a putty knife. Press filler flush into damaged areas and allow it to dry per manufacturer instructions before sanding.
- Sand Flush: Sand all patched areas with 120 to 150 grit sandpaper until level with surrounding wood. This creates an even surface for chalk paint application and prevents visible repairs.
- Clean Dust: Wipe down the entire dresser with a tack cloth or damp rag. Removing dust ensures paint adheres properly and prevents particles from embedding in your finish.
Once hardware removal and repairs are complete, the dresser is ready for primer or paint. Most chalk paint formulas work directly on wood without primer, but inspect your specific product instructions. This prep work determines how professional your final finish looks.
Painting And Sealing Drawer Fronts
Apply chalk paint in thin coats rather than one heavy coat. Thin coats dry faster and create smoother finishes without drips or brush marks. Most pieces need two to three coats for full coverage. Allow each coat to dry completely between applications. Check your paint can for recommended drying time, typically between one and four hours depending on humidity and temperature.
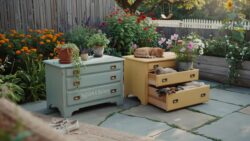
Seal the painted surface with either furniture wax or polycrylic to protect high-touch areas. Wax provides a classic matte finish and requires periodic reapplication. Polycrylic creates a hard, durable protective layer that resists moisture and wear better than wax alone. Apply sealer in thin, even coats using a quality brush. Let it cure fully before reassembling drawers and replacing hardware.
Repainted Furniture Ideas For Dining Rooms And Kitchens
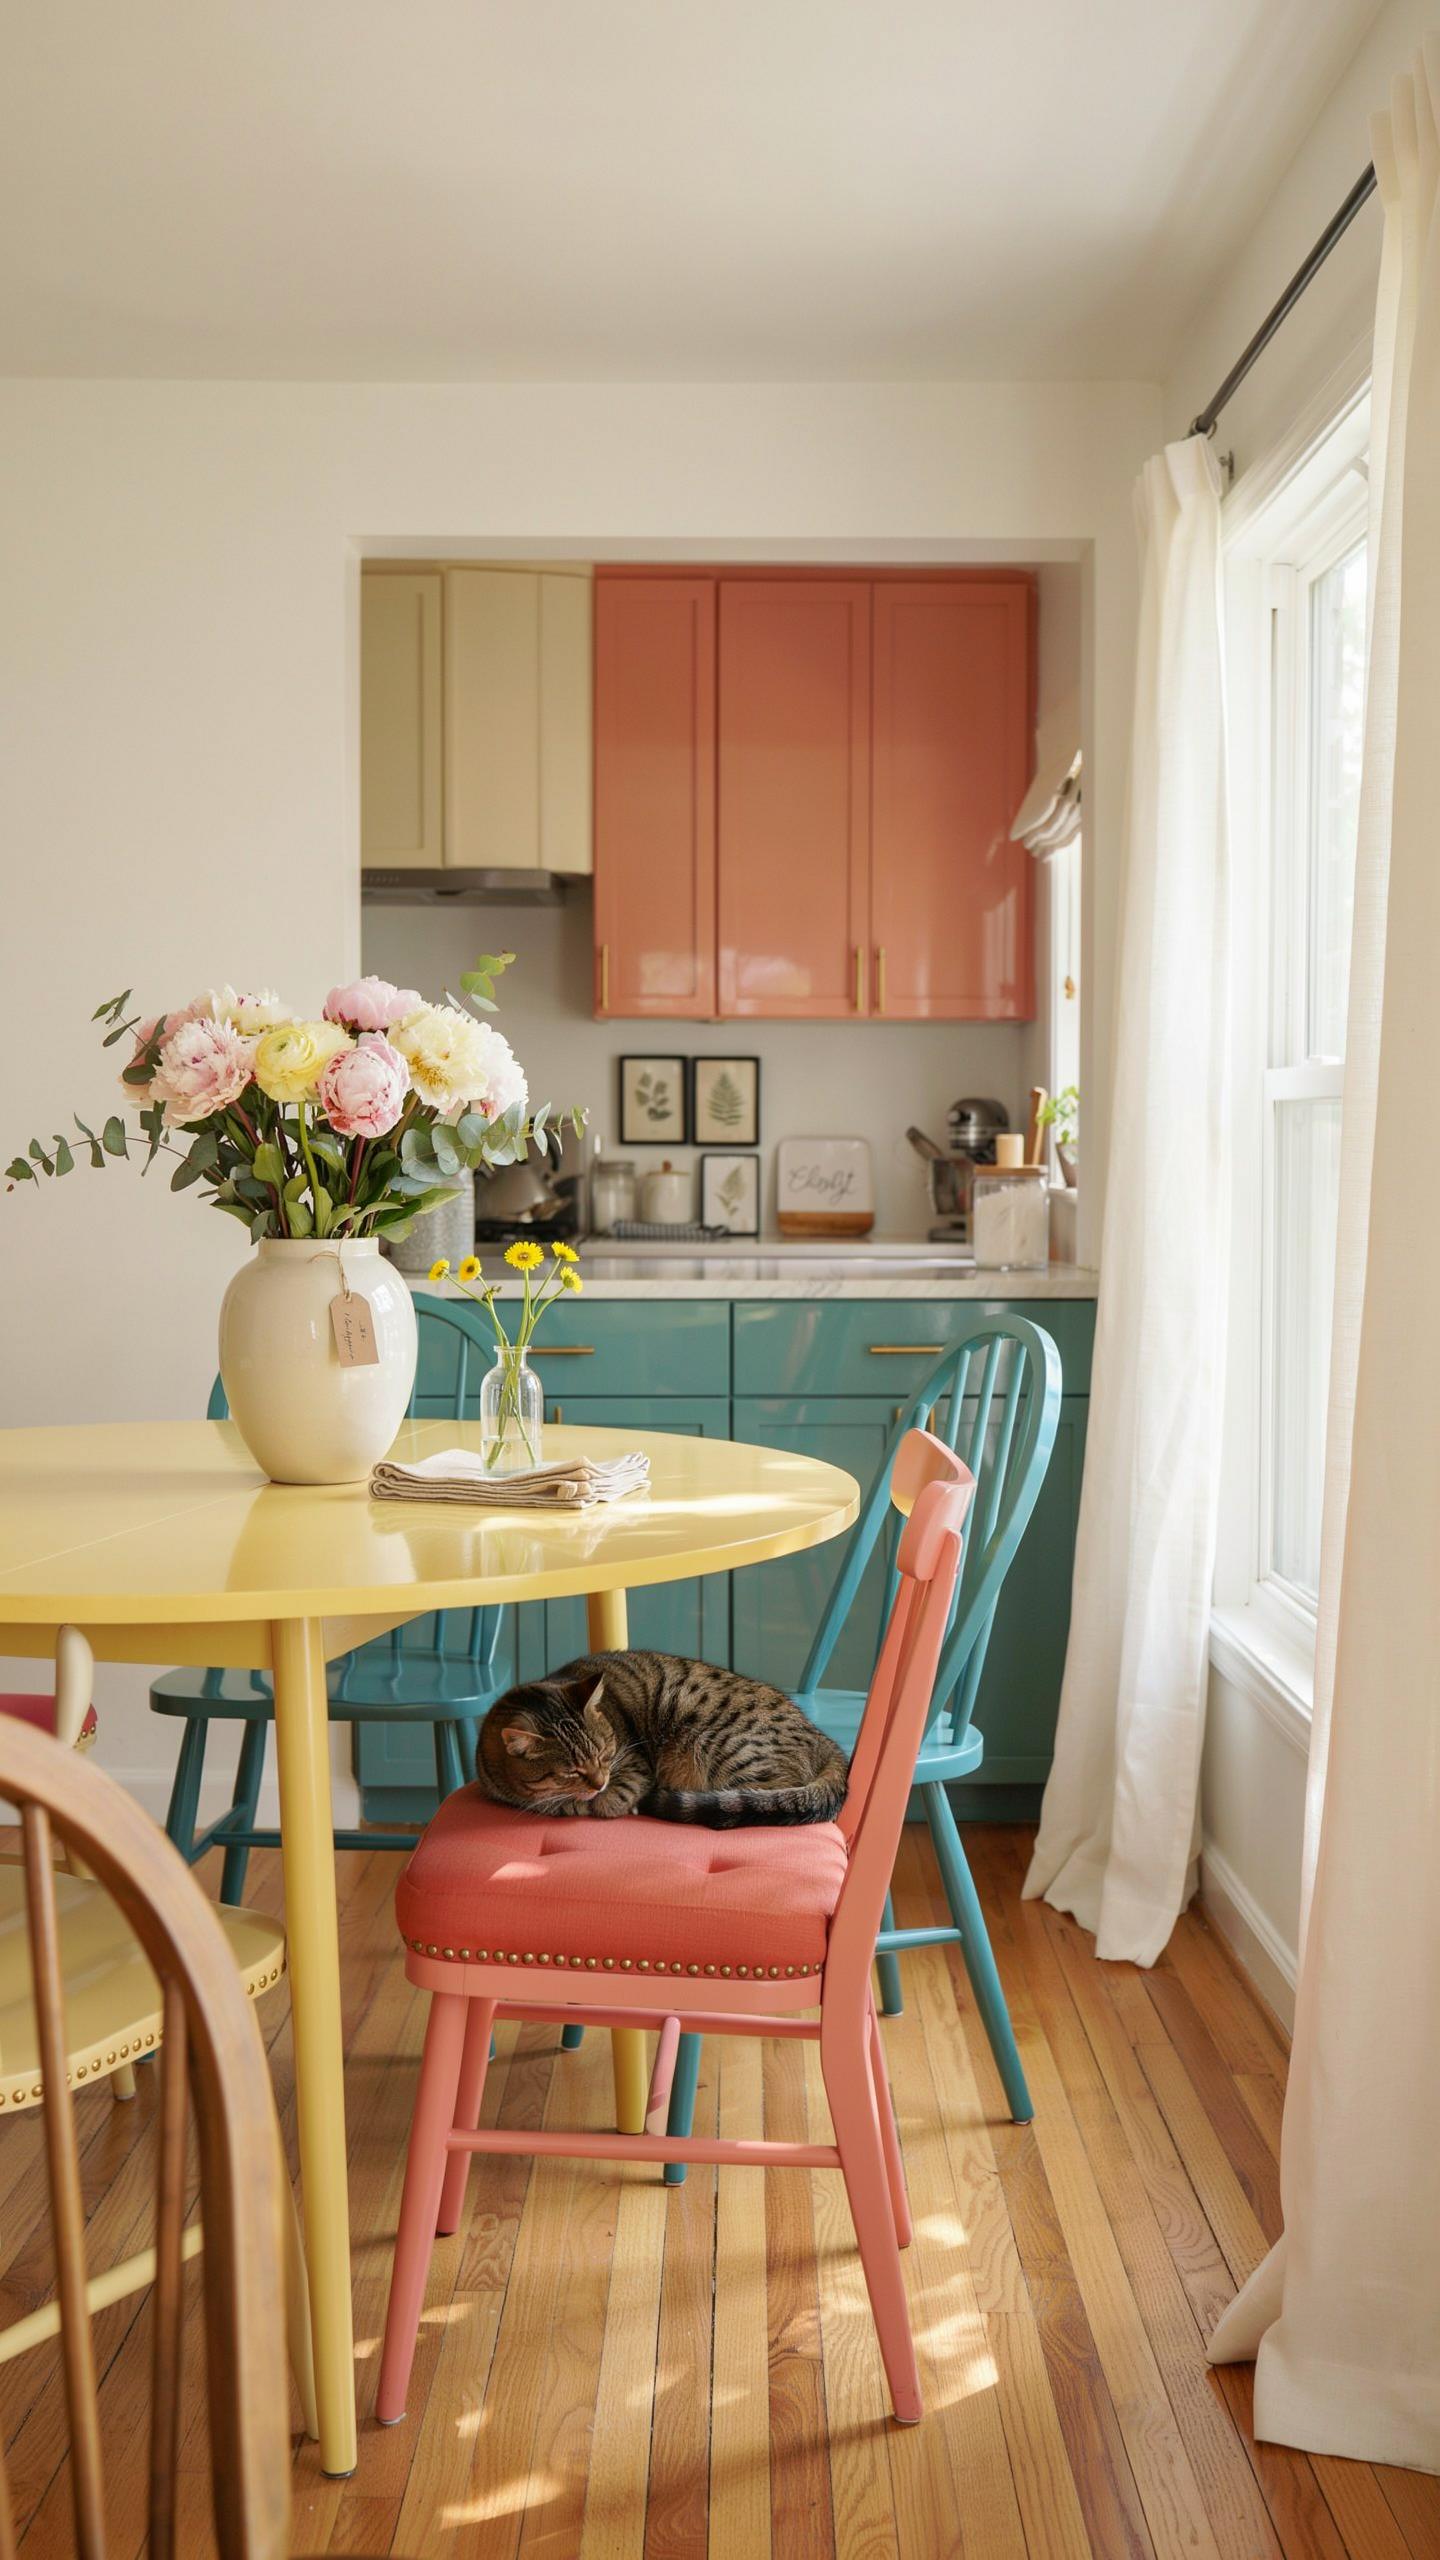
Updating Farmhouse Dining Chairs
Mismatched wooden chairs create problems. They interrupt visual flow and make dining spaces feel disjointed. Chalk paint solves this by unifying disparate pieces under one cohesive color. Apply a single soft neutral tone across all chairs to establish harmony. This approach costs less than buying a matching set and preserves original wood quality underneath.
Farmhouse design emphasizes simplicity and function over decoration. Soft chalk colors like cream, greige, or pale gray align with this aesthetic. These tones reflect light and prevent dining areas from feeling heavy. Two coats of quality chalk paint with light sanding between applications creates a durable finish that withstands daily use and chair movement.
Transforming Cabinets And Side Tables
Dark wood buffets dominate dining spaces and absorb light. Light-toned chalk paint transforms these pieces into focal points that brighten rooms. Cream or whitewashed finishes make cabinets feel less imposing while maintaining their original scale and storage function. This technique works particularly well on solid wood pieces that have good bone structure underneath heavy stain.
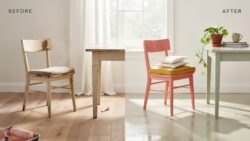
Kitchen cabinets painted with chalk paint gain texture and visual interest without requiring full replacement. Light finishes expand perceived space, making compact dining areas feel more open. Buffet tables painted in soft tones become versatile pieces that coordinate with multiple design schemes. The matte finish of chalk paint eliminates glare that glossy surfaces create in dining and kitchen environments.
Refinish Furniture Ideas With Mixed Mediums Chalk And Wood
The Two Tone Natural Wood And Paint Look
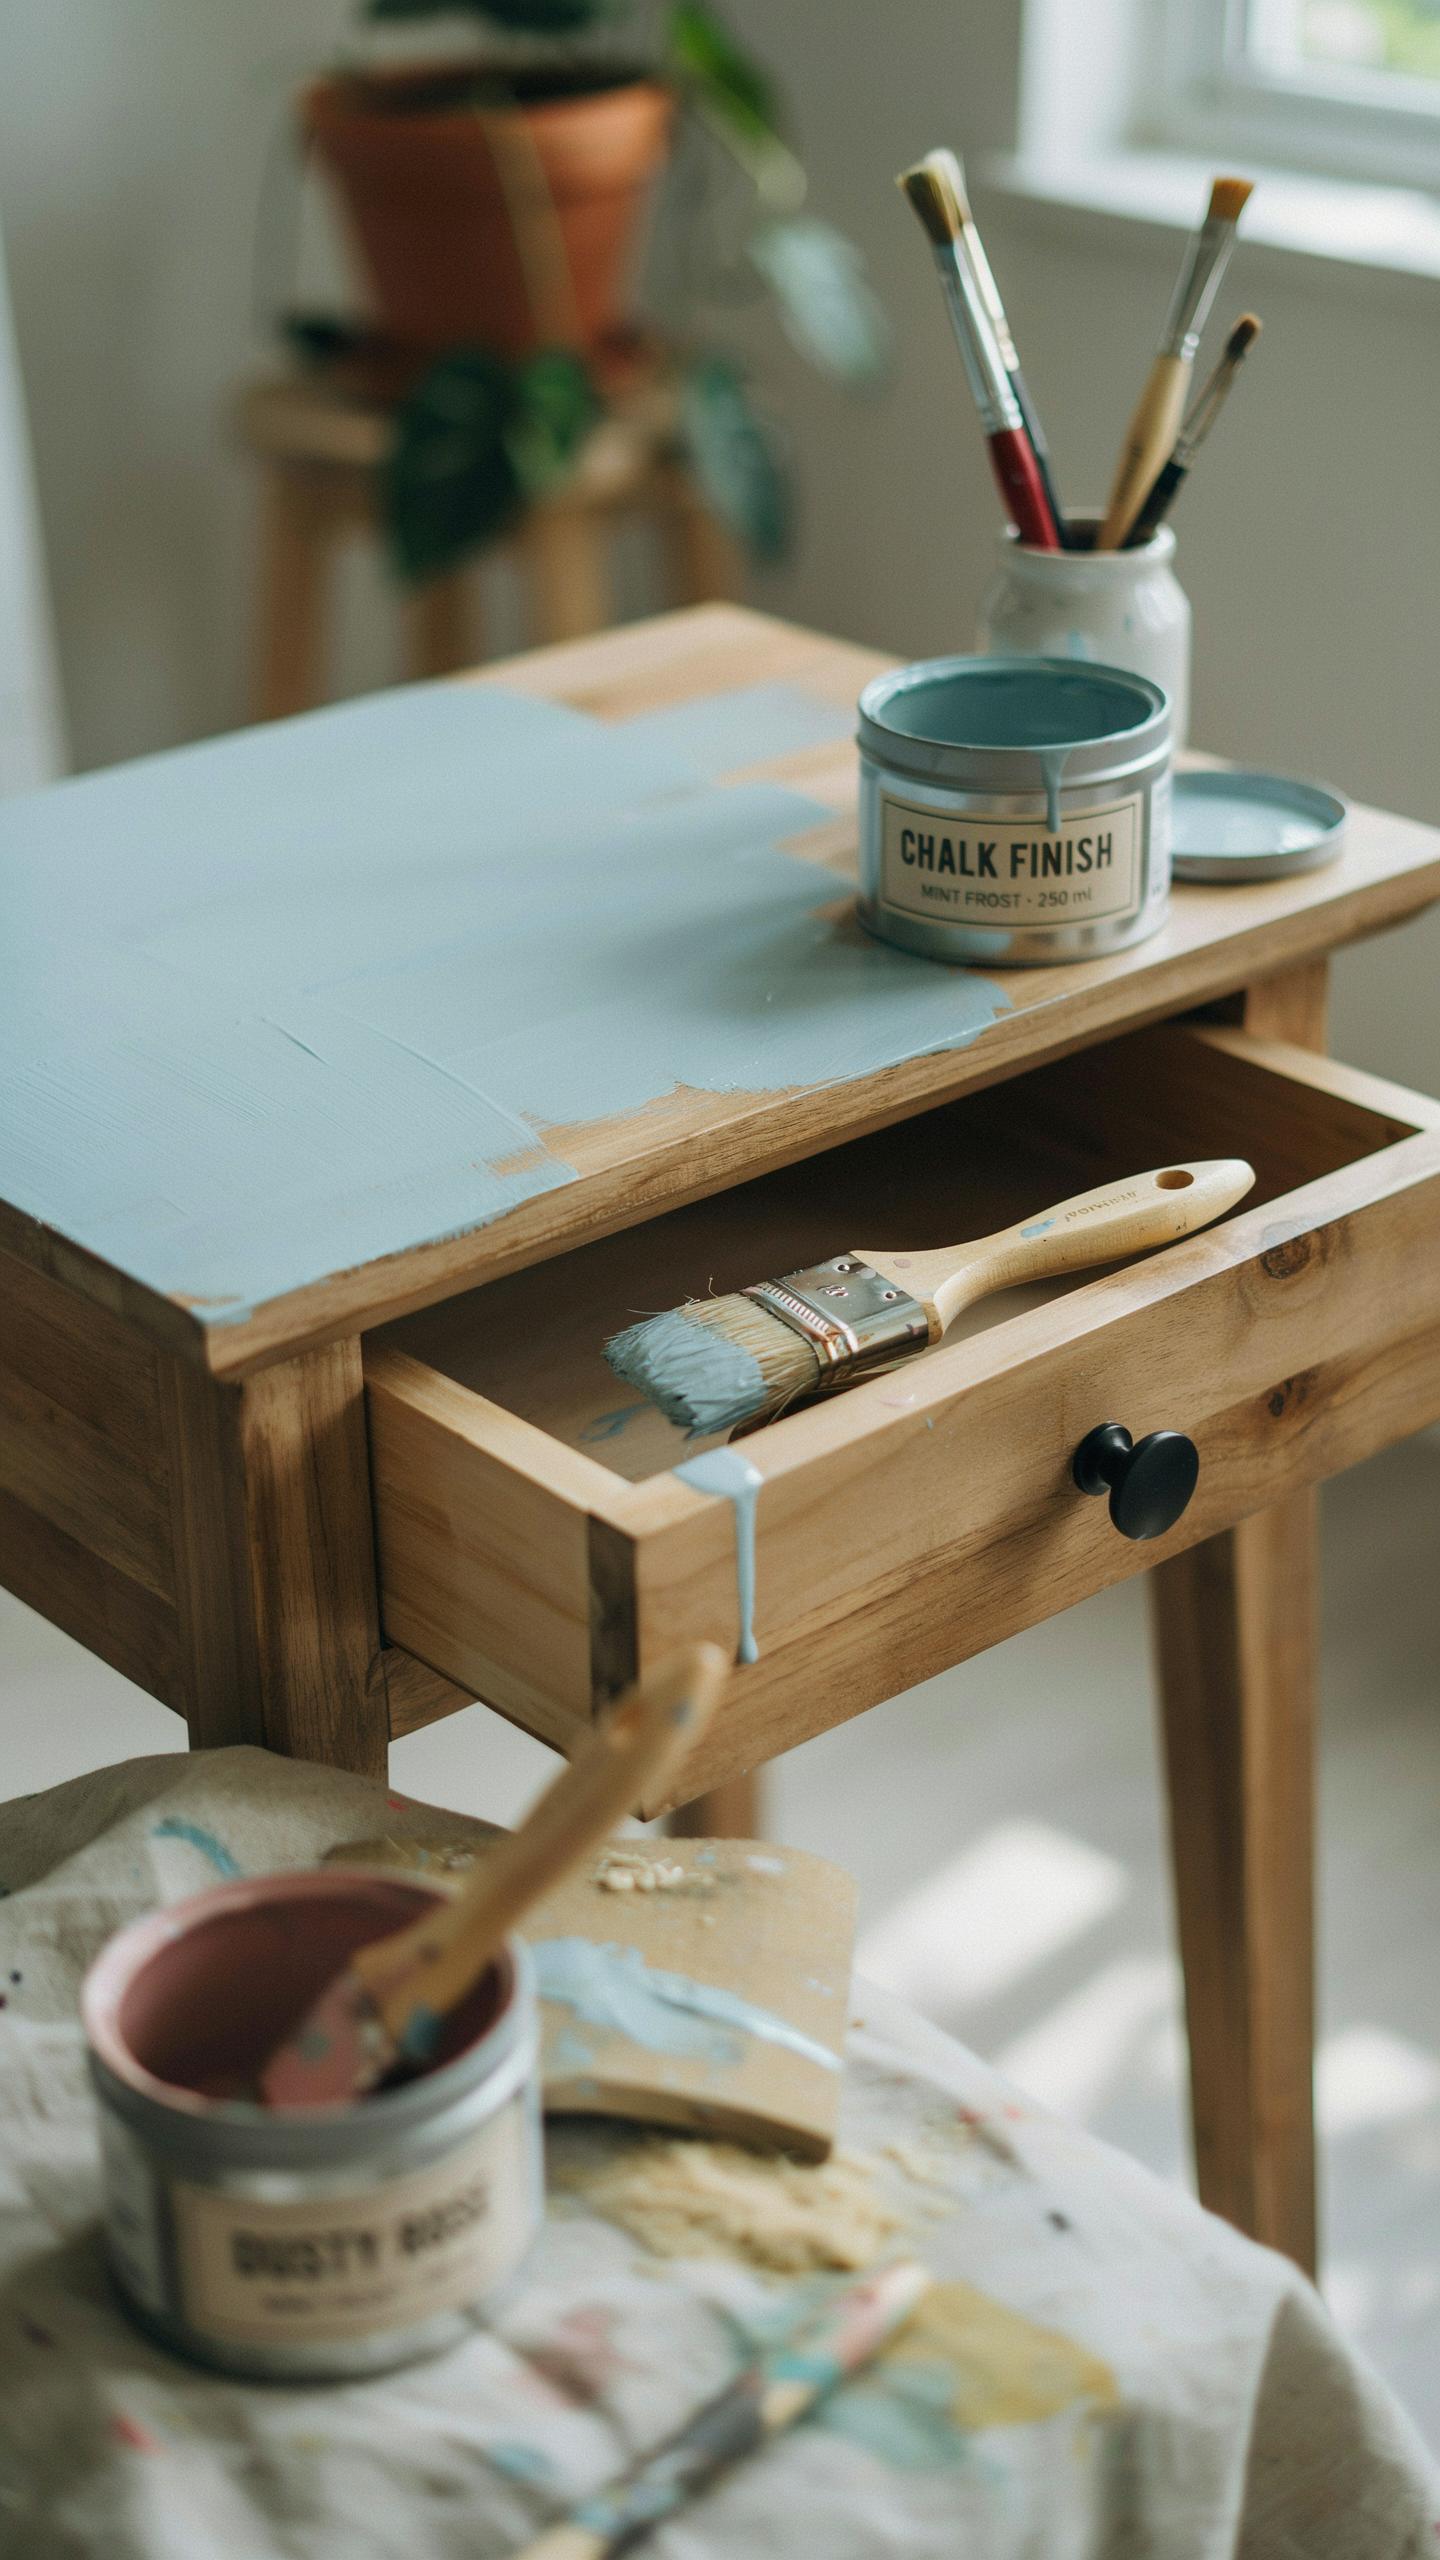
Preserving wood grain on tabletops while painting the base delivers visual contrast without sacrificing the wood’s appeal. This approach works because wood grain commands attention on horizontal surfaces where people view it directly. Paint the legs, apron, or pedestal base in chalk paint to anchor the piece. The wood grain remains the focal point while the painted base grounds the design. This combination balances warmth from natural wood with the matte finish of chalk paint.
The logistics matter here. Sand the wood surfaces you plan to paint to improve chalk paint adhesion. Leave tabletop wood unsealed or lightly sealed so the grain remains visible. Apply chalk paint in colors that complement the wood tone, not compete with it. Darker woods pair well with muted greens, grays, or warm blacks. Lighter woods work with soft whites, creams, or dusty blues. This method requires no special skills, just intentional planning about which surfaces to treat.
Integrating Stretcher Bars And Metal Highlights
Stretcher bars and metal hardware bridge chalk paint finishes with industrial design elements. Stretcher bars on chairs or tables provide structural lines that draw the eye. Metal pulls on drawers, corner brackets, or handles create deliberate focal points against matte chalk paint. Vintage hardware from salvage sources or reproduction pieces both work effectively. The contrast between flat chalk texture and shiny metal reinforces a transitional aesthetic that feels intentional, not accidental.
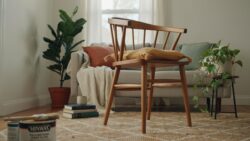
Installation requires minimal additional effort when planned during the chalk paint phase. Paint around metal hardware rather than removing it when possible, or apply paint first, then install hardware afterward. Choose metal finishes that either complement or intentionally contrast with your chalk paint color. Oil-rubbed bronze suits deeper paint colors. Polished brass works with warmer palettes. Matte black hardware bridges most color combinations effectively. This layering strategy transforms a simple painted piece into a refined, mixed-media statement.
Painting With Chalk Paint Furniture Distressing And Aging Techniques
Achieving The Perfect Shabby Chic Wax Finish
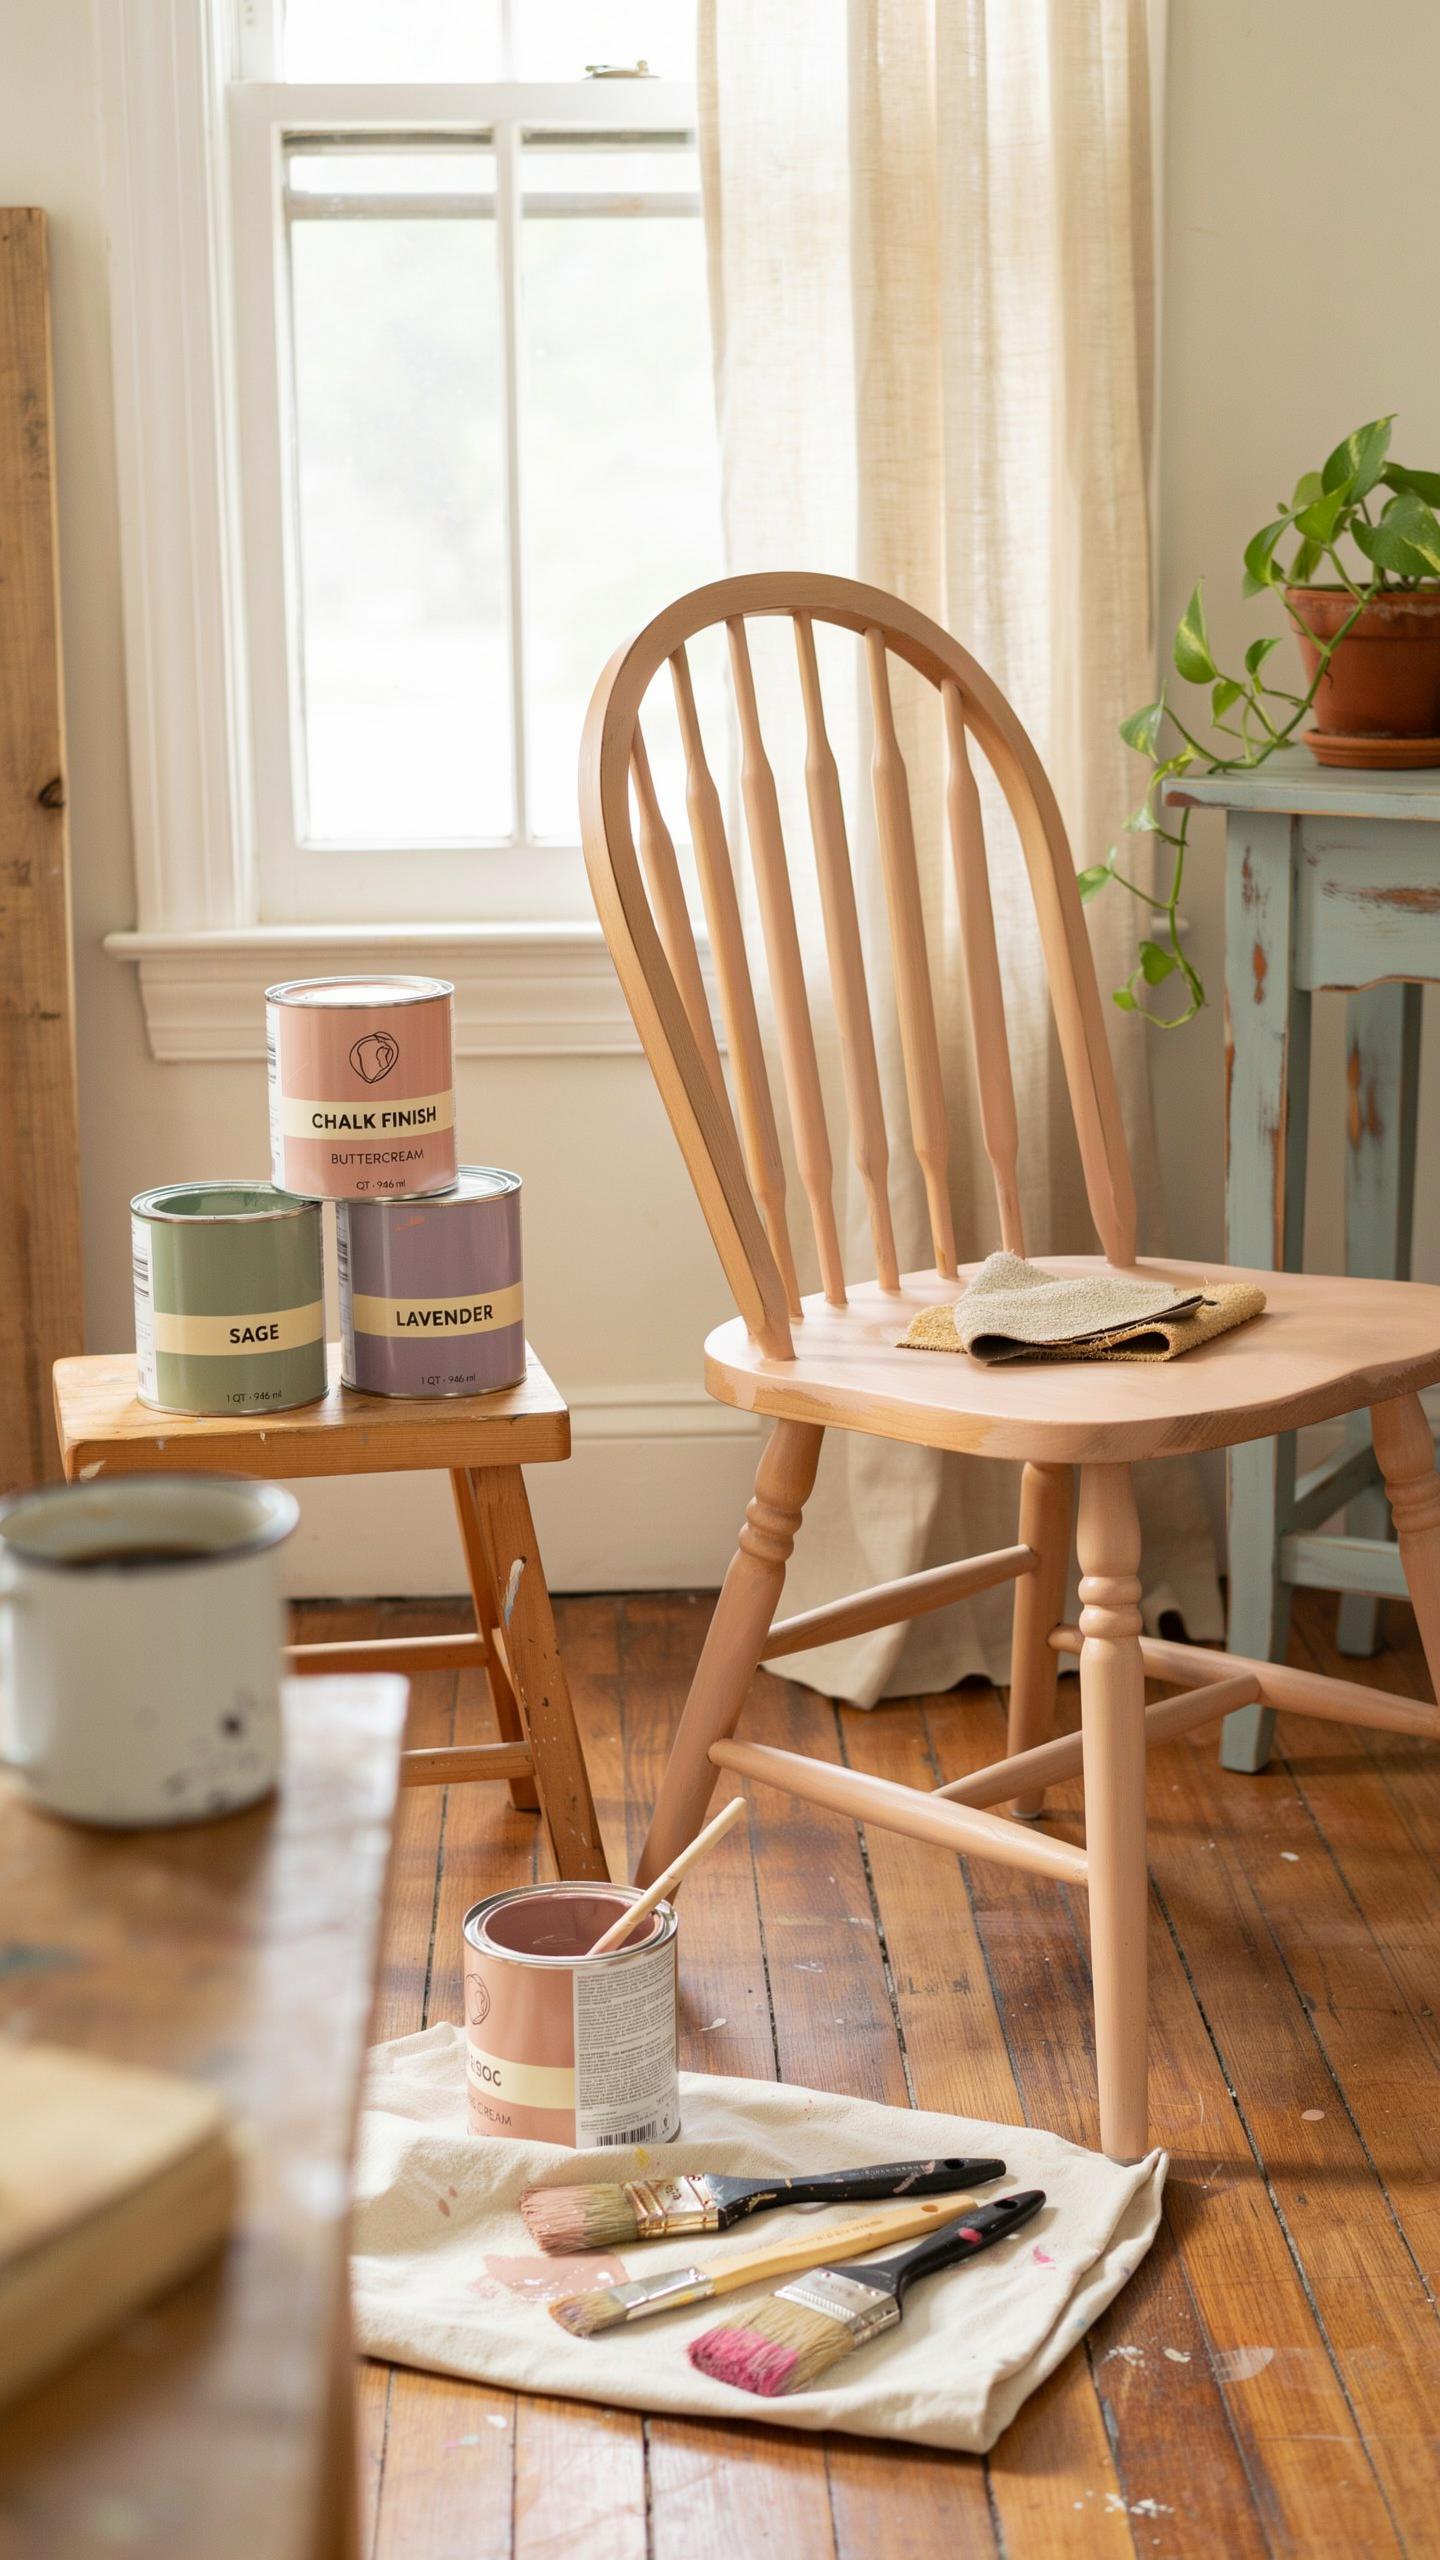
Wax application transforms chalk paint finishes by sealing the surface while creating depth. Clear wax protects the paint and adds subtle sheen. Dark wax, typically brown or black, settles into crevices and carved details, emphasizing texture and age. Apply wax with a brush or cloth in circular motions, working section by section. Let it dry fully before buffing with a clean cloth to reveal the layered effect and intentional wear patterns you created.
Dark wax concentrates in recessed areas, mimicking natural patina from decades of use. This technique works because wax resists further distressing, so you must complete all sanding before wax application. The contrast between waxed and unwaxed areas creates visual separation that reads as authentic aging. Quality furniture wax contains carnauba or beeswax, which hardens as it cures. Multiple thin coats outperform one thick coat by preventing sticky buildup and ensuring even color distribution across carved surfaces.
With a little chalk paint and a lot of heart, you can turn a forgotten relic into a piece of history that breathes life into your home. A cozy house is a collection of things you love that tell your story.
Wet Sanding Vs. Dry Sanding Distressed Edges
Dry sanding uses 120 to 220 grit sandpaper to expose wood and underlying primer beneath chalk paint layers. Focus dry sanding on high traffic areas: table edges, chair arms, and corners. This method creates visible wood grain and primer lines that signal authentic wear. Dry sanding produces dust, so work in ventilated spaces and wear a respirator. The aggressive cutting action removes paint quickly, making it ideal for pronounced distressing on statement pieces.
Wet sanding eliminates airborne dust by dampening sandpaper with water during use. This technique requires patience because wet surfaces sand slower and need drying time between passes. Wet sanding prevents clogged paper and extends sandpaper life, reducing material costs on larger projects. The dampened surface prevents chalk paint dust inhalation entirely, a significant health advantage over dry methods. Choose wet sanding for smaller distressed areas or when working indoors without proper dust extraction equipment.
Caring For Refinished Furniture With Chalk Paint
Daily Cleaning And Dusting Guidelines
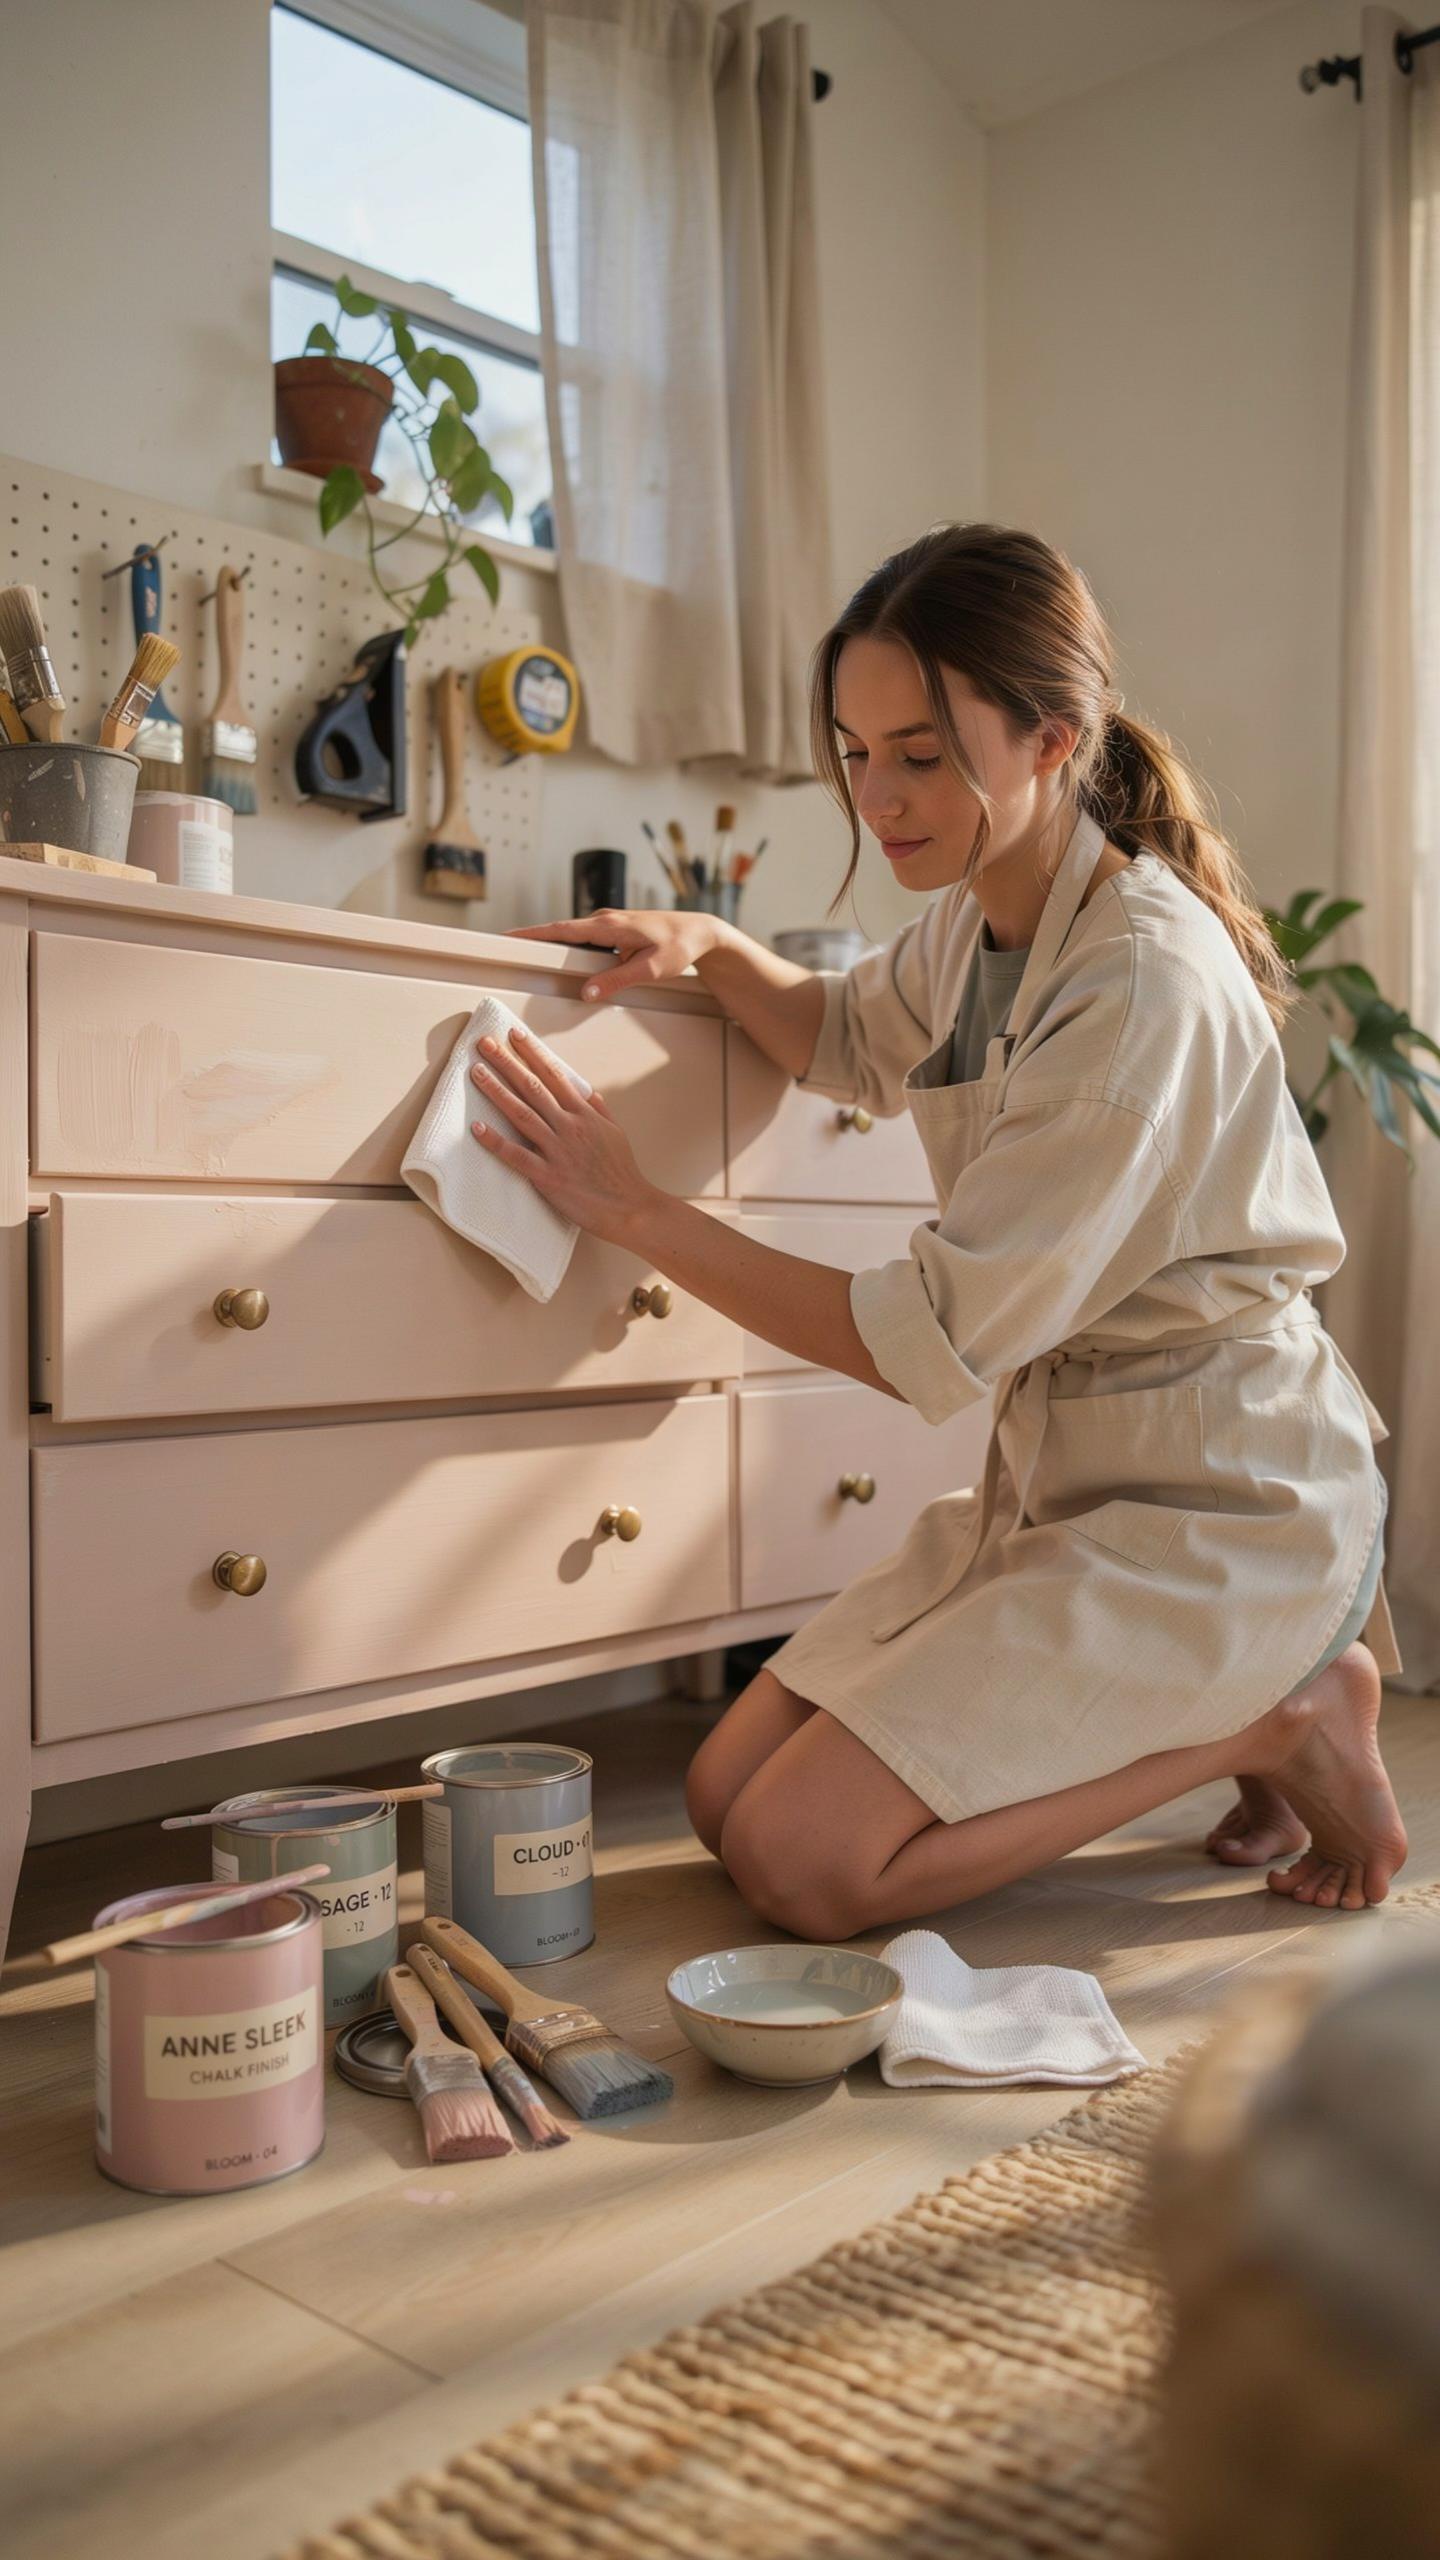
Chalk paint creates a porous, matte surface that traps dust and absorbs liquids quickly. Use a soft microfiber cloth to remove dust regularly. This material grabs particles without scratching the finish. Avoid all chemical sprays, oils, and acidic cleaners. They break down the paint bond and leave residue that dulls the surface permanently.
Water does damage chalk paint if left standing. For spills, wipe immediately with a barely damp cloth and dry at once. Never soak or saturate the surface. Store microfiber cloths away from lint and debris so they stay effective for the job ahead.
When And How To Reapply Protective Wax Seals
Chalk paint needs wax sealing to survive daily use and protect against stains. Paste wax is the standard choice for chalk finishes. Apply a thin, even coat every two to three years depending on traffic and usage levels. More heavily used pieces need resealing sooner than decorative accent furniture.
Buff the wax with a clean cloth in circular motions after it dries. This creates the protective layer and restores the matte appearance. Test wax on a hidden area first to confirm compatibility with your specific chalk paint brand. Resealing takes minimal time and costs far less than refinishing damaged surfaces.
Frequently Asked Questions

Why is chalk paint the best choice for a beginner’s first furniture flip?
Chalk paint is beloved by beginners because it requires very little prep work. Unlike traditional latex or oil-based paints, you rarely need to sand or prime your piece before starting. This makes your furniture flip project chalk paint experience much more approachable and forgiving. It adheres beautifully to almost any surface, resulting in a velvety, matte finish that instantly creates a cozy and relaxed atmosphere in any room.
How do I achieve a smooth, professional finish when painting my furniture?
To get a flawless look, start by cleaning your piece with a degreaser. Apply thin, even coats using a high-quality synthetic brush, sanding lightly with fine-grit sandpaper between layers if you want a modern feel. Once you finish your furniture flip project chalk paint application, always seal the surface with a clear wax or polycrylic. This protects the color from daily wear and tear while maintaining that signature soft aesthetic.
Is flipping furniture with chalk paint an affordable way to decorate a home?
Absolutely! It is one of the most budget-friendly ways to transform dated or secondhand finds into high-end lifestyle pieces. Instead of buying new, expensive furniture, you can source items from thrift stores or garage sales for a few dollars. A single quart of paint goes a long way, allowing you to complete multiple small items. It is a cost-effective strategy to achieve a custom, curated look on a shoestring budget.



