
Why A Dresser Flip Project Hardware Swap Is The Ultimate Weekend Makeover
The Power Of Small Details
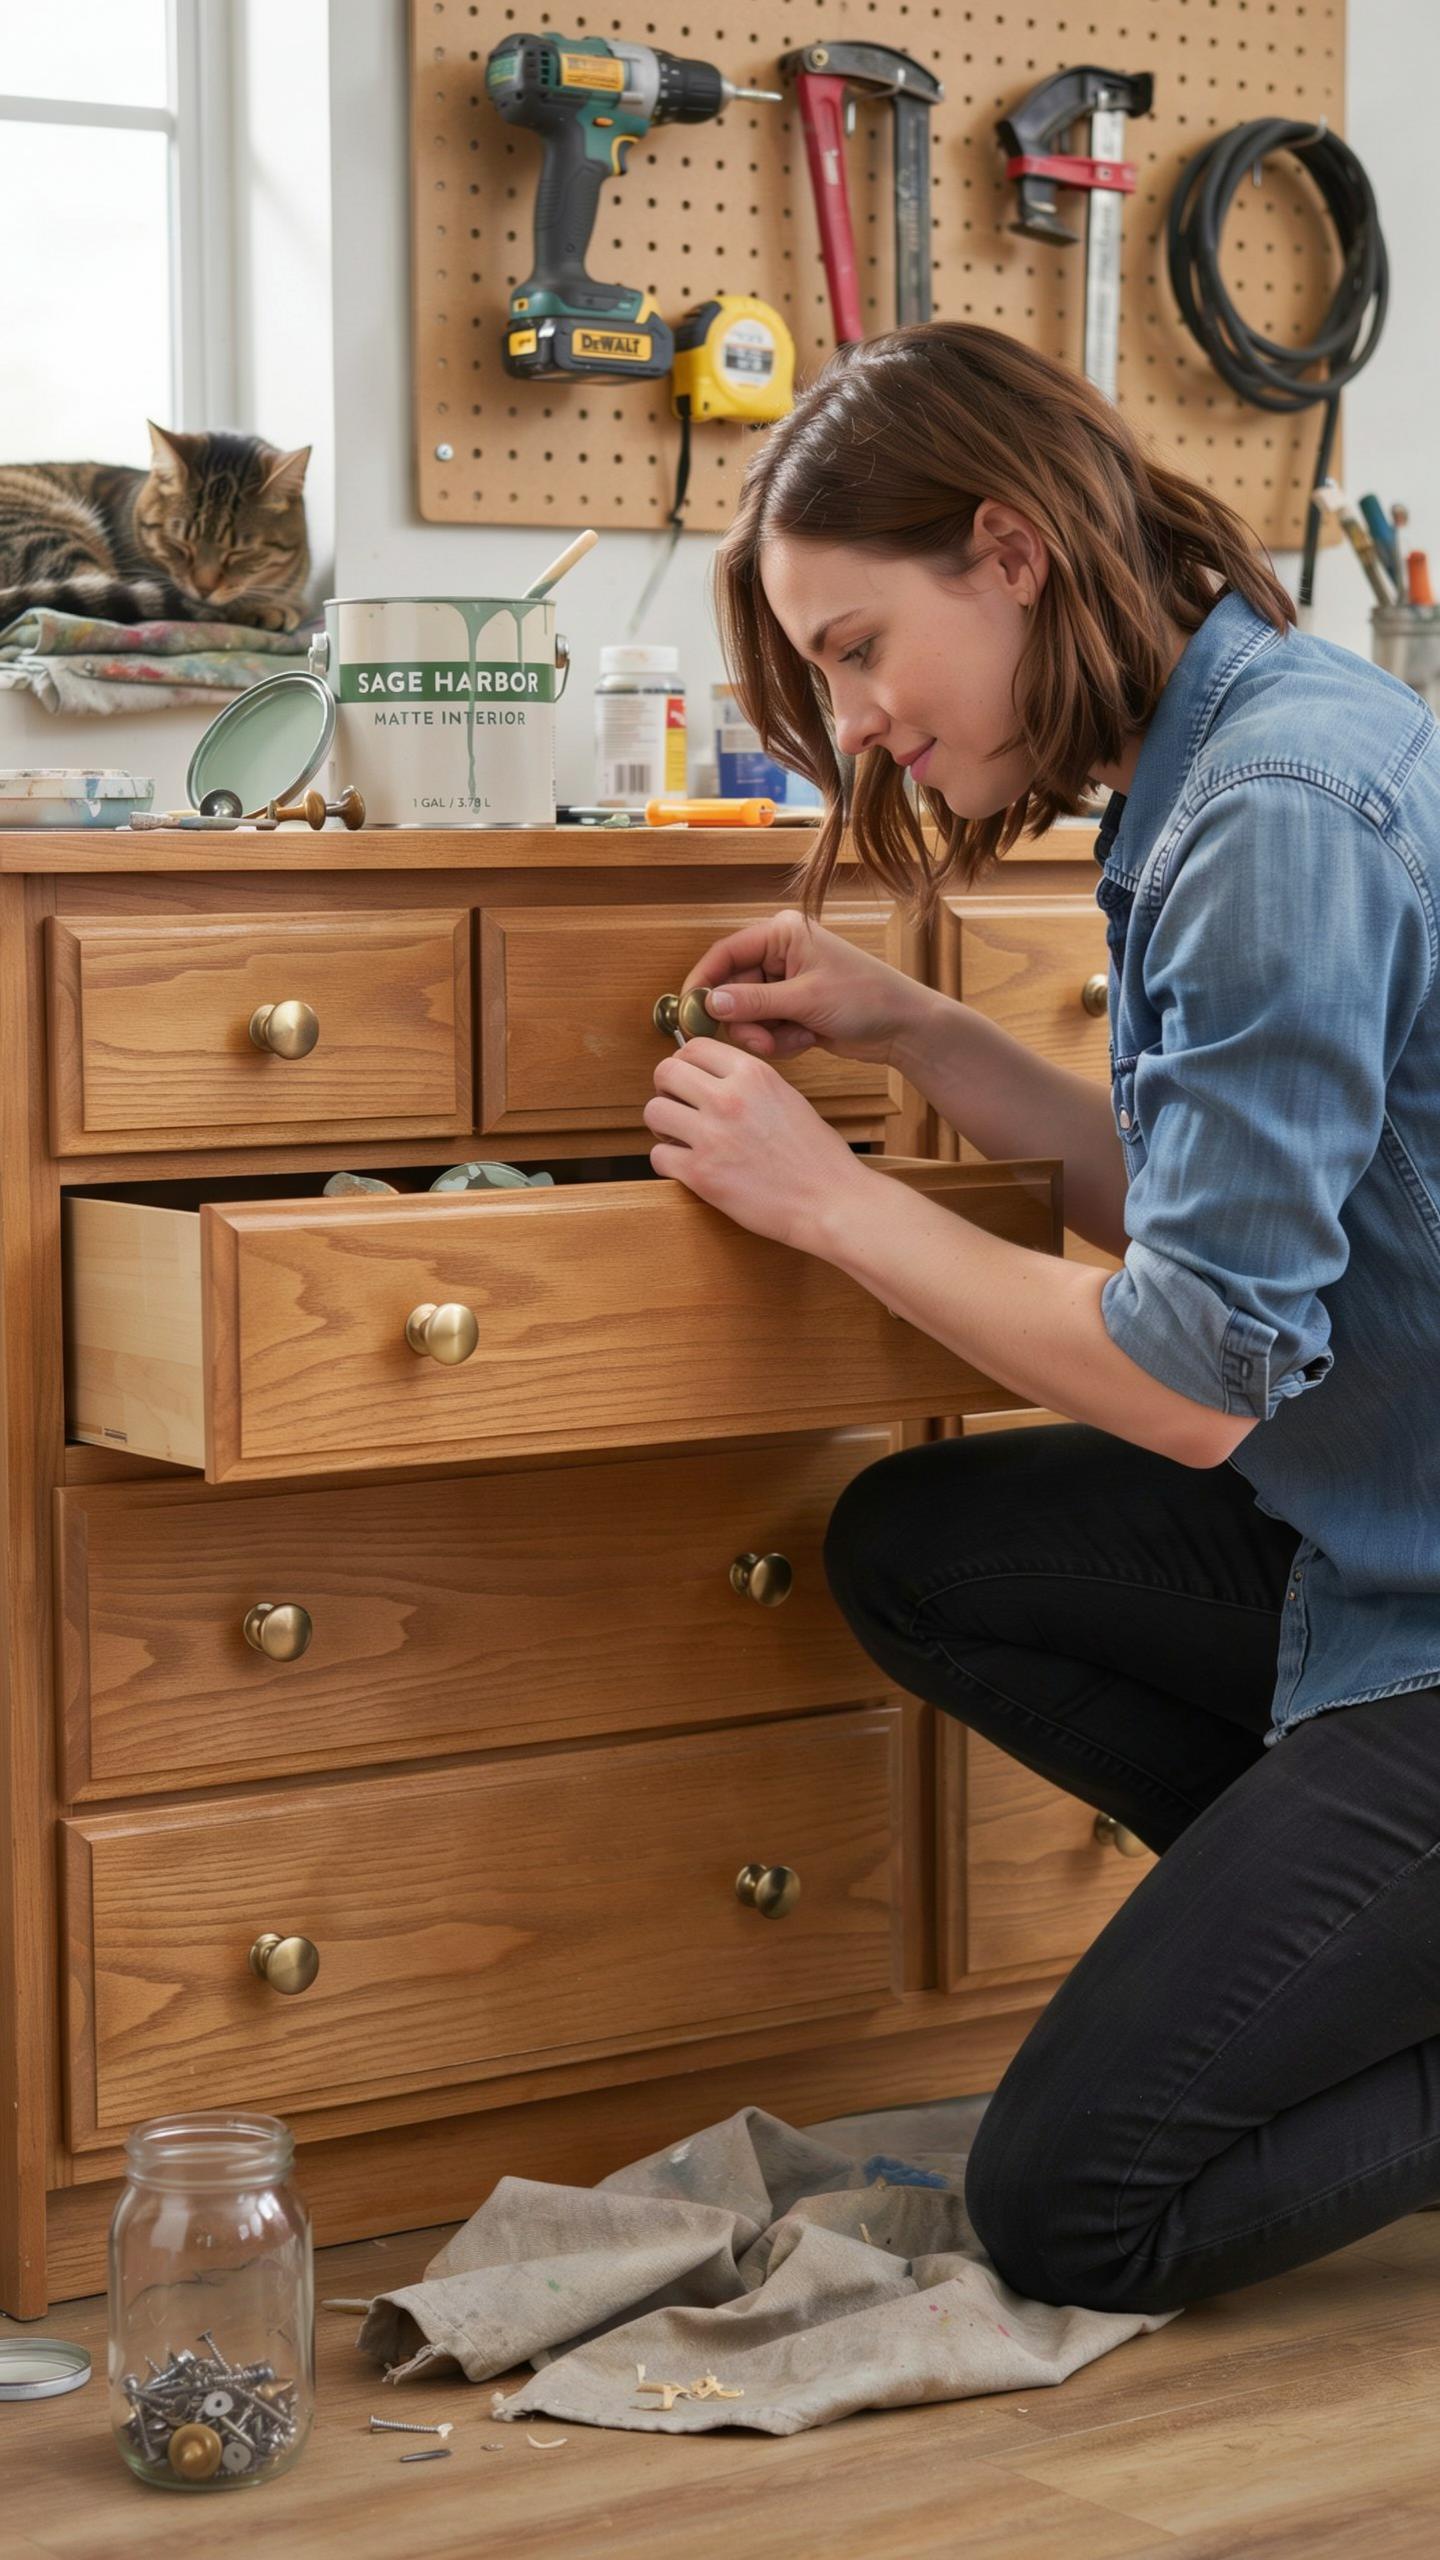
Hardware replacement transforms furniture perception without structural changes. Knobs and pulls serve as visual anchors that define a piece’s aesthetic era. Swapping brass handles for matte black pulls instantly shifts a dresser from dated brass-heavy design to modern minimalism. The metal finish and shape directly impact how viewers perceive the entire piece’s age and style relevance.
Hardware swap projects require minimal skill and no specialized tools beyond a screwdriver. Most pulls and knobs attach with standard bolts from the back, making removal and installation straightforward. This accessibility means any homeowner can execute the transformation in under an hour. The visual impact far exceeds the effort and cost invested.
Budget Friendly Furniture Transformations
Purchasing new bedroom furniture carries significant cost and disposal challenges for existing pieces. Hardware upgrades cost between ten and fifty dollars per dresser depending on material quality and design complexity. This minor investment eliminates the need to replace an otherwise functional piece, preserving both money and landfill space. The aesthetic upgrade rivals purchasing entirely new furniture at a fraction of the price.
Designer interiors frequently feature high-end hardware on vintage or refinished furniture. This strategy creates luxury aesthetics without luxury price tags. Homeowners replicate this approach by installing quality hardware on existing dressers and chests. The result delivers intentional, curated spaces that appear professionally designed rather than randomly accumulated.

Step By Step Guide To A Basic Dresser Flip For Beginners

Essential Tools And Materials Checklist
You need specific tools to execute a hardware swap correctly. Skipping this step wastes time and creates frustration mid project. Gather everything before you start working on your dresser. This approach prevents interruptions and keeps momentum going throughout the job.
- Screwdriver Set: Phillips and flathead screwdrivers remove old hardware and install new pieces. Choose a set with comfortable grips for extended use and multiple sizes.
- Tape Measure: Accurate measurements ensure new hardware aligns with existing or new holes. Measure twice to verify spacing between mounting points before drilling.
- Replacement Hardware: Select pulls, knobs, or handles that fit your mounting holes or require minimal adjustment. Check weight capacity ratings to ensure hardware supports drawer function.
- Wood Filler: This material closes old mounting holes when new hardware uses different spacing. Choose a filler that matches your wood stain or paint color.
- Fine Grit Sandpaper: Use 150 to 220 grit sandpaper to smooth wood surfaces and filled holes. Sand between coats of finish for a polished final result.
A drill becomes essential when new hardware requires holes in different locations than the original hardware. Cordless drills offer convenience and adequate power for furniture projects. Start with a basic model if you lack experience with power tools.
Prepping Your Furniture Surface
Remove all old hardware first by unscrewing pulls or knobs from the drawer fronts. Work systematically on each drawer to avoid losing hardware or damaging wood. Clean the surface thoroughly with a damp cloth to remove dust and residue that interferes with new hardware installation.
Fill existing mounting holes with wood filler if your new hardware requires different spacing. Apply filler with a putty knife, pressing it firmly into holes. Allow the filler to dry completely according to product instructions before sanding the surface smooth. This creates a professional appearance and prevents visible gaps around new hardware.
How A Dresser Pulls Makeover Enhances Visual Appeal
Selecting The Right Metals And Finishes
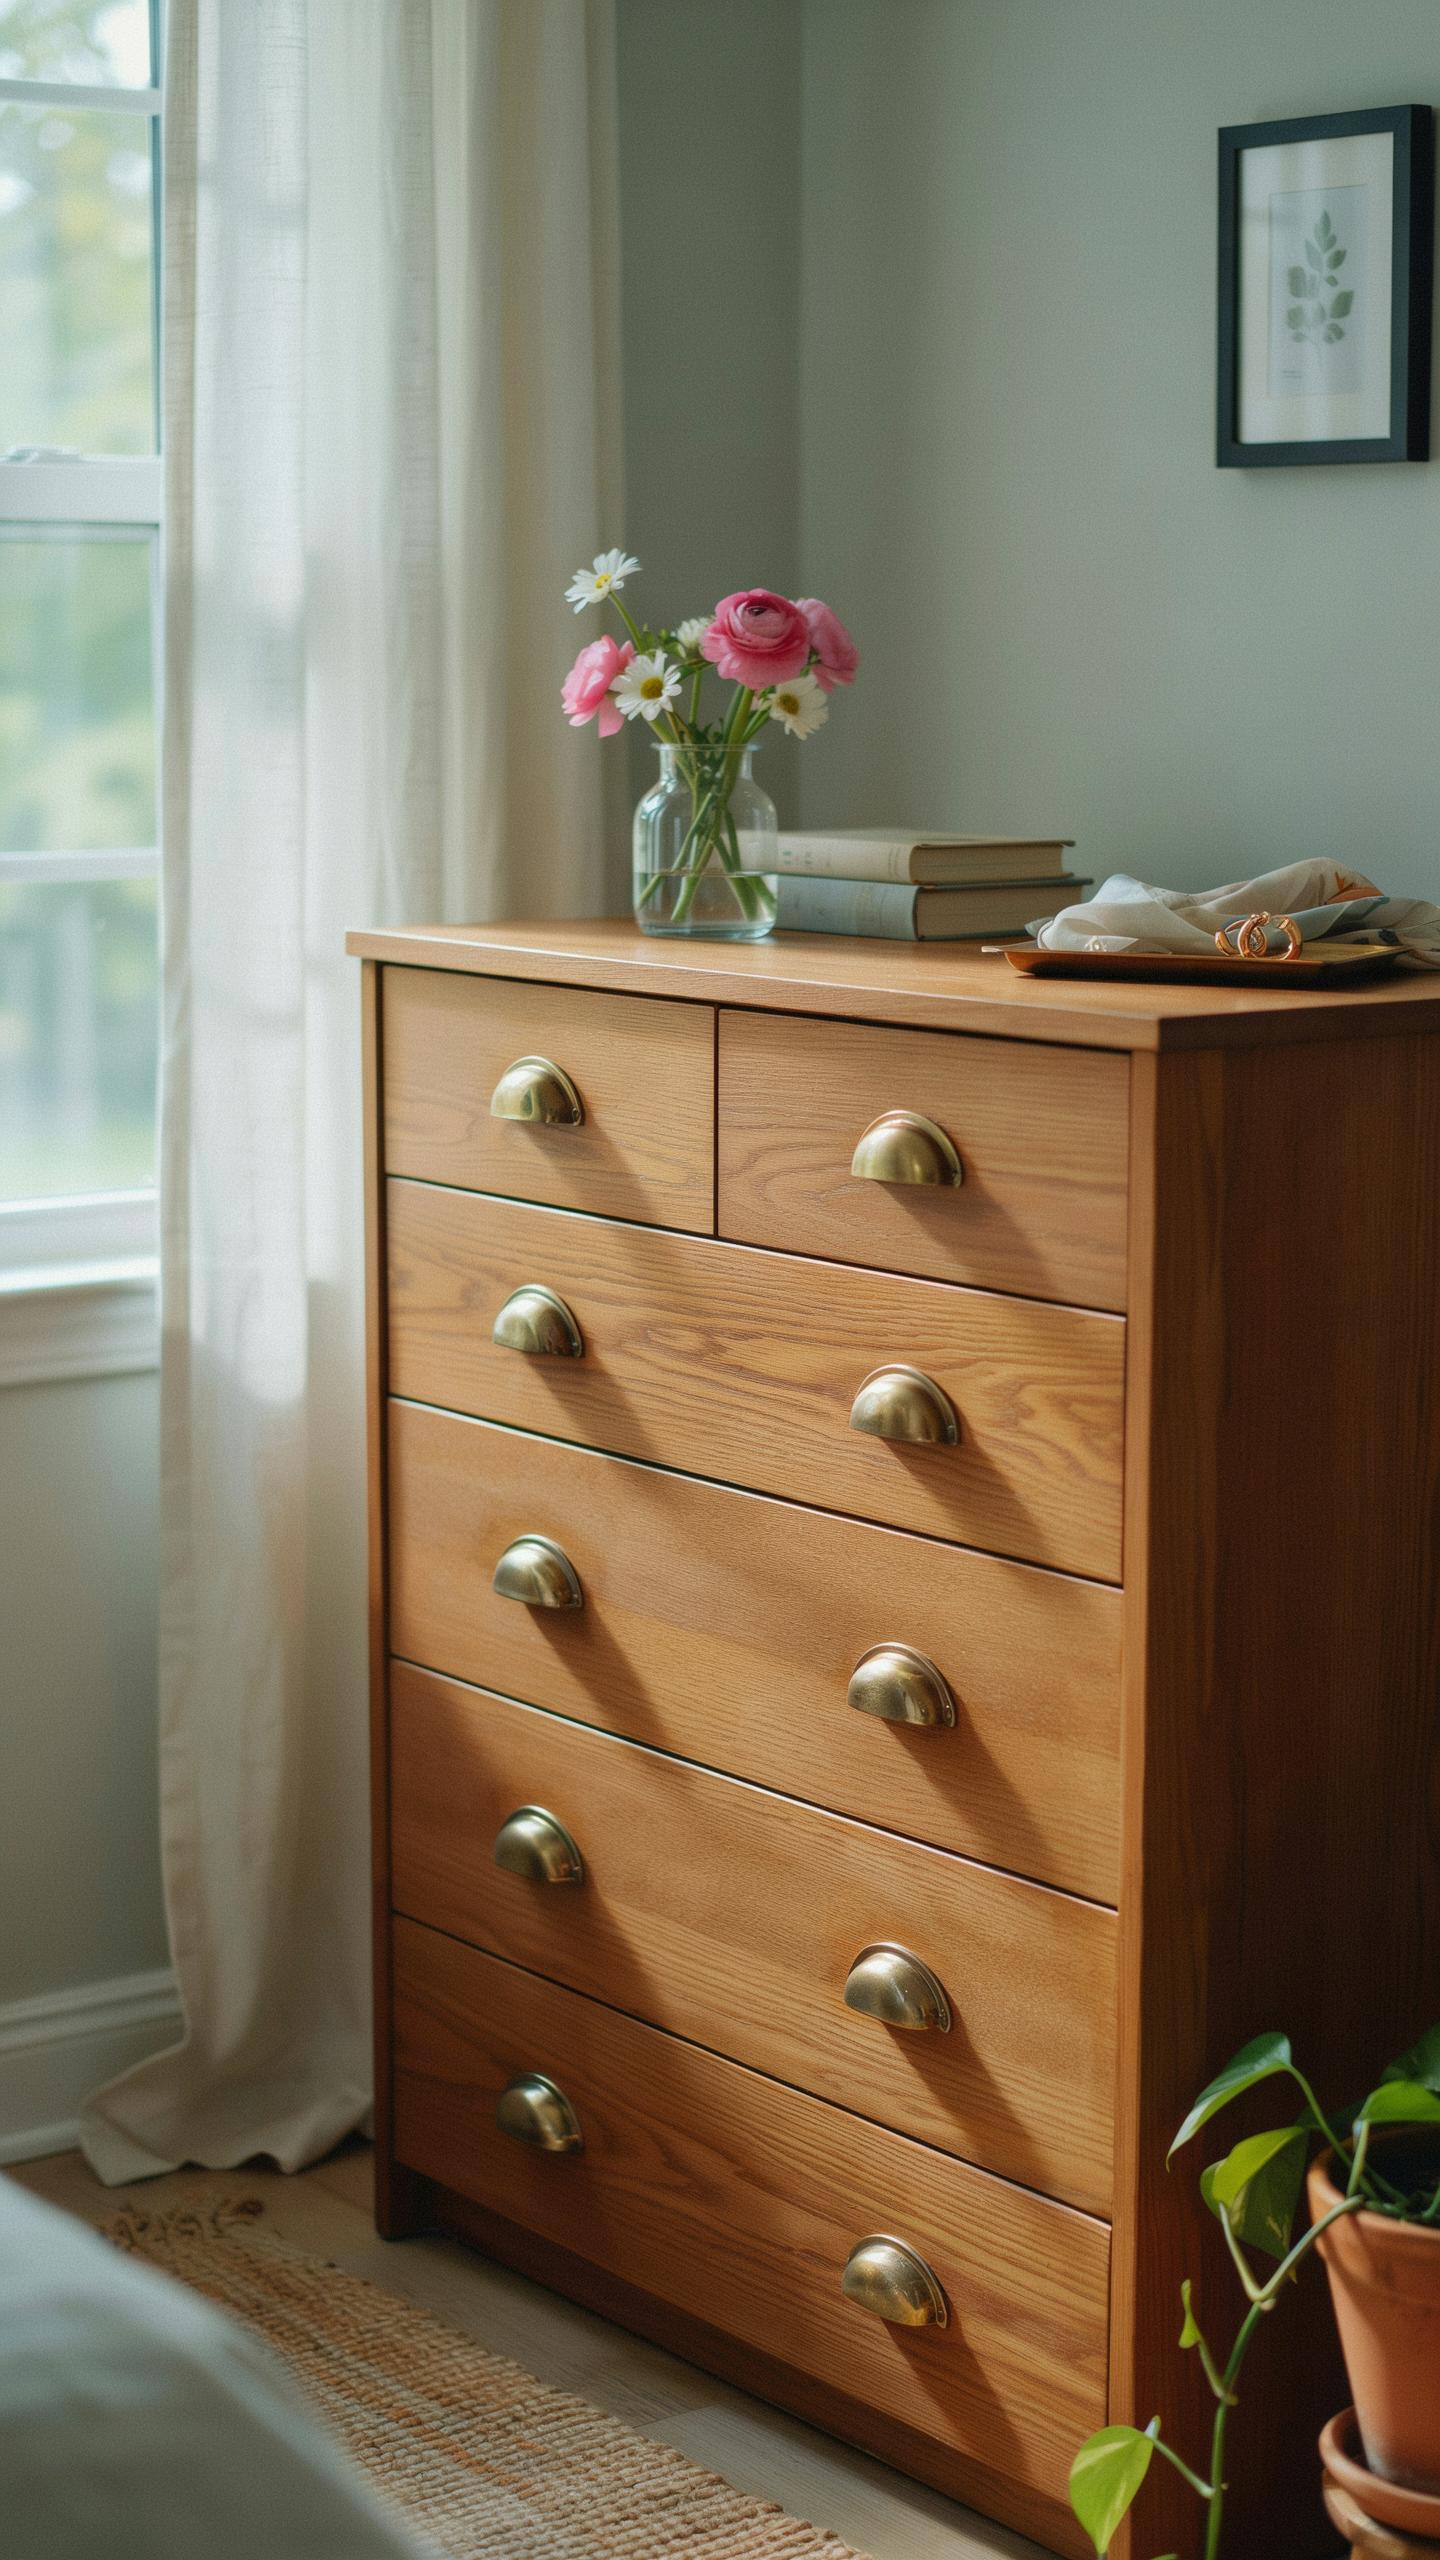
Metal finishes drive the entire visual direction of your dresser. Brushed brass works with warm lighting and gold toned decor. Matte black anchors modern spaces and hides fingerprints better than polished options. Antique bronze bridges traditional and contemporary styles. Match your hardware finish to your existing light fixtures and wall hardware. Mismatched metals create visual chaos. Your dresser hardware should echo, not compete with, your room’s existing palette.
The finish you choose affects how light reflects across your furniture surface. Polished metals bounce light and feel formal. Brushed finishes scatter light for a softer, less reflective appearance. Satin options provide middle ground between shine and subtlety. Consider your room’s natural and artificial lighting before purchasing. A finish that looks right in the store may clash under your home’s specific lighting conditions. Test samples against your dresser in your actual space when possible.
Choosing Between Traditional Pulls And Modern Knobs
Drawer size determines whether pulls or knobs work better. Large drawers need long bar pulls for comfortable grip and visual balance. Small drawers look crowded with oversized hardware. Ceramic knobs suit delicate, vintage inspired pieces. Metal pulls complement contemporary frames and clean lines. Your hardware choice must match the drawer’s proportions or the piece looks unbalanced.

Design language consistency matters more than personal preference. A mid century dresser demands different hardware than a farmhouse piece. Evaluate your furniture’s overall structure, leg style, and wood tone. Hardware should feel intentional, not random. Modern knobs on traditional pieces create visual conflict. Traditional pulls on minimalist dressers feel out of place. Let your dresser’s existing design guide your hardware selection.
Inspirational Dresser Hardware Ideas For Every Home Style
Mid Century Modern And Minimalist Styles
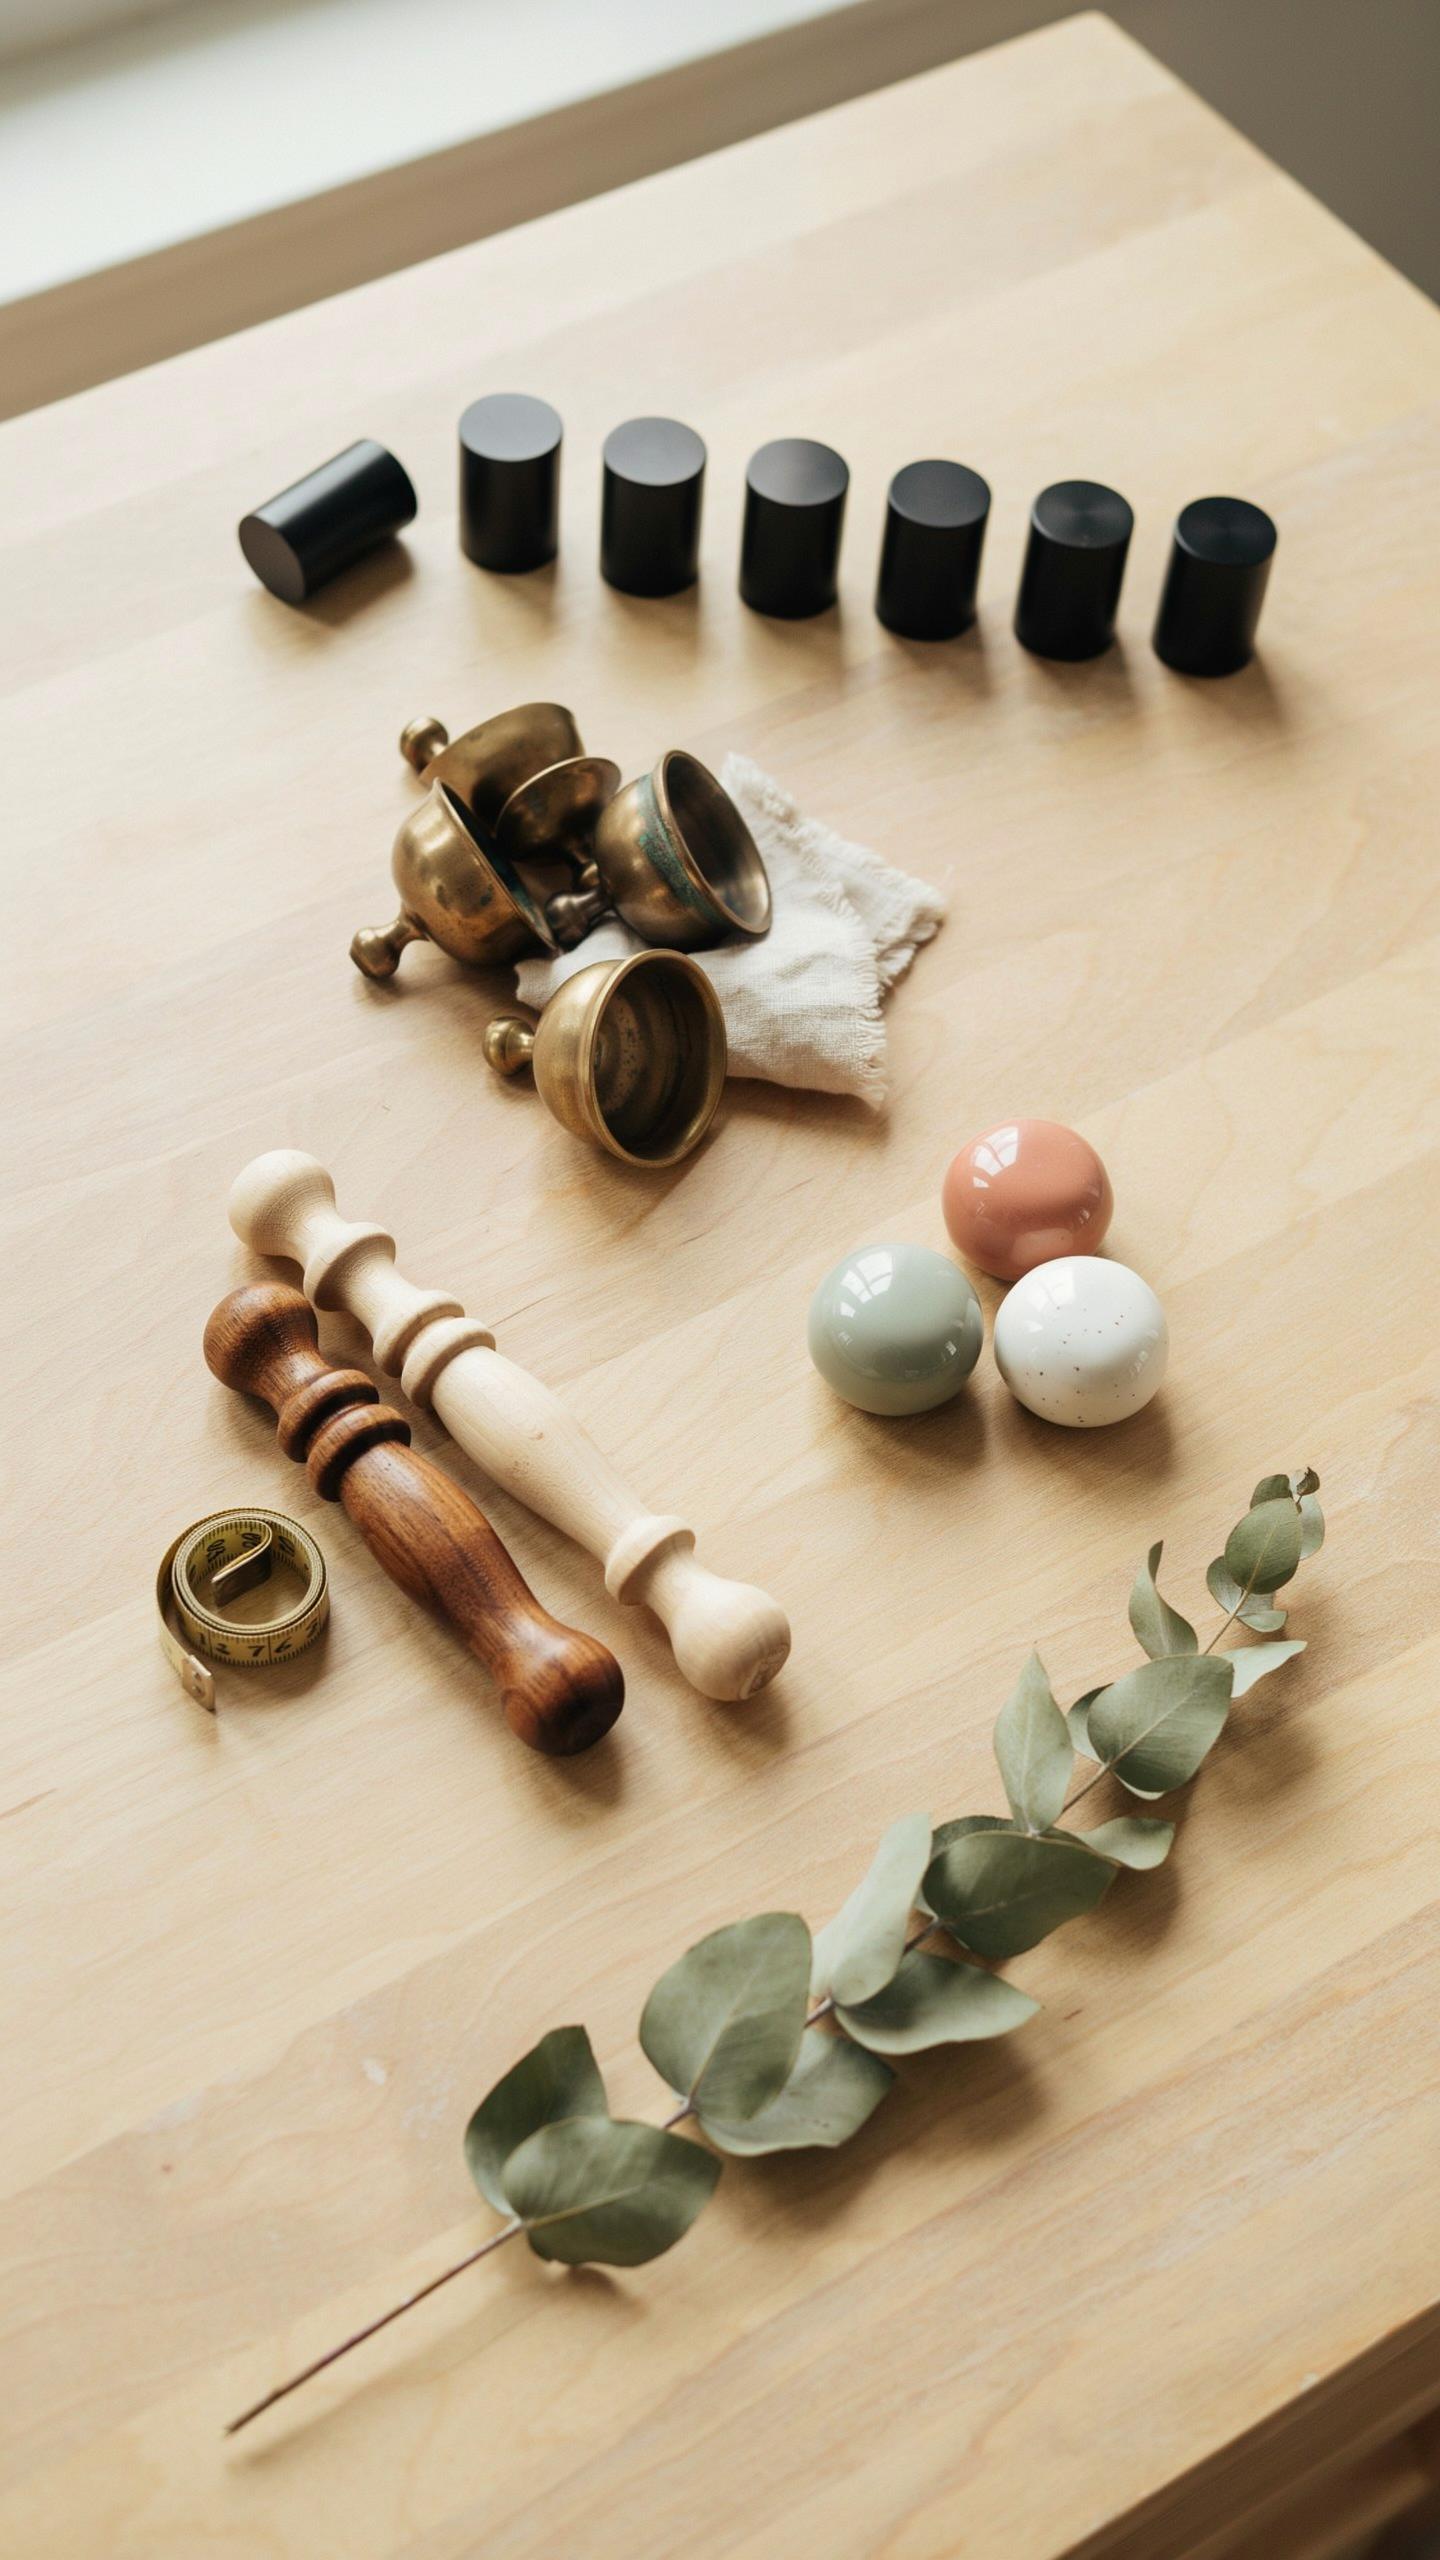
Mid-century modern design prioritizes function over decoration. Hardware should reflect this principle through geometric shapes and clean lines. Tapered brass pulls work well because they complement the tapered legs common in mid-century furniture. Recessed cup handles sit flush with drawer surfaces, maintaining the streamlined aesthetic that defines this era.
Brass hardware suits mid-century pieces because it was used during the 1950s and 1960s when the movement peaked. Natural wood grains become the visual focus when hardware stays understated. Choose finishes that match existing wood tones or opt for brushed brass to avoid excessive shine. This approach respects the original design intent while modernizing functionality.
Farmhouse And Vintage Inspired Designs
Farmhouse style draws from rural and historical design traditions. Distressed iron latches and cup pulls evoke weathered, aged pieces found in older homes. Hand-painted ceramic knobs add texture and visual interest without competing for attention. These materials suggest authentic wear rather than appearing brand new.

Vintage inspired hardware should reference specific historical periods accurately. Iron hardware suits farmhouse interiors because iron was the primary metal used in rural furniture construction. Ceramic knobs with simple painted patterns reflect folk art traditions. Select finishes that show aging and patina to achieve genuine farmhouse character rather than a staged appearance.
Mastering Painting Furniture DIY Techniques For A Flawless Finish
Best Paint Types For Wooden Dressers
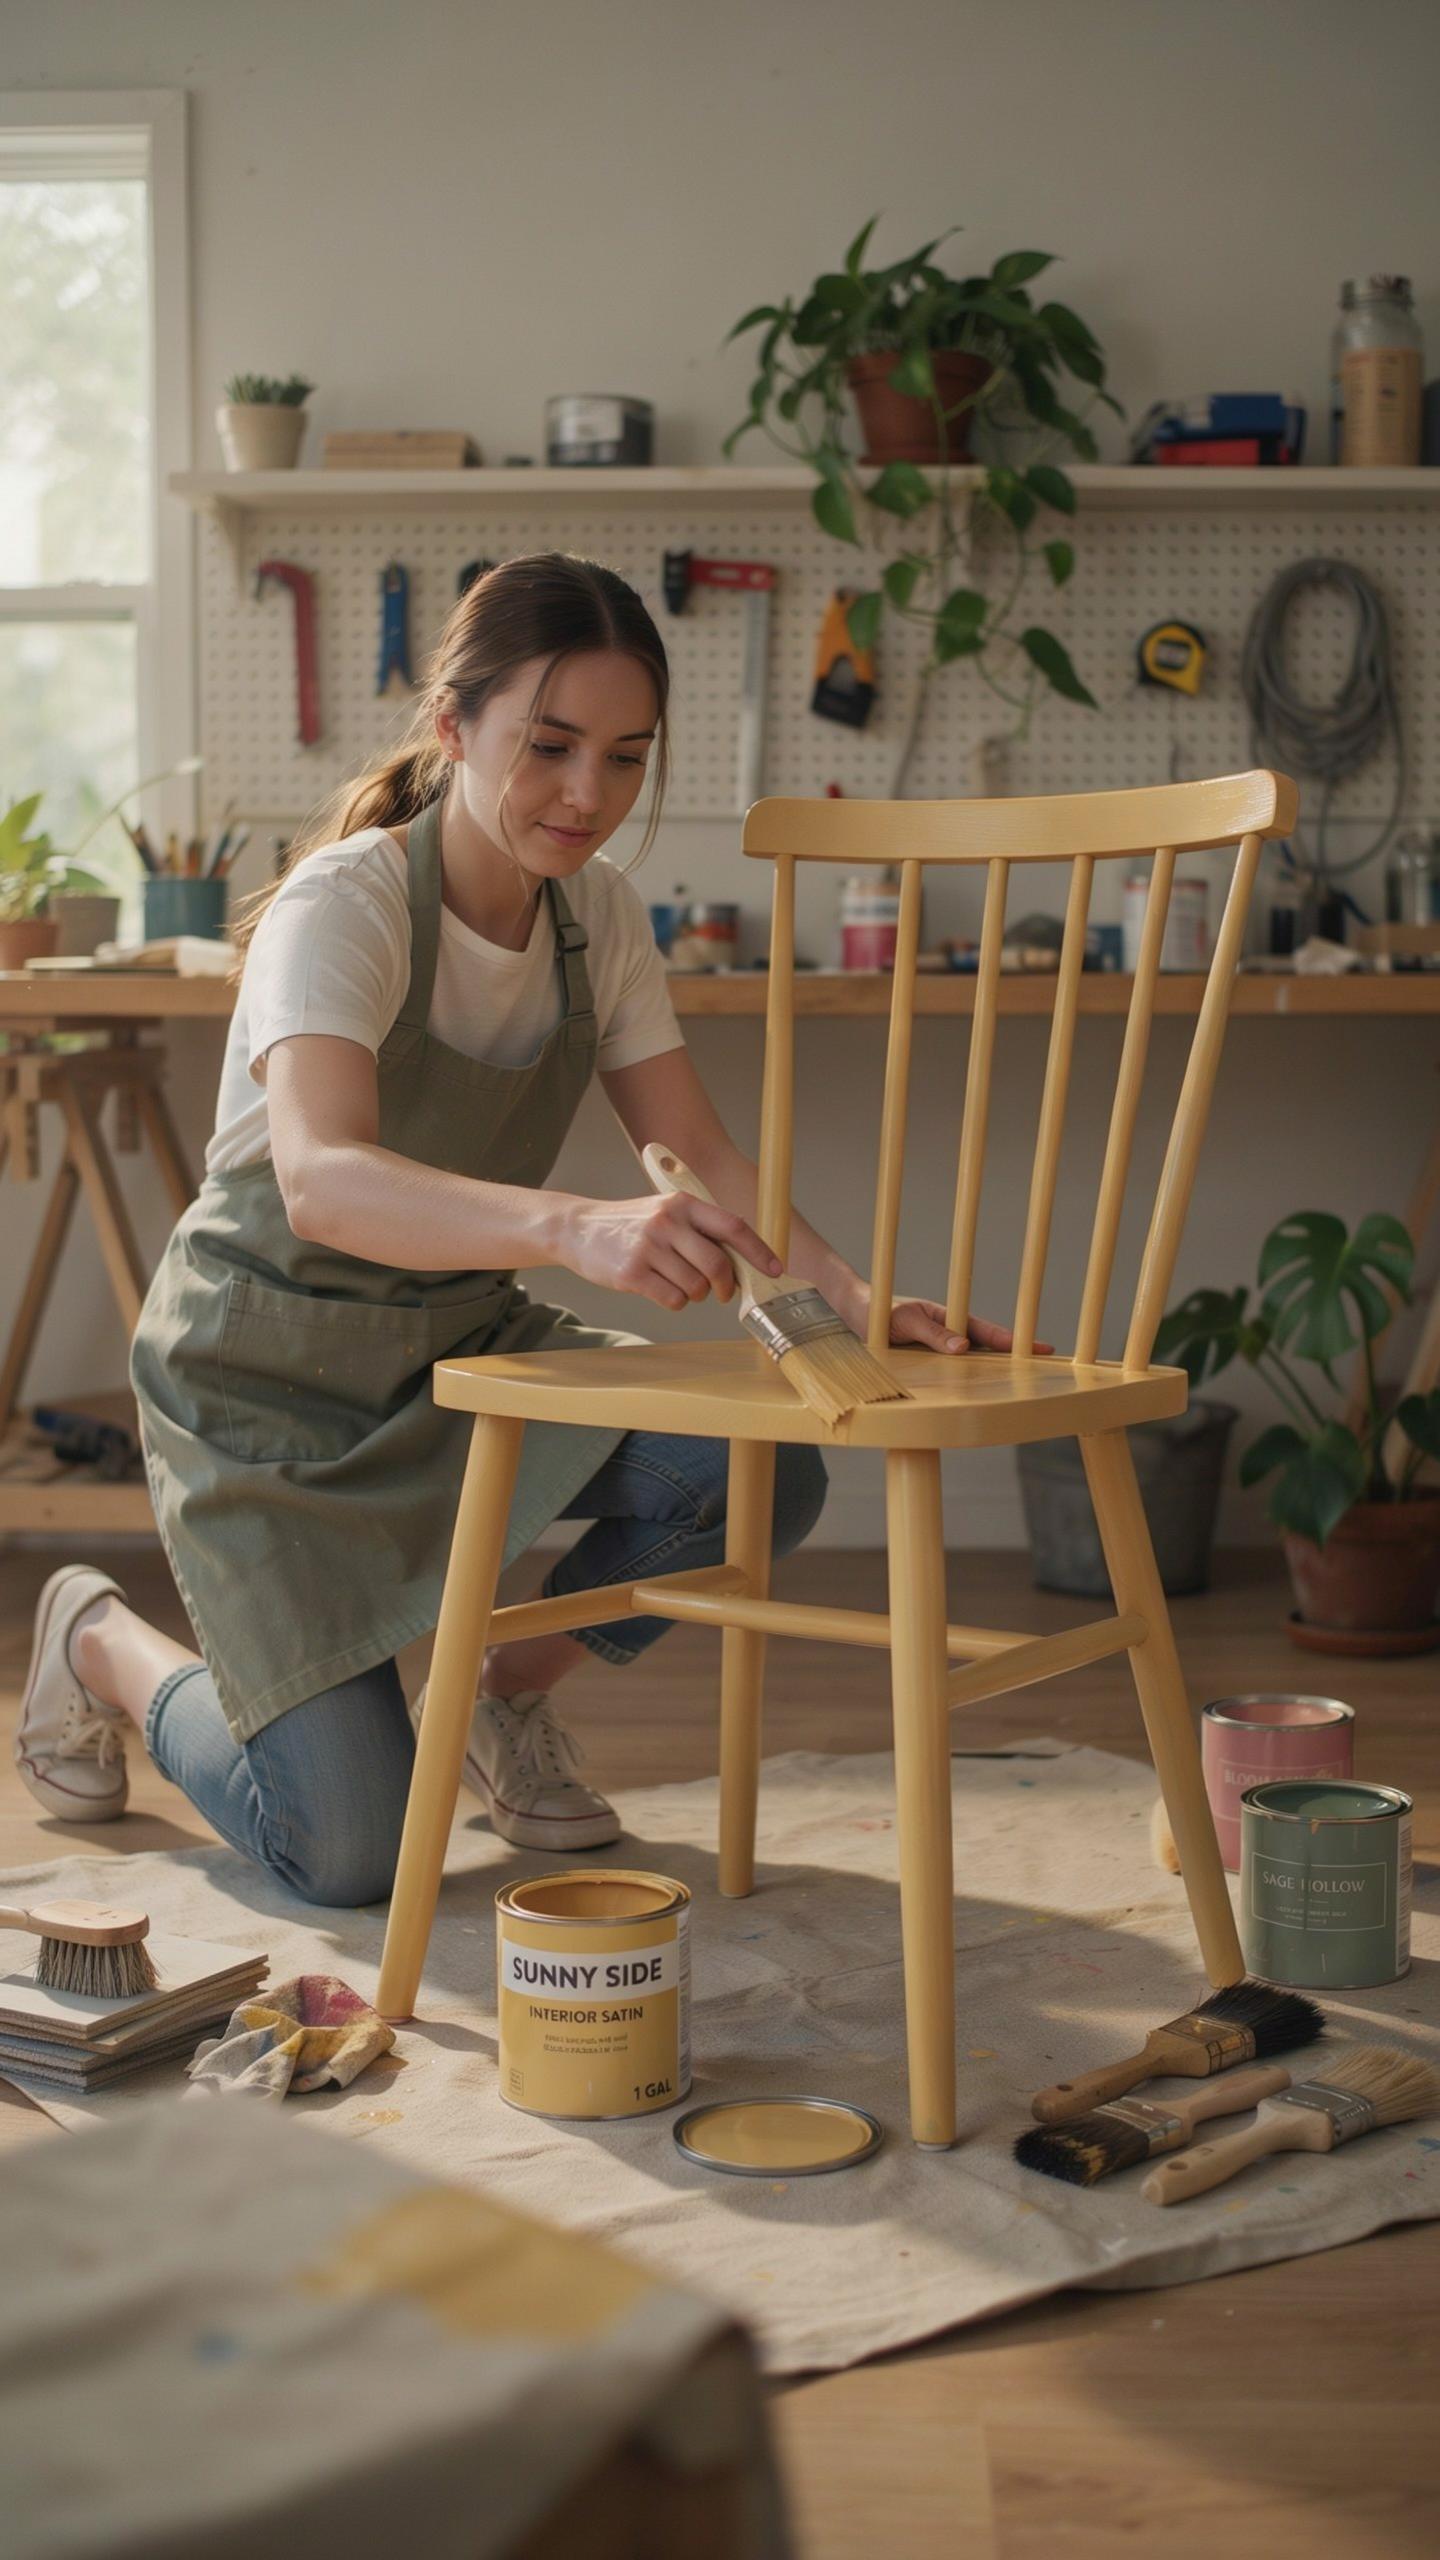
Chalk paint, mineral paint, and high-quality acrylic latex each deliver different results for dresser projects. Chalk paint adheres well to glossy surfaces without heavy prep work and produces a matte finish that pairs naturally with vintage hardware. Mineral paint offers superior durability and low odor, making it practical for bedroom furniture. Acrylic latex provides cost efficiency and easy cleanup while delivering solid coverage that works with any hardware aesthetic you select.
Your hardware choice influences paint sheen selection. Matte finishes complement ornate brass or antique handles by avoiding competing shine. Satin sheens work well with modern hardware and offer light reflectivity that hides minor surface imperfections. Semi-gloss finishes pair effectively with polished chrome or stainless steel hardware. Pick paint type based on your workspace ventilation, budget constraints, and desired durability level for the finished piece.
Applying Primer And Smooth Topcoats
Stain-blocking primers prevent wood tannins from bleeding through new paint, which matters when flipping older dressers with water stains or dark wood finishes. Apply primer in thin, even coats using a quality brush or foam roller. Primer creates surface uniformity that helps topcoat paint adhere properly and ensures color accuracy, especially important when your new hardware demands a specific aesthetic from the base finish.

Polycrylic topcoats protect painted surfaces from scratches, moisture, and daily handling that drawers experience. Two to three thin topcoat layers outperform one thick application by preventing brush marks and drips. Sand lightly between coats with 220-grit sandpaper to improve adhesion. This sequence keeps your hardware investment looking sharp and protects the paint finish for years of use.
Creative DIY Dresser Makeover Ideas To Express Your Style

Adding Texture With Fluted Wood Details
Wooden dowel rods create visual depth on flat drawer fronts. Glue thin dowels vertically or in patterns to the surface before painting. This technique costs less than replacing the entire dresser. The fluted effect mimics high-end furniture designs without the price tag. Sand everything smooth after the glue dries to prepare for finishing.
Fluted textures work best on modern and transitional style dressers. The added dimension catches light and makes hardware pop more dramatically. This approach works on any size drawer. Install your new handles after the paint cures completely. The texture remains durable for years when properly sealed.
Even the simplest antique chest holds a lifetime of memories, waiting for the gentle touch of a new handle to begin its next chapter in your home.
Using Bold Contrast Paint Colors
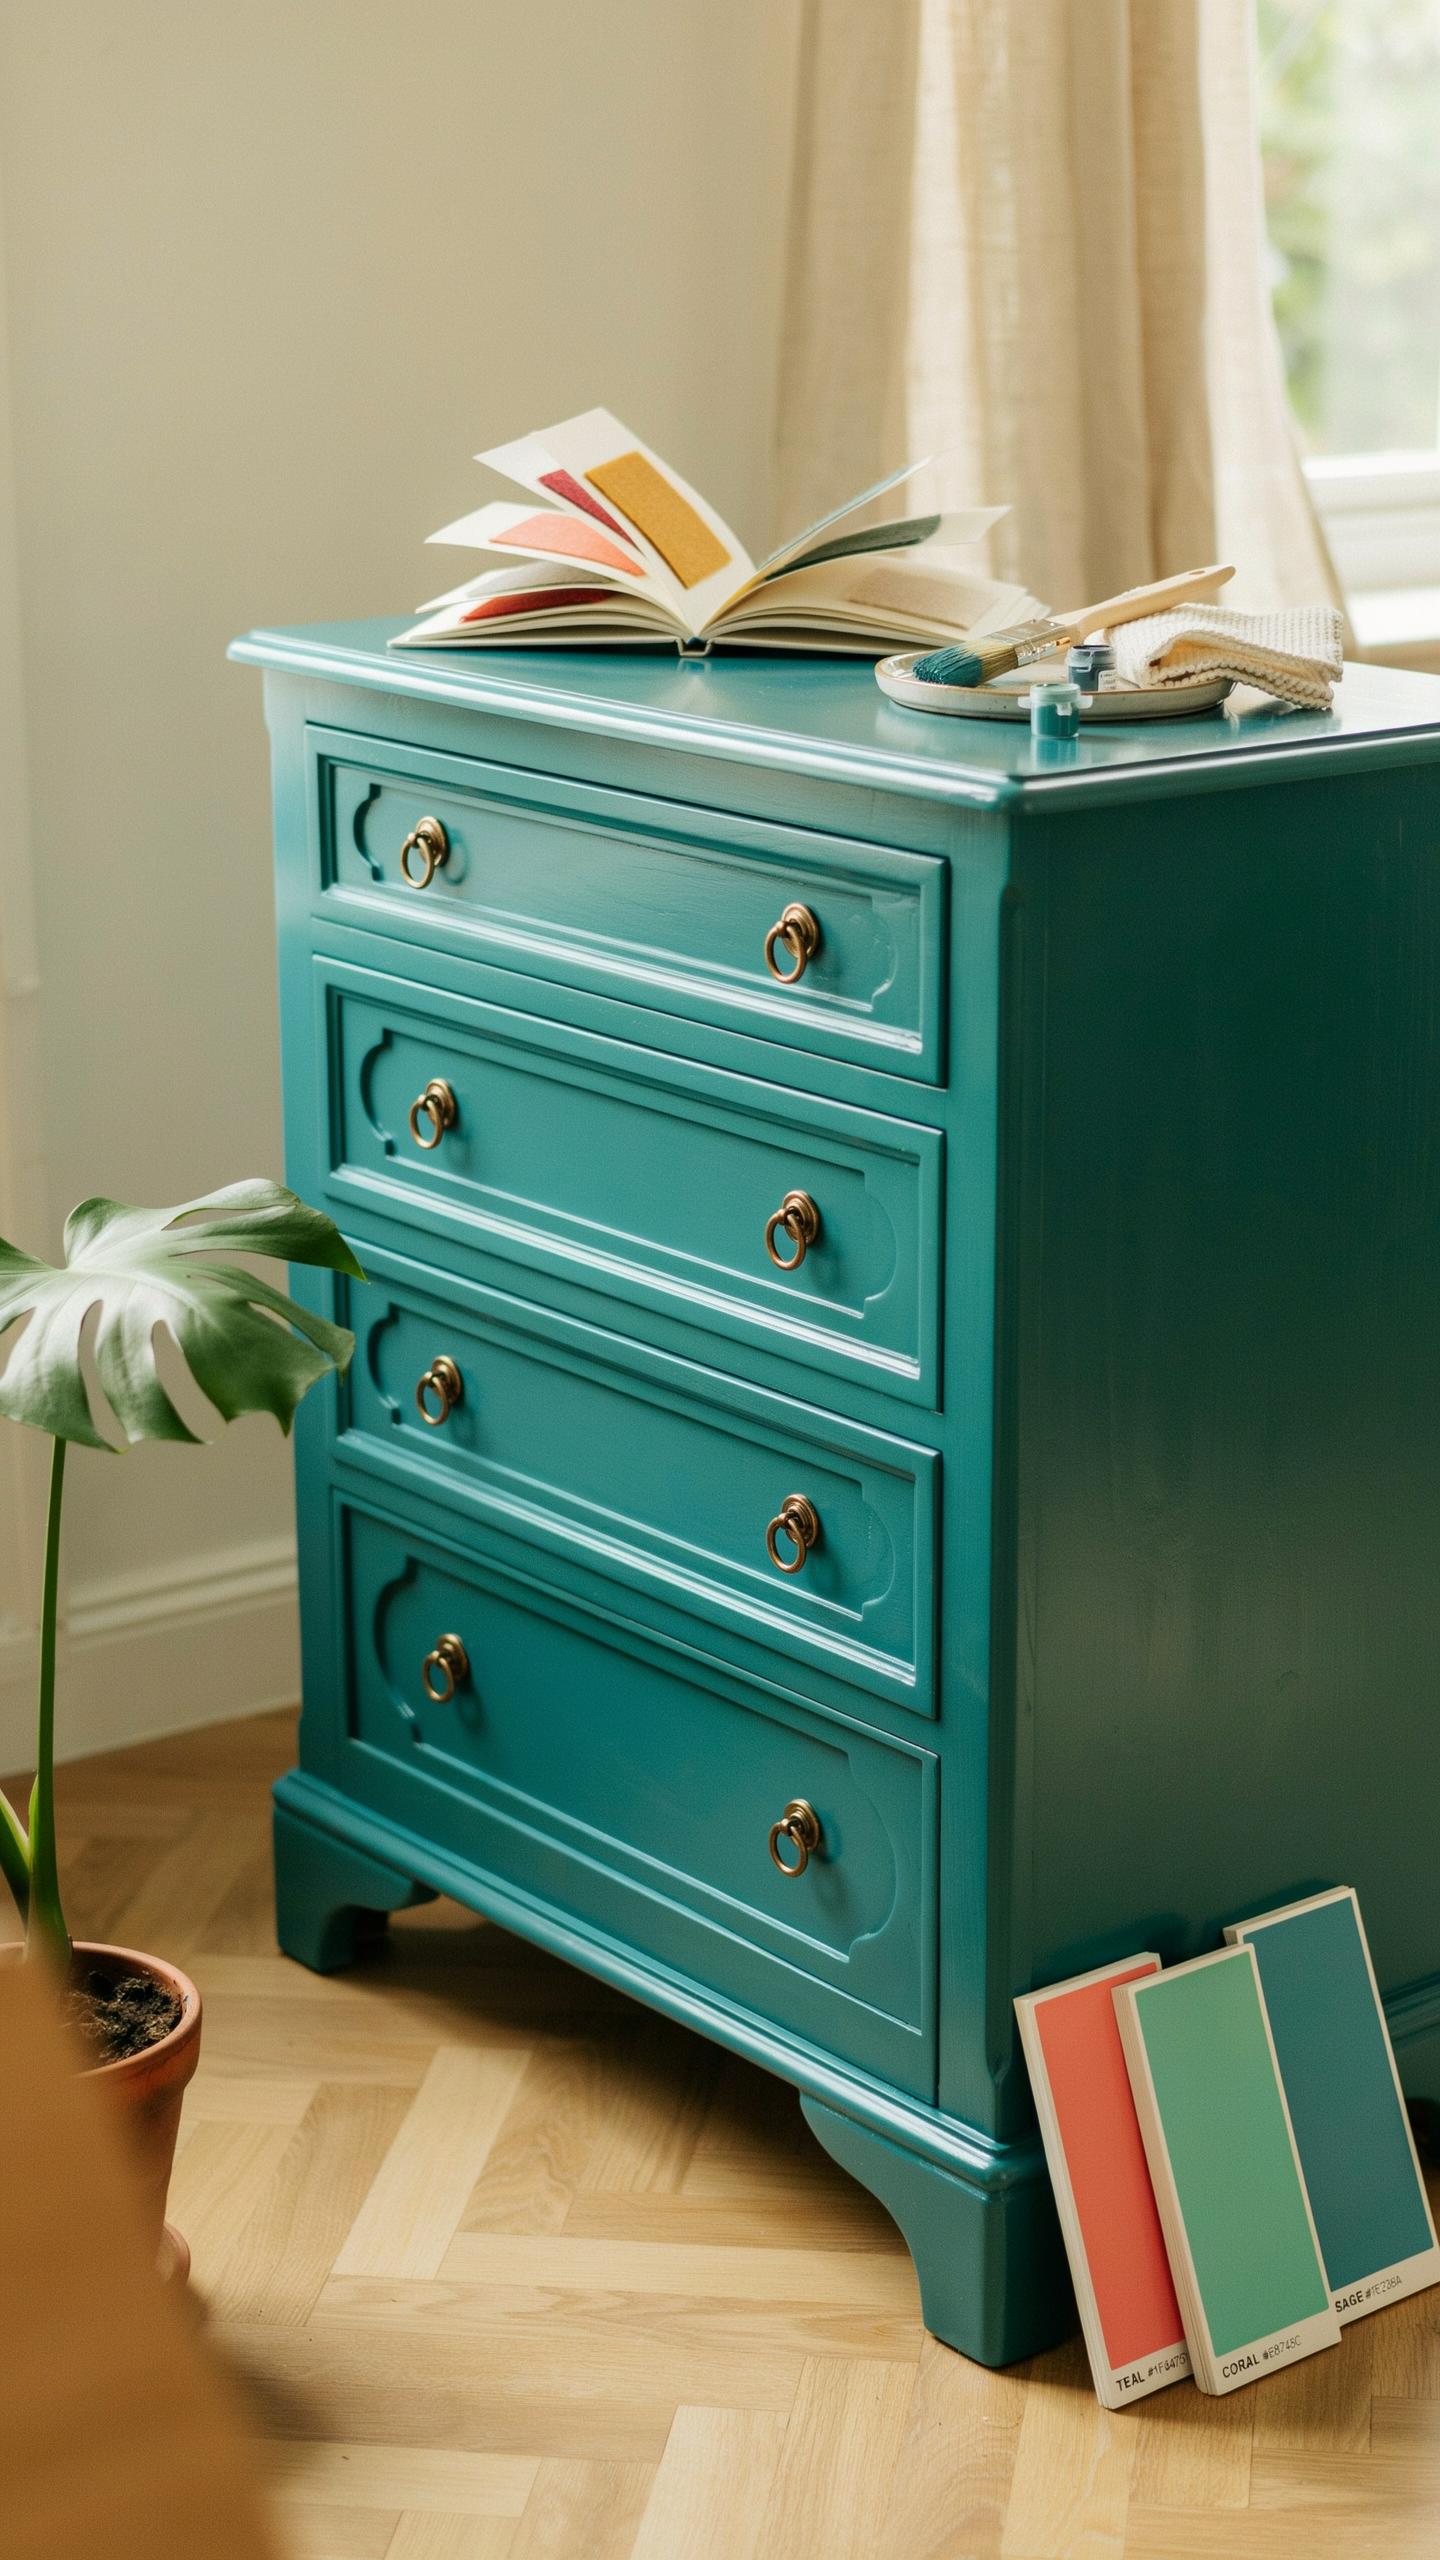
Dark navy or charcoal paint creates a strong base for bright hardware. Polished brass handles stand out immediately against these colors. The contrast makes your dresser a focal point in the bedroom. This combination works in contemporary and eclectic spaces. Choose paint with adequate primer to cover old finishes in one or two coats.
The color strategy amplifies the hardware investment. Brass handles cost more but deliver maximum impact against dark backgrounds. Light reflects off polished brass and draws the eye directly to the hardware. This approach transforms an old dresser into a statement piece. Apply hardware after paint fully cures to avoid smudging or damaging the finish.
A Spectacular Refinished Dresser Showcase And Design Analysis
The Magic Of Restoring Original Wood Grain
Stripping paint reveals the wood underneath. This process removes decades of finish buildup to expose the actual grain pattern. Once stripped, you assess the wood quality and decide between natural finish or stain. Light stains enhance grain visibility without darkening the piece too much. This approach works well with mid century and contemporary design styles.
Black metal hardware complements exposed wood grain effectively. The contrast between warm wood tones and cool metal creates visual balance. Structured hardware styles like recessed pulls or geometric handles maintain clean lines. This combination supports minimalist and modern design approaches. The hardware becomes a functional design element rather than an afterthought.
Styling Your Completed Furniture Piece
Top styling requires intentional placement and balance. Start with a statement mirror as your anchor piece. Add ceramic vases in coordinating colors on either side. Include a stack of three to five books for visual height variation. Position green foliage in one vase to add life to the arrangement.

Spacing matters more than quantity. Leave negative space between objects so the eye moves naturally across the surface. Group items in odd numbers to avoid symmetry that feels static. Ensure each piece serves a purpose or adds visual interest. This arrangement complements your new hardware and refinished wood without competing for attention.
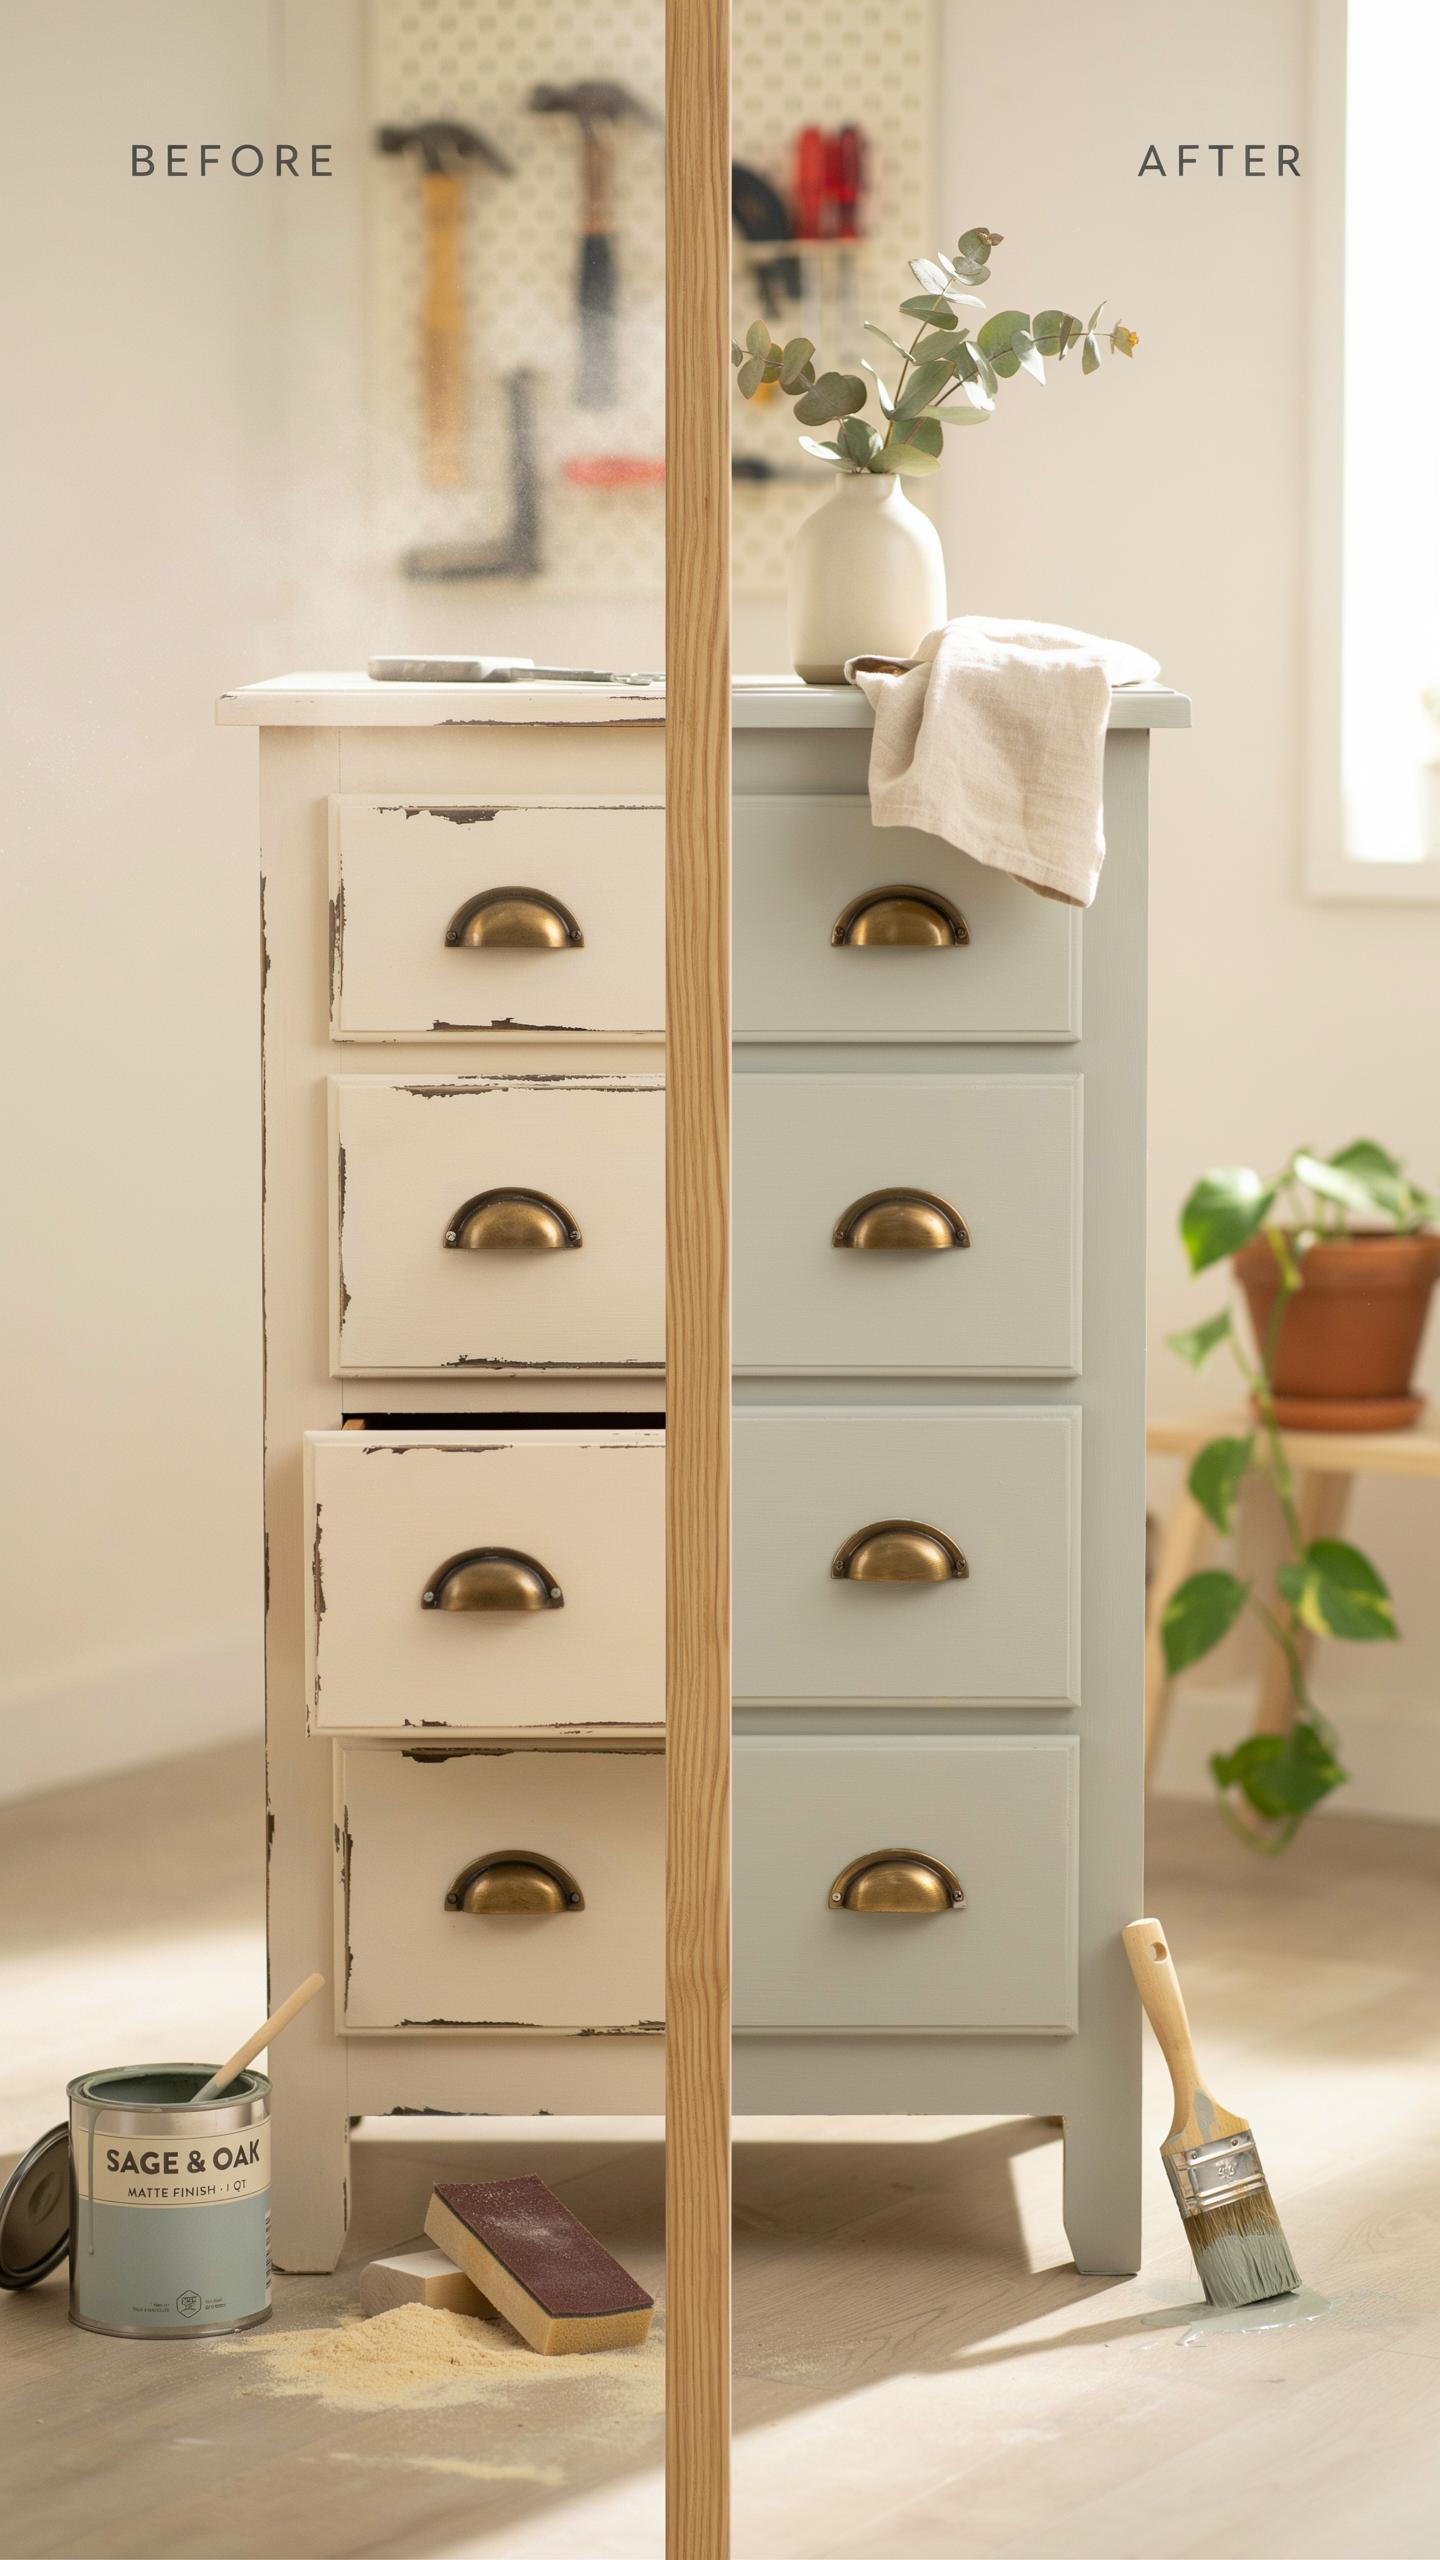
Analyzing Dresser Flips Before After Results And Lessons Learned
Common Hardware Installation Mistakes To Avoid
Measure center-to-center hole spacing before drilling. Guessing distances leads to misaligned hardware that looks crooked and functions poorly. Use the original holes as your baseline reference. Mark new positions with a pencil and verify twice. A template made from cardboard prevents errors and saves time during installation.
- Failing to measure center-to-center spacing: Incorrect distances create visible gaps between hardware and the dresser surface, ruining the finished appearance and requiring reinstallation work.
- Overtightening screws: Stripping wood fibers weakens the hold and damages the dresser structure, making hardware loose or causing cracks around mounting points.
- Skipping template alignment: Without a template, drill bits wander and create holes in wrong positions, forcing you to fill and redrill.
- Using wrong drill bit size: Bits too large create loose hardware; bits too small crack the wood during screw insertion and tightening.
- Installing hardware crooked: Uneven placement telegraphs sloppy work and undermines the professional appearance of your entire project investment.
Hand tighten screws first, then use a screwdriver with controlled pressure. Stop when resistance increases. Most wood strips from over-torque, not under-torque. Test hardware stability with a firm pull before considering installation complete.
Long Term Care And Maintenance Tips
Tighten mounting screws quarterly using a screwdriver with moderate pressure. Wood naturally shifts and settles, causing fasteners to loosen over months. Catches and pulls experience the most movement. A quick five-minute quarterly check prevents hardware from backing out completely or falling off.

Clean hardware with a soft, damp cloth only. Avoid bleach, acetone, and abrasive scrubbing pads that damage finishes and remove protective coatings. Dry immediately after cleaning. For stubborn grime, use warm soapy water. Chemical solvents degrade brass, chrome, and painted surfaces faster than natural aging alone.
Frequently Asked Questions

Why is changing the hardware considered the easiest way to update a piece of furniture?
Swapping handles and knobs is the ultimate gateway to home DIY because it requires zero power tools and provides instant gratification. A dresser flip project hardware swap allows you to shift styles—from rustic farmhouse to sleek modern—in under an hour. It is a low-effort, high-impact way to refresh a tired bedroom piece without the time-consuming mess of sanding or painting the entire frame.
How do I ensure the new handles will fit my existing dresser drawers?
The key is measuring the “center-to-center” distance between the existing screw holes. To make your dresser flip project hardware swap seamless, remove a current handle and measure the space from the middle of one hole to the middle of the other. If you find hardware you love that doesn’t match, you will need to fill the old holes with wood filler, sand them down, and drill fresh ones.
Can I achieve a high-end look if I am on a tight decorating budget?
Absolutely! You do not need designer prices to get a luxury aesthetic. Look for “bulk packs” on sites like Amazon or check clearance bins at local hardware stores. Another affordable trick is using metallic spray paint to refresh vintage pulls you already own or scouring thrift shops for unique mismatched sets. Small investment in hardware can make a twenty-dollar roadside find look like a thousand-dollar heirloom.



