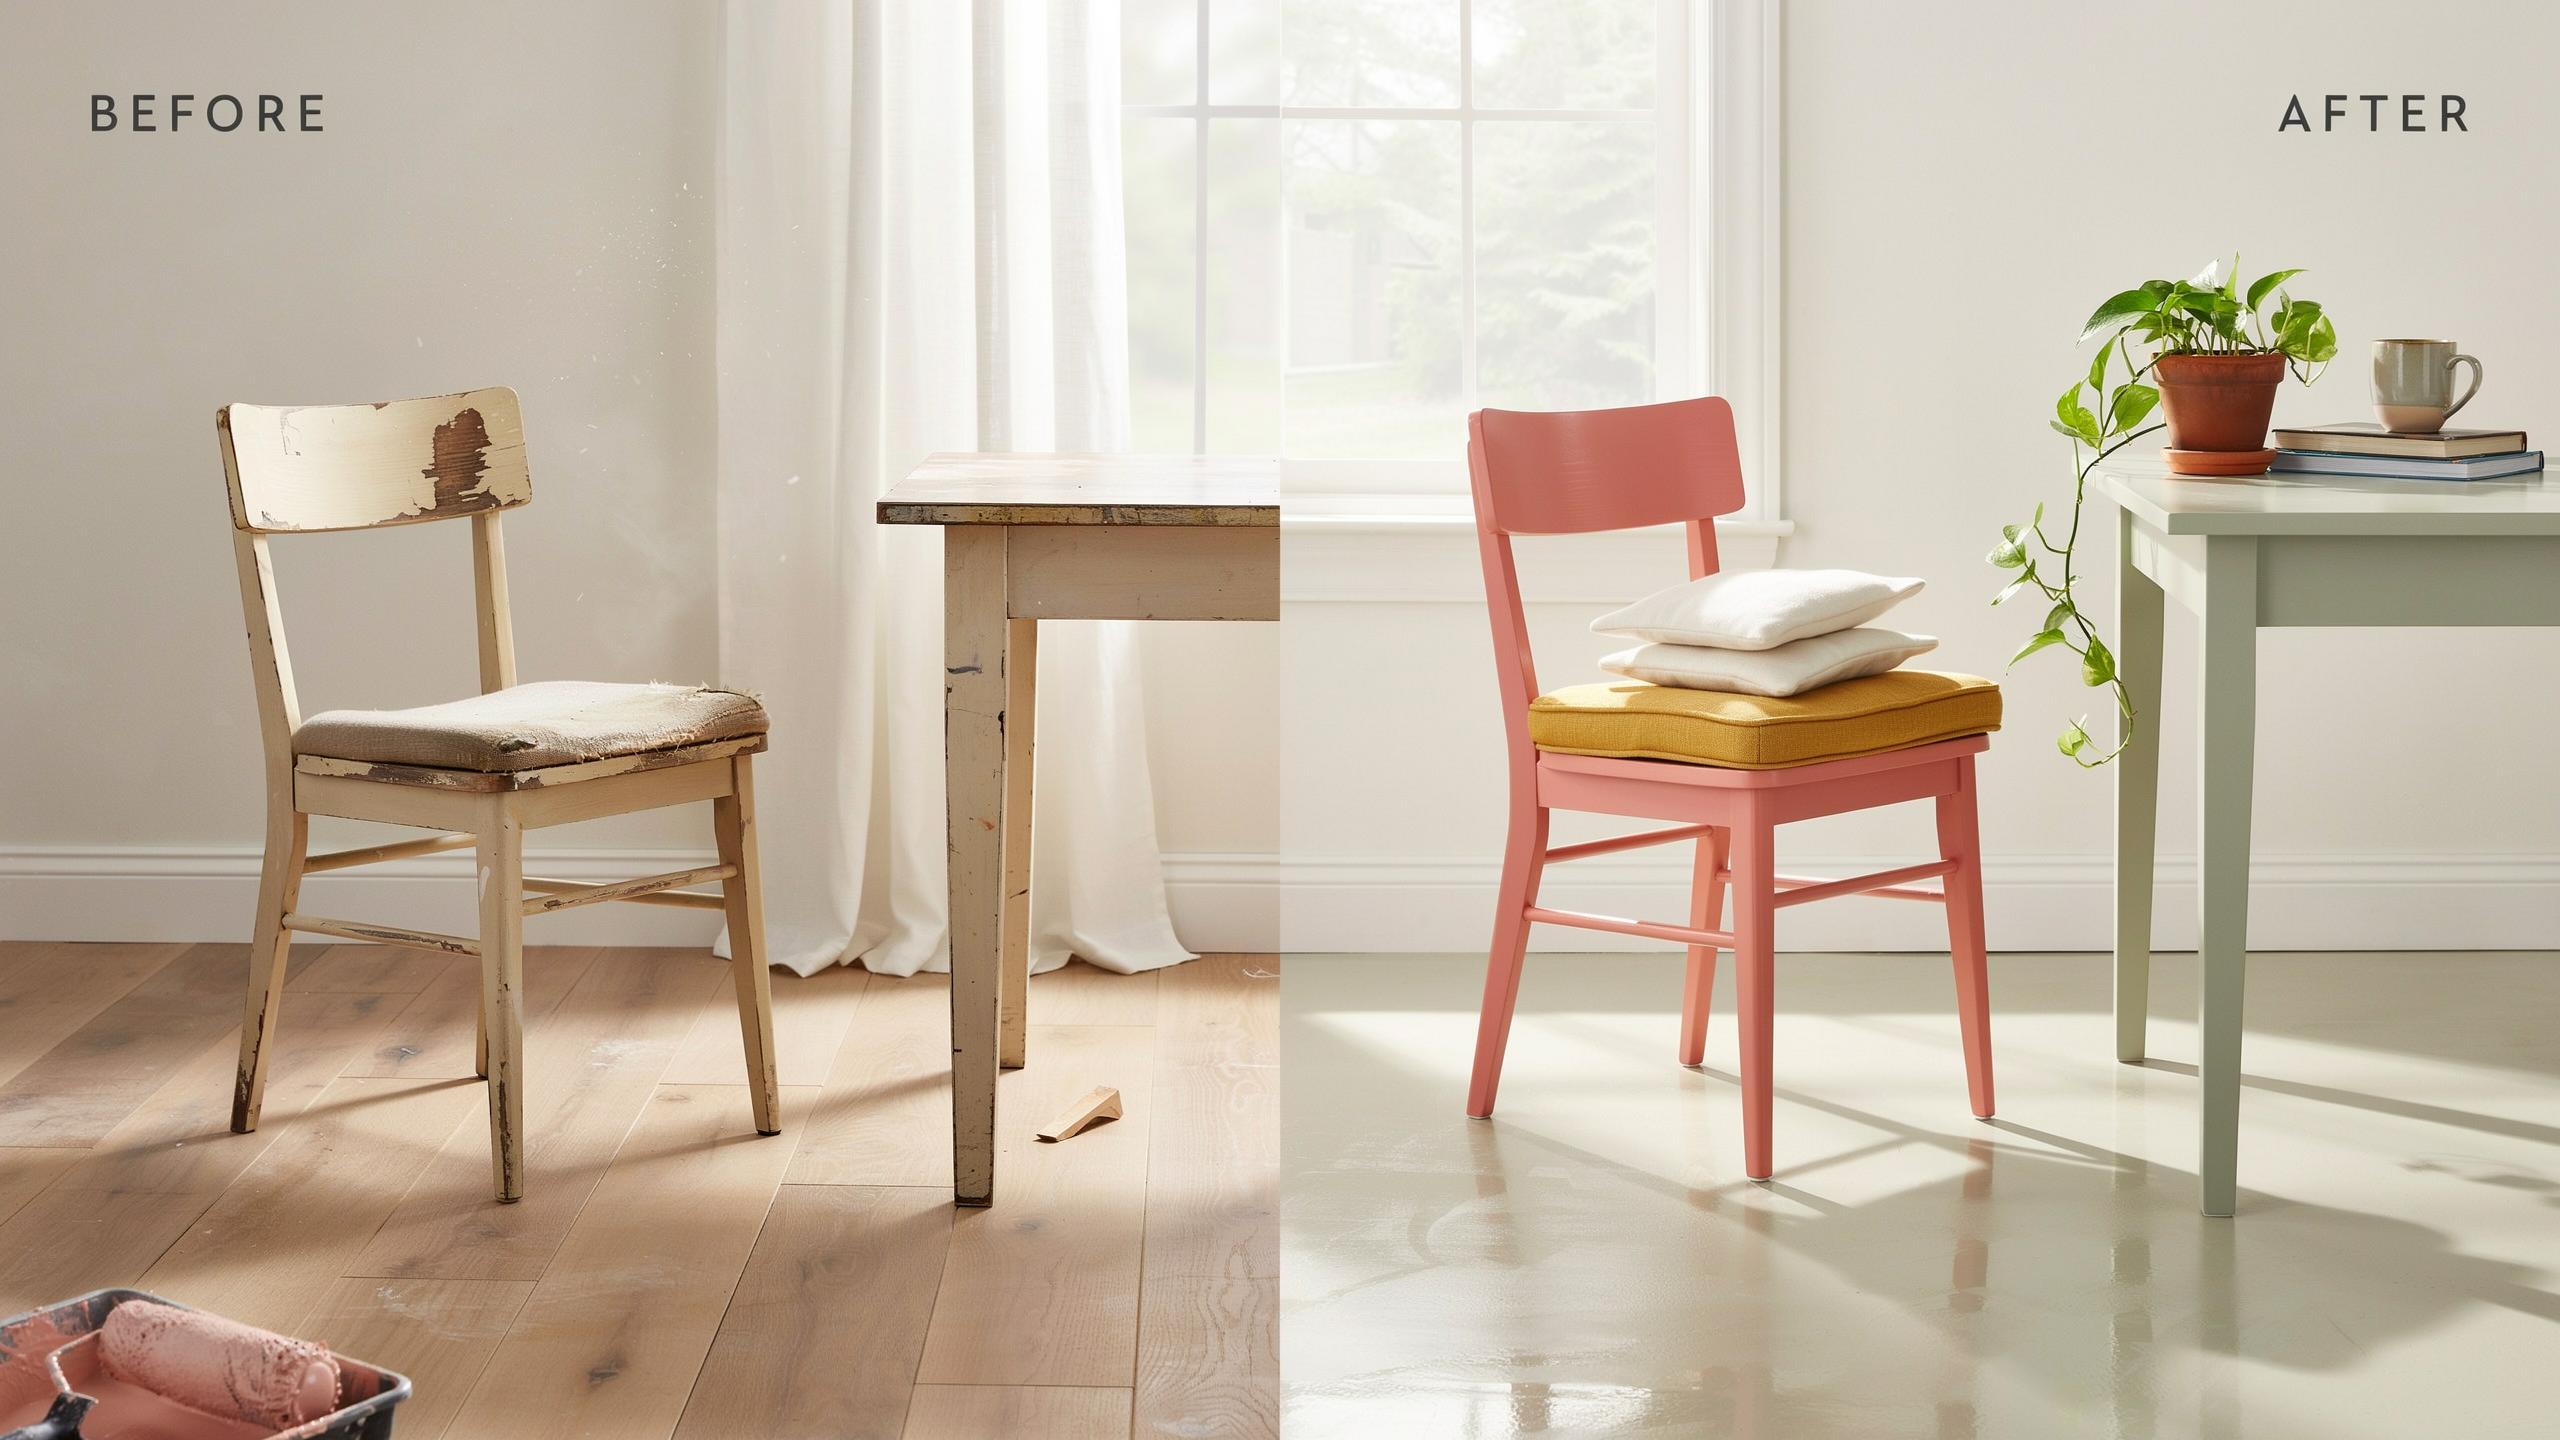
The Ultimate Guide To Refinishing Furniture DIY
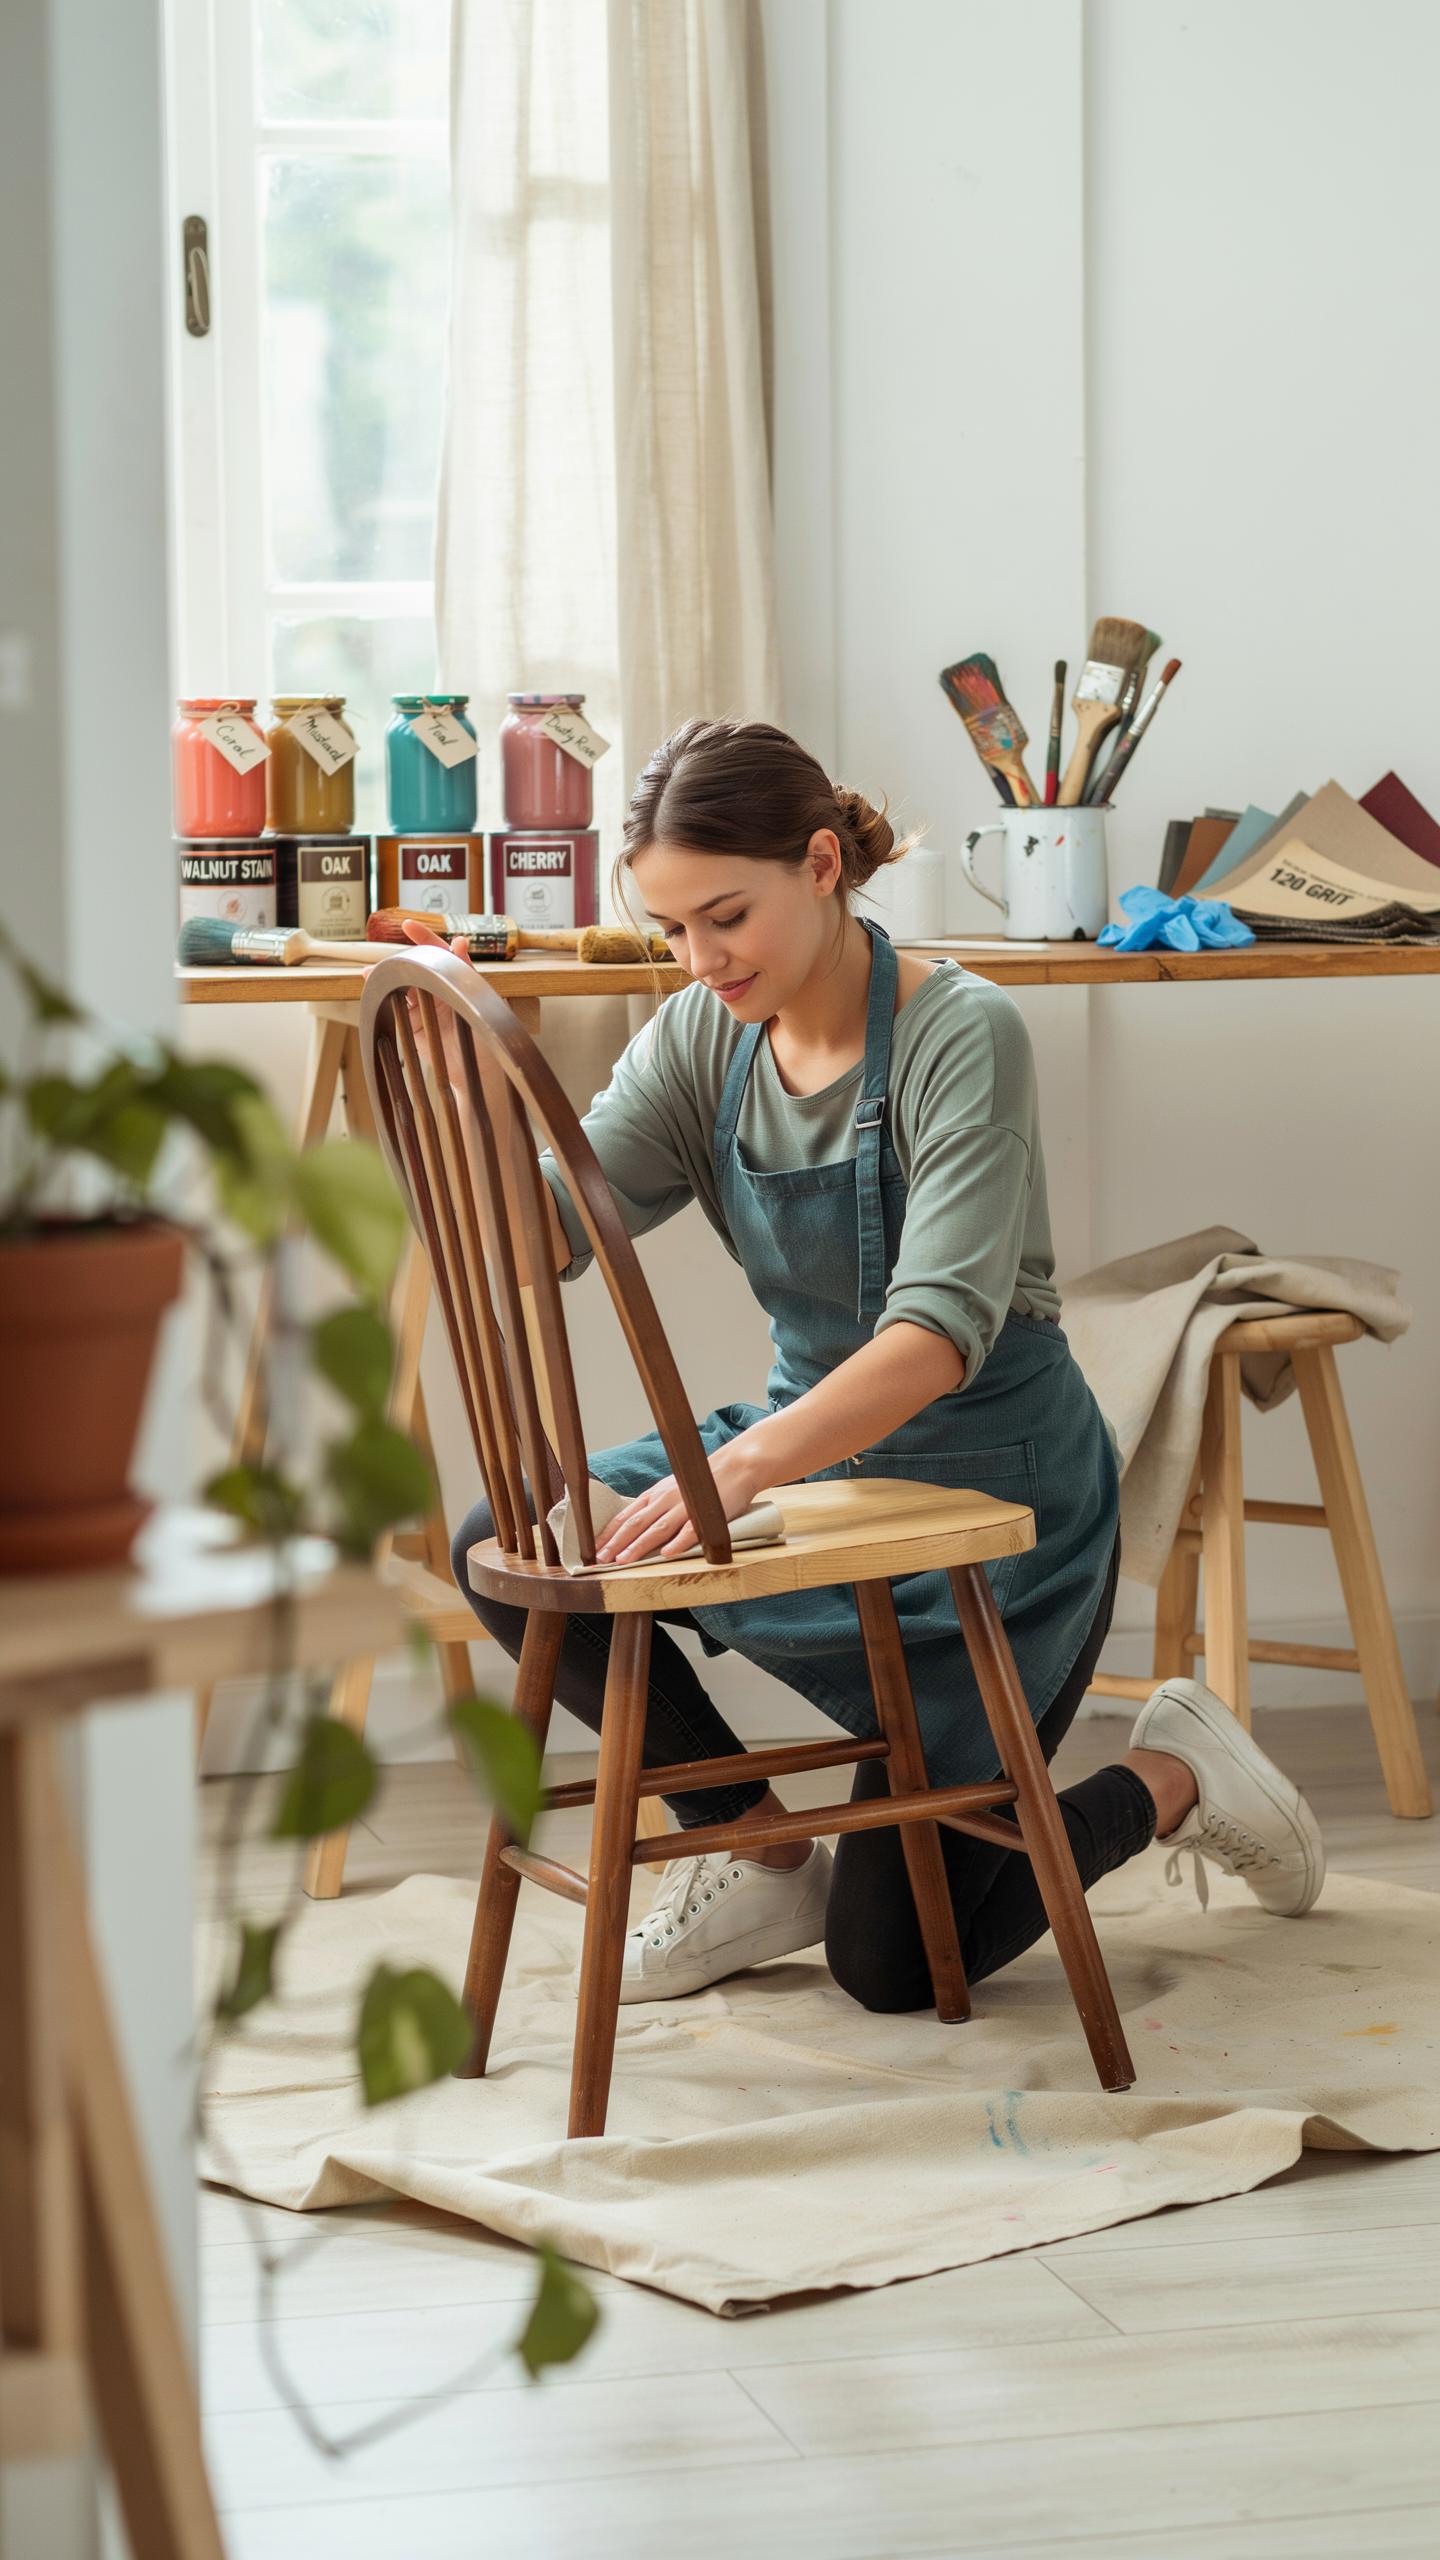
Essential Tools And Safety Gear Needed For Sanding And Stripping
You need specific tools to strip finishes and sand surfaces effectively. Invest in quality equipment rather than cheap alternatives that wear out fast. The right tools determine how quickly you finish and how professional the results look. Poor tools create uneven surfaces and waste time.
- Orbital Sander: Removes old finish and smooths wood surfaces. Electric models save hours versus hand sanding. Variable speed handles different grits without gouging.
- Sanding Blocks and Paper: Hand sanding reaches corners and edges orbital sanders miss. Stock multiple grits from 80 to 220. Coarse removes finish, fine prepares for stain or paint.
- Chemical Stripper or Heat Gun: Chemical strippers dissolve old varnish and paint layers. Heat guns work on latex paint but risk wood damage. Choose based on finish type and wood species.
- Safety Respirator: Dust and fumes from strippers cause lung damage. N95 masks block dust. Cartridge respirators handle chemical vapors. Non-negotiable for indoor work.
- Eye Protection and Gloves: Debris flies during sanding and stripping. Chemical strippers burn skin on contact. Safety glasses prevent eye injuries. Nitrile gloves protect against caustic substances.
Protection matters as much as efficiency. Dust masks prevent inhalation of fine particles. Work gloves prevent chemical burns and splinters. Eye protection stops debris from causing permanent damage. Treat safety equipment as mandatory costs, not optional purchases.
Assessing Wood Quality And Potential
Examine the wood type before starting any refinishing work. Solid wood accepts stain and takes multiple refinishes. Particle board, MDF, and veneer have limits. Wrong assessment wastes materials and effort on pieces that cannot be saved.
Run your hand across surfaces to feel the material. Solid wood shows grain patterns and has consistent density. Veneer feels thin with a backing layer underneath. Particle board feels soft and crumbles when chipped. Tap edges to listen for hollow sounds in veneered pieces. Check joints for separation or water damage that indicates structural failure. Solid wood pieces without major damage justify refinishing investment. Veneered pieces work if veneer is intact and glued securely.
Step By Step Before And After Furniture Makeover
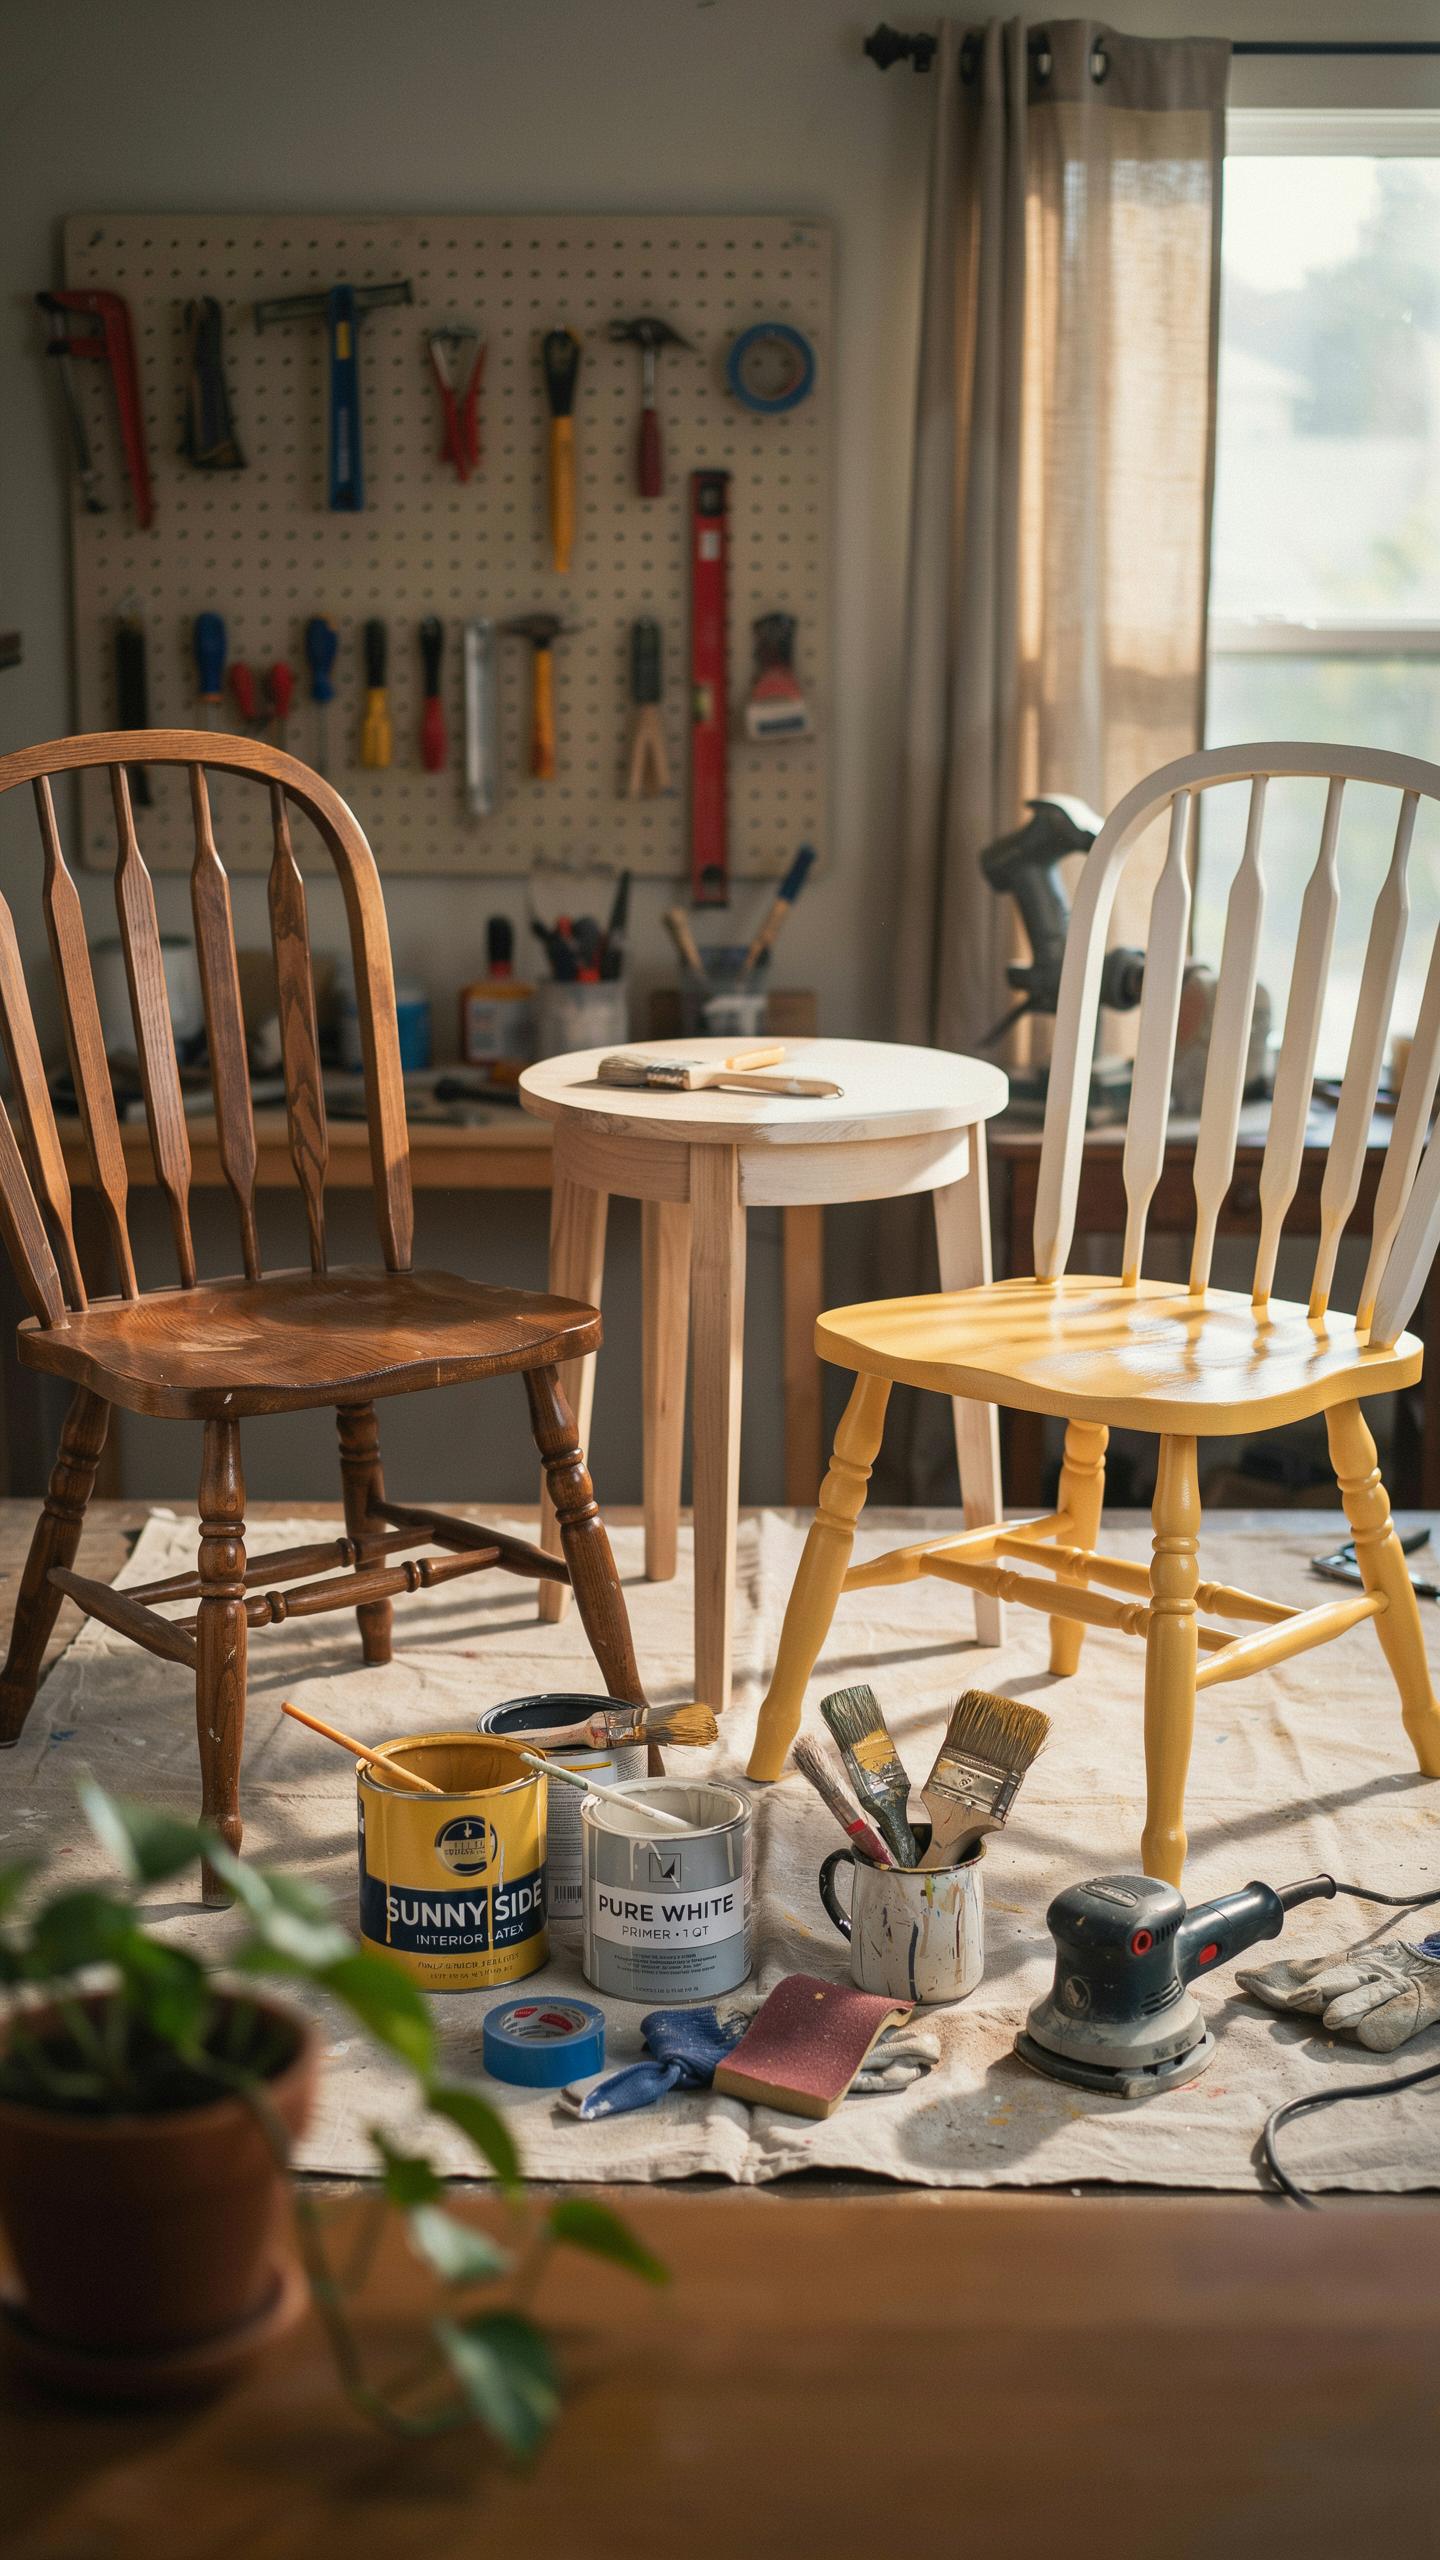
Cleaning And Prepping Surfaces Correctly
Start with a thorough cleaning. Remove dust, debris, and old finish buildup using a vacuum and damp cloth. For greasy surfaces like kitchen tables, use a degreaser or TSP (trisodium phosphate) solution. Let the piece dry completely before sanding. This step prevents contamination that ruins paint adhesion and final results.
Sanding creates the mechanical profile surfaces need for paint or stain to grip. Use 120-grit sandpaper for initial passes on varnished or glossy finishes. Move to 150 or 180-grit for smoothing. Sand with the grain direction when possible. Wipe away all dust with a tack cloth before applying any finish. Skipping proper prep causes peeling, bubbling, and premature failure of your finish coat.
Applying Paint Or Wood Stain Finishes
Paint application requires three conditions: proper temperature, correct tool selection, and adequate drying time between coats. Apply paint in thin layers rather than one thick coat. Use a brush for detail work and a roller for flat surfaces. Latex paint works well for most flips and dries faster than oil-based options. Allow full cure time per manufacturer instructions, typically 24 to 48 hours, before use.
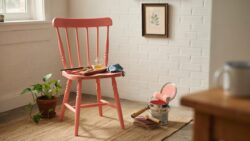
Wood stain penetrates the grain and shows wood character through the color. Pre-stain conditioner prevents blotchy absorption on softwoods. Apply stain with a brush or cloth, wiping excess after three to five minutes for consistent color. Multiple thin coats build richer color than one heavy application. Seal stained surfaces with polyurethane or wax to protect against daily wear and moisture damage.
Pro Tips For A Successful Diy Furniture Renovation
Repairing Damaged Wood Veneer
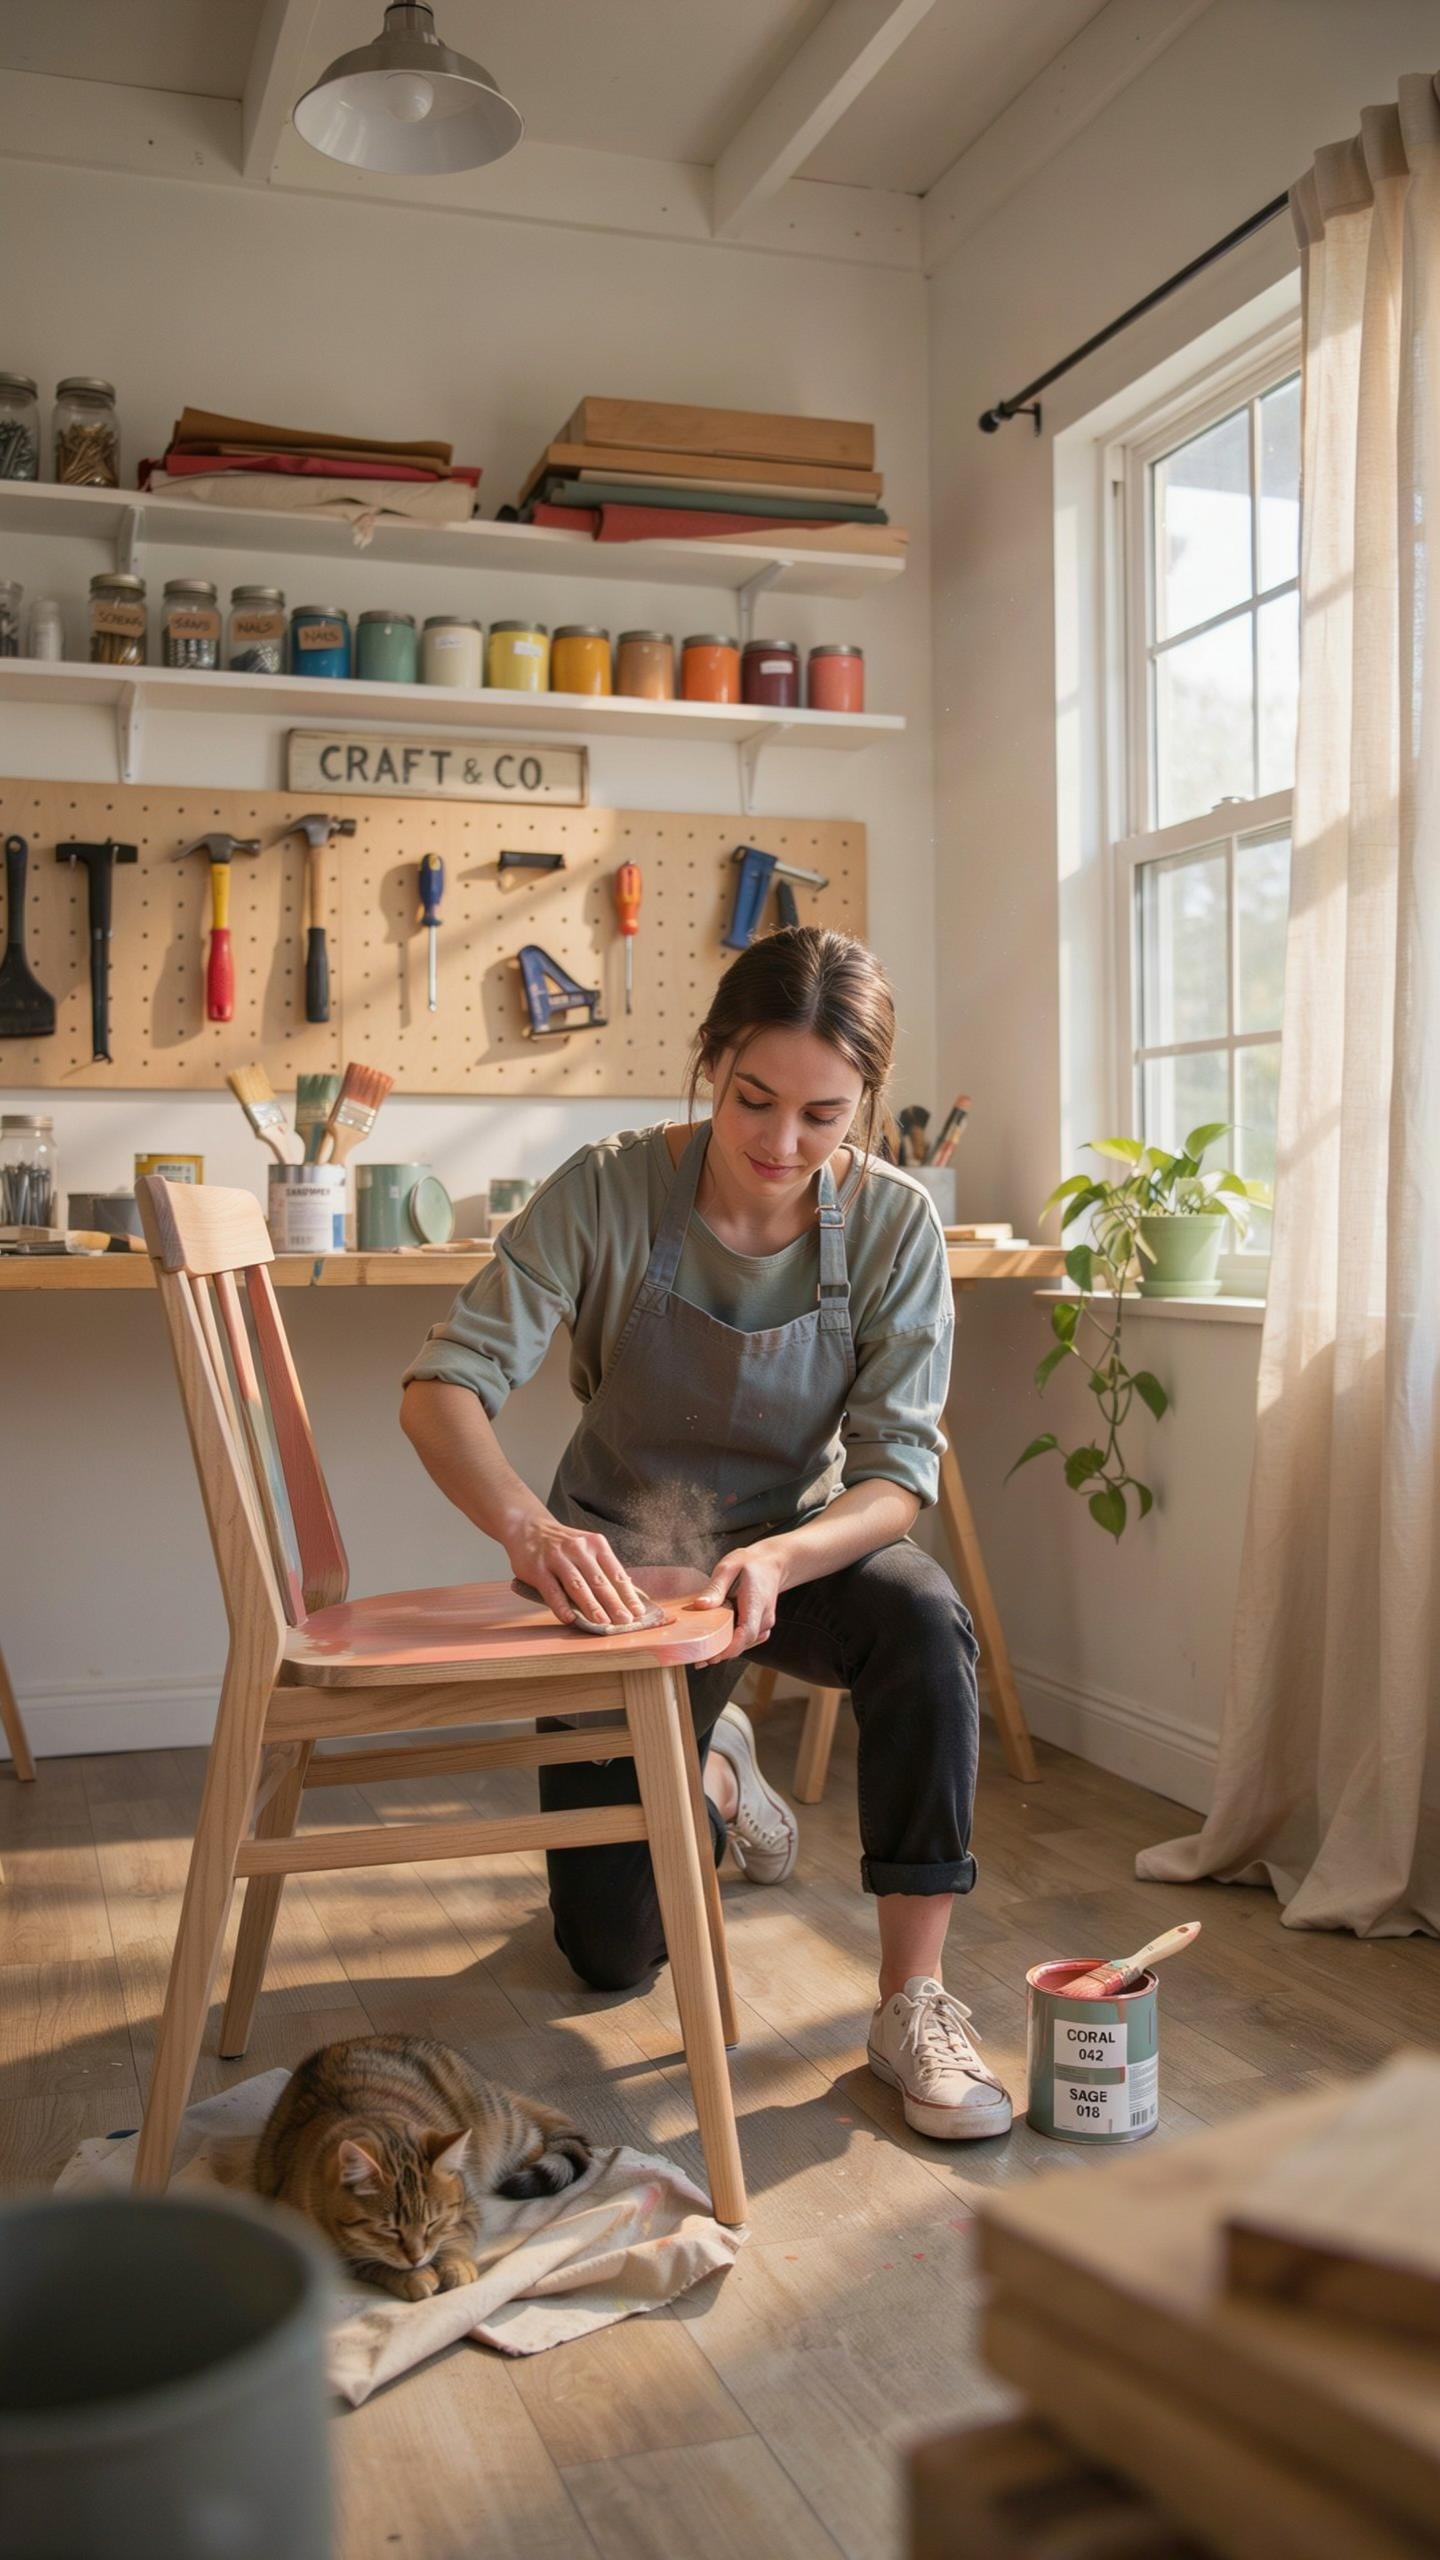
Wood veneer damage happens when the thin wood layer separates from its base substrate. This occurs through moisture exposure, impact, or age-related adhesive failure. You identify veneer problems by feeling raised edges, spotting bubbles, or noticing cracks. Address this early because damaged veneer spreads and compromises the entire piece’s structural integrity and resale value.
Start repair by lifting the damaged veneer section carefully using a chisel or scraper. Apply heat with a hair dryer to soften old adhesive underneath. Remove old glue residue completely, then apply fresh contact cement or wood glue to both surfaces. Press the veneer down firmly and clamp it overnight. Sand smooth once dry using 120 grit sandpaper, then finish with stain or topcoat matching the original surface.
Upgrading Hardware For Modern Style
Hardware changes deliver the fastest visual transformation on furniture flip projects. Modern hardware uses clean lines, minimal ornamentation, and materials like brushed brass, matte black, or stainless steel instead of ornate brass or chrome. The right hardware complements both minimalist and mid-century design aesthetics. Poor hardware choices undermine quality restoration work and signal lack of attention to detail.

Measure existing hole patterns before purchasing new hardware to avoid drilling additional holes when possible. Position handles and knobs proportionally on drawer fronts and doors using the rule of thirds or centering them visually. Install hardware after completing all finishing work like stain or paint to prevent damage during application. Quality hardware costs more upfront but increases perceived value and buyer confidence in your finished piece significantly.
Creative Furniture Restoration Ideas For Every Room
Restoring Antique Dressers To Glory
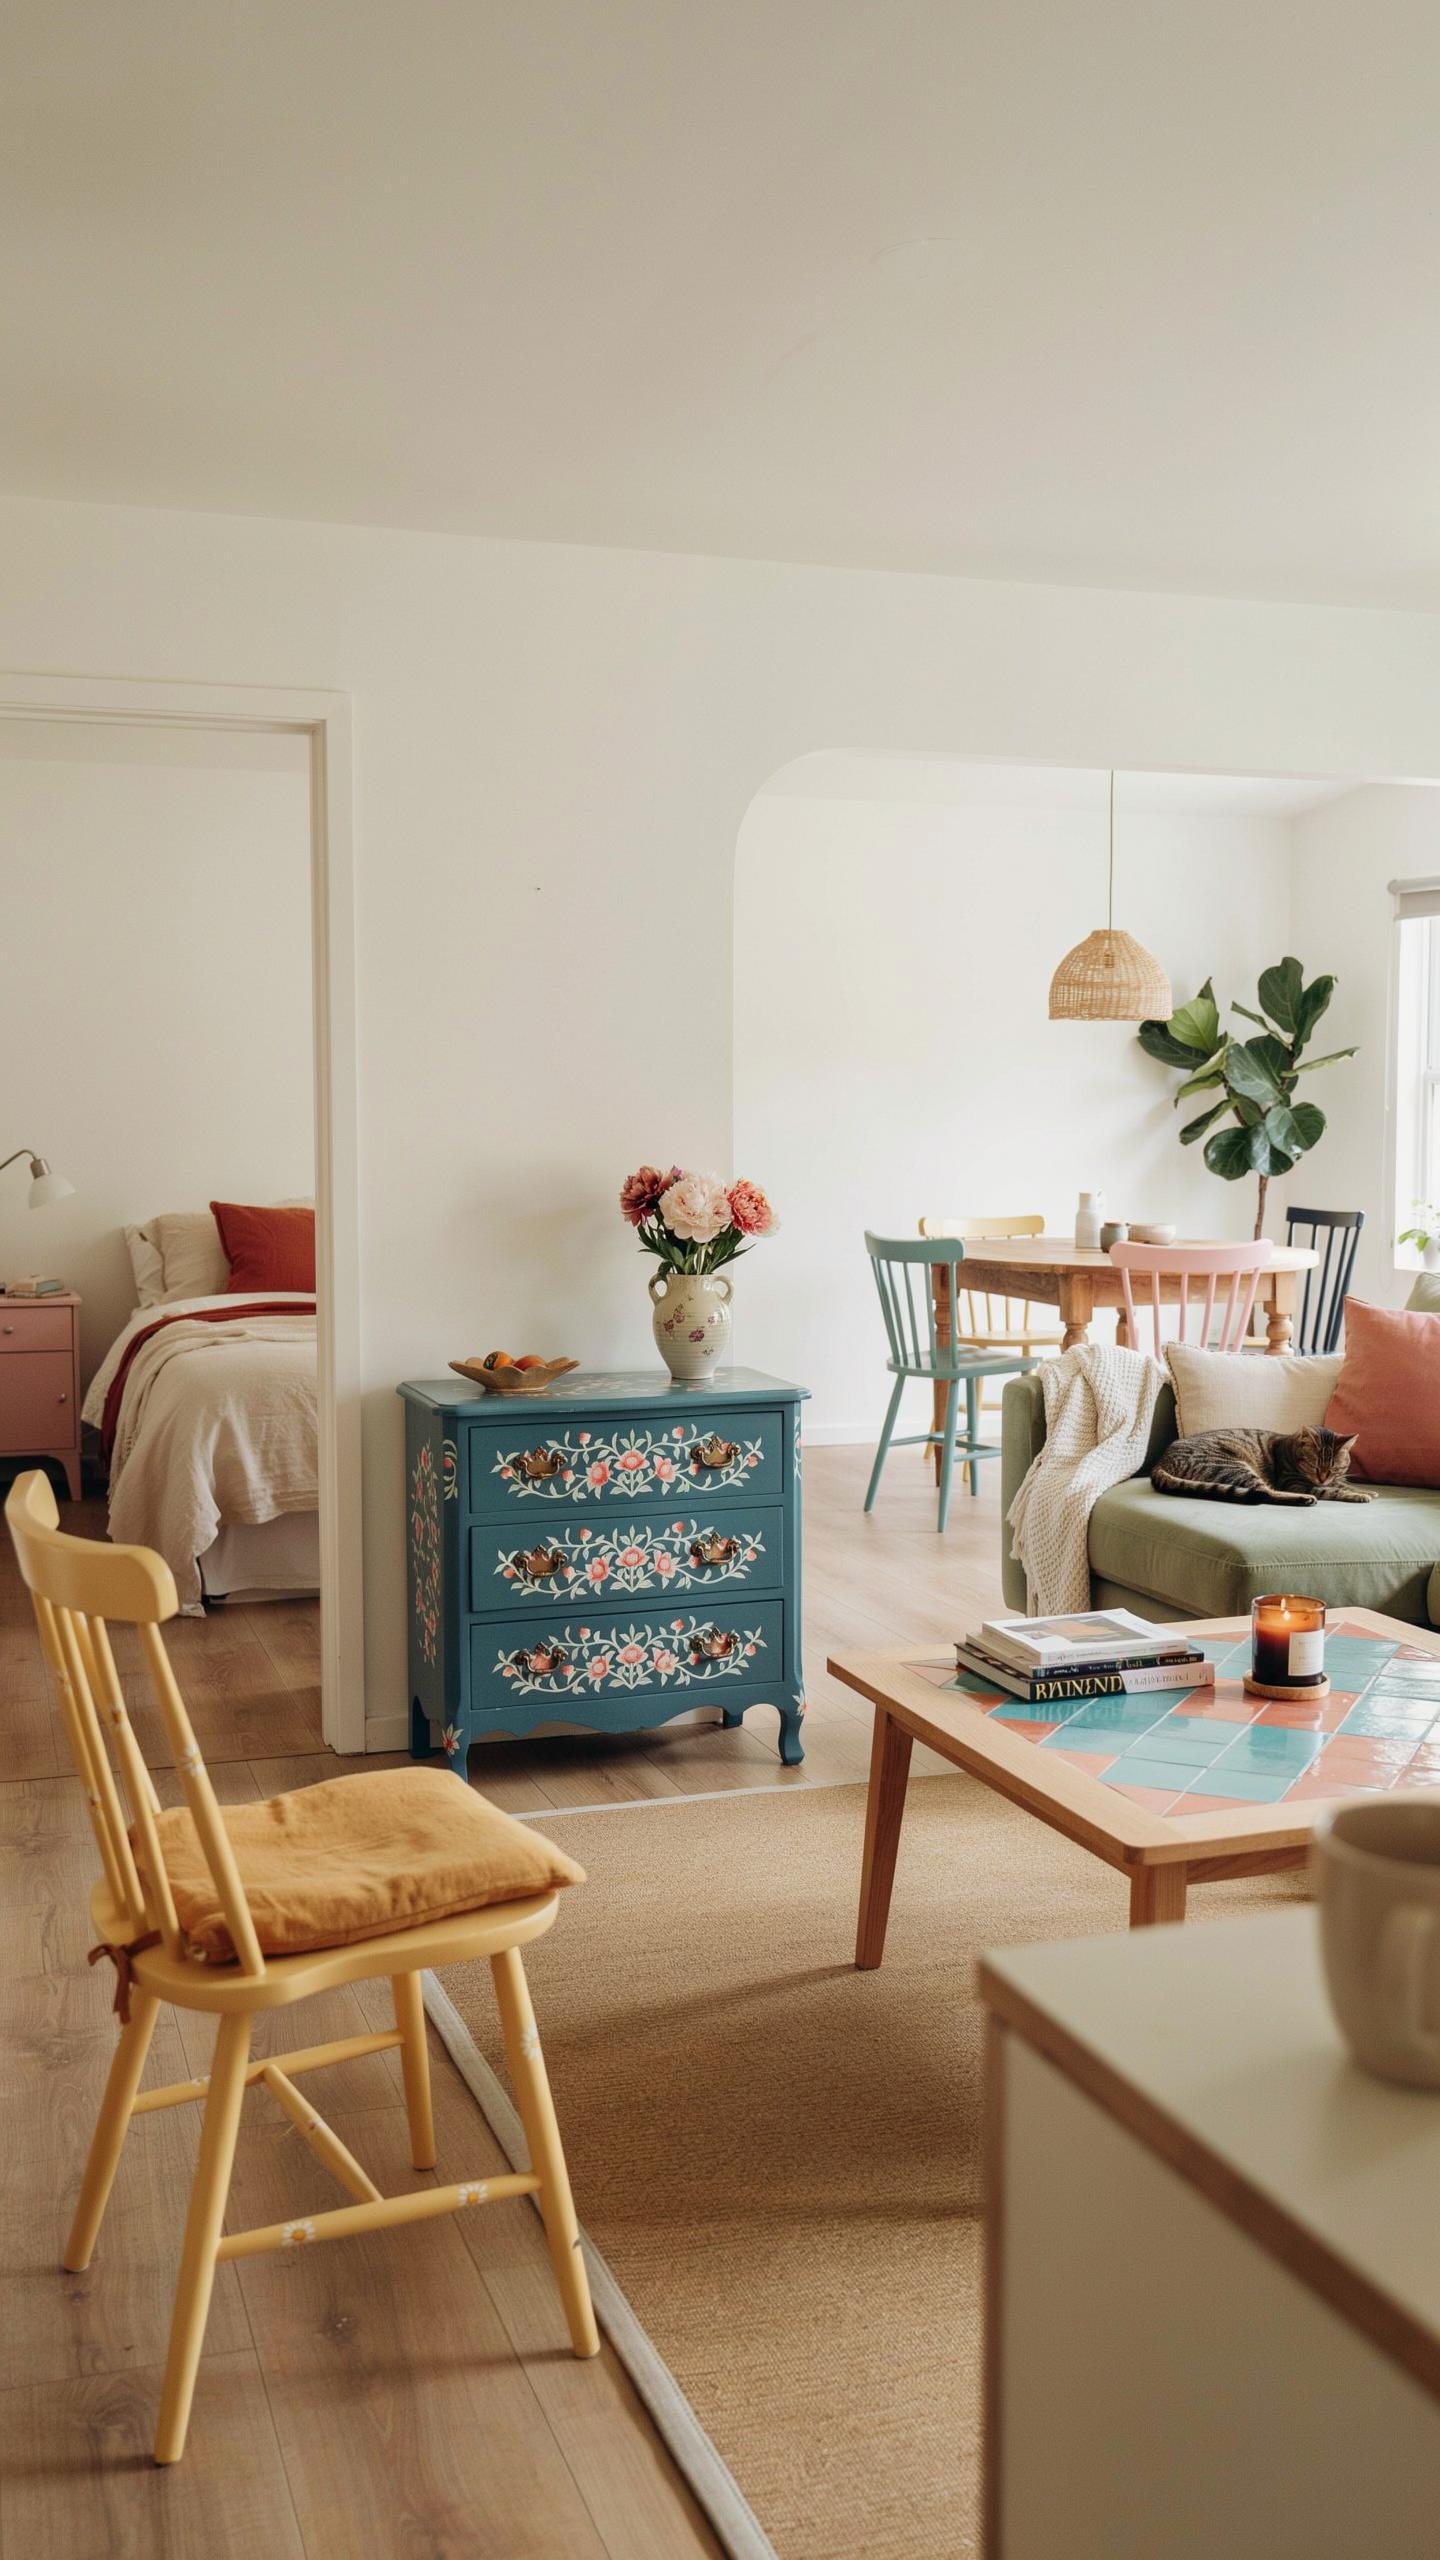
Antique dressers need proper assessment before restoration starts. Examine the wood type, existing finish condition, and structural integrity first. Natural oil and wax finishes work best on solid wood because they penetrate the grain and highlight the wood’s actual character. Strip old finishes using chemical removers or sanding, then sand progressively from coarse to fine grit. This preparation determines your final result.
Apply natural oils like tung oil or Danish oil in thin coats, allowing each coat to dry fully. Wax follows once oil cures completely. This combination creates a protective layer that ages gracefully and remains repairable. The finish requires maintenance but rewards you with depth and warmth that stain cannot replicate. Antique dressers flipped this way command higher resale value because buyers recognize authentic restoration work.
Repurposing Old Nightstands For Modern Homes
Thrifted nightstands become valuable assets when you apply two-tone styling that matches current design trends. Paint the base one color and the top surface another creates visual interest without requiring structural changes. Select paint that adheres to wood properly and choose colors that complement your target market’s preferences. This approach transforms outdated pieces into statement furniture that justifies higher flip prices.
Two-tone styling works because it disguises wear on original finishes and hides minor imperfections effectively. Matte and glossy combinations add dimension. This technique requires minimal investment in materials but demands precision in execution. Nightstands completed this way flip faster because they photograph well for online listings and appeal to buyers seeking affordable contemporary bedroom solutions.
Admiring The Beauty Of Refinished Furniture Before And After
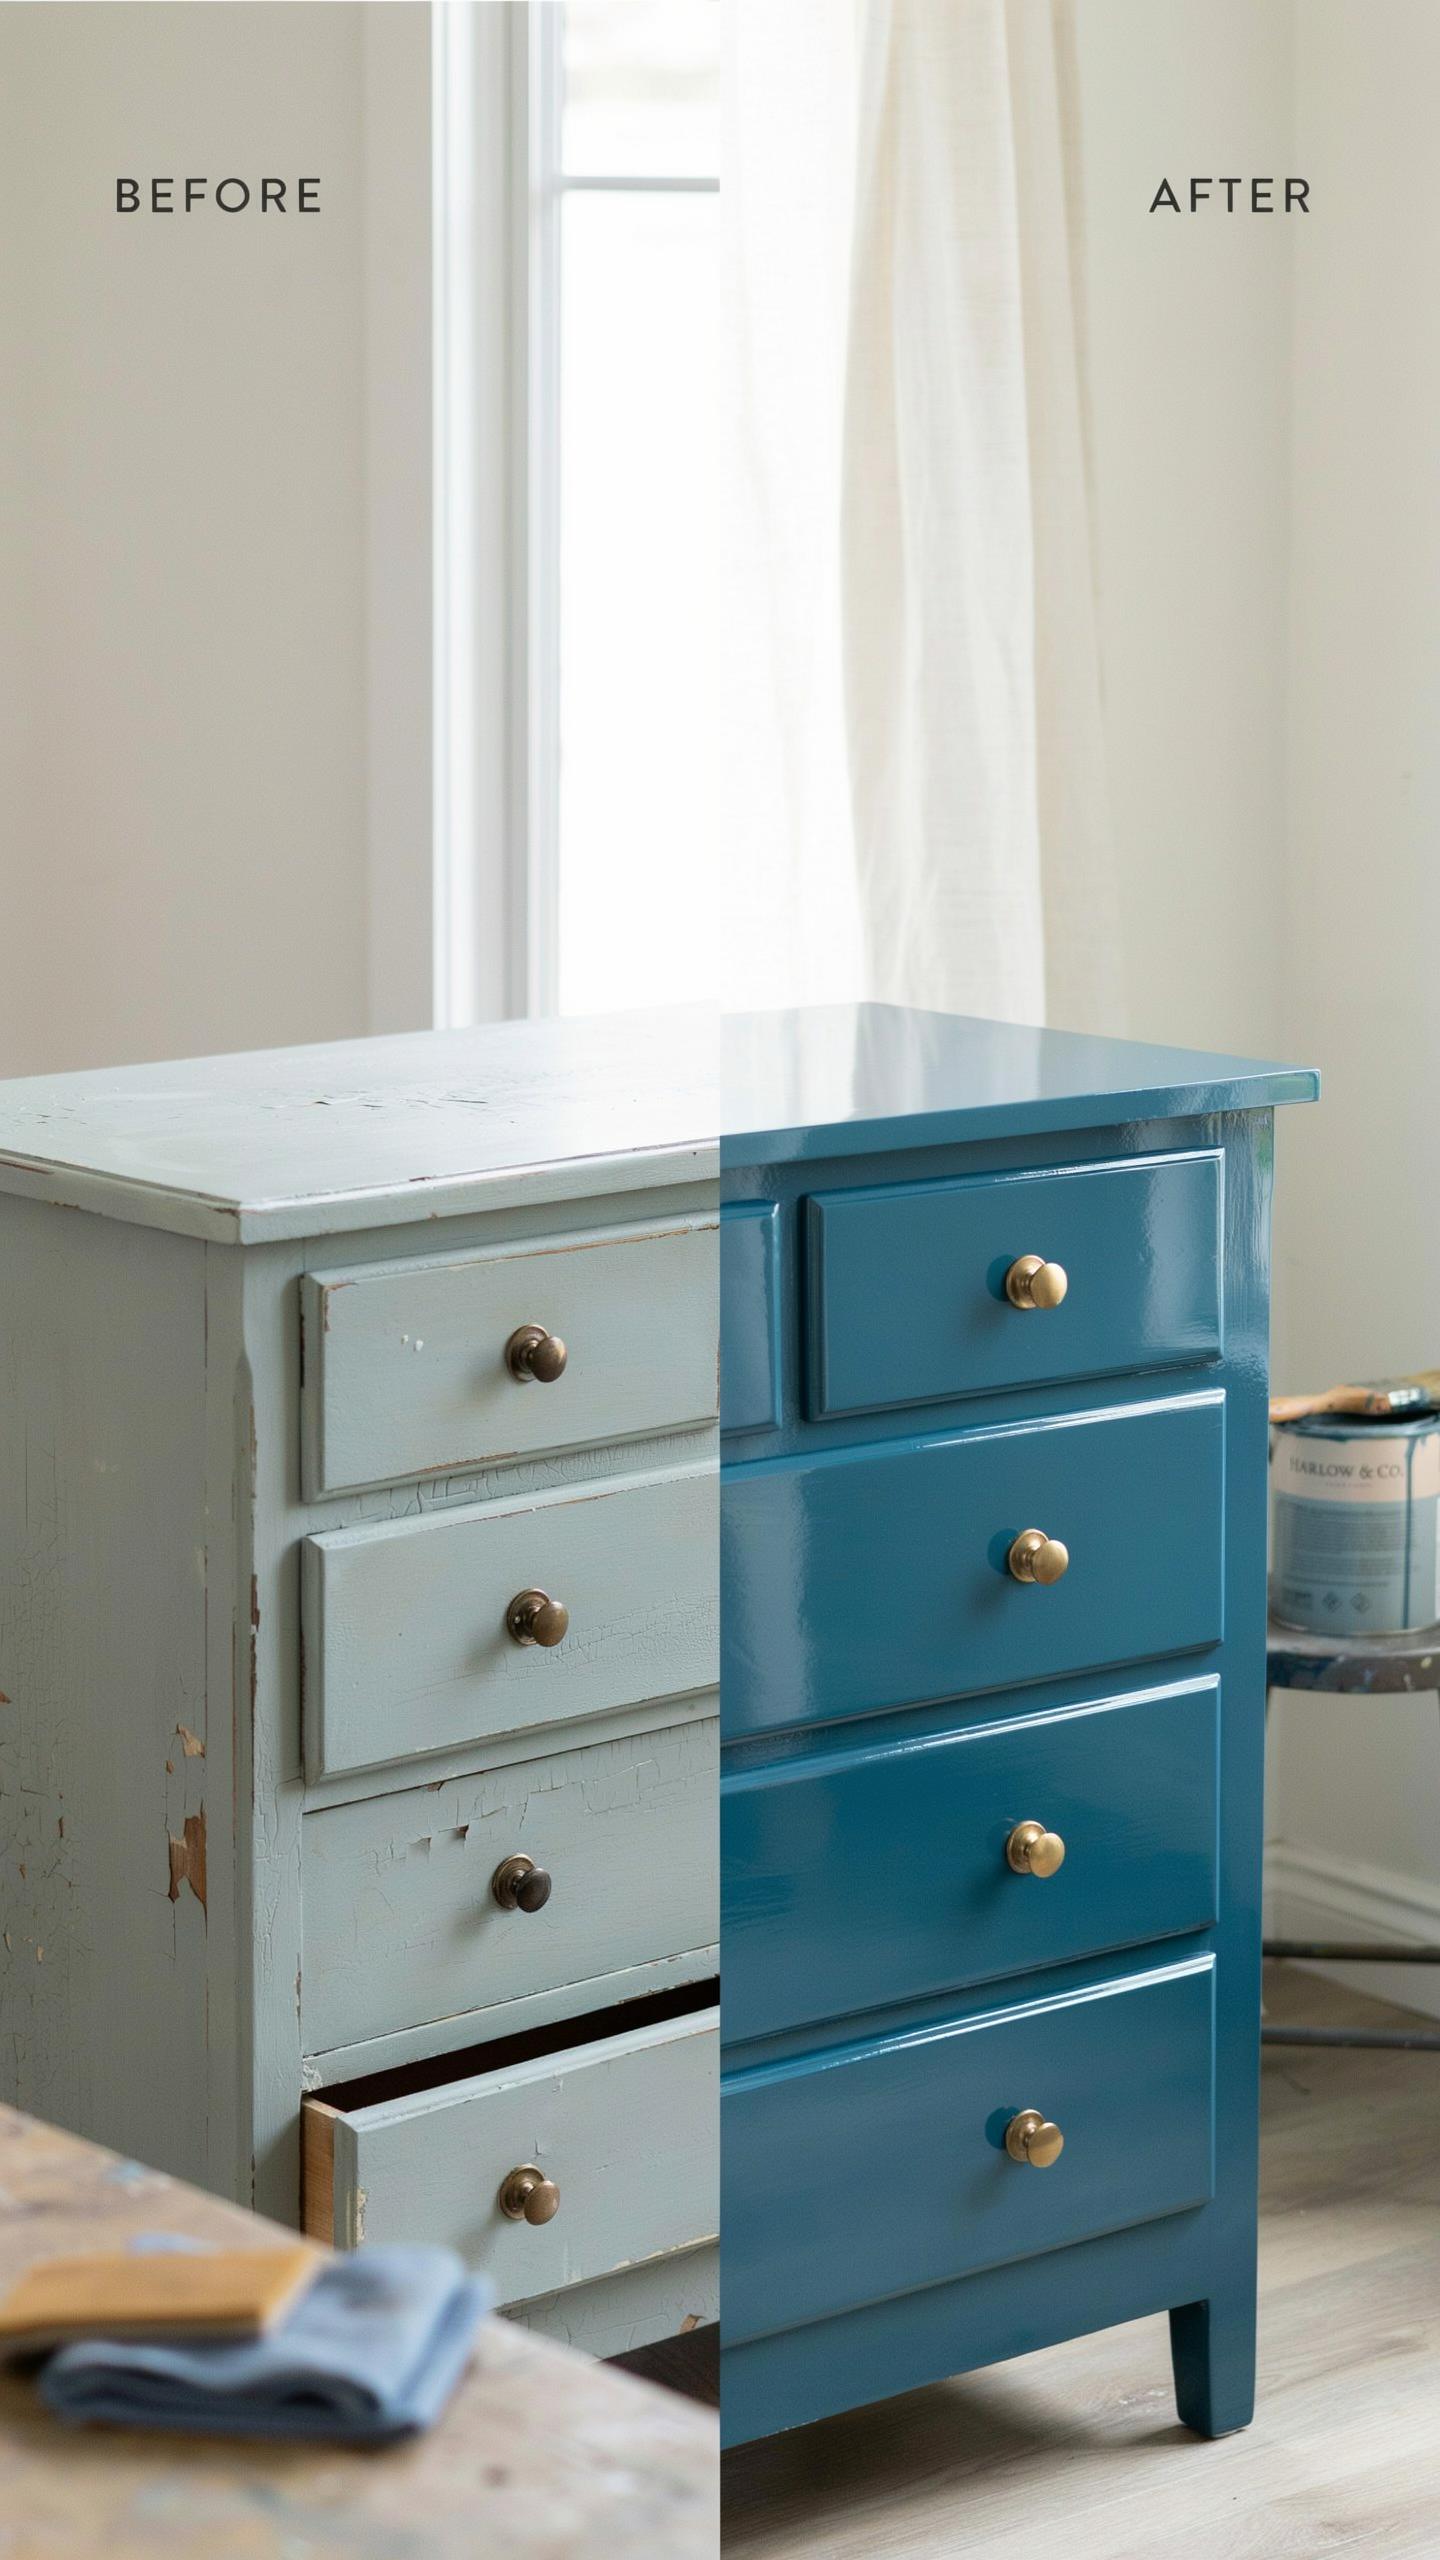
Scandinavian And Mid Century Makeovers
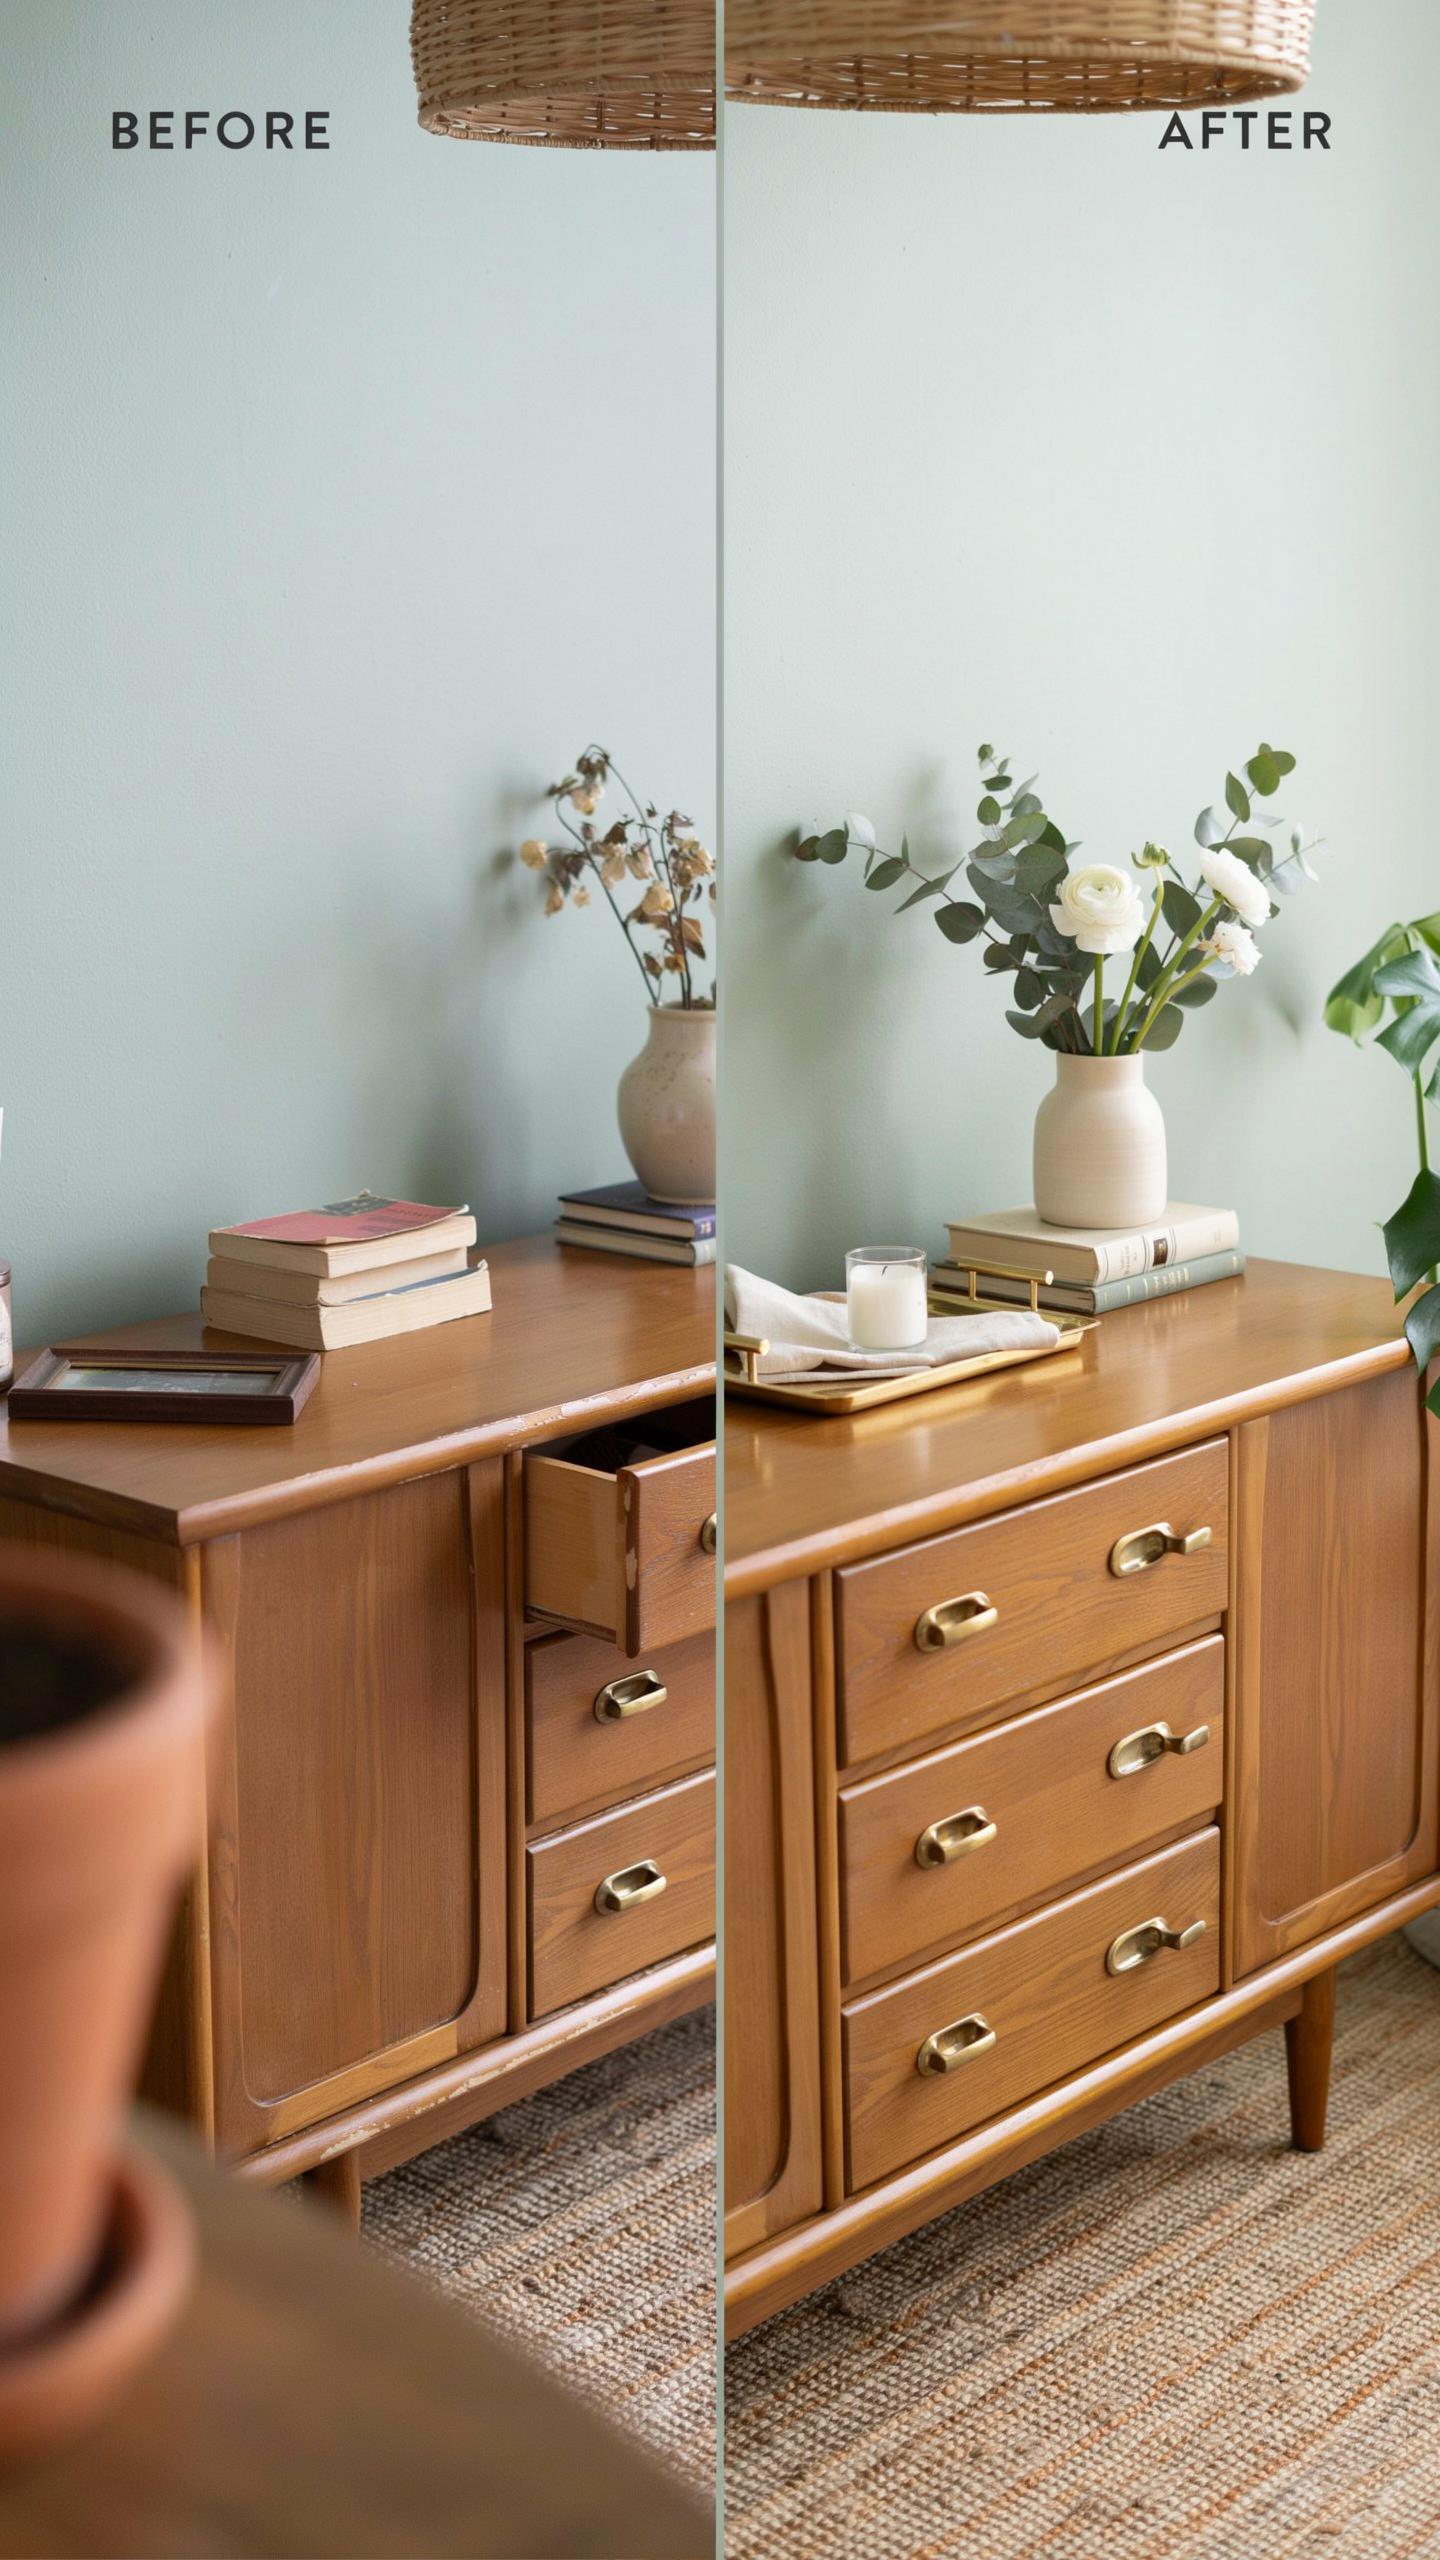
Mid-Century Modern design emerged in the 1940s through 1960s, emphasizing clean lines and natural materials. This movement prioritizes exposed wood grain and minimal ornamentation. Flippers target vintage pieces from this era because the construction quality supports refinishing work. Raw wood restoration reveals the original grain pattern and wood type, which adds visual interest without requiring paint or stain.
The process involves stripping existing finishes using sanders or chemical strippers to expose bare wood. Once bare, you apply a clear coat or light stain that enhances the grain without masking it. This approach works because Mid-Century pieces typically feature quality hardwoods like walnut, teak, or oak. The result transforms dull, worn pieces into functional statement pieces that fit modern Scandinavian and minimalist interiors.
Painting Techniques For Distressed Finishes
Chalk paint adheres to glossy surfaces without primer, making it ideal for quick furniture flips. The paint dries to a matte finish that accepts distressing techniques easily. You apply chalk paint in thin coats, allowing full coverage while maintaining the ability to sand specific areas. This paint type works well on pieces with existing lacquer or varnish finishes that resist standard latex paint.
Distressing creates a farmhouse or vintage appearance by sanding edges, corners, and high-traffic areas to reveal layers beneath. You sand strategically where natural wear would occur, using medium-grit sandpaper to expose the base wood or primer. This technique requires intentional placement rather than random application to appear authentic. The result attracts buyers seeking rustic or cottage-style decor without appearing unfinished or neglected.
Achieving Professional Results Furniture Makeover Before And After
Paint Sprayers Vs Traditional Brushes
Paint sprayers deliver faster coverage and eliminate brush marks on flat surfaces. They work well on cabinet doors, table tops, and large panels. Sprayers require proper technique to avoid overspray and waste. They demand more prep work and ventilation. Brushes give you precise control in tight spaces and corners. High-quality brushes with synthetic bristles work best for water-based finishes. Natural bristles perform better with oil-based products. Brushes cost less upfront and need minimal cleanup equipment.
Choose sprayers when you flip multiple pieces or tackle large surfaces regularly. The investment pays off through faster project completion and consistent results. For single pieces or detailed work, brushes remain the practical choice. Budget, workspace, and project volume should drive your decision. Neither option produces poor results when you apply proper technique. The finish quality depends more on surface prep and paint choice than application method.
There is a special kind of magic in seeing a worn-out piece of history find its purpose again through a bit of hard work and vision. True beauty lies in making something old feel brand new while keeping its soul intact.
Preventing Bleed Through With Shellac Primers
Shellac-based primers block tannin stains from wood before applying topcoats. Dark wood stains, water rings, and previous finishes bleed through latex primers. Shellac primers create a barrier that stops these stains from reappearing. They dry fast, typically within one hour, allowing quick second coats. One coat of quality shellac primer handles most bleed-through issues on light colored furniture finishes.

Apply shellac primer directly to stained areas or the entire piece for uniform coverage. It adheres well to glossy surfaces without sanding. Shellac primers cost more than latex but solve expensive topcoat failures. Water-based shellac primers offer low odor compared to traditional shellac. This approach prevents redoing work after topcoats reveal underlying stains through lighter paint colors.
Profitable Furniture Flipping Ideas Before And After For Extra Income
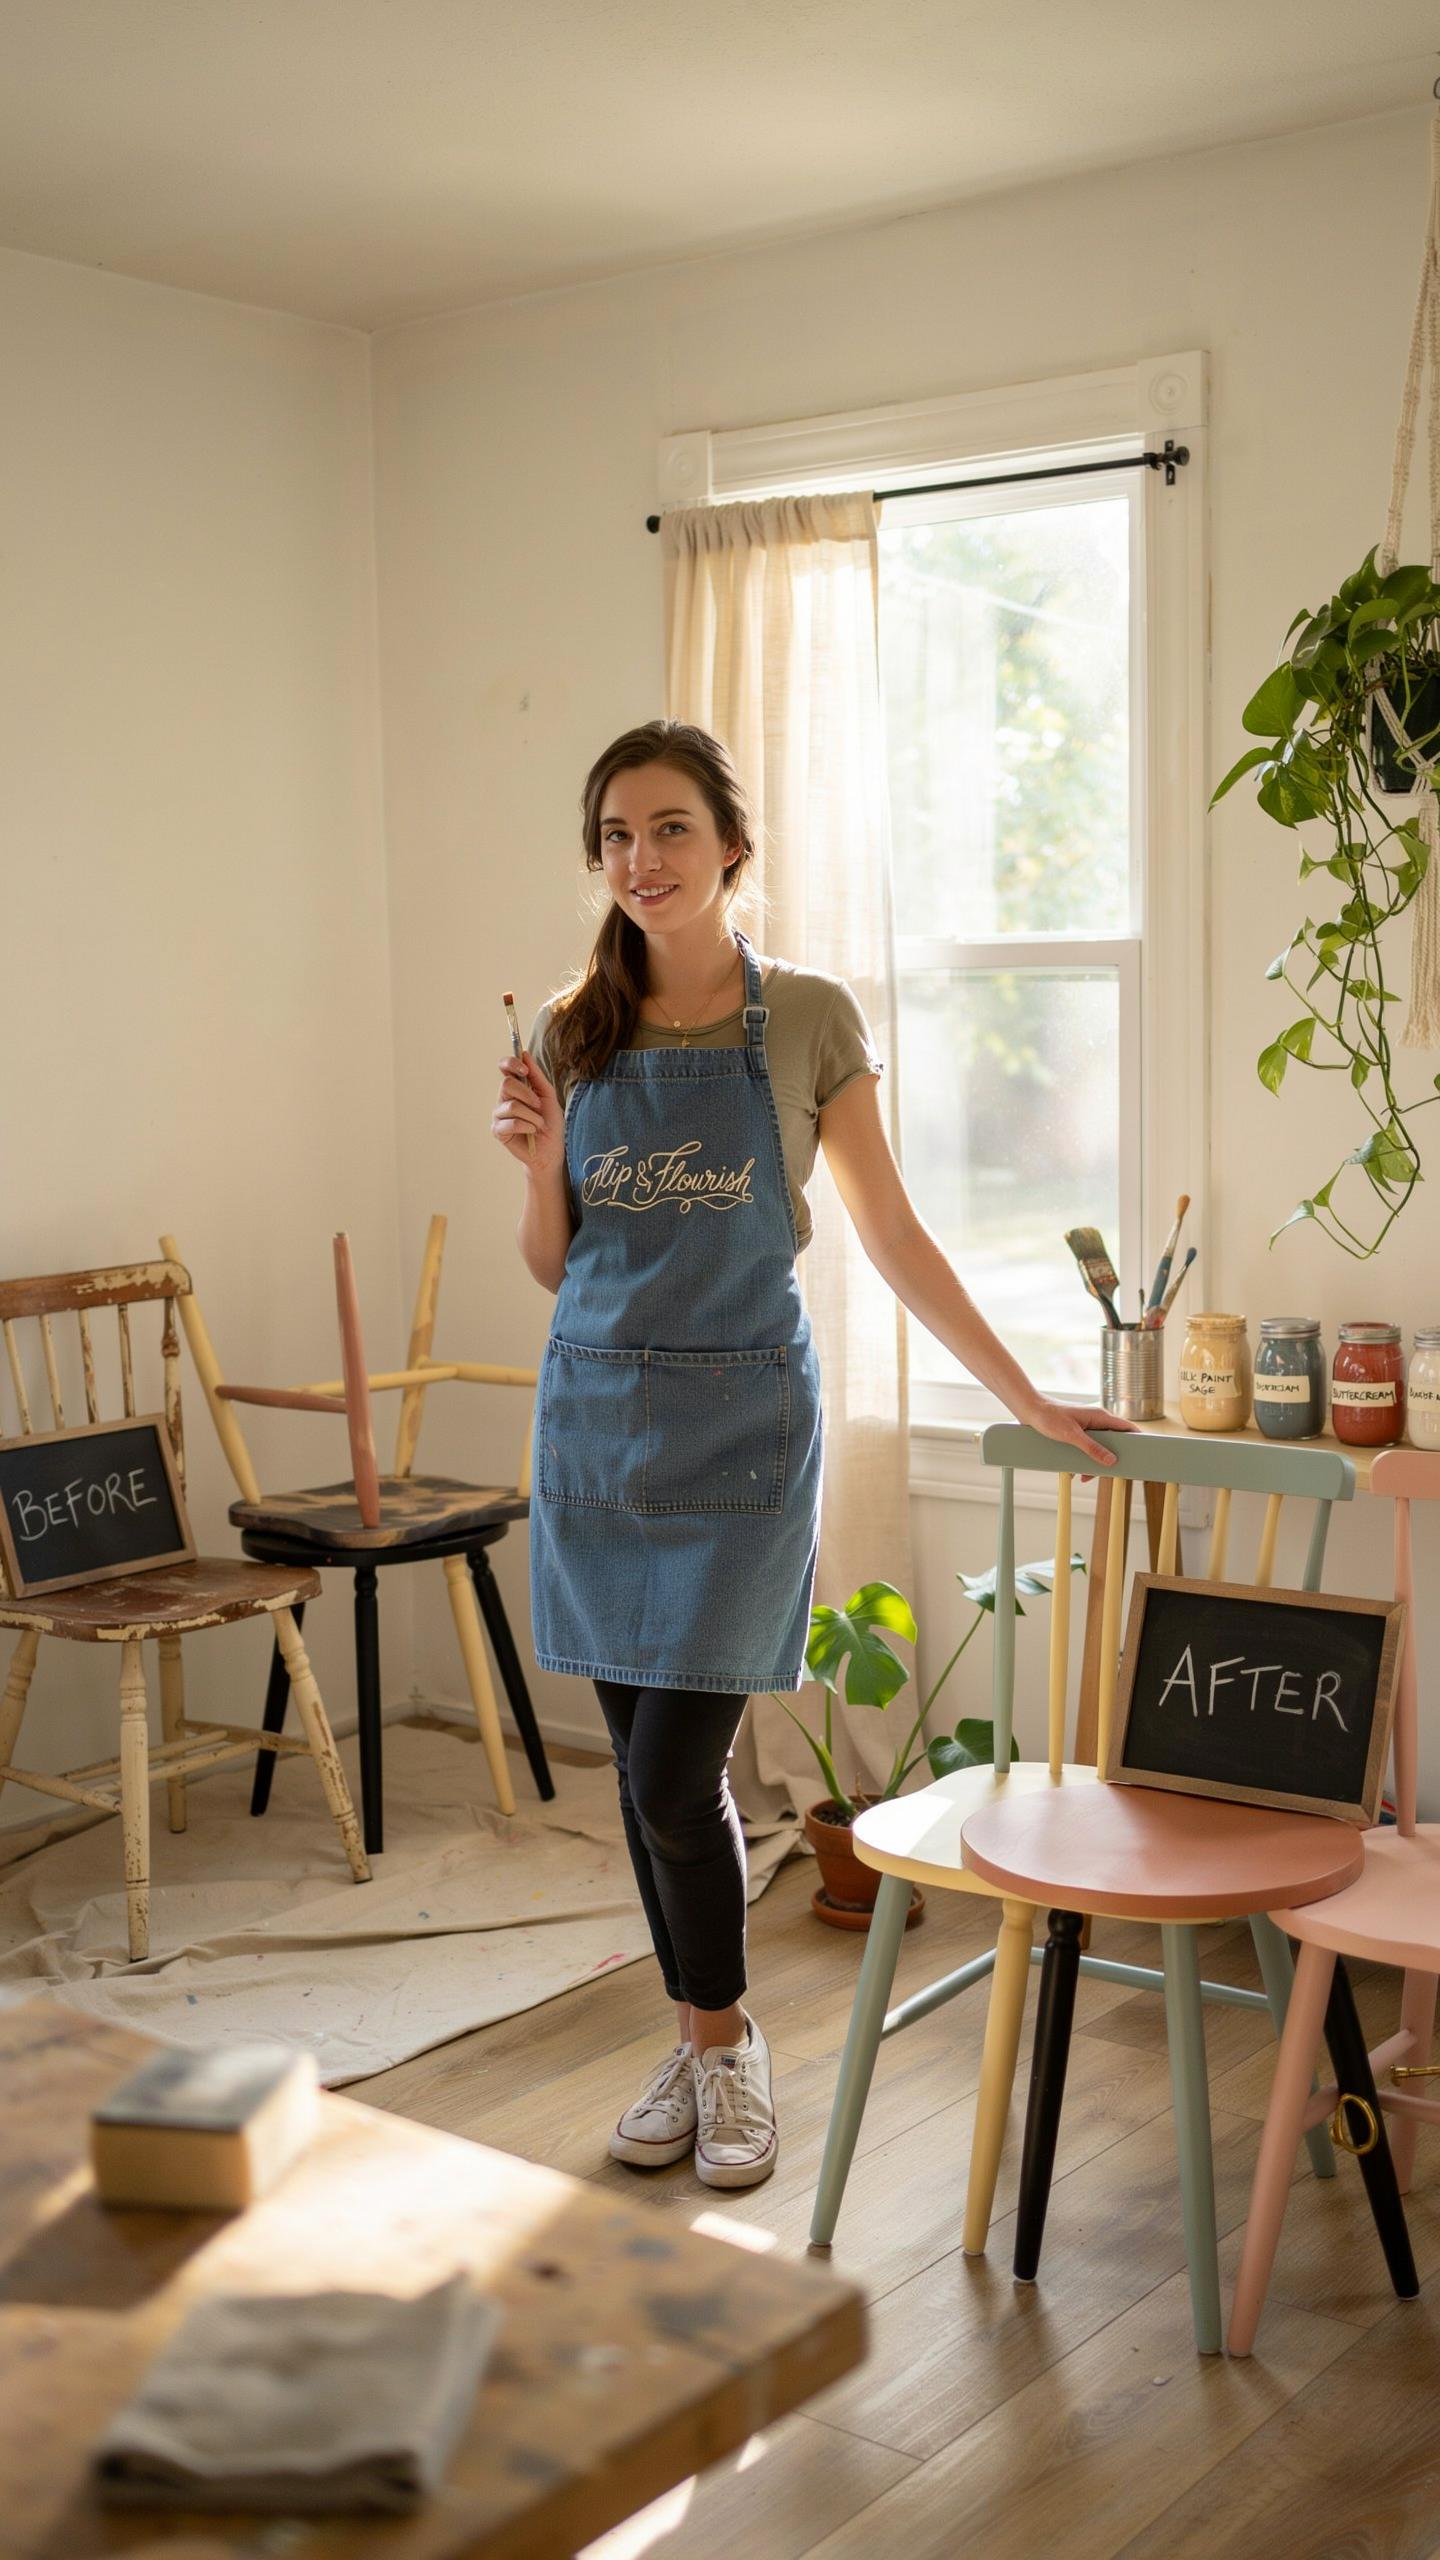
Sourcing High Value Items Locally
Estate sales and auctions move inventory fast. Sellers price items to clear stock, not maximize profit. You find solid wood pieces from the 1960s through 1980s at 40 to 60 percent below retail resale value. Show up early, inspect frames for structural damage, and check drawer slides for functionality. Skip particle board and veneered items unless the veneer is intact and valuable.
Facebook Marketplace and Craigslist attract sellers who want items gone today. Many list prices low to attract quick buyers. Local pickup furniture moves slower than online sales, so owners reduce prices significantly. Inspect pieces in person before committing. Negotiate hard on items with minor cosmetic damage. Your profit margin depends on the initial acquisition price.
Staging And Marketing For Maximum Sales
Clean furniture thoroughly before photographing. Dirt, dust, and stains reduce perceived value and kill sales. Use natural light from windows. Shoot from multiple angles showing the entire piece, close-ups of details, and any flaws clearly. Post photos immediately after staging while lighting conditions are optimal. Poor photos cost you 30 to 50 percent in final sale price compared to sharp, well-lit images.
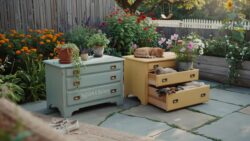
Stage pieces in realistic room settings when possible. Show scale by including recognizable objects like a coffee cup or book. List accurate dimensions and materials in descriptions. Detail any repairs you made and the condition honestly. Honesty builds buyer confidence and reduces returns. Price competitively by checking sold listings for similar pieces, not asking prices. Your turnaround speed depends on accurate pricing and professional presentation.
Inspirational Examples Of A Before After Furniture Makeover
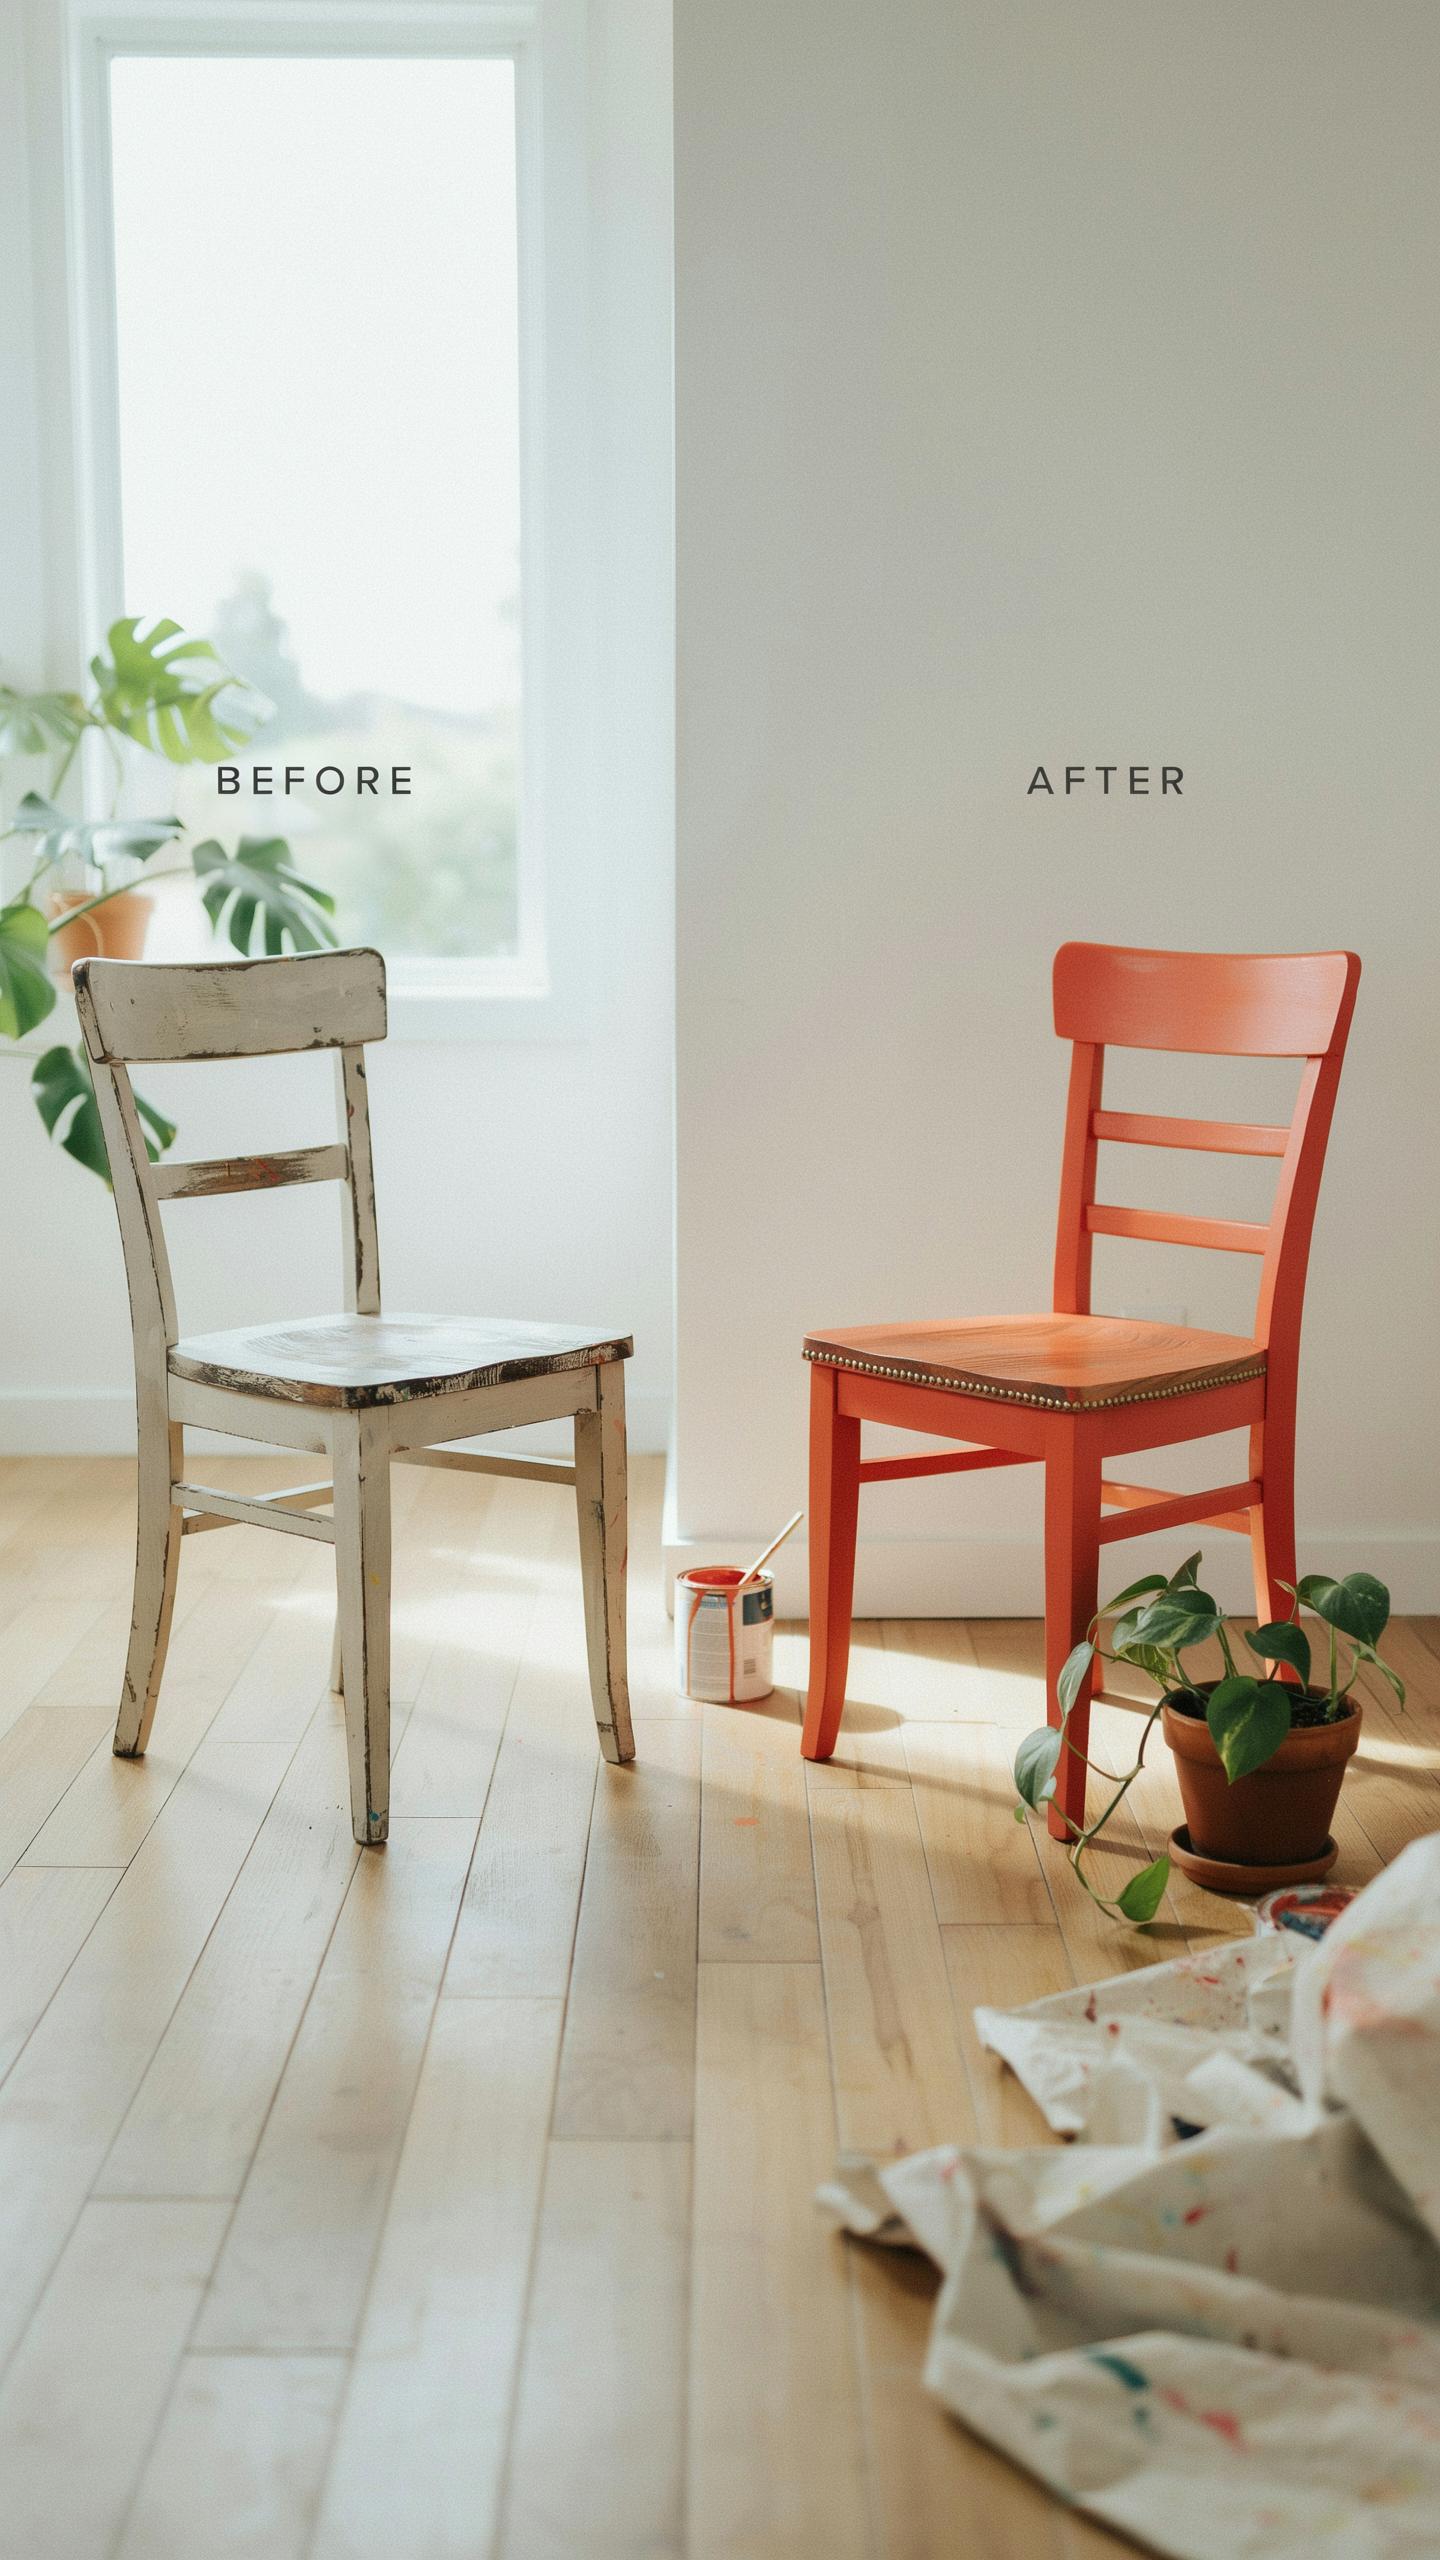
Transforming Laminate Into Chic Faux Wood Looks
Laminate sideboards dominate budget furniture markets because manufacturers produce them cheaply. The flat veneer surface resists water and scratches, making them practical for renters and families. Upgrading these pieces requires strategic surface treatments that mimic wood grain and depth without stripping or refinishing.
Contact cement bonds wood veneer sheets directly to laminate surfaces. You cut veneer to size, apply adhesive to both surfaces, then press firmly for permanent attachment. This method works faster than paint and delivers authentic wood texture that buyers recognize and value in resale markets.
Turning Vintage Wardrobes Into Mudroom Closets
Solid wood armoires from the 1970s and 1980s flood secondhand markets because homeowners downsize and modernize. These pieces have structural integrity that justifies repurposing rather than discarding. Converting them into functional mudroom storage requires only interior modifications and hardware adjustments.
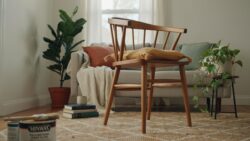
Install hooks inside the armoire doors for coats and bags. Add shelving units or baskets to create zones for shoes, hats, and accessories. This transformation requires no external refinishing, preserving the original wood while solving a common household storage problem that motivates buyers to bid higher at resale.
Smart Solutions For A Successful Furniture Rehab
Common Mistakes To Avoid During Flips
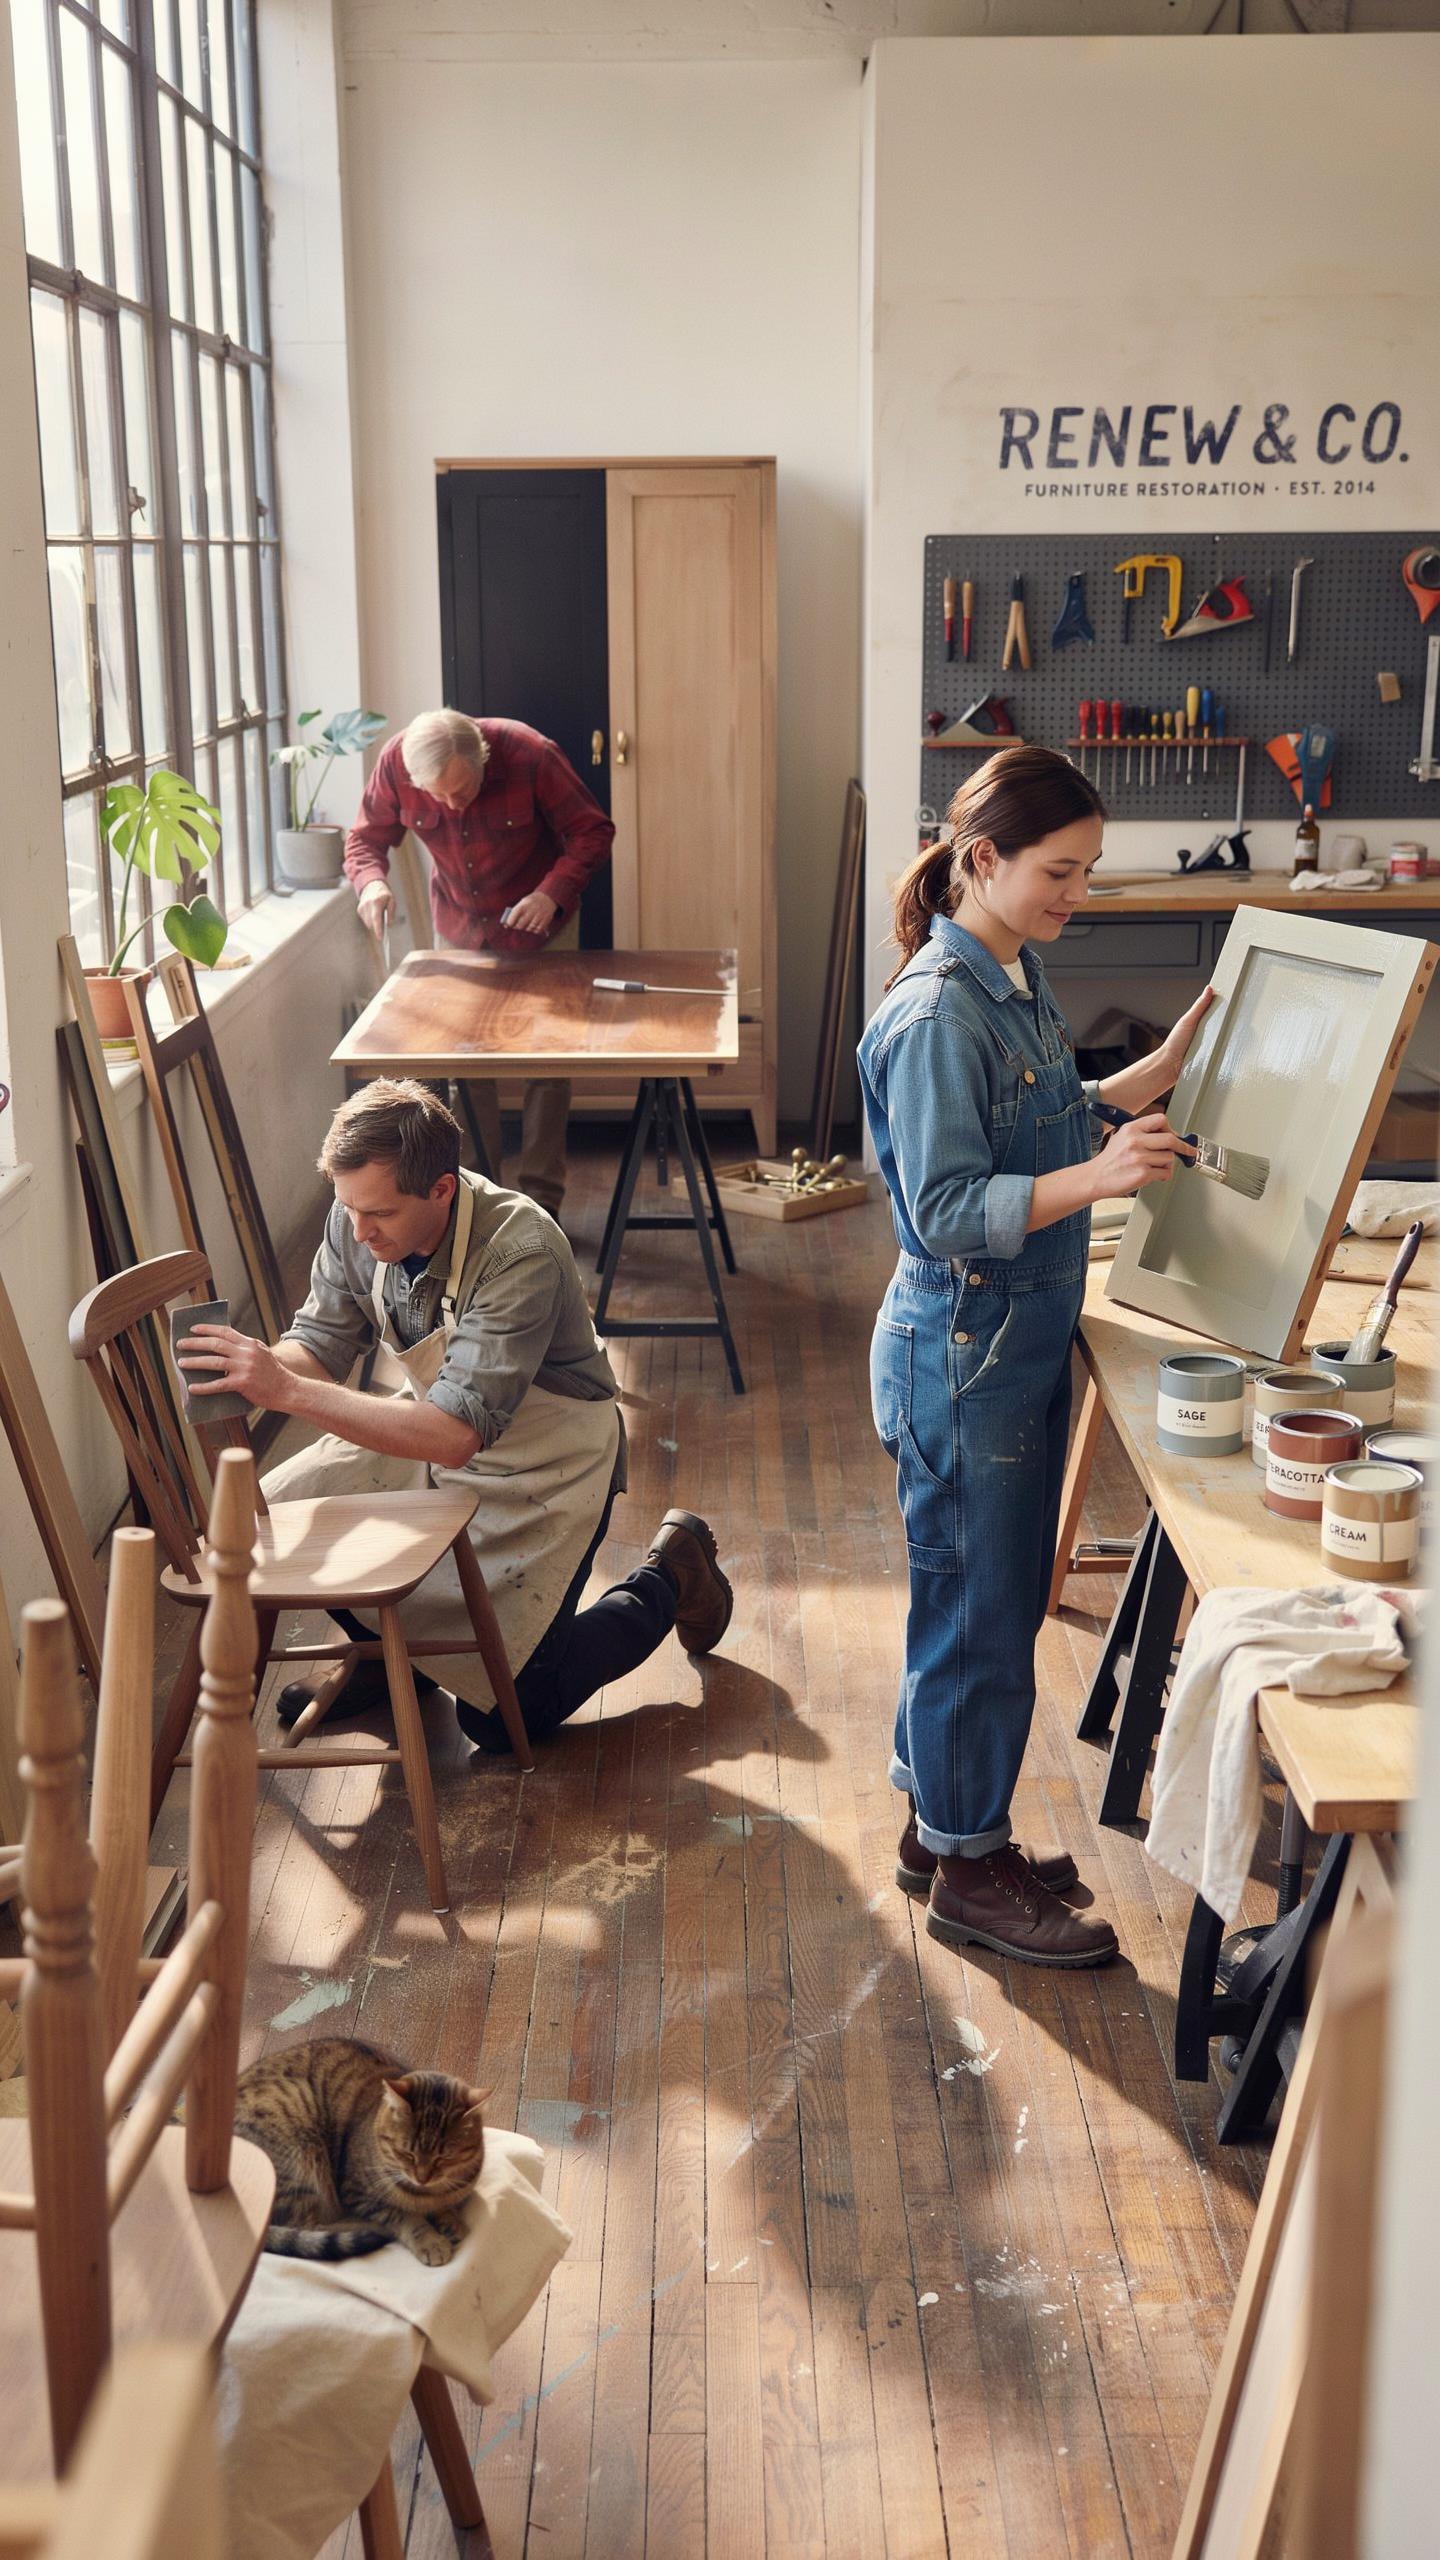
Skipping surface prep destroys everything that comes after. Dust, old finish residue, and grime prevent new paint or stain from adhering properly. Sand all surfaces with appropriate grit sandpaper. Fill gaps and holes with wood filler. Clean thoroughly before applying any coating. This step takes time but determines whether your flip lasts years or months.
- Applying thick paint coats: Multiple thin coats bond better than one heavy application. Thick layers crack, peel, and show brush marks. Apply three to four thin coats instead of two thick ones for even coverage and durability.
- Skipping primer on dark stains: Dark wood stains bleed through paint without primer. Stain contains tannins that migrate upward. Always use stain-blocking primer on furniture with visible stains or dark wood before painting light colors.
- Painting in poor conditions: Temperature and humidity affect paint curing. Paint in rooms between 50-85 degrees Fahrenheit with 40-50 percent humidity. Extreme conditions cause slow drying, runs, and weak adhesion that compromises the final finish.
- Rushing between coats: Waiting for full cure time prevents tackiness and improves adhesion. Check manufacturer specs, which typically range from 2-24 hours depending on product. Impatience causes peeling and uneven color variation across surfaces.
- Neglecting hardware and details: Painted-over hardware looks cheap and functions poorly. Remove all knobs, hinges, and handles before painting. Replace or refinish hardware separately to elevate the entire project’s appearance and functionality.
Proper technique separates amateur results from professional-looking flips. These mistakes compound over time as your finish wears with use. Avoid them and your furniture rehab withstands daily wear without degradation.
Choosing The Perfect Clear Topcoat Sealer
Polycrylic offers water-based protection with minimal yellowing over time. It dries fast, typically within hours, allowing multiple coats daily. Polycrylic works well on painted surfaces and provides moderate durability for furniture that receives light to moderate use. It lacks the hardness of polyurethane but suits most budget-conscious flippers.
Polyurethane delivers superior durability through oil-based or water-based formulations. Oil-based polyurethane yellows furniture slightly but creates a harder, more moisture-resistant shell. Water-based polyurethane stays clear and dries faster than oil versions. Choose polyurethane for high-traffic pieces like dining tables or chairs. The cost runs higher than polycrylic but justified by extended protection and resistance to scratches and spills.
Wax finishes provide a natural look with easy touch-up capability but require regular maintenance. Apply wax in thin coats, buffing between applications. Wax protects against minor scratches and adds warmth to wood tones. However, wax softens in heat and offers minimal protection against spills or moisture. Reserve wax for display pieces or furniture in climate-controlled environments with minimal daily contact.
Frequently Asked Questions

What is the best type of piece for a beginner starting their first furniture flip project?
For your first furniture flip project before after, start with a solid wood piece featuring clean, straight lines. A basic nightstand or small coffee table is ideal because they require less sanding and have fewer intricate details. Look for sturdy construction and avoid laminate or particle board initially, as real wood is much more forgiving when you are learning how to apply primer, paint, and protective topcoats for a professional finish.
How do I ensure my refurbished furniture has a durable and professional-looking finish?
Success lies in the preparation rather than just the paint. You must thoroughly clean the piece with a degreaser, lightly sand the surface to create “tooth” for adhesion, and apply a high-quality primer. When executing a furniture flip project before after, always use thin, even coats of enamel or chalk paint. Finally, seal your hard work with a polycrylic or furniture wax to prevent chipping and ensure the piece lasts for years.
Can I complete a high-quality furniture transformation on a very tight budget?
Absolutely! You don’t need expensive power tools to achieve a stunning result. Most budget-friendly flips rely on affordable supplies like sandpaper, a high-quality synthetic brush, and “oops” paint from the hardware store. Scouring thrift stores or Facebook Marketplace for free or cheap items allows you to focus your funds on beautiful new hardware. Swapping out old knobs for modern brass or matte black pulls can instantly elevate the entire look.



