
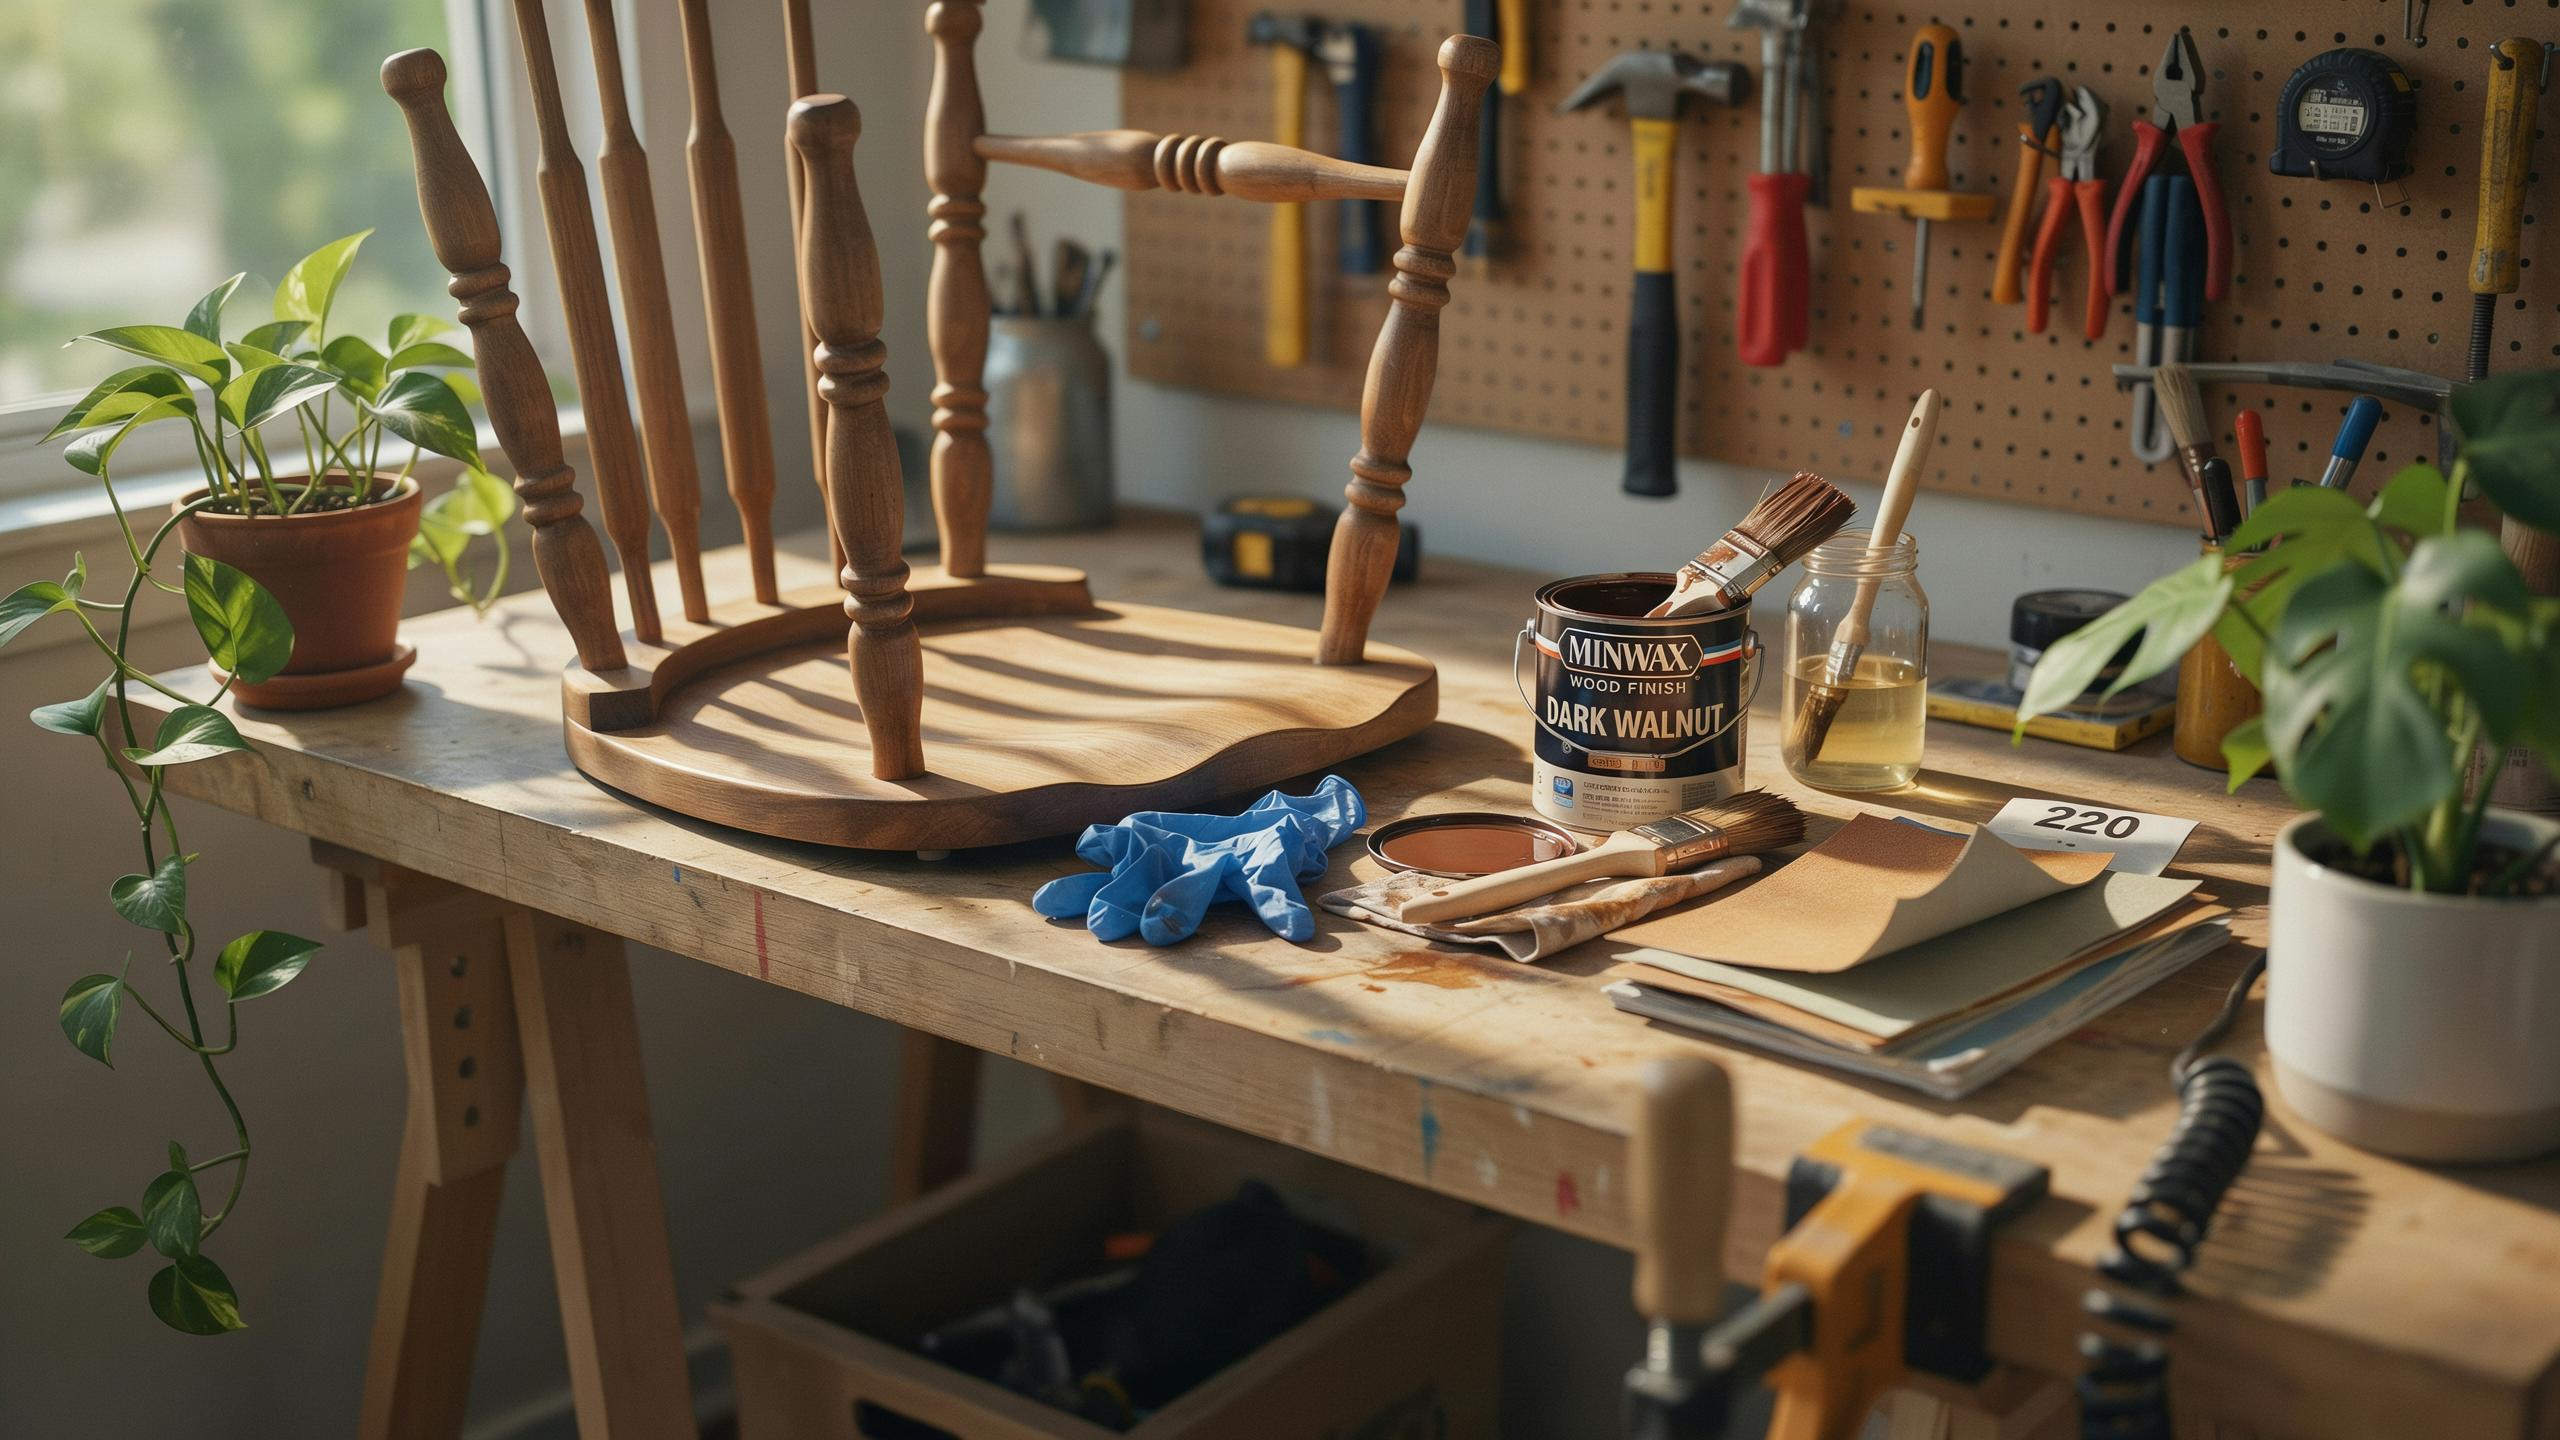
Essential Prep And A Beginner Furniture Makeover Guide
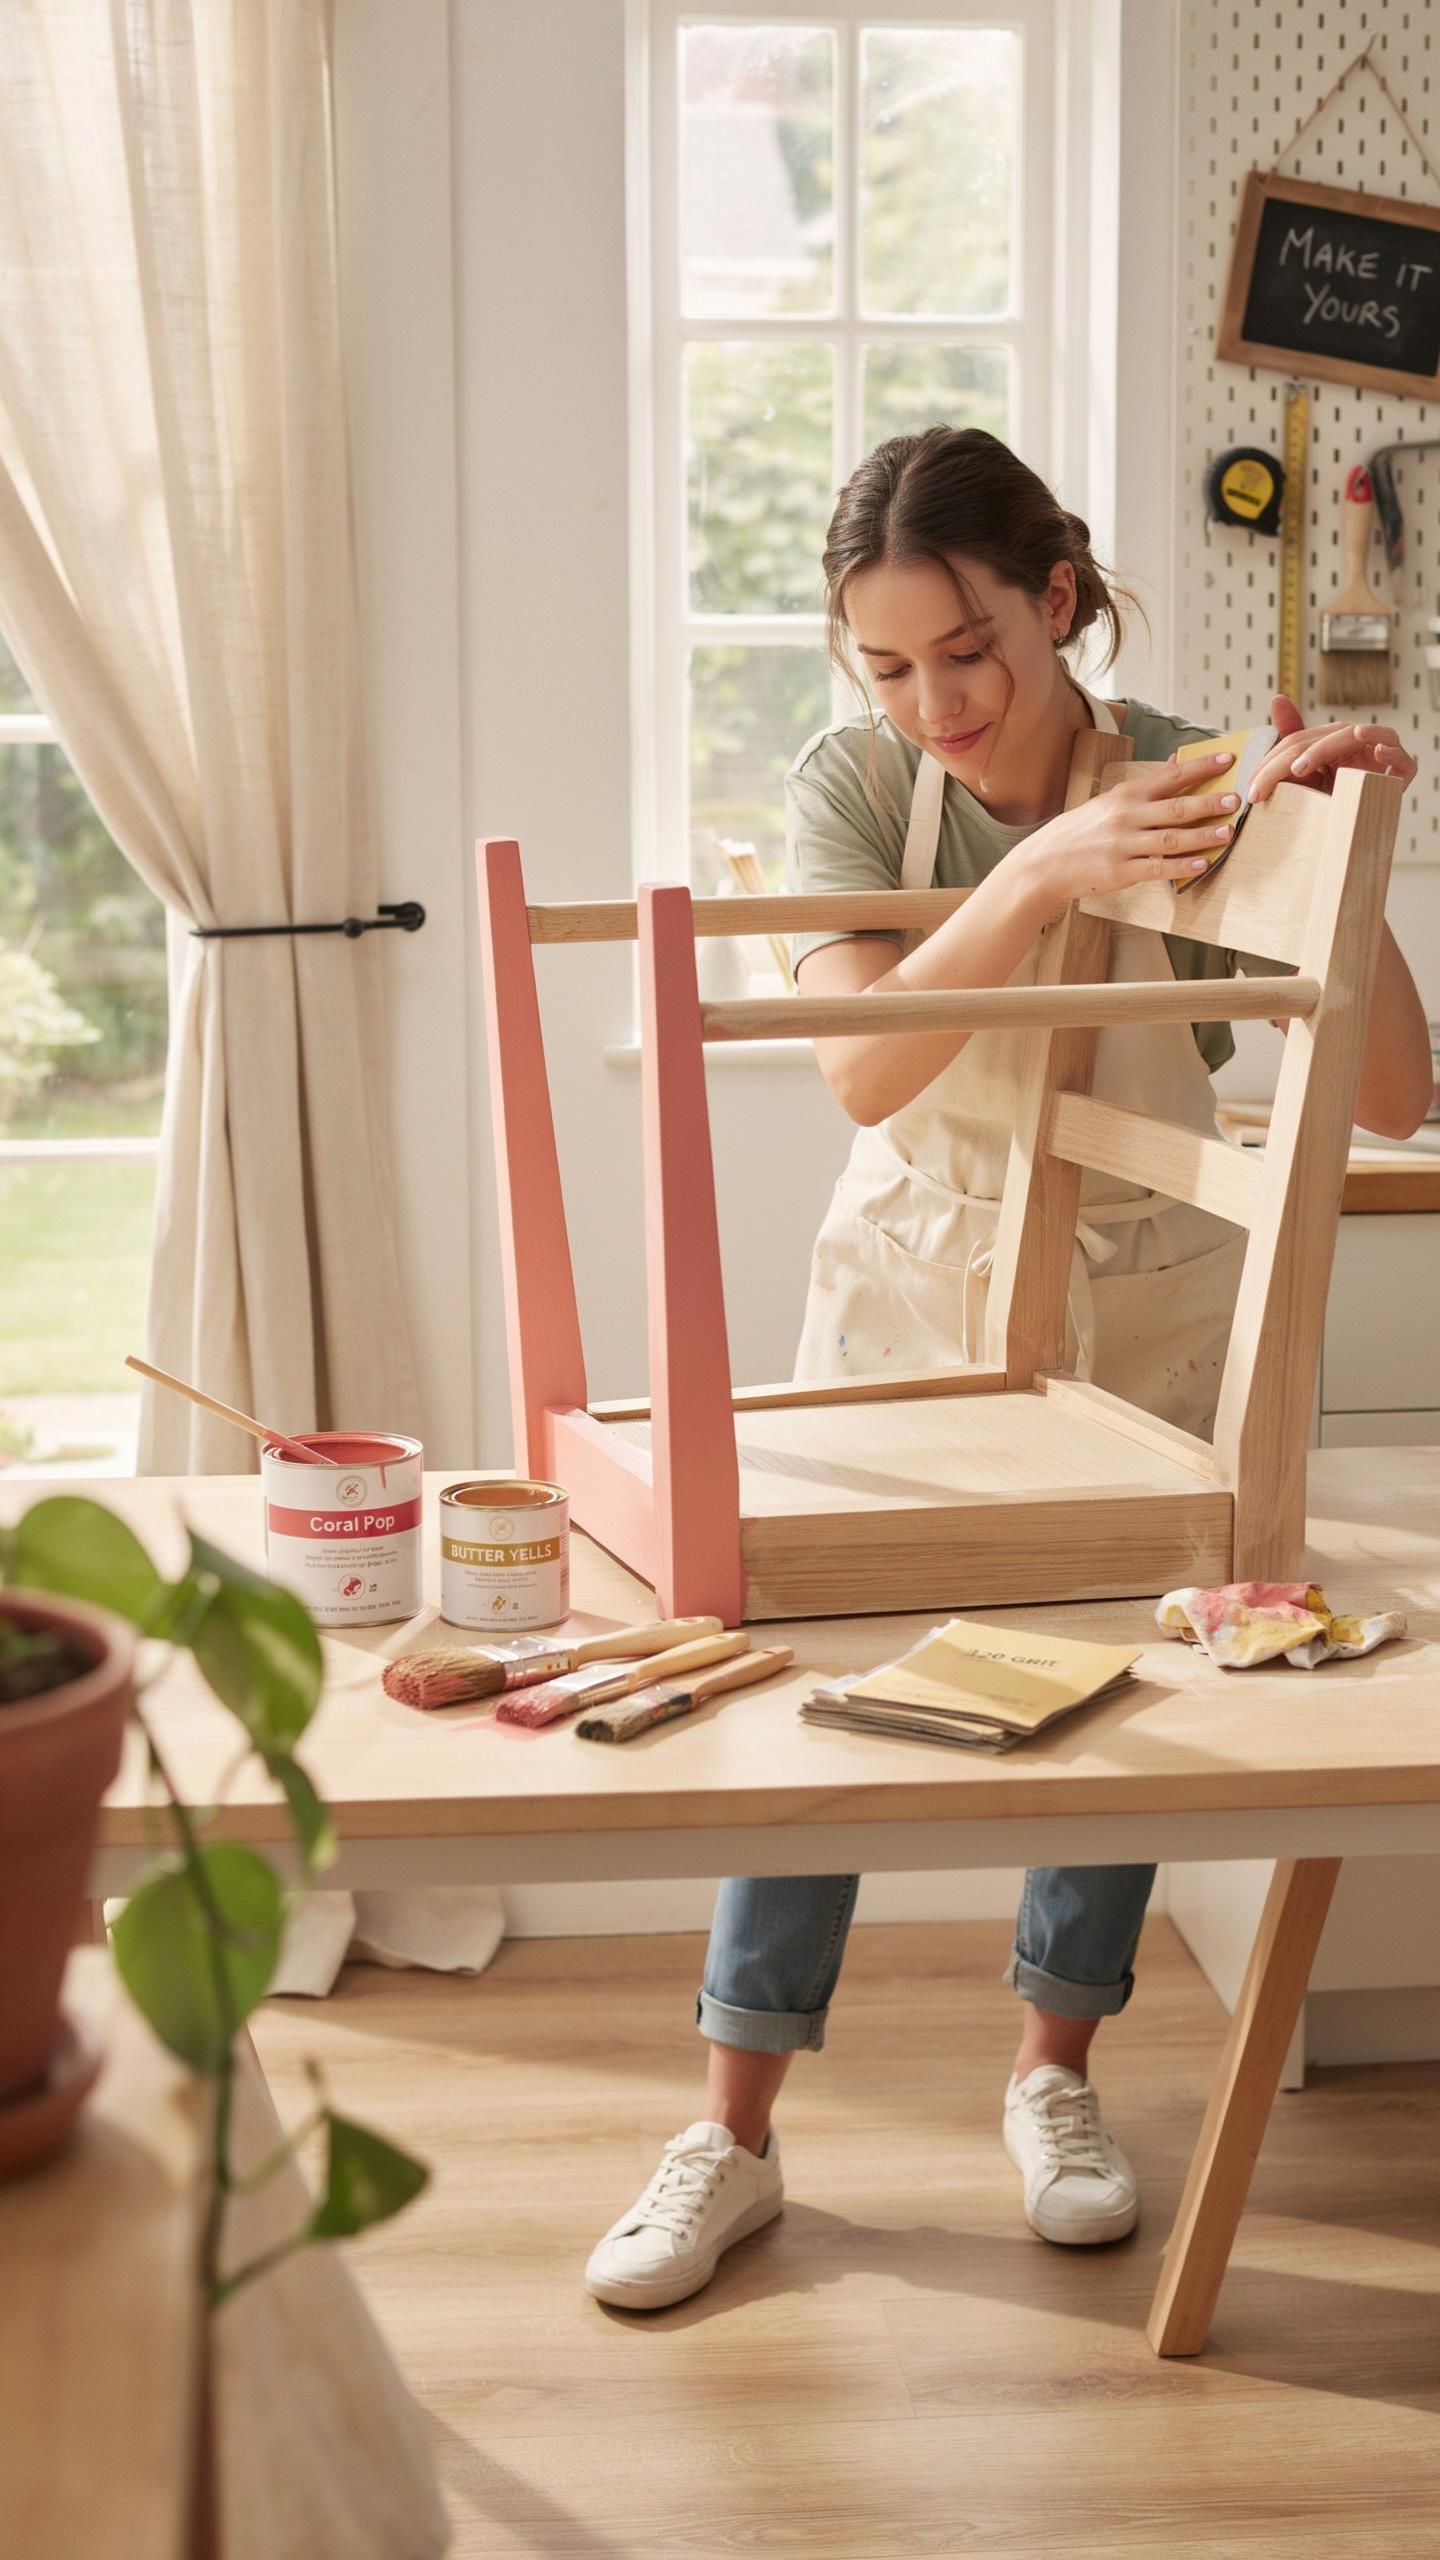
Choosing Your First Vintage Piece
Solid wood construction determines whether a flip succeeds or fails. Run your hands across the piece and check for veneer layers or hollow sections. Press on joints and surfaces to confirm they’re rigid. Laminate and particle board won’t accept stain evenly and splinter when sanded. Thrift stores stock plenty of solid wood dressers, tables, and chairs from mid-century production runs that sand cleanly and respond well to stain.
Target pieces from the 1960s through 1980s first. These decades produced affordable furniture with real wood frames and tops. Check underneath drawers and table legs where manufacturers exposed raw wood. Loose joints and water rings are fixable problems. Avoid anything with extensive veneer peeling or structural cracks through solid wood. Your first project should have integrity issues you can address with glue and clamps, not fundamental construction problems.
Basic Sanding And Surface Cleaning
Old finish prevents new stain from penetrating wood evenly. Sand down to bare wood using 80-grit paper first, then progress to 120-grit and 150-grit for final smoothness. Always sand in the direction of the wood grain. Sanding against the grain raises fibers and creates swirl marks that stain emphasizes rather than hides.
Wipe the entire piece with a tack cloth after sanding to remove dust particles. Dust left on the surface absorbs stain unevenly and creates spotty color. Let the bare wood dry for 24 hours before applying stain. This waiting period lets the wood reach equilibrium moisture and ensures stain penetration stays consistent across all surfaces. Skip this step and you’ll watch stain blotch in high-humidity areas of the piece.
Gather Your Tools Tips From A Furniture Flipping Course
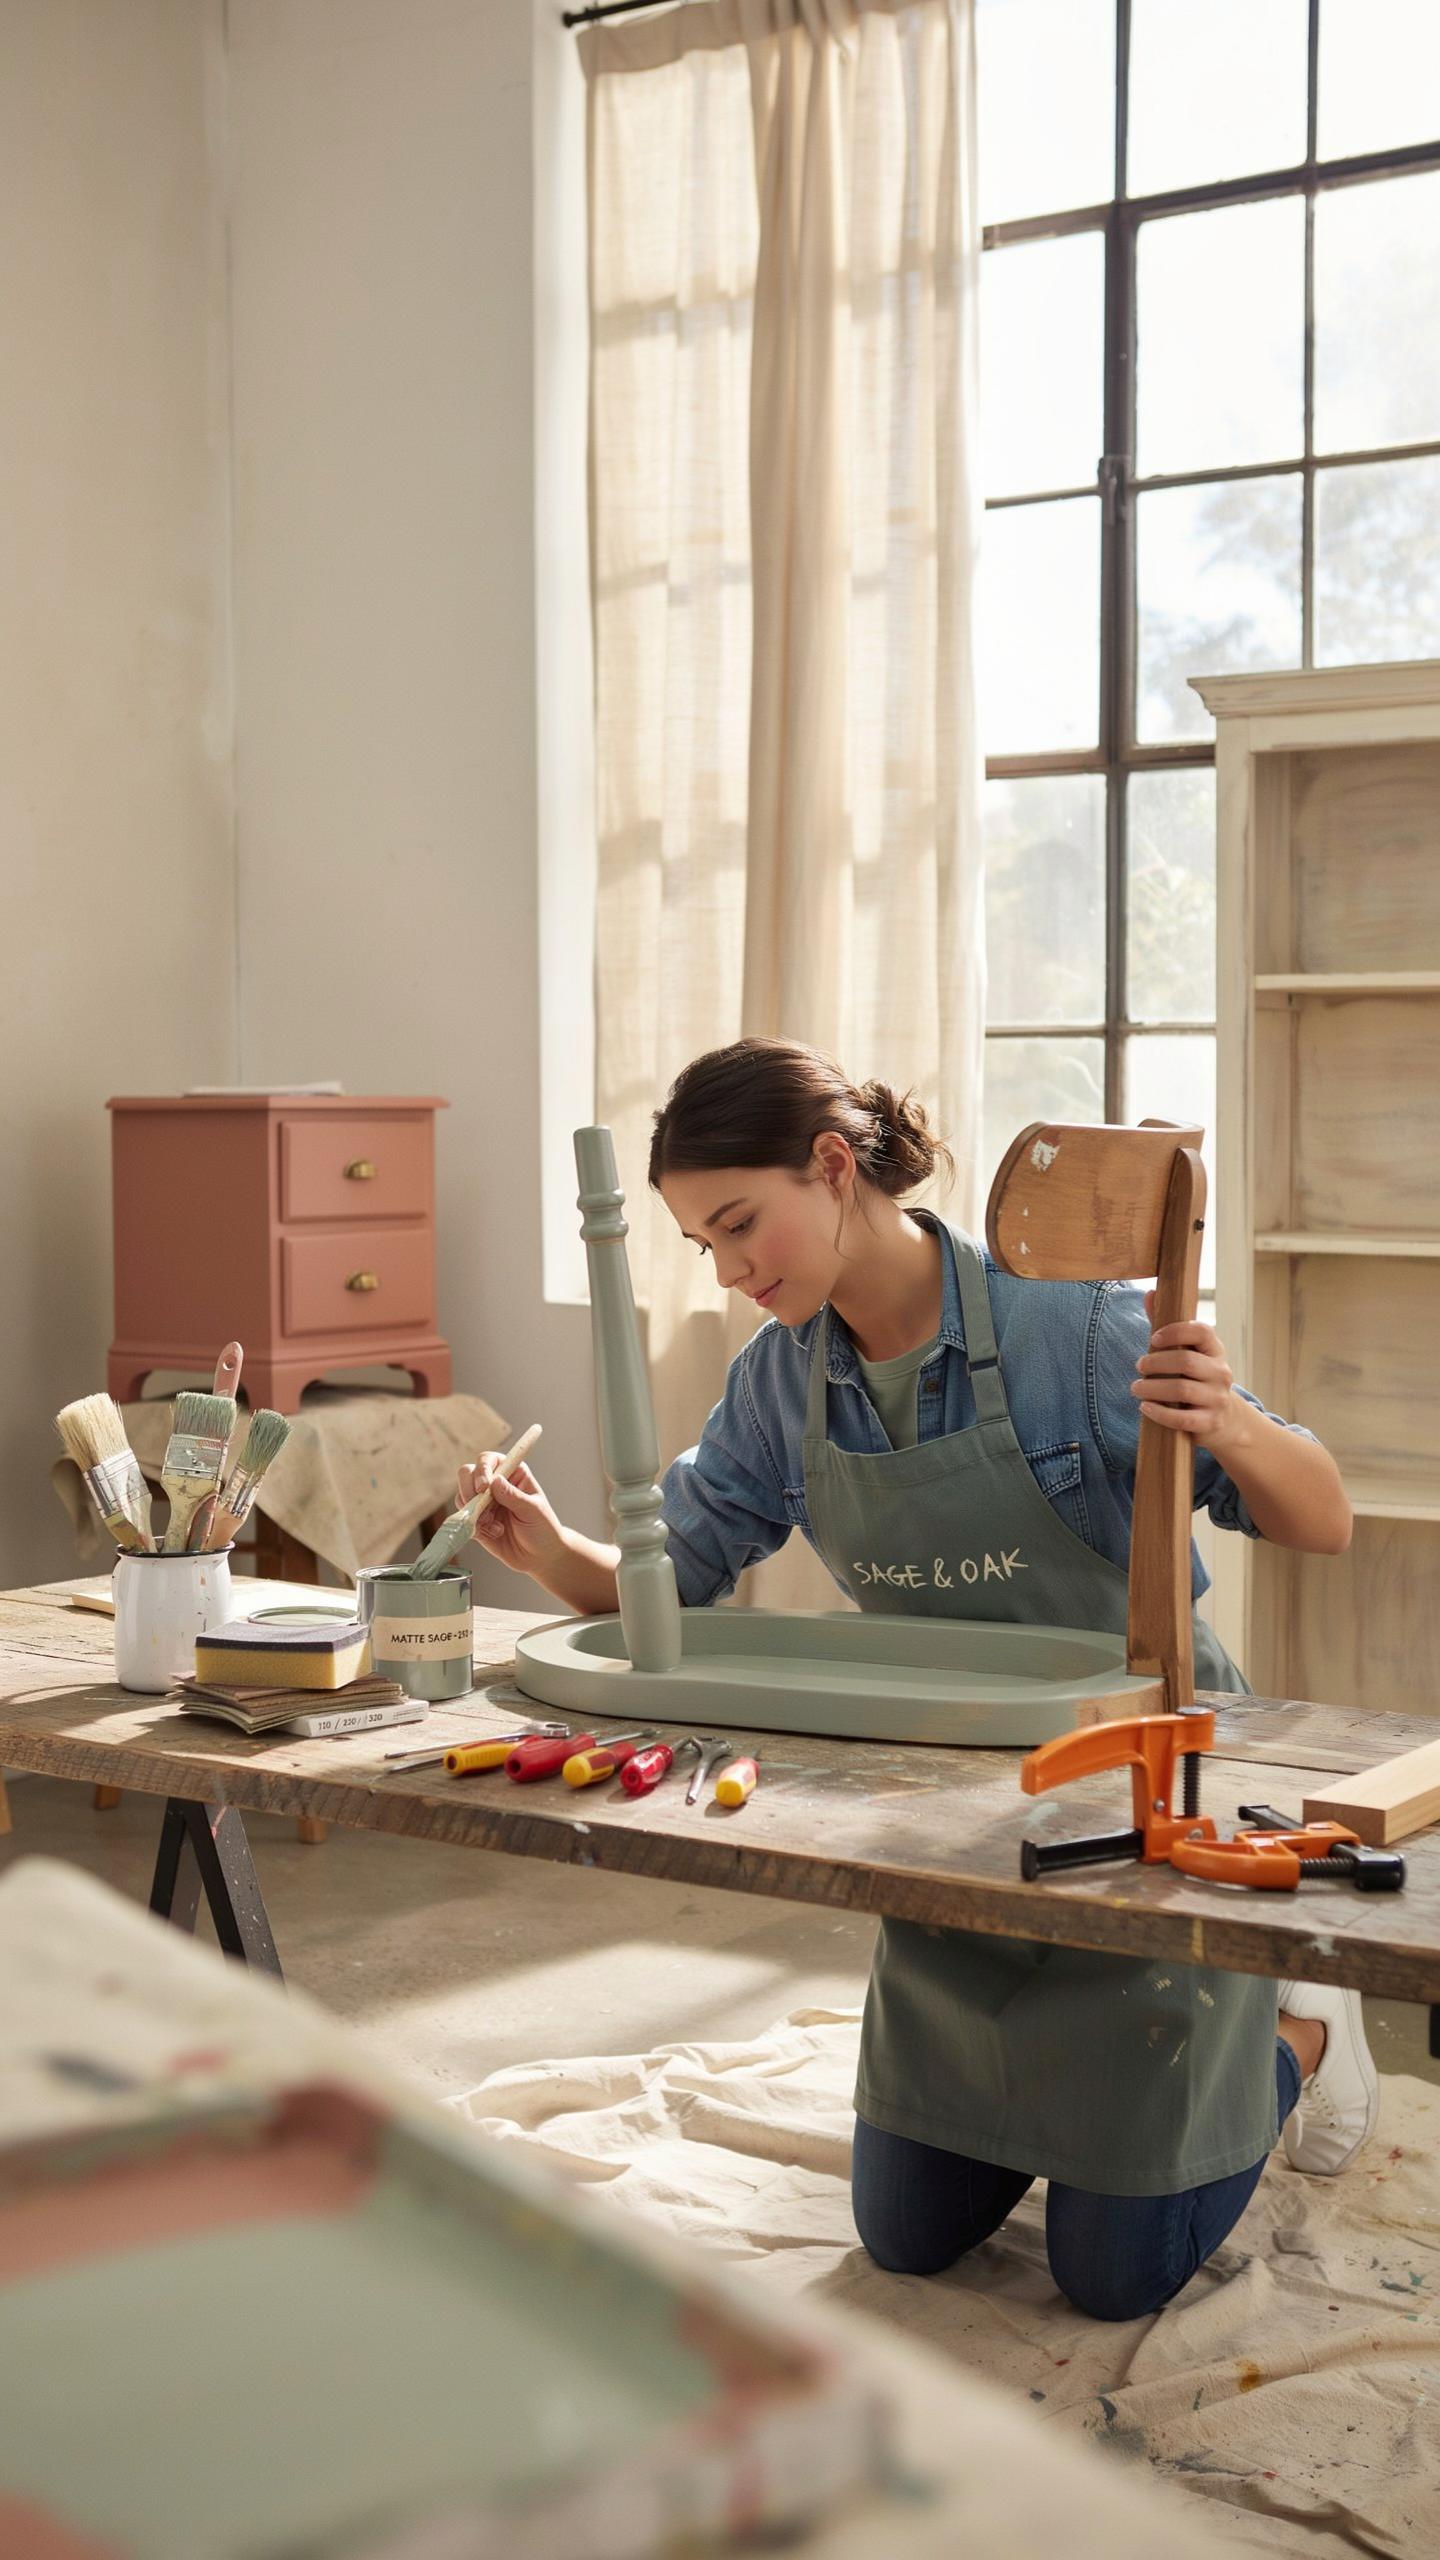
Must Have Supplies For Staining Wood
You need the right supplies to achieve a professional finish on thrifted furniture. Cutting corners on materials directly impacts your final result and resale value. Start with quality products that perform consistently across different wood types and conditions.
- Tack Cloth: Removes dust and debris from wood surfaces before staining. Use this after sanding to prevent particles from embedding in your stain finish.
- Pre Stain Wood Conditioner: Evens out stain absorption on softwoods and blotchy surfaces. Apply this before staining to avoid dark, uneven patches that ruin appearance.
- Quality Wood Stain: Choose stains formulated for your wood type and desired color. Oil based and water based stains perform differently, so match your choice to project needs.
- Foam Brushes or Natural Bristle Brushes: Apply stain with minimal streaking and brush marks. Synthetic bristles absorb water based stains unevenly and waste product.
- High Performance Topcoat: Polyurethane, lacquer, or water based finishes protect stained wood from wear and moisture damage. Select topcoats compatible with your stain type.
Your brush and applicator choice matters as much as the stain itself. Cheap brushes shed bristles into wet stain, creating visible defects. Invest in brushes you’ll reuse across multiple projects to reduce cost per flip.
With a little bit of stain and a lot of love, you can reveal the soul of a discarded piece and turn your house into a soulful home.
Safety Gear And Workspace Setup
Ventilation prevents stain fumes from accumulating to dangerous levels in your work area. Open windows, use fans, or work outdoors when weather permits. Poor air circulation causes headaches, respiratory irritation, and affects your ability to work efficiently and safely.
Chemical resistant gloves protect your skin from prolonged stain exposure and prevent oils from contaminating your work. Respirators rated for organic vapors filter fumes when working in enclosed spaces. Safety goggles protect eyes from splashes and dust. These items cost little compared to medical bills or ruined furniture from mistakes made while uncomfortable or distracted.
Discovering Creative Furniture Flipping Ideas Wood Projects
Highlighting Natural Oak And Walnut Grain
Oak and walnut respond differently to stain because of their wood structure. Oak has large, open pores that absorb stain unevenly, creating visible grain patterns. Walnut has tighter grain and absorbs stain more uniformly. Dark gel stains work best on oak because they sit in the pores and amplify the grain without over-darkening the wood. This creates the contrast you want without sanding through.
Match your stain choice to the wood species you’re working with. Test stain on hidden areas first to see how each wood takes color. Oak takes darker stains faster than walnut does. Walnut shows its natural purple undertones when you use medium to dark stains. Apply stain with a brush or cloth and wipe excess off within 5 to 15 minutes to control the depth of color.
Combining Painted Accents With Stained Elements
Paint the frame or legs of your furniture piece while staining the top or drawer fronts. This two-tone approach works because it separates structural elements from display surfaces. Paint hides imperfections and wood grain variation on frames. Stain showcases the natural wood on high-visibility surfaces like tabletops and drawer fronts.

Use quality primer before painting to ensure even coverage and prevent bleed-through. Sand the painted surfaces lightly between coats for better adhesion. Stain the wood elements after the paint dries completely. This approach lets you use budget-friendly wood for the frame while splurging on better stock for the stained surfaces that buyers actually see.
Step By Step Directions On How To Refurbish Furniture
Applying Pre Stain Wood Conditioner
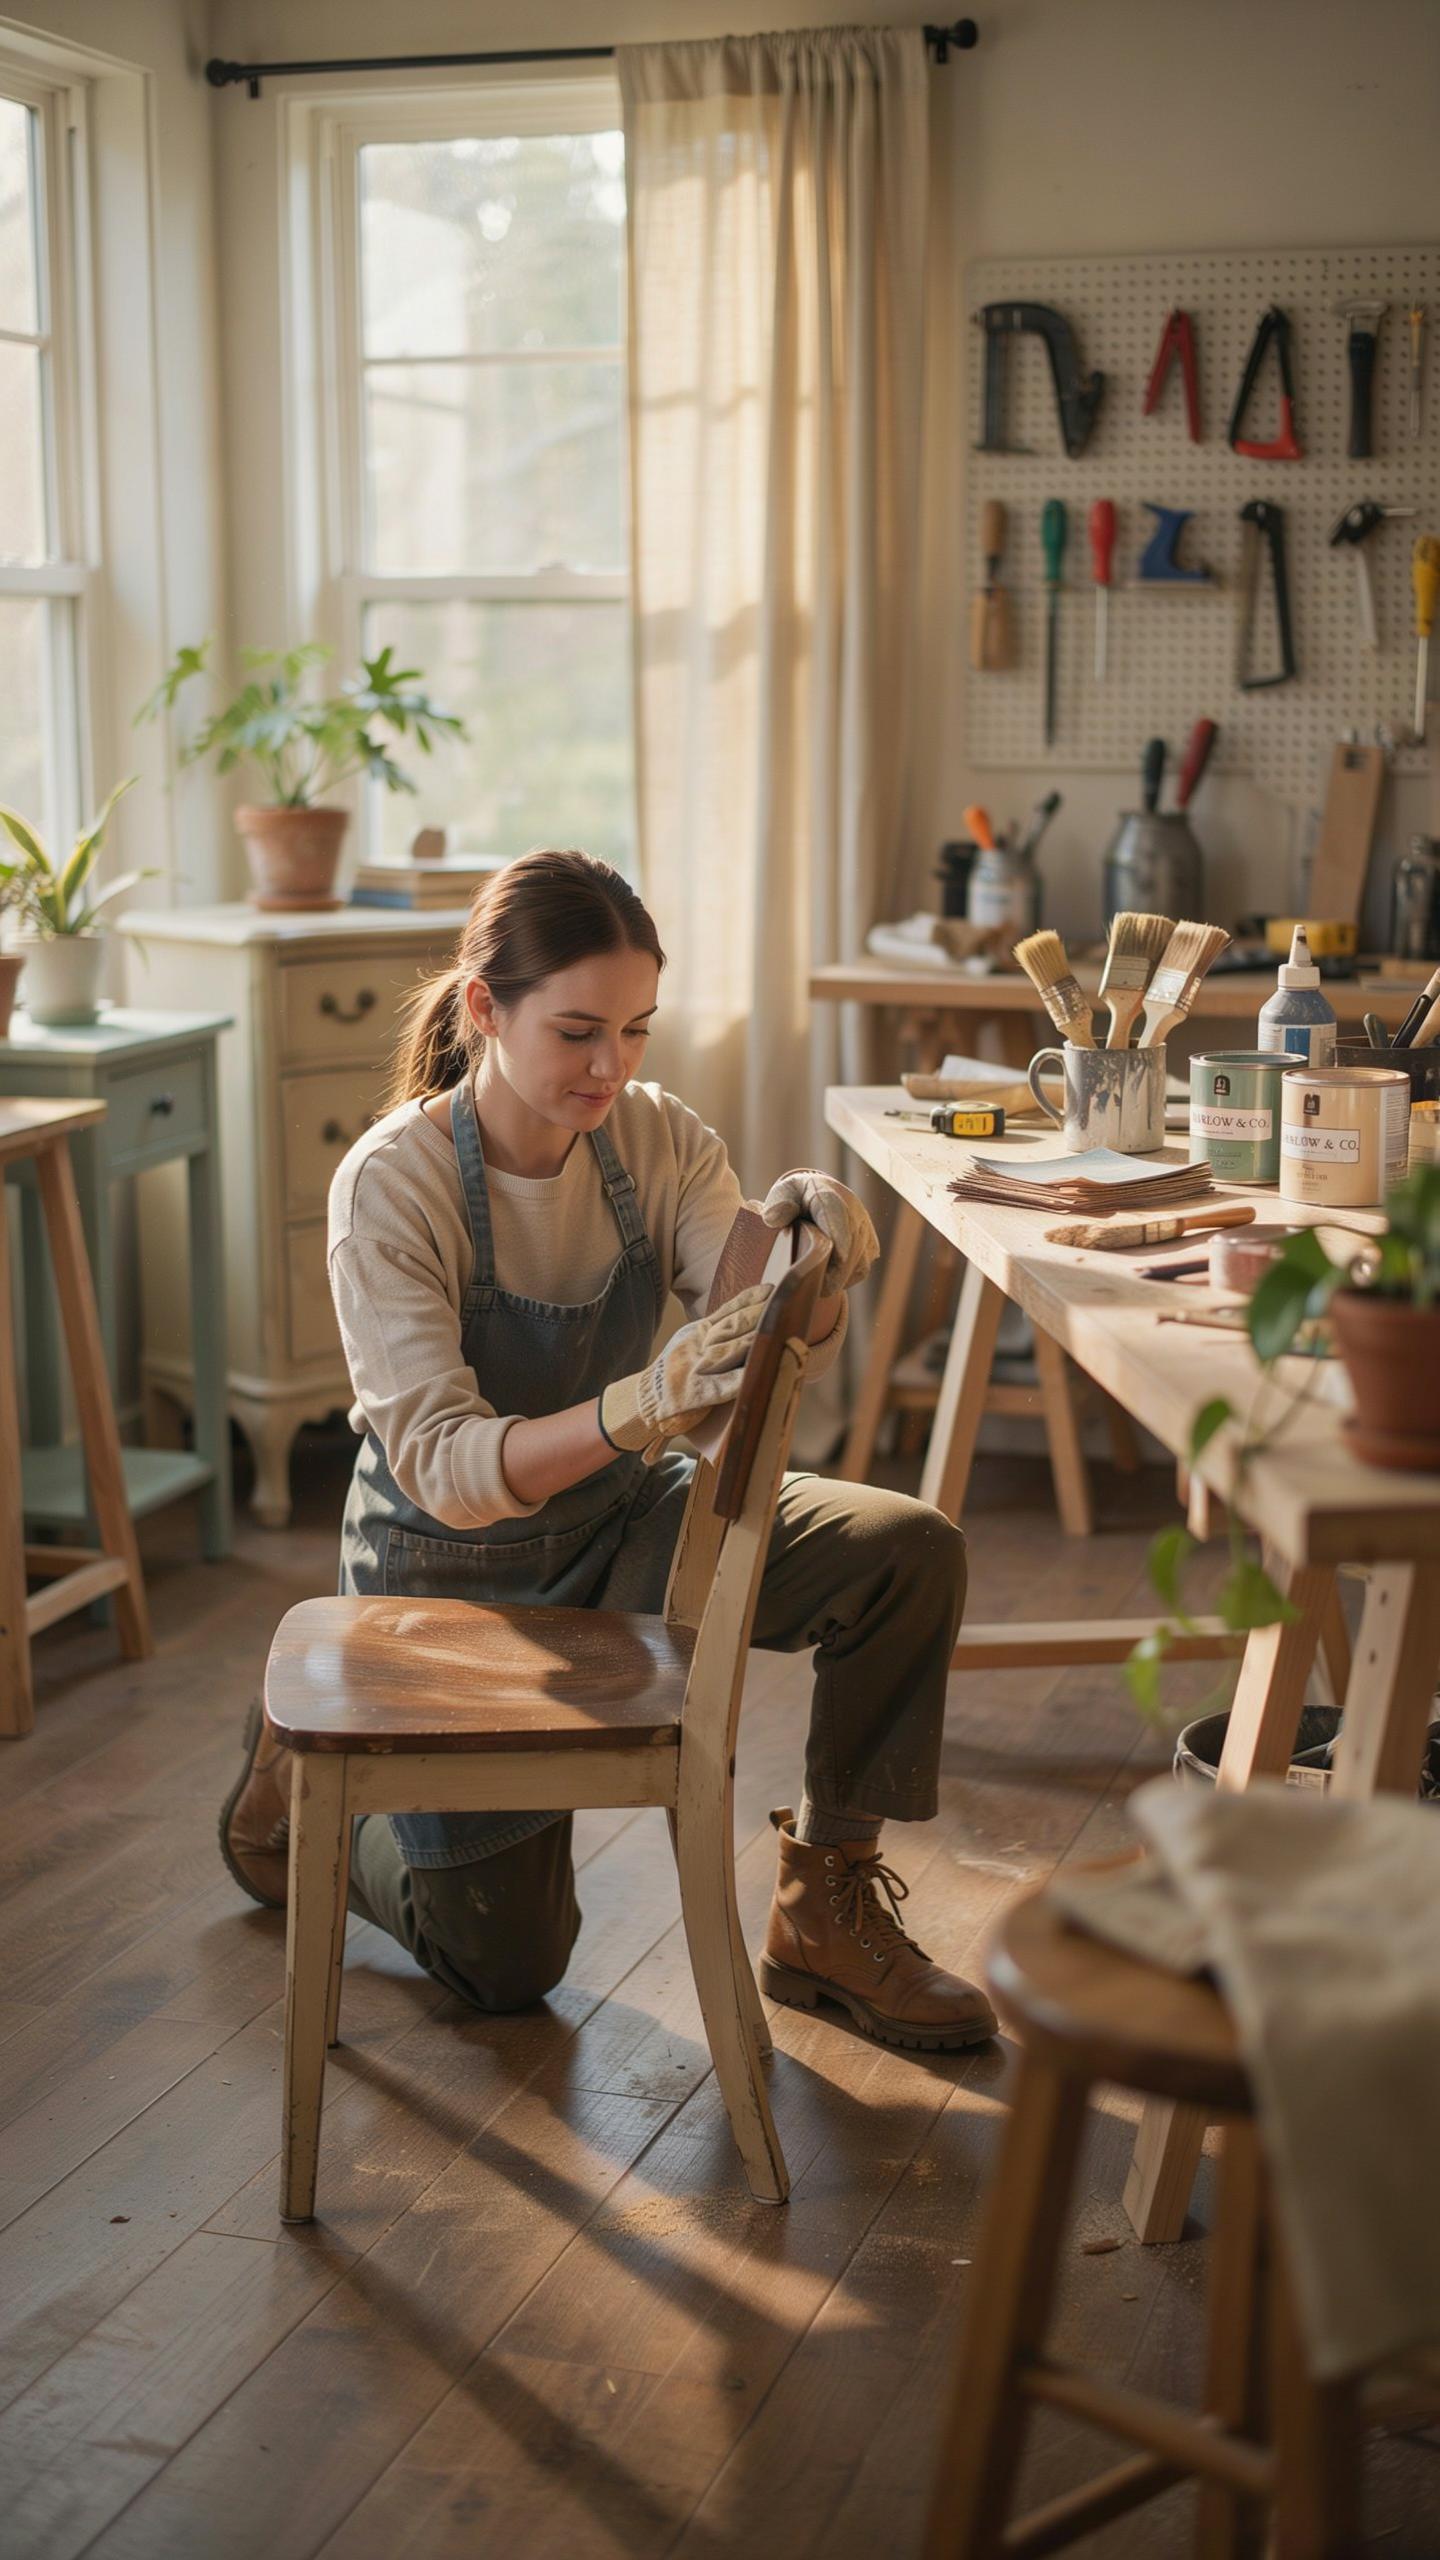
Wood conditioner serves one purpose: it stops blotchy stain absorption. Softwoods like pine, fir, and cherry absorb stain unevenly because their grain structure varies in density. Conditioner seals the wood surface partially, evening out absorption rates. This prevents dark spots and light spots from appearing on the same piece. Apply conditioner with a cloth or brush, let it dry per manufacturer instructions, then sand lightly before staining.
Pre stain conditioner is not optional on softwoods. Hardwoods like oak and maple need it less often, but applying it costs nothing and guarantees results. Skip this step and you waste stain and time fixing blotches later. The conditioner dries quickly, typically 15 minutes to an hour depending on the product. This single step separates amateur flips from professional looking finishes.
Mastering The Wipe On Stain Technique
Apply stain with a lint free cloth or foam brush, moving with the grain direction. Load the cloth or brush moderately, then wipe the stain onto the wood in long, even strokes. Work one section at a time. Do not pool stain in corners or edges. Wipe away excess stain immediately while it is still wet using a clean cloth and following the grain.

The wipe on method gives you control over stain depth. More passes equal darker color. Fewer passes produce lighter tones. Always wipe with the grain, never against it, to avoid visible brush marks or streaks. Allow stain to dry completely between coats if you need a darker result. Multiple thin coats look better than one heavy coat.
Specialized Techniques To Refinish Pine Furniture
Dealing With Softwood Absorption Challenges
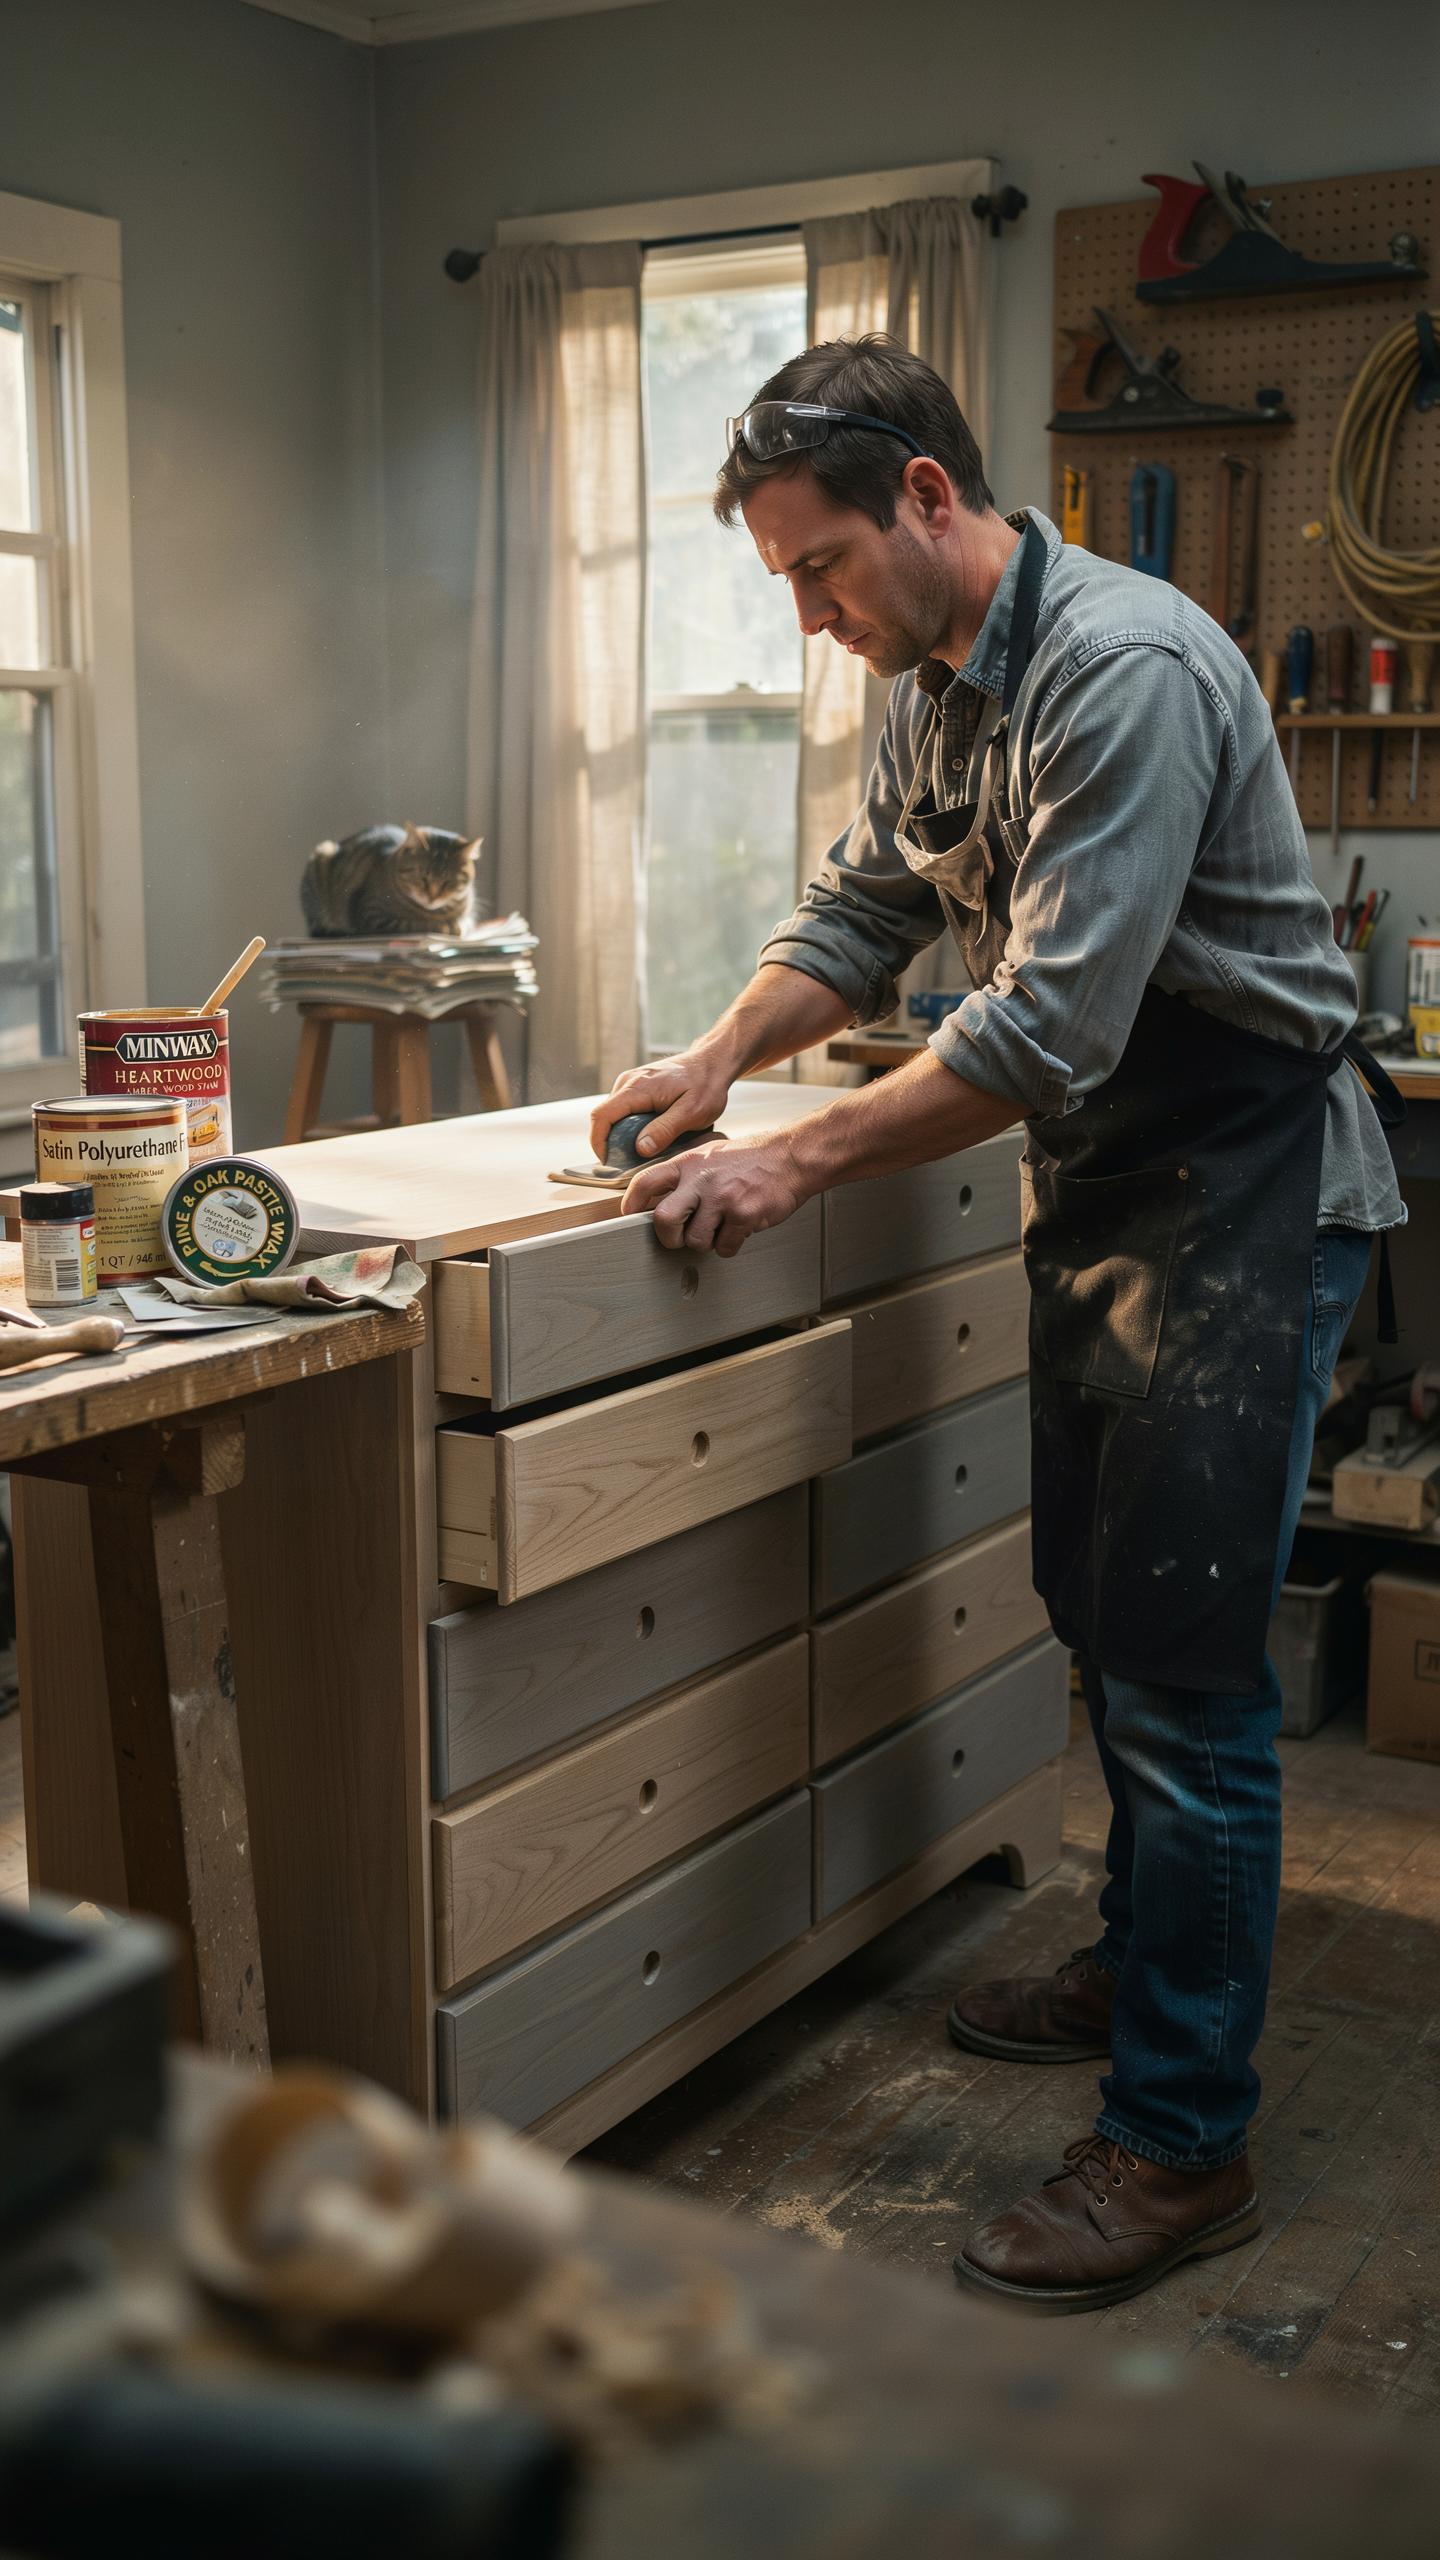
Pine absorbs stain unevenly because its grain structure varies in density. Dark areas form where the wood is more porous, while lighter spots appear on harder grain sections. This creates a blotchy, unprofessional finish that kills resale value. You need to control absorption before applying color.
Gel stains solve this problem by sitting on the wood surface rather than penetrating deeply. They require no pre-stain conditioner and deliver consistent color across the entire piece. Alternatively, apply a wash coat of shellac thinned to 1 part shellac to 4 parts denatured alcohol. Let it dry completely, then sand lightly with 220 grit paper. This seals the wood enough to accept stain more uniformly without blocking color entirely.
Neutralizing Yellow And Orange Undertones
Old pine develops warm orange and yellow tones from age and oxidation. These undertones clash with modern design aesthetics and reduce perceived value. You counteract them using color theory, not by sanding away decades of character. Strategic stain choices manipulate how viewers perceive the wood tone.

Gray-based or green-tinted ash stains neutralize orange undertones effectively. Apply one coat, assess the result, then add a second if needed. White wash or pickling stain provides another option, creating a weathered appearance while masking yellow cast. Thin white stain with water to 50 percent concentration for control. Always test on scrap pine first because undertone intensity varies between pieces.
Embarking On A Basic Dresser Flip With Stain
Prepping And Aligning Dresser Drawers
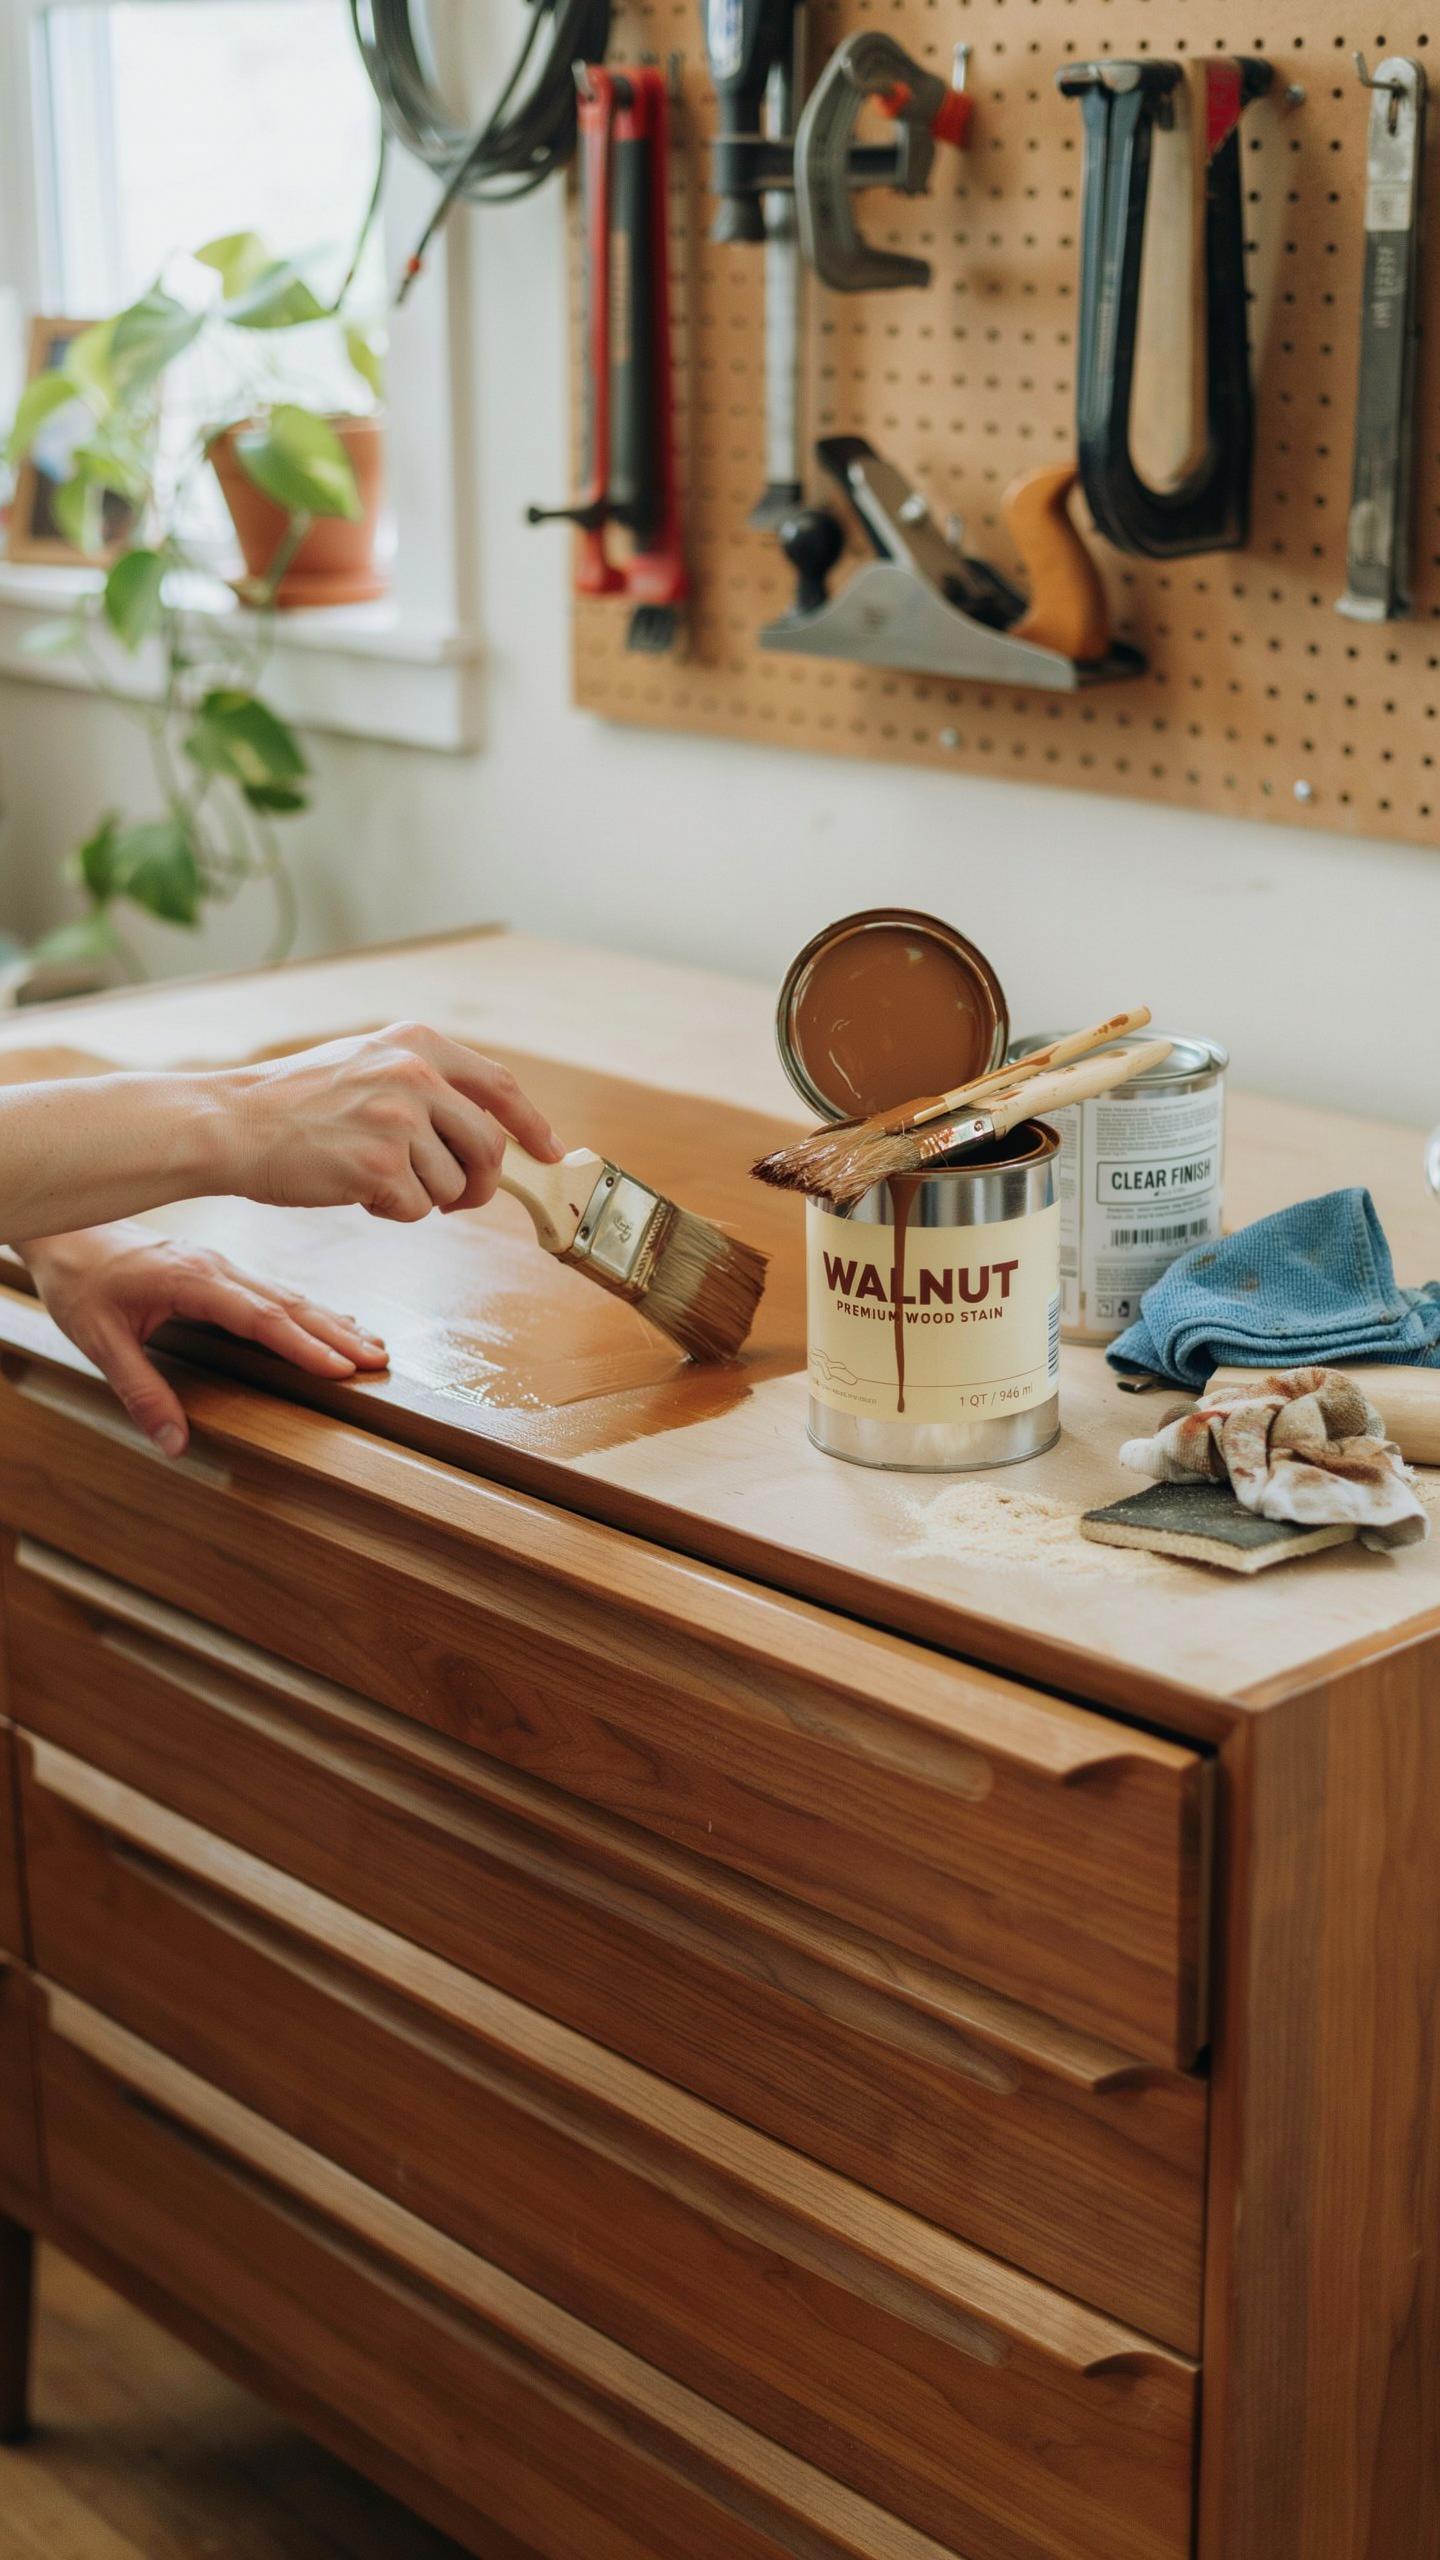
Label each drawer before disassembly so you reinstall them correctly. Remove all drawers and hardware. Sand the exterior and interior surfaces with 120-grit sandpaper to strip old finishes and open the wood grain. Check drawer slides for debris and clean them thoroughly. Test fit each drawer multiple times during the process to catch alignment issues early.
Drawer misalignment ruins the final look and creates friction that damages newly stained surfaces. Ensure slides move smoothly by adjusting the mounting brackets slightly if needed. Sand slide surfaces lightly if they bind. Test drawers after staining each stage of the process. Proper alignment prevents gaps between drawer fronts and the dresser body, which exposes unstained wood underneath.
Upgrading Hardware To Match Stained Wood
Hardware finish must complement your stain color and the room’s design. Brushed brass works well with medium to dark stains and warm color schemes. Matte black pairs with espresso or walnut stains for contemporary looks. Polished nickel suits lighter stains in transitional spaces. Choose hardware that matches your property’s existing finishes for cohesion. Measure existing hardware holes before purchasing replacements to avoid drilling new holes.
Install new hardware only after the final topcoat dries completely. Mismatched or cheap hardware undermines a quality stain job and signals poor execution. Test fit hardware before final installation to ensure proper spacing and alignment. Quality hardware investment typically costs 15 to 40 dollars per drawer but transforms the dresser’s perceived value significantly.
Sourcing Creative Furniture Flipping Inspiration

Finding Gems At Estate Sales And Thrift Stores
Estate sales and thrift stores stock furniture with solid construction buried under cosmetic problems. Look for pieces with straight joints, no structural wobbling, and wood that feels dense when you tap it. Mid-century designs, Victorian frames, and solid hardwood tables command higher resale prices. Ignore surface damage. Focus on bones. A scratched walnut dresser or veneer-topped side table with good proportions justifies the flip investment.
Examine joints and drawers before buying. Pull drawers fully open and check for dovetail construction or solid wood components. Inspect the underside for manufacturer marks, wood type, and assembly method. Avoid particle board unless the piece has exceptional style appeal. Real wood absorbs stain evenly and develops character. Plywood and veneer require different prep work but still work for flips if the veneer remains intact.
Transforming Rejected Items Into Statement Pieces
Rejected furniture pieces become high-value output through strategic sanding and stain selection. A side table with water rings, scratches, and dull finish transforms completely when you sand to bare wood and apply quality stain. Rustic and farmhouse aesthetics command premiums because they embrace character. Dark walnut stain on pine creates the appearance of expensive hardwood. Strategic distressing after staining adds perceived age and authenticity.

Before and after transformation drives buyer psychology and justifies price increases. Document the condition when you acquire the piece. Photograph rough surfaces, worn finishes, and damage clearly. After staining, the same piece shows wood grain detail, uniform color, and renewed appeal. Buyers visualize finished rooms instead of work required. This perception shift allows 200 to 400 percent markup on properly executed flips with honest condition disclosure.
Curating A Modern Furniture Flipping Aesthetic
Achieving A Matte Earthy Mid Century Look
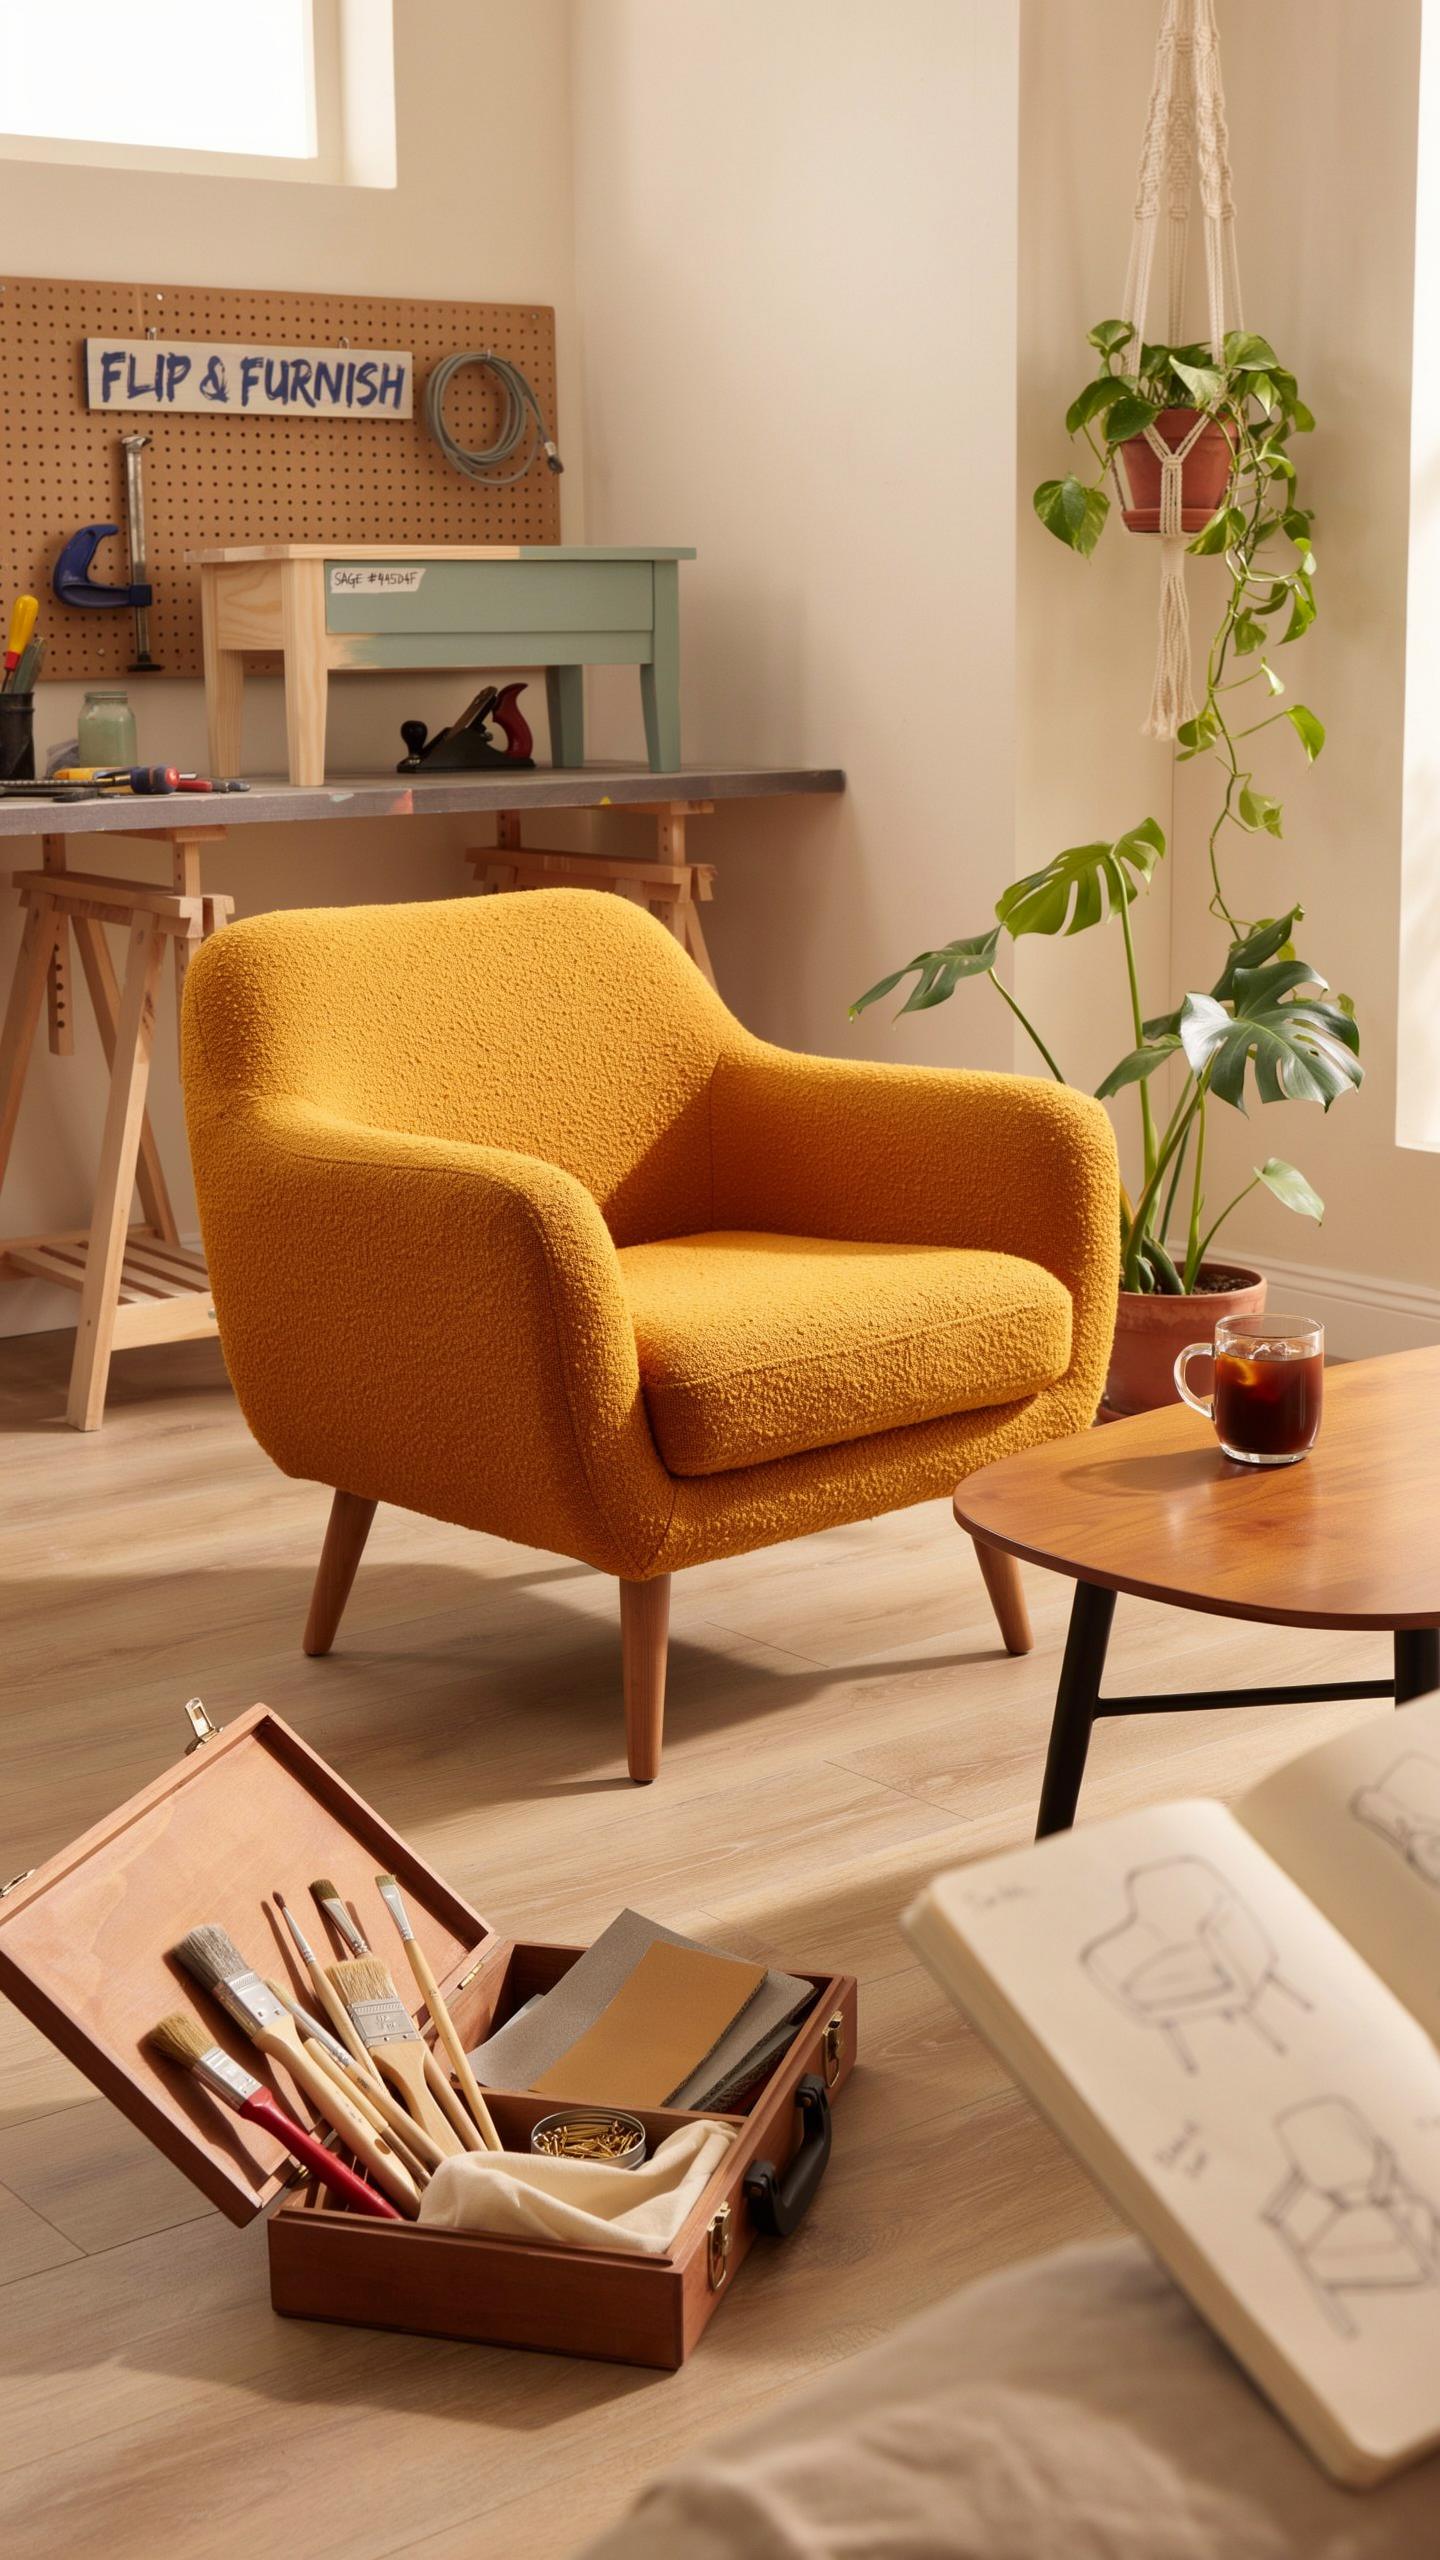
Mid-century modern design emphasizes clean lines and natural materials. Penetrating oils work better than film-forming topcoats for this aesthetic because they soak into the wood grain rather than sitting on the surface. Tung oil and Danish oil preserve wood texture while delivering a subtle sheen that reads as matte from most angles. This approach keeps the piece looking authentic to the era.
Matte topcoats like conversion varnish or matte polyurethane flatten the finish without compromising durability. Apply thin, even coats to avoid buildup that masks wood character. Sand between coats with 220-grit paper to maintain adhesion. The result respects the mid-century philosophy of form following function while keeping your flip marketable to buyers seeking that specific aesthetic.
Embracing The Rustic Farmhouse Vibe
Distressed staining creates the weathered appearance farmhouse buyers expect. Start with a base stain in medium to dark tones, then strategically sand edges and high-traffic areas to expose lighter wood underneath. Wire-brushing along the grain before staining opens the wood surface and makes subsequent distressing look natural rather than forced. This technique compresses the aging process into hours instead of decades.
Dry brushing applies stain or glaze to worn areas for depth and authenticity. Load minimal product on your brush and work it into crevices and corners where dust naturally accumulates over time. Layer complementary stain colors in shadowed zones to build complexity. This method separates amateur flips from professional-grade work because it mimics genuine use patterns that farmhouse aesthetics demand.
Endless Creative Furniture Flipping Ideas Inspiration

Trending Staining Styles To Experiment With
Market demand drives stain choices. Buyers respond to specific finishes that align with current interior design preferences. Understanding what moves inventory fast matters more than personal taste. Test trending styles on sample pieces before committing to full projects.
- Whitewashing: Diluted white paint applied over stain creates a weathered, coastal appearance. This technique works well on pine and oak. It softens bold wood grain while maintaining visibility of the underlying wood texture and character.
- Cerusing: White or colored paste fills wood grain pores, creating contrast against darker stained wood. Popular in mid-century and Scandinavian designs. This technique emphasizes wood structure and adds visual depth to grain patterns.
- Dark Walnut: Deep brown tones remain consistently popular across market segments. Works on most wood species and hides imperfections effectively. Pairs well with modern and traditional design aesthetics, broadening buyer appeal.
- Fuming: Ammonia vapor darkens wood naturally without added stain, producing rich chocolate and amber tones. Requires proper ventilation and safety precautions during application. Results vary based on wood type and ammonia concentration used.
- Color Washing: Thin stain layers create muted, sophisticated tones that showcase wood grain. Multiple passes build depth gradually. This reversible technique allows adjustment before final topcoat application.
These approaches dominate current listings on resale platforms. Monitor pricing data on completed sales to identify which finishes command premium prices in your local market. Adapt your technique rotation based on actual performance data.
Protecting Your Flip With The Right Topcoat
Your stain choice only matters if the topcoat holds up. Daily use, sunlight, and moisture destroy unprotected finishes. Select a topcoat based on the piece’s intended function and traffic level it will face.
Polyurethane provides the most durable protection for high-traffic furniture. Apply two to three coats for maximum defense against scratches and spills. Water-based polyurethane dries clear and resists yellowing. Oil-based polyurethane darkens the stain slightly but offers superior scratch resistance. Polycrylic works as a water-based alternative to polyurethane with easier cleanup but less durability. Wax and lacquer serve primarily decorative purposes on lower-traffic pieces. Choose based on the buyer’s likely use and maintenance willingness.
Frequently Asked Questions

What is the most important first step for a beginner starting a furniture project?
The foundation of a successful project is proper surface preparation. Before applying any products, you must thoroughly clean the wood with a degreaser and sand away the old finish. Following essential thrifted furniture flip staining tips means understanding that stain needs open wood pores to absorb correctly. Skipping the sanding phase often results in a splotchy, uneven finish that looks amateur rather than charming and high-end.
How do I achieve an even wood tone without the finish looking splotchy?
To get a professional look, always apply a high-quality wood conditioner before your stain. This acts as a wood primer, ensuring the pigment absorbs uniformly across different grain densities. When practicing popular thrifted furniture flip staining tips, remember to wipe away excess stain in the direction of the grain. This technique prevents dark pools of color and highlights the natural beauty of your unique second-hand finds.
Can I restore a dated piece of furniture on a very tight budget?
Absolutely! Thrifting is inherently budget-friendly, and you can save even more by using versatile oil-based stains or gel stains that cover a variety of wood species. Instead of buying expensive power tools, start with simple sandpaper packs and lint-free rags for application. A single small tin of stain can transform multiple items, allowing you to elevate your property’s aesthetic without spending a fortune on brand-new designer pieces.



