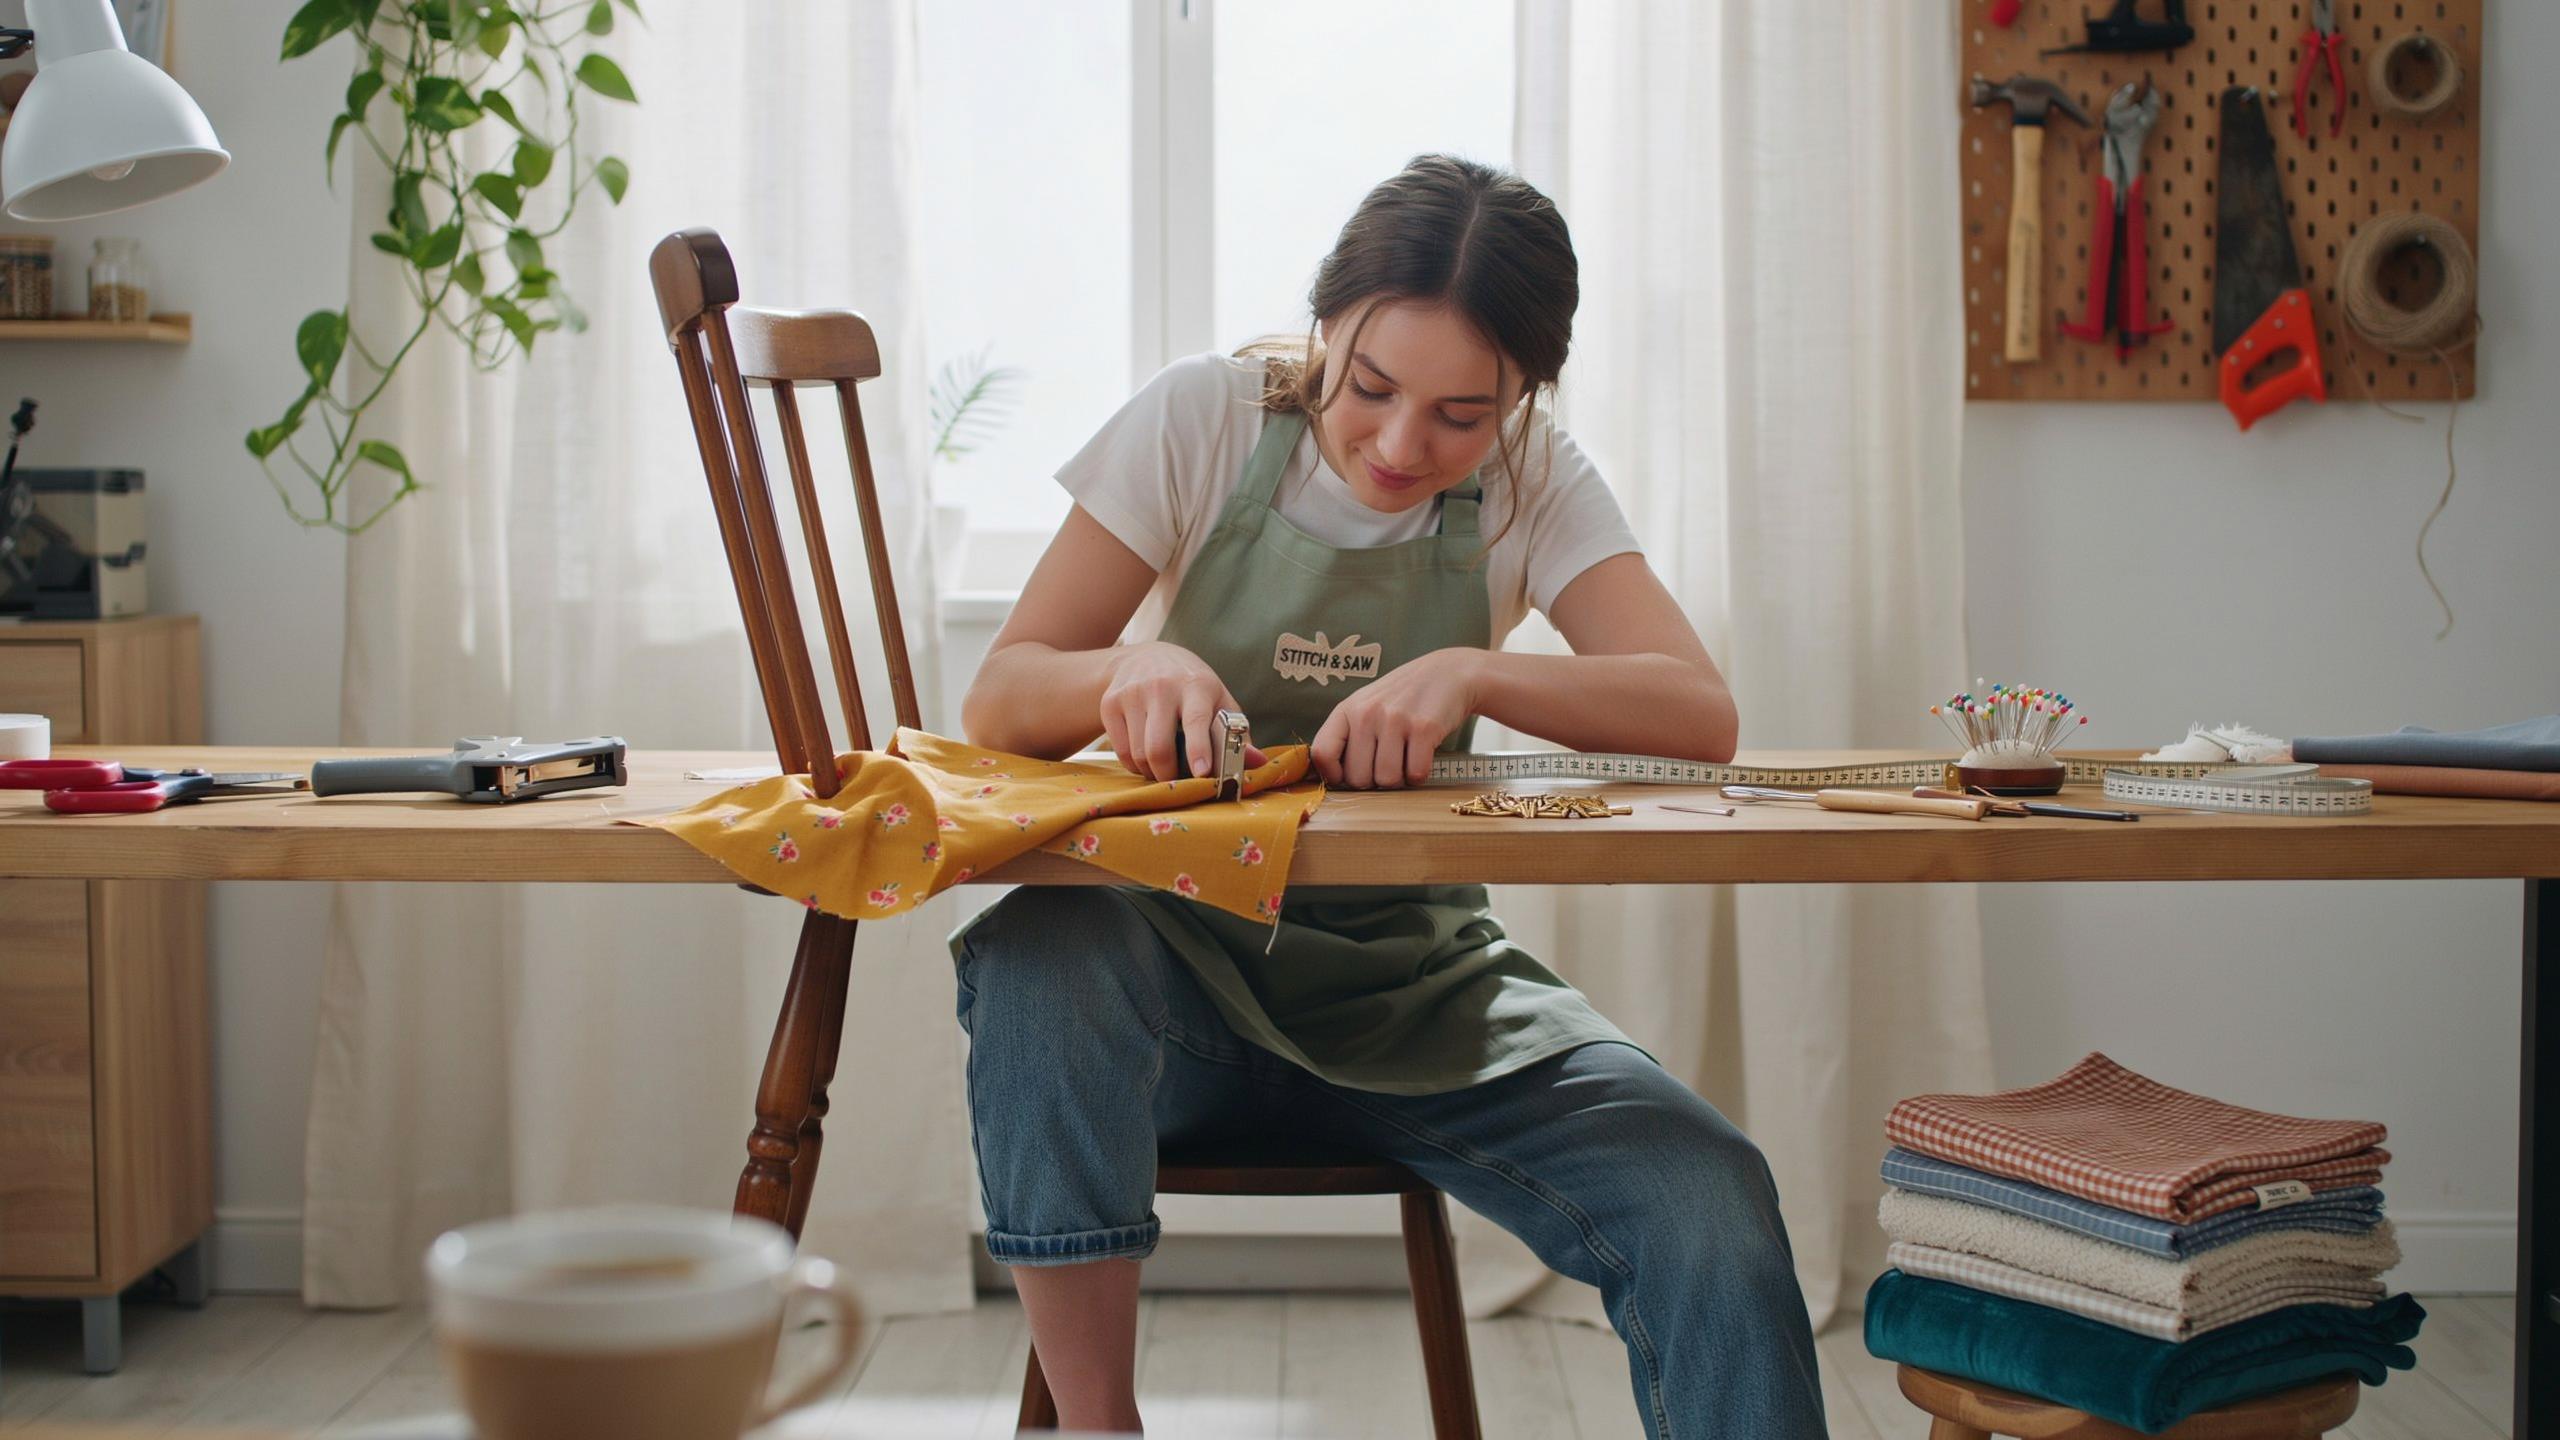
Embarking On Your First DIY Furniture Renovation And Reupholstering Project
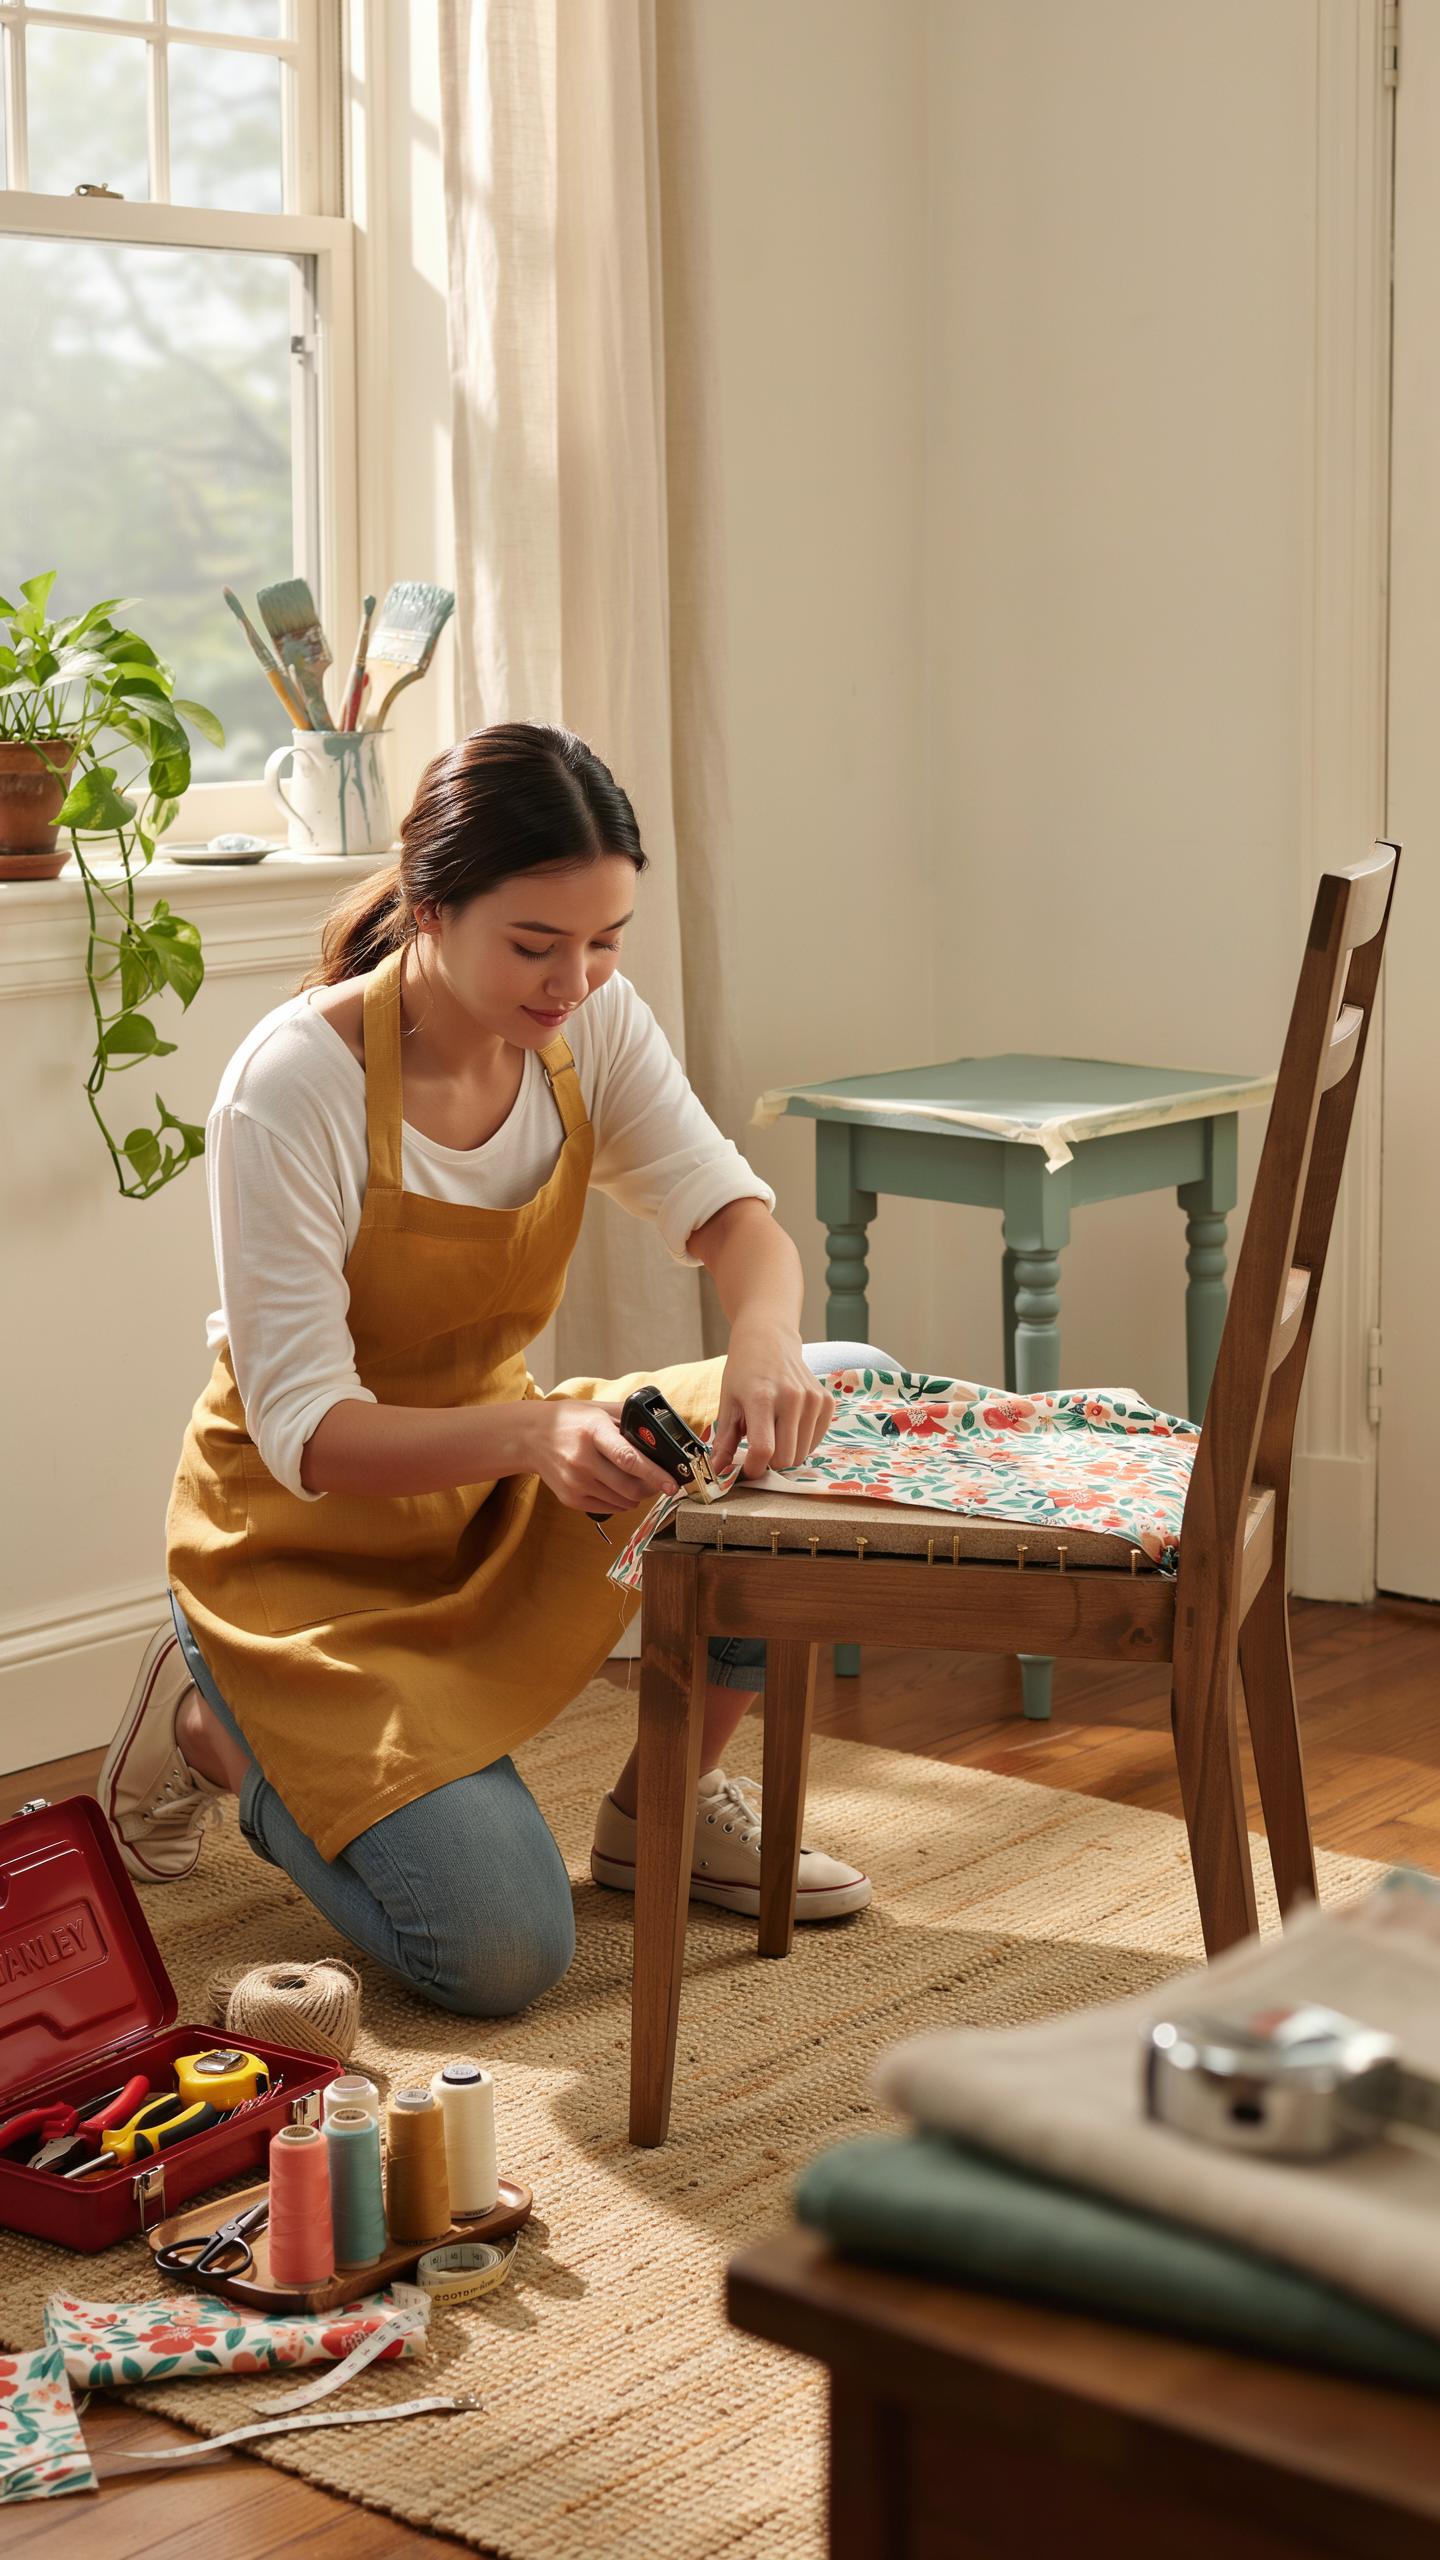
Why Reupholstery Is Key To Furniture Transformations
Reupholstery directly extends furniture life and recovers investment value. A worn sofa or chair loses function and appearance over time. Replacing fabric, padding, and webbing restores both. This process costs significantly less than buying new furniture. You control the final result instead of accepting limited retail options.
Reupholstery addresses structural issues that new paint or stain cannot fix. Sagging seats indicate failed springs or padding underneath the visible fabric. Torn upholstery exposes foam deterioration and frame problems. Fixing these issues requires accessing the interior structure. You learn how furniture actually works when you disassemble and rebuild it.
Selecting Your First Simple Project For Success
Start with pieces that have flat, simple surfaces and minimal structural complexity. Dining chairs work better than sectional sofas for beginners. Ottoman boxes, padded benches, and wingback chairs offer manageable learning curves. Avoid pieces with curved arms, tufting, or multiple fabric sections initially. Success builds confidence for tackling harder projects later.
Inspect potential projects for frame damage before committing. A cracked or bent wooden frame requires carpentry skills beyond basic reupholstery. Rock the piece to check for wobbling or loose joints. Look for water damage, wood rot, or pest damage on the underside. A solid frame means you focus only on fabric replacement rather than structural repairs.
Essential Tools And Supplies For A Refinishing Furniture Diy
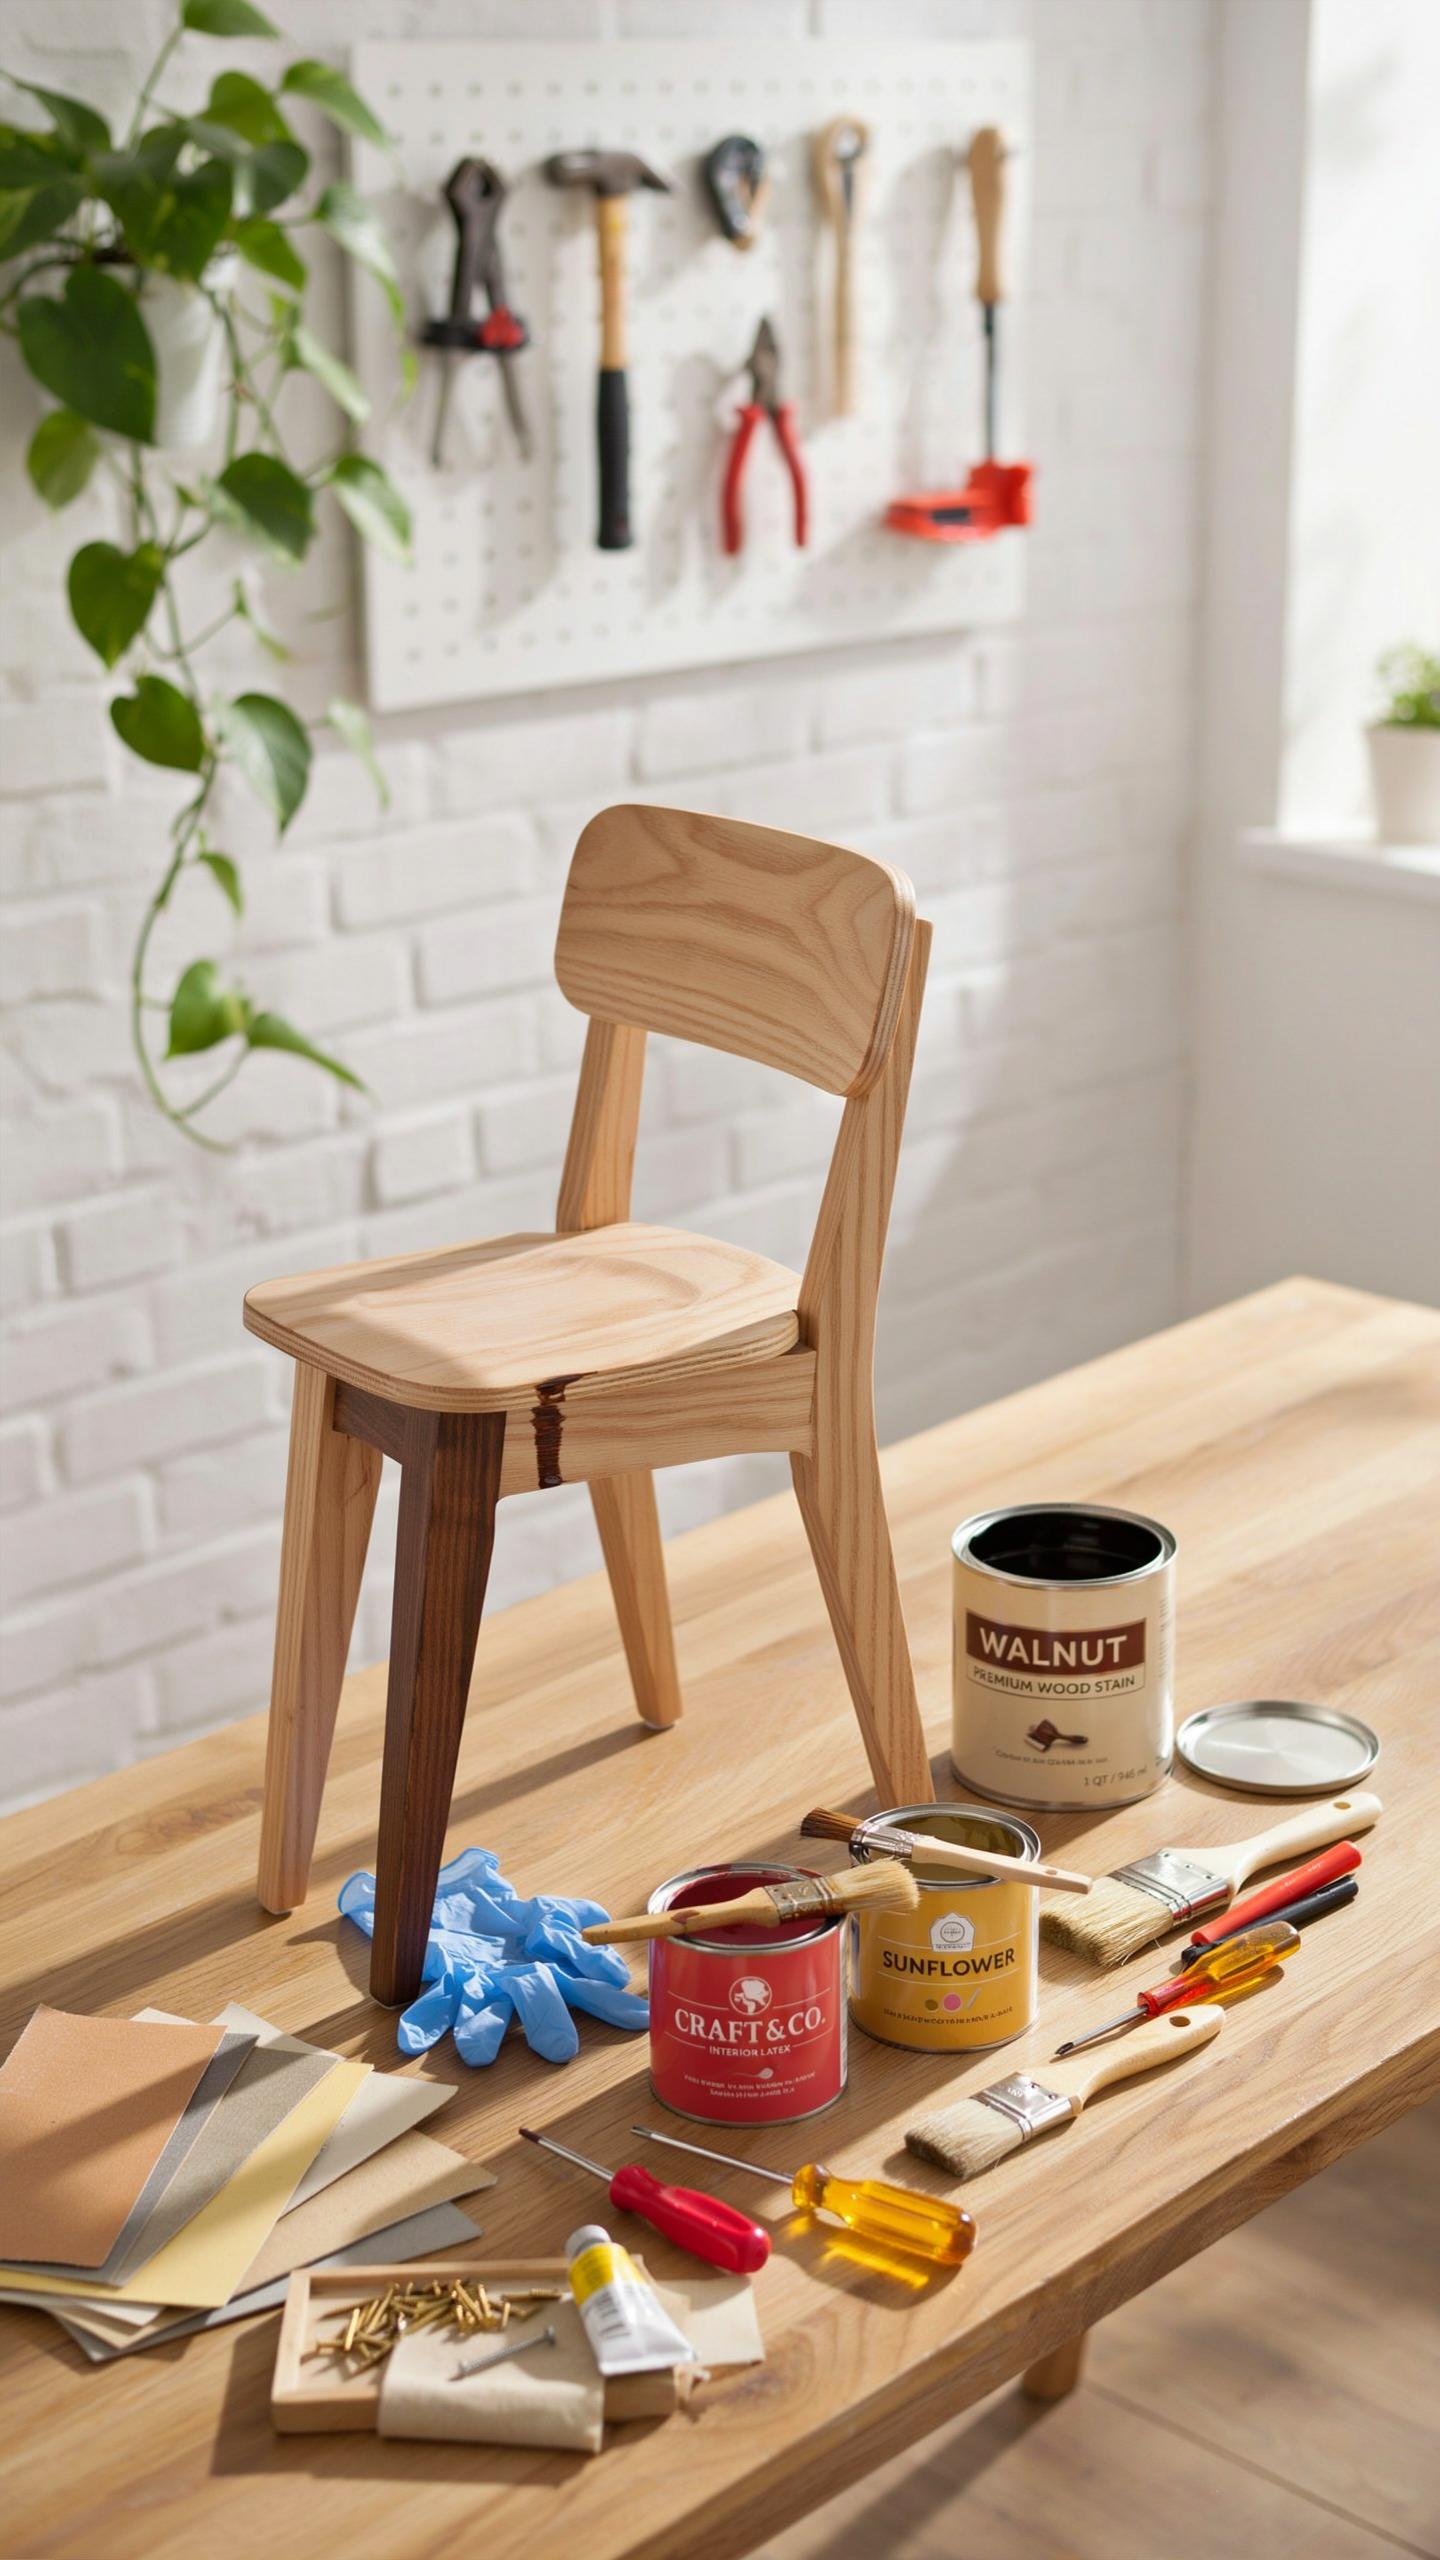
Measuring And Safety Equipment Basics
You need accurate measurements before you cut anything. A tape measure, ruler, and marker prevent costly mistakes. Precision here saves fabric and time. Document every dimension of your furniture piece. Write down seat height, width, depth, and arm length. These numbers guide your material purchases and cutting patterns.
Safety equipment protects you during the entire project. Wear work gloves when handling staples, springs, and sharp frame edges. Use a dust mask when removing old upholstery and batting. Safety glasses protect your eyes from flying debris and staple gun misfires. These items cost little but prevent injuries that stop your project cold.
The Complete Upholstery Toolkit And Materials
Start with a staple gun rated for upholstery work. Manual staple guns work fine for beginners. You need staples in 3/8 inch and 1/2 inch lengths for different fabric thicknesses. A staple remover pulls old staples without damaging the frame. A flat head screwdriver helps pry stubborn staples loose.
- Upholstery Needle and Thread: Use heavy duty upholstery thread with a curved needle for hand stitching seams and closing openings. This creates strong, lasting joints that hold under tension.
- Fabric and Batting: Buy quality upholstery fabric rated for furniture use. Batting provides cushioning under fabric. Calculate square footage by multiplying length times width plus 3 extra inches on each side for wrapping.
- Webbing and Springs: Jute webbing supports the seat foundation. Eight way hand tied springs are standard for quality furniture. Pre-assembled spring systems work for budget flips.
- Foam Padding: High density foam lasts longer than low density. Buy 2 to 4 inch thickness for seats. Check your existing padding before removing it to match density levels.
- Tack Strips and Welt Cord: Tack strips hold fabric edges without visible staples along finished areas. Welt cord creates clean, professional seams between fabric sections and cushions.
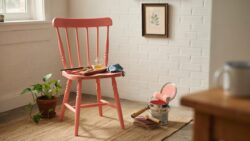
Keep your supplies organized before you start. Premature purchasing wastes money on materials you don’t need. Strip your furniture first, measure everything, then buy exactly what your piece requires. This approach saves both cash and storage space in your work area.
Sourcing Good Quality Pieces For A Furniture Flipping Business
Where To Find Affordable And Sturdy Furniture
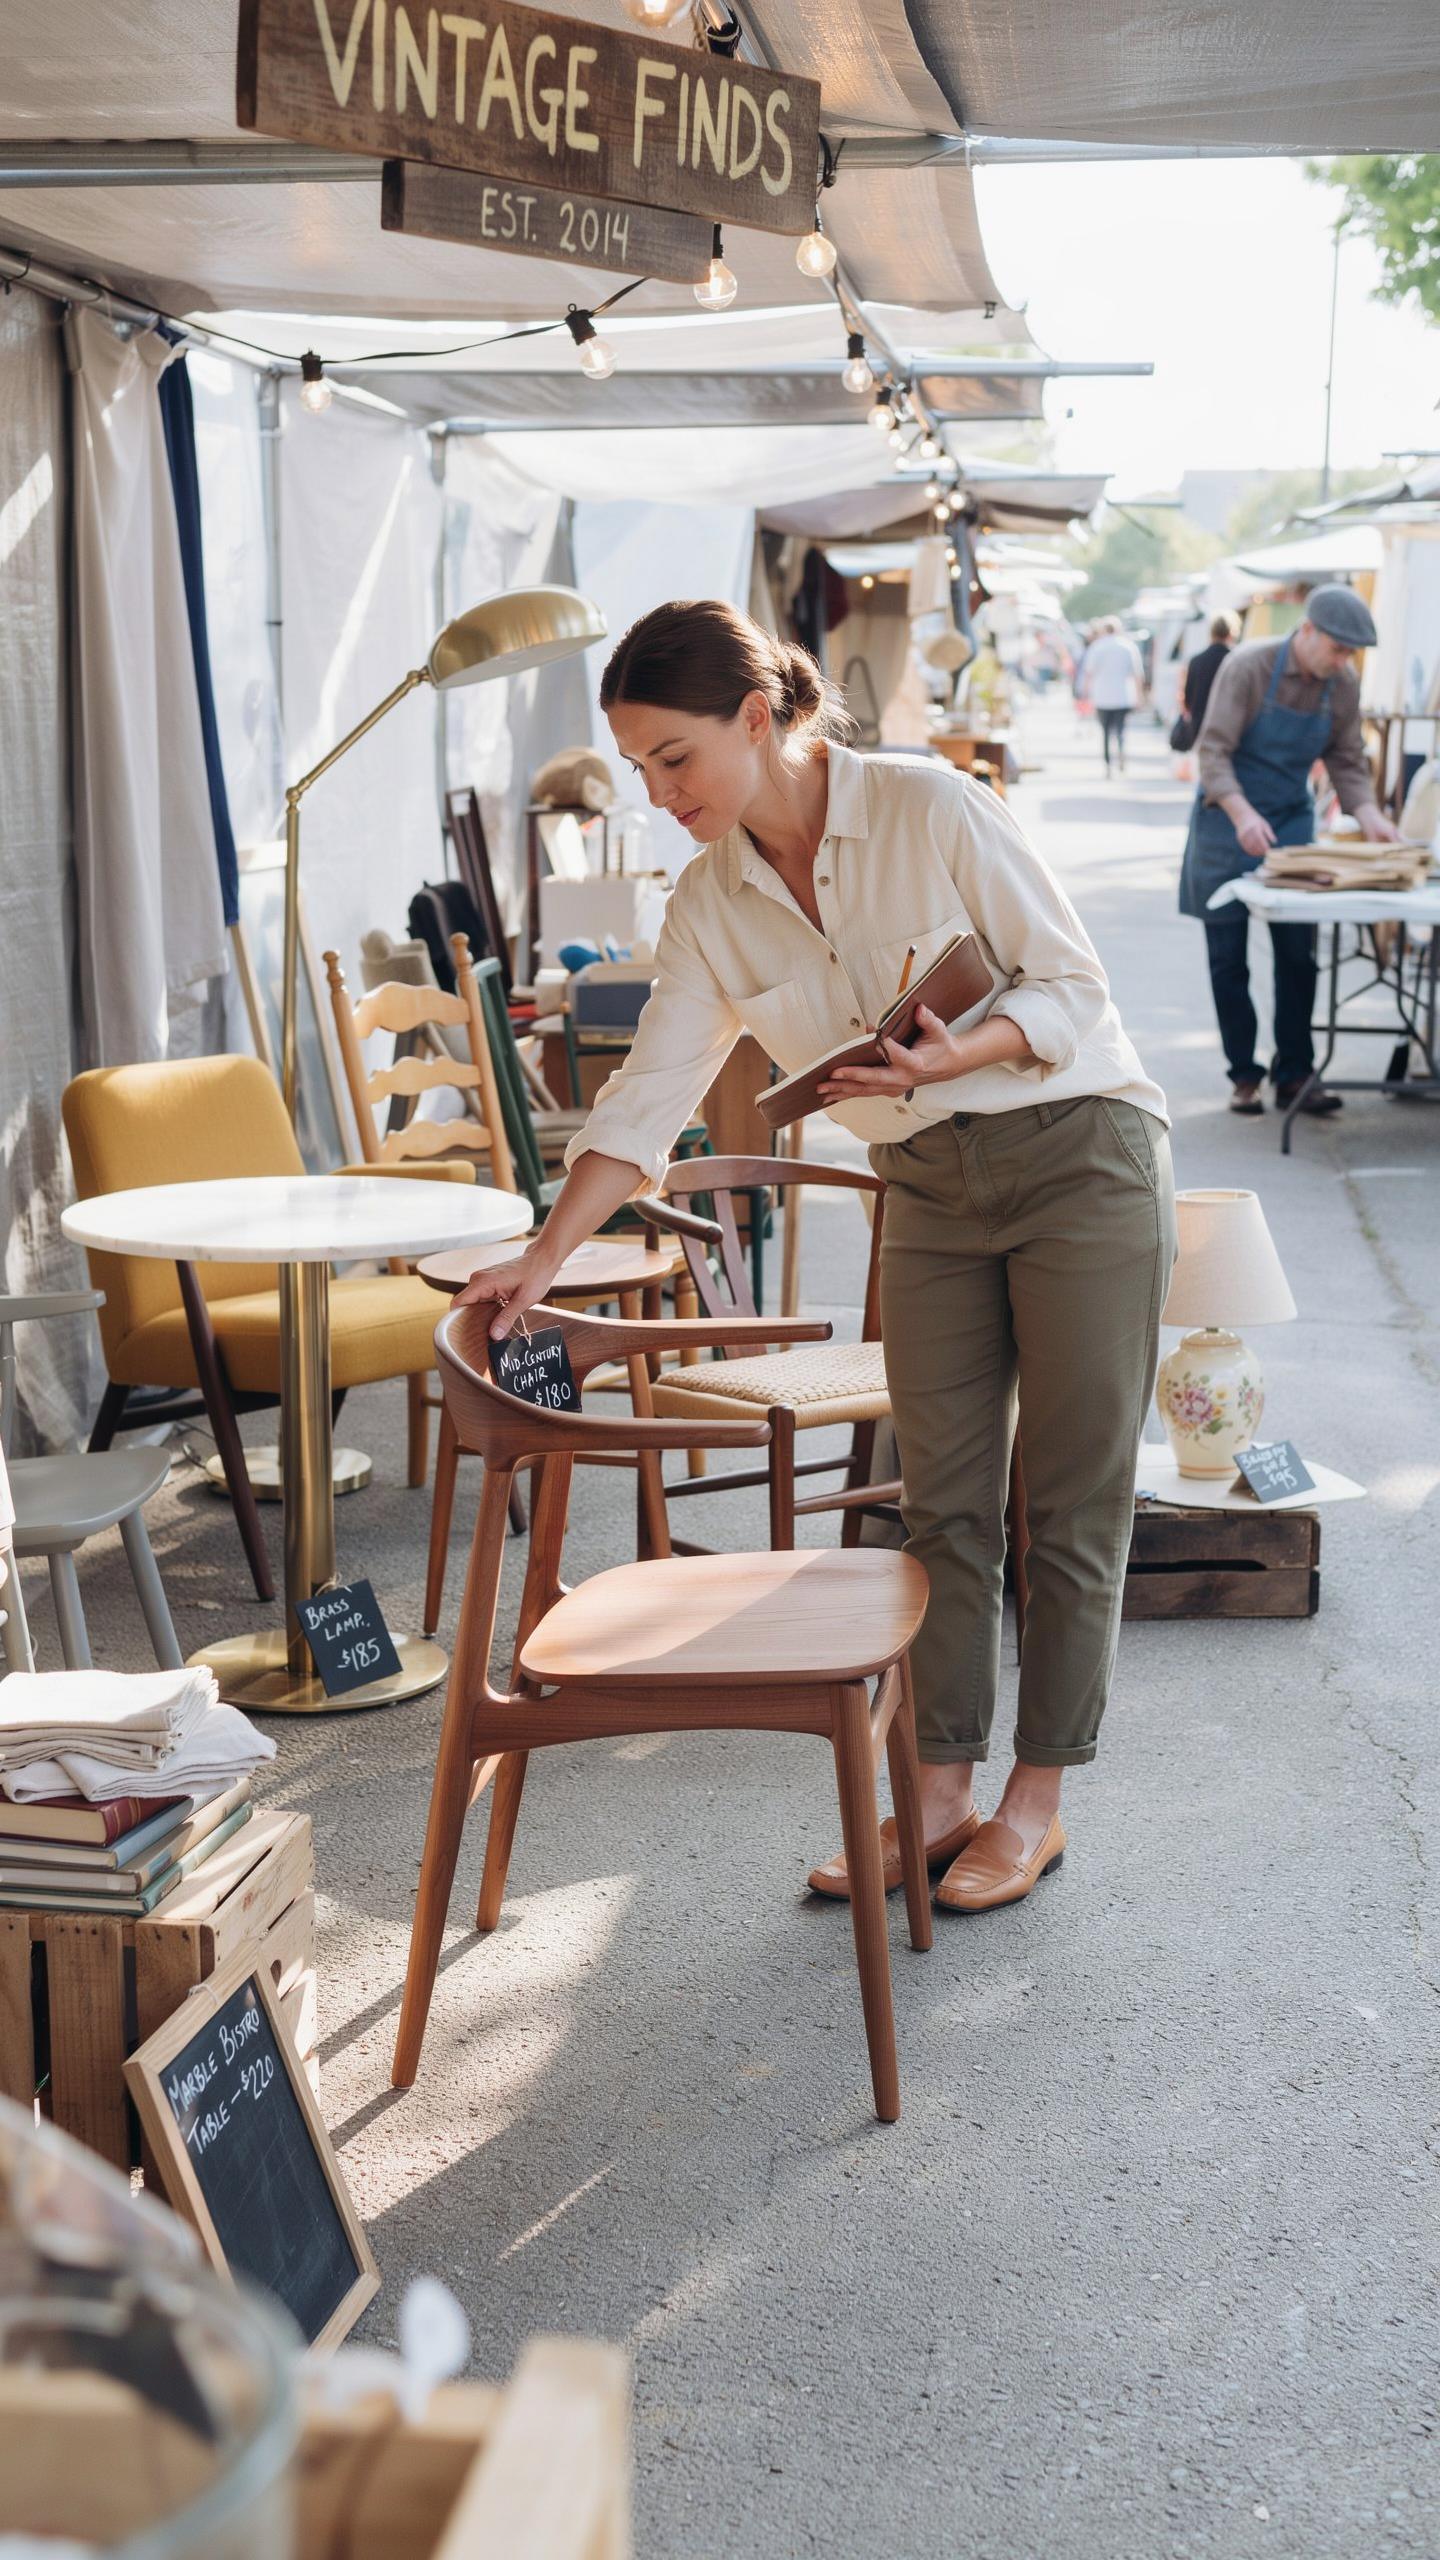
Estate sales and auctions offer consistent inventory of solid wood furniture from previous decades. These venues typically price pieces below retail because sellers want quick liquidation. Inspect items on site before bidding. Local Facebook Marketplace and Craigslist listings often feature underpriced furniture from sellers who lack repair skills. People post items they consider damaged or outdated, but structural bones remain intact for reupholstering work.
Thrift stores like Goodwill and Salvation Army stock furniture year-round at low price points. Staff rotate inventory frequently, so check weekly for new arrivals. Avoid pieces with water damage, active pest damage, or frames held together with nails only rather than joinery. Bulk liquidation warehouses occasionally sell furniture by the lot at steep discounts when retail stores close.
How To Evaluate Wood Frames And Structure Quality
Run your hand along the frame to detect cracks, splits, or soft spots indicating dry rot. Press firmly on joints and corners to test for movement or flexing. Frames built with mortise and tenon joinery hold up better than stapled construction. Look underneath chairs and sofas to assess how the frame connects. Dowels glued into sockets create stronger bonds than exposed fasteners.
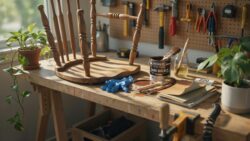
Test the frame’s weight and density by lifting the piece. Solid hardwood feels substantially heavier than particle board or plywood construction. Examine wood grain and color to identify the species. Hardwoods like oak, walnut, and maple support reupholstering better than softwoods or veneered surfaces. Skip pieces where veneer is lifting or where the core material shows damage underneath.
Gathering Creative Designs And Furniture Makeover Inspiration
Choosing Fabric Types And Patterns
Natural fibers like cotton, linen, and wool handle wear differently than synthetics. Cotton breathes and ages visibly with use. Linen develops character through creasing. Wool resists staining but costs more. Synthetics like polyester and acrylic offer durability and stain resistance at lower price points. Your fabric choice determines project lifespan and maintenance demands. Test how each material responds to your upholstery tools before committing to large pieces.
Patterns serve tactical purposes beyond aesthetics. Small geometric prints hide seams and imperfect stitching. Solid colors demand flawless workmanship because every flaw shows. Stripes require precise pattern matching at seams, adding hours to installation time. Busy florals or abstract designs work well on pieces with visible wear underneath. Choose patterns based on your skill level and the condition of the furniture frame beneath.
Getting Color Schemes And Aesthetic Inspiration
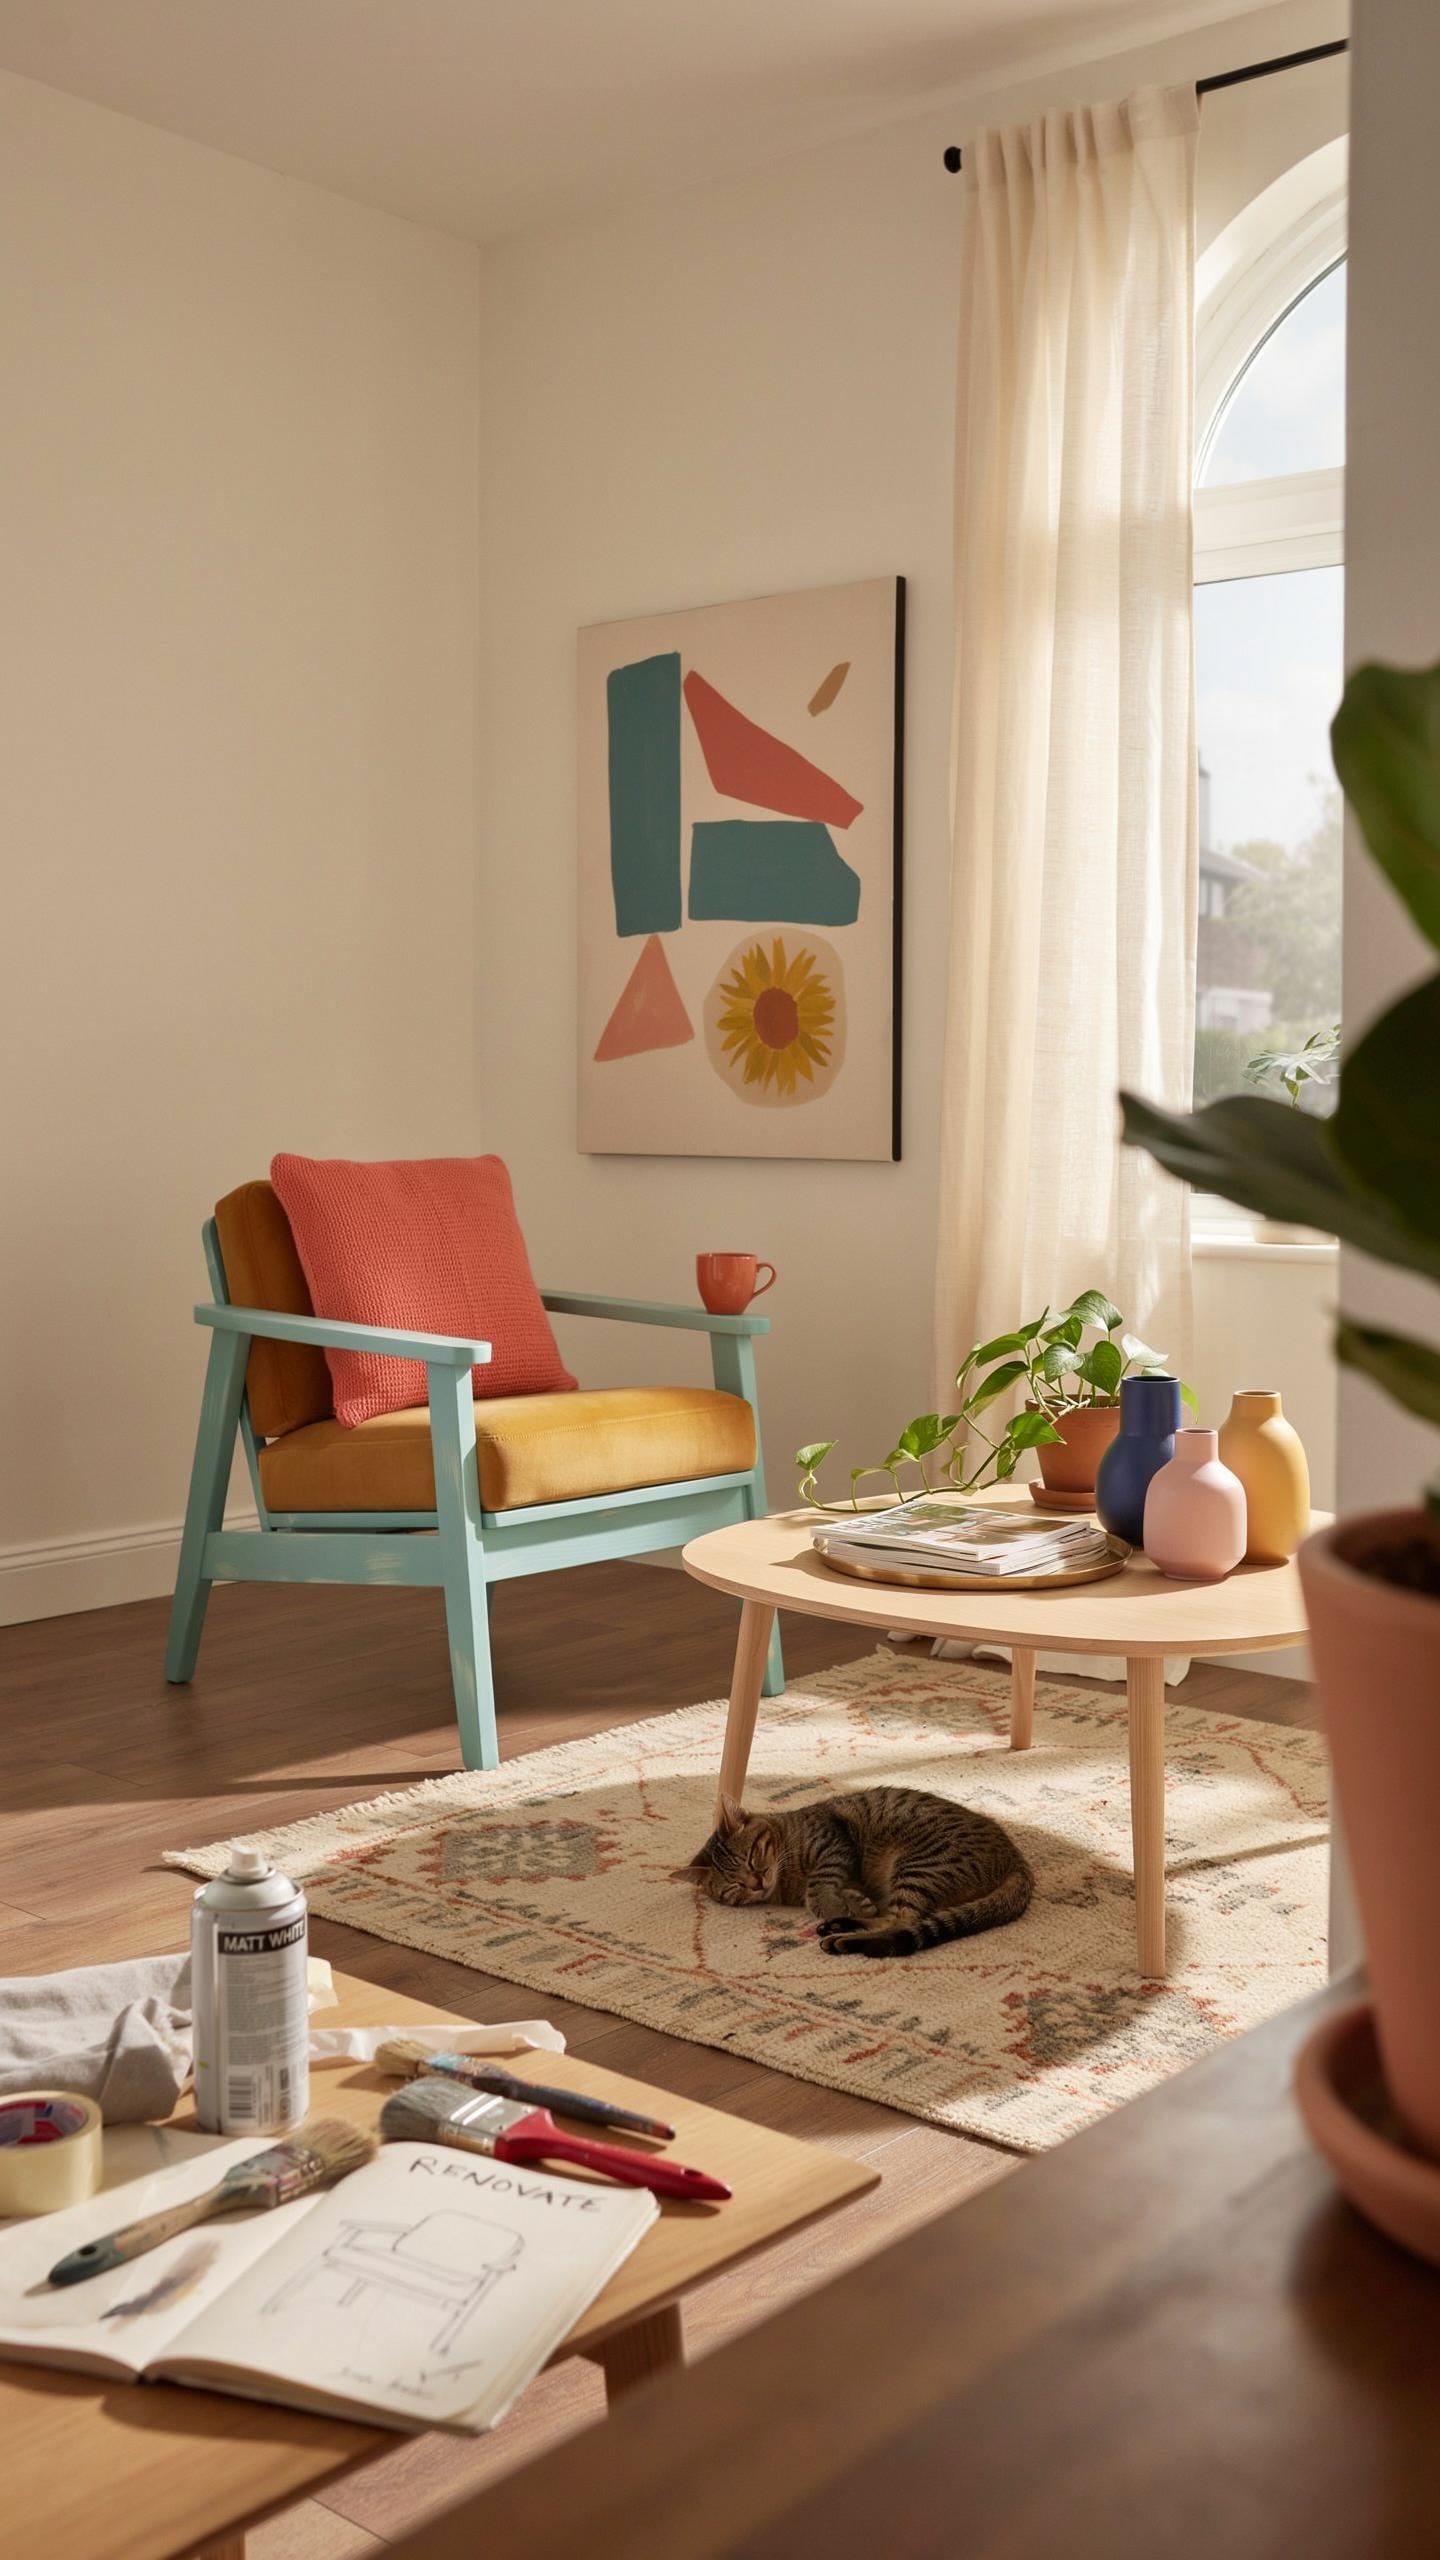
Source color inspiration from three places: existing room elements, design precedent, and the furniture’s original purpose. Photograph your space’s current palette, flooring, and wall colors. Match fabric samples against these photos in natural light, since lighting shifts color perception dramatically. Check design archives and interior design publications for real projects using similar furniture silhouettes. This grounds your choices in what actually works rather than guessing.
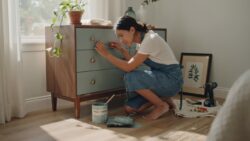
Color psychology matters in resale value and functional appeal. Neutral tones like gray, beige, and cream attract broader buyer pools. Bold colors date quickly unless the piece targets a specific aesthetic niche. Test color choices by draping fabric samples over the furniture for two to three days. Your eye adjusts to colors over time, so live with samples before purchasing full yardage for reupholstering.
Step By Step Crafting And Prep For Furniture Rehab Projects
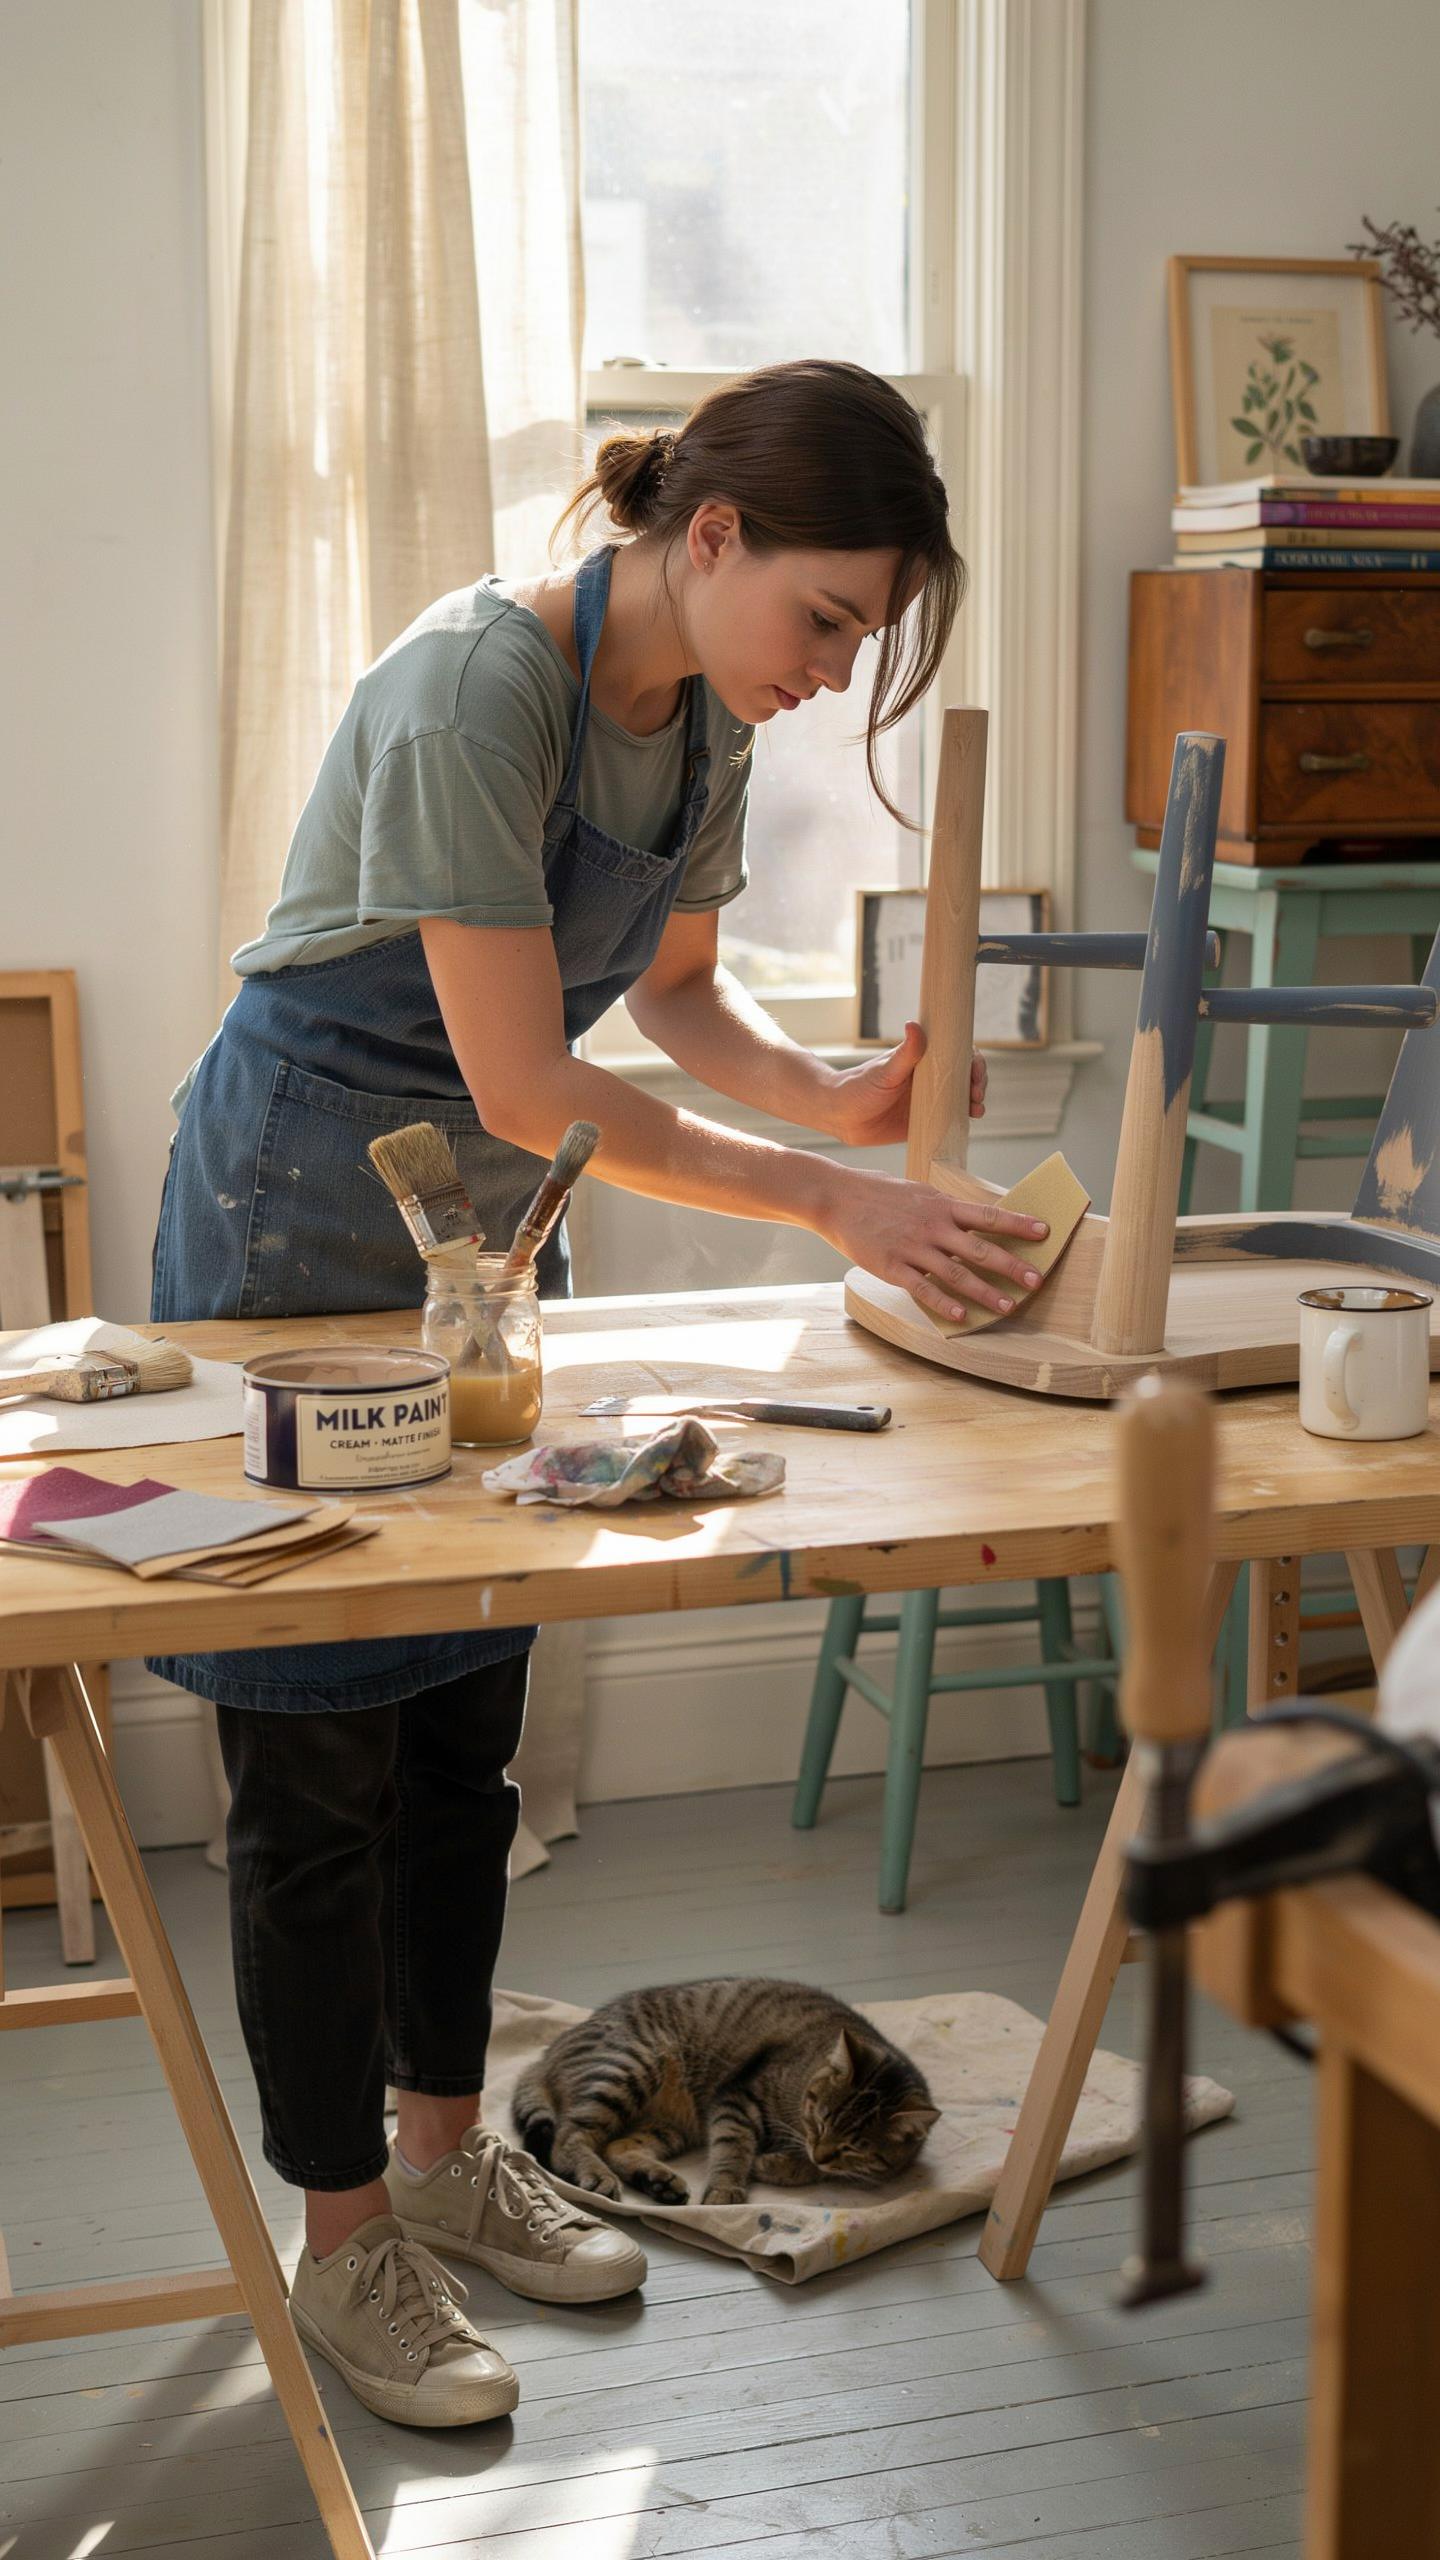
Removing Old Fabric And Cleaning The Wooden Frame
Start by flipping the furniture upside down or accessing the underside where staples hold the fabric. Use a flathead screwdriver or staple remover to pry out staples systematically. Work methodically across one section at a time. Pull away old fabric carefully to avoid tearing it into fragments that become difficult to remove completely from crevices and corners.
Once you remove all fabric, vacuum the frame thoroughly to eliminate dust, debris, and old staple fragments. Use a damp cloth to wipe down wood surfaces. This cleaning step reveals the actual condition of the frame structure. You need clear visibility to identify structural damage, loose joints, or areas requiring reinforcement before proceeding with reupholstering.
Sanding And Repairing Surface Imperfections
Sand the wooden frame with 120-grit sandpaper to smooth rough spots and remove finish residue. Work with the wood grain direction. Pay attention to edges, corners, and areas where fabric stretched and caused indentations. Sanding prepares surfaces for stain or paint and helps new fabric adhere more securely to the frame structure.

Inspect joints for movement or separation. Tighten loose corner blocks with a wrench or screwdriver. Reinforce weak joints using wood glue and clamps if needed. Fill small gouges with wood filler, then sand smooth once dry. A stable frame prevents fabric from shifting during use and extends the lifespan of your reupholstering work significantly.
Detailed Methods To Help You Reupholster Chair Cushions
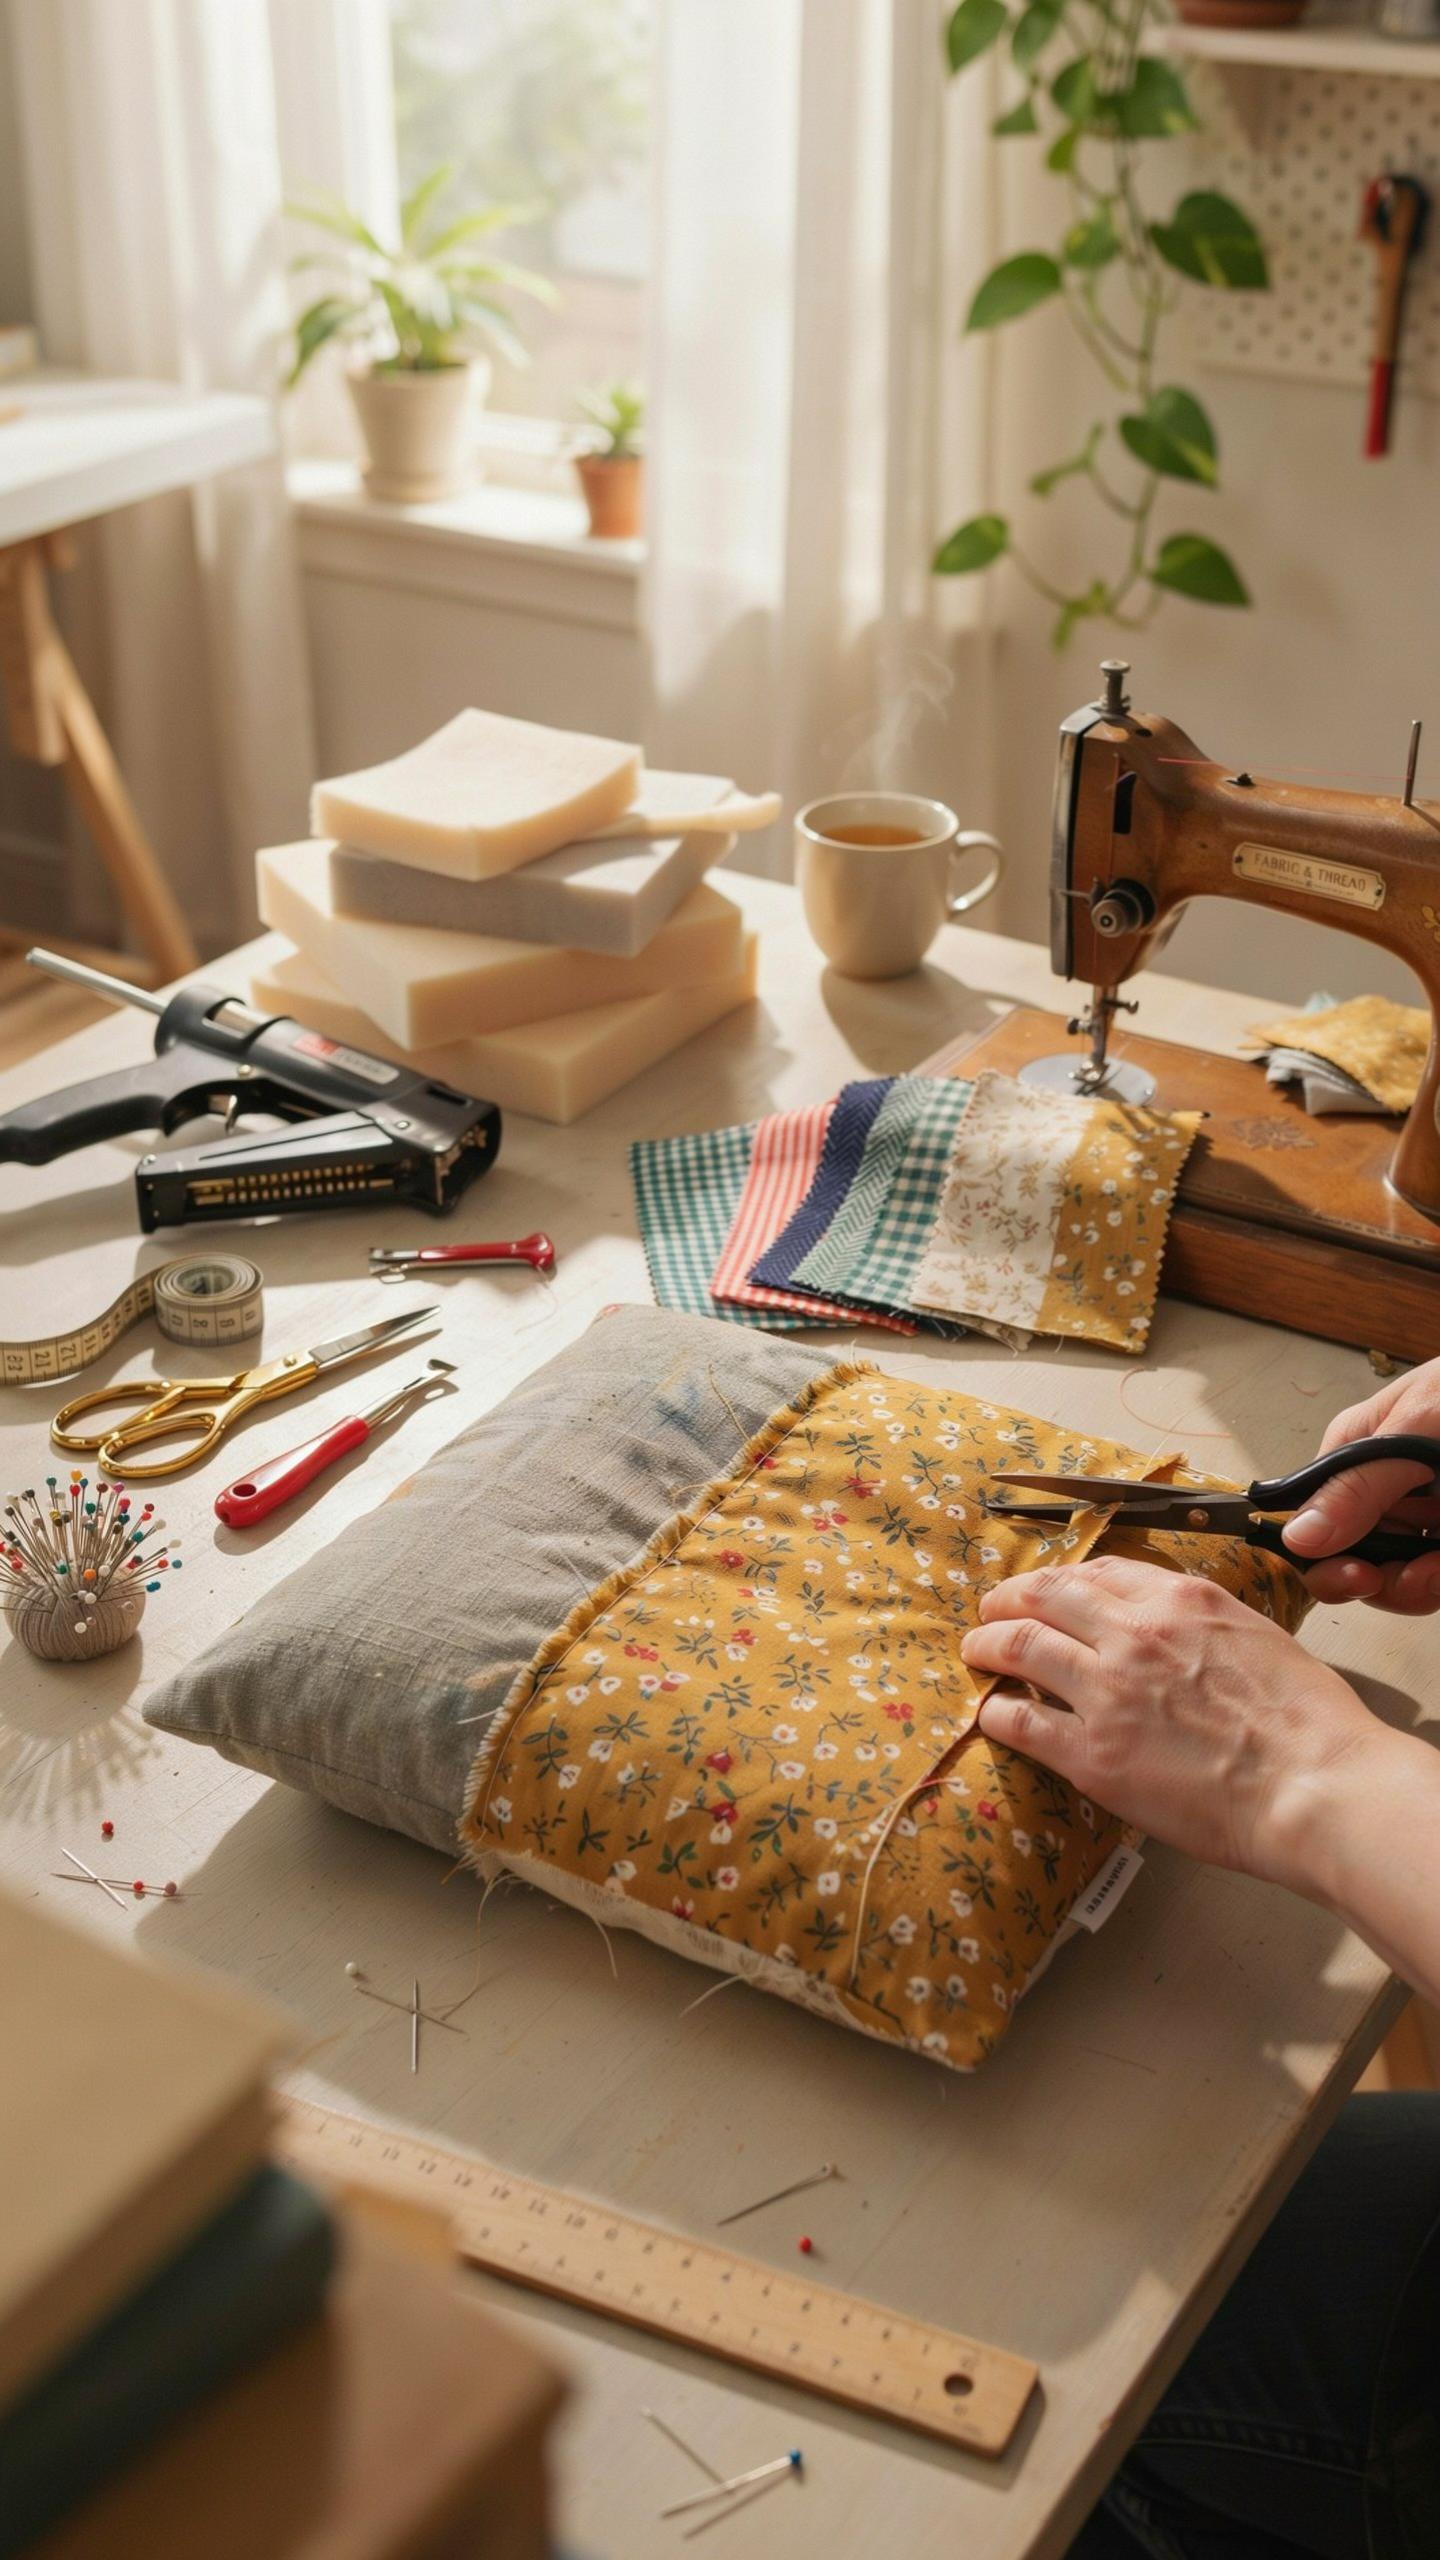
Materials Needed For Cushion Preparation
You need the right tools before you start. Skipping this step wastes time and creates poor results. Gather everything on your work surface before touching the chair. This prevents interruptions and keeps your project moving forward consistently.
- Fabric: Choose performance fabrics or natural fibers like linen and cotton. Measure your cushion dimensions and add six inches for wrapping and stapling underneath the frame.
- Staple Gun and Staples: Use a standard electric or pneumatic staple gun with one-half inch staples. Hand staple guns work but require more force and slow your pace significantly.
- Scissors or Rotary Cutter: Sharp fabric scissors make clean cuts and prevent fraying. A rotary cutter works faster on straight edges and delivers precision with less hand fatigue.
- Batting or Foam: Add a layer of batting under your fabric for cushion comfort. Batting hides imperfections in the original cushion and creates a polished finished appearance.
- Tack Cloth and Cleaner: Remove dust and debris from the original cushion frame. A clean surface helps new fabric adhere properly and prevents contamination under your new covering.
Inspect your cushion frame before buying materials. Broken wood or damaged corners need repair before you add new fabric. Replace foam if it shows permanent indentations or deterioration. Starting with a solid foundation prevents failures after you finish reupholstering.
The Step By Step Fabric Wrapping Process
Measure your fabric carefully and cut it square to your cushion dimensions plus six inches. Place the cushion in the center of your fabric with the batting layer on top. This setup lets you wrap edges evenly and create uniform tension when stapling.
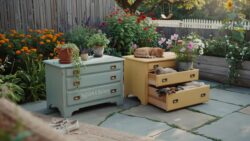
Start stapling at the center of one side, then move to the opposite side. Pull fabric tight but not so hard you distort the cushion shape. Work from the center outward on all four sides to distribute tension evenly. Fold corners at forty-five degree angles and double staple them for durability. Remove the cushion from your work surface and check all staples for security before reinstalling on the chair frame.
Finishing Techniques To Master Fabric Alignment In Your Furniture Renovation
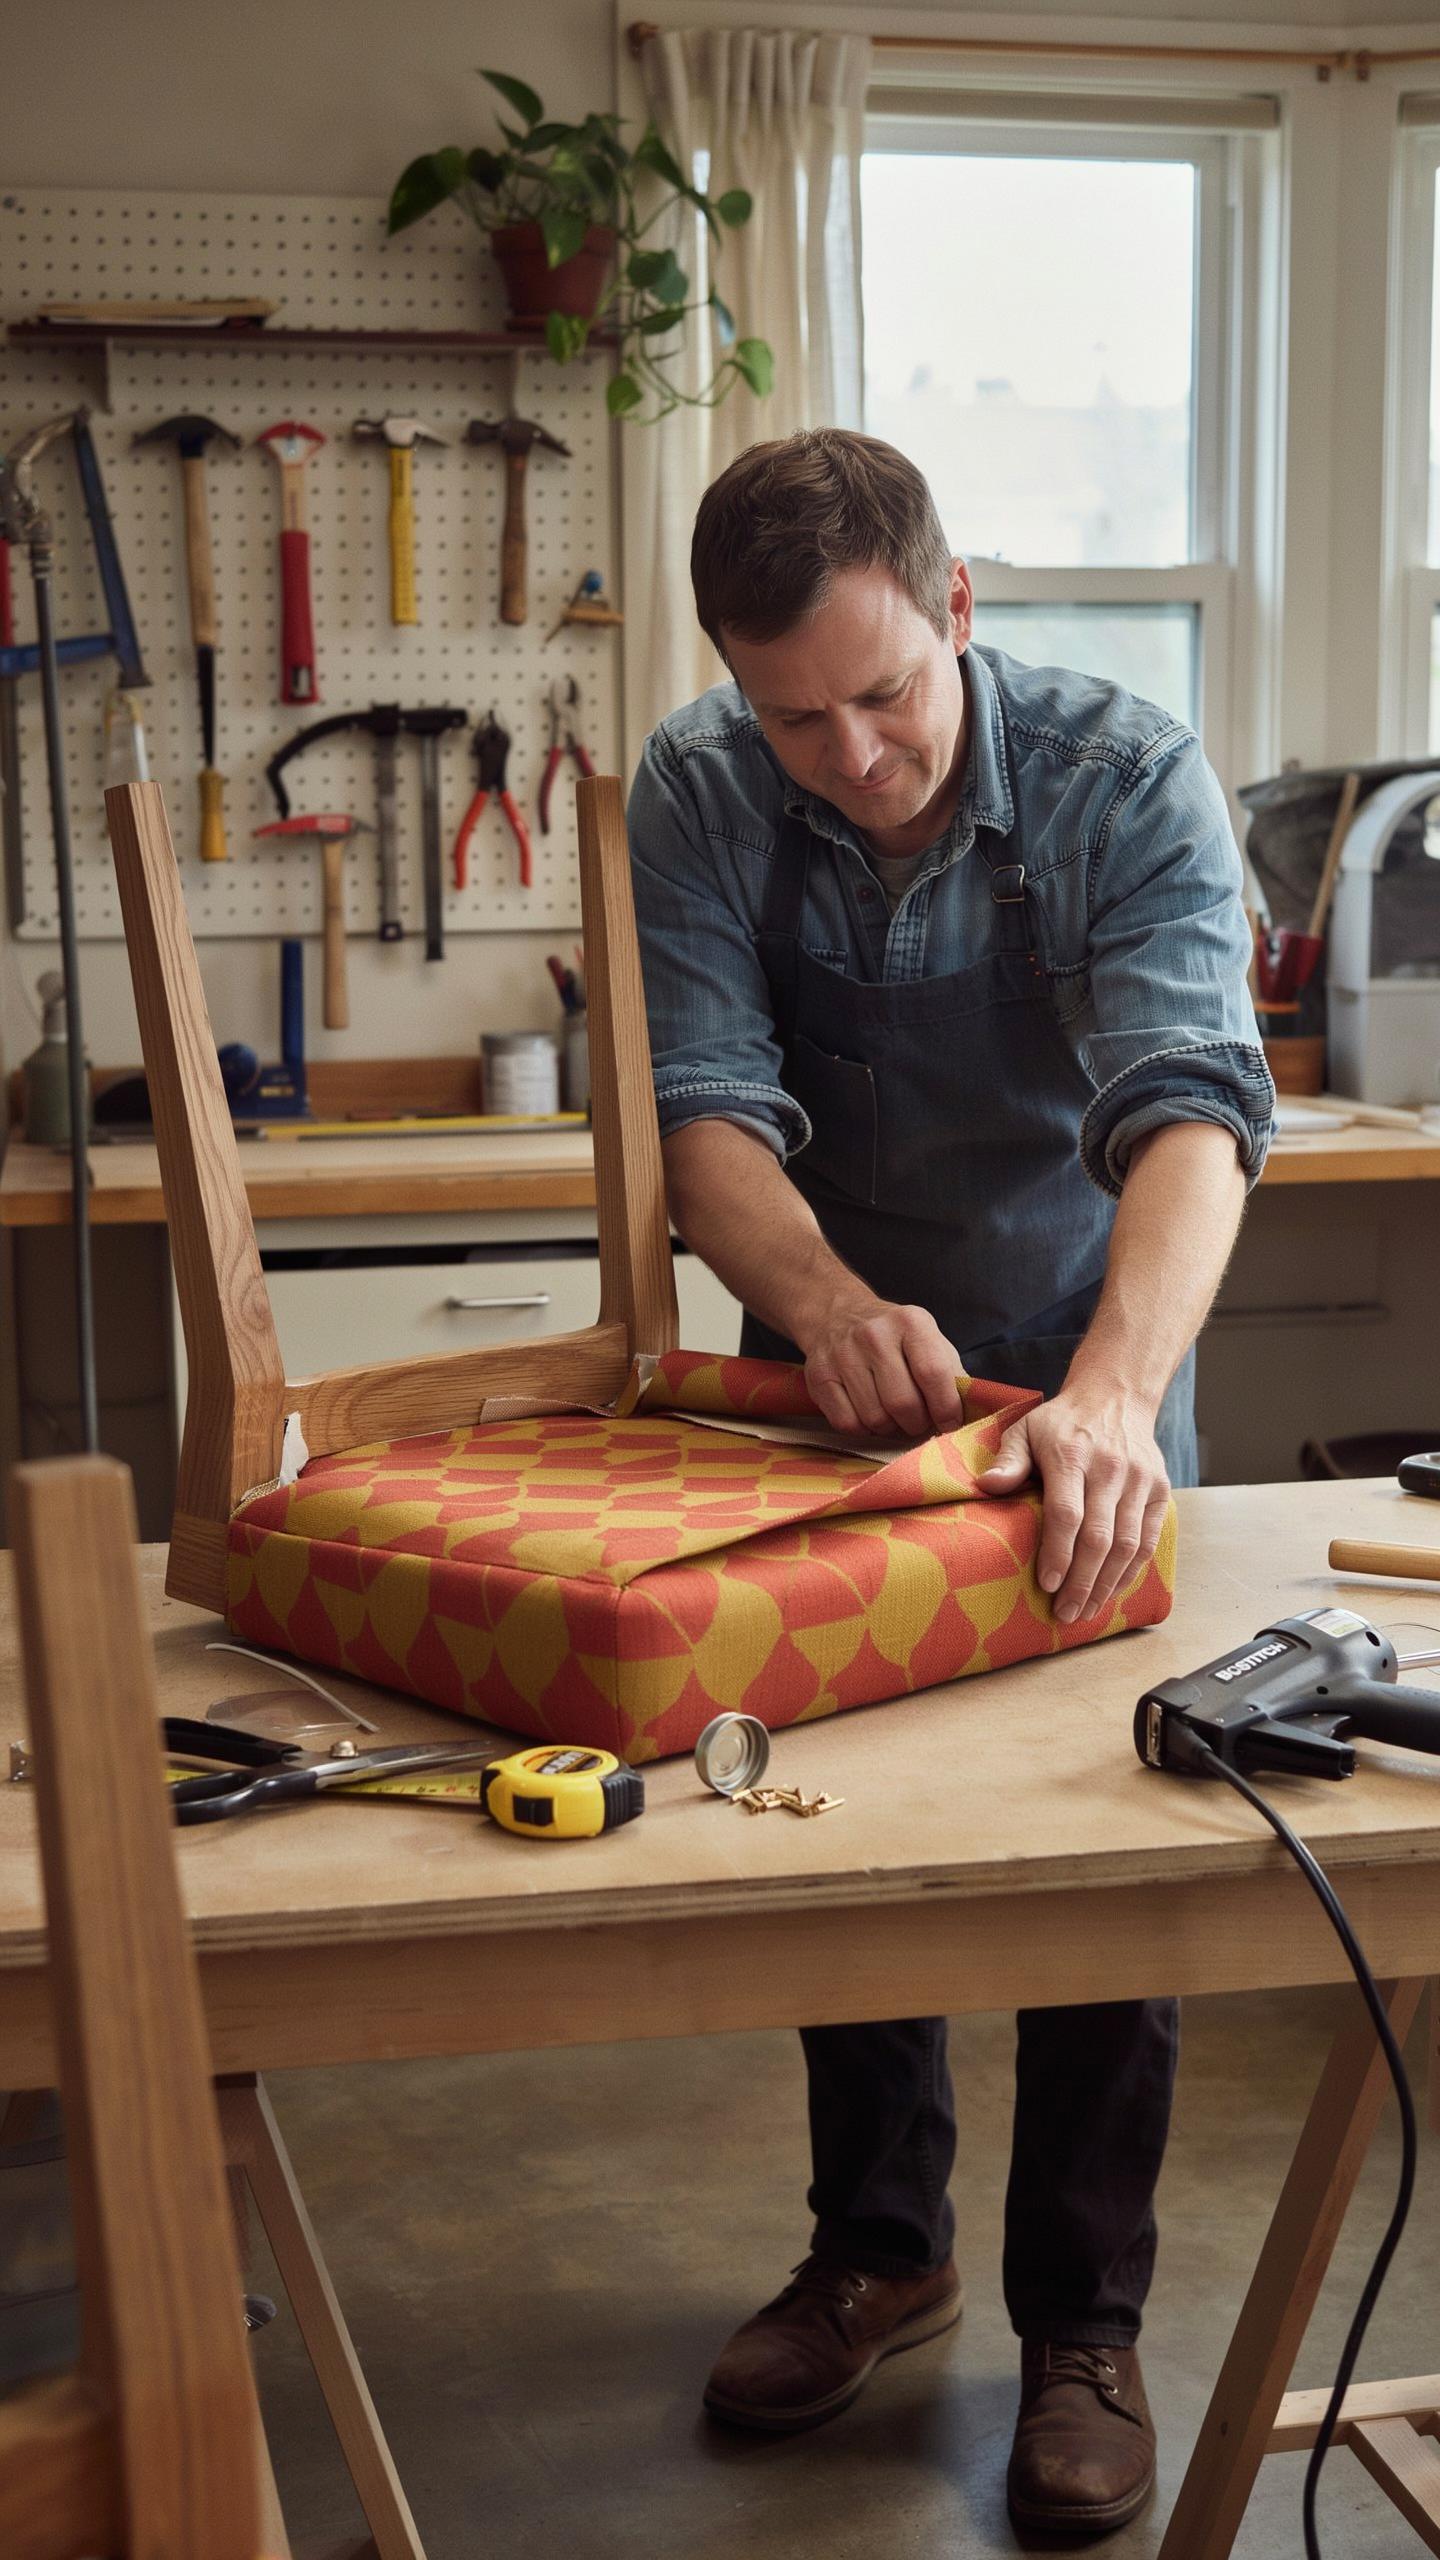
Securing Fabric And Managing Staples Correctly
Pull fabric taut before you staple. Loose fabric creates wrinkles and sagging that show immediately. Start stapling from the center of each side, then work outward toward the corners. This prevents fabric bunching. Use staples appropriate for your staple gun and the material thickness. Underpower causes staples to fail. Overpower splits wood frames. Test your staple gun on scrap wood first.
Space staples consistently along each edge, typically one inch apart for upholstered furniture. This spacing distributes tension evenly and prevents fabric from tearing between staples. Remove staples that miss the frame or sit at angles using a staple remover. Bent staples weaken your hold. Never leave gaps in stapling where fabric can shift under use. The staple line determines how long your reupholstered piece lasts.
Dealing With Corners And Folds Smoothly
Corners demand extra attention because fabric naturally wants to bunch and pleat. Fold fabric at a 45-degree angle into the corner rather than straight across. This creates a clean diagonal line. Staple the fold first, then pull the remaining flaps tight and staple them down. The sequence matters because premature stapling locks bad angles in place.
For pleat-heavy corners like those on wingback chairs or ottoman edges, fold excess fabric into a professional pleat rather than hiding it. Score your fold with a bone folder or plastic tool to make sharp creases. This technique works best on tighter fabrics that hold shape. On loose weaves, smaller folds reduce bulk. Practice on a test cushion before applying technique to your finished piece.
Pro Secrets To Perfect Folds In Chair Reupholstery Diy
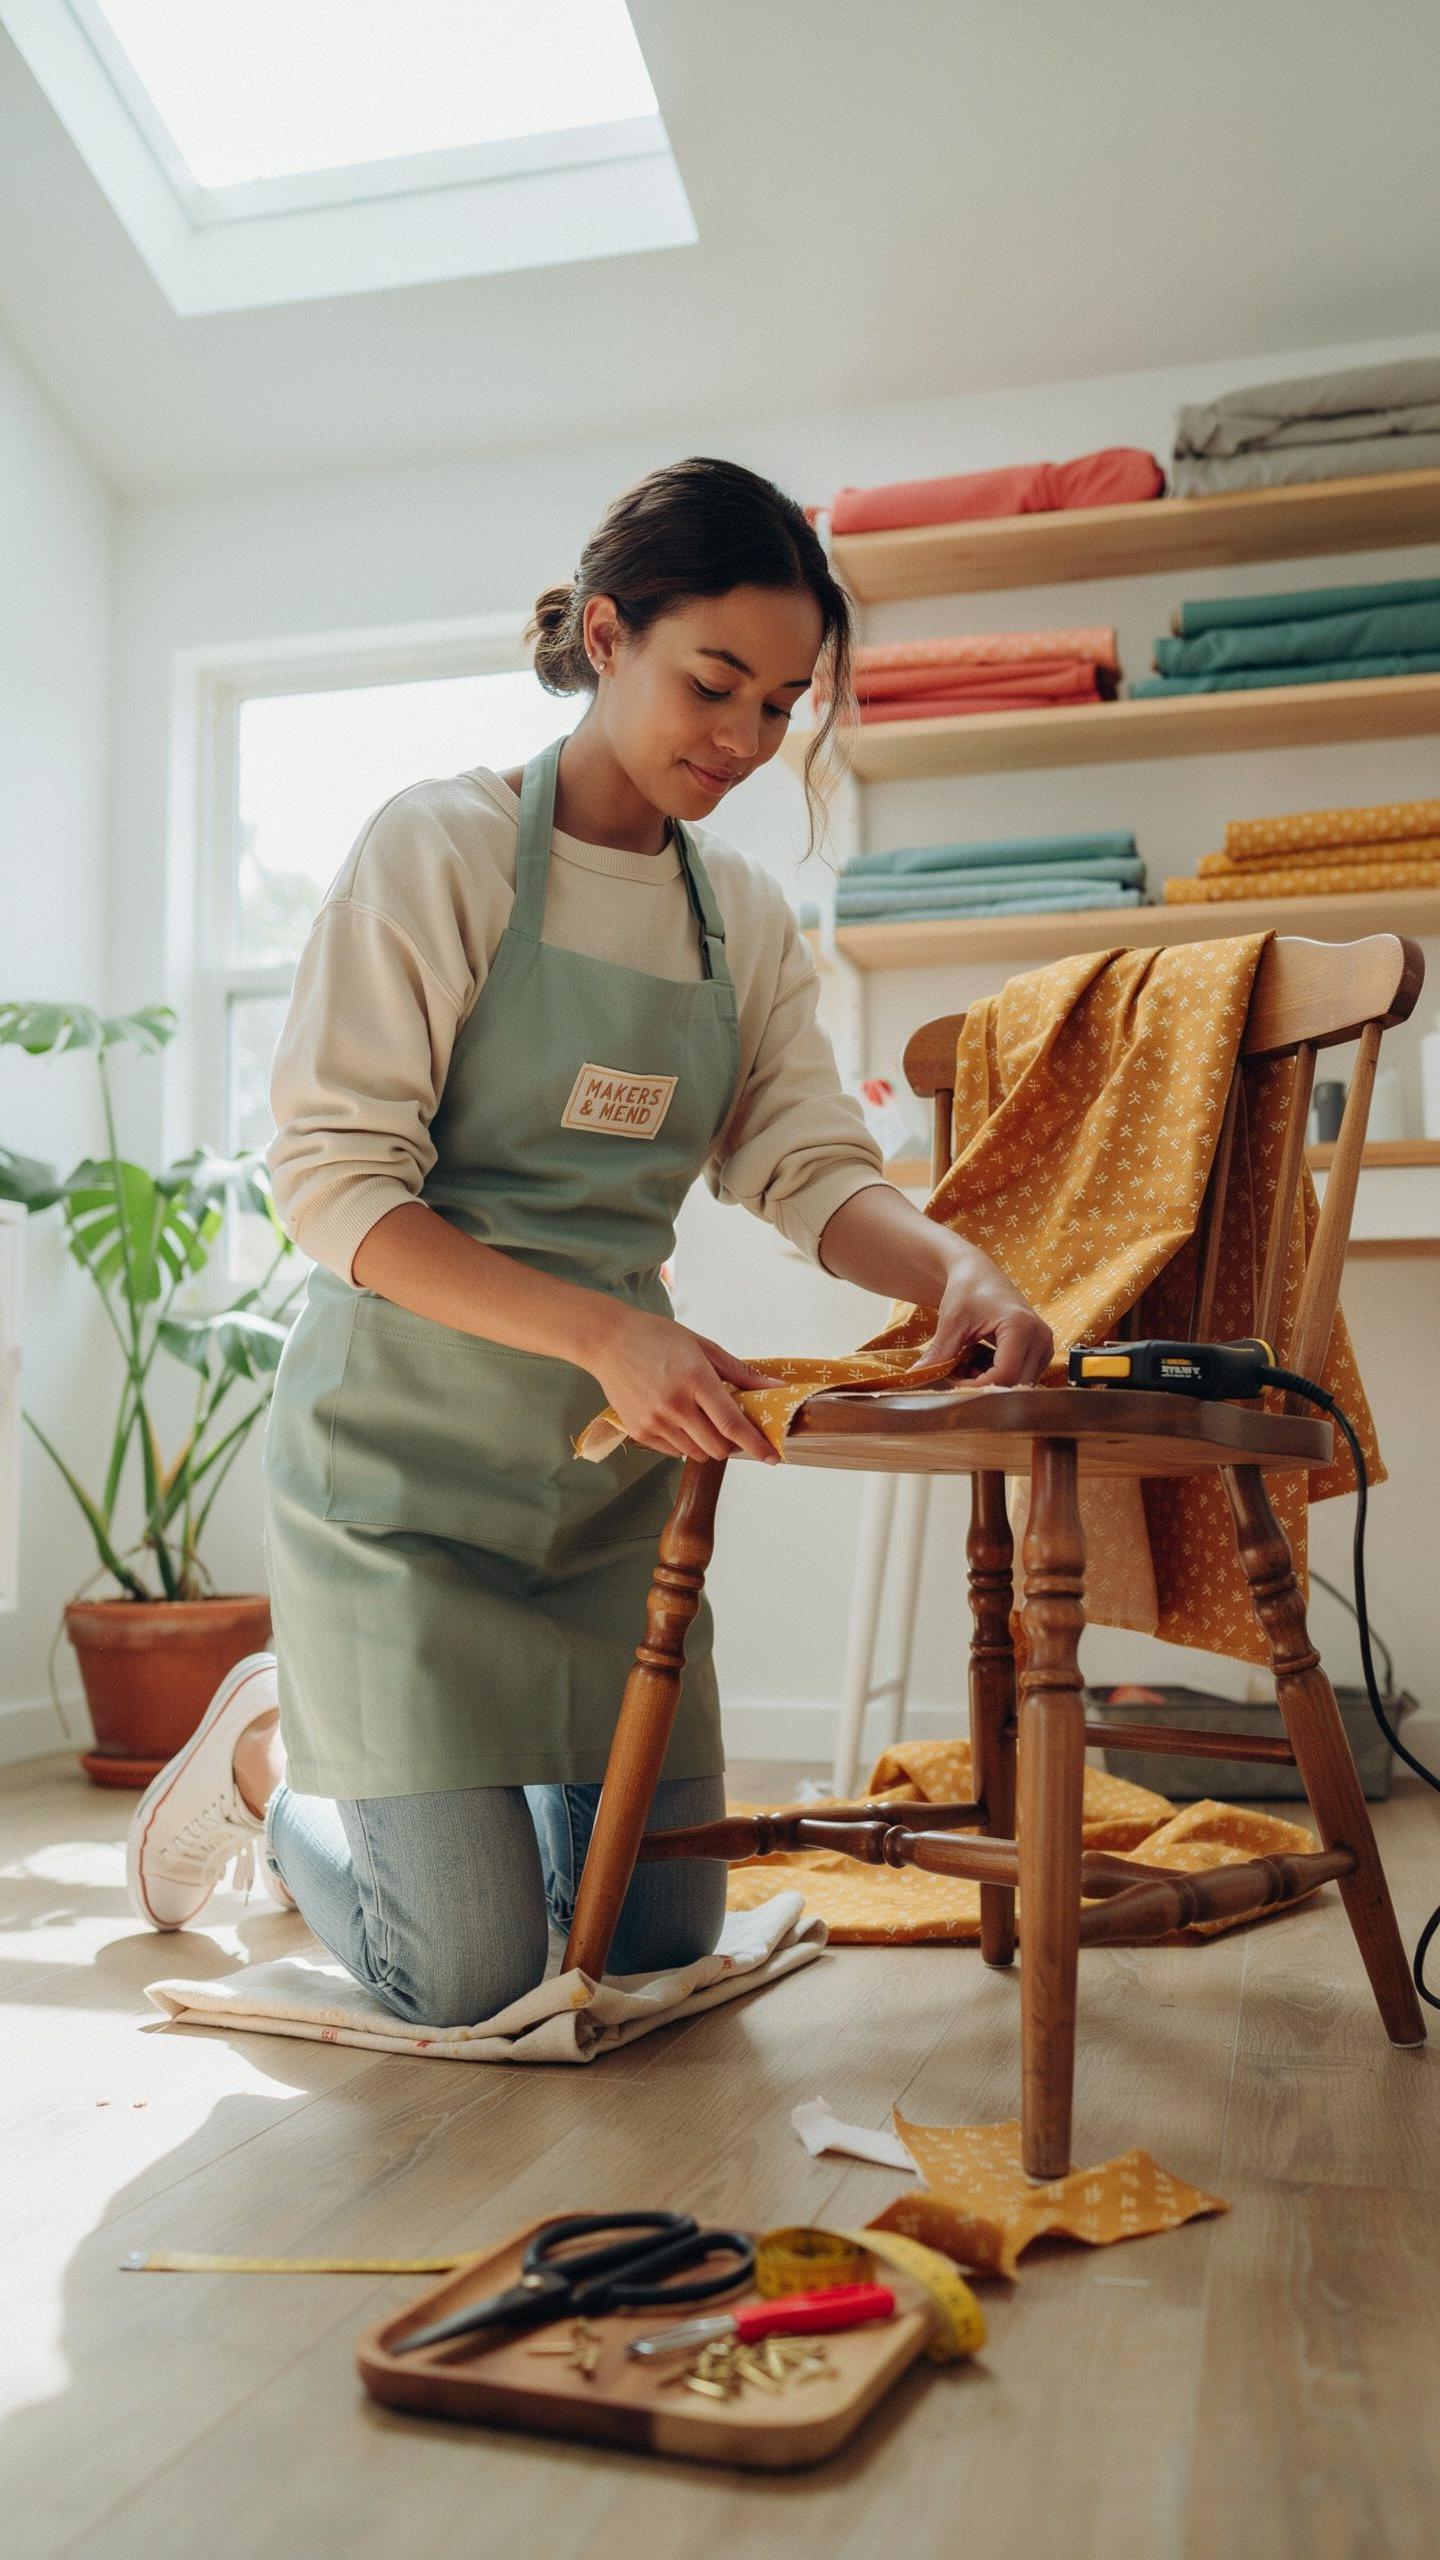
Mastering The Hospital Corner Fold And Pleating
The hospital corner fold comes from upholstery tradition, not medical practice. This technique secures fabric at corners without bunching or slack. You pull fabric taut diagonally, fold one side at forty-five degrees, then fold the adjacent side over it. This creates a clean mitered corner that sits flat against the frame. The key is tension consistency. Release tension too early and wrinkles form. Hold it too long and you tear the material.
Pleating serves function beyond aesthetics on reupholstered chairs. It controls excess fabric in curved or angled sections. Start pleats where the chair naturally transitions between flat and curved surfaces. Use a staple gun to anchor each fold before moving forward. Space pleats evenly so they appear intentional rather than accidental. Uneven spacing reads as amateurish work. Practice on scrap fabric first to develop muscle memory for fold depth and angle.
Adding Decorative Trim And Hardware Accents
Trim covers staple lines and raw fabric edges where reupholstered sections meet. Nailhead trim, gimp tape, and cording are functional choices for flips. Nailhead trim requires a trim nailer or hammer and individual nails spaced half inch apart. Gimp tape works faster with contact cement. Apply adhesive to the chair frame edge first, then press trim firmly along the line. Remove excess adhesive immediately with a damp cloth.
Hardware accents include brass feet, corner brackets, and ornamental studs. These attach to frame before or after upholstery depending on the piece. Pre-existing hardware often stays if restoration quality meets your standards. Replace corroded or bent pieces with modern reproductions that match the chair style. Stud placement matters more on contemporary flips than traditional styles. Modern pieces use symmetrical patterns while traditional designs often feature asymmetrical arrangements based on frame construction.
Exploring Unique Furniture Re Upholstery Ideas For Quick Sales
Mixing Modern Textiles With Antique Wood Frames
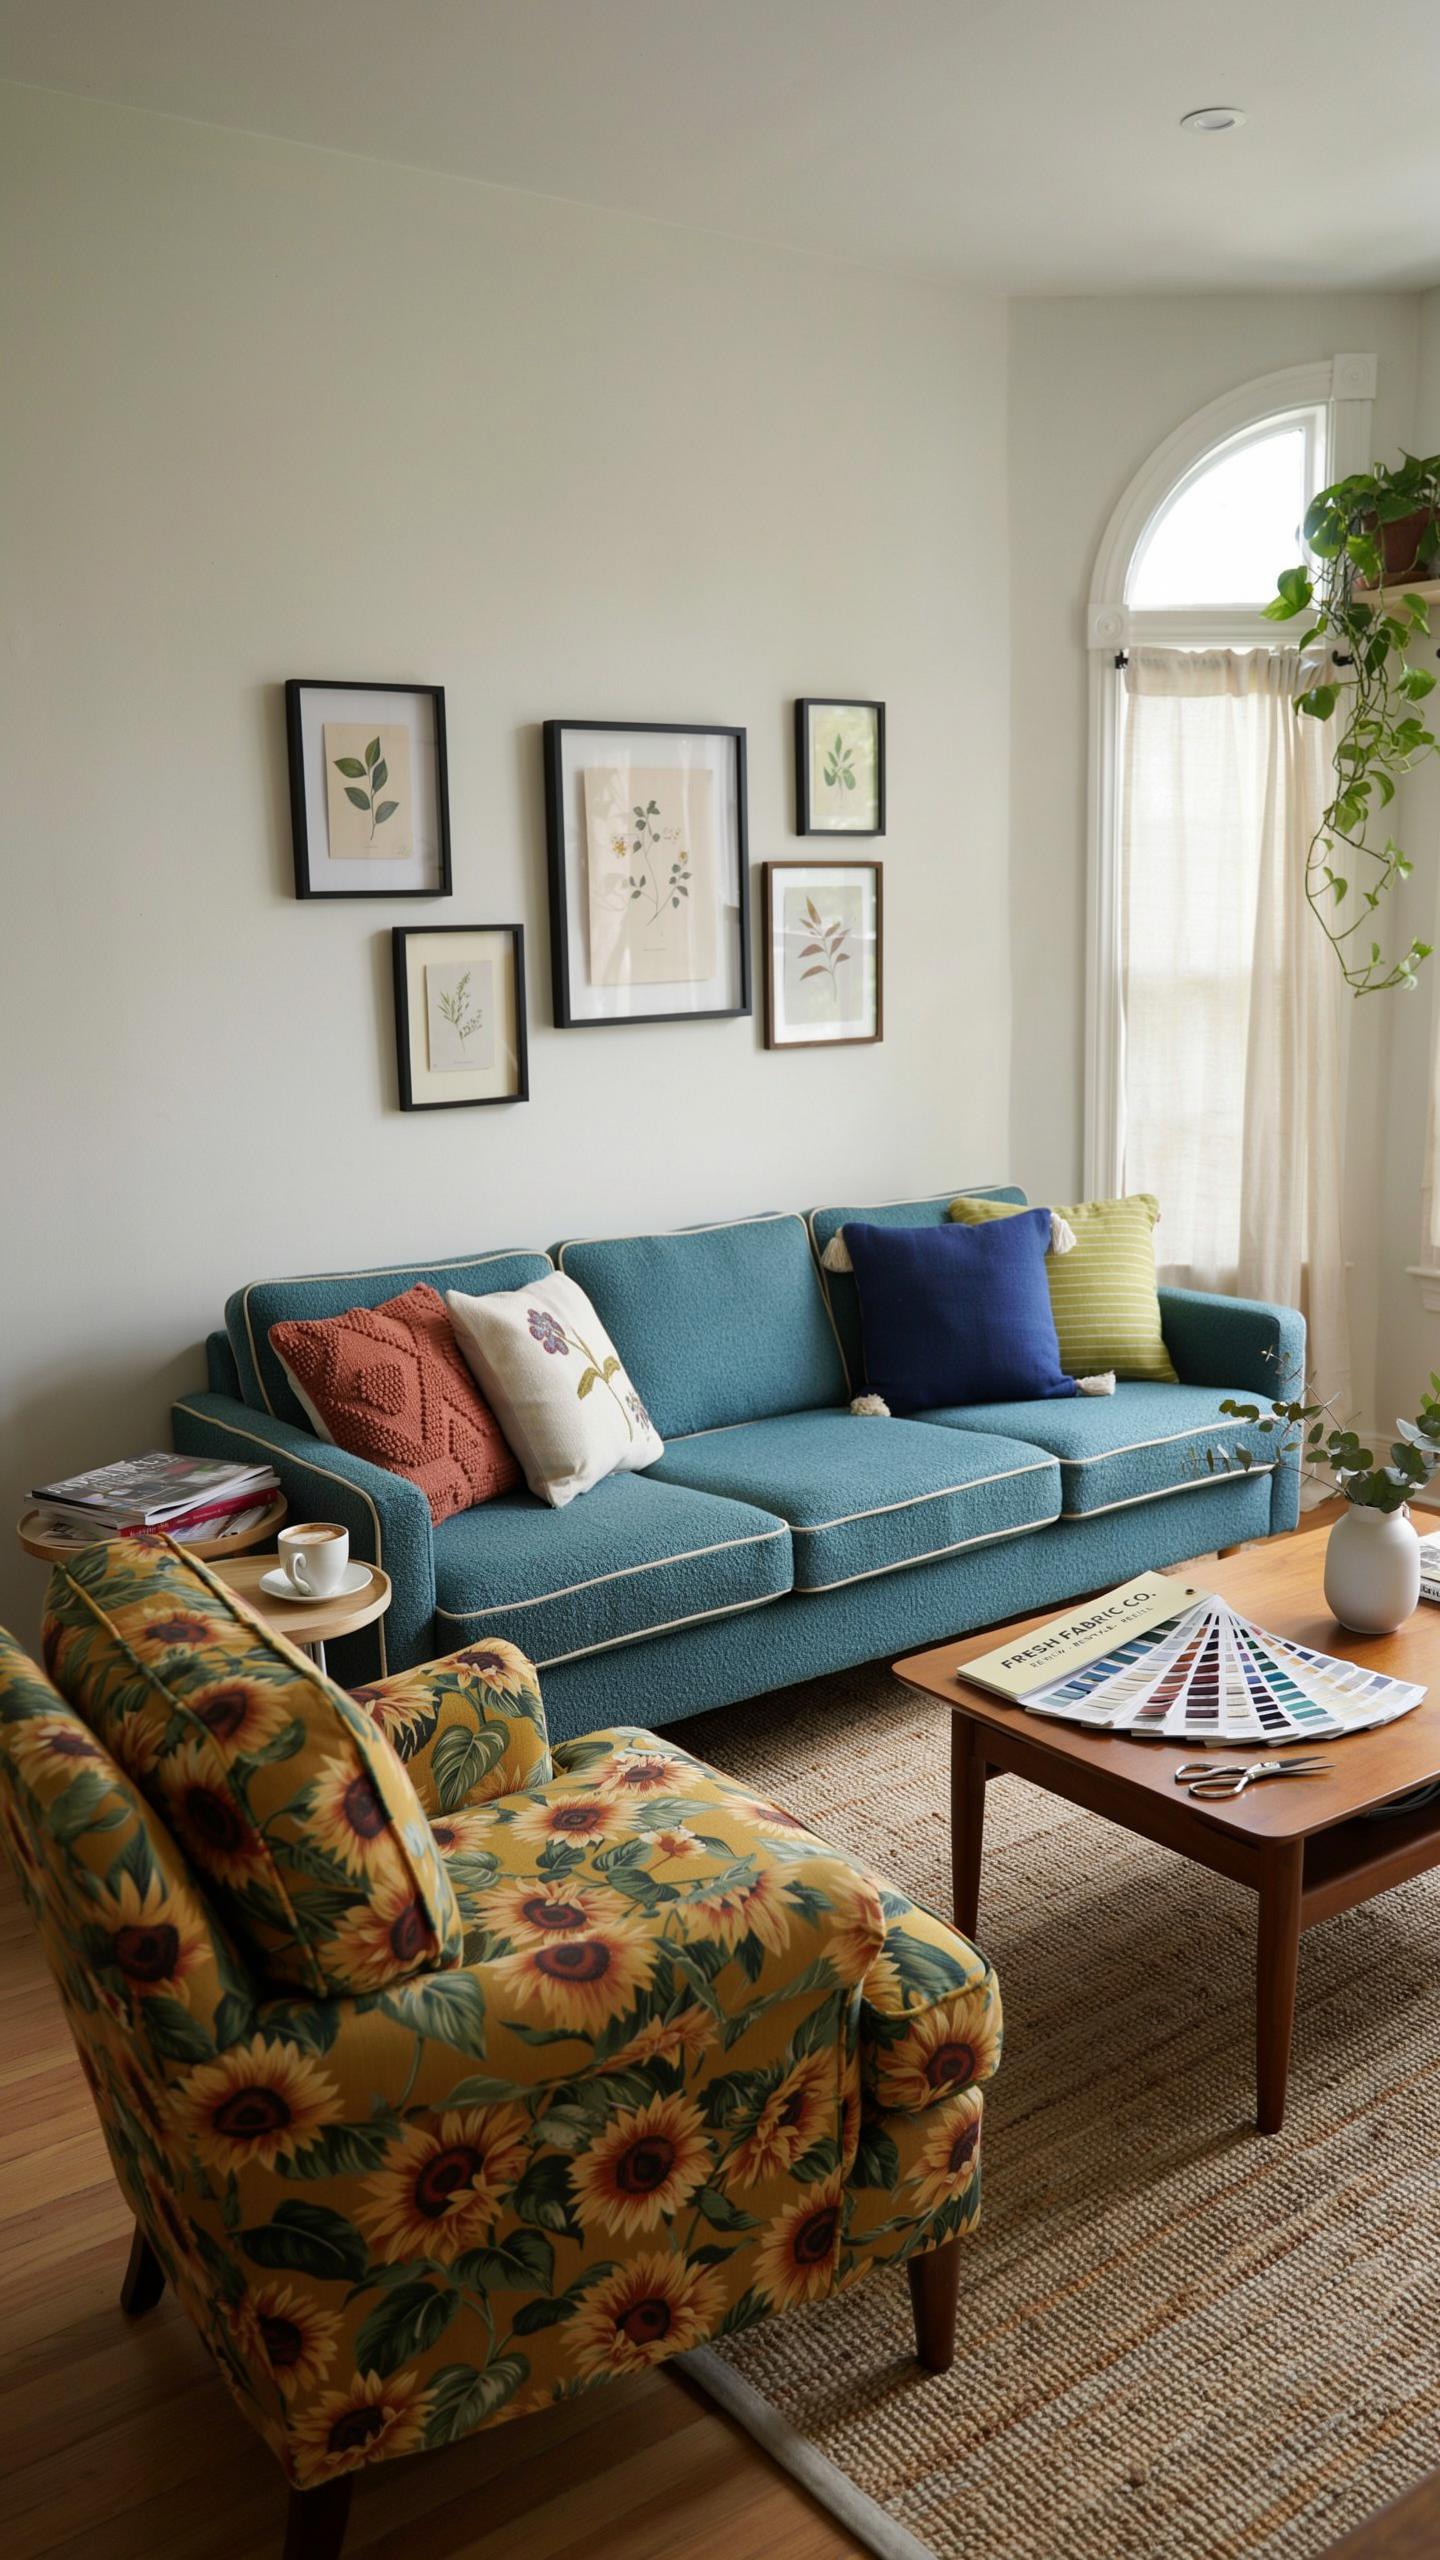
Pairing contemporary fabrics with vintage wood frames creates market appeal because buyers want old-world craftsmanship without dated aesthetics. Antique frames typically feature superior joinery and solid wood construction that modern furniture lacks. Modern textiles in neutral tones or geometric patterns mask worn upholstery while preserving the frame’s structural value. This combination reduces material costs while maximizing perceived quality.
The strategy works because you leverage existing frame integrity rather than replacing it. Search for mid-century or Victorian frames at estate sales and auctions where wood quality exceeds current production standards. Apply performance fabrics like microfiber or linen blends that resist staining and wear. Buyers recognize quality construction in frames and appreciate contemporary styling in textiles, creating a compelling resale position.
Your home should tell the story of who you are, and be a collection of what you love. Reupholstering a simple chair is the first stitch in weaving your own history into the fabric of your home.
Experimenting With Quirky Patterns And Contrast Cording
Contrast cording defines seams and adds visual interest without requiring advanced upholstery skills. Piping comes pre-made in various colors, and you attach it during the final stages of upholstery work. Bold patterns on statement pieces command higher prices in markets where neutral oversized furniture saturates inventory. Pattern selection matters more than execution because unique designs differentiate your flips from mass-produced alternatives.
Test pattern combinations on smaller pieces like ottomans or chair seats before committing to full sofa reupholstery. Cording in opposing colors highlights seams and creates professional appearance that buyers associate with custom work. Geometric or botanical prints sell faster than abstract designs in residential markets. Measure twice before purchasing fabric because pattern-matched pieces require exact yardage calculations and waste budget.
Successfully Executing Your Furniture Flip Project Reupholstering
Staging And Taking High Quality Photos For Sale
Clean the piece thoroughly before shooting. Remove dust, debris, and any marks from the reupholstering process. Place the furniture in natural light or use consistent artificial lighting. Photograph from multiple angles including straight-on shots and detail views of seams, legs, and fabric texture. Show the piece in a styled setting that matches your target buyer’s aesthetic.
Use a plain backdrop to keep focus on the furniture itself. Avoid cluttered or distracting backgrounds. Capture the fabric quality clearly so buyers can assess weave, pattern, and color accurately. Include close-up shots of any design details or unique elements you added. Post at least 6 to 8 photos per listing to give potential buyers complete visual information about condition and workmanship.
Pricing And Selling Your Finished Masterpieces
Research comparable pieces online to establish accurate market value. Check recent sales on platforms like Facebook Marketplace, Craigslist, and Poshmark to see what similar reupholstered furniture actually sells for in your area. Factor in material costs, labor hours, and skill level required. Underpricing leaves money on the table. Overpricing kills sales momentum.
List on multiple platforms simultaneously to reach more buyers and accelerate sales. Use detailed descriptions that specify fabric type, frame condition, dimensions, and any repairs made. Highlight the reupholstering quality and craftsmanship. Include keywords like “hand reupholstered” and specific style names. Respond quickly to inquiries and be prepared to negotiate within reason on your asking price.
Frequently Asked Questions

Is reupholstering a good furniture flip project for a complete beginner?
Absolutely! Starting with a simple chair or stool is an ideal furniture flip project reupholstering task for those new to DIY. Unlike complex woodworking, basic upholstery primarily requires patience and a few essential tools like a staple gun. By choosing a piece with straight lines and a removable seat cushion, you can gain confidence and achieve professional-looking results without needing advanced upholstery skills or expensive machinery.
What is the most important step when learning how to reupholster furniture?
The secret to success lies in the teardown process. As you remove the old fabric, take detailed photos of how the material was folded and where the staples were placed. This acts as a blueprint for your new design. When you begin your furniture flip project reupholstering, use the old fabric pieces as precise templates for cutting your new textile, ensuring a perfect fit and a much smoother assembly process.
Do I need a professional sewing machine to start reupholstering old furniture?
Many beginners worry about the cost of equipment, but you don’t necessarily need a sewing machine to get started. Many entry-level projects, such as dining chair seats or padded headboards, utilize a “staple-and-fold” method that requires zero sewing. By focusing on projects with wrap-around upholstery, you can transform dated pieces using just a manual staple gun and affordable fabric remnants, making this a very budget-friendly hobby.



