
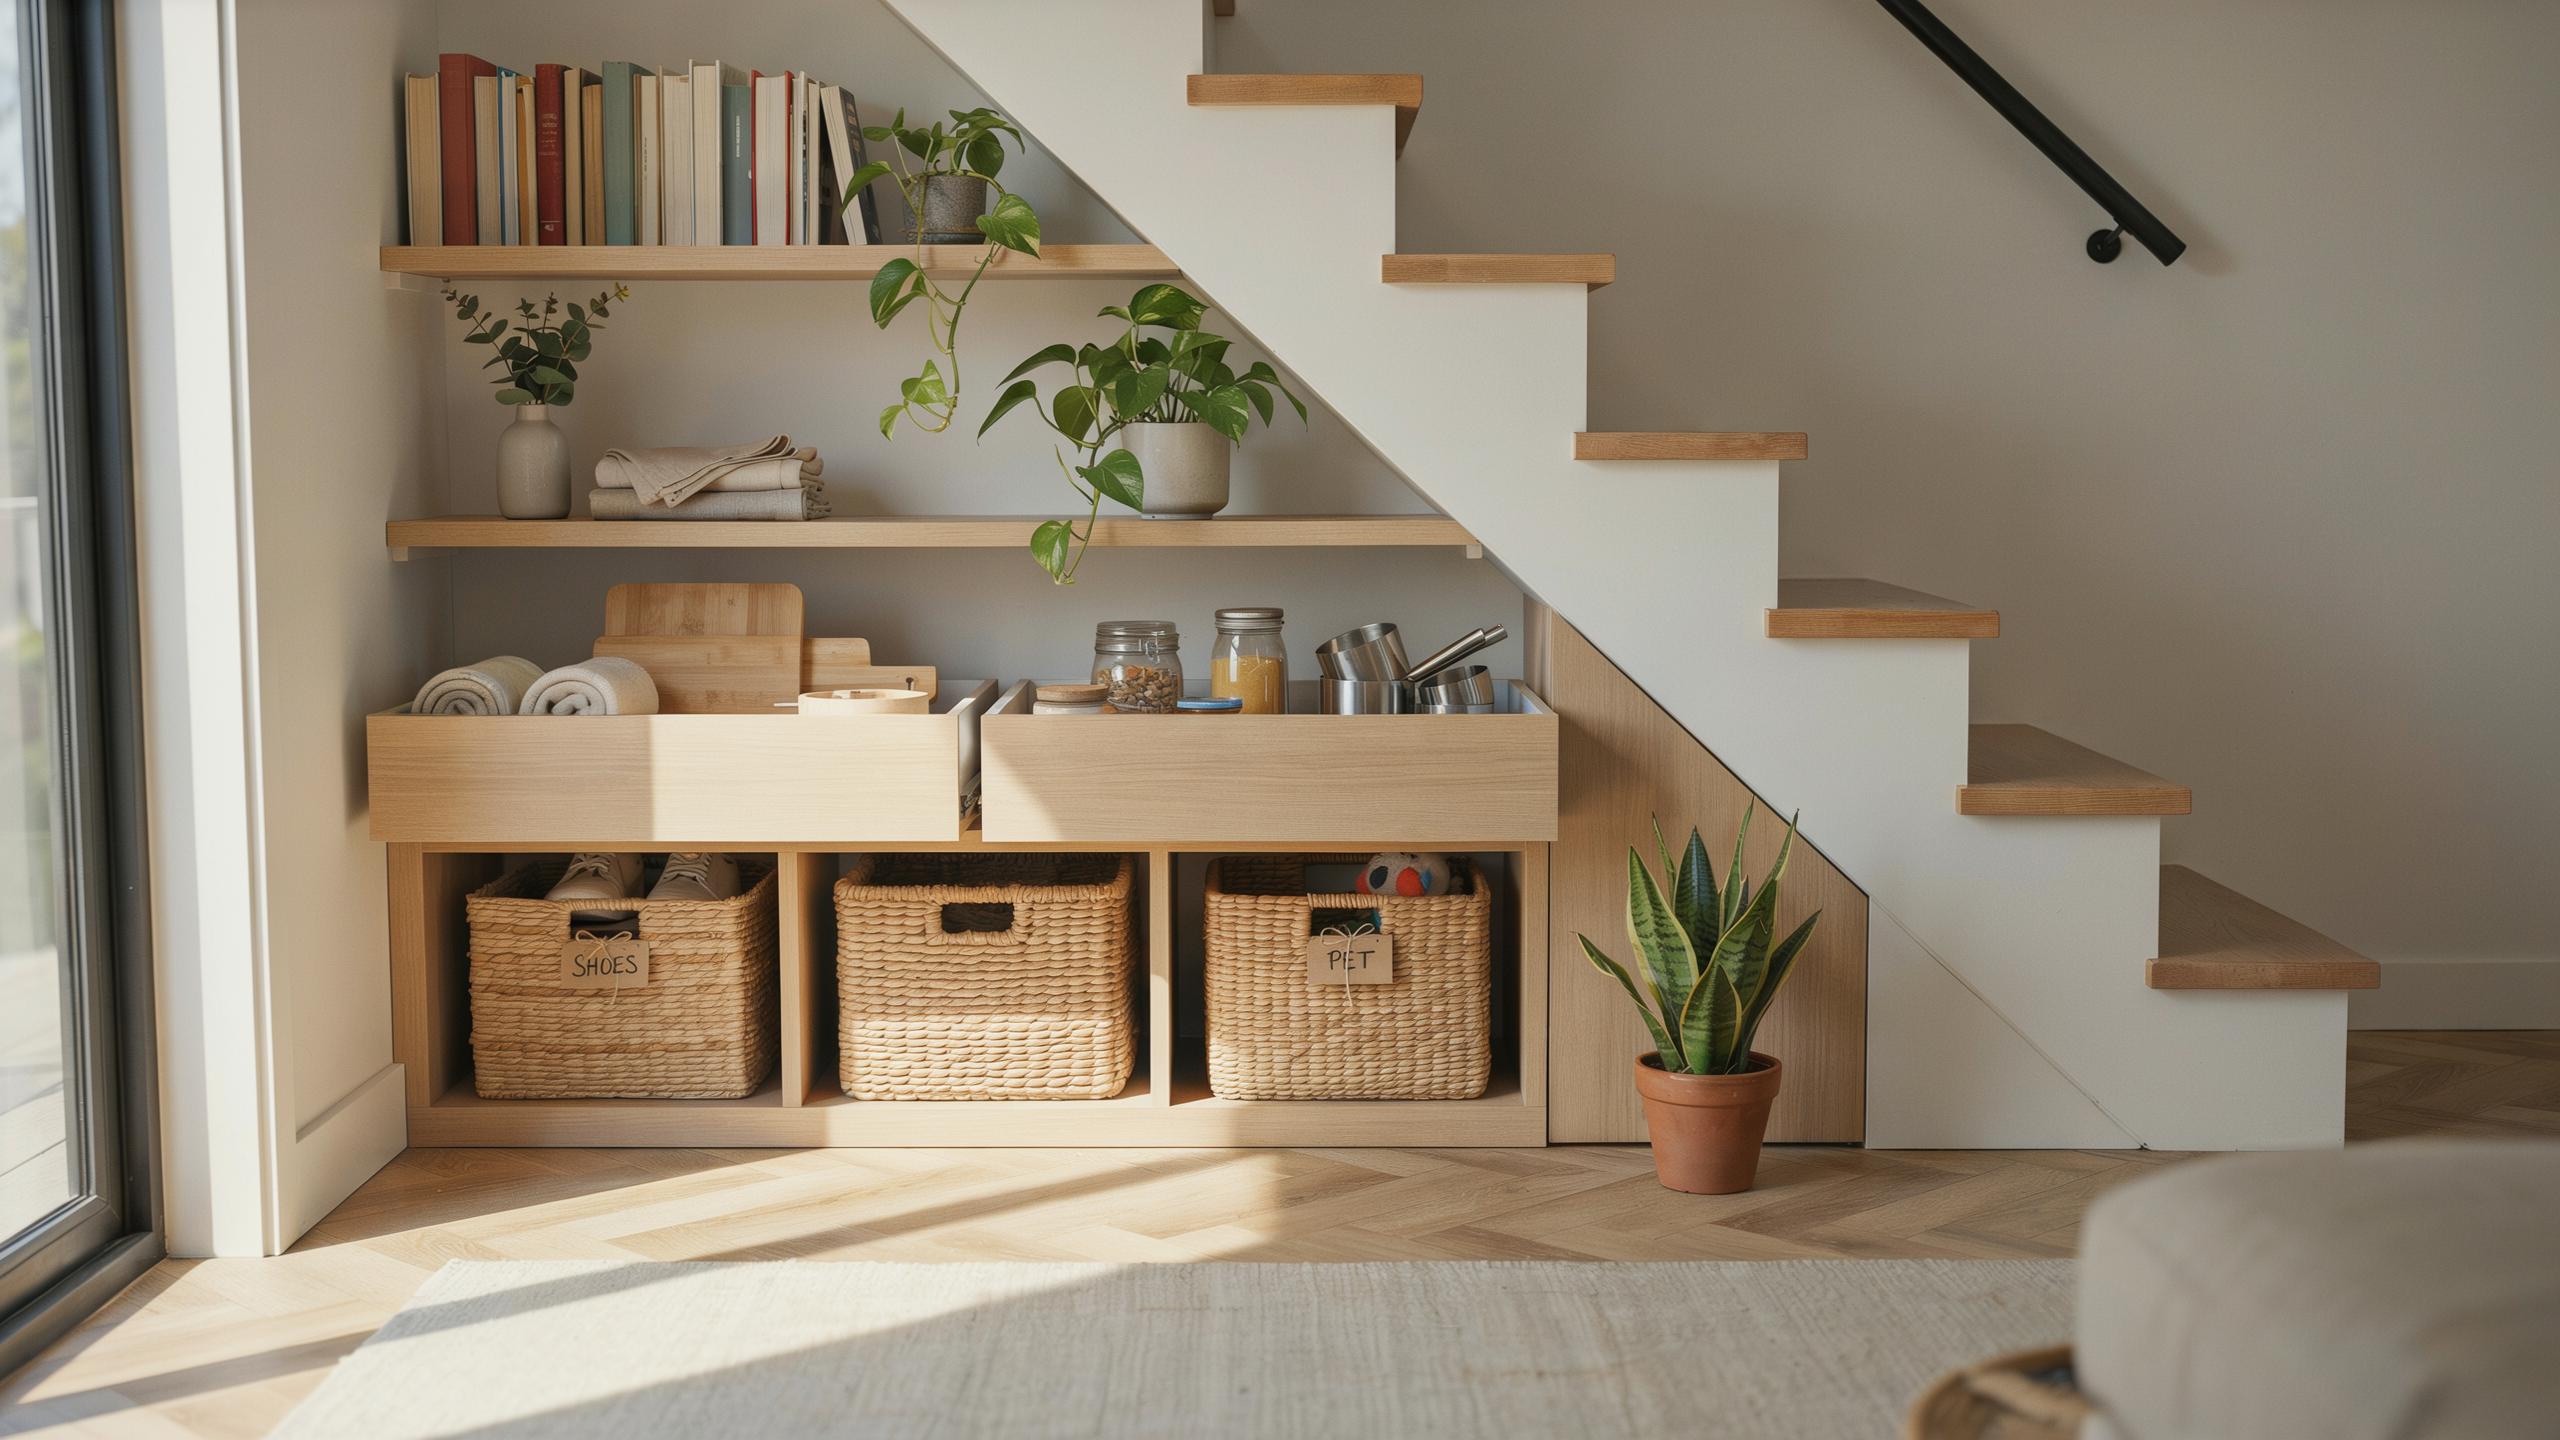
Maximize Your Space Smart Understairs Storage Solutions
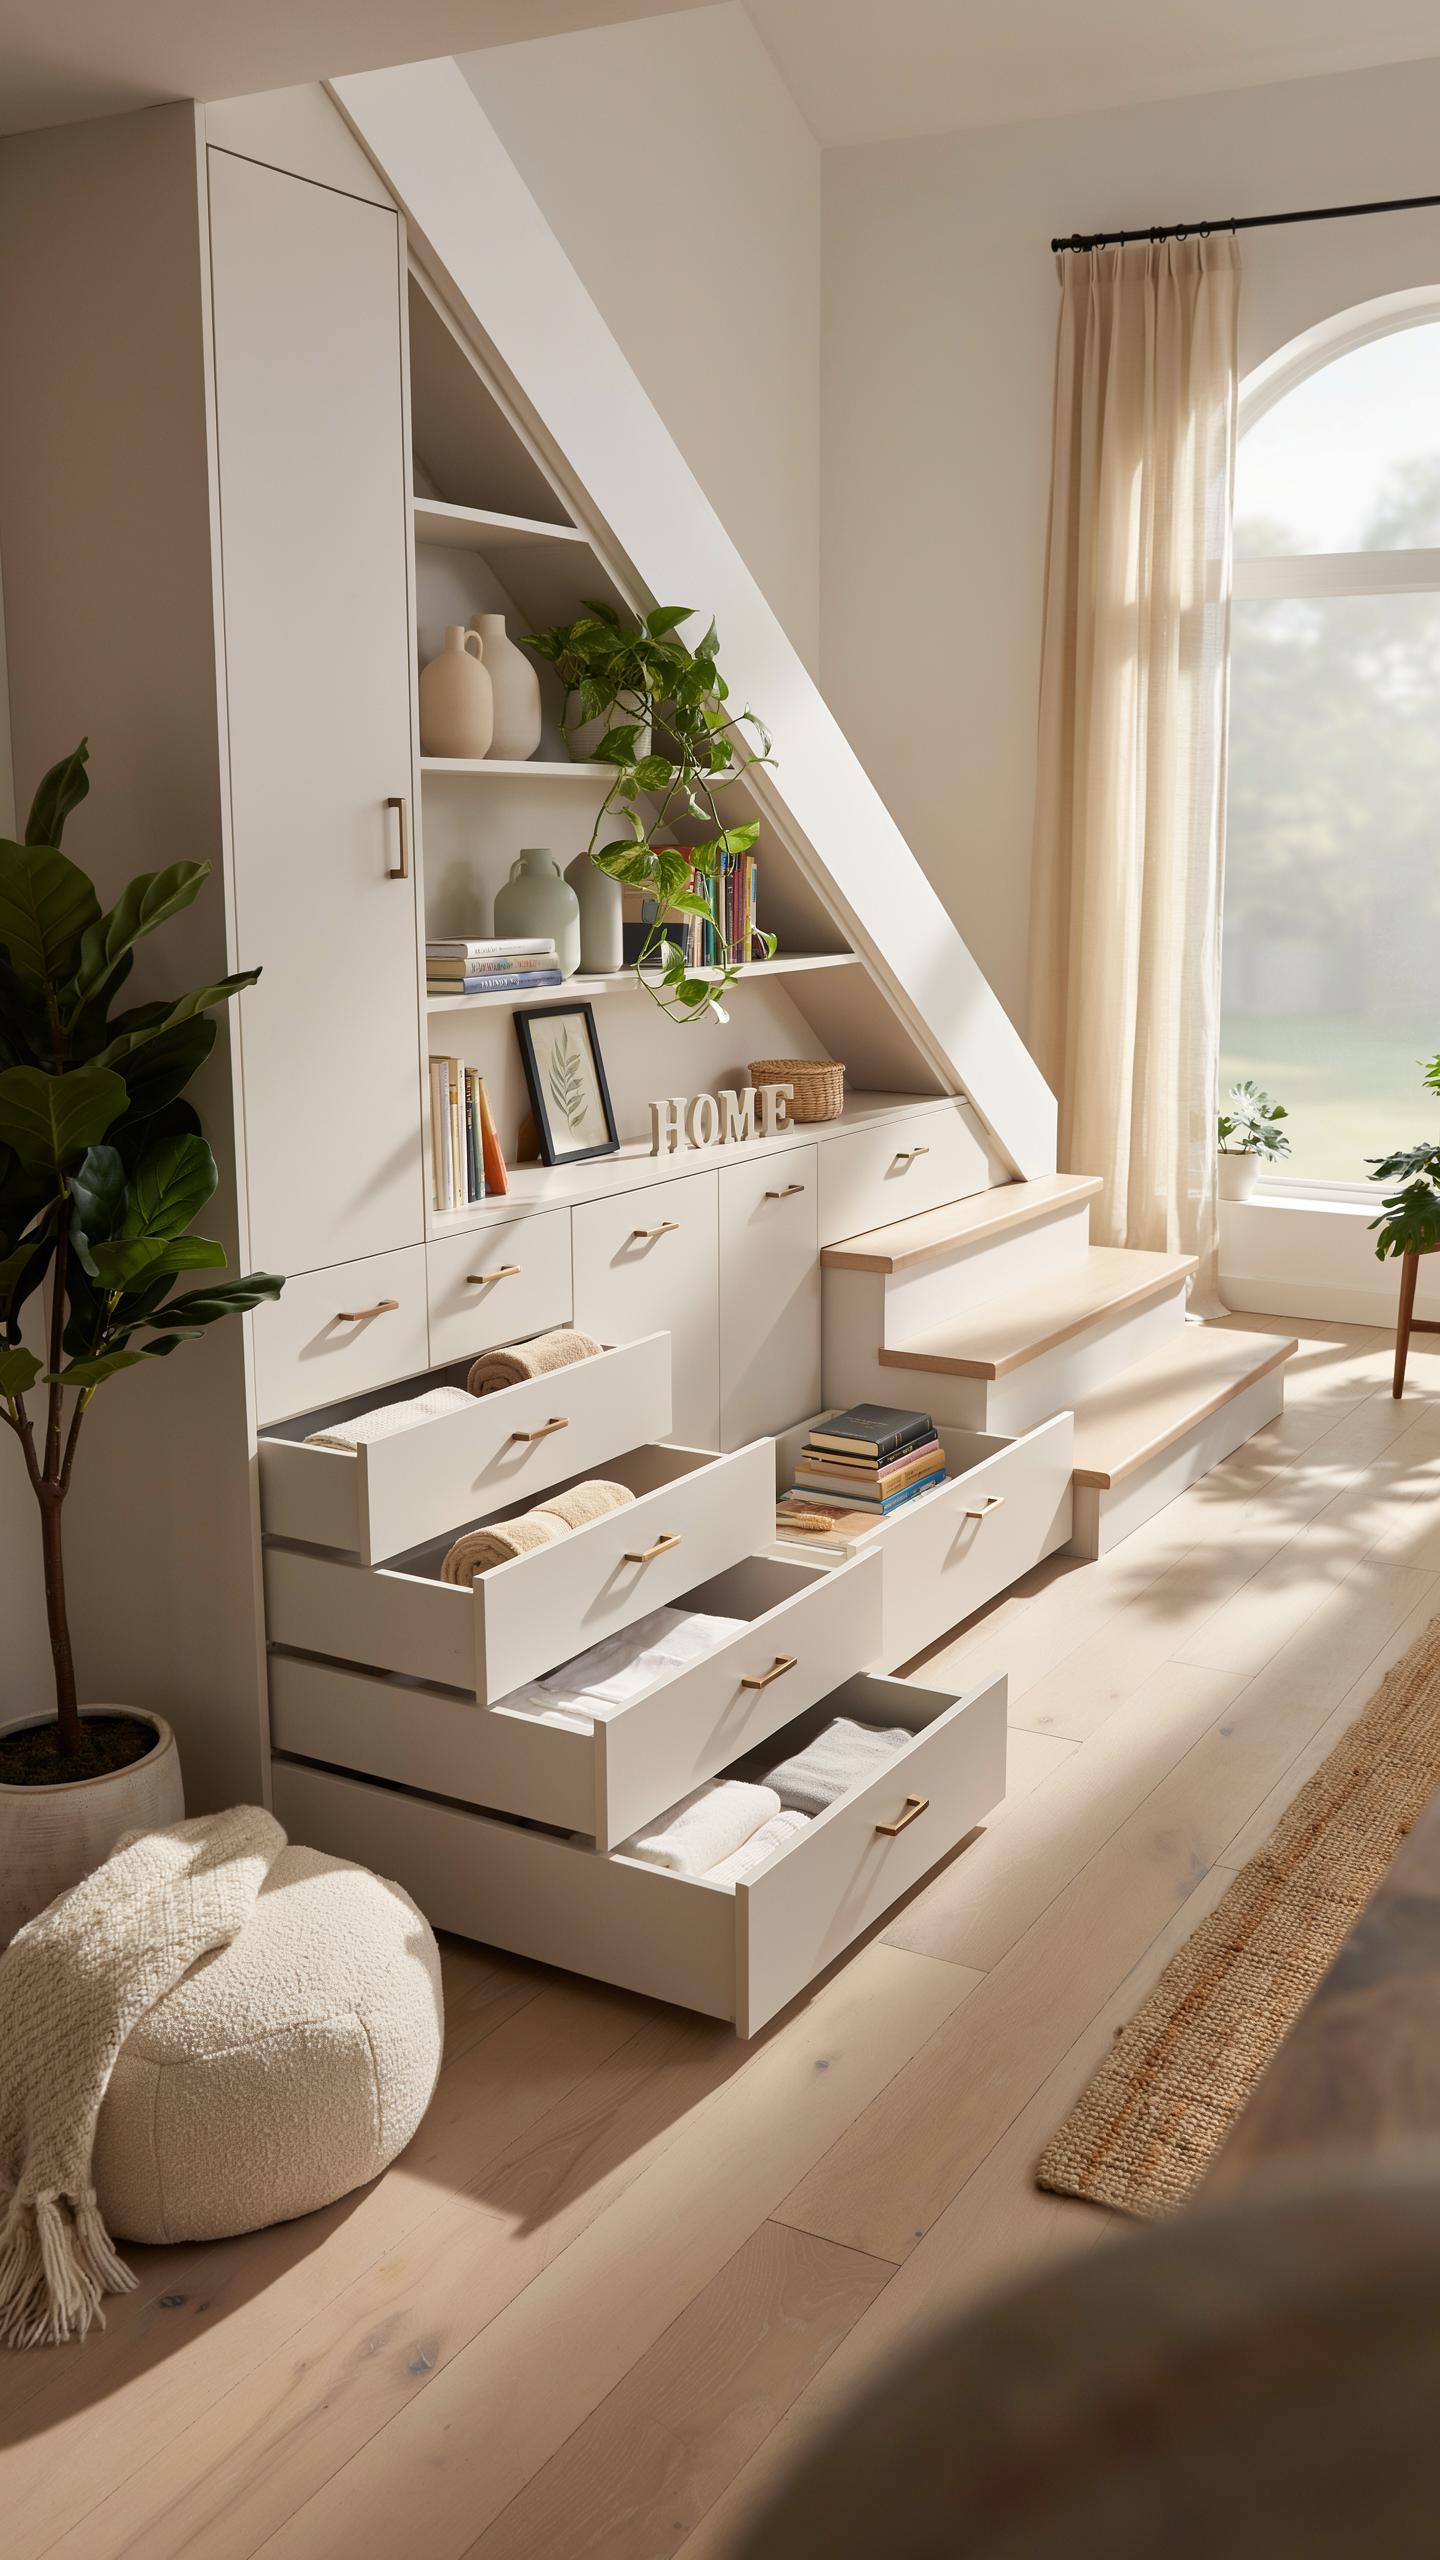
Structural Integrity
Before you install anything under your stairs, you need to know what you’re working with. The staircase carries weight from foot traffic and the structure above it. Adding storage increases that load. A structural engineer or experienced contractor can assess whether your stairs handle extra weight. They check the stringers, treads, and support beams. This step prevents collapse and safety hazards.
The staircase design determines what you can install. Open stairs handle less weight than closed stairs with solid construction. The materials matter too. Wood stairs behave differently than concrete or metal. If you rent, check your lease before modifying anything. Installation mistakes create expensive liability issues and damage.
Custom Versus Prebuilt
Custom carpentry fits your specific stair angles and dimensions precisely. A carpenter measures the exact slope and depth, then builds storage that uses every inch. Custom work costs more upfront but eliminates wasted space. You get materials you choose and designs tailored to your layout.
Prebuilt units cost less and install faster. They work best with standard stair dimensions and rectangular spaces. Most prebuilt options don’t account for unique angles under stairs. You may leave gaps or have pieces that don’t fit properly. Compare your actual measurements against what vendors offer before purchasing anything.

Clever Understairs Storage Closet Ideas For Tiny Homes
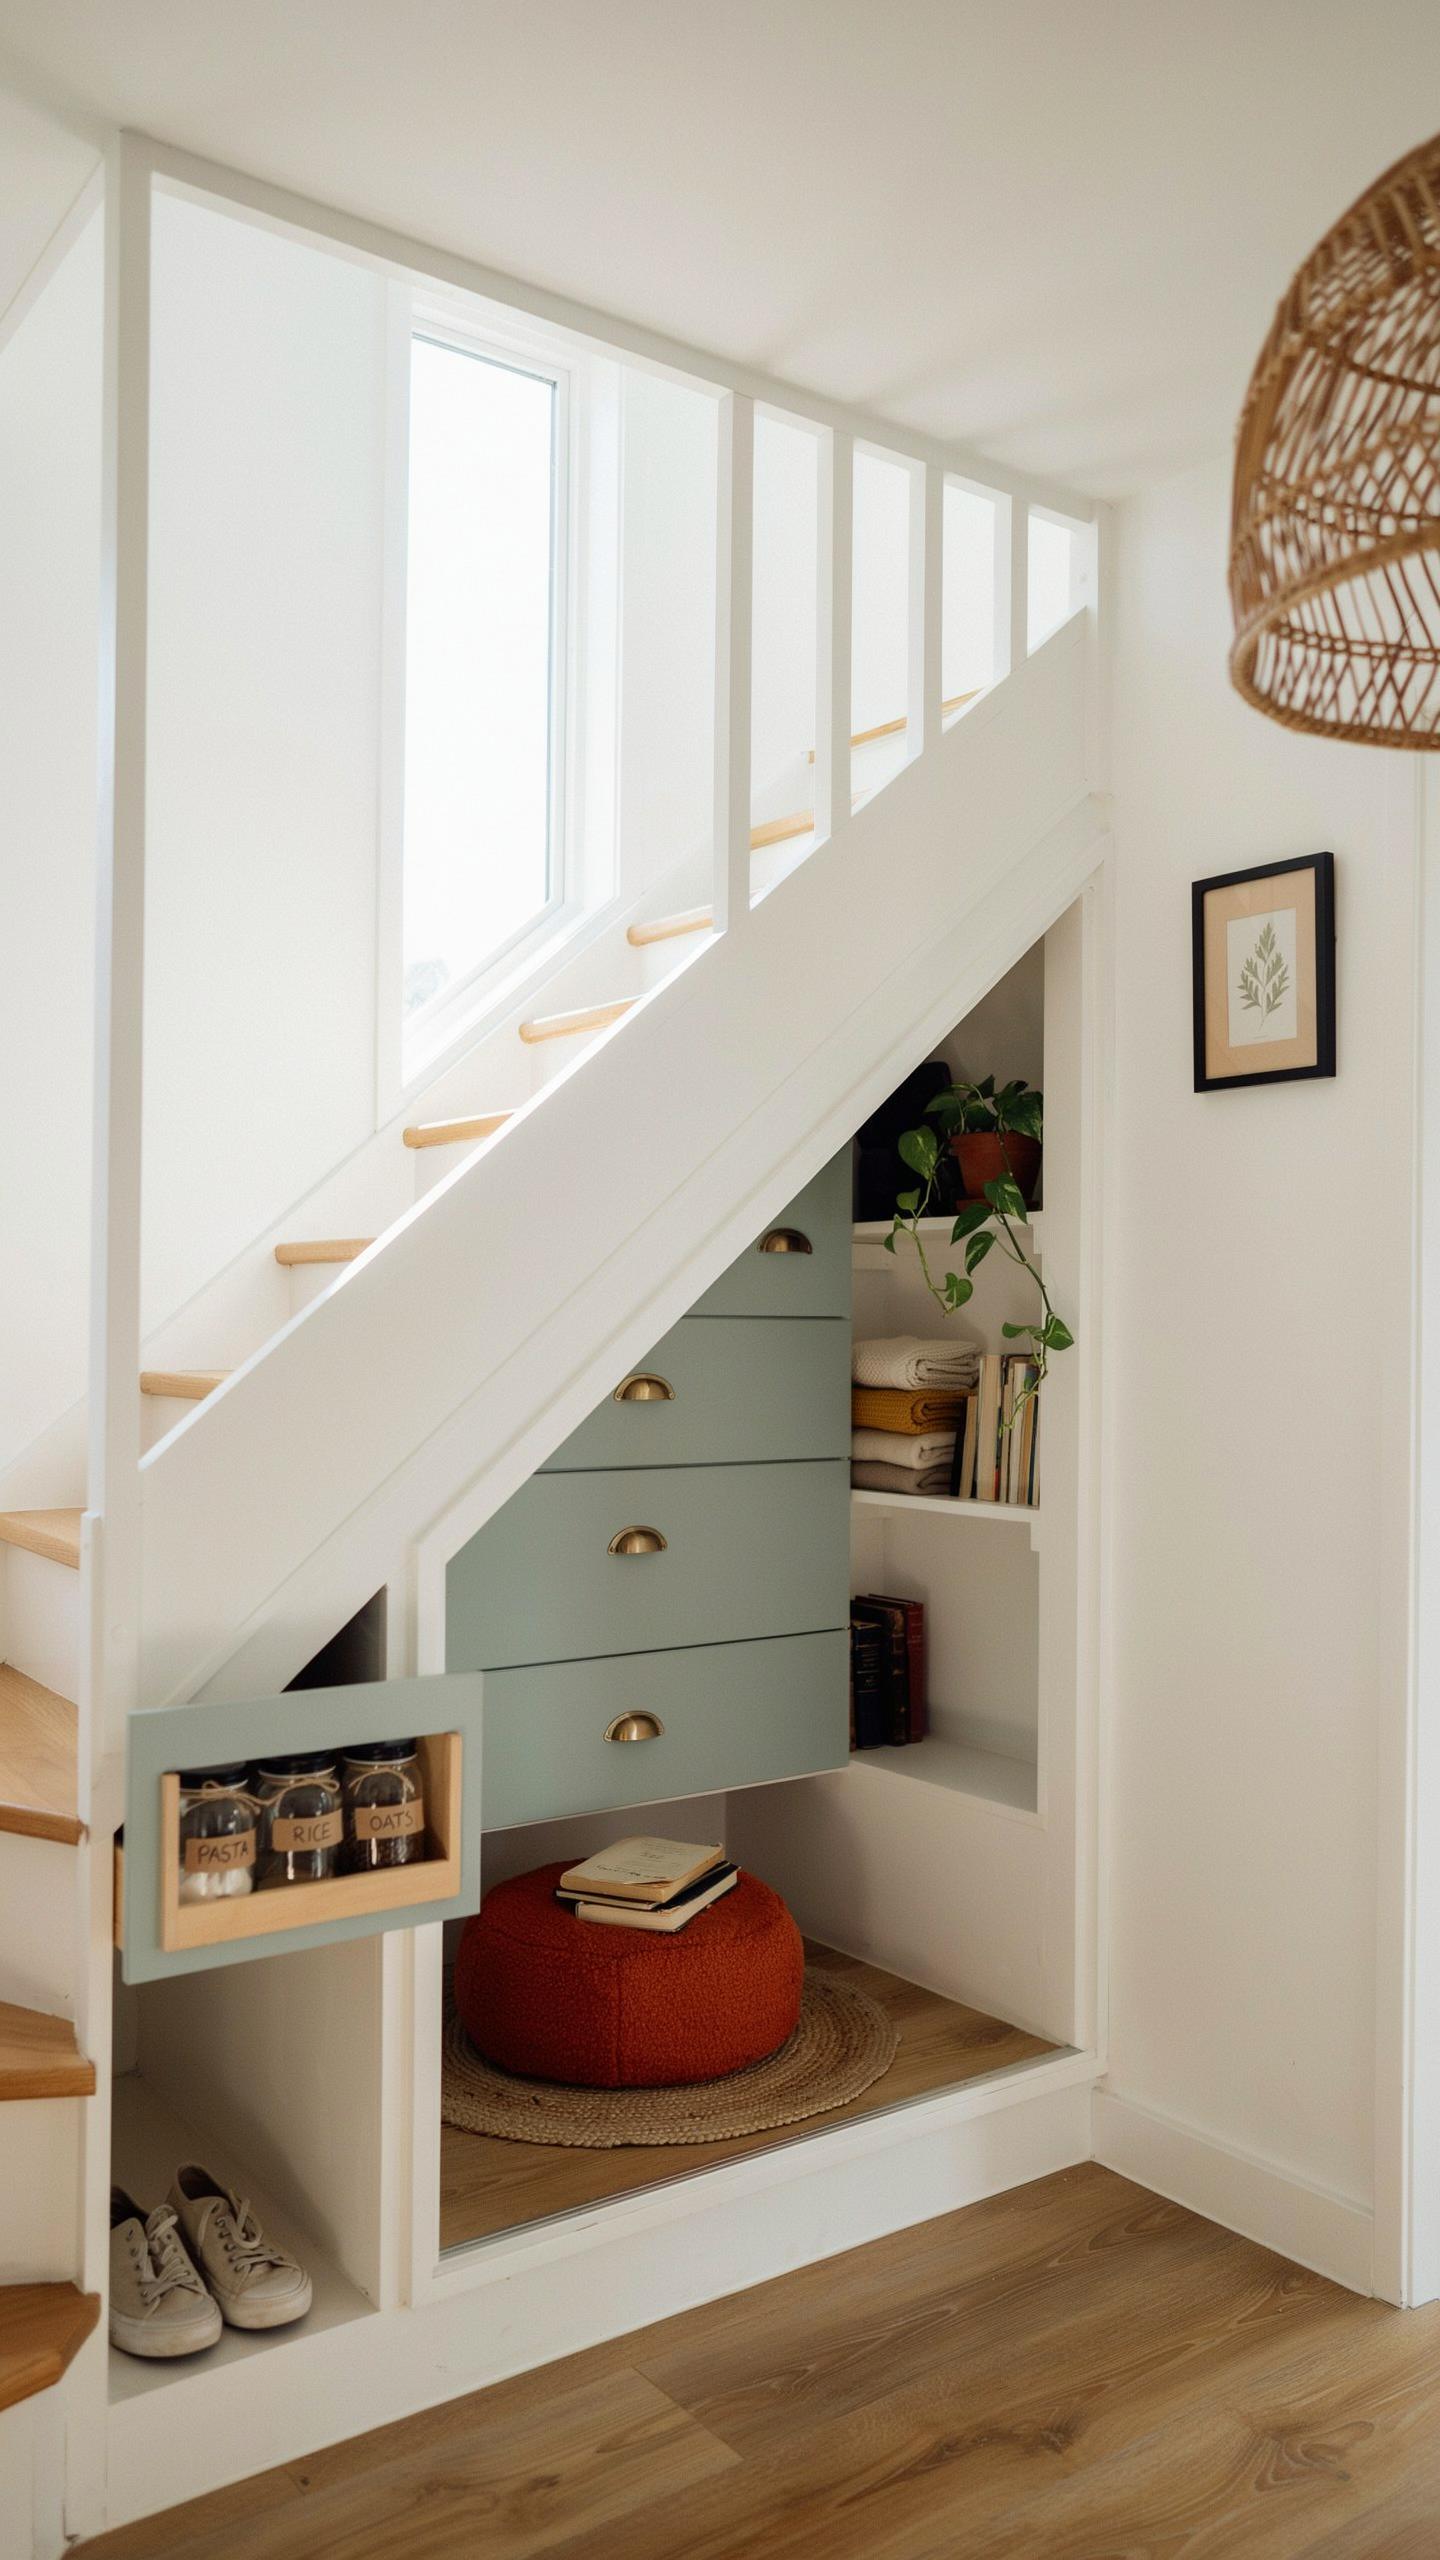
Coat Closet Designs
The triangular cavity under stairs works well for coats because the shape matches how jackets hang naturally. Install a retractable rod system that pulls out when needed and retracts flush against the back wall. This approach keeps the closet functional without eating floor space when the door closes. Position the rod at standard height, around 65 inches, to accommodate most coat lengths.
Retractable rod hardware comes in two types: spring-loaded models and friction-fit designs. Spring-loaded versions require minimal effort to deploy but need periodic maintenance. Friction-fit rods stay put without springs but demand deliberate repositioning. Both handle typical coat weight without issue. Select based on how often you access the closet and your tolerance for mechanical upkeep.
Shoe Storage Drawers
Deep pull-out drawers on heavy-duty ball-bearing sliders maximize the understairs space without wasting the awkward angles. Mount drawers at multiple heights to use vertical depth efficiently. Each drawer typically holds 8 to 12 pairs depending on shoe size and drawer depth. Heavy-duty sliders prevent sagging and ensure the drawers operate smoothly over time.

Size drawers to match the horizontal space available at each height level. Angled ceilings mean smaller drawers higher up and larger ones lower down. Use dividers inside each drawer to separate shoes by type and prevent shifting during movement. This system keeps footwear protected from dust while remaining visible and accessible.
Innovative Kitchen Storage Under Stairs To Save Counter Space
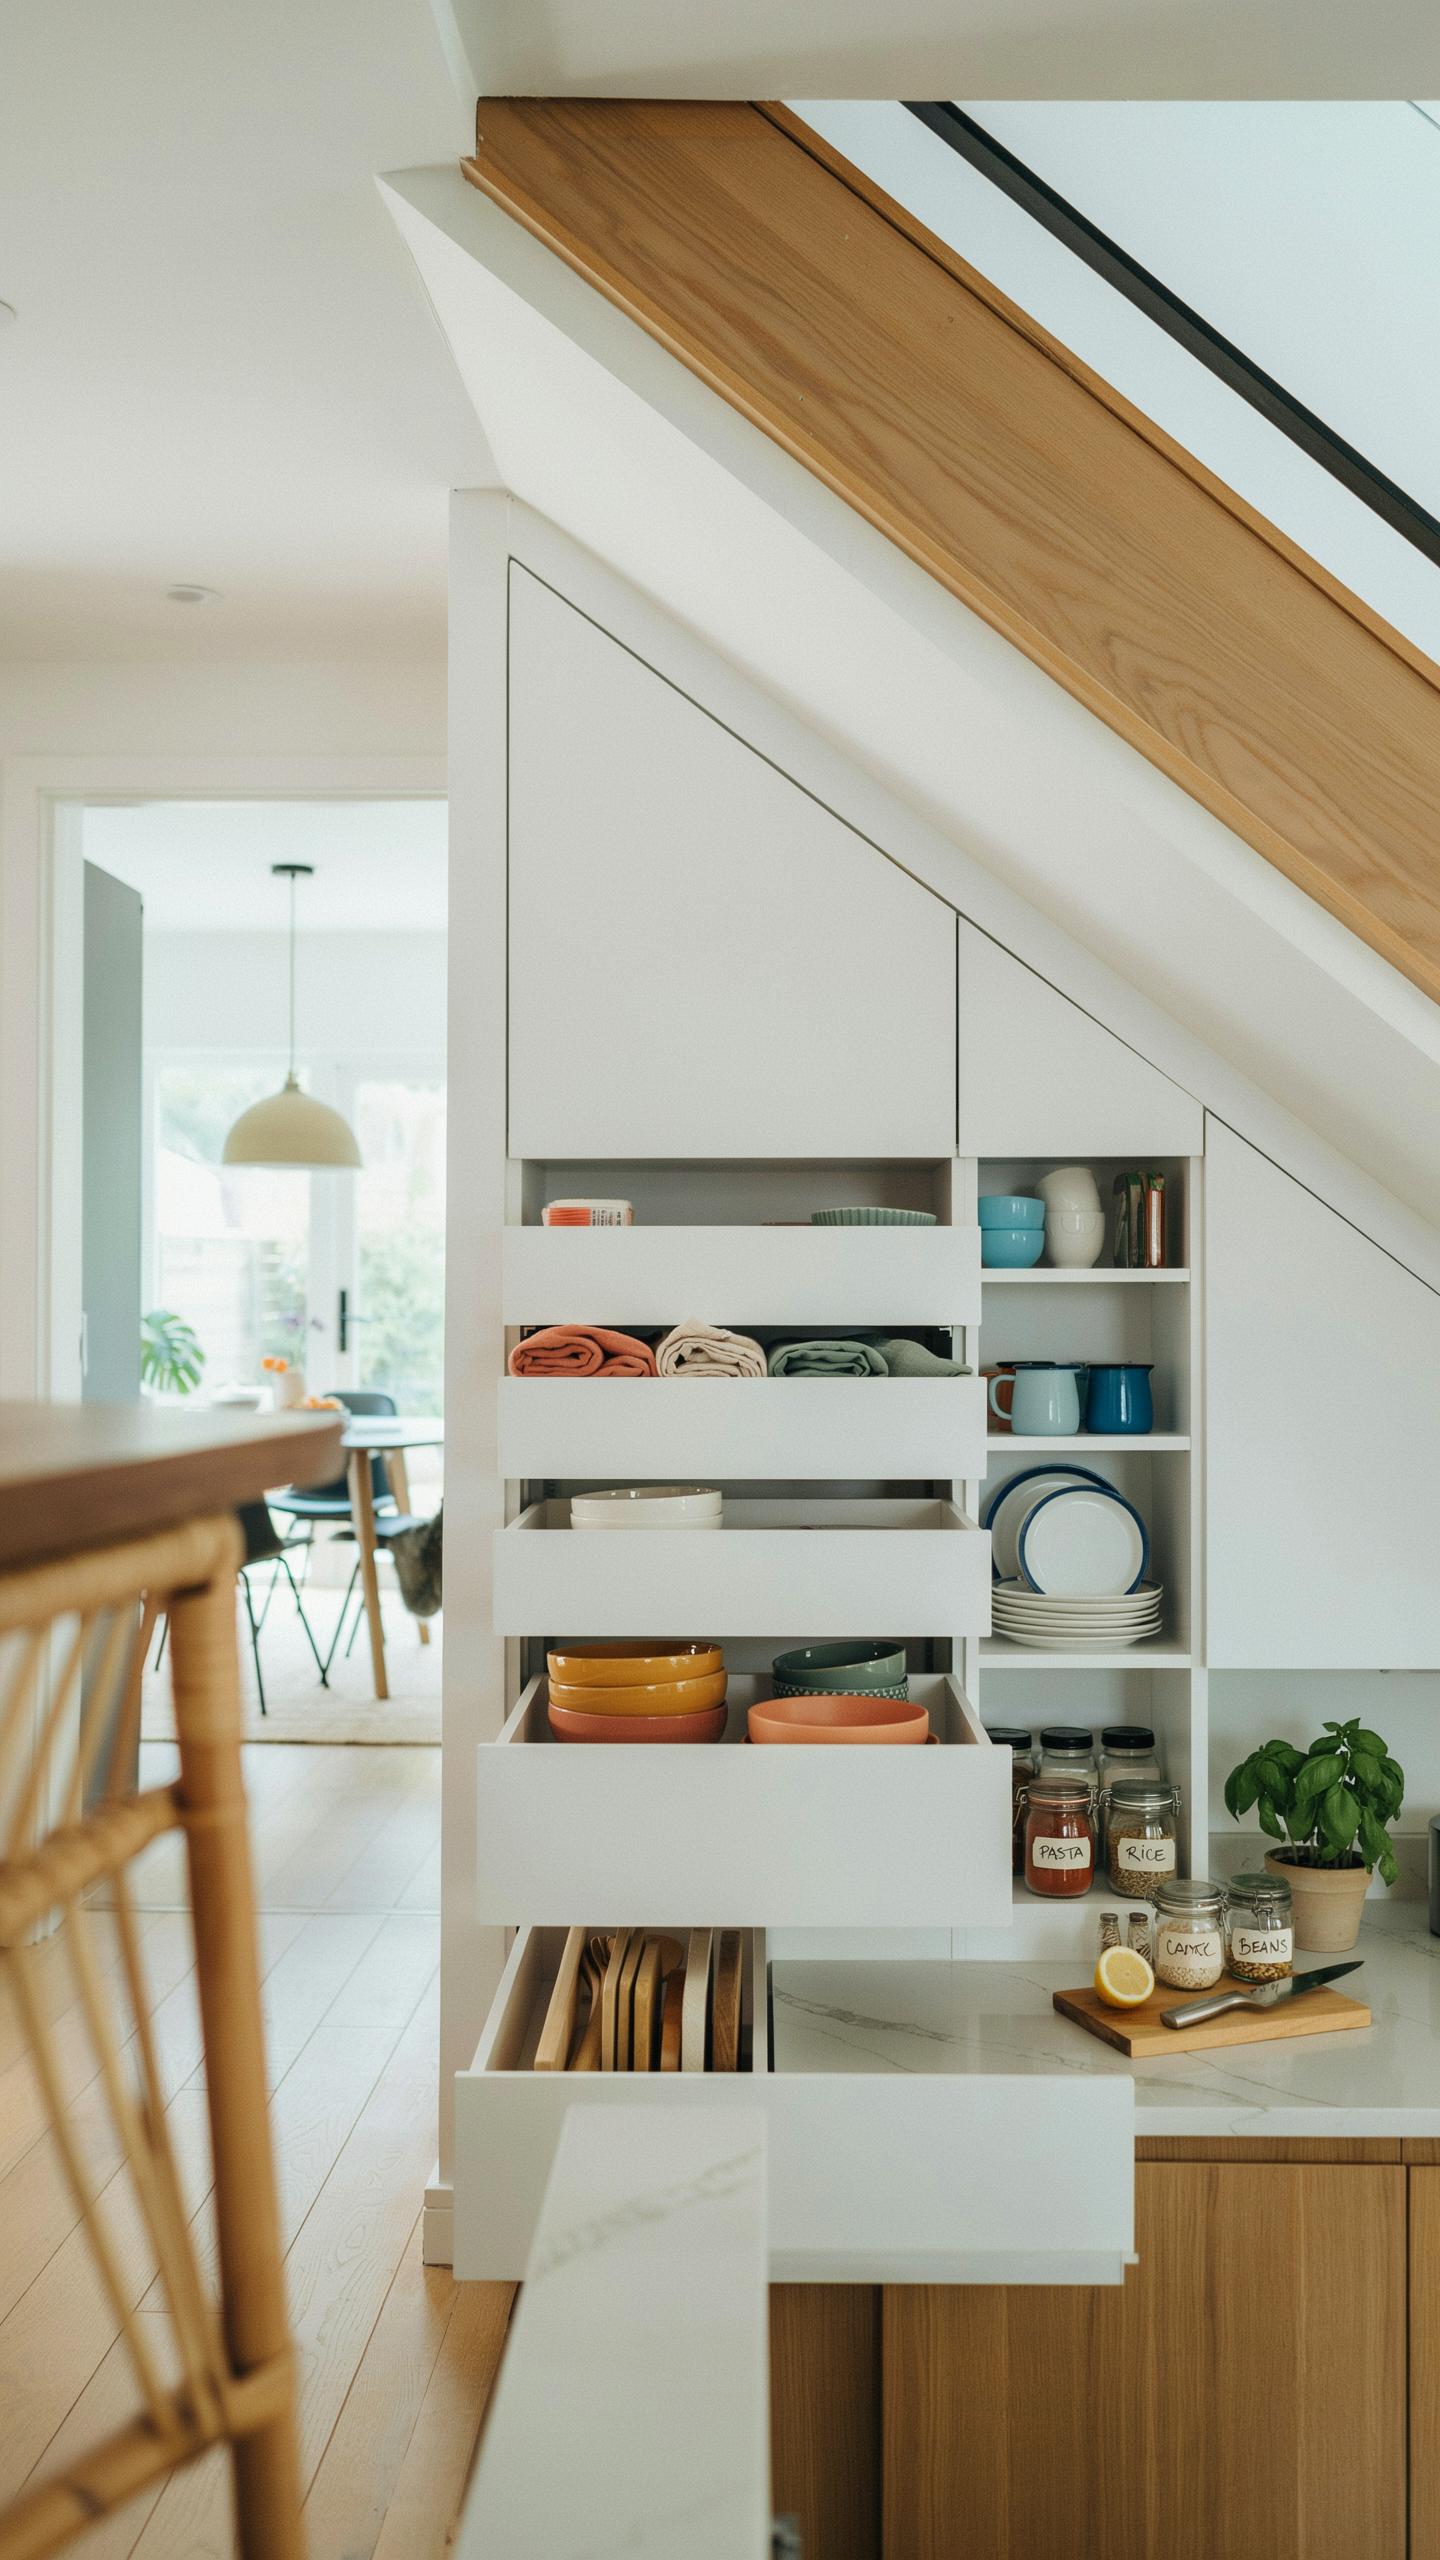
Appliance Garages Stairs
Under-stair spaces work well for appliance garages because they sit out of daily traffic patterns and hide clutter effectively. The depth and width of stair cavities accommodate standard kitchen appliances like blenders, coffee makers, and toasters. You build custom wooden frames or install pull-out drawers within the stair structure to create enclosed compartments that keep dust off equipment while maintaining easy access.
Install hinged cabinet doors or sliding panels across the opening to conceal appliances completely. This approach reclaims valuable counter space in compact kitchens where every inch matters. Wire the compartments for power outlets so appliances stay plugged in and ready for use. Measure your stair cavity precisely before building frames to maximize usable storage depth and height.
Crockery Display Shelves
Open shelving within stair frameworks displays dishes, bowls, and glassware while utilizing vertical dead space. Install adjustable shelves between stair stringers to accommodate different heights of crockery and glassware sets. This design works best when stairs have adequate structural support and consistent width throughout their run.

Secure shelves directly into the stair structure using heavy-duty brackets rated for the weight of full dishware sets. Space shelves eight to ten inches apart to fit standard dinner plates and avoid wasting space. Paint shelves to match your kitchen design and use shelf liners to prevent dishes from sliding during vibration or movement under the staircase.
Designing A Compact Kitchen Under Stairs Ideas And Layouts
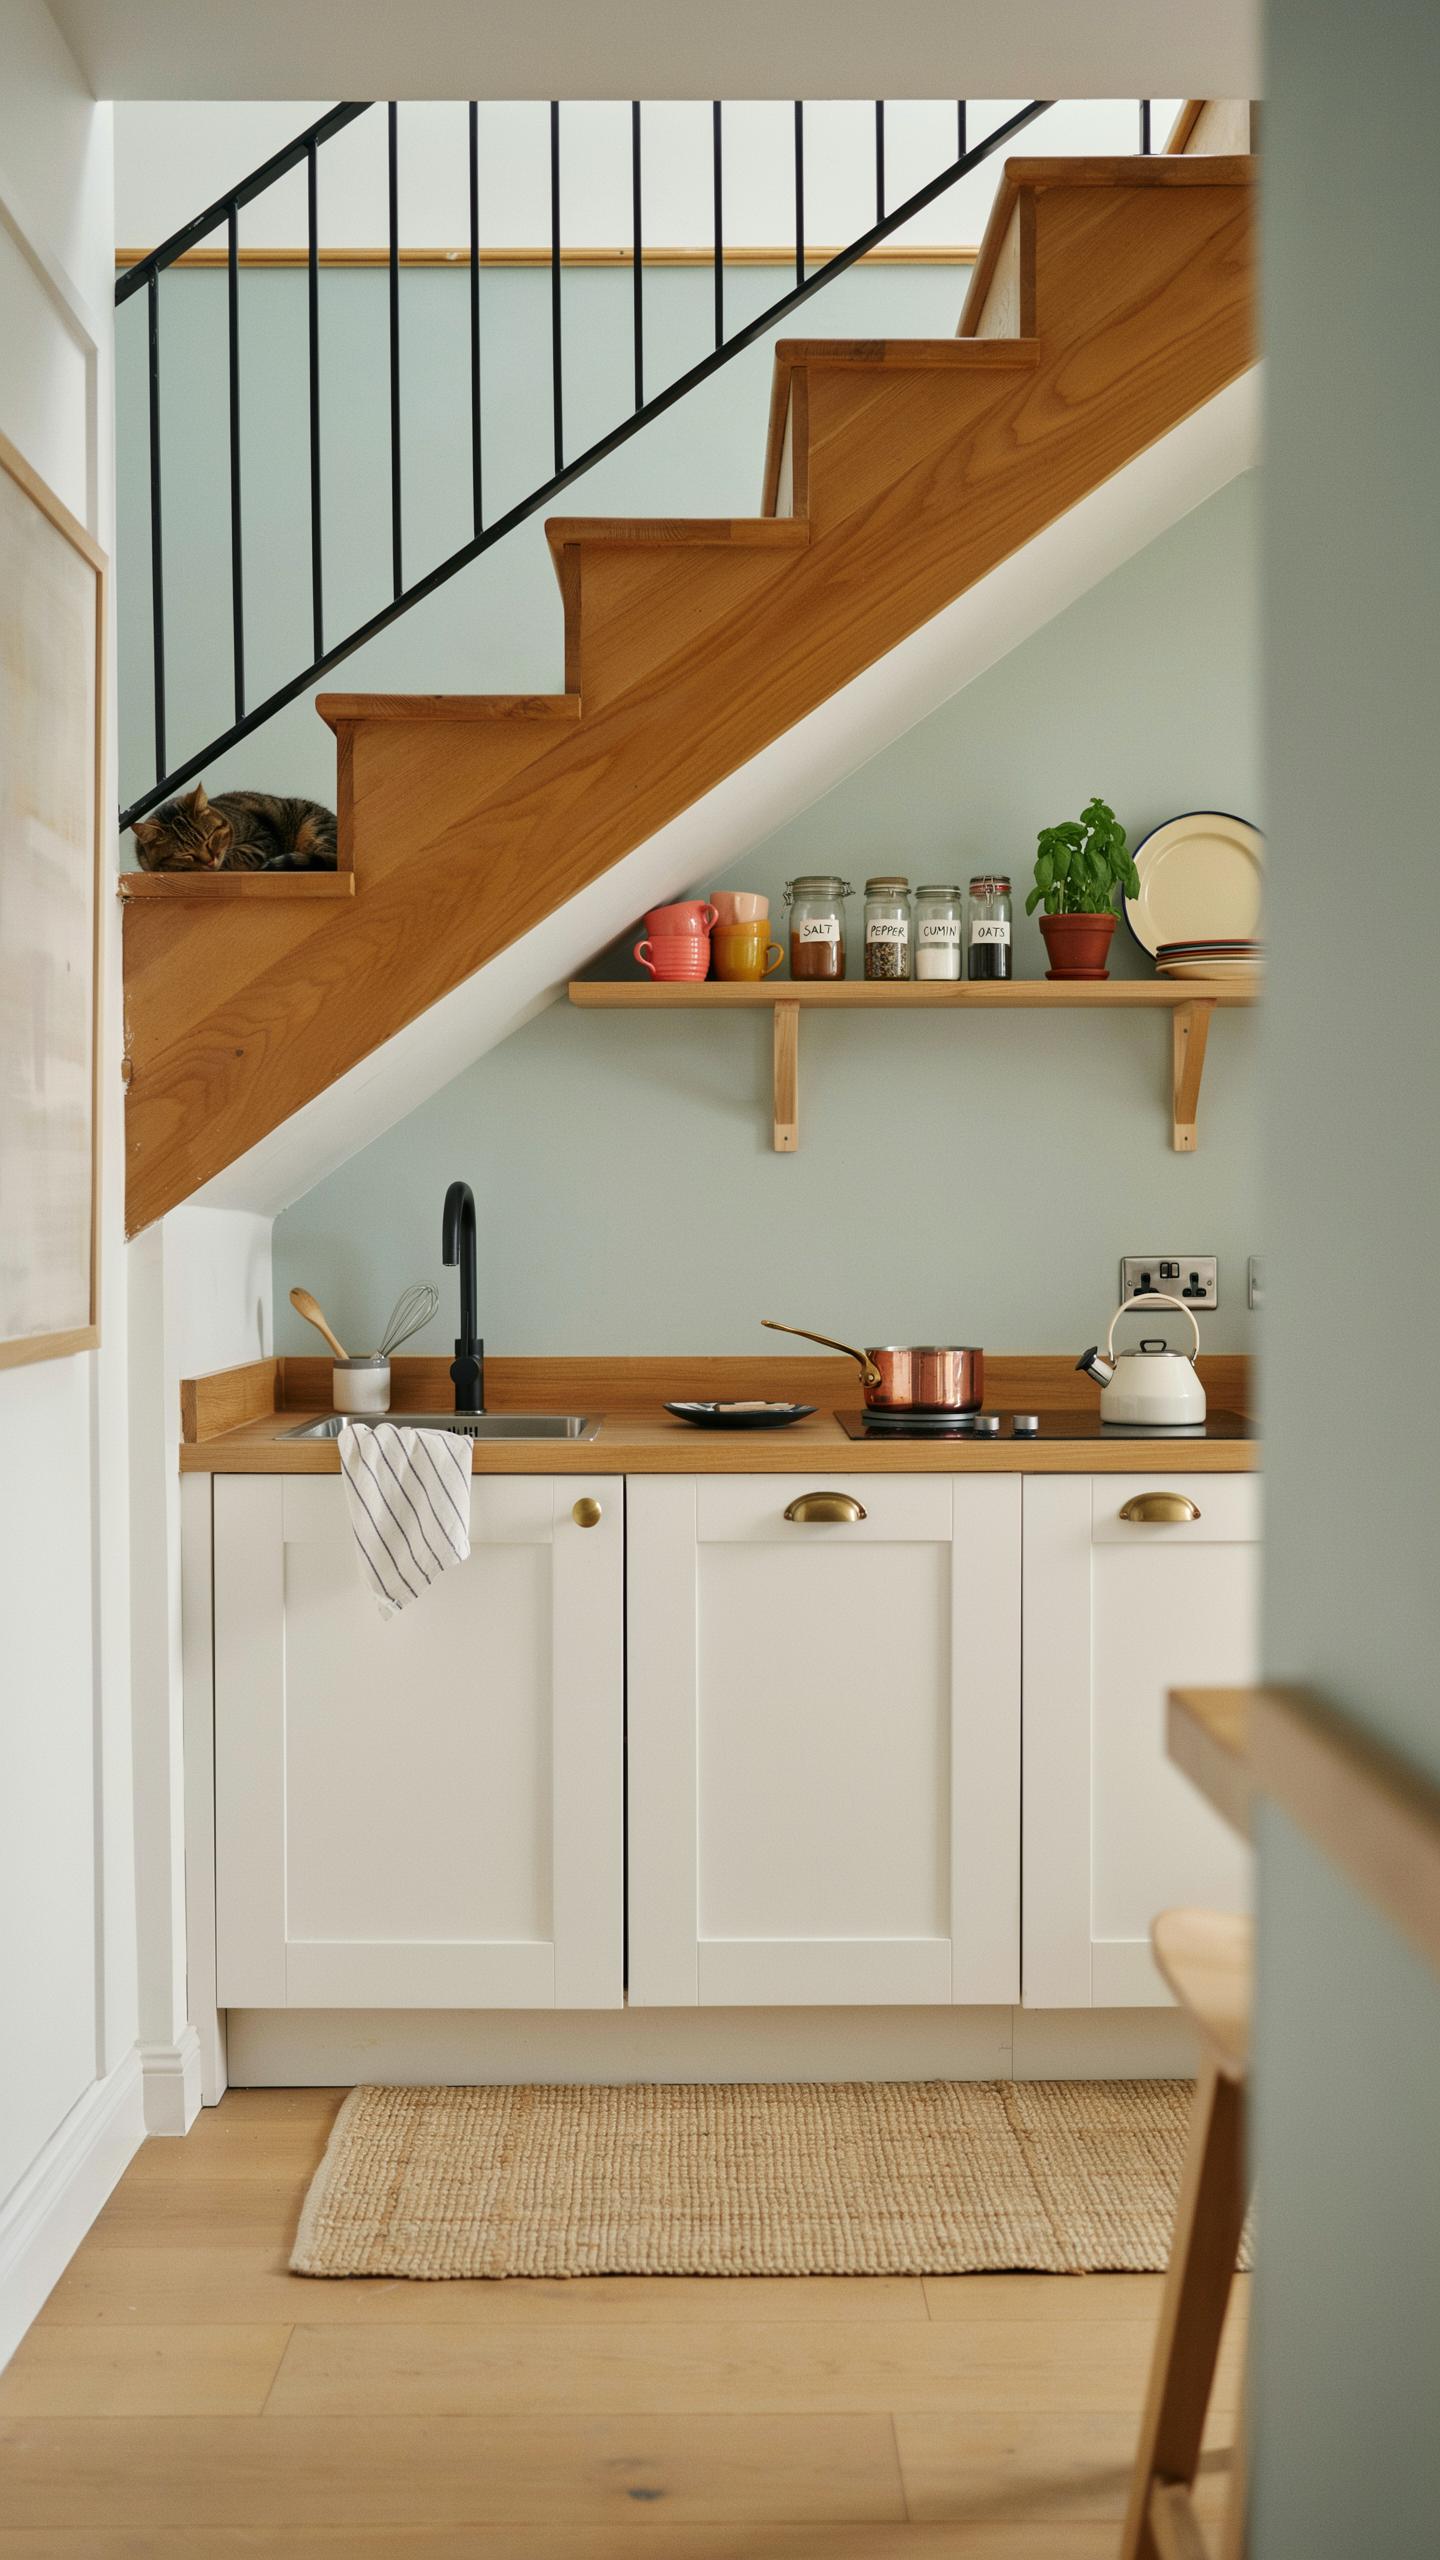
Sink And Counter Integration
The space directly under the highest point of your staircase offers enough clearance for a functional prep sink or counter. You need minimum vertical clearance of 30 inches for comfortable standing and arm movement. Position the sink toward the front edge where headroom is greatest, then run supply lines through the wall cavity behind it.
Plumbing requires running water supply and drain lines through existing wall infrastructure or drilling through studs strategically. Use flexible copper or PEX tubing to navigate tight angles around stair stringers. Your drain must slope downward at 1/4 inch per foot toward the main line. Install a trap immediately beneath the sink to prevent siphoning and odors. This configuration works best when your main water and drain lines run nearby, keeping installation costs reasonable.
Recessed Fridge Placement
A compact mini-fridge or 18-inch wide under-counter freezer drawer fits directly into the staircase cavity when you frame it properly. Measure the exact dimensions of your available space before purchasing equipment. The appliance needs 2 to 4 inches of clearance on all sides for air circulation and door swing.

Install the fridge in a recessed frame built from the stair structure itself. Ensure proper ventilation by leaving the top and back open to airflow. Run electrical wiring through conduit along the wall studs to a nearby outlet, keeping the cord away from foot traffic. Your unit must sit level and secure to prevent vibration and noise transfer through the stairs above.
Pantry Ideas Under Stairs For Serious Home Cooks
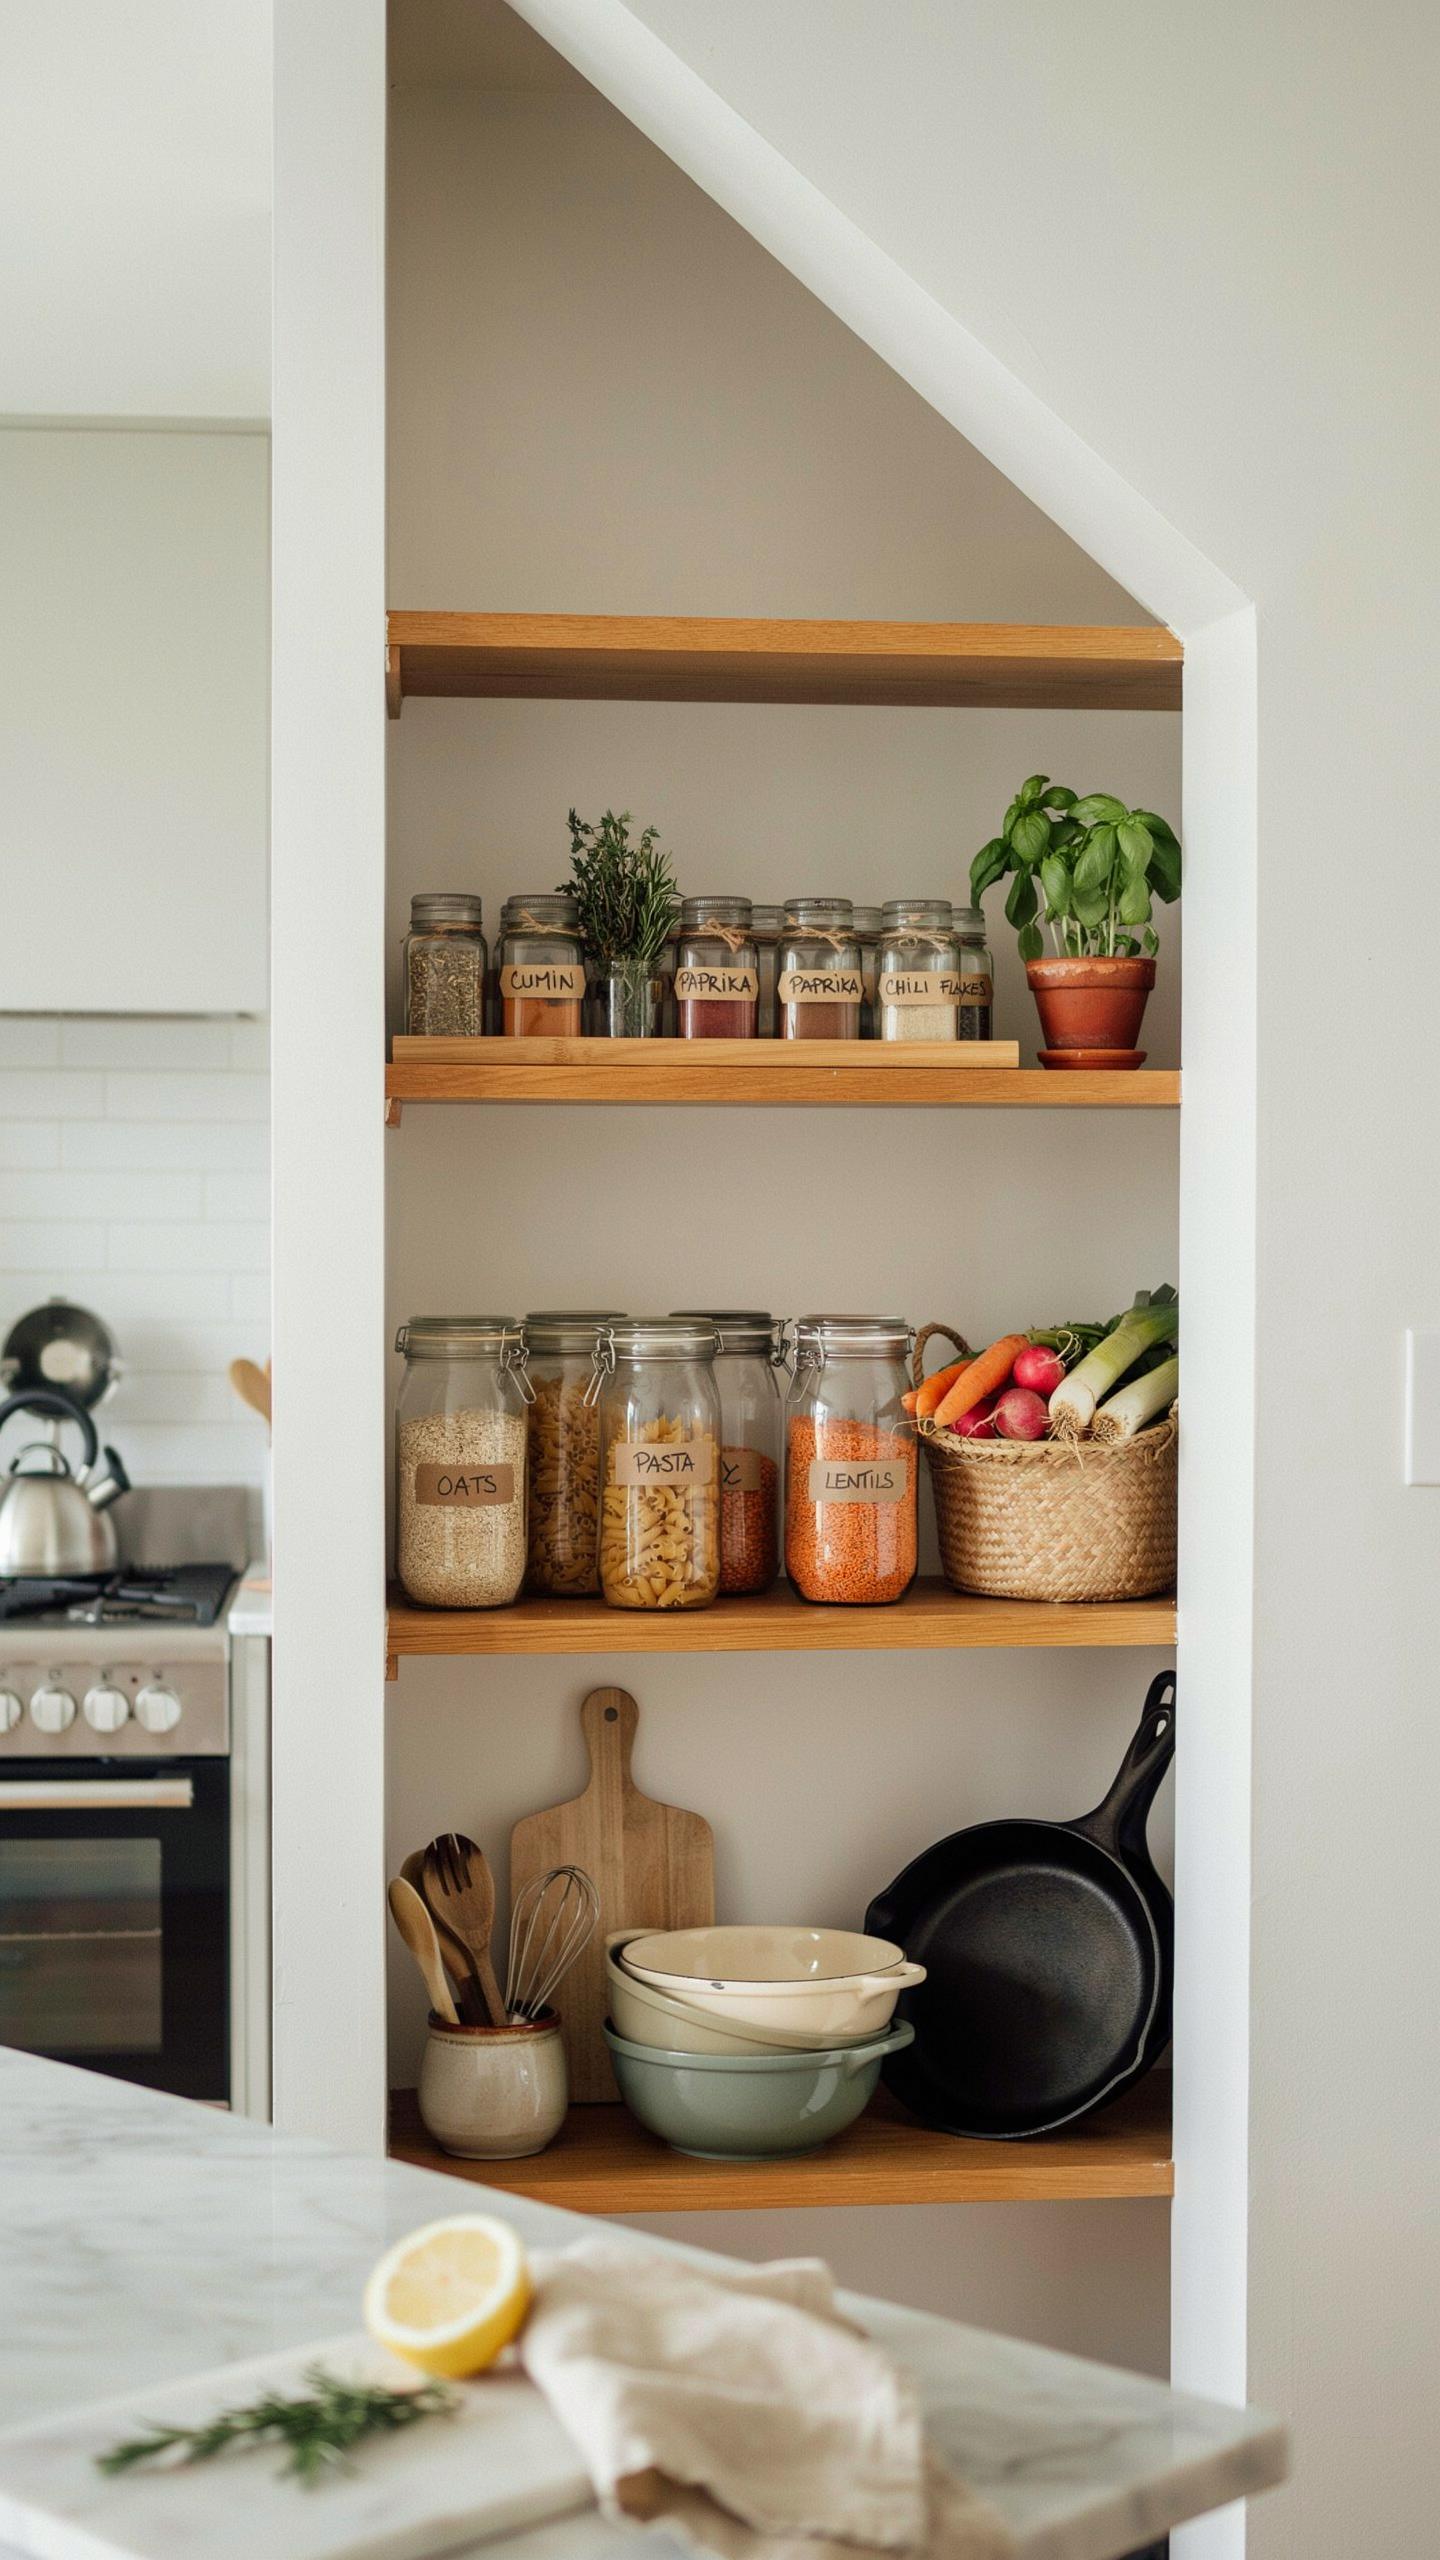
Essential Pantry Components
A staircase pantry demands organization systems that work within tight, angular spaces. You need tools that maximize accessibility and protect food from degradation. The right components turn wasted space into functional storage that serves daily cooking needs without sacrifice.
- Lazy Susans: Rotating platforms let you access items at the back without removing everything in front. They work especially well in corner spaces where stairs slope. Use multiple sizes to fit different shelf depths.
- Tiered Spice Racks: Vertical risers display spices and small jars at different heights. This setup prevents you from losing items in the back. Each tier catches light, making labels readable at a glance.
- Airtight Storage Bins: Sealed containers keep dry goods fresh and protected from pests. They stack efficiently in irregular spaces. Clear plastic versions let you see contents without opening them.
- Pull Out Shelves: Sliding drawer systems extend fully to reveal deep storage areas. They eliminate blind spots in the back of under stair spaces. Install them on heavy duty runners rated for food weight.
- Tension Rods: Horizontal rods prevent items from sliding during access. Place them on shelves to hold cereal boxes, canned goods, or bag storage upright. They cost little and install in minutes without permanent damage.
These systems work because they address the core problem of under stair storage: reaching items in compressed, angled spaces. Build your pantry around what you actually cook with daily. Stack infrequently used items higher or deeper, keeping regular ingredients at arm level.
Slide Out Pantry Towers
Slide out towers maximize vertical space that stairs naturally create. These units extend the full depth beneath the staircase without forcing you to crawl or reach awkwardly. They turn dead space into organized, accessible storage that rivals a standard pantry cabinet.

Installing towers requires measuring the exact dimensions of your stair cavity and purchasing units scaled to fit. Most quality towers use ball bearing slides that support substantial weight without wobbling. Position the tallest tower in the deepest section where headroom exists, then step down tower heights as you move forward. This arrangement prevents bumping your head while accessing items. Load heavier foods lower and lighter items higher for stable operation. Leave clearance on at least one side so you can pull towers fully without obstruction.
Creative Under Stairs Pantry Ideas To Feed A Family
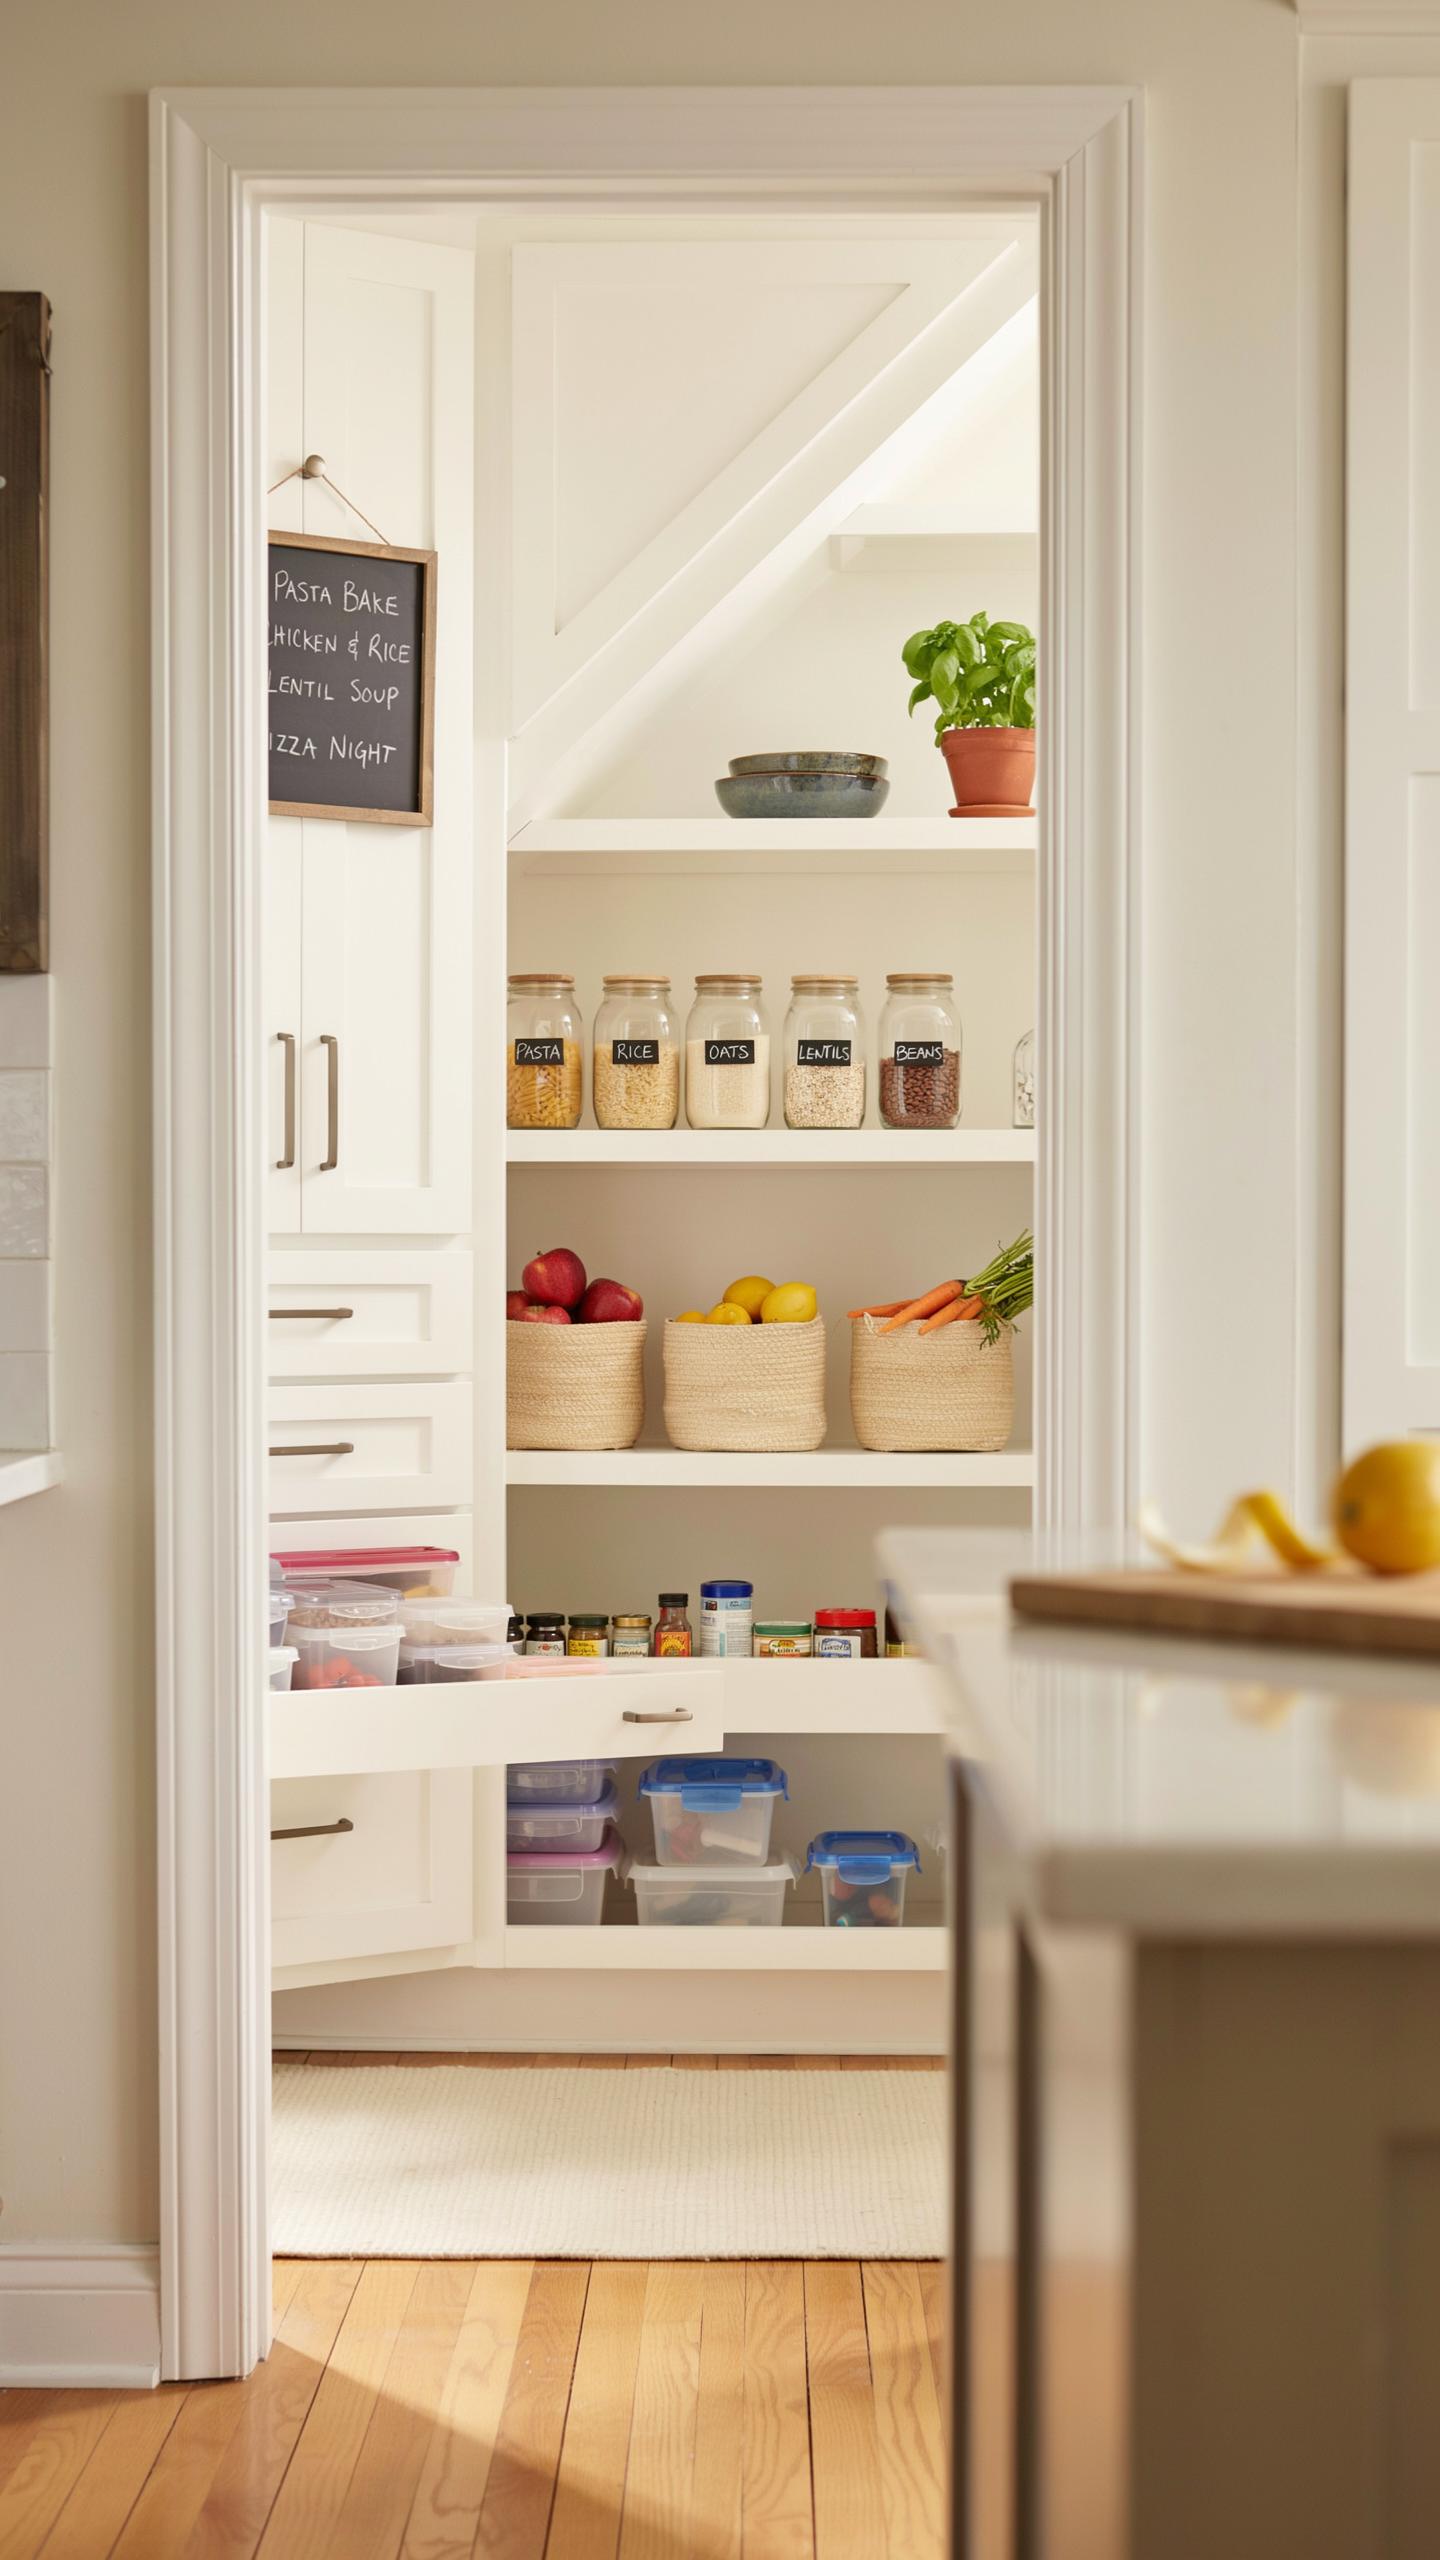
Dry Goods Bulk Storage
The space beneath stairs works as a pantry because it stays cool and dark naturally. Install deep plastic bins at the lowest point where headroom is minimal. This zone stores flour, rice, beans, and pet food efficiently. Measure your stair angle to determine bin depth. Keep bins on wheels for easy access. Label each container clearly so family members find items without hunting.
Stack bins by weight, placing heavier items on lower shelves. Use uniform bin sizes to maximize space and reduce wasted gaps. Rotate stock by date to prevent spoilage. Keep an inventory list on the inside of your pantry door. Check stock monthly to catch depleted supplies early. This system prevents overbuying and keeps your budget in check.
Motion Sensor Pantry Lighting
Motion sensor LED strip lights solve the under stairs darkness problem immediately. These lights activate when you approach, eliminating the need to find switches in tight spaces. Install low-profile strips along shelves and cabinet edges. Choose cool white LEDs between 4000K and 5000K for clear visibility. Battery powered options work well here since running electrical wiring under stairs adds cost and complexity.

Sensor sensitivity matters for pantry use. Set your sensors to detect movement from three to six feet away. This prevents constant on and off cycling when items shift slightly. LED strips last 25,000 to 50,000 hours, reducing replacement frequency. Mount sensors at eye level or slightly above for optimal detection of your approach pattern.
Exploring Below Stairs Storage For Seasonal And Bulky Items
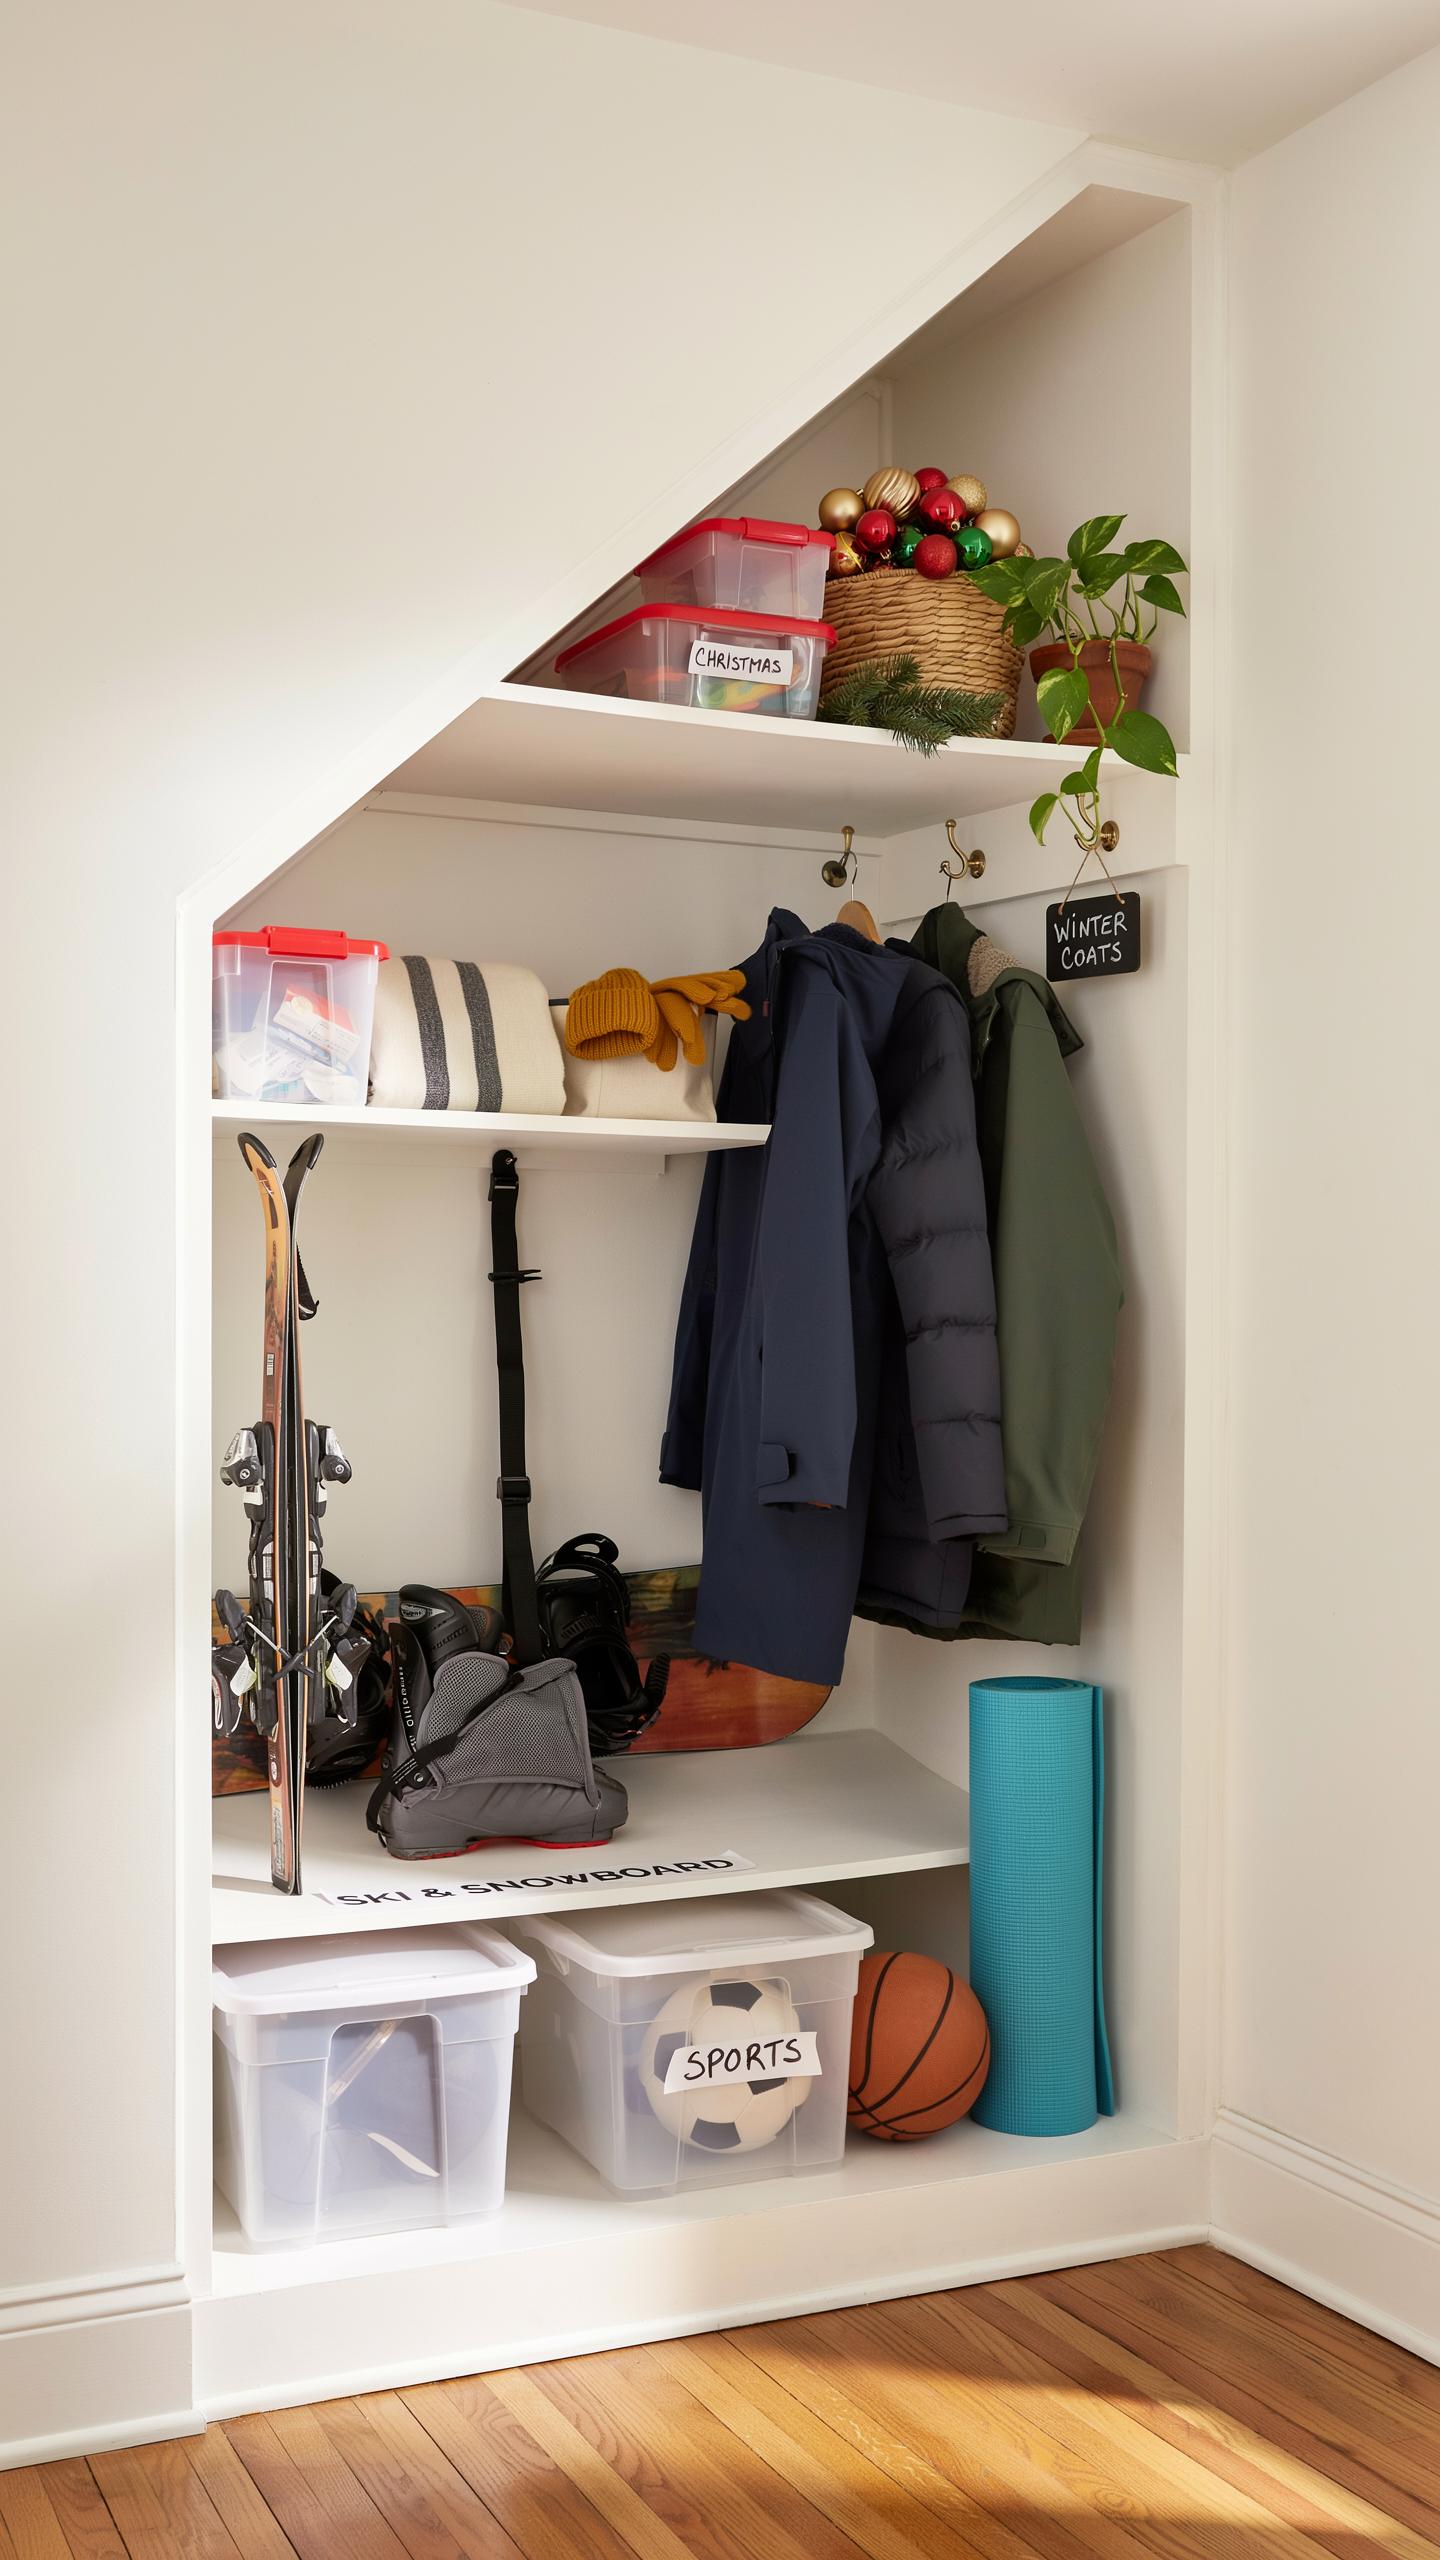
Luggage Seasonal Lockers
The space beneath stairs works well for items you need only part of the year. Suitcases, winter coats, and holiday decorations take up valuable room in closets and bedrooms. Building locked compartments at the base of your stairs keeps these items contained and protected from dust. The depth under stairs accommodates large luggage without eating into living space. Install locks to prevent children or guests from accessing these storage areas unsupervised.
Compartment design matters for access and organization. Create individual sections with hinged doors or sliding panels rather than one large space. This approach lets you grab specific items without moving everything else. Use labeled bins inside compartments to track seasonal goods by category. Ensure door heights match the items stored to avoid wasted vertical space and awkward retrieval.
Ventilated Utility Closets
Vacuums, cleaning supplies, and small appliances generate odors and moisture that damage stored items nearby. Designing a ventilated compartment under stairs solves this problem by allowing air circulation. Install a small vent or louvered door opening to an exterior wall or basement area. This prevents chemical smell buildup and keeps moisture from damaging other belongings stored in adjacent spaces. Ventilation also extends the life of appliances and cleaning equipment by reducing rust and corrosion.

Layout this compartment for quick tool access during cleaning days. Position the vacuum near the door entrance for grab and go efficiency. Store cleaning bottles on a tiered shelf system to see all products at once. Install a small rod or hooks for hanging microfiber cloths and extension cords. Ensure the space has enough clearance for opening doors and removing larger items without obstacles.
How To Implement Staircase Storage With Built In Drawers
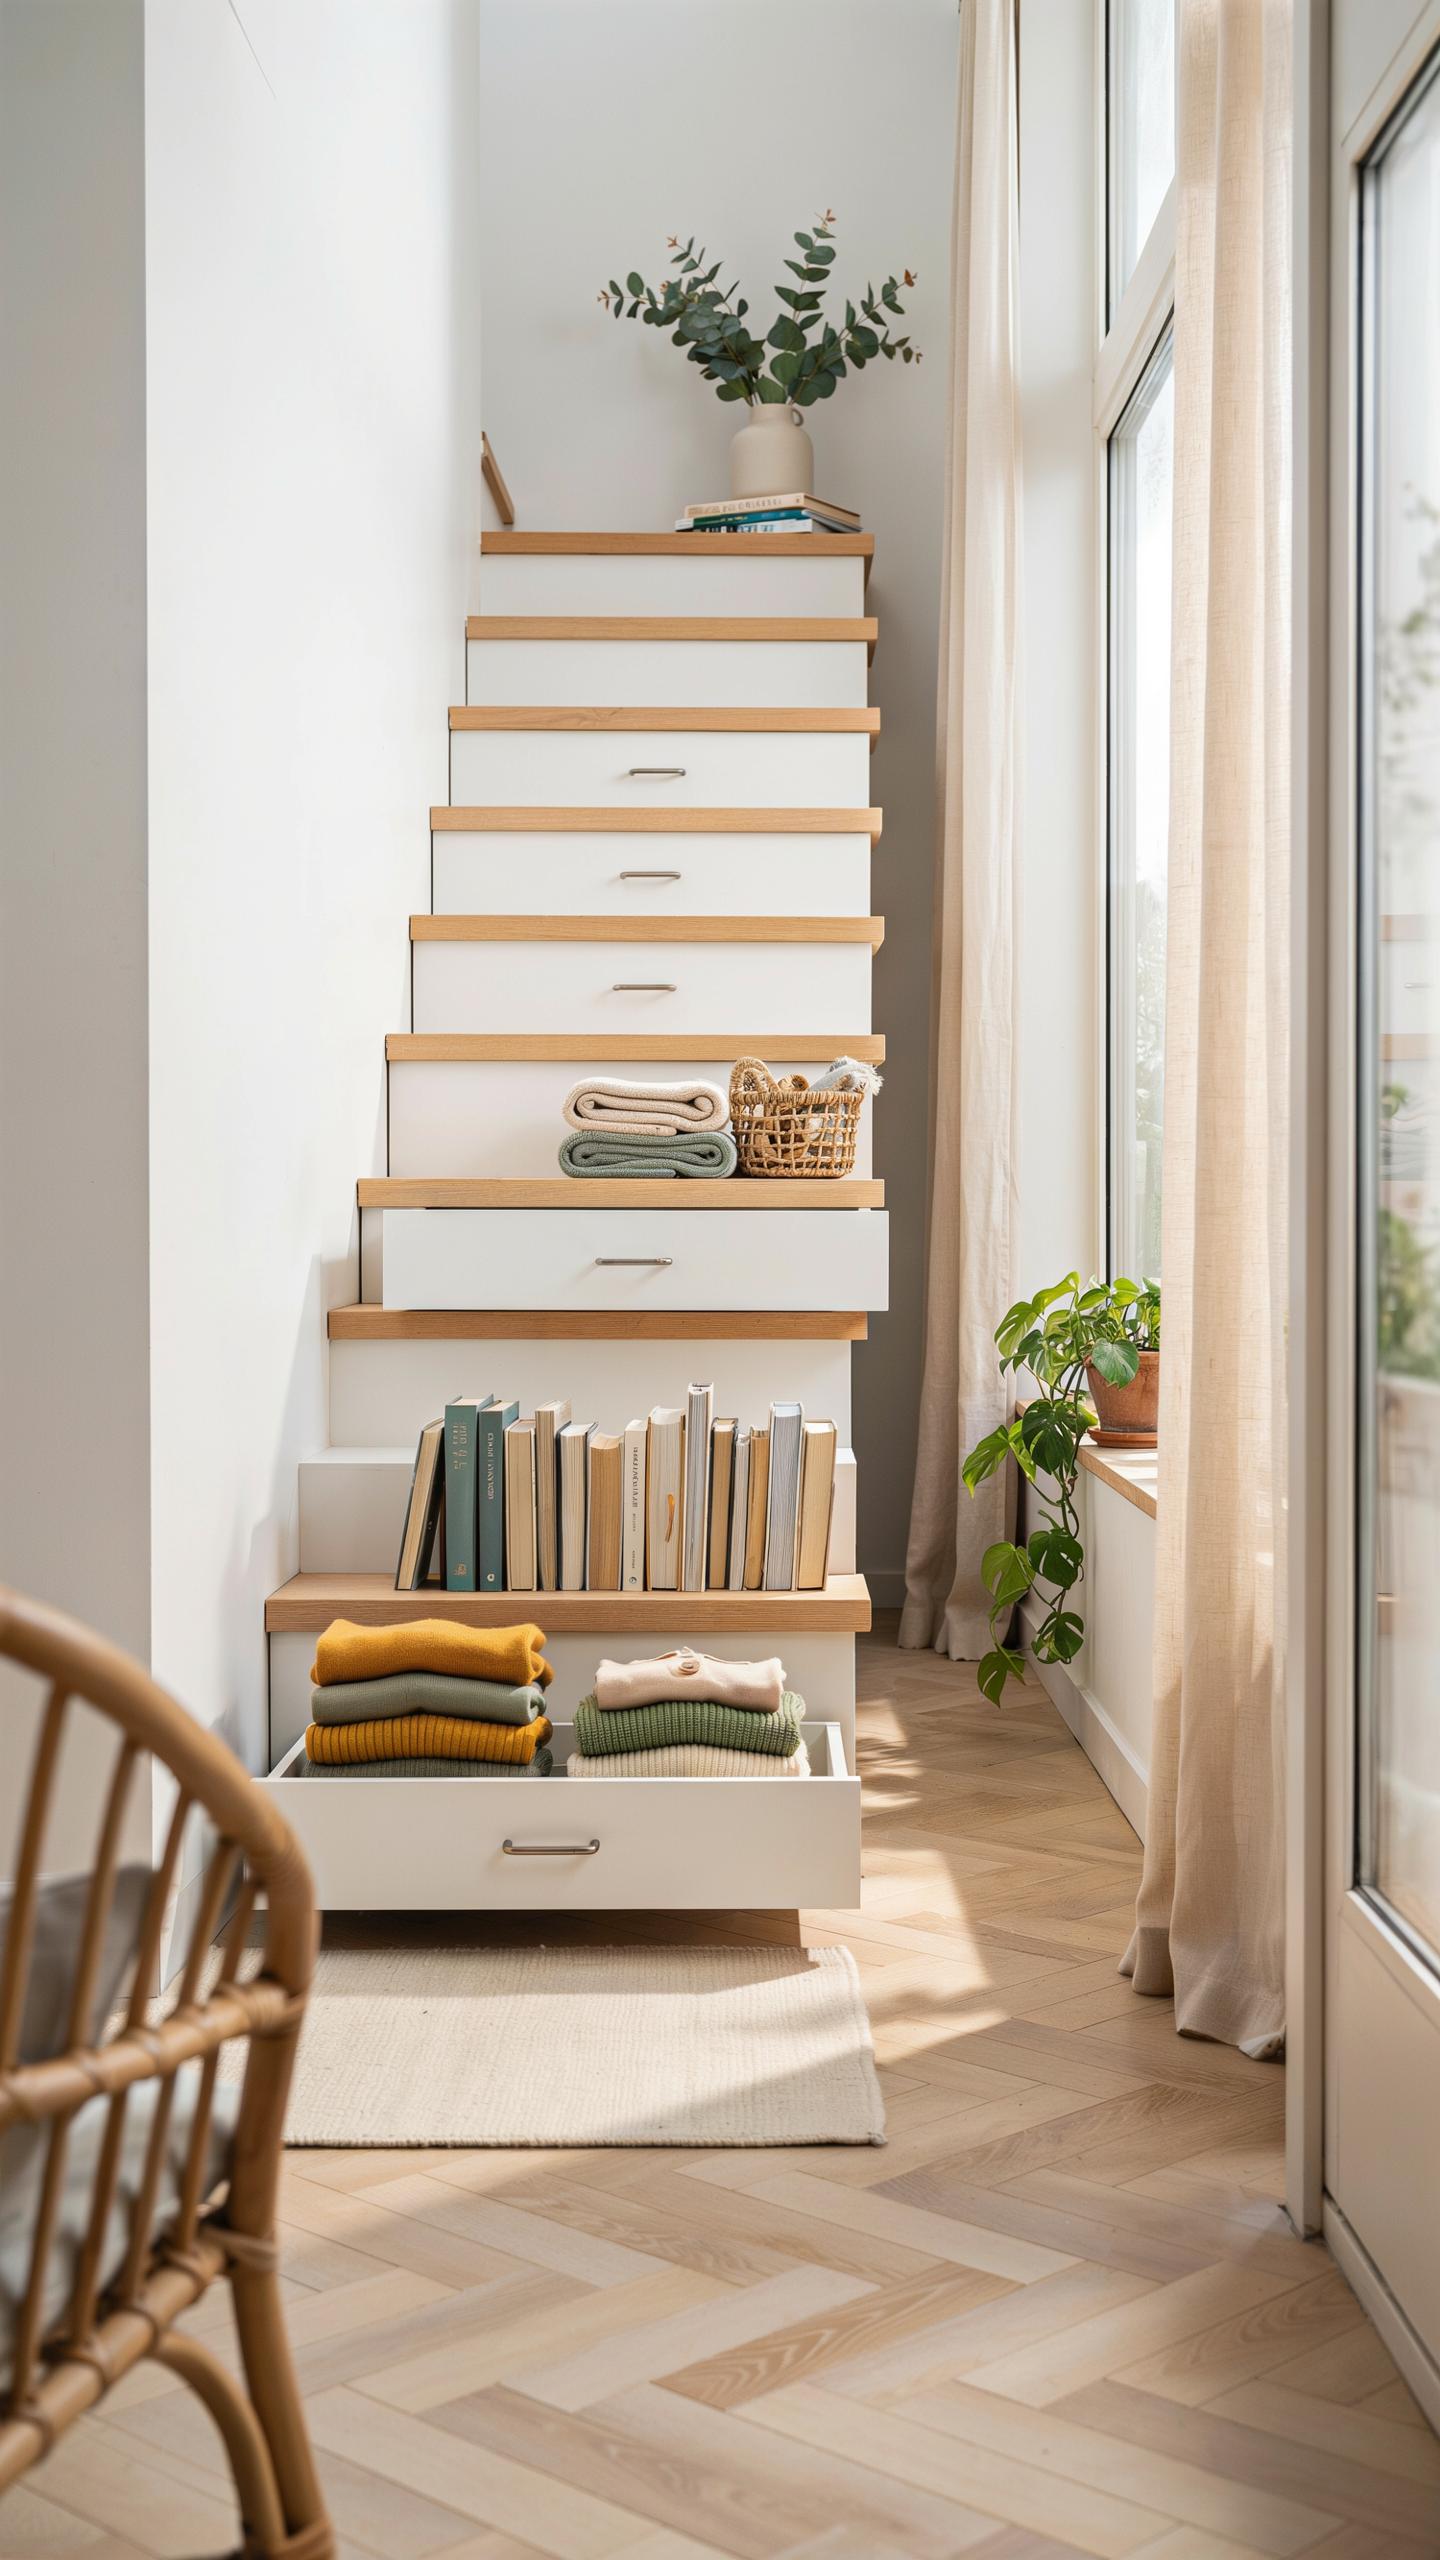
Staircase Drawer Materials
You need specific hardware and materials to make under stair drawers function properly. The foundation starts with the structural frame. Use solid wood like pine, oak, or plywood for the box construction. These materials handle weight and repeated opening without warping. Metal reinforcement prevents the frame from shifting as you load and unload drawers.
- Full Extension Ball Bearing Slides: These rails allow drawers to open completely without tipping. They handle 75 to 100 pound weight capacities and operate smoothly for years with minimal maintenance.
- Plywood Or Solid Wood: Choose 3/4 inch thickness for drawer boxes. This density prevents flexing and sagging under typical household storage loads.
- Steel Reinforcement Brackets: Corner brackets and L brackets strengthen joints where wood meets wood. They distribute stress away from fasteners and prevent racking.
- Wood Screws And Pocket Hole Joinery: Use 2.5 inch pocket hole screws for frame assembly. This method creates hidden, strong joints that outlast nailing or stapling.
- Soft Close Dampers: These hydraulic mechanisms prevent slamming and extend hardware lifespan. They cost 15 to 30 dollars per drawer but reduce noise significantly.
Install slides before mounting the drawer box into the stair opening. Measure twice to ensure the box clears the stair angle. Leave 1/8 inch clearance on all sides to prevent binding. Sand all interior surfaces smooth to reduce friction and debris accumulation.
There is no such thing as a house that is too small, only one that has not yet discovered the magic hidden beneath its own steps. Every nook and cranny is an opportunity to tuck away a memory or a treasure.
Stealth Riser Drawers
Individual step risers transform into hidden storage when you convert them into drawer fronts. The riser is the vertical board between each step. You remove it, attach it to a shallow drawer box, then reinstall it as a functioning drawer front. This approach requires no additional framing outside the staircase envelope.
Paperwork, tools, and small valuables stay completely concealed behind what appears to be a standard staircase. This method works best on stairs with 4 to 6 inch riser heights. Shallower risers create drawers that hold lightweight items only. The installation process involves removing the existing riser, measuring its exact dimensions, and building a matching drawer box that fits behind it. When closed, the drawer front matches the stair appearance perfectly.
Thinking Outside The Box Above Stairs Storage Techniques
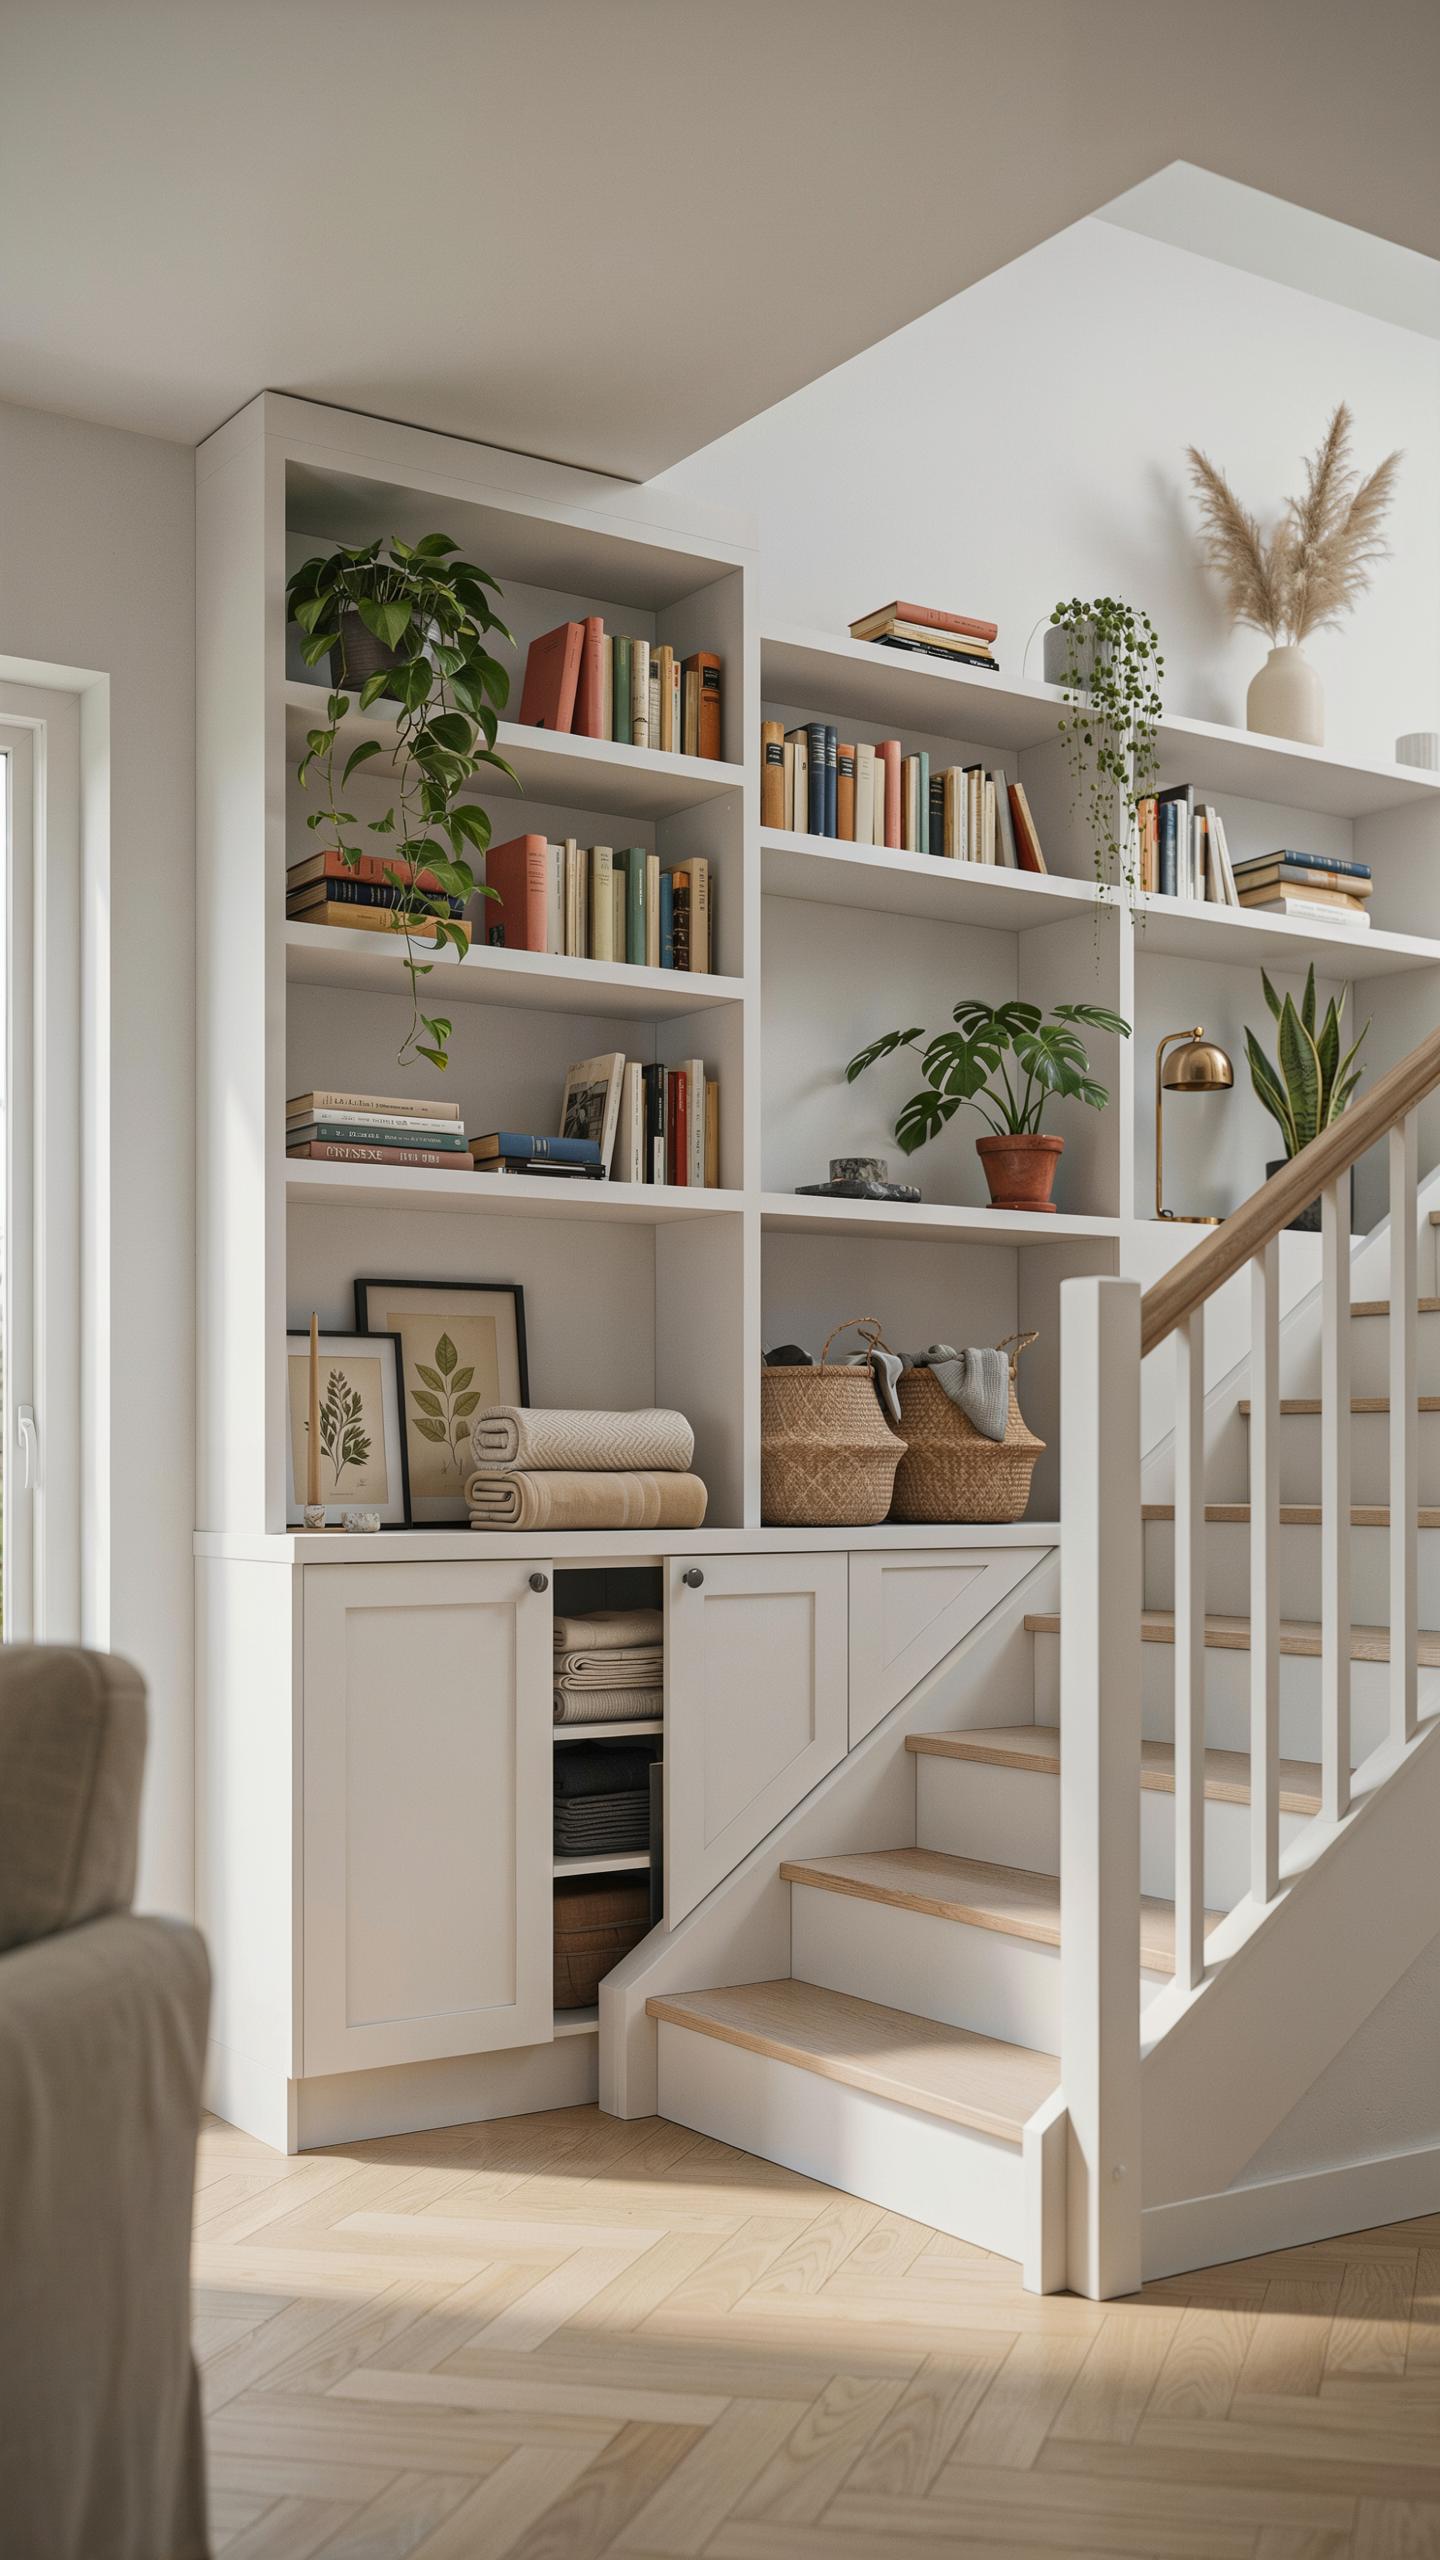
Overhead Bulkhead Shelving
The bulkhead space above stairs sits unused in most homes. This area spans valuable real estate that runs the full length of your staircase. Installing shelving here captures storage without consuming floor space. You access these shelves from a ladder or step stool, making them ideal for items you retrieve seasonally.
Weight matters when you build above stairs. Limit shelves to books, seasonal decorations, and lightweight containers. Heavy loads create safety hazards and structural strain on the staircase framing. Use adjustable shelving units to customize spacing based on what you store. This approach transforms dead space into functional storage capacity.
Mezzanine Shelf Integration
A mezzanine shelf spans horizontally across the stairwell opening. This creates a platform suspended above the stairs where lighter items rest safely. Install proper support brackets into wall studs or framing members. Load capacity depends entirely on how you secure the structure to bearing surfaces.
Mezzanine shelves work best for rarely accessed items like holiday bins or archived documents. Keep total weight under manufacturer specifications to maintain structural integrity. Access happens through a ladder positioned below the shelf. This solution maximizes vertical space in tight quarters without blocking stair passage or headroom clearance.
A DIY Guide To Framing And Finishing Your Understairs Storage
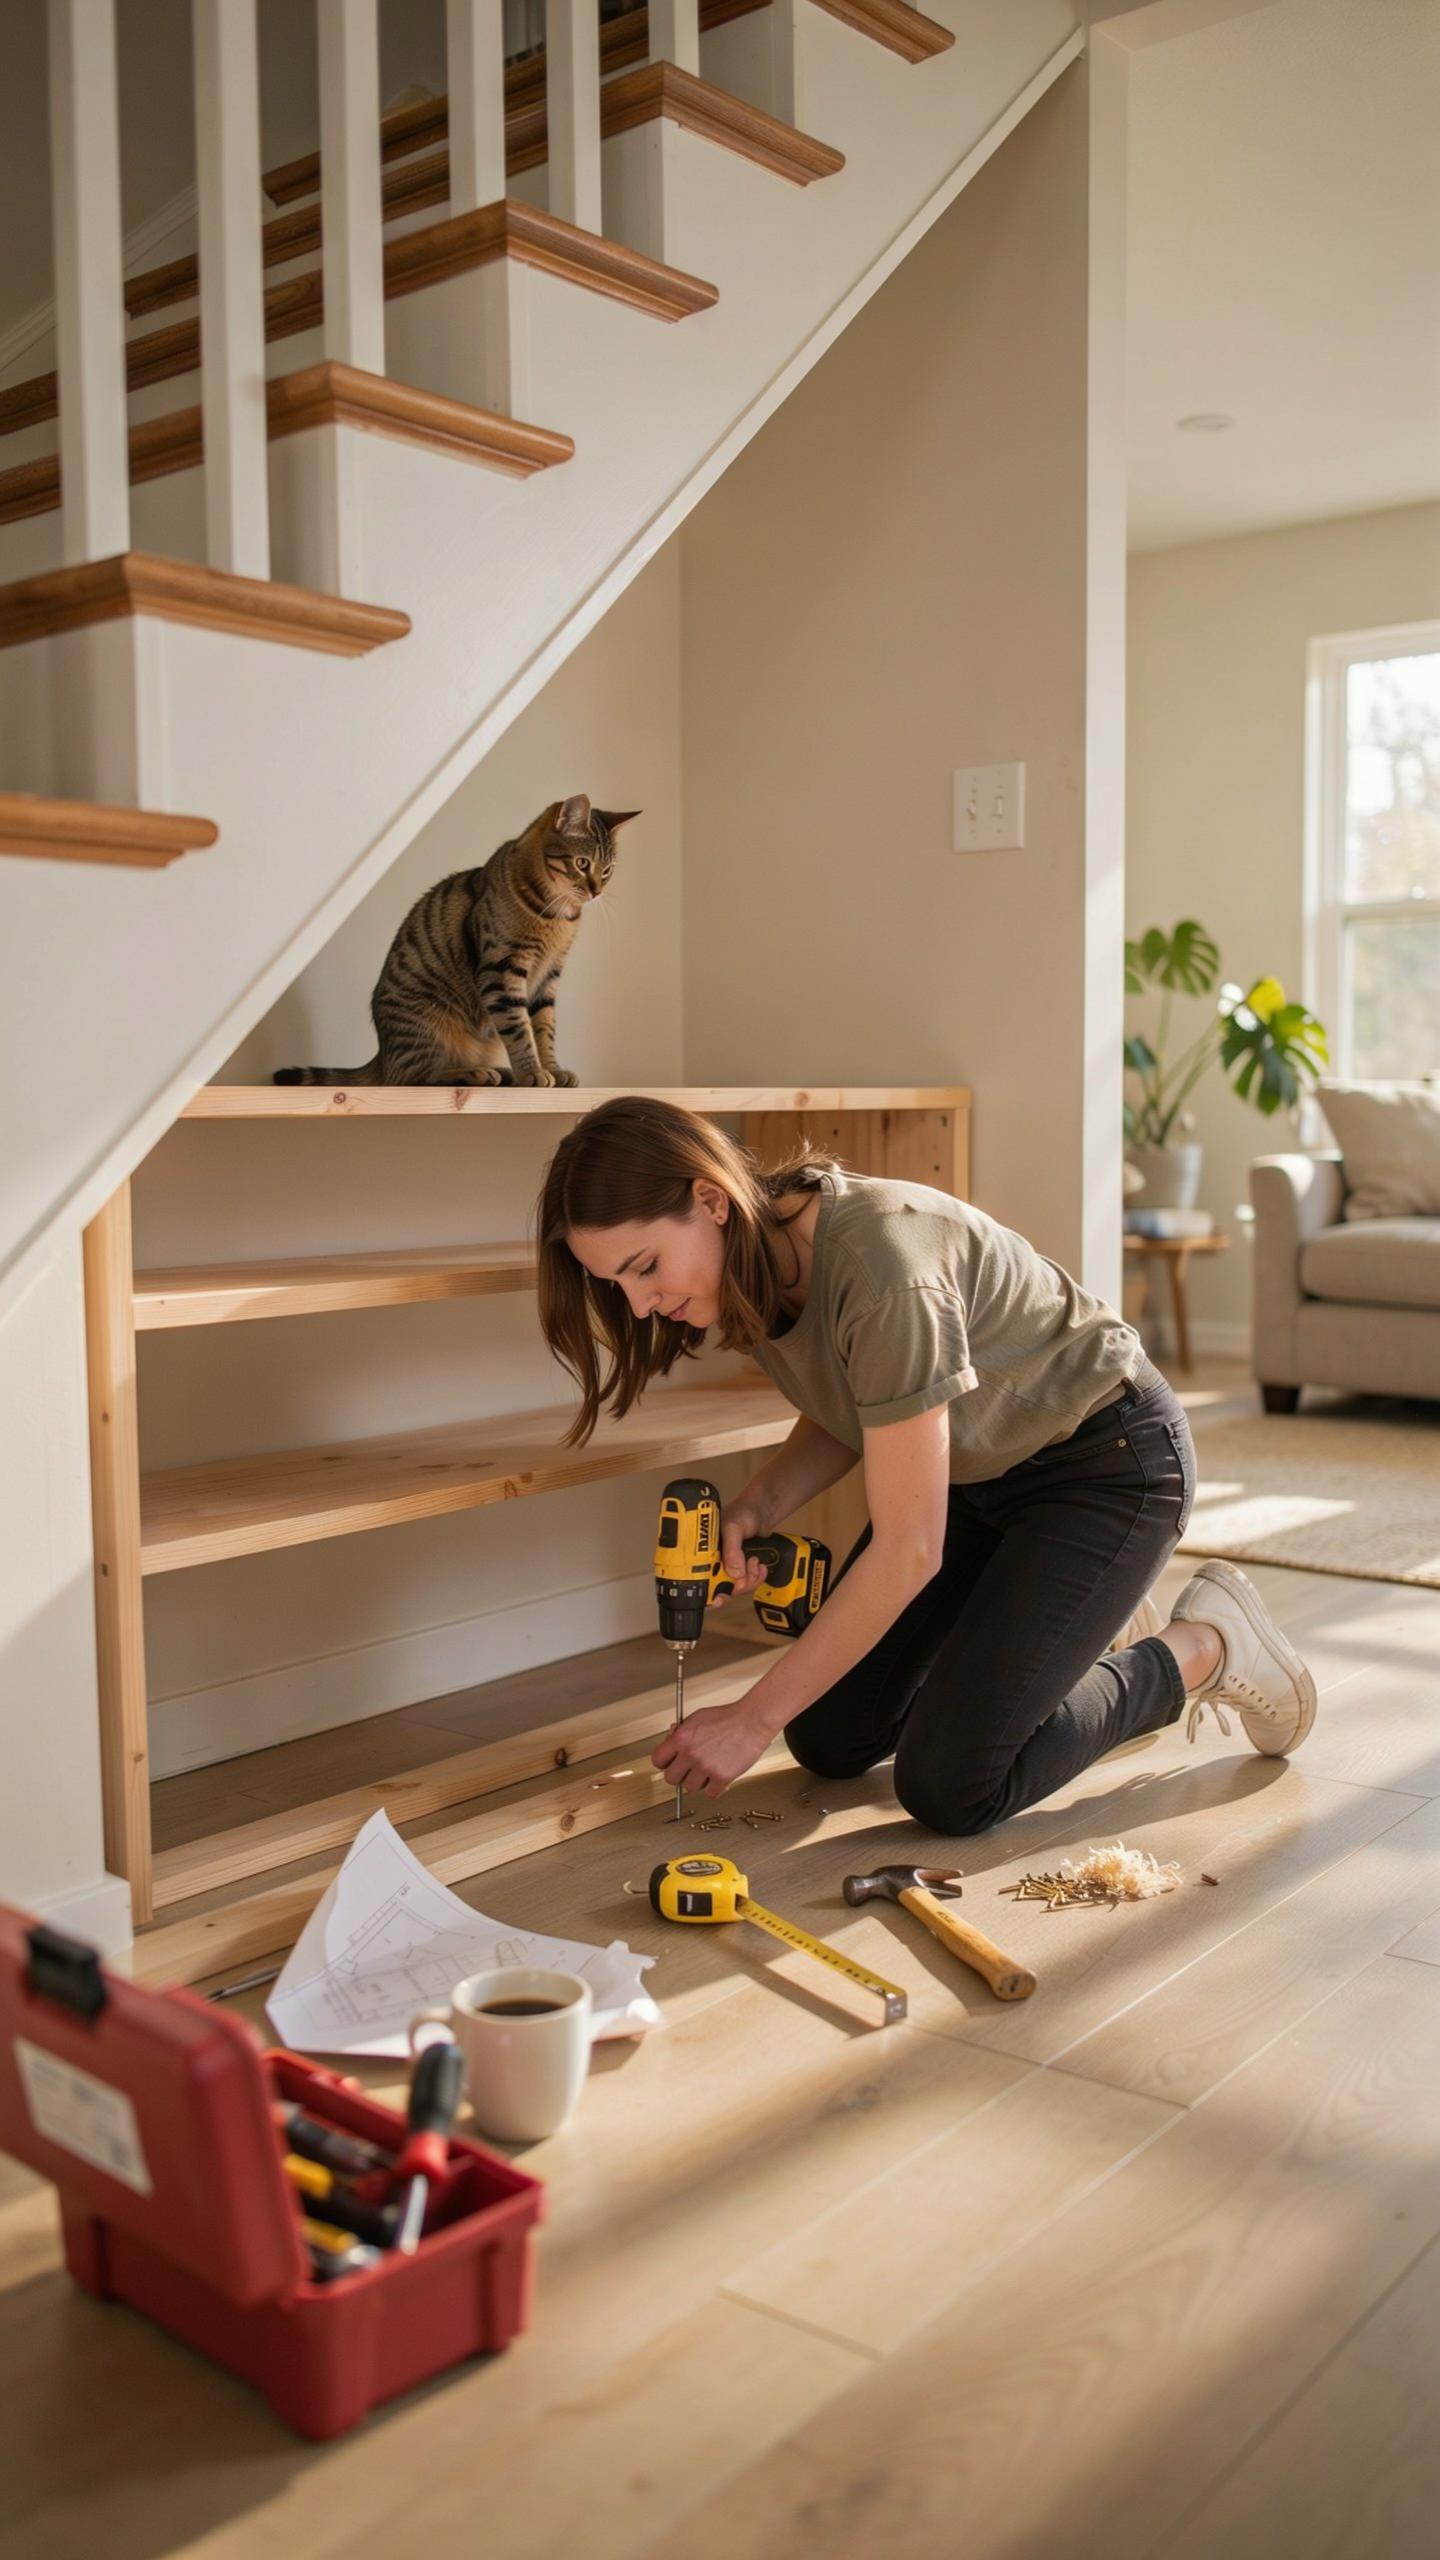
Drywall And Framing Tips
Start by measuring the staircase cavity depth and width at multiple points. Stairs rarely sit perfectly level, so take measurements at the top, middle, and bottom. Build a frame using 2×4 lumber that follows the slope of your stairs. Secure the frame to existing walls and the stair structure with lag bolts rated for your load requirements.
Hang drywall perpendicular to your framing studs using drywall screws spaced every 12 inches. Tape and mud all joints with joint compound, sanding between coats. Prime and paint the finished surface to match your existing walls. This approach creates a seamless wall that hides the storage cavity completely while maintaining structural integrity.
Hinge And Door Selection
Touch-latch mechanisms work well for minimalist designs but require electrical installation and can fail over time. Pocket doors slide into the wall cavity and eliminate swing space, making them ideal for tight quarters. Flush-mount cabinet doors mount directly to the frame and accept standard hinges, offering the easiest installation and longest durability.
Pocket doors need track systems rated for repeated use and proper alignment during installation. Flush-mount doors work with standard soft-close hinges that prevent slamming and extend door life. Choose your hardware based on access frequency and available swing space in front of the storage cavity. Test door operation before finishing walls to catch alignment issues early.
Frequently Asked Questions

Why is the space under the stairs so important for tiny home living?
In a small-scale dwelling, every square inch counts toward your overall comfort and organization. Utilizing tiny home storage ideas under stairs allows you to reclaim often-wasted square footage for essential items. By transforming this awkward architectural gap into a functional zone, you can significantly reduce clutter in your main living areas, making your home feel much more spacious, intentional, and relaxed for daily activities.
How can I build custom pull-out drawers for my under-stair area?
To start, measure the depth and height of each individual step to create custom-fit frames. Installing heavy-duty drawer slides is the most effective way to implement tiny home storage ideas under stairs, as they allow you to access the very back of the deep cavity. Use lightweight plywood for the boxes to keep the stairs structurally sound while providing a sleek, hidden compartment for shoes, tools, or seasonal pantry items.
Are there any affordable ways to organize under-stair space without a full renovation?
Absolutely! You don’t need a massive budget to make this space functional. Consider using tension rods for hanging coats or installing simple floating shelves and decorative baskets to hold smaller belongings. Adding a stylish curtain can hide a makeshift closet if you aren’t ready for custom carpentry. These low-cost solutions provide immediate storage relief while maintaining a cozy aesthetic that fits perfectly within a modest home improvement budget.



