Why A Thrifted Furniture Flip Cabinet Redo Is The Ultimate Budget Friendly Home Decor Idea
Frugal Chic
Thrifted cabinets cost a fraction of retail furniture. You find solid wood pieces at estate sales, thrift stores, and online marketplaces for $20 to $150. New cabinets with comparable construction run $500 to $2000. The material savings alone justify the DIY approach. Labor costs disappear when you handle the work yourself.
Paint, stain, hardware, and finishing supplies total $30 to $100 per project. This transforms a worn cabinet into a functional showpiece that matches your home’s aesthetic. The total investment remains under $250 for most projects. Compare this to purchasing a finished piece from a furniture retailer, and the economics become obvious. Budget constraints no longer mean compromising on style or quality.
Creative Freedom
Mass produced cabinets follow predictable design trends that repeat across thousands of homes. Thrifted pieces carry individual construction details, wood species, and hardware from their original era. Mid century cabinets differ structurally from 1980s pieces. These variations give you authentic character that cannot be replicated through standard retail options. Your finished cabinet reflects your specific choices, not a designer’s template.
You control every decision in the transformation process. Color selection, hardware upgrades, interior organization, and surface finishes all depend on your vision. This customization creates a piece that integrates seamlessly with your existing decor and personal style. The cabinet becomes an extension of your home’s identity rather than an off the shelf placeholder. No two flipped cabinets are identical, making your space genuinely yours.
Sourcing Your Canvas Finding The Perfect Old Hutch Or Cabinet To Transform
Scouting Spots
Local thrift stores like Goodwill and Salvation Army stock inventory weekly, making them reliable hunting grounds. Estate sales and auctions typically offer higher quality mid-century pieces from single-owner collections. Facebook Marketplace and Craigslist provide access to private sellers who often price pieces lower than brick-and-mortar shops. Timing matters. Tuesday and Wednesday mornings at thrift stores catch new stock before weekend shoppers arrive. Estate sales run three to five days, so check early listings to identify target pieces before auction day.
Online shopping requires photos from multiple angles and direct seller communication about damage. Ask specific questions about drawer function, door alignment, and water damage before committing. Local pickup eliminates shipping costs and lets you inspect the piece before payment. Estate sale companies post detailed photos and condition notes, reducing surprises. Craigslist negotiations often succeed when you show up with cash and offer 10 to 15 percent below asking price. Build relationships with thrift store managers who alert you when cabinets arrive.
The best heirlooms are the ones we rediscover and breathe new life into with our own two hands. Every old cabinet holds a story waiting for a fresh coat of color and a home to love it again.
Structural Integrity
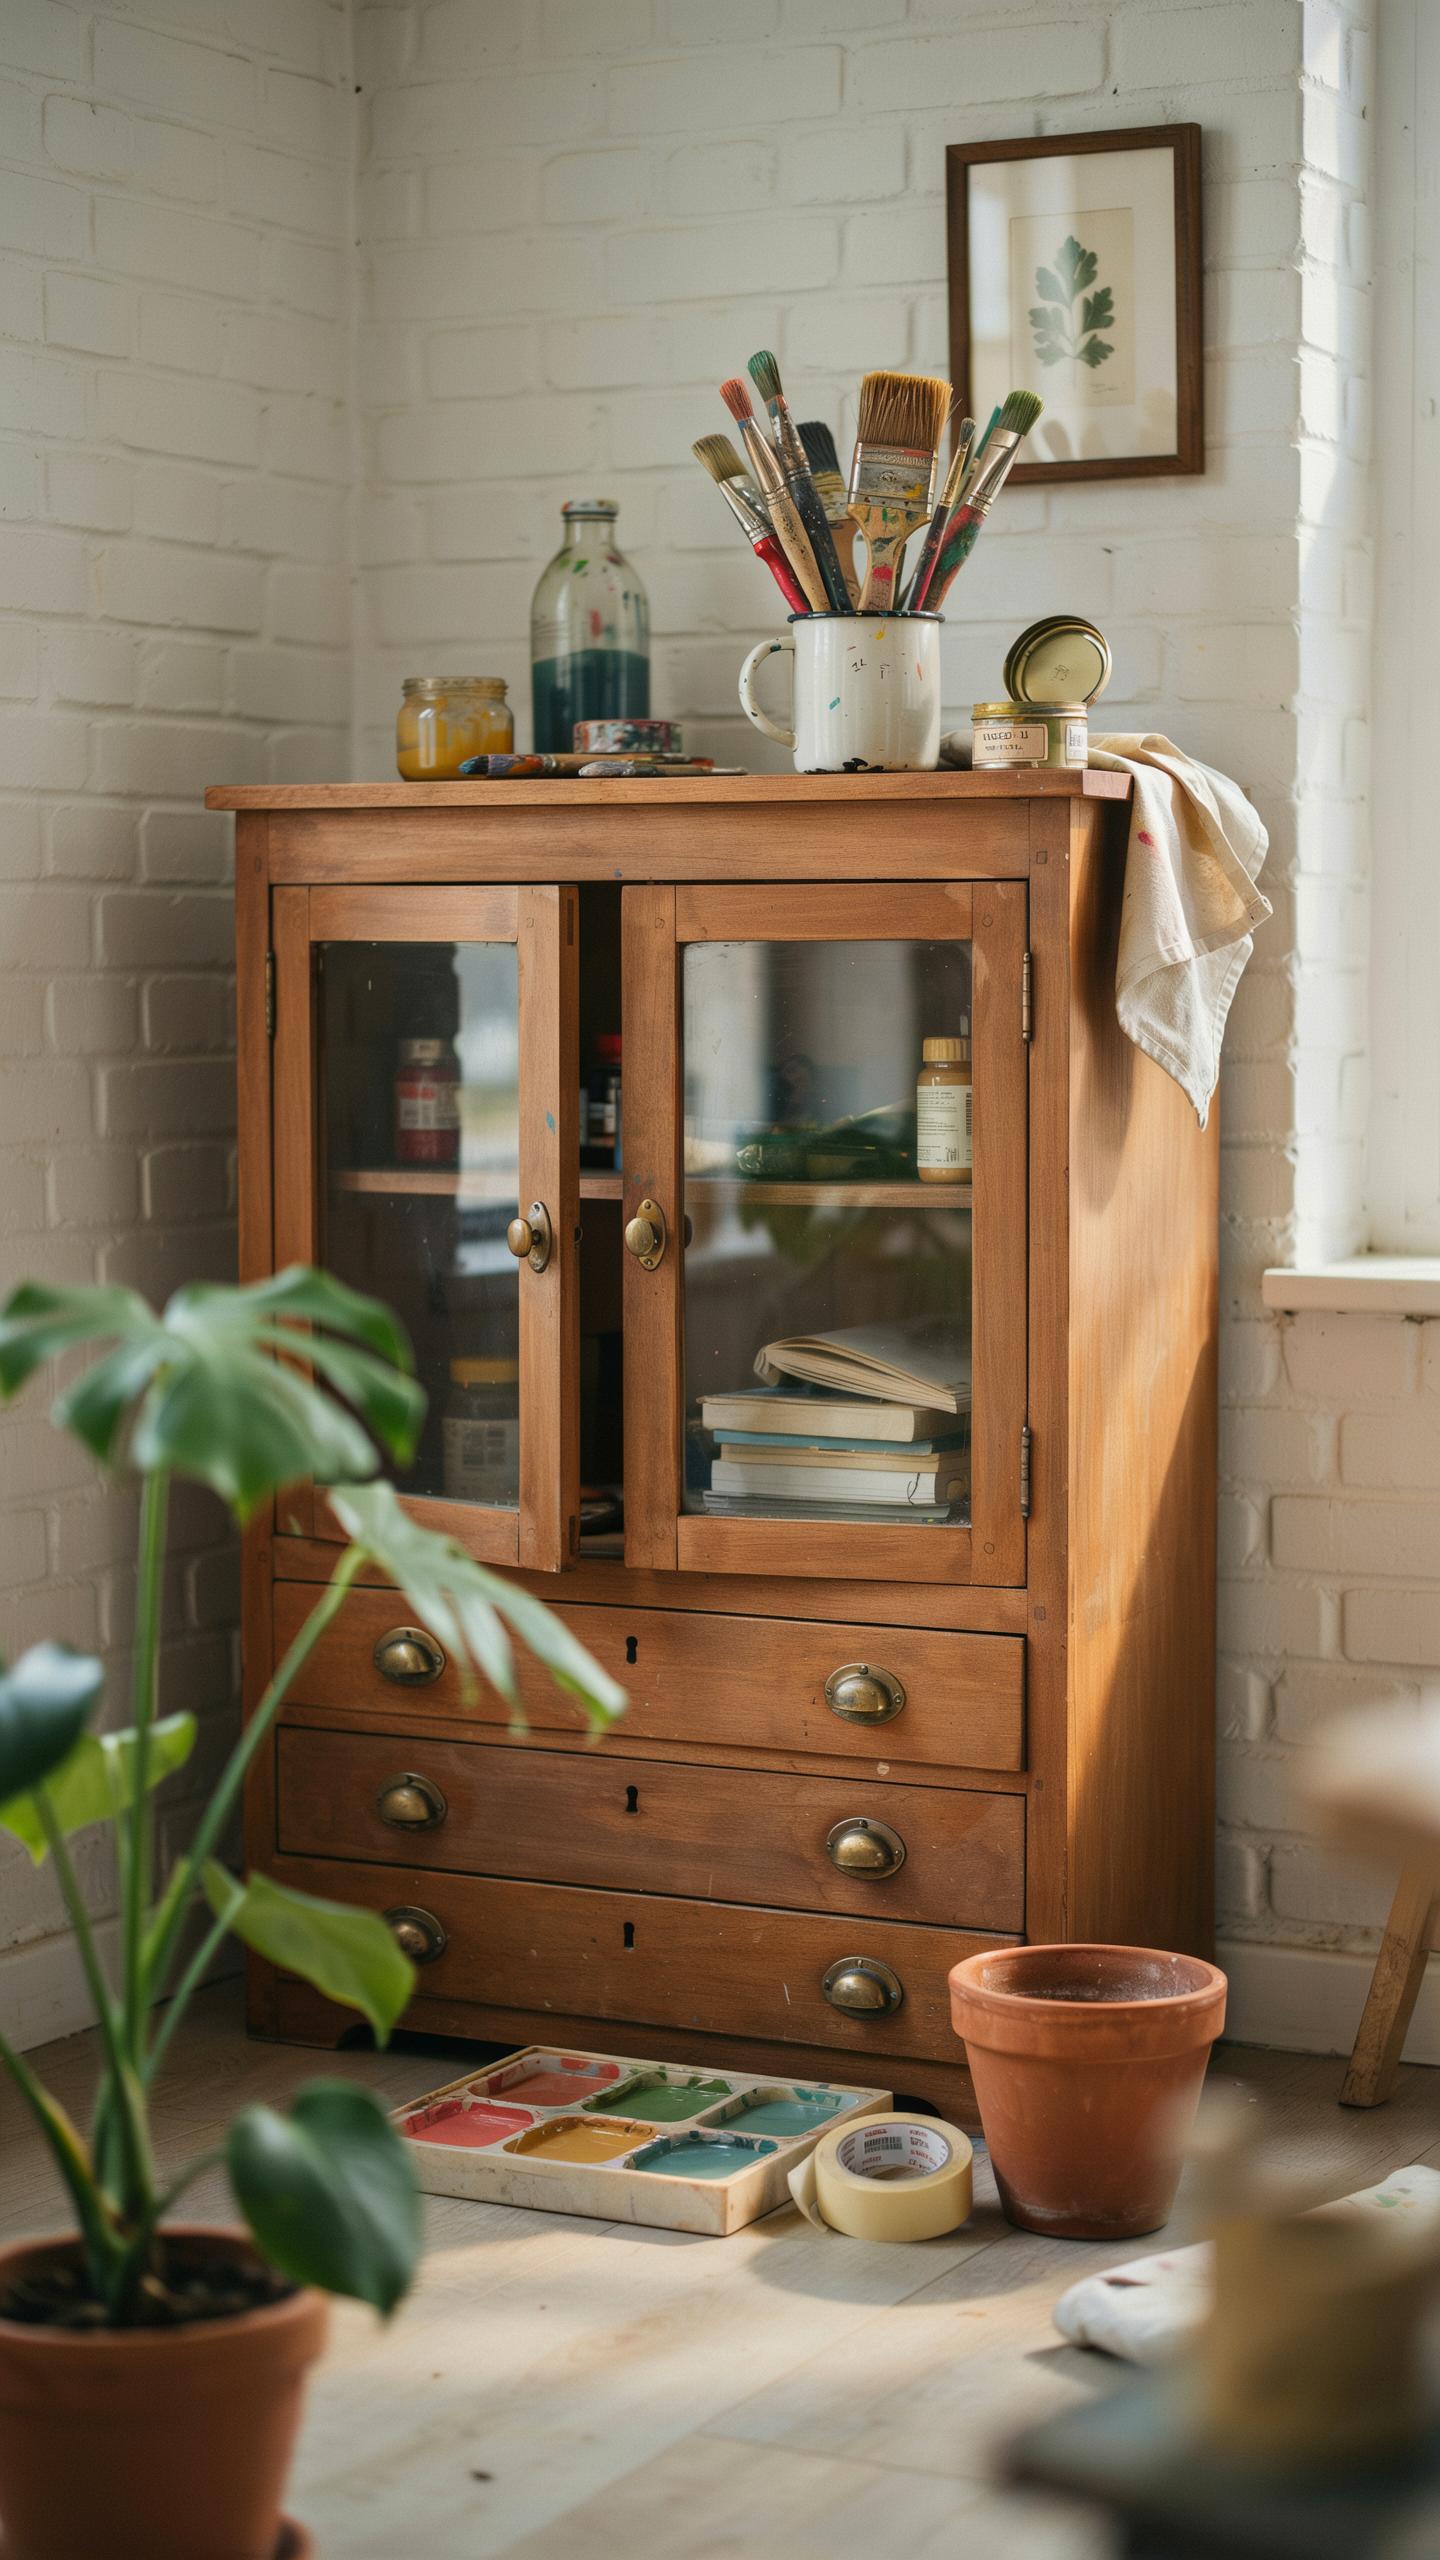
Examine wood type first. Solid oak, maple, and walnut support refinishing and staining. Particleboard and low-grade plywood cannot handle aggressive sanding or staining. Press firmly on all surfaces to detect soft spots indicating rot or water damage. Check the underside and back panels where moisture accumulates. Test drawer slides and door hinges by opening and closing them fully five times. Wobbling or resistance signals mechanical failure requiring repair before refinishing begins.
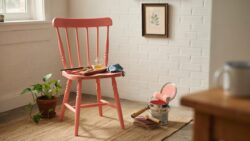
Veneer cabinets demand different treatment than solid wood pieces. Veneer peels when exposed to moisture or temperature swings, and replacement veneer matching is difficult. Run your hand along edges and surfaces to feel lifted or bubbling veneer. Joinery holds the cabinet together, so inspect corner joints, mortise-and-tenon connections, and dowel holes for gaps or separation. Loose joinery requires professional gluing or re-clamping before sanding. Pass on cabinets with extensive structural damage unless your budget accommodates professional restoration.
Crucial Preparation Steps Cleaning And Sanding Your Furniture Thrift Flip Project

Prep Materials
Preparation determines your flip’s success. Start by removing surface dirt, dust, and grime with a stiff brush and vacuum. Then use appropriate cleaners based on the cabinet type. Solid wood cabinets handle water-based cleaners, while veneered pieces need gentler approaches to avoid delamination.
- 120-150 grit sandpaper: Use for initial rough sanding and removing old finishes, stains, and varnish from solid wood surfaces.
- 180-220 grit sandpaper: Apply for intermediate sanding to smooth rough spots and prepare the surface for stain or primer application.
- Tack cloth: Wipe down between sanding passes to remove dust particles that prevent smooth paint adhesion and create visible bumps.
- TSP (Trisodium Phosphate) cleaner: Cuts through grease and buildup on kitchen cabinets without damaging solid wood or quality veneers.
- Degreaser or mineral spirits: Use on heavily soiled surfaces to break down accumulated kitchen oils and residue before the main cleaning phase.
Sand systematically after cleaning. Work with the wood grain direction, not against it. This prevents cross-grain scratches and ensures uniform finish. For veneered cabinets, use finer grits and lighter pressure to avoid sanding through the veneer layer to the substrate.
Paint Adhesion
Old finishes prevent new paint from bonding to wood surfaces. Stripping removes lacquer, polyurethane, or varnish that sits between your new paint and the wood. Chemical strippers or sanding accomplish this, but stripping takes priority over skipping the step entirely.

Scuff sanding creates mechanical tooth for paint molecules to grip. Even glossy finishes require scuffing with 150-220 grit paper. This roughens the surface microscopically without removing the entire finish layer. Paint adhesion fails without this step because new coatings cannot stick to slick, non-porous surfaces. The result is peeling and bubbling within weeks or months.
Reviving Heirloom Storage Refurbished Hutch Ideas That Blend Function And Style
Modern Functions Hutch
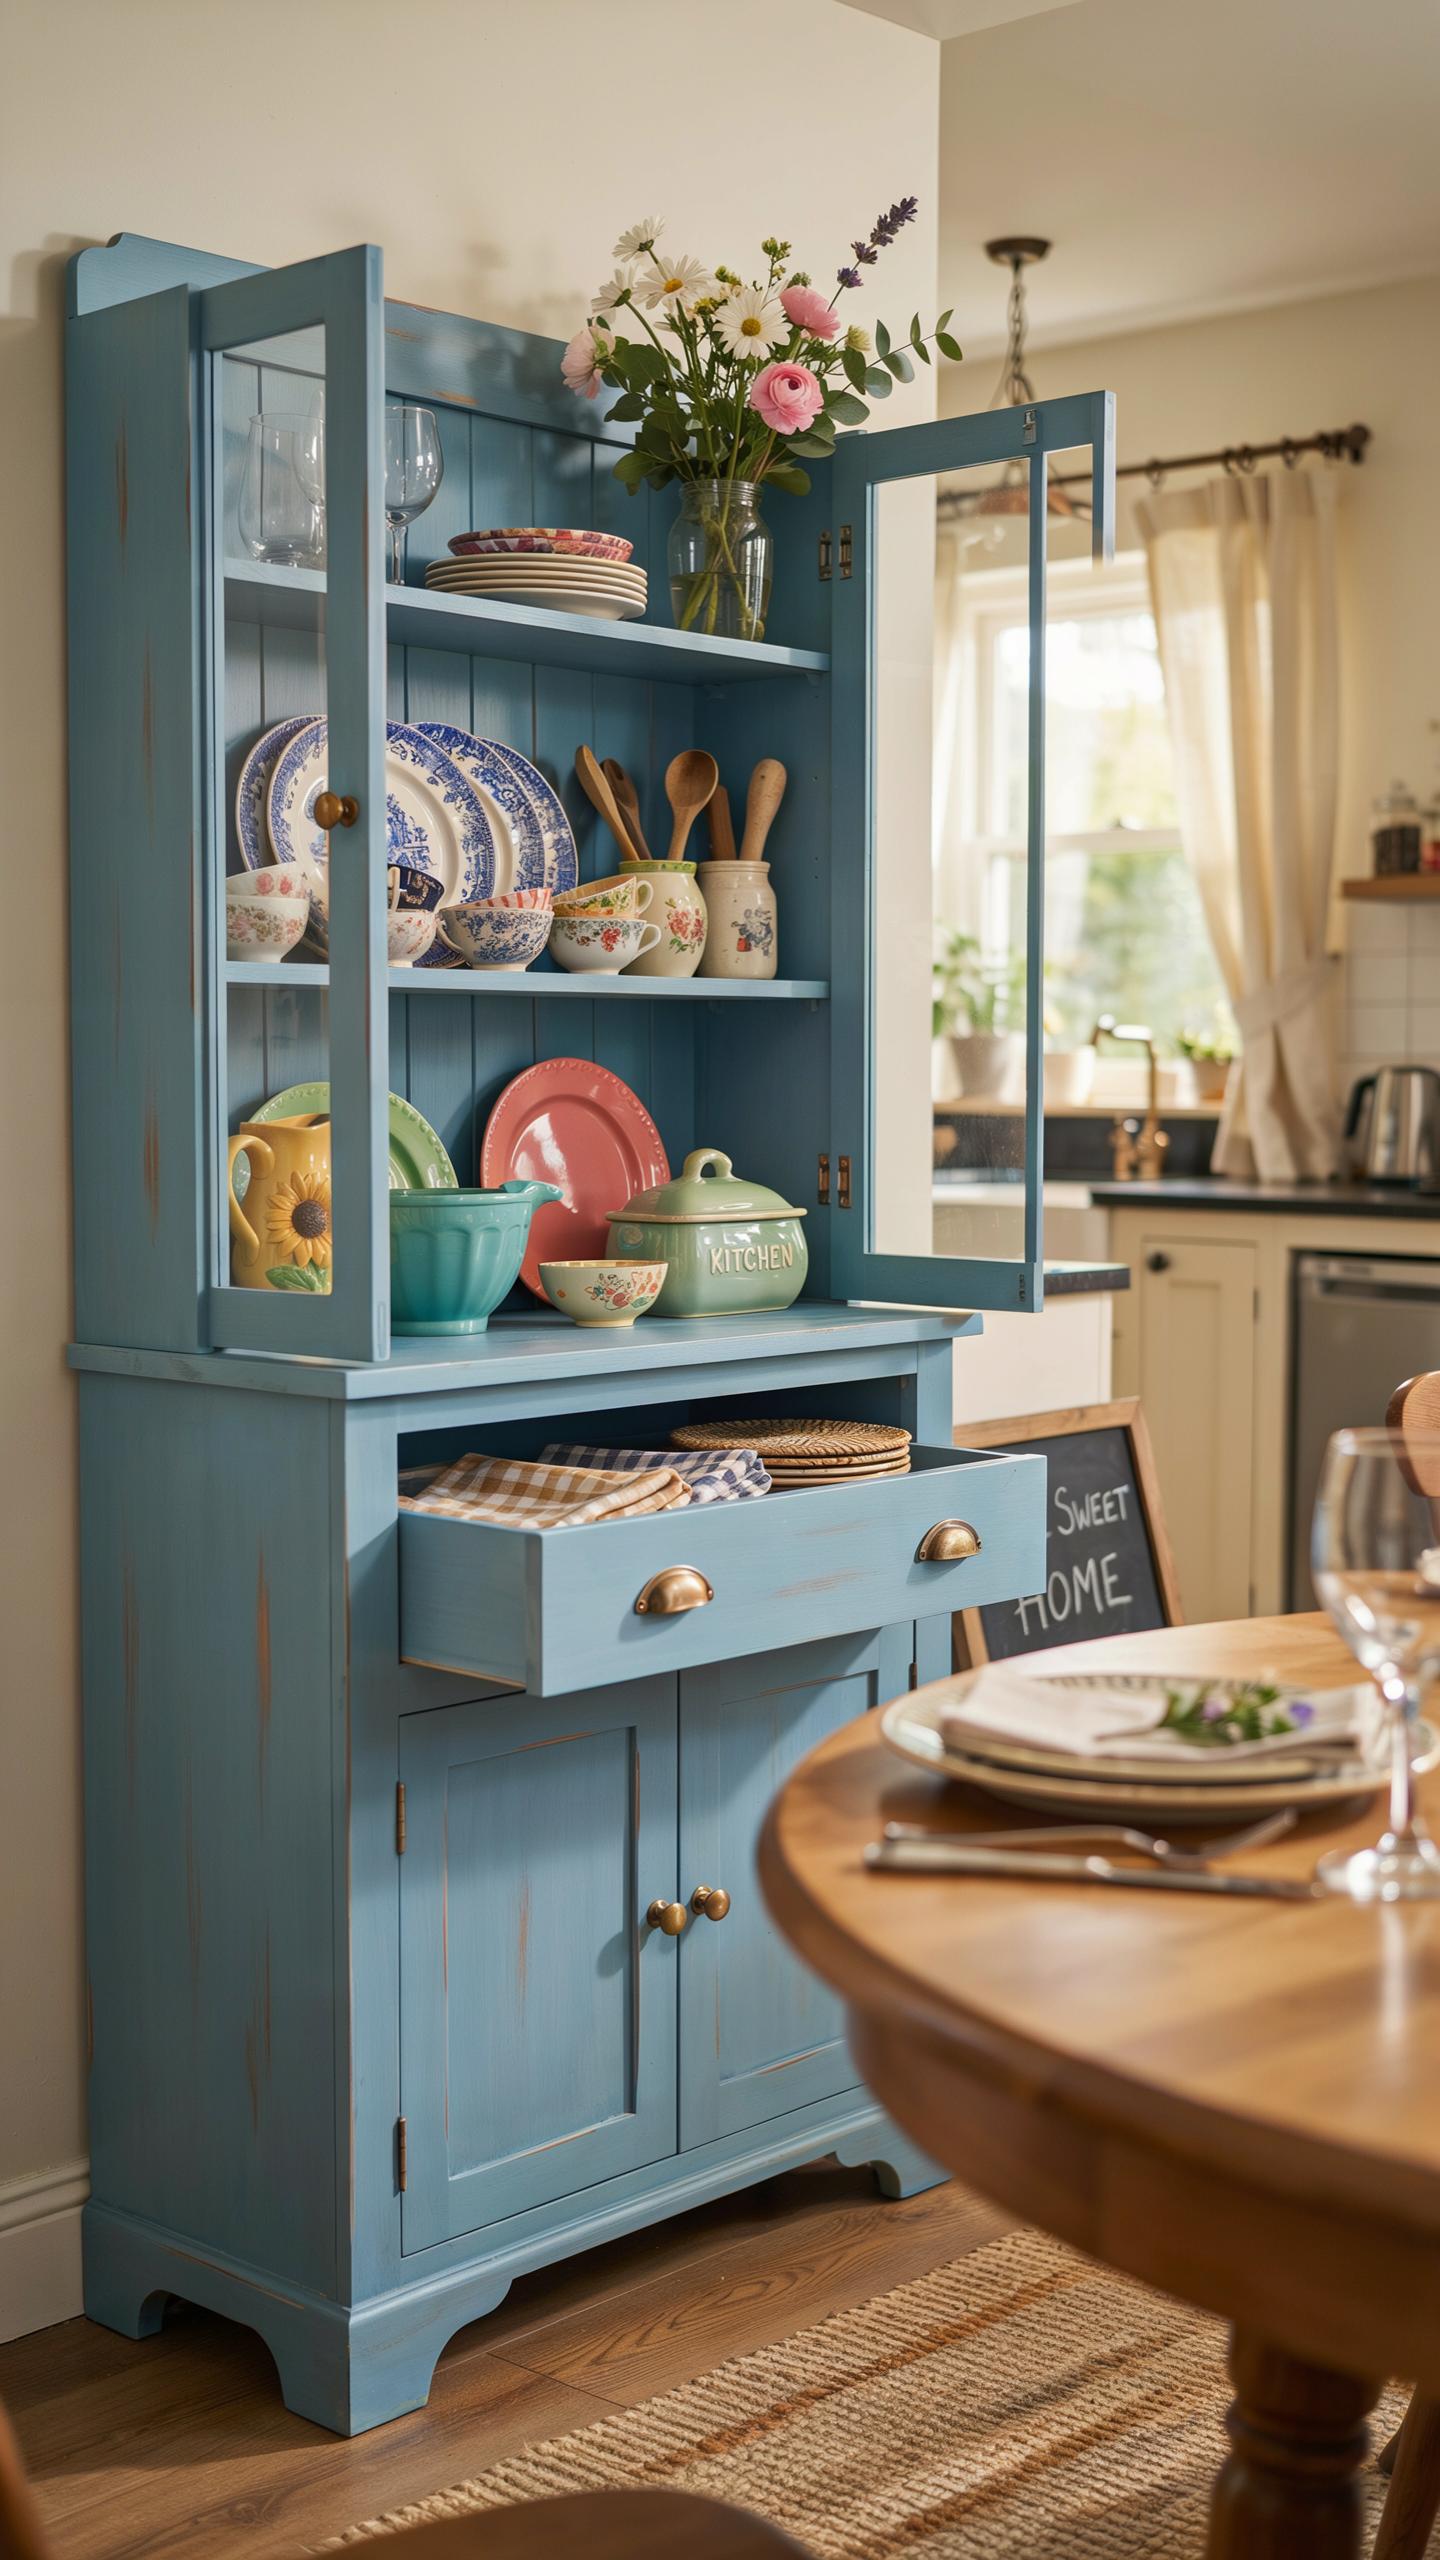
Thrifted hutches from the mid-20th century work well for modern kitchens when repurposed. Remove the top glass doors and use upper shelves for coffee equipment or bar supplies. The lower cabinet section stores pantry items or serves as a beverage station. This conversion requires only removing doors and adjusting shelving heights to fit your items. You keep the original structure intact while changing its purpose entirely.
The conversion works because hutches have solid construction and adequate depth for kitchenware. Sand and refinish the exterior to match your kitchen style. Install new hardware or paint existing knobs to update the look. Measure your appliances and bottles before finalizing shelf placement. This approach costs less than buying new cabinetry and maintains the furniture’s original charm.
Open Shelving Trend
Removing cabinet doors from a thrifted hutch creates visual space and accessibility. This works best for hutches with glass doors already in place since glass removal is straightforward. For solid doors, measure and unscrew hinges, then fill hinge holes with wood filler and sand smooth. Your display items become part of the decor, so organize strategically. Open shelving suits modern and farmhouse kitchen styles equally well.

The open design requires you to keep displayed items clean and organized. Dust accumulates on open shelves faster than behind closed doors, so expect more maintenance. Group items by color or size for visual coherence. Leave breathing room between objects rather than cramming shelves full. This approach works in kitchens with good ventilation and away from cooking zones where grease accumulates.
Designing A Statement Furniture Makeover China Cabinet For The Modern Dining Room
Two Tone Chic
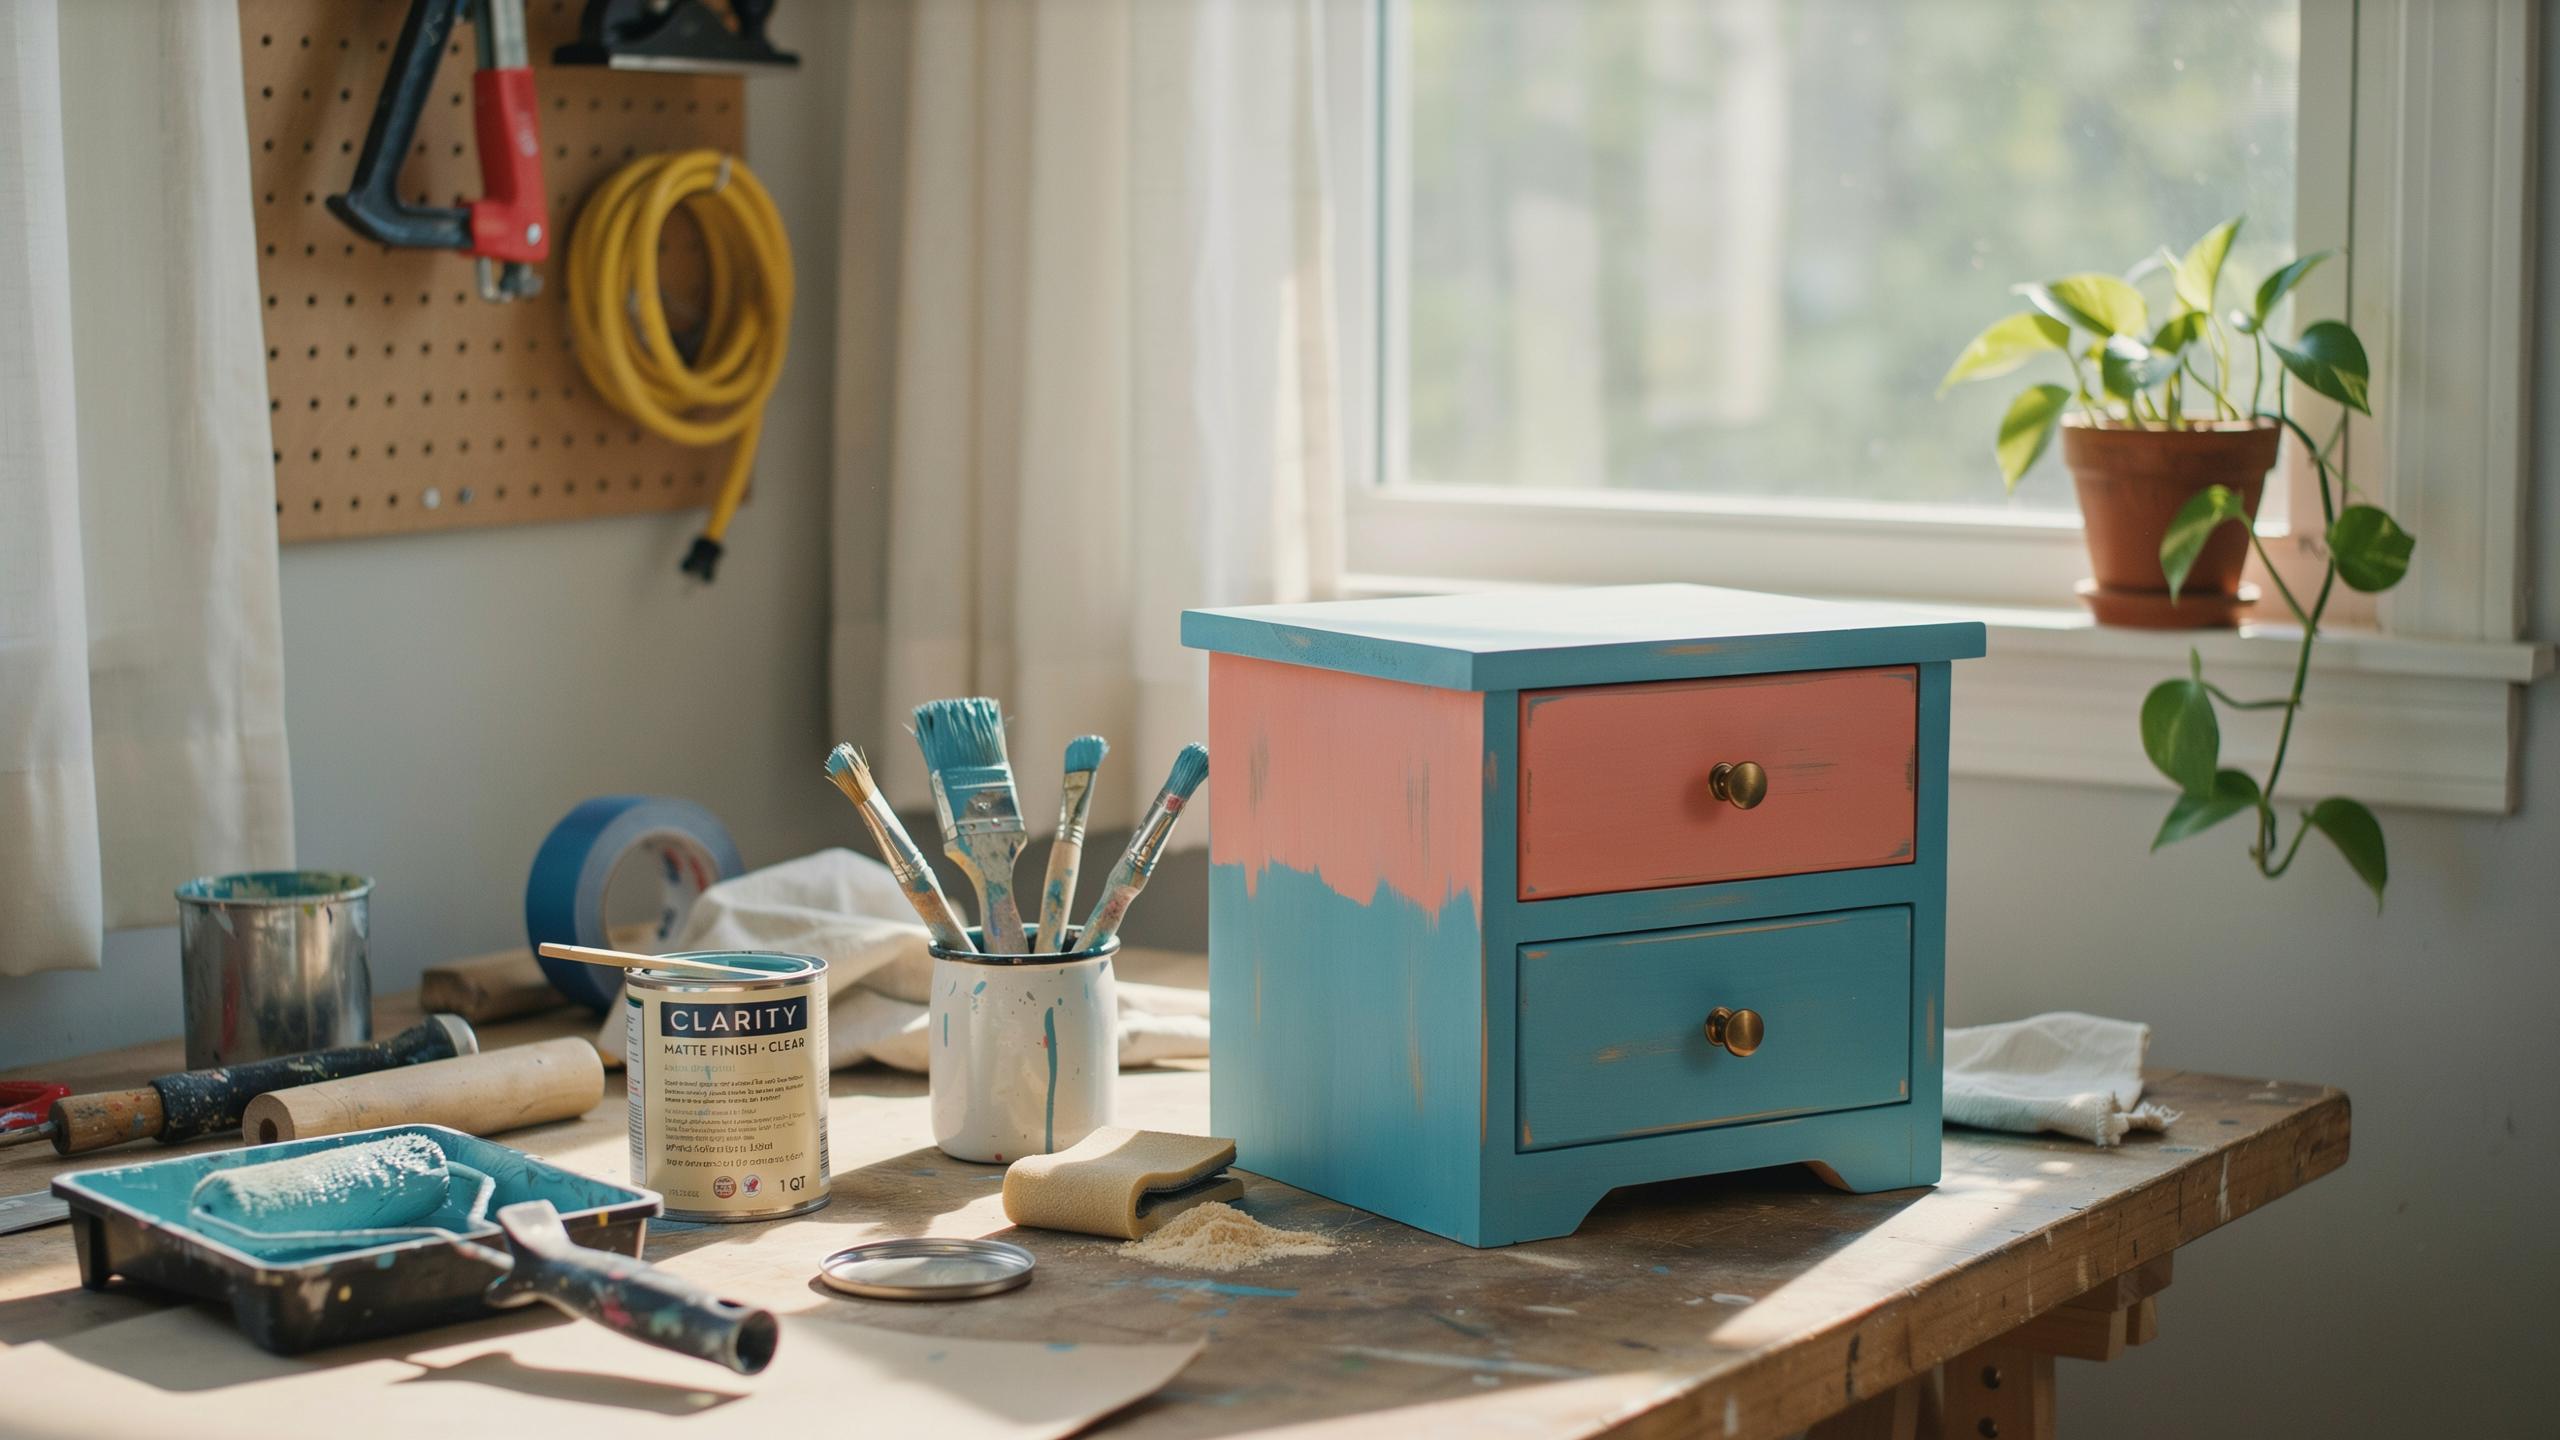
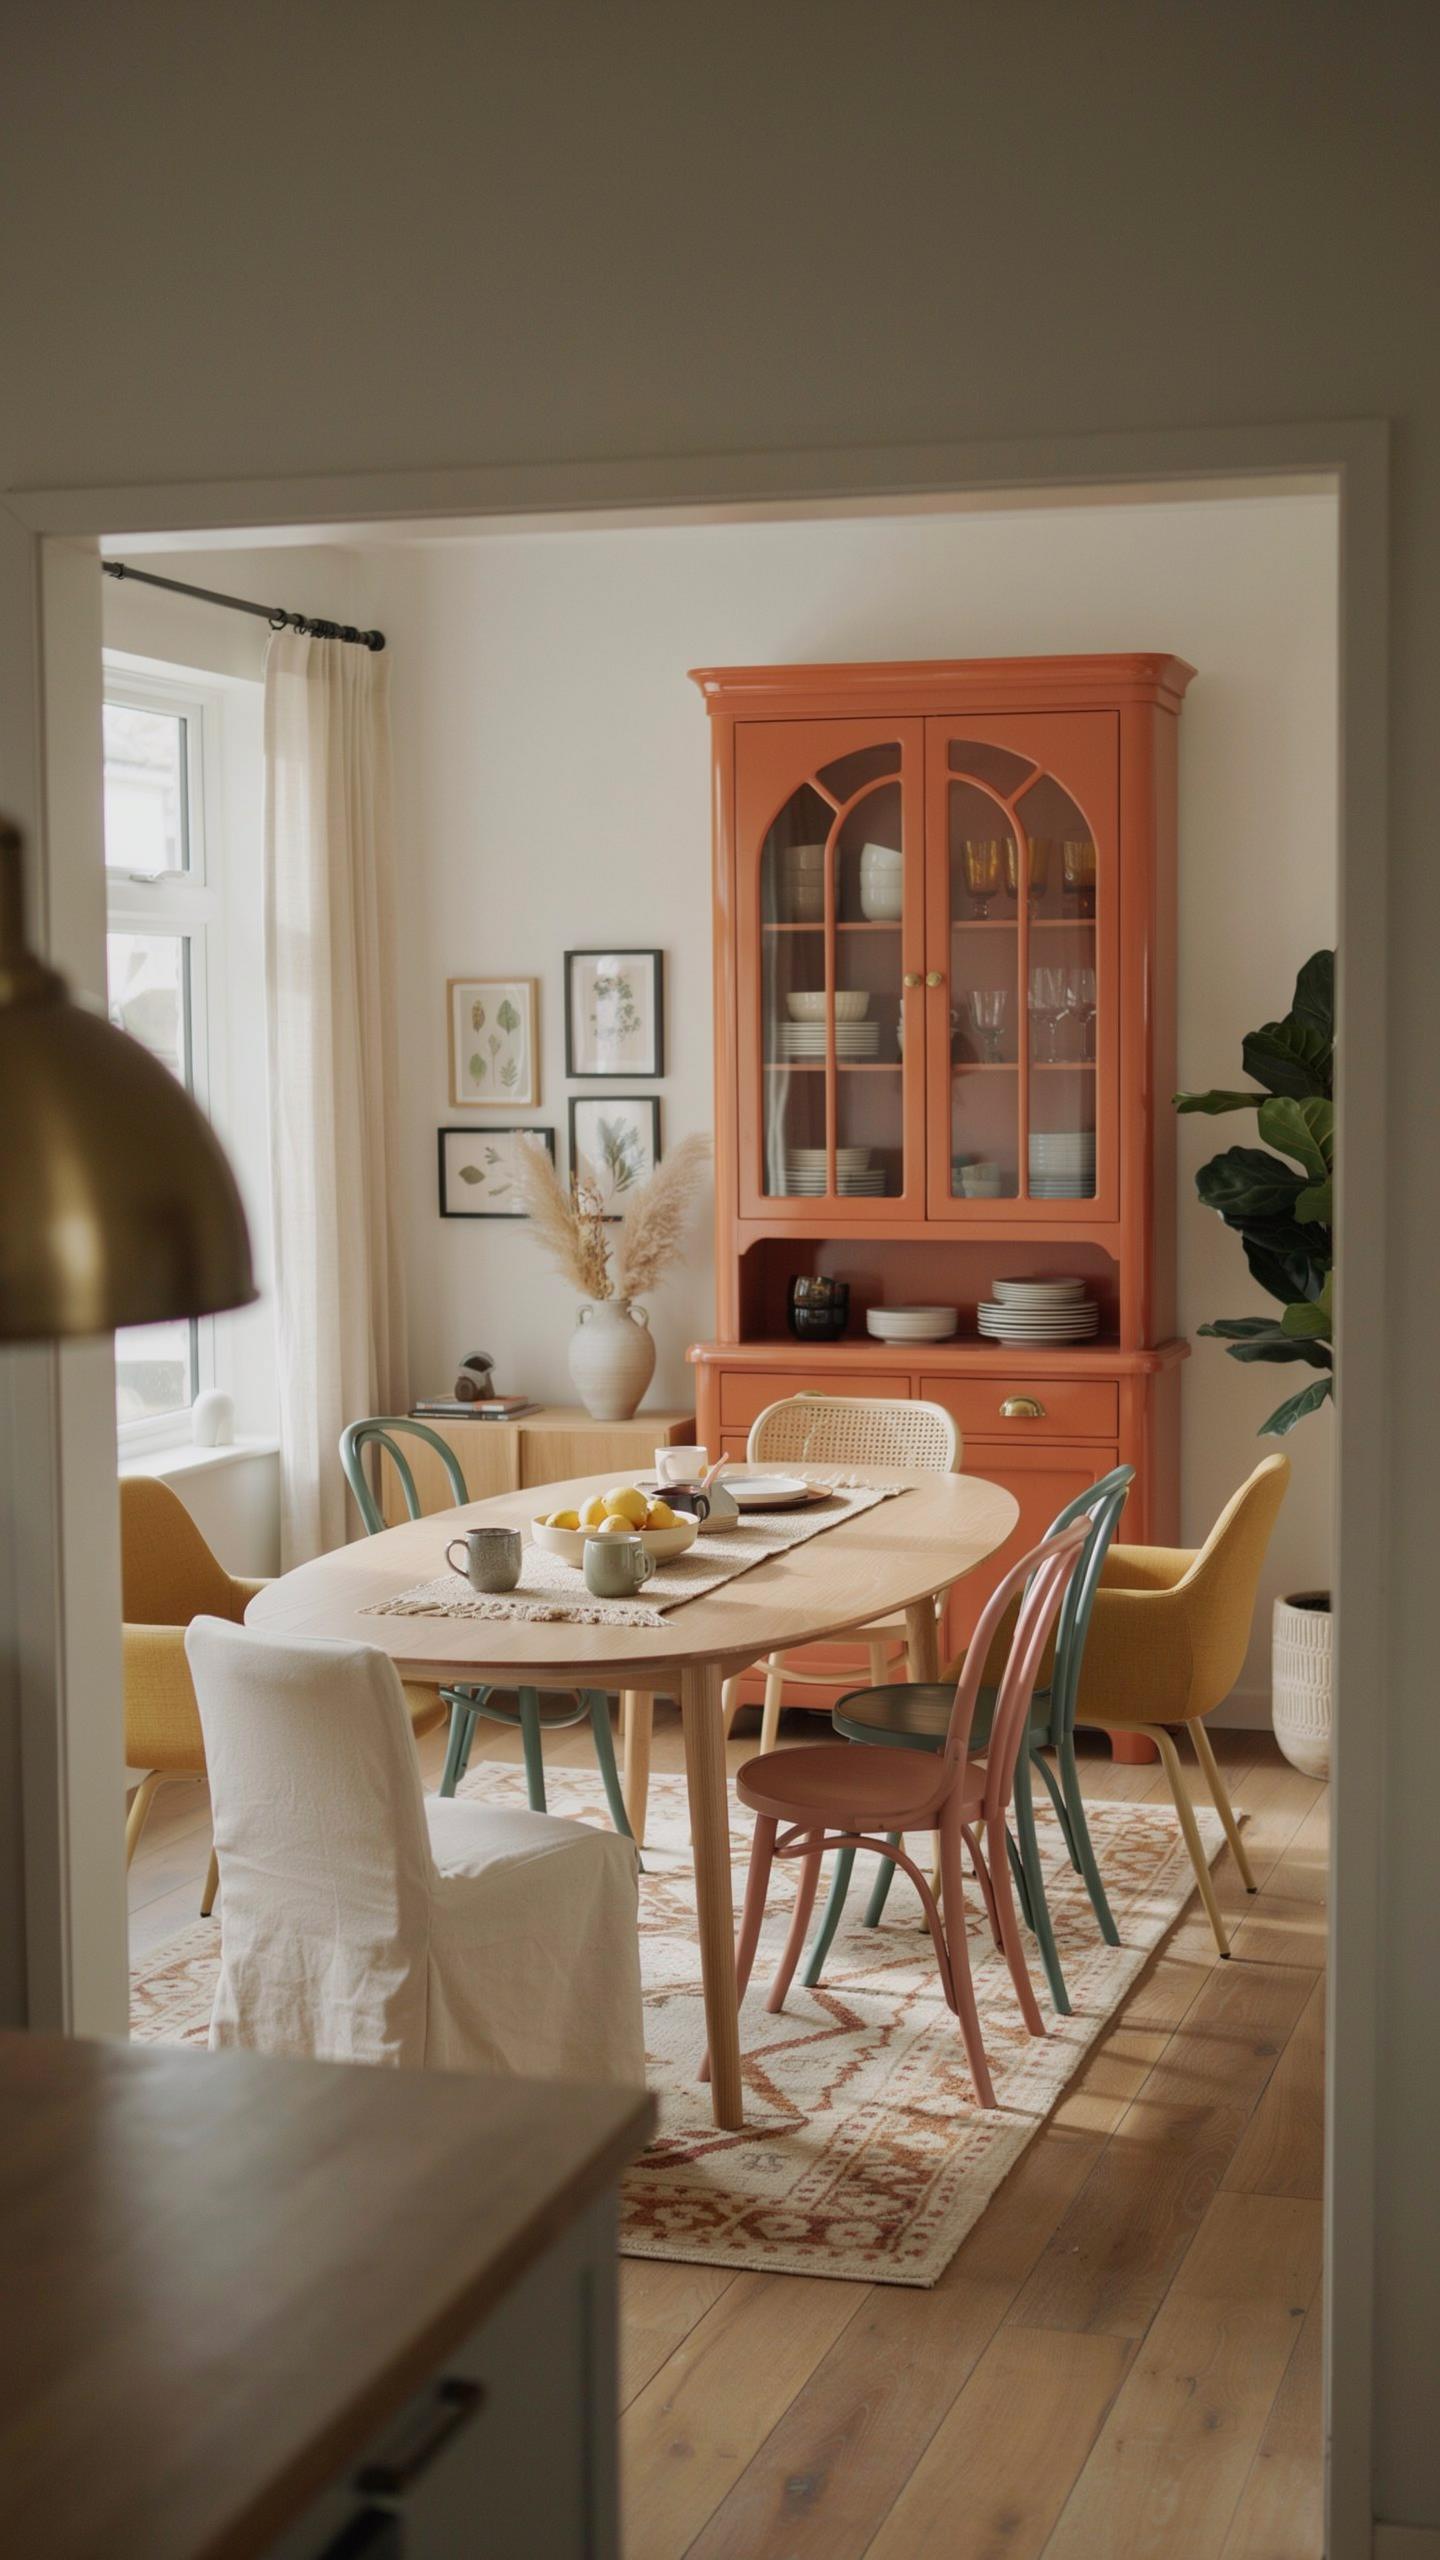
Two-tone painting splits the cabinet into distinct color zones. Paint the lower frame one color and the upper glass section another. This approach highlights architectural details and breaks up visual mass. The contrast draws attention to molding, legs, and frame edges that single-color finishes obscure. Choose colors with different values—light paired with dark works best. Apply primer first on all surfaces. Use quality cabinet-grade paint for durability. Sand between coats to ensure adhesion.
The glass pane frames gain emphasis through two-tone work. Paint the muntins (wood dividers between glass) in the accent color while the cabinet body uses the primary shade. This technique reveals joinery and craftsmanship that thrifted pieces often feature. Keep edges clean using painter’s tape during application. Remove tape while paint is slightly tacky to prevent peeling. This method requires precision but delivers professional results without complexity.
Interior Pop
The cabinet interior transforms with strategic background choices. Wallpaper applied to the back wall of shelves adds visual depth and personality. Removable peel-and-stick wallpaper works well for renters or those testing designs. Measure the interior dimensions carefully before purchasing. Modern geometric patterns, vintage florals, or solid jewel tones all work depending on your aesthetic. Apply adhesive-backed paper smoothly to avoid air bubbles. Bold paint works equally well as an alternative to wallpaper.

Paint the interior in high-contrast shades to items displayed inside. A dark navy, forest green, or charcoal backdrop makes glass, ceramics, and dishware stand out. Light interiors work for cottage or minimal styles. Use semi-gloss or satin finish paint to simplify cleaning. Multiple thin coats prevent drips better than one thick application. This interior strategy transforms the cabinet into a focal point that commands attention in modern dining rooms.
The Ultimate Diy China Cabinet Makeover Glass Replacement And Hardware Upgrades
Glass Repair
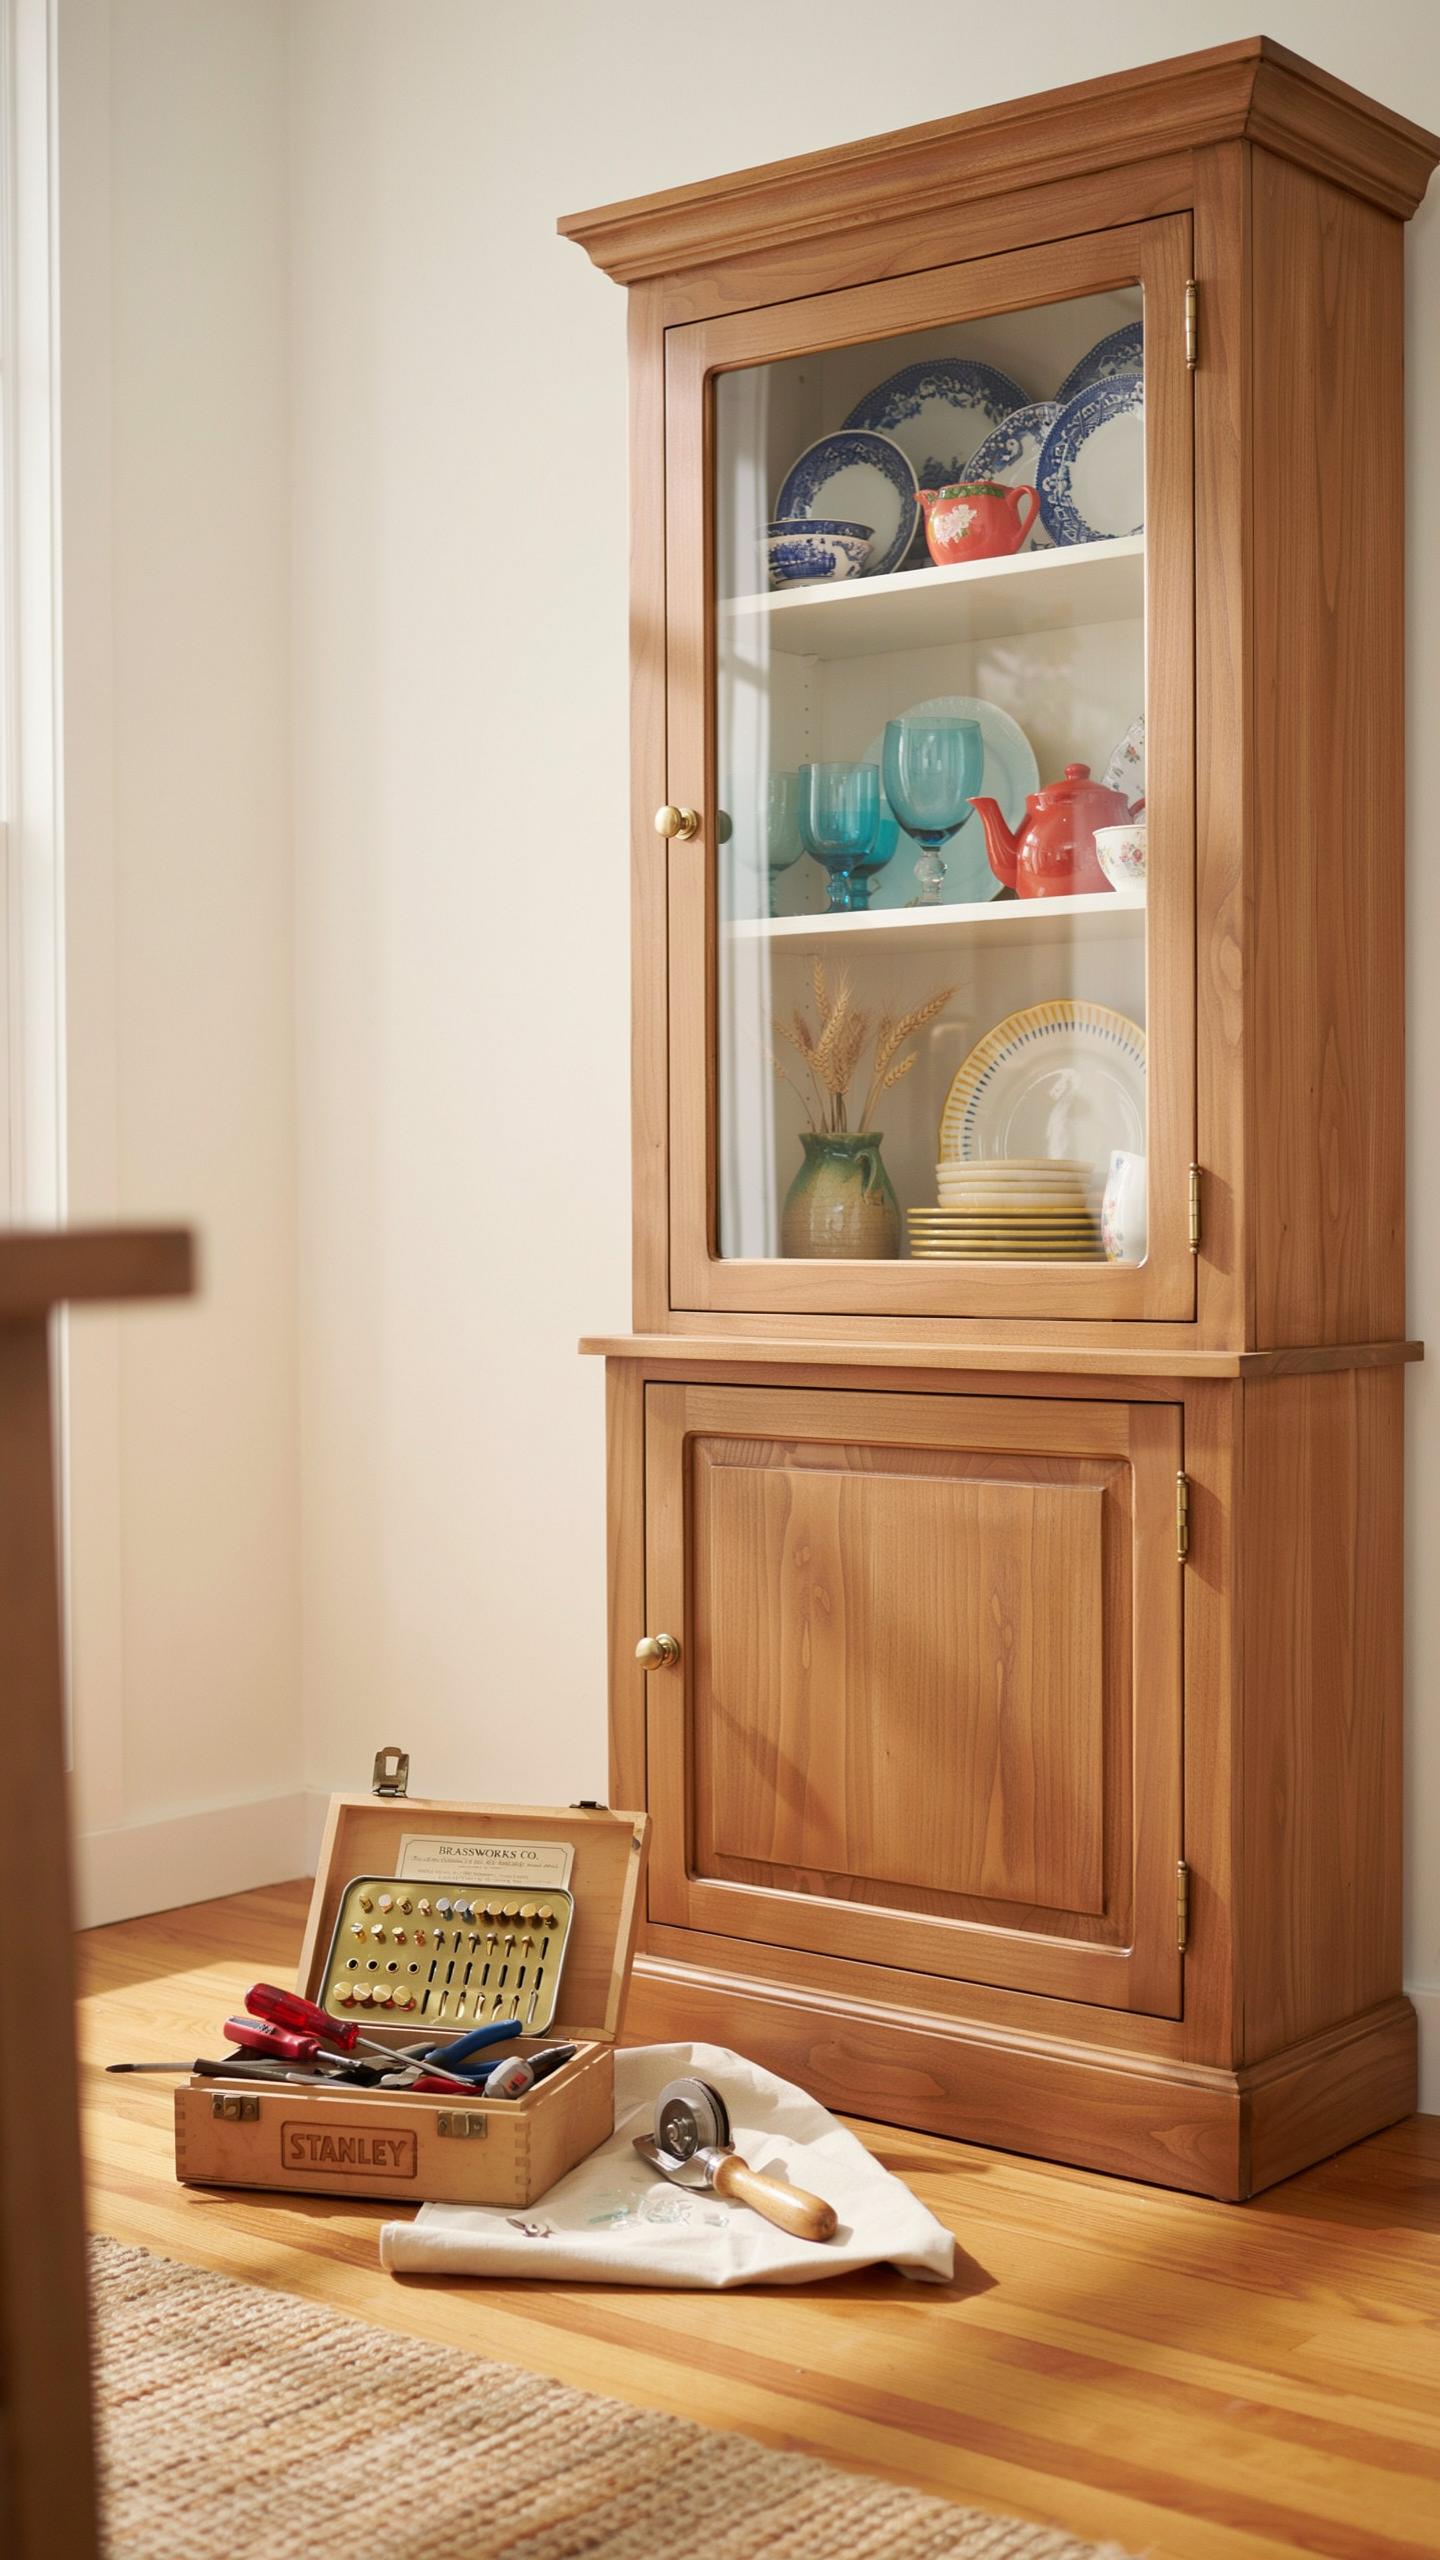
Broken glass in cabinet doors kills your flip value. You have two practical routes: replace the pane or upgrade to wire mesh. Replacement takes precision. Measure the opening carefully, account for the rabbet groove depth, and order tempered glass if the cabinet will hold dishes. Tempered glass costs more but resists breakage better under weight and temperature shifts.
Wire mesh offers an alternative that adds industrial character. Chicken wire, steel mesh, or brass mesh all work depending on your target market. You install mesh by removing the existing glass, creating a frame with wood strips or metal channels, then securing the mesh with staples or small tacks. This route works faster than glass replacement and often appeals to farmhouse or industrial design buyers.
Hardware Jewelry
Hardware transforms perception instantly. Brass, matte black, and reclaimed ceramic each signal different design values to buyers. Brass hardware reads as upscale and traditional. Matte black reads modern and clean. Reclaimed ceramic tells a story and attracts buyers seeking character and vintage authenticity in their spaces.

Match hardware style to the cabinet’s bones. Mid-century pieces need slender pulls with minimal ornamentation. Traditional cabinets suit cup pulls or ring pulls with detail. Industrial styles demand heavy-duty brass or blackened steel. Buy quality hardware because cheap knobs feel loose and damage resale appeal. Test fit before committing to ensure pulls clear shelves inside.
Creative Furniture Repurpose Ideas Giving An Old Cabinet A Brand New Purpose
Repurposed Hutch Bookshelf
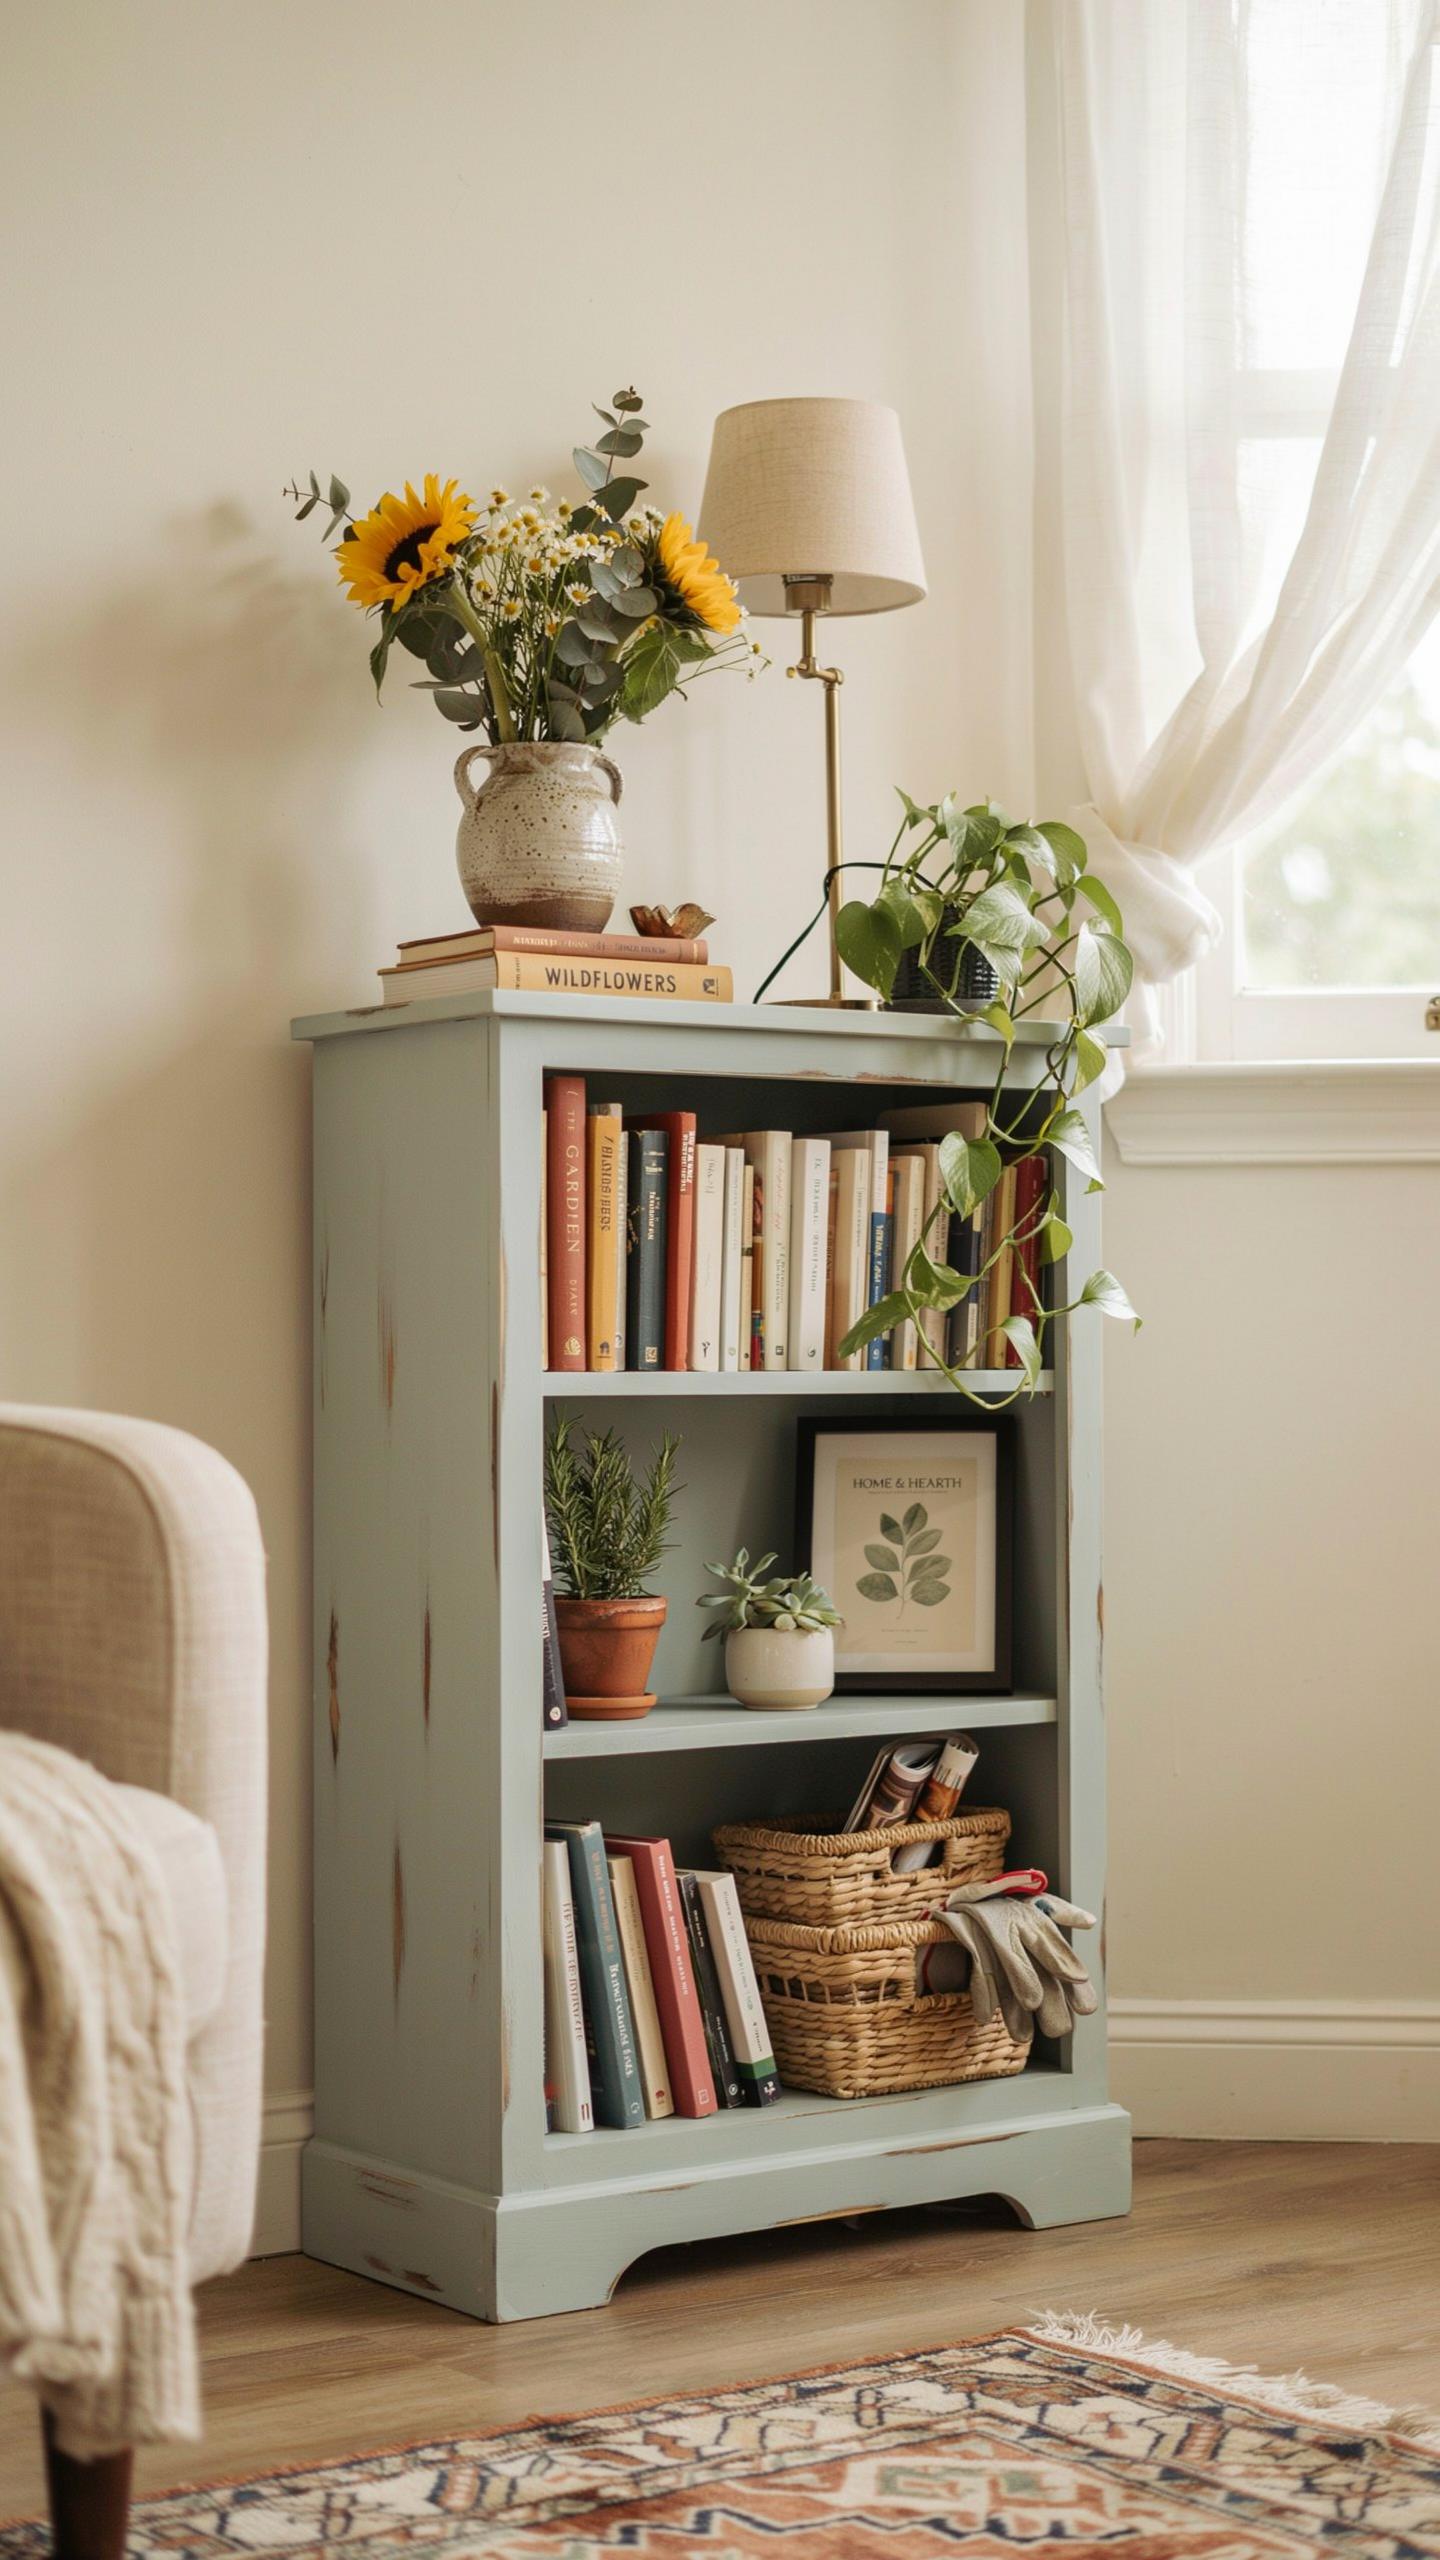
A formal hutch works as a home office library hub because it already has vertical shelving and enclosed storage. The upper glass doors display books and reference materials while lower cabinets hide supplies and files. This layout mimics office filing systems without requiring new furniture purchases. The existing frame and structure remain intact, reducing labor costs significantly.
Install adjustable shelving to accommodate different book heights and binder sizes. Remove decorative elements like hutch feet or ornamental trim if they conflict with your office aesthetic. Add interior lighting using battery-operated strip lights to illuminate shelves and improve visibility. This conversion takes four to six hours depending on shelf adjustment complexity and existing condition.
Bathroom Vanity Mod
Converting lower cabinet bases into bathroom vanities requires basic plumbing knowledge and precise measurements. You need access to existing water supply lines and drain placement to determine cabinet positioning. Most thrifted cabinets with solid bottoms work better than those with open frame designs. The cabinet depth typically ranges from sixteen to twenty inches, which suits standard vanity requirements.
Install a sink bowl directly into the existing countertop or have a new top cut to accommodate your plumbing fixtures. Route supply lines and drain pipes through pre-drilled holes in the cabinet back and bottom. Seal all wood surfaces with polyurethane or marine-grade finish to protect against water damage. Many homeowners complete this project in two days once materials arrive.
The Best Paints And Topcoats For Your Thrifted Furniture Flip Cabinet Redo
Paint Types
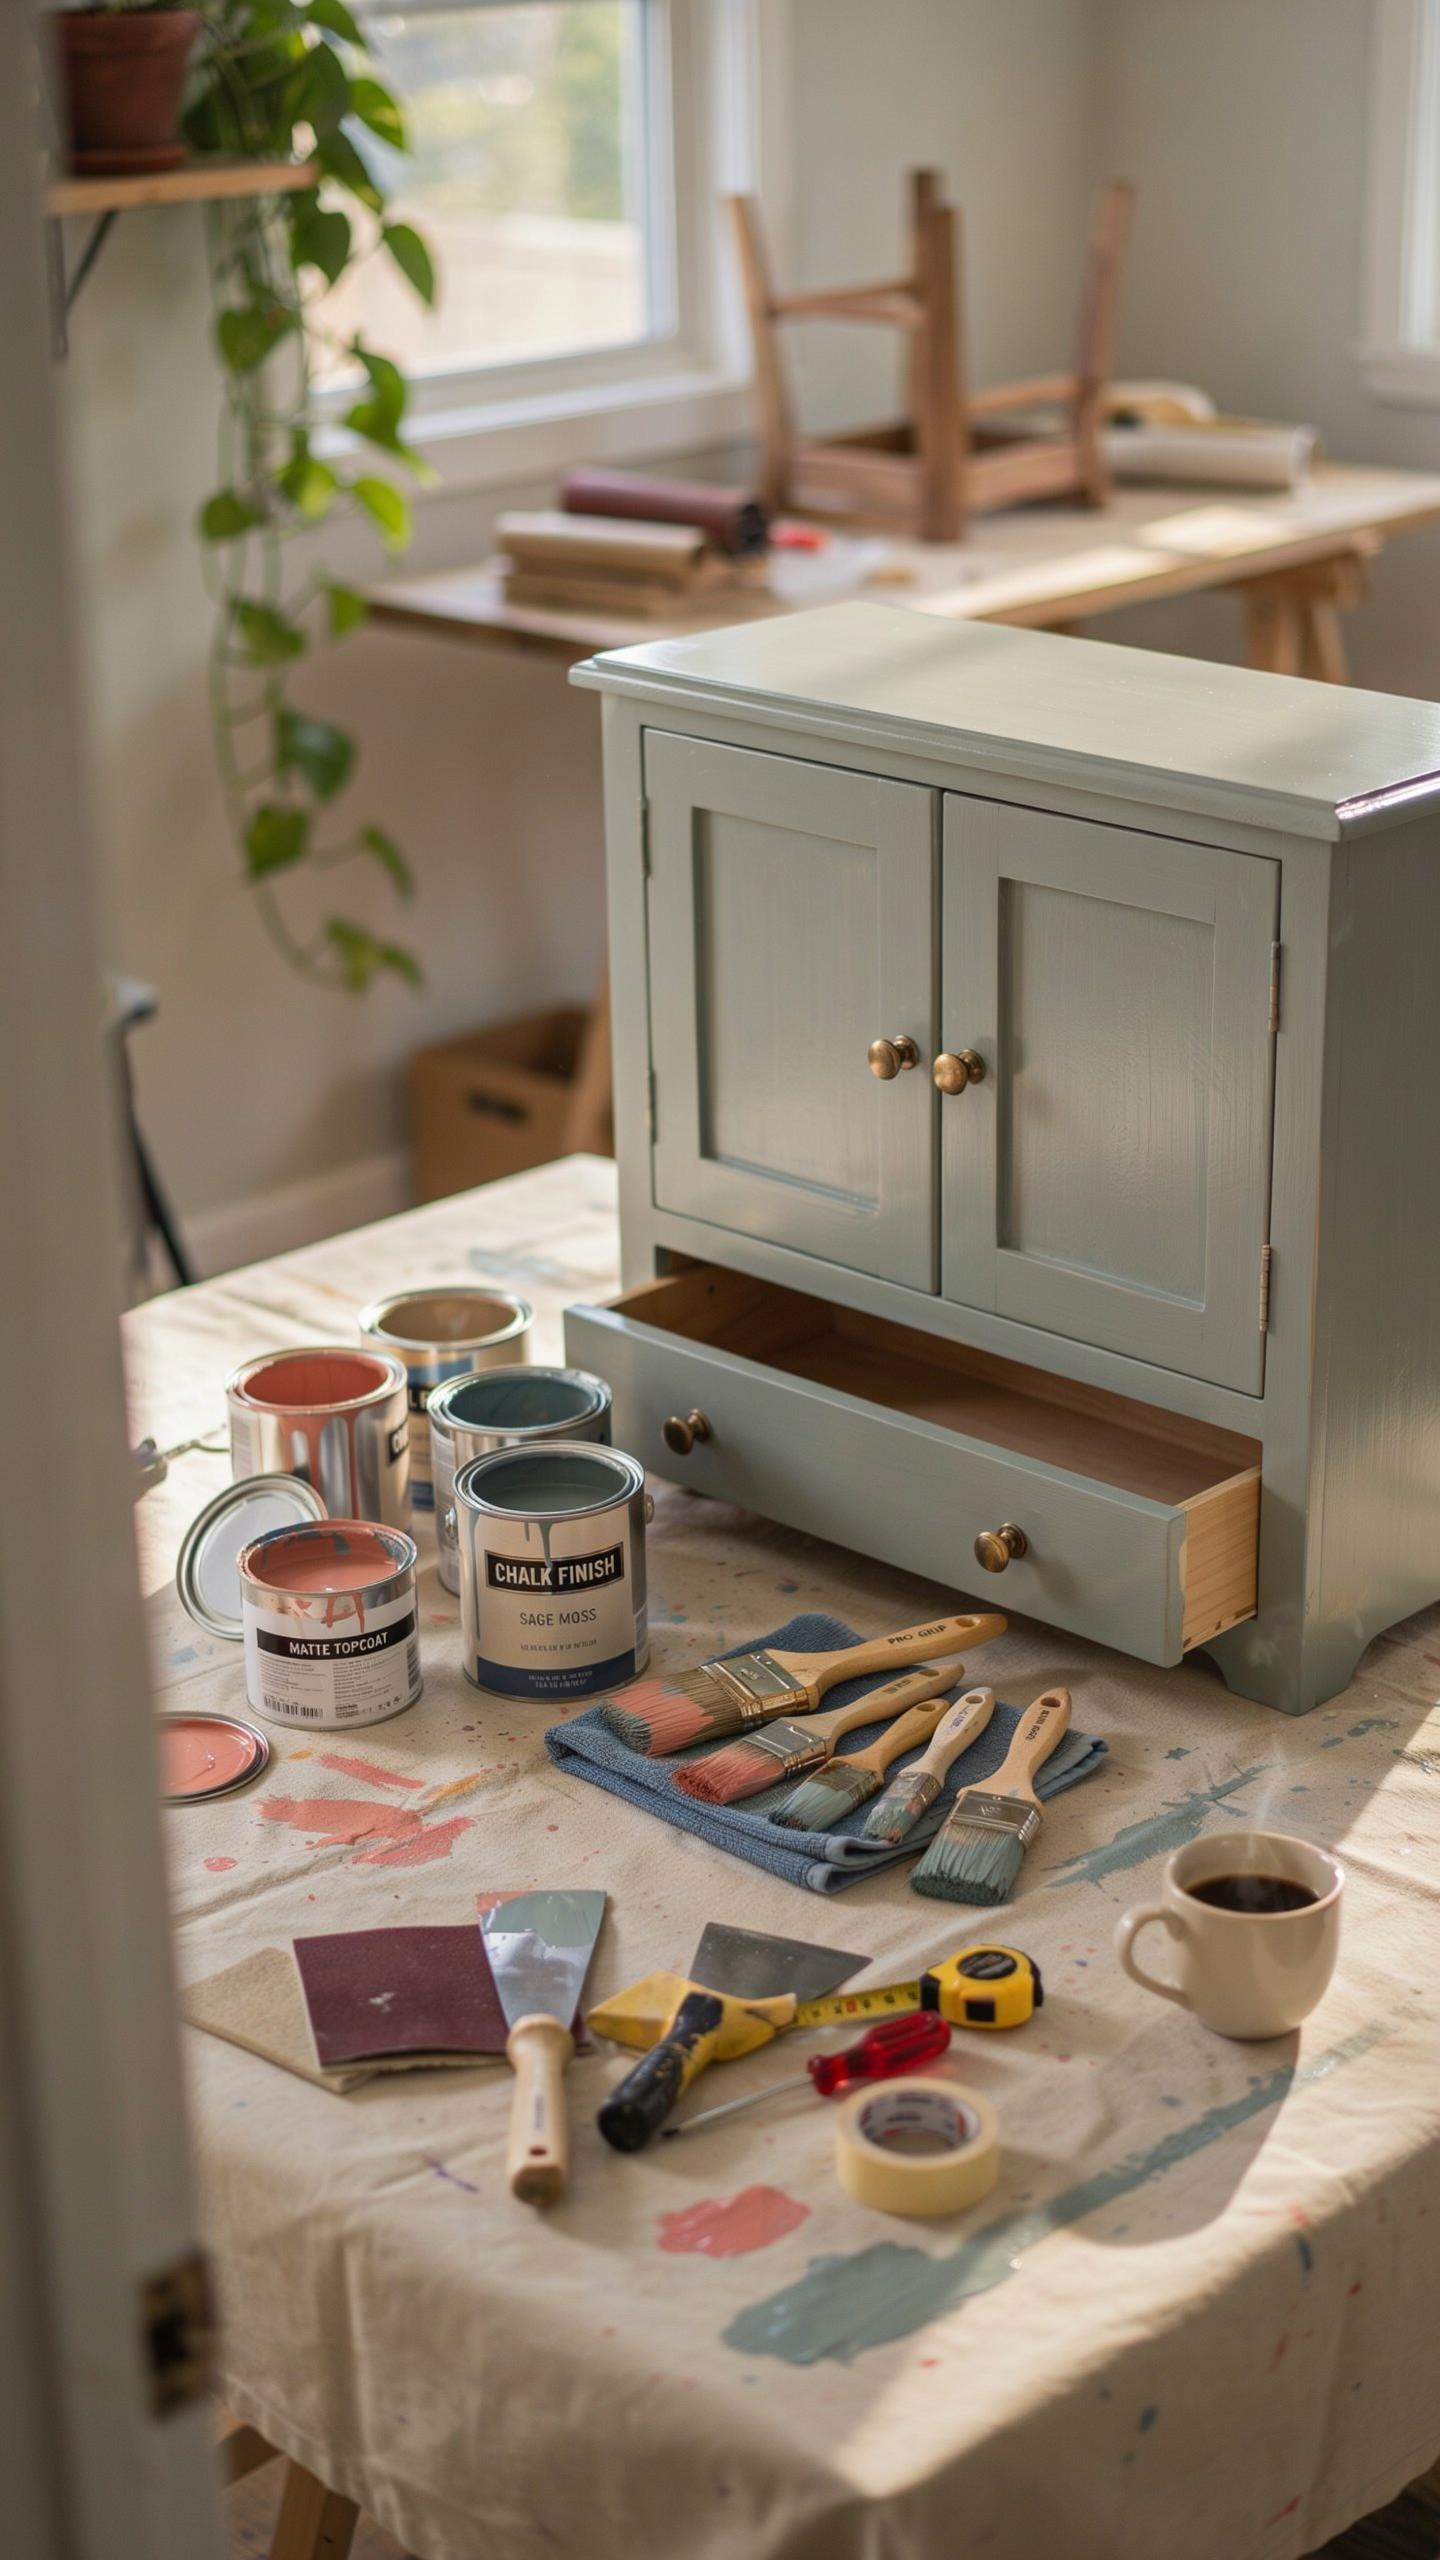
Choosing the right paint determines how your cabinet looks and performs. Each paint type has different adhesion properties, coverage rates, and durability. Your choice depends on the cabinet material, desired finish, and maintenance tolerance. Understanding these differences prevents costly mistakes and wasted materials.
- Chalk Paint: Adheres well to glossy surfaces without sanding. Creates a matte, velvety finish. Dries quickly and requires minimal prep work. Popular for vintage and farmhouse styles but needs sealing for protection.
- Milk Paint: Water-based formula derived from casein protein. Creates a flat, natural finish with authentic aged appearance. Allows wood grain visibility. Minimal odor and low VOC content make it safer for indoor use.
- Mineral Paint: Contains natural minerals and zero VOCs. Offers superior adhesion and durability compared to chalk paint. Resists moisture and scratches effectively. Higher cost justified by longevity on high-use pieces.
- Acrylic Latex: Water-based and low odor compared to oil paints. Quick drying time enables multiple coats in one day. Cleans up with water and offers good color selection. Less durable than mineral paint on heavily trafficked surfaces.
Acrylic latex works best for budget-conscious flippers. Mineral paint delivers superior results for cabinets in kitchens or bathrooms. Chalk paint suits decorative pieces with lower wear. Test your chosen paint on hidden areas first to confirm adhesion and color match before committing to full application.
Durable Topcoats
A topcoat protects your paint investment from daily wear. It prevents scratches, moisture damage, and color fading. Cabinet doors experience constant handling and humidity changes. Topcoat selection directly impacts how long your flip looks professional.
Polyurethane provides maximum protection for cabinets in high-traffic areas. Water-based polyurethane dries clear and minimizes yellowing over time. Oil-based polyurethane offers superior hardness but yellows significantly. Apply thin coats with quality brushes to avoid bubbles and drips.
Wax finishes create a softer hand feel and vintage appearance. Paste wax requires regular reapplication every few months for lasting protection. It does not protect against water damage or significant scratching. Wax suits display cabinets and decorative pieces over functional kitchen cabinetry.
Polycrylic sits between wax and polyurethane in durability and ease of use. Water-based formula dries quickly and lacks strong odor. Coverage is lighter than polyurethane, requiring more coats for full protection. Best suited for moderate-use cabinets in living rooms or bedrooms.
Troubleshooting Common Pitfalls During Your Thrifted Furniture Flip Cabinet Redo
Tackling Bleed Through
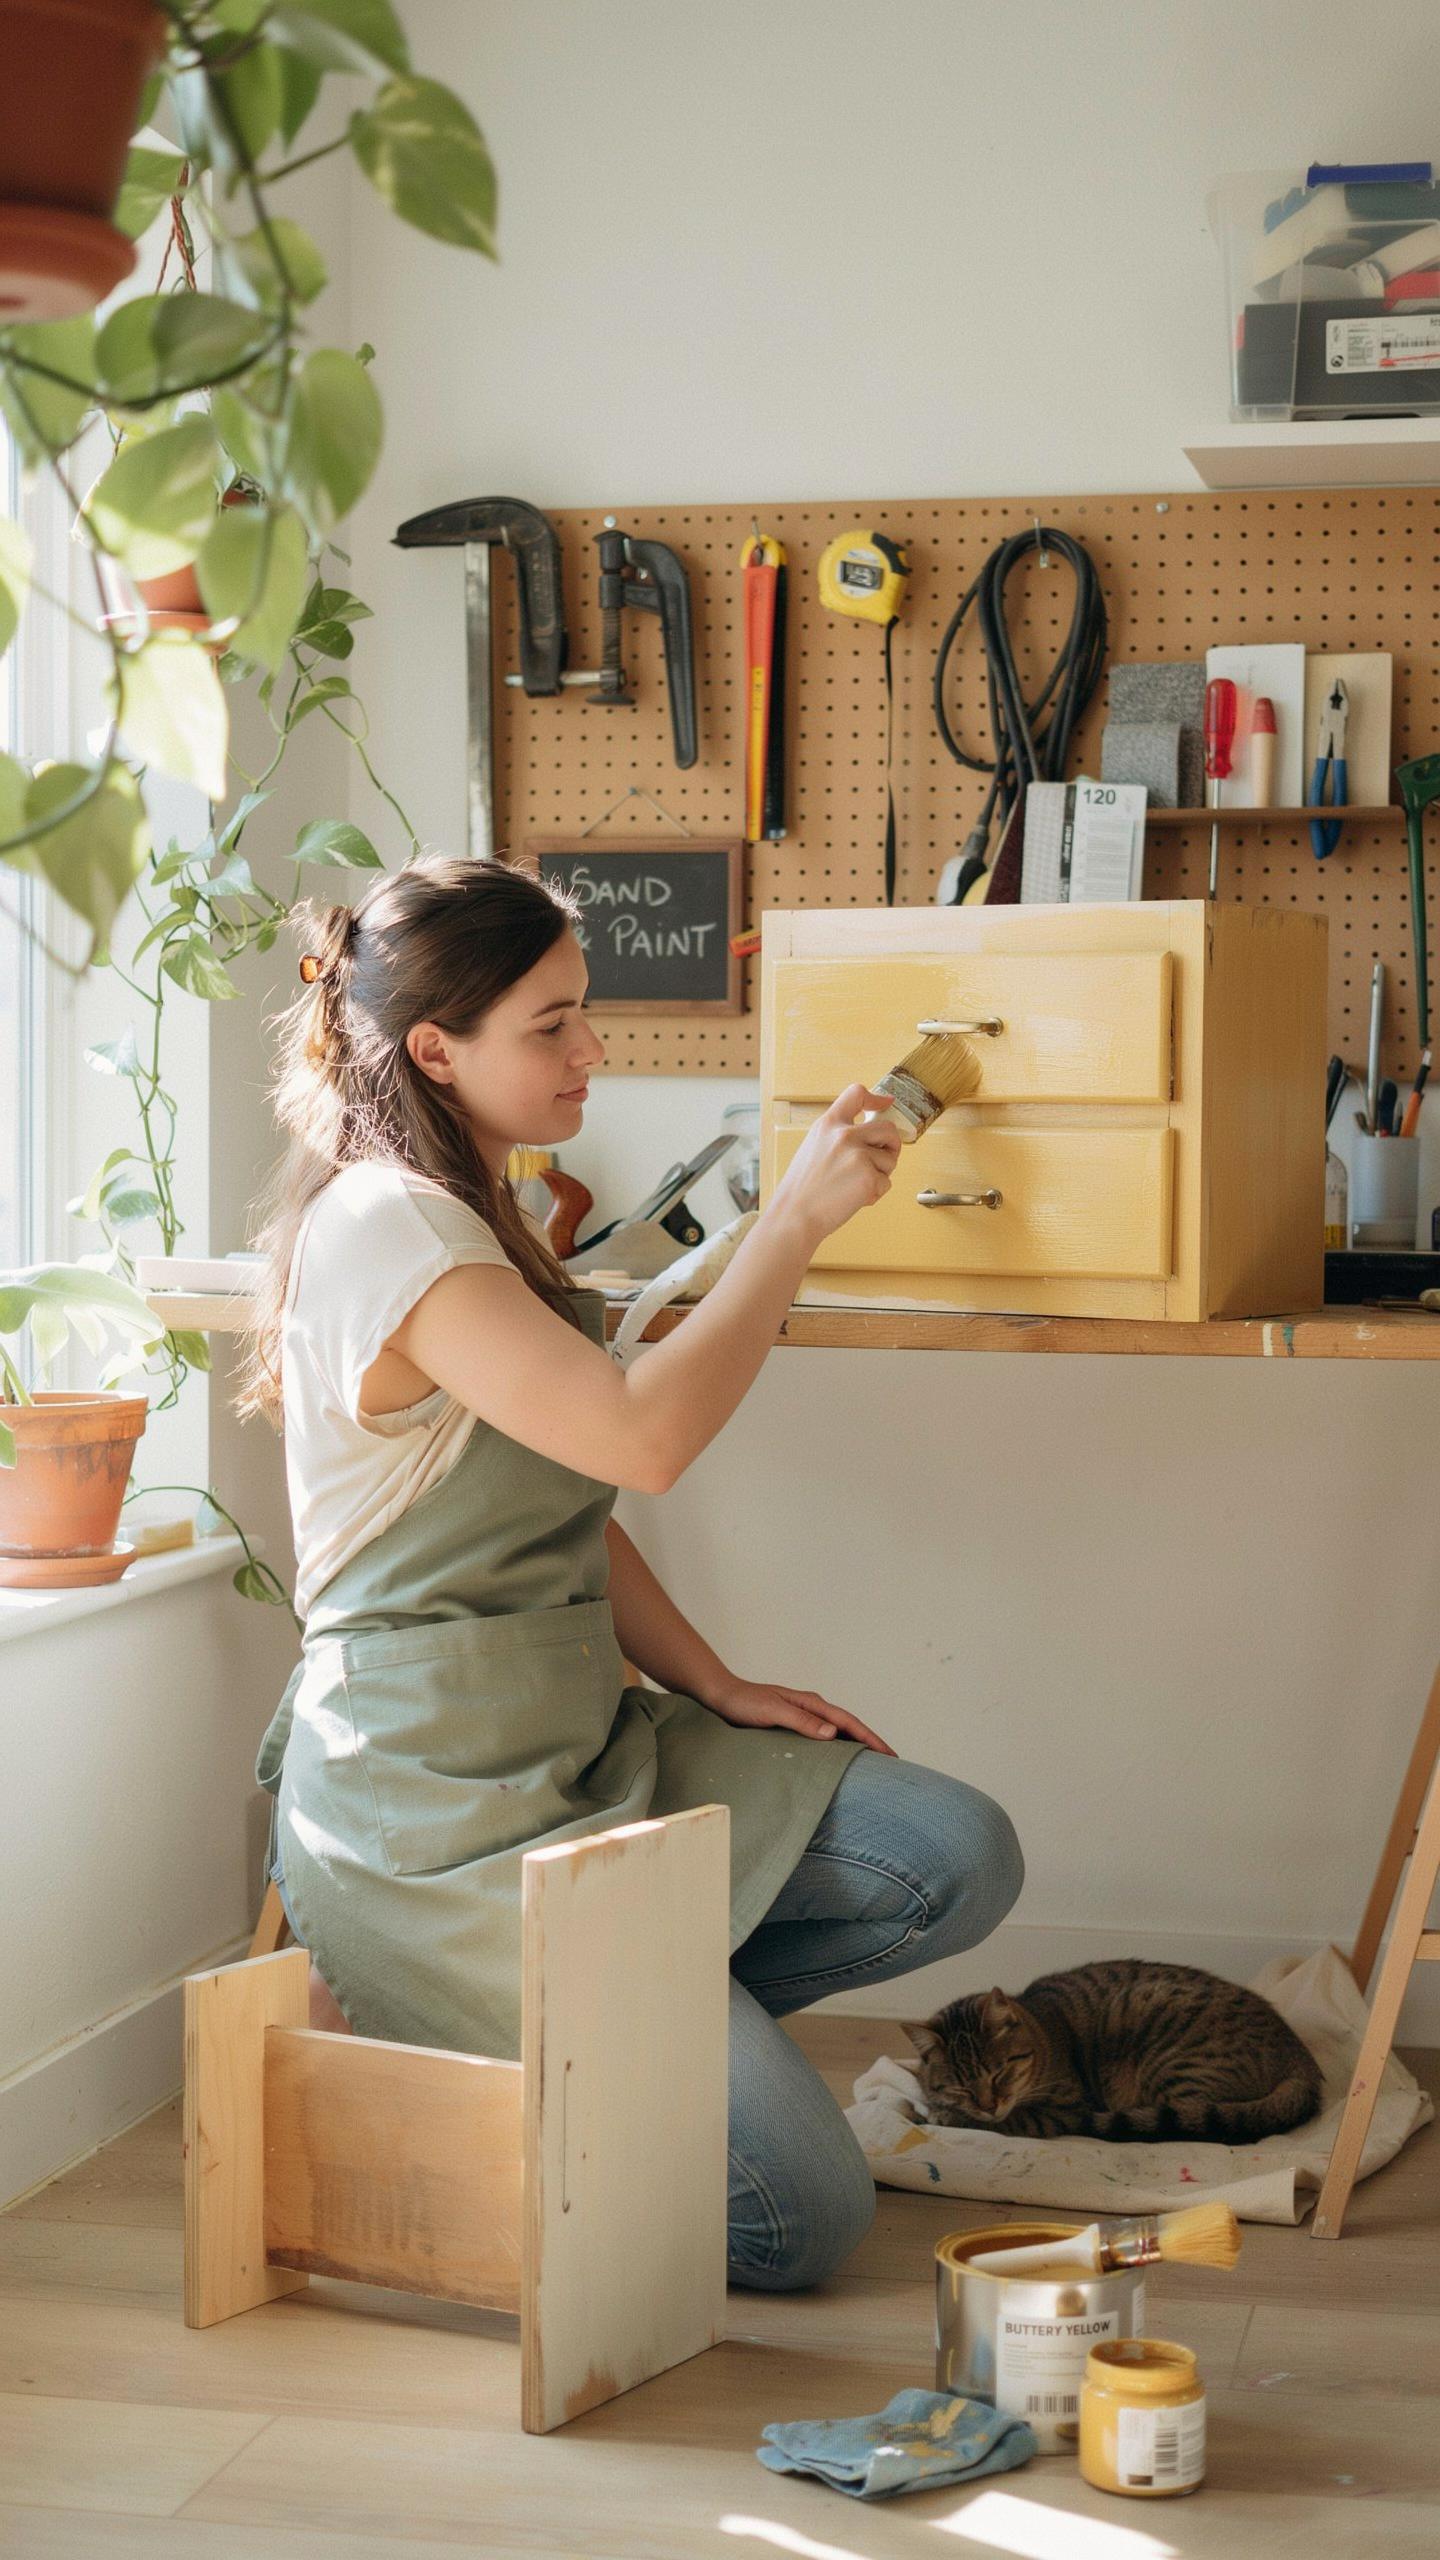
Wood tannins and old ink stains bleed through standard latex paint. This happens because these substances are soluble and migrate upward through paint layers. Shellac-based primers block this migration by sealing the stain before paint application. Shellac bonds to wood fibers and creates a barrier that latex primers cannot match. Apply shellac primer directly to stained areas or the entire cabinet surface depending on severity.
Test the shellac primer on an inconspicuous area first to confirm coverage. One coat of quality shellac primer typically stops bleed through completely. Allow proper drying time between primer and paint coats, usually two to four hours. Sand lightly between coats with 220 grit sandpaper to improve paint adhesion. This prevents the paint from peeling and ensures a durable finish on your cabinet.
Fixing Sticky Drawers
Wooden drawers stick from humidity absorption and wood swelling. The drawer sides expand against the cabinet frame, creating friction. Waxing the drawer runners and sides reduces friction without damaging the wood. Use paste wax or paraffin wax applied in thin layers. Buff the wax with a clean cloth to create a smooth surface that slides easily.
Sand the drawer sides with 120 to 150 grit sandpaper to remove surface roughness. Focus on areas where the drawer contacts the frame. After sanding, apply wax again for optimal results. Test drawer movement multiple times during application to check progress. Sticky drawers become functional without refinishing the entire drawer, saving time and maintaining the wood’s original patina if desired.
Styling And Staging Your Finished Cabinet To Complete Your Budget Friendly Home Decor Ideas
Interior Decluttering
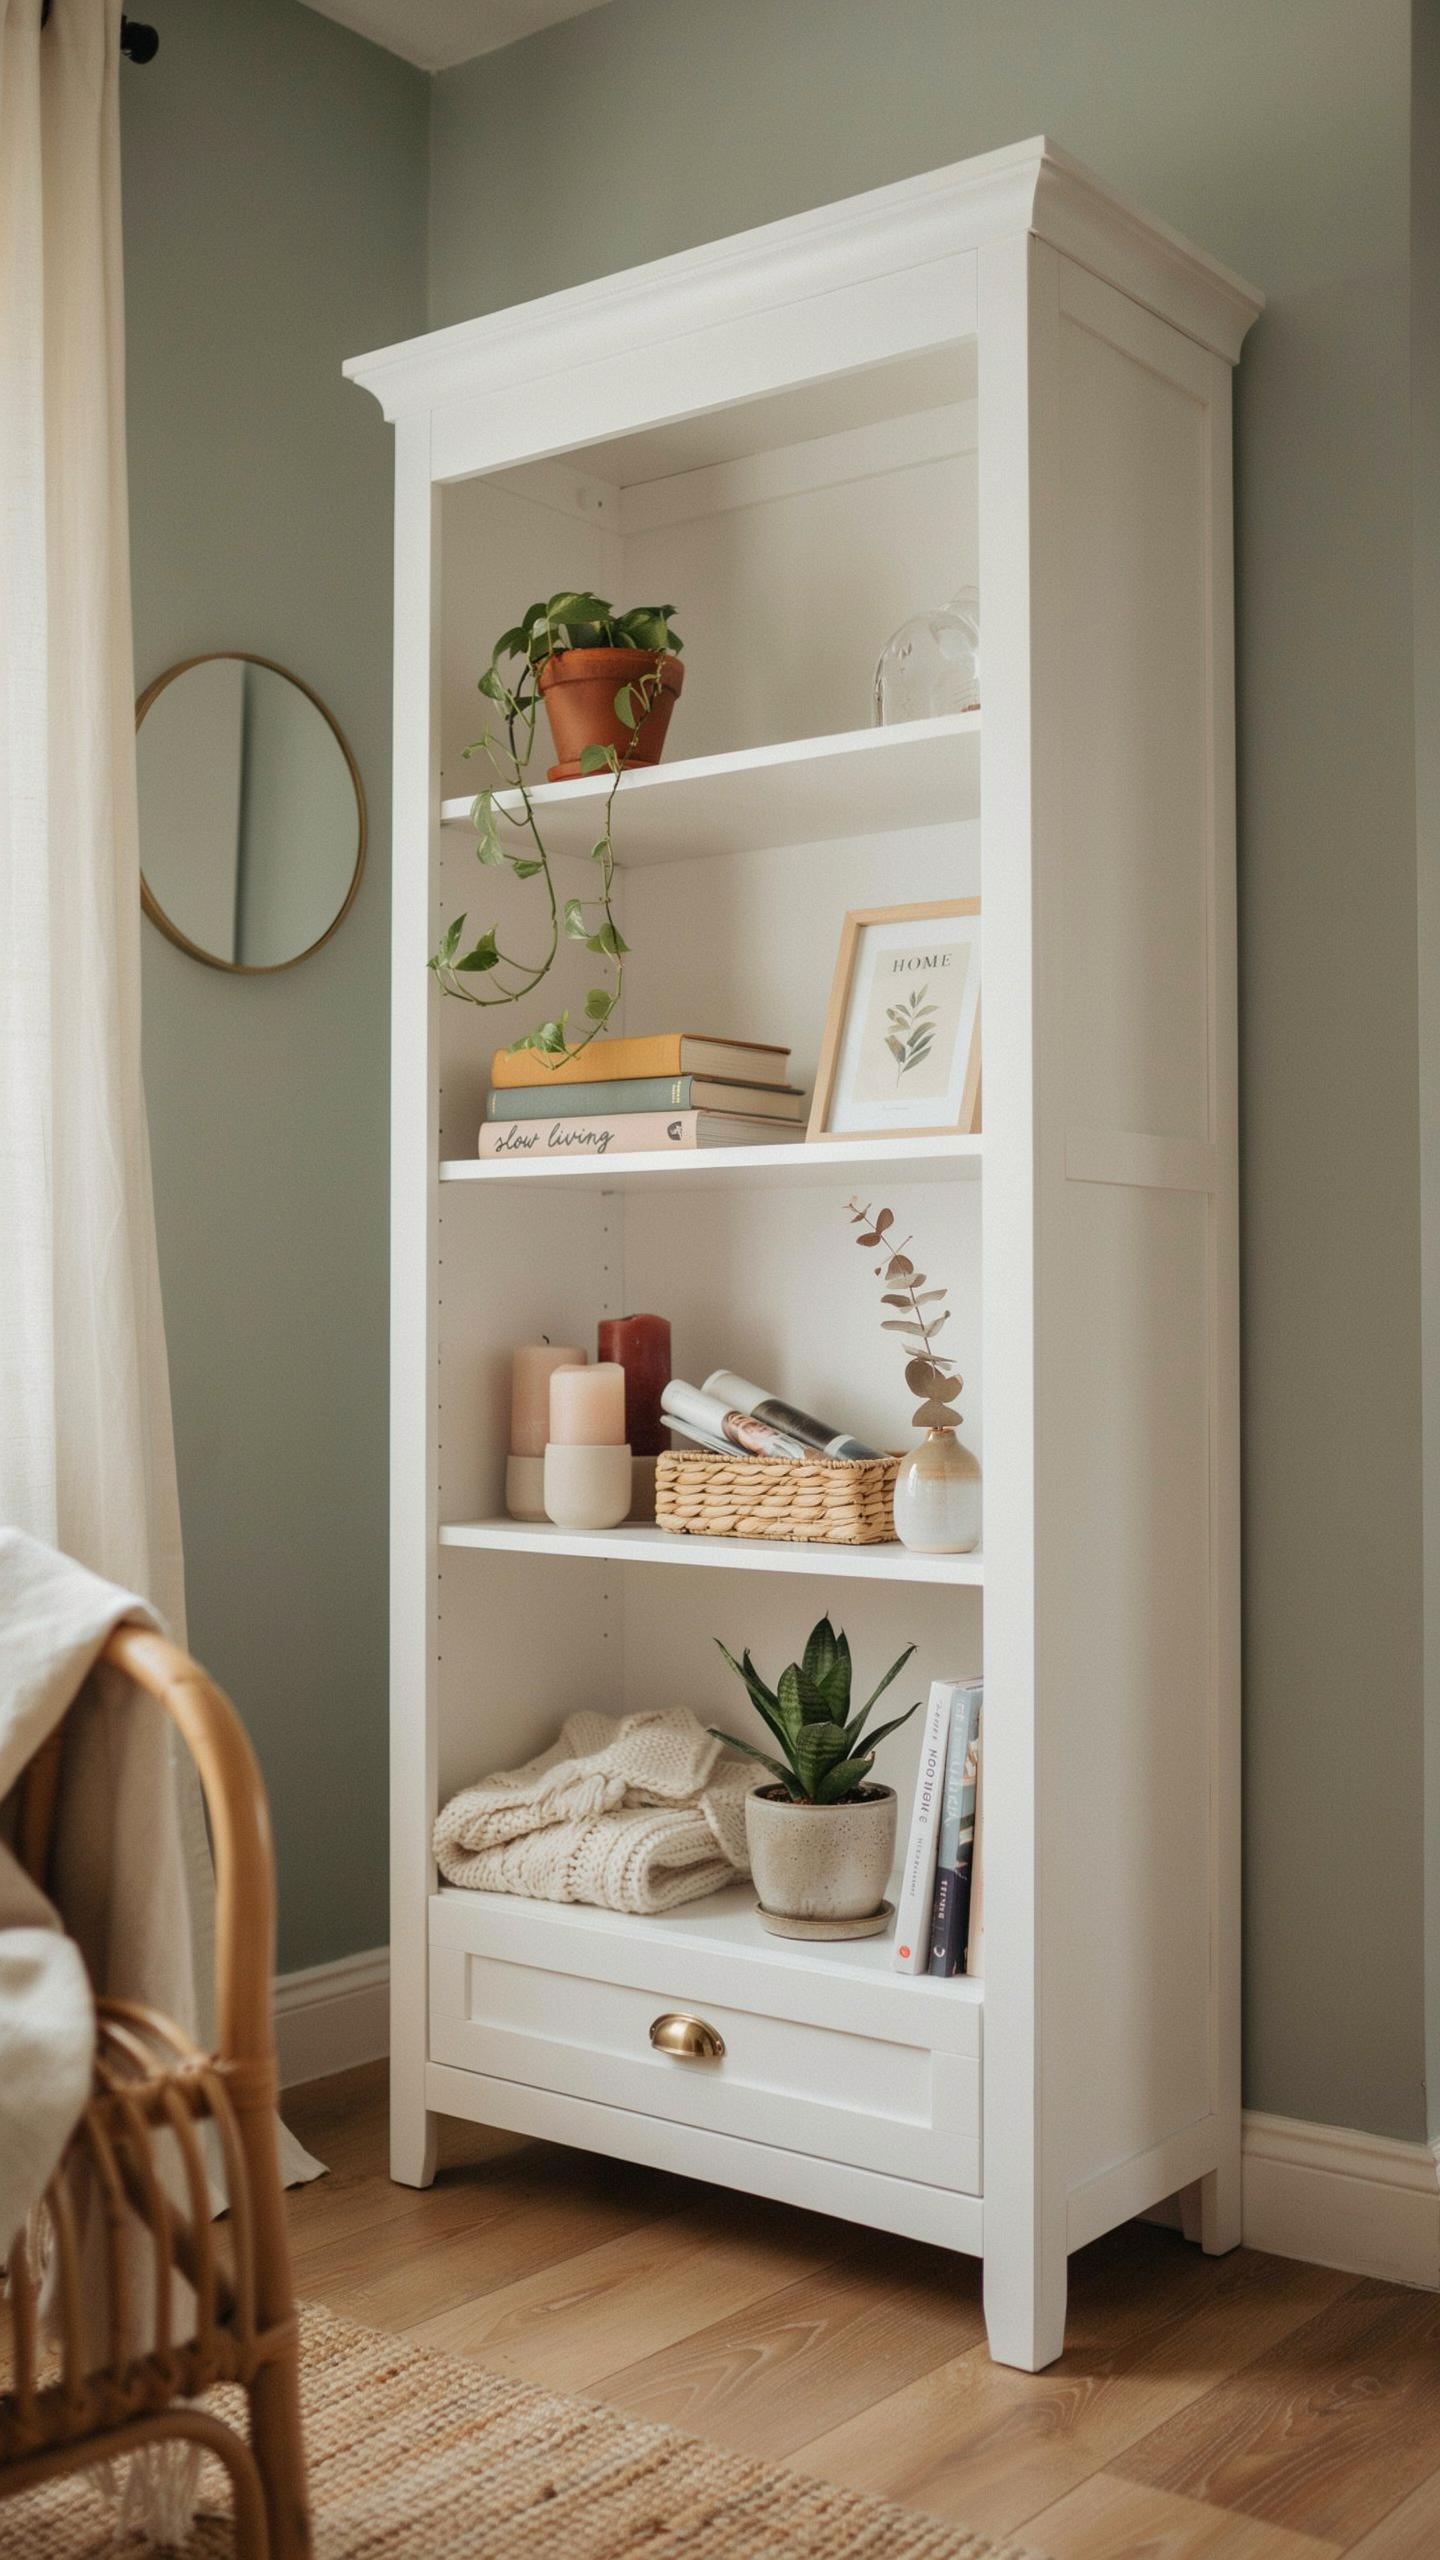
The goal of cabinet display is function over aesthetics. Start by removing everything from your cabinet. Place only items you actually use or items that serve a clear purpose. Empty space matters more than filled space. Overcrowded cabinets look chaotic and diminish the impact of your refinished piece. Evaluate each object before placing it back inside.
Books, plants, and ceramics work well together because they create visual contrast in height, texture, and color. Stack books horizontally on lower shelves to anchor the display. Position plants at varying heights using small risers or plant stands. Arrange ceramics by grouping similar pieces or alternating between stacked and standing positions. This approach prevents visual monotony while maintaining organization.
External Lighting
Battery powered puck lights solve the problem of dark cabinet interiors without requiring electrical work. Mount lights on the interior top surface of your cabinet to cast light downward across your display. Position two to three lights depending on cabinet width for even illumination. These lights highlight your finished surfaces and draw attention to styled items inside.
The practical advantage of battery powered puck lights is their adhesive backing and repositioning capability. You avoid drilling holes or installing wiring that damages your refinished cabinet. Replace batteries annually or when brightness dims noticeably. Warm white temperature lights around 2700K enhance wood finishes and create inviting ambiance compared to cooler white tones.
Frequently Asked Questions

What are the best types of cabinets to look for when starting a furniture flip?
When searching for a thrifted furniture flip cabinet redo, prioritize solid wood pieces over particle board. Look for sturdy construction, functioning hinges, and classic silhouettes that offer a good “bone” structure. Avoid items with significant water damage or structural rot. Starting with a high-quality base ensures your hard work lasts for years, making the restoration process much more rewarding for beginners and seasoned DIYers alike.
How do I properly prep my cabinet for paint so the finish doesn’t chip?
Preparation is the secret to a professional thrifted furniture flip cabinet redo. Start by cleaning the surface with a degreaser to remove old oils. Next, lightly sand the entire piece to create “tooth” for the new finish. Finally, apply a high-quality bonding primer. Skipping these steps often leads to peeling, so taking the time to prep ensures your beautiful new aesthetic remains durable and chip-resistant against daily wear.
Is it possible to redo a thrifted cabinet on a very tight budget?
Absolutely! You can achieve a stunning transformation by focusing on high-impact, low-cost changes. Instead of buying expensive new hardware, try spray-painting the existing knobs and pulls in a modern metallic finish. Use leftover paint from previous projects or check the “oops” paint section at your local hardware store for deep discounts. Creative techniques like stenciling or adding contact paper to the interior can provide a luxury look for pennies.



