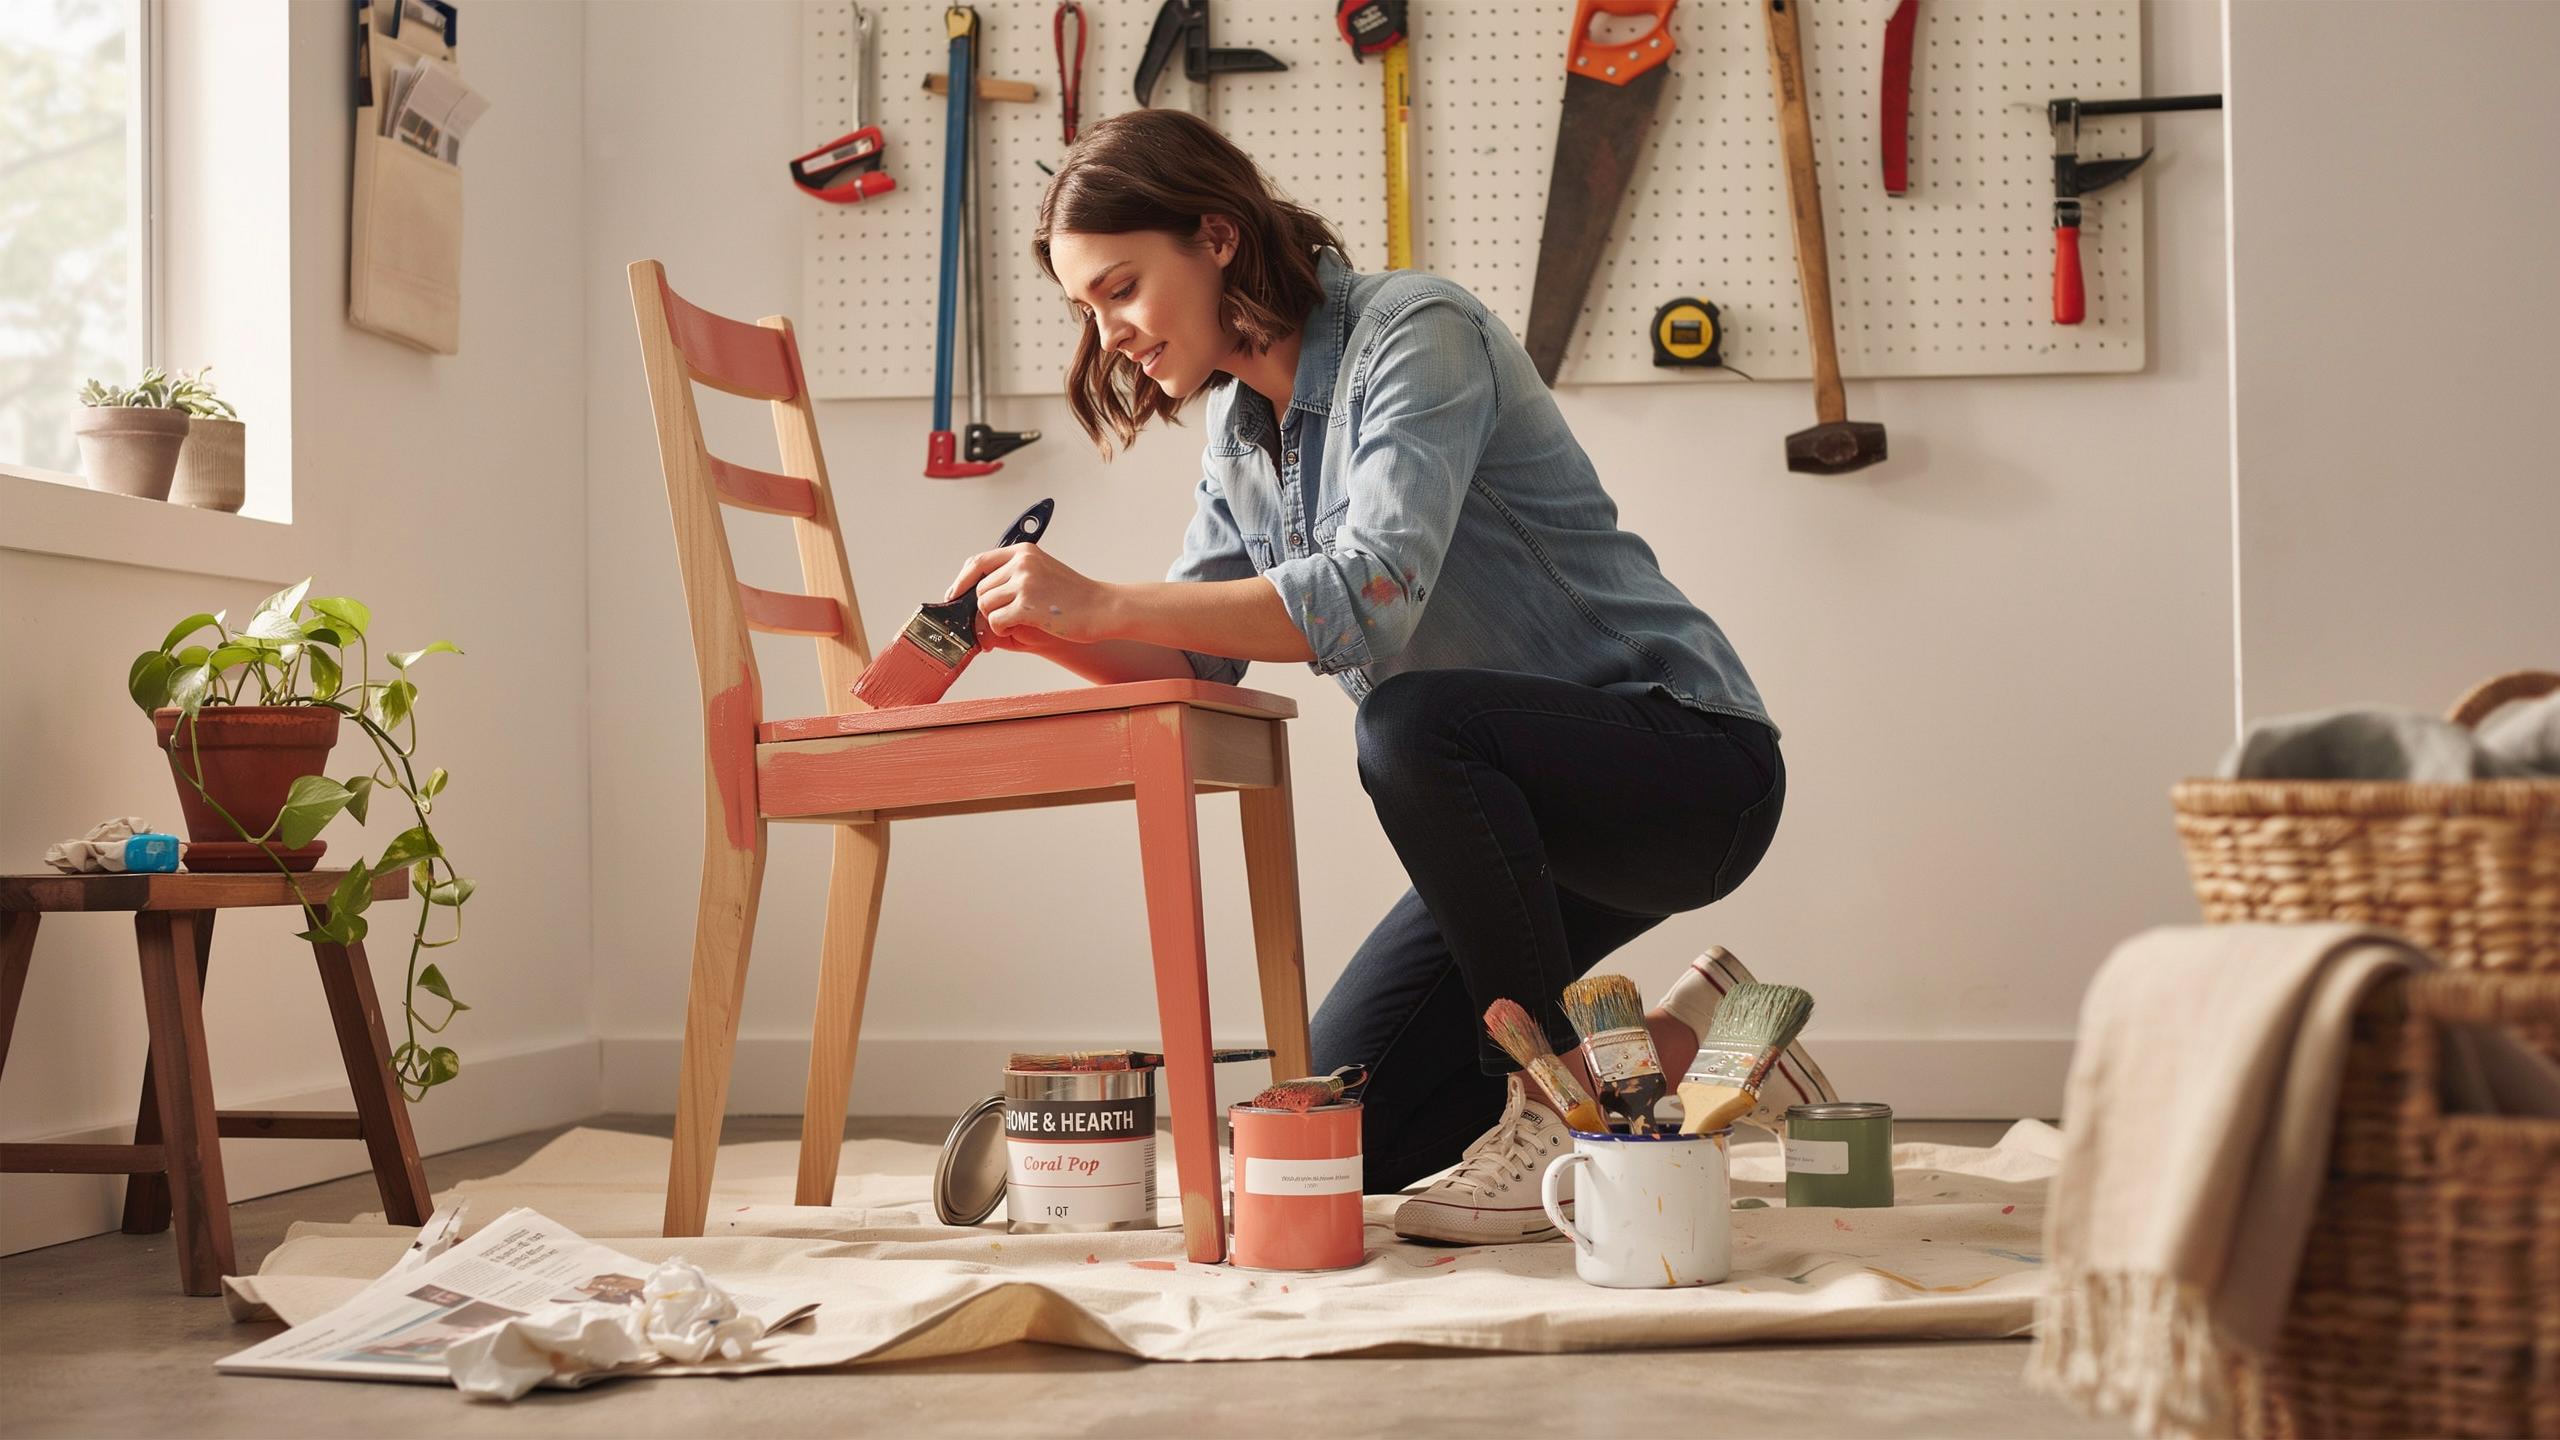
The Magic Of Refurbishing Old Furniture On A Budget
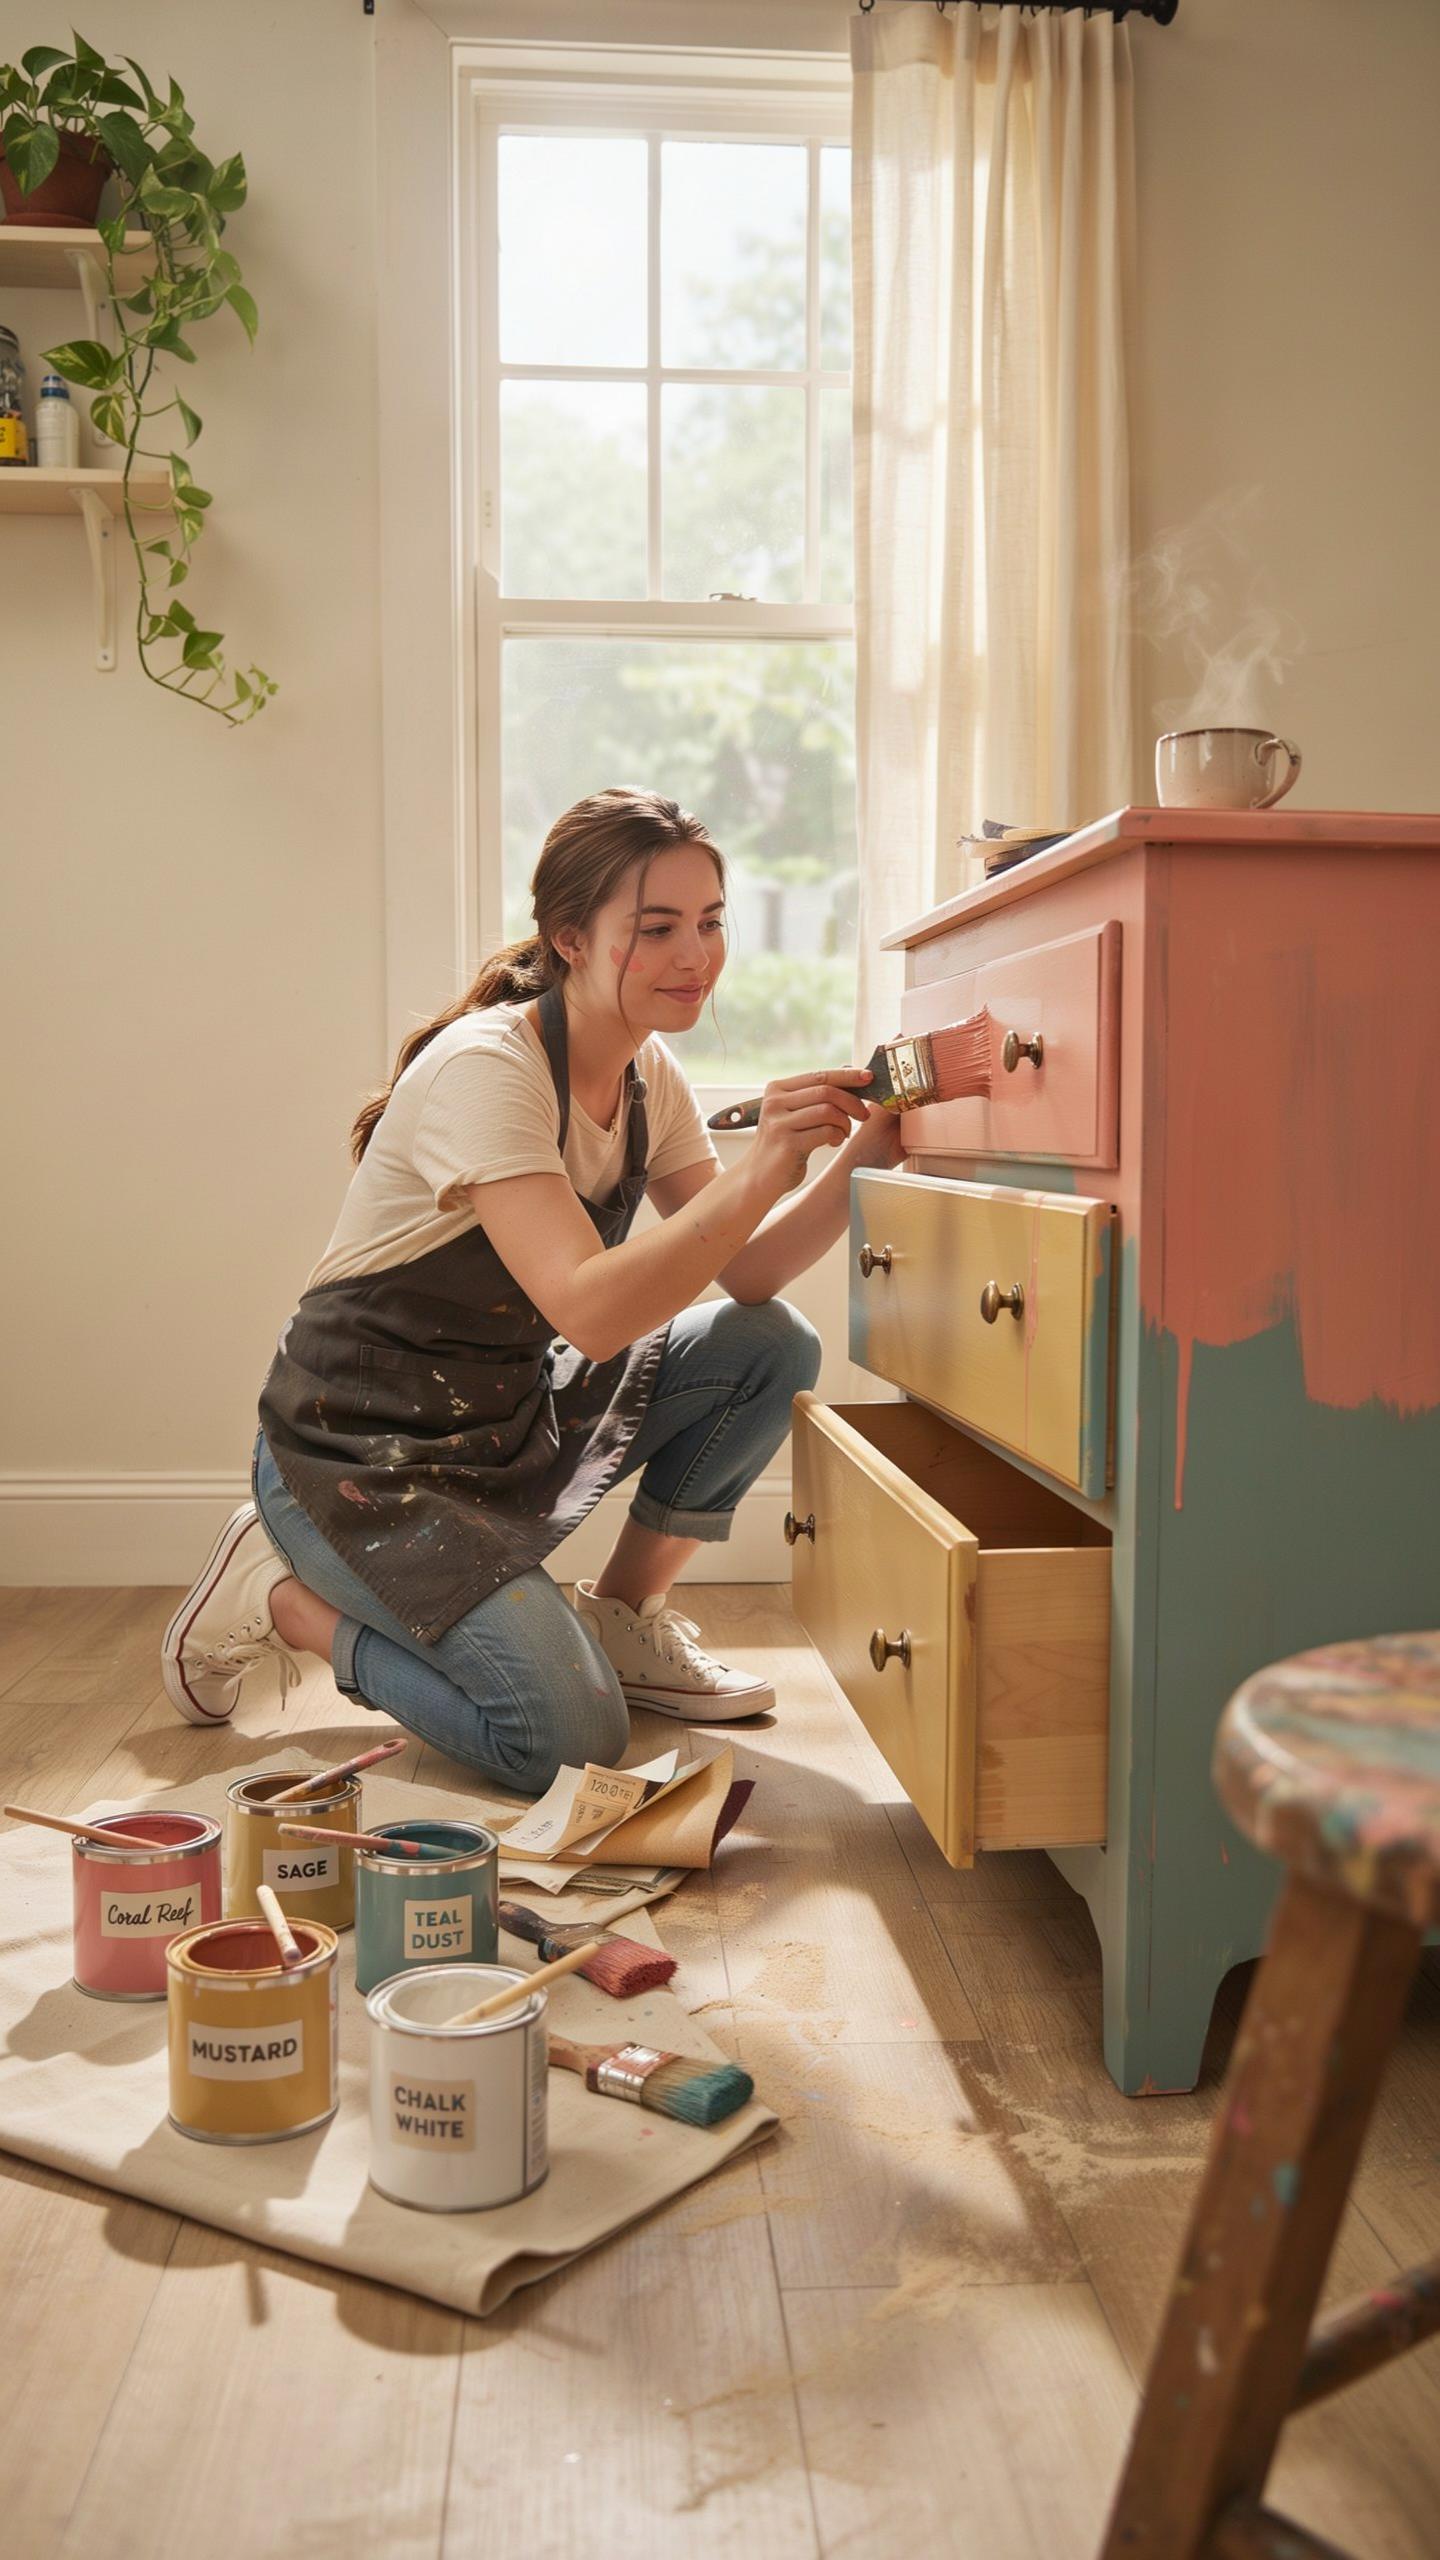
Evaluating Your Pieces For Makeover Potential
Inspect the piece before committing time and resources to it. Check for solid wood construction, tight joints, and stable legs. Minor surface damage like scratches or dents disappear during sanding and painting. Pieces with water damage, deep cracks in the wood, or loose joints waste your effort and materials.
Test structural integrity by applying pressure to joints and legs. Push on the frame to feel for movement or flex. Veneered surfaces with bubbling or peeling require different approaches than solid wood. Skip pieces that need extensive repairs. Your goal is finding furniture needing cosmetic work, not structural rehabilitation.
Essential Materials And Cost Effective Tools Needed
Start with 220-grit sandpaper, a tack cloth to remove dust, and quality synthetic paintbrushes that hold their bristles. Painter’s tape prevents paint bleeding on edges and hardware. Water-based primer seals wood and improves paint adhesion. Your chosen furniture paint completes the setup. Buying these items upfront eliminates mid-project delays and keeps spending predictable.
- 220-grit Sandpaper: Smooths the furniture surface and removes old finishes without aggressive wood damage or gouging.
- Tack Cloth: Removes all dust particles before priming and painting for a smooth, professional finish without bumps.
- Synthetic Paintbrushes: Hold their shape better than natural bristles and work well with water-based primers and paints.
- Painter’s Tape: Protects hardware, edges, and areas you do not want painted, ensuring clean lines and crisp finishes.
- Water-Based Primer: Seals wood pores, blocks stains, and improves paint adhesion while drying faster than oil-based alternatives.
Organize supplies in one location before starting. This prevents trips to the store mid-project and protects your budget. Water-based products clean up with soap and water, reducing cleanup time and costs compared to oil-based options.
Unlocking Creative Chalk Paint Furniture Ideas For Beginners
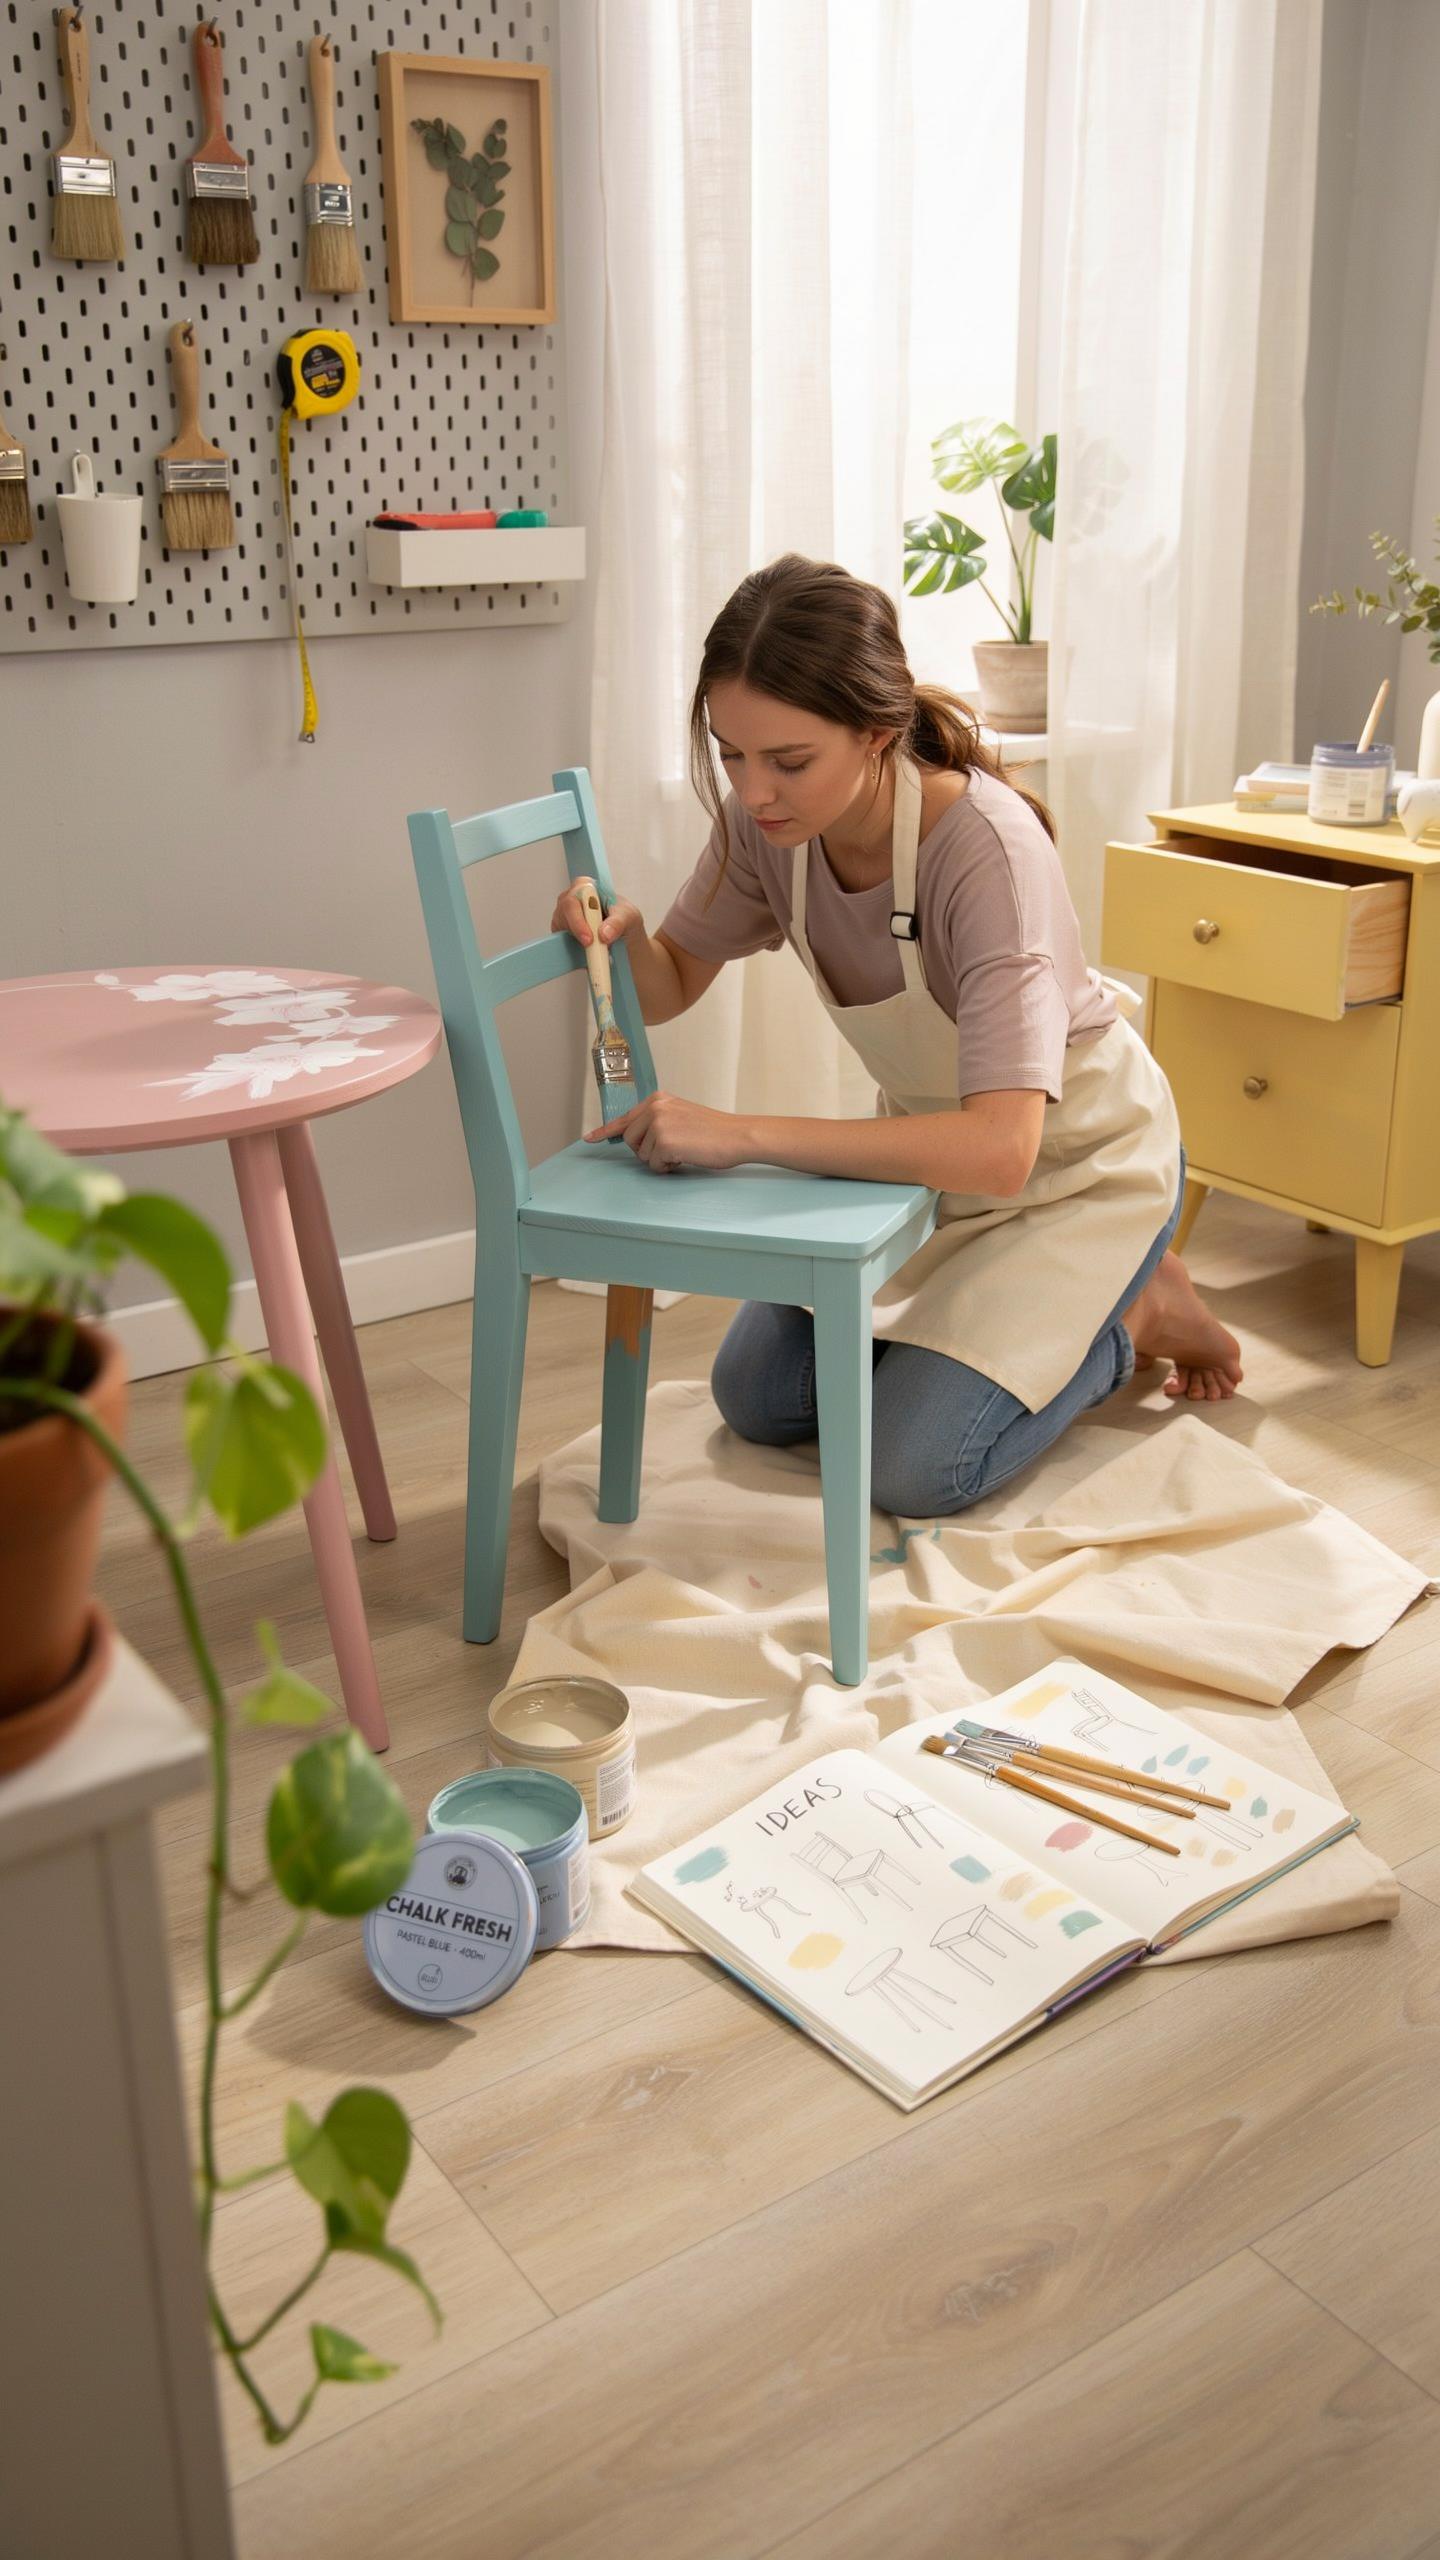
Why Chalky Finishes Are Perfect For First Timers
Chalk paint sticks to most surfaces without primer or extensive sanding. The formula contains calcium carbonate, which creates grip on wood, metal, and laminate. This eliminates the prep work that stops most beginners cold. You skip stripping, TSP washing, and multiple primer coats. The paint covers in one to two coats and dries within hours, not days.
The matte finish hides imperfections that ruin other paint types. Brush strokes vanish into the chalky texture. Minor drips, uneven application, and slight color variations disappear. This forgiving nature makes chalk paint the fastest path to professional results on a tight budget and timeline.
With just a little paint and a lot of love, you can breathe new life into an old piece of furniture. It is the most beautiful way to honor the past while making your home feel like a reflection of your own heart.
Achieving A Smooth Matte Finish Without Brush Marks
Thin coats beat thick ones every time. Dilute chalk paint with water at a 10 to 15 percent ratio to improve flow and leveling. Apply two to three thin coats instead of one heavy coat. Each layer dries quickly, letting you add the next coat within two to four hours.
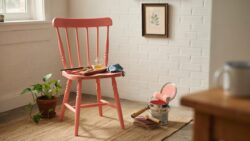
Sand between coats with 220 grit or higher sandpaper. Use light pressure and circular motions to knock down any raised texture. This step eliminates brush marks and creates a glass smooth base for the next coat. The final result is a uniform matte surface that looks intentional and professional, not rushed or amateur.
Selecting The Best Colors To Paint Bedroom Furniture For Serenity
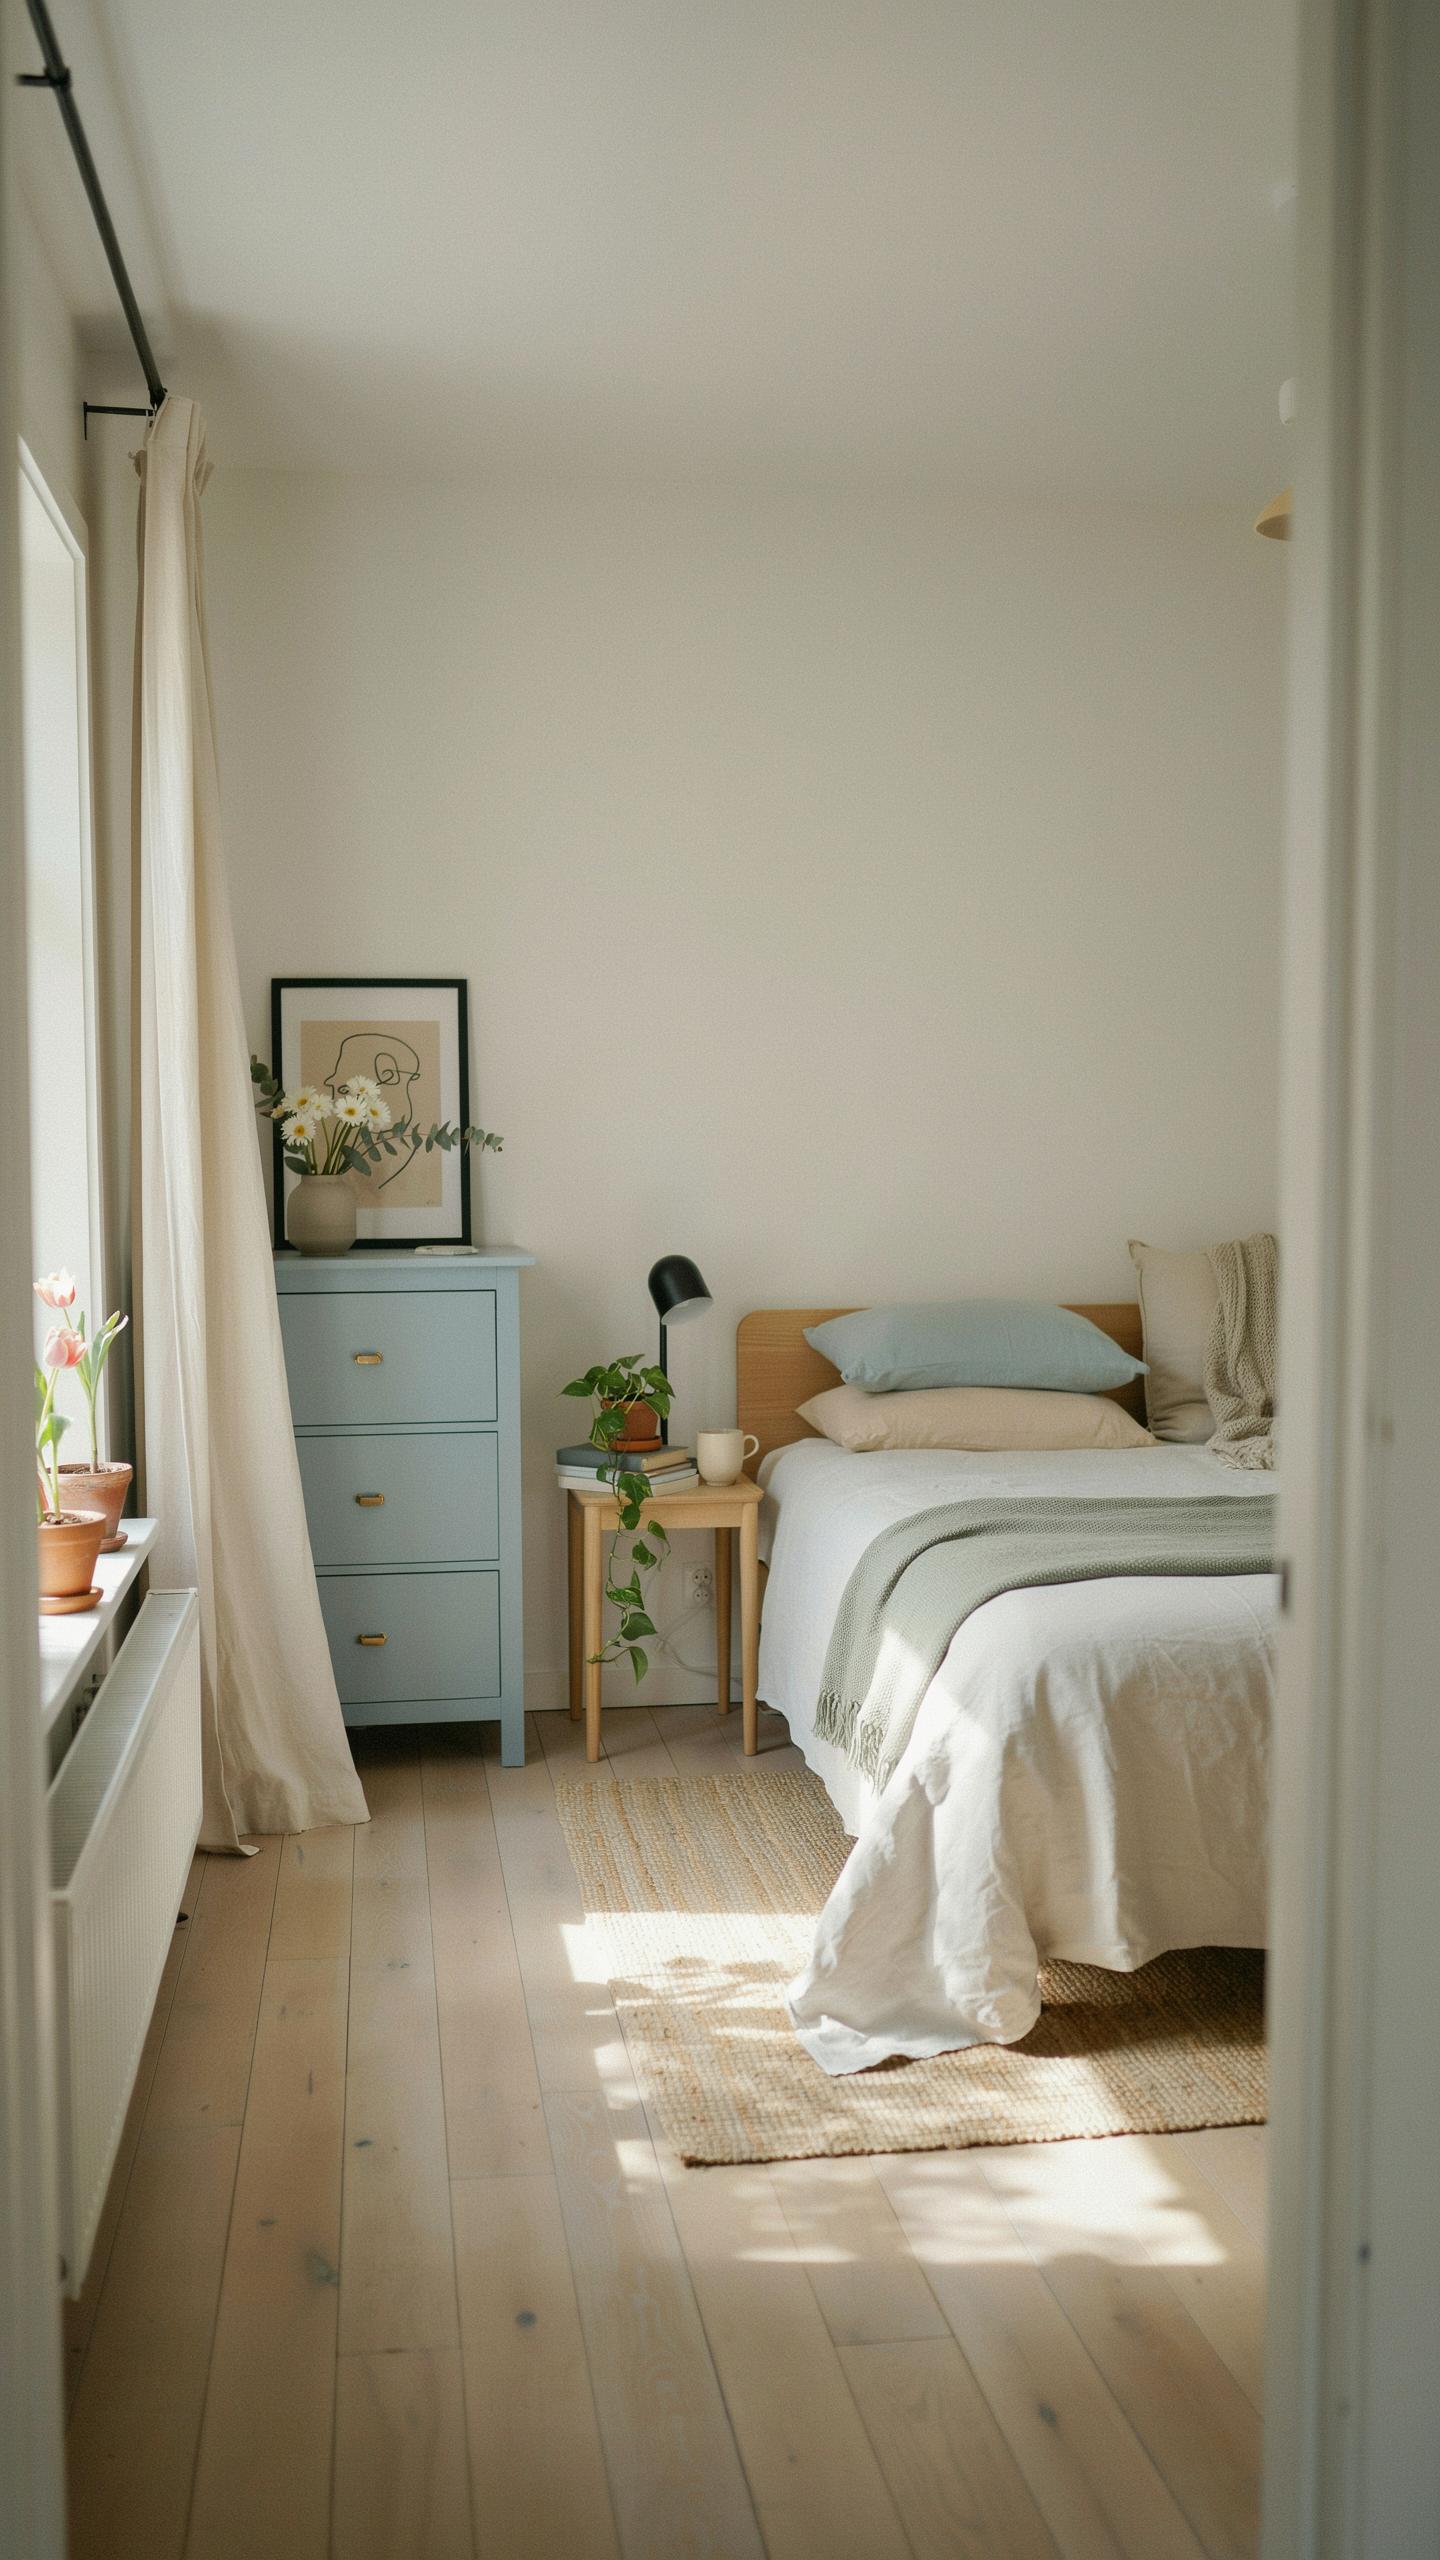
Calming Tones That Promote Restful Sleep
Color directly impacts your nervous system. Soft sages, muted blues, warm greys, and warm off-whites reduce visual stimulation and prepare your body for sleep. These tones work because they reflect less light and don’t trigger alertness. Paint your bedroom furniture these colors to lower cortisol levels and support deeper, more consistent rest cycles throughout the night.
Research in sleep science confirms that cooler, desaturated colors lower heart rate and blood pressure before bed. Warm neutrals like greige and cream perform similarly by avoiding contrast that demands visual attention. When selecting paint for dressers or headboards, stick to these proven tones. Avoid bright whites, bold jewel tones, and high-saturation colors that overstimulate and delay sleep onset.
Creating Contrast And Cohesion In Your Layout
Match your painted furniture to existing flooring and bedding to create visual unity. If your walls are neutral, use painted nightstands or wardrobes as anchoring elements that tie the room together. Choose paint colors one to two shades lighter or darker than your bedding to establish gentle contrast without jarring the eye.

Cohesion prevents the room from feeling chaotic or disjointed. Your painted pieces should feel intentional, not random. Pull color samples from your existing decor and hold them against flooring and textiles before committing to paint. This step ensures your newly painted furniture integrates seamlessly instead of competing for attention in the space.
How To Paint Furniture Distressed For A Classic Vintage Appeal
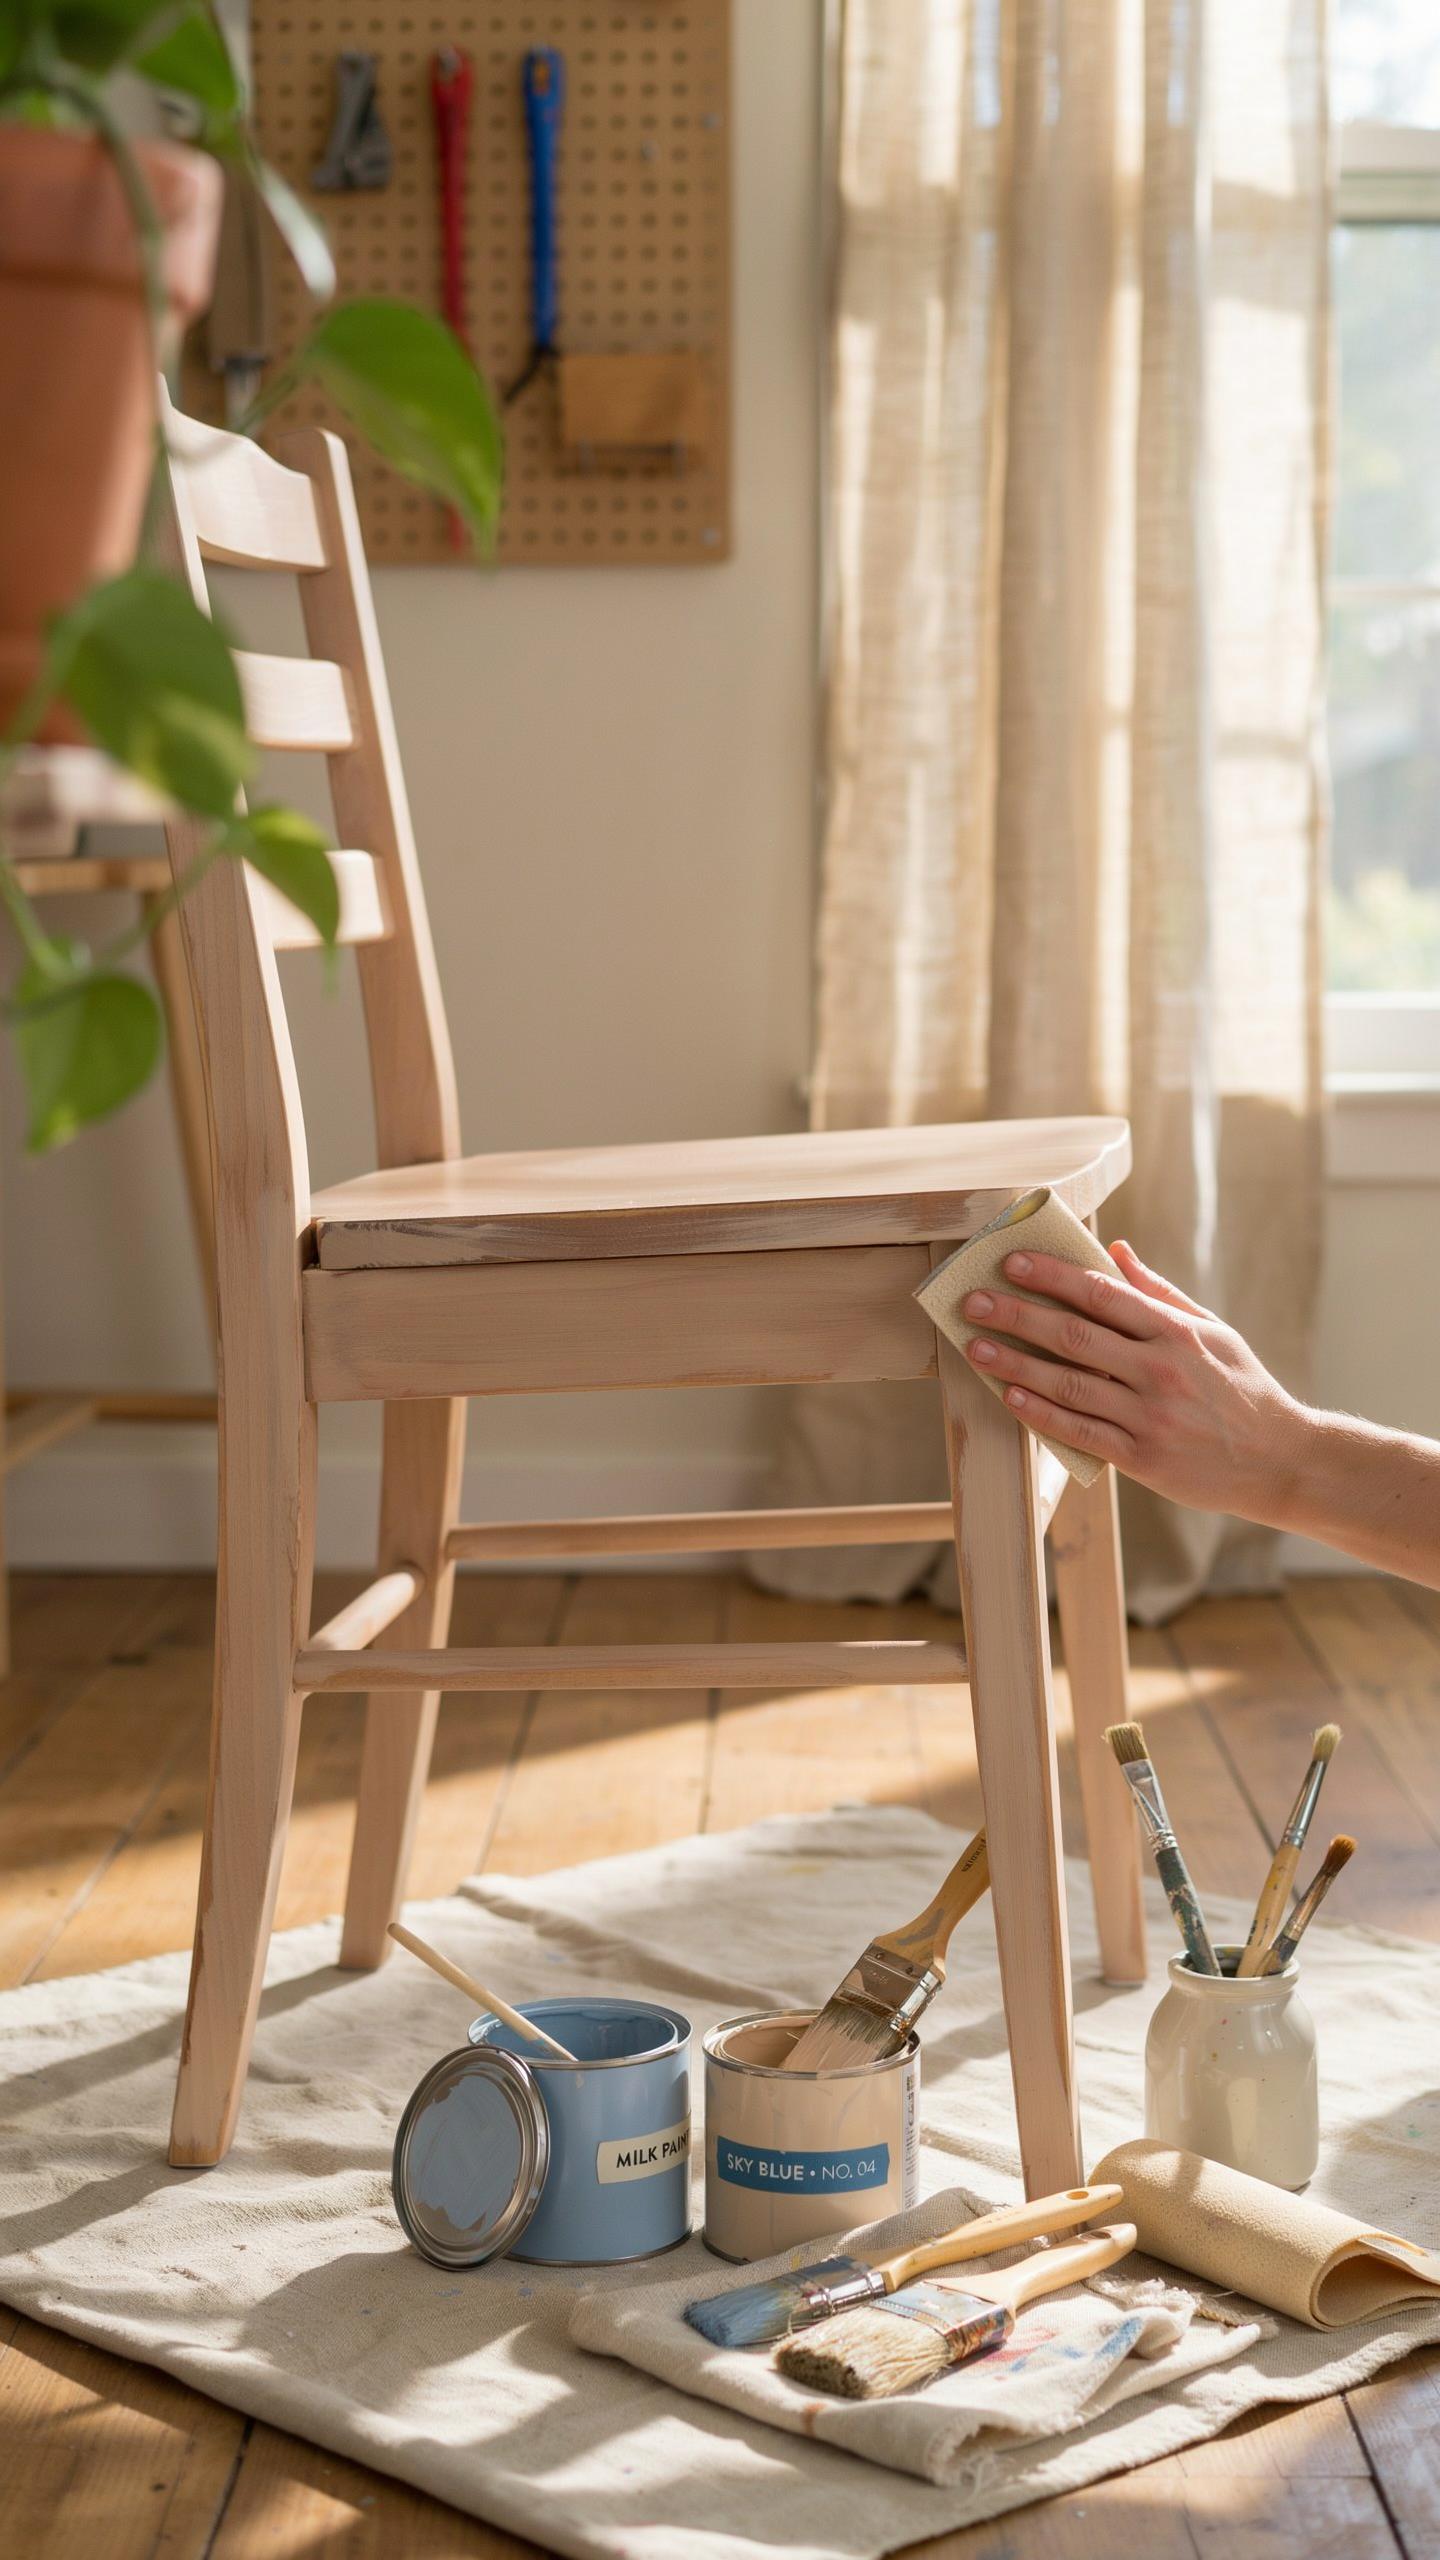
Step By Step Distressing Techniques Using Sandpaper
Distressing imitates natural wear patterns that develop over decades of use. This technique exposes underlying paint layers to create visual depth and authenticity. The goal is controlled wear on high-traffic zones, not random damage across the entire piece. Start with two contrasting paint colors: a base coat and a top coat in different shades.
- 120-150 grit sandpaper: Use this medium grit for initial distressing on flat surfaces and to remove the top coat efficiently without gouging wood underneath.
- 220 grit sandpaper: Apply fine grit for detailed work on edges, corners, and carved details where natural wear concentrates over time.
- Edges and corners: Sand these zones first since friction naturally wears furniture at transitions between surfaces and stress points.
- Raised details: Target moldings, panels, and decorative elements where dust and handling cause the most visible wear in vintage pieces.
- Damp cloth wiping: Remove all sanding dust after distressing to prevent it from embedding in your topcoat and creating a gritty texture.
After sanding, wipe the entire piece with a damp cloth to eliminate dust particles that would compromise your finish. Allow the furniture to dry completely before applying your protective topcoat. Sand strategically at edges where hands grip, on corners, and on any raised details. This approach creates believable wear rather than an over-worked appearance.
Protecting Your Weathered Look With Clear Topcoats
A clear topcoat locks in your distressed finish and protects exposed paint from moisture and handling damage. Polycrylic and furniture wax both work effectively, each offering different benefits for your specific situation. Choose based on your furniture’s location and traffic level. Non-yellowing formulas prevent amber discoloration that can shift your color scheme over time.

Polycrylic dries fast and creates a durable plastic barrier ideal for pieces with high daily contact like dining tables and chairs. Furniture wax penetrates slightly into exposed wood, offering a natural appearance and easier repair without visible seams. Apply thin, even coats rather than one thick layer to avoid drips and maintain clarity. Two coats of either product provide adequate protection for most home furniture.
Exploring Trending Furniture Colors For A Modern Home Refresh
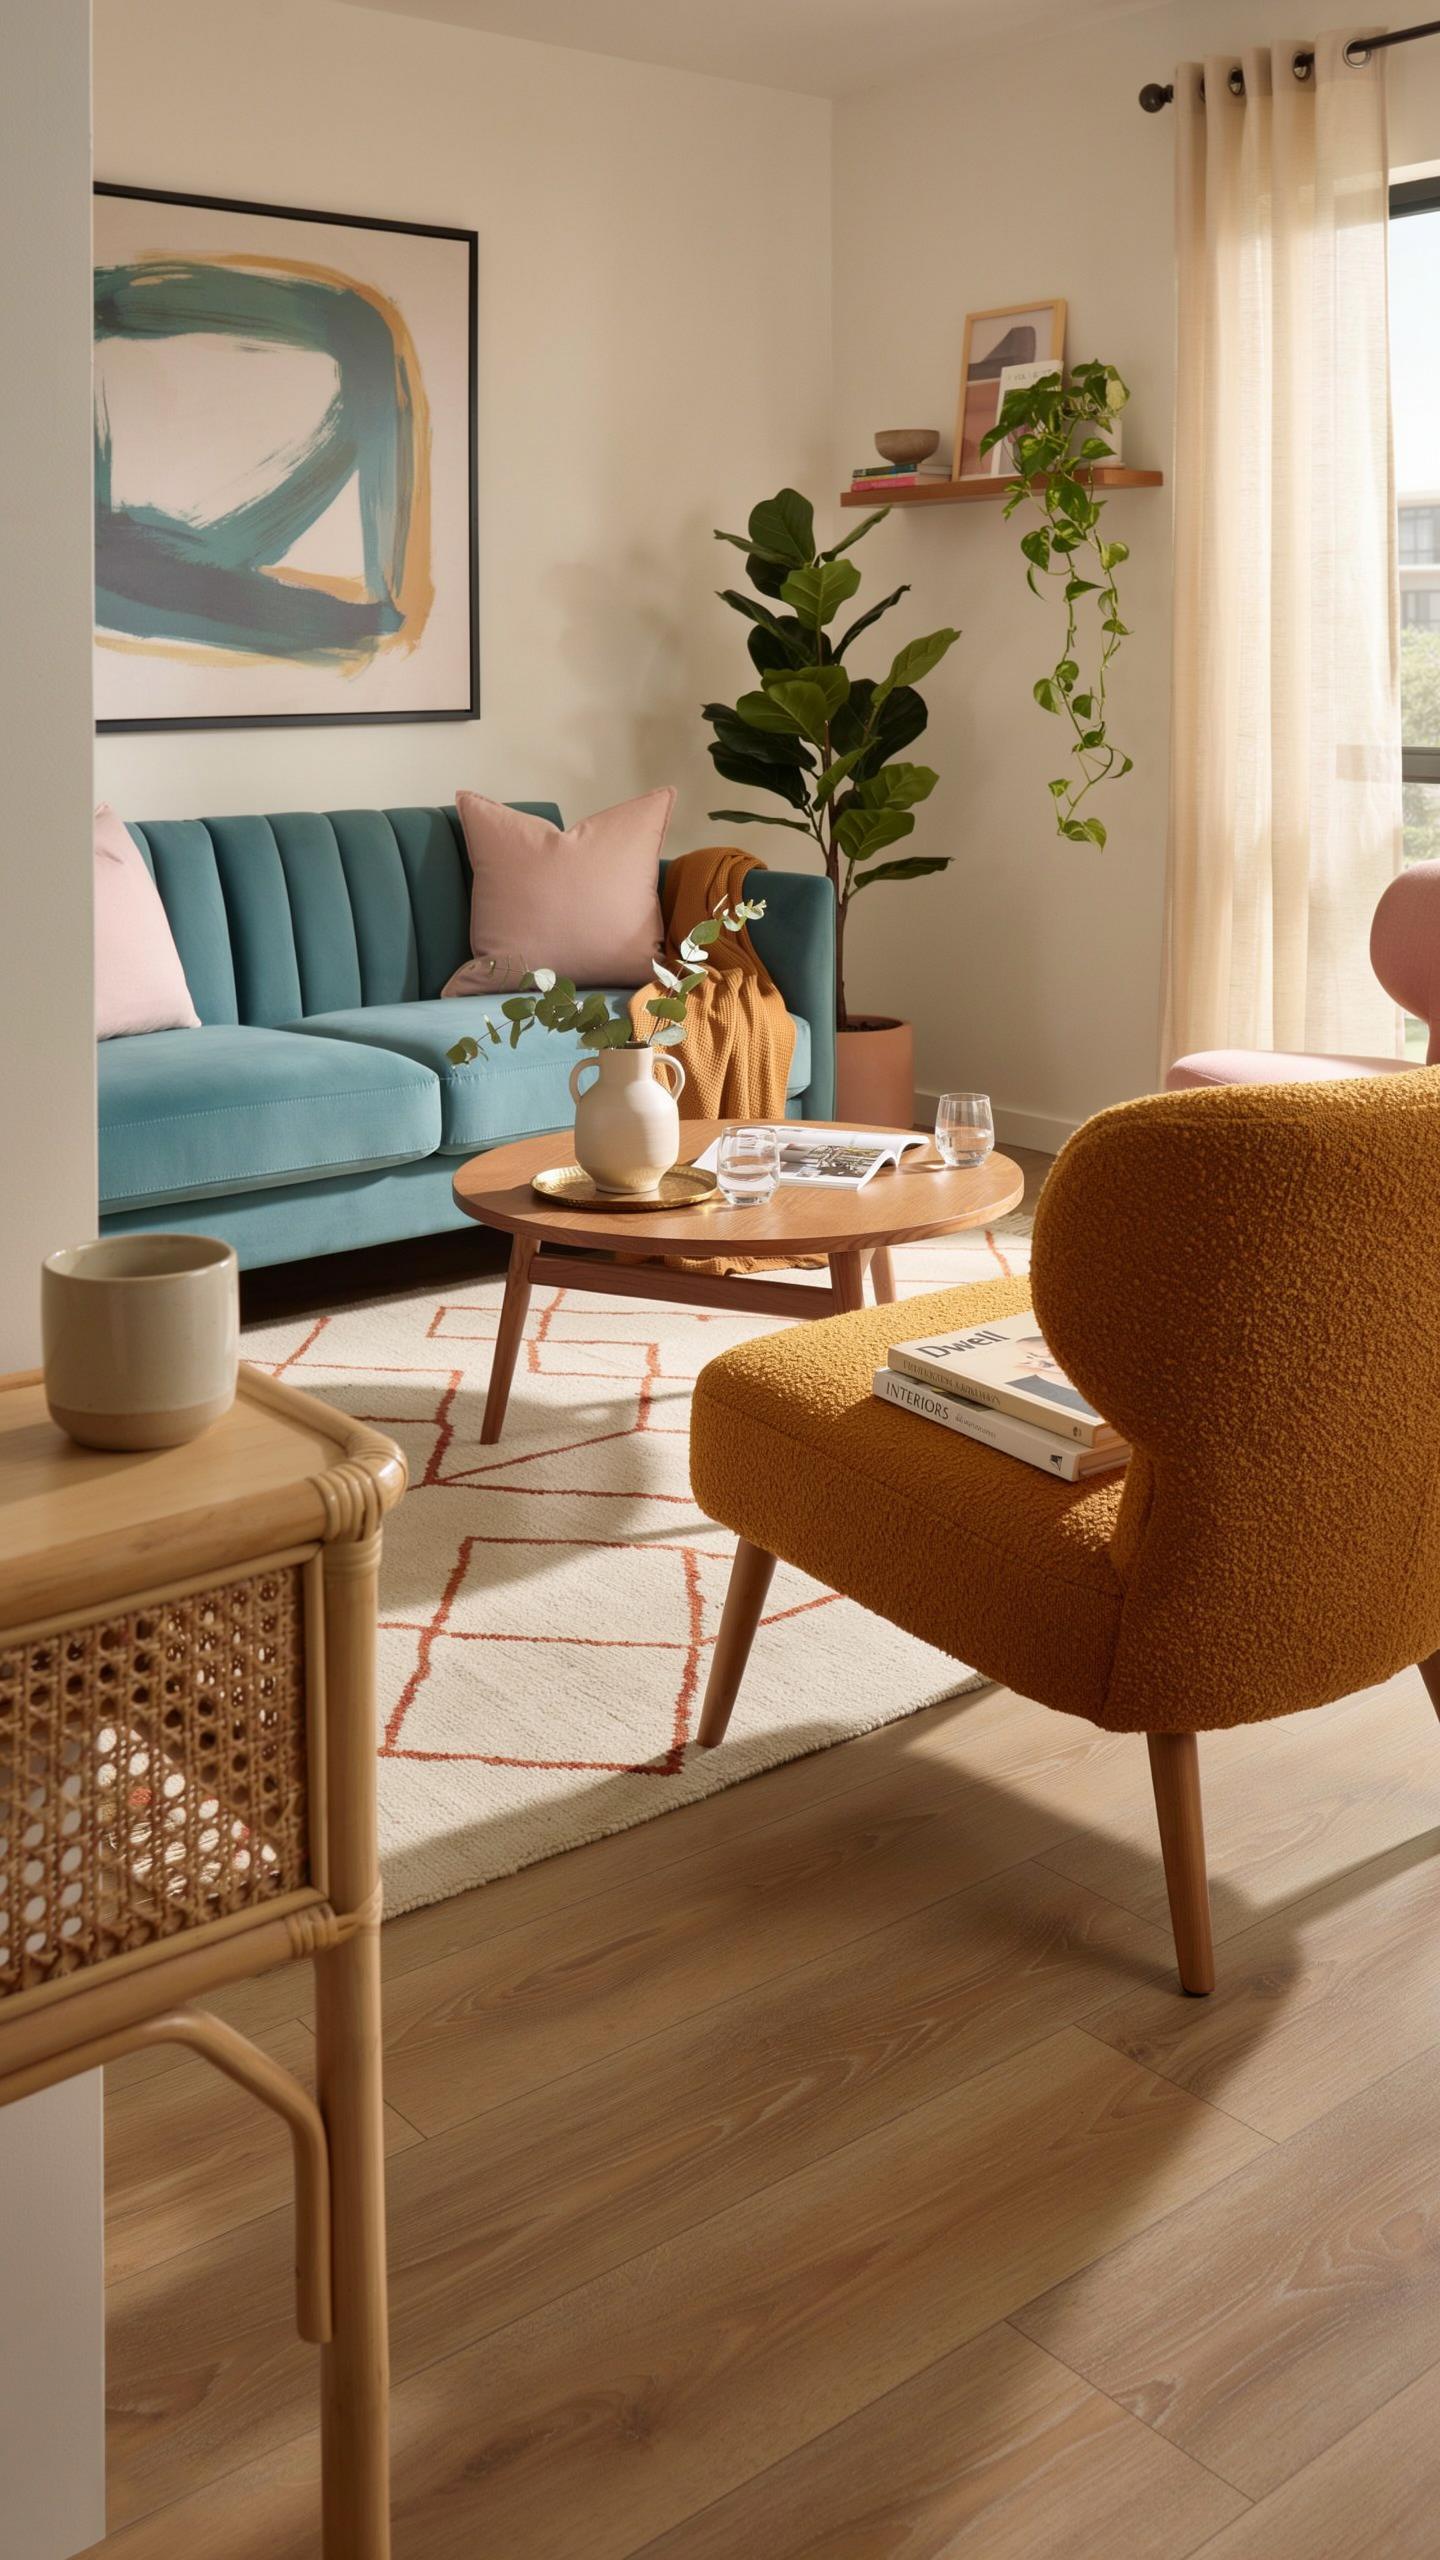
Integrating Earthy Greens And Rich Jewel Tones
Contemporary design trends favor organic, saturated colors that anchor spaces visually. Forest green, deep charcoal, and rich jewel tones like emerald and sapphire deliver impact on dated furniture. These colors work because they mask wear patterns while projecting intentional design choices. Apply these hues to case pieces like dressers and nightstands for maximum effect.
The reason these colors modernize furniture relates to contrast and visual weight. Dark, muted tones signal quality and intentionality. A forest green dresser reads as curated rather than thrifted. These colors pair effectively with both traditional and minimalist interiors. Budget painters achieve designer results by selecting one dominant jewel or earth tone per piece.
Matching Contemporary Hues To Your Existing Decor
Undertone matching determines whether a color harmonizes or clashes with existing elements. Examine your flooring, trim, and wall paint under natural light. Cool undertones in wood and trim require cool paint colors like charcoal, navy, or cool-toned greens. Warm undertones pair with earthy olives, terracotta, and warm beiges.
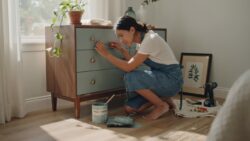
Test paint samples on your furniture in actual lighting conditions before committing. Morning light and evening light reveal different undertones in both paint and existing elements. Photograph samples next to your flooring and trim for comparison. This step prevents costly mistakes and ensures your painted piece integrates seamlessly into your room’s existing color structure.
Getting Creative With Teal Distressed Furniture Accents
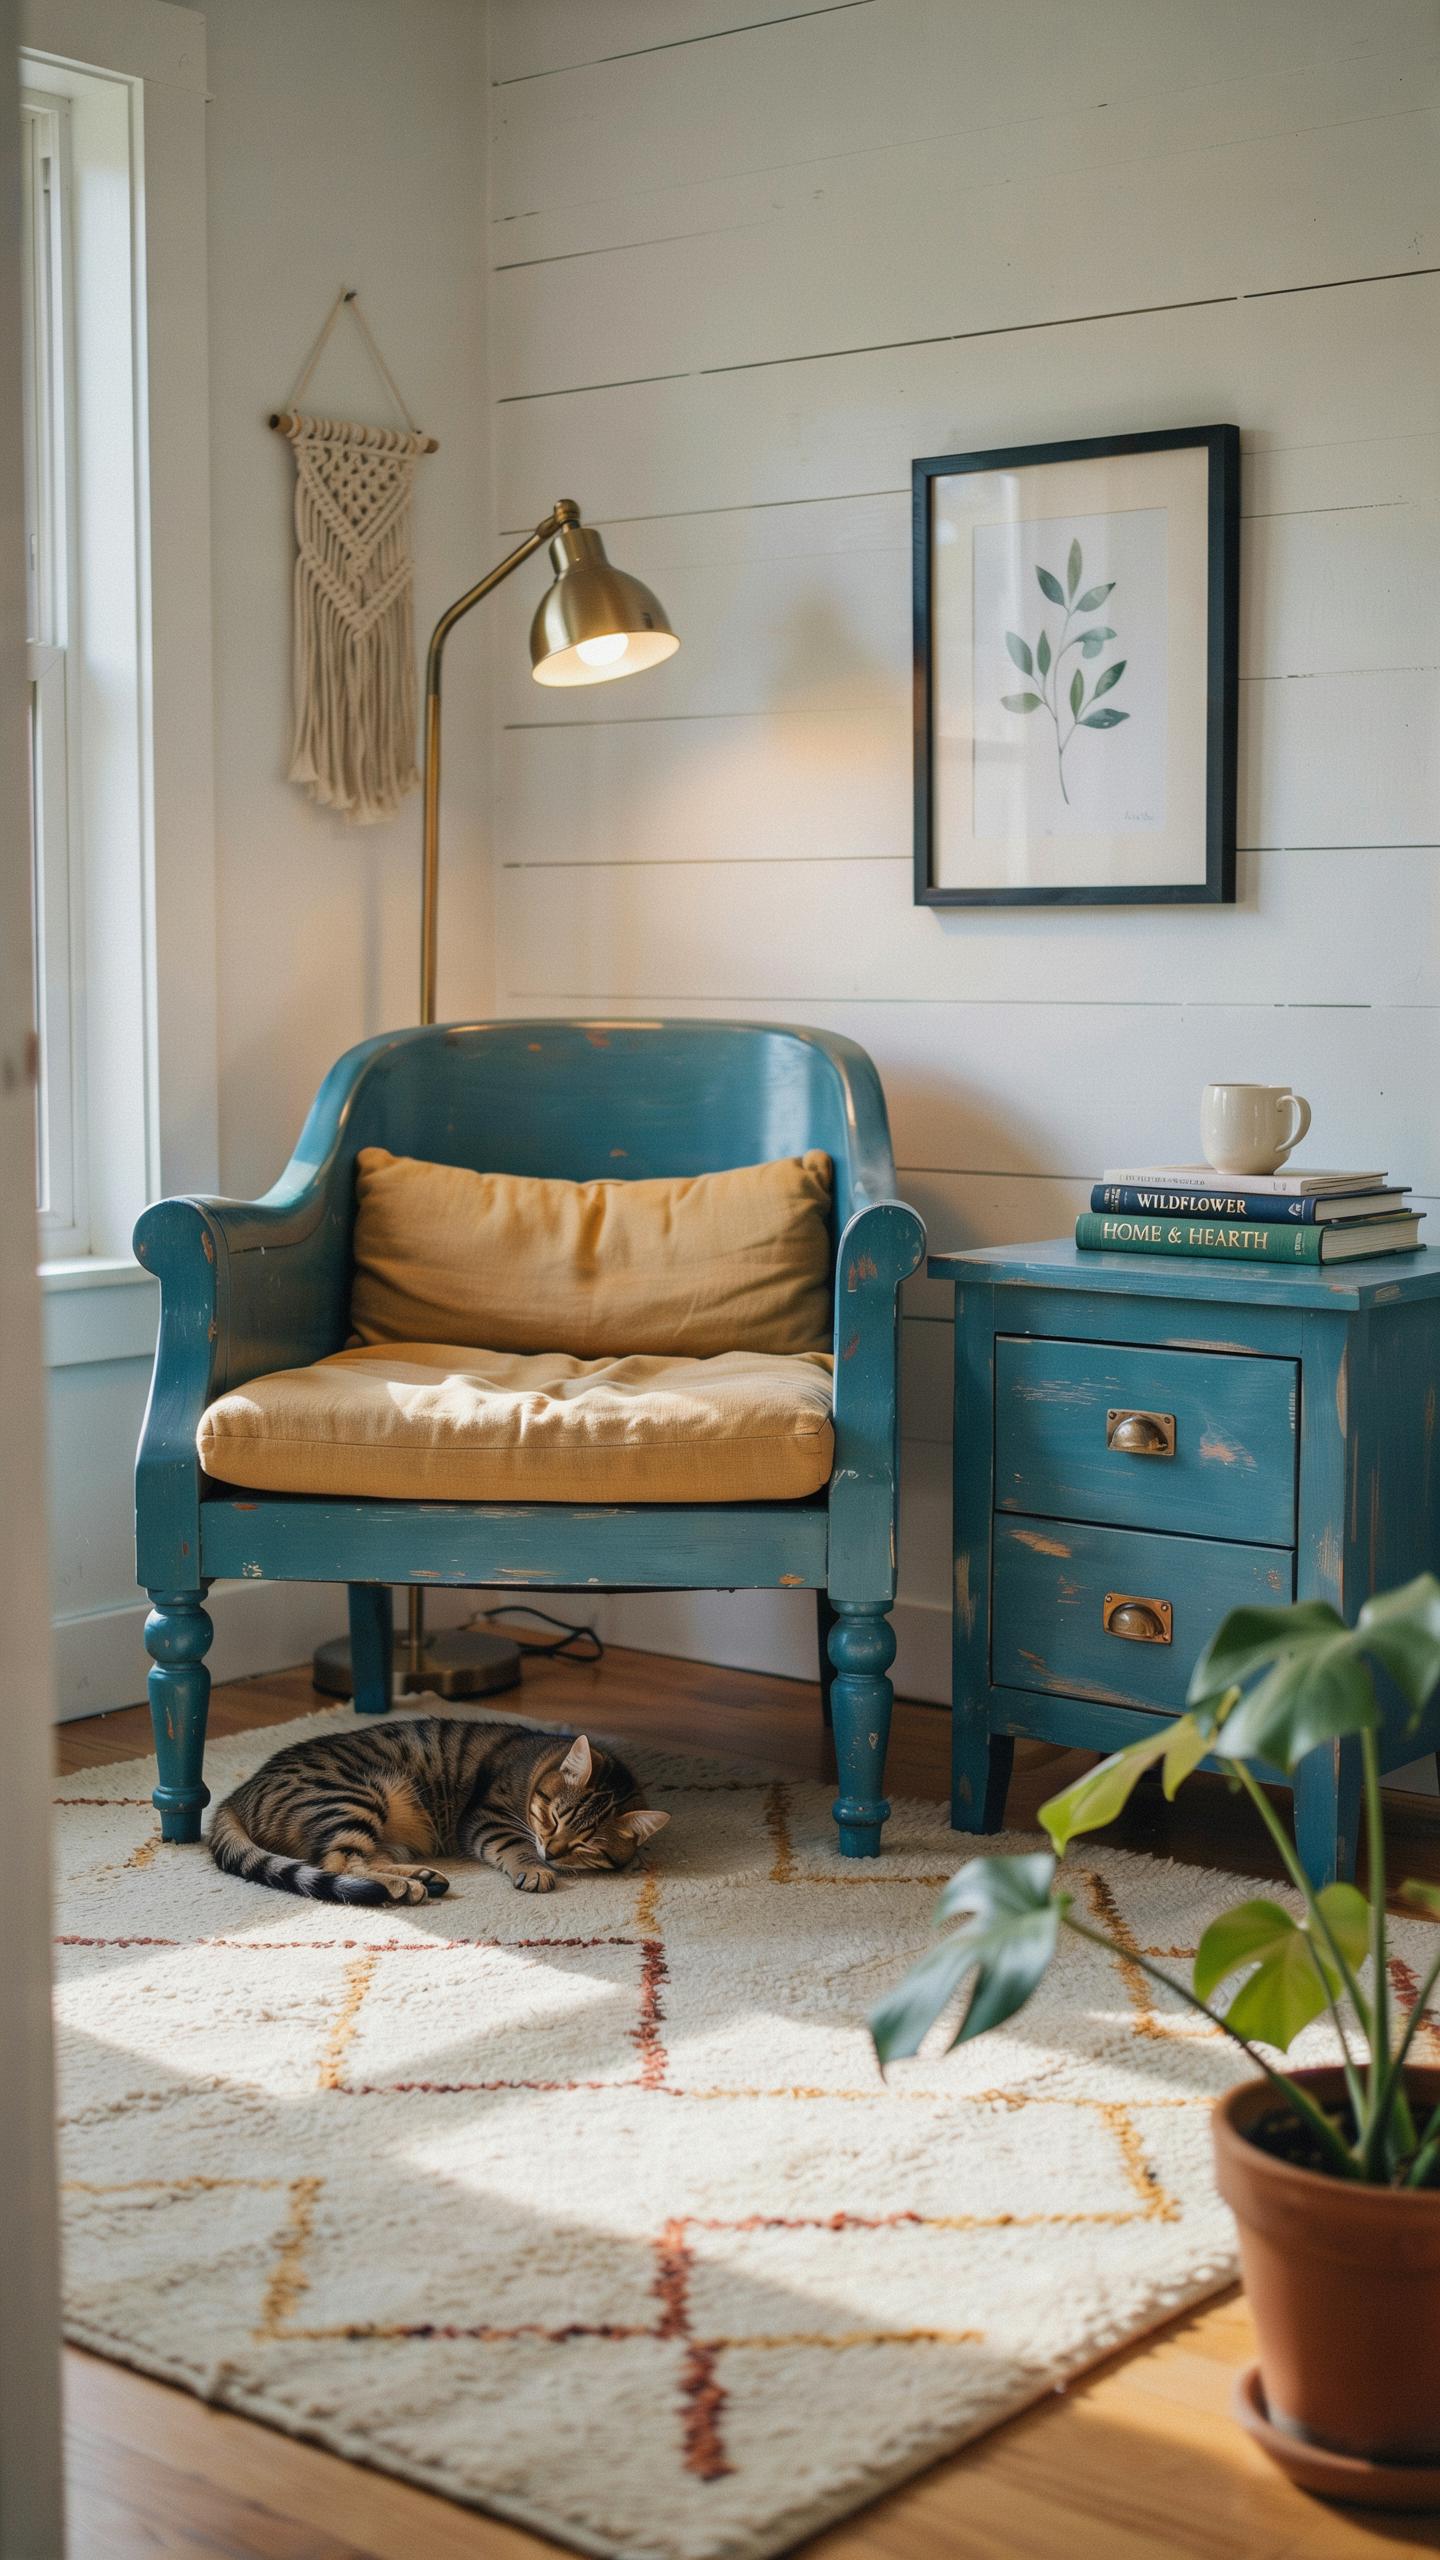
Adding A Vibrant Pop Of Color To Neutral Spaces
Teal cuts through beige and white rooms instantly. One painted piece breaks the monotony and anchors the space. The color sits between blue and green, making it versatile enough for multiple design directions. Distressed edges add texture and prevent the piece from looking too new or polished.
The weathered look grounds bold color choices. Rough edges and exposed wood underneath create depth that flat paint cannot achieve. This combination works because it balances visual weight, teal provides drama while distressing adds age and authenticity. The result feels intentional rather than trendy.
Blending Coastal And Rustic Styles Seamlessly
Teal connects to water and sky naturally. Coastal design relies on this color association for authenticity. Rustic furniture accepts teal without clashing because both styles embrace natural, worn finishes. Dark wax in cracks mimics sun damage and salt weathering found on actual seaside structures.

Apply dark wax only to recessed areas and joints. This technique creates shadow lines that suggest age and exposure. The contrast between teal paint and dark wax edges produces the sun-bleached effect common in beach cottages. This method requires minimal skill and costs less than refinishing with multiple paint layers.
Elevating Your Projects With Glazed Furniture Ideas
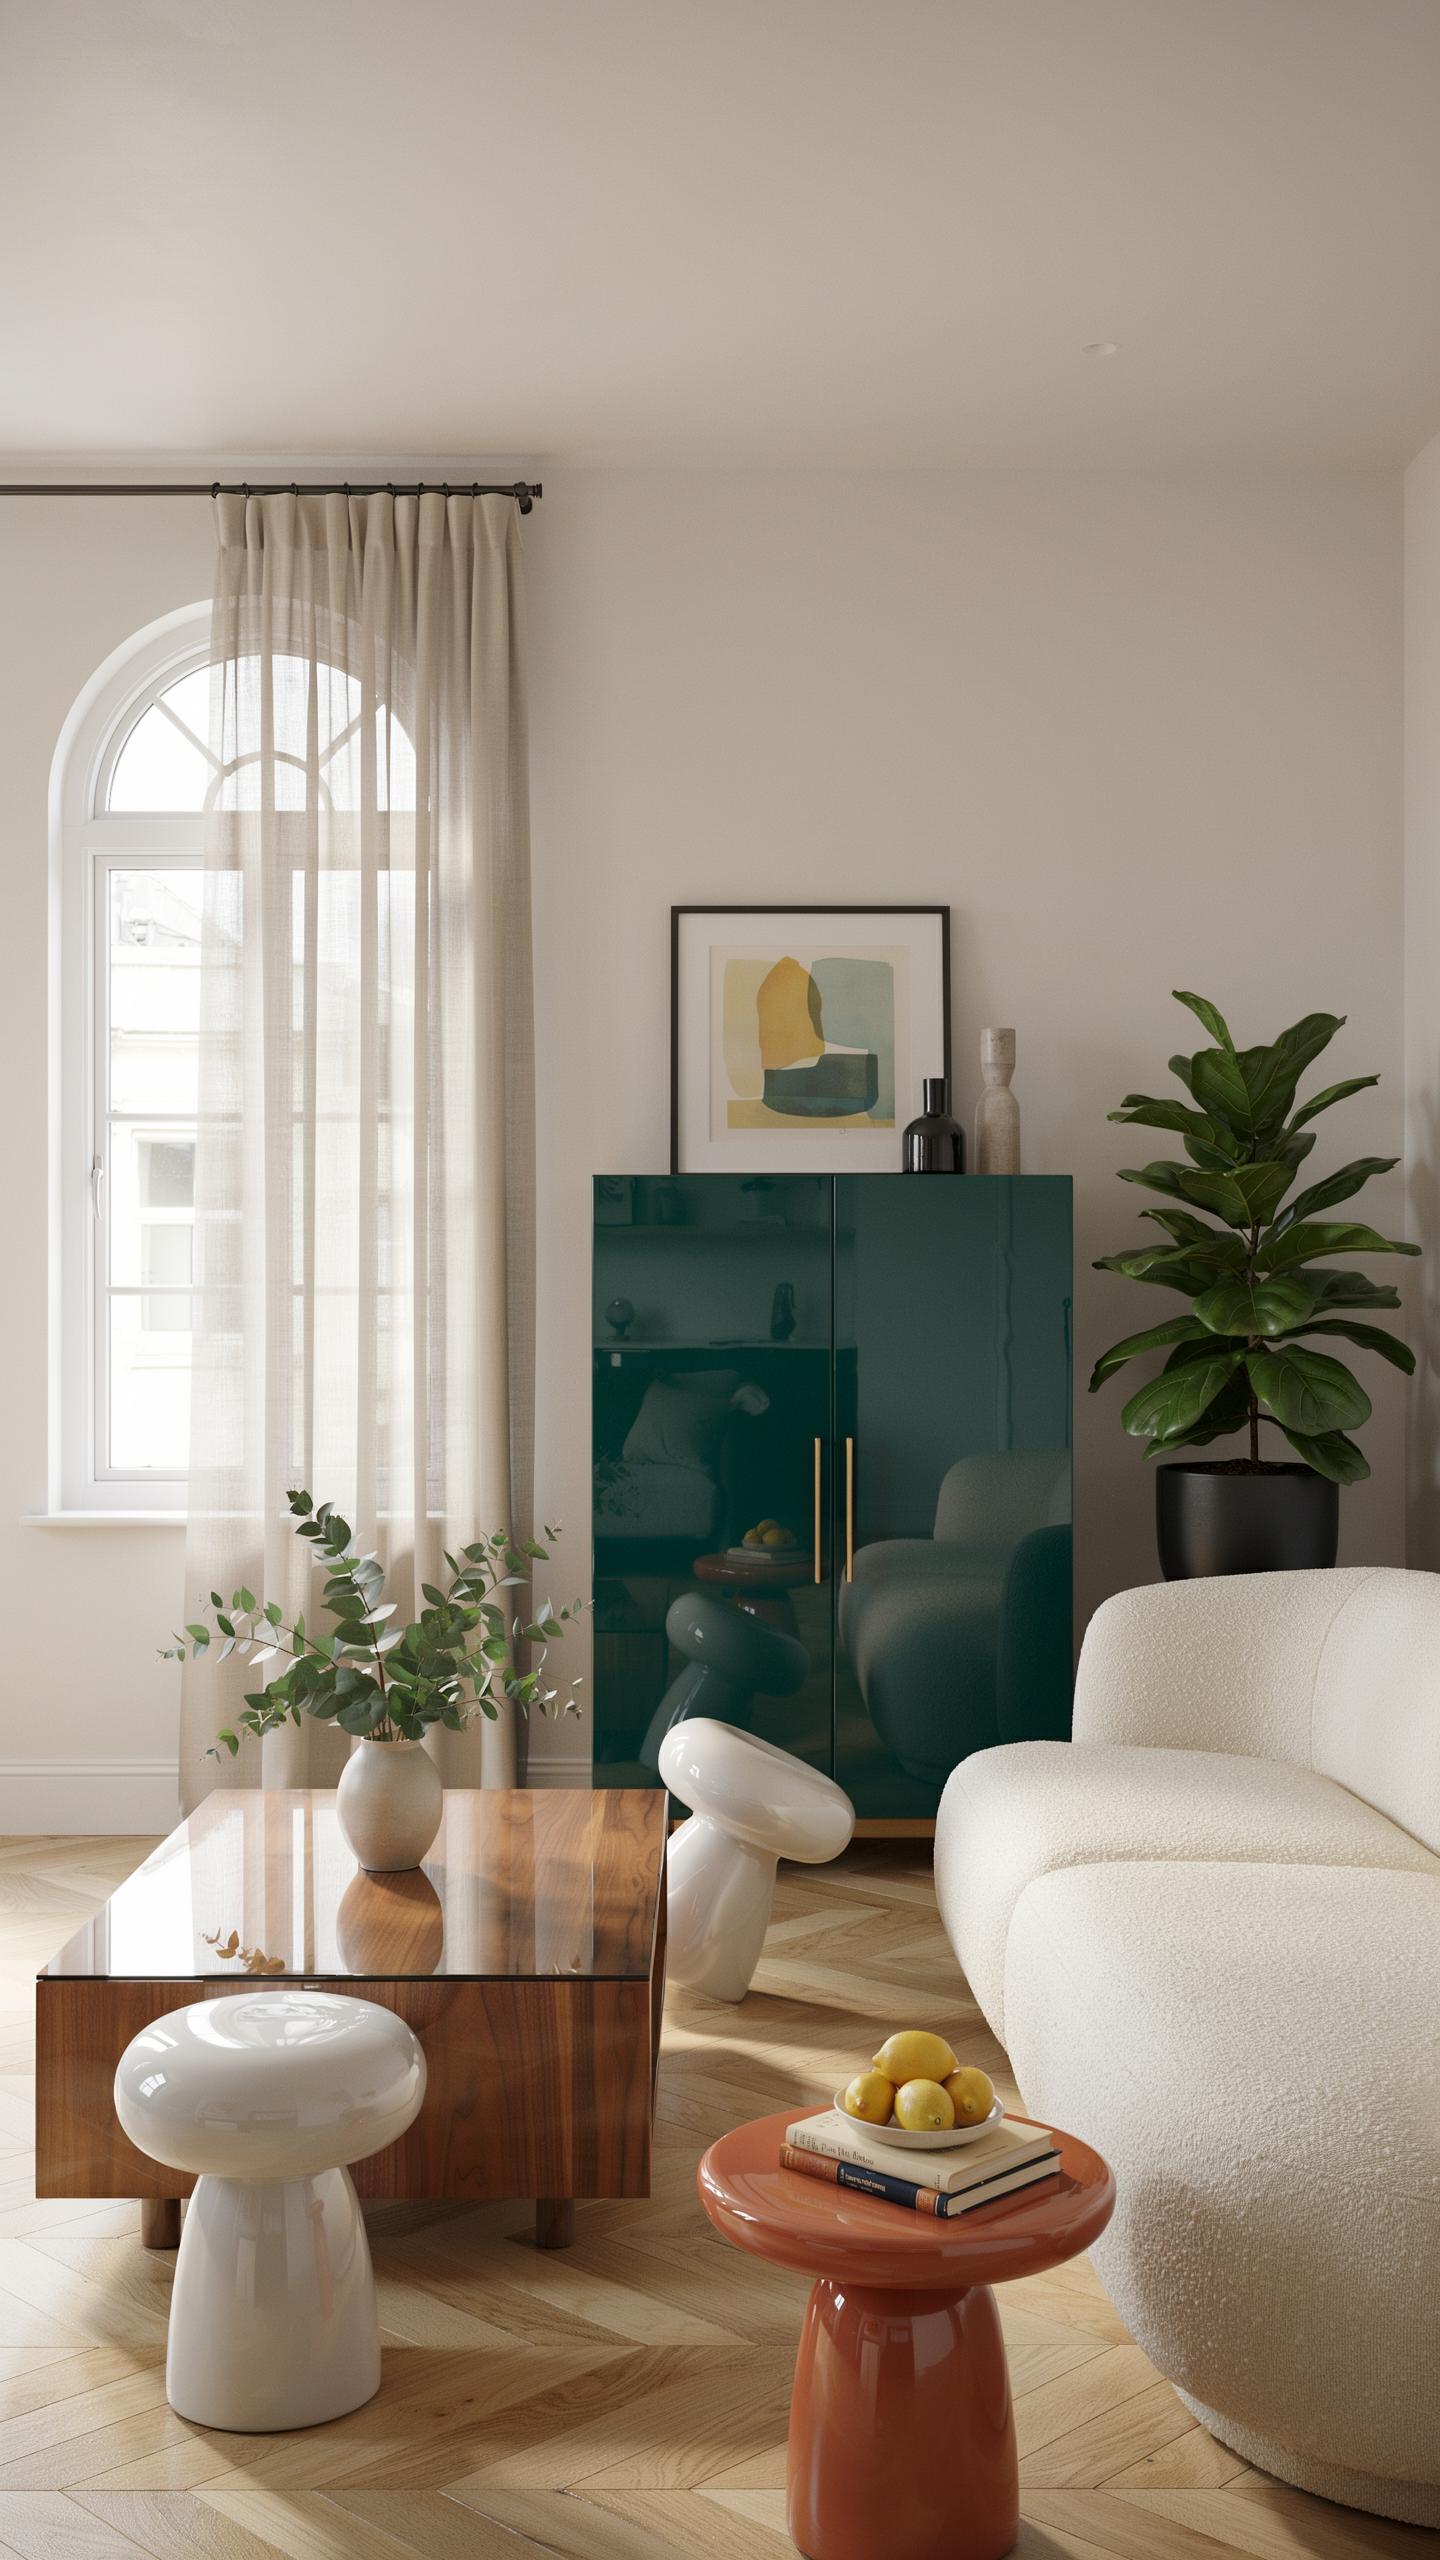
Using Glaze To Highlight Ornate Wood Carvings
Glazing works by applying a semi-translucent tinted layer over completely dry paint. The glaze settles into recessed areas, fluting, and carved details while you wipe it from flat surfaces. This process takes minutes and requires no special skill. The result emphasizes architectural details that flat paint alone cannot achieve.
The technique works on any carved furniture piece. Ornate chair legs, table edges, cabinet frames, and decorative moldings all respond well to glazing. You control the intensity by adjusting glaze thickness and wipe pressure. Darker glazes create more dramatic shadows. Lighter glazes produce subtle depth. Either approach costs under fifteen dollars in materials.
Applying Dark And Clear Glazes For Antique Depth
Work in small sections to prevent glaze from drying before you wipe it. Brush tinted glaze generously into every crevice of your painted piece. Use a damp lint-free cloth immediately to wipe the glaze from high points and flat areas. The pigment remains trapped in recessed spots, creating authentic shadow effects found in aged furniture.
Dark glazes mimic centuries of dust and patina accumulation. Clear glazes add dimension without color change. Both types dry within hours. The technique requires only basic paintbrushes, glaze, and cotton cloths. No advanced tools or experience matter. Anyone executing this method produces professional-looking results on the first attempt.
The Final Reveal Celebrating Your Redesigned Furniture Paint Job
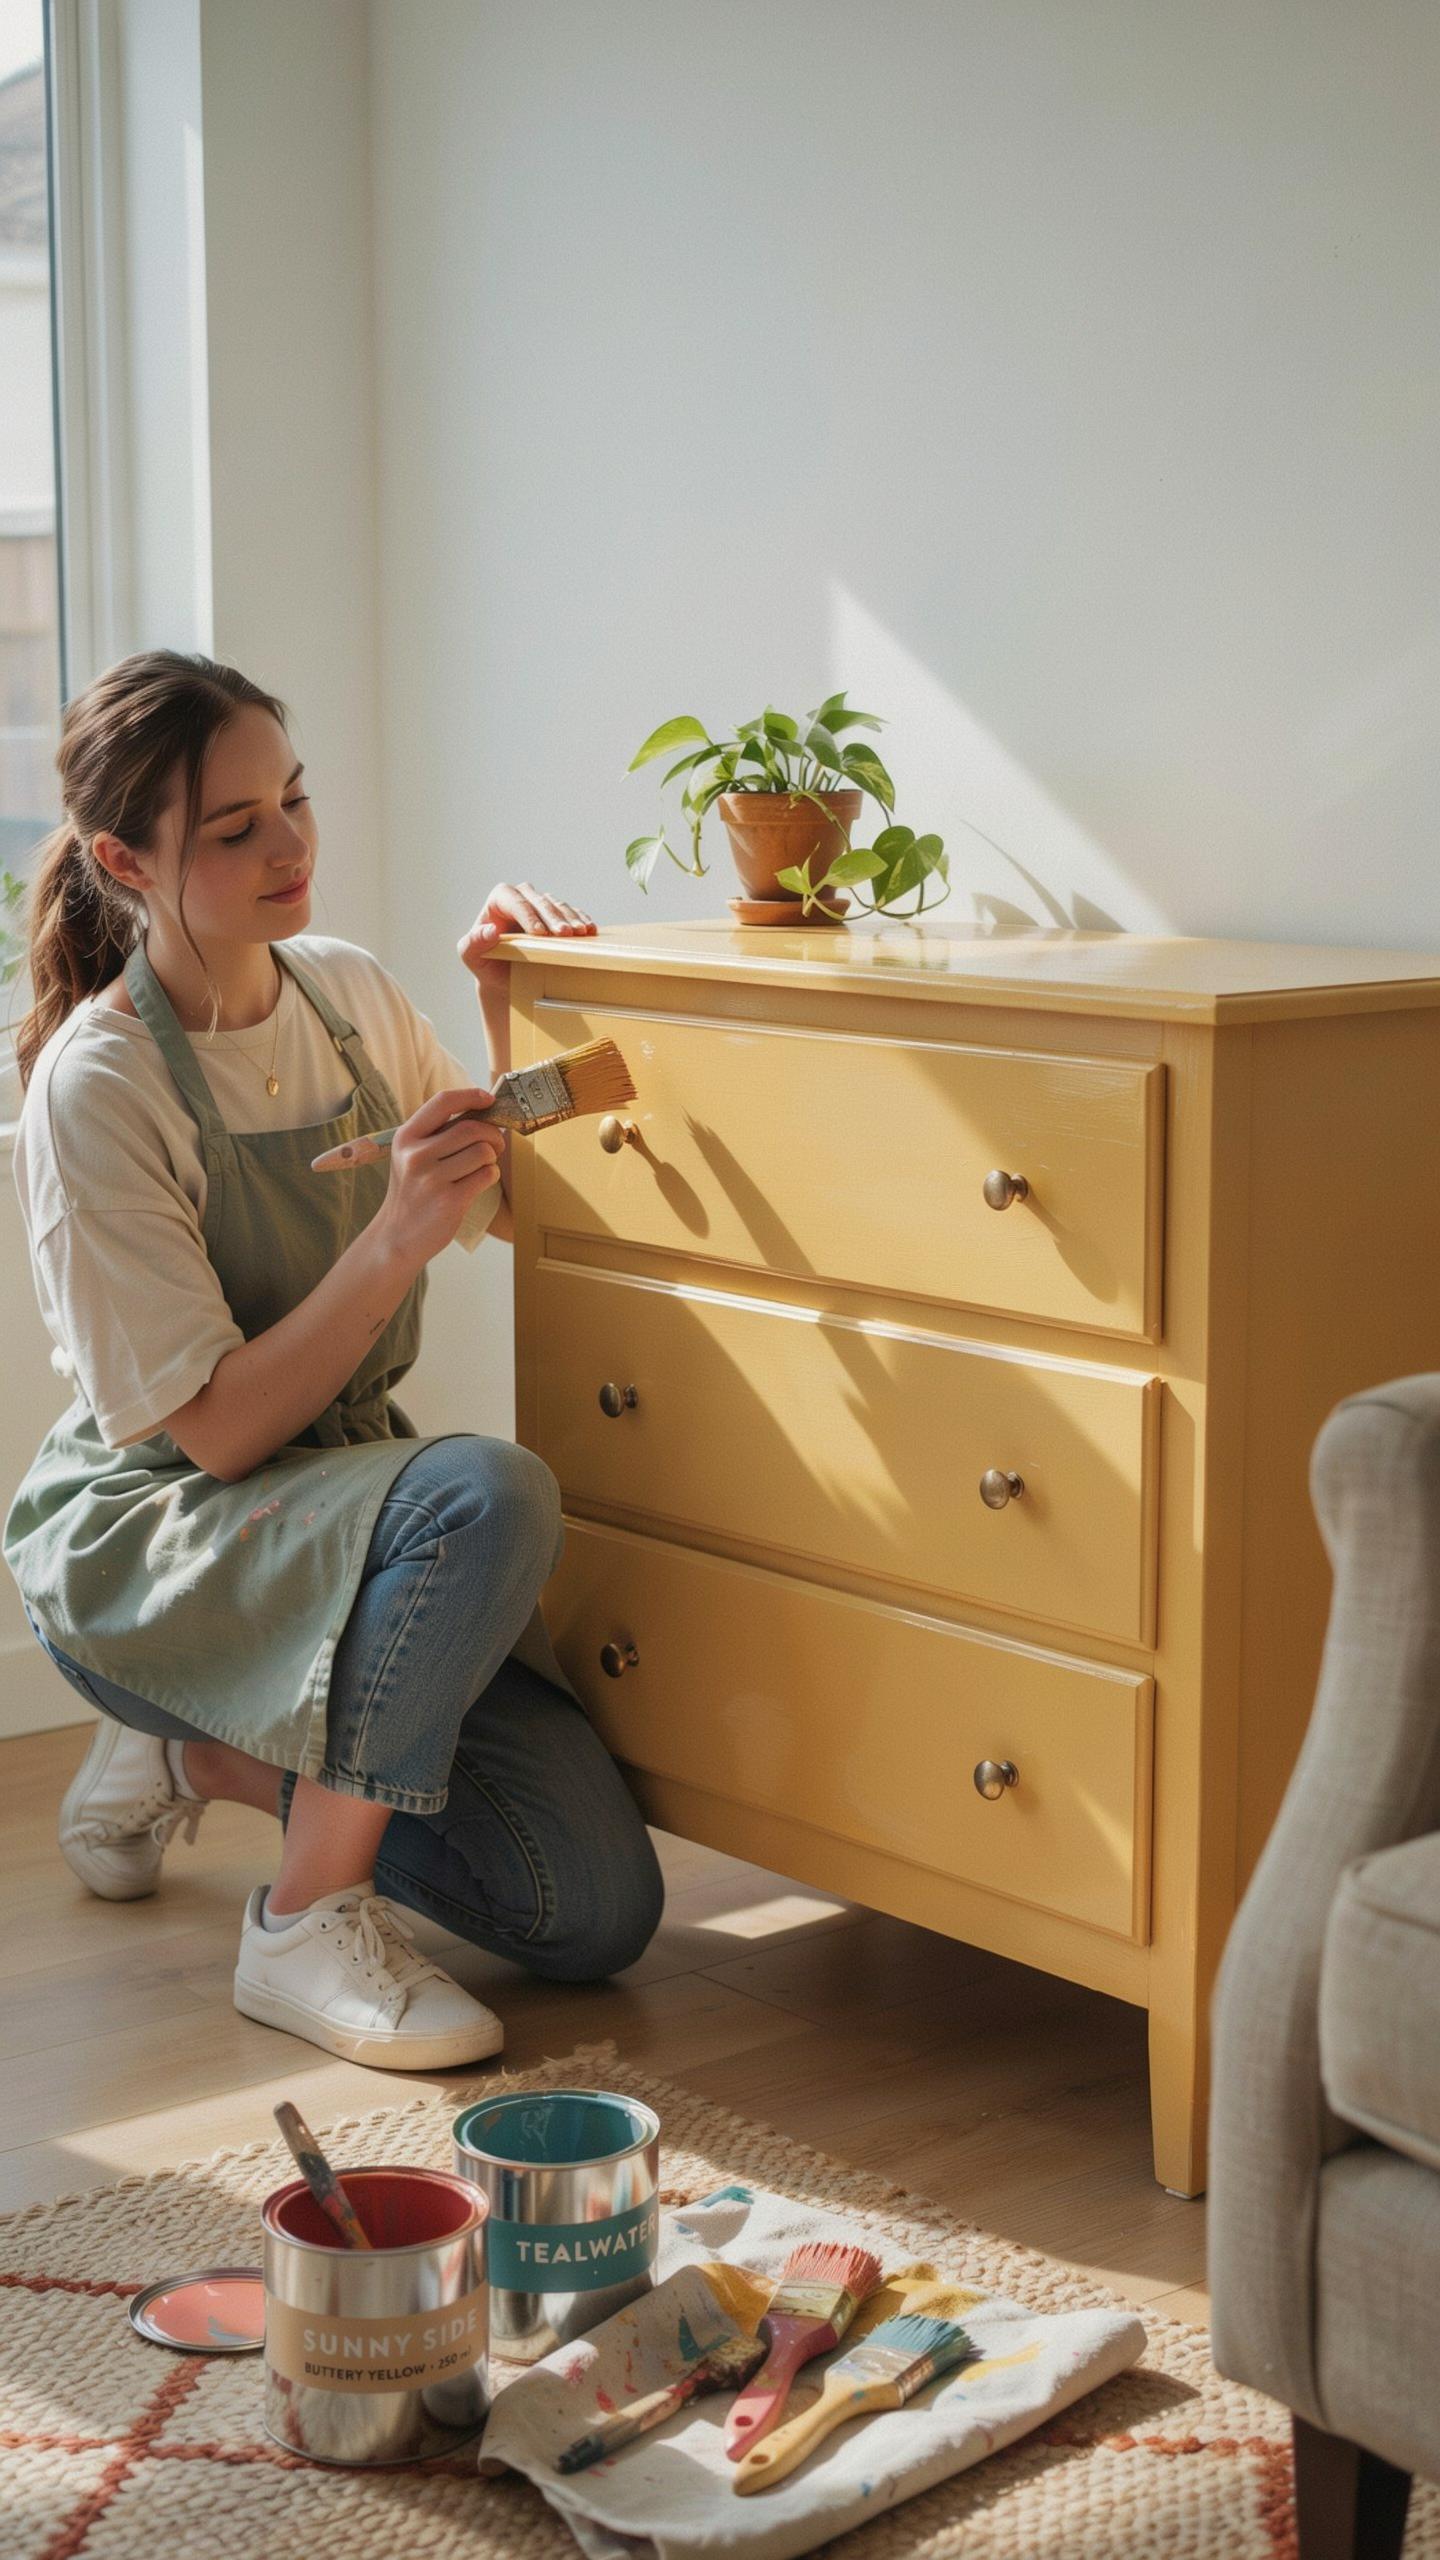
Budget Friendly Painted Furniture Makeover Technique Upkeep
Maintaining your painted furniture requires basic discipline and nothing more. Skip harsh chemical cleaners that strip finishes. Use coasters under hot drinks to prevent rings and damage. Wipe surfaces monthly with a damp microfiber cloth to remove dust and grime without degrading the paint layer underneath.
Your investment in paint, primer, and labor stays protected through simple habits. Avoid placing wet items directly on surfaces. Keep the piece out of direct sunlight to prevent fading and UV damage. This approach extends the life of your finish from years into decades without refinishing costs.
Staging And Decorating Your Restored Statement Piece
Position your restored piece where light hits it to showcase your work quality. The paint cure requires 24 to 72 hours before full handling, depending on your paint type. After curing, place the furniture in its intended location and begin accessorizing strategically.
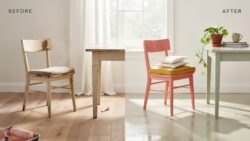
Add warm metallic accents like brass or gold frames around the piece. Position fresh green plants nearby to create visual interest and complement painted tones. Layer in framed artwork above or beside the furniture to anchor it within the room’s design. These elements integrate your budget-friendly restoration into the existing space without looking staged or forced.
Frequently Asked Questions

Is it possible for a beginner with no experience to paint their own furniture?
Absolutely! You do not need professional skills to transform an old piece of wood. By following a basic painted furniture makeover technique, any novice can achieve stunning results. The key is starting with a small project, like a side table, to build your confidence. With the right water-based paints and a steady hand, you can successfully refresh your home decor while learning a valuable and creative new skill.
What are the essential steps to ensure the paint doesn’t peel or chip over time?
Durability starts with proper preparation. First, clean your piece thoroughly to remove oils and dirt. Use a fine-grit sandpaper to lightly scuff the surface, which helps the pigment bond. After dusting, applying a quality primer is a vital part of a lasting painted furniture makeover technique. Finally, always seal your hard work with a clear topcoat or furniture wax to protect the finish from daily wear and tear.
How can I complete a furniture transformation without spending a lot of money?
Turning your trash into treasure is surprisingly affordable if you shop your own home or visit local thrift stores. Instead of buying expensive specialty equipment, stick to high-quality synthetic brushes and affordable sample-sized paint jars for smaller projects. Choosing a versatile “all-in-one” mineral paint can also save you money by eliminating the need for separate primers or sealants, making this a truly budget-friendly DIY hobby for any homeowner.



