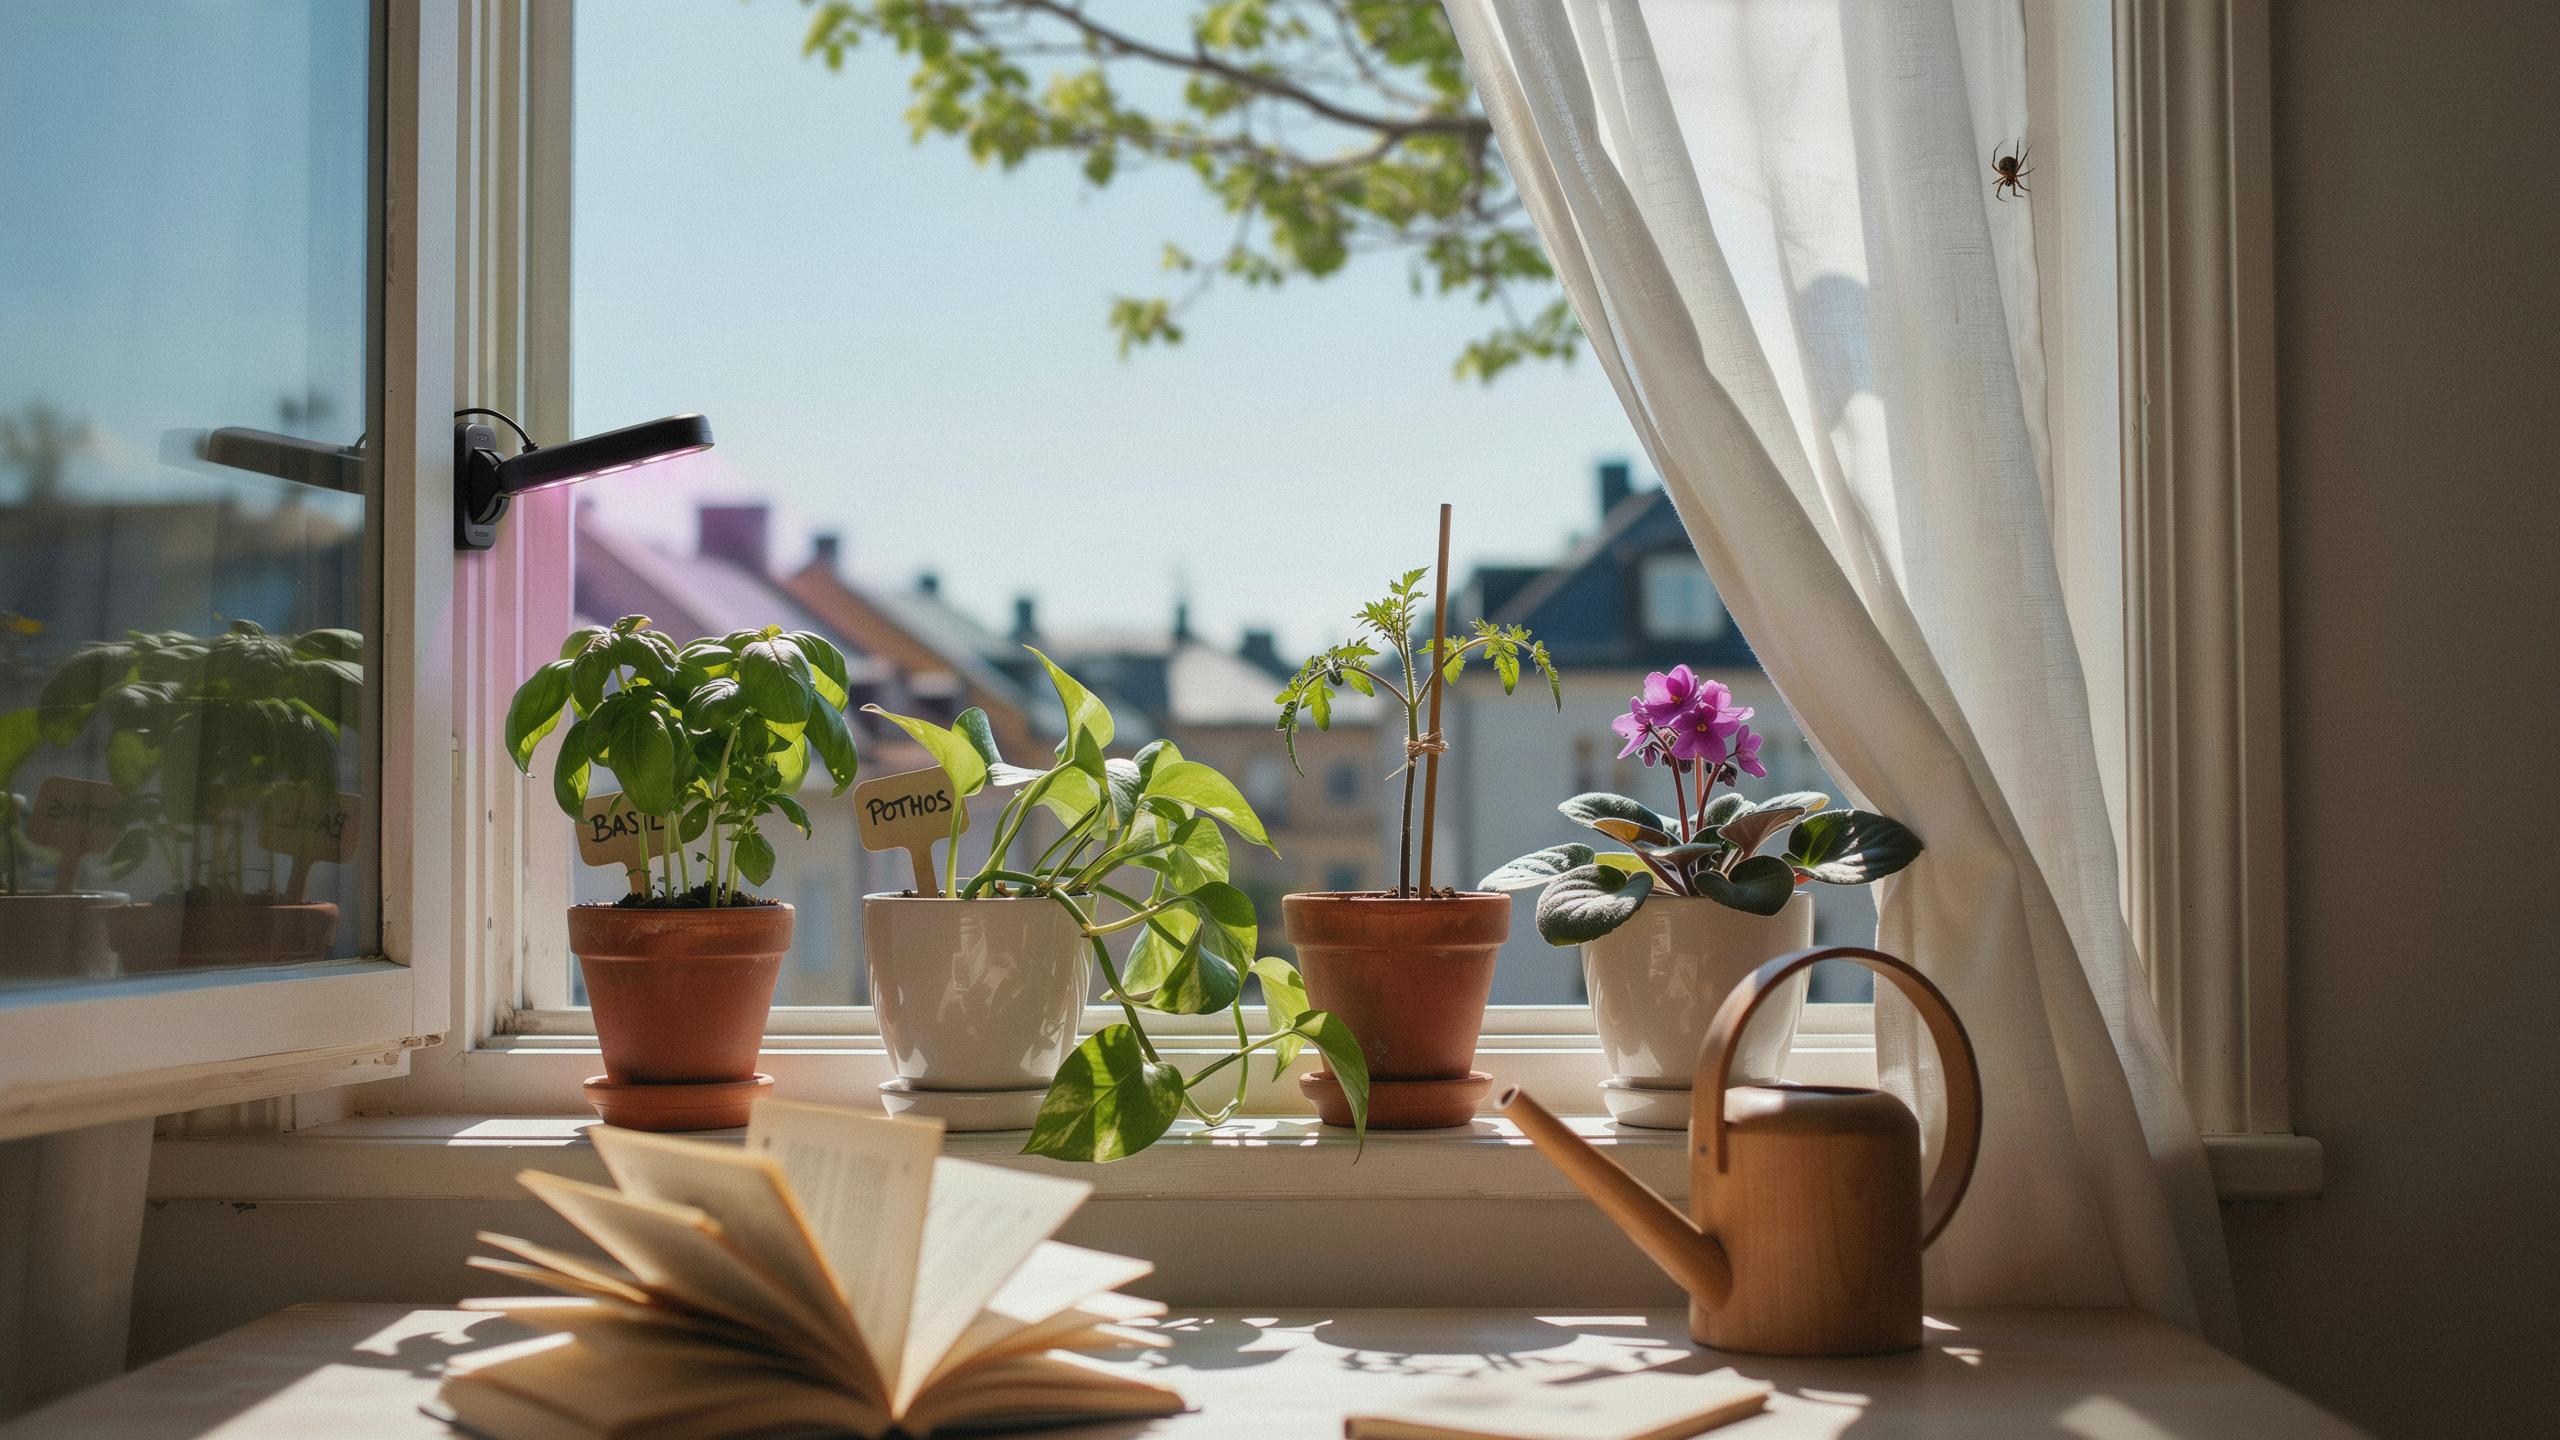
Understanding Small Space Gardening Light Requirements
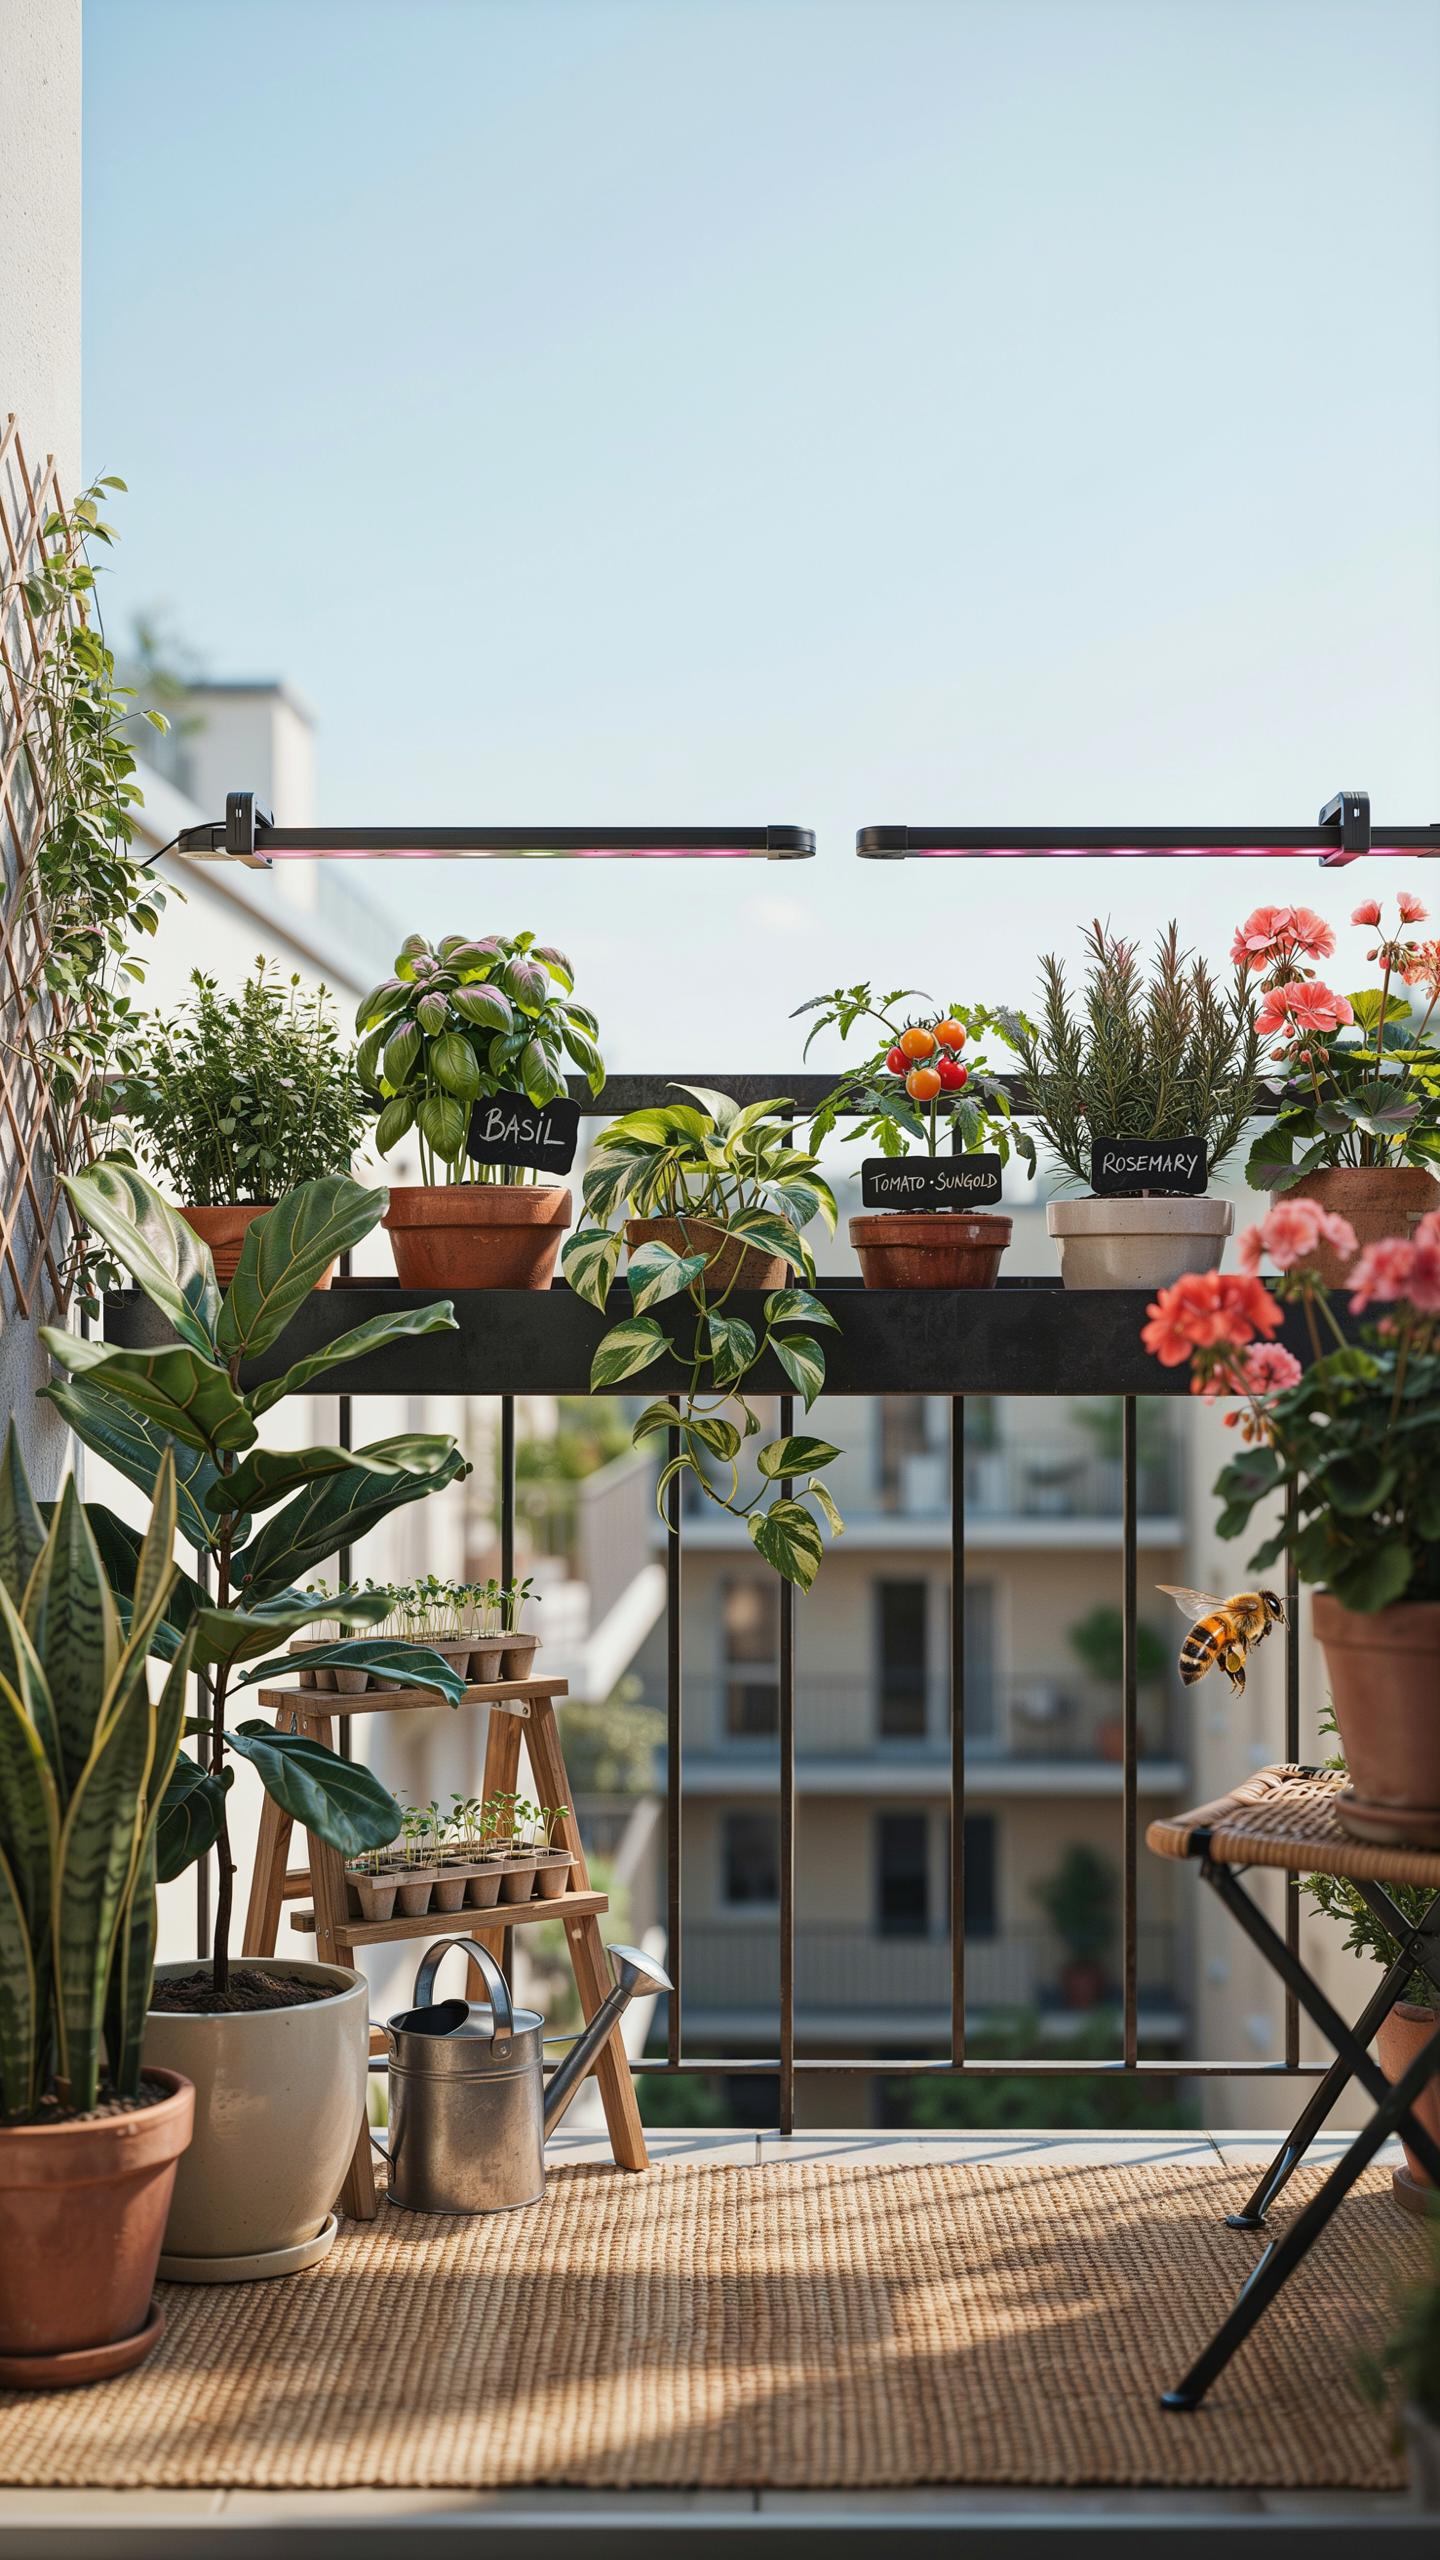
Measuring Daily Sun Exposure
Track your space’s sunlight by recording direct sun hours at two-hour intervals across an entire day. Start at sunrise and note when shadows from buildings or trees block your balcony, patio, or windowsill. Repeat this process on a clear day during both spring and fall to account for seasonal sun angle shifts. This data reveals your actual light profile instead of guessing based on direction alone.
Morning sun differs from afternoon sun in intensity and plant impact. East-facing spaces receive gentle morning light ideal for shade-tolerant plants. West-facing areas get harsh afternoon heat that can stress sensitive vegetables. South-facing spots receive maximum exposure in the Northern Hemisphere. Document your findings in writing to make informed plant selections for your specific microclimate.
Categorizing Full Sun Vs Part Shade
Full sun means six or more hours of direct, unobstructed sunlight daily. Part shade or partial sun indicates three to six hours of direct light, often with afternoon shade. Full shade describes spaces receiving less than three hours of direct sun, though they still get bright indirect light. These botanical definitions drive plant selection success in small spaces where light conditions vary dramatically within feet.
Match your measured light data to plant requirements before purchasing seeds or seedlings. Tomatoes, peppers, and herbs demand full sun to produce yields. Lettuce, spinach, and kale tolerate part shade and perform well in limited-light spaces. Full shade restricts your options but still allows leafy greens and certain hostas to thrive when you select appropriate varieties.
Optimizing Your Apartment Garden For Passive Sunlight
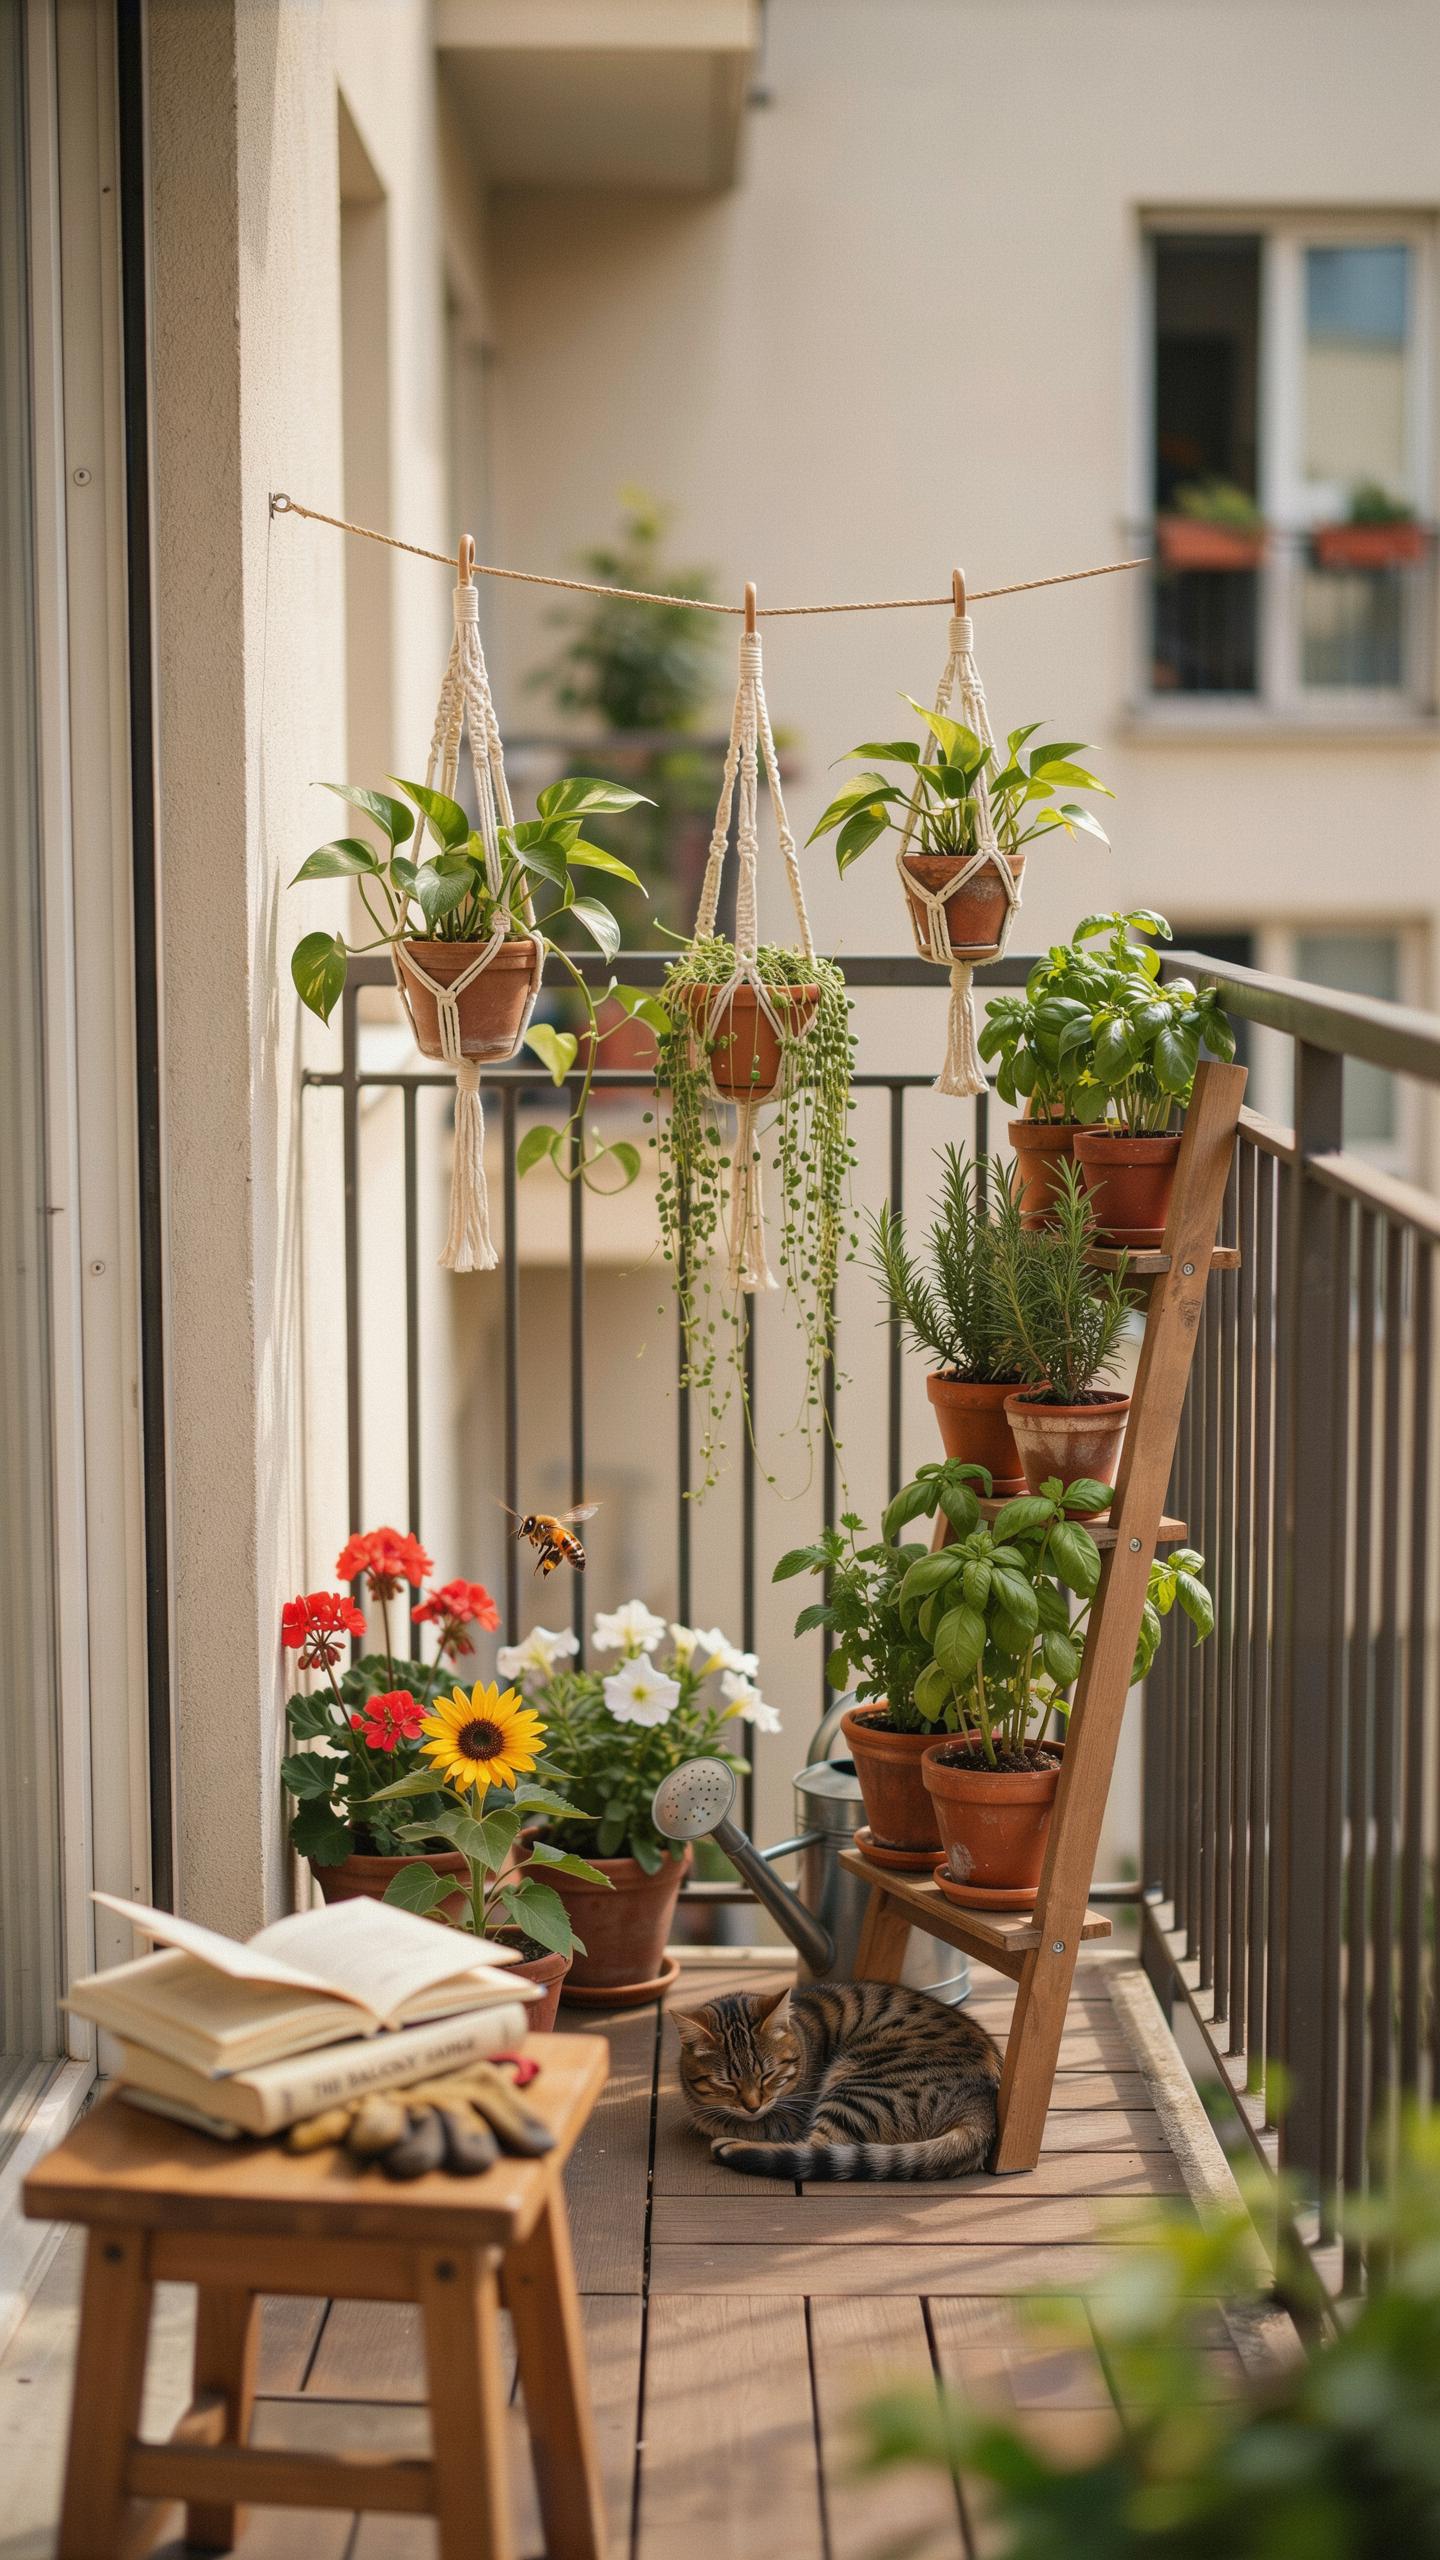
Maximizing Windowsill Exposure
South-facing windows deliver the most consistent sunlight throughout the day, especially during winter months when the sun sits lower on the horizon. Position your light-demanding plants like tomatoes, peppers, and herbs directly on south-facing sills. West-facing windows provide afternoon sun intensity but can cause heat stress in summer. Rotate plants weekly to ensure even growth on all sides and prevent them from leaning toward the light source.
East-facing windows work well for plants that need moderate light but struggle with intense afternoon heat. North-facing windows provide only diffused light and suit shade-tolerant plants like lettuce, spinach, and mint. Clean your windows monthly to remove dust and debris that blocks light penetration. The angle of sunlight changes seasonally, so monitor your plant placement and adjust accordingly throughout the year.
Using Reflective Surfaces To Boost Light
White painted walls, poster board, and mirrors redirect unused light back onto your plants and increase the effective light your setup receives. Position reflective materials behind plants or to the side where light enters the space. Aluminum foil works but degrades quickly from moisture in humid environments. Paint offers better durability and maintains reflectivity longer than temporary reflective materials.
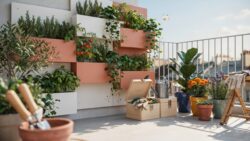
Test reflective placement by observing where shadows form on your plants during peak sunlight hours. Angle reflective surfaces to fill those shadow zones. Mirrors create hotspots in some cases, so verify plants don’t experience overheating before leaving them in place permanently. Replace degraded reflective materials every six to twelve months depending on humidity levels in your growing area.
Affordable Grow Lights For Seed Starting On A Budget
Selecting Cost Effective T8 And T5 Bulbs
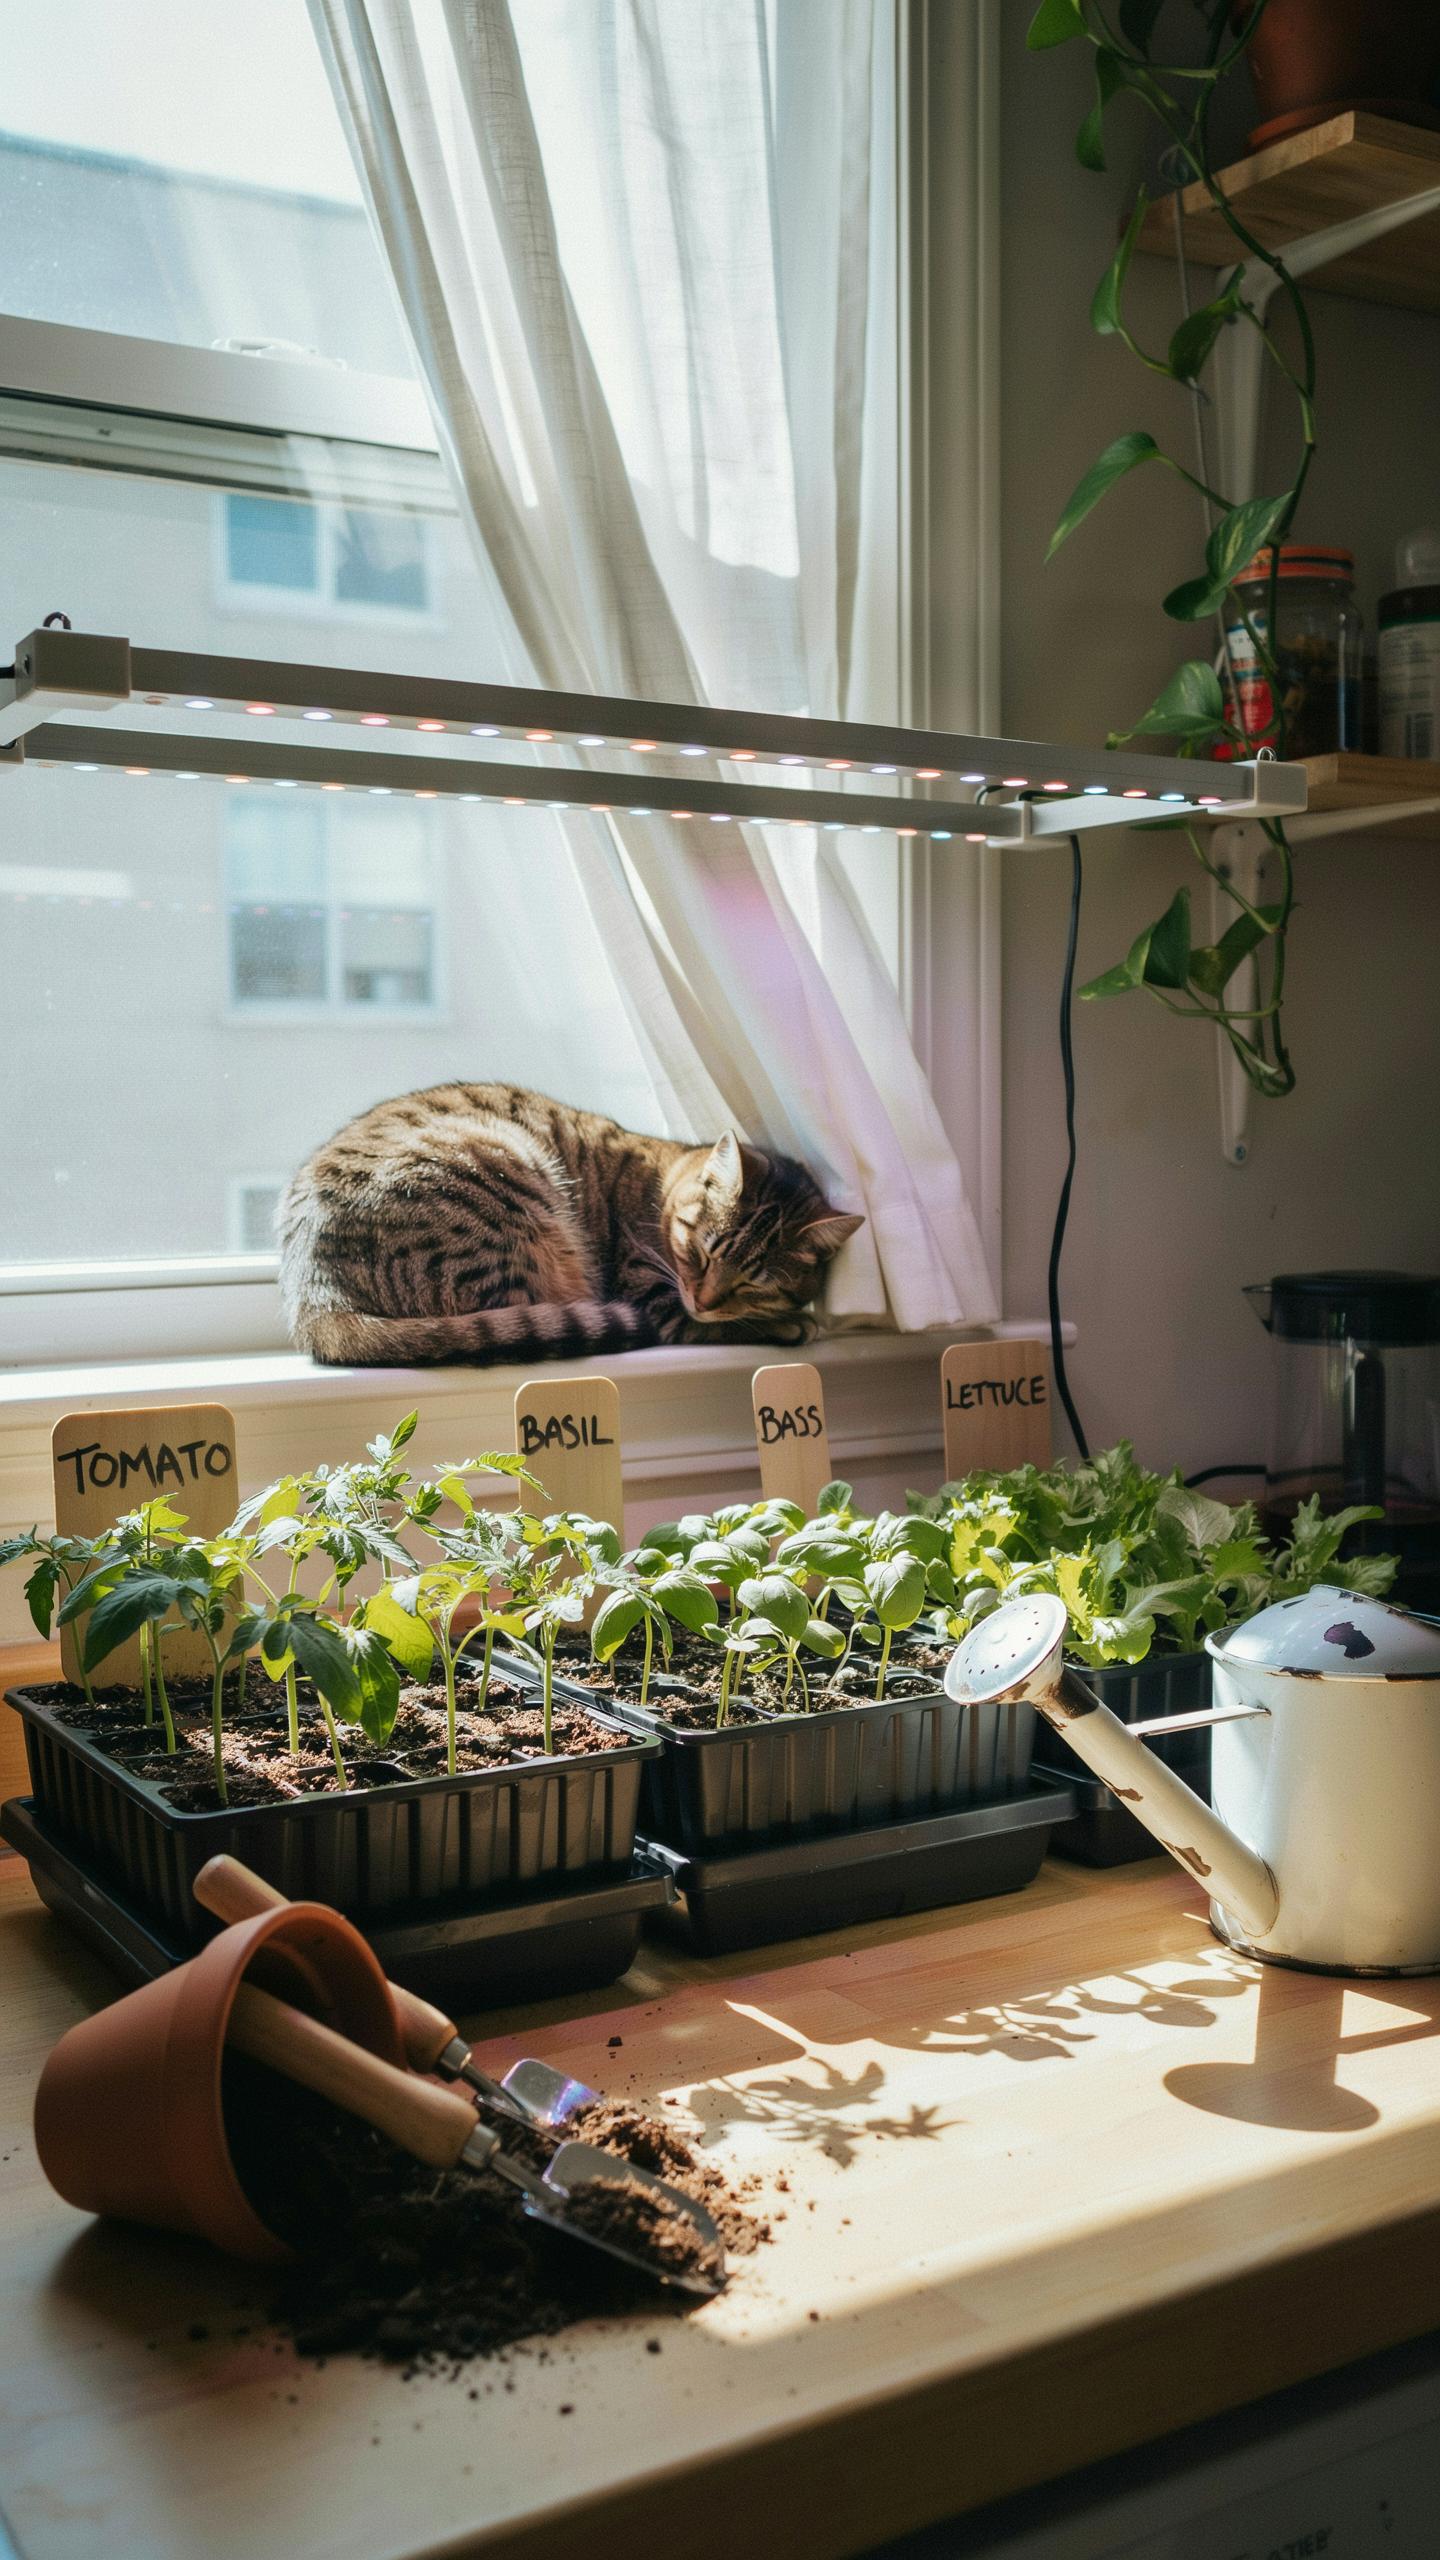
T8 fluorescent shop lights deliver reliable performance for seed starting without premium pricing. These bulbs emit wavelengths between 400 and 700 nanometers, covering the blue spectrum plants need during germination and early growth. Standard T8 fixtures cost $15 to $30 and mount easily above seed trays. They generate minimal heat, reducing cooling needs in confined spaces. LED shop lights now compete directly on price while consuming 30 to 40 percent less electricity than fluorescent models.
T5 bulbs concentrate more light output in a smaller footprint than T8 options. They work well when vertical space is severely limited. Choose full spectrum bulbs rated 6500 Kelvin for vegetable seedlings rather than specialty “grow” bulbs marked up 100 percent or more. Standard cool white bulbs at 4000 to 6500 Kelvin perform identically for seed starting. Place lights 2 to 4 inches above seedlings and raise them weekly as plants grow taller.
Essential Equipment For Budget Seed Starting
Seed starting demands basic supplies you assemble yourself to control costs. Skip branded seed starting kits that mark up individual components 200 to 300 percent. Purchase each item separately from hardware and garden retailers to cut total investment in half.
- Seed trays with drainage holes: Reusable plastic trays cost $2 to $5 and last multiple seasons. Avoid sealed containers that trap moisture and cause rot.
- Shop light fixtures: Basic two bulb T8 or T5 fixtures run $20 to $40 new. Check Facebook Marketplace and estate sales for used units at 50 percent discounts.
- Fluorescent or LED bulbs: Standard cool white bulbs cost $3 to $8 each. Avoid specialty labeled grow bulbs priced at $15 to $25 per bulb.
- 24 hour mechanical timer: Basic plug in timers cost $8 to $15 and control light duration reliably. Program 14 to 16 hours on, 8 to 10 hours off daily.
- Adjustable mounting hardware: Chains and clips let you raise fixtures as seedlings grow. Hardware store chains cost $1 to $3 per foot versus $30 kit versions.
- Seed starting mix: Soil based mix costs $5 to $10 per bag. Mix your own from peat, perlite, and vermiculite for $2 to $3 per bag.
Assemble your station on a shelf or table near an electrical outlet. Mount lights on chains for easy height adjustment. Set your timer to run lights consistently every 24 hours. Seedlings emerge faster and stronger under regular photoperiods than inconsistent light schedules.
Setting Up Two Indoor Seedling Grow Lights For Maximum Yield
Positioning Dual Fixtures Efficiently
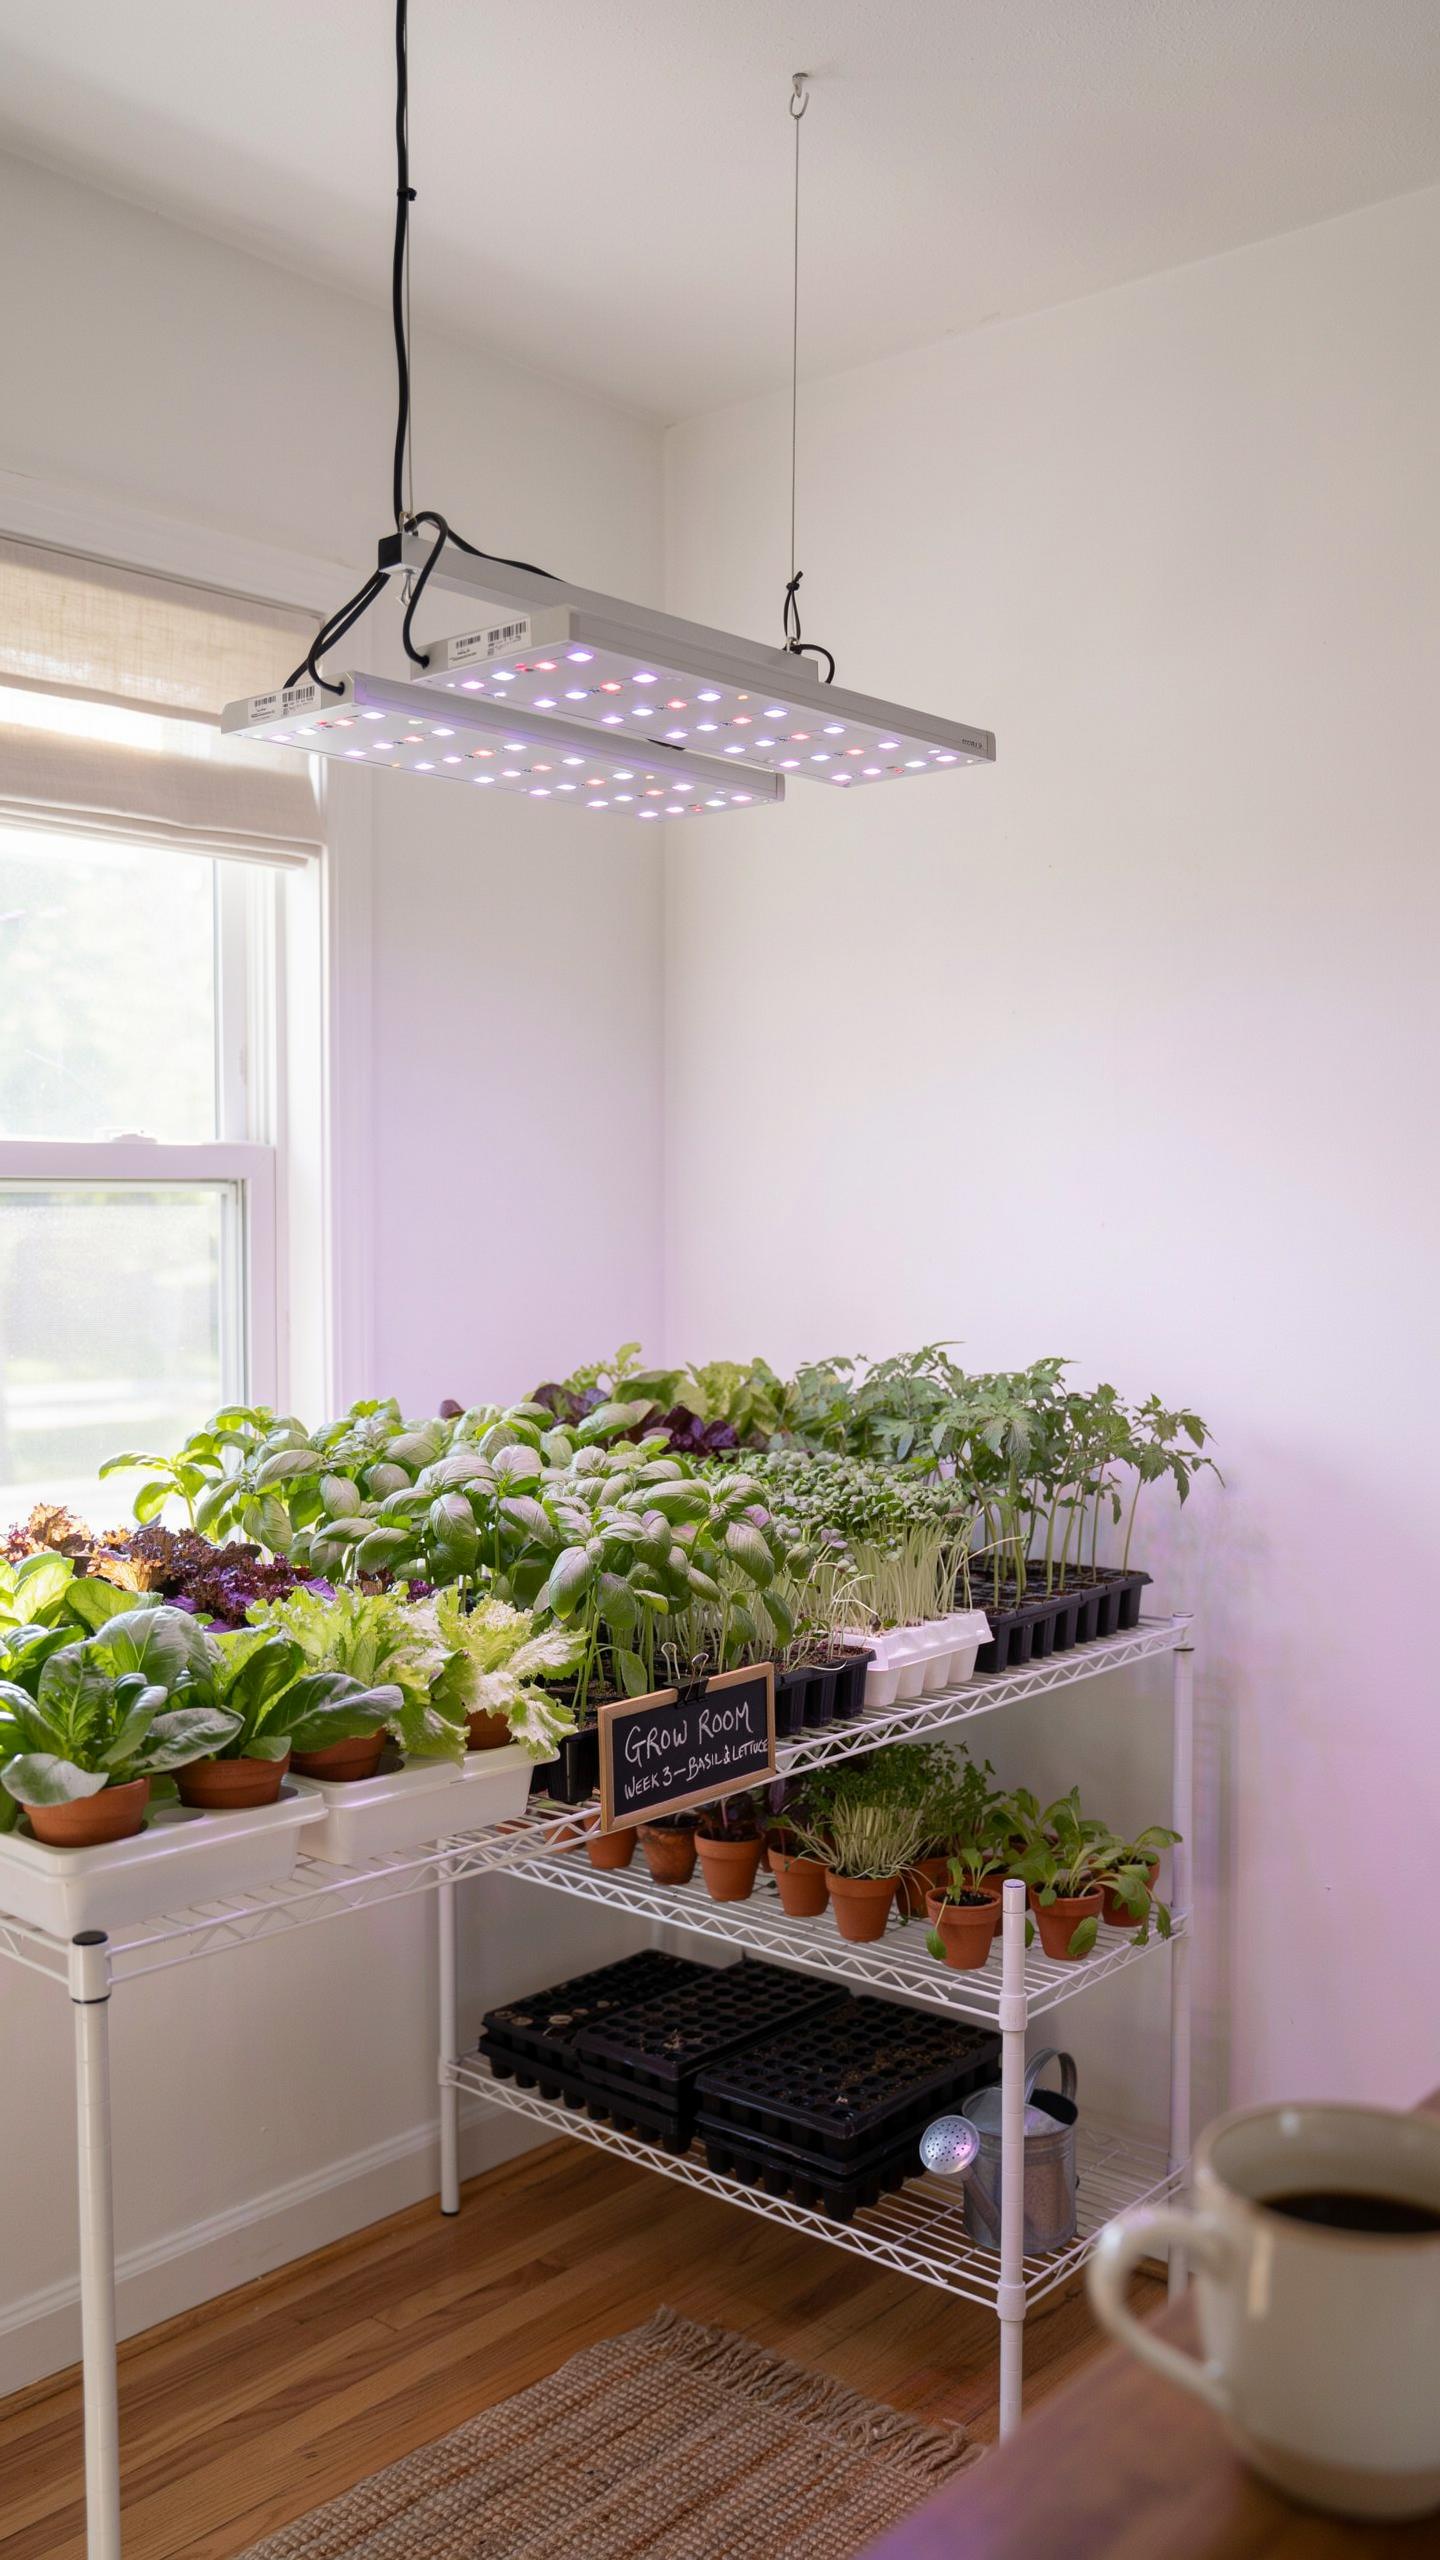
Arrange your two grow lights parallel to each other, roughly 12 to 18 inches apart, directly above your seedling trays. This spacing creates overlapping light coverage that eliminates dark zones where seedlings stretch toward available light. Position the fixtures so light reaches all edges of your growing area evenly.
Mount both lights at the same height using adjustable chains or brackets. This uniform setup prevents some seedlings from receiving more intense light than others, which causes uneven growth rates and weak plants. Equal light distribution across your entire seedling population keeps stems sturdy and compact from germination onward.
Adjusting Light Height As Seedlings Grow
Start your seedling lights 6 to 8 inches above newly sprouted seedlings, then gradually lower fixtures as plants develop their first true leaves. Maintain the 3 to 6 inch target distance between plant canopy and light source. Check seedling height every 2 to 3 days and adjust accordingly to prevent light burn on leaves while maximizing photosynthesis efficiency.
Raise lights incrementally in quarter inch adjustments as seedlings grow taller. Watch for signs of too much light intensity like whitened or bleached leaf tissue, which signals you need to increase distance. Conversely, if seedlings stretch excessively toward the fixture, lower lights slightly to intensify the light dose at the canopy level.
Adapting To A Low Light Garden Outdoor Environment
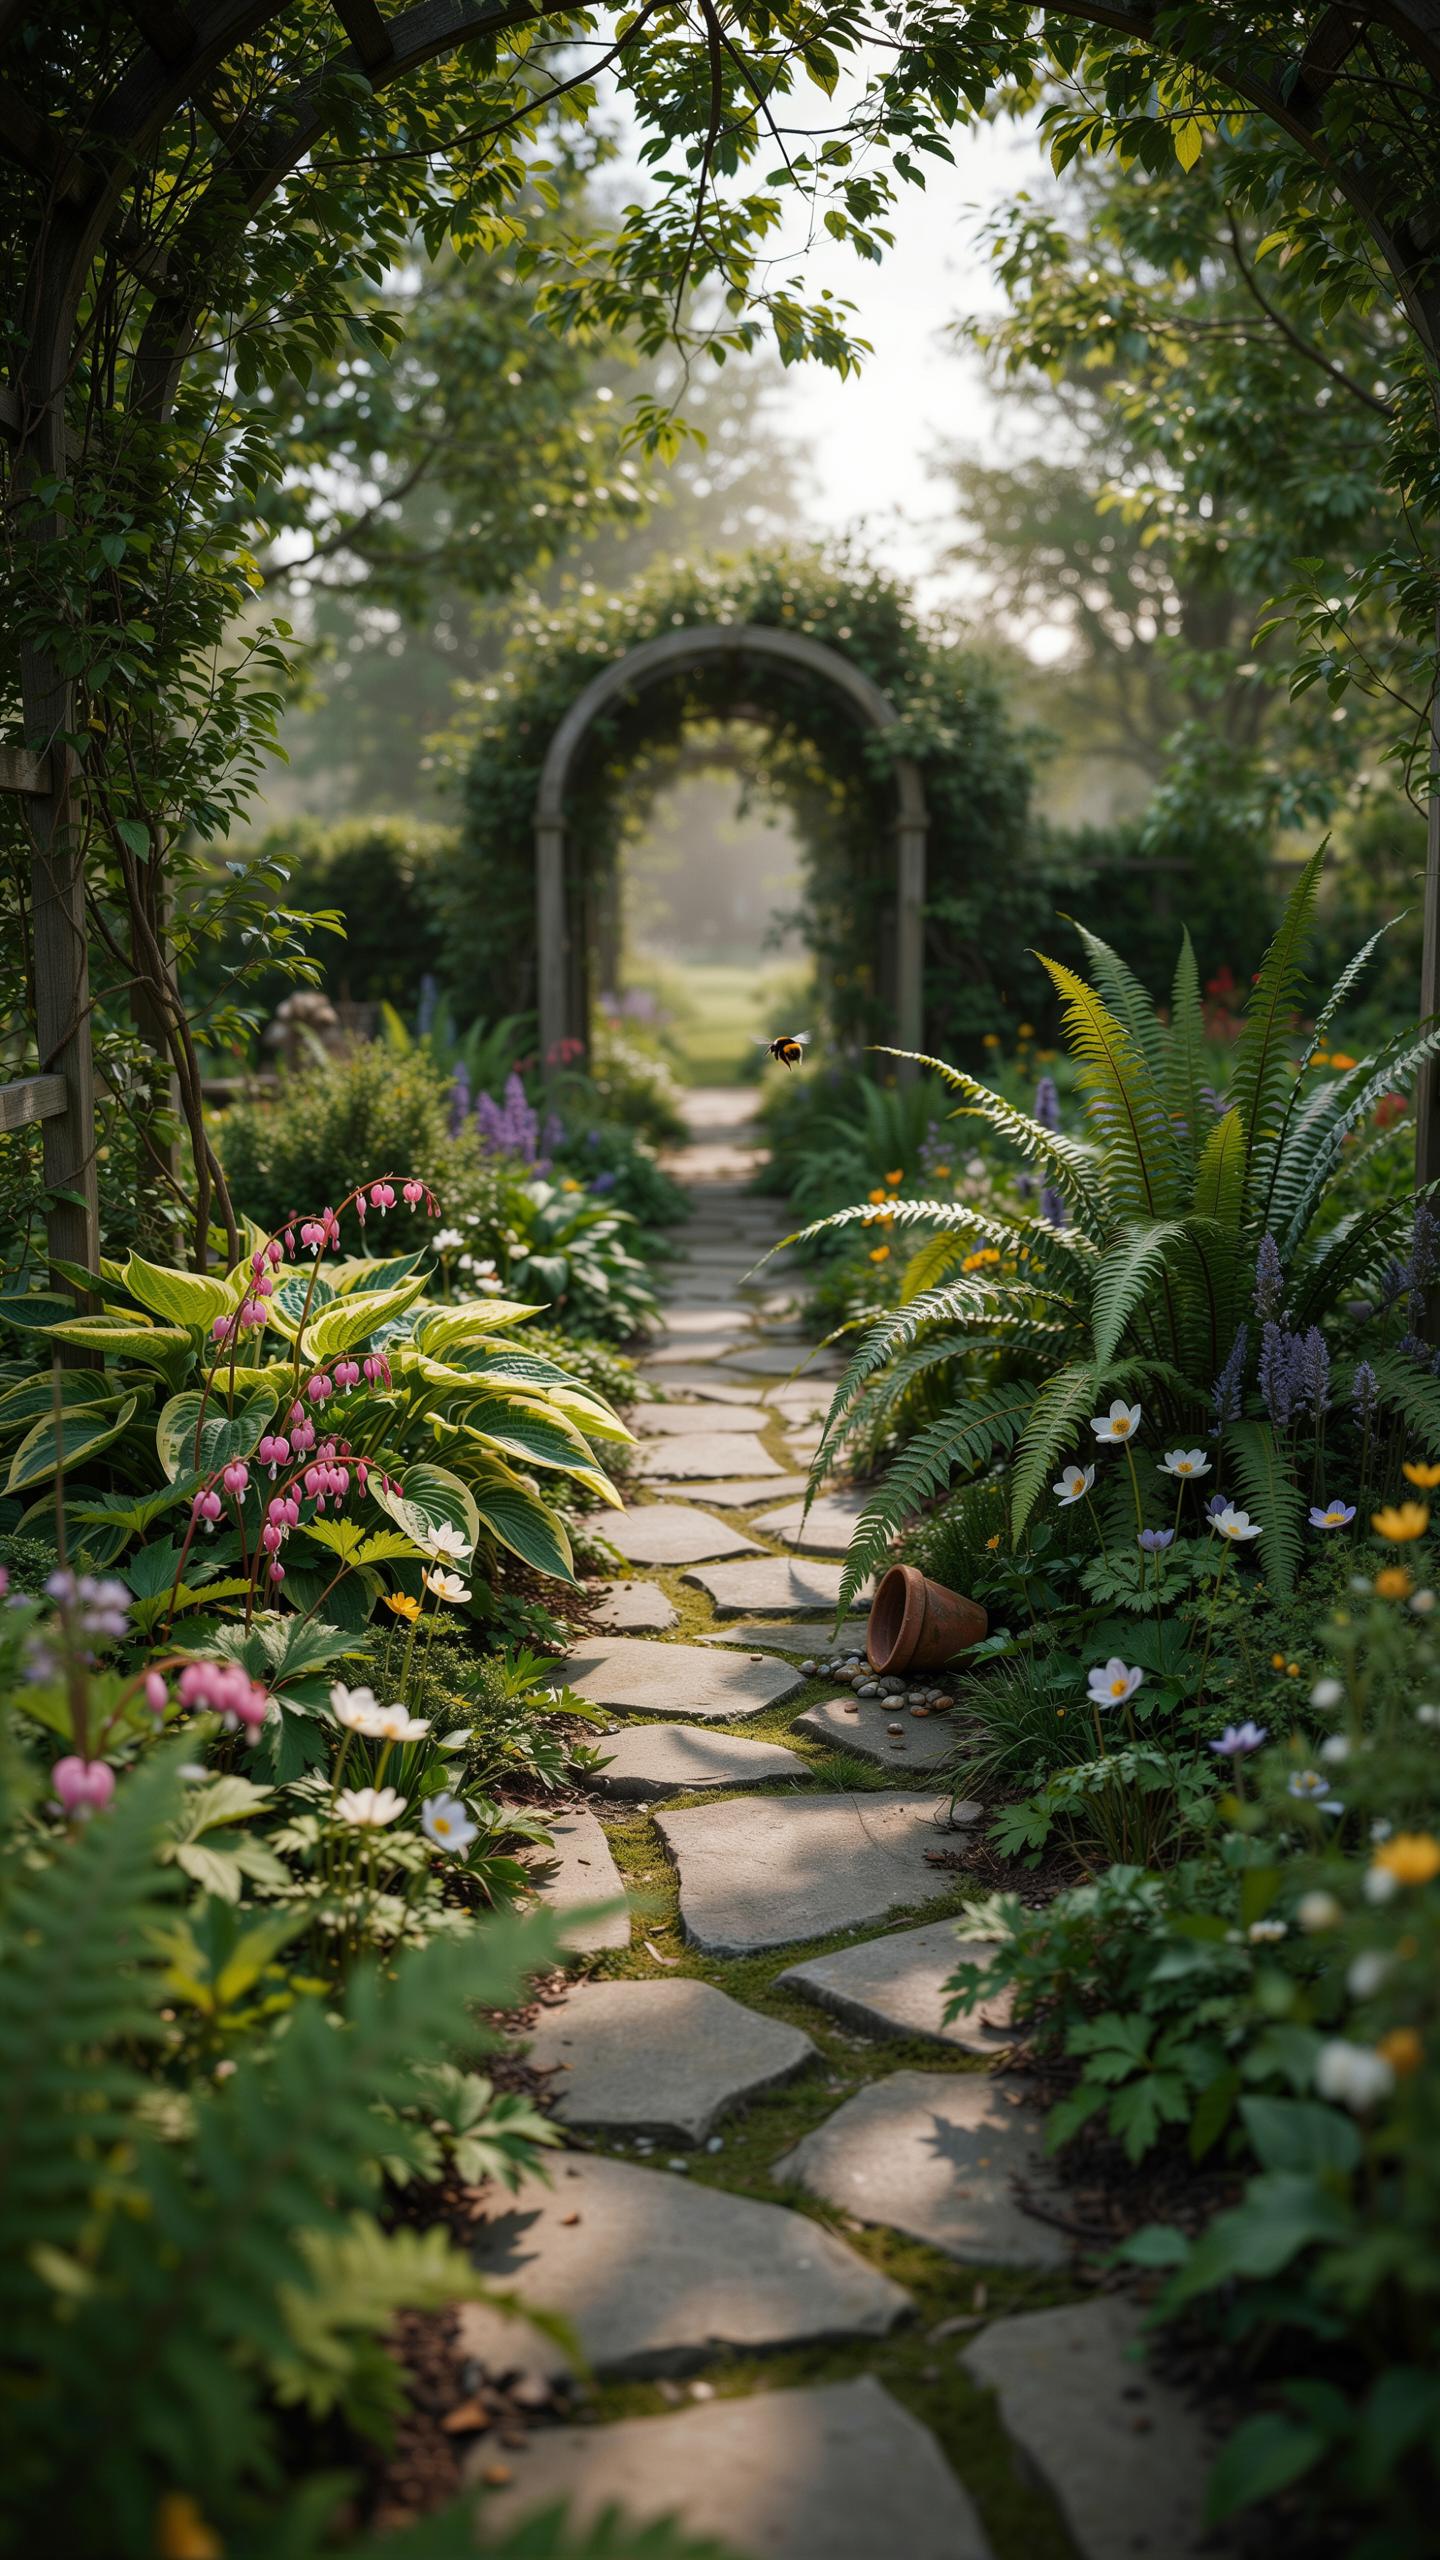
Shade Tolerant Edibles And Ornamentals
Leafy greens tolerate shade better than fruiting plants because they don’t need intense light for photosynthesis. Kale, spinach, lettuce, and arugula produce harvestable leaves in 3 to 6 hours of direct sunlight daily. Root crops like beets, radishes, and turnips also perform well in shade. These plants evolved to grow under forest canopies, making them naturally suited for areas blocked by buildings or trees.
Ornamental shade plants add visual interest without demanding full sun. Hostas, ferns, and impatiens handle partial shade consistently. Shade doesn’t mean zero light. You need minimum 2 to 4 hours of direct sunlight or 4 to 8 hours of dappled light for edibles. Choose plants based on your specific shade pattern, not assumptions about your space.
Soil And Water Adjustments For Shade
Shade gardens dry slower because reduced sun exposure cuts evaporation rates significantly. This means you water less frequently than full sun gardens. Check soil moisture before watering by inserting your finger two inches into the soil. Water only when the top inch feels dry. Overwatering kills shade plants faster than underwatering does.
Drainage becomes critical in shaded areas where soil stays wet longer. Amend your soil with compost or perlite to improve drainage and prevent root rot. Use raised beds or containers in shade to control moisture better than in-ground planting. Monitor drainage after heavy rain. Standing water for more than 24 hours signals a drainage problem requiring immediate correction.
Enhancing Ambiance With Creative Garden Lights Ideas Outdoor
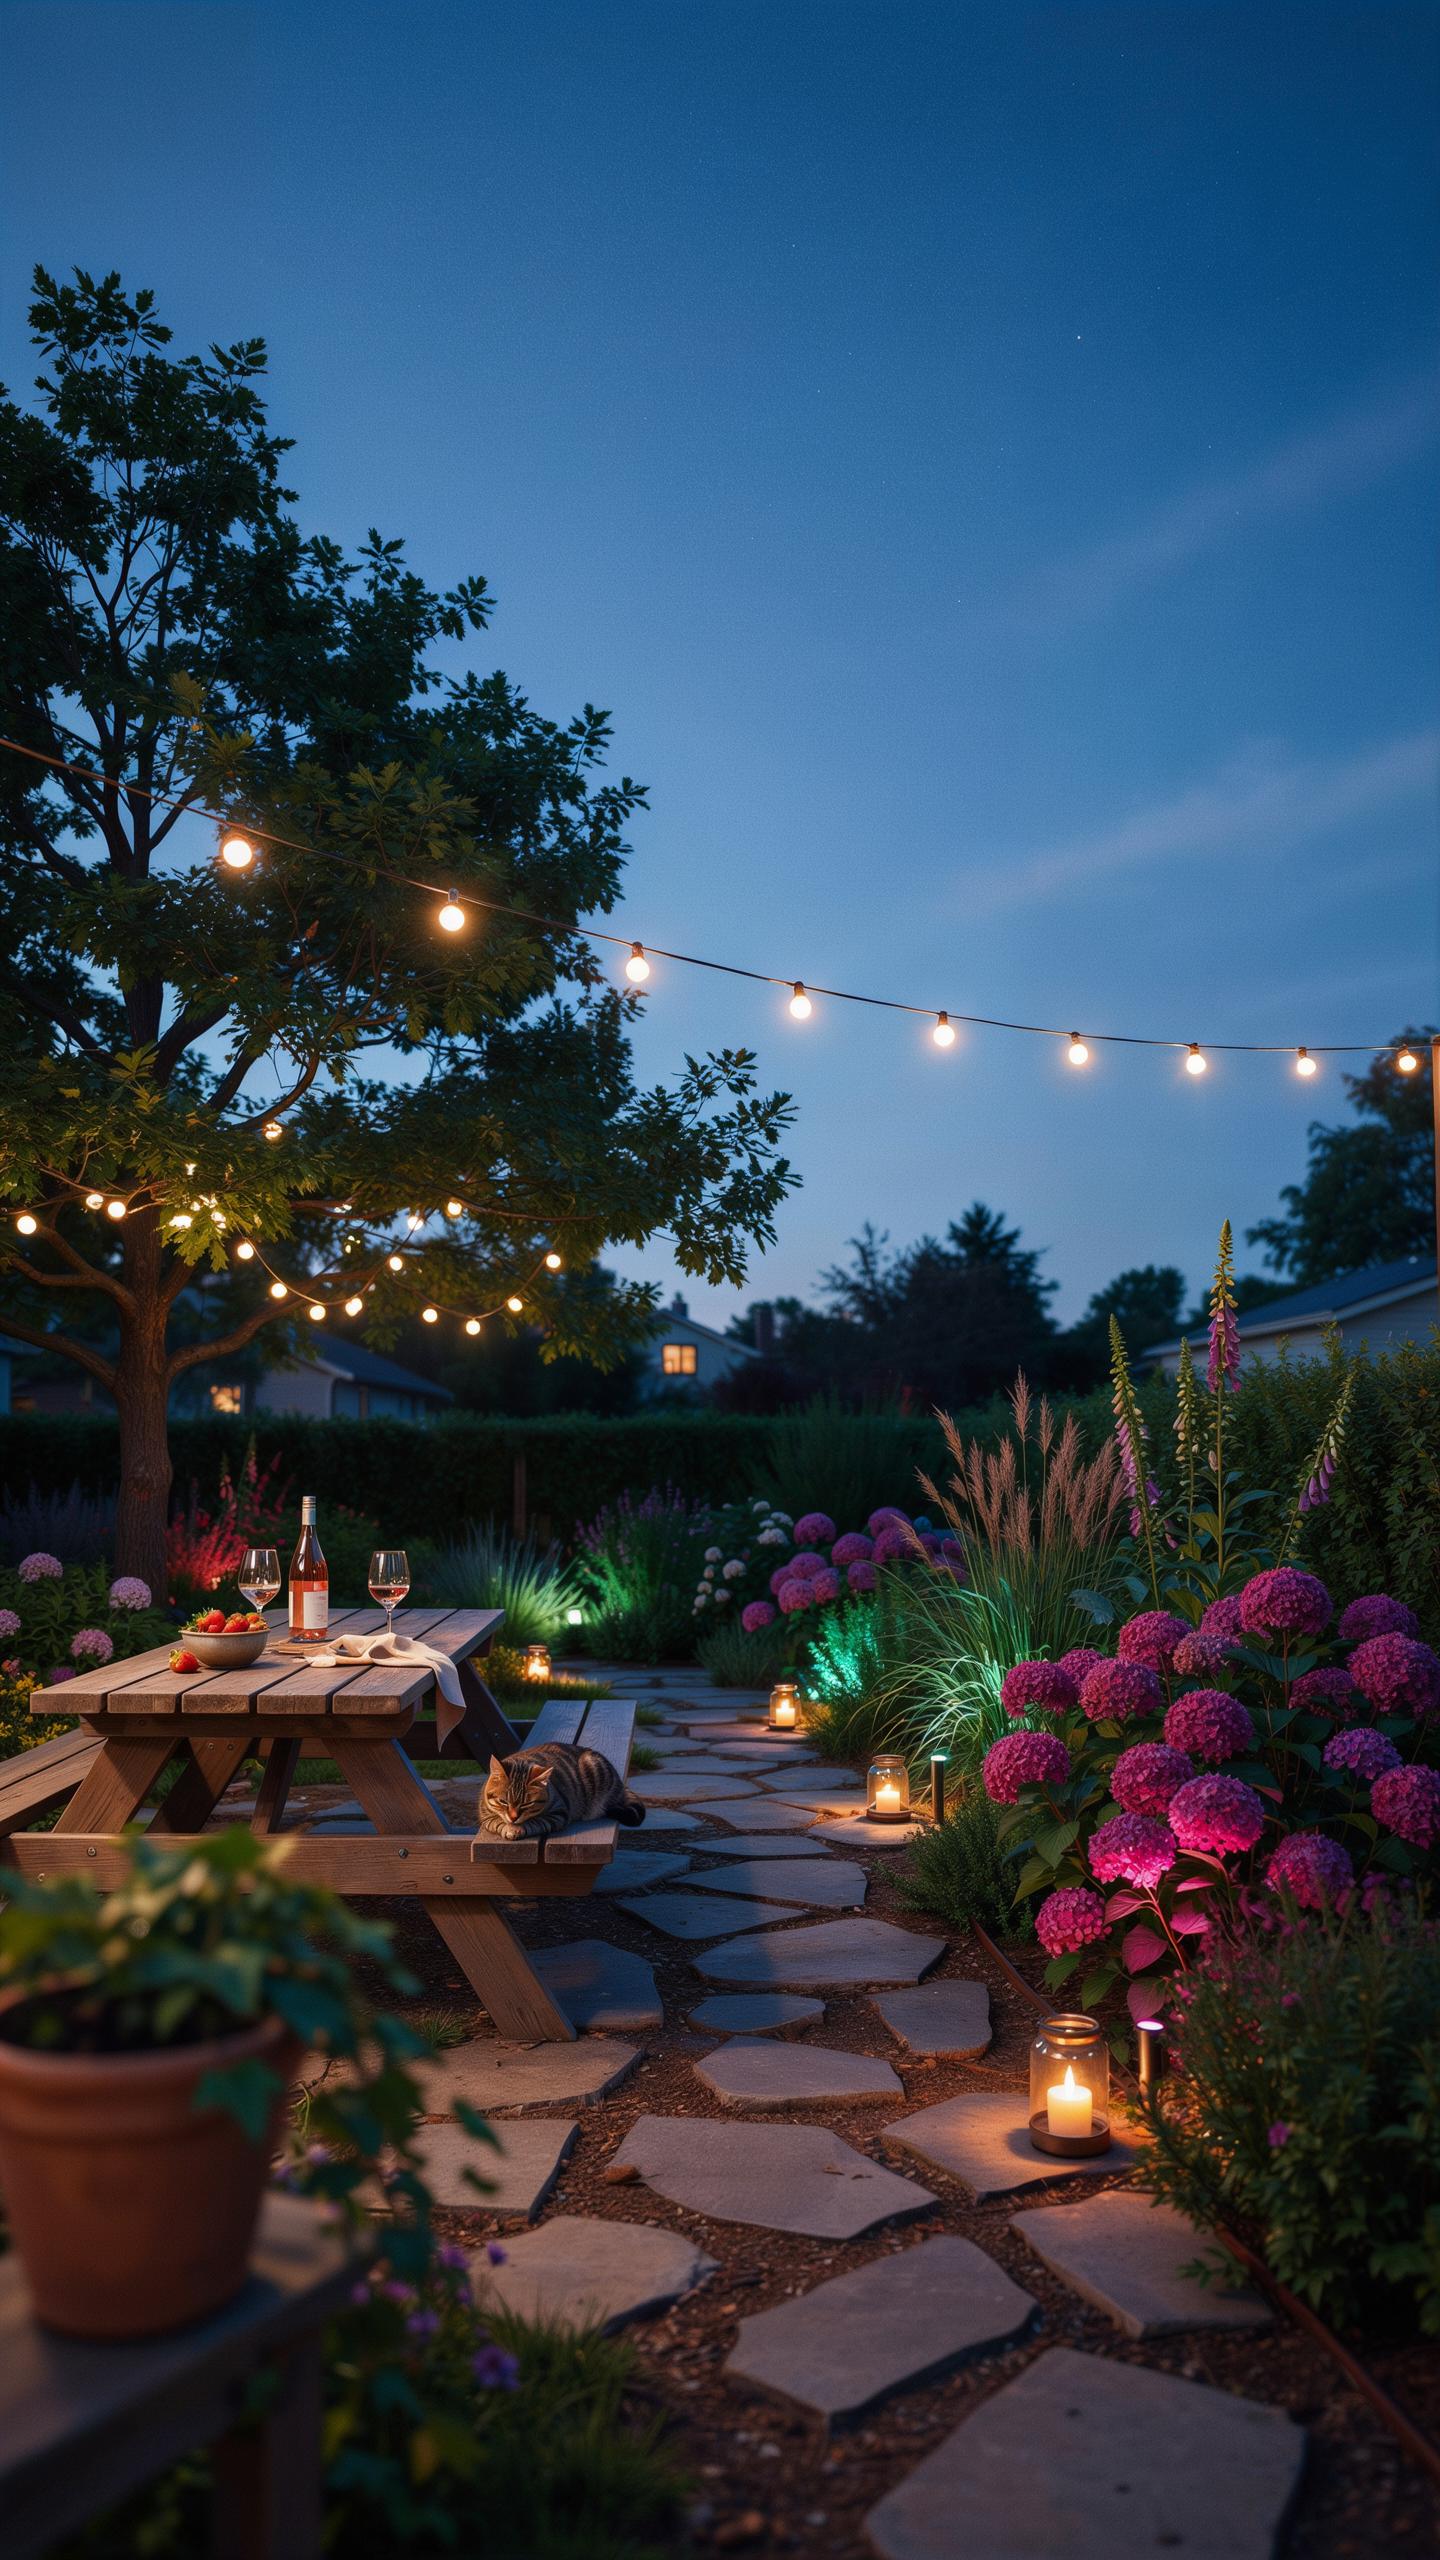
Top Budget Friendly Outdoor Lighting Styles
Affordable outdoor lighting transforms small spaces without breaking your budget. The key is selecting fixtures that serve dual purposes: they illuminate your garden and define the space visually. These options deliver results on minimal spending while meeting functional light requirements for small gardening areas.
- Fairy Lights: Thin wire strands with small LED bulbs create layered illumination. They draw 0.5 to 2 watts per bulb, making them energy efficient. String them overhead or weave through plants for ambient coverage without harsh shadows.
- Edison Bulbs: Vintage style incandescent or LED versions produce warm light at 2700K color temperature. They cost between 5 to 15 dollars each. Place them in simple fixtures to highlight focal points in compact garden areas.
- Paper Lanterns: Lightweight cloth enclosures diffuse light evenly across small patios. They range from 10 to 30 dollars depending on size. Choose LED-compatible versions to minimize heat and fire risk in enclosed spaces.
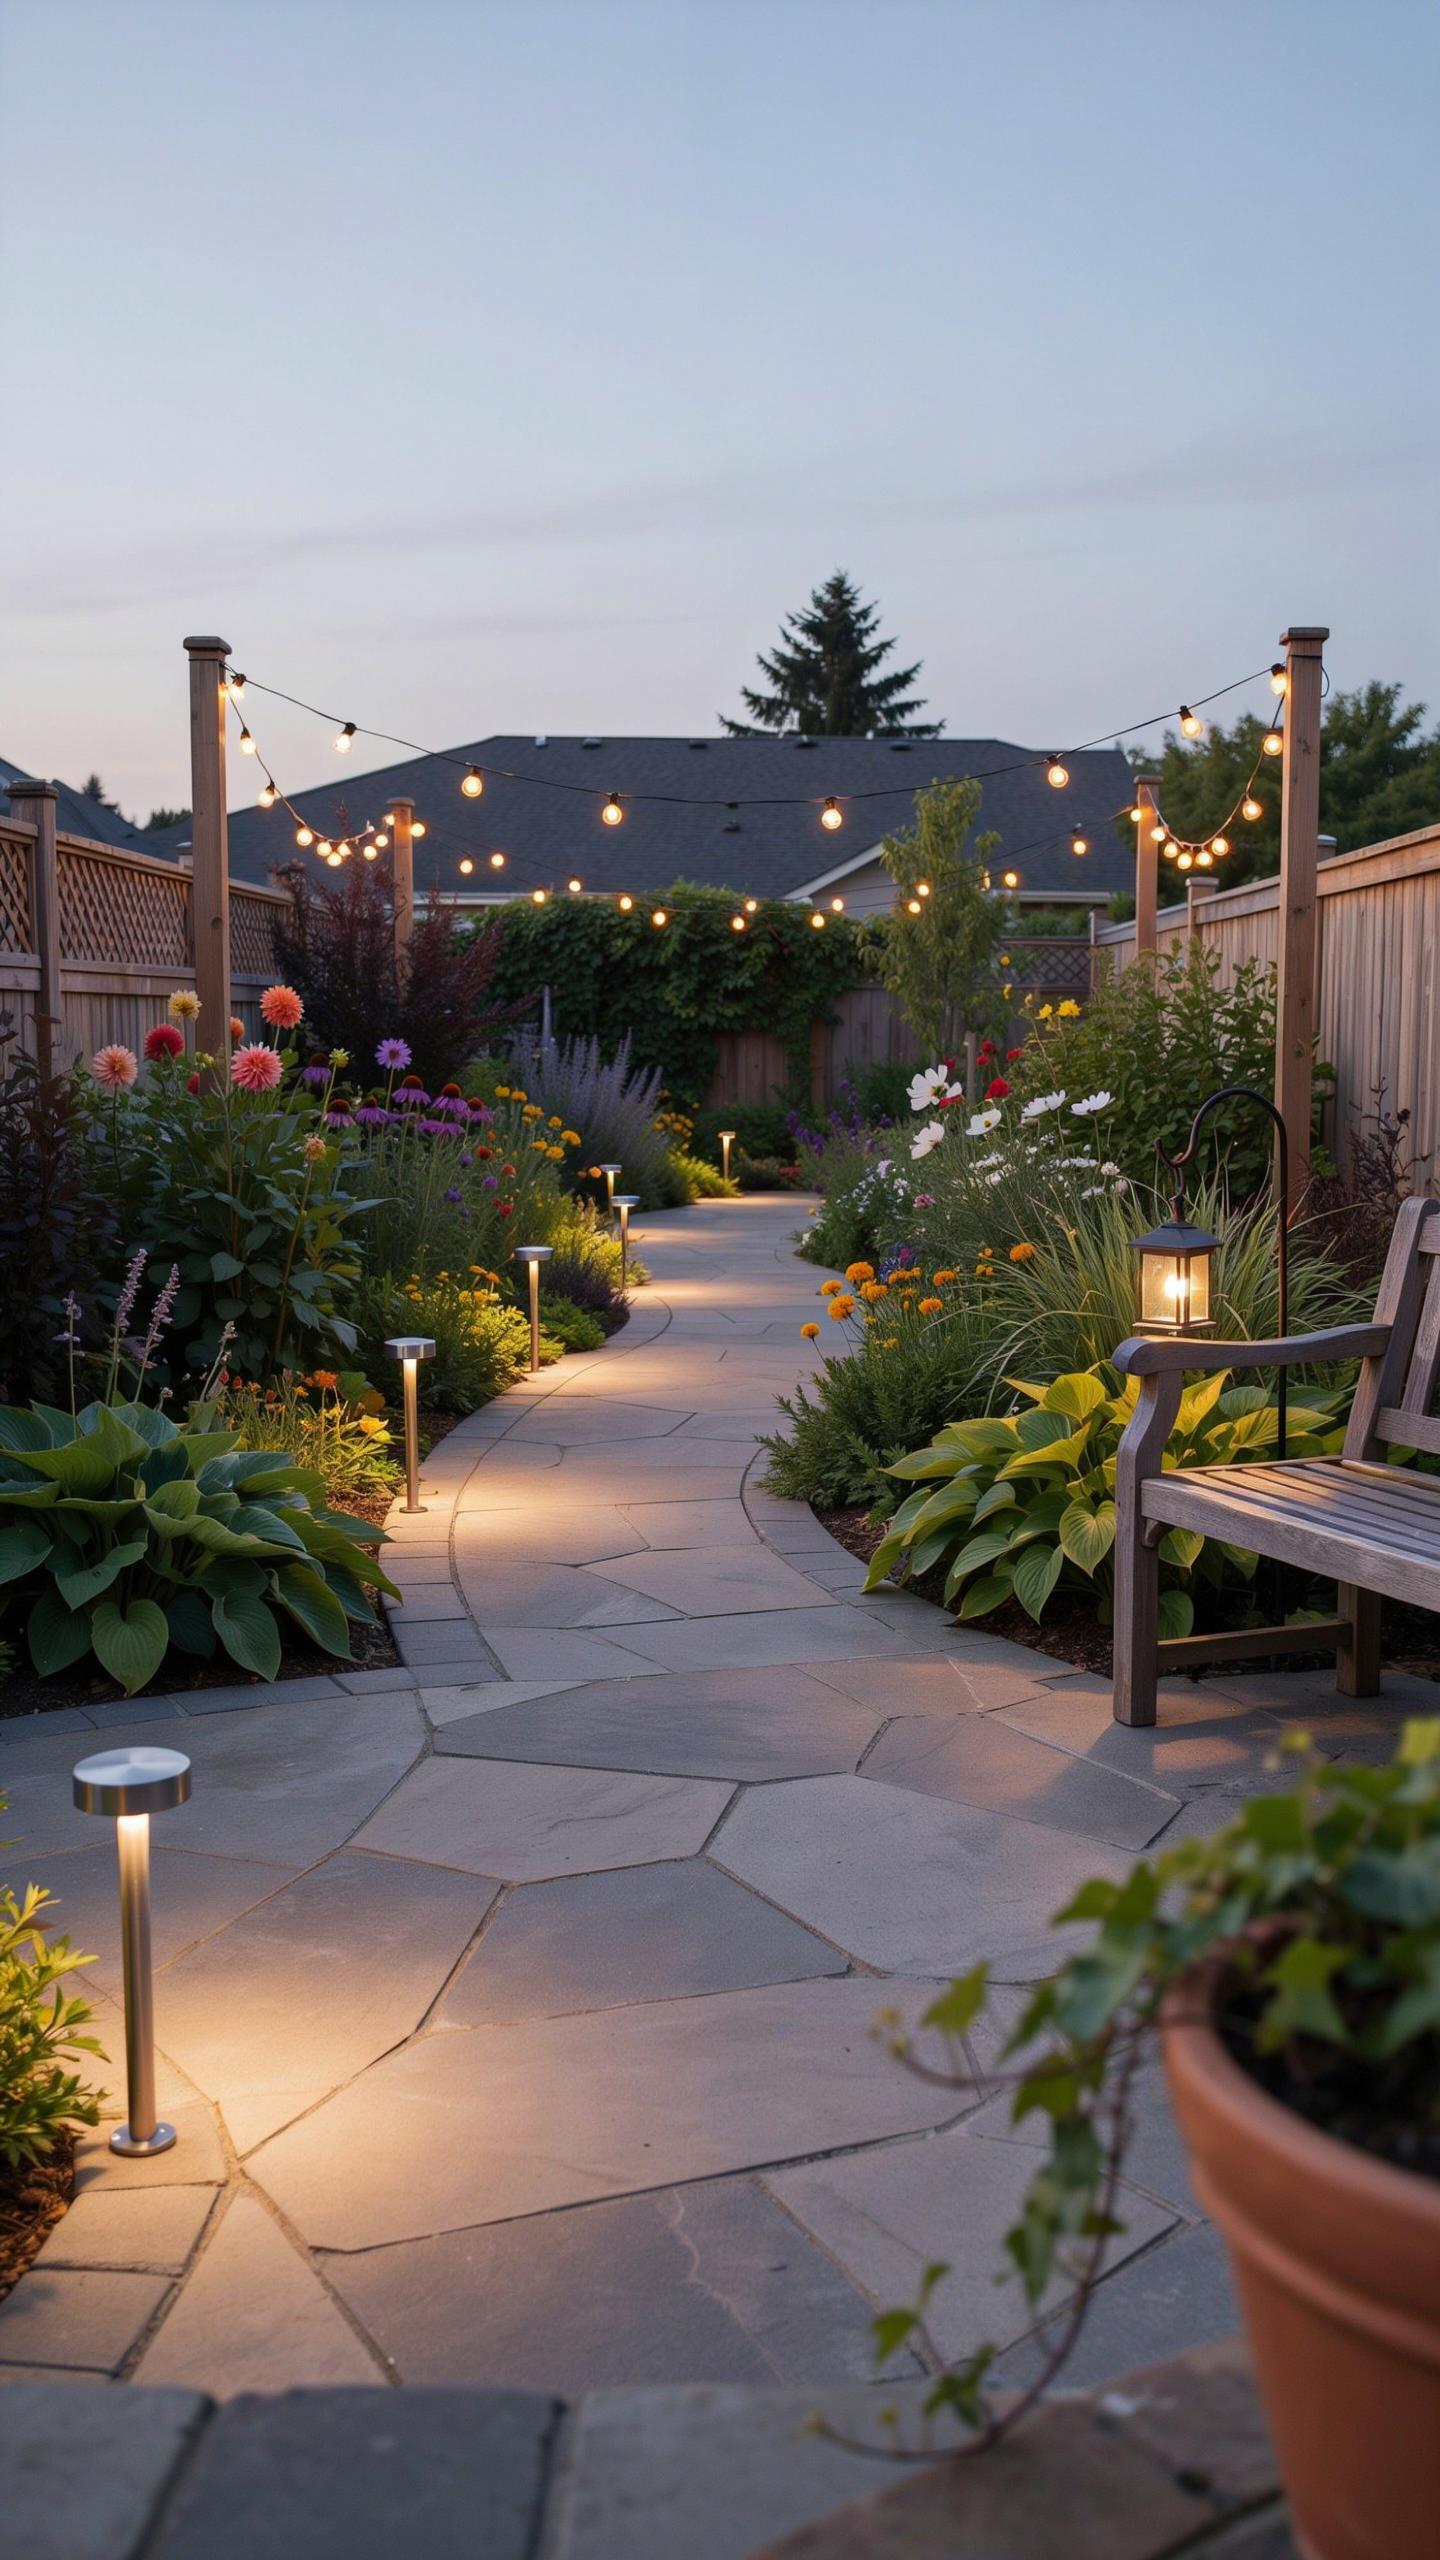
- Solar Pathway Lights: Self contained units charge during daylight hours and activate at dusk automatically. They eliminate wiring costs and provide 50 to 100 lumens output. Position them along garden edges to define boundaries without electrical connections.
- Rope Lights: Flexible tubing houses multiple LED elements in continuous strands. They consume 0.5 watts per foot of length. Attach them to railings or plant beds for linear accent lighting in tight quarters.
These lighting styles work because they address core small space needs: they consume minimal power, mount easily to existing structures, and project light without taking up ground space. Your selection depends on whether you need task lighting for gardening work or purely decorative ambiance for evening relaxation.
Safe Installation Tips For Outdoor Plugs
Route extension cords along walls or under protective conduit to prevent tripping hazards and water damage. Keep cords at least six inches away from soil and mulch where moisture accelerates degradation. Use outdoor rated cords rated for wet locations, marked with “W” suffix on the cable jacket.
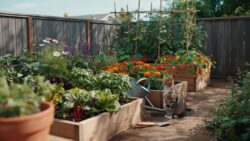
Secure light fixtures to railings using stainless steel brackets or cable clamps that match your fixture weight. Never drill permanent holes in rental properties. Instead use adhesive-backed cable clips or temporary mounting solutions that landlords approve in writing. Test all connections before full installation to catch shorts early.
Harnessing Solar Lights Garden Technologies For Low Cost
How Modern Solar Panels Store Energy
Solar panels convert sunlight into direct current electricity through the photovoltaic effect. Silicon cells within the panel absorb photons and release electrons, creating electrical flow. A charge controller regulates this flow and directs it to rechargeable batteries, typically lithium ion or lead acid variants. These batteries store energy during daylight hours for release after sunset.
The stored energy powers LED lights through an inverter that converts DC power back to usable current. Most small garden solar systems operate at 6 to 12 volts, making them safe for outdoor residential use. Battery capacity determines how long lights run at night. Larger capacity batteries extend runtime but increase upfront costs. This straightforward energy cycle eliminates wiring and electrical permits.
Placing Solar Collectors In Shady Spaces
Mount solar panels on vertical surfaces like fence posts or wall brackets positioned to catch morning and afternoon sun. Avoid placing collectors where tree canopies or building structures block direct rays during peak sun hours between 10 AM and 3 PM. Elevate panels above ground level to maximize light exposure and improve air circulation for cooling.
Remote solar collectors connect to ground level lights via weatherproof cables, allowing flexibility in positioning. Place collectors on south facing surfaces in northern hemisphere gardens for maximum exposure. Adjust panel angle seasonally to track the sun’s changing position. Even partial day shade reduces output by 50 percent or more, so prioritize unobstructed mounting locations over aesthetic placement.
Managing Low Light Conditions Indoors And Out
Recognizing Signs Of Light Deprivation
Plants respond predictably when light falls below their minimum threshold. Pale or yellowing leaves signal insufficient photosynthesis. Stems stretch abnormally long and thin as plants reach toward light sources. Growth slows dramatically or stops entirely. Leaf size decreases. Lower leaves drop off first. These symptoms appear within weeks of poor lighting, not months.
Act on these signs immediately. Relocate plants closer to windows or light sources. Increase light duration using timers. Failing intervention, plants weaken and become susceptible to disease and pests. Early detection prevents permanent damage. Monitor your plants weekly for these changes so you catch problems fast.
Even a tiny window with a splash of sun is a field of gold for those who plant with love and little else. The smallest patch of bright light is enough to welcome a piece of the meadow into your home.
Rotating Plants To Even Out Exposure
Rotate potted plants 180 degrees every seven days to balance light exposure. One side always faces the light source directly. Without rotation, that side grows robust while the opposite side becomes weak and sparse. Consistent rotation prevents lopsided growth patterns. Establish rotation on a specific day each week to build the habit.
Set a phone reminder for rotation day. Move each plant to the opposite side of your growing area or turn it around where it sits. This takes seconds per plant. Over four to eight weeks, you’ll notice more balanced foliage and stronger overall structure. Rotation works for plants under grow lights and near windows equally.
Choosing Durable Garden Lights For Year Round Use
Understanding IP Waterproof Ratings
IP ratings use two digits to measure equipment protection. The first digit rates dust resistance from 0 to 6. The second digit rates water resistance from 0 to 8. For outdoor garden lights, you need IP64 or higher. IP64 means dust-tight and water-resistant to splashing. IP65 adds protection against water jets. IP67 handles temporary submersion. IP68 handles continuous submersion.
Cheap string lights often carry IP44 ratings, which handle rain but not heavy spray or pooling water. Check the manufacturer specification before buying. Don’t assume all outdoor lights have equal protection. Your small space setup will fail if you install lights rated for indoor use outdoors. Verify the rating on the packaging or product listing before purchase.
LED Vs Halogen Energy Consumption Costs
LED bulbs consume 75 to 80 percent less energy than halogen bulbs producing equivalent light output. A 50-watt halogen bulb produces similar brightness to a 10-watt LED. Over 12 months of regular use, this difference adds up significantly on your utility bill. LED bulbs also last 15,000 to 25,000 hours compared to halogen’s 2,000 hour lifespan.
Your replacement costs drop dramatically with LEDs. Halogen fixtures require bulb changes every few months with heavy garden use. LED systems run for years without replacement. The upfront LED cost is higher, but payback occurs within one growing season for most small space gardeners. Budget-conscious growers should choose LEDs exclusively for any permanent garden lighting installation.
Creative Budget Solutions For Small Space Gardening Challenges
DIY Hanging Planters And Vertical Trellises
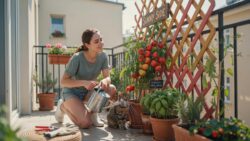
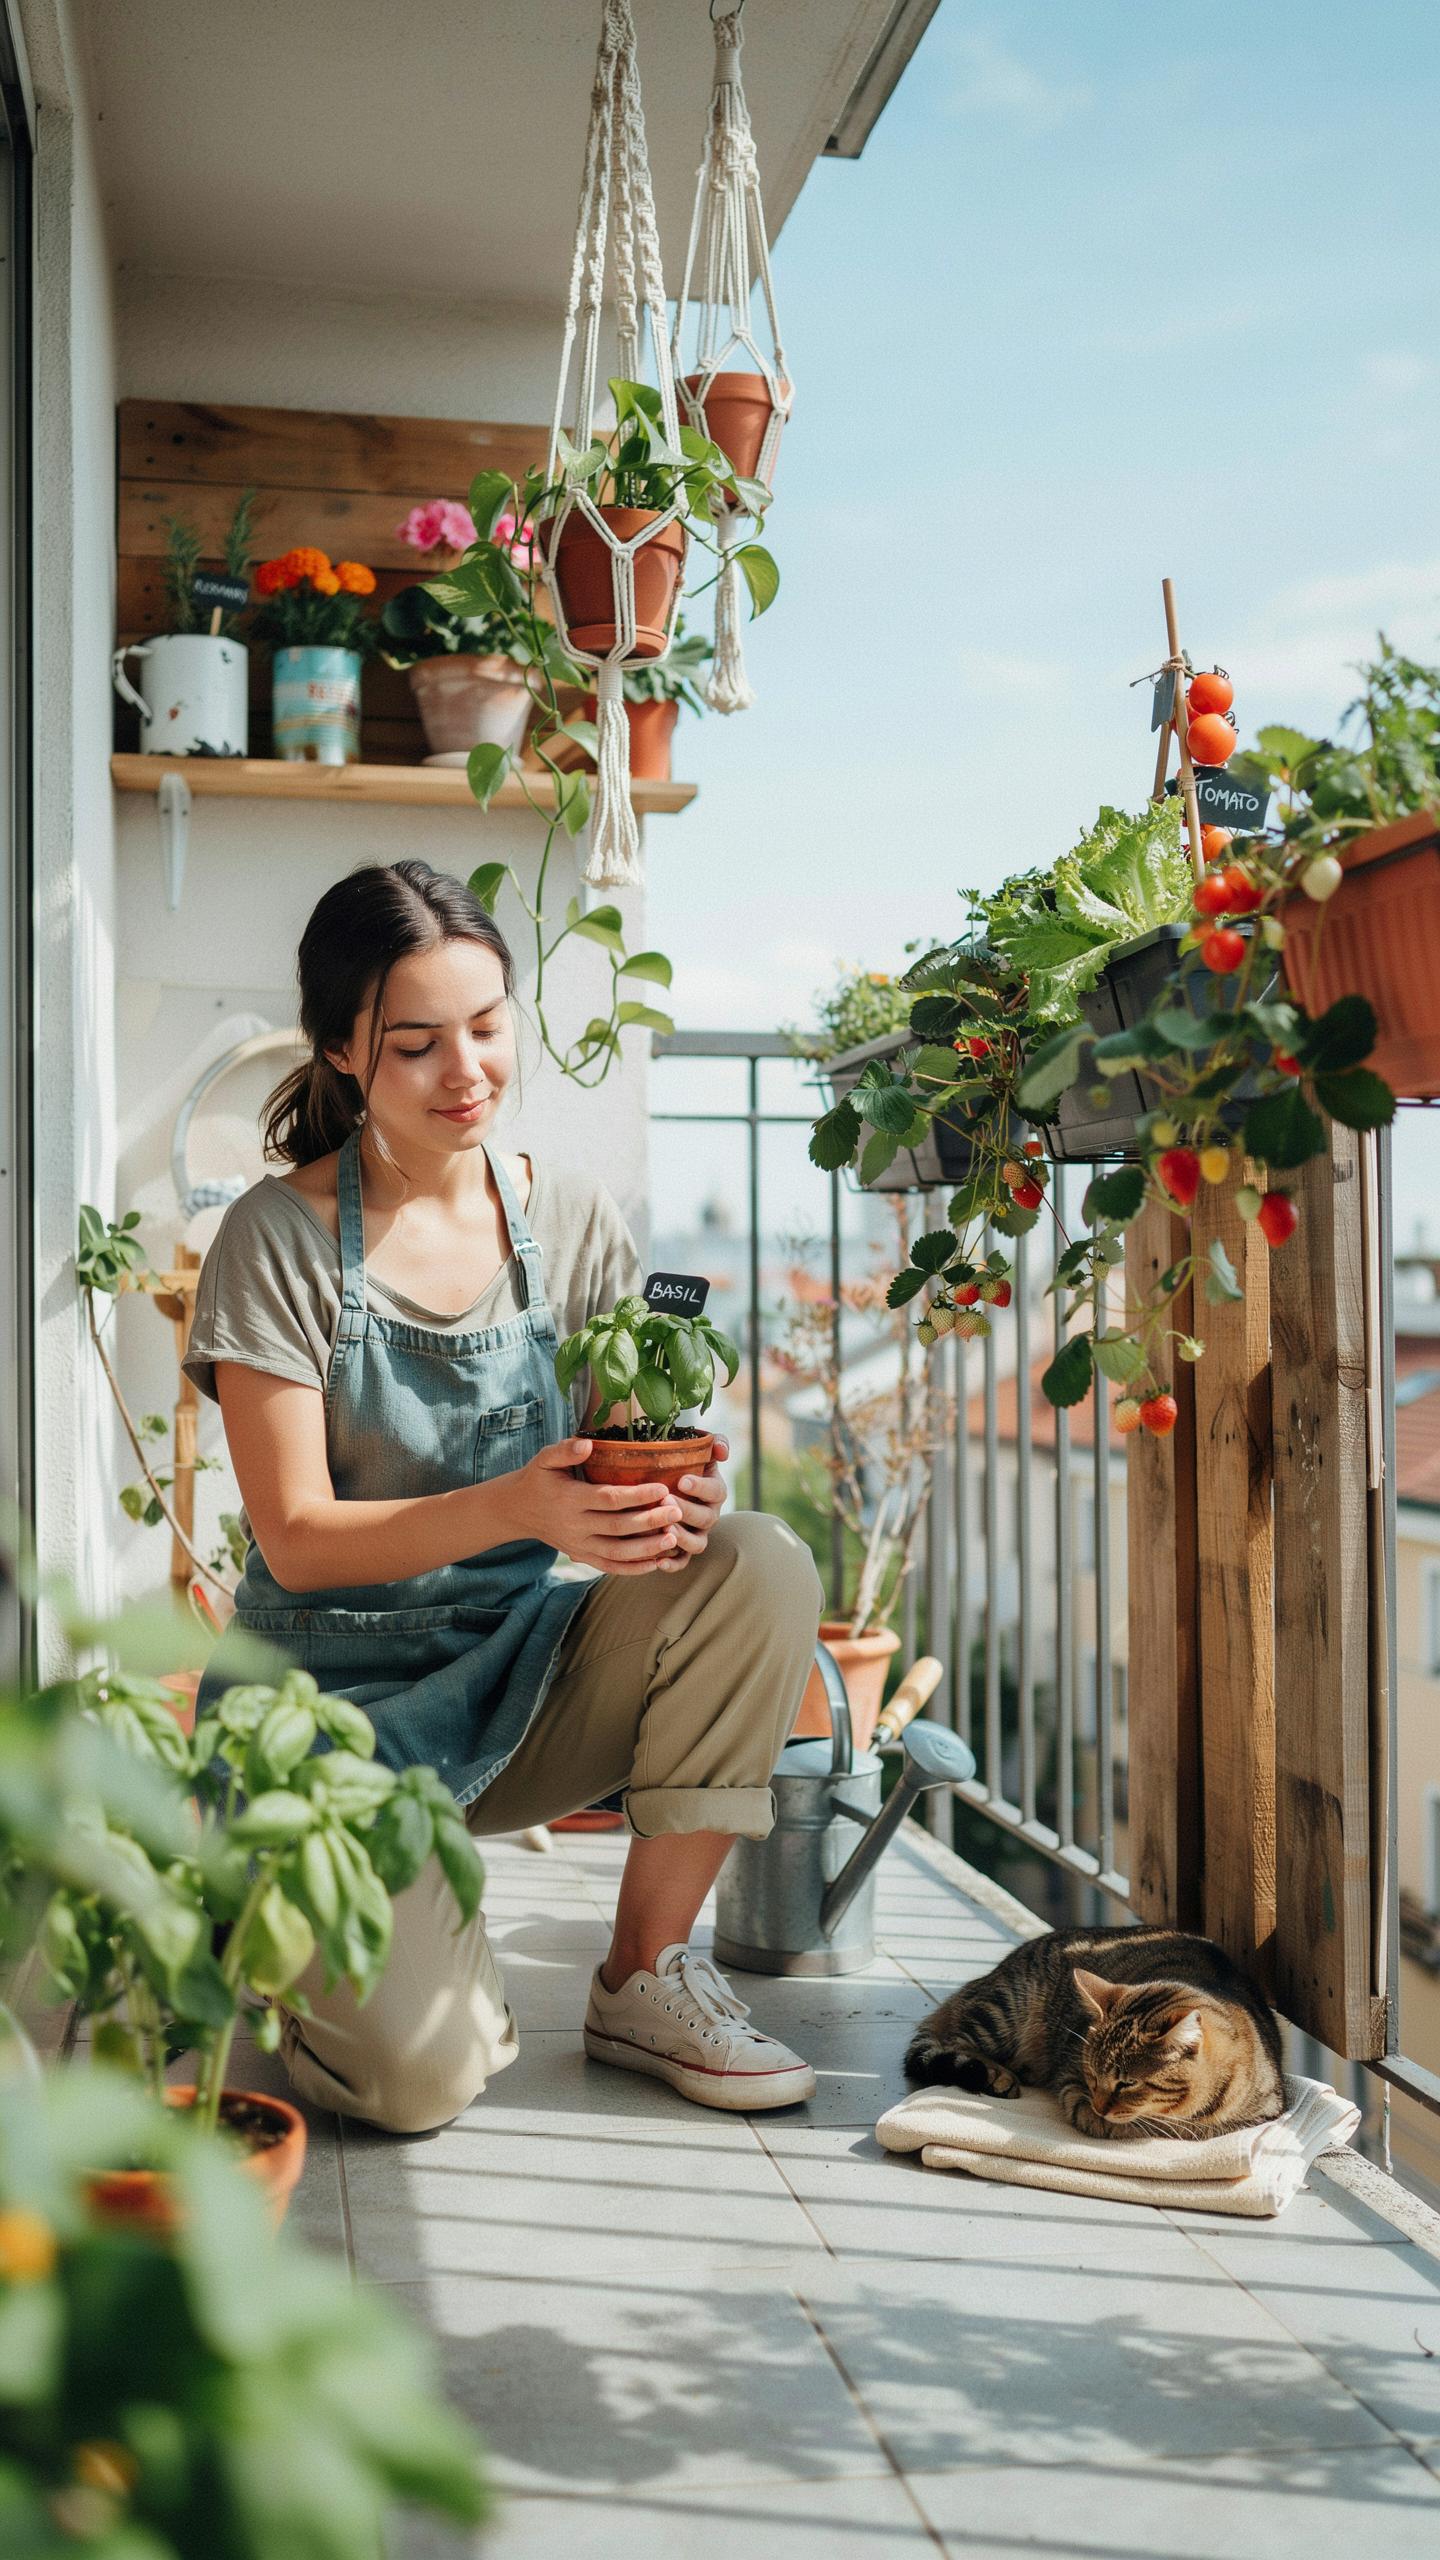
Vertical structures move plants closer to light sources without consuming floor space. Build simple trellises from wooden dowels, bamboo stakes, or PVC pipe. Attach them to walls or windows to create growing zones that capture direct sunlight during peak hours. This approach works because plants need light intensity measured in foot-candles, and positioning them higher intercepts more available light throughout the day.
Hanging planters reduce competition for overhead light among multiple plants. Use rope, wire, or chain to suspend containers at varying heights. Stagger plants so upper specimens don’t shade lower ones. Most vegetables and herbs need 12 to 16 hours of light daily for productive growth. Vertical arrangements let you meet this requirement using only the light your space naturally receives without adding expensive grow lights.
Upcycling Household Items For Plant Trays
Plastic takeout containers, yogurt cups, and milk jugs become functional seedling trays with drainage holes drilled in the bottom. Egg cartons work for starting small seeds before transplanting. These containers hold soil and moisture while costing nothing. The material thickness is sufficient to prevent root damage during early growth stages when plants are most vulnerable.
Storage bins transform into miniature portable greenhouses when topped with clear plastic wrap or old windows. This traps humidity and warmth around young seedlings, reducing water loss. Move these units around your space to follow natural light patterns throughout the day. Repurposing items eliminates startup costs while addressing the core challenge: seedlings need consistent light and moisture to develop strong root systems before moving into permanent growing positions.
Frequently Asked Questions

How do I know if my balcony or windowsill has enough light for plants?
Understanding small space gardening light requirements begins with a simple light audit. Observe your chosen spot throughout the day to see how many hours of direct sun it receives. “Full sun” requires at least six hours, while “partial shade” needs about three to four. If your space is north-facing or blocked by tall buildings, focus on low-light varieties like pothos or leafy greens that thrive in indirect brightness.
How can I maximize the natural light in a dark apartment without spending much?
To optimize your small space gardening light requirements on a budget, use reflective surfaces to bounce sunlight toward your plants. Placing a cheap mirror behind your pots or painting nearby walls a bright, reflective white can significantly increase light intensity. Additionally, keeping your windows clean and arranging plants on tiered shelving ensures every leaf gets its fair share of Vitamin D without needing expensive electrical upgrades or professional setups.
Are expensive grow lights necessary for a successful small indoor garden?
Not at all! You can achieve great results by using affordable LED shop lights or daylight-spectrum bulbs found at local hardware stores. Look for bulbs labeled “cool white” or those with a Kelvin rating between 5000K and 6500K. This budget-friendly hack mimics natural daylight effectively, allowing you to grow herbs and small vegetables in even the dimmest corners of your home without breaking the bank on branded equipment.



