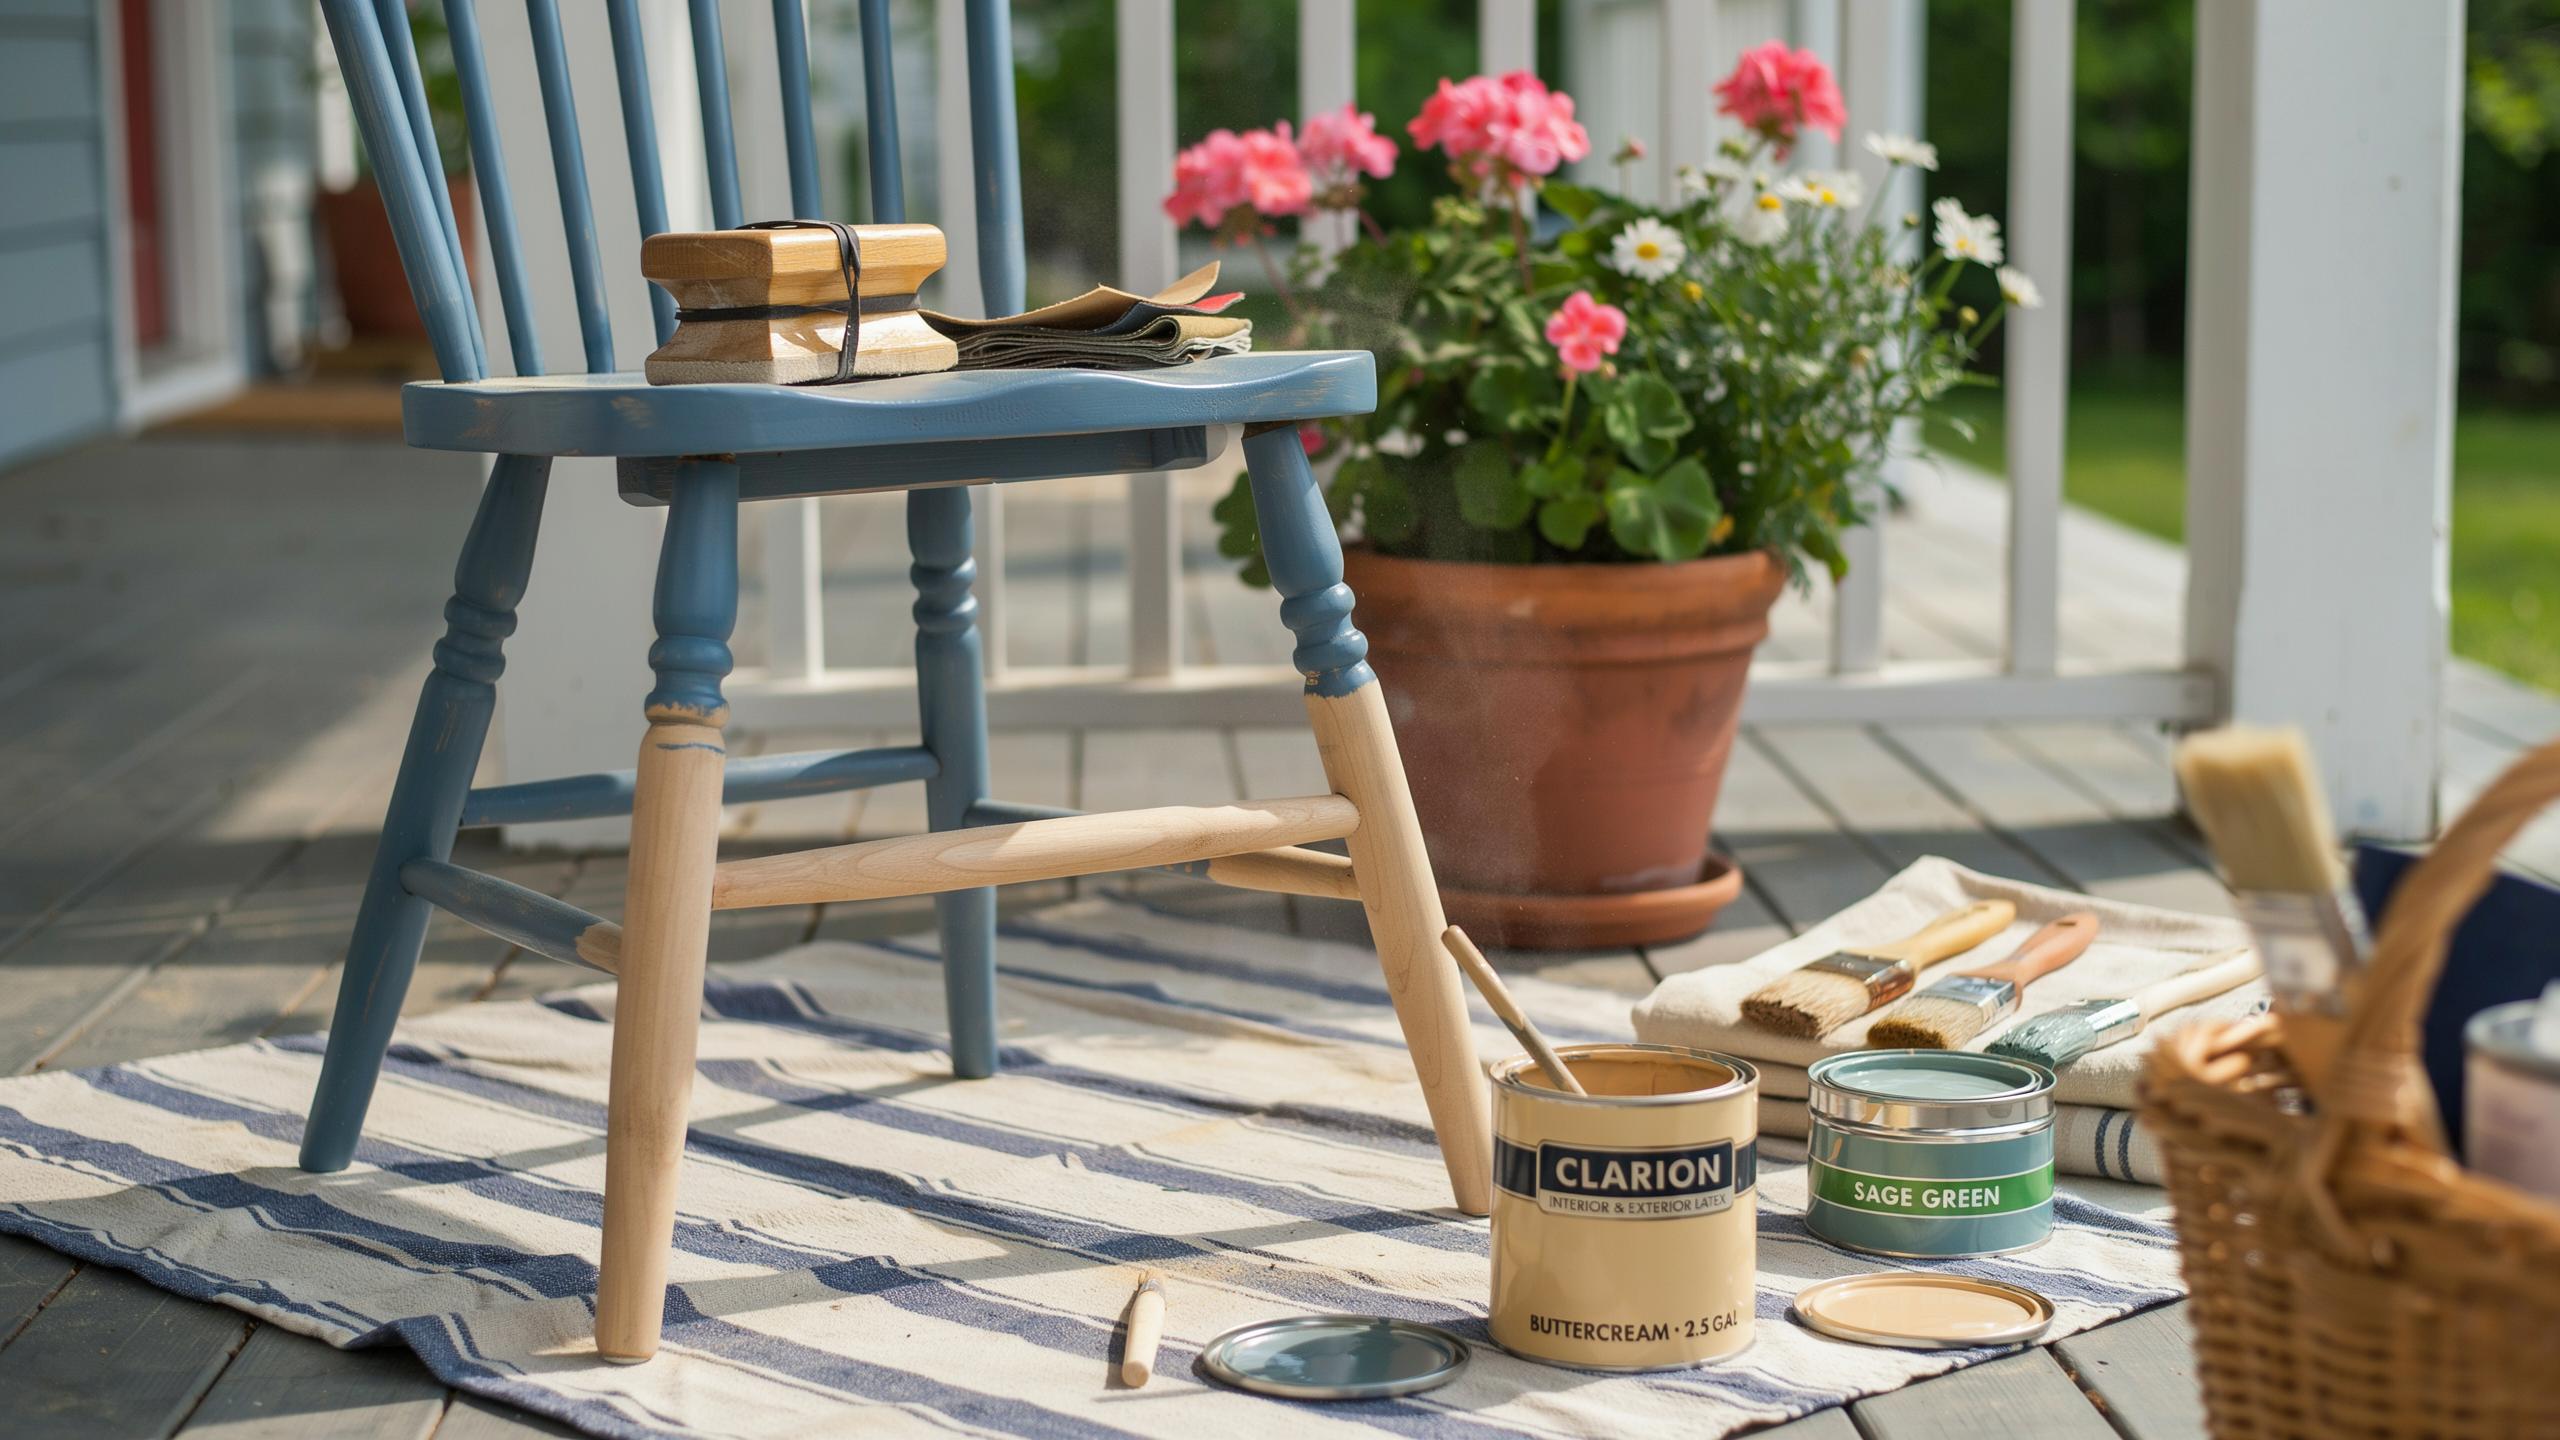
Embarking On A DIY Furniture Renovation This Season
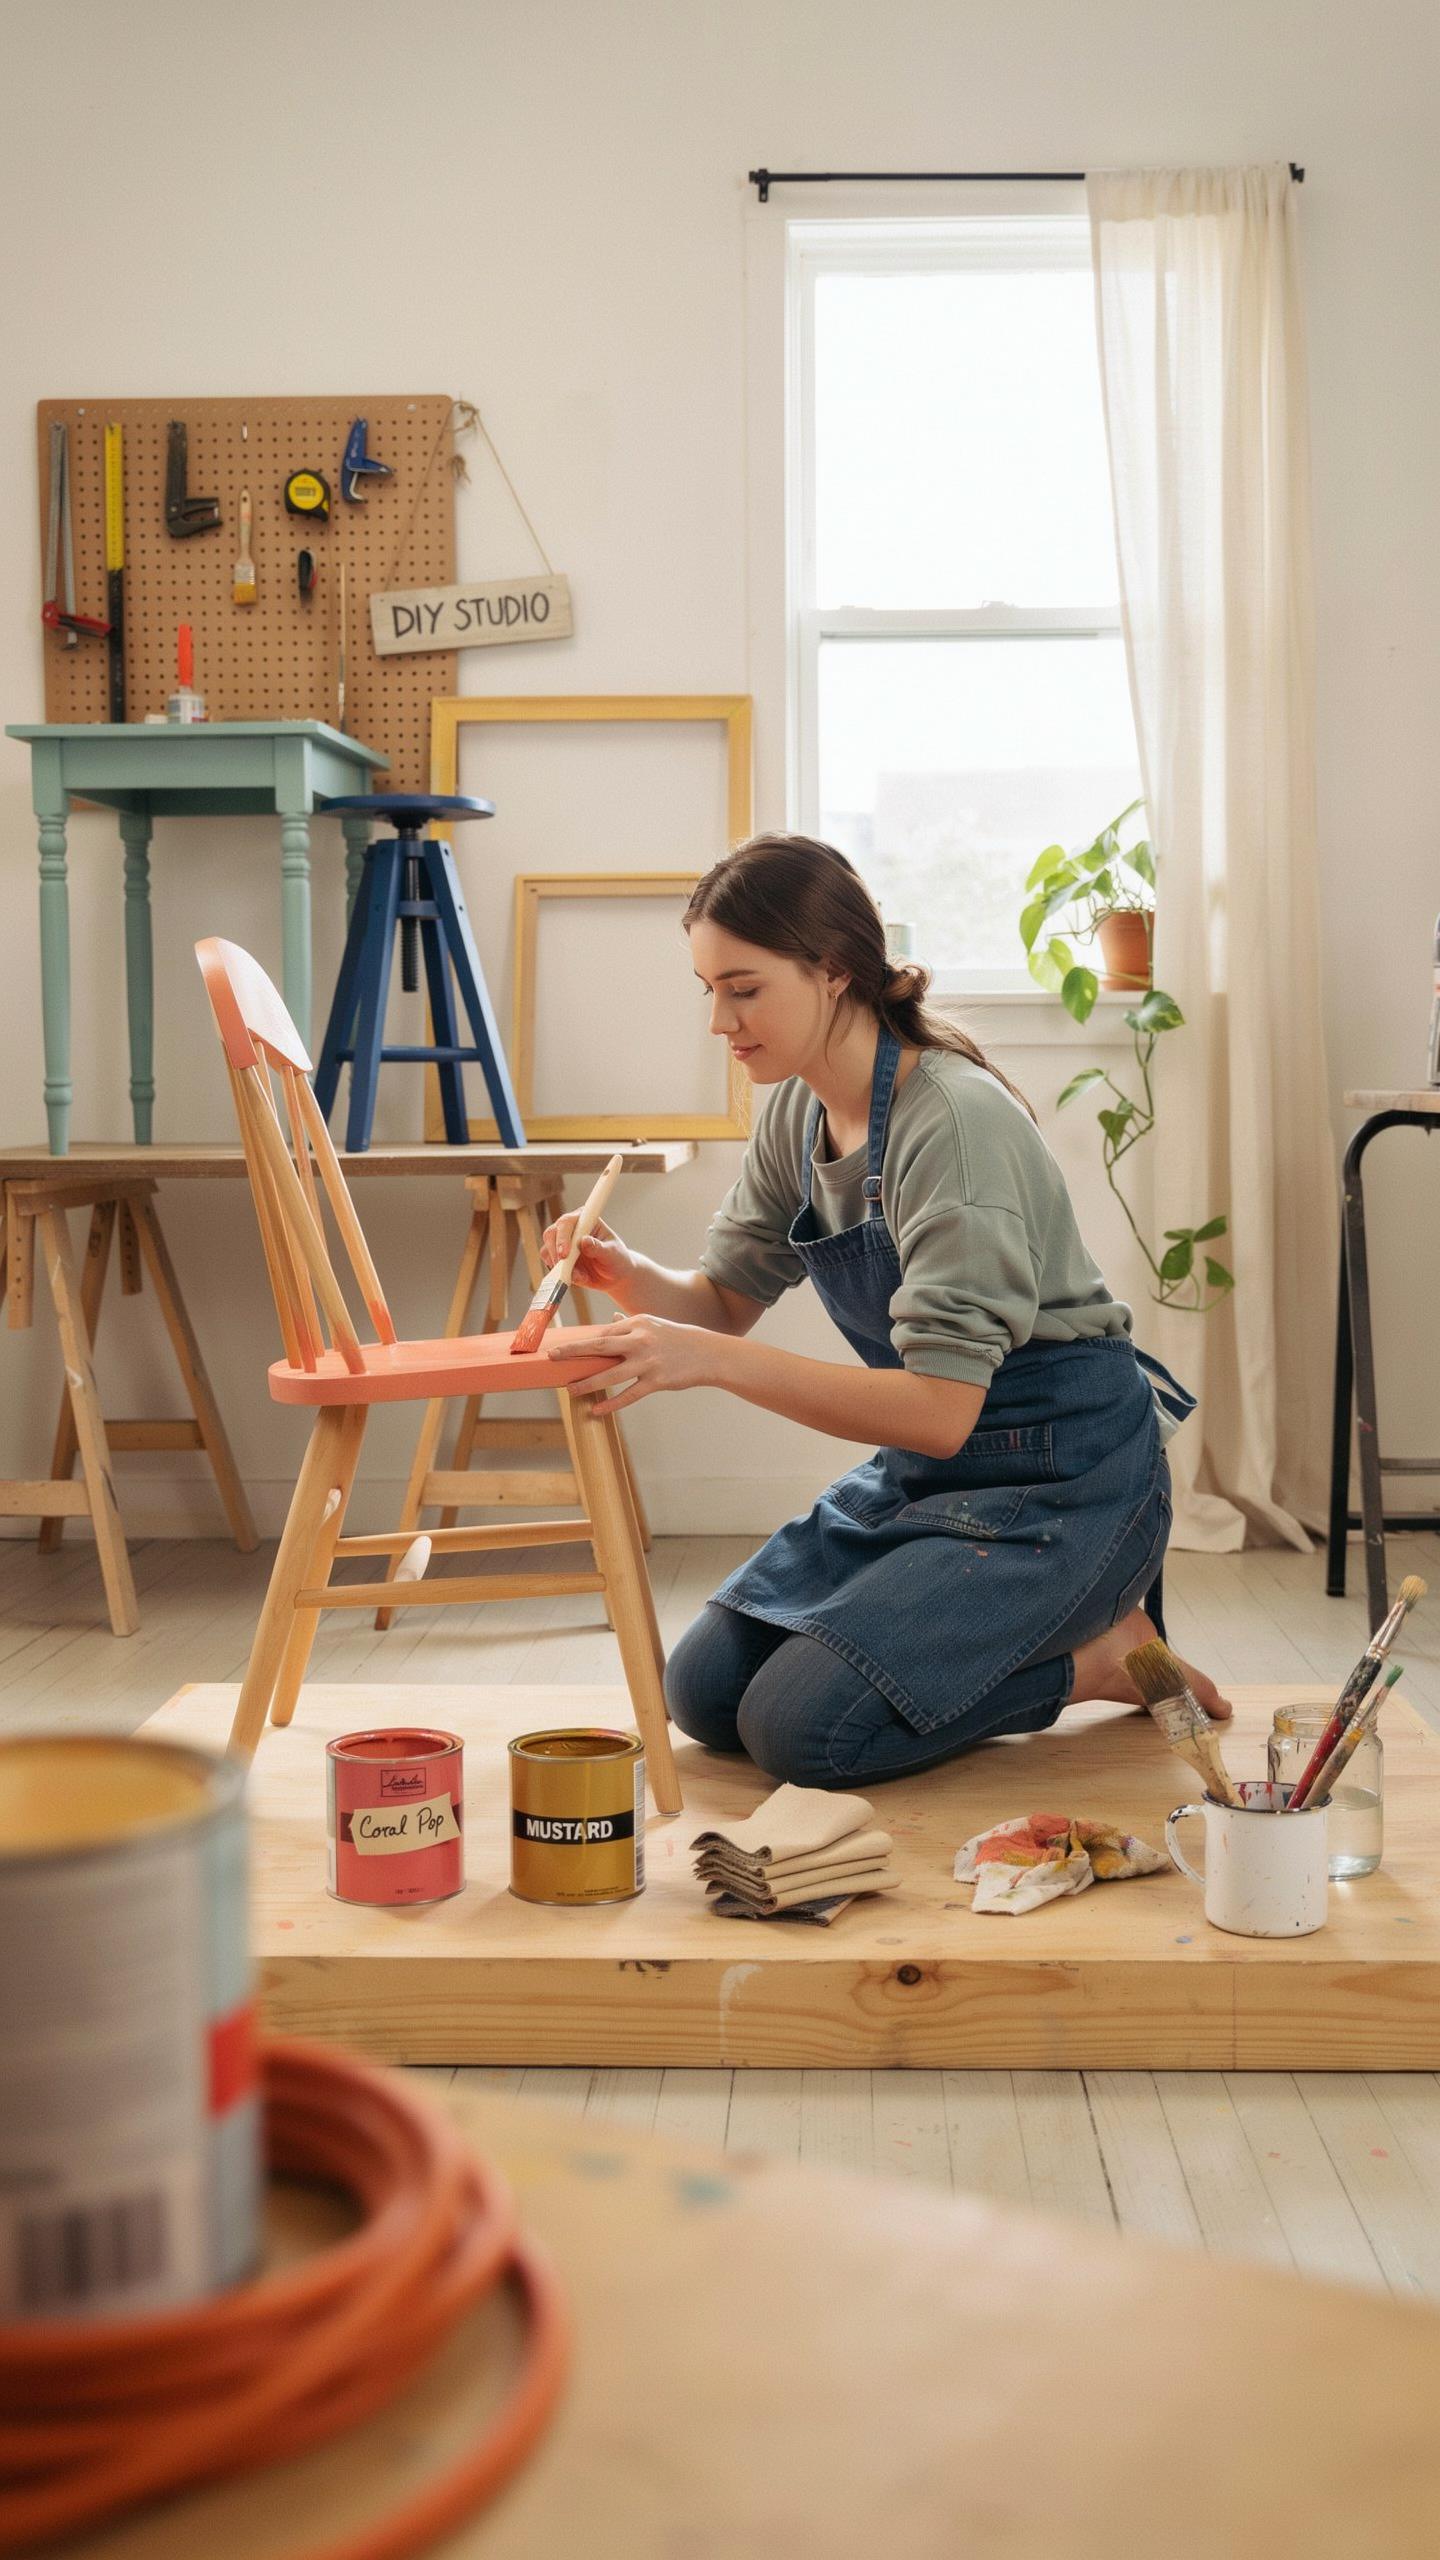
Finding The Perfect Thrifted Pieces
Solid wood furniture holds value in a flip project. Thrift stores, garage sales, and flea markets stock pieces with real wood frames and joints. Examine the skeleton of any candidate piece by running your hand along edges and joints. Feel for solid construction without wobbling. Avoid veneer surfaces that peel or separate from the base wood, as veneer repair requires specialized skills and adds cost to your project.
Real wood species like oak, maple, and walnut sand predictably and accept stain or paint uniformly. Check drawer slides and leg joints for structural integrity before purchasing. A loose joint costs time and money to fix during your renovation. Reject pieces with deep water damage, active pest damage, or frames that flex under moderate hand pressure. These problems indicate the wood has compromised integrity that sanding cannot repair.
Planning Your Custom Refinishing Project
Your finish choice determines every step that follows in the sanding process. A natural stain finish requires aggressive initial sanding to expose the wood grain and achieve even color absorption. A paint finish tolerates slightly rougher surfaces and demands less precision in early sanding stages. A distressed look intentionally leaves surface imperfections that reflect the finished aesthetic. Decide your target finish before you buy sandpaper or tools.
Document your design goal with photos or paint samples. This reference prevents mid-project changes that waste time and materials. Match your vision to the wood species you selected, as some woods stain darker and others display grain more prominently. Solid planning eliminates rework and keeps your project timeline realistic. Commit to your chosen finish and execute with consistency through every sanding stage.

Sanding Vs Stripping Wood Furniture Choosing The Best Method
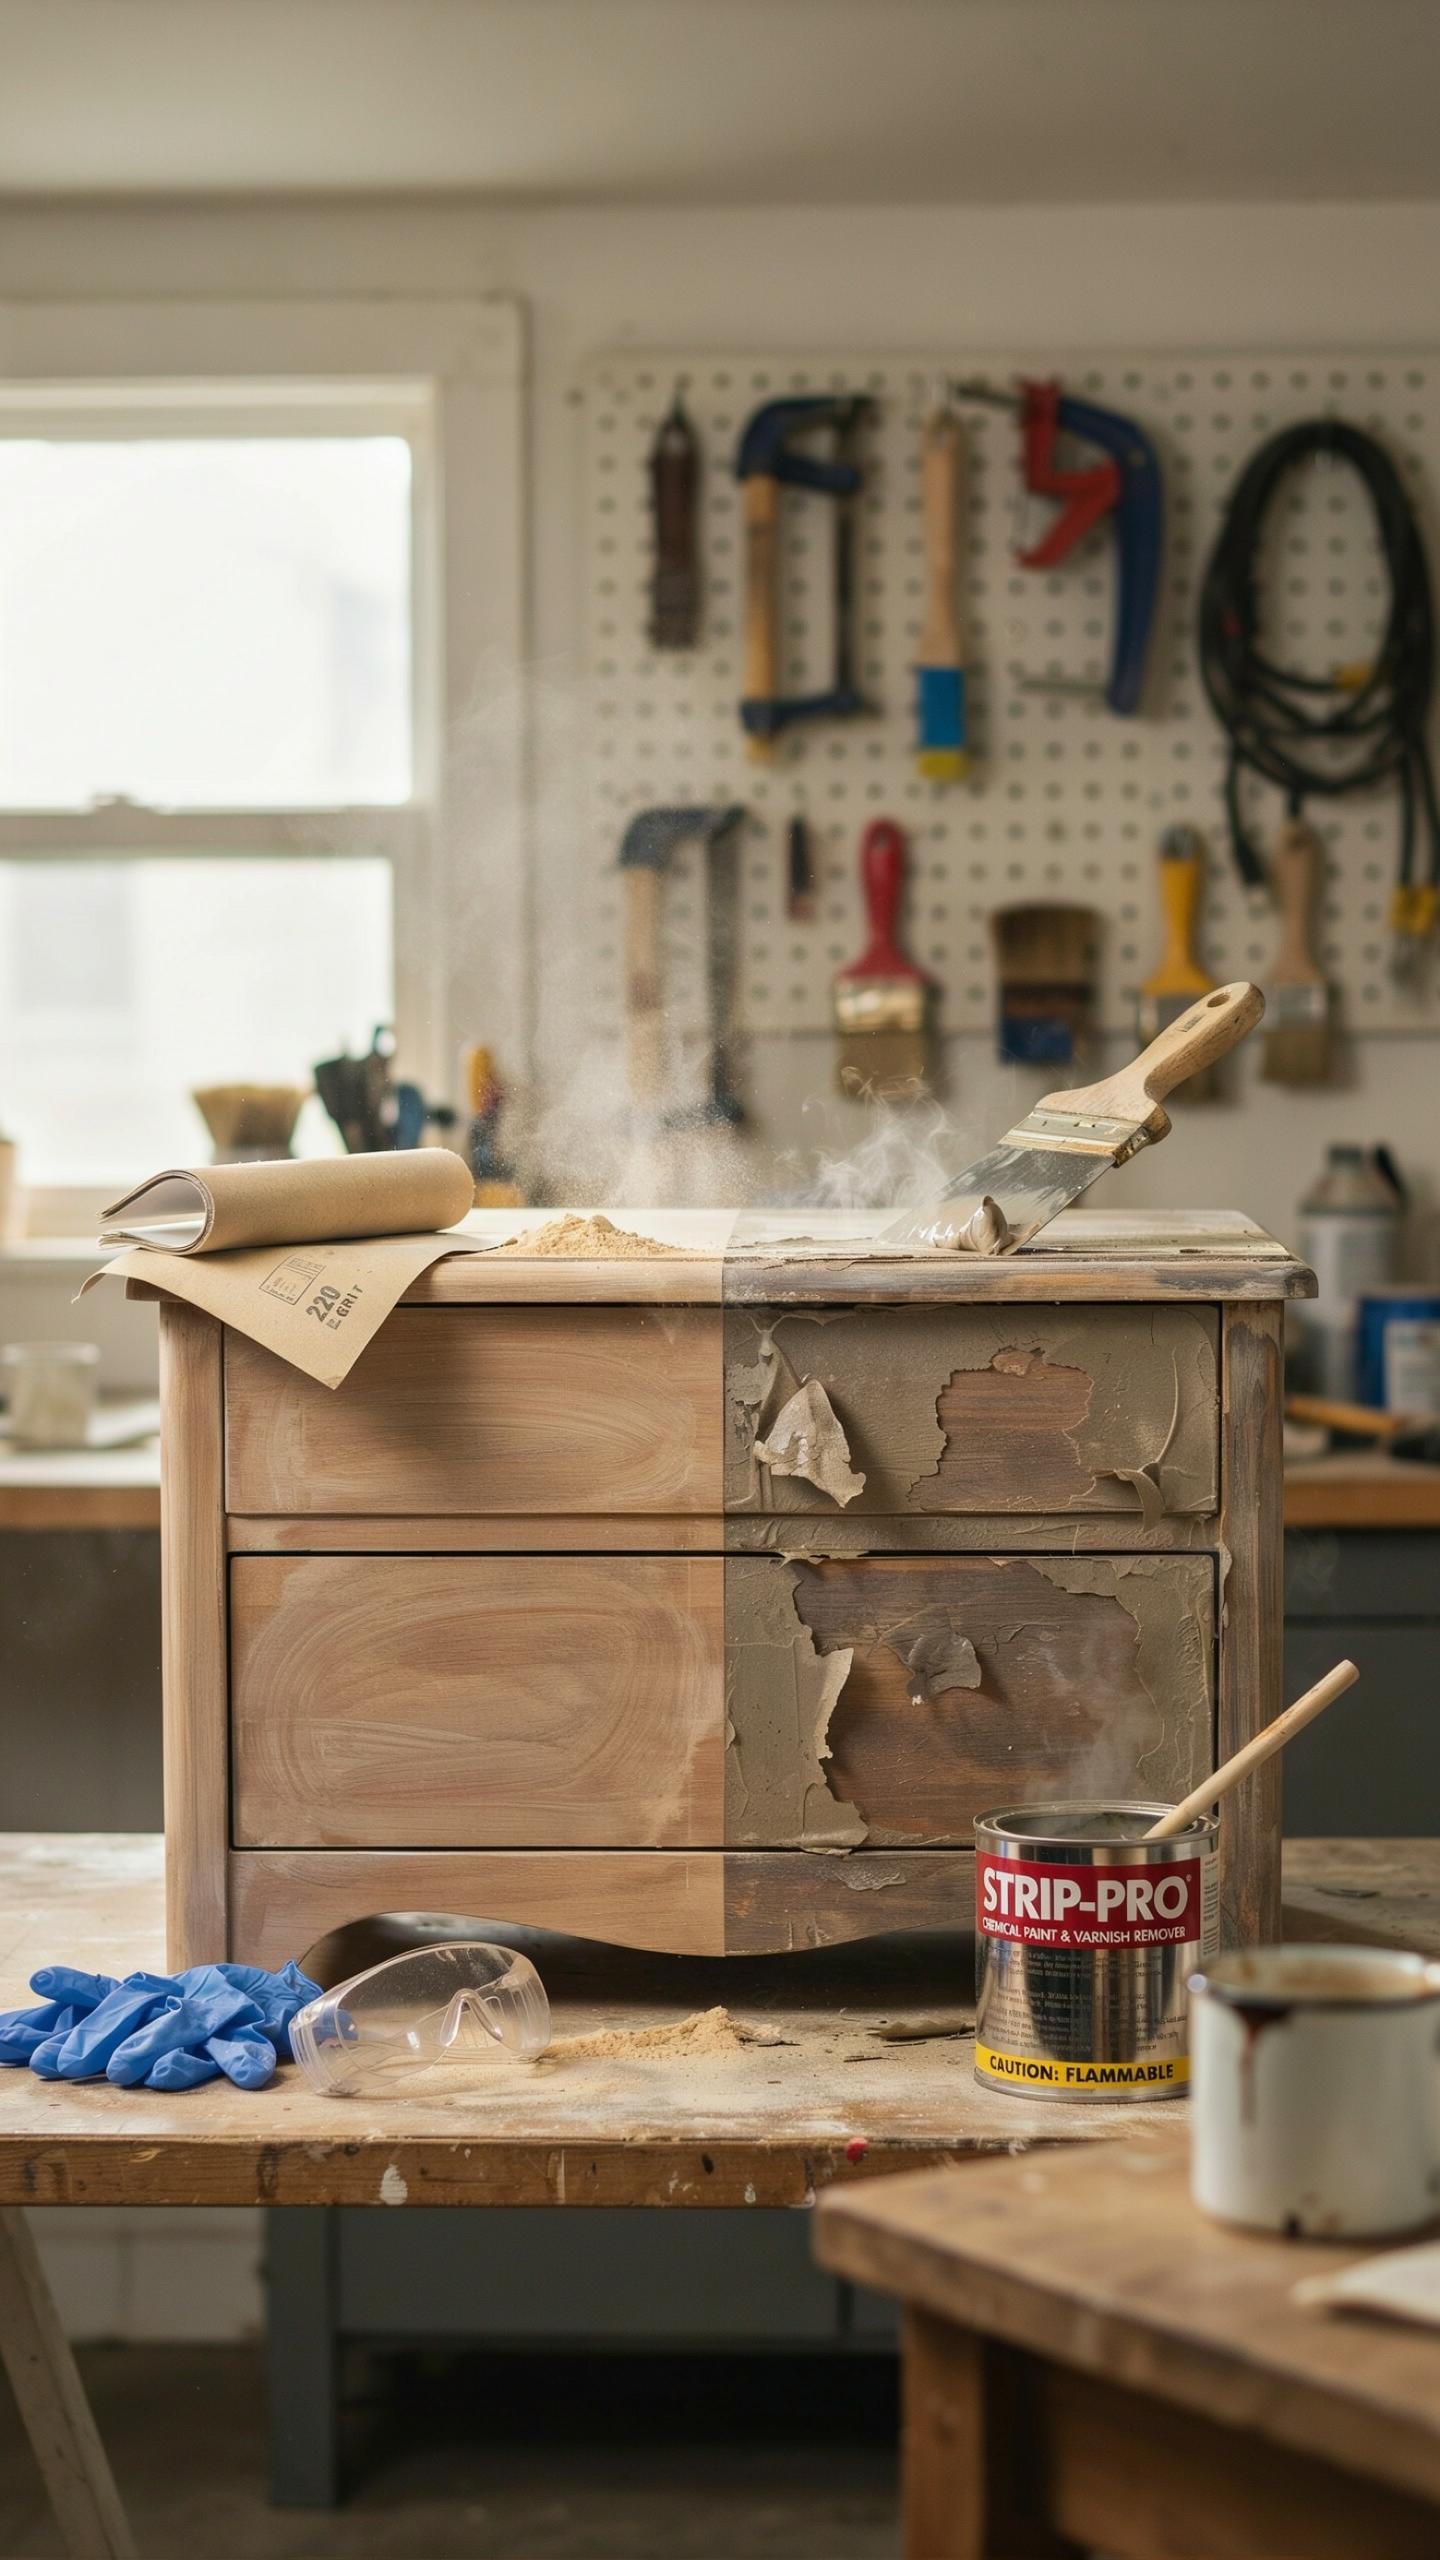
When To Strip Chemical Finishes First
Chemical stripping becomes necessary when you encounter multiple layers of old polyurethane, lacquer, or paint that exceed one-eighth inch thick. These heavy coatings won’t sand away efficiently and will clog sandpaper, wasting time and money. Strippers dissolve the finish rather than removing it mechanically, exposing bare wood faster on severely finished pieces.
Use a chemical stripper on veneered furniture or pieces with intricate carvings where sanding risks damaging delicate surfaces. Strippers reach into crevices and detailed work that sanders cannot access effectively. Test any stripper on a hidden area first to confirm it won’t damage the underlying wood or veneer before committing to full application.
Behind every layer of old dust and worn varnish lies the heartbeat of a forgotten story waiting for your hands to set it free. Smooth away the years to reveal the timeless soul hidden within the wood.
When Dry Sanding Is The Superior Option
Dry sanding works best for thin finishes, light surface scratches, and worn areas requiring gentle restoration. Open-grained woods like oak or ash absorb liquid stripper residues that cause raised grain problems later. Direct sanding avoids chemical exposure entirely, making it faster and safer for simple cosmetic repairs.
Use dry sanding when you want controlled distressing or a specific worn appearance on mid-century or farmhouse pieces. Sandpaper gives you precision that strippers cannot match for aesthetic work. This method also preserves the original patina of the wood when you sand selectively rather than stripping entire surfaces.
Selecting The Right Sander For Furniture Projects
Understanding Different Sander Types For Woodworking
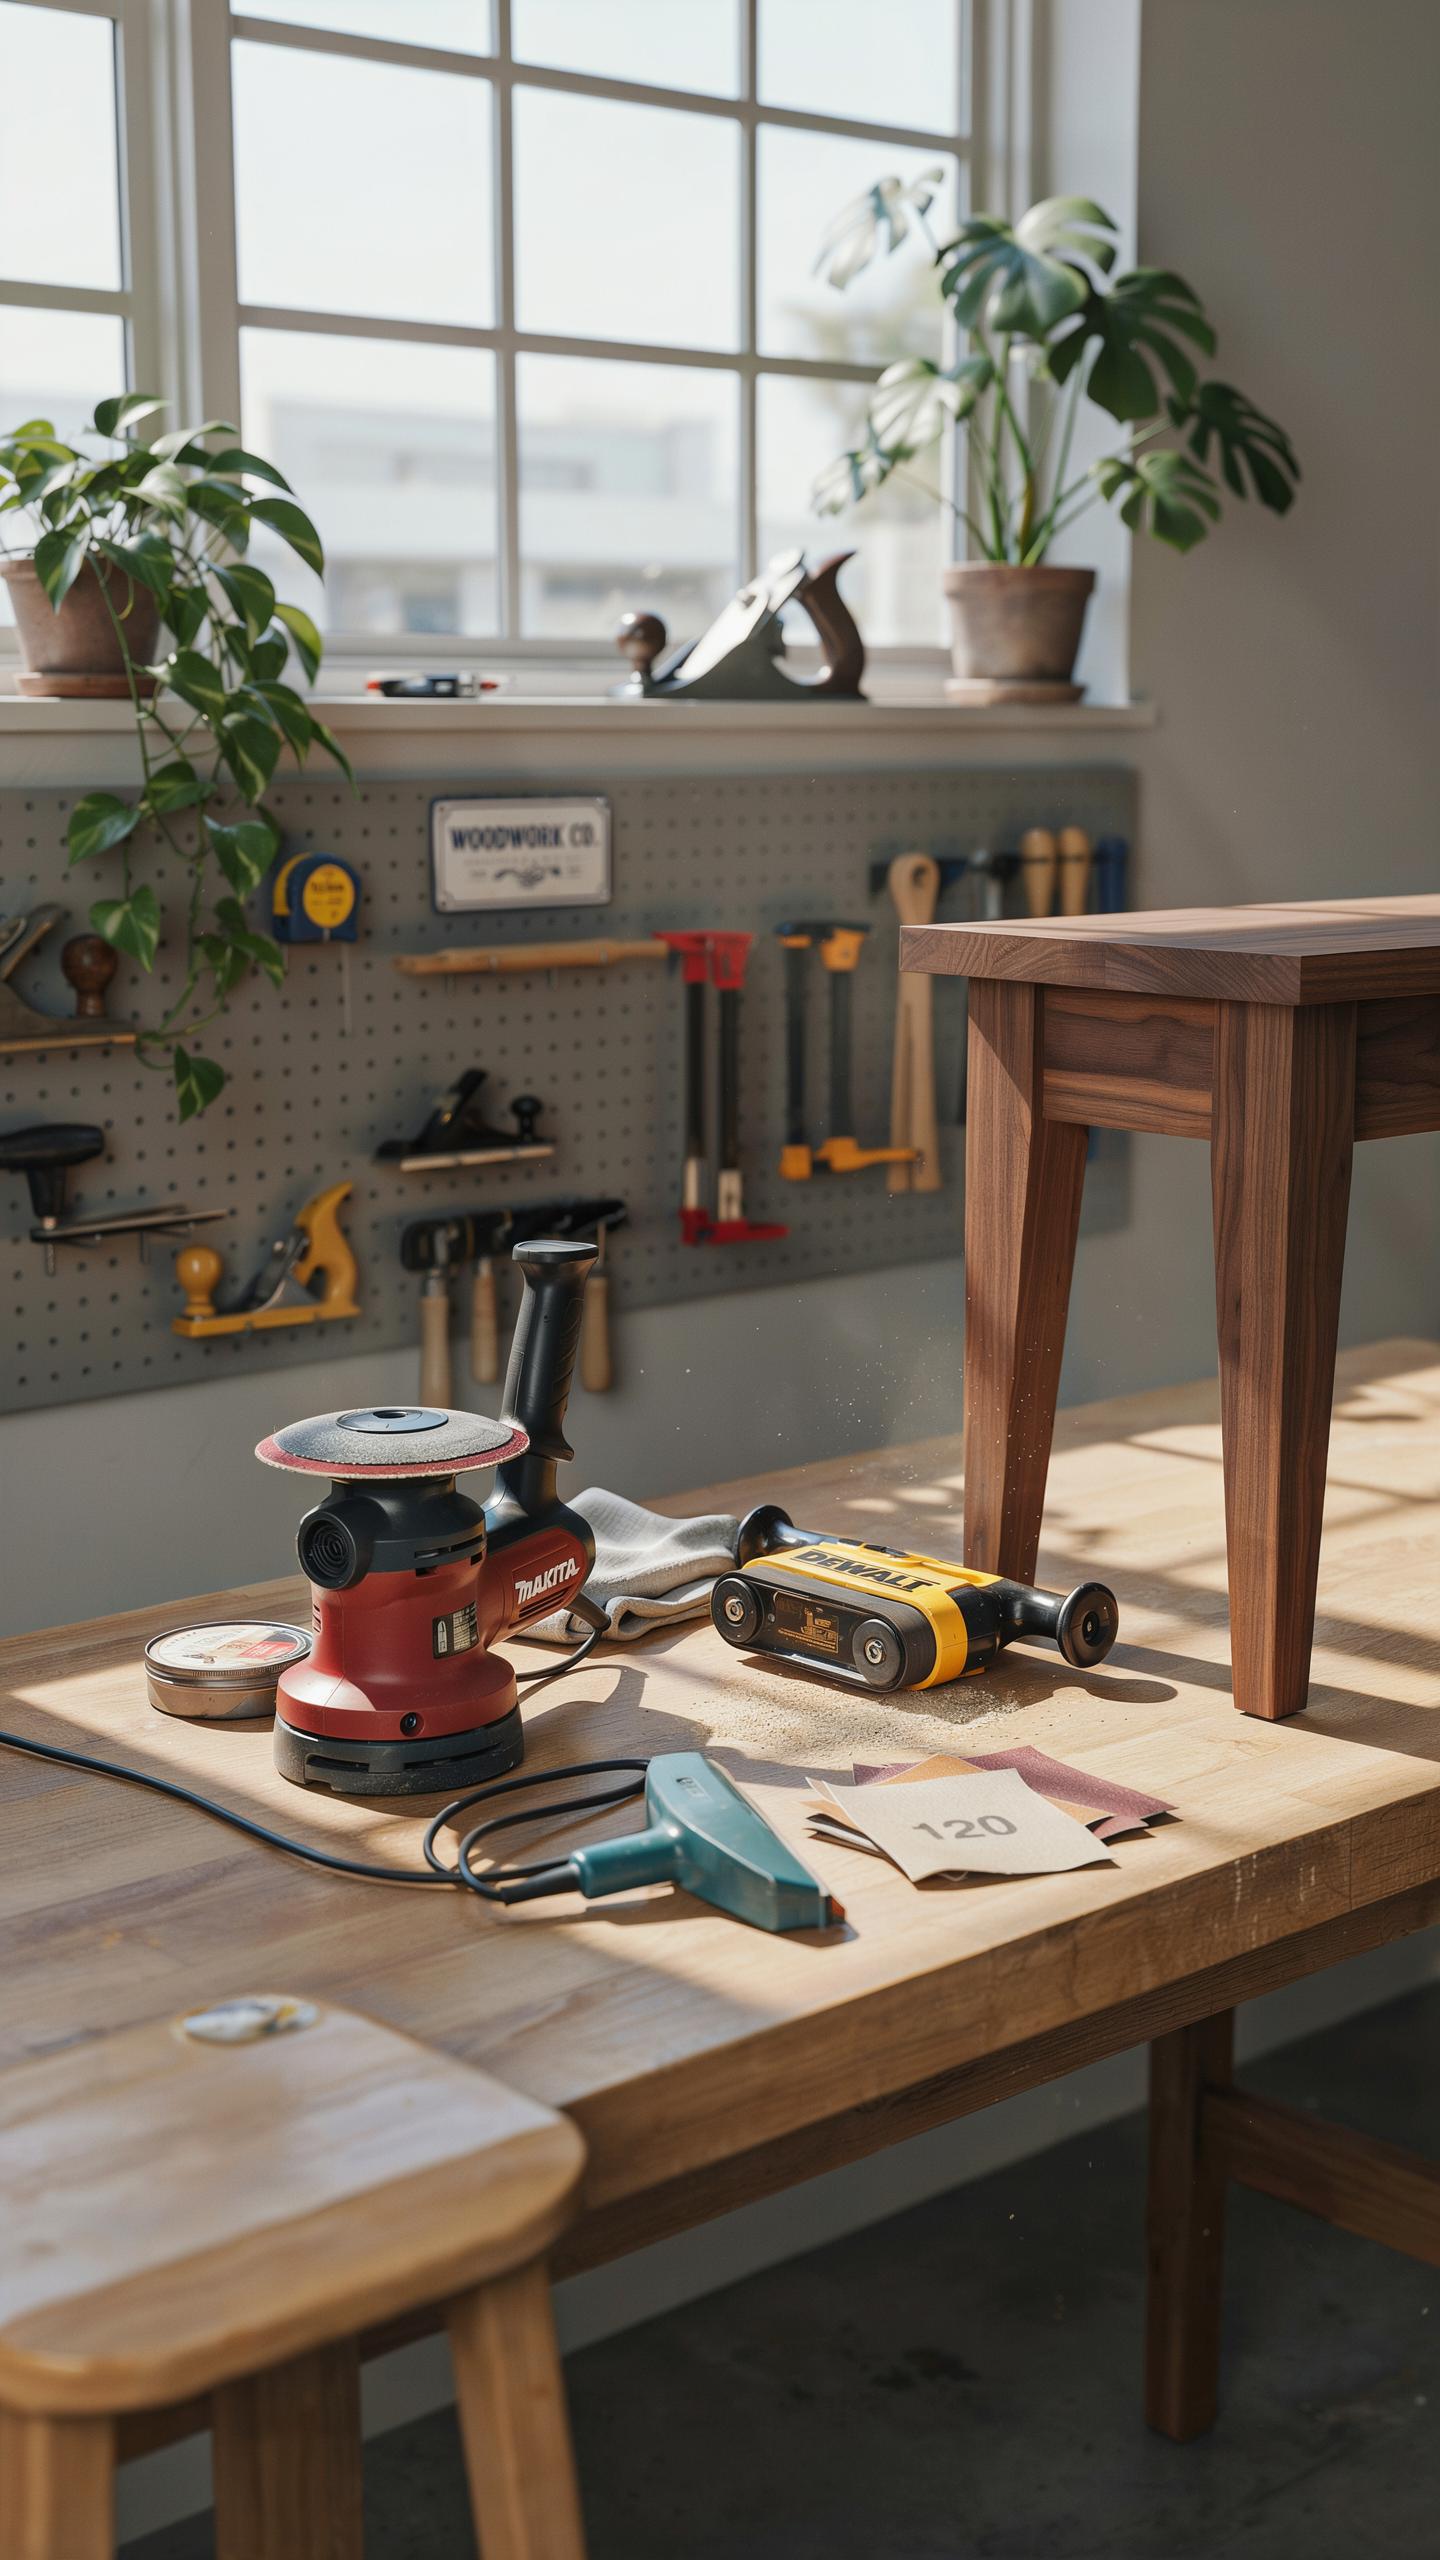
Orbital sanders dominate furniture flipping because they handle flat surfaces fast. The circular motion removes material evenly without creating directional scratches. Sheet sanders work well on large, flat areas like tabletops but require more operator control. Detail sanders reach corners, edges, and curved sections that orbital sanders cannot access. Choose based on your furniture’s shape and the surfaces you need to restore.
Random orbital sanders blend speed with surface quality. They move in both rotating and oscillating patterns, which prevents visible sanding marks on stained or natural wood. Sheet sanders use rectangular pads and work best on prefinished surfaces needing quick material removal. Detail or mouse sanders feature pointed heads for tight spaces. Match the tool to your furniture’s geometry, not the other way around.
Matching The Tool To Your Specific Project Scale
Large furniture like dining tables and dresser tops demand orbital sanders to cut sanding time significantly. A single piece might take hours with hand sanding but only minutes with power equipment. Small decor items, wooden chairs, and cabinet doors require lighter tools to preserve details and avoid gouges. Delicate veneered surfaces particularly need careful attention to prevent breaking through thin top layers.

A full-size table restoration justifies using a large orbital sander rated for continuous duty. Budget-conscious flippers starting with smaller pieces benefit from detail sanders, which cost less and store easily. Your project scale determines equipment investment directly. Scale up your tool purchases as your flipping business grows and your piece sizes increase.
The Search For The Best Sander For Refinishing Furniture

Evaluating Power Controls And Dust Collection
Variable speed controls matter because high speeds burn wood surfaces, especially on softer woods common in thrifted pieces. Most orbital sanders operate between 6,000 and 12,000 orbits per minute. Lowering speed on delicate veneers or thin finishes prevents scorch marks and uneven removal. You need this control to match the sanding stage, wood type, and finish thickness you encounter.
Dust collection directly impacts your health and workspace cleanliness. Sanders with integrated dust ports capture particles at the source rather than letting them disperse. Connect your sander to a shop vacuum with adequate CFM rating for your tool size. Inadequate dust collection forces you to work slower, take more breaks, and clean more frequently.
Ergonomics And Grip Comfort For Long Working Hours
Hand fatigue kills productivity during multi-hour refinishing sessions. Rubberized grips reduce vibration transfer to your hands and fingers, cutting strain significantly. Weight distribution matters equally because a poorly balanced sander forces your arms to work harder. Test tools before purchasing by holding them for a full minute to assess how your hands respond.

Long sessions demand tools that feel natural in your grip. Palm sanders and detail sanders require different grip positions, so match the tool type to your hand size and the furniture surface you’re refinishing. Lighter sanders reduce shoulder fatigue during overhead work on table tops or chair legs. Proper ergonomics let you work longer with better control and fewer mistakes.
Finding The Best Sander For Furniture Details And Curvatures
Why Detail Sanders Excel In Tight Corners
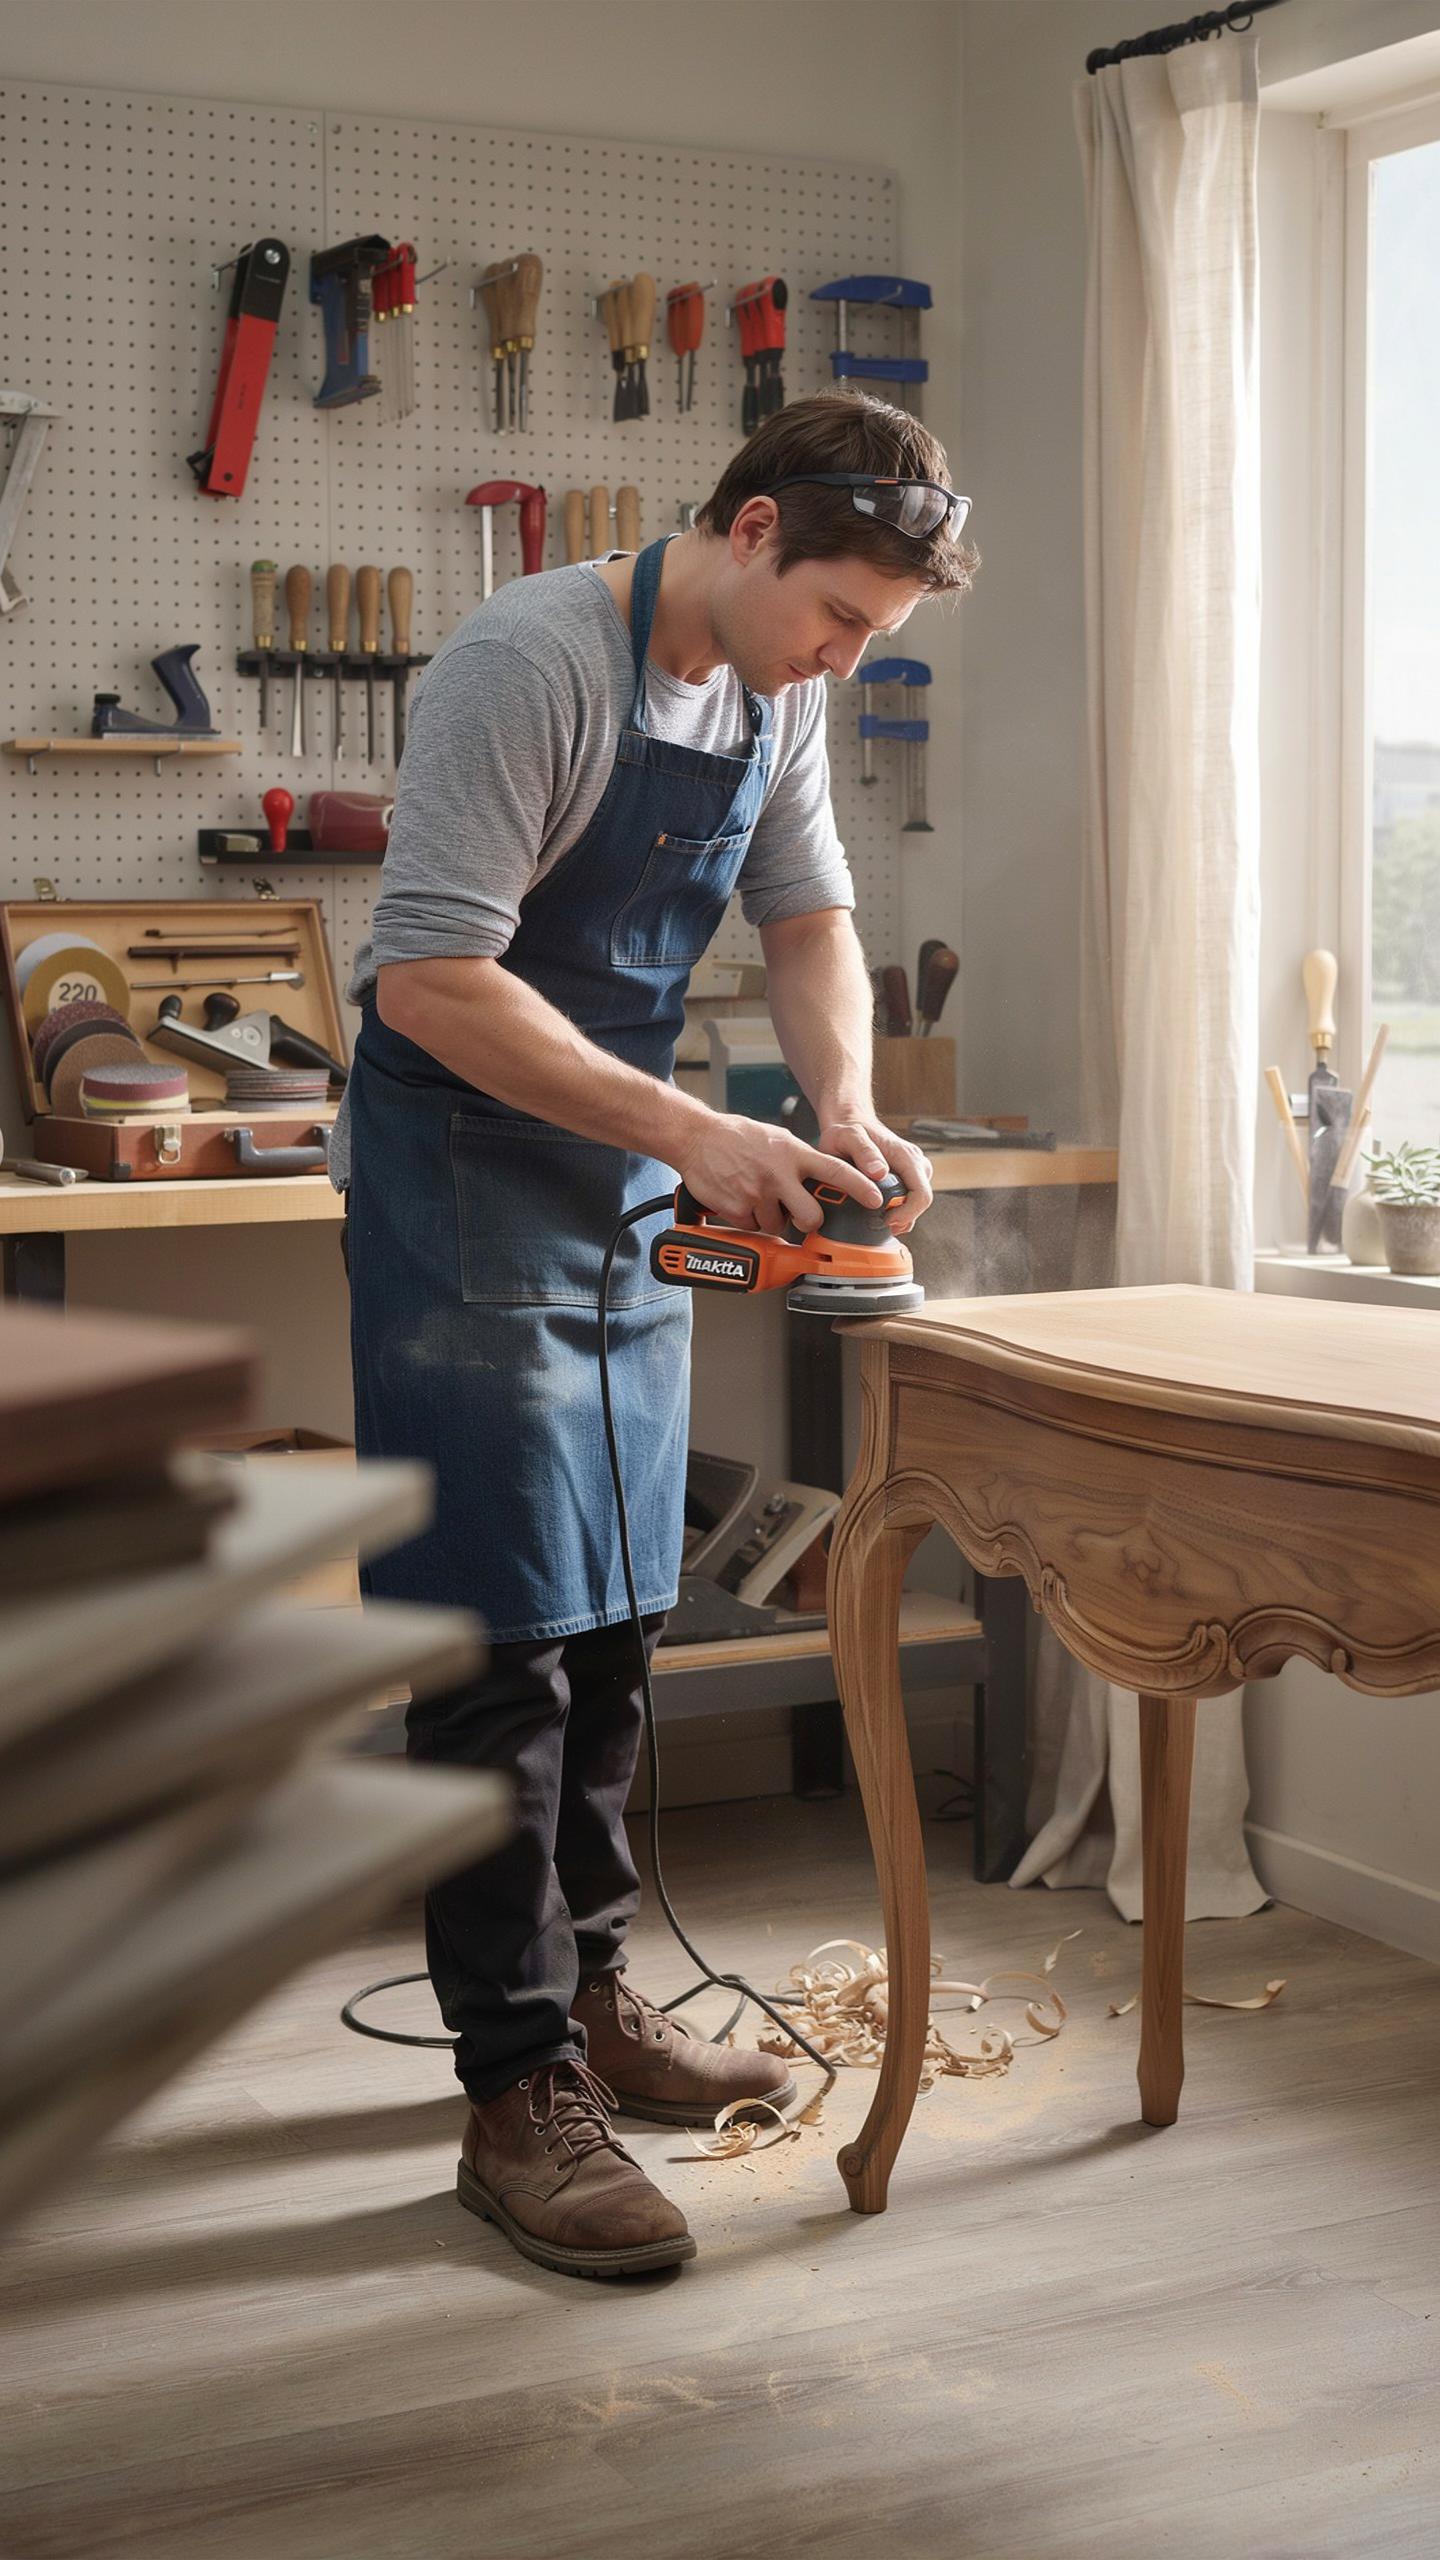
Detail sanders, also called delta sanders, feature a triangular pad that reaches into corners and crevices where round orbital pads fail. The pointed tip penetrates tight angles on carved details, beaded edges, and recessed molding. This shape matches the geometry of detailed furniture work. You get into spaces that standard sanders simply cannot access without damaging surrounding wood.
The triangular design lets you work edges without oversanding flat surfaces nearby. Carved furniture from different eras, including Victorian pieces and mid-century modern designs with routed details, benefit from this precision. Detail sanders prevent unnecessary material removal on adjacent areas. The focused contact area gives you control over how much wood you remove in each pass.
Comparing Hand Sanding Blocks To Power Detail Tools
Manual sanding blocks using foam pads or specialized profiling shapes offer control that powered tools cannot match on delicate antique carvings. Hand sanding lets you feel wood grain resistance and detect fragile sections before they splinter. This tactile feedback prevents over-aggressive material removal on thin carved elements. Foam pads conform to irregular surfaces without forcing contact into grain direction.

Power detail sanders create vibration that can fracture ornate details on aged wood or veneered surfaces. Hand methods work better on pieces with delicate inlays, thin molding strips, or previous repairs. You control pressure and speed entirely through your own movements. For restoration work on valuable antiques, manual methods preserve structural integrity that power tools risk compromising.
Step By Step Guide On How To Use A Sander For Furniture Safely
Essential Safety Gear And Tool Setup Steps
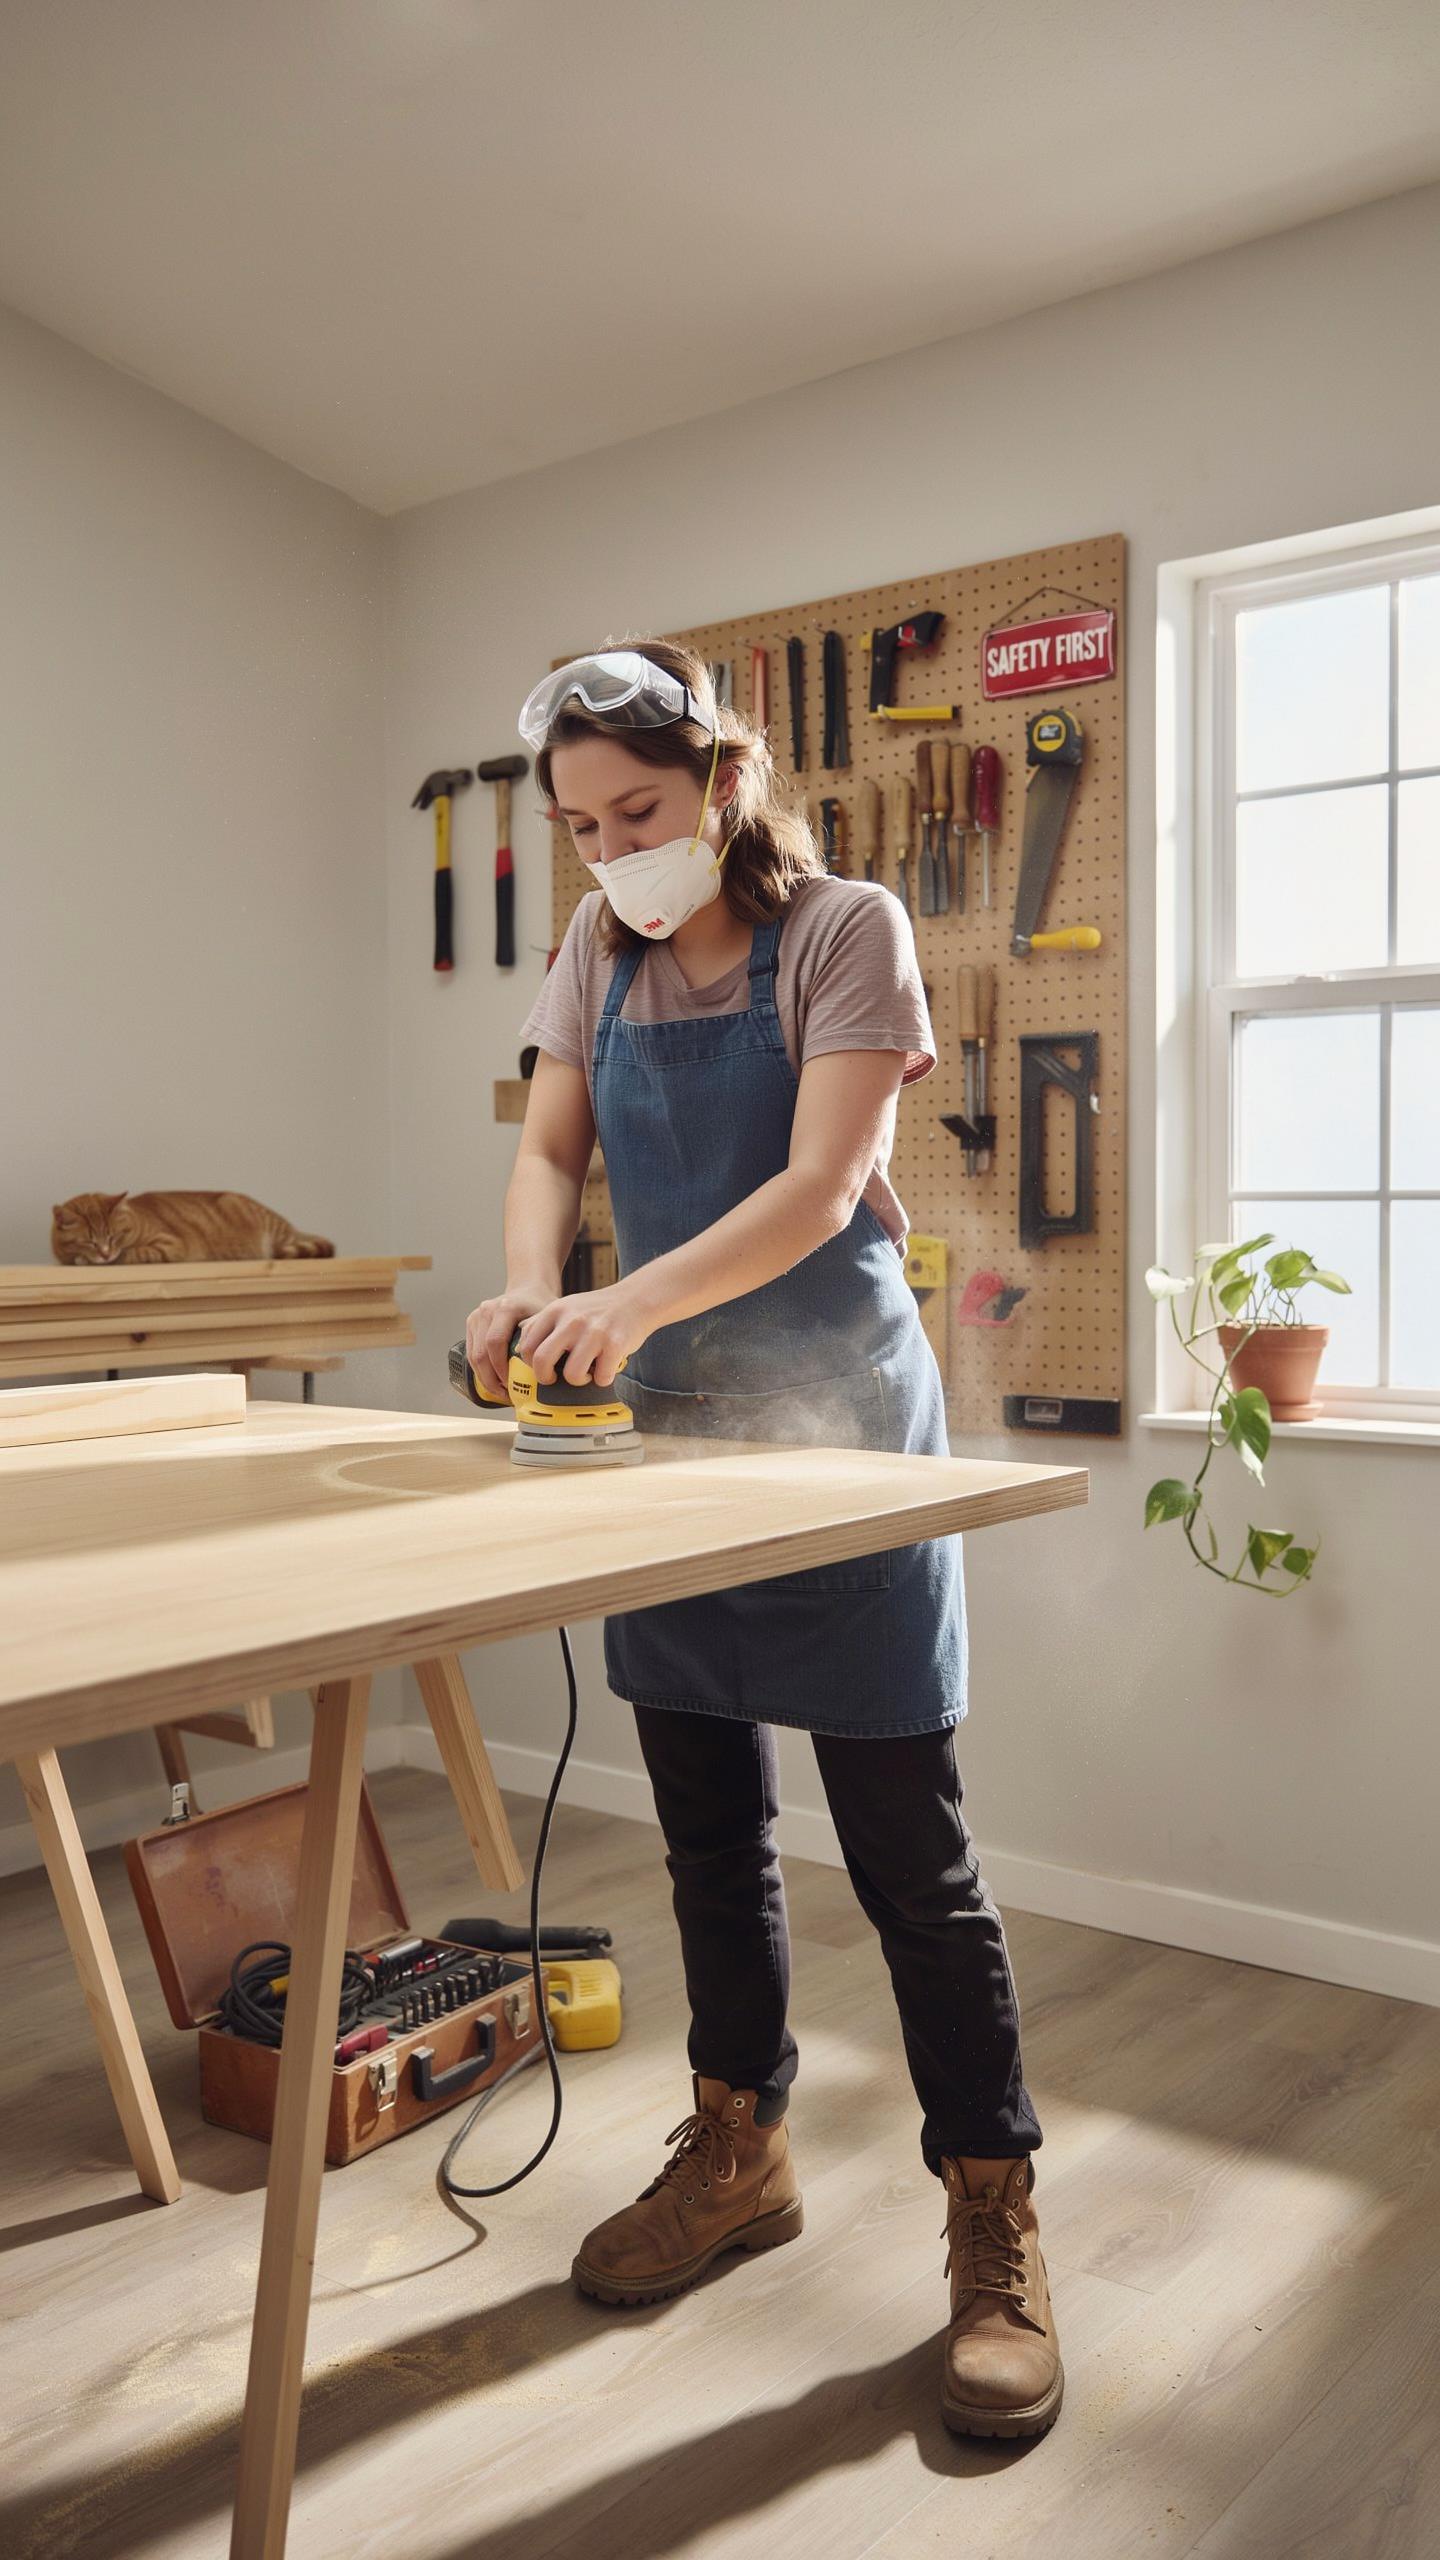
Safety gear prevents permanent injury. You cannot flip furniture profitably if you damage your lungs, eyes, or hearing. Assemble your protective equipment before touching any power tools. Your work surface must be stable and secure to prevent accidents during sanding.
- NIOSH approved dust mask or respirator: Protects your lungs from fine wood particles and dust that can cause respiratory damage over time with repeated exposure.
- ANSI approved safety glasses or goggles: Shields your eyes from flying debris and dust particles that bounce back during the sanding process.
- Hearing protection: Reduces noise exposure from the sander motor, which typically runs at 80 to 90 decibels and can cause hearing loss.
- Secure clamps: Hold the furniture piece steady on your work surface to prevent movement and eliminate kickback hazards.
- Work surface preparation: Ensure your table or bench is level and sturdy enough to support the weight of the furniture without wobbling.
Put on all gear before you start. Check that clamps are tight and furniture cannot shift. Loose setups cause accidents and ruin your work.
Mastering The Proper Sanding Technique And Motion
Sand with the wood grain, not against it. Moving the sander perpendicular to the grain creates visible scratch marks that are difficult to remove. Let the tool’s weight apply pressure naturally. Pressing down forces the sander into the wood and produces swirl marks that look unprofessional.

Keep the sander flat against the surface at all times. Tilting or angling the machine creates uneven spots and hollows. Move in steady, overlapping strokes. Start at one end of the furniture and work toward the other in one continuous direction to maintain consistency throughout the piece.
Mastering The Art Of Sanding Furniture Of Various Wood Types
Handling Softwoods Like Pine And Fir Gently
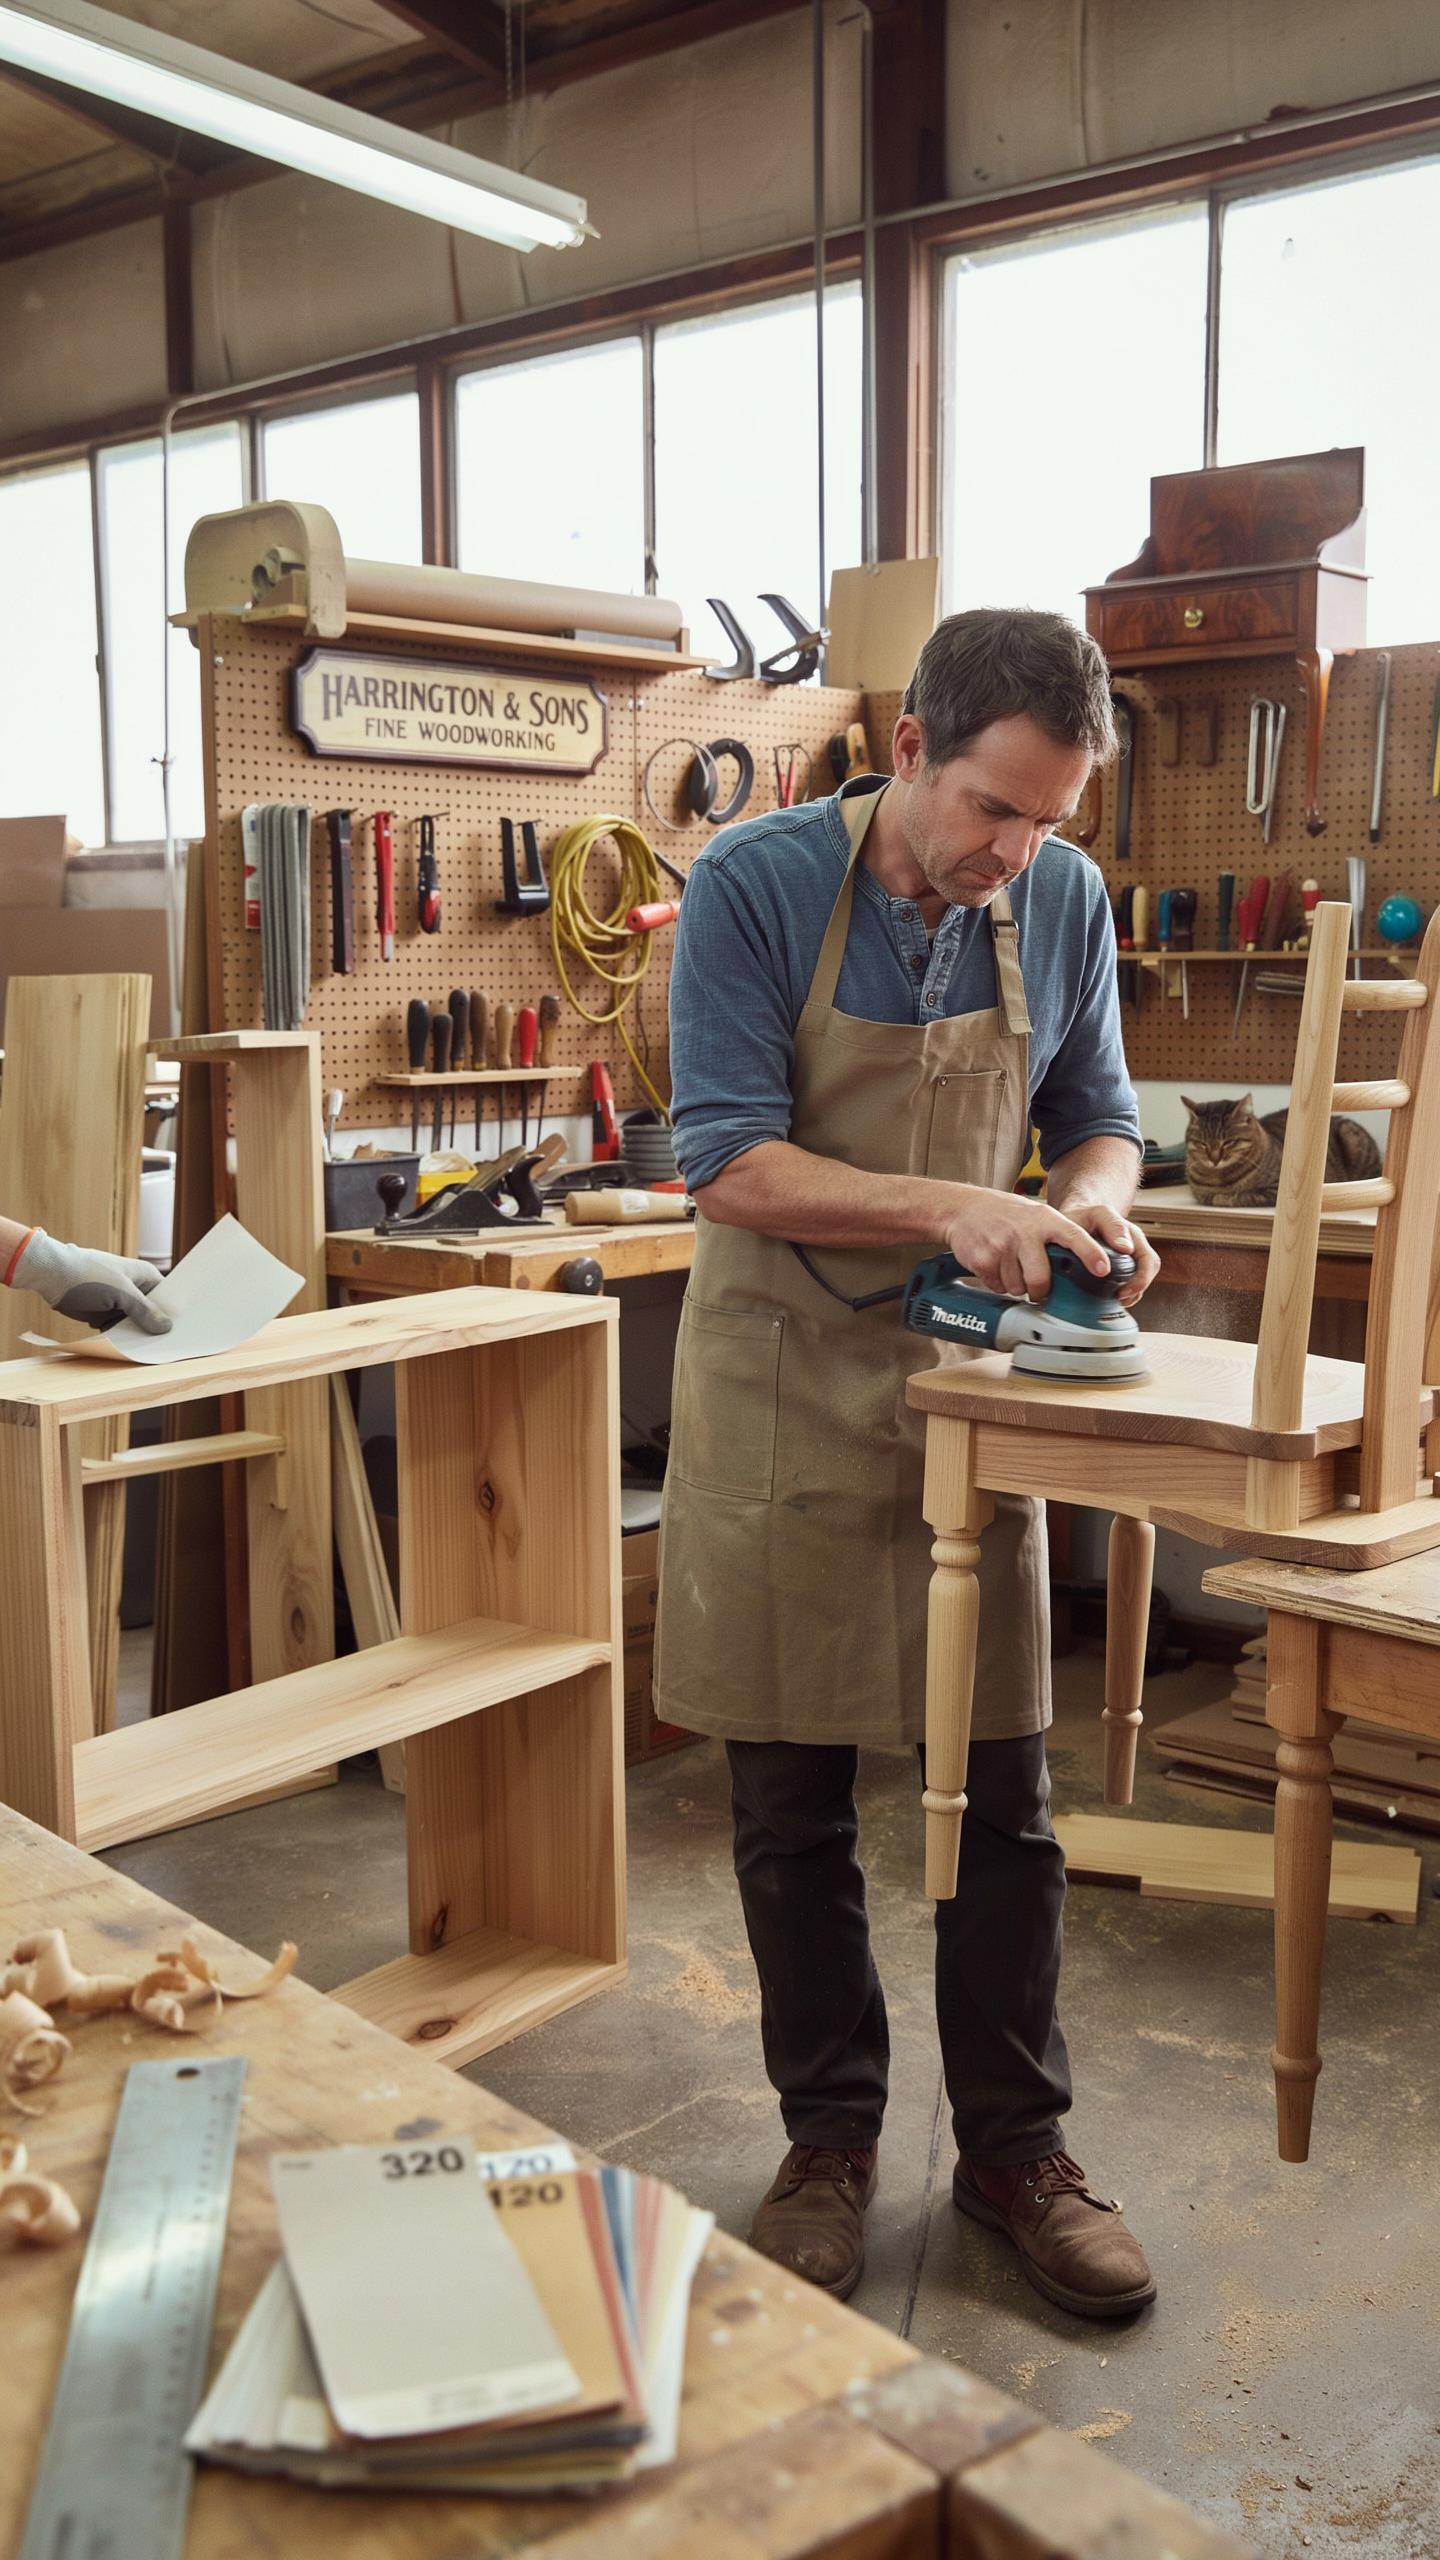
Softwoods compress easily under pressure. Power sanders remove material faster than you expect on pine and fir. The wood fibers tear and gouge instead of sanding smooth. Use a orbital sander on low speed with 120 to 150 grit paper. Hand sanding works better for detailed areas. Apply consistent, light pressure throughout the entire pass.
Move your sander in the direction of the grain. Grain direction matters on softwoods because cross-grain sanding creates visible scratches that stain highlights. Work through grits progressively: 120, then 150, then 180. Skip aggressive 80 or 100 grit unless you’re removing heavy finish. Softwoods need this gentle approach to stay flat and avoid dish-shaped depressions in the surface.
Prepping Dense Hardwoods Like Oak And Walnut
Hardwoods have tight grain structures that resist sanding. You must progress through multiple grit stages to open the pores properly. Start with 80 or 100 grit to remove old finish and level the surface. Oak and walnut demand this aggressive start because softer grits won’t cut through the density efficiently.

Progress through 120, then 150, then 180 grit sequentially. Skip grits and you trap dust in the wood pores, which blocks stain absorption and creates blotchy color. The grain structure in hardwoods absorbs stain unevenly if pores aren’t properly prepared. Stopping at 150 grit often causes uneven stain penetration in dense woods, leaving lighter and darker patches across the surface.
Pro Techniques For Sanding Detailed Furniture And Carvings
Creative DIY Hacks For Crevices And Grooves
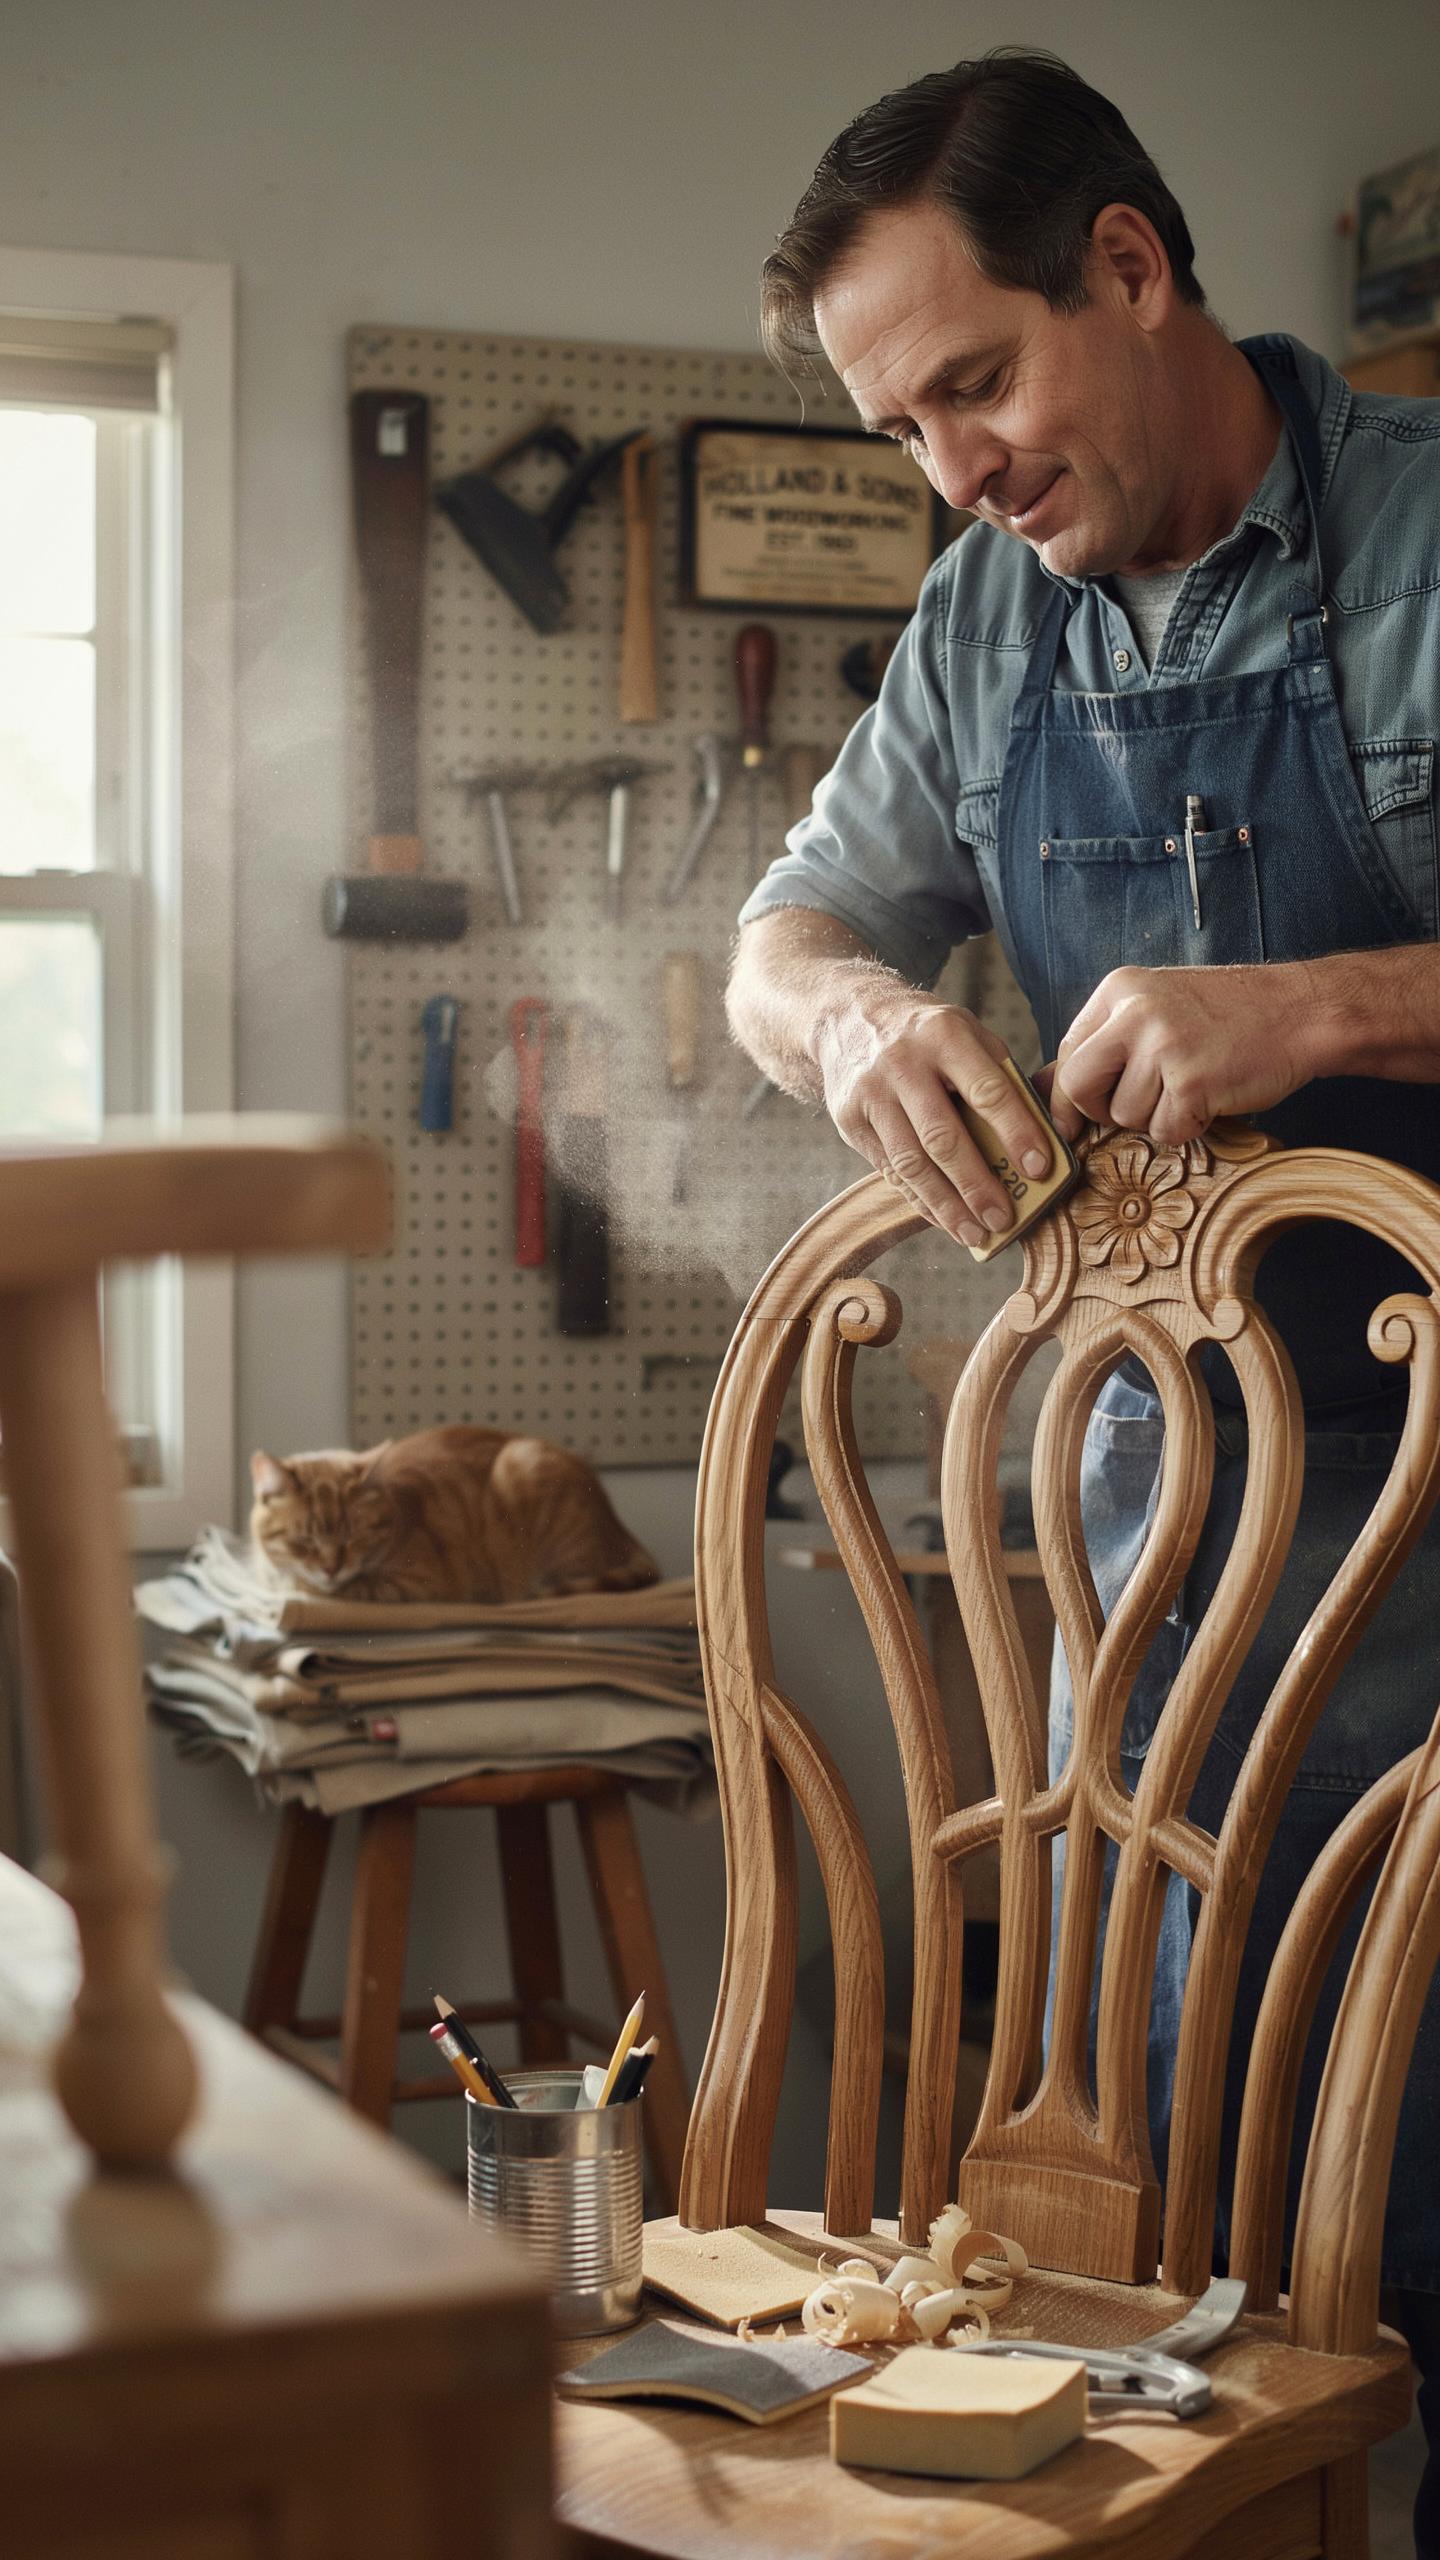
Detailed furniture demands targeted approaches that standard sanders cannot reach. Manual sanding methods access tight spaces without damaging delicate details. You control pressure and angle with your hands, preventing over-sanding vulnerable areas. This precision matters when working with carved elements or decorative molding that defines a piece’s value.
- Wooden Dowel Wrapping: Wrap medium-grit sandpaper around a wooden dowel or chopstick to sand curved surfaces and tight radius edges. The dowel provides rigidity while allowing you to navigate curves smoothly without gouging.
- Folded Sandpaper Creasing: Fold sandpaper into stiff creases along grain lines and deep grooves. This technique lets you sand linear details without rounding edges that should stay sharp and defined.
- Contour Sanding Pads: Use specialized contour sanding pads that compress into various shapes to match carved profiles. These pads conform to complex geometries while maintaining consistent grit contact throughout the work.
- Flexible Abrasive Cords: Utilize flexible abrasive cords for spindle turnings and restoration work. These cords sand grooved details between spindles and carved sections without requiring disassembly or destructive techniques.
- Foam Sanding Blocks: Apply foam sanding blocks that compress around ornamental details while maintaining structural support. Foam absorbs uneven pressure and prevents the hard block edges from creating flat spots on curved surfaces.
These methods keep details intact while progressively smoothing surfaces. Speed comes from knowing which tool matches each detail type. Practice identifying carved elements before sanding so you choose the right approach first.
Preserving Delicate Vintage Details From Wear
Hand-sanding vintage pieces demands restraint and knowledge of the original construction methods. Many antique furniture pieces feature hand-carved elements that modern sanding equipment would obliterate in seconds. Using lower grits like 80 to 120 grit allows gradual material removal without aggressive cutting action.

Vintage molding and hand-carved features represent the craftsmanship of their era. Mass production began in the late 1800s, making truly hand-carved elements increasingly valuable on earlier pieces. Apply light pressure and work in multiple passes rather than forcing material off in one aggressive session. The original surface texture and patina beneath serve as guides for how much material you should remove before switching to finer grits for finishing.
Preparing Your Piece Sanding Down Furniture To The Bare Wood
Perfecting Your Sandpaper Grit Progression
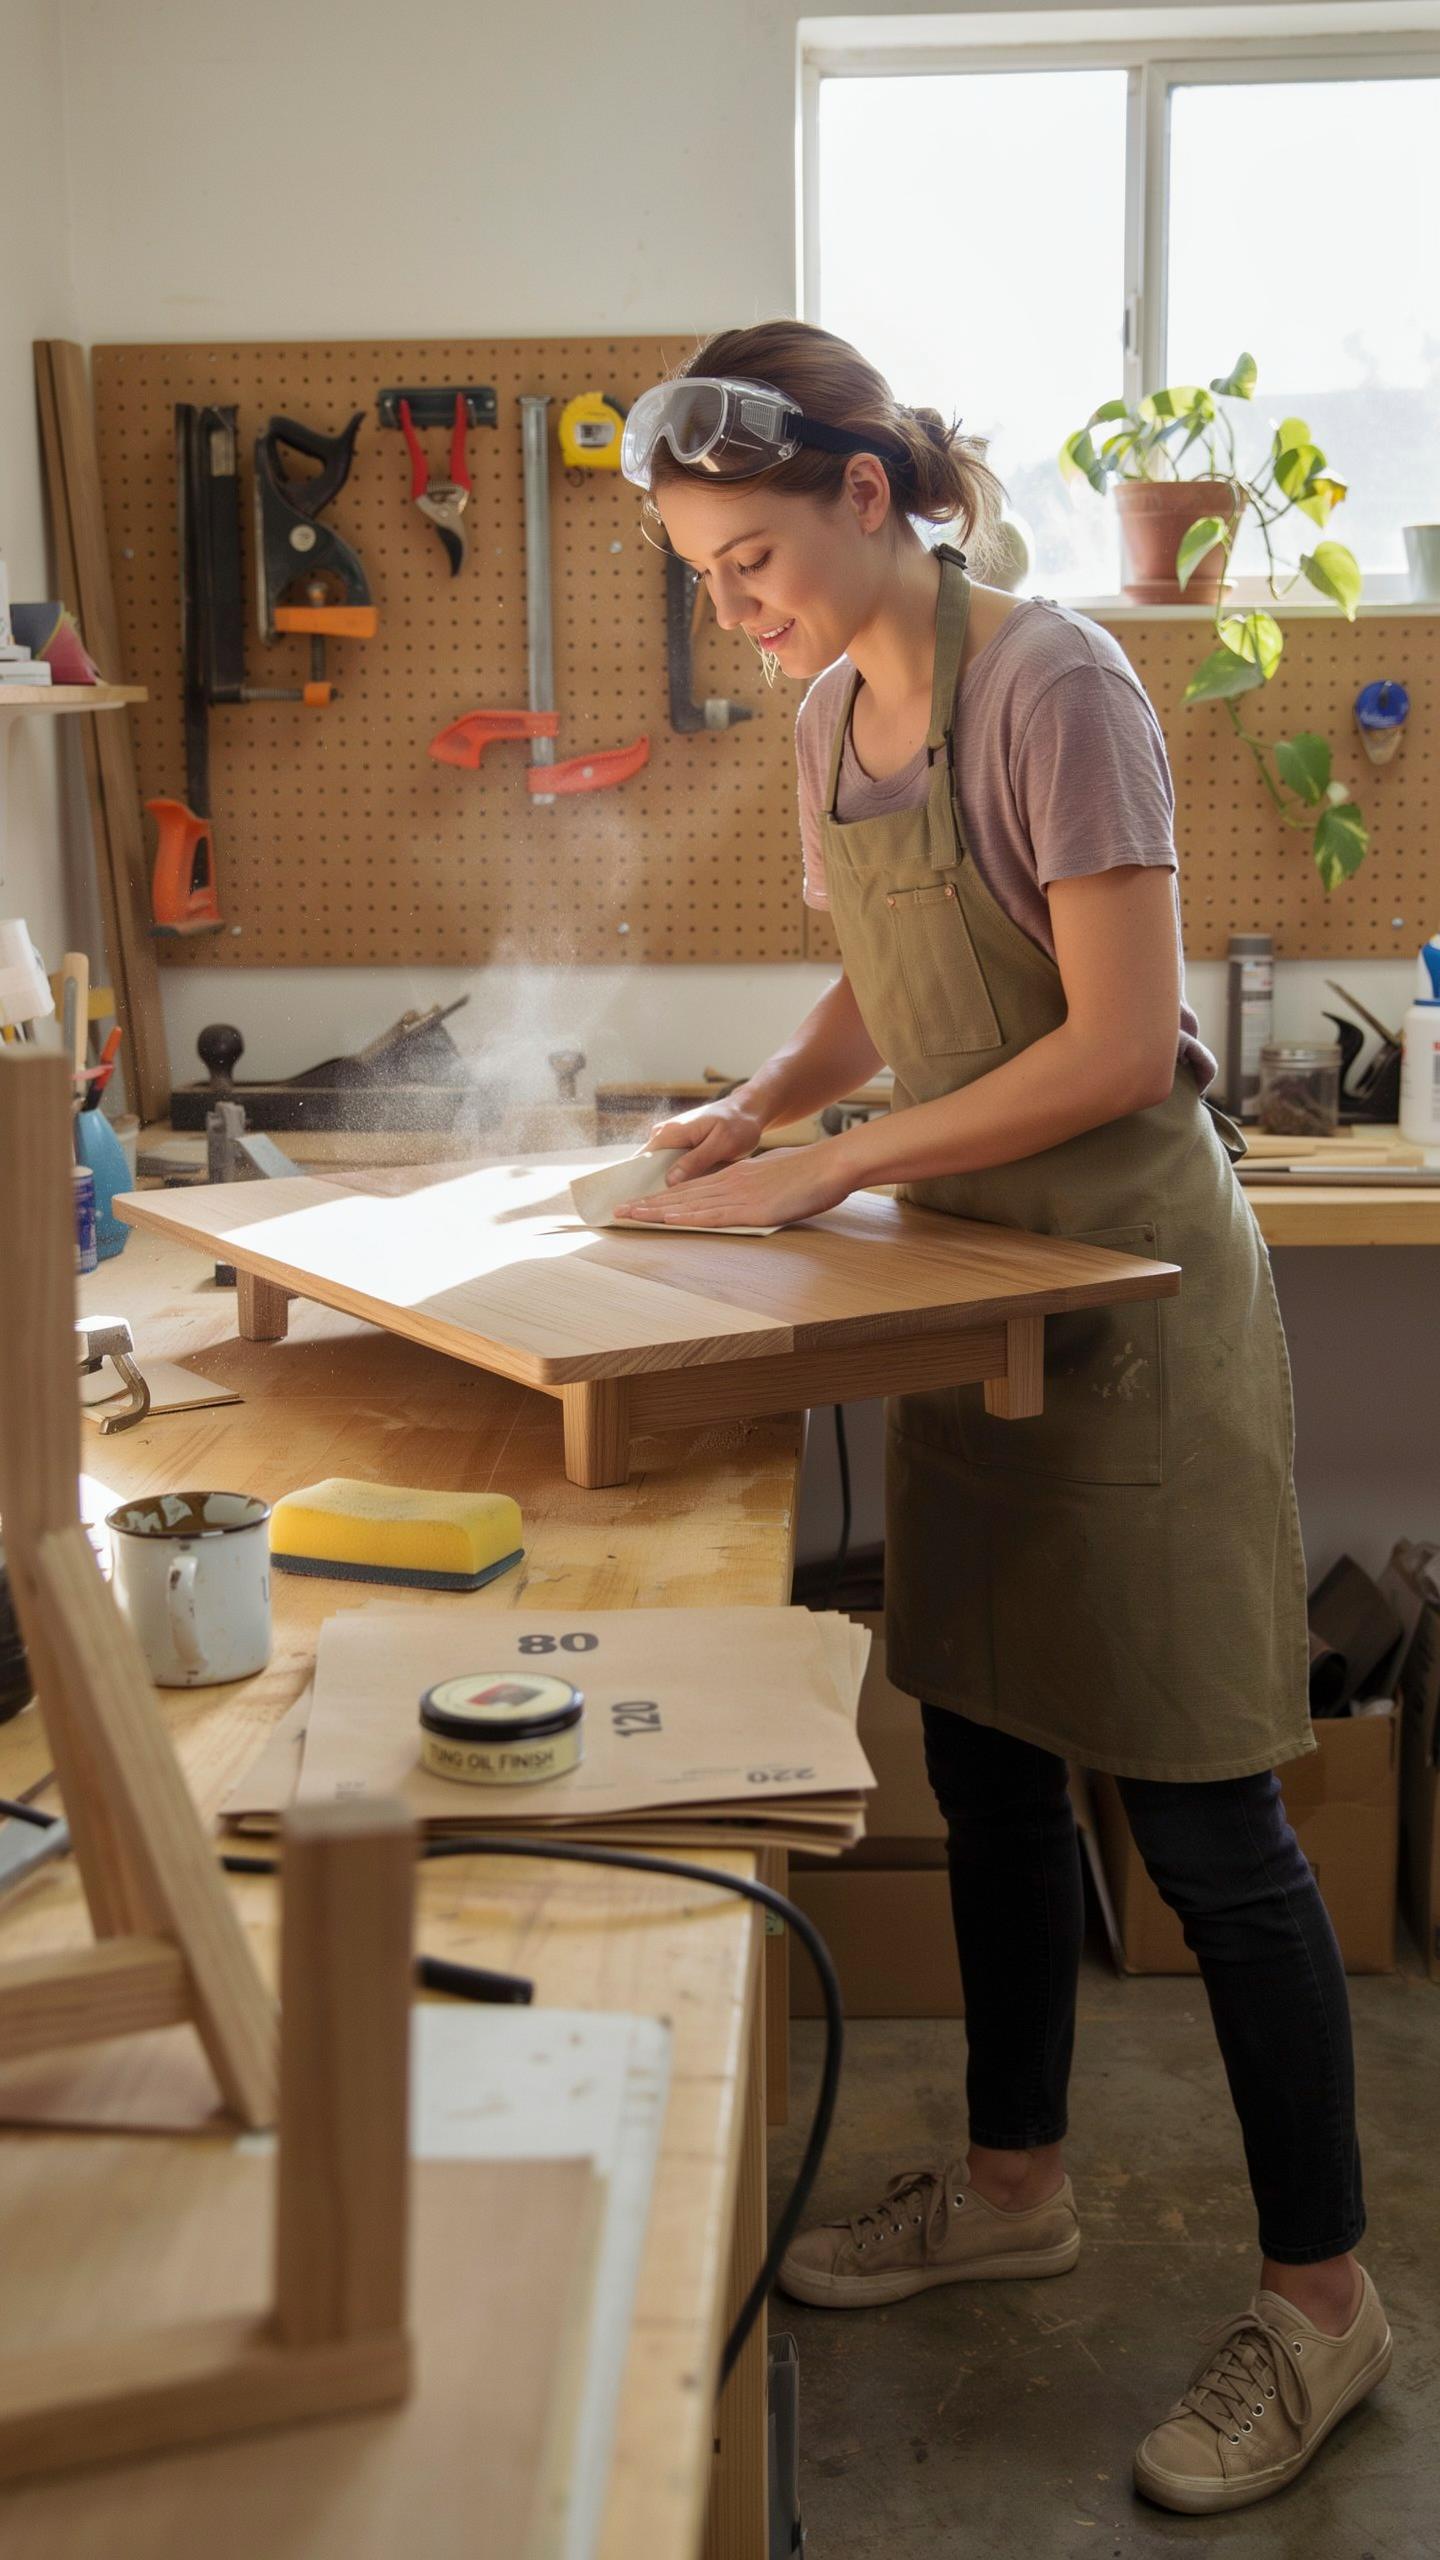
Start with coarse grit sandpaper, typically 60 to 80, to strip away old finish, paint, and stain. This aggressive approach removes material quickly but leaves visible scratches. Work systematically across the entire surface using consistent pressure and overlapping strokes to avoid uneven spots.
Move to medium grit sandpaper, around 120 to 150, to eliminate the scratches created by coarse grit. This step smooths the surface and prepares it for fine finishing work. Finish with fine grit paper, 180 to 220, which creates a smooth substrate ready to accept stain or paint without imperfections showing through.
Final Grain Raising And Dust Removal Protocols
Dampen the entire surface with a clean cloth to raise the wood grain, which prevents rough texture from appearing after your finish coat dries. Allow the wood to dry completely, typically two to four hours depending on humidity and wood type. Sand lightly with ultra fine grit paper, 220 to 240, to flatten the raised grain and create a silk smooth surface.
Wipe the entire piece with a tack cloth to remove all dust particles before applying any finish. A tack cloth is slightly sticky and captures dust that a regular cloth leaves behind. This final step eliminates imperfections that would otherwise embed in your stain or paint and compromise the final appearance.
Frequently Asked Questions

Why is sanding such a critical step for a successful thrifted furniture flip?
Sanding is the foundation of any professional-looking makeover because it removes old, flaky finishes and creates a “tooth” for new paint or stain to grip. Without following a proper thrifted furniture flip sanding guide, your new finish may peel or bubbles can form over time. Taking the time to smooth out imperfections ensures your thrifted treasure looks like a high-end designer piece rather than a DIY project.
What is the best process for sanding down a piece of old furniture safely?
Safety and precision are key when working with vintage finds. Start by cleaning the piece, then use a coarse 80-grit sandpaper to remove heavy varnish. Gradually move to 120-grit and finish with 220-grit for a buttery-smooth surface. Always wear a dust mask and work in a ventilated area. This systematic approach in our thrifted furniture flip sanding guide ensures you don’t damage the wood while achieving a flawless, even texture.
Do I need to buy expensive power tools to achieve great results on my first flip?
Not at all! While an orbital sander speeds up the process, you can achieve stunning results with inexpensive sandpaper sheets and a simple sanding block. Manual sanding offers more control, especially on delicate details or curved legs where power tools might be too aggressive. By focusing on technique rather than pricey equipment, you can stay on budget while still producing a professional-grade finish that breathes new life into your home decor.



