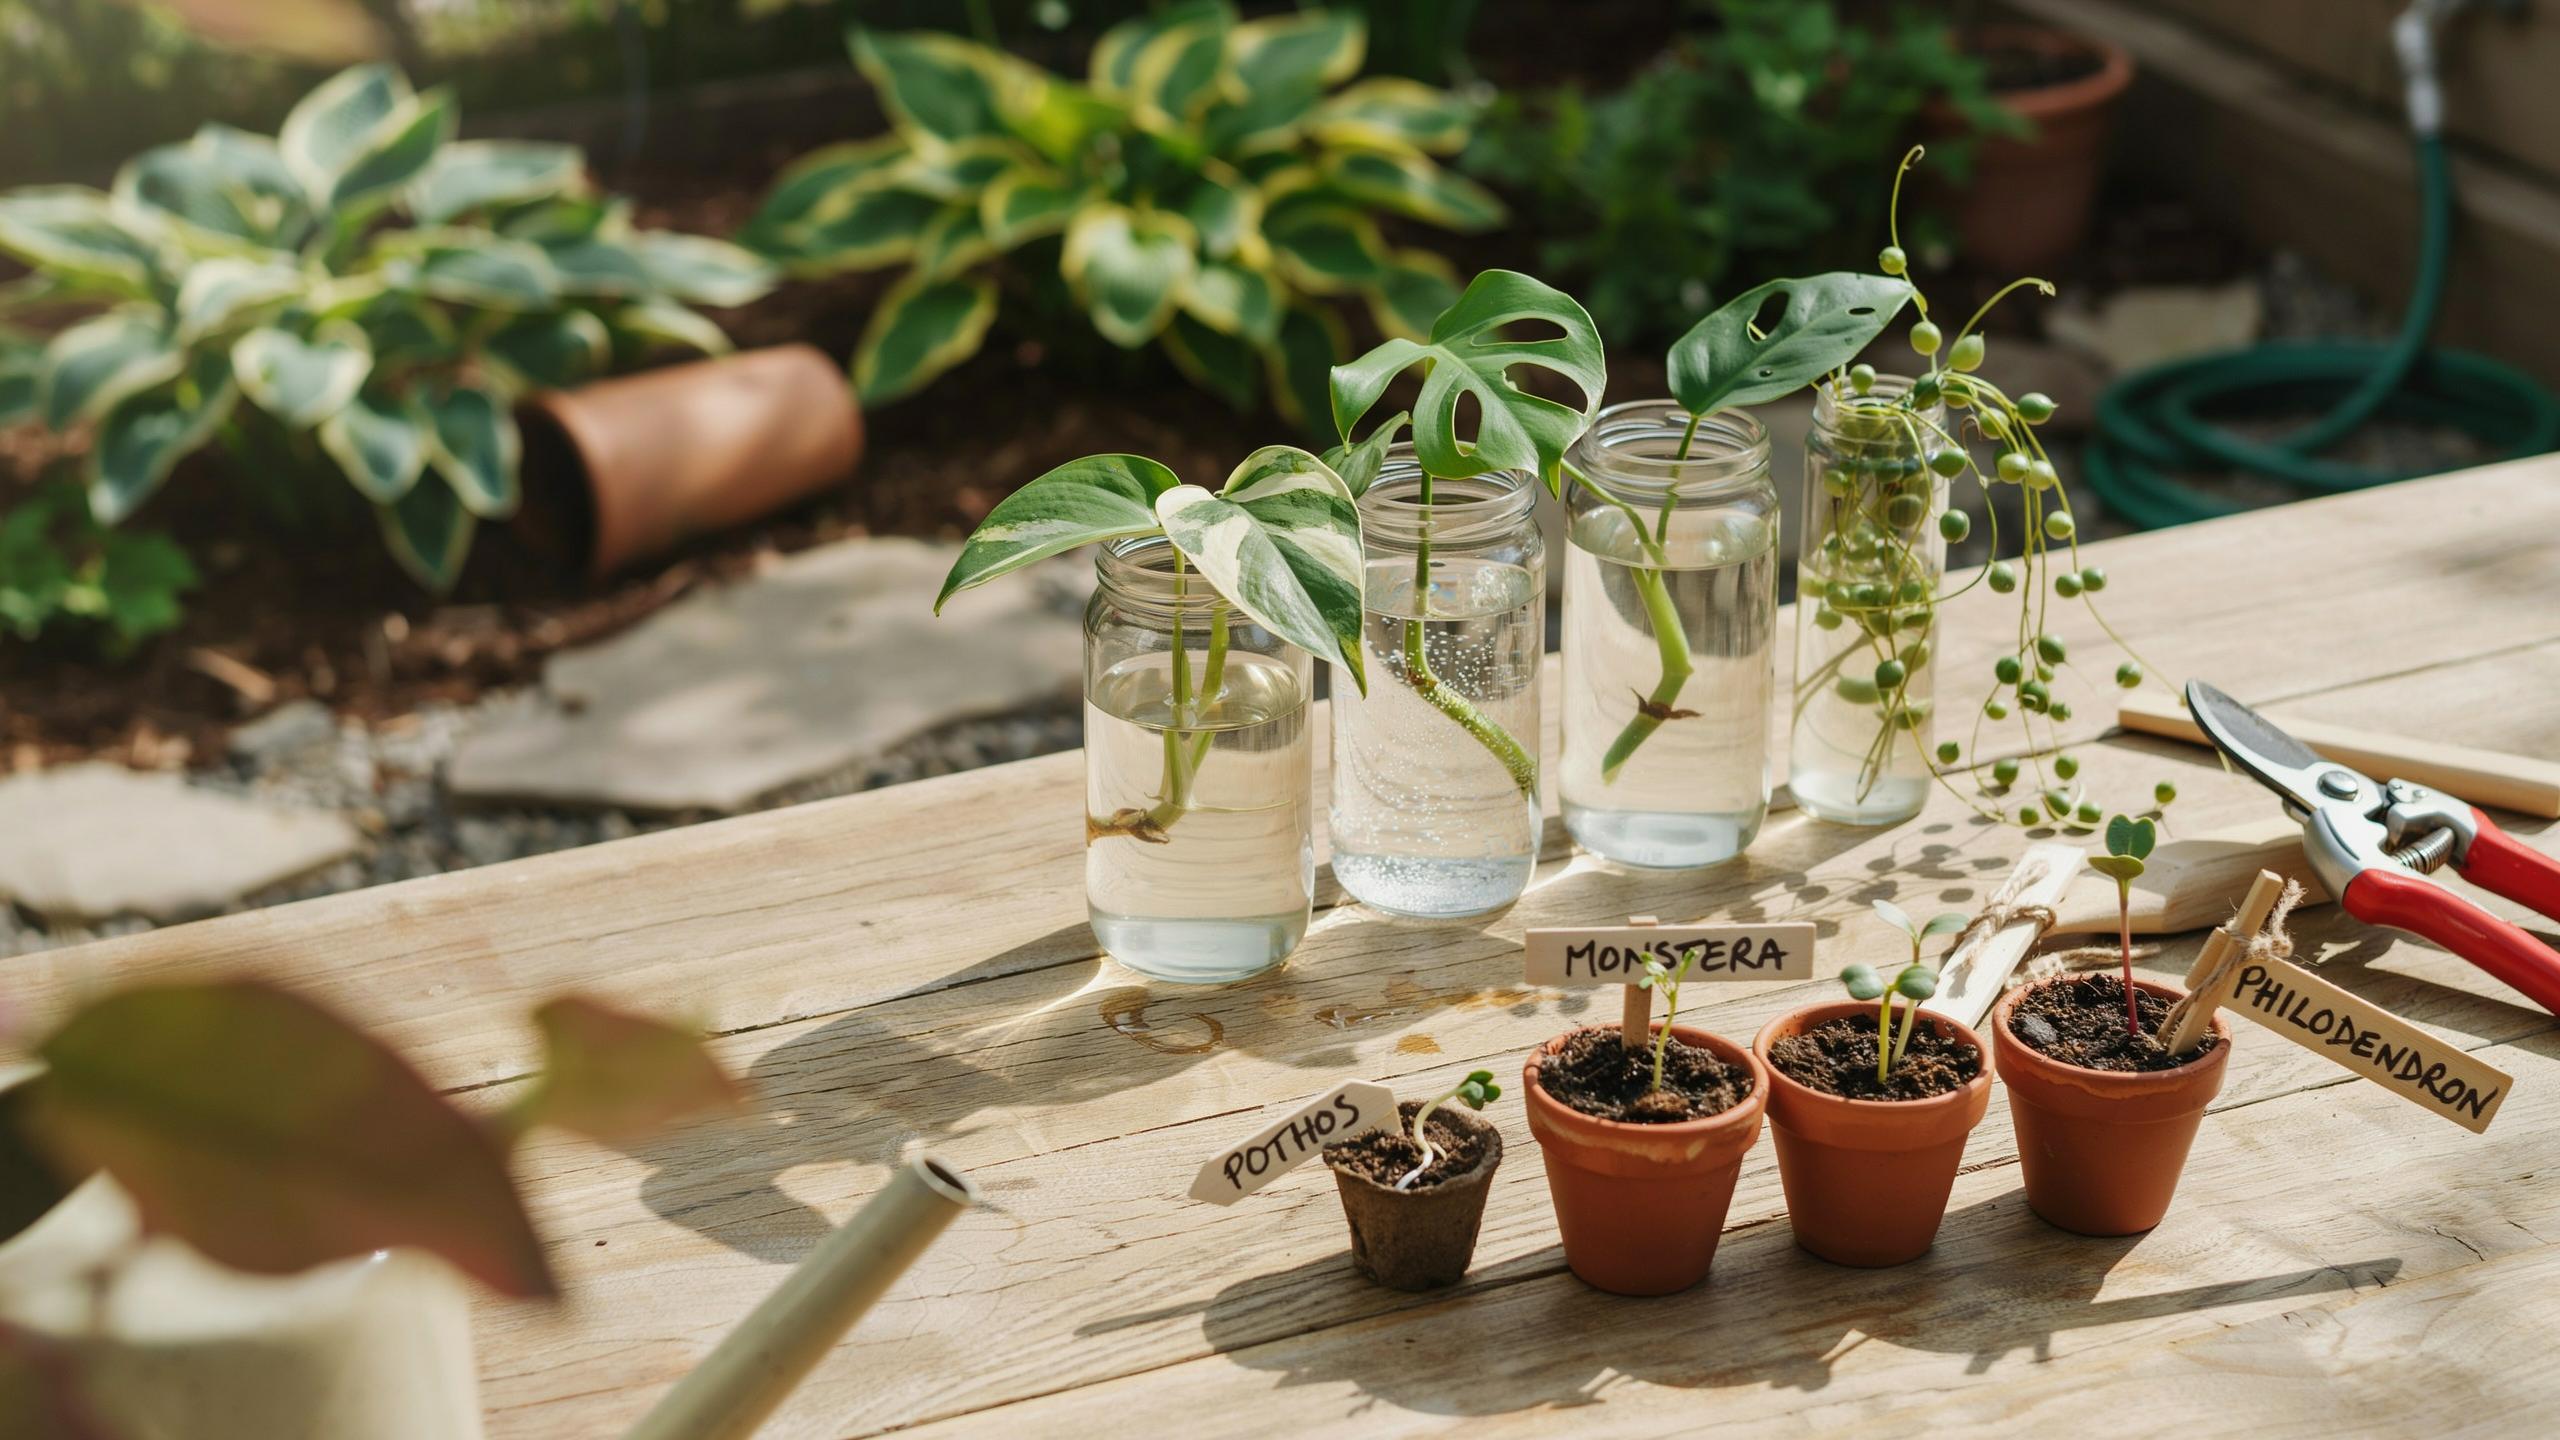
Demystifying The Art Of Plant Propagation
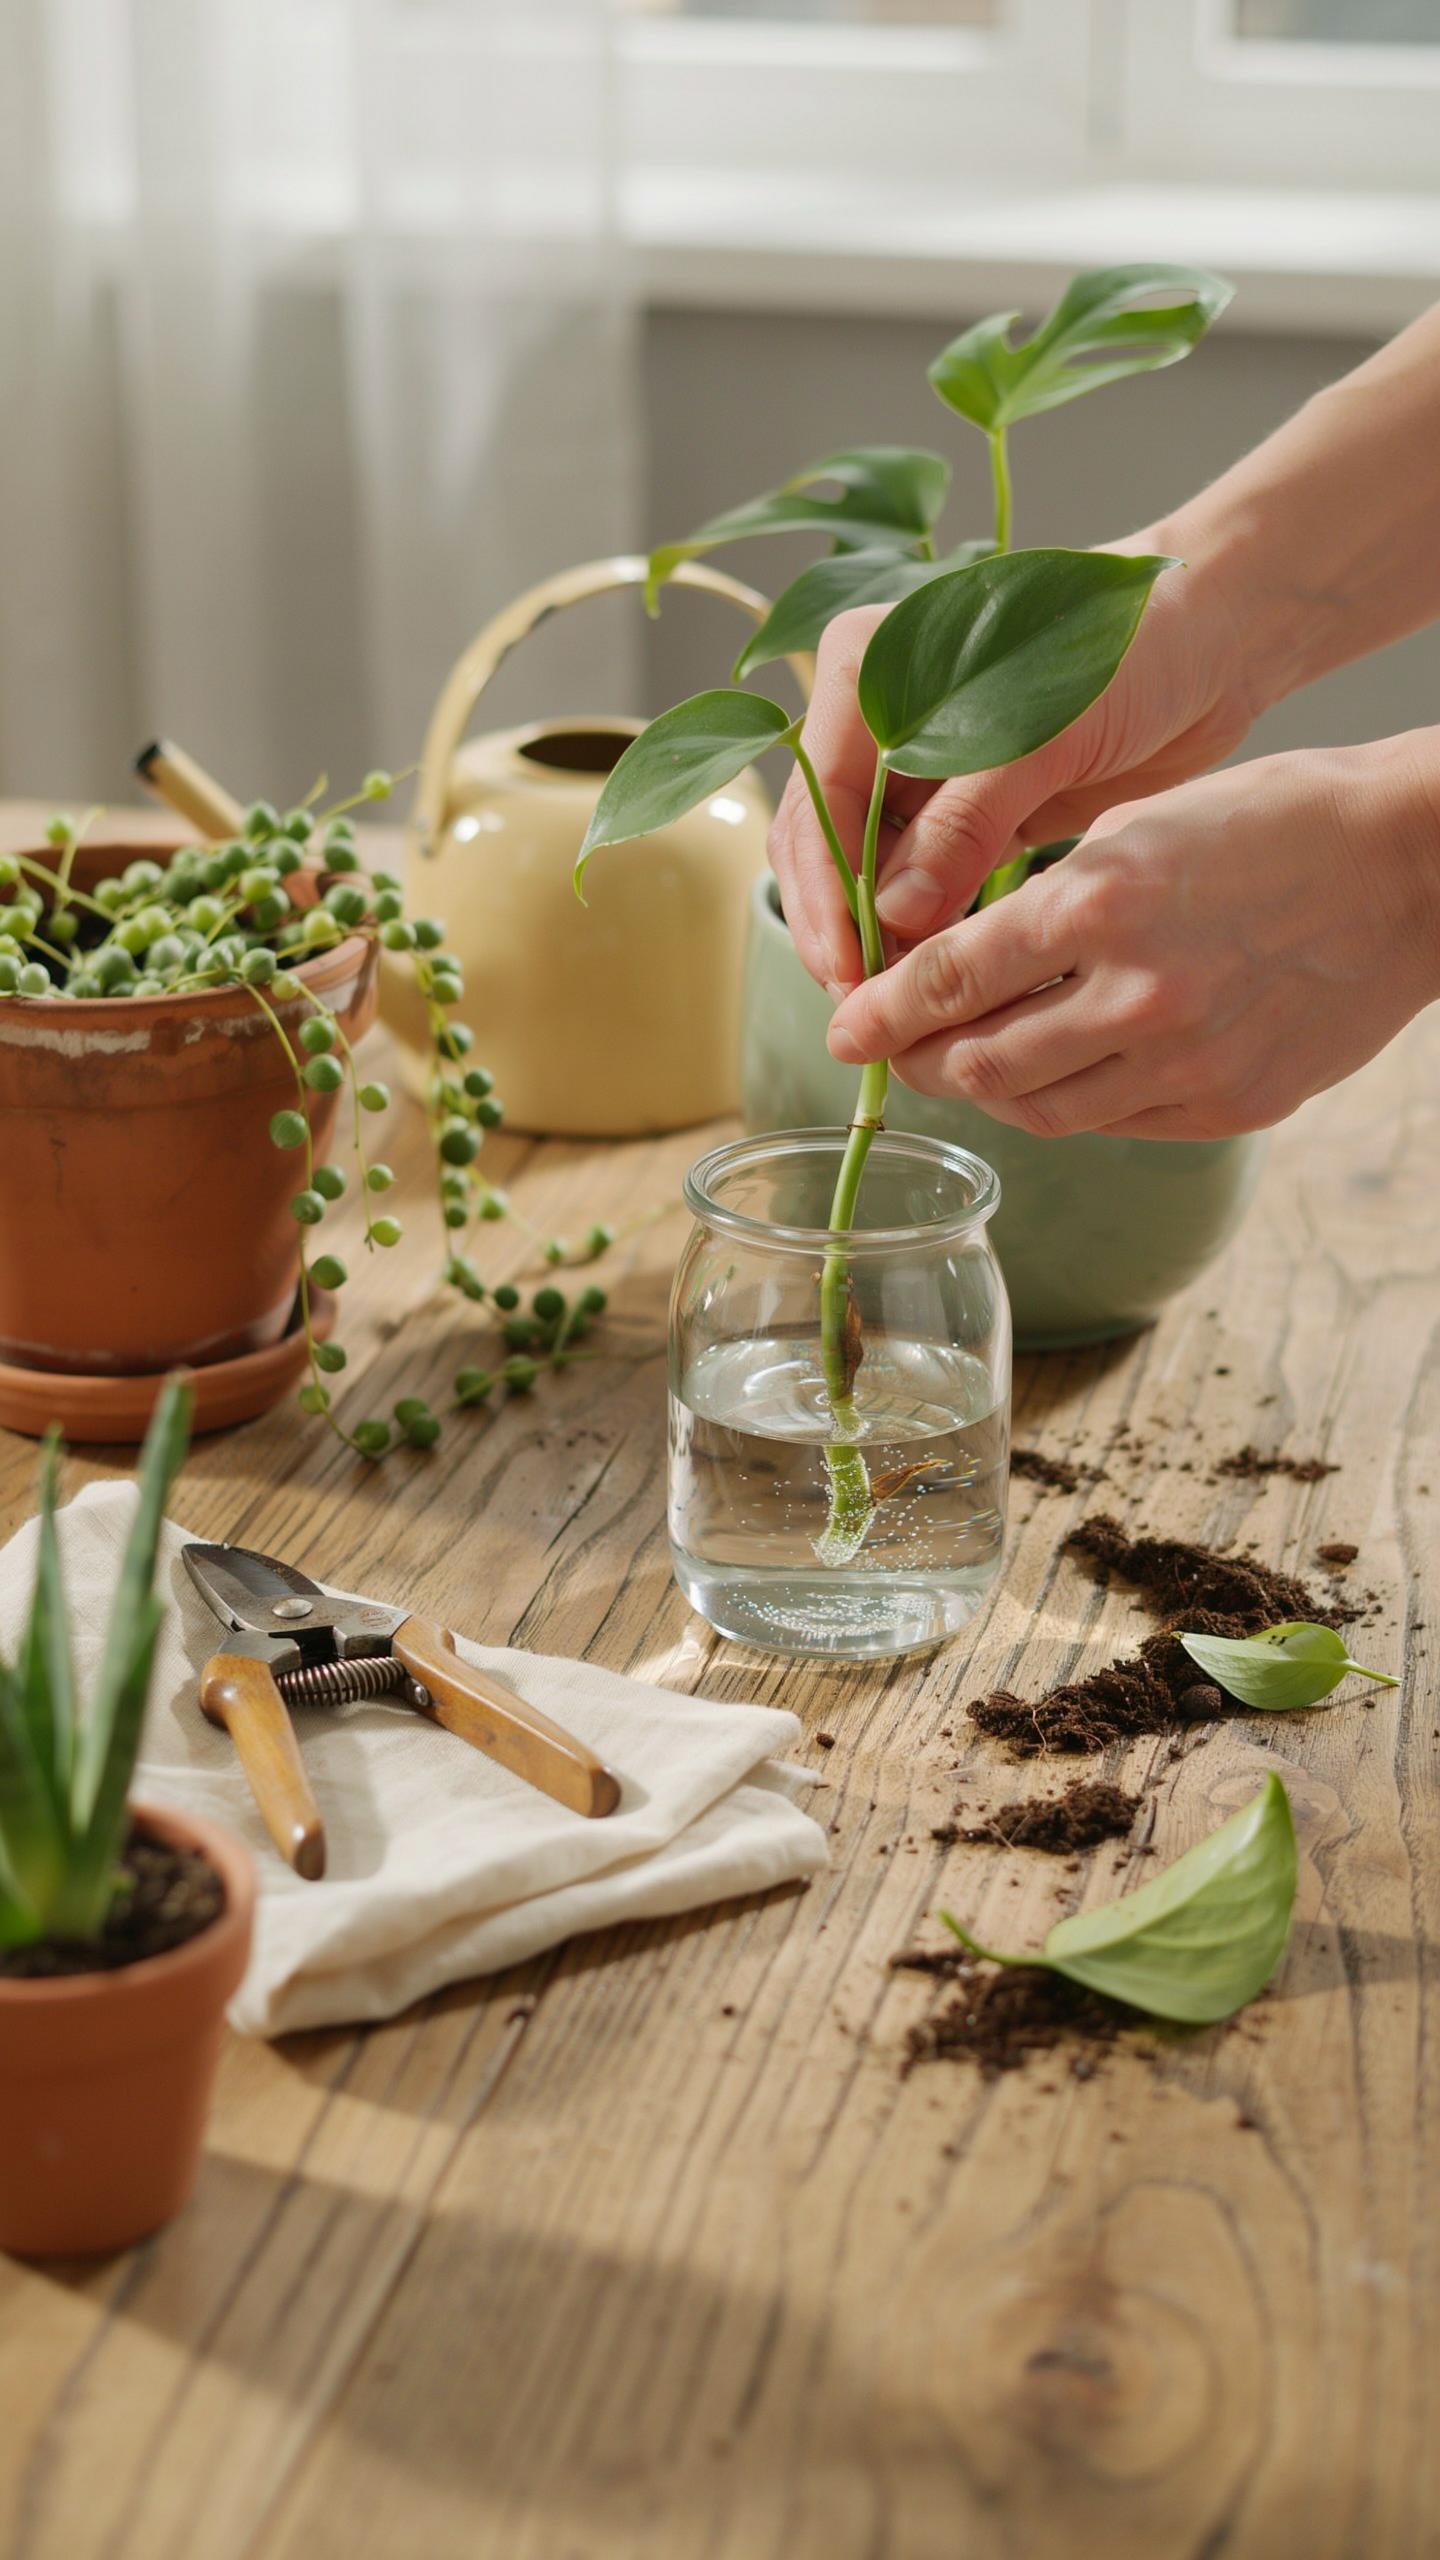
Understanding The Science Of Rooting
Plant cells possess the ability to dedifferentiate when exposed to the right conditions. This means cells revert to an undifferentiated state and reorganize into root primordia, which are the initial stages of root formation. The process occurs in the cambium layer of the cutting, where cell division accelerates to produce new tissue structures that eventually emerge as visible roots.
Auxin, a plant hormone naturally present in cuttings, drives root development. When you remove a cutting from the parent plant, auxin concentrates at the cut surface. This hormone triggers cell division and elongation, signaling the cutting to prioritize root formation over leaf growth. The cutting directs its stored energy toward creating a root system that will support future growth.
Environmental Triggers For Growth
Moisture maintains cell turgor pressure in the cutting, preventing wilting while roots develop. Water enters through the cut surface and travels through the vascular tissue. Excess moisture, however, suffocates roots and promotes rot, so the cutting needs humid air rather than waterlogged soil. The balance keeps cells hydrated without creating anaerobic conditions that kill developing roots.
Warmth accelerates metabolic processes and cell division necessary for rooting. Most houseplant cuttings root fastest between 65 and 75 degrees Fahrenheit. Light during this phase should remain moderate to low. Bright direct light stresses the cutting before it has roots to absorb water, while complete darkness slows the metabolic activity needed for root formation.

Essential Rules For House Plant Propagation Success
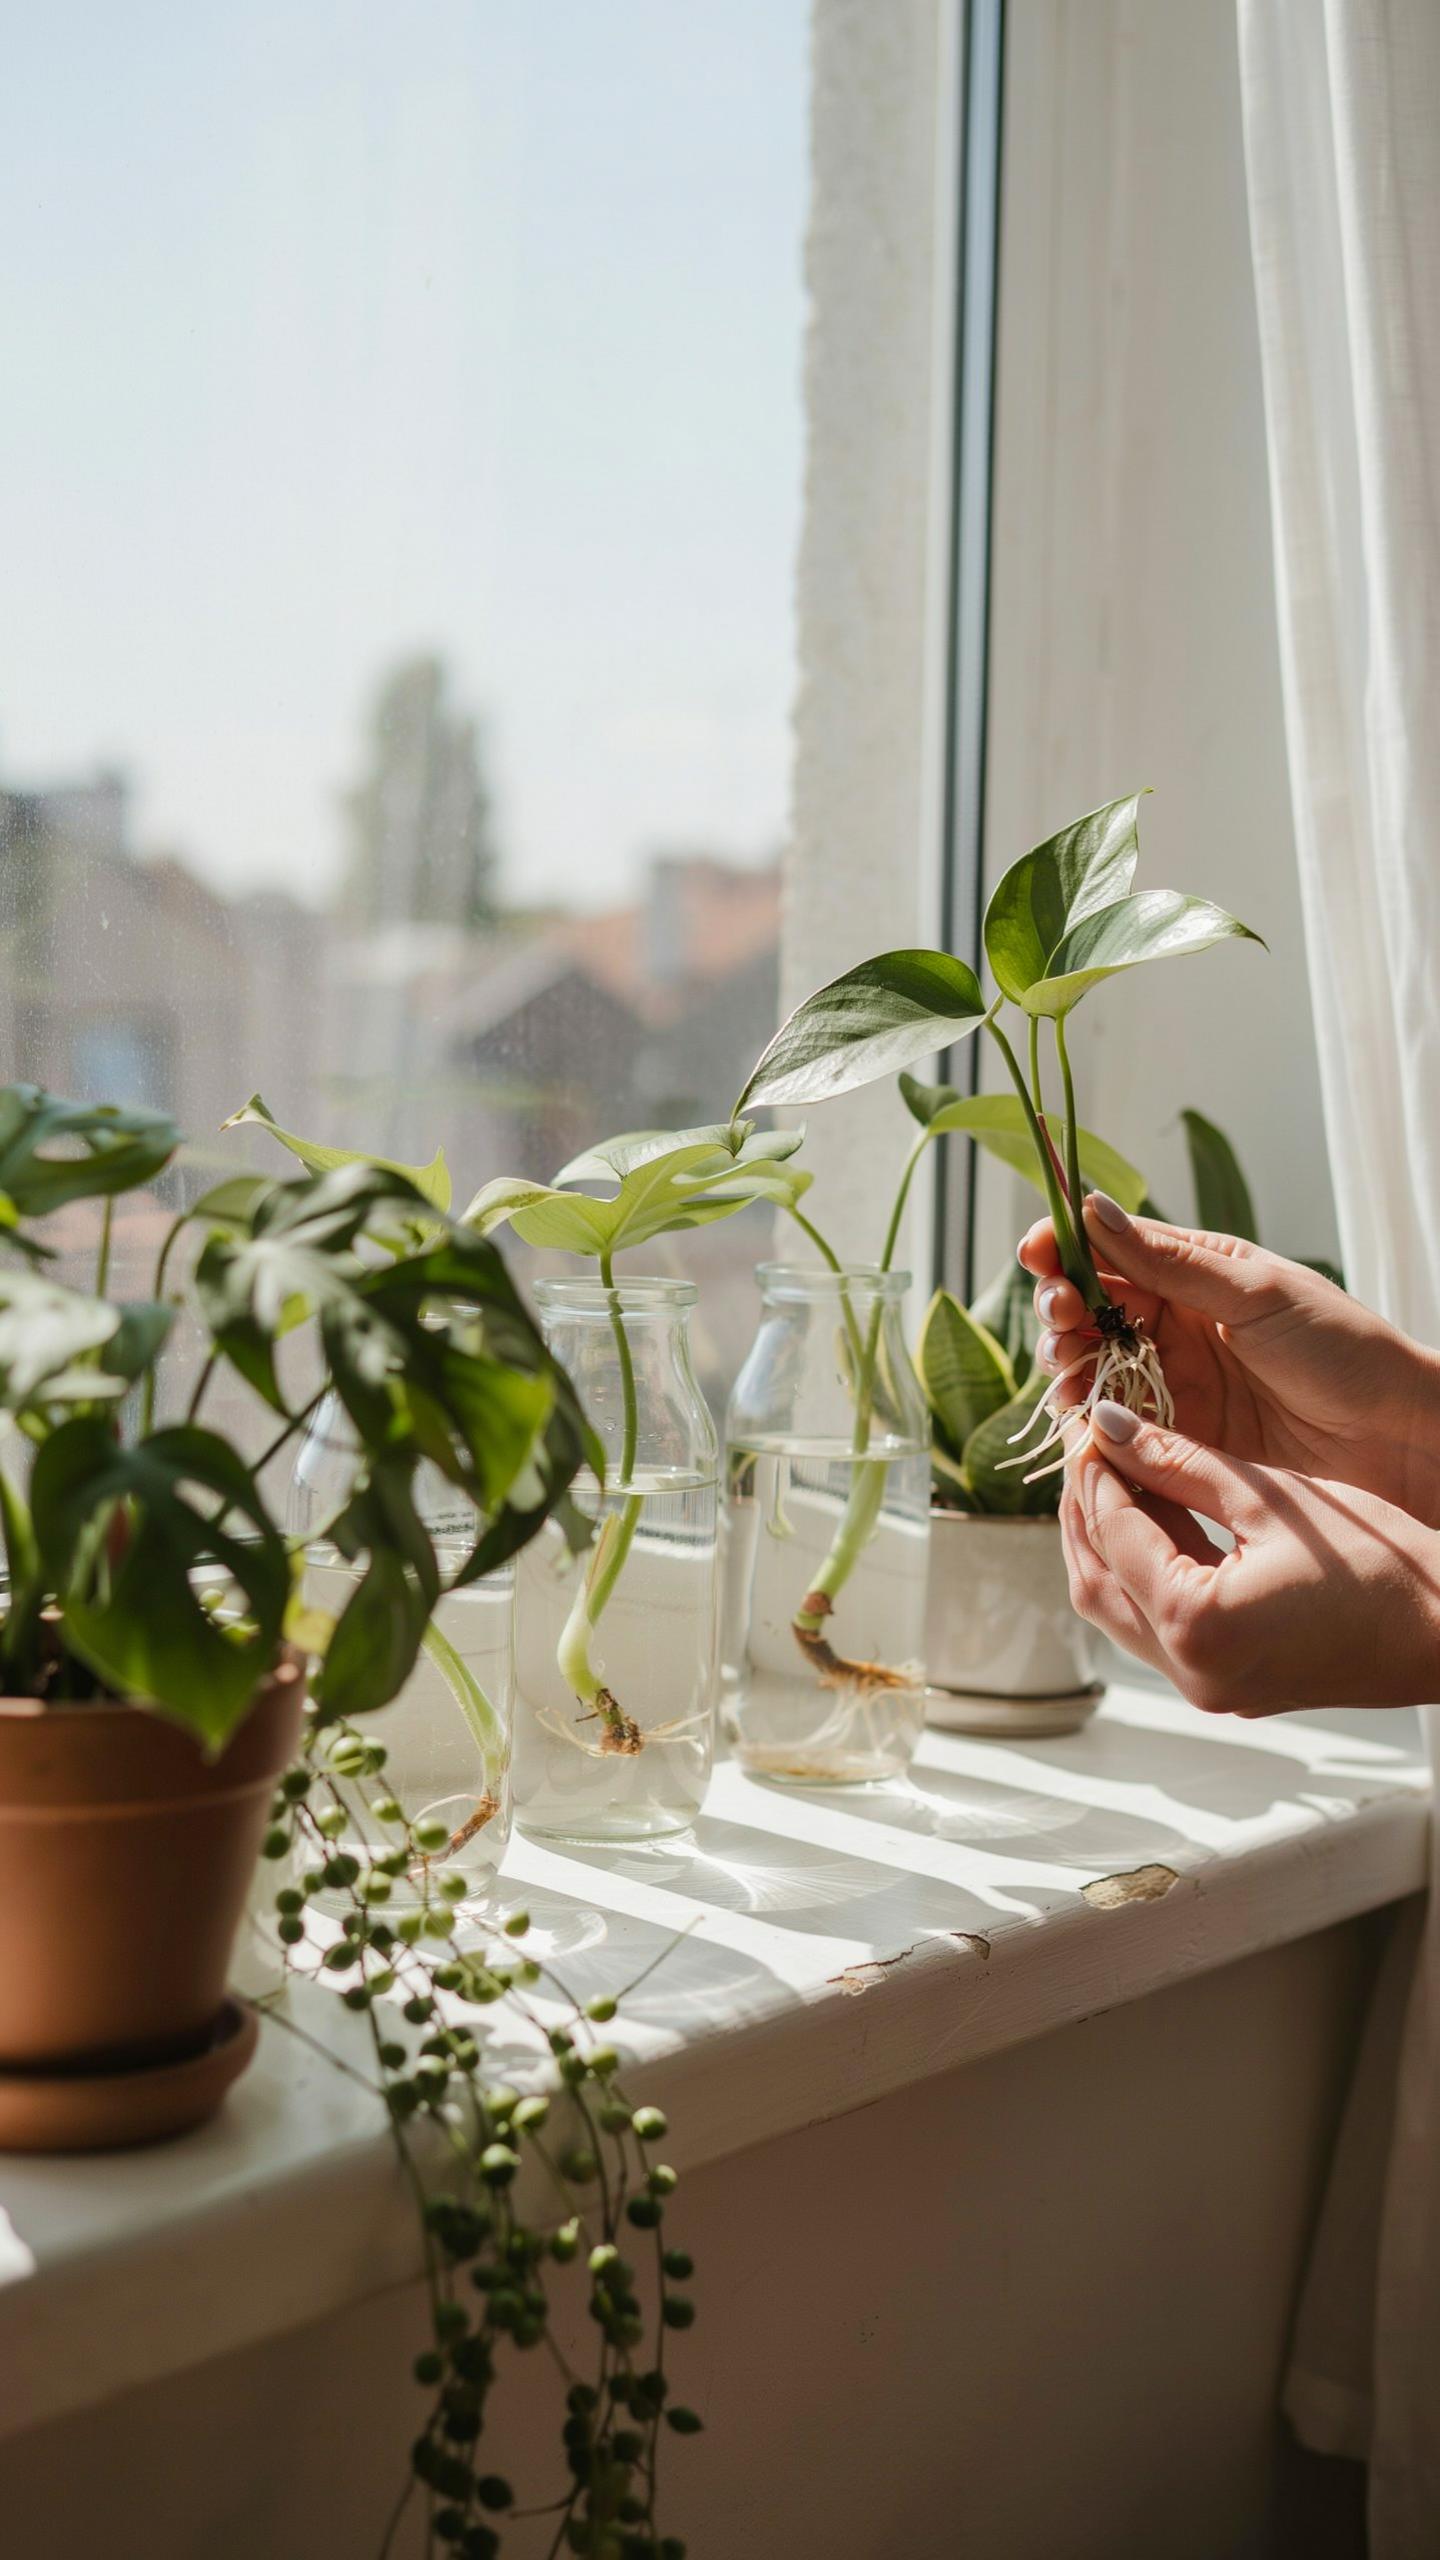
Selecting Healthy Parent Stock
Parent plant quality determines cutting success. Choose plants showing vigorous new growth without yellowing leaves or pest damage. Inspect stems for soft spots, discoloration, or webbing that signal disease or infestation. Plants stressed by poor light or irregular watering produce weak cuttings that fail to root.
Take cuttings from the upper portions of stems where growth hormones concentrate. Avoid woody, mature sections at the plant’s base. Select nodes, the small bumps where leaves attach, since roots emerge from this tissue. Morning harvest works best when plants are fully hydrated and photosynthesis is active.
Essential Materials And Tools Checklist
Prepare your workspace before cutting to minimize stress on plant material and maximize rooting success. Sharp tools prevent crushing stem tissue, which leads to rot and failed propagation. Sterilized equipment stops disease transfer between plants.
- Pruning shears or clean knife: Sharp blades make clean cuts, preventing tissue damage that invites fungal and bacterial infection.
- Rooting hormone powder or liquid: Contains auxins that stimulate root cell development, increasing success rates by 30 to 50 percent.
- Sterile growing medium: Use perlite, vermiculite, or coconut coir to prevent soil borne pathogens from attacking vulnerable new roots.
- Containers with drainage holes: Allows excess water to escape, preventing root rot in the critical establishment phase.
- Rubbing alcohol or bleach solution: Sterilizes cutting tools between each cut to eliminate pathogen transmission from infected to healthy plants.

Store materials in a clean, organized location before starting propagation. This prevents cross contamination and keeps your process moving quickly without hunting for supplies mid workflow.
Exploring Different Types Of Plant Propagation
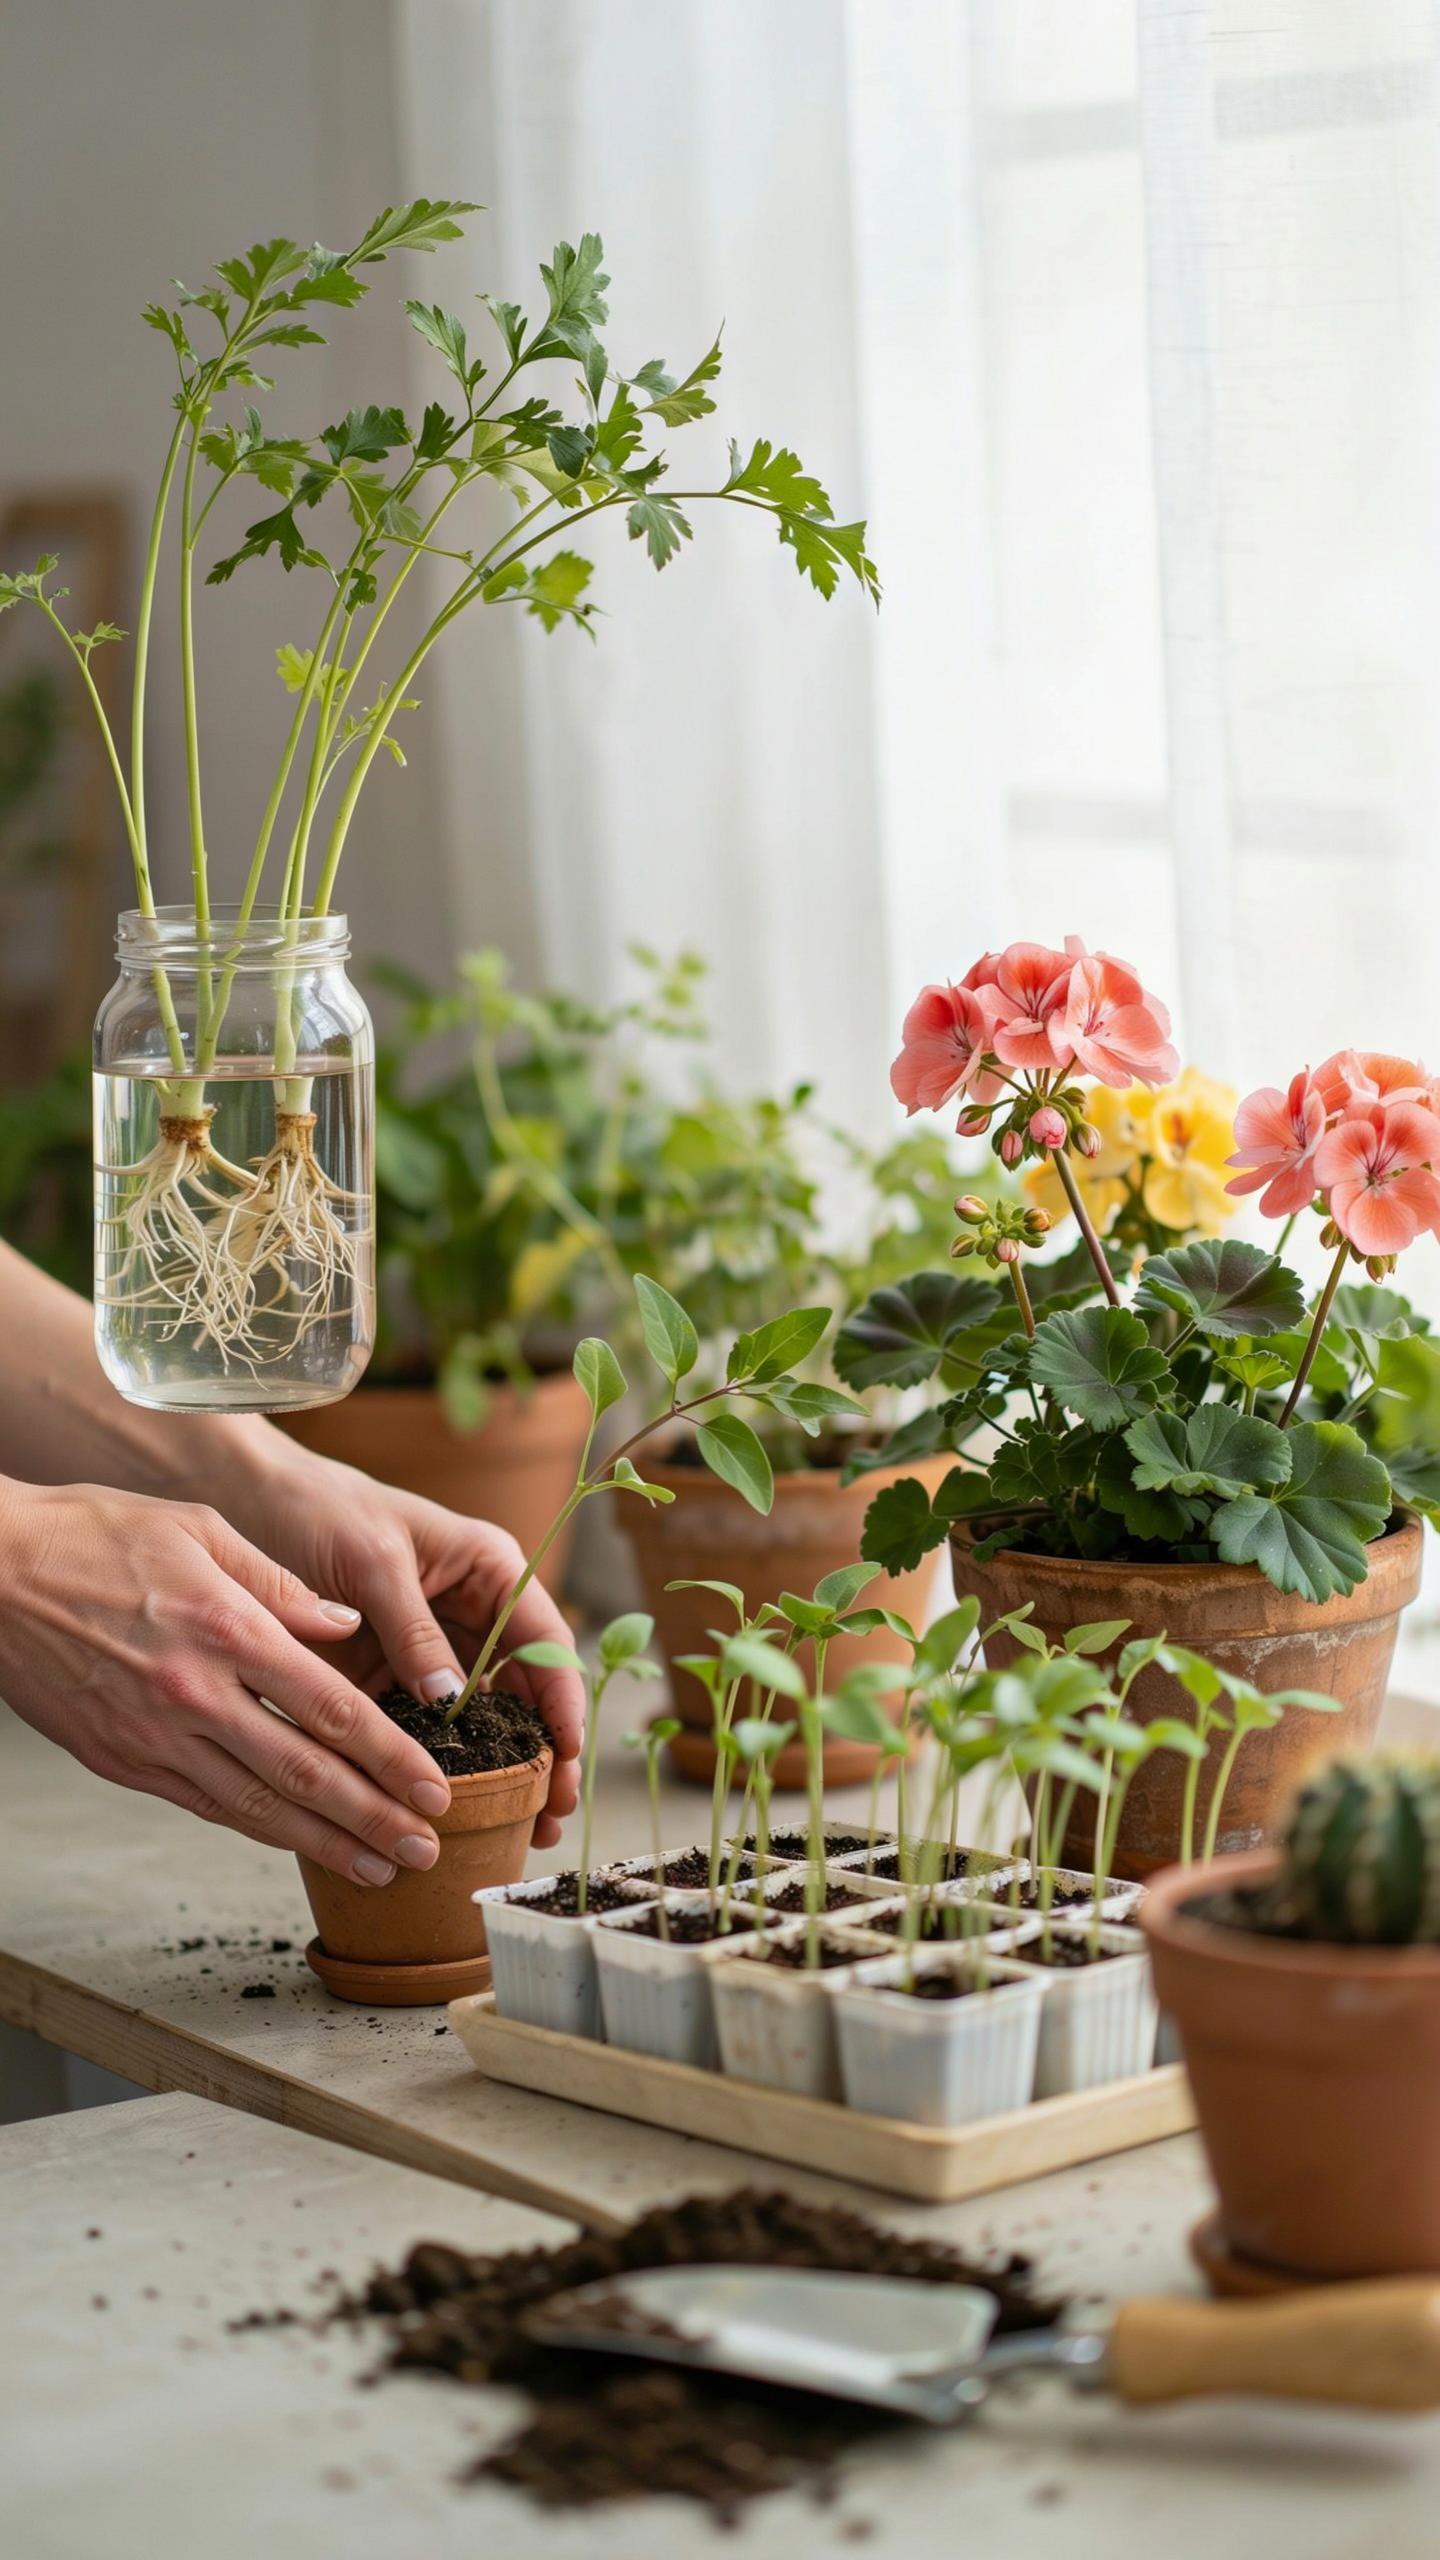
Asexual Versus Sexual Propagation
Asexual propagation creates genetic clones of the parent plant. You take cuttings, divide roots, or use layering to produce identical offspring. This method bypasses seeds entirely. Sexual propagation uses seeds, which combine genetic material from two parents. The resulting plants differ from their parents and from each other. For houseplants, asexual propagation dominates because it preserves desirable traits and produces mature plants faster.
Cuttings deliver results in weeks to months. Seeds require months to years before reaching usable size. Asexual methods guarantee you’ll get the exact plant you want. Sexual propagation introduces unpredictability into leaf color, growth pattern, and plant size. Choose asexual methods when you need speed and consistency. Choose seeds only when genetic variation serves your design goals or when the parent plant resists cutting propagation.
Specialized Division And Layering Methods
Division works on plants with multiple stems or clumping root systems. You separate the plant into smaller sections, each with roots and growth points. Pothos, snake plants, and peace lilies tolerate division well. This method skips the waiting period for root development that cuttings require. Division produces mature plants immediately. Use it on overcrowded containers or when you need multiple plants from one parent fast.

Air layering creates roots while the cutting stays attached to the parent plant. You wrap a stem section with moist moss and plastic, forcing roots to develop in place. Once roots form, you sever and pot the new plant. This method works on woody plants like figs and rubber plants that resist traditional cutting propagation. Air layering takes longer than standard cuttings but succeeds where other methods fail. It’s the tactical choice for difficult species.
Step By Step Guide To Propagating Plants From Cuttings
Making The Perfect Node Cut
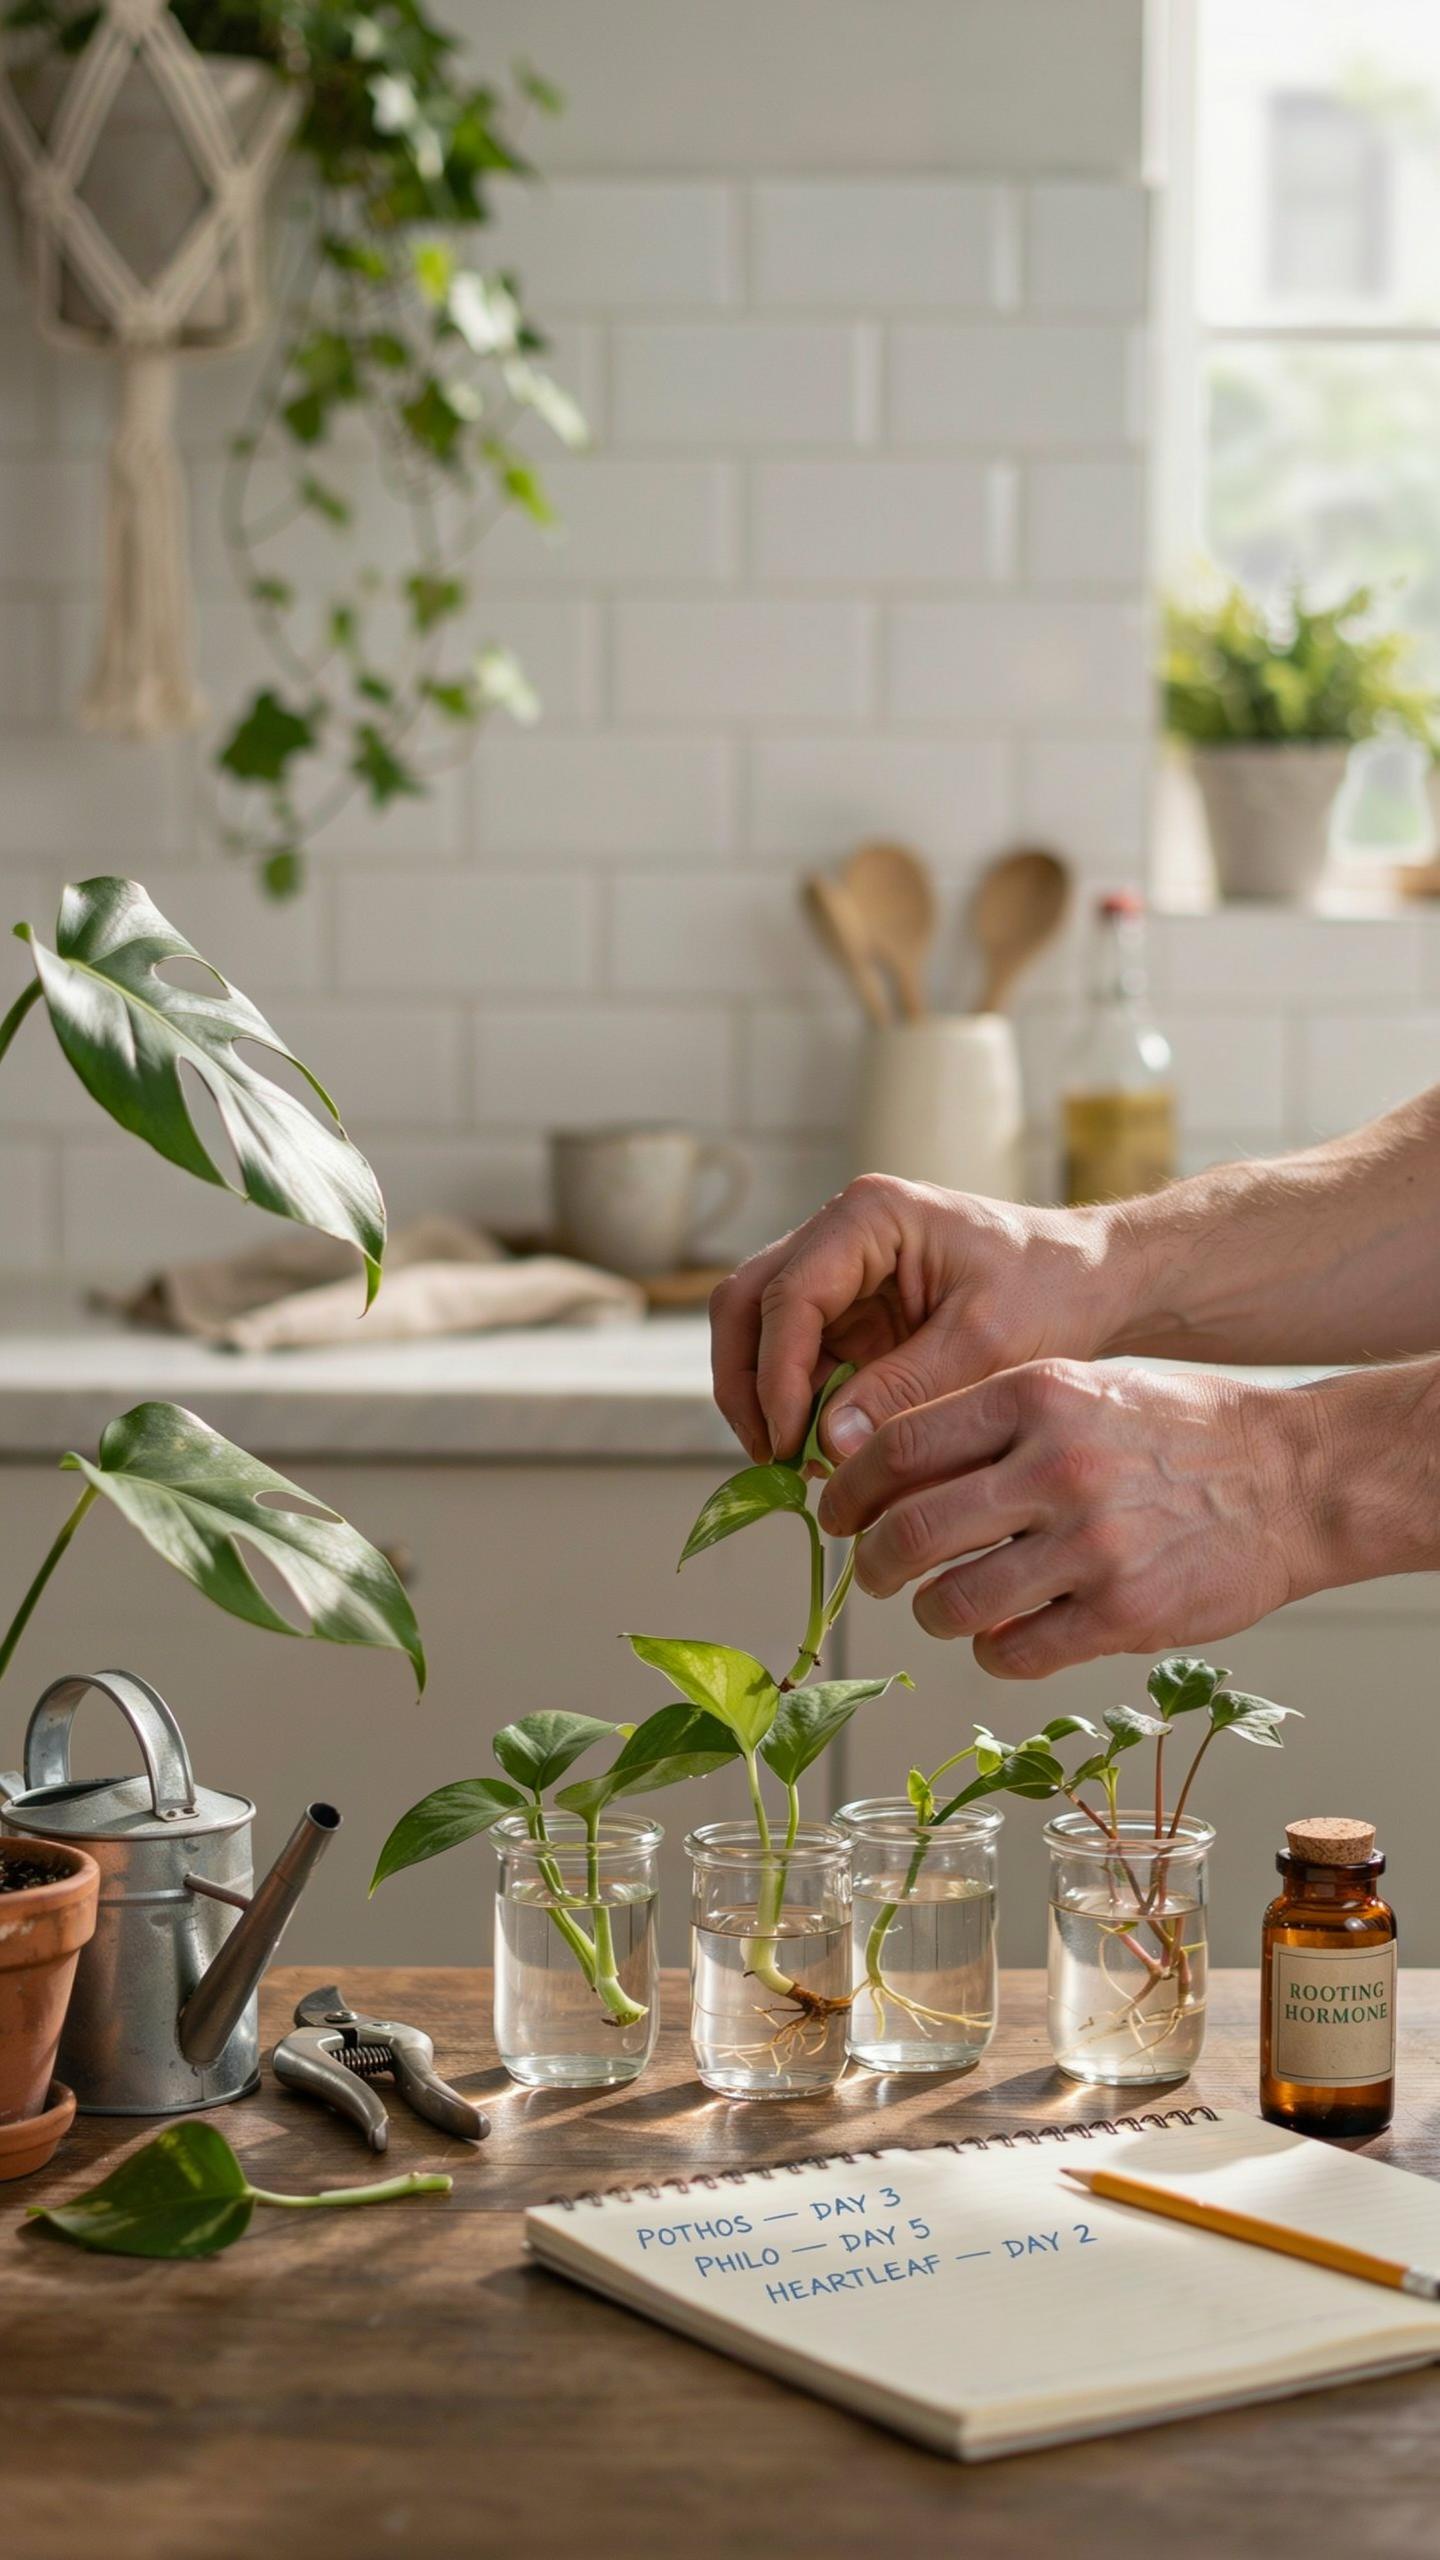
Nodes are where leaves attach to stems. They contain meristematic tissue with concentrated auxin and other rooting hormones. Cut just below a node to access these hormone reserves. This positioning directly increases rooting success rates. Make cuts at a 45-degree angle to maximize surface area for water and nutrient absorption. Use sharp, sterilized tools to create clean cuts that won’t crush plant tissue.
A clean cut prevents disease entry and accelerates the rooting process. Damaged or crushed tissue invites fungal and bacterial infections that kill developing roots before they establish. Always cut between nodes or directly below them, never above. Remove any leaves near the cut site before placing the cutting in your chosen growth medium.
Preparing Stems For Soil Or Water
Strip all leaves from the bottom two inches of your cutting. These submerged leaves rot quickly and create conditions for fungal growth in water or soil. Leave two to three sets of leaves at the top for photosynthesis. The cutting needs energy production while roots develop underground or underwater. Remove any flowers, buds, or damaged leaf sections before propagation begins.

Dip the cut end into rooting hormone powder if using soil propagation. Rooting hormone contains auxin compounds that trigger root cell development and reduce the time to visible root formation. This step is optional for water propagation but speeds results in both methods. Let excess powder fall away before inserting the cutting into your medium to avoid chemical burn.
Mastering The Water Method For Easy Propagating Plants
The Simplicity Of Glass Vessels
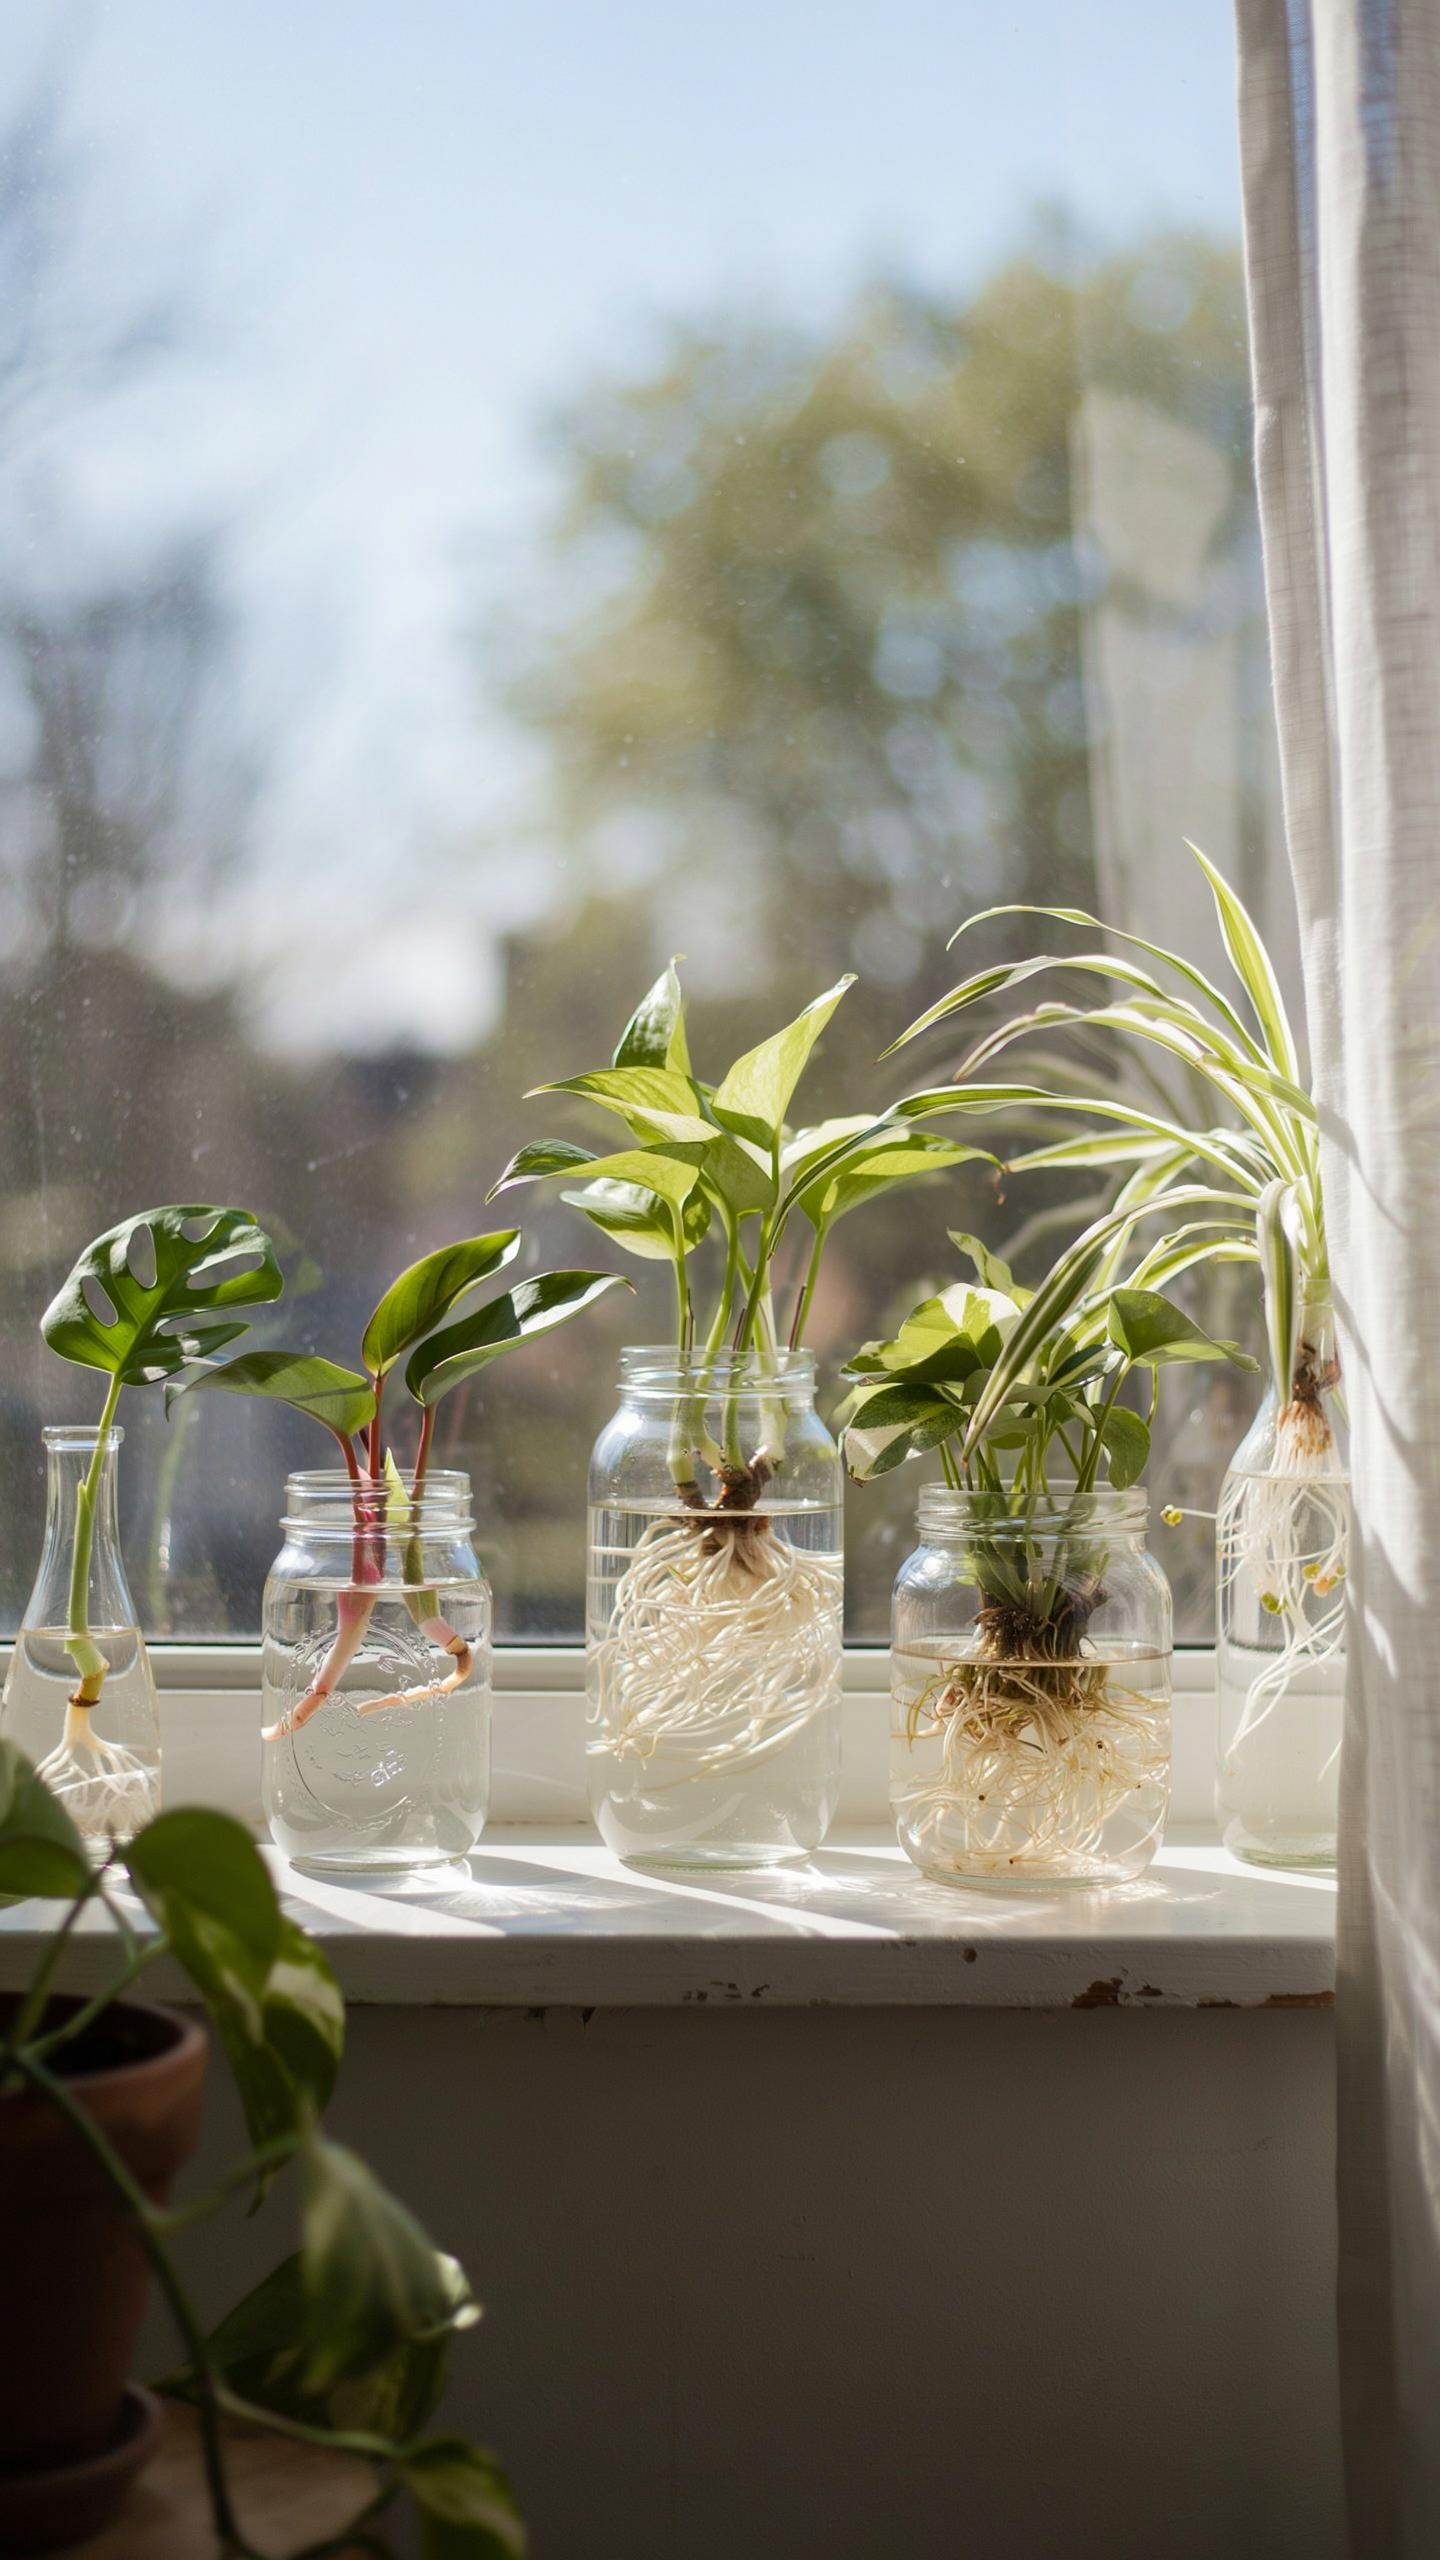
Clear glass containers give you visibility into root development. You watch roots emerge from the cutting within days or weeks depending on the plant species. This transparency eliminates guesswork. You see exactly when roots reach sufficient length for soil transfer. Glass also resists chemical reactions that some opaque containers create with water and plant tissue.
Water propagation works because cuttings absorb oxygen directly from the water surface. Roots develop faster in water than soil for most houseplant species. The process requires minimal equipment. You need only clean glass, fresh water, and healthy cuttings. This method succeeds with philodendrons, pothos, coleus, begonias, and tradescantia consistently.
Preventing Bacterial Buildup In Water
Change water every three to five days to maintain oxygen saturation and prevent pathogen growth. Stagnant water breeds bacteria and fungi that rot cutting tissue. Fresh water introduces dissolved oxygen that cuttings require for healthy root formation. Use room temperature water. Cold water shocks tissue. Warm water accelerates bacterial growth.

Clean the glass container when you change water. Algae growth indicates stagnant conditions and excess light exposure on the water surface. Algae itself does not harm cuttings but signals that conditions need adjustment. Move containers away from direct sunlight. This reduces algae without compromising root development. Most cuttings root successfully in indirect light while water remains clear and oxygenated.
Transitioning Rooted Plants To Your Outdoor Space
The Critical Hardening Off Process
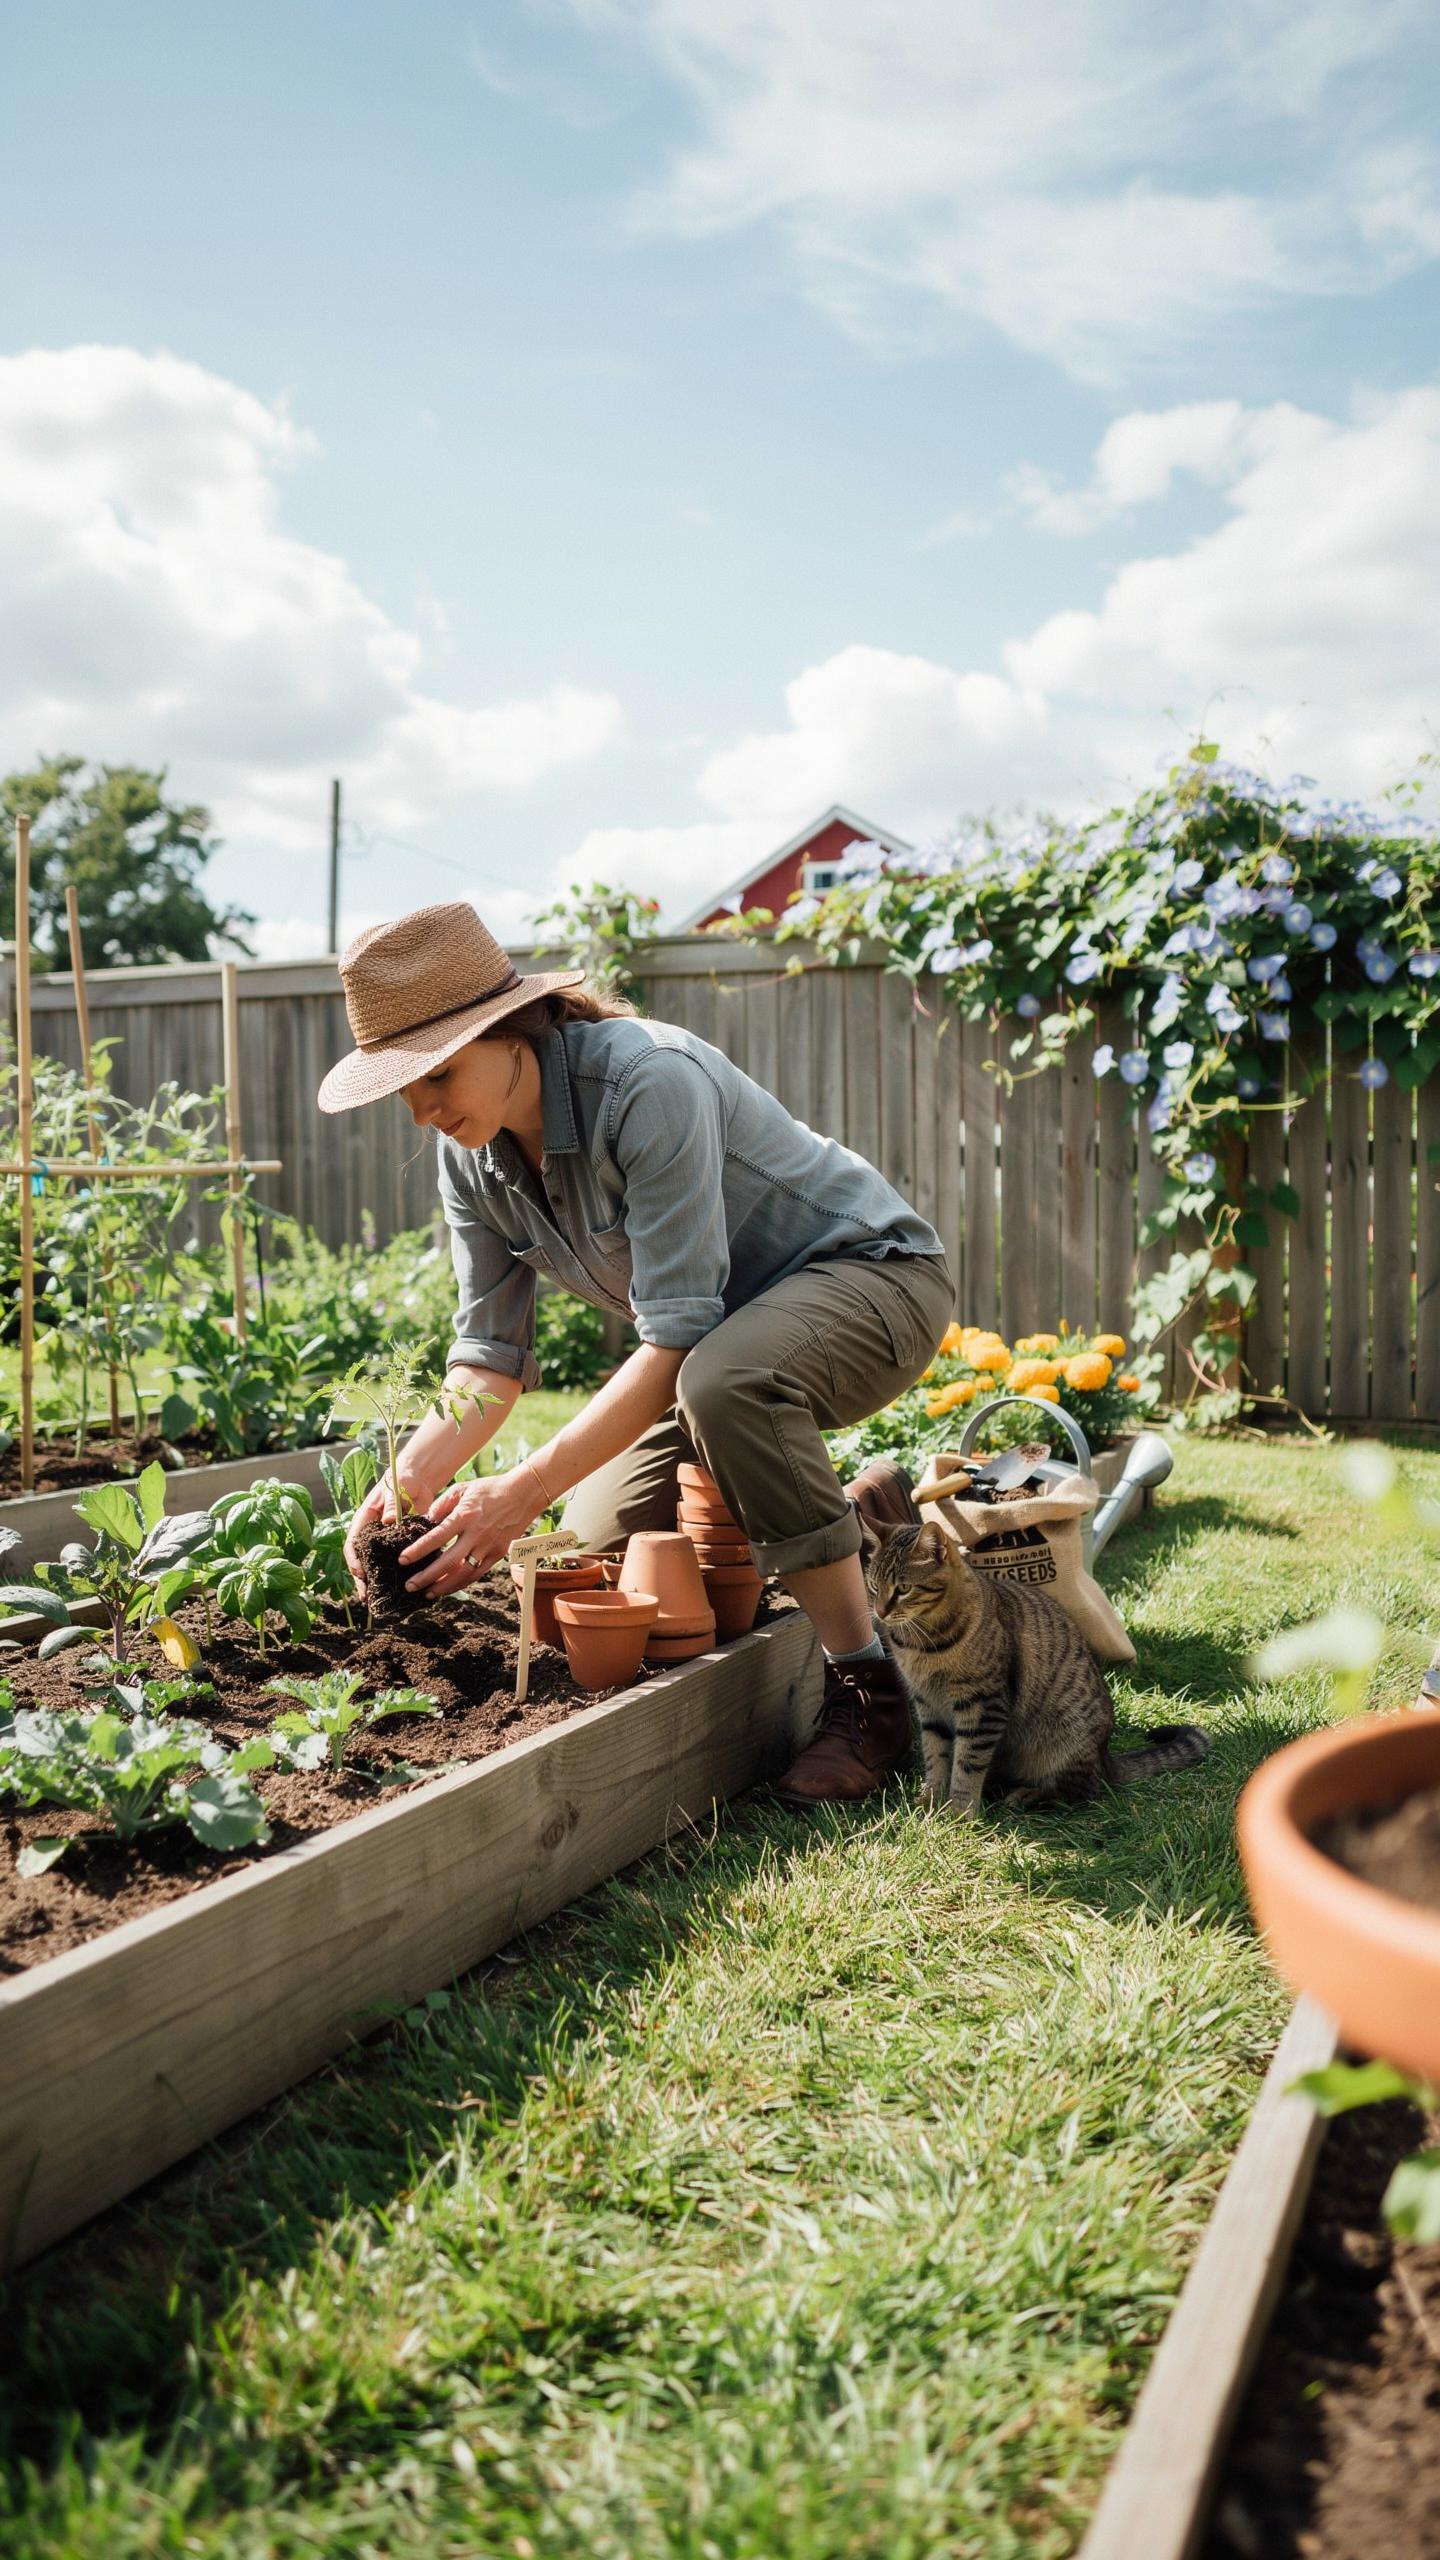
Hardening off means exposing indoor-grown cuttings to outdoor conditions gradually over 7 to 10 days. Skip this step and you risk leaf burn, wilting, and plant death. Indoor environments lack wind, intense UV rays, and temperature swings. Your cuttings adapted to stable conditions. Outdoor air moves constantly, sun intensity varies by location and season, and temperatures fluctuate daily. Start by placing cuttings in shade for 2 to 3 hours on day one.
Each day, increase outdoor time by 1 to 2 hours and introduce partial sunlight. By day 7 or 8, cuttings should tolerate full sun and outdoor temperature ranges. Water more frequently during hardening off because wind and sun increase evaporation rates. Check soil moisture daily. Monitor weather forecasts and bring plants inside if temperatures drop below the species minimum or extreme heat arrives.
The greatest service which can be rendered any country is to add a useful plant to its culture. By taking simple cuttings, we carry the legacy of our homes into the sunshine of the world.
Best Practices For Outdoor Repotting Success
Transplant rooted cuttings into their final outdoor location during mild weather, ideally in early morning or late afternoon. Avoid transplanting during peak heat or strong wind. Prepare the planting area or container before moving the cutting. Use quality potting soil mixed with compost for containers, or amend garden beds with organic matter to improve drainage and nutrient content.

Dig a hole or container space slightly larger than the root ball. Place the cutting at the same depth it grew indoors. Backfill gently without compacting the soil. Water immediately after transplanting to settle the soil and eliminate air pockets. Apply mulch around the base to retain moisture and regulate soil temperature. Keep the cutting shaded for the first 3 to 5 days after transplanting to reduce transplant shock.
Creative Plant Propagation Ideas For Stunning Garden Displays
Designing Multi Level Hanging Baskets
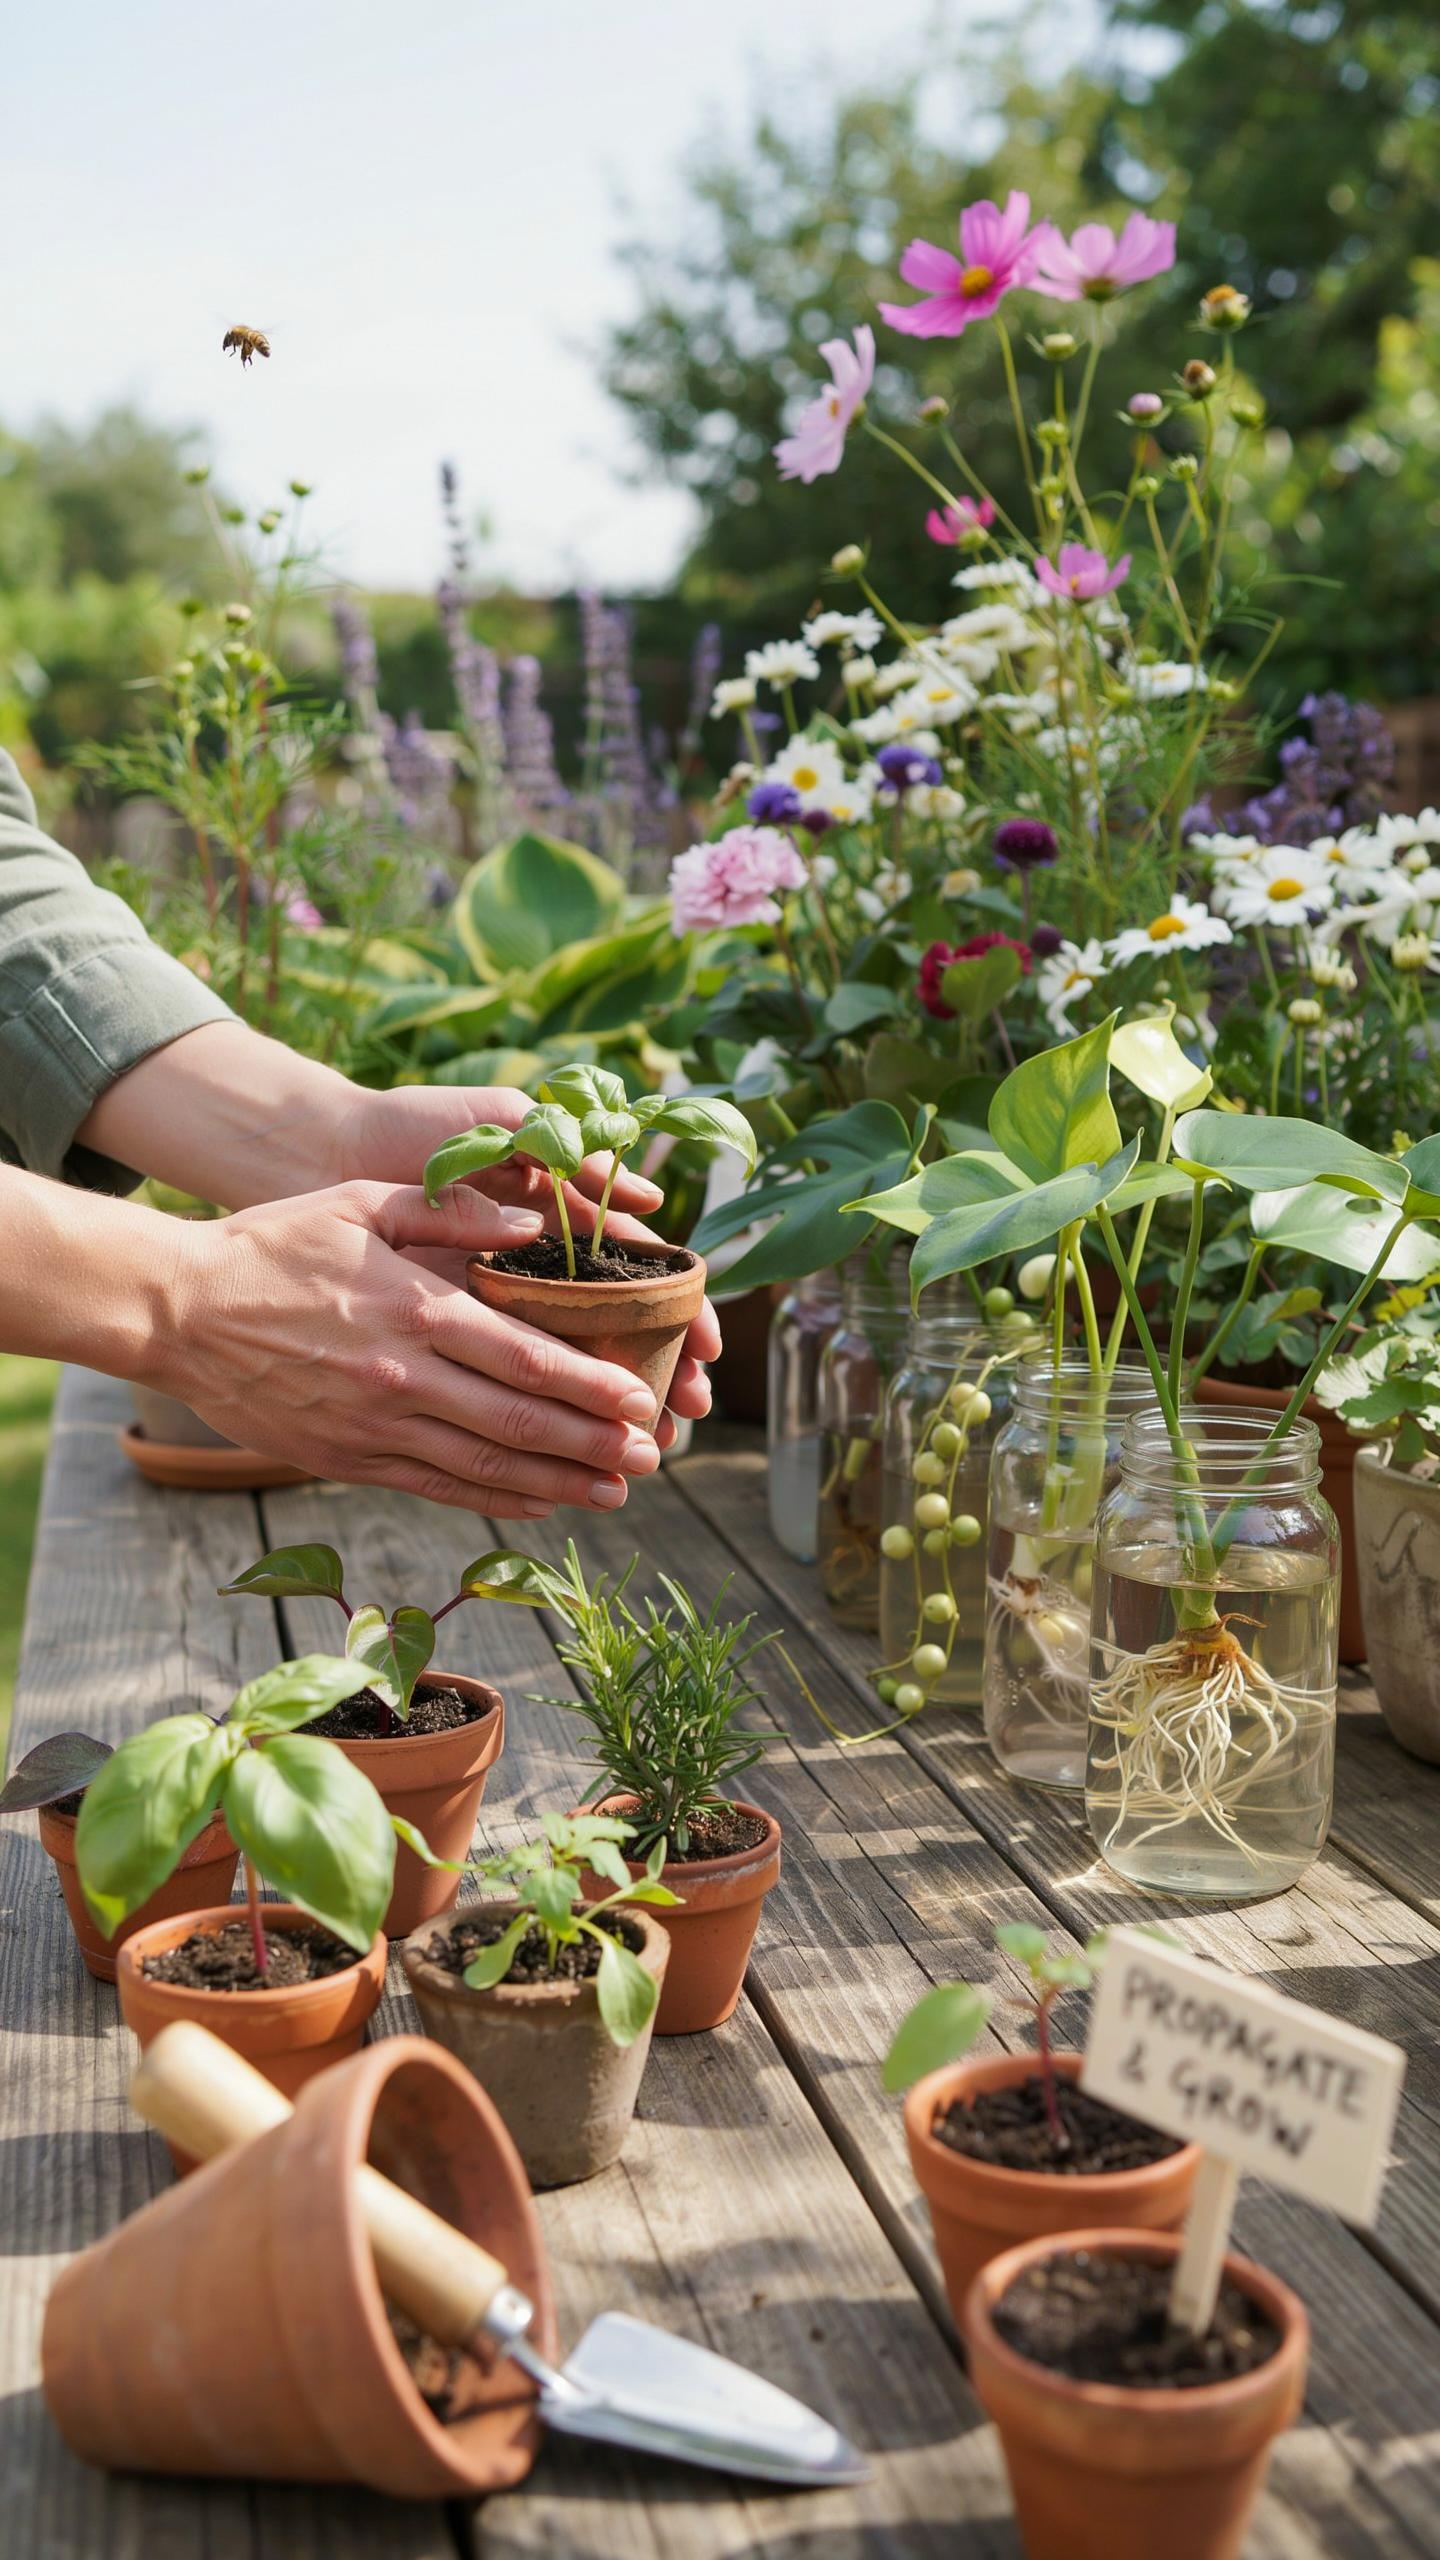
Trailing propagates work best in hanging baskets because their growth pattern moves downward naturally. Combine fast-growing varieties like pothos and string of pearls in the same basket to create layered depth. The upper tier catches light while lower tiers cascade down. This vertical arrangement maximizes porch space and creates visual interest without requiring ground area.
Space baskets at different heights to establish hierarchy. Stagger hanging points by 12 to 18 inches apart. Plant faster growers at the top tier so they don’t shade slower varieties below. Water management becomes critical since upper baskets dry faster. Check soil moisture every two to three days during active growth seasons.
Constructing Vibrant Potted Color Gradients Outdoors
Arrange propagated foliage by color intensity to guide the viewer’s eye across your patio. Start with pale varieties on one end, then transition through mid tones, ending with dark foliage. This gradient effect works because human vision naturally follows progressive color shifts. Position these arrangements where afternoon light hits them directly to amplify color contrast.

Group pots of similar height together so colors read clearly from a distance. Use containers in neutral tones so foliage remains the focal point. Place warm colored foliage near seating areas and cooler tones toward garden edges. This color strategy creates spatial depth and makes patios feel intentionally designed rather than randomly planted.
Selecting Which Plants Thrive Best Outdoors After Rooting
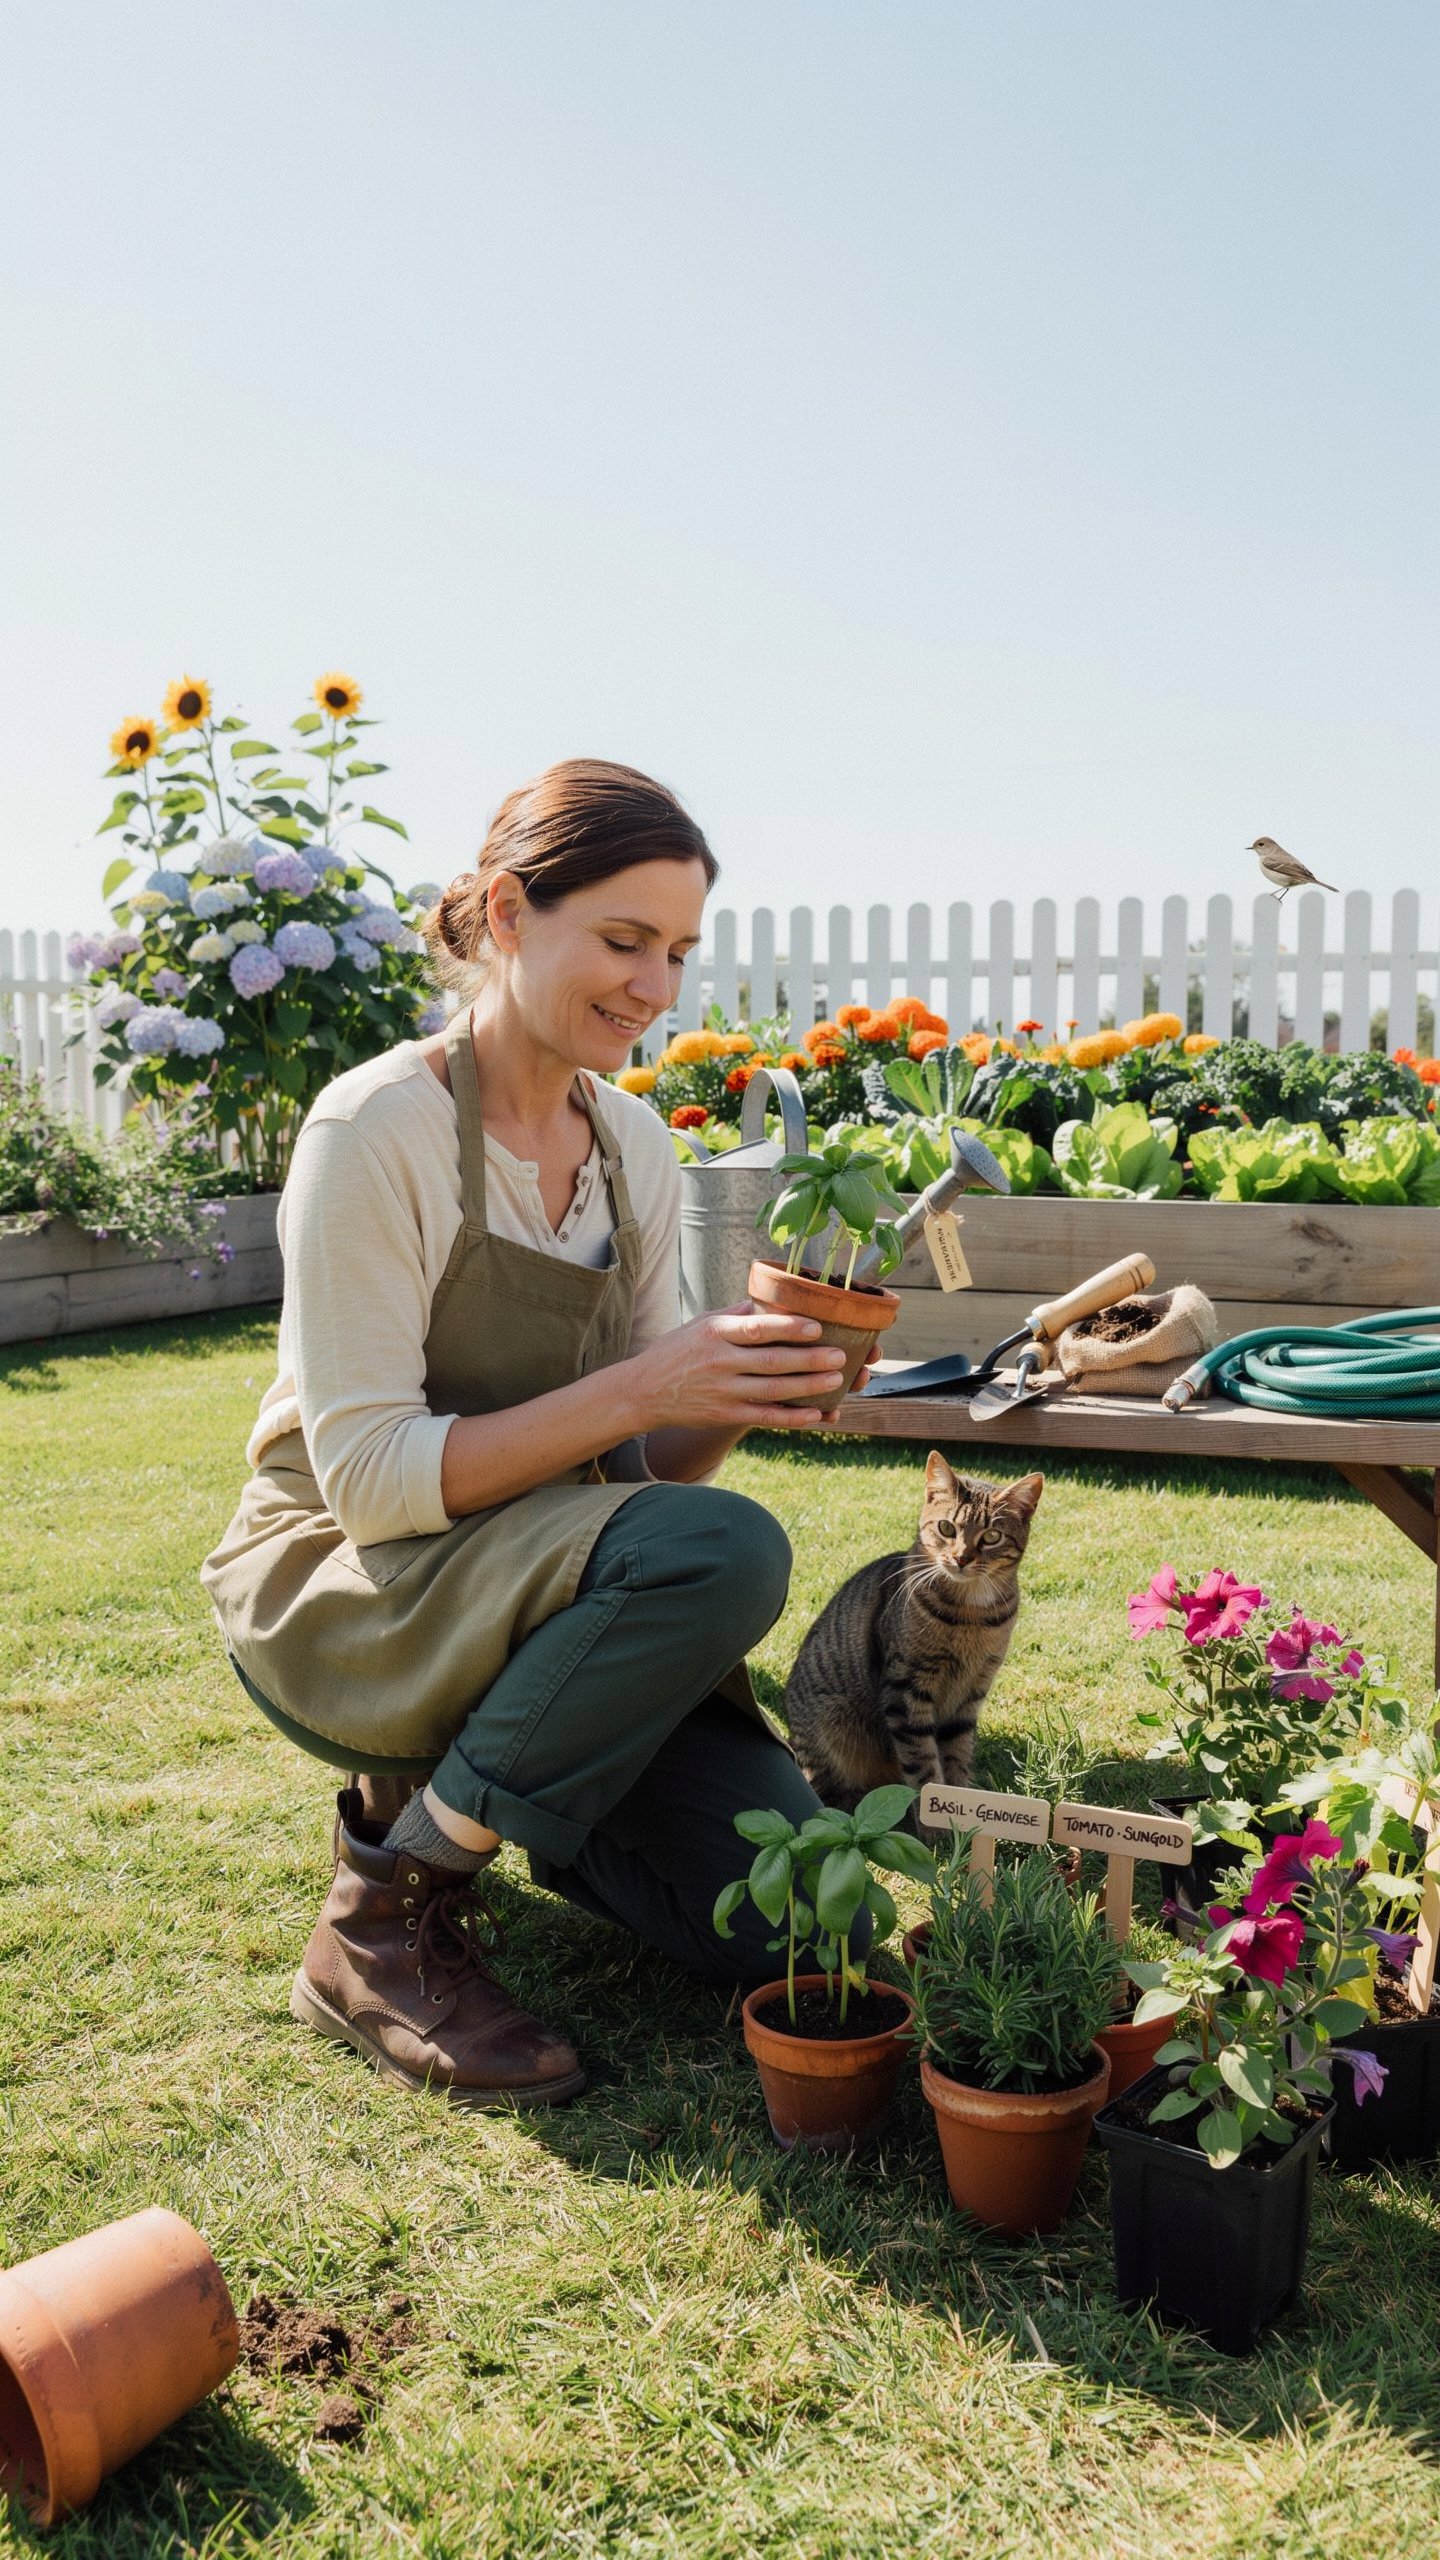
Hardy Vines And Climbers To Consider
Ivy and pothos root quickly from cuttings and handle outdoor conditions well. Ivy tolerates shade and poor soil. Pothos grows fast in warm climates but needs protection from hard freezes. Both plants establish outdoor root systems within weeks of transplanting. They climb walls, trellises, and fences without requiring constant maintenance or special care.
Shade is your tactical advantage when placing these vines outdoors. Direct sun burns pothos foliage. Ivy performs better in partial shade on north or east-facing walls. Water rooted cuttings regularly until they establish themselves in outdoor soil. Once established, these vines need minimal intervention and spread aggressively to fill vertical spaces.
Robust Succulents For Sunny Patio Borders
Stonecrops and jade cuttings root in days without special rooting hormone. Both tolerate drought and poor soil. They thrive in full sun with minimal water once established. Jade cuttings develop roots in seven to fourteen days. Stonecrops root even faster and spread horizontally to fill borders and gaps quickly.
Plant rooted succulent cuttings directly into dry, well-draining soil. They need sun exposure to develop strong coloration and compact growth. Water sparingly after planting. Overwatering kills rooted succulents faster than any pest or disease. These plants fill patio edges and border areas with zero maintenance once they establish roots in outdoor soil.
How To Properly Care For Freshly Propagated Plants
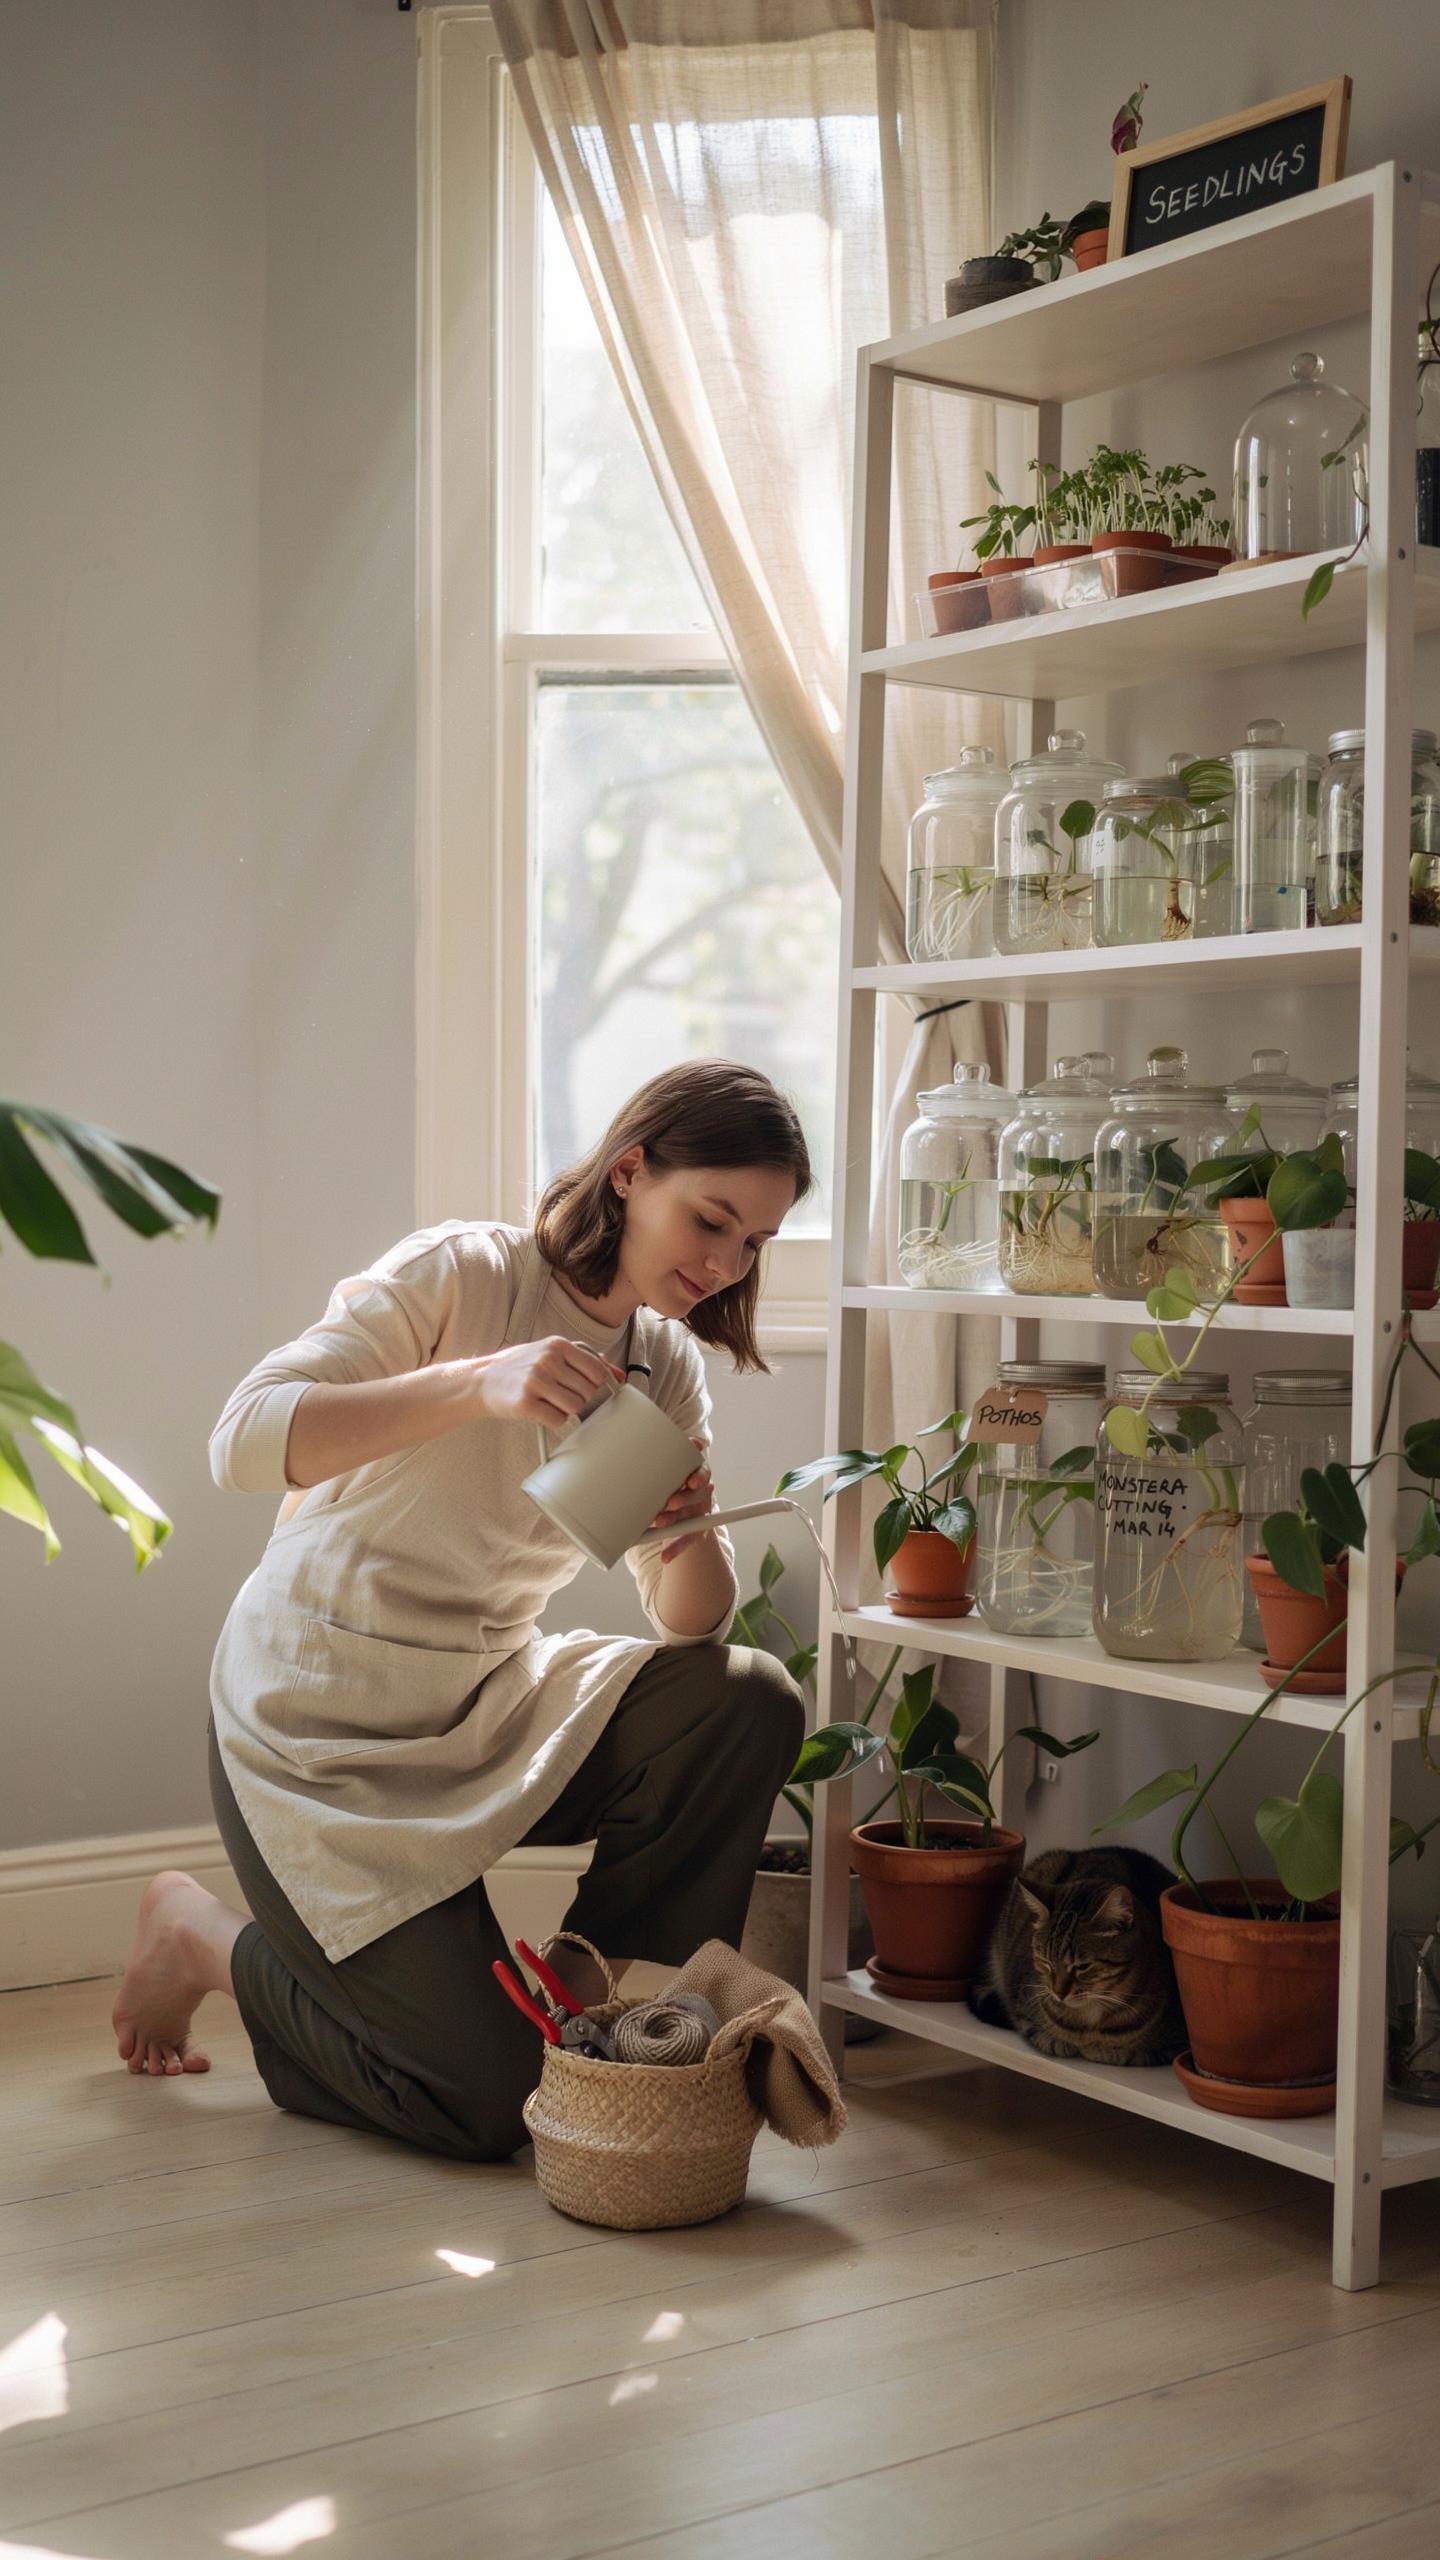
Monitoring Soil Moisture And Humidity Levels
Cuttings develop roots in moist conditions. The rooting medium must stay consistently damp throughout the propagation phase. Check soil moisture daily by inserting your finger one inch deep. If the medium feels dry at this depth, water immediately. Overwatering kills young roots through rot and fungal issues.
Humidity levels between 60 and 80 percent accelerate root development. Use a humidity dome or plastic bag to trap moisture around cuttings. Ventilate the enclosure every few days to prevent mold growth. Mist the cutting’s leaves lightly if leaves show wilting. Remove the dome once roots reach one inch in length.
Providing Filtered Light During Early Growth
New cuttings need light but not direct sun. Intense rays cause leaf scorch and water loss from young tissues. Place cuttings in bright, indirect light from an east or north-facing window. Grow lights positioned 6 to 12 inches above cuttings work effectively indoors. Aim for 12 to 16 hours of light daily to fuel photosynthesis.
Once roots emerge and leaves show new growth, gradually increase light exposure. Move cuttings closer to windows over one to two weeks. Full sun tolerance develops as the root system strengthens. Established roots absorb water faster, supporting increased transpiration from leaves. This transition prevents transplant shock when moving rooted cuttings to permanent locations.
Troubleshooting Common Mistakes In Propagating Plants
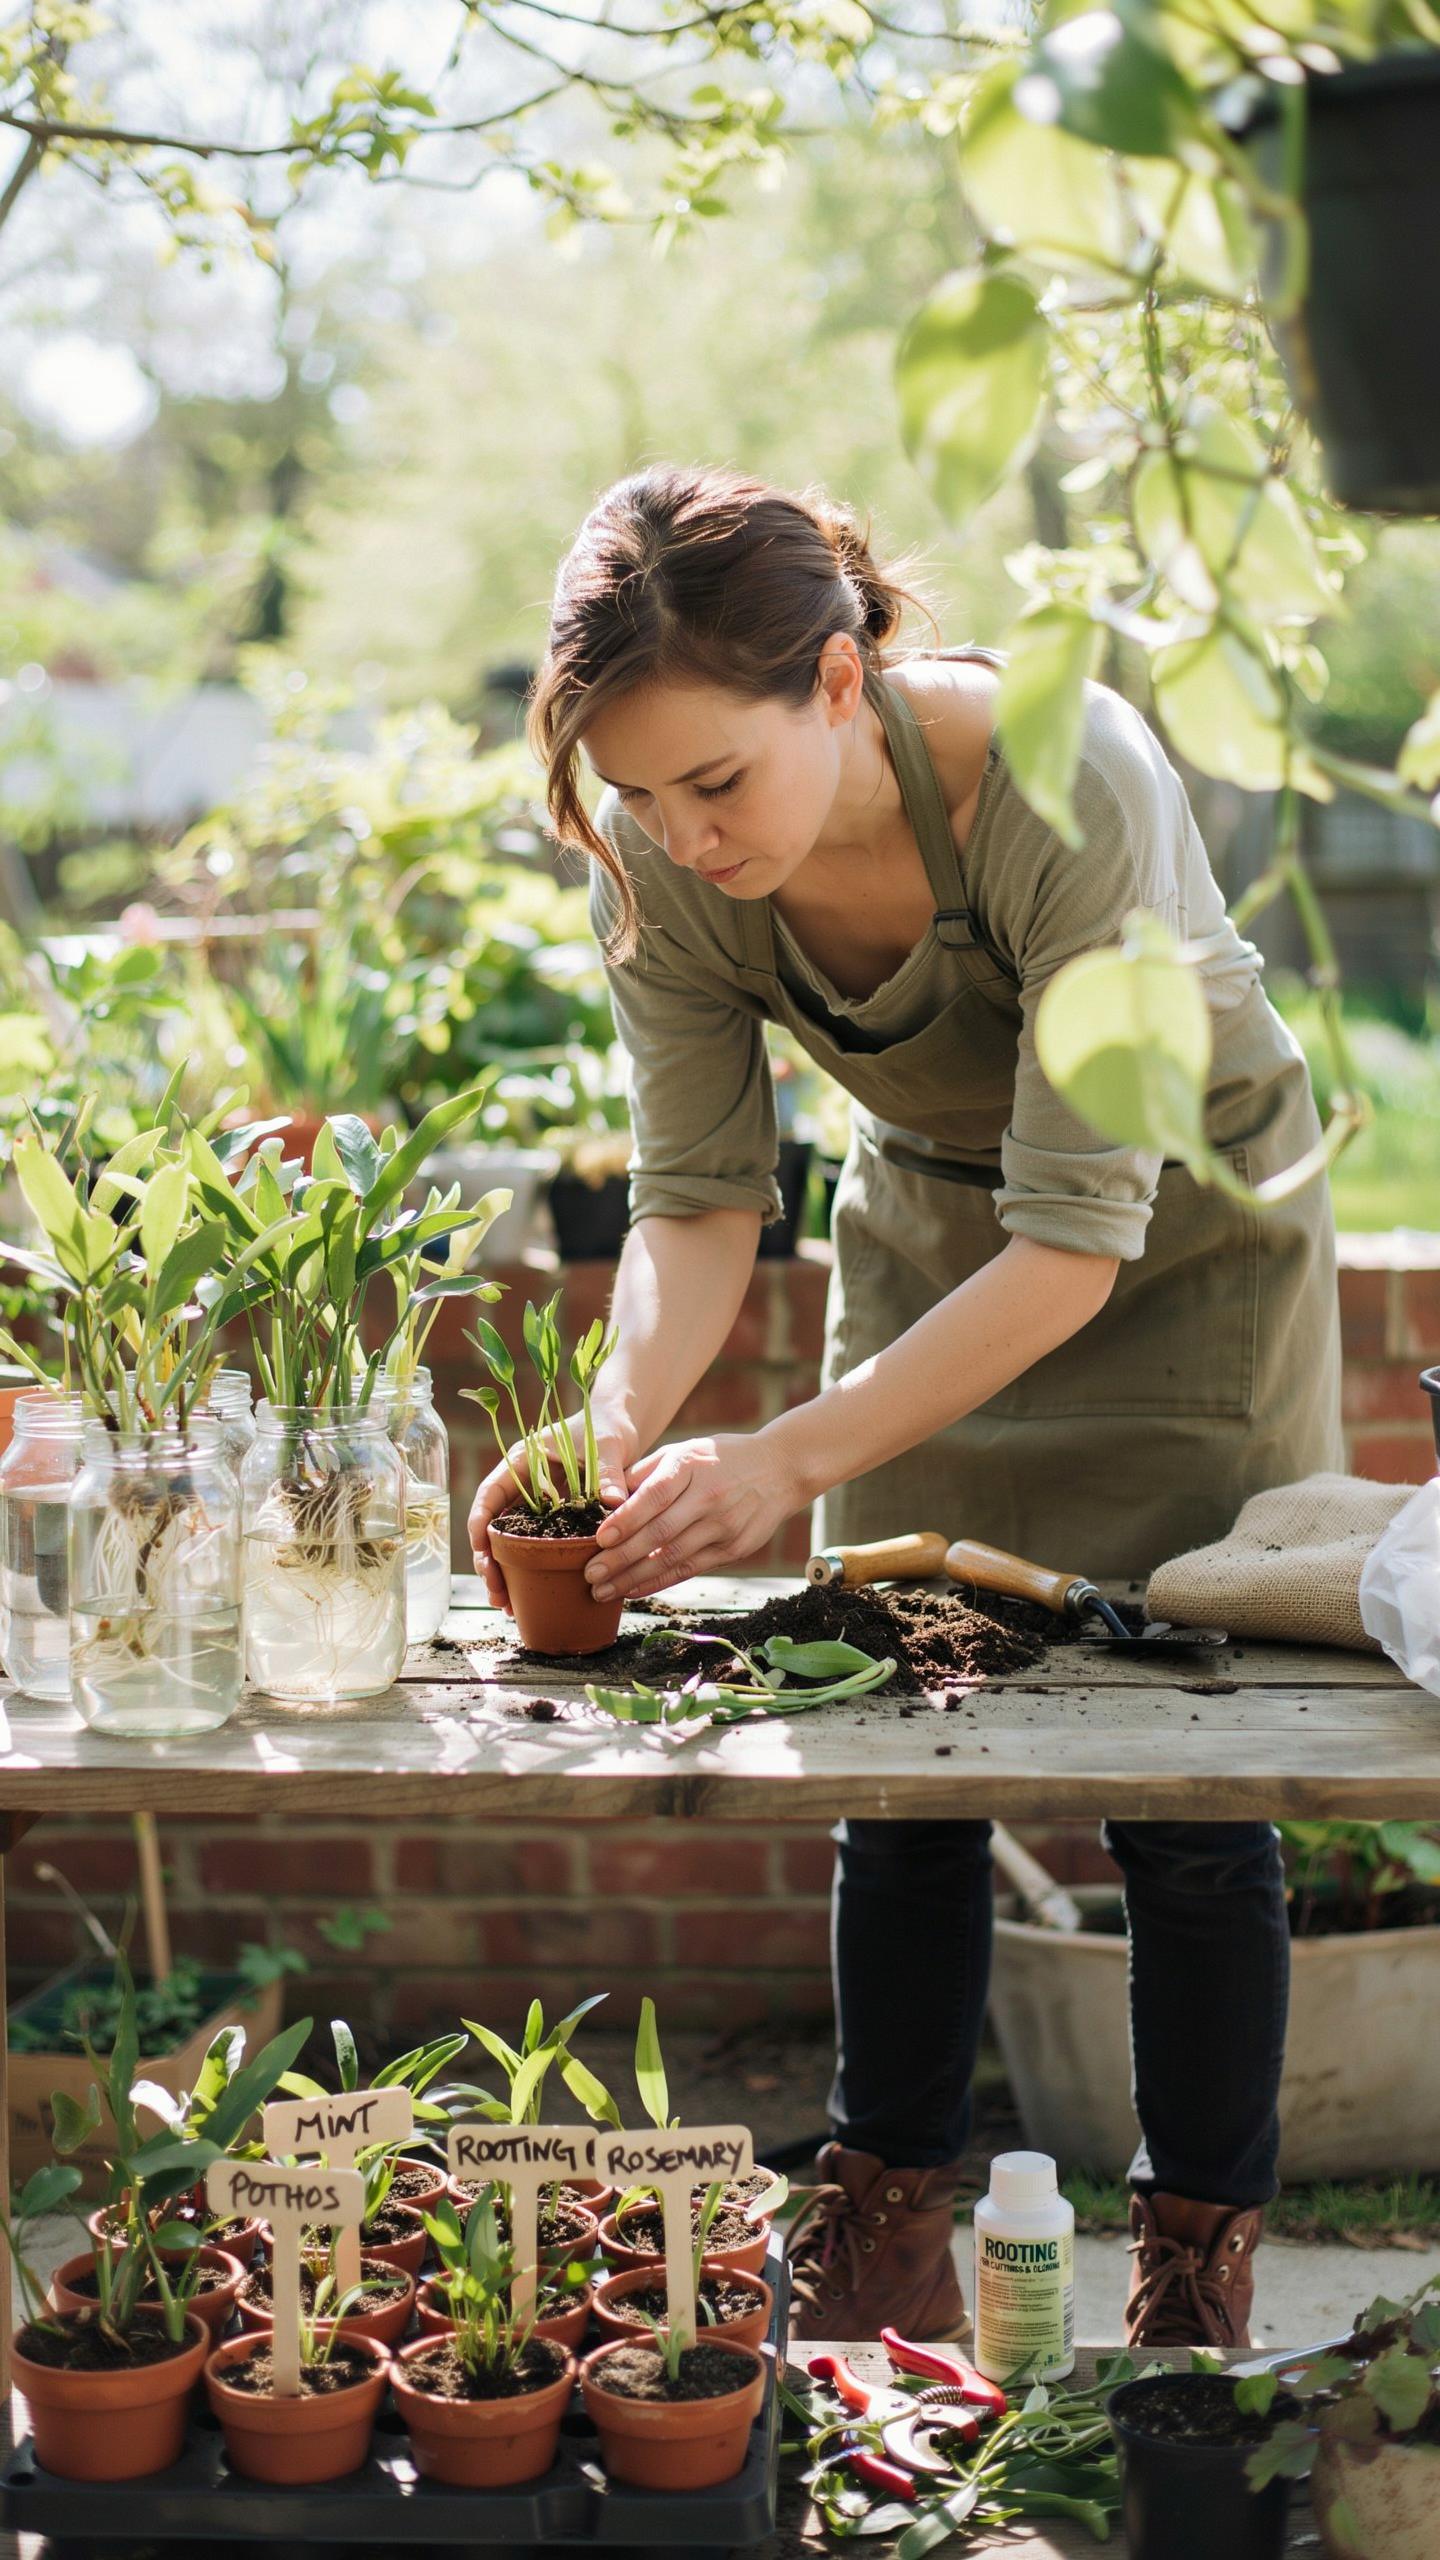
How To Prevent And Treat Cutting Rot
Stem rot kills cuttings faster than any other failure point. It starts when bacteria or fungi attack soft tissue in wet conditions. Catch it early by checking for dark, mushy sections on the stem base. Black or brown discoloration that spreads upward means the cutting is failing. Act immediately or lose the entire cutting.
- Remove affected tissue: Cut away all dark or mushy sections with a clean blade. Make cuts above the rot line to eliminate infected material completely.
- Reduce moisture: Lower humidity around the cutting immediately. Increase air circulation by placing a small fan nearby or moving the cutting to a better ventilated area.
- Change the growing medium: Replace water or soil with fresh medium. Old medium harbors pathogens. Use sterile potting mix or distilled water in clean containers.
- Apply fungicide if needed: Use a copper fungicide or sulfur dust on the cut surface. Follow product instructions exactly. This stops fungal spread on remaining healthy tissue.
- Lower temperature: Keep cuttings between 60 and 70 degrees Fahrenheit. Warm, humid conditions accelerate rot. Cool environments slow microbial growth significantly.
Prevention beats treatment every time. Use sterile containers and cutting tools before each propagation batch. Let soil dry slightly between waterings. Provide bright, indirect light to strengthen the cutting’s immune response. Most cuttings need moisture, not saturation, to develop roots successfully.
Addressing Stagnant Root Development Issues
Cuttings stall when conditions miss the mark on one or more factors. Low light starves the cutting of energy needed for root formation. Cold temperatures below 60 degrees slow cellular activity. Poor air circulation traps excess moisture and blocks gas exchange the cutting needs. Test each variable systematically to find the culprit.
Move the cutting to brighter conditions first. Most species need bright, indirect light to push roots forward. If light is adequate, check water quality. Hard tap water contains minerals that slow root emergence. Switch to distilled or rainwater immediately. Verify temperature sits between 65 and 75 degrees. Adjust location if needed. Once these factors align, most stalled cuttings resume root growth within two to four weeks.
Frequently Asked Questions

What are the simplest plants for beginners to try propagating at home?
If you are new to gardening, starting with resilient species like Pothos, Tradescantia, or Coleus is ideal. These varieties root quickly in water or soil, offering immediate success. Following a reliable houseplant propagation cuttings guide ensures you understand where to make your incisions. These hardy plants allow you to build confidence while effortlessly expanding your collection to decorate your porches or patio containers with lush, vibrant greenery.
How do I successfully transition my indoor cuttings to an outdoor environment?
To move your rooted starts outside, you must first ensure they have developed strong, one-inch roots. Gradually acclimate them to outdoor light and temperature fluctuations over a week to prevent shock. Using a houseplant propagation cuttings guide can help you time these transitions perfectly. Once hardened off, transplant them into high-quality potting soil in a shaded area before moving them to their final, sunny outdoor destination for the season.
Can I propagate a large outdoor garden on a limited budget?
Absolutely! Propagation is the most cost-effective way to fill a beautiful outdoor space without spending a fortune at nurseries. By using recycled glass jars for rooting and taking snips from friends or your existing indoor collection, you can generate dozens of new plants for free. It is a sustainable hobby that turns a single parent plant into a massive landscape feature, making high-end garden design accessible to everyone through patience.



