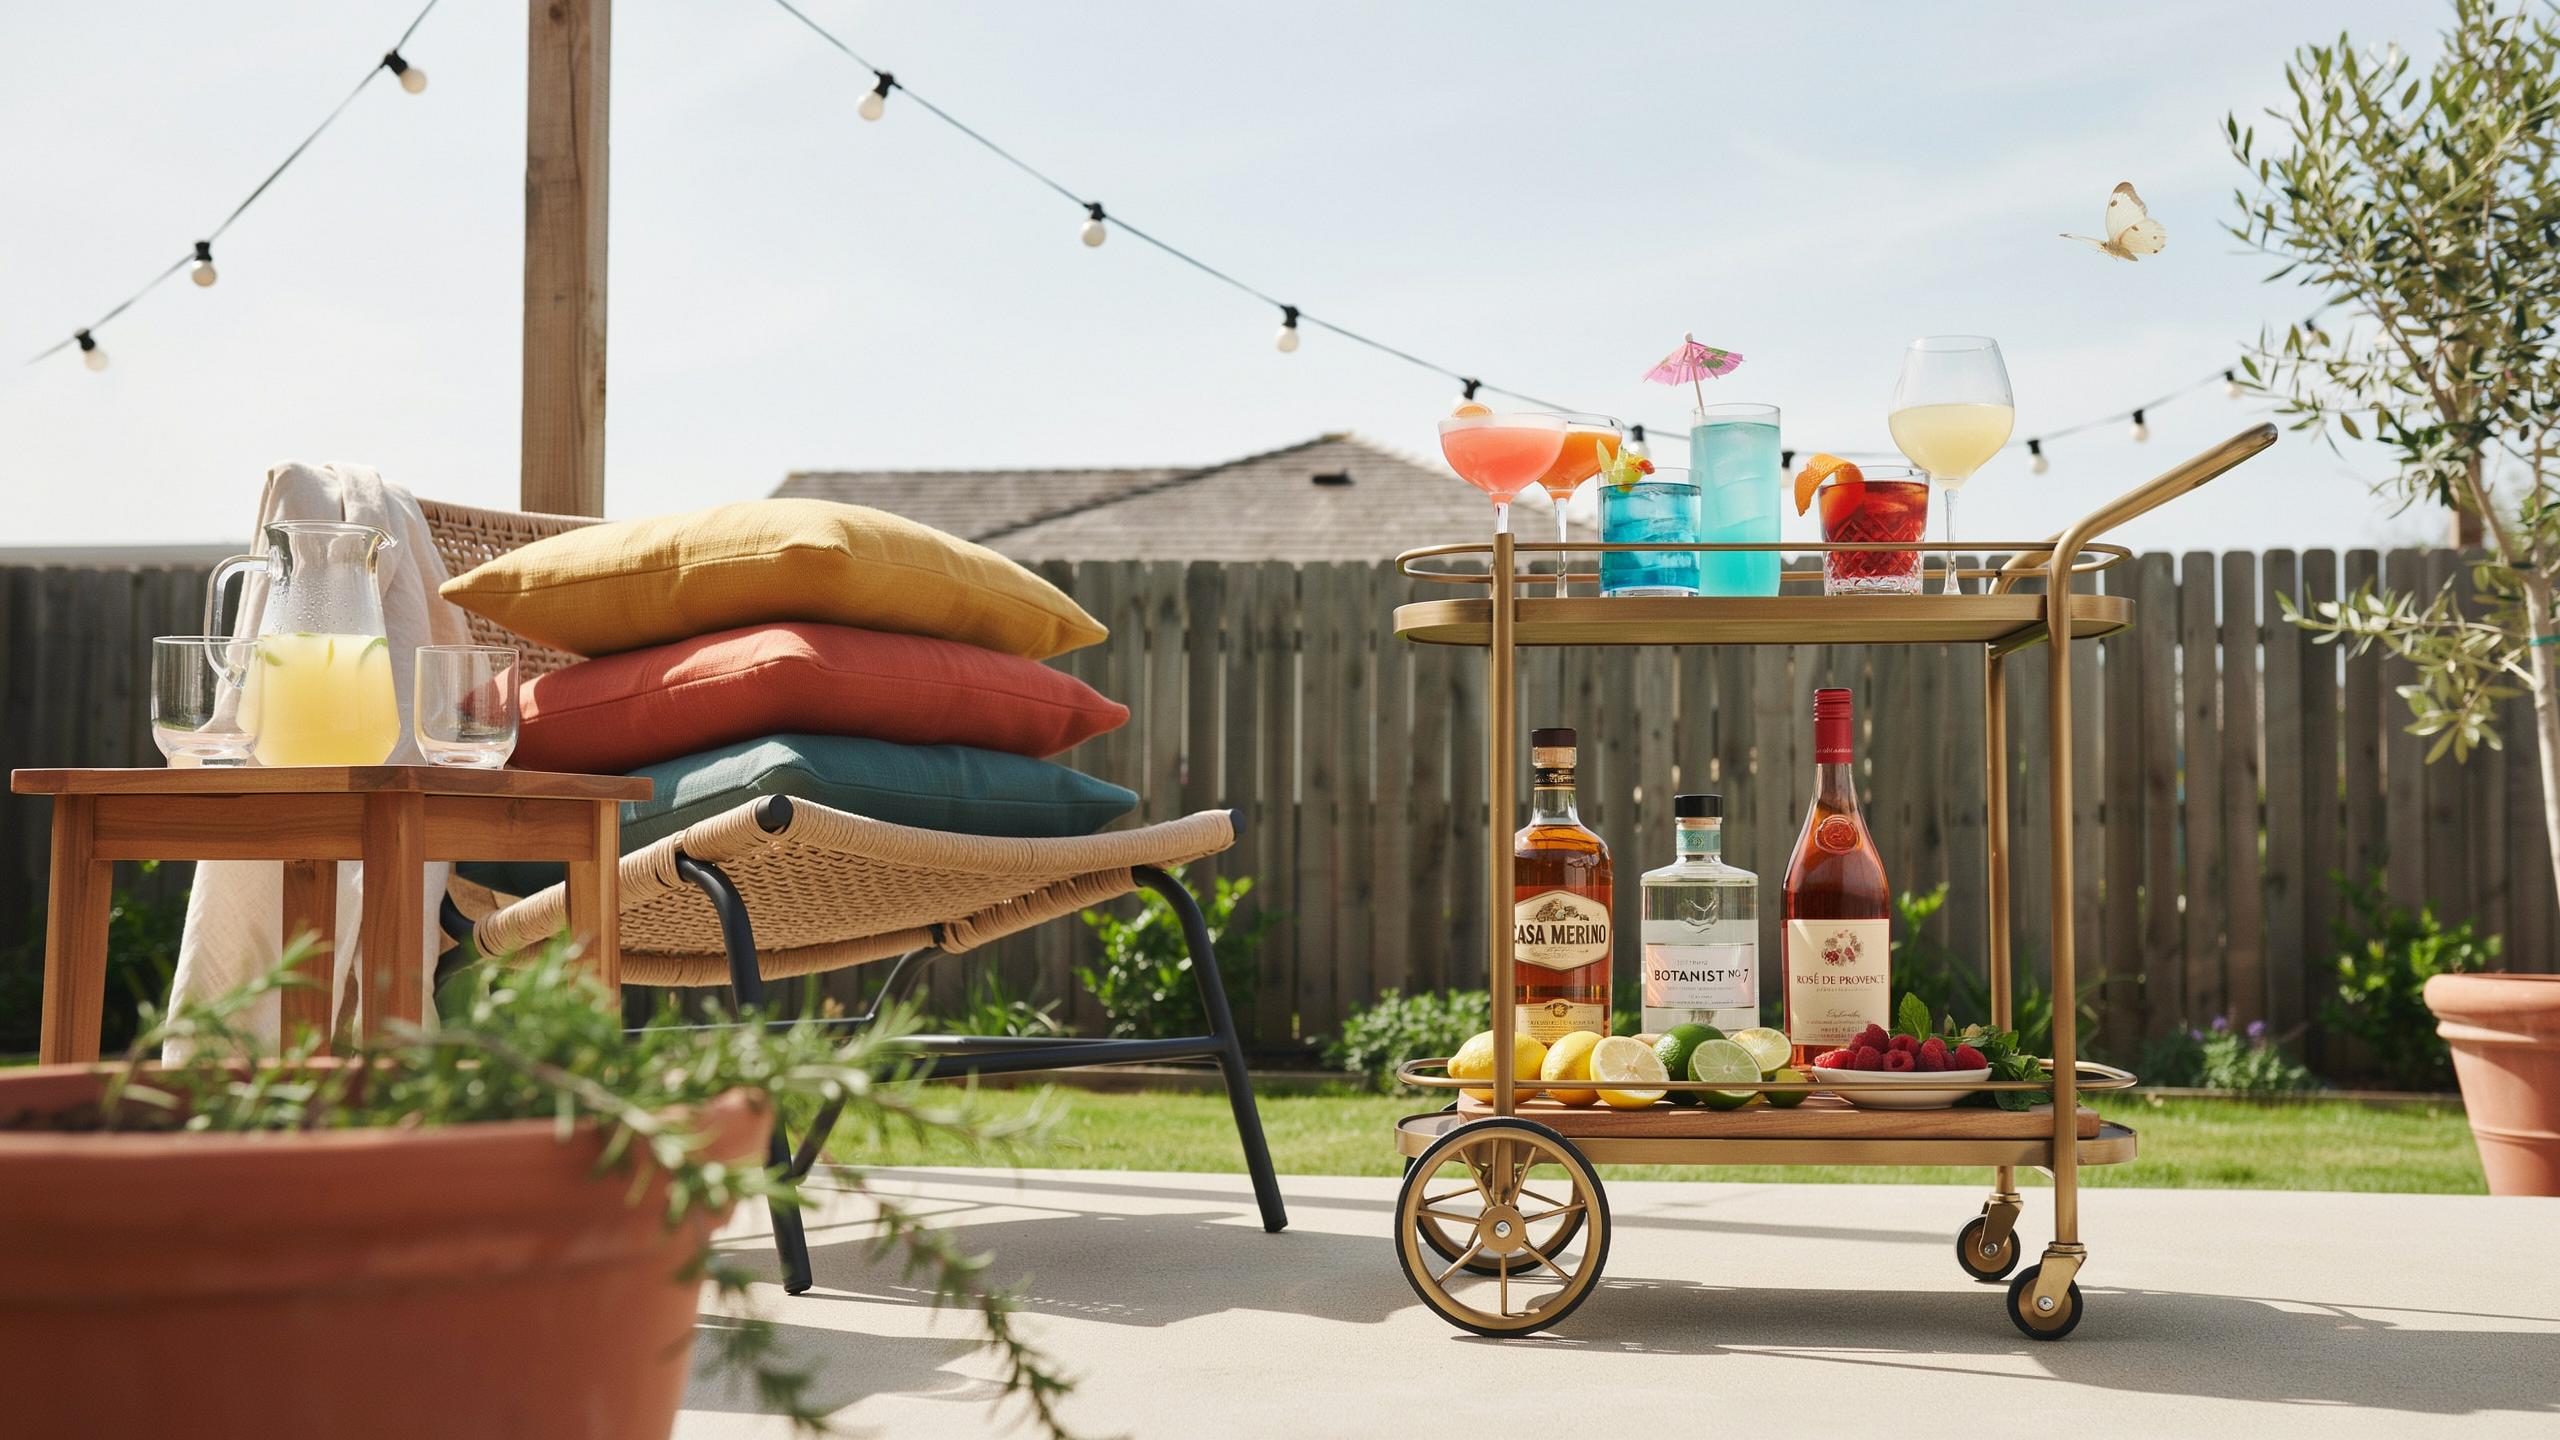
Essentials Of An Outdoor Bar Cart Setup For Entertaining
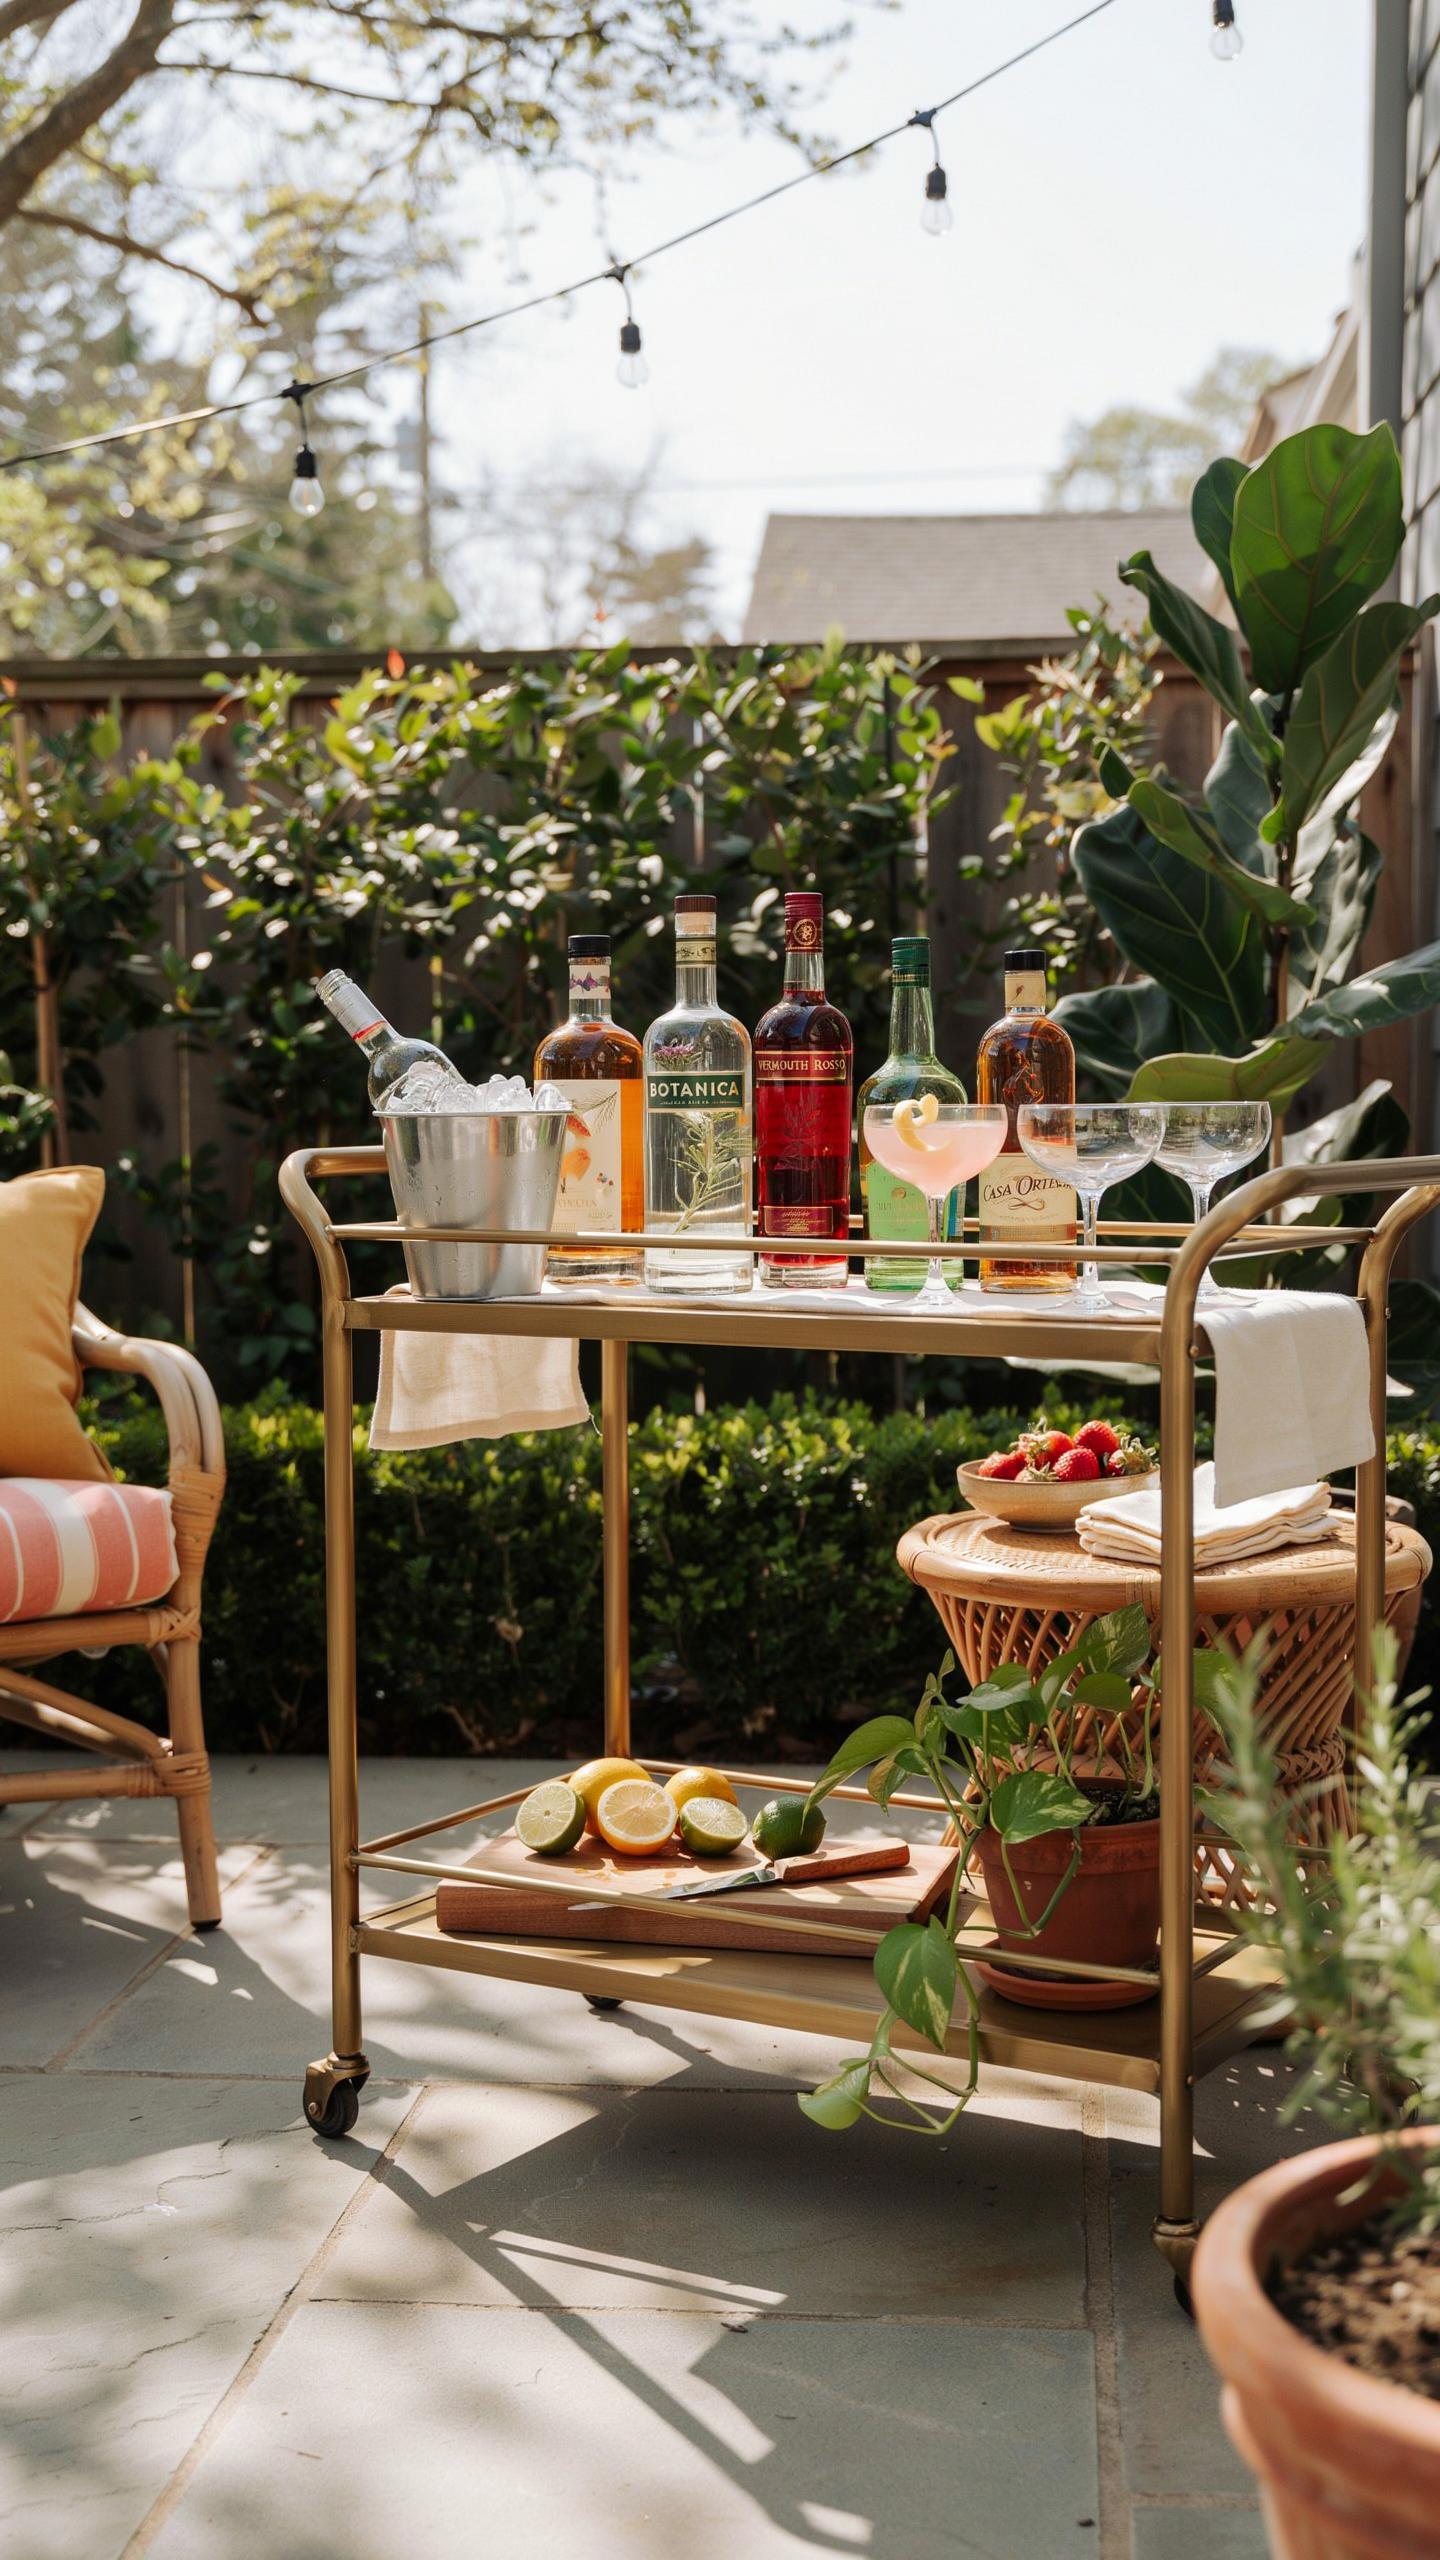
Selecting Durable Materials
Teak wood withstands rain, sun, and temperature swings without warping or cracking. The wood’s natural oils repel moisture and resist rot. Wrought iron frames provide structural stability and handle weight loads that lighter metals cannot. Both materials require minimal maintenance compared to untreated wood or plastic alternatives exposed to outdoor conditions.
Synthetic wicker offers a practical alternative when budget or aesthetics demand it. The material resists UV damage and moisture absorption that destroys natural wicker. Metal accents on bar carts should be powder-coated or stainless steel to prevent rust. Real-world testing shows these material combinations maintain function and appearance through multiple seasons without replacement.
Essential Bar Tools
Stock shatterproof glassware made from acrylic or polycarbonate for outdoor service. These materials eliminate breakage risks on patios and decks while maintaining drink presentation. Heavy-duty bottle openers with integrated corkscrews handle high-volume entertaining without mechanical failure. Insulated ice buckets keep ice from melting rapidly in direct sun, extending drink preparation time significantly.
Include a sturdy jigger for consistent pour measurements and a bar spoon for stirring cocktails. Metal strainers with tight mesh prevent ice chips and fruit pulp from entering glasses. Serving tools should be stainless steel or aluminum to resist corrosion from citrus juices and outdoor moisture exposure. These core tools enable efficient drink preparation without requiring replacement mid-season.
Creative Outdoor Bar Cart Ideas To Match Your Party Theme
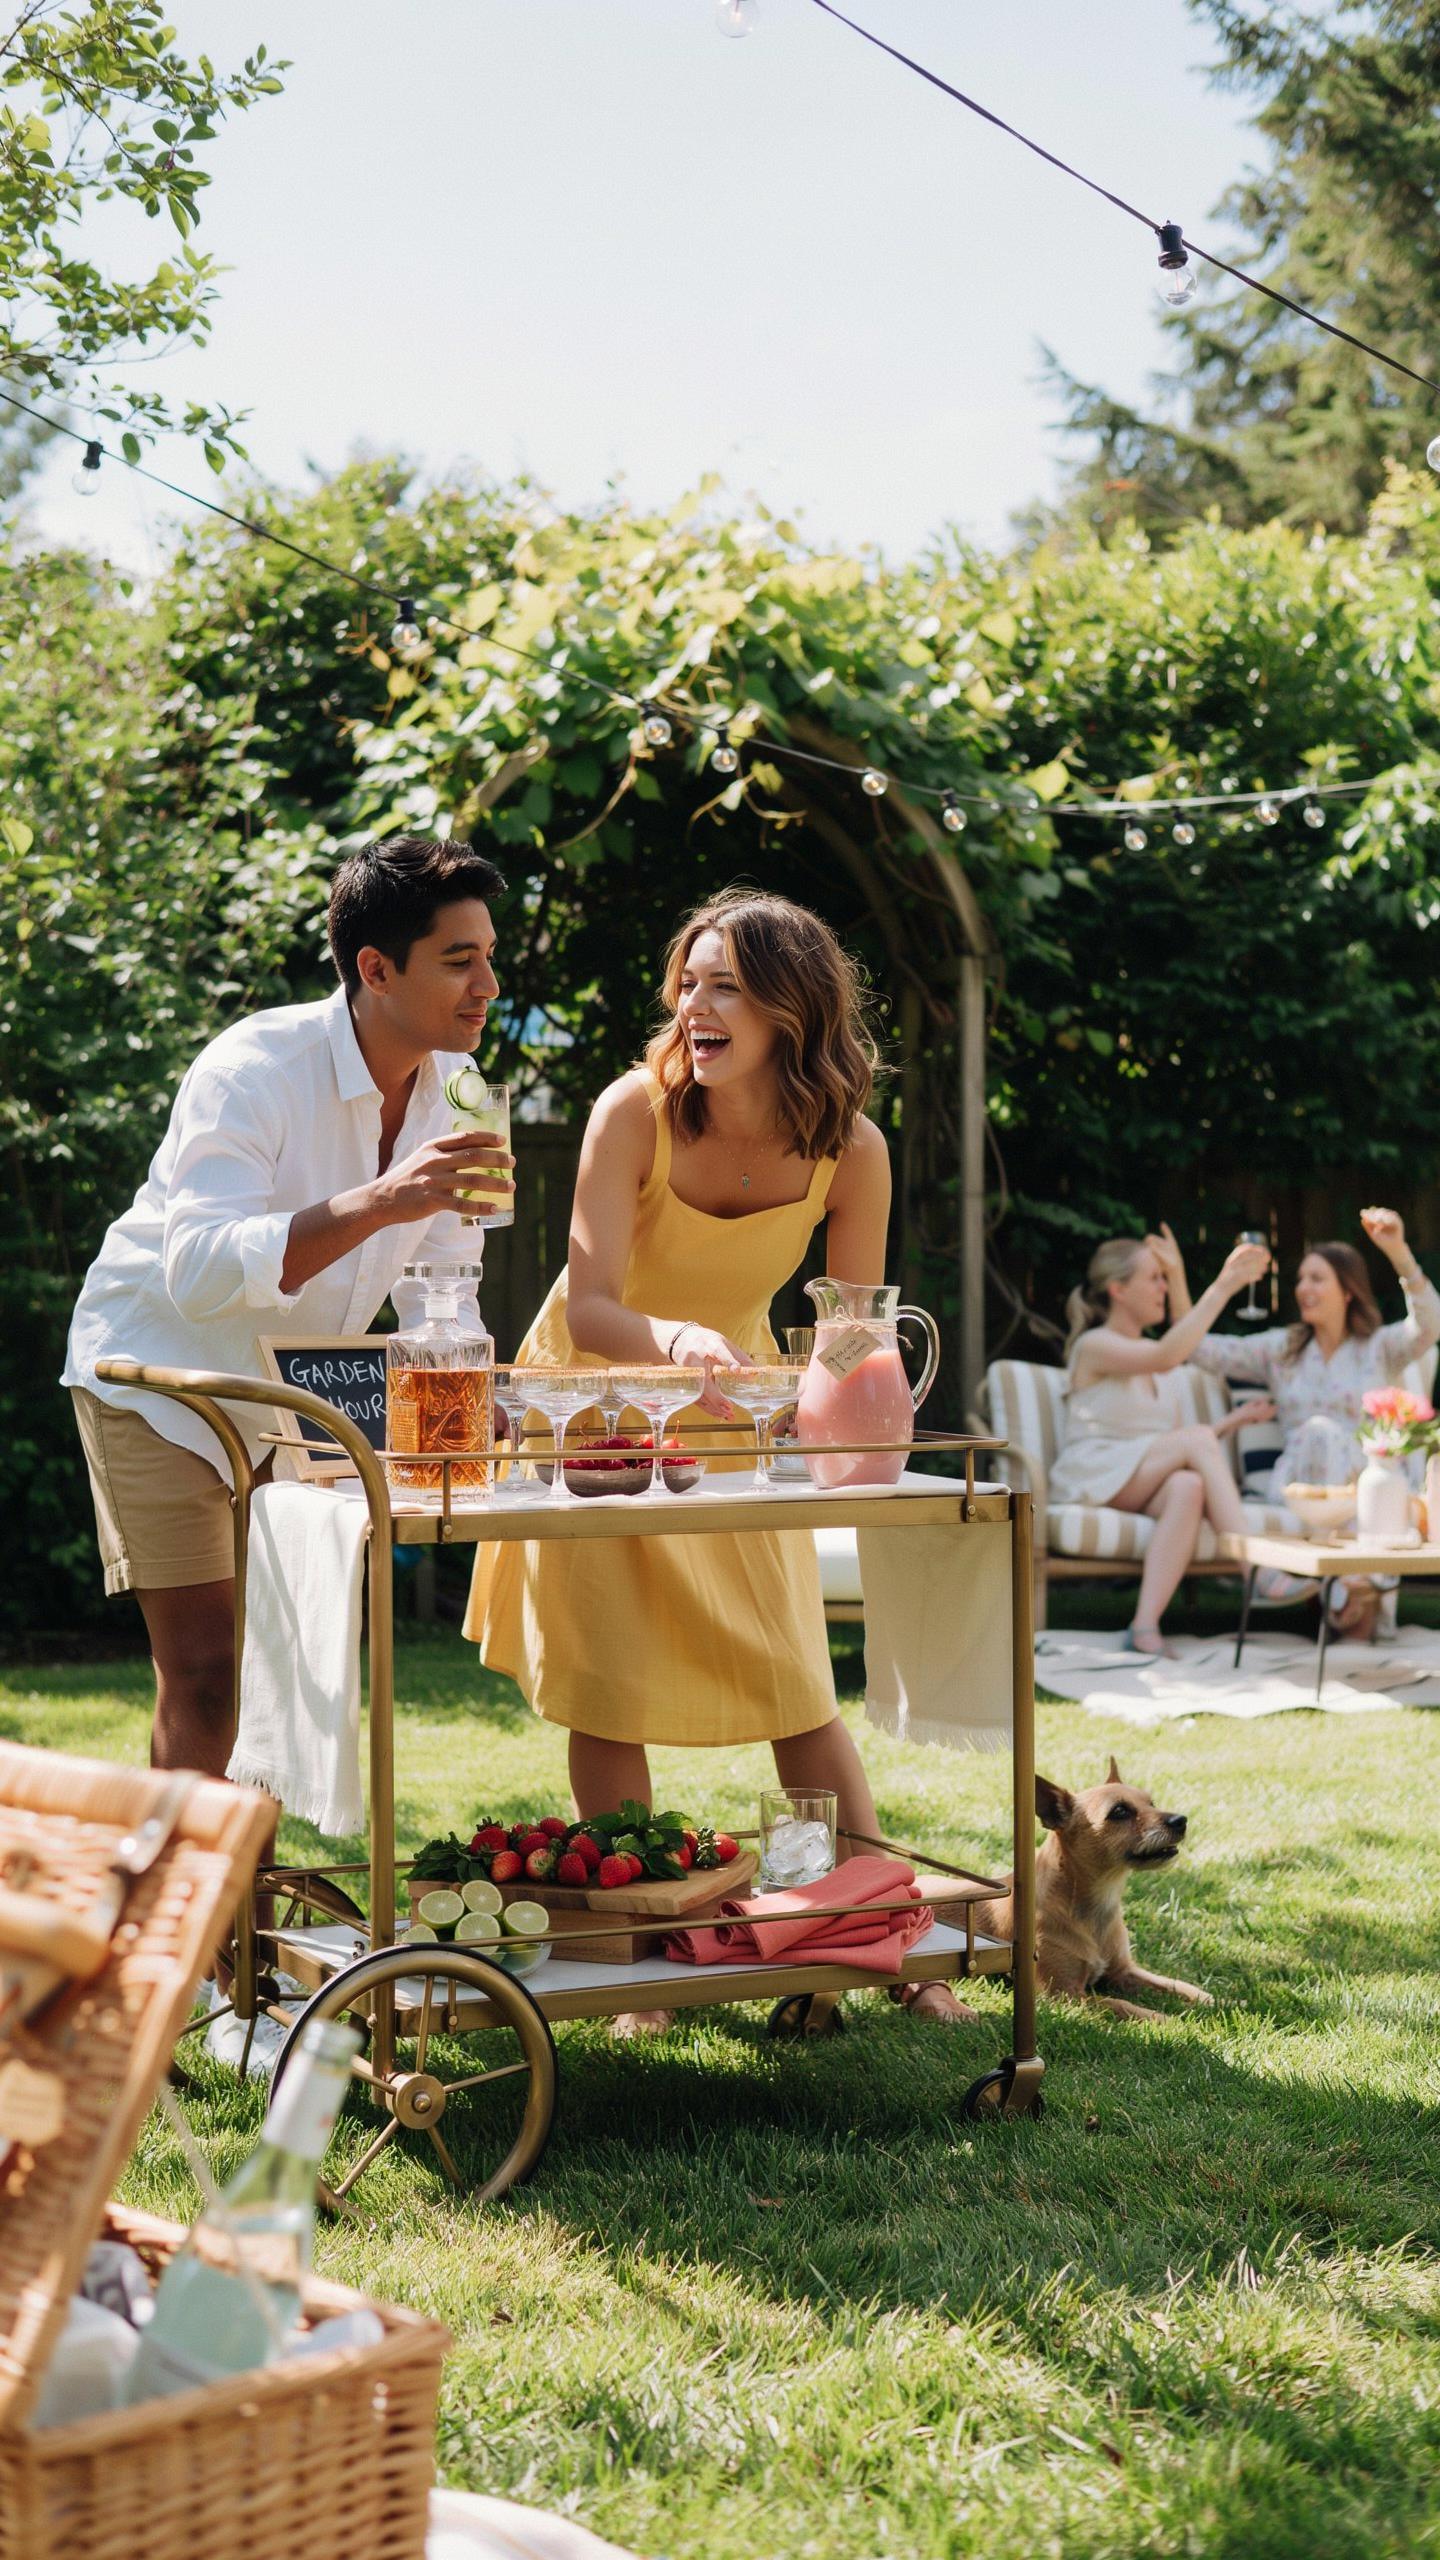
Tropical Luau Aesthetics Decor
Bamboo accents work on bar carts because they’re lightweight, weather-resistant, and visually distinct. Source bamboo from home improvement stores or online retailers. Attach bamboo strips to cart shelves using weatherproof adhesive or small brackets. Bamboo delivers authentic tropical signaling without requiring constant maintenance or replacement during the party season.
Hibiscus flowers and coconut vessels create immediate visual impact. Use fresh hibiscus flowers in small water-filled vases on the cart’s top shelf. Hollow coconuts serve dual purposes: they hold drinks and function as decor. Refresh flowers every two hours in warm weather to prevent wilting. Coconut vessels remain viable throughout the event and can be reused for future parties.
Rustic Garden Party Vibe
Vintage wooden crates stack vertically or horizontally on bar carts to create compartmentalized storage. Source reclaimed crates from antique shops, farmers markets, or online marketplaces. Crates hold bottles, glasses, and supplies while adding authentic aged character. The rough wood texture contrasts sharply with polished glassware and creates clear visual separation between drink categories and bar tools.
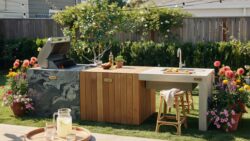
Burlap runners and Mason jars complete the countryside aesthetic with minimal cost. Drape burlap across cart shelves to define zones and reduce visual clutter. Mason jars replace standard glassware for serving drinks and holding garnishes, utensils, or straws. This combination signals intentional design while keeping setup straightforward and breakdown simple after guests leave.
Styling Tips For Eye Catching Outdoor Cart Decor
Layering Height And Textures
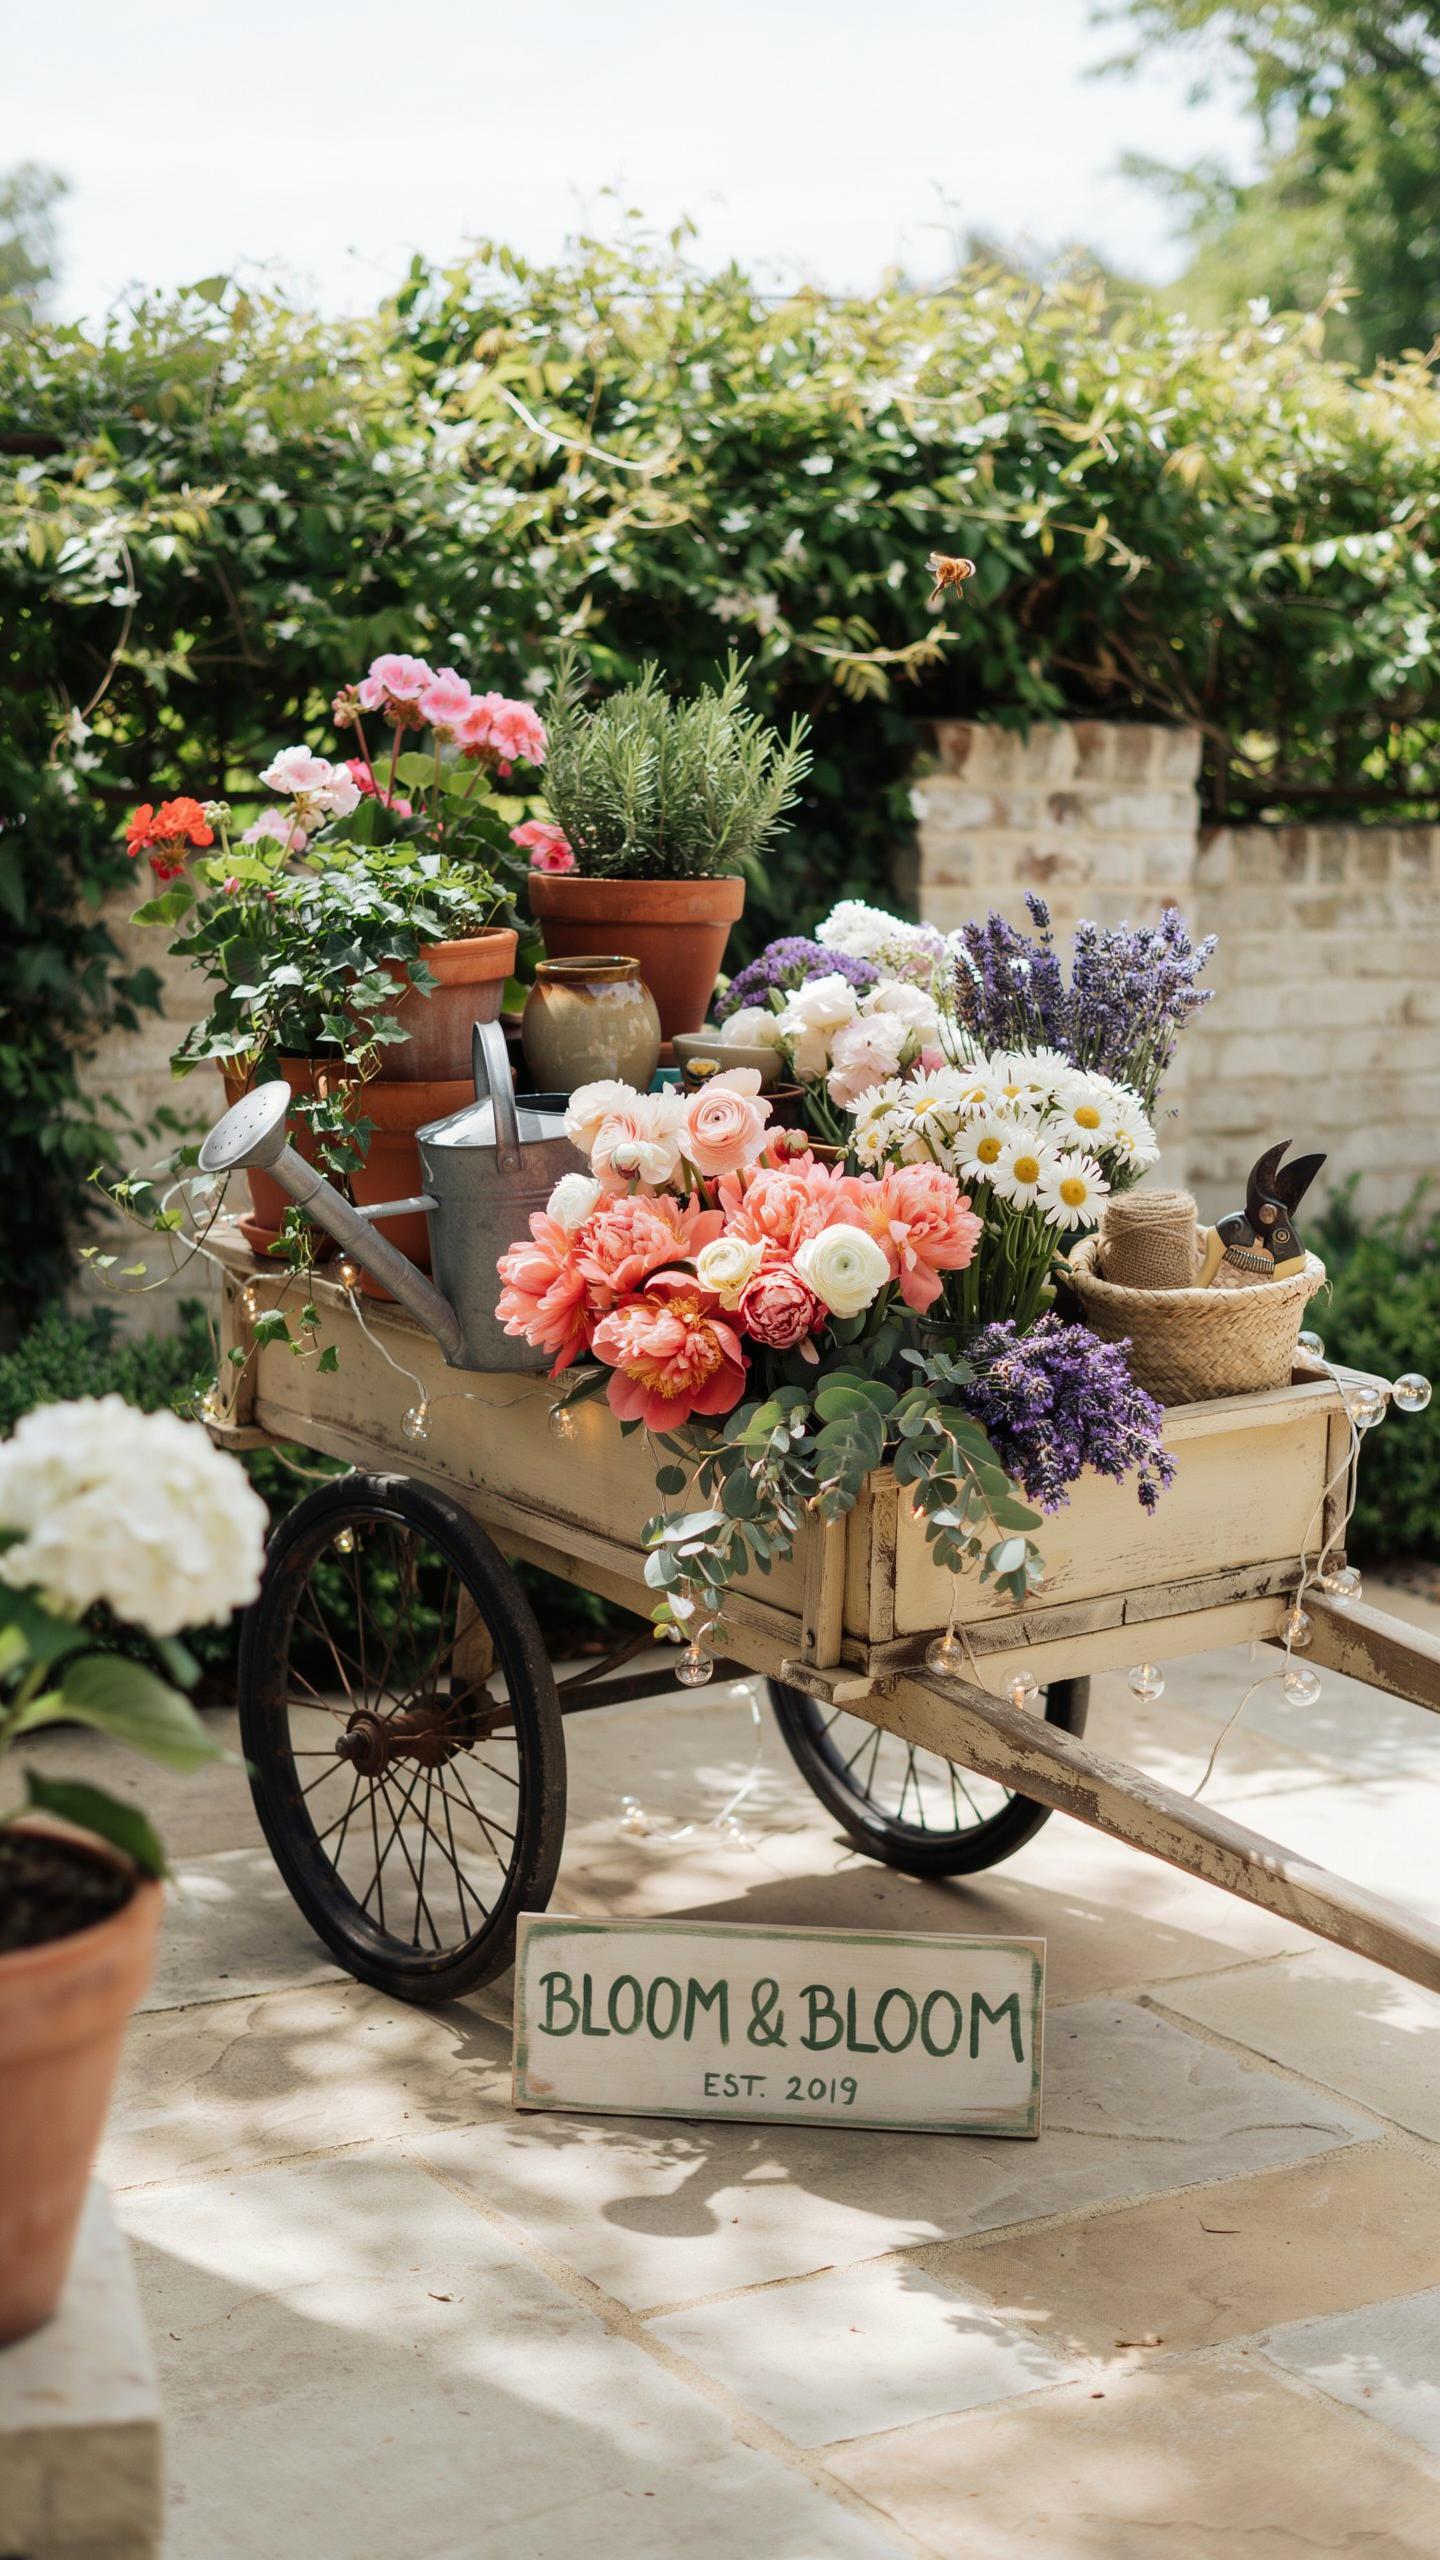
Tiered stands create immediate visual hierarchy on your bar cart. They force the eye to travel vertically, making compact spaces feel larger. Position tall bottles at the back, mid-height glassware in the middle, and shorter items forward. This arrangement prevents guests from seeing only the front row. Decanters serve dual purposes: they store spirits while adding geometric interest. Potted herbs like rosemary and mint deliver function and texture variation that flat arrangements cannot match.
Textural contrast matters tactically. Mix smooth glass surfaces with rough ceramic pots and matte metal holders. Wooden cutting boards layered between bottles add warmth and break up repetitive shapes. The varied textures catch light differently at different times of day, keeping the setup visually active. Accessibility improves when items sit at different heights because guests can grab what they need without moving everything else. Strategic height variation transforms a bar cart from basic storage into a designed focal point.
Incorporating Natural Greenery Florals Decor
Fresh eucalyptus sprigs work as both decoration and functional aromatics. Position them in small glass bottles or vases scattered between bottles and glassware. Eucalyptus releases subtle scent when guests brush past or handle nearby items. Citrus bowls filled with lemons and limes serve triple duty: they look fresh, provide cocktail ingredients, and release natural fragrance into the outdoor space. The bright colors of citrus naturally complement most outdoor settings without requiring additional florals.
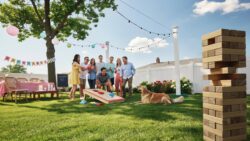
Edible marigolds elevate the cart’s aesthetic while staying practical for garnishing drinks. Their warm orange and yellow tones add color without introducing competing patterns into the setup. Place them in small water-filled vessels near glassware so guests can grab them when making drinks. Fresh greenery and florals require replacement every two to three days during warm weather, so plan refresh schedules into your hosting routine. The investment in fresh elements signals intentionality and keeps the space feeling current throughout the season.
Curating Creative Outdoor Serving Cart Inspiration
The Mediterranean Charcuterie Station
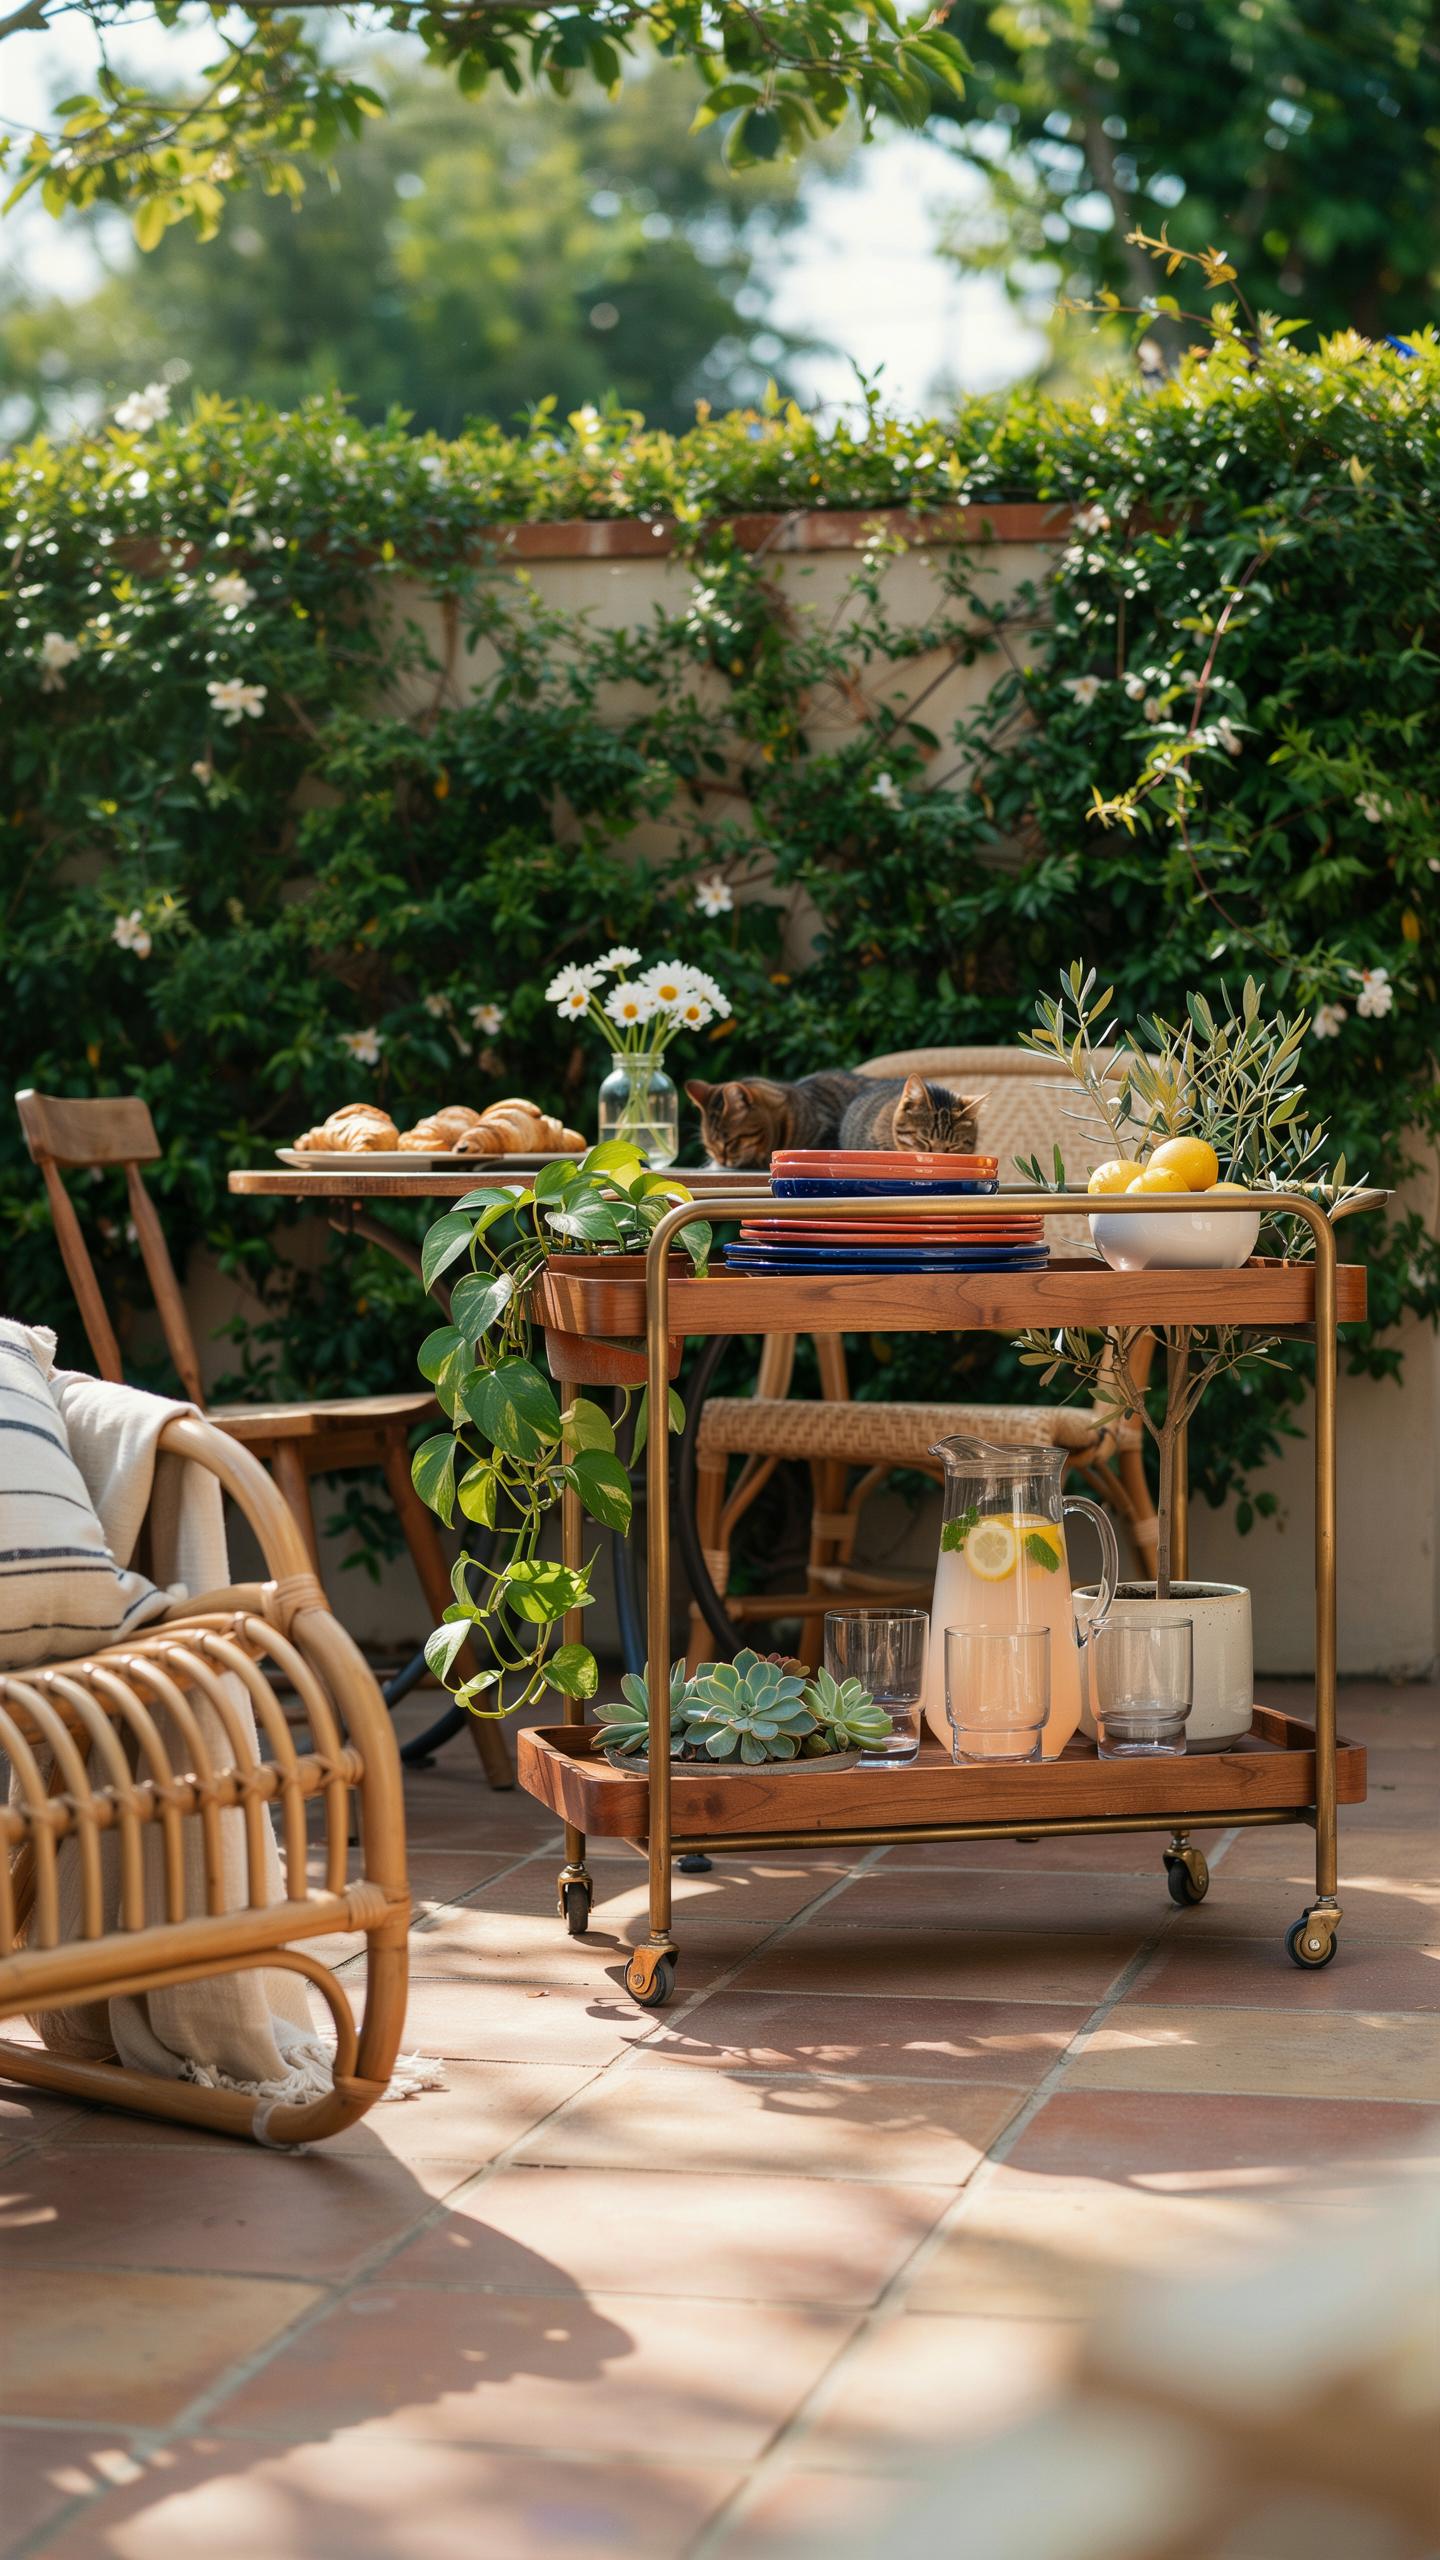
A stone-topped cart becomes functional real estate for Mediterranean spreads. Stone surfaces resist heat and provide a neutral visual backdrop that doesn’t compete with your food arrangement. Position cured meats, olives, and cheeses at varying heights using small boards or risers. This vertical stacking prevents monotony and makes items easier to access. Wine bottles fit naturally into cart tiers, and the weight distribution remains stable.
Pair wines with specific items to guide guests toward combinations that work. Dry whites complement fresh cheeses and lighter cured meats. Reds pair with aged cheeses and robust charcuterie. Group similar items together in small clusters rather than spreading everything across the cart. This clustering approach simplifies restocking and keeps the setup organized throughout your event without constant rearrangement.
Hosting is more than a display; it is the art of creating a sanctuary where every glass poured feels like a warm welcome. A thoughtful setup allows the evening to flow as naturally as the conversation under the open sky.
The Dessert And Espresso Trolley
Transform your cart into a dessert station by placing pastries on the top tier where they’re visible and accessible. Cold brew taps mount directly onto cart frames or nestle into the middle shelf alongside cups and saucers. Dessert liqueurs like amaretto, limoncello, and coffee liqueur store on lower shelves away from direct sunlight. This layout creates a logical flow where guests pour drinks first, then select pastries. The separation prevents sticky spills from reaching bottles.
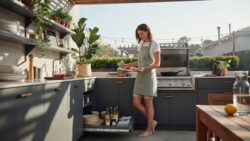
Stock small plates, spoons, and napkins on the cart itself to eliminate trips back to your house. Keep pastries covered until service begins to protect them from insects and debris. Espresso cups should sit nearby so guests grab them immediately after pouring. This self-contained station reduces your workload and keeps guests engaged in one location rather than wandering between multiple service points.
How To Build A Custom DIY Outdoor Bar On A Budget
Upcycling Wooden Shipping Pallets
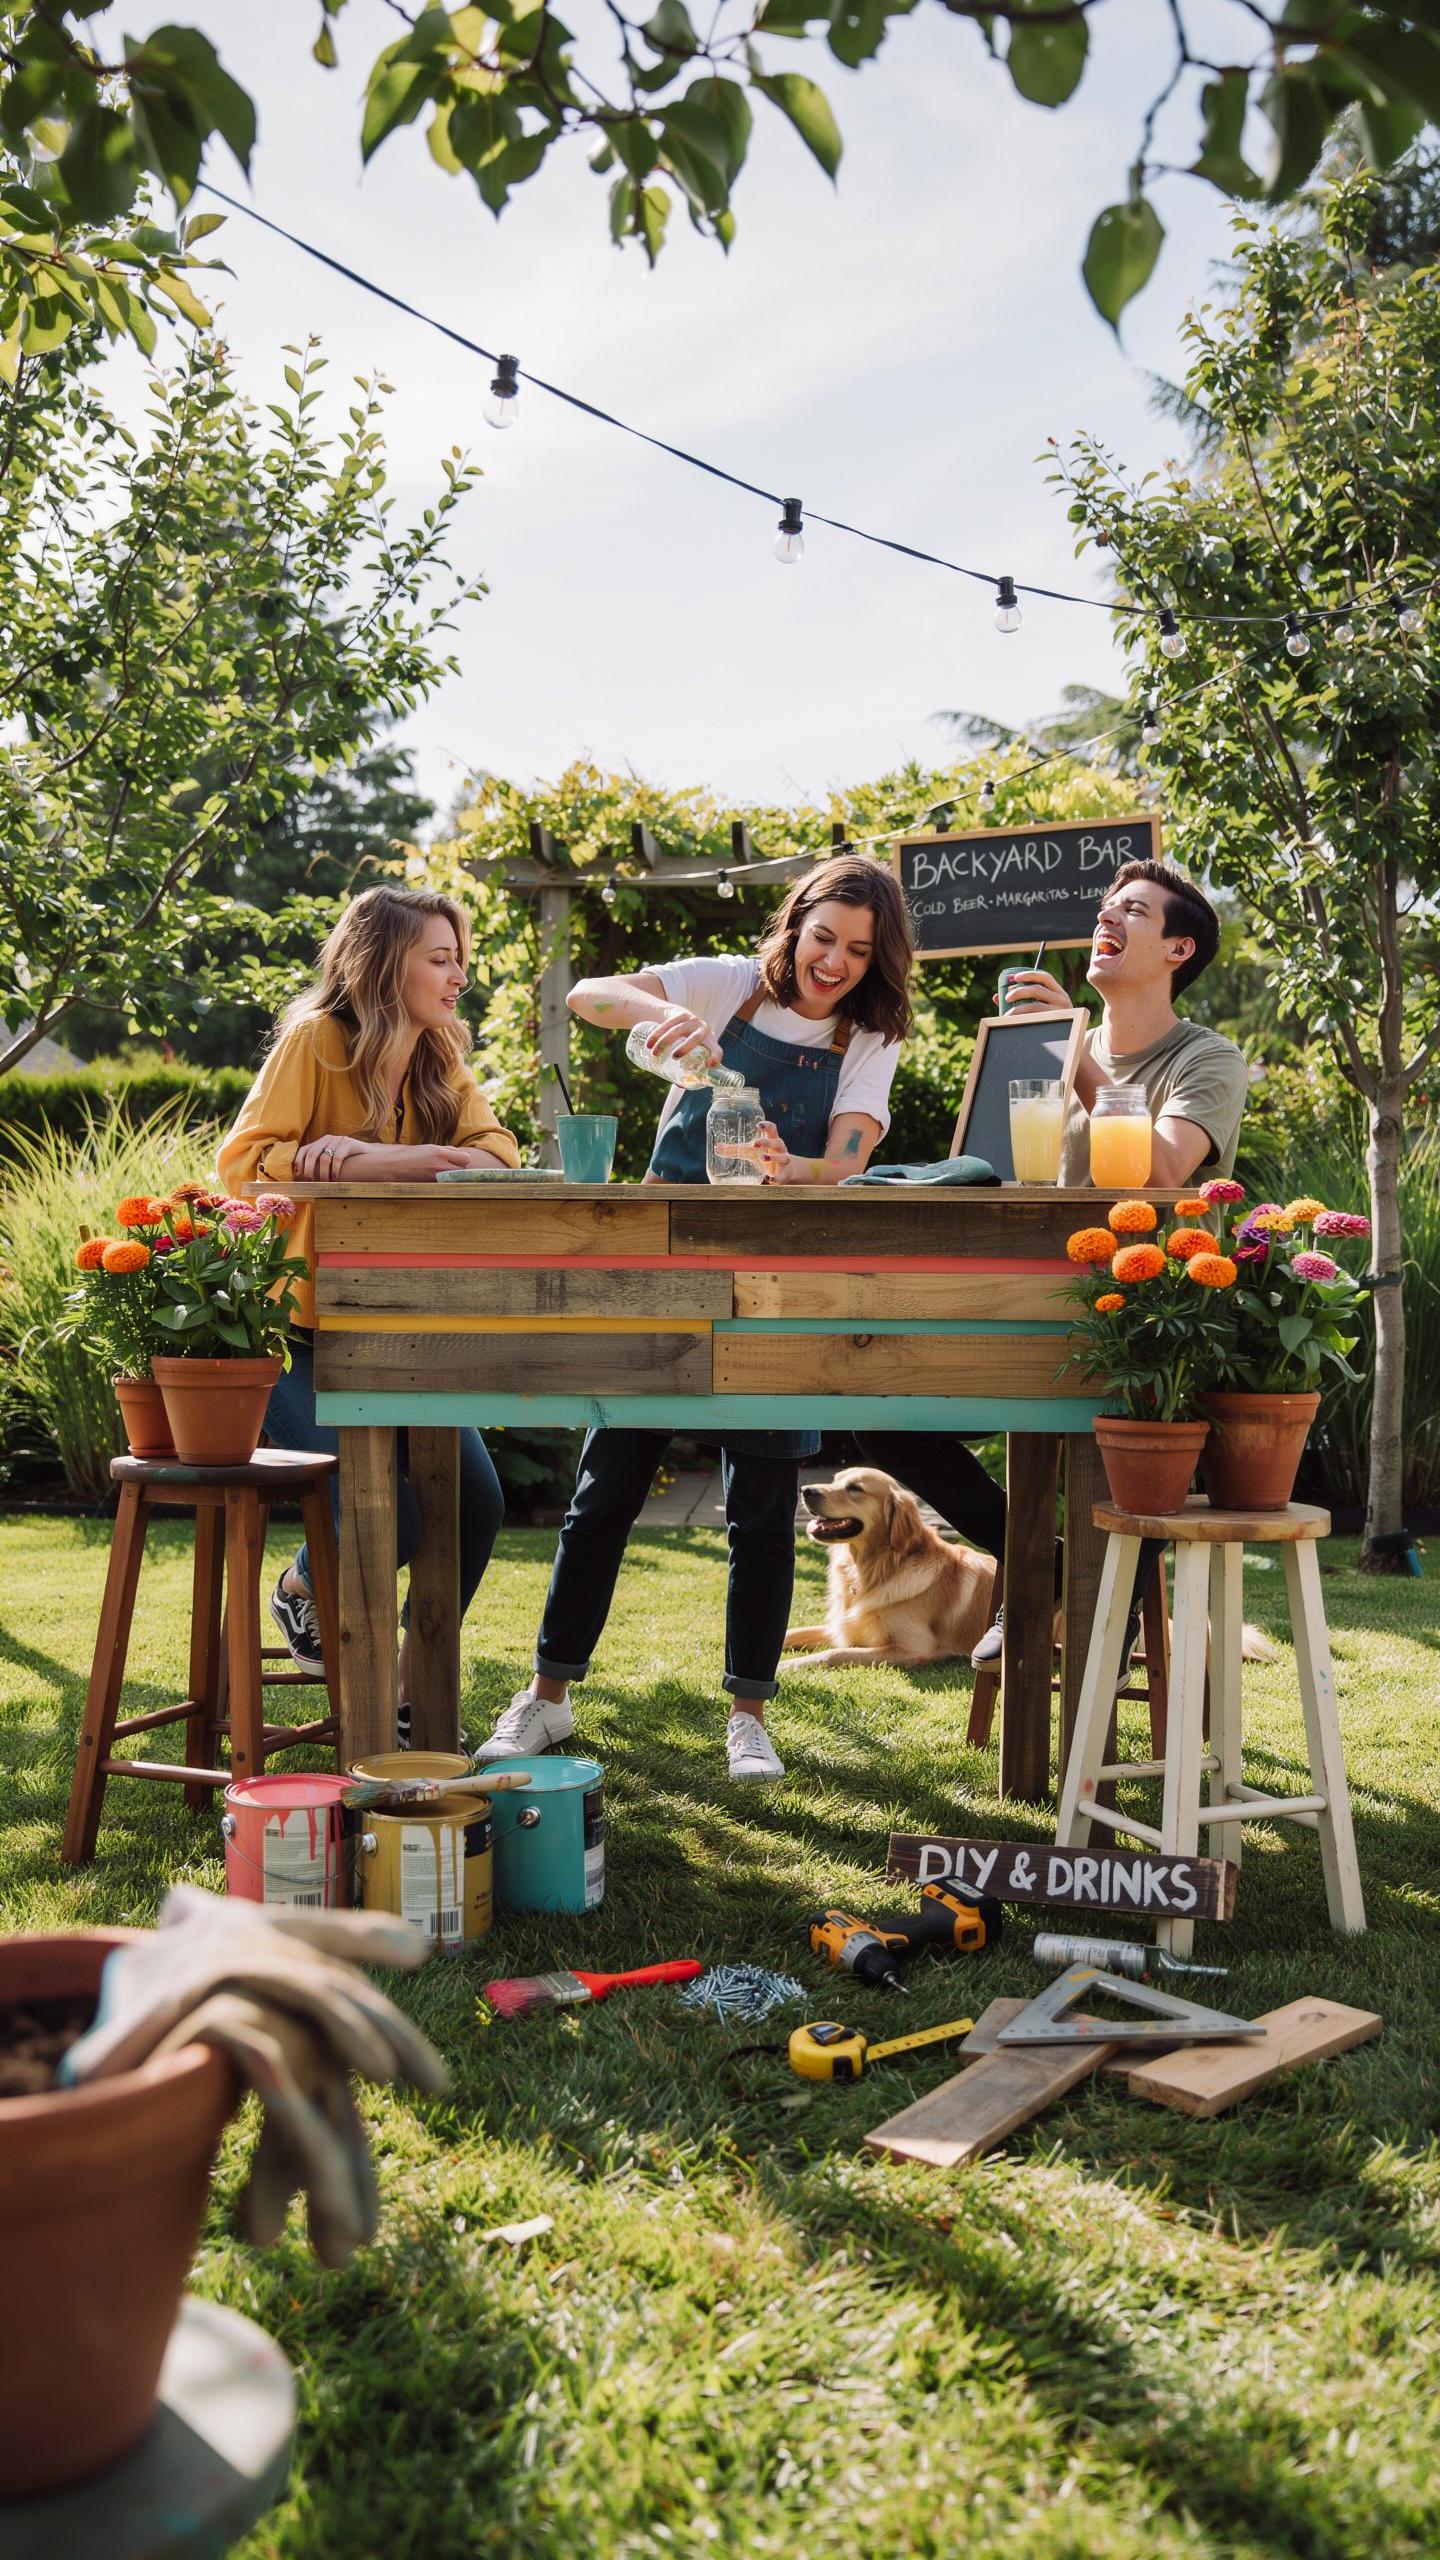
Pallets work as bar bases because they’re structural, inexpensive, and readily available. Most pallets handle weight distribution effectively when reinforced. You start with a sound pallet, inspect it for damage, and verify it hasn’t transported hazardous materials. This foundation saves you hundreds versus building from raw lumber.
- 120-grit sandpaper: Start here to remove splinters and rough surfaces. Use 80-grit for heavy damage, then finish with 120-grit for smoothness before staining or painting.
- Orbital sander: Cuts sanding time significantly on large pallet surfaces. This tool prevents uneven hand-sanding and delivers consistent surface preparation across the entire bar structure.
- Wood filler and caulk: Fills gaps between pallet boards and nail holes. Use exterior-grade filler for outdoor bars to prevent water absorption and cracking during temperature shifts.
- Exterior wood stain or paint: Protects wood from UV damage and moisture. Apply at least two coats. Stain reveals wood grain; paint provides solid color coverage and superior weather resistance.
- Polyurethane or polycrylic sealant: Seals the finish layer against rain and sun damage. Polycrylic works best outdoors as it won’t yellow. Apply three coats for maximum durability in exposed conditions.
- Power drill and fasteners: Reinforces pallet joints with deck screws. This prevents wood movement and separating boards after years of use and temperature fluctuations.
Assembly begins after sanding. You reinforce weak joints with additional fasteners, fill gaps strategically, and apply stain or paint in thin coats. Most pallet bars need two days drying time between finish coats. Seal everything before adding the top surface or shelving.
Converting Old Consoles Tables
Indoor wooden furniture transitions outdoors when treated correctly. Marine-grade varnish bonds with wood and hardens into a protective shell that resists salt air, humidity, and direct water exposure. This isn’t standard varnish, it’s formulated for yacht decks and exterior marine environments.
Apply marine-grade varnish in three coats minimum. Sand lightly between coats with 220-grit paper for adhesion. This process takes one week total with proper drying time. Heavy-duty locking casters mount to the bottom to enable seasonal moving and repositioning on patios without furniture damage to grass or pavers.
Designing A Dedicated Backyard Bar Area In Your Garden
Zoning Your Outdoor Living Space
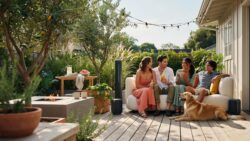
Position your bar cart between seating clusters and the house. This placement keeps guests flowing naturally without disrupting conversation areas. Keep the cart away from grills, fire pits, and main foot traffic paths. Distance from these zones prevents heat interference, smoke exposure, and constant interruption. Measure roughly 8 to 12 feet from high-traffic walkways. This buffer zone lets guests access drinks without navigating through crowds or creating bottlenecks.
Anchor your bar cart on level ground with proper drainage. Sloped or wet surfaces cause cart wheels to roll or sink. Patio pavers, concrete pads, or compacted gravel work best. The cart should sit at least 15 feet from the grill to avoid grease splatter and smoke drift. Consider sightlines from your main seating area. You want guests to easily spot and reach the bar without getting up repeatedly.
Integrating Ambient Outdoor Lighting Systems Fixtures Hubs
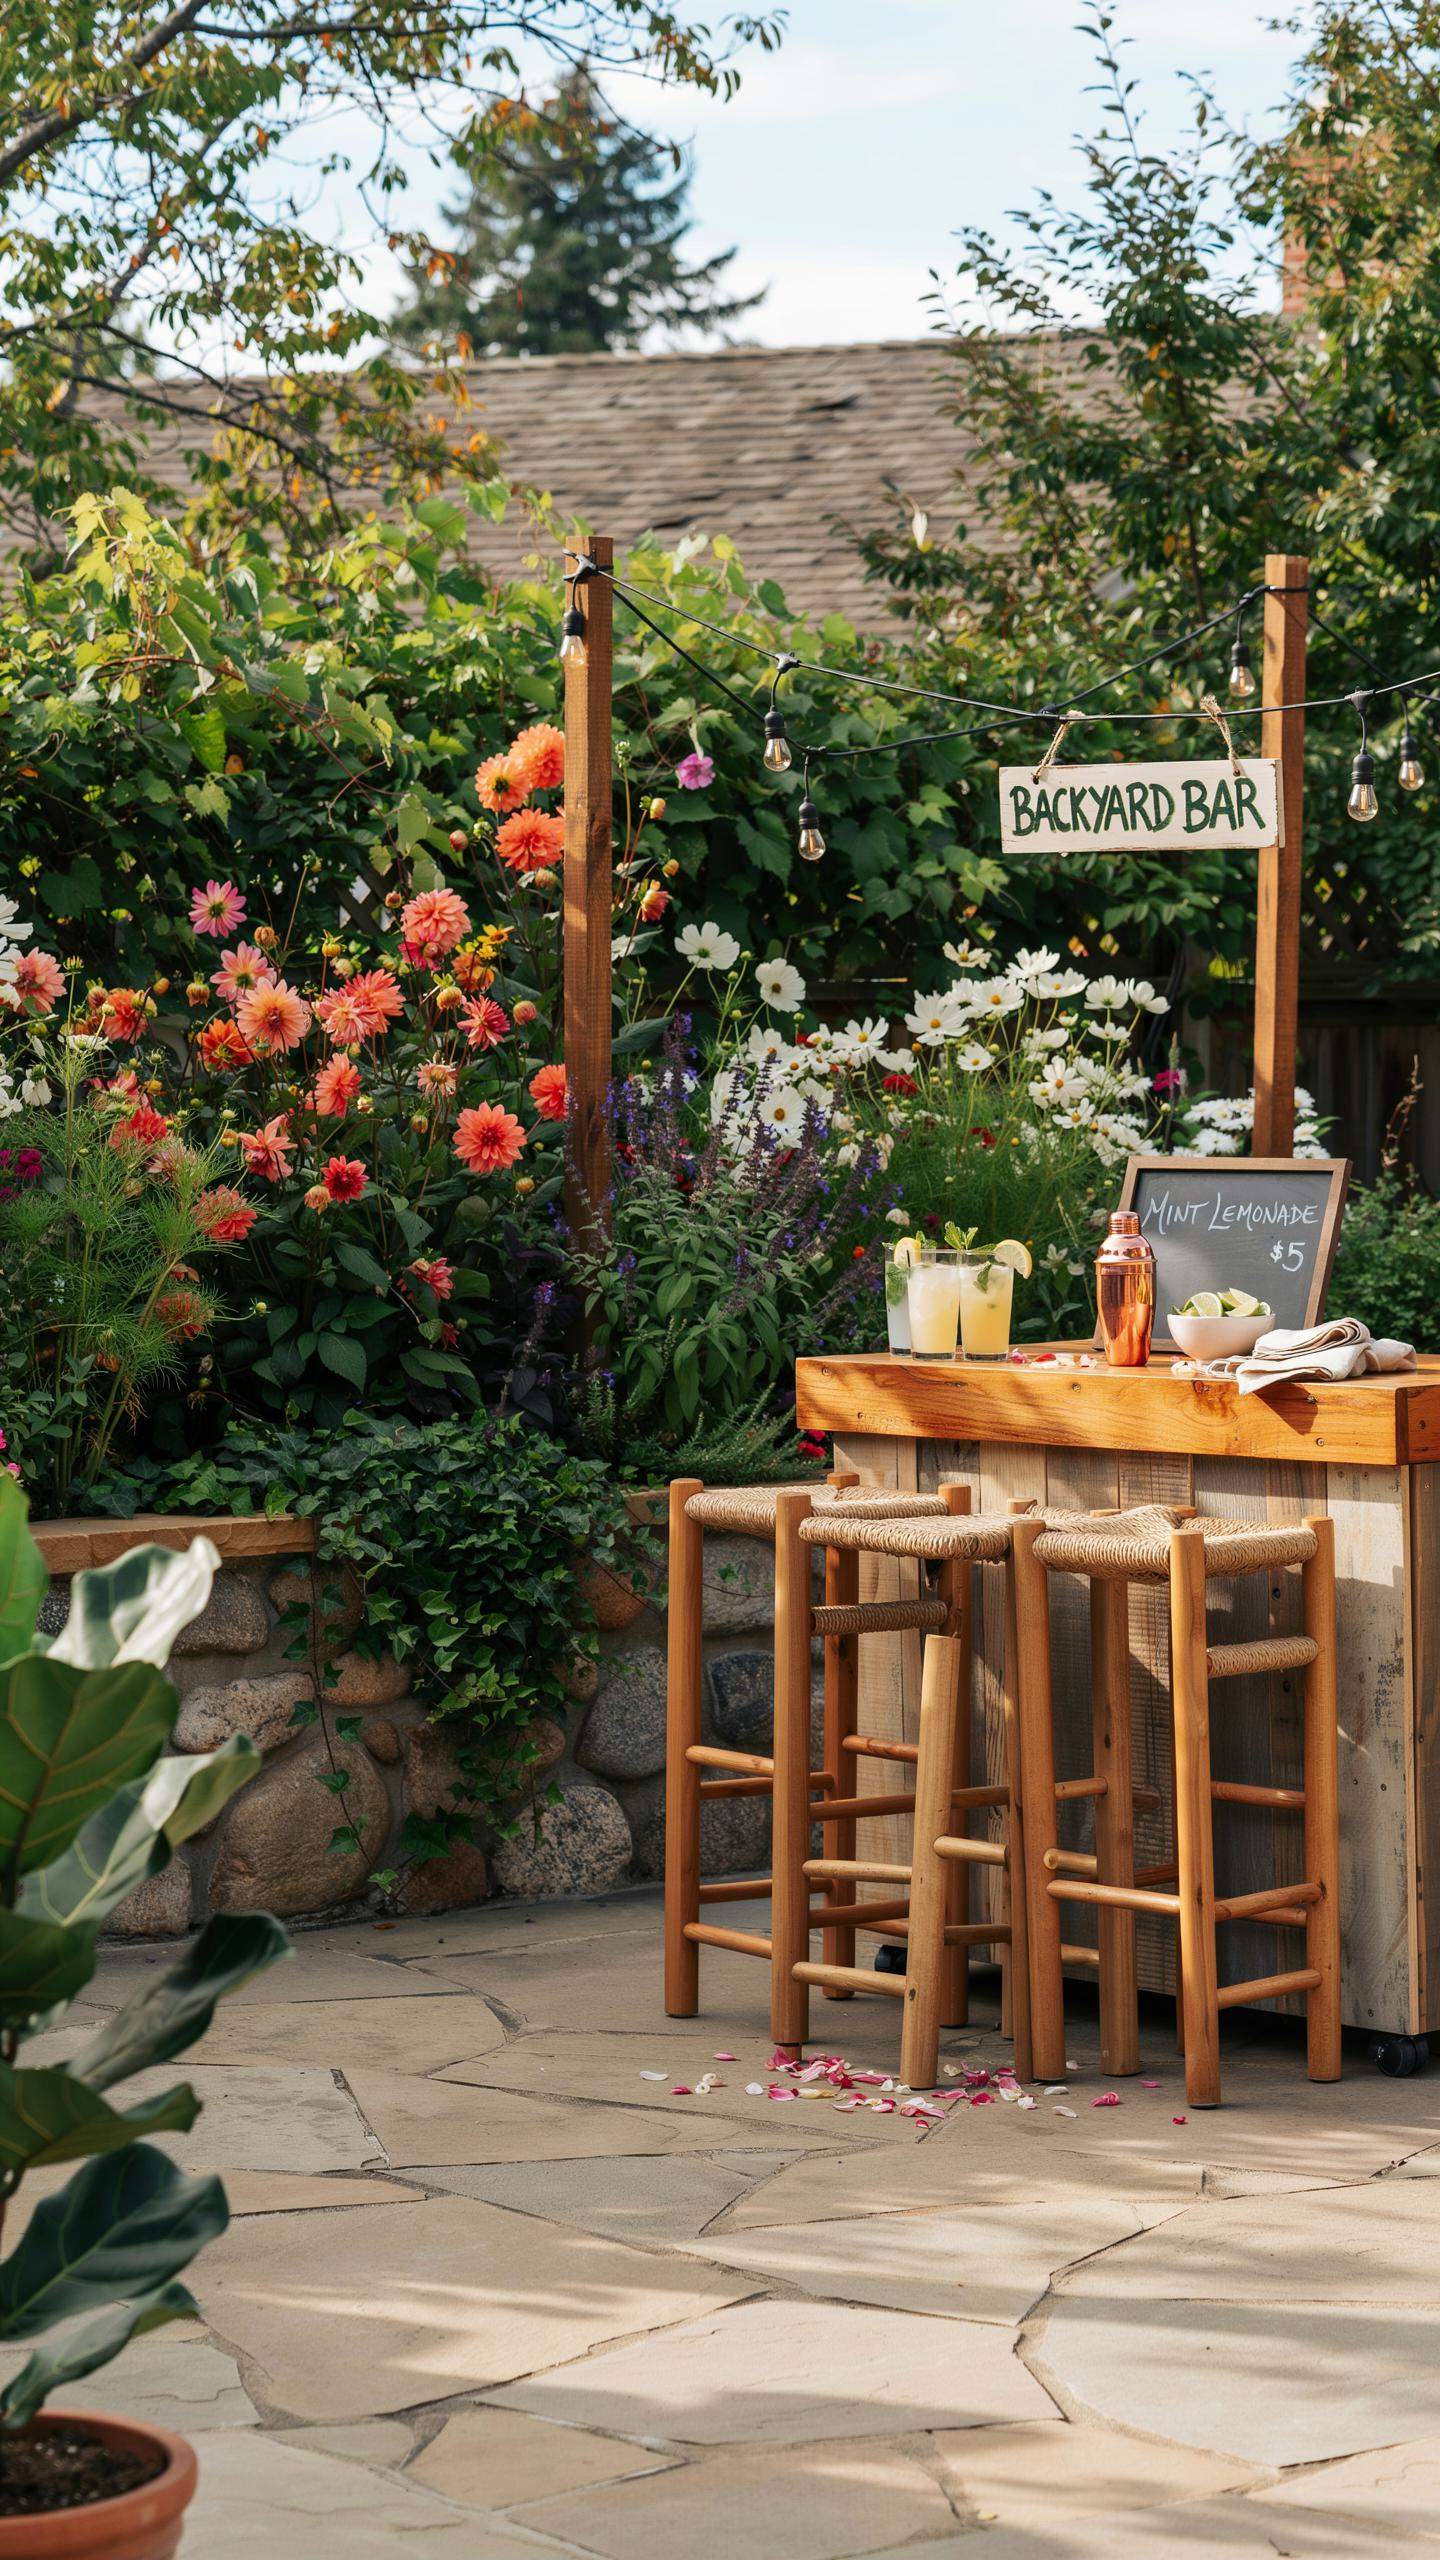
Hang solar-powered fairy string lights directly above or around your bar cart. These lights activate at dusk automatically and require no electrical wiring. Brass lanterns mounted on cart corners or nearby posts create focal points for evening gatherings. String lights spanning 20 to 30 feet across your seating area extend usable hours into twilight and early evening. Solar options eliminate cord hazards and provide consistent illumination without generator noise.
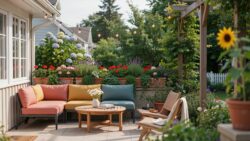
Layer your lighting with multiple fixtures for depth and function. Place a solar lantern on the top shelf of your cart for drink visibility. Install ground-level accent lights around the cart base to define the bar zone. Brass or stainless steel fixtures withstand outdoor weather better than painted finishes. Warm white bulbs (2700K to 3000K color temperature) enhance the bar’s social atmosphere compared to harsh white or blue tones. Test light placement during your first evening gathering to adjust angles and coverage.
Smart Patio Bar Cart Ideas For Small Outdoor Spaces

Utilizing Vertical Storage Walls
Hanging stemware racks mount directly to fence posts or exterior walls and hold wine glasses, rocks glasses, and coupe glasses without consuming cart space. Wall-mounted bottle openers, speed pourers, and jigger holders attach at arm height, freeing your cart’s surface for bottles and mixers. This approach works because you’re using unused wall real estate. Your cart becomes a mobile mixing station rather than a storage unit. Small patios gain functional bar setup without clutter.
Vertical storage also reduces setup and breakdown time. Guests can grab glasses from wall racks rather than the cart, distributing the workload. Your cart stays organized with only essential bottles and tools. This setup handles high-traffic entertaining. After guests leave, you remove items from walls quickly. Everything breaks down faster than retrieving supplies from a crowded cart surface.
Selecting Foldable And Nesting Carts
Collapsible frame carts with removable shelves store flat in a garage or shed when not in use. These structures typically feature aluminum or steel frames with fabric or metal shelves that collapse inward. They weigh between 8 and 15 pounds, making them portable for repositioning during events. The frames lock into place when extended, creating stable work surfaces. You set them up moments before guests arrive and pack them away immediately after.
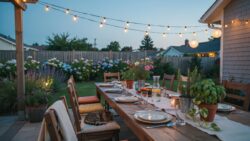
Nesting carts stack inside each other, cutting storage space in half compared to standard carts. One cart holds bottles and tools while a second smaller cart handles ice and mixers. Both collapse and nest together for compact storage. This system works for growing gatherings since you add a second cart without doubling your storage footprint. Small patios benefit from this efficiency. You manage multiple service stations without permanent clutter.
Setting Up A Self Serve Drink Station For Stress Free Hosting
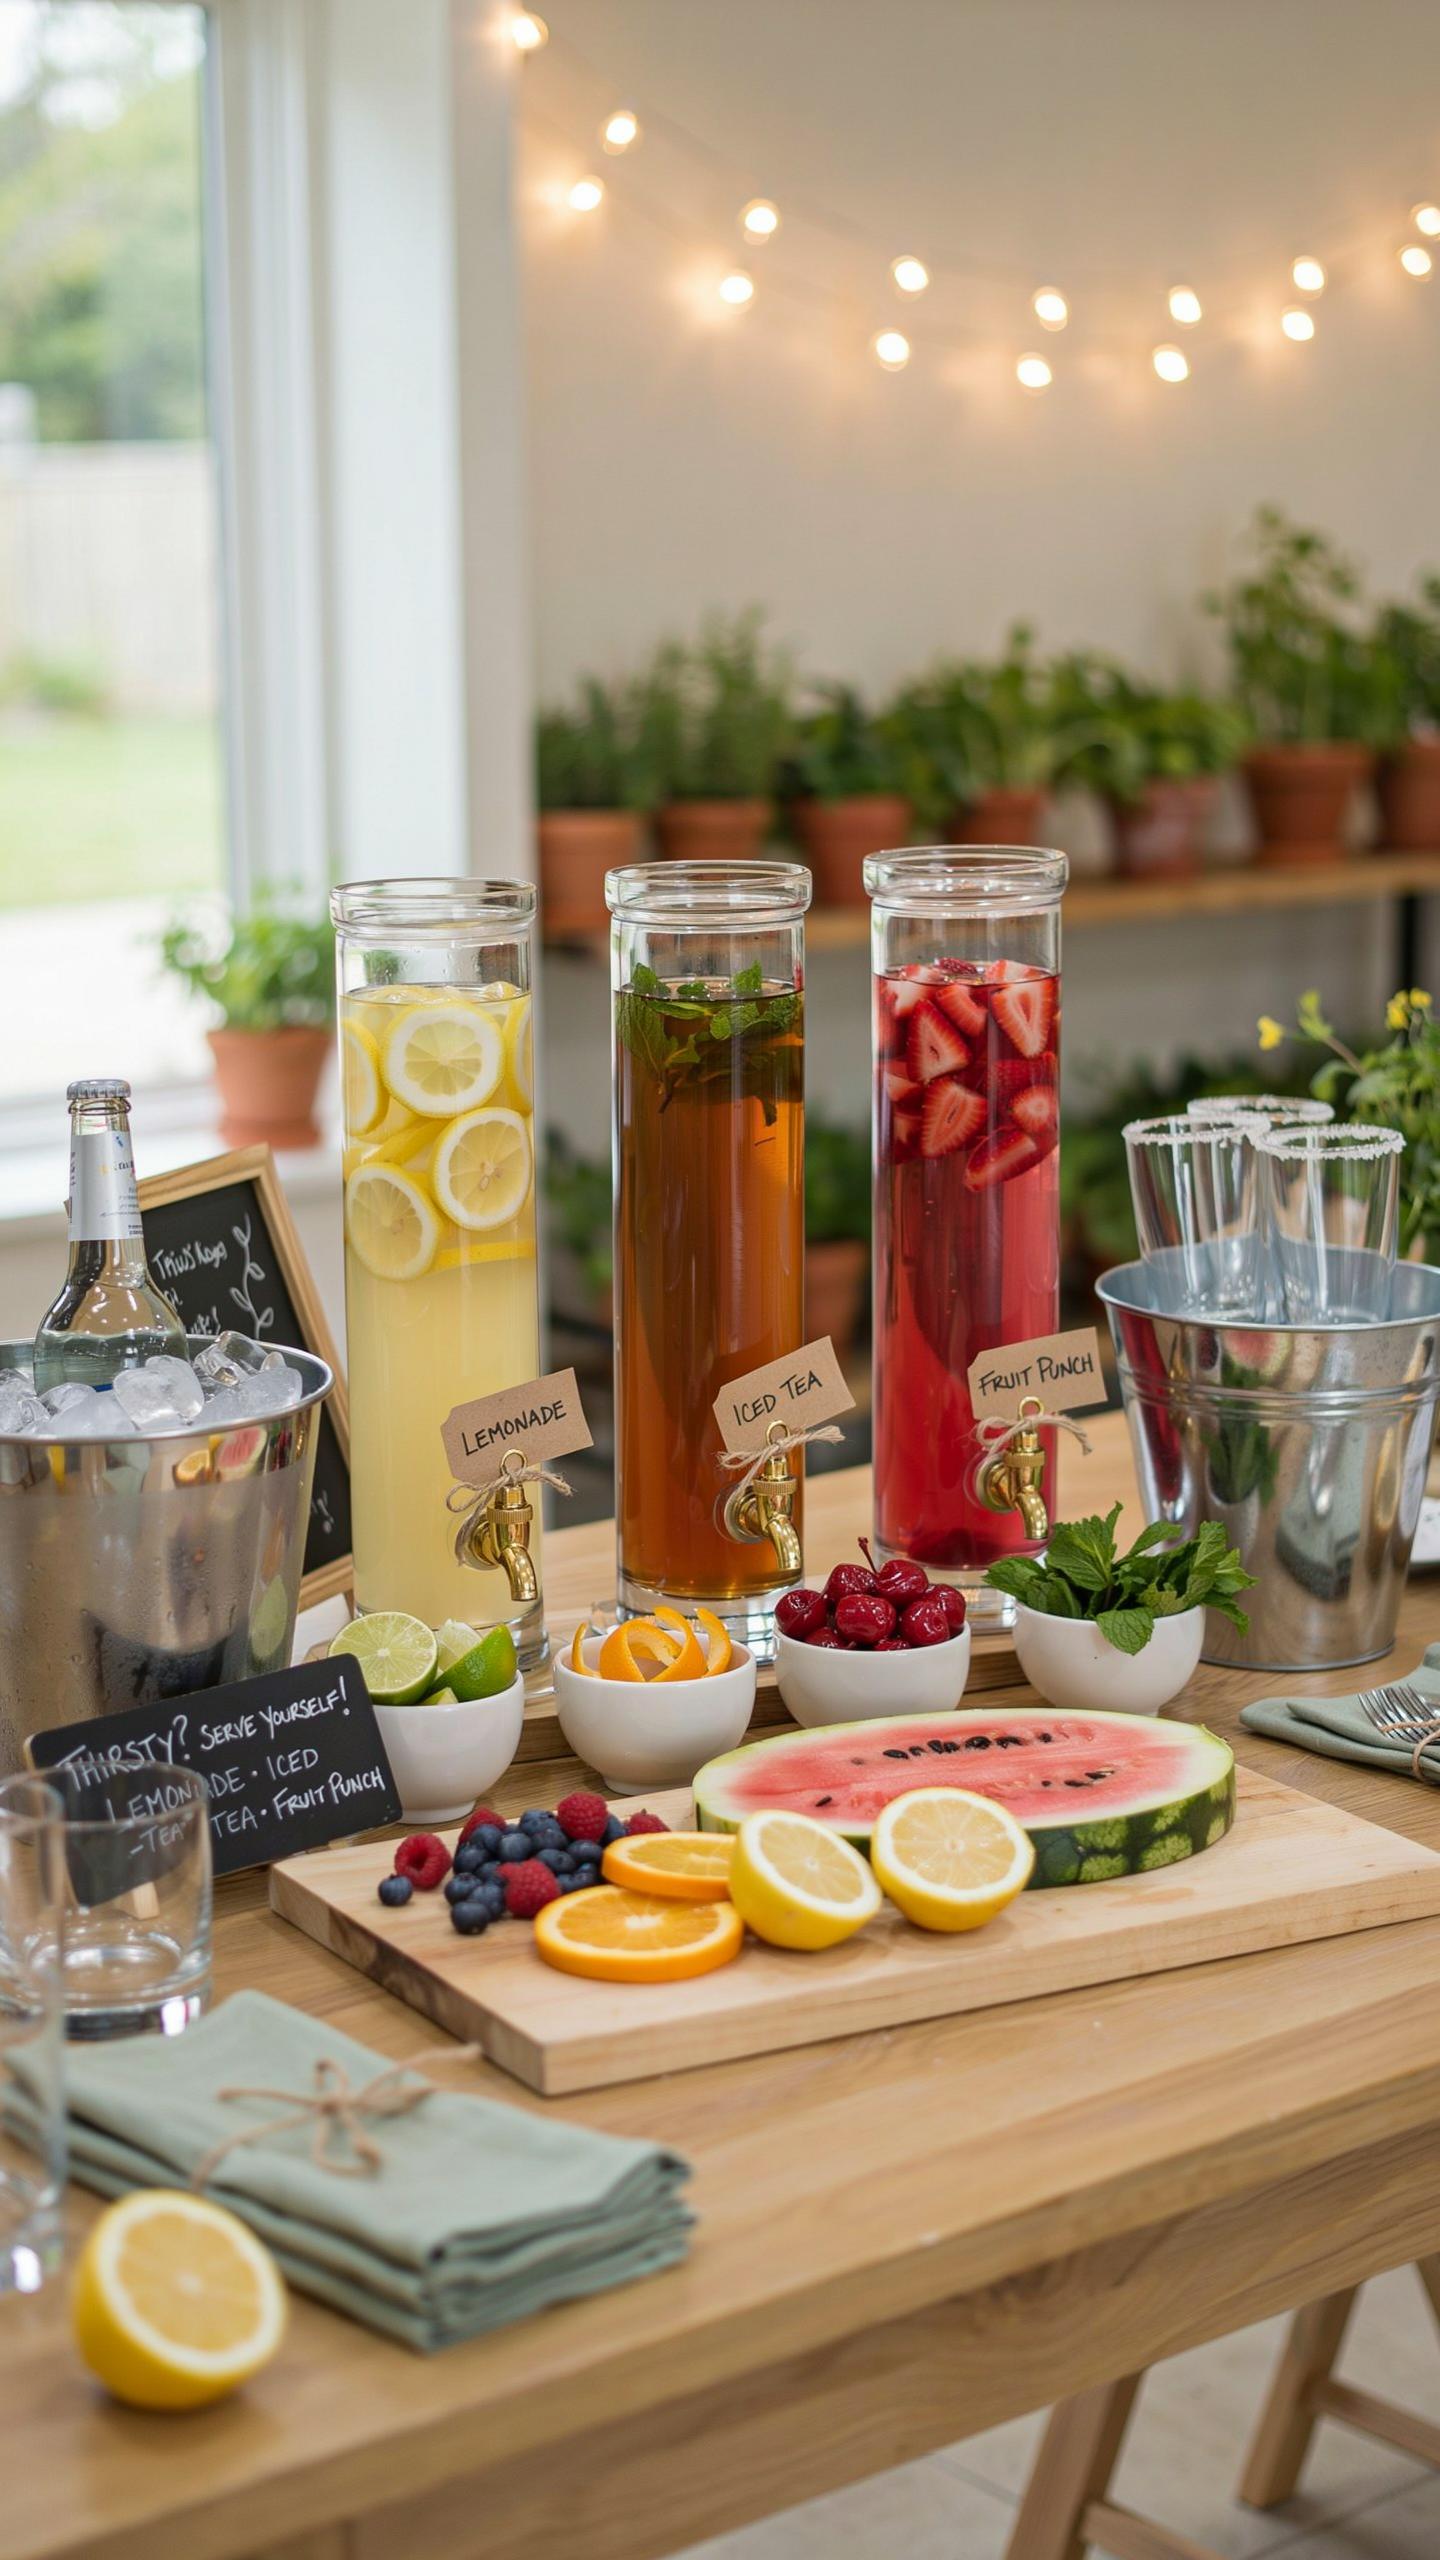
Essentials For Hydration Infusion Stations
A self serve drink station removes you from bartender duty. Your guests pour their own beverages while you manage the gathering. This setup demands specific items to function properly without constant refilling or restocking.
- Large Glass Drink Dispensers: Hold 3 to 5 gallons and allow guests to see beverage levels. Choose clear glass to display infused waters or punches. Dispensers with spigots prevent spilling and control pour amounts effectively.
- Fresh Fruit Garnishes: Prepare citrus slices, berries, and stone fruit ahead of time. Store garnishes in clear containers on ice to keep them fresh throughout the event. Rotate stock every 90 minutes during extended gatherings.
- Custom Signage: Label each drink station item with cardstock or chalkboard labels. Include ingredient lists for allergy awareness. Clear labeling cuts down on guest questions and confusion about drink contents.
- Ice Storage Solutions: Use insulated coolers or built in ice bins to maintain temperature. Plan for 1.5 pounds of ice per guest for a 4 hour event. Replace ice every 2 hours when outdoor temperatures exceed 75 degrees Fahrenheit.
- Glassware in Bulk: Stock 30 percent more cups than expected guest count. Include rocks glasses, highball glasses, and specialty cups for specific drinks. Designate a rinse station or dishwashing area nearby.
Organize items by function: spirits on one side, mixers in the center, garnishes at the end. This layout guides guests through the station logically. Position the station away from foot traffic patterns to prevent bottlenecks and spills.
Interactive DIY Cocktail Bars Garnishes Mixers
Recipe cards written in clear language eliminate confusion about drink proportions. Print cards on waterproof stock and prop them on small stands within reach. Include ingredient lists, preparation steps, and estimated time to make each drink.
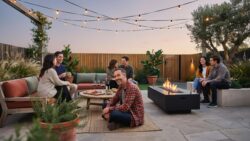
Pre measured bottles of bitters, syrups, and liqueurs speed up drink making. Pour standard amounts into smaller bottles with pour spouts. Guests control their drink strength without measuring or overthinking ratios. This approach reduces waste and keeps pours consistent throughout the event.
Fresh herbs require strategic placement to stay usable. Bundle mint and rosemary in water filled glasses on ice. Refresh herb bundles every 90 minutes as leaves wilt or bruise. Place herb containers at the end of your station so guests add garnishes after building their base drink.
Curating Diverse Party Bars For Every Occasion
Craft Beer And Microbrew Tastings
Organize your beer selection by flavor intensity, not brewery name. Start with light pilsners and pale ales on one end of your cart, then progress toward darker styles like porters and imperial stouts. This structure guides guests naturally through the tasting experience. Use small pour glasses, around 4 to 6 ounces, so people sample without committing to full servings. Label each beer with its ABV percentage and origin brewery.
Arrange bottles by standing them upright on your cart’s lower shelf to maximize visibility and prevent rolling. Keep a small bowl of pretzels or unsalted crackers nearby for palate cleansing between samples. Temperature matters: maintain craft beers between 45 and 55 degrees Fahrenheit depending on style. Store the cart in shade and add ice to a lower shelf if needed. This setup lets guests control their pace and explore flavor variations without staff intervention.
Mimosa And Bloody Mary Brunch Stations
Position your sparkling wines on ice at the cart’s center, with fresh juices in glass bottles or pitchers flanking each side. Offer at least two juice options: orange juice for mimosas and tomato juice or vegetable juice blend for Bloody Marys. Include prosecco or champagne as your base sparkling wine. Keep juices chilled separately from the alcohol to maintain proper serving temperatures. Pre-chill all glassware before guests arrive.
Build your Bloody Mary garnish station with fresh celery stalks, lemon wedges, and lime wheels in separate containers. Stock multiple hot sauces, horseradish, and Worcestershire sauce in small bottles. Provide black pepper and sea salt in low bowls. Add olives, pickled vegetables, and cocktail onions as secondary garnish options. This DIY approach lets guests customize strength and flavor while you handle batch mixing behind the cart.
Weatherproofing And Maintaining Your Backyard Hosting Ideas Bar Cart Setup
Cleaning Procedures For Outdoor Utility Materials Equipment
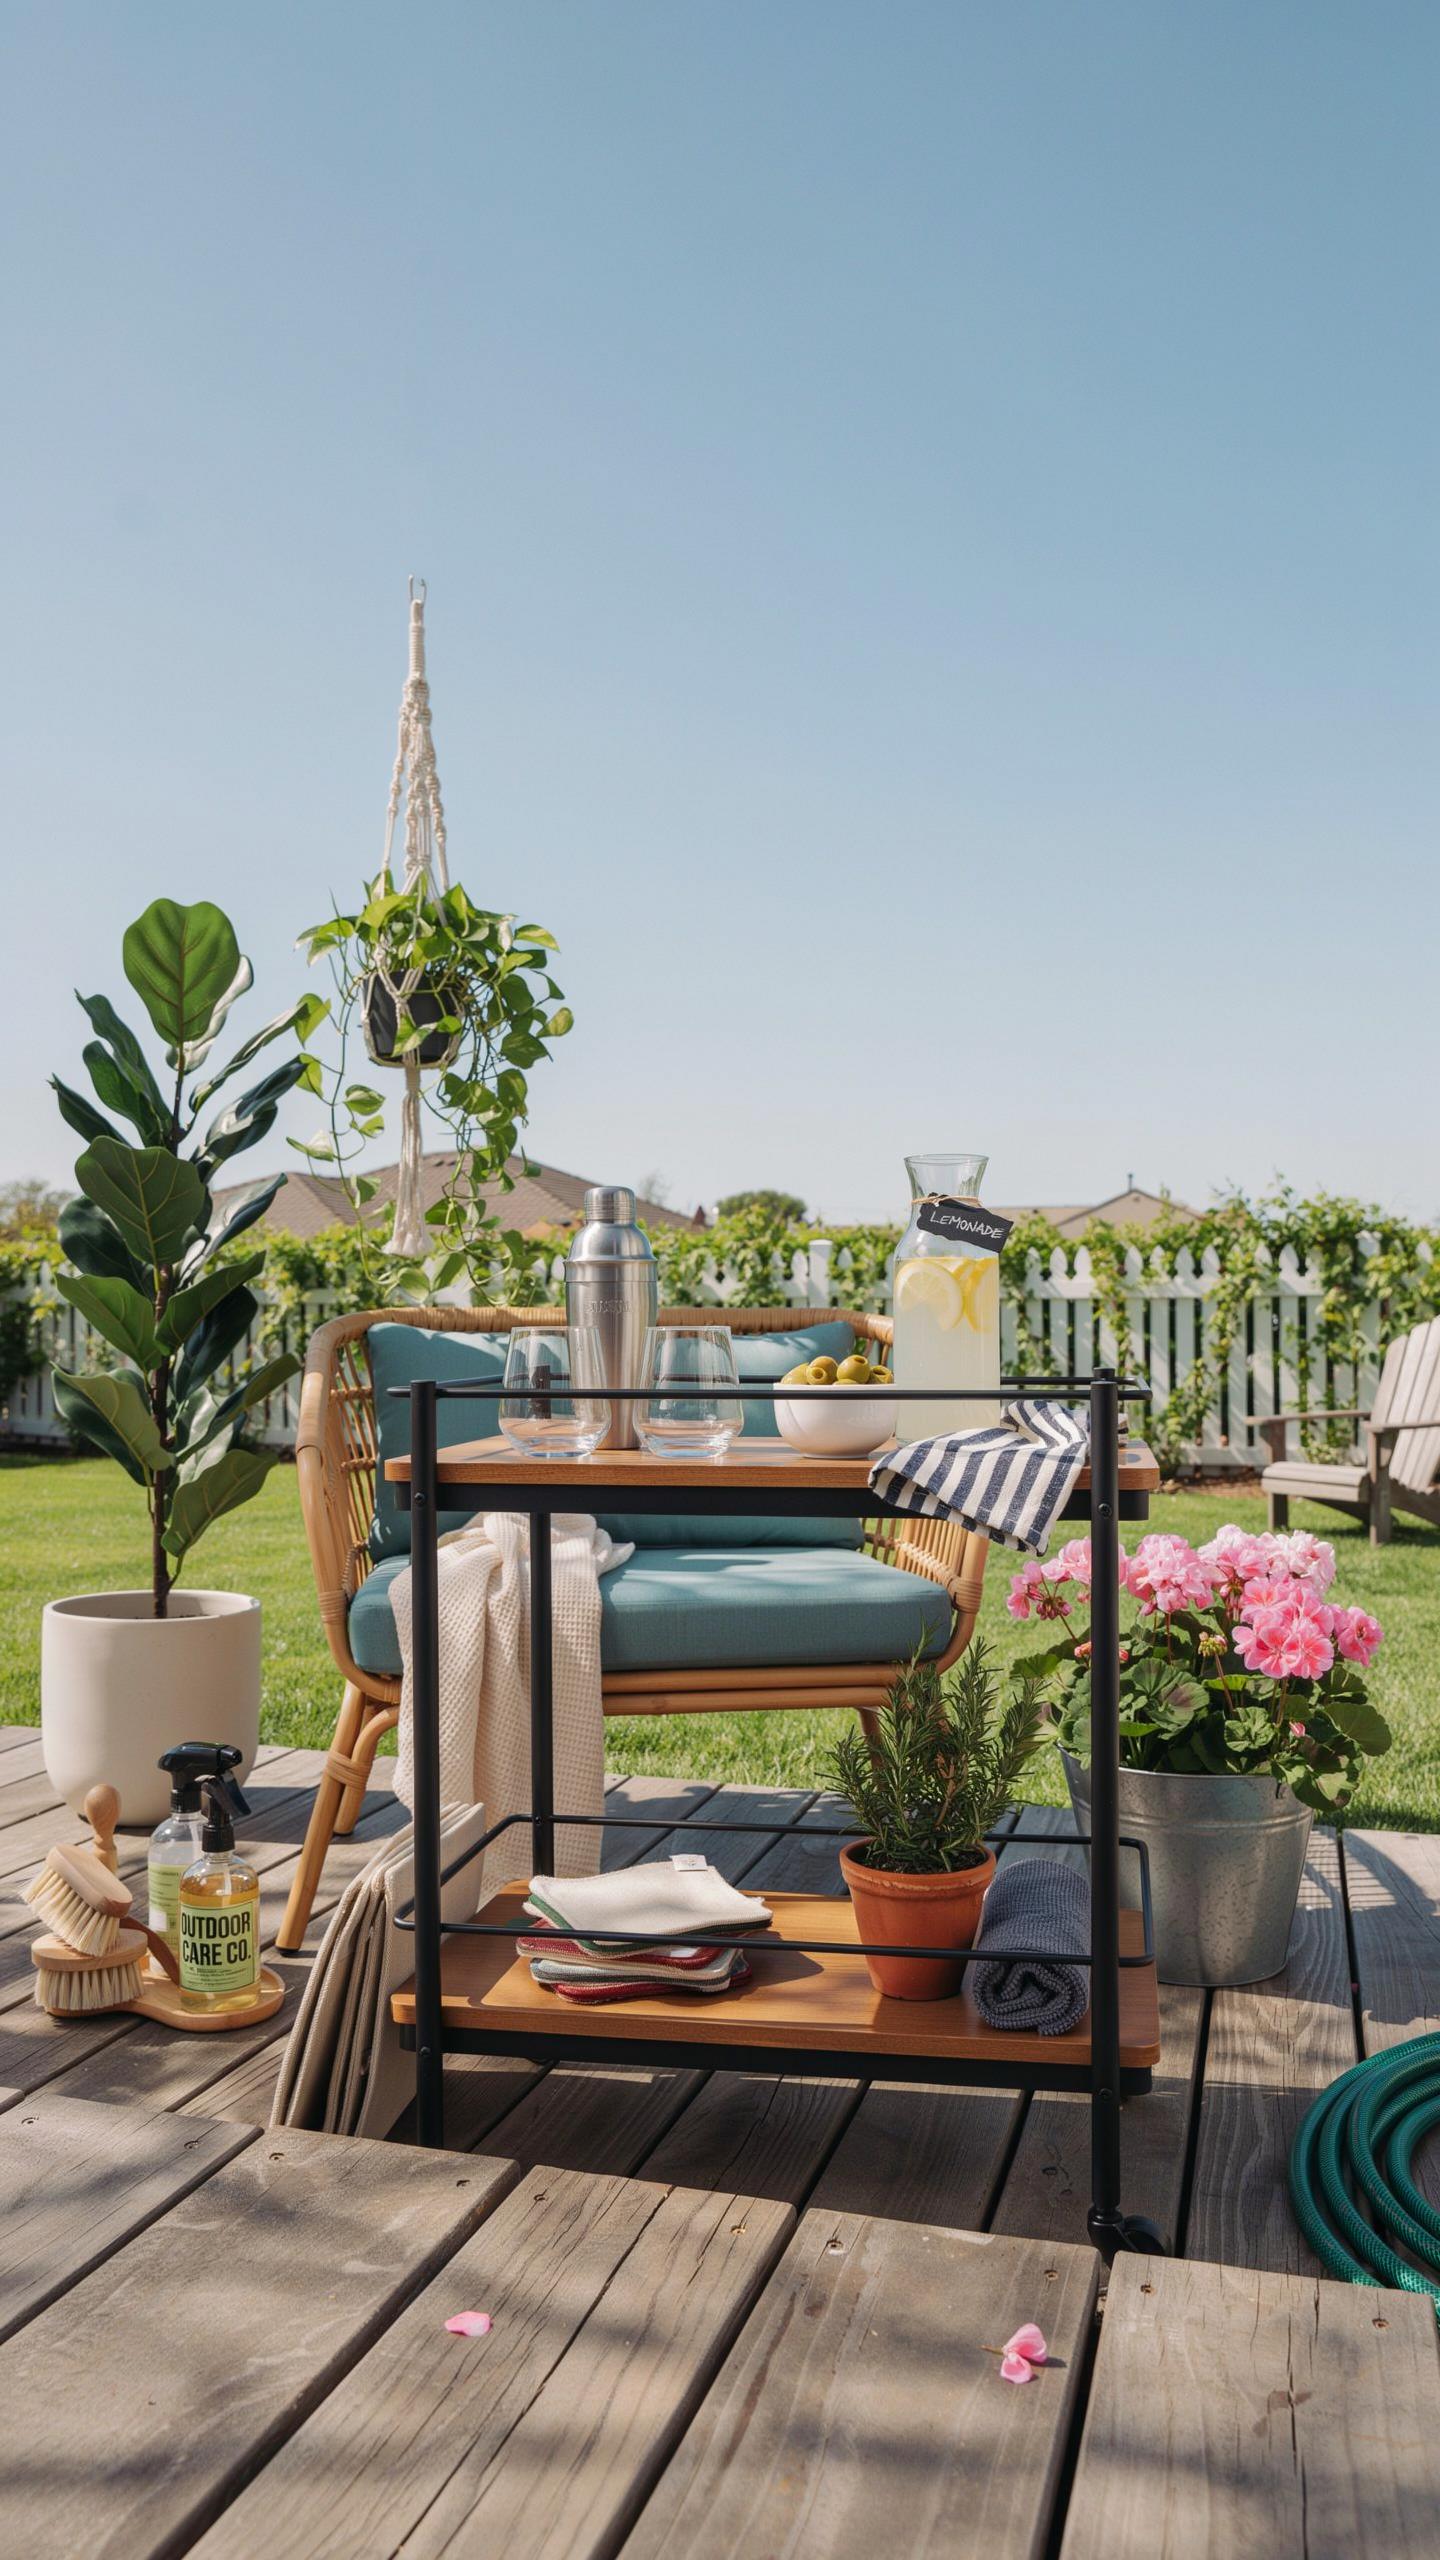
Clean your bar cart every two weeks using mild soap and water. This prevents mold and mildew from taking hold on wood or metal surfaces. Dry the cart completely after washing to avoid water spots and rust formation on stainless steel components.
For stainless steel surfaces, use a soft cloth to wipe down after cleaning. For wood finishes, apply a thin coat of food-grade mineral oil quarterly to maintain the surface and prevent cracking. Never use abrasive scrubbers or harsh chemicals that damage the protective finish or harm glassware stored on the cart.
Storage Solutions For Harsh Winter Seasons Elements
Move your bar cart into a garden shed or covered storage area when winter arrives. This protects it from freeze-thaw cycles and heavy snow that damage wood and corrode metal. If indoor storage is unavailable, invest in a UV-resistant polyester canvas cover that fits the cart dimensions snugly.
Canvas covers designed for outdoor furniture provide reliable protection against rain, snow, and intense sunlight. Ensure the cover secures properly with straps or ties to prevent wind damage. Store bottles and glassware indoors regardless of cart location to prevent breakage from temperature fluctuations and freezing conditions.
Frequently Asked Questions

What are the essential elements for a functional outdoor drink station?
To create a successful backyard hosting ideas bar cart setup, start with the basics: durable glassware, weighted napkins, and a high-quality ice bucket. Focus on weather-resistant materials like teak, metal, or treated wicker. Always include a variety of drink options, including a signature cocktail and premium non-alcoholic mixers, to ensure every guest feels welcome while keeping the presentation organized, accessible, and visually appealing for your garden gathering.
How do I style my bar cart for a polished and professional look?
Achieving a polished look requires balancing height and texture. Start by placing taller bottles at the back and shorter glassware up front. Use a decorative tray to coral small items like bitters or garnish bowls to prevent a cluttered appearance. Integrating fresh elements like potted herbs or citrus slices enhances the backyard hosting ideas bar cart setup, making it feel intentional and sophisticated rather than just a utilitarian storage piece.
Can I set up a stylish backyard bar if I am on a tight budget?
Absolutely! You do not need an expensive designer trolley to impress your guests. Consider repurposing a sturdy potting bench or a metal utility cart from your garage with a fresh coat of spray paint. Use vibrant linens and affordable mason jars to add charm without breaking the bank. Simple DIY touches, like hand-written chalkboard menus and affordable string lights, can make any budget-friendly arrangement look incredibly chic and high-end.



