Determining Your Ideal Outdoor Kitchen Size On A Budget
Evaluating Your Available Backyard Footprint
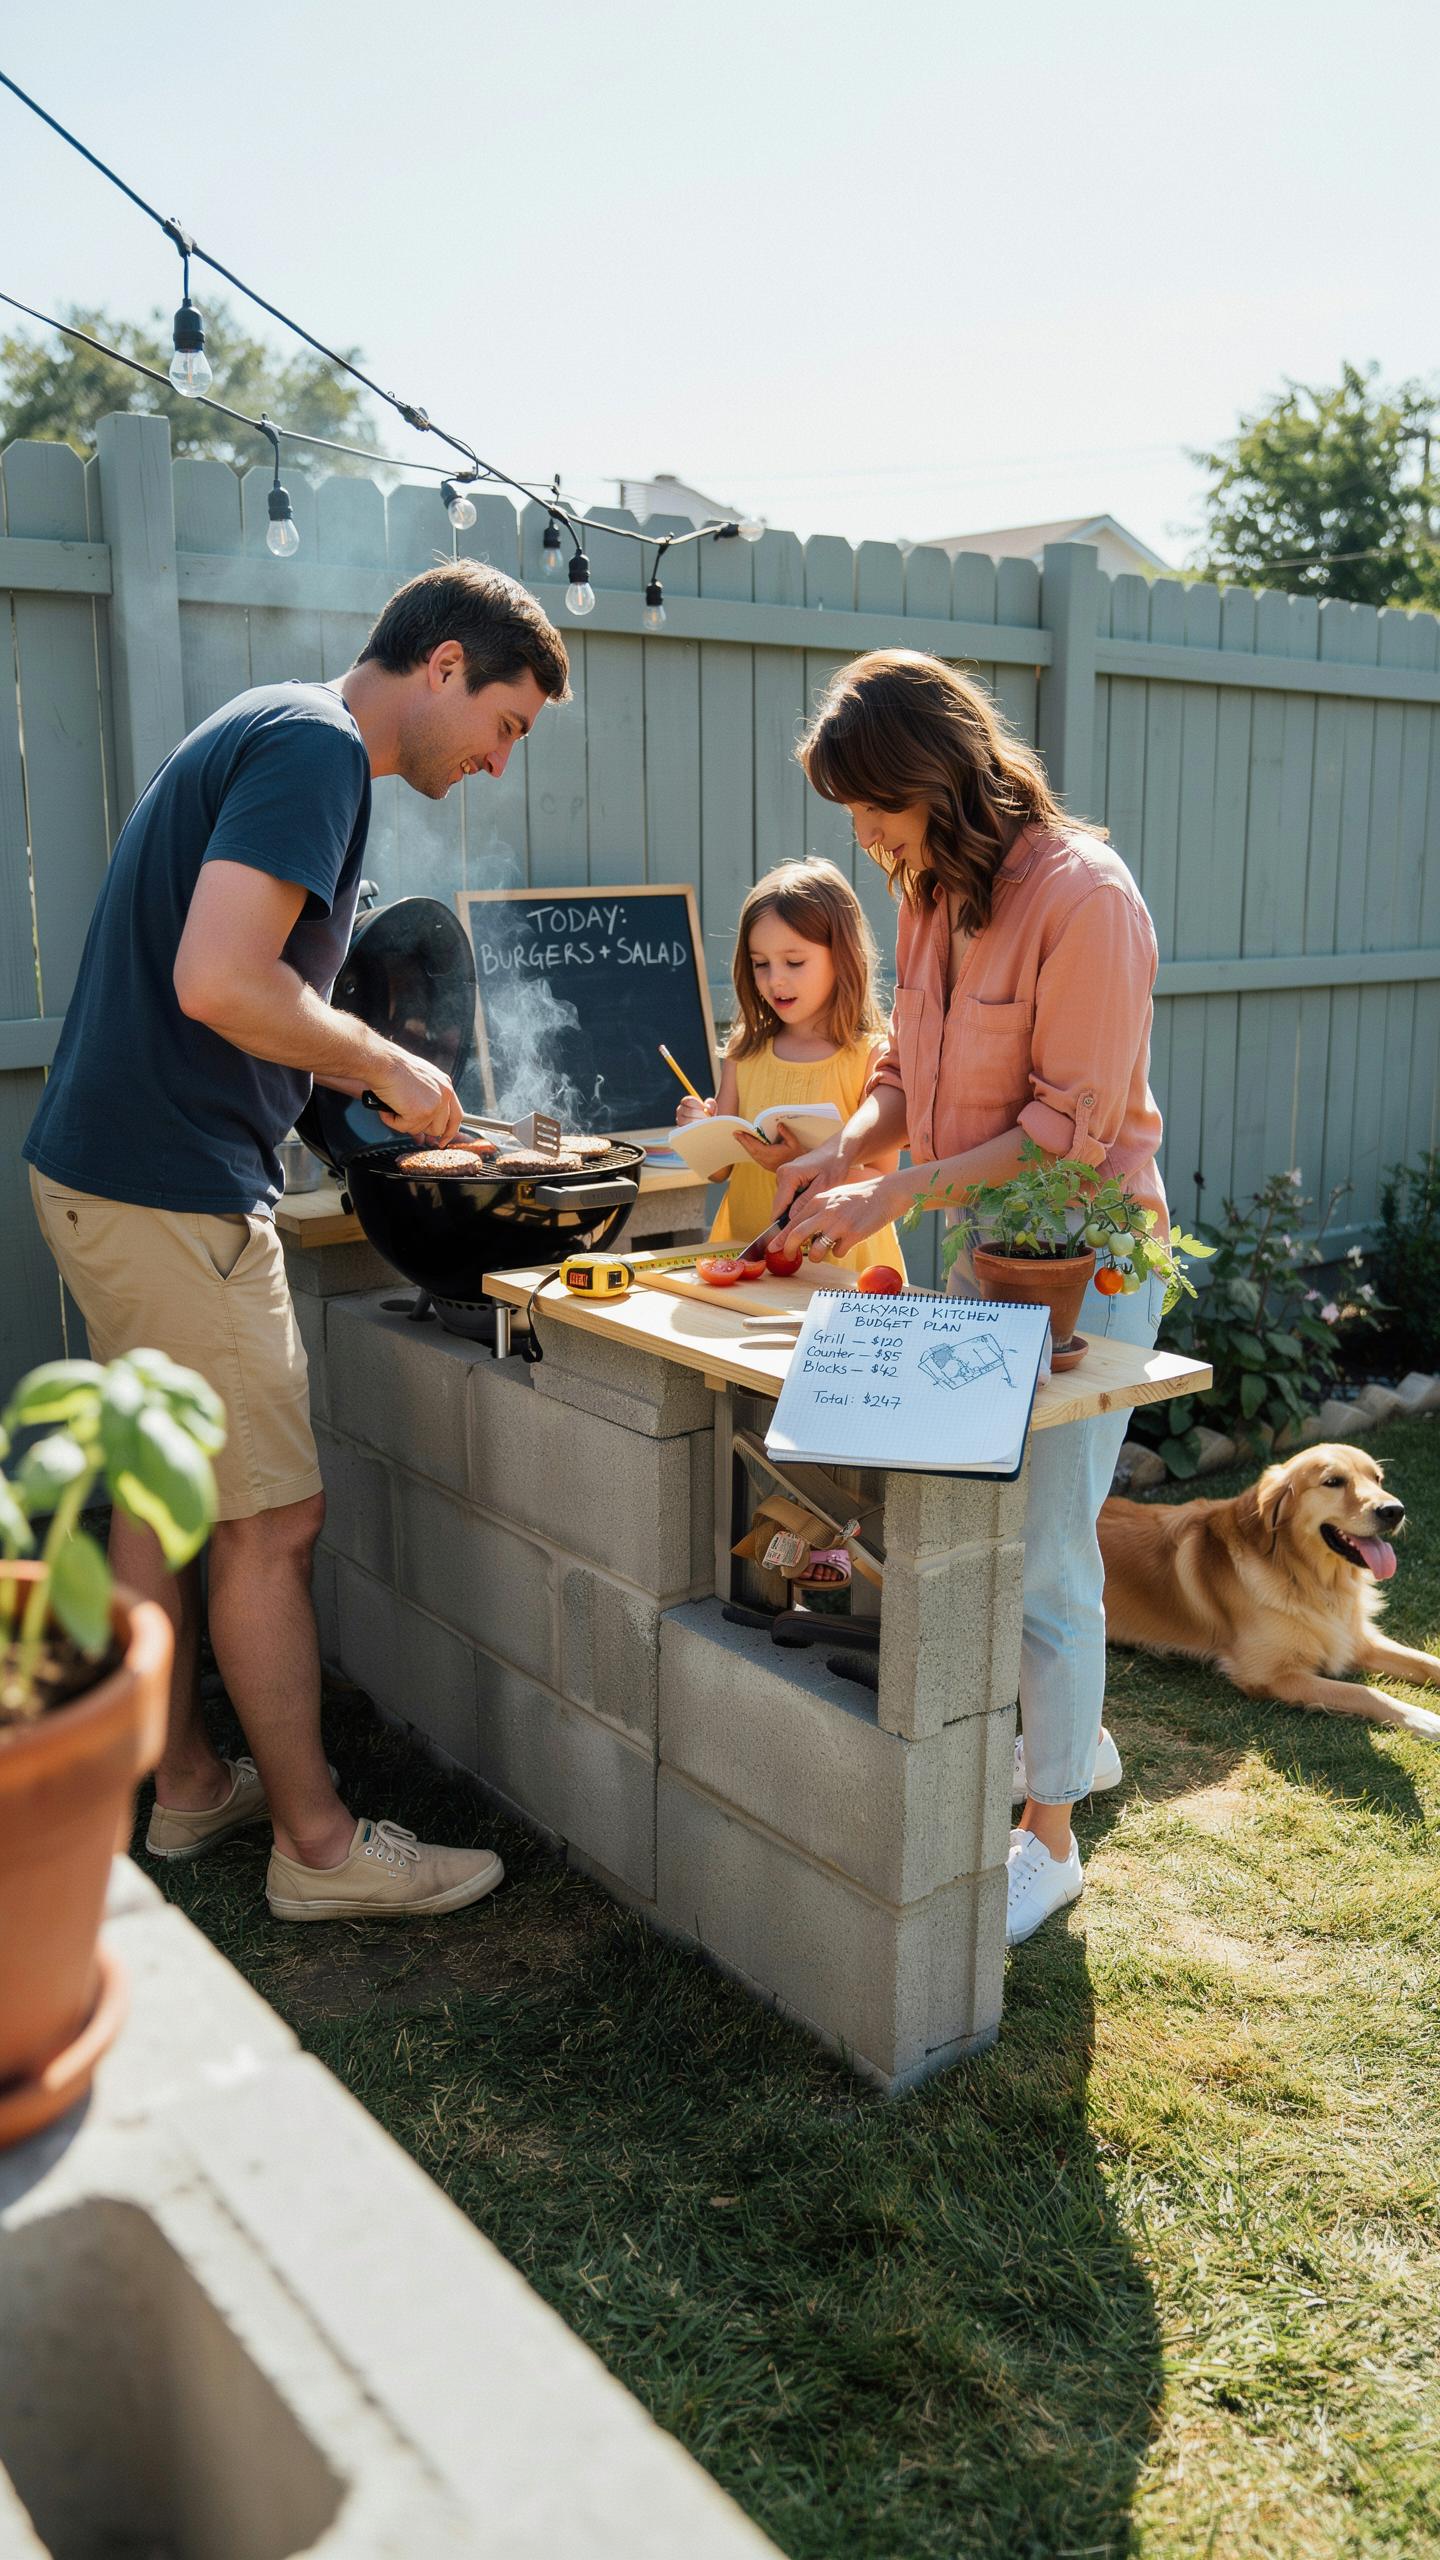
Measure your space with a tape measure, not guesses. Document the total square footage and note permanent fixtures like trees, structures, and property lines. Mark utility locations: gas lines, electrical outlets, and water sources. These fixed points determine what you can build and where. A cramped layout fails fast. Proper spacing prevents accidents and lets you move freely while cooking.
Budget constraints don’t mean sacrificing functionality. Start with your actual available space, not what you wish you had. Most home cooks work effectively in 100 to 200 square feet. Smaller yards demand tighter layouts with multi-purpose counters and stacked appliances. Measure twice. This prevents expensive redesigns after you’ve already purchased equipment.
Allocating Square Footage For Prep And Cooking Zones
Split your layout into clear zones: prep area, cooking area, and serving space. Prep requires at least 24 to 36 inches of counter depth. Your grill, smoker, or cooktop needs 18 to 24 inches of clearance on all sides for safety and ventilation. Without this separation, you waste motion and create bottlenecks when guests arrive.
Compact kitchens work when you right-size appliances to match actual use. A 24-inch grill takes less space than a 36-inch model. Wall-mounted storage and overhead racks free up counter real estate. Calculate your cooking patterns: do you host 4 people or 20? Your answer determines whether you need a full-size cooktop or a portable burner. Smart allocation means every inch earns its cost.
Starting With Practical Outdoor Kitchen Plans
Selecting Layouts That Minimize Construction Costs
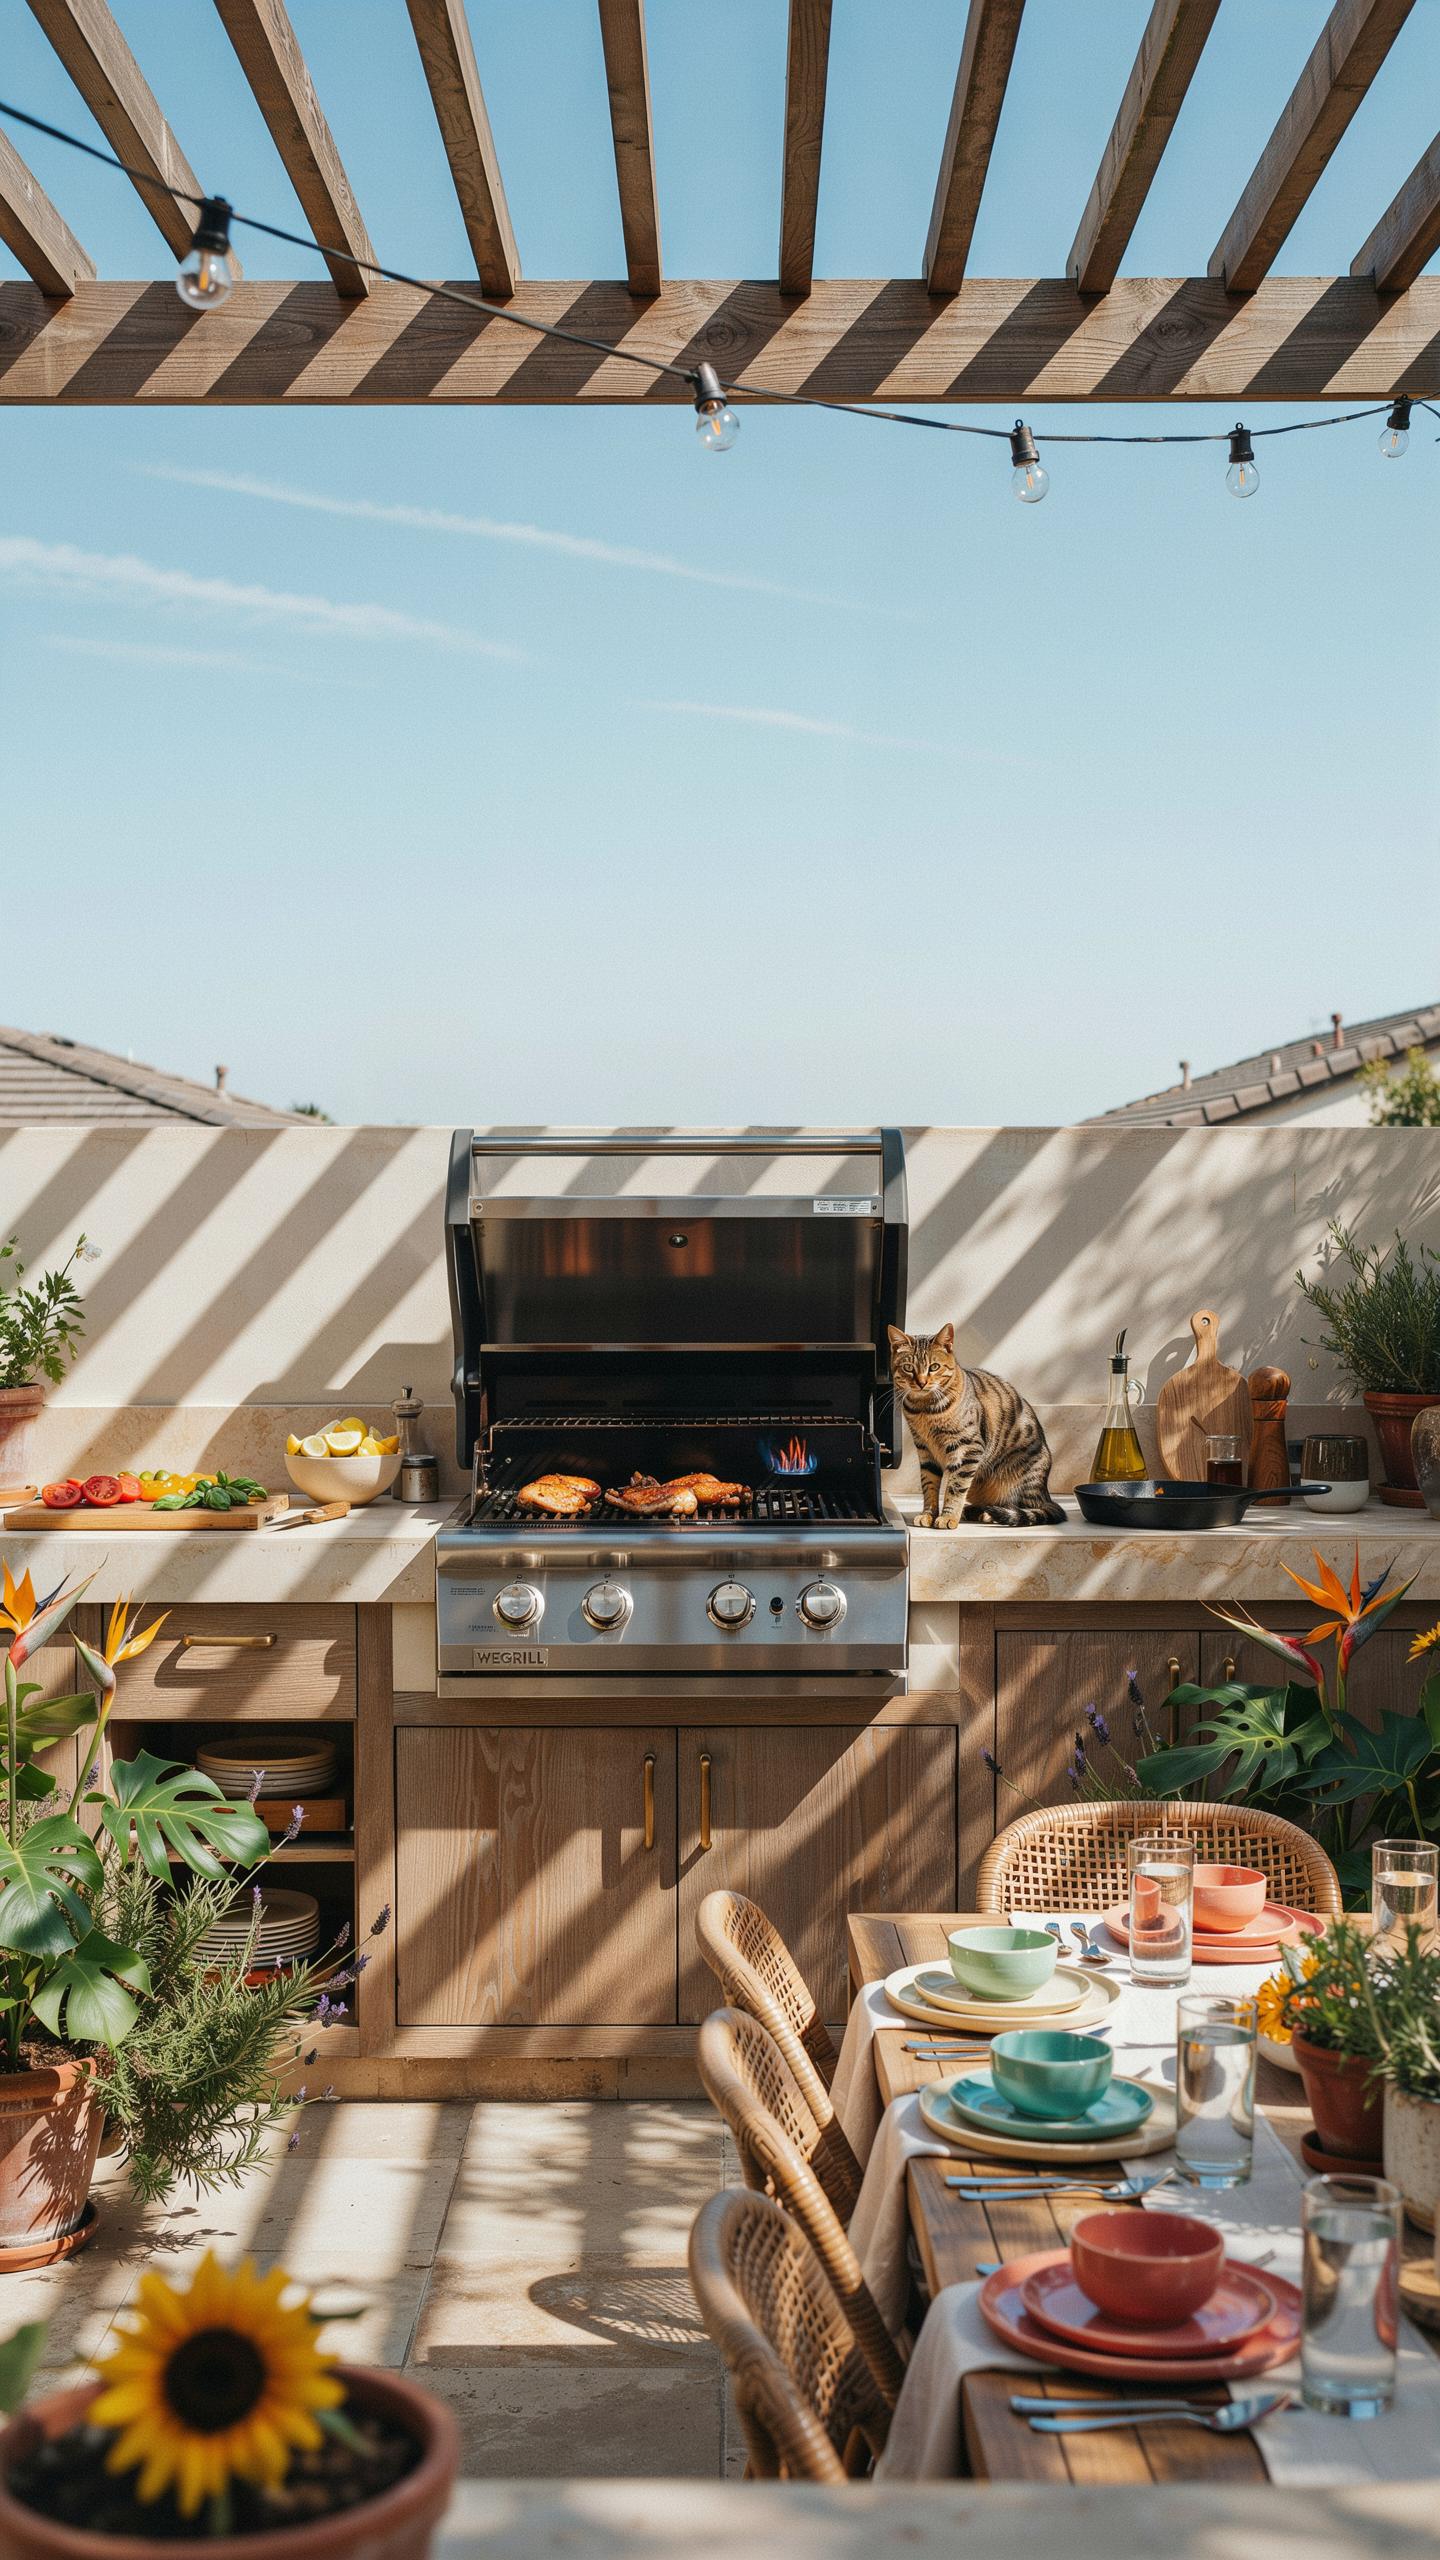
Straight line and L shaped layouts dominate budget outdoor kitchens because they reduce material waste and labor time. These configurations keep plumbing runs short, electrical lines direct, and countertop installations straightforward. Modular setups amplify savings by using pre built components instead of custom fabrication. Simple layouts also mean fewer structural complications and faster build completion.
Galley style kitchens work well for narrow spaces and cut material needs further. Island designs cost more due to extra sides requiring finishing and additional plumbing connections. U shaped layouts demand the most materials and longest installation timelines. Start with your actual space dimensions and available budget before choosing any configuration. The simpler the footprint, the lower your total project expense.
Sourcing Affordable And DIY Friendly Blueprints
Home improvement retailers like Home Depot and Lowes provide free or low cost outdoor kitchen design templates you can download immediately. These standardized plans use common materials and appliance sizes that match what suppliers stock regularly. Following established blueprints prevents expensive custom modifications and layout revisions during construction. Many plans include material lists and step by step instructions that reduce building errors.
Online platforms including Pinterest, YouTube channels focused on outdoor projects, and contractor blogs offer accessible design resources at no cost. Open source design communities publish detailed plans with material specifications. Verify any plan matches your local building codes before purchasing materials. Generic blueprints save thousands by eliminating design fees and consulting costs that custom architects charge.
How To Build Outdoor Kitchen Structures Affordably
Choosing Cost Effective Framing Materials Like Steel Or Wood
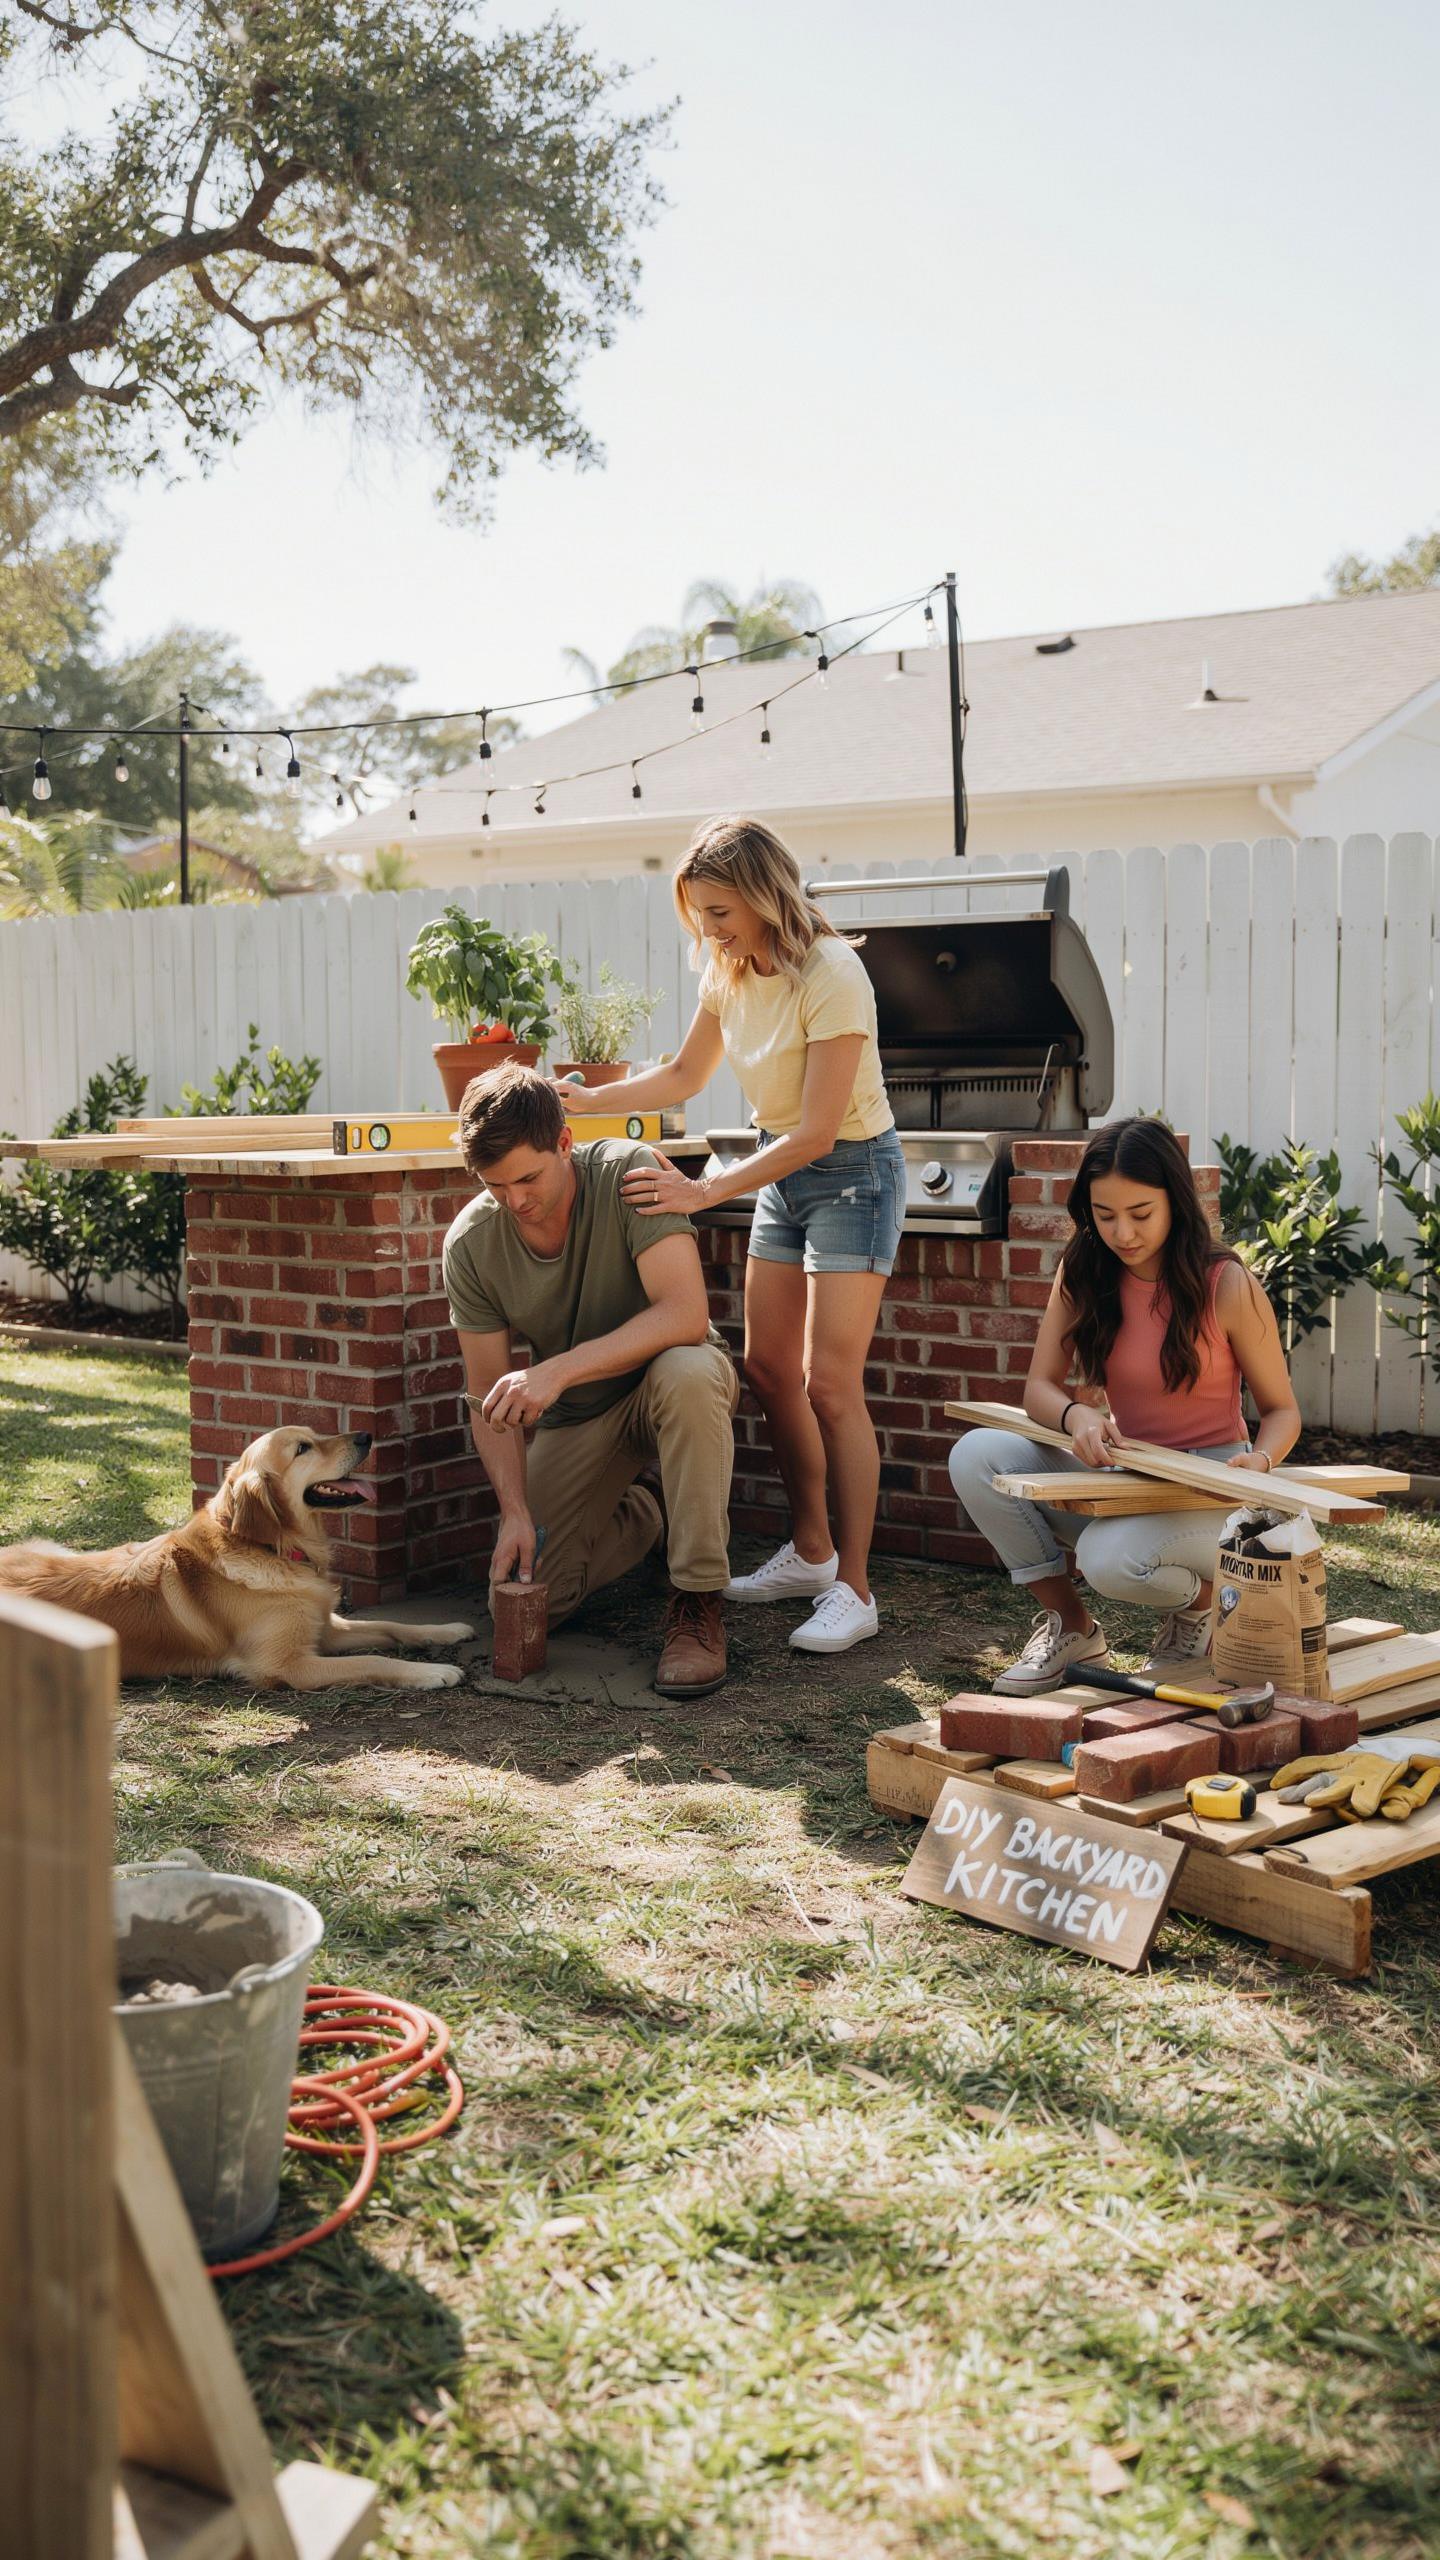
Pressure-treated lumber costs less upfront than galvanized steel studs. Wood frames require minimal tools and skill to install, reducing labor expenses. Lumber handles standard fasteners and connections without special equipment. However, wood demands regular maintenance and replacement in 10 to 15 years depending on climate exposure and treatment quality.
Galvanized steel studs cost more initially but outlast wood by decades. Steel resists rot, termites, and weather damage without ongoing maintenance. Steel frames require specialized cutting tools and welding expertise, driving up installation costs. For permanent installations in humid or coastal climates, steel delivers better long-term value despite higher upfront expenses.
Budget Friendly Finishing Materials For Extruded Frames
Facing materials transform your frame into a finished structure while controlling costs. Concrete board, stucco, brick veneers, and salvaged wood paneling each offer distinct advantages for outdoor applications.
- Concrete Board: Fire-resistant, moisture-stable, and affordable. Accepts paint or stain finishes. Requires simple fastening to frame studs with corrosion-resistant screws or nails for secure installation.
- Stucco: Three-coat application bonds directly to framing. Offers seamless coverage and weather protection. Material cost runs low, but labor demands skilled application for proper curing and finish.
- Brick Veneers: Thin brick units attach with mortar or mechanical anchors. Provides authentic masonry appearance at lower weight than solid brick. Requires stable substrate and proper flashing for moisture management.
- Salvaged Wood Paneling: Reclaimed wood costs significantly less than new lumber. Delivers character and rustic appeal to island exteriors. Seal or treat properly to extend lifespan in outdoor weather exposure.
- Composite Cladding: Engineered panels mimic wood or stone appearance. Resists rot and weathering without maintenance. Price falls between basic concrete board and premium masonry options.

Stucco and concrete board installations move faster than brick or stone applications. Simple fastening systems reduce labor time and total project costs. Layer these materials over your steel or wood frame to achieve finished aesthetics within budget constraints.
Designing A Functional Outdoor Cooking Area
The Functional Work Triangle For Open Air Cooking
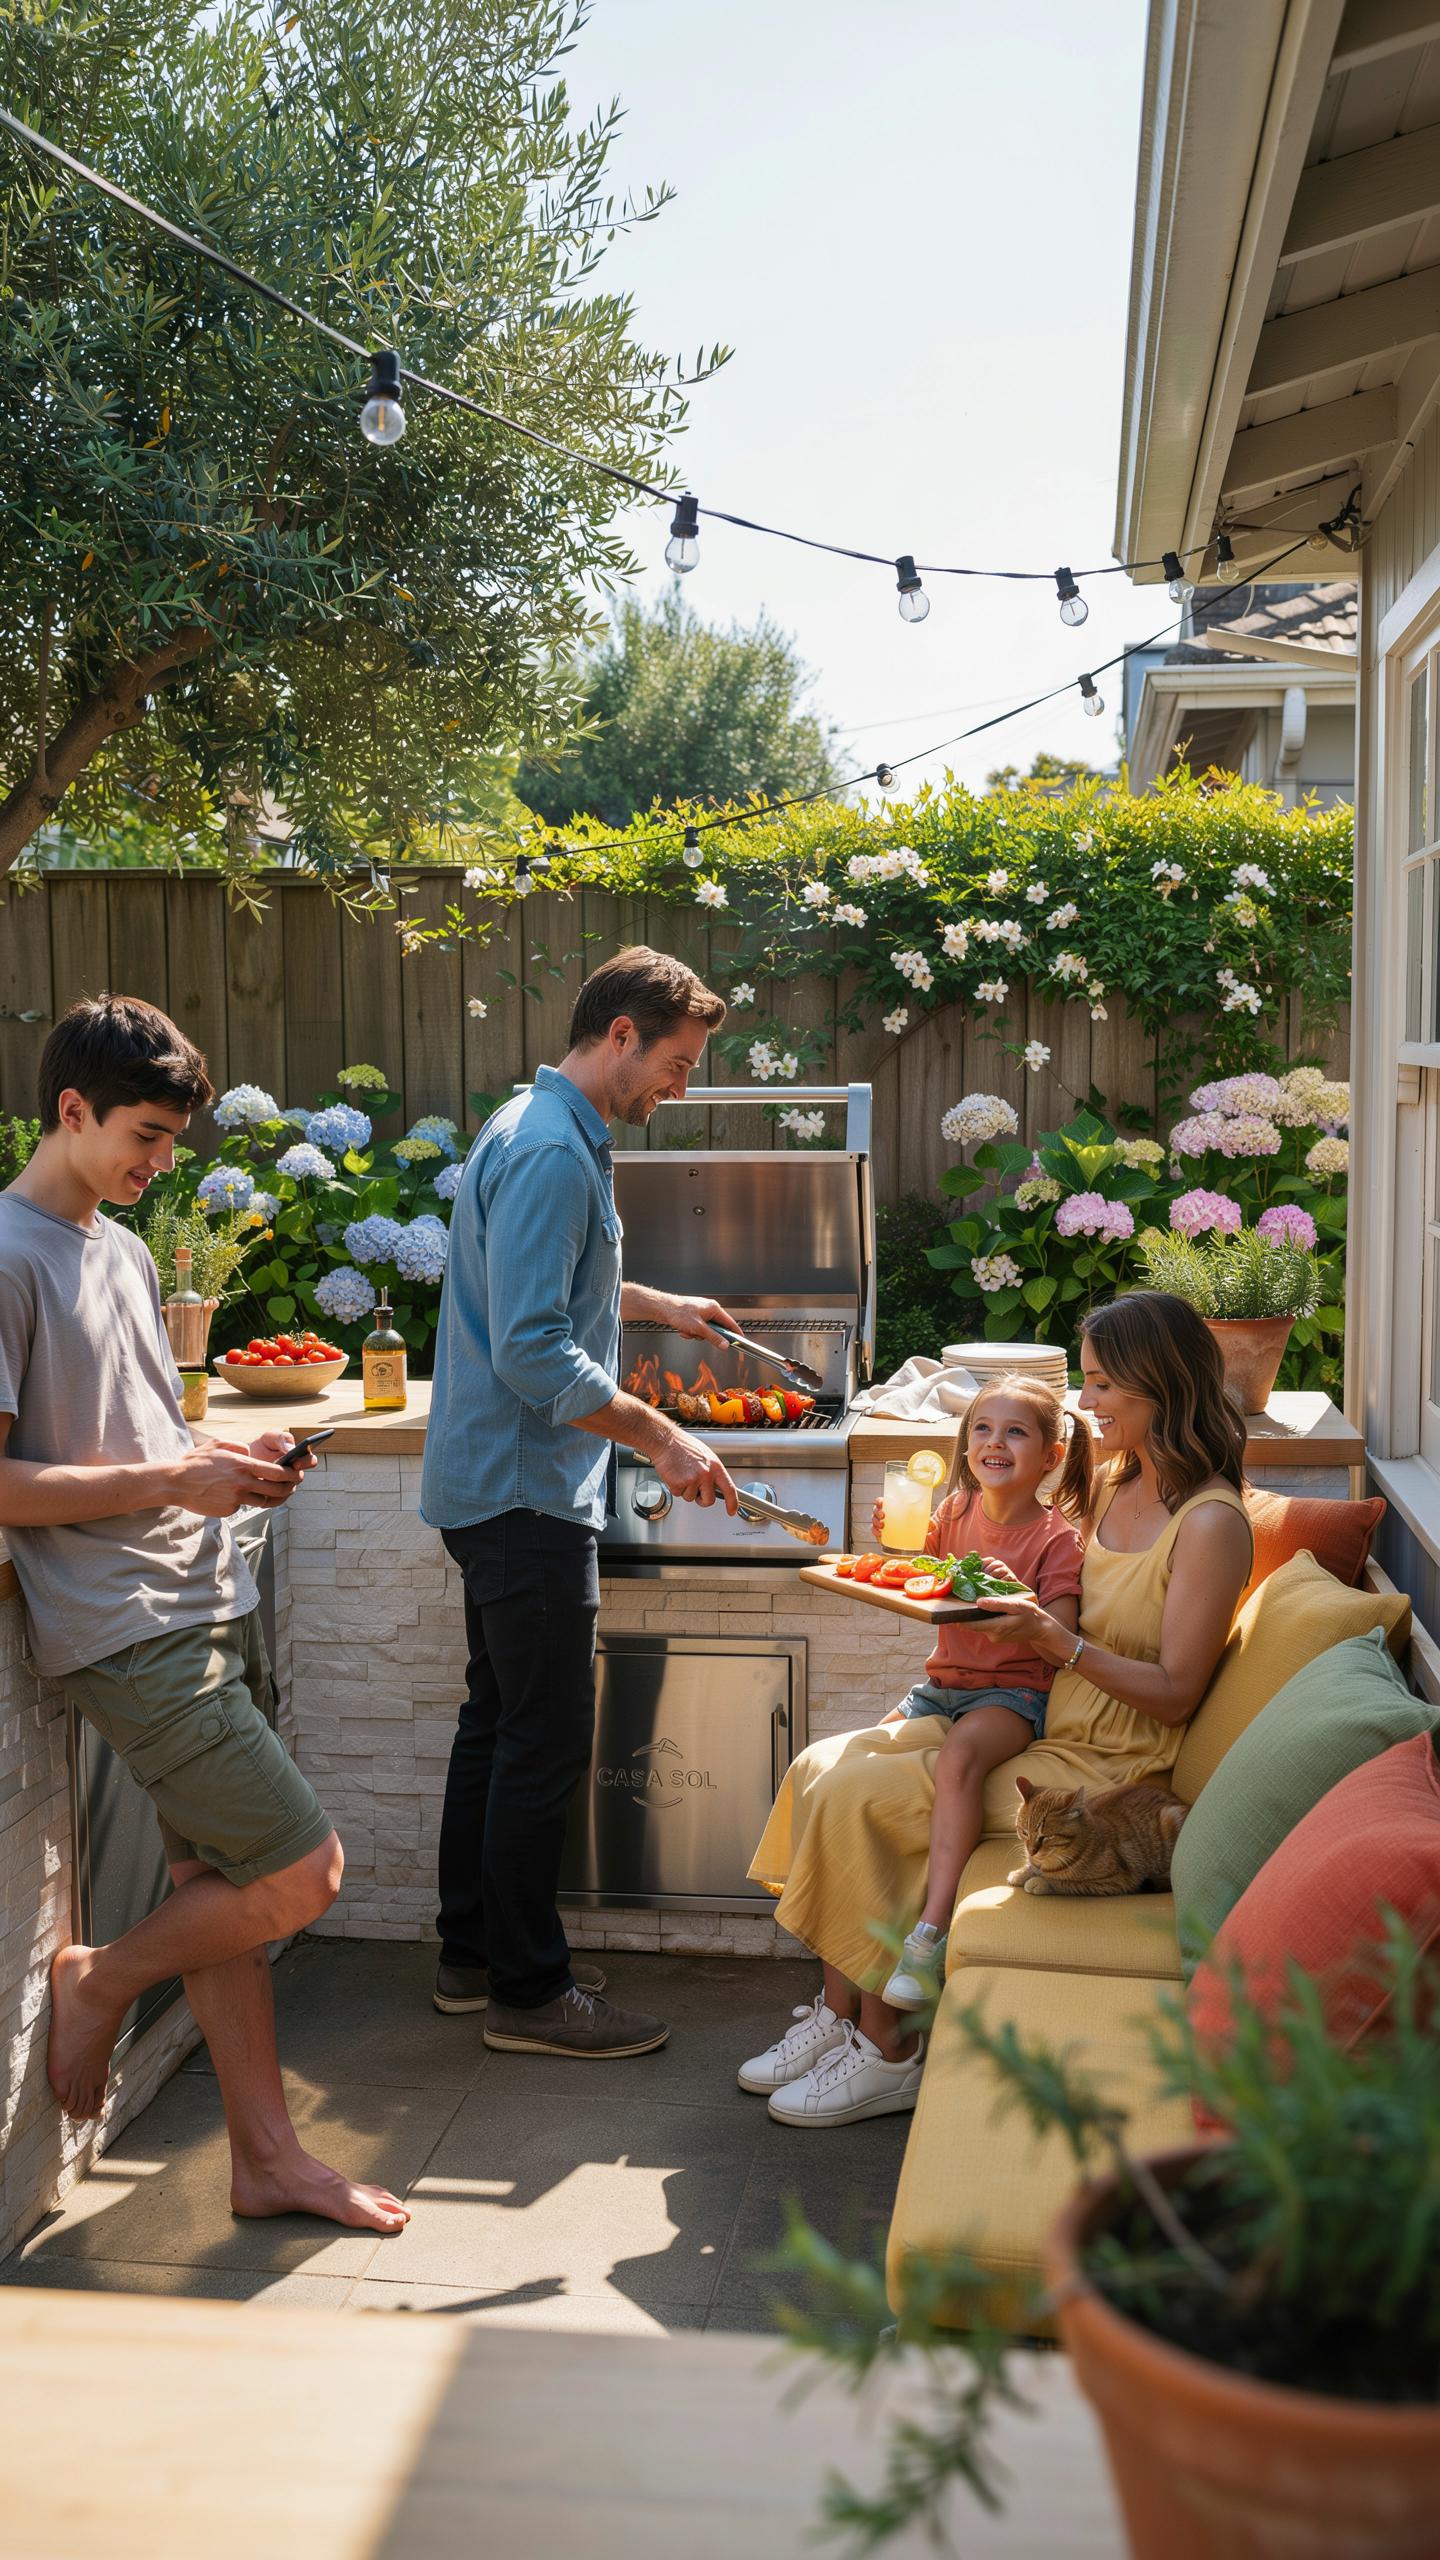
The work triangle concept originated in residential kitchen design during the mid-20th century. It positions three key zones: prep area, cooking appliances, and cleanup station. This layout reduces wasted steps during meal preparation and cooking. Your triangle should form distances of 4 to 9 feet between each zone. Shorter distances tire you less. Longer distances waste time. Position your sink opposite your grill. Place your prep counter between them. This arrangement keeps your workflow tight and efficient.
The triangle adapts to your space constraints and budget. Small yards require compact triangles with minimal separation. Larger properties allow expanded zones for multiple cooks. Your grill dominates as the apex point. Refrigeration and storage should sit within arm’s reach of prep surfaces. This prevents temperature loss and reduces food spoilage risk. Budget constraints often force single-zone solutions where prep, cooking, and cleanup happen near each other. This still works if you organize supplies strategically.
Ventilation And Safety Considerations For Cooking Zones
Smoke and heat rise naturally from cooking surfaces. Your outdoor space must allow this air to escape without trapping it near seating or windows. Cross ventilation occurs when breezes flow perpendicular to your cooking zone. Position your grill away from enclosed structures on the upwind side during typical wind patterns. Maintain at least 10 feet of clearance from siding, deck railings, and tree branches. This distance prevents heat damage and fire hazard. Check local fire codes for your specific area. Requirements vary by jurisdiction.

Combustible materials near cooking appliances create fire risk. Propane grills emit direct heat and flame. Charcoal units generate intense radiant heat. Keep mulch, wood piles, and landscaping materials away from your cooking zone perimeter. Stone and concrete paving around appliances provide safe, non-flammable surfaces. Ensure your grill sits level and stable on a solid foundation. Unstable grills tip during use, spilling hot food and fuel. Install a fire extinguisher rated for grease fires within 15 feet of your cooking area. Position it where cooks can reach it without crossing the fire.
Expert Tips On How To Choose Outdoor Appliances Correctly
Understanding Marine Grade Material Requirements
Stainless steel grade matters. Grade 304 stainless steel resists rust and corrosion better than lower grades. It contains chromium and nickel that form a protective oxide layer. This layer stops moisture from penetrating the metal surface. Rain, humidity, and salt air attack exposed metal constantly. Budget alternatives like 430 stainless steel fail faster in outdoor environments. You pay more upfront for 304 grade but replace appliances less often.
Temperature swings accelerate corrosion when materials lack proper composition. Coastal areas and humid climates demand grade 304 minimum. Interior-grade stainless steel develops rust spots within months of outdoor exposure. Grade 316 offers even better protection but costs significantly more. Your climate determines whether 304 grade justifies the investment. Verify material specs before purchase. Manufacturers sometimes list stainless steel without specifying the grade.
Matching Appliance Fuel Types To Utility Access
Your existing utilities dictate which fuel type makes financial sense. Natural gas requires underground trenching and permits if you lack hookups. Propane needs tank placement and refill logistics but needs no trenching. Electricity demands heavy gauge wiring and potentially upgraded service panels. Calculate installation costs before selecting appliances. A cheap grill becomes expensive when trenching costs fifteen hundred dollars.

Propane offers the most flexibility for budget builds. Tanks sit above ground and connect to appliances with quick disconnects. You avoid permanent utility modifications. Natural gas locks you into one location but eliminates tank refills. Electric appliances need sufficient amperage from your home’s electrical panel. Most homes cannot support multiple high-wattage outdoor appliances on standard service. Assess your utility access and budget installation before ordering equipment.
Selecting The Best Outdoor Appliances On A Budget
Top Value Driven Cooking And Prep Appliances
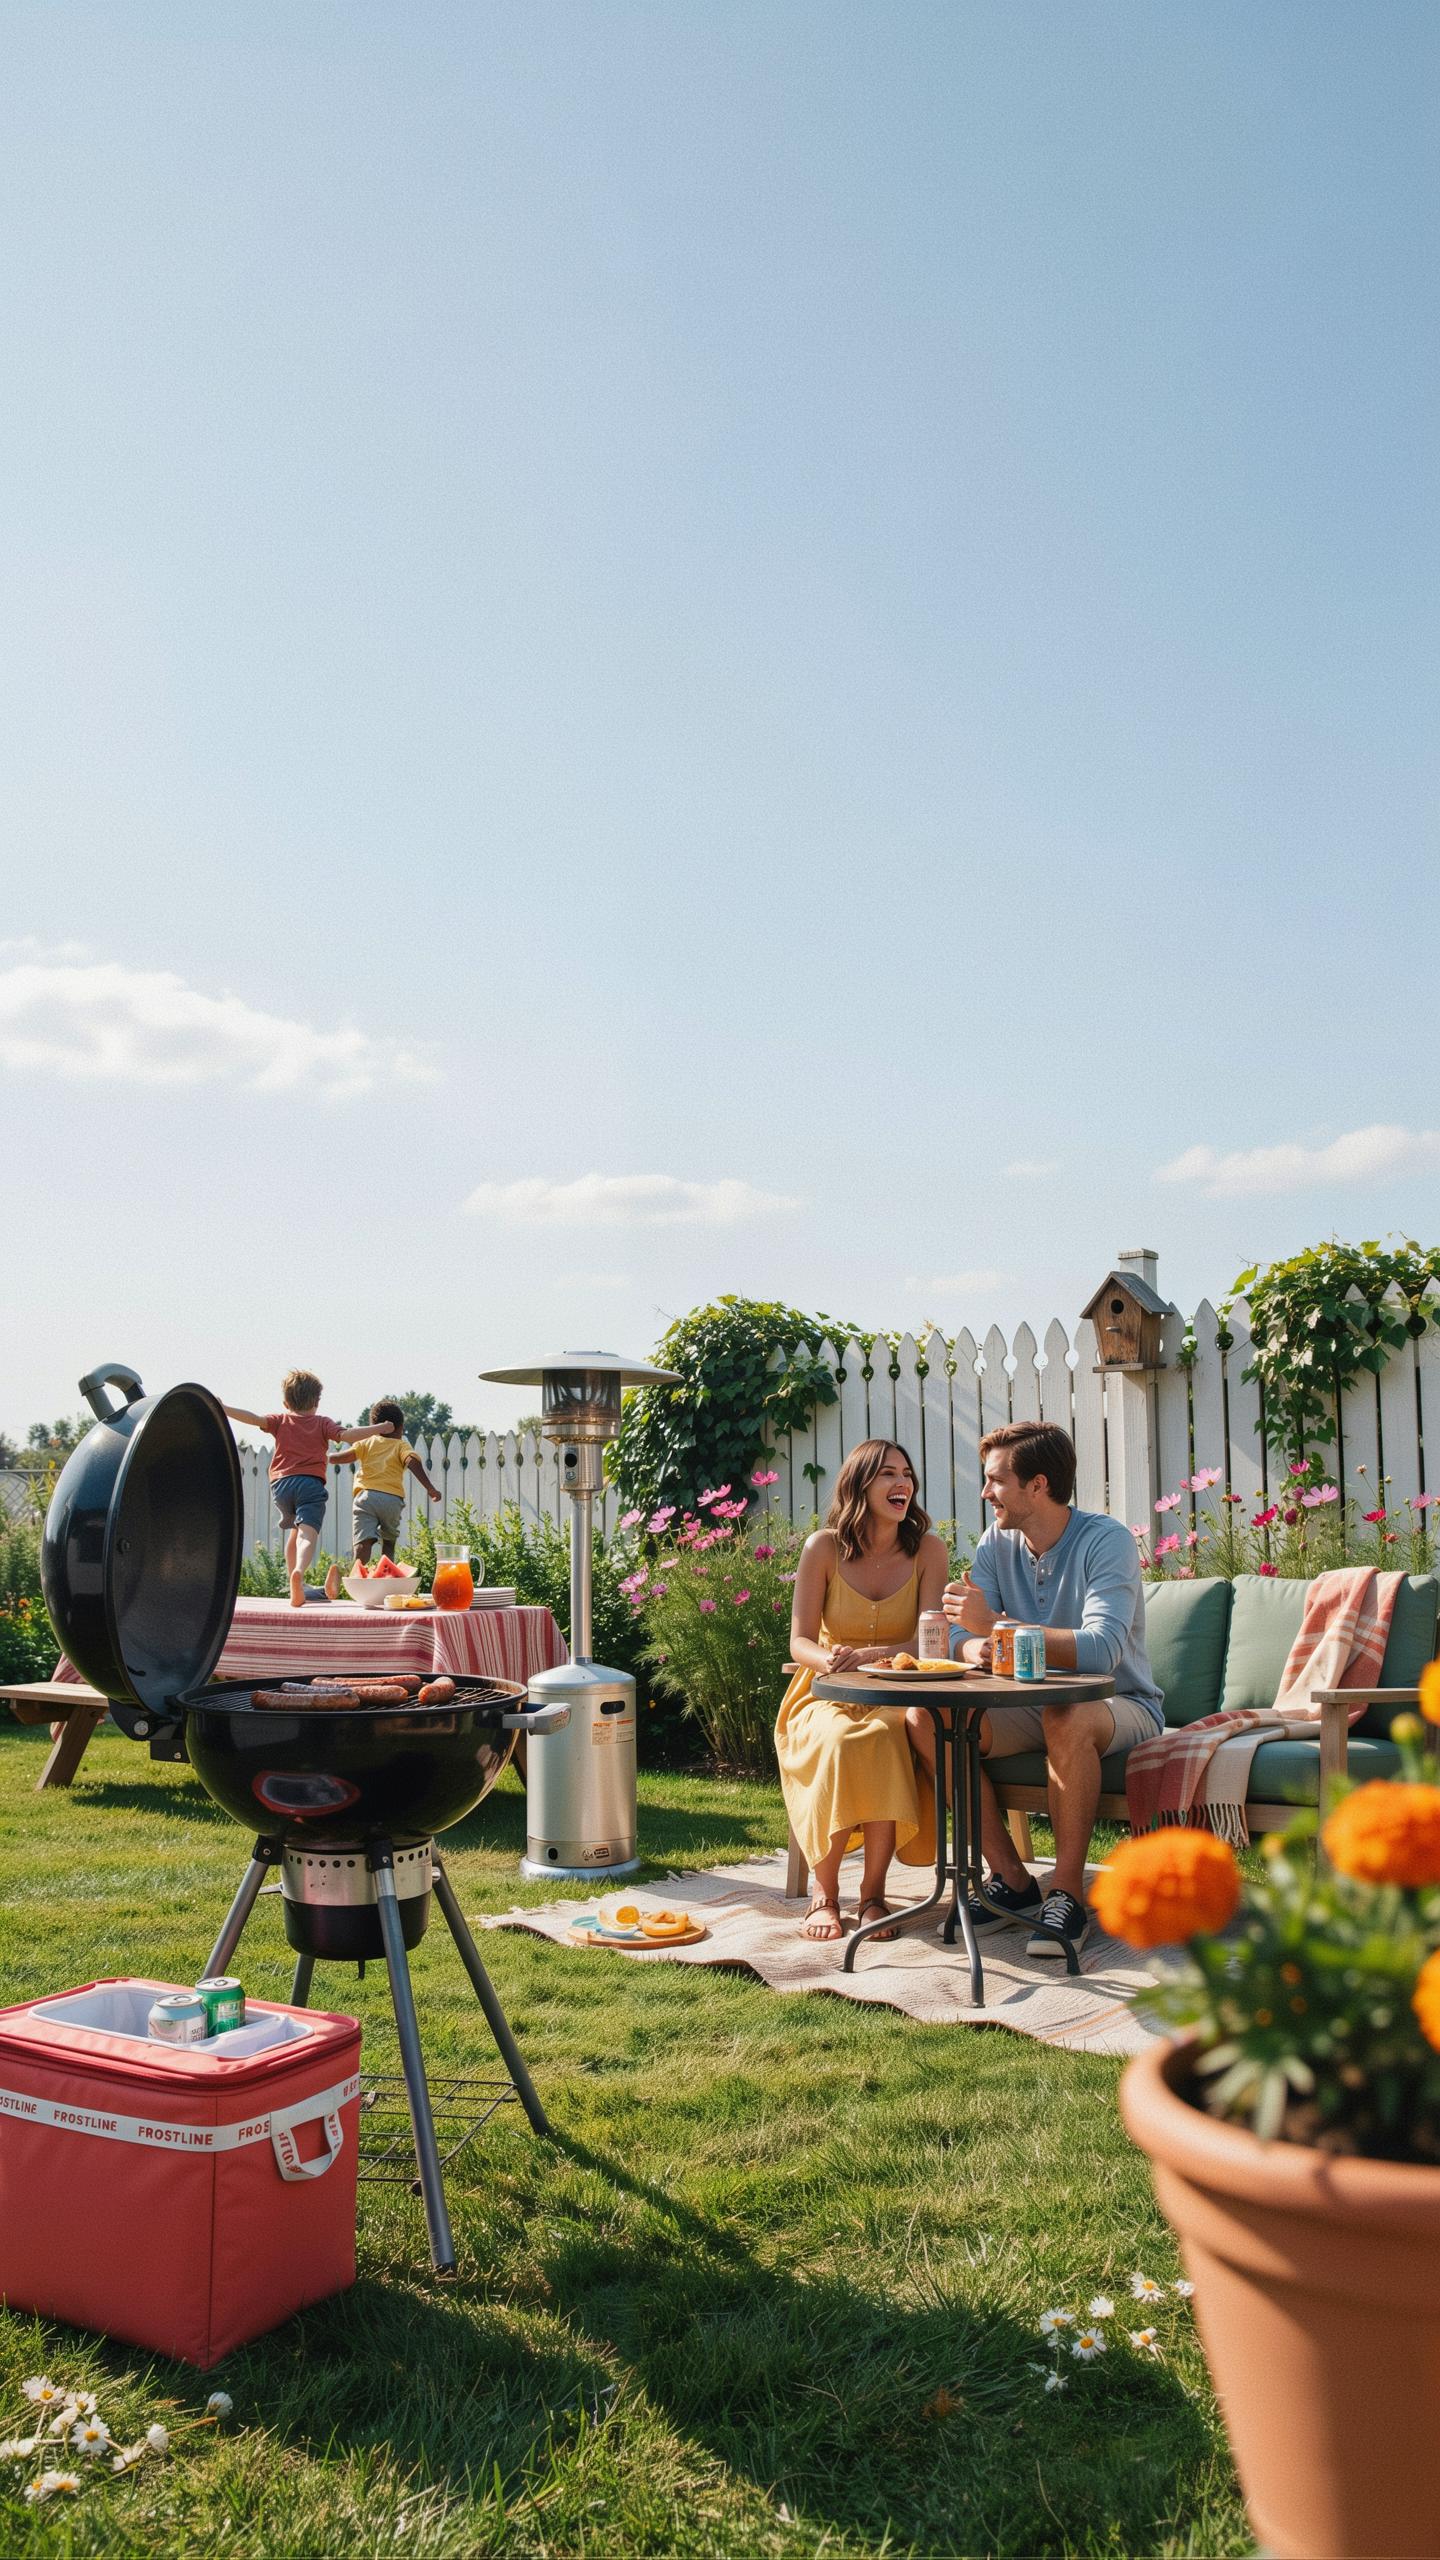
Budget outdoor kitchens succeed when you prioritize the grill first. A quality grill drives 80 percent of your cooking output and entertains guests. Value brands like Weber, Char Broil, and Broil King deliver reliable performance without premium pricing. Natural gas connects to your home line for consistent fuel. Propane offers flexibility if gas lines don’t reach your space. Both fuel types cost less than specialty alternatives over time.
- Built in Natural Gas Or Propane Grills: Brands like Broil King and Char Broil offer 4 to 6 burner models between 400 to 700 dollars. These perform identically to grills costing double the price.
- Single Side Burners: Dedicated side burners run 150 to 300 dollars and handle sauces, boiling water, and side dishes without tying up main grill space. Essential for meal prep efficiency.
- Compact Weather Rated Outdoor Prep Sinks: Stainless steel prep sinks with cold water lines cost 200 to 400 dollars. They handle food prep and cleanup without requiring hot water installation.
- Drop In Ice Chests: Passive ice storage units run 100 to 250 dollars and need no power connection. They keep beverages cold through the meal and double as storage between events.
- Outdoor Refrigeration Drawers: Mid range drawers cost 300 to 500 dollars and offer temperature control for extended storage. Pick models with stainless steel frames that resist salt air and weather.
These core appliances handle 95 percent of outdoor cooking tasks. Start with the grill and add prep equipment based on your menu complexity. Avoid aspirational items like pizza ovens or smokers until basics are functional and paid for.
Where To Find Quality Discontinued Or Floor Models
Showroom floor models carry 20 to 40 percent discounts because retailers need space for new inventory. Appliance stores rotate displays every season, meaning current models get marked down. Contact local dealers in late summer and early spring when stock turnover accelerates. Ask specifically about floor models, not refurbished units, which carry different warranties.

Scratch and dent inventory at warehouse retailers and appliance outlets offers real savings on cosmetic damage that never affects performance. The damage typically hides on rear panels or undersides where guests never look. Off season clearance during fall and winter moves summer inventory fast. Major retailers often discount outdoor appliances 30 to 50 percent from October through February when outdoor entertaining slows. Online overstock sites and manufacturer direct sales also stock returned or slightly damaged units at substantial markdowns.
Balancing Your Outdoor Kitchen Design Appliance Selection
Prioritizing Essential Cooktops Over Luxury Add Ons
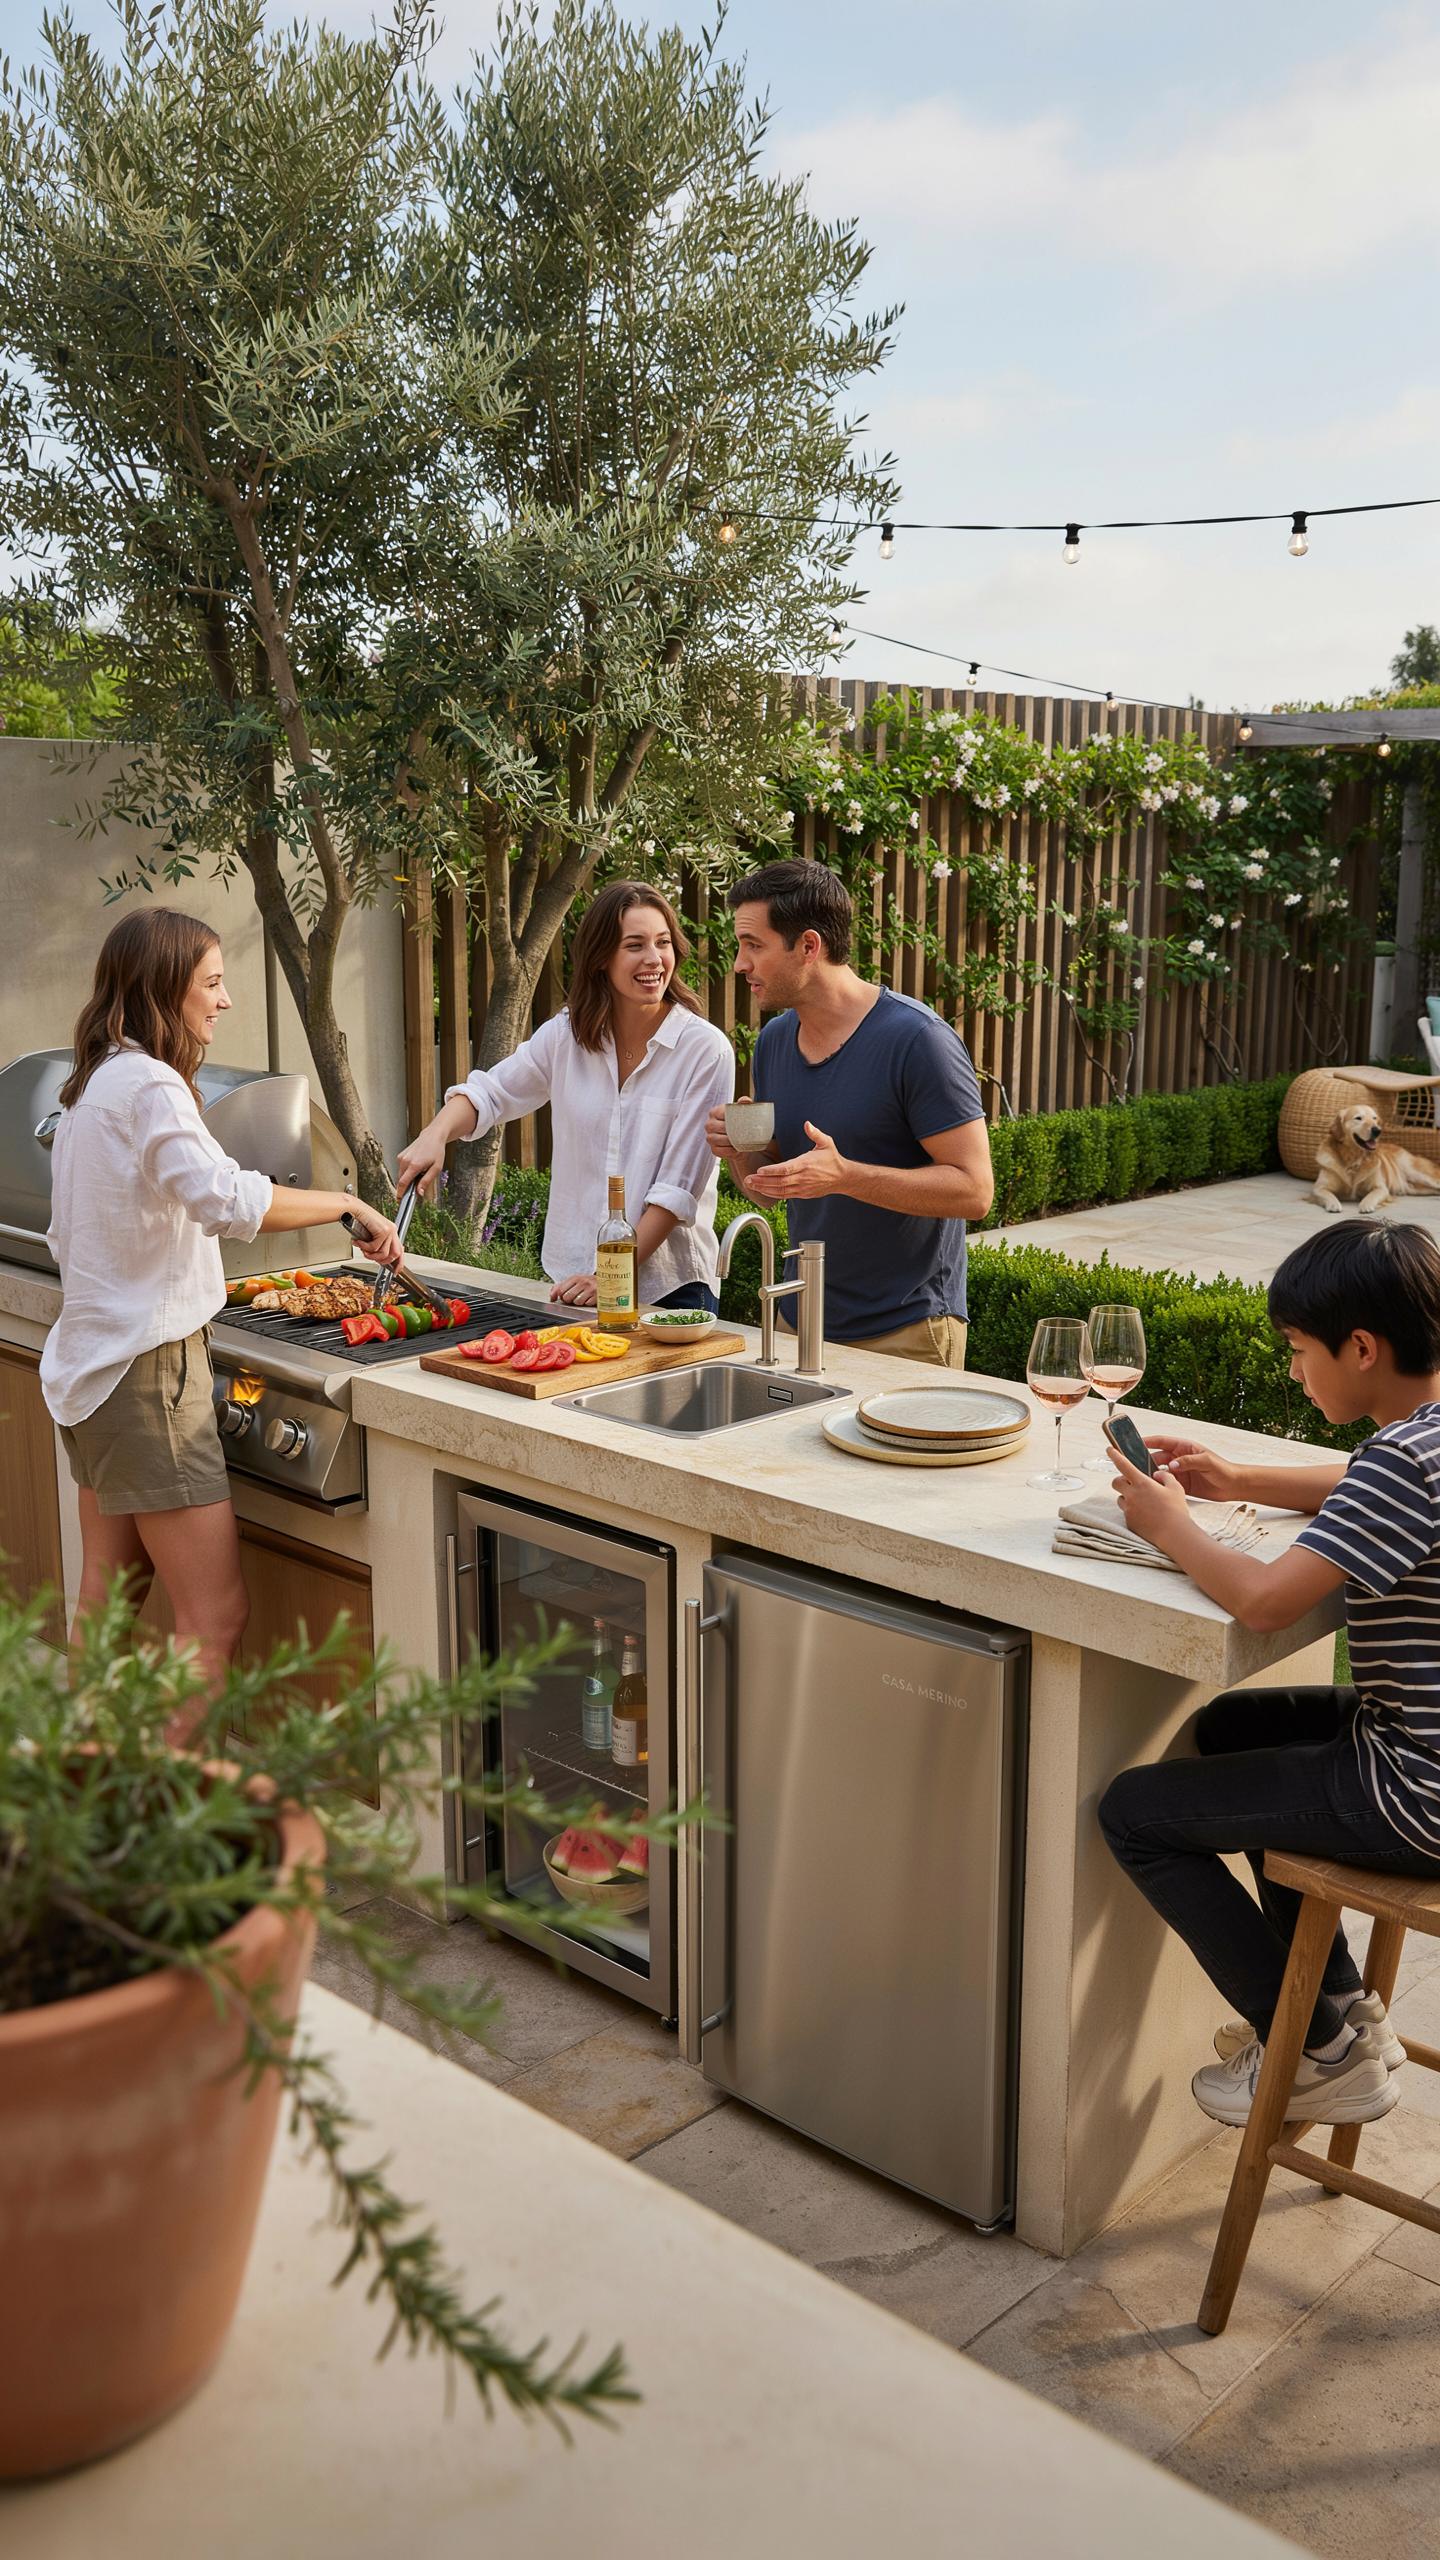
Your grill is the workhorse of any outdoor kitchen. Invest your budget here first. A quality cooktop with consistent heat output handles 80 percent of cooking tasks. Skip the pizza oven and warming drawer for now. You’ll use them rarely compared to daily grilling. Phase two arrives after your primary system proves itself over time.
A mid range grill outperforms a budget model across multiple seasons. Better heat distribution means faster cooking and superior results. Stainless steel construction resists corrosion longer than bare metal. Start here, then expand. Every dollar spent on a reliable primary cooktop pays dividends through years of use and reduced maintenance headaches.
The magic of a backyard feast isn’t found in the price tag of the grill, but in the simple joy of cooking under the open sky. Good design is about making the most of what you have to create a space where everyone feels welcome.
Integrating Built In Units Versus Modular Components
Built in appliances cost 30 to 50 percent more upfront because they require permanent installation, framing, and potentially professional work. You’re paying for permanence and integrated aesthetics. Ripping them out means structural changes and wasted money. Modular slide in carts cost less initially and swap out easily as needs change.
Modular components give you flexibility your budget demands. Replace a single cart without rebuilding your entire kitchen. Upgrade specific pieces as funds become available. Modular systems tolerate mistakes better since you’re not locked into concrete and cabinetry. Start modular, convert to built in later once your outdoor kitchen priorities clarify and your budget grows.
Smart Refrigeration And Storage For Your Outdoor Kitchen
Finding Affordable Weather Rated Refrigerators
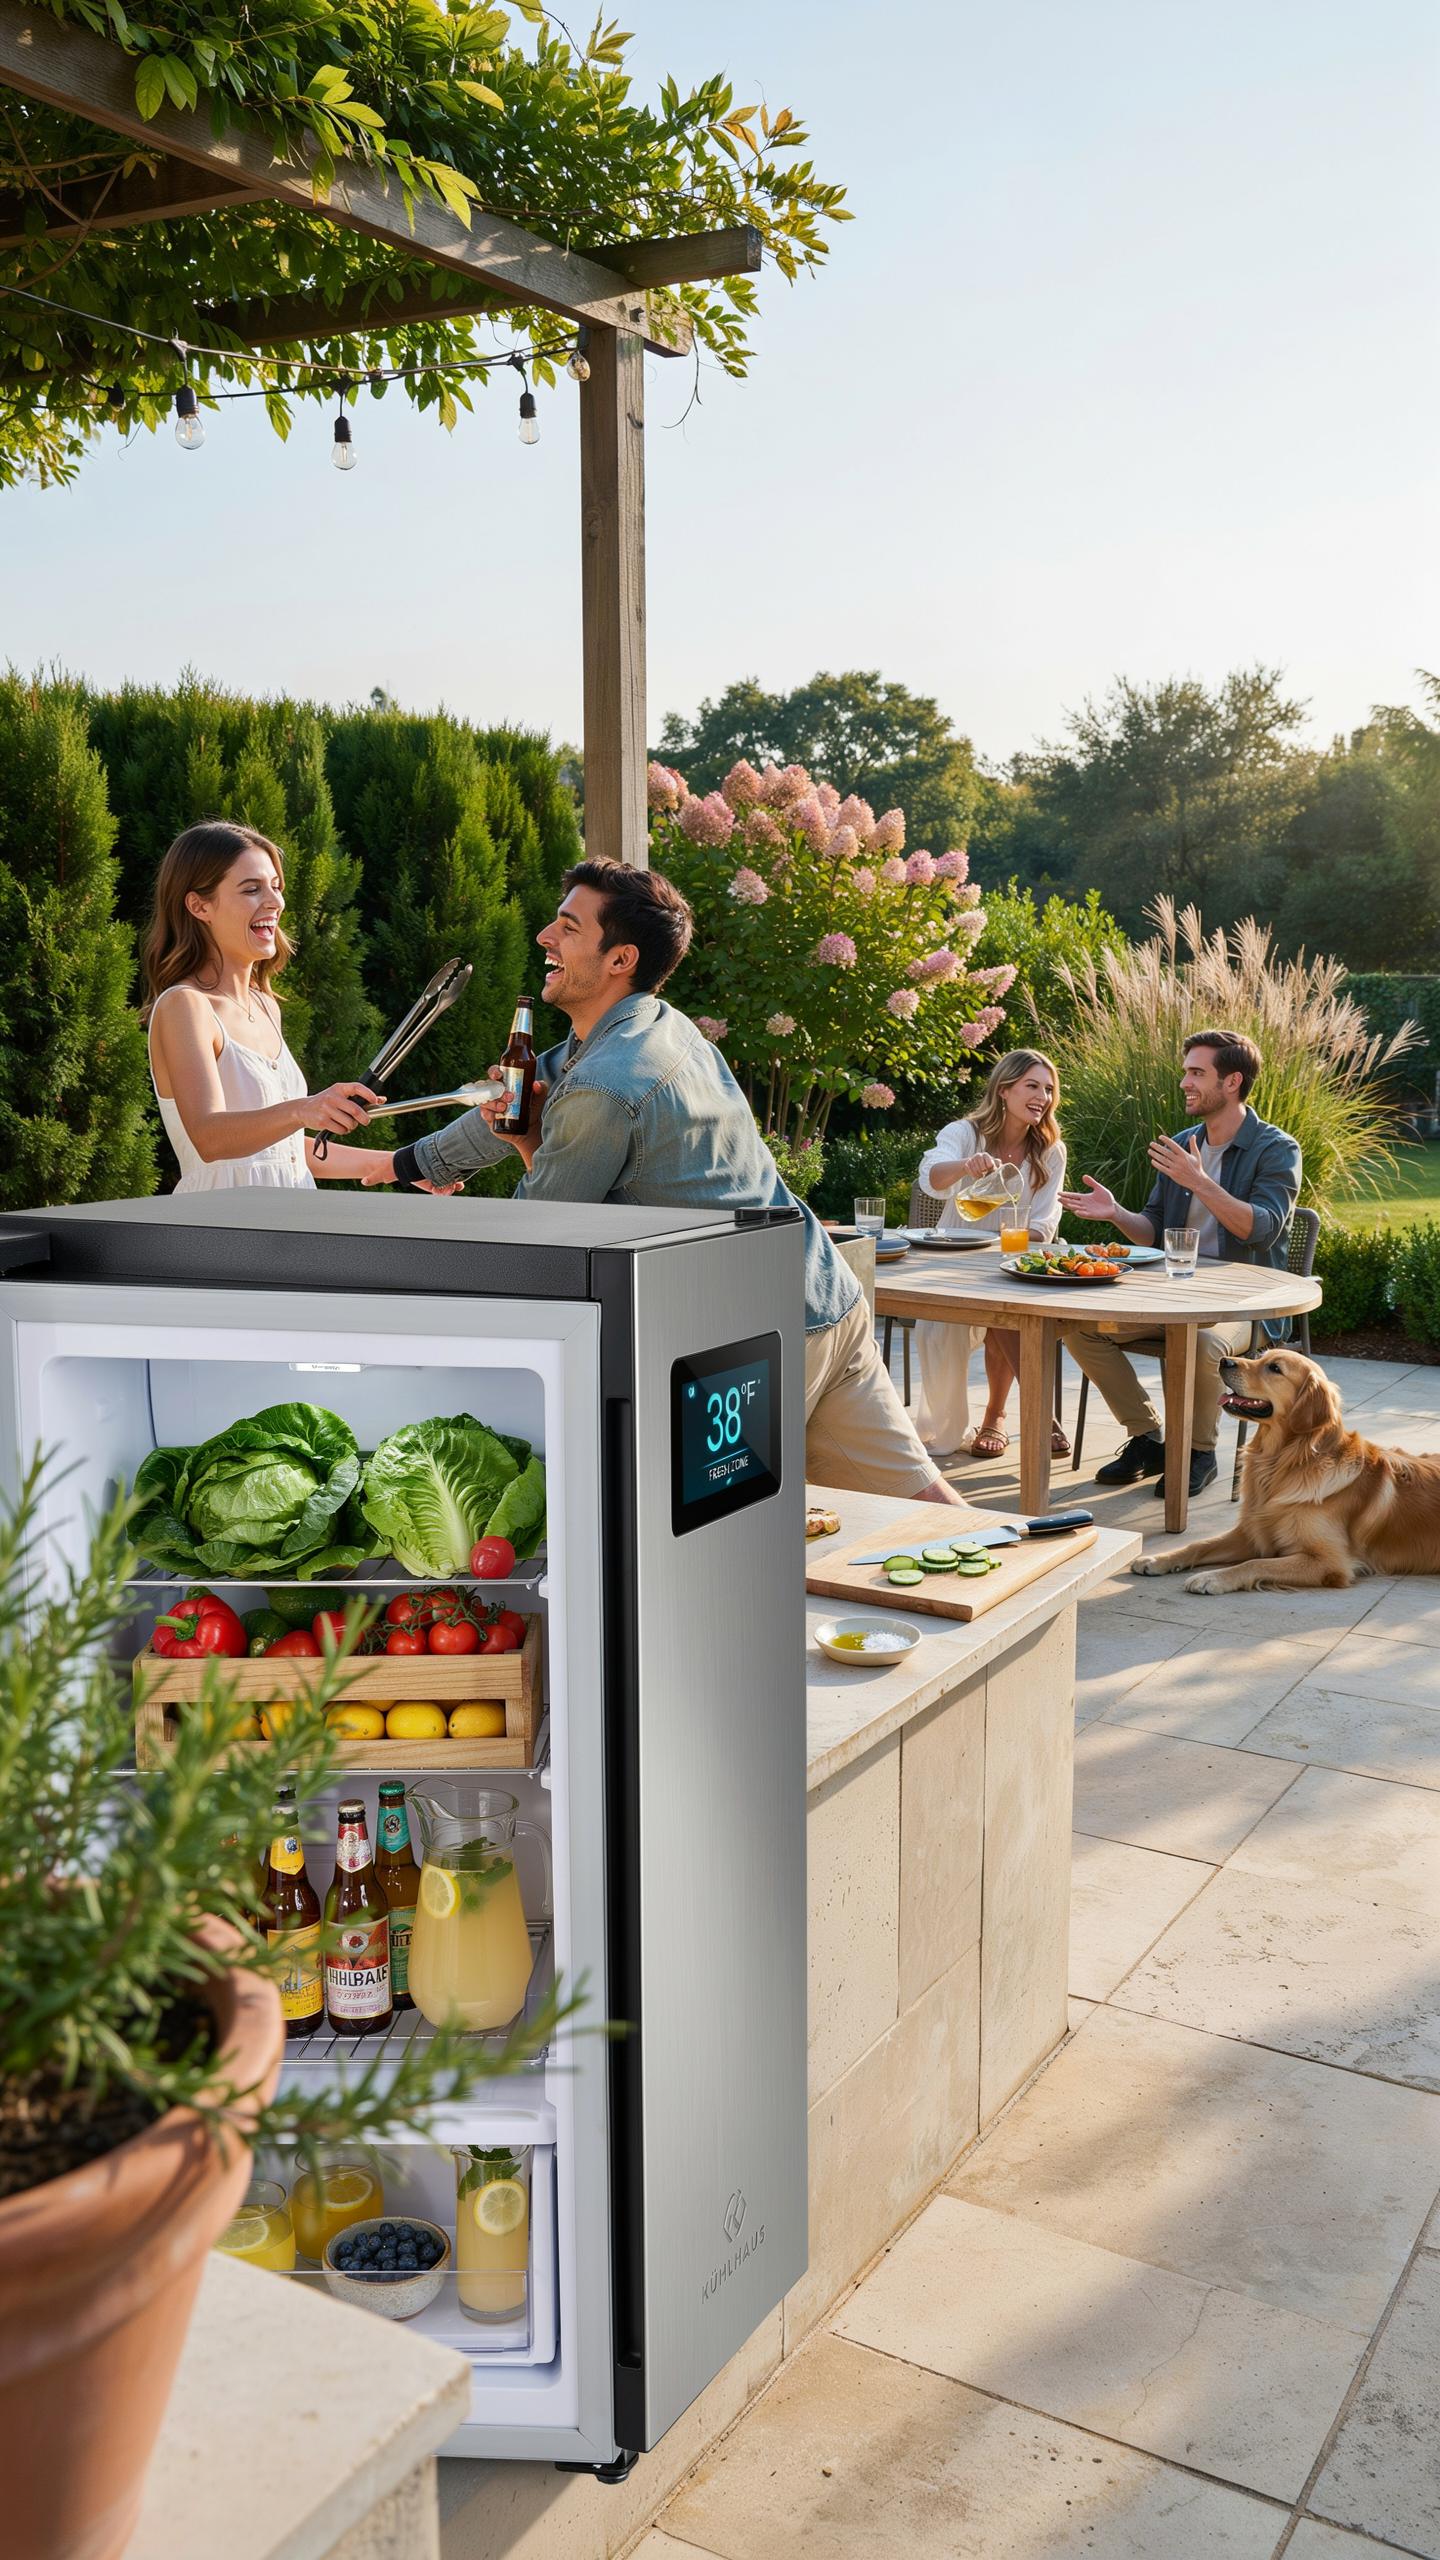
Indoor mini-fridges fail outdoors because they lack proper sealing and ventilation designed for temperature swings and humidity. Outdoor-rated units use stainless steel or powder-coated aluminum that resists rust and corrosion. They feature improved insulation to handle direct sun exposure and maintain cooling efficiency in heat. Check the manufacturer specs for IP ratings and temperature operating ranges before buying.
Budget brands like Avanti and Kegco offer outdoor-capable refrigeration at half the price of premium lines. These models use similar compressor technology as expensive options but skip unnecessary features. Look for units with self-closing doors and adequate drainage systems. Size matters too: a 4.5 cubic foot unit costs less than 6 cubic feet and fits most budget builds without sacrificing function.
Cost Effective Storage Doors And Access Drawers
Stainless steel access doors run between 80 to 200 dollars depending on size and hinge quality. Single-wall construction works fine for budget projects. Focus on models with magnetic closures instead of latches, which wear faster and corrode in coastal areas. Standard 24-inch and 30-inch widths fit most outdoor kitchen frame systems without custom fabrication costs.

Storage drawers rated for outdoor use typically cost 150 to 400 dollars per drawer depending on depth and material gauge. Powder-coated steel drawers cost less than stainless steel but require annual maintenance to prevent rust in wet climates. Match drawer sizes to your appliance cavity to avoid expensive modification work. Sealed compartments keep pests and debris out while organizing grilling tools and supplies efficiently.
Inspirational Yet Budget Friendly Outdoor Kitchen Design Ideas
Upcycling Salvaged Materials For Unique Styling
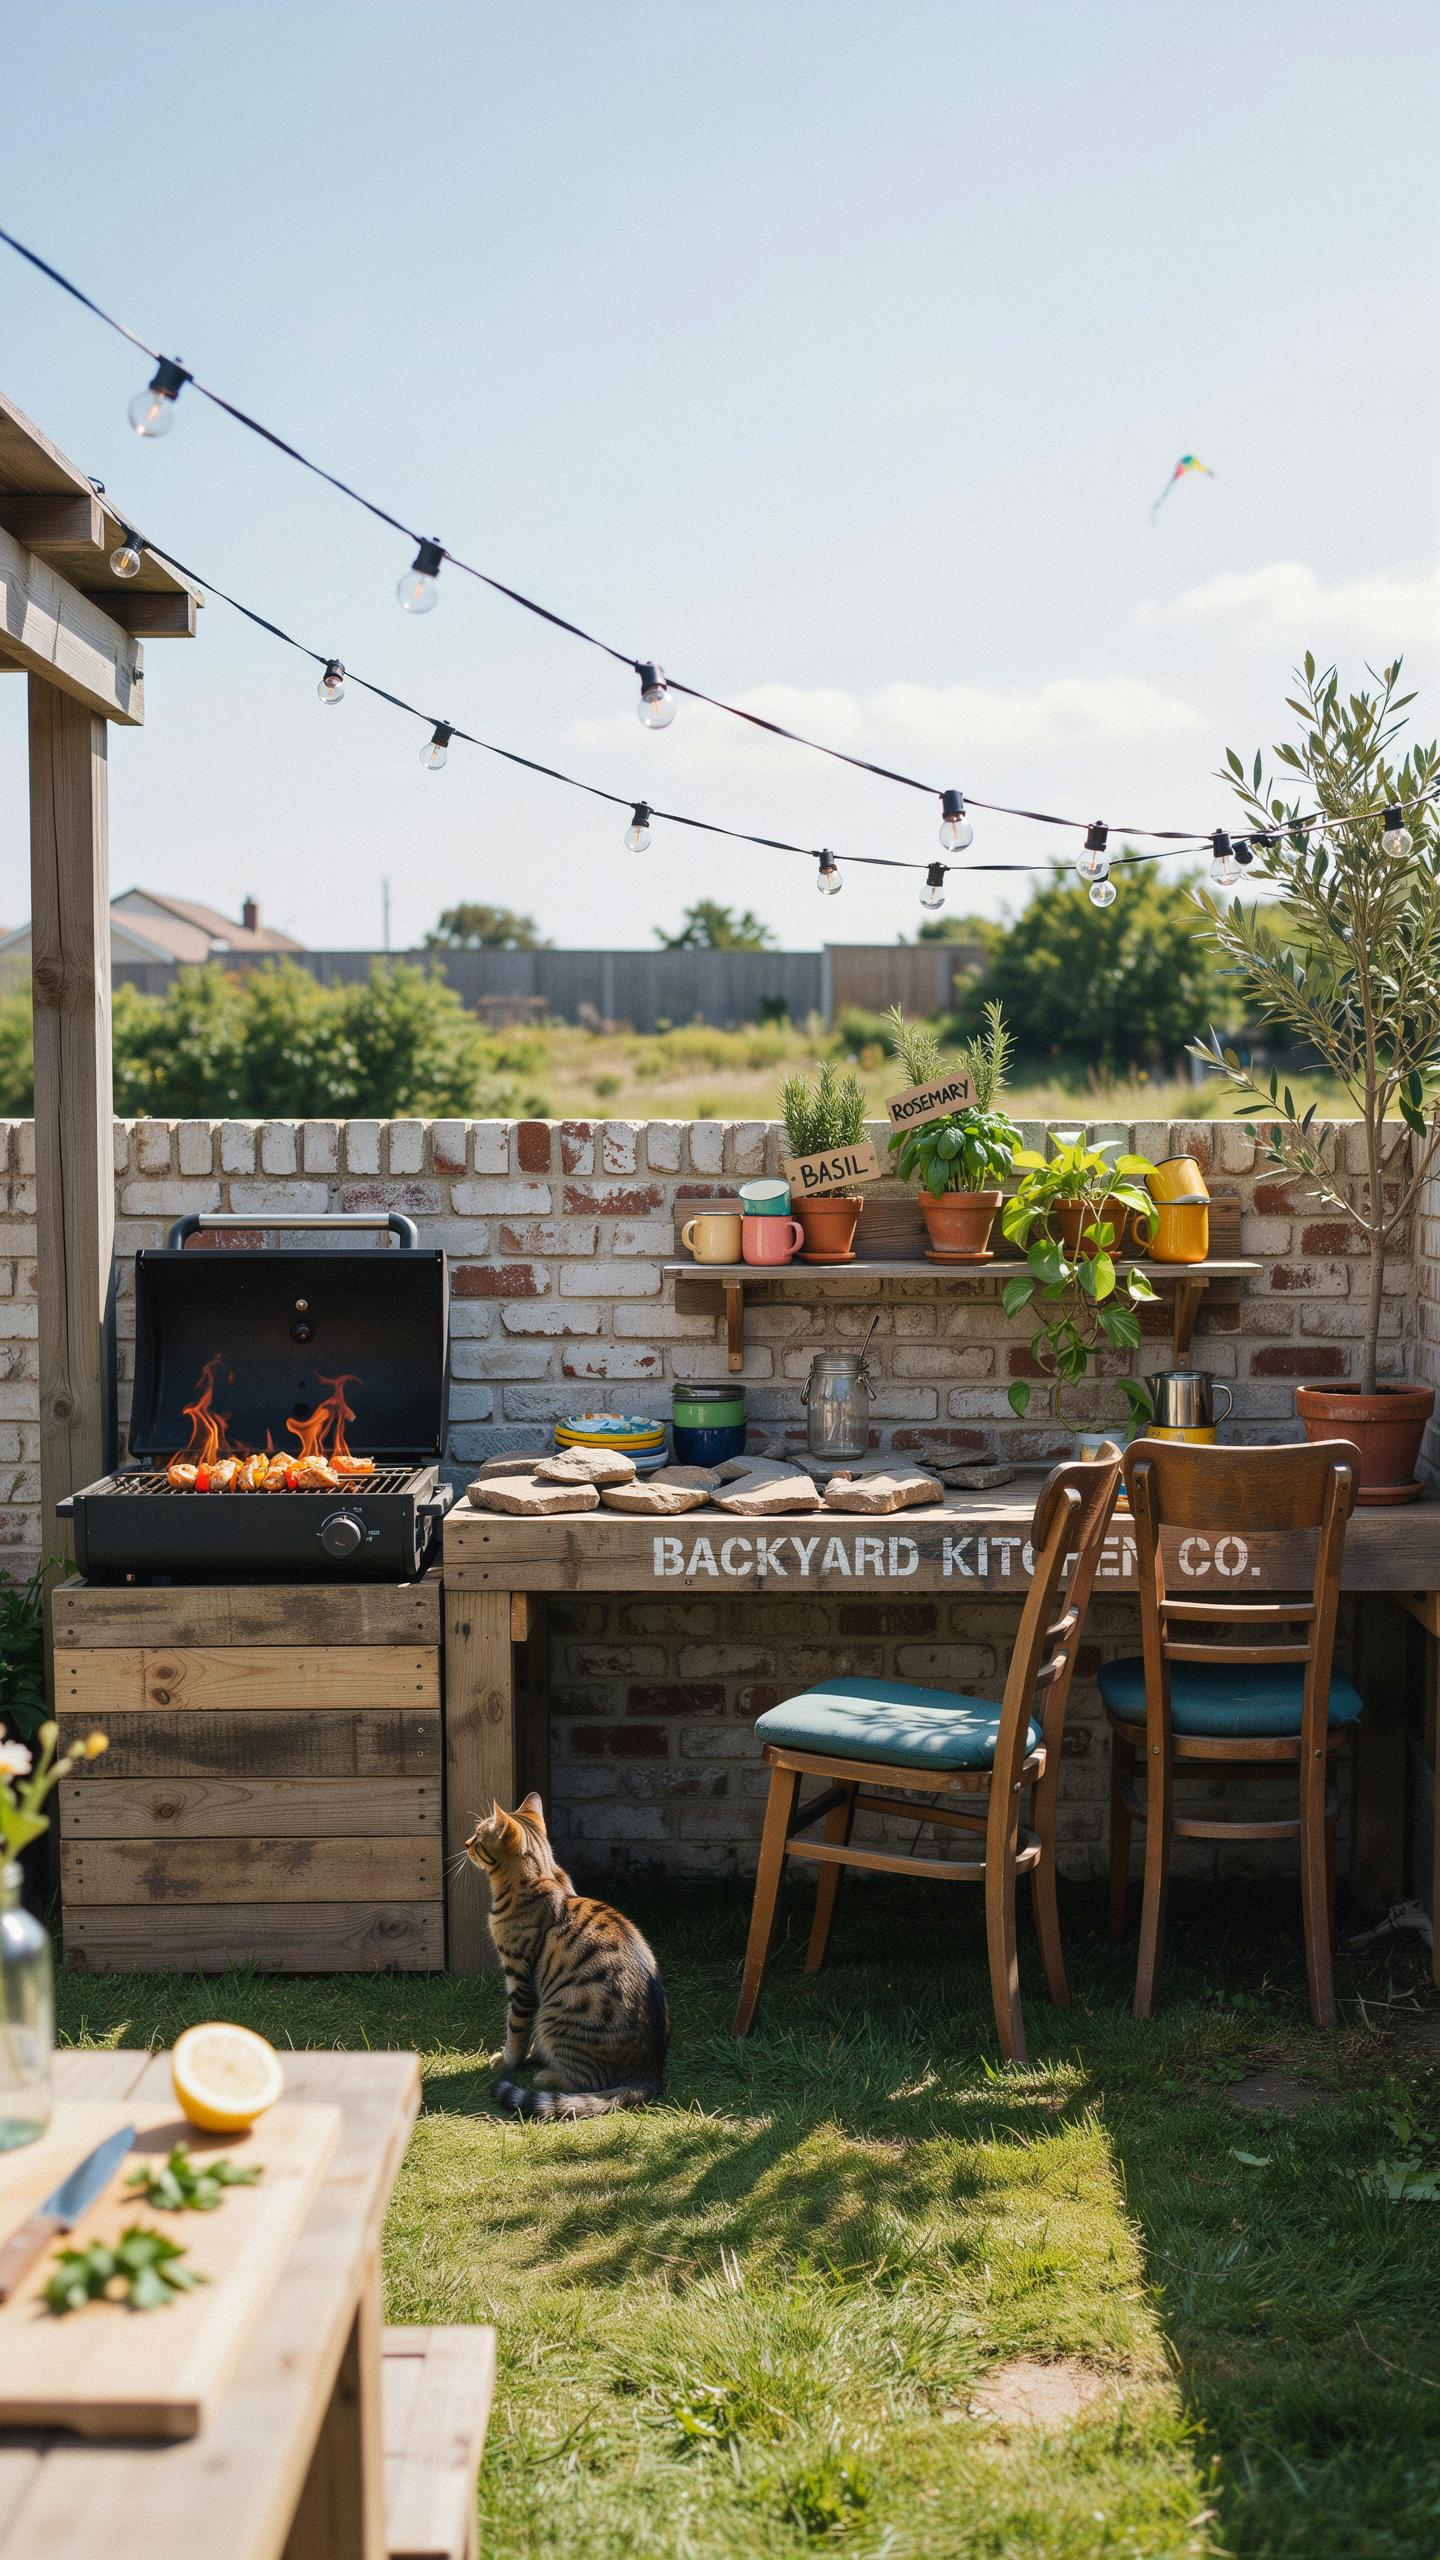
Reclaimed materials cut costs while delivering authentic character. Salvaged wood from barns or warehouses becomes countertops and cabinetry. Stone pavers from demolition sites function as backsplashes or accent walls. Reclaimed brick works as edging or fireplace surrounds. These materials cost 30 to 50 percent less than new alternatives while building visual depth.
Urban salvage yards stock appliances, metal grates, and hardware rejected by contractors. A used gas grill or refrigerator from salvage costs significantly less than retail models. Repurposed metal gates transform into cabinet doors or screens. The industrial aesthetic of salvaged components aligns with current outdoor design trends. Material sourcing requires time investment, but financial returns justify the effort.
Enhancing Ambience With Low Cost Lighting And Seating
Solar string lights eliminate electrical installation costs and ongoing power expenses. These lights mount on posts, pergolas, or trees within minutes. Battery replacement occurs annually at minimal cost. Bar stools from discount retailers provide seating for 15 to 30 dollars per unit. Perimeter landscaping with shrubs or grasses defines space without expensive hardscaping.
Tiered or layered lighting creates focal points without premium fixtures. Solar path lights mark walkways for under five dollars each. Low voltage LED strips accent counters or shelving for under twenty dollars. Grouping budget seating near the cooking area encourages social gathering. These additions transform basic outdoor kitchens into functional entertainment spaces that serve daily use and gatherings alike.
Frequently Asked Questions

What are the essential appliances needed to start a basic outdoor kitchen?
For a beginner, the core elements of outdoor kitchen design appliance selection focus on a reliable grill and a small prep station. You don’t need a full suite of luxury gadgets to start. Focus on a high-quality freestanding propane or charcoal grill and perhaps a compact refrigerator. By prioritizing these two functional pieces, you create a dedicated cooking zone that is both manageable and highly effective for weekend entertaining.
How do I choose durable appliances that fit a smaller backyard layout?
When narrowing down your outdoor kitchen design appliance selection for tight spaces, look for multi-functional modular units. Opt for drop-in side burners or slim-profile stainless steel drawers that maximize vertical storage. Measure your footprint carefully to ensure adequate ventilation and clearance. Choosing weather-rated, compact appliances ensures your setup remains durable against the elements while keeping your patio footprint open and comfortable for guests to move around freely.
Can I build an impressive outdoor kitchen area on a strict budget?
Absolutely! You can achieve a high-end look without the premium price tag by sourcing “open-box” items or discontinued floor models. Instead of expensive custom masonry, use prefabricated carts or DIY wooden islands to house your gear. Prioritizing value-driven brands for your components allows for a stylish setup that looks professional. Smart planning ensures your project stays affordable while still delivering the luxury experience of backyard dining.



