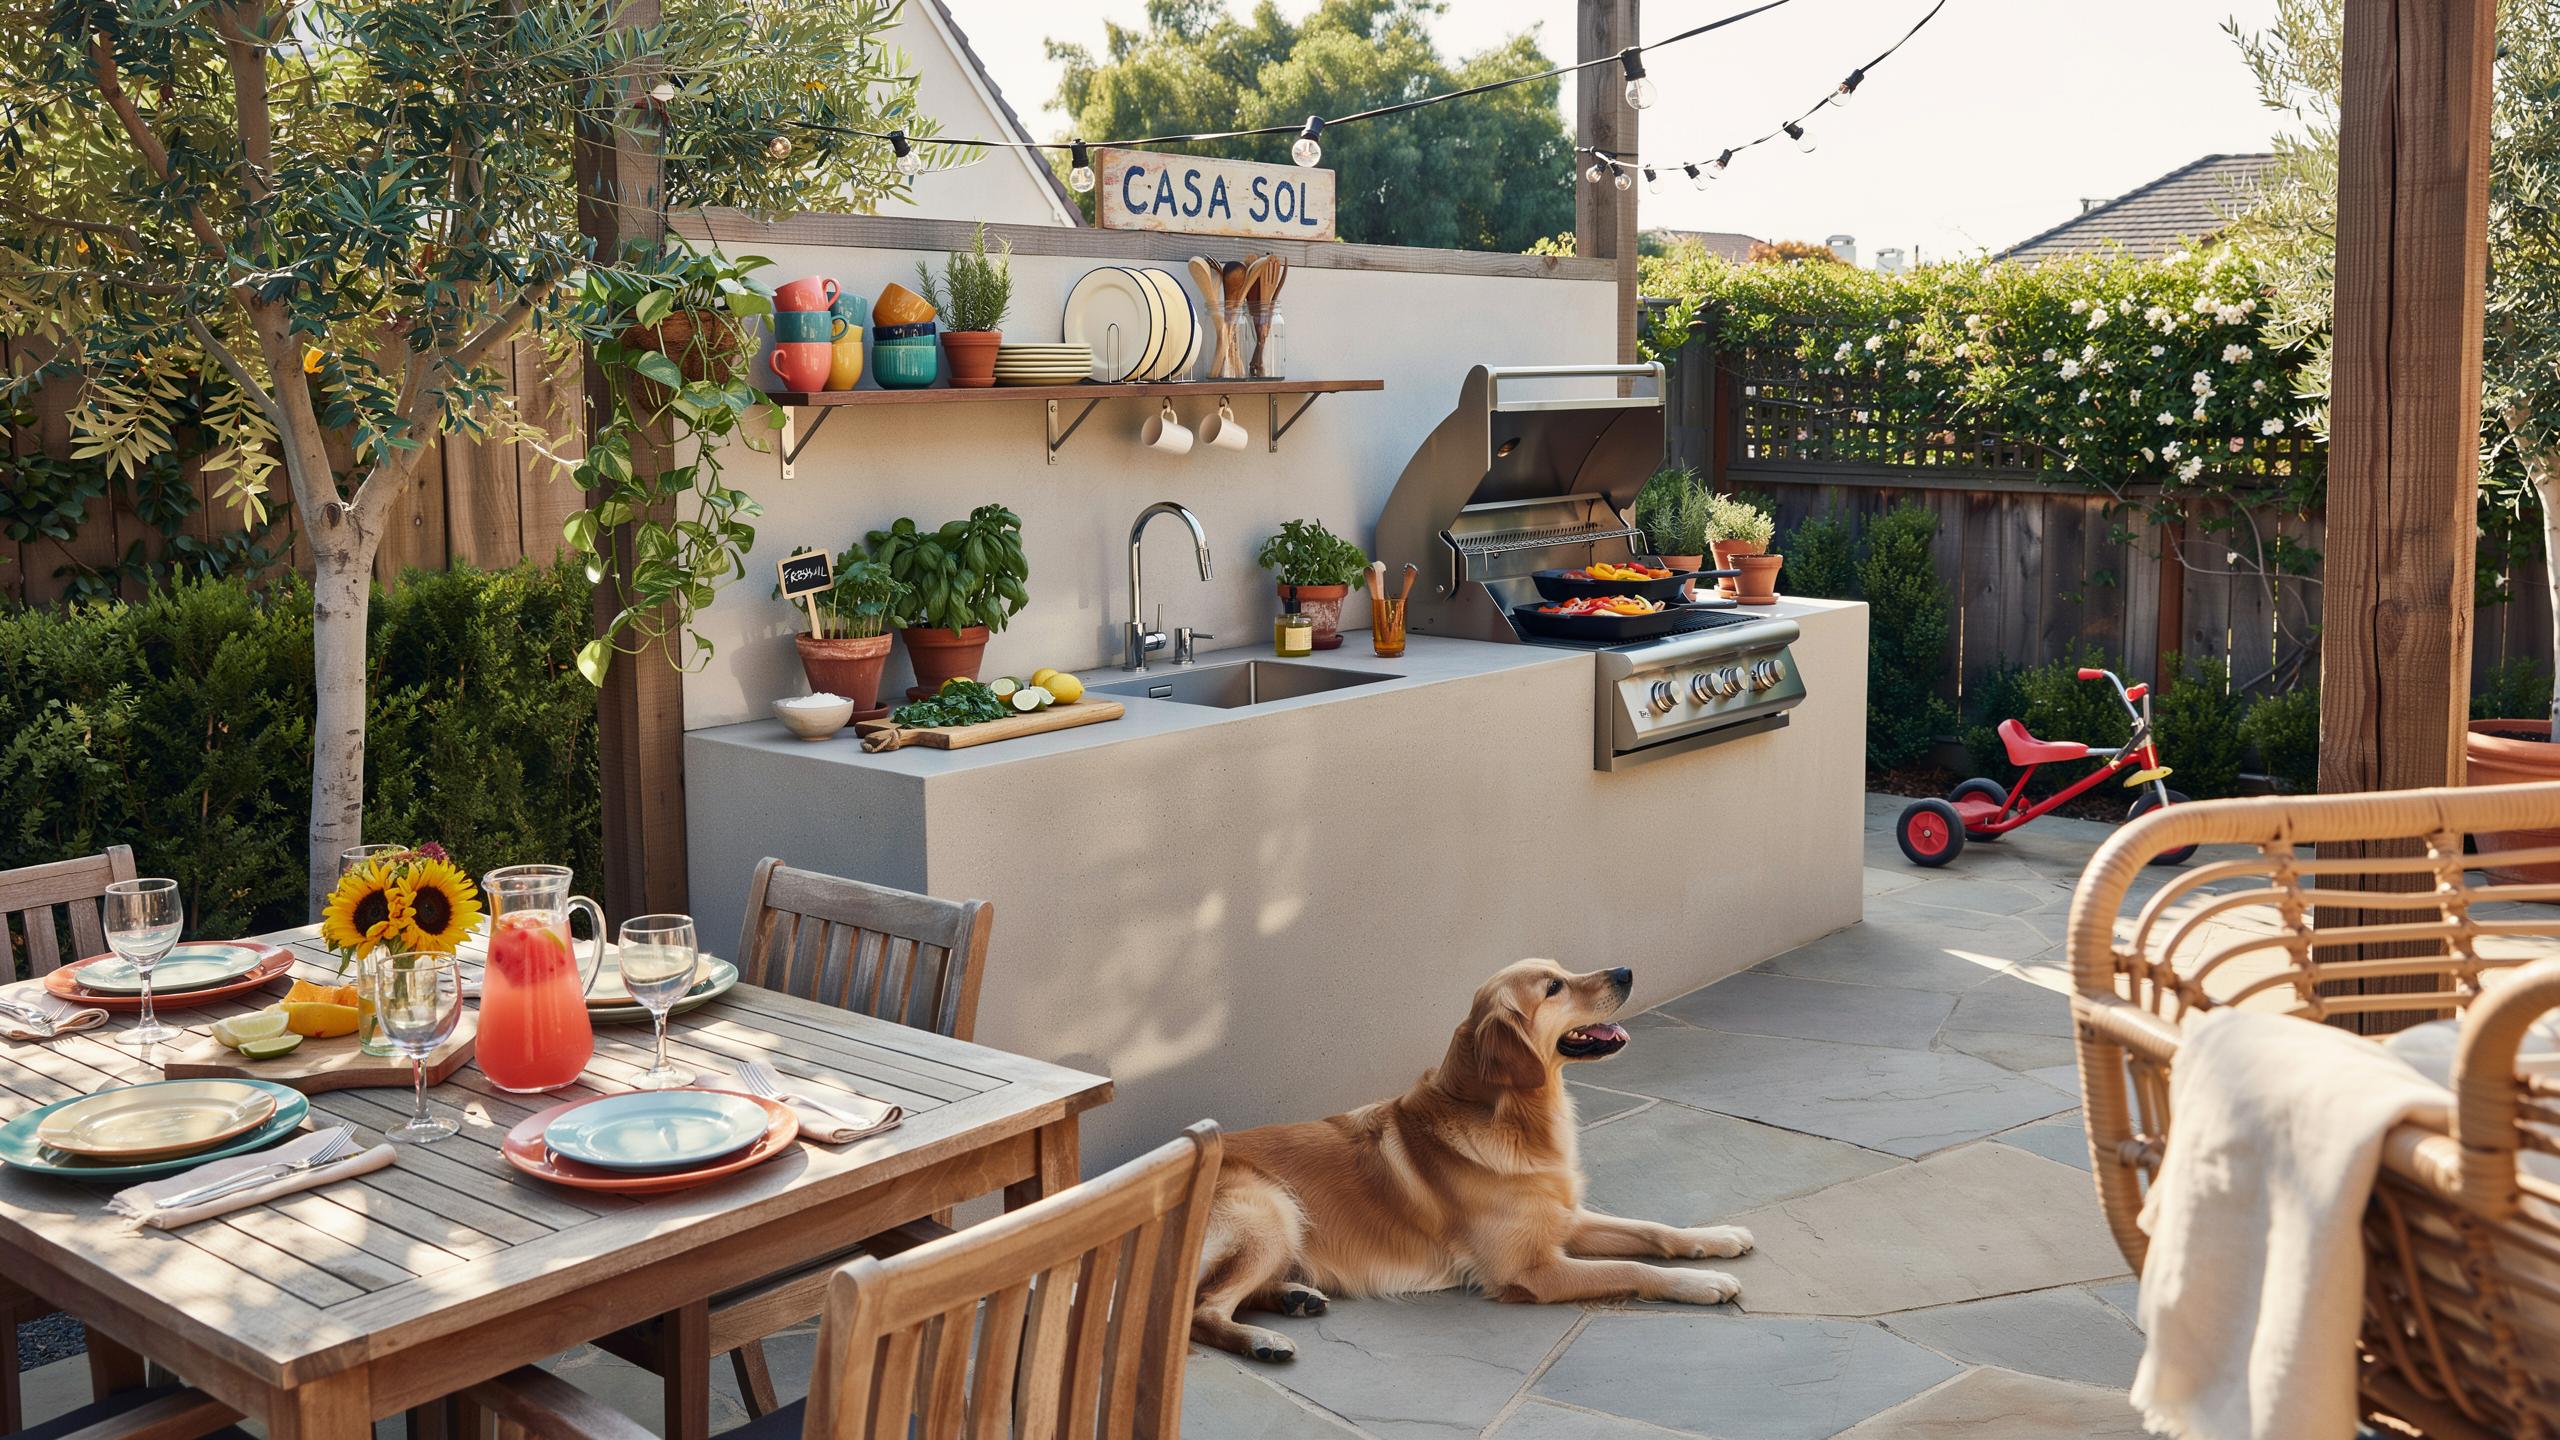
Exploring Trendy Backyard Kitchen Renovation Ideas For Your Home
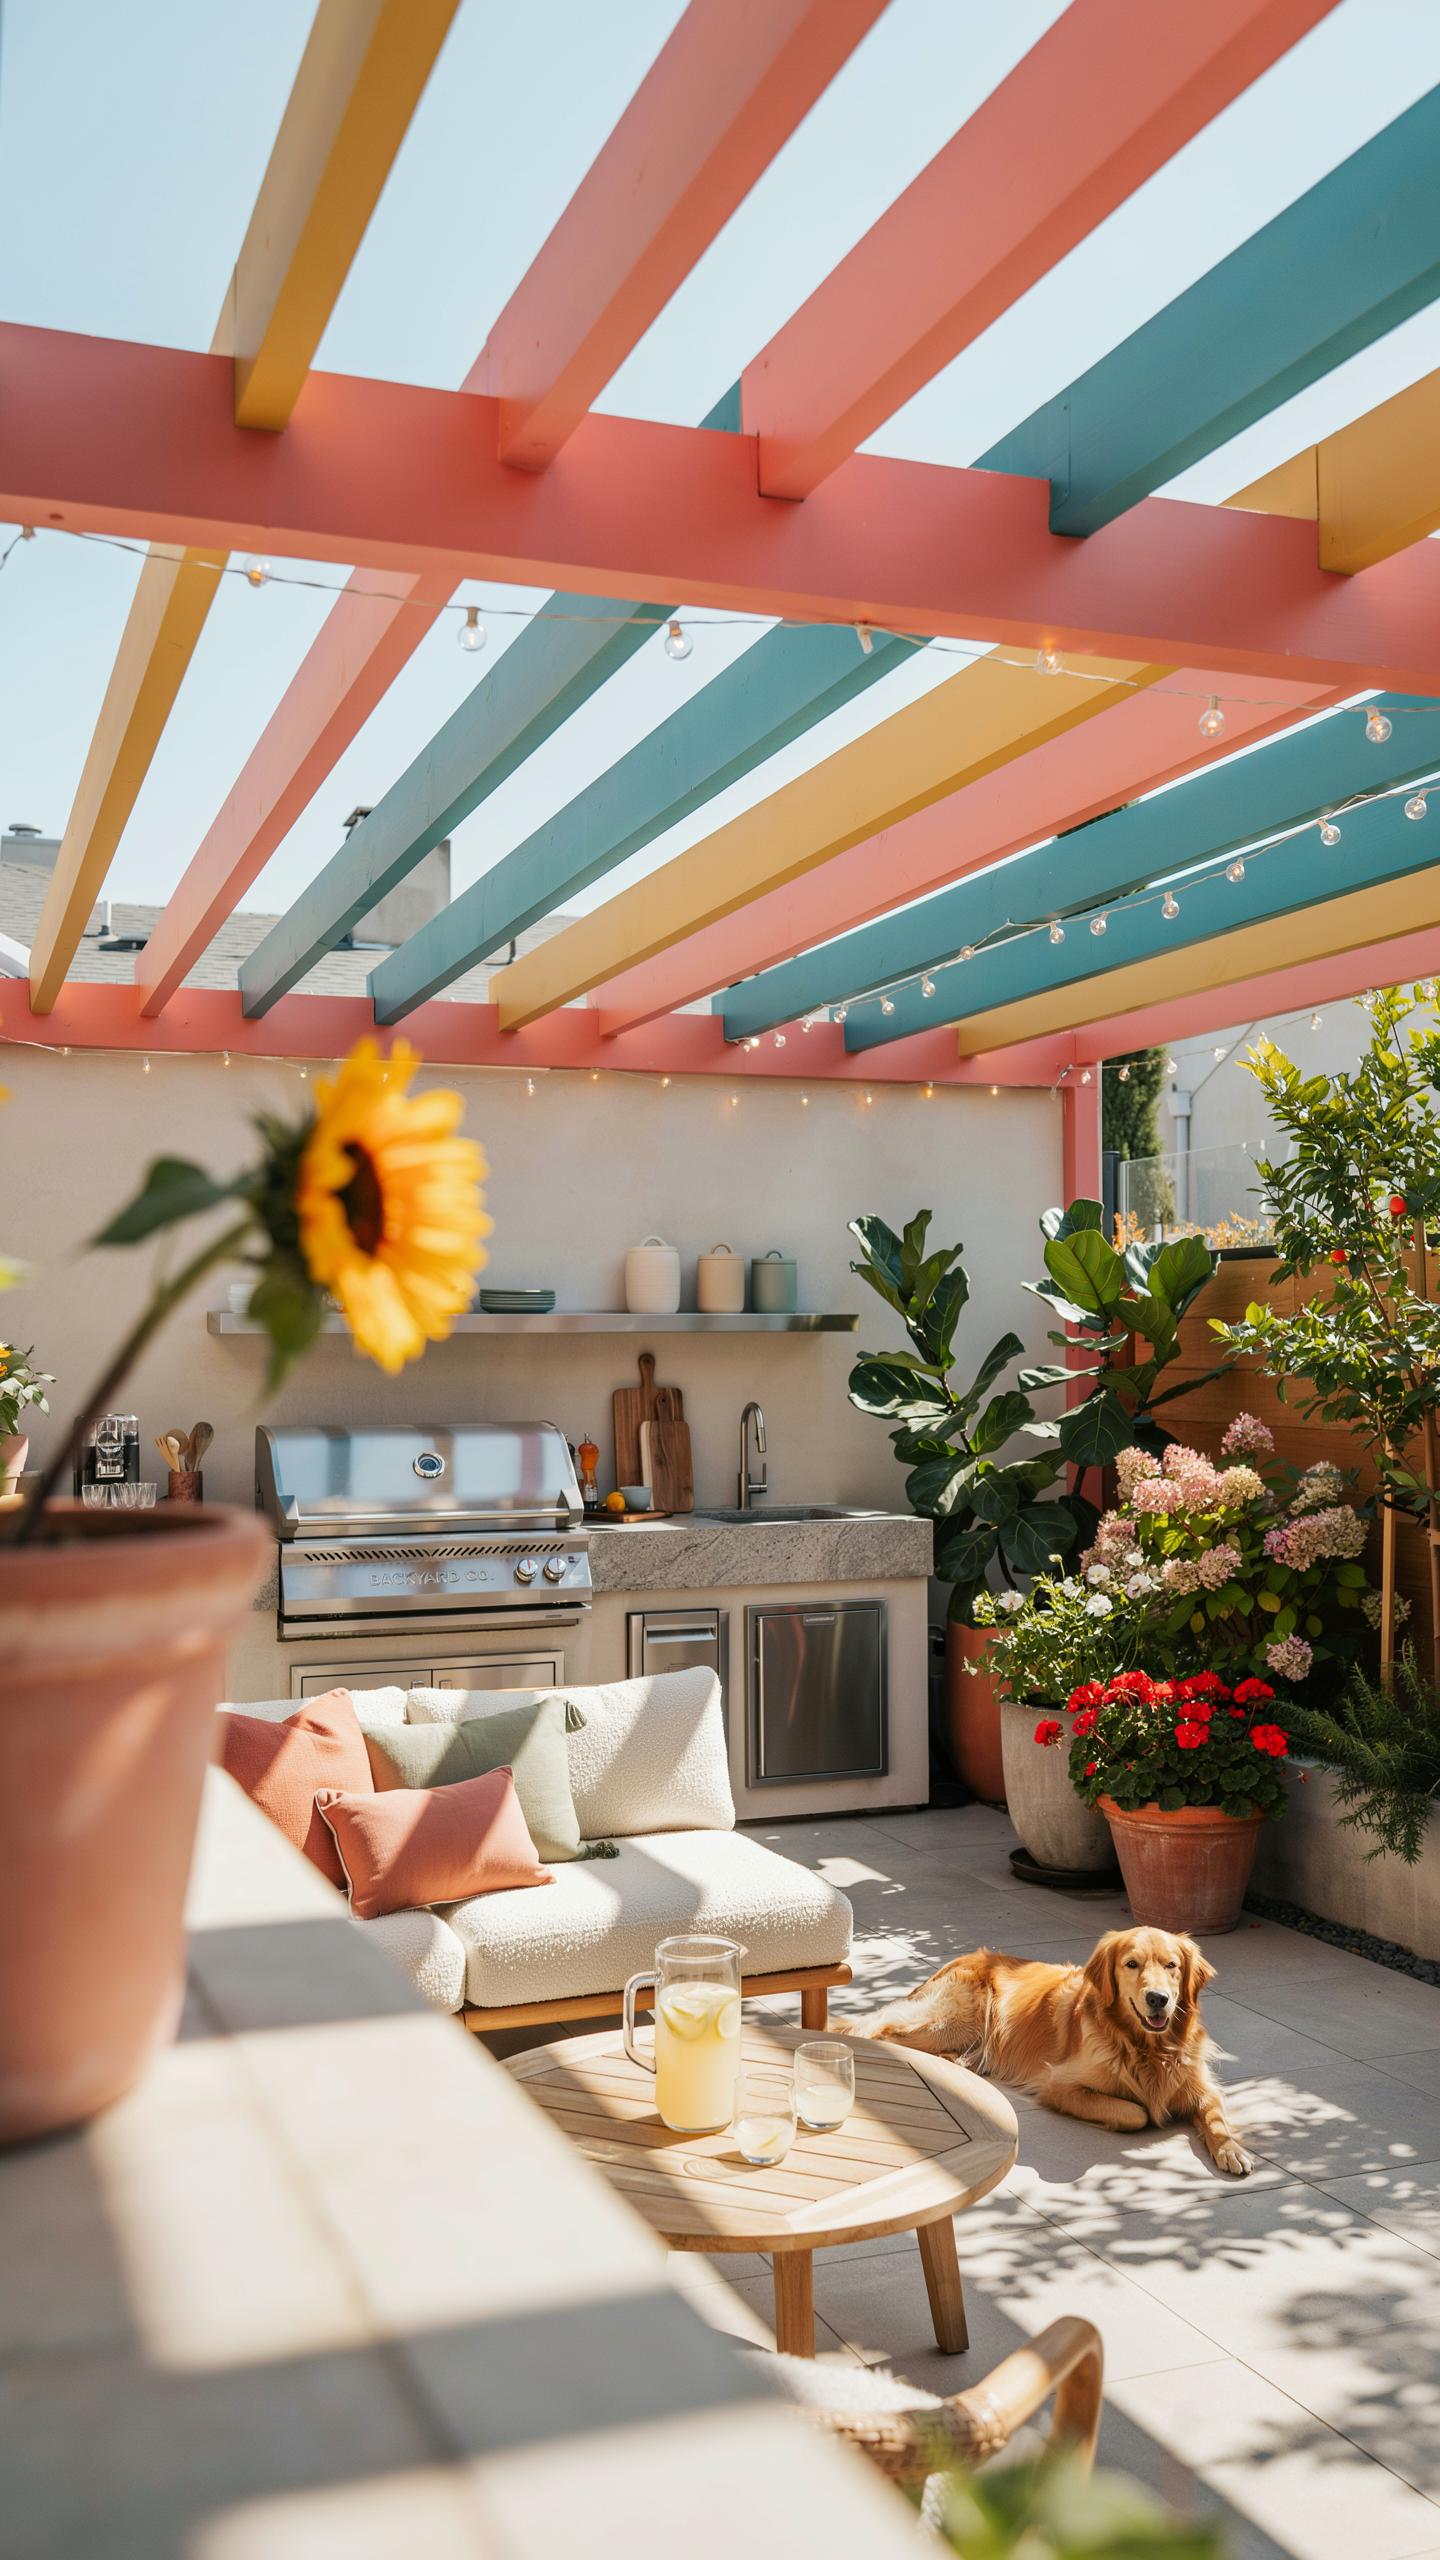
How Structural Renovations Can Elevate Your Backyard Entertainment Value And Home Value
Structural renovations to outdoor kitchens directly impact property resale value and usability. A well-designed countertop layout with proper foundation support, drainage systems, and weather-resistant materials adds functional square footage to your home. Buyers evaluate outdoor kitchens based on construction quality, material durability, and spatial efficiency. Strategic placement of work zones increases your property’s appeal and justifies higher asking prices in competitive markets.
Foundation work determines long-term performance and cost efficiency. Proper grading prevents water pooling around countertops and structural elements. Concrete pads must meet local frost line requirements to prevent settling and cracking. Investing in correct structural installation eliminates expensive repairs and maintains consistent countertop alignment for prep, cooking, and serving zones.
Integrating Smart Technology And Custom Lighting Into Your Modern Backyard Cooking Space
Smart technology in outdoor kitchens requires weatherproof installation and reliable power sources. Outdoor-rated electrical outlets with GFCI protection power appliances, refrigeration units, and automation systems safely. LED lighting fixtures mounted above and below countertops improve visibility for food prep and cooking. Control systems allow you to adjust lighting and appliance settings remotely, extending your cooking season and usability into evening hours.
Lighting placement directly affects countertop functionality and safety. Install task lighting directly above work surfaces to eliminate shadows during food preparation. Ambient lighting around seating areas creates atmosphere while maintaining safe navigation. Use durable, sealed fixtures rated for outdoor conditions to prevent corrosion and electrical hazards from moisture exposure.

Essential Outdoor Kitchen Design Ideas To Maximize Aesthetics
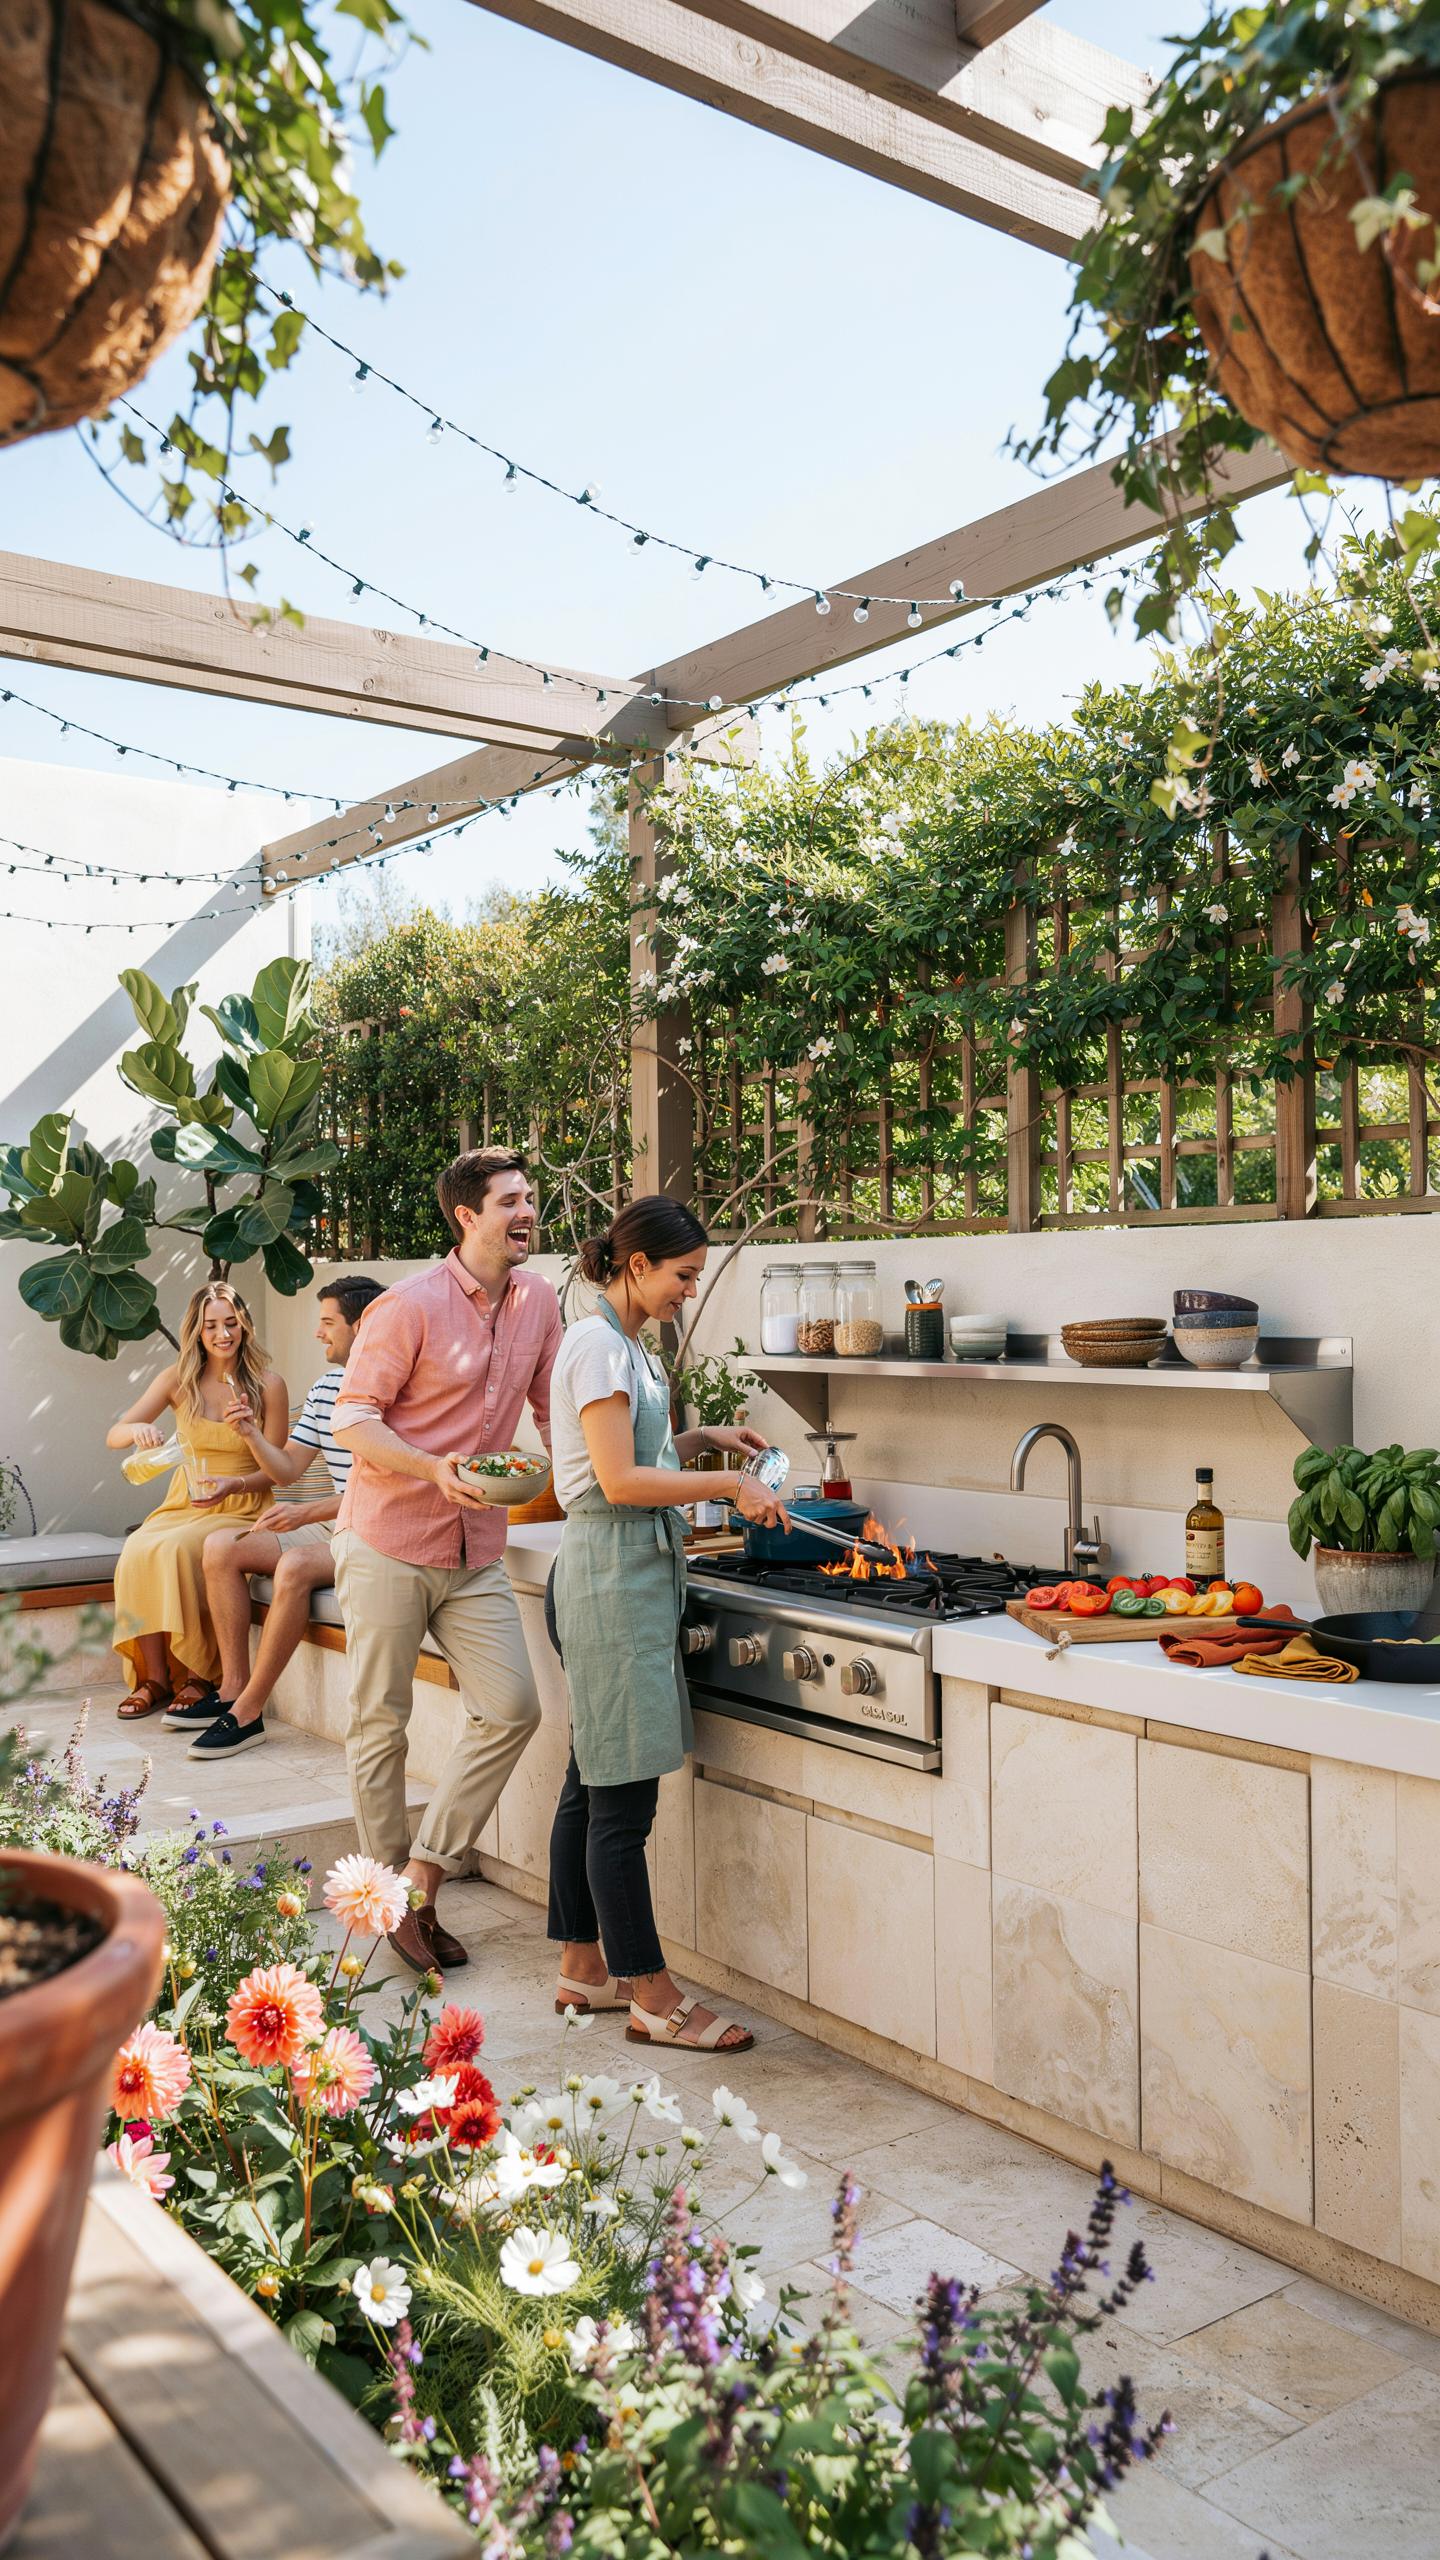
Selecting Cohesive Theme Styles Matching Your Existing Home Architecture
Your outdoor kitchen countertop layout must align with your home’s architectural style. This creates visual continuity and increases property value. Review your home’s existing materials, colors, and design language first. Match these elements in your outdoor space. Inconsistent styling fragments the overall property appearance and wastes design investment.
Mediterranean, modern, transitional, and rustic styles define most residential outdoor kitchens. Each style demands specific countertop materials and layouts. Mediterranean designs favor travertine and limestone with curved edges. Modern spaces require clean lines and materials like quartz or concrete. Identify your home’s primary style, then apply its principles to your countertop layout systematically.
Balancing Natural Textures With Sleek Contemporary Elements In Open Air Culinary Environments
Natural stone countertops like granite and slate introduce texture and warmth to outdoor kitchens. These materials age gracefully and resist UV damage over time. However, they require ongoing sealing and maintenance in exposed conditions. Balance stone surfaces with stainless steel appliances and minimalist cabinetry. This contrast prevents the space from feeling heavy or dated.

Engineered quartz and concrete offer modern alternatives that handle outdoor exposure better than natural stone. Quartz resists staining and requires minimal maintenance compared to granite. Concrete allows custom finishes and integrates seamlessly with contemporary designs. Pair these sleek surfaces with natural wood accents or decorative tile borders. This combination maintains functionality while achieving visual sophistication and contemporary appeal.
Selecting The Most Efficient Outdoor Kitchen Layout For Your Space

Evaluating Traffic Flow And Spatial Dynamics Of Traditional L Shaped Setups
L-shaped layouts dominate outdoor kitchens because they create two perpendicular work zones from limited footprint. This configuration positions the grill on one arm and prep surfaces on the other, minimizing cross-traffic during cooking operations. The corner junction naturally becomes the transition point between high-heat cooking and food preparation, reducing unnecessary movement.
Traffic flow improves when you anchor the L-shape against existing structures like fences or house walls. This prevents people from cutting through your cooking zone during entertaining. Face the open side toward seating areas so guests remain visible while you work. The L-shape works best in rectangular yards where you can position it along two sides.
Understanding Zoning Requirements And Functional Work Triangles For Luxury Outdoor Prep Areas
Work triangles connect three primary stations: storage, prep, and cooking. In outdoor kitchens, this triangle typically spans grill to sink to refrigeration. Distances between 4 to 9 feet maintain efficient workflow without exhausting movement. Triangles exceeding 12 feet force unnecessary steps and slow service during high-volume entertaining.

Zoning creates operational separation between cold storage, prep work, and heat-generating appliances. Place refrigeration away from the grill to prevent temperature conflicts and reduce cooling load on units. Position sinks between prep and cooking zones to serve both functions. Countertop heights should stay consistent at 36 inches unless specific appliances require adjustments for ergonomics and safety.
Analyzing The Best Durable Countertops For Outdoor Kitchens
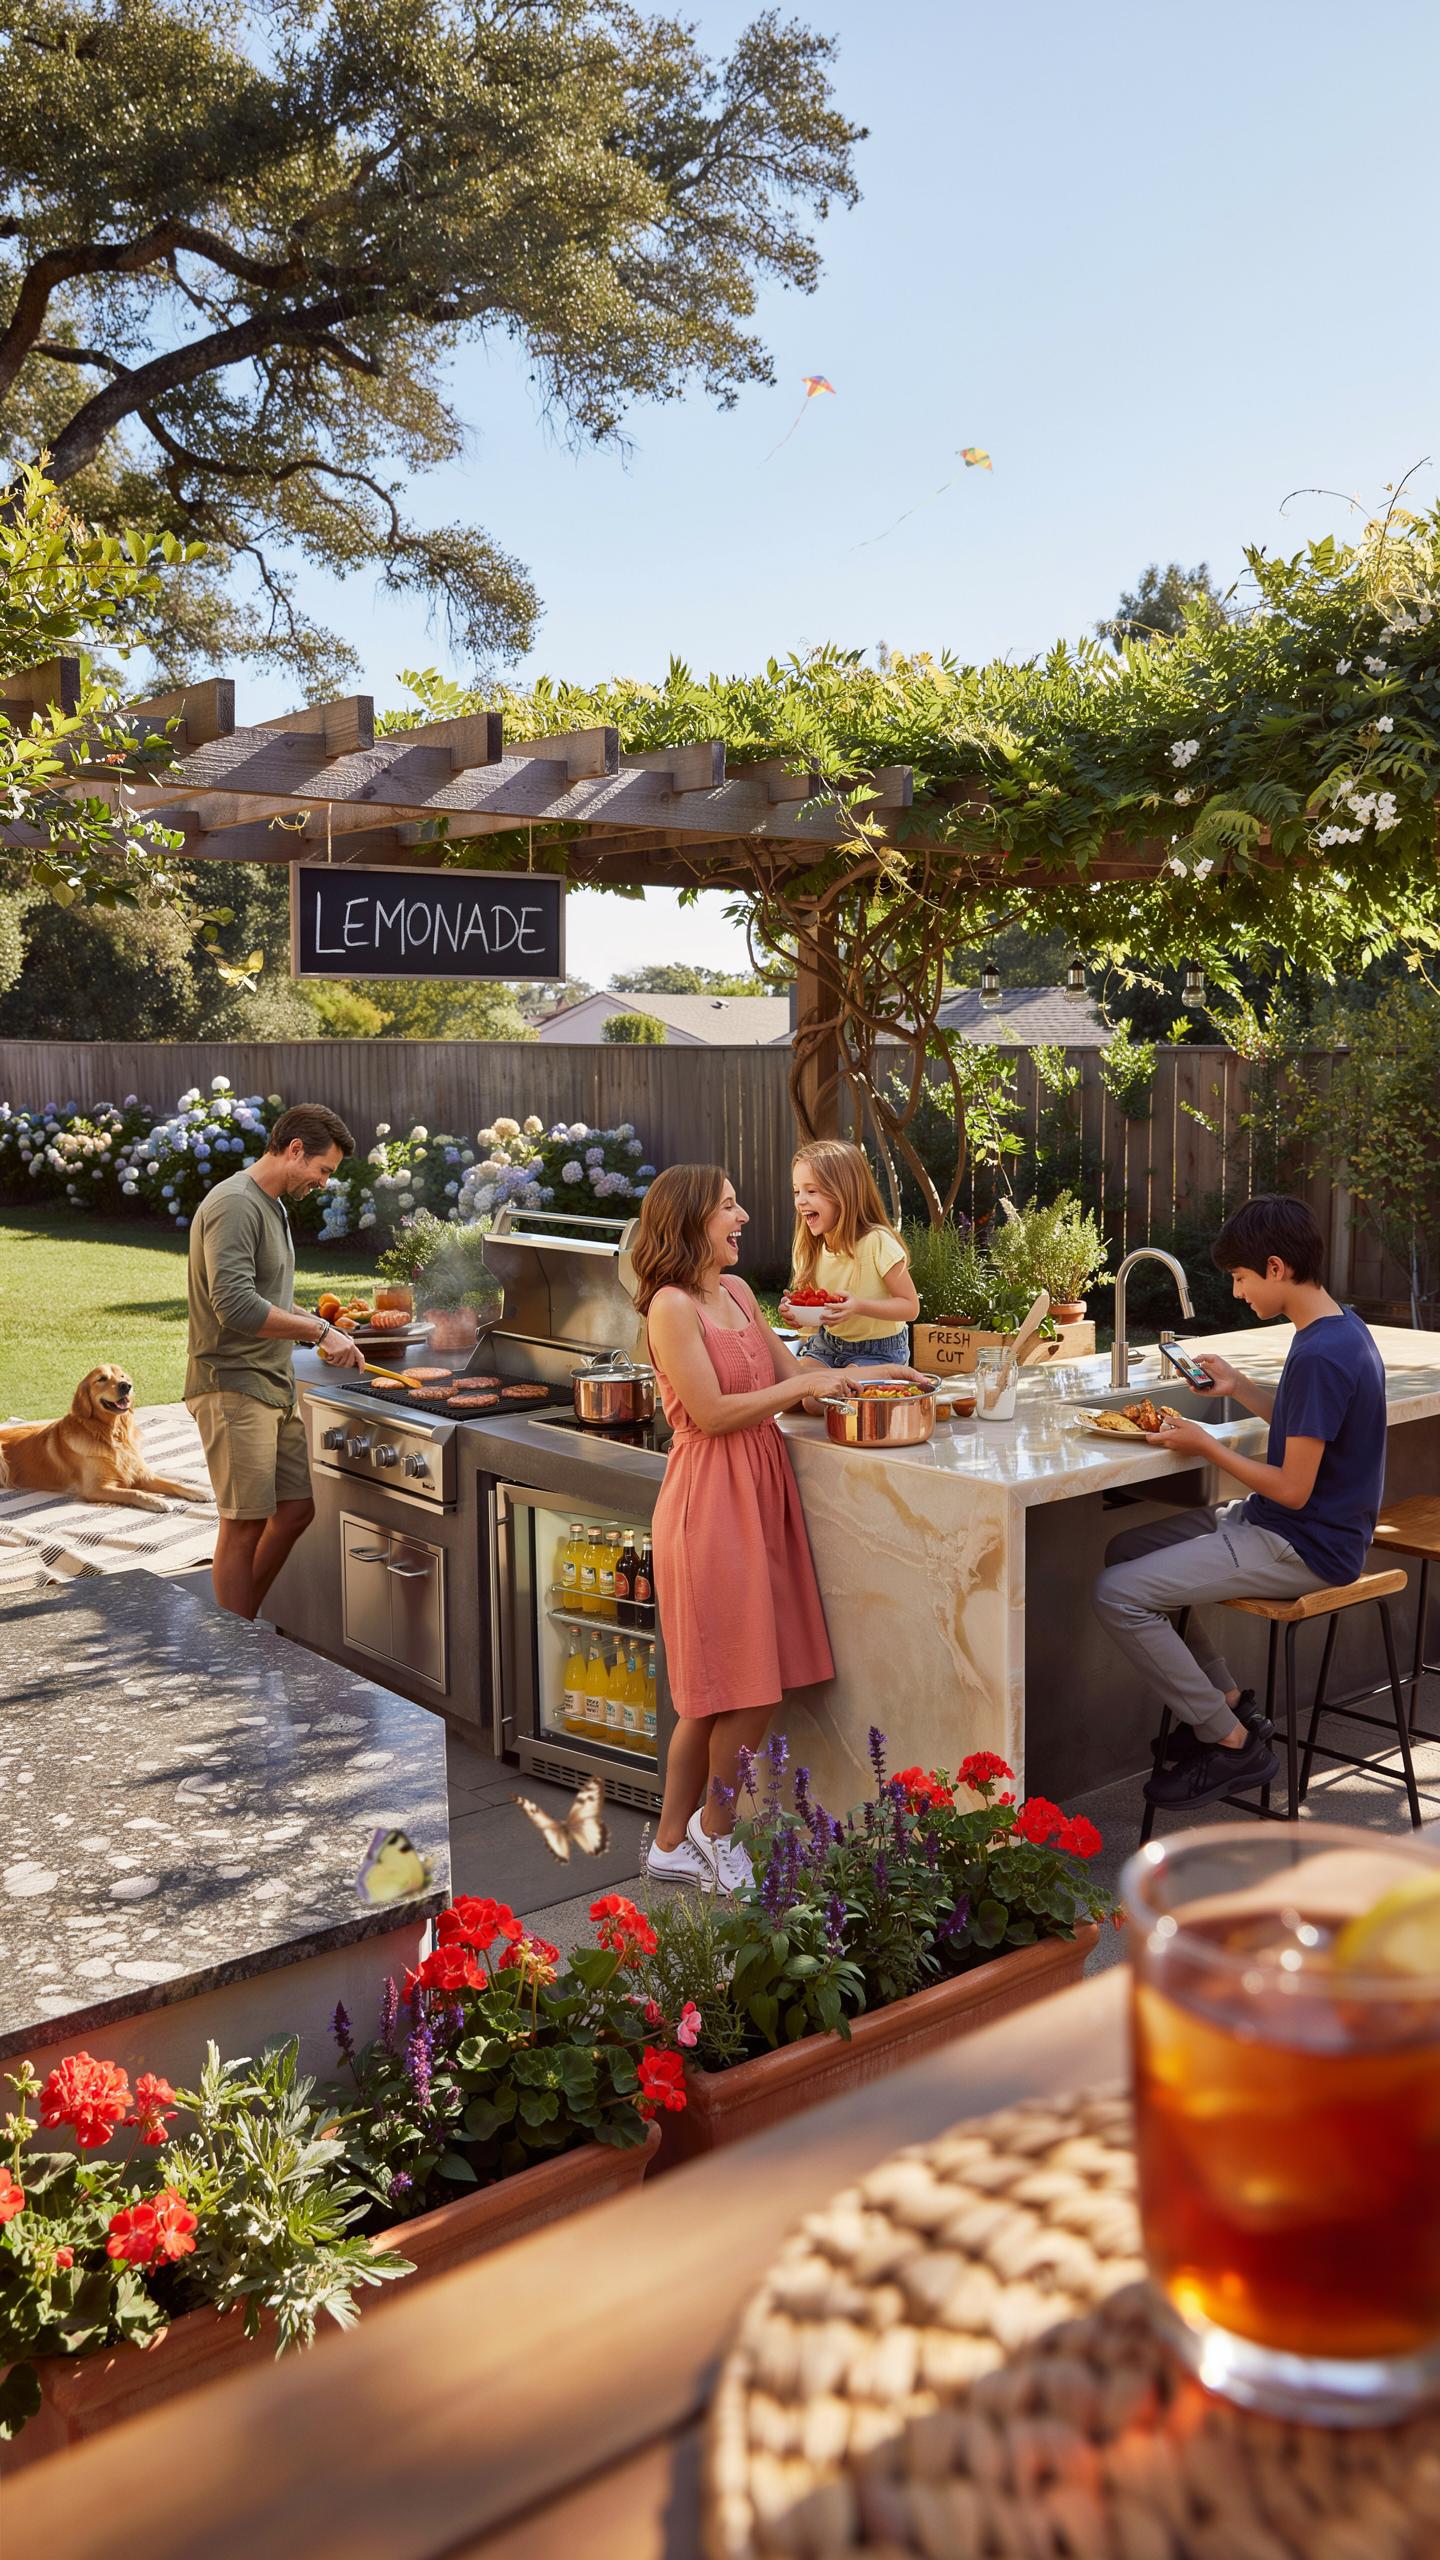
Choosing Between Quartzite, Concrete, And Soapstone Countertops
Outdoor kitchen countertops face direct sun, temperature swings, moisture, and freeze-thaw cycles. Material choice determines whether your layout survives five years or twenty. Three materials dominate: quartzite, concrete, and soapstone. Each handles environmental stress differently and costs vary significantly. Your location and budget dictate which material performs best for your outdoor kitchen design countertop layout.
- Quartzite: An engineered stone made from quartz crystals and resin. It resists scratches, heat, and staining better than granite. Costs range from 60 to 100 dollars per square foot installed. Requires annual sealing in outdoor conditions to prevent moisture penetration and color fading.
- Concrete: A poured material that offers design flexibility and budget efficiency. Costs 40 to 80 dollars per square foot depending on finish and reinforcement. Must seal every 1 to 2 years outdoors or it absorbs water and cracks during freeze cycles.
- Soapstone: A metamorphic rock with natural softness that ages gracefully. Costs 75 to 150 dollars per square foot installed. Naturally resists staining and heat but scratches easily. No sealing required, making maintenance simpler than other stone options.
- Granite: A natural igneous rock composed of quartz, feldspar, and mica. Durable outdoors but less dense than quartzite, requiring more frequent sealing. Costs 50 to 100 dollars per square foot. Color variation in outdoor slabs is natural and unpredictable.
- Tile: Ceramic or porcelain units set in grout. Low material cost around 15 to 40 dollars per square foot. Grout lines trap debris and moisture, creating maintenance work. Best for covered outdoor kitchens away from standing water and freeze-thaw stress.
Quartzite handles outdoor conditions better than granite due to higher density and superior resin binding. Concrete offers customization but demands regular maintenance schedules. Soapstone requires no sealing but sacrifices scratch resistance. Select based on your climate intensity and willingness to maintain sealing cycles in your countertop layout.
Weather Sealing Porous Stone Countertops For Longevity
Weather sealing creates a moisture barrier on porous stone surfaces. Outdoor conditions accelerate water absorption without proper sealant application. UV rays, rain, and humidity degrade unsealed stone through chemical weathering and expansion cycles. Sealing extends material lifespan from 5 to 15 years or longer depending on climate severity and reapplication frequency.

Moisture penetrates stone and freezes inside during winter months. This freeze-thaw cycle expands water trapped in pores, cracking the surface from inside out. Sealing prevents water entry at the microscopic level. Your outdoor kitchen design countertop layout depends on consistent sealing maintenance every 12 to 24 months in temperate climates and annually in harsh conditions.
Innovative Outdoor Countertop Ideas To Inspire Your Next Build
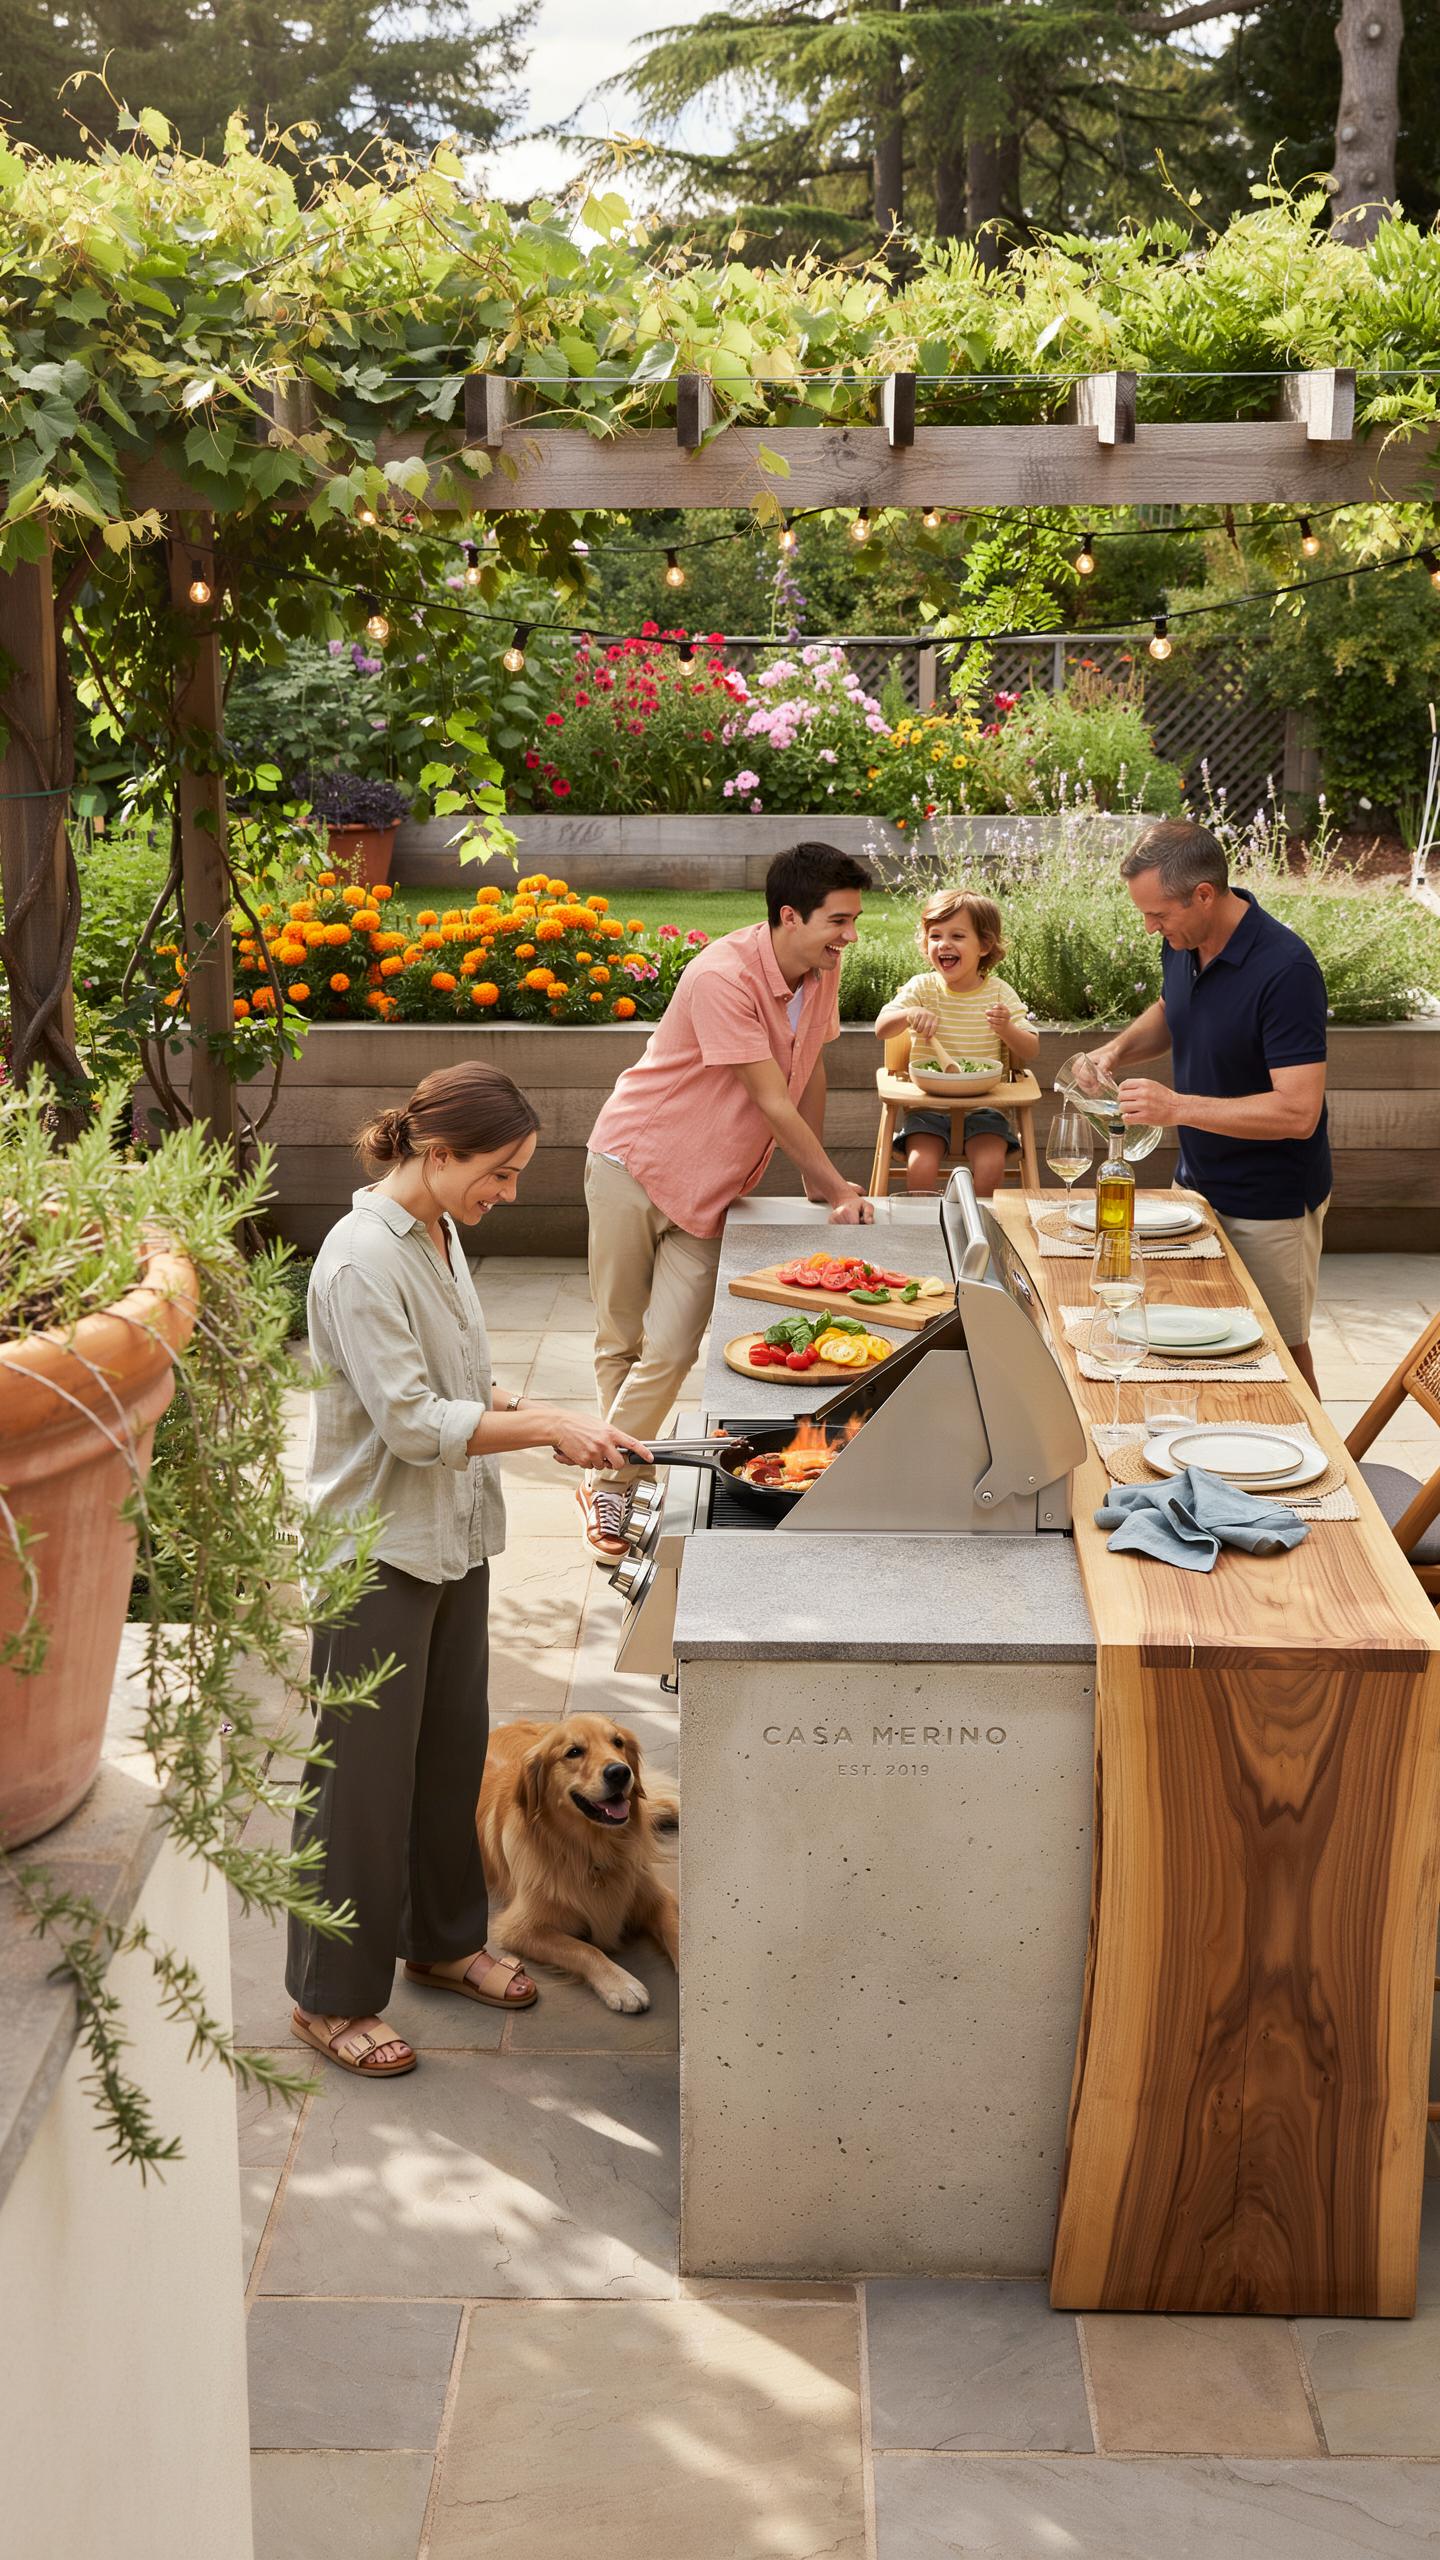
Waterfall Edges And Their Functional Benefits
Waterfall edges serve a functional purpose beyond aesthetics. They direct water and debris away from your cabinetry and foundation. The edge extends down the side of your counter, typically at a 90-degree angle. This design prevents pooling water that damages materials over time and creates clean sight lines from multiple viewing angles.
Textural contrast makes surfaces perform better in outdoor conditions. Mixing smooth honed finishes with brushed or leathered surfaces breaks up monotony while improving slip resistance on wet surfaces. Granite, engineered stone, and porcelain accept these treatments well. Vary your finishes strategically on high-traffic prep areas versus lower-use zones to balance practicality with visual interest.
Why Engineered Stone Outperforms Natural Stone Outdoors
Engineered stones outperform natural stone in outdoor kitchens because manufacturers control density and porosity. Quartz composites resist staining, scratching, and UV fading more effectively than granite or marble. These materials use recycled content and require fewer resources to produce than solid stone slabs. They handle freeze-thaw cycles better, making them ideal for climates with temperature swings.

Sustainable material choices reduce long-term replacement costs and environmental impact. Recycled glass countertops, reclaimed wood accents, and porcelain pavers all perform in outdoor settings. Porcelain especially resists weathering, frost damage, and discoloration. Select materials rated for your specific climate zone to avoid premature deterioration and unnecessary waste replacement cycles.
Stunning Outdoor Kitchen Countertop Ideas That Blend Art And Utility
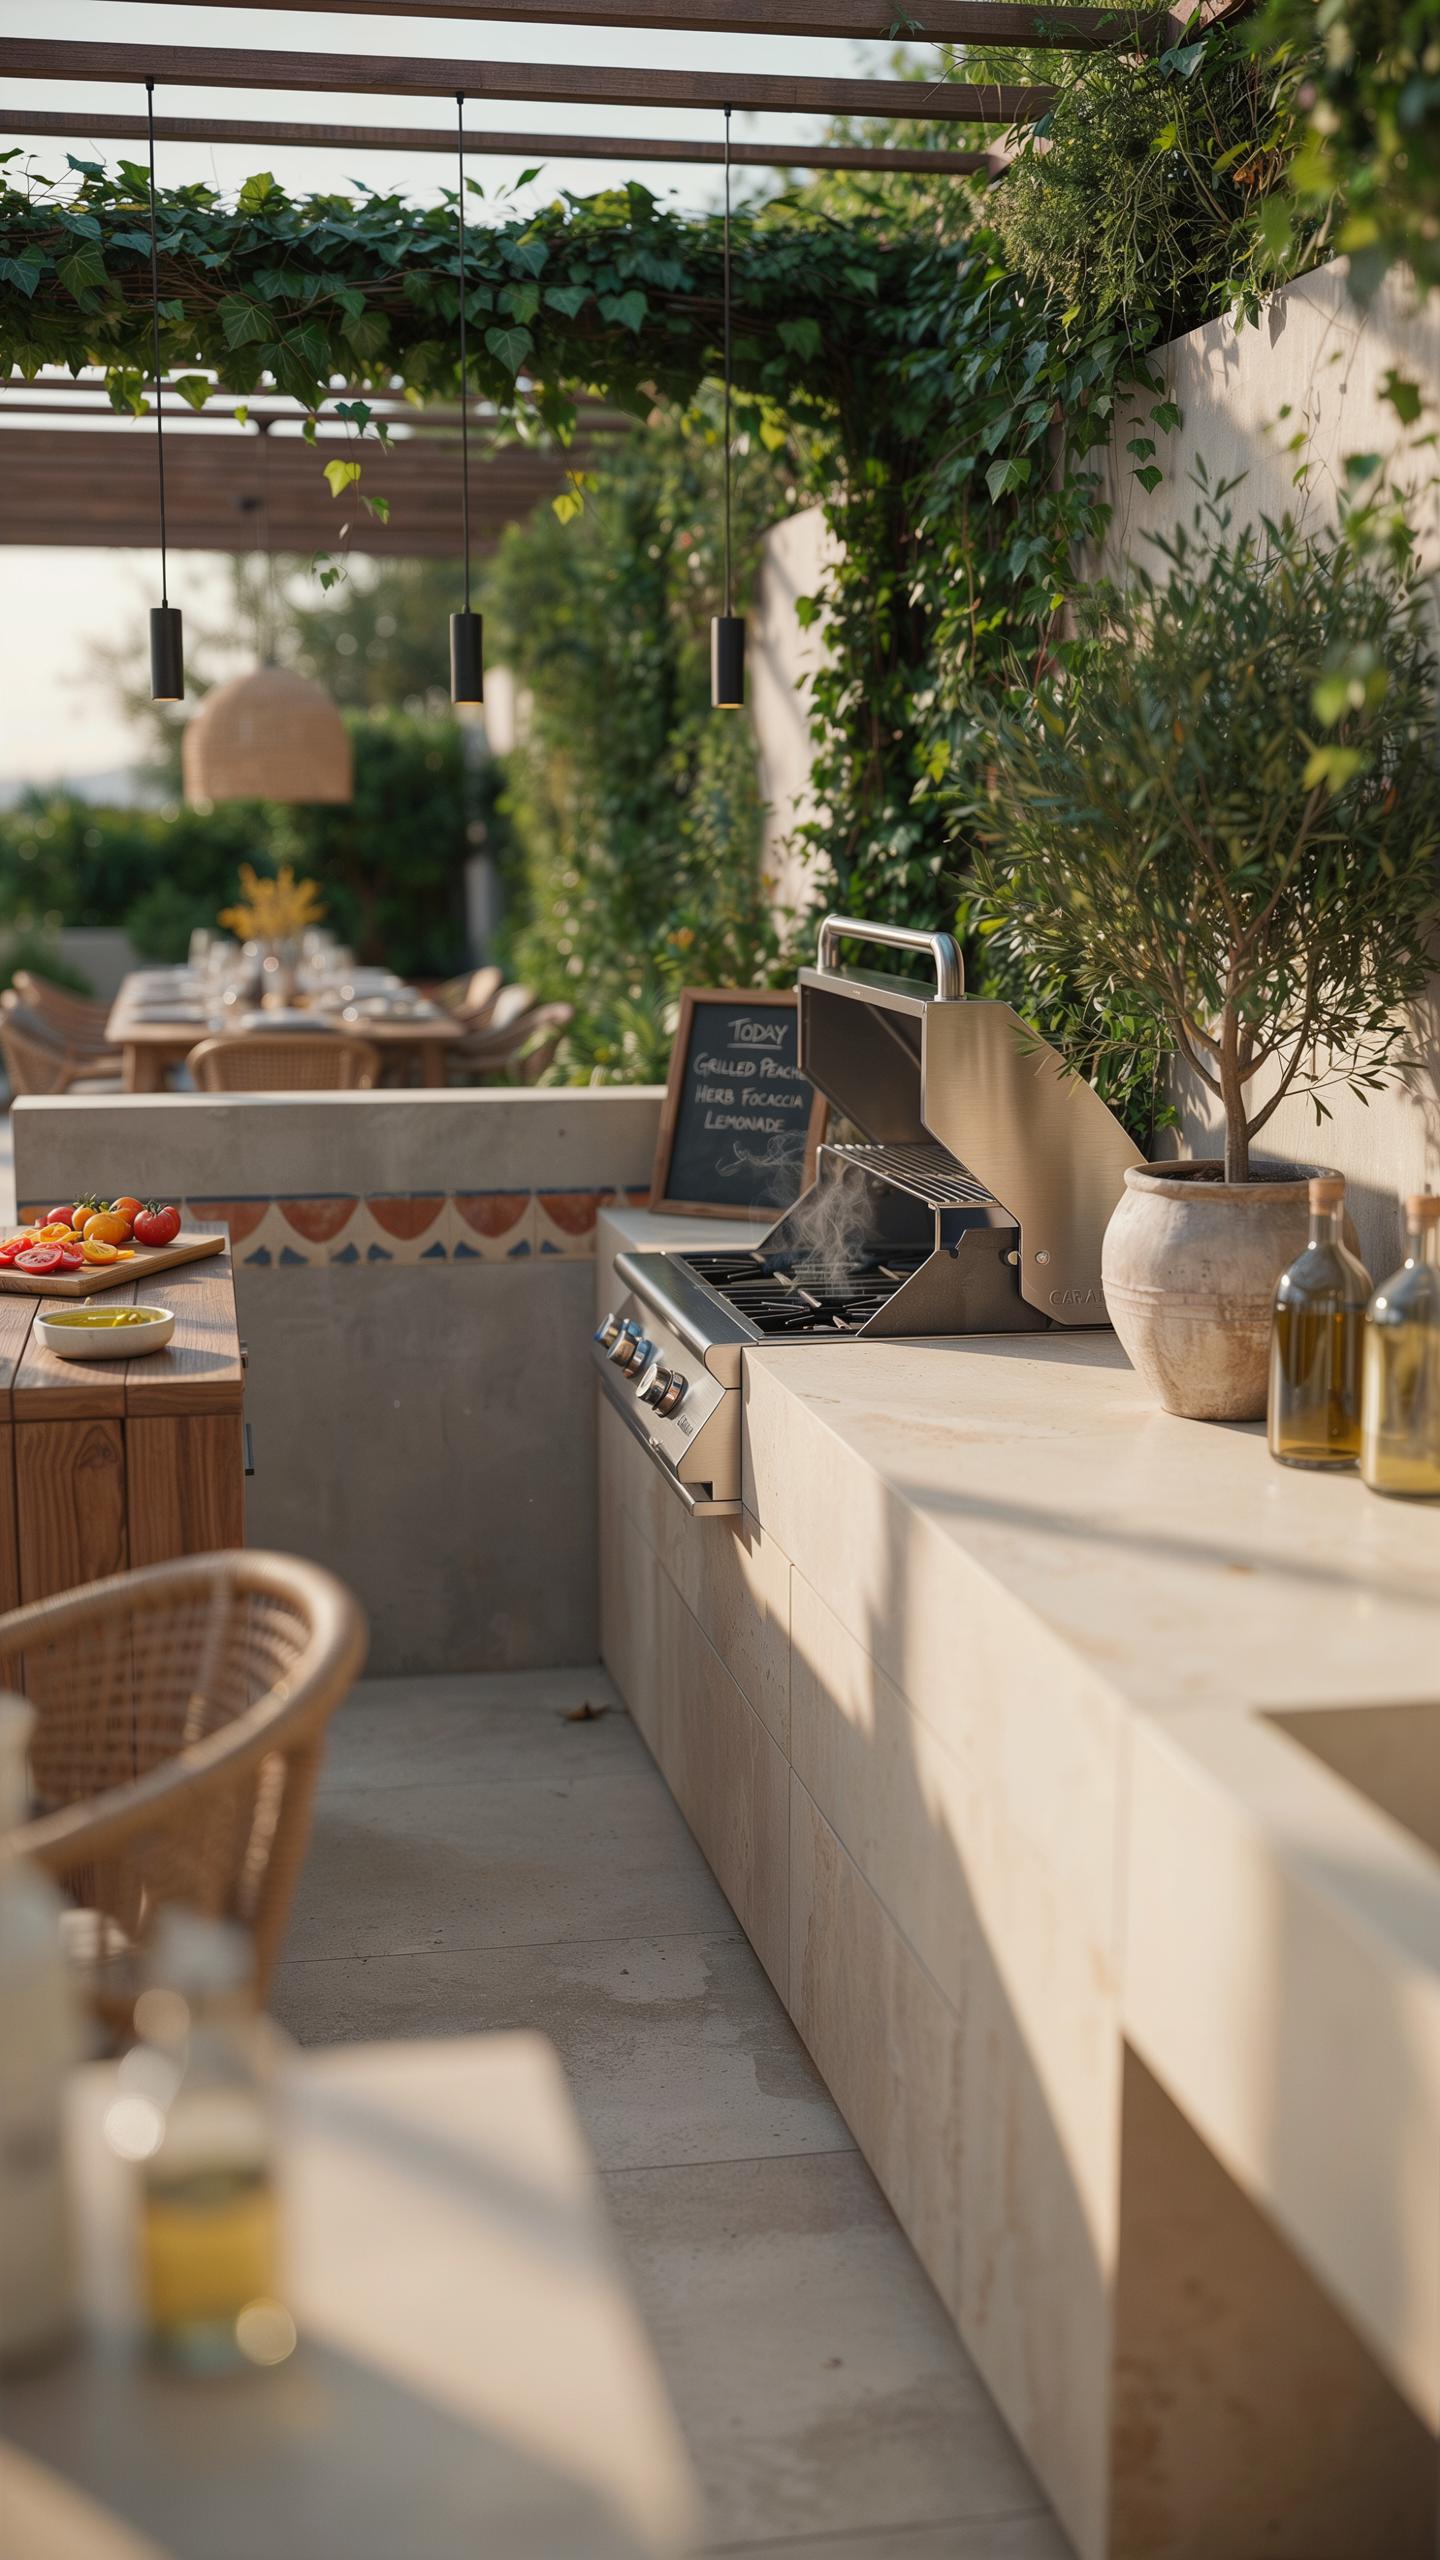
Designing With Integrated LED Strip Lighting Beneath Countertop Overhangs
LED strip lighting under countertop overhangs serves two functions: task illumination and ambient atmosphere. Position lights on the underside of overhangs to cast light downward onto work surfaces. This placement eliminates shadows directly where you prep food or mix drinks. Install strips in aluminum channels for heat dissipation and durability in outdoor conditions.
Electrical placement matters more than aesthetics. Run wiring through the countertop structure during construction, not after. Use waterproof-rated LED strips rated IP65 or higher for outdoor exposure. Transformer boxes need protection from rain and direct sunlight. Wire strips to a GFCI outlet for safety. This approach prevents costly rewiring and keeps your countertop functional for years.
Creating Seamless Transition Zones From Cooking Workstations To Elegant Dining Bars
Transition zones require consistent counter height and material continuity. Standard cooking counters sit at 36 inches, while dining bars typically rise to 42 inches. Create the shift gradually over 12 to 18 inches using a stepped approach or angled edge. Material change happens here too—move from heat-resistant surfaces at the cooktop to something suitable for dining.
Counter depth shifts the sightline and function. Cooking areas need 24 to 30 inches of depth for appliances and prep work. Dining bars work at 15 to 18 inches deep. This depth change signals purpose to users and improves traffic flow. Use matching or complementary materials like granite, concrete, or composite stone to unify the spaces visually and functionally throughout the entire layout.
Why The Outdoor Galley Kitchen Is Perfect For Narrow Backyards
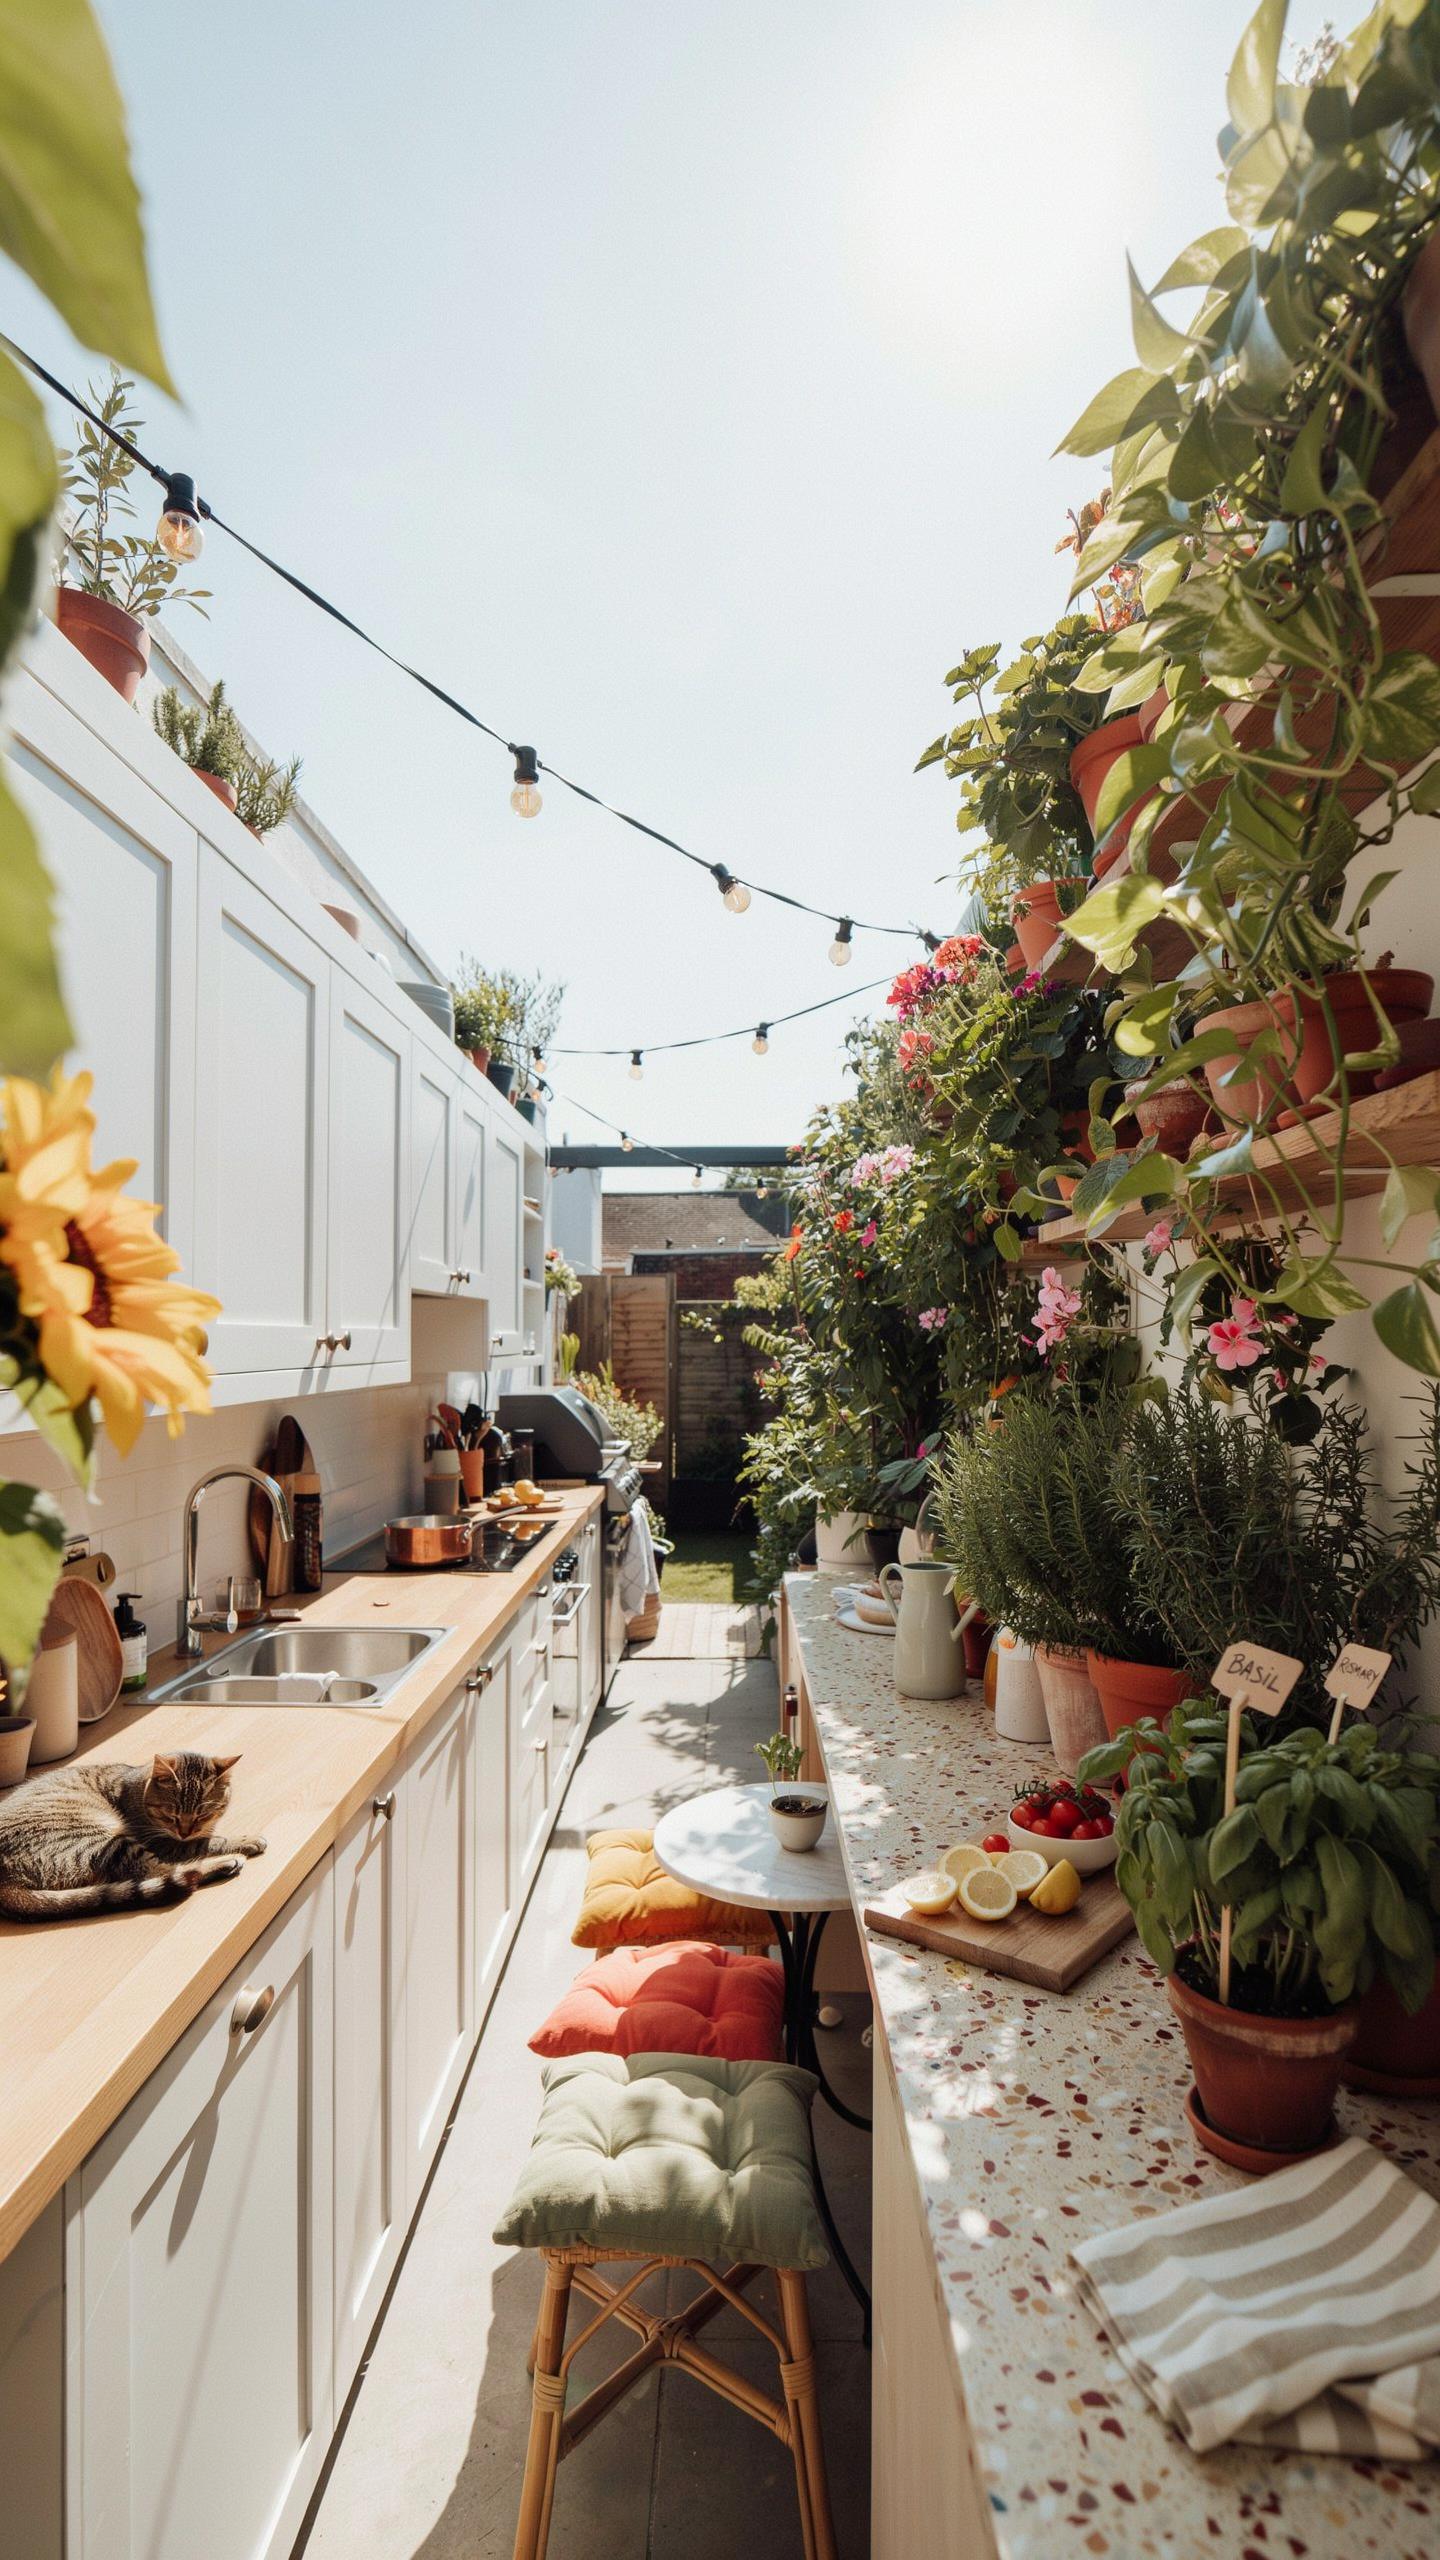
Maximizing Limited Footprints Using Opposing Parallel Work Counters
A galley layout positions two parallel countertops facing each other. This arrangement works in tight spaces because it eliminates wasted corner space and creates a linear workflow. The cook moves between prep and cooking stations without excessive walking. Each counter serves a distinct function, reducing clutter and confusion during meal preparation.
The spacing between opposing counters matters. Standard kitchen codes require 42 to 48 inches minimum between countertops for comfortable movement and appliance door clearance. In narrow backyards, this configuration delivers maximum functionality without sprawling outward. The galley model contains operations vertically rather than horizontally, making it ideal for rectangular yard constraints.
Configuring Accessible Storage And Appliances Along Tight Walkway Corridors
Appliances must fit within the counter boundaries to keep walkways clear. Position the grill, refrigerator, and sink along one counter and prep surfaces on the opposite side. This prevents foot traffic from crossing cooking zones and maintains safe passage through the yard.

Storage solutions use vertical space since horizontal real estate is limited. Wall-mounted cabinets, hanging racks, and overhead shelving store tools and supplies without consuming precious counter space. Drawers beneath counters hold utensils and linens efficiently. Keep frequently used items between waist and eye level for quick access without bending or reaching awkwardly in confined areas.
Upgrading Your Backyard Kitchen Ideas Grill Station For Ultimate Utility
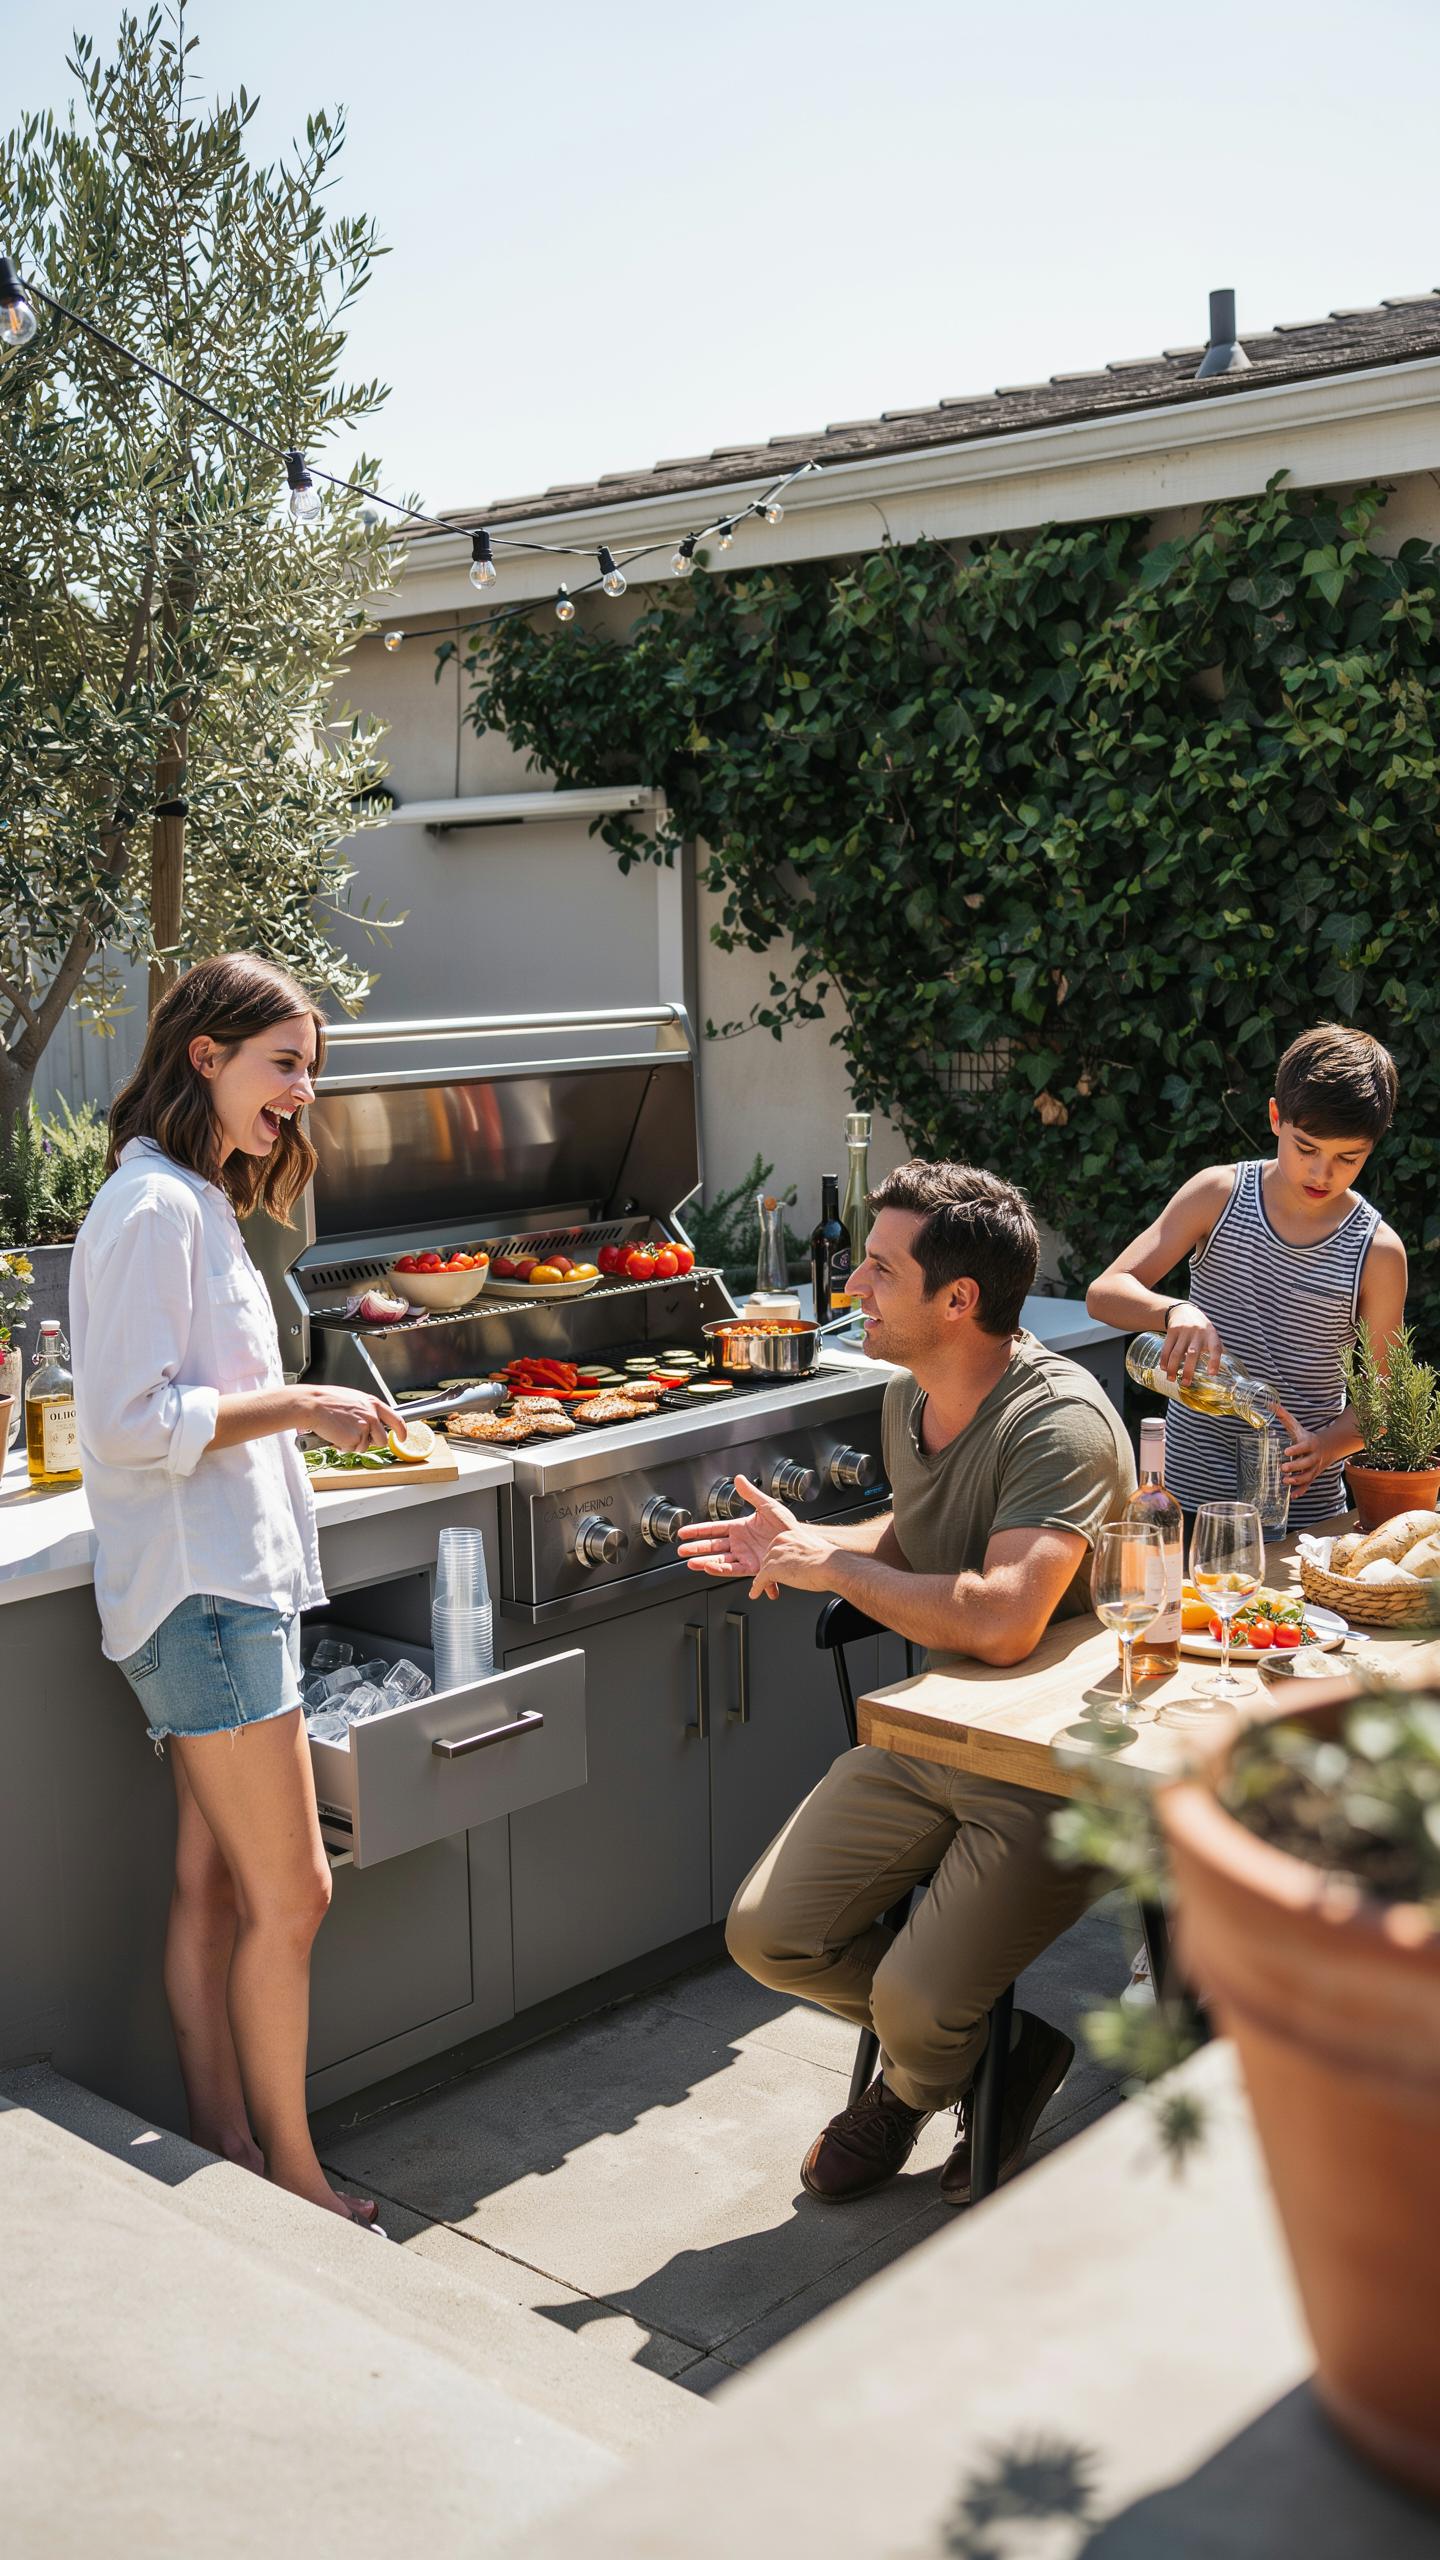
Essential Built In Accessories For A Complete Grill Station
A high-end barbecue system requires specific accessories to function at peak capacity. These additions maximize cooking efficiency and expand your operational range. Built-in accessories transform a standalone grill into a complete cooking workstation. They eliminate the need to step away from your prep zone.
- Side burners: Integrate stovetop cooking directly into your countertop layout. Use them for sauces, side dishes, and warming elements without leaving the grill area.
- Rotisserie kits: Mount horizontal rotation systems above your main grill for whole bird and large cut preparation. These fit into existing grill cavities with minimal layout disruption.
- Smoker boxes and inserts: Slide wood-burning compartments into designated grill slots to add smoke flavor without a separate unit.
- Griddle plates: Add flat-top cooking surfaces that sit flush with grill grates. Essential for breakfast items and smaller ingredients that fall through traditional grills.
- Warming drawers: Position heated storage directly beneath your main cooking surface. Keeps finished items at safe temperatures while you continue cooking.
These accessories anchor your layout decisions. They determine countertop depth, electrical runs, and gas line placement. Plan their locations before pouring concrete or installing permanent surfaces.
A home is not just a place of stone and wood, but the heart where meals are shared and memories are made under the open sky. The right layout creates a canvas where every sunset dinner feels like a return to the warmth of childhood summers.
Clearance Requirements Around Your Grill For Safety
Grill heat requires 18 to 24 inches of clearance on all sides of your cooking unit. This spacing prevents surface damage to adjacent countertops and cabinets. Combustible materials like wood, composite decking, and certain polymers deteriorate under prolonged heat exposure. Metal and stone surfaces tolerate proximity better, but clearance remains non-negotiable for safety.

Ventilation strategy determines long-term functionality of your entire outdoor kitchen. Install a range hood or downdraft system directly above or behind your grill to pull smoke and heat away from your face and food prep areas. Without proper airflow, smoke accumulates in your dining zone and deposits residue on nearby surfaces. Consult local building codes before finalizing your hood placement, as many jurisdictions require specific capture rates measured in cubic feet per minute based on BTU output.
Designing A Seamless Outdoor Kitchen Attached To House Structure
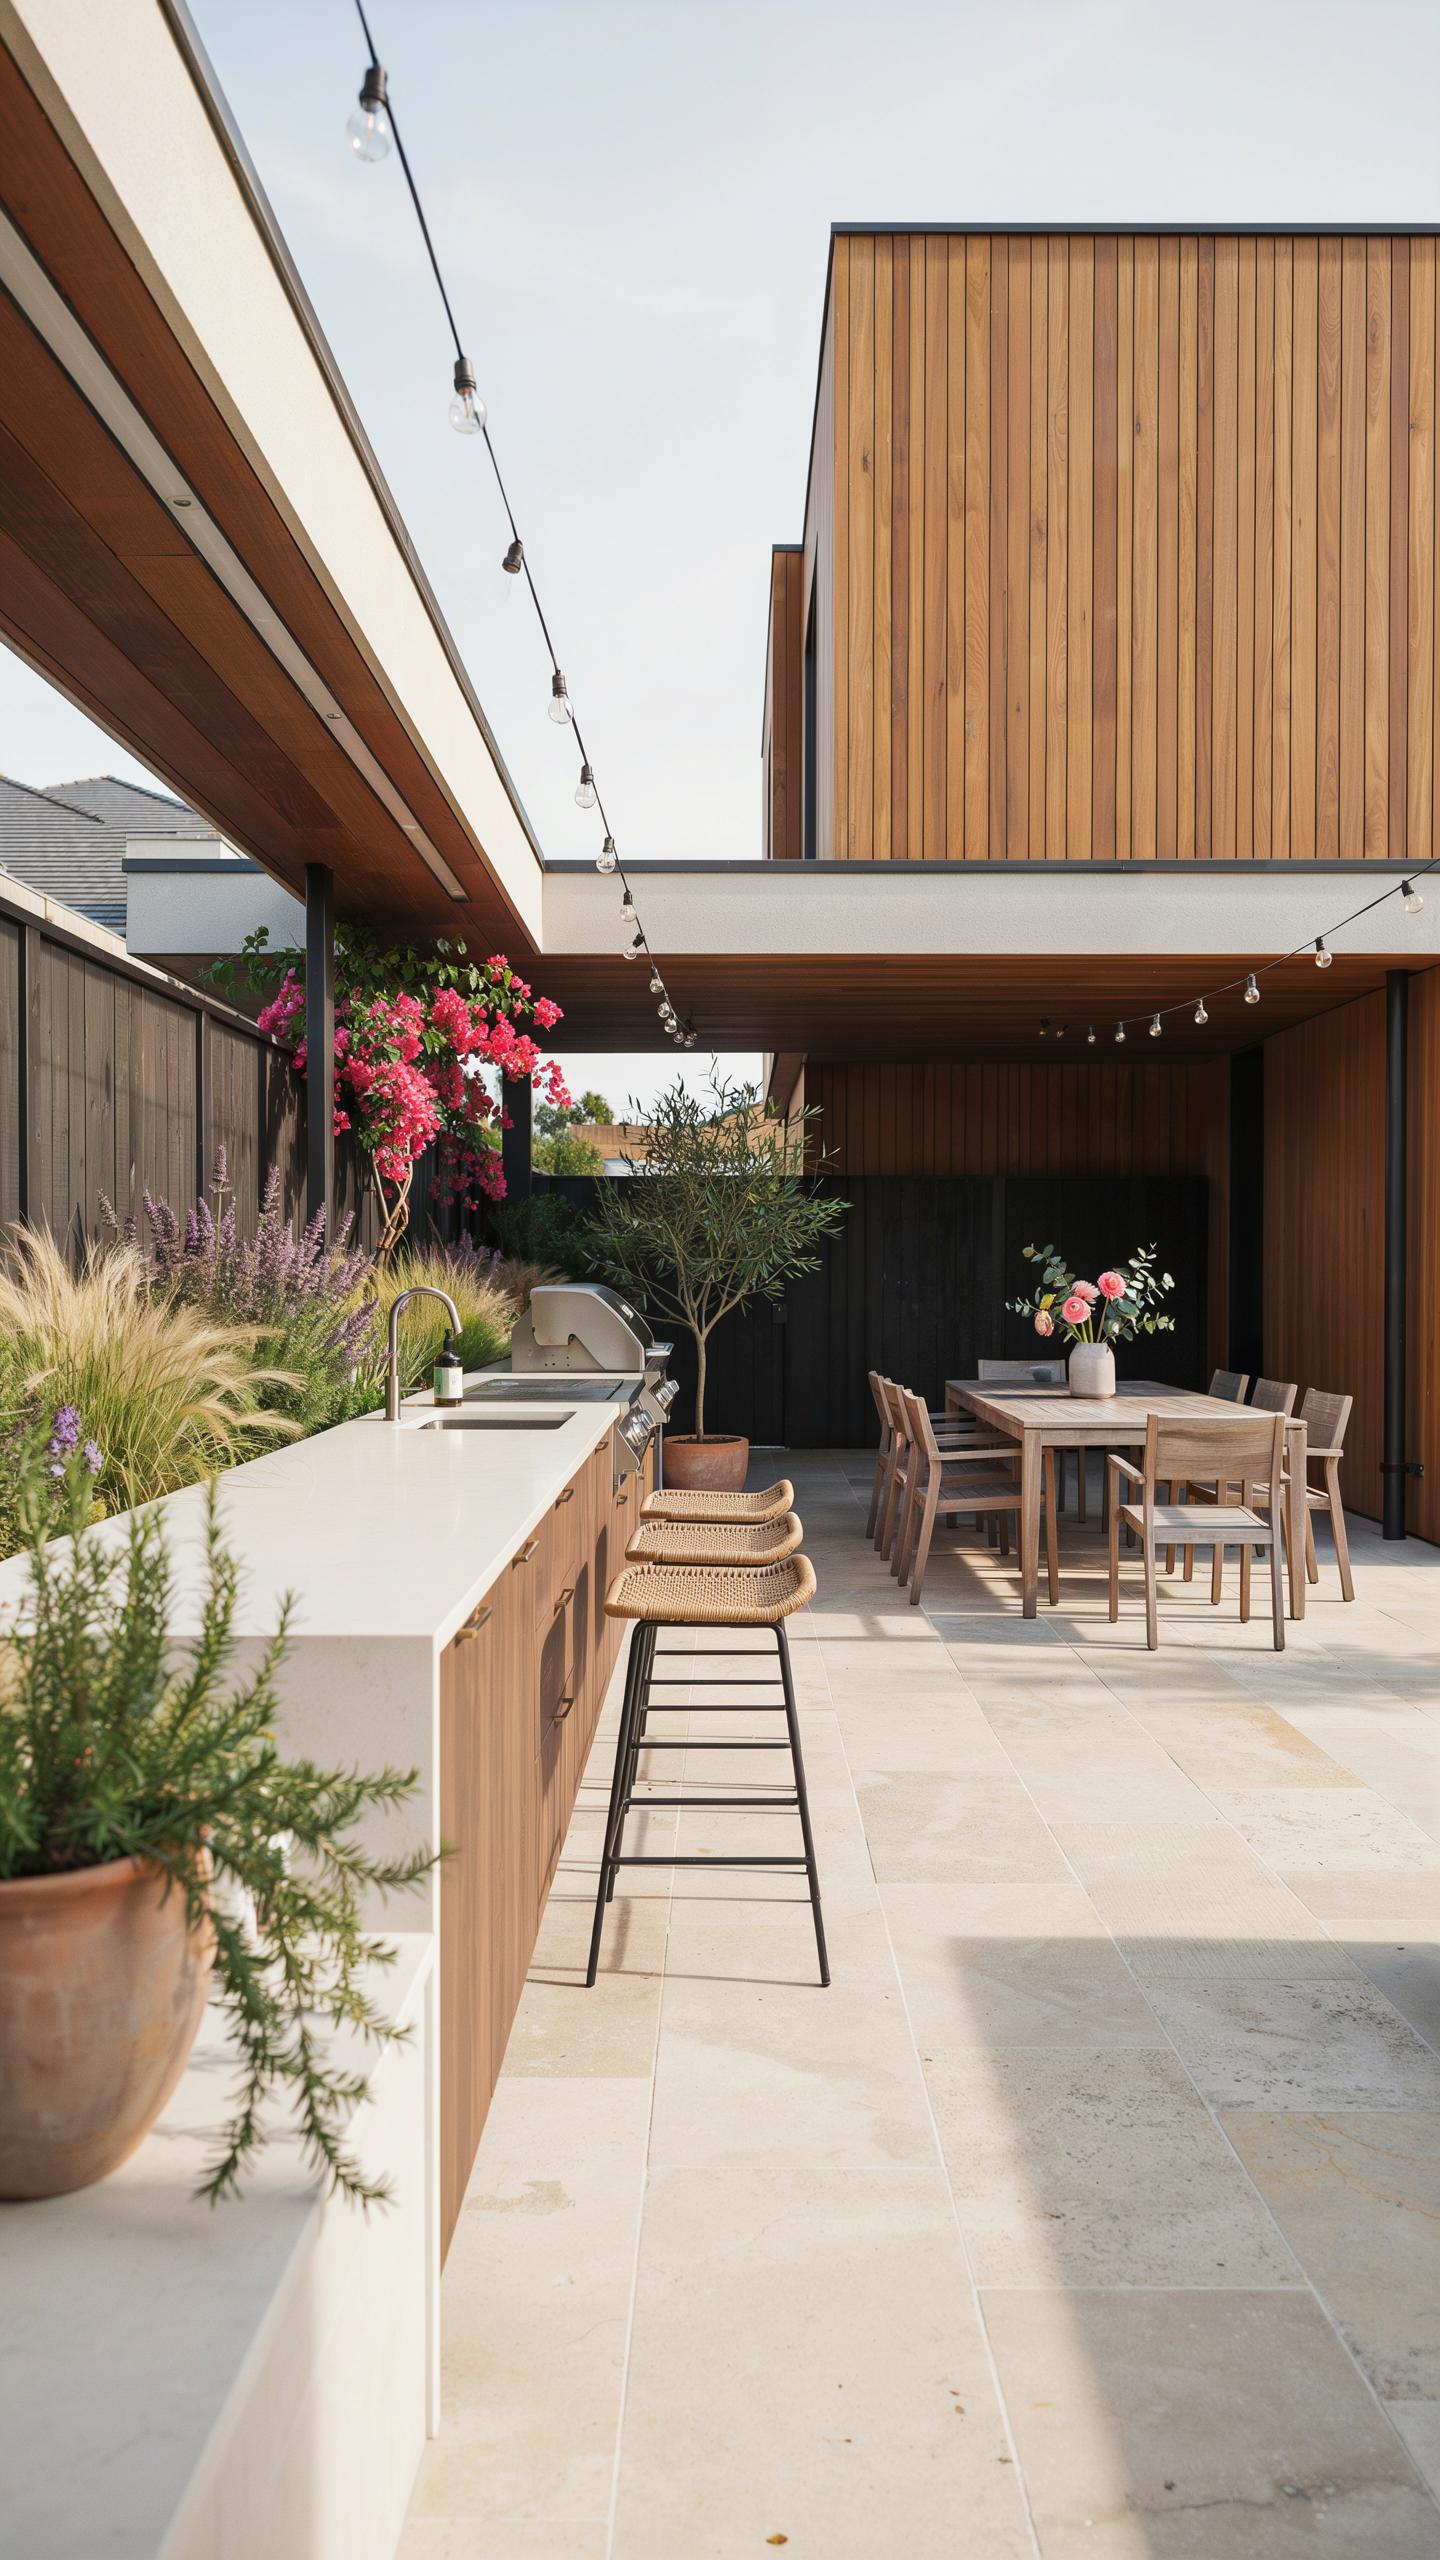
Safety Clearances And Local Structural Permit Regulations For Attached Installations
Building codes require specific setbacks from property lines, typically ranging from five to ten feet depending on your jurisdiction. Check with your local building department before breaking ground. Attached kitchens need foundation work that ties into your existing house structure. The foundation must support the weight of countertops, appliances, and foot traffic without settling or cracking.
Electrical work demands proper permits and inspection. Outdoor circuits require GFCI protection and weatherproof boxes rated for exterior use. Gas lines must meet code standards for materials, burial depth, and pressure testing. Hire licensed contractors for all mechanical, electrical, and plumbing work. Skipping permits costs you money in fines and creates liability issues when you sell.
Matching Rooflines And Wall Finishes To Create A Cohesive Home Extension
Your attached kitchen must align with your house roofline to look intentional. This means matching the pitch and height or installing a consistent transition. Use the same siding material, brick, or stone as your existing walls. Mismatched materials create visual jarring and signal poor planning to potential buyers.
Consider the existing architectural style of your home when selecting finishes. Modern homes need clean lines and contemporary materials. Traditional homes benefit from matching trim details and classic finishes. Consistency in color palette, materials, and proportions makes the addition feel like part of the original design rather than an afterthought.
Perfecting Your Outdoor Kitchen Design Countertop Layout For Workflow
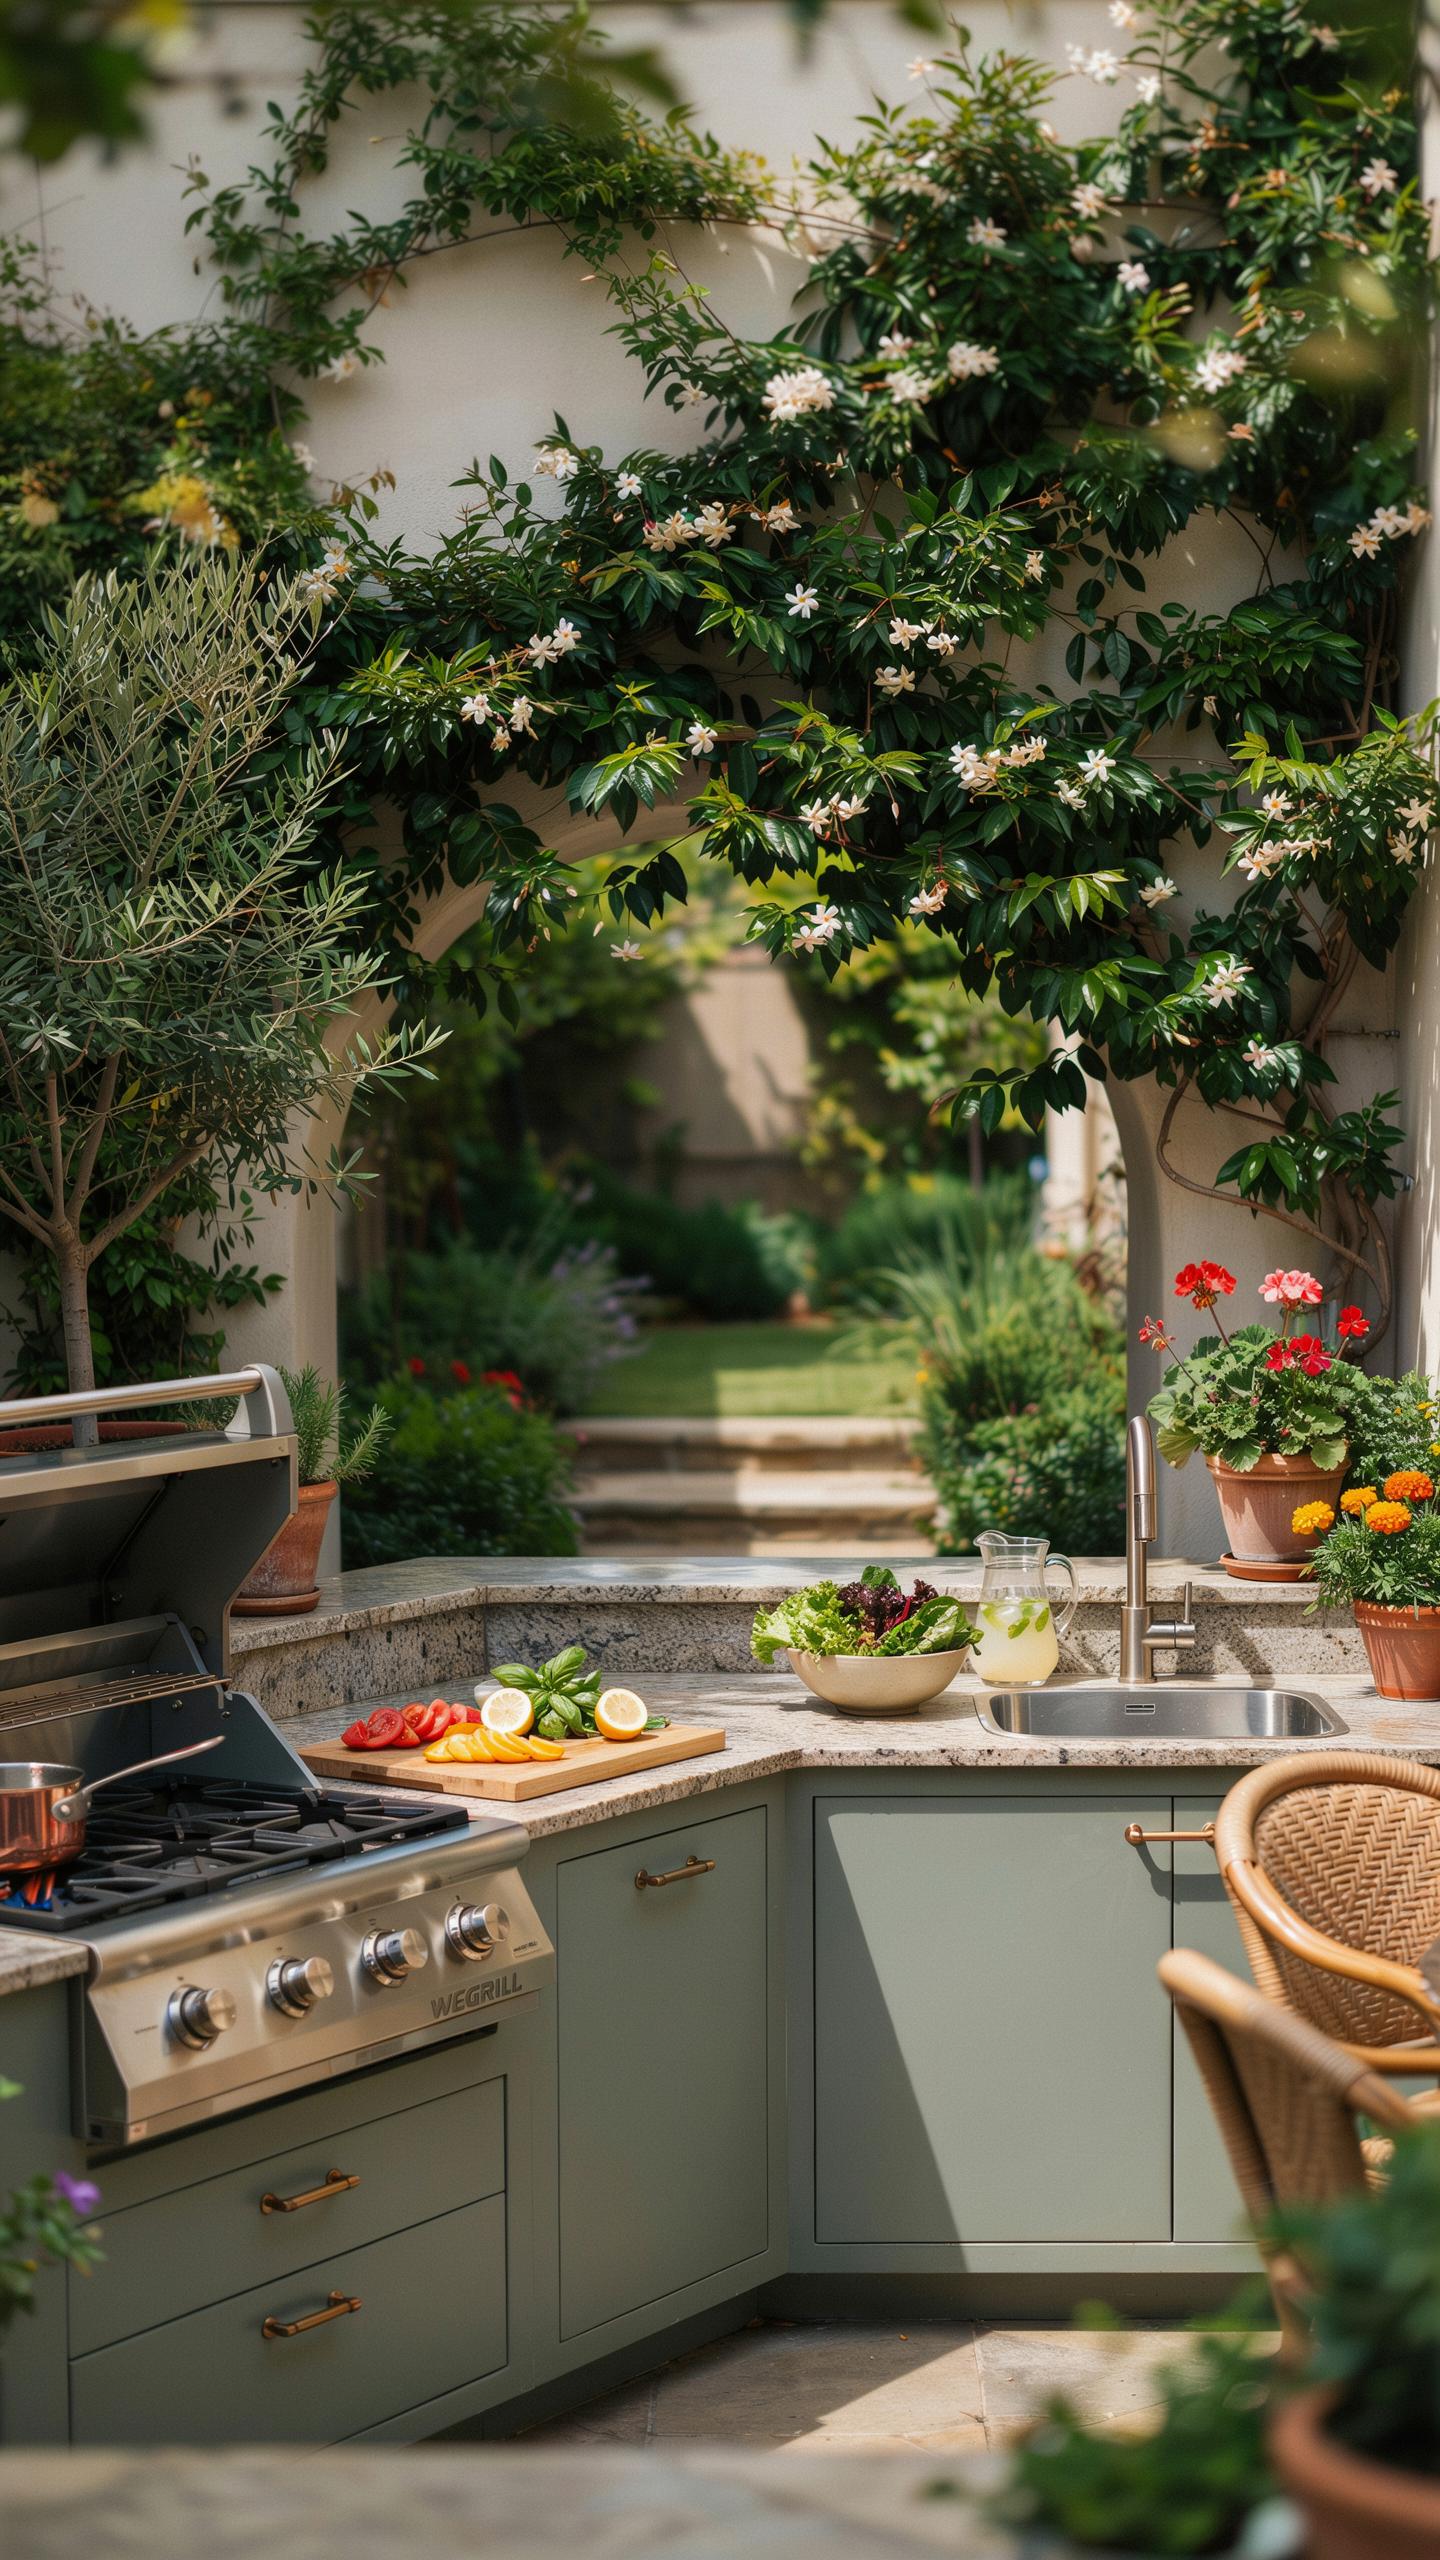
Standard Counter Height And Depth For Outdoor Kitchens
Standard counter height in outdoor kitchens matches indoor kitchens at 36 inches from ground to work surface. This height accommodates most users for prep work without strain. Depth runs 24 to 30 inches, matching residential kitchen standards. Going deeper than 30 inches creates reach problems for users standing at the front edge. Shallower counters at 18 to 20 inches work for beverage stations or secondary prep zones. Your primary cooking counter must hit these baseline proportions or prep work becomes inefficient and exhausting.
Material choice affects how you build to these dimensions. Concrete, granite, and stainless steel all accommodate standard heights without modification. Thicker materials like 2-inch granite slabs sit comfortably at 36 inches without special framing. Thinner materials need reinforced bases to reach proper height safely. Weight matters here, so verify your support structure handles the material density before installation. Poor proportions combined with inadequate support create safety hazards and workflow collapse.
Placing Landing Zones Near Heat And Cold Sources
Landing zones need specific placement relative to heat and cold sources. Position a 24 to 36-inch landing space directly adjacent to your cooktop on the non-dominant hand side. This catches hot pans and plated food without crossing your body. Cold storage landing zones require 18 to 24 inches of counter space for setting prepared ingredients before refrigeration. Outdoor sinks demand 24 to 36 inches on both sides for washing prep and finished items. Cramped spacing forces you to double-handle items and creates bottlenecks during service.
Workflow efficiency depends on unobstructed transitions between zones. Your prep counter should connect to cooking counter to sink to storage in a logical sequence. Avoid placing the sink directly behind the cooktop, as steam and moisture damage outdoor appliances. Use level transitions between zones so you slide items easily without lifting. Gaps or height mismatches slow you down and increase spill risk. Test your layout with actual cooking tasks before finalizing the design.
Frequently Asked Questions

What are the most popular shapes for an outdoor kitchen layout?
When starting your journey, the most popular configurations are the Straight Line, L-Shape, and U-Shape. A straight run is perfect for small decks, while an L-shape defines a clear cooking zone. If you have a larger patio, a U-shaped outdoor kitchen design countertop layout offers the most workspace and creates a natural social hub for guests to gather while you grill.
How do I determine the right amount of counter space for my outdoor cooking area?
To plan a practical outdoor kitchen design countertop layout, apply the “landing zone” rule. You should aim for at least 24 inches of workspace on one side of the grill and 12 to 18 inches on the other. This ensures you have adequate room for raw platters, finished food, and essential prep tools without feeling cramped during a busy backyard barbecue session.
Are there affordable countertop options that still look high-end and durable?
Absolutely! You can achieve a luxury look on a budget by using concrete or large-format porcelain tiles. Poured concrete is a cost-effective way to customize a unique outdoor kitchen design countertop layout to fit any space. Alternatively, granite remnants from local stone yards offer a premium, weather-resistant surface at a fraction of the price of full slabs, providing both durability and style.



