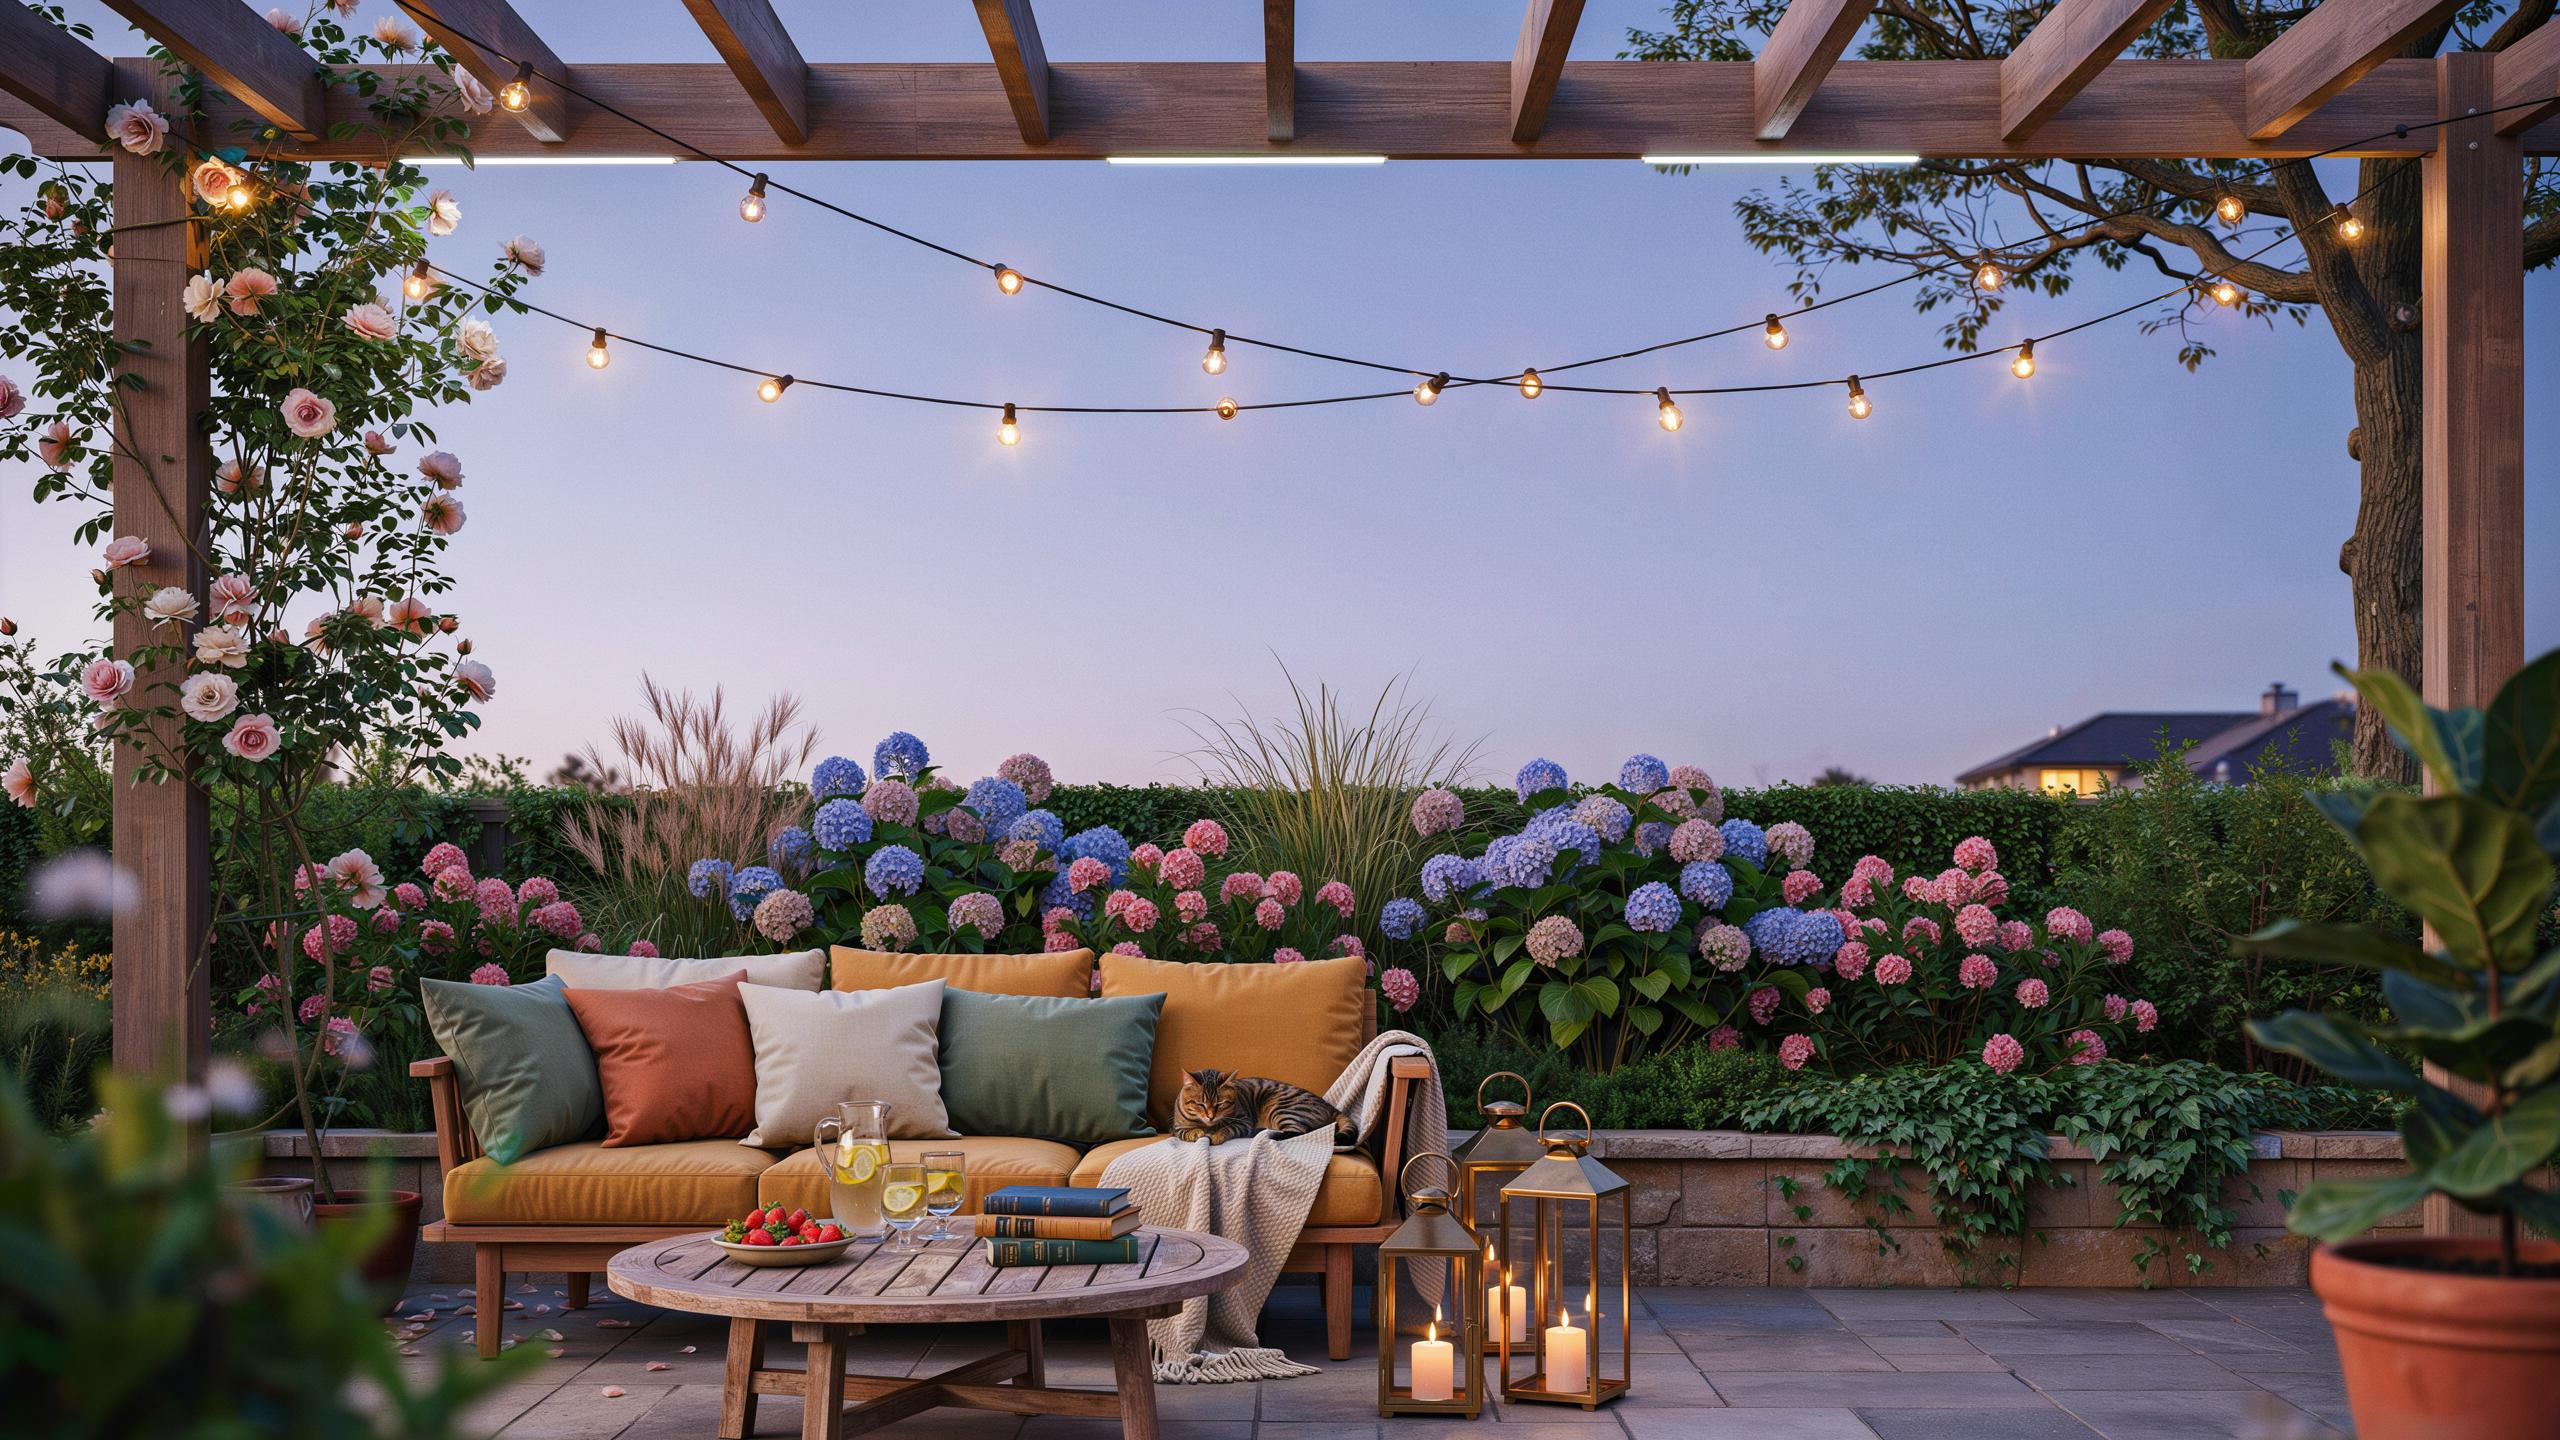
Embrace Dreamy Backyard Ideas With Modern Glows
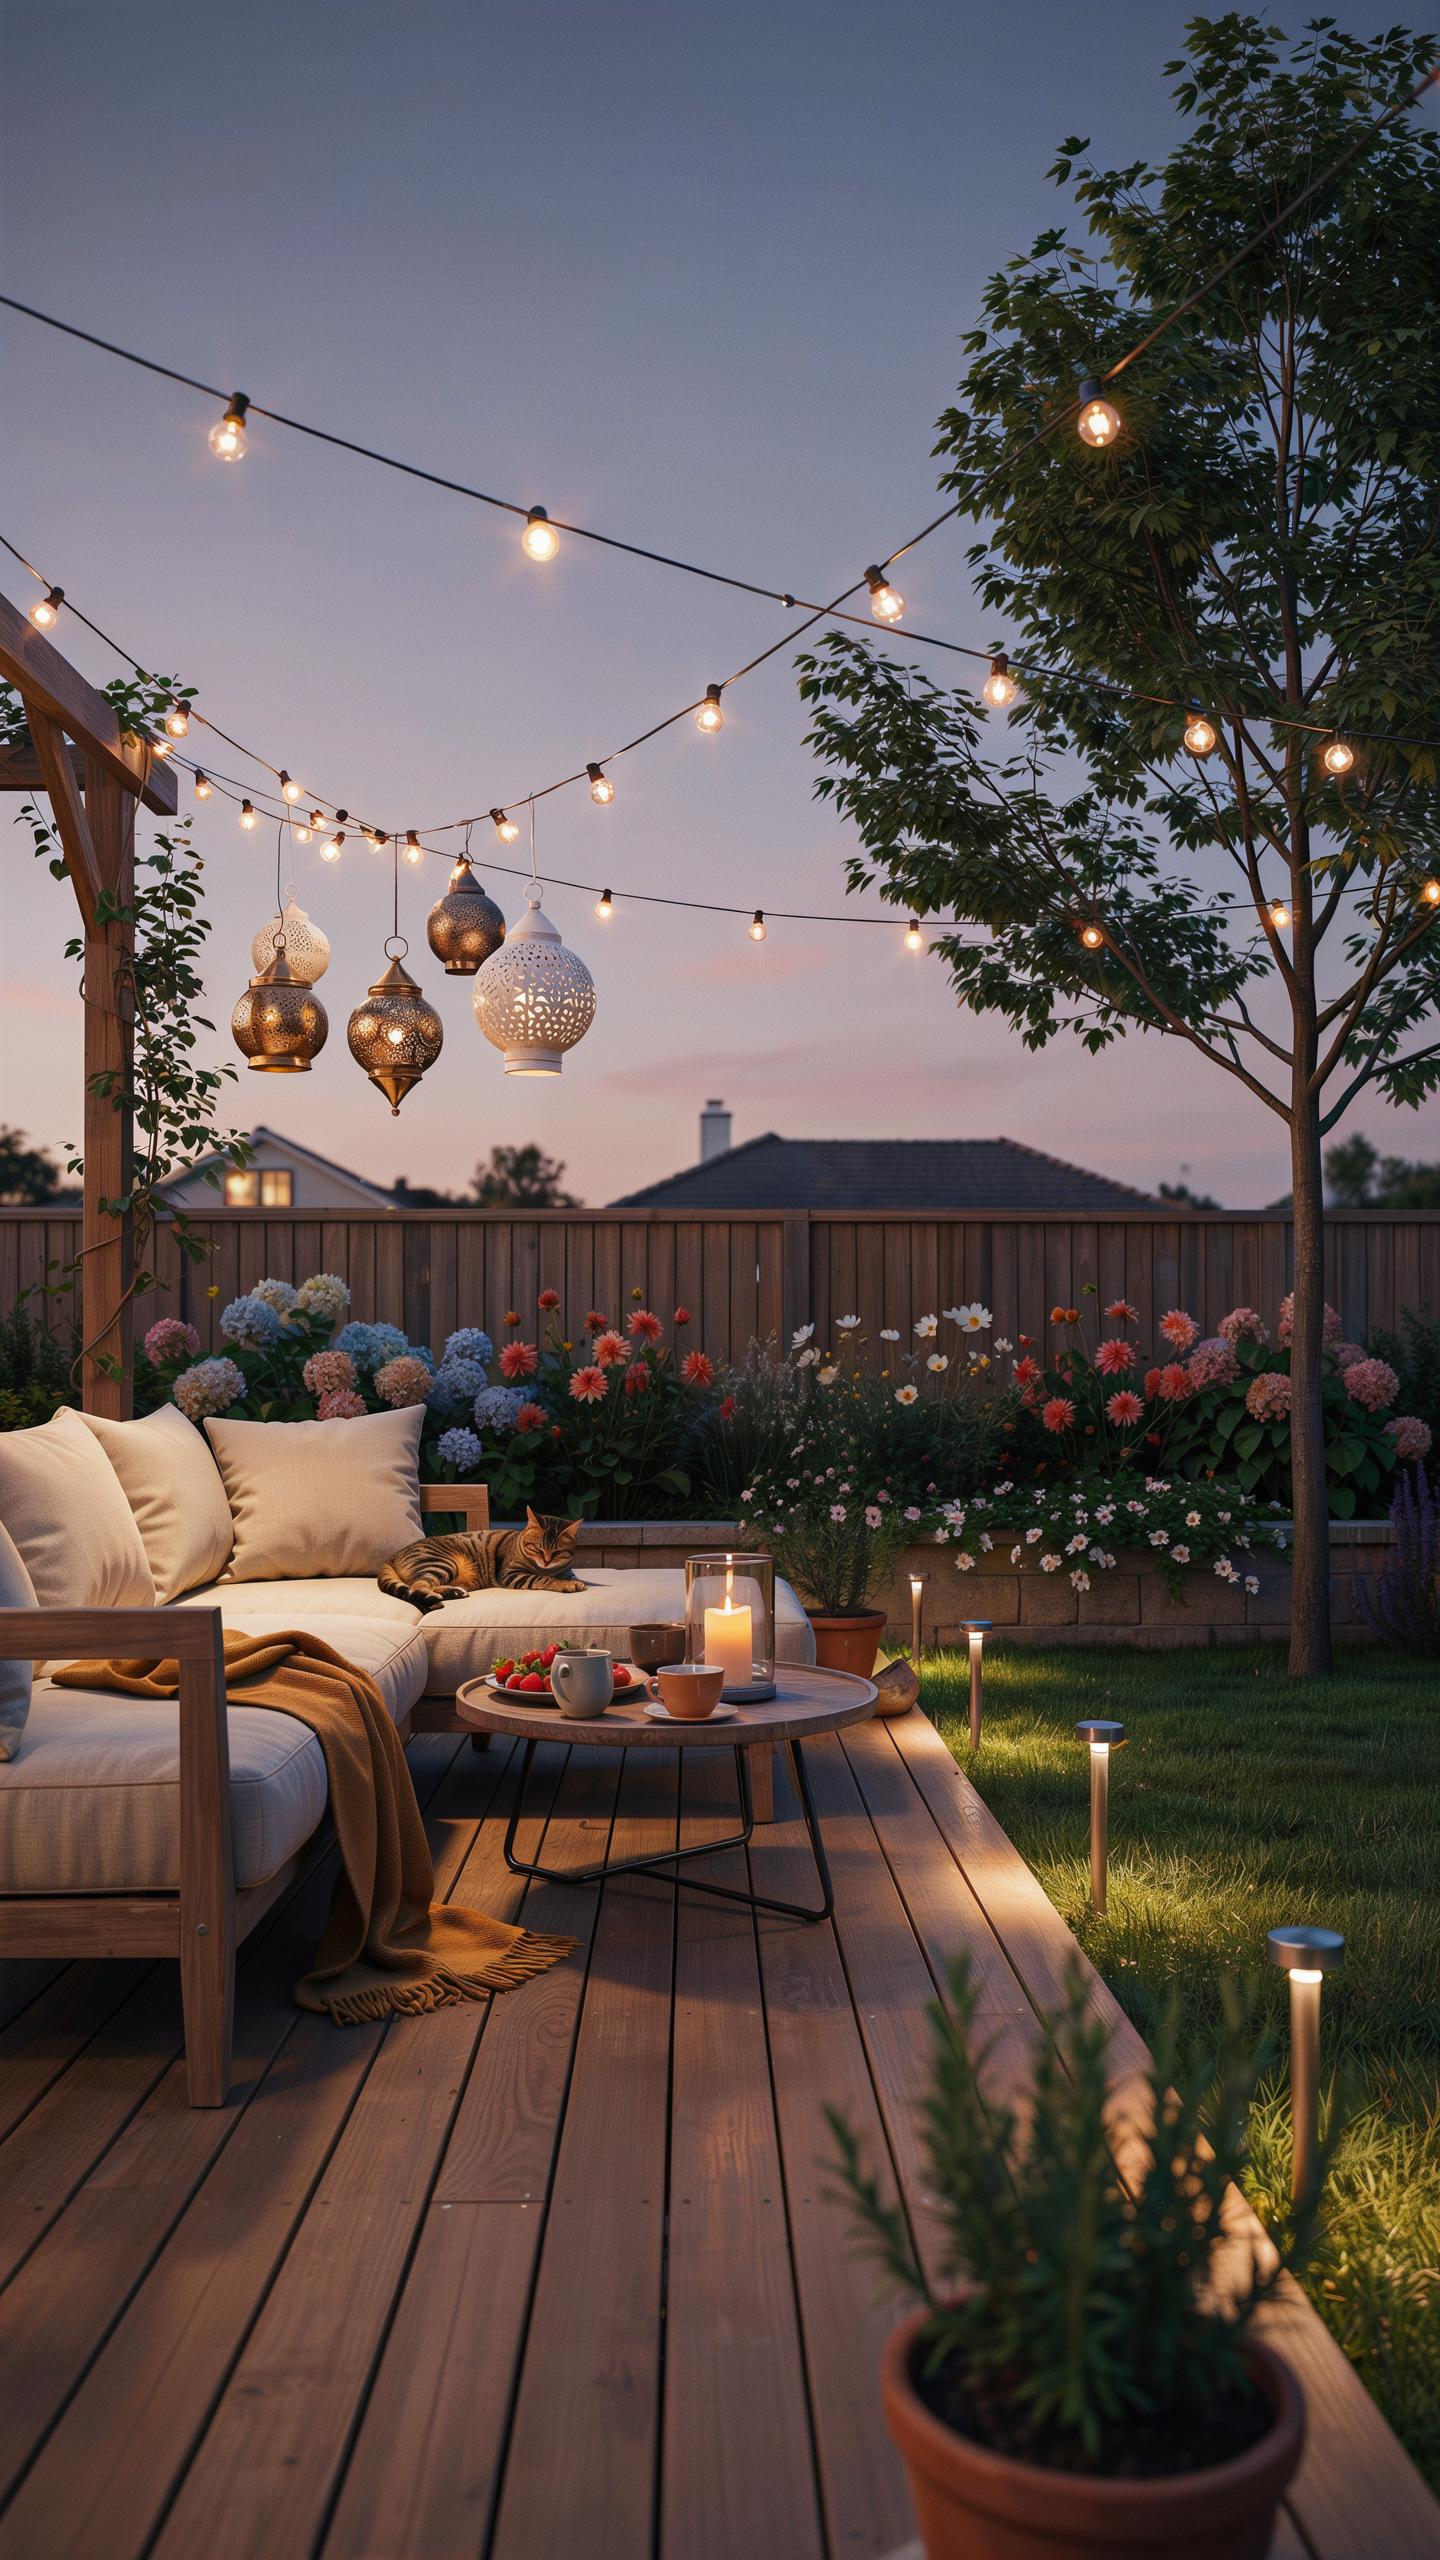
Warm String Lighting
Low-voltage string lights operate at 12 volts, making them safe for residential installation without dedicated electrical permits in most jurisdictions. Draping these lights over dining areas creates functional task lighting while reducing glare compared to standard overhead fixtures. The warm color temperature, typically 2700K, mimics incandescent bulbs and triggers relaxation responses in outdoor gathering spaces.
String lights hung at eye level or slightly above deliver even illumination across table surfaces where food and conversation occur. Spacing lights 4 to 6 feet apart prevents dark zones while maintaining visual interest. This configuration transforms ordinary patios into defined entertainment zones without requiring permanent structural changes or trenching for buried cables.
Ambient Uplighting For Trees
Warm spectrum LED spotlights placed at ground level direct light upward along tree trunks and canopy edges. This technique, called uplighting, creates depth perception by separating foreground landscaping from the night sky. LED units consume 80 percent less energy than halogen alternatives while producing consistent color temperatures of 2700K to 3000K.
Base placement keeps fixtures hidden from sightlines while casting shadows that emphasize tree texture and form. Mount spotlights 12 to 18 inches from trunk bases angled at 45 to 60 degrees for optimal canopy coverage. This approach extends usable entertaining hours into evening without introducing harsh shadows or light spillover into neighboring properties.
Crafting The Perfect Backyard Sanctuary
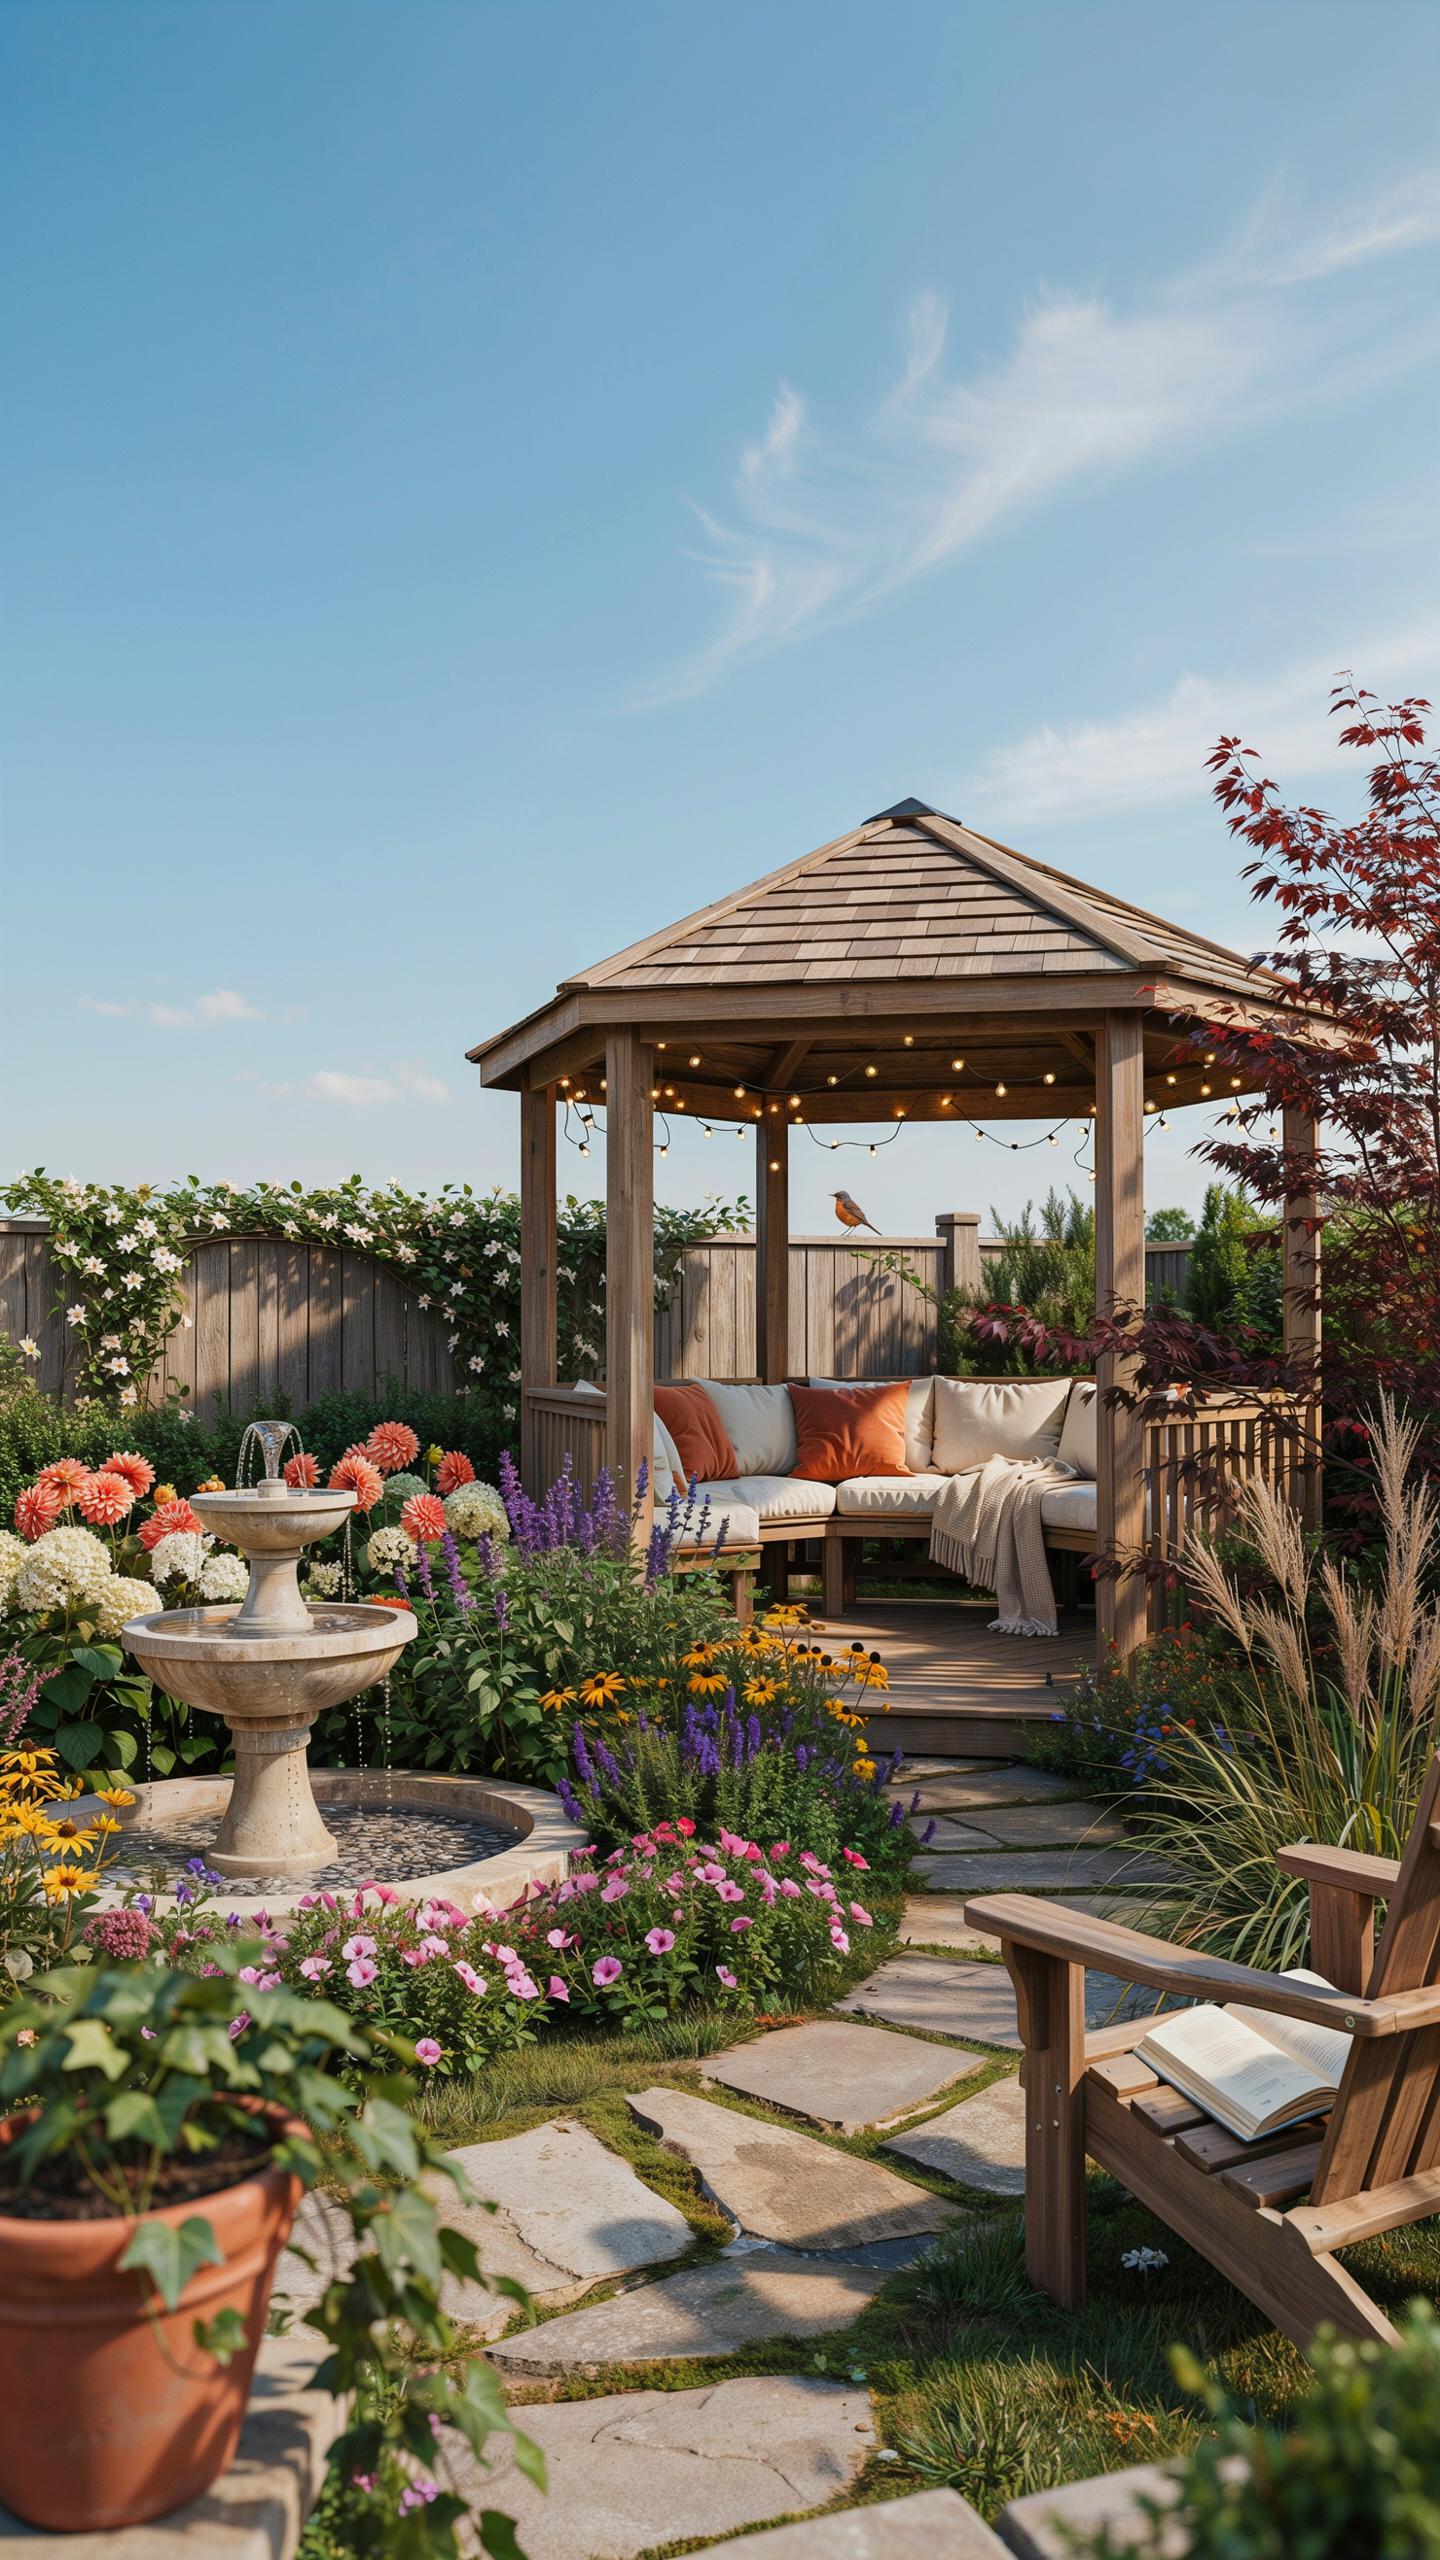
Layered Zoning Principles
Divide your yard into functional zones based on activity type. Task areas like dining tables and cooking spaces need 50 to 100 foot candles of illumination for safe food preparation and visibility. Relaxation zones require 5 to 10 foot candles to create comfortable ambient conditions without harsh glare or eye strain.
Use different beam spreads to control light distribution precisely. Narrow beam spotlights work for accent lighting and task areas. Wide beam spreads work for ambient coverage over larger seating zones. Mixing these beam angles prevents over lighting and creates visual separation between zones without adding more fixtures.
Smart Control Landscapes
Smart outdoor dimmers let you adjust brightness in real time without rewiring fixtures. Schedule automation to shift lighting intensity as daylight fades, reducing manual adjustments and energy waste. Most systems activate warm color temperatures at dusk to match natural transitions and support circadian rhythms.
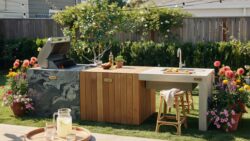
Automated schedules eliminate guesswork about when to turn lights on or off. Motion sensors can activate task lighting only when movement triggers them, cutting energy consumption. App based controls let you manage multiple zones from your phone, making transitions from utility to relaxation instant and effortless.
Shedding Light On Backyard Patio Designs With Grill Areas
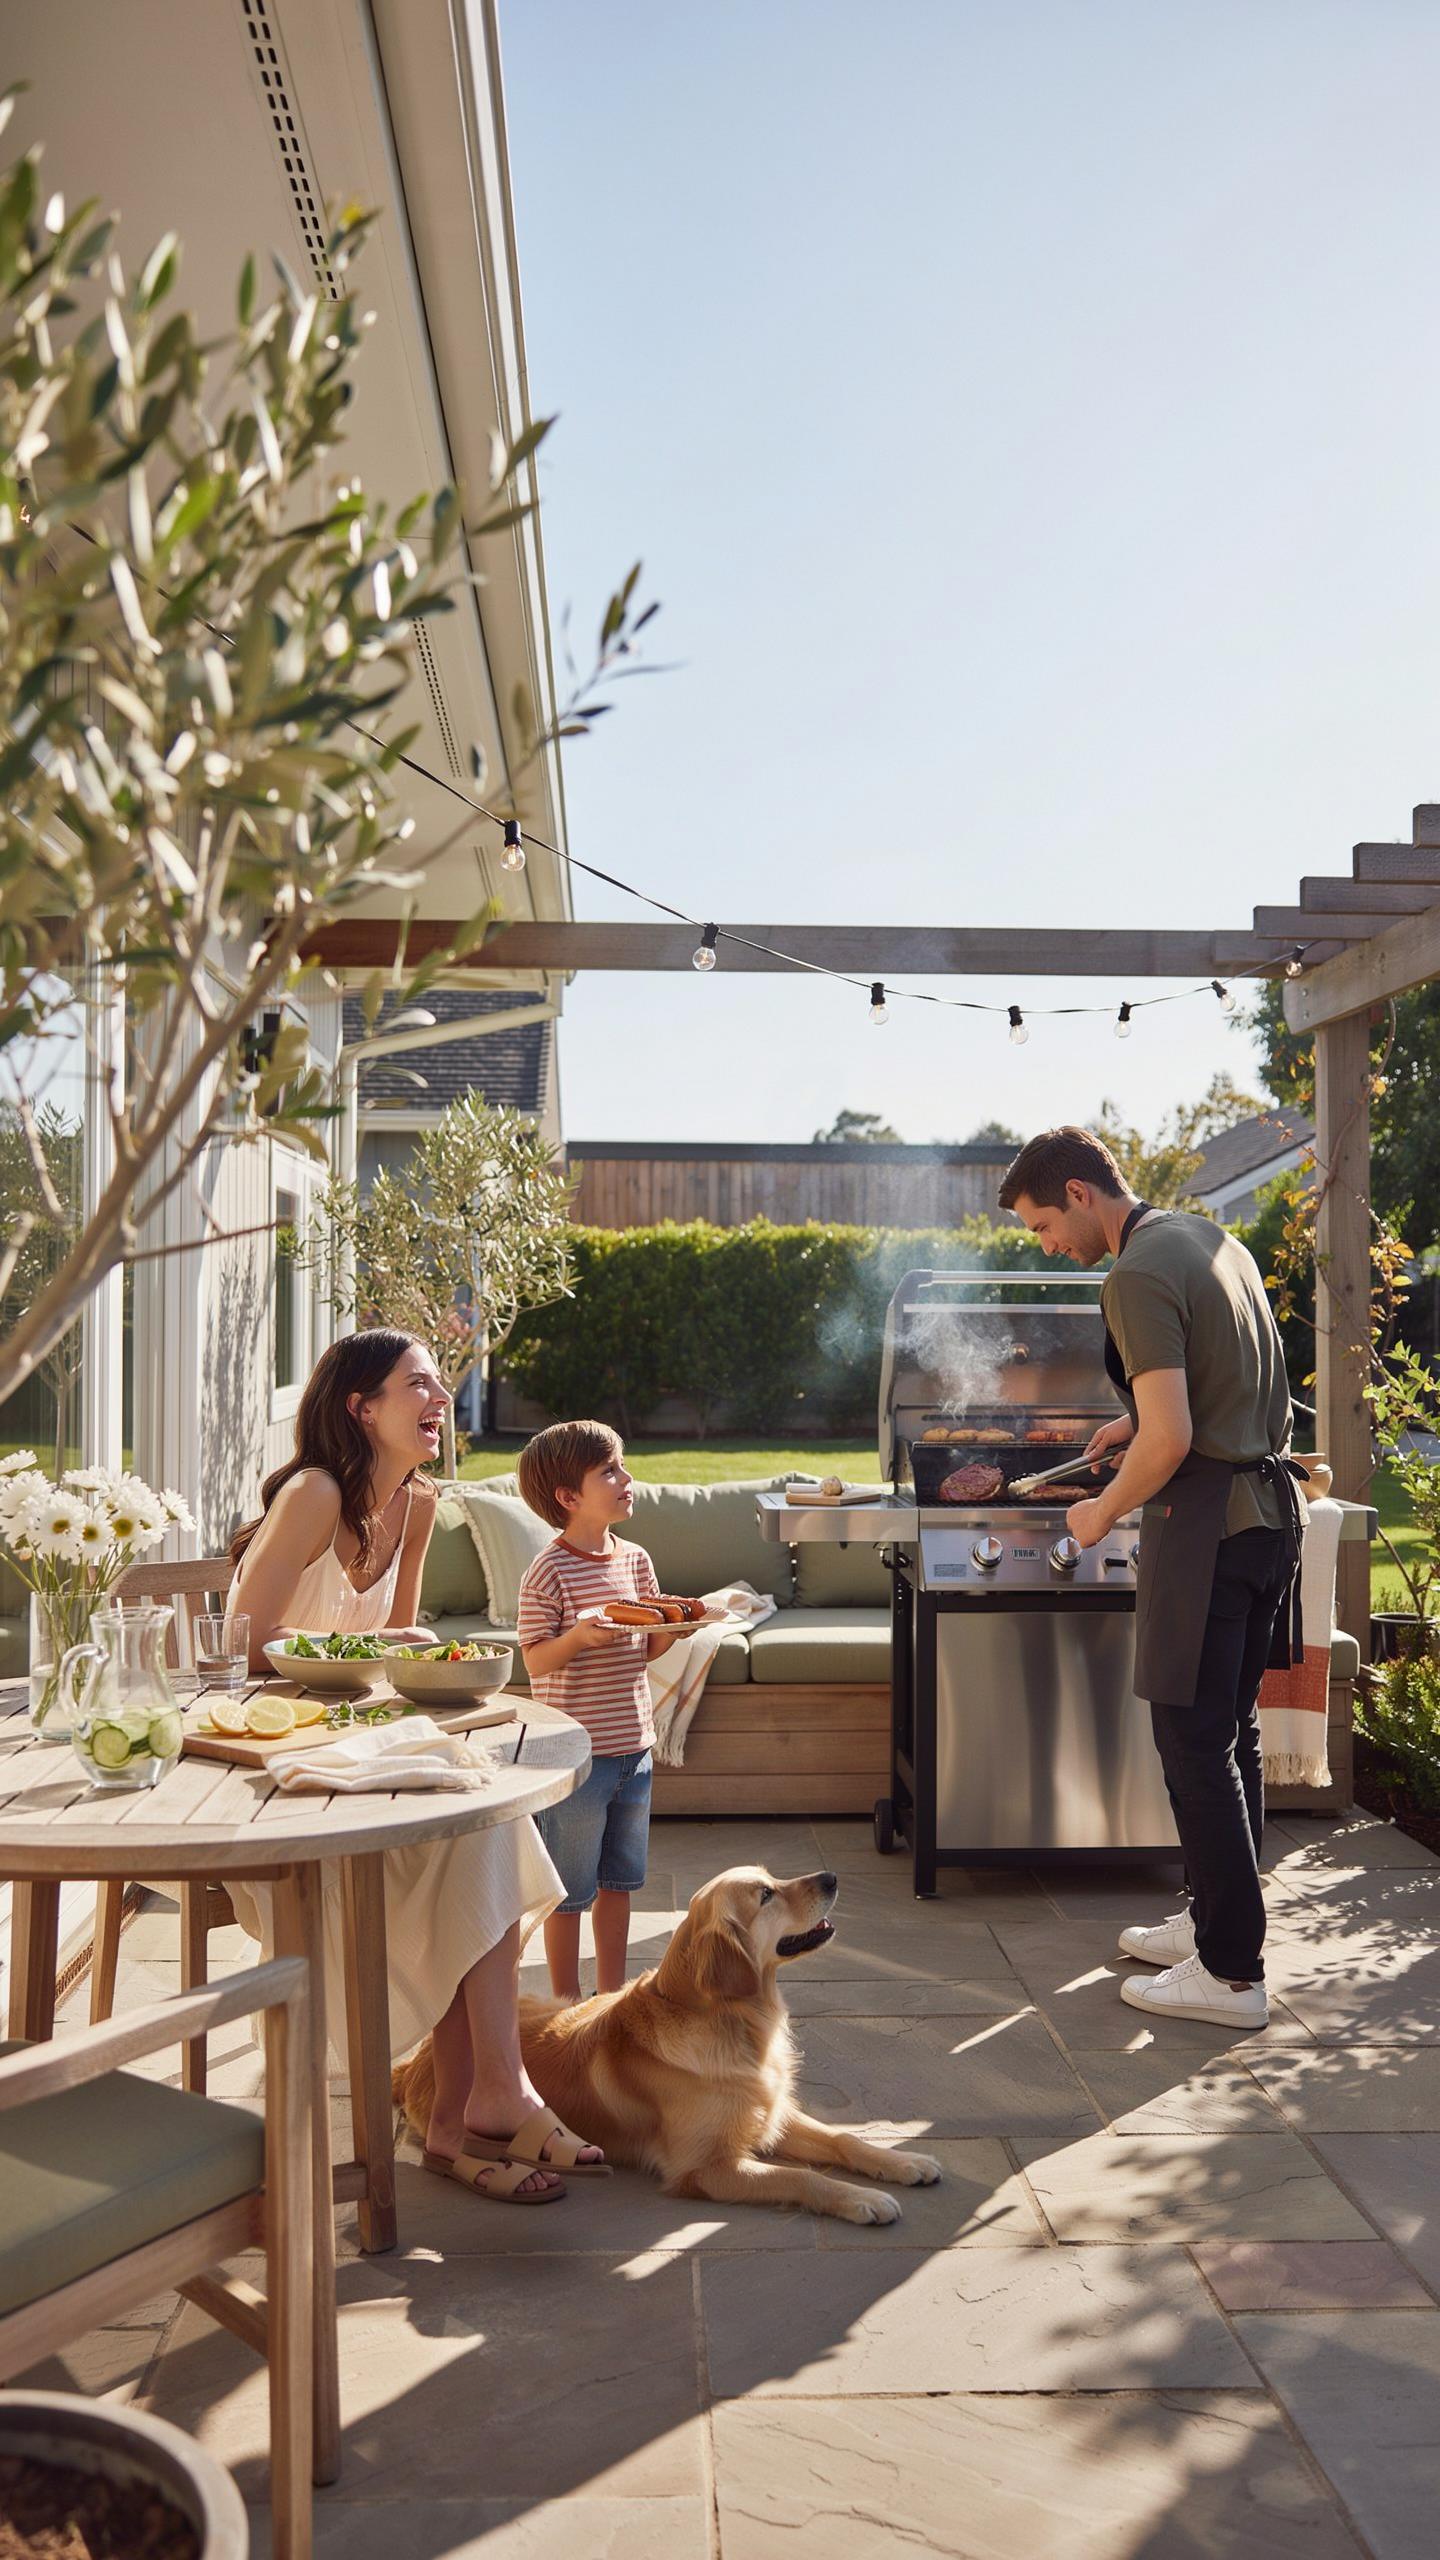
Essential Cooking Station Lighting Essentials
Task lighting over a grill serves one function: visibility for safe food preparation. You need bright, focused light on the cooking surface to see meat doneness, prevent burns, and avoid contamination. Dim or yellow-tinted light creates guesswork. Proper lighting eliminates that risk entirely.
- Gooseneck Task Lights: Mount flexible fixtures directly above the grill grate at 24 to 36 inches height. Position them to avoid casting your shadow on the cooking surface. Aim for 50 to 75 foot-candles of illumination on the work area.
- Under Counter LED Strips: Install moisture-rated strips beneath countertops adjacent to the grill. These illuminate prep surfaces and reduce shadows. Choose fixtures rated IP65 or higher for outdoor exposure and splashing.
- Color Temperature at 4000K: Select fixtures at 4000K (neutral white). This temperature reveals true food color and prevents the yellow cast that obscures meat browning and doneness indicators. Warmer 2700K light masks these details.
- Dimmer Controls: Wire task lights to dimmer switches separate from accent lighting. This lets you increase brightness during food prep and reduce it during dining without affecting ambiance elsewhere.
- Moisture Rated Housings: All grill area fixtures must have sealed, corrosion resistant housings. Stainless steel or powder coated aluminum handles heat and humidity. Avoid bare aluminum or untreated materials.
Redundancy matters in cooking areas. Install two separate fixture types so you maintain visibility if one fails. LED strips provide ambient task light, while gooseneck fixtures handle detailed work. Both run on low voltage systems, making installation straightforward in existing outdoor kitchens.
Bar And Dining Accentuation
Warm accent lighting around bar and dining zones counterbalances the harsh functionality of grill area task lights. Under ledge stone lighting at 2700K creates depth and guides foot traffic without competing with meal preparation zones. This approach separates cooking operations from social dining.
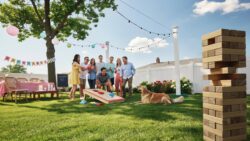
Stone work and built-in cabinetry benefit from bottom-up illumination that emphasizes texture and form. Position LED strips 2 to 3 inches above the counter surface, angled slightly downward. This prevents glare while highlighting materials like granite, limestone, or travertine. The result draws attention to the design investment without creating bright spots that strain eyes during conversation.
Selecting The Ultimate Patio Light Fixtures
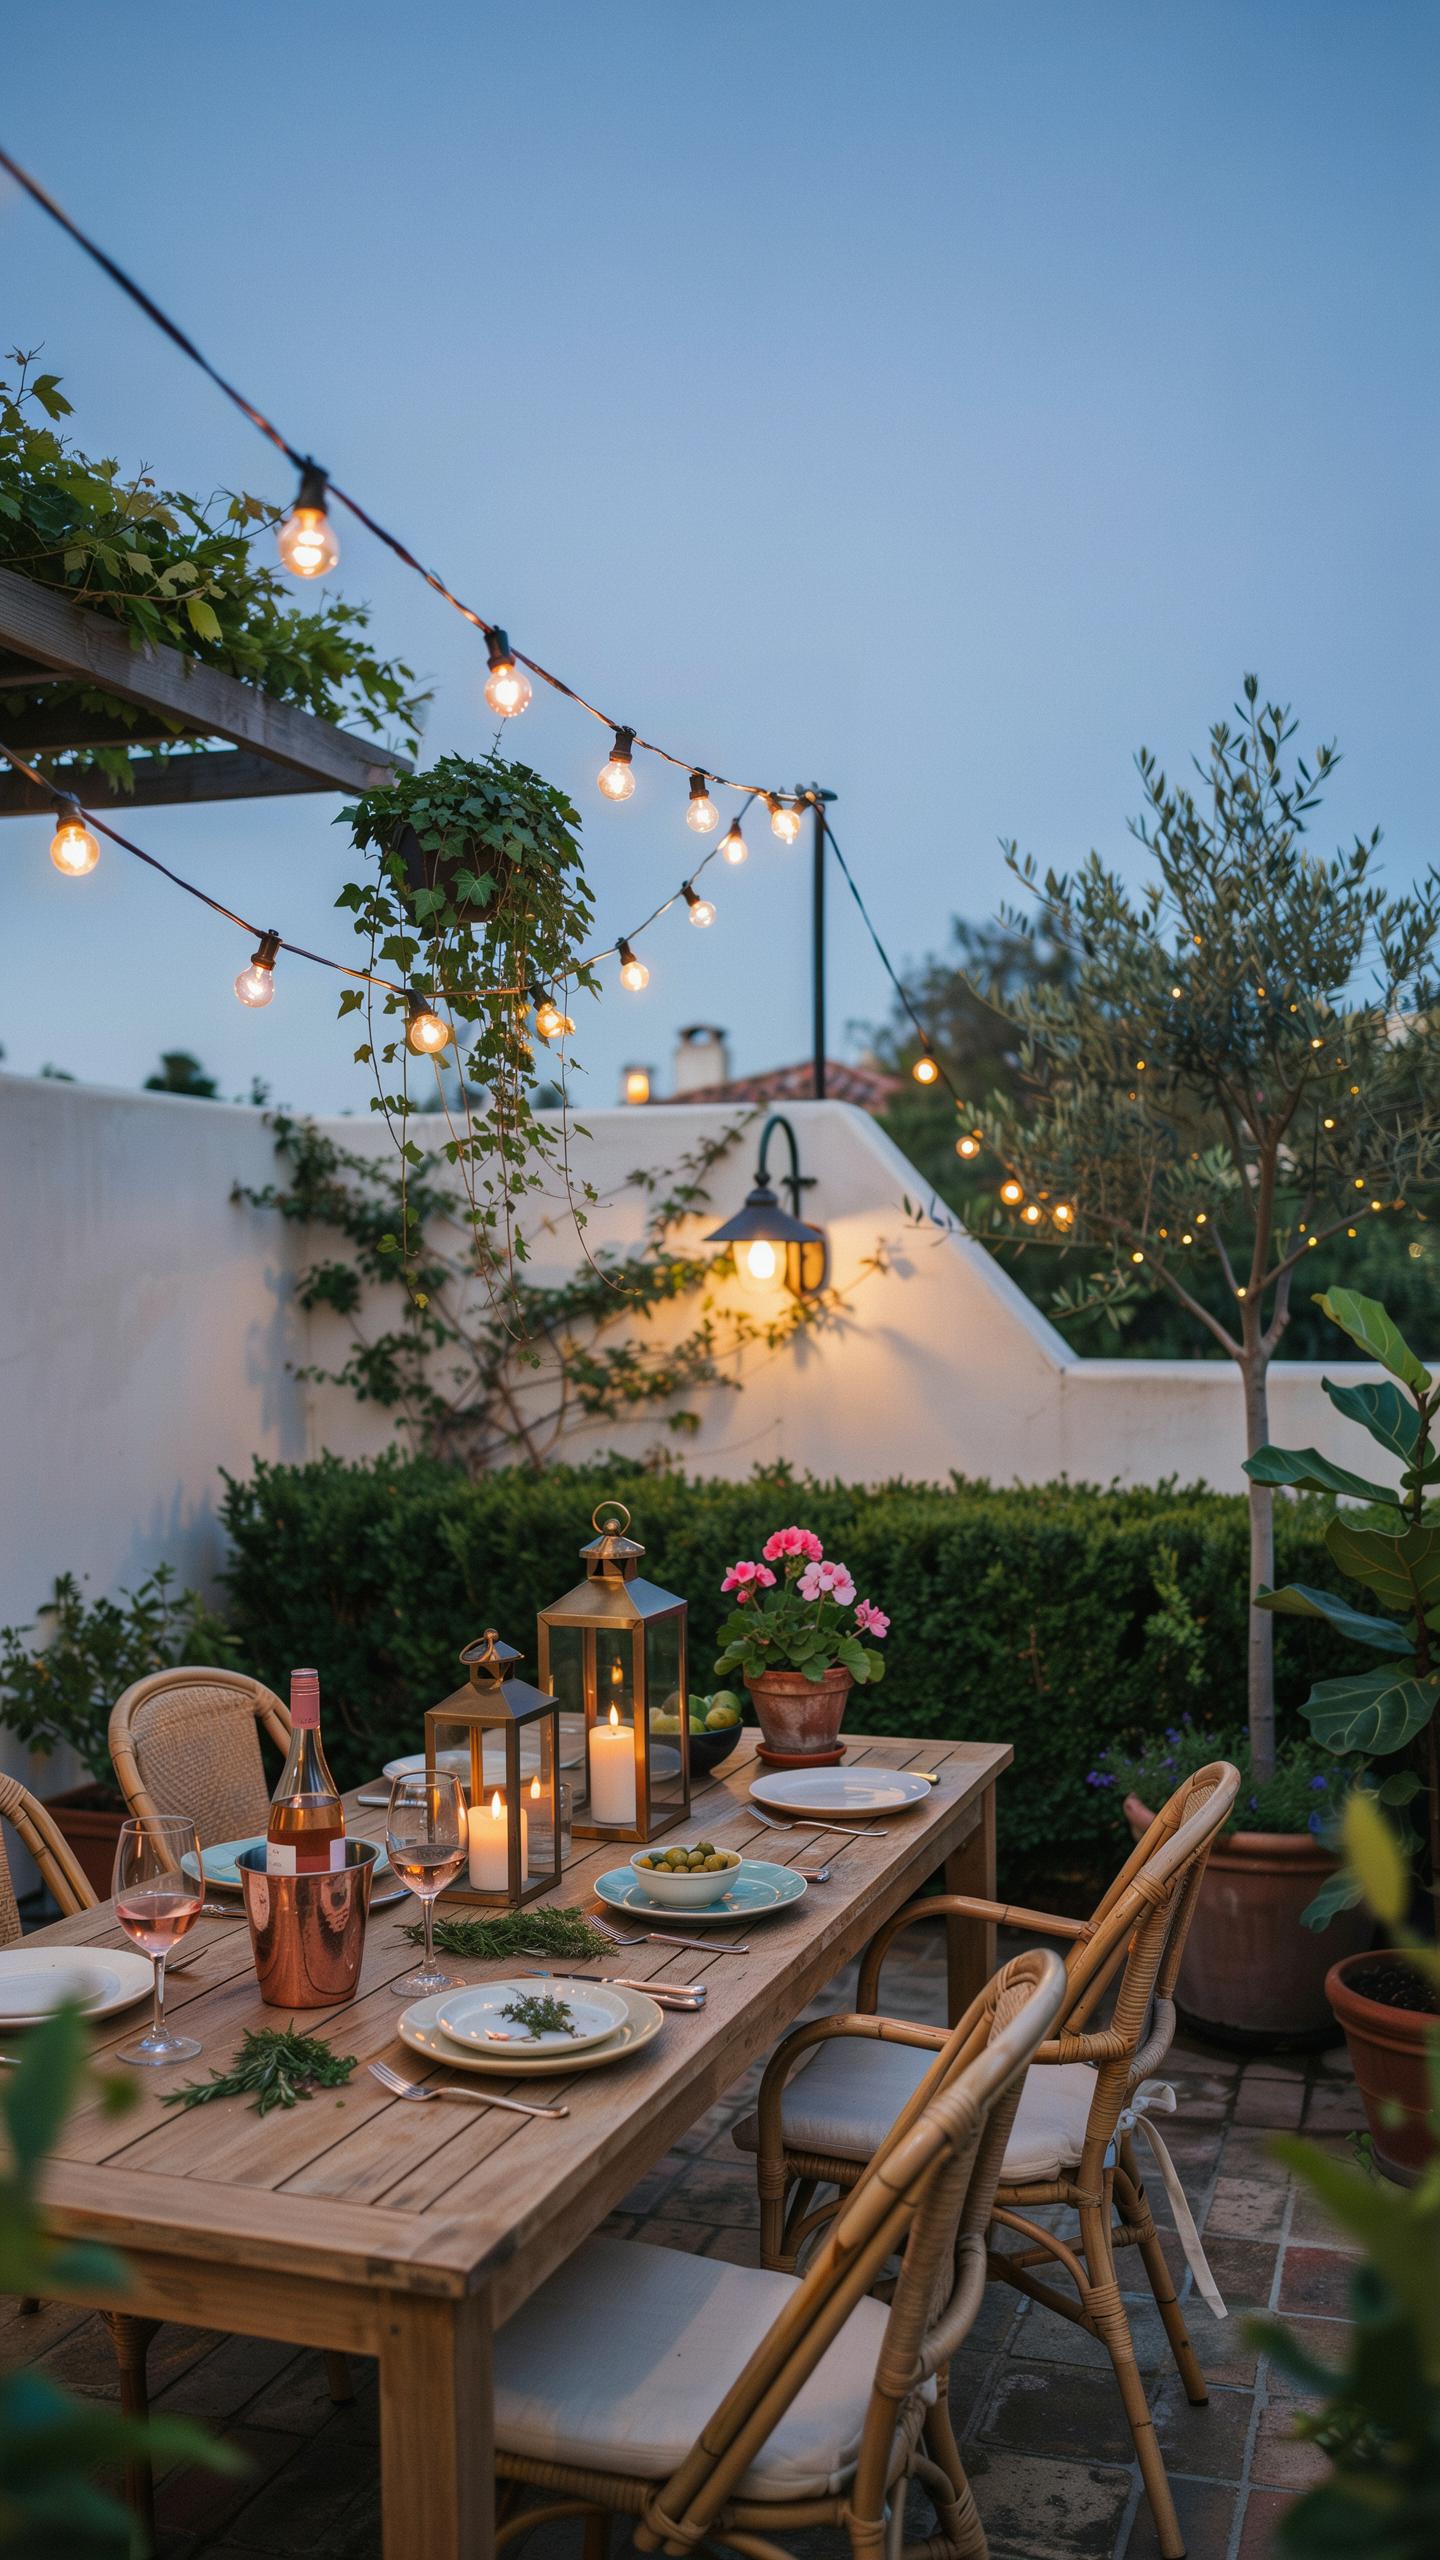
Choosing Durable Materials
Marine-grade brass, copper, and powder-coated aluminum resist corrosion in humid or coastal environments. These materials withstand salt air, moisture, and temperature swings without degrading. Brass develops a patina over time but maintains structural integrity. Copper oxidizes to green verdigris but remains corrosion-resistant. Powder-coated aluminum offers a protective layer that prevents rust and extends fixture lifespan significantly.
Material choice determines maintenance frequency and replacement costs. Marine-grade brass costs more upfront but requires minimal upkeep. Copper fixtures develop character while staying functional for decades. Powder-coated aluminum provides budget-friendly durability without sacrificing performance. Selecting the right material cuts long-term maintenance time and protects your investment against weather damage.
Energy Efficient LED Options
LED systems consume 75 percent less energy than incandescent bulbs while producing equivalent light output. Low-temperature LEDs around 2700K create warm ambiance similar to traditional filament sources. High-efficiency solid-state technology converts electrical current directly to light with minimal heat waste. This efficiency reduces your electricity bills and lowers your home’s environmental footprint immediately.

LED fixtures operate 25,000 to 50,000 hours before requiring replacement, compared to 1,000 hours for incandescent bulbs. Extended lifespan means fewer fixture changes and reduced maintenance labor. The initial investment in LED patio lights pays back within two to three seasons through energy savings alone. Modern LED options deliver quality light output while eliminating the heat and waste of older lighting technologies.
Innovative Backyard Lighting Ideas For Pathways And Features
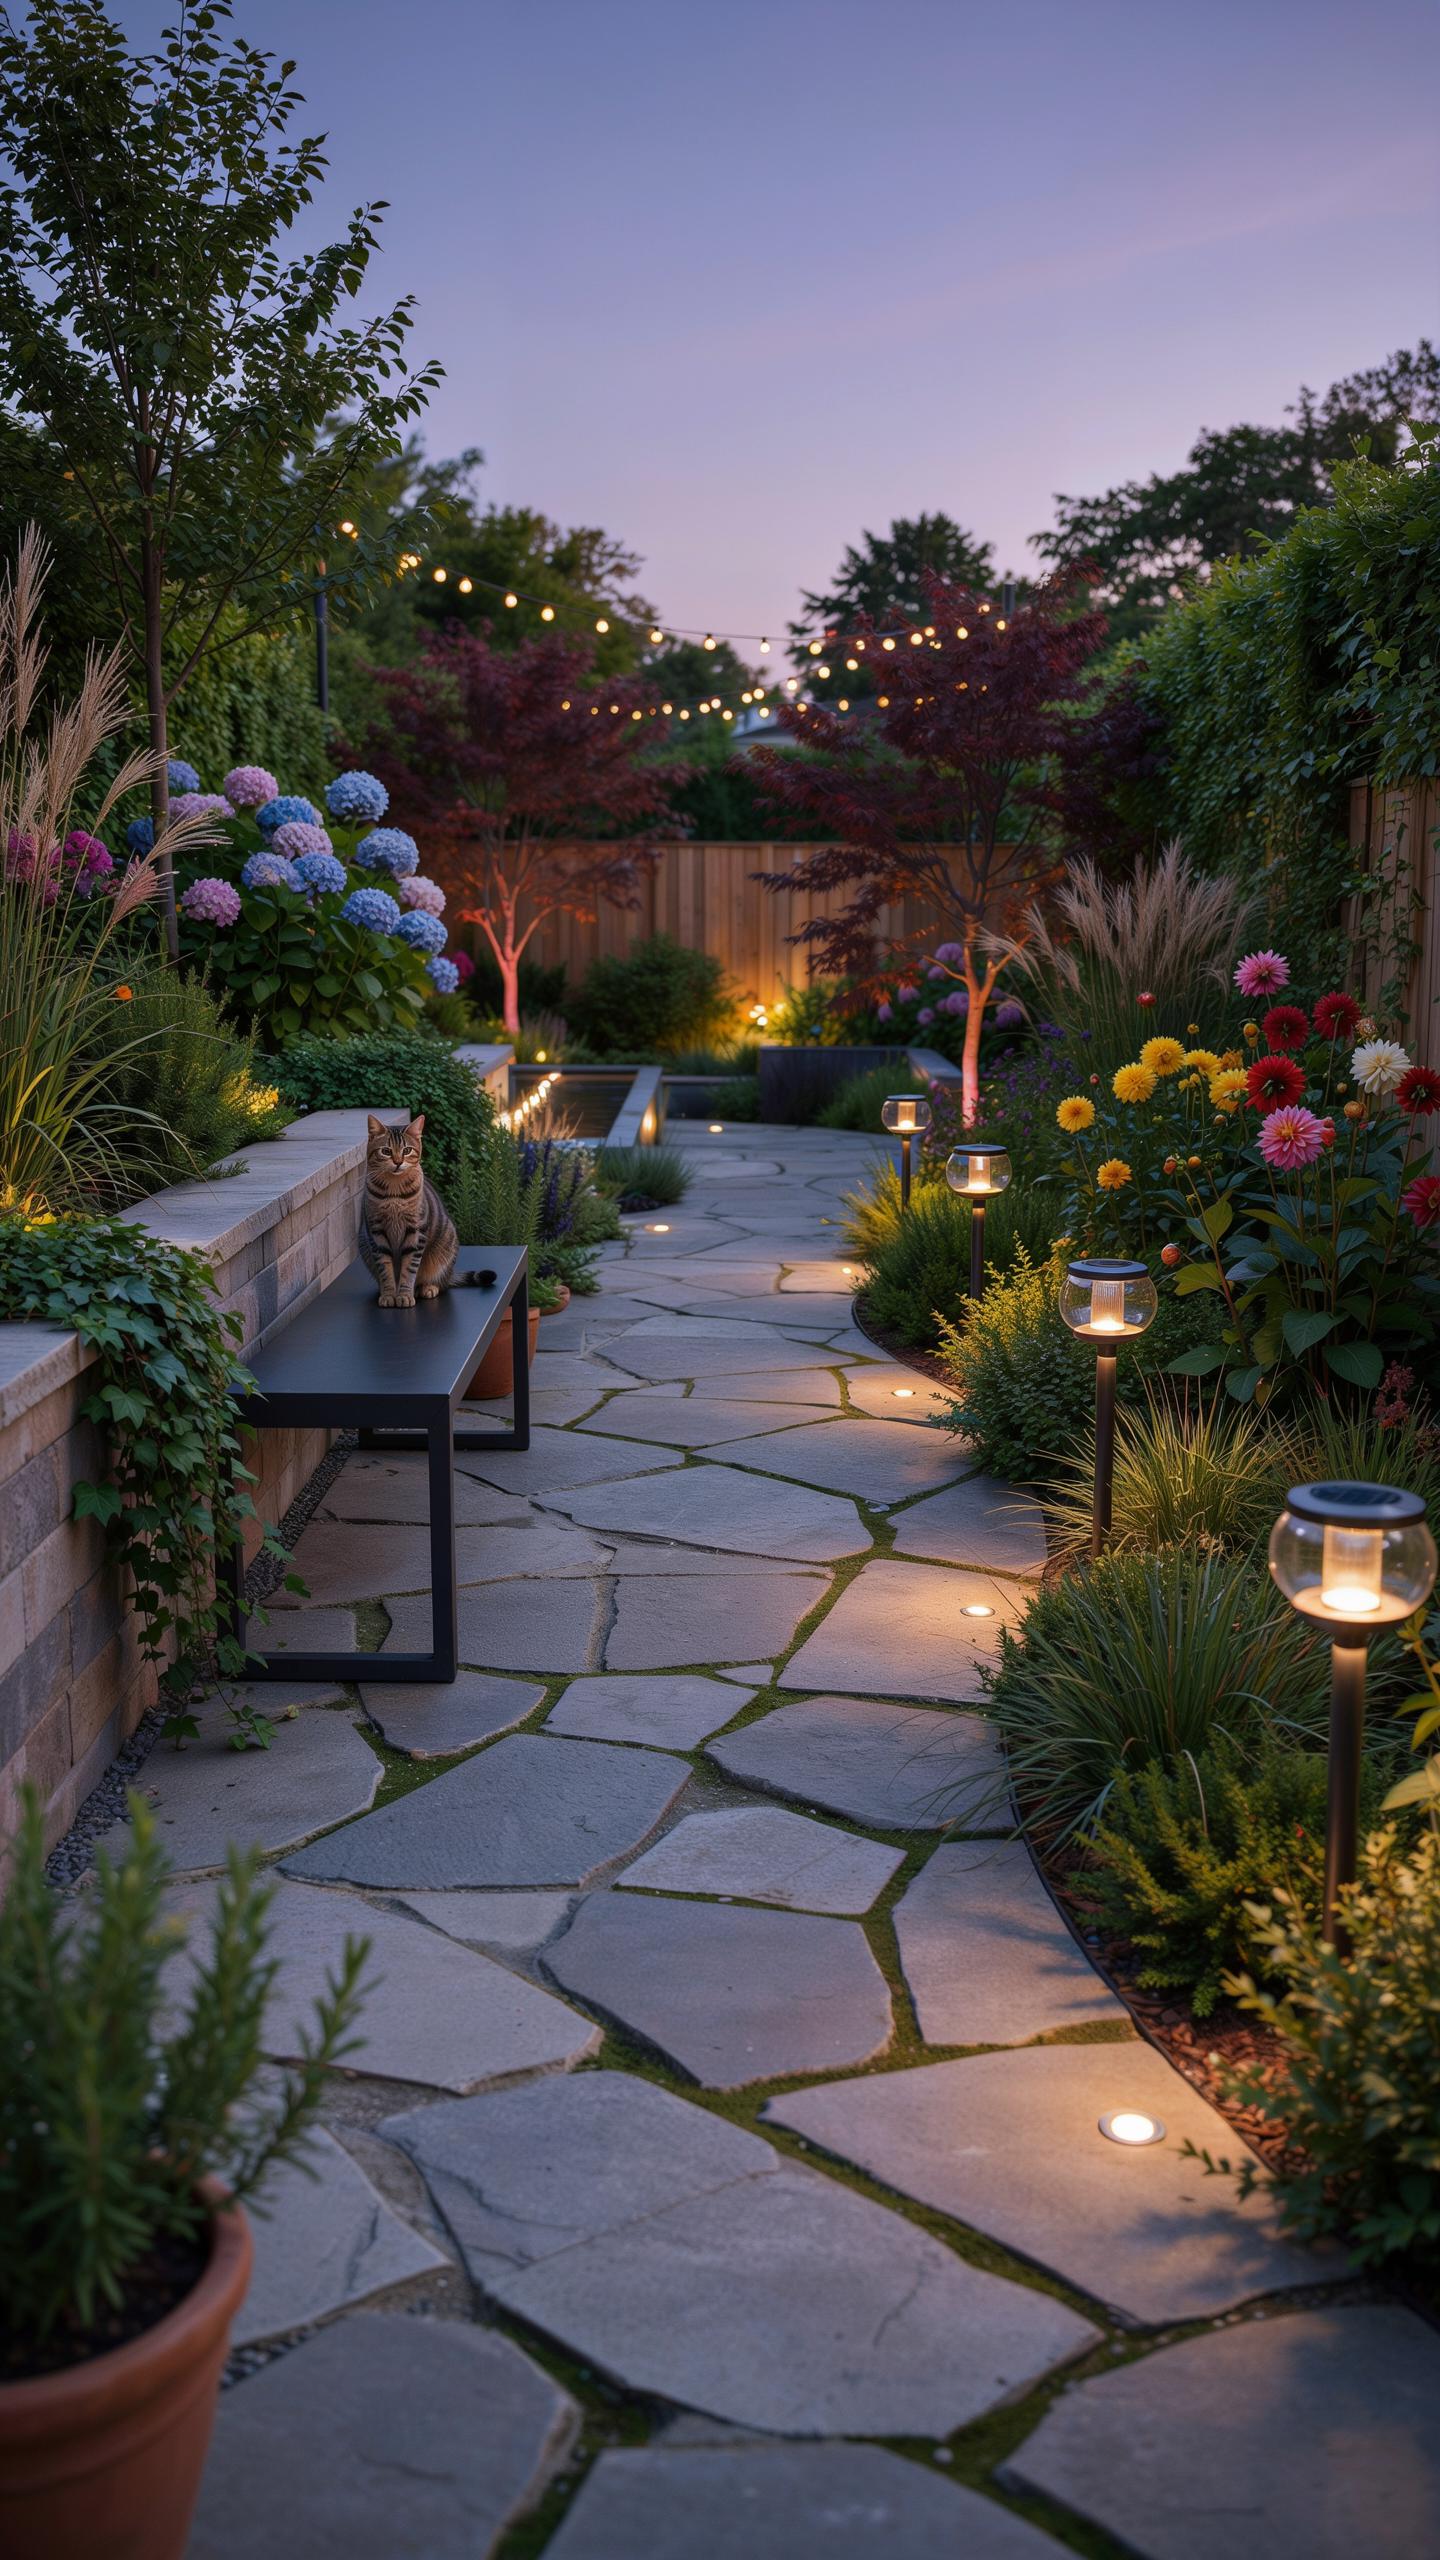
Path And Step Safety Luminaires
Low-profile path fixtures solve a core problem: guests need to see where they walk without glare hitting their eyes. Downward-facing designs direct light onto walkways and steps while containing spillover. This matters because uncontrolled light creates disorientation and tripping hazards. Stone surfaces reflect light efficiently, so you need less wattage than you might think. Position fixtures every four to six feet along pathways for consistent visibility.
Install path lights at ground level or slightly recessed into the landscape. This placement keeps beams away from eye level while illuminating walking surfaces. Most quality path fixtures use LED technology now, cutting energy use compared to older halogen models. Choose warm color temperature between 2700K and 3000K to maintain visual comfort during evening hours. Test spacing and intensity before finalizing placement to catch dark spots or over-lit zones.
Lighting is the secret ingredient that turns a simple yard into a sanctuary of memories, bridging the gap between the indoors and the magic of a starry night.
Water Feature And Poolside Illumination
Submersible LED lights rated IP68 handle water immersion without failure. These fixtures attach to pool walls, pond bottoms, or fountain bases to create visual depth. The waterproof rating ensures the light assembly resists moisture infiltration for years of reliable use. Refraction patterns form naturally as light passes through water, creating visual interest without extra effort. LED submersibles generate minimal heat, making them safe for prolonged operation.

Install submersible fixtures during initial pool or feature construction when possible. Retrofit installation works too but requires draining and careful cable routing. Use warm or cool color temperatures depending on your entertainment style and existing landscape lighting. Most submersible units operate on low voltage systems, reducing electrical hazard risk around water zones. Position lights to avoid direct beam visibility from seating areas while still illuminating the water surface effectively.
Integrating A Cohesive Backyard Landscape Idea
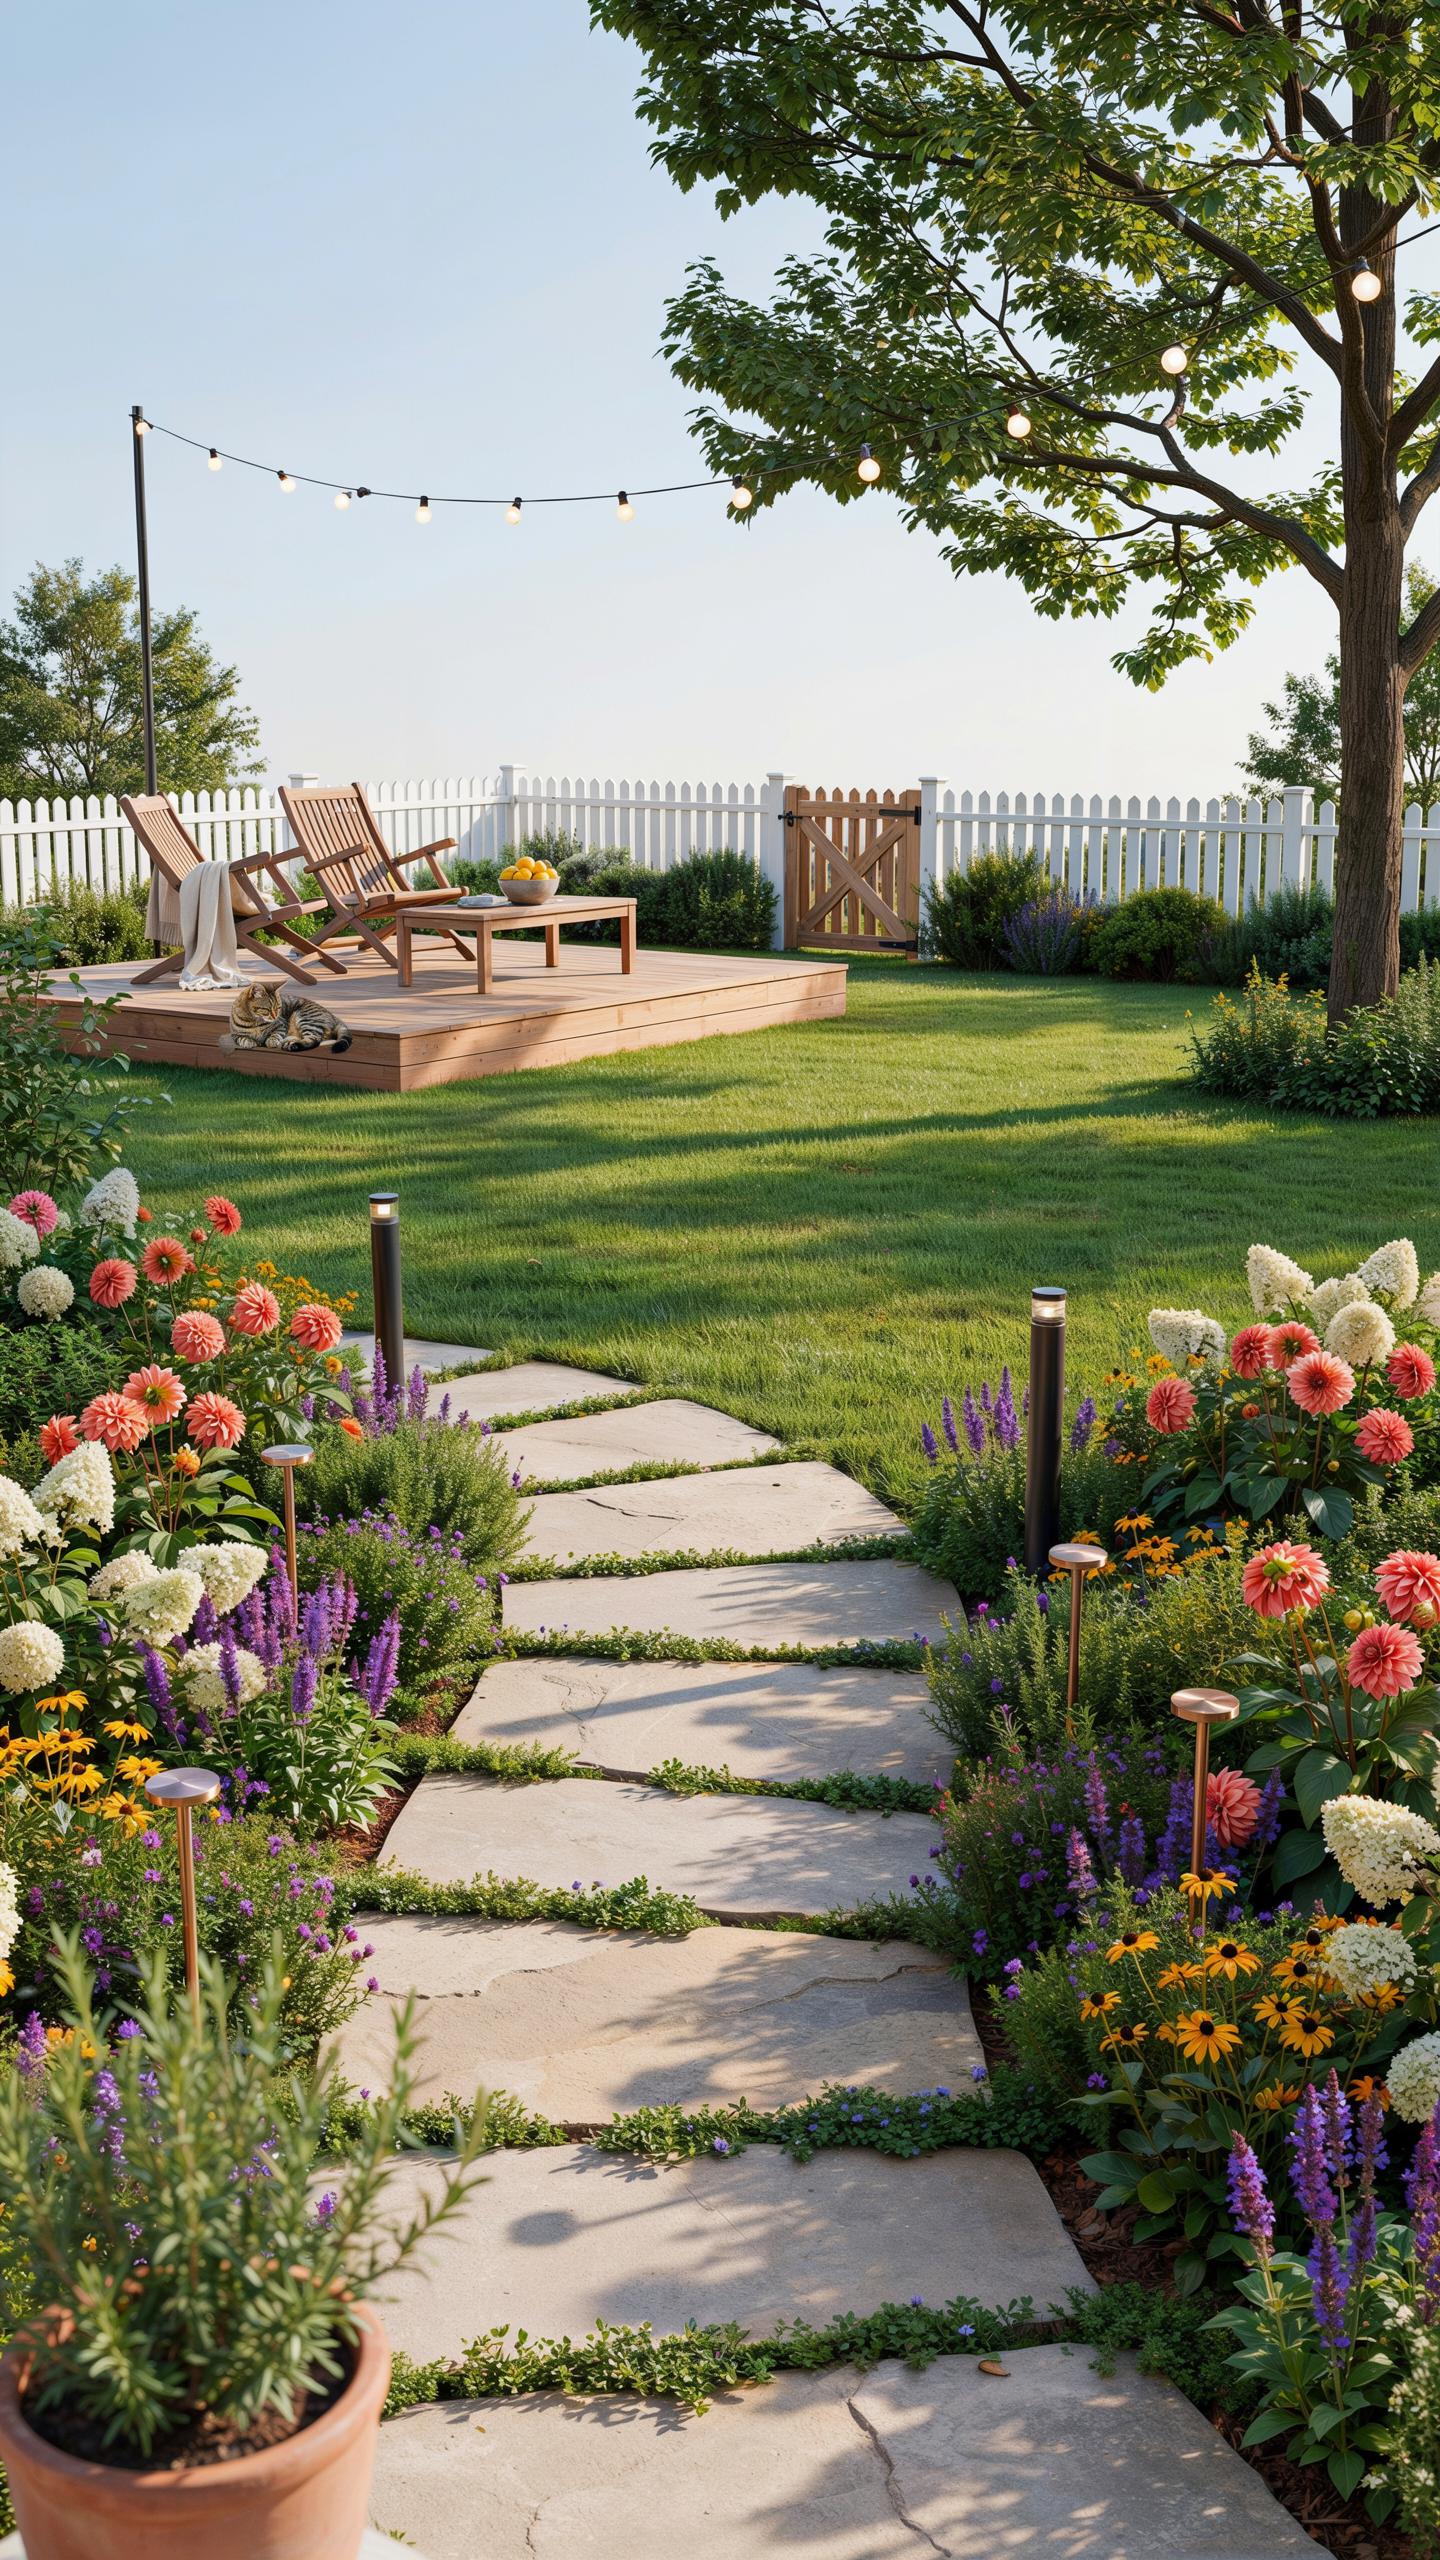
Blending Hardscape And Softscape Elements
Hidden bullet lights serve a specific function in landscape design. They sit at ground level or within planting beds and direct light upward toward architectural features and foliage. This technique separates the hardscape structure from the softscape plantings without creating harsh boundaries. The light source remains invisible to the viewer while illuminating the landscape layers above it.
Placement matters more than quantity. Position bullet lights along the base of retaining walls, near tree trunks, and within dense shrub beds. This approach softens the transition between built structures and natural plantings. Aim the light at a 30 to 45 degree angle to avoid glare and create even distribution across surfaces. The result is cohesion that functions during daylight and activates after dark.
Seasonal Plant And Shadow Play
Silhouetting uses backlighting to cast plant profiles onto vertical surfaces like fences or walls. Position lights behind ornamental grasses, deciduous trees, or shrubs with distinctive branch structures. When lit from behind, these plants create defined shadow shapes that change with the seasons as foliage density shifts. This technique transforms static fences into dynamic visual elements without requiring plants to have intrinsic color or form.
Ornamental grasses work particularly well for shadow play because their feathery texture creates complex shadow patterns. Deciduous trees provide seasonal variation in shadow density and shape as they leaf out and lose foliage. Install lights six to eight feet behind the plant material to achieve sharp shadow definition on the fence surface. Adjust light angle and intensity based on seasonal growth patterns to maintain visual impact year-round.
Creative Ways To Hang Lights In Backyard Trees And Pavilions
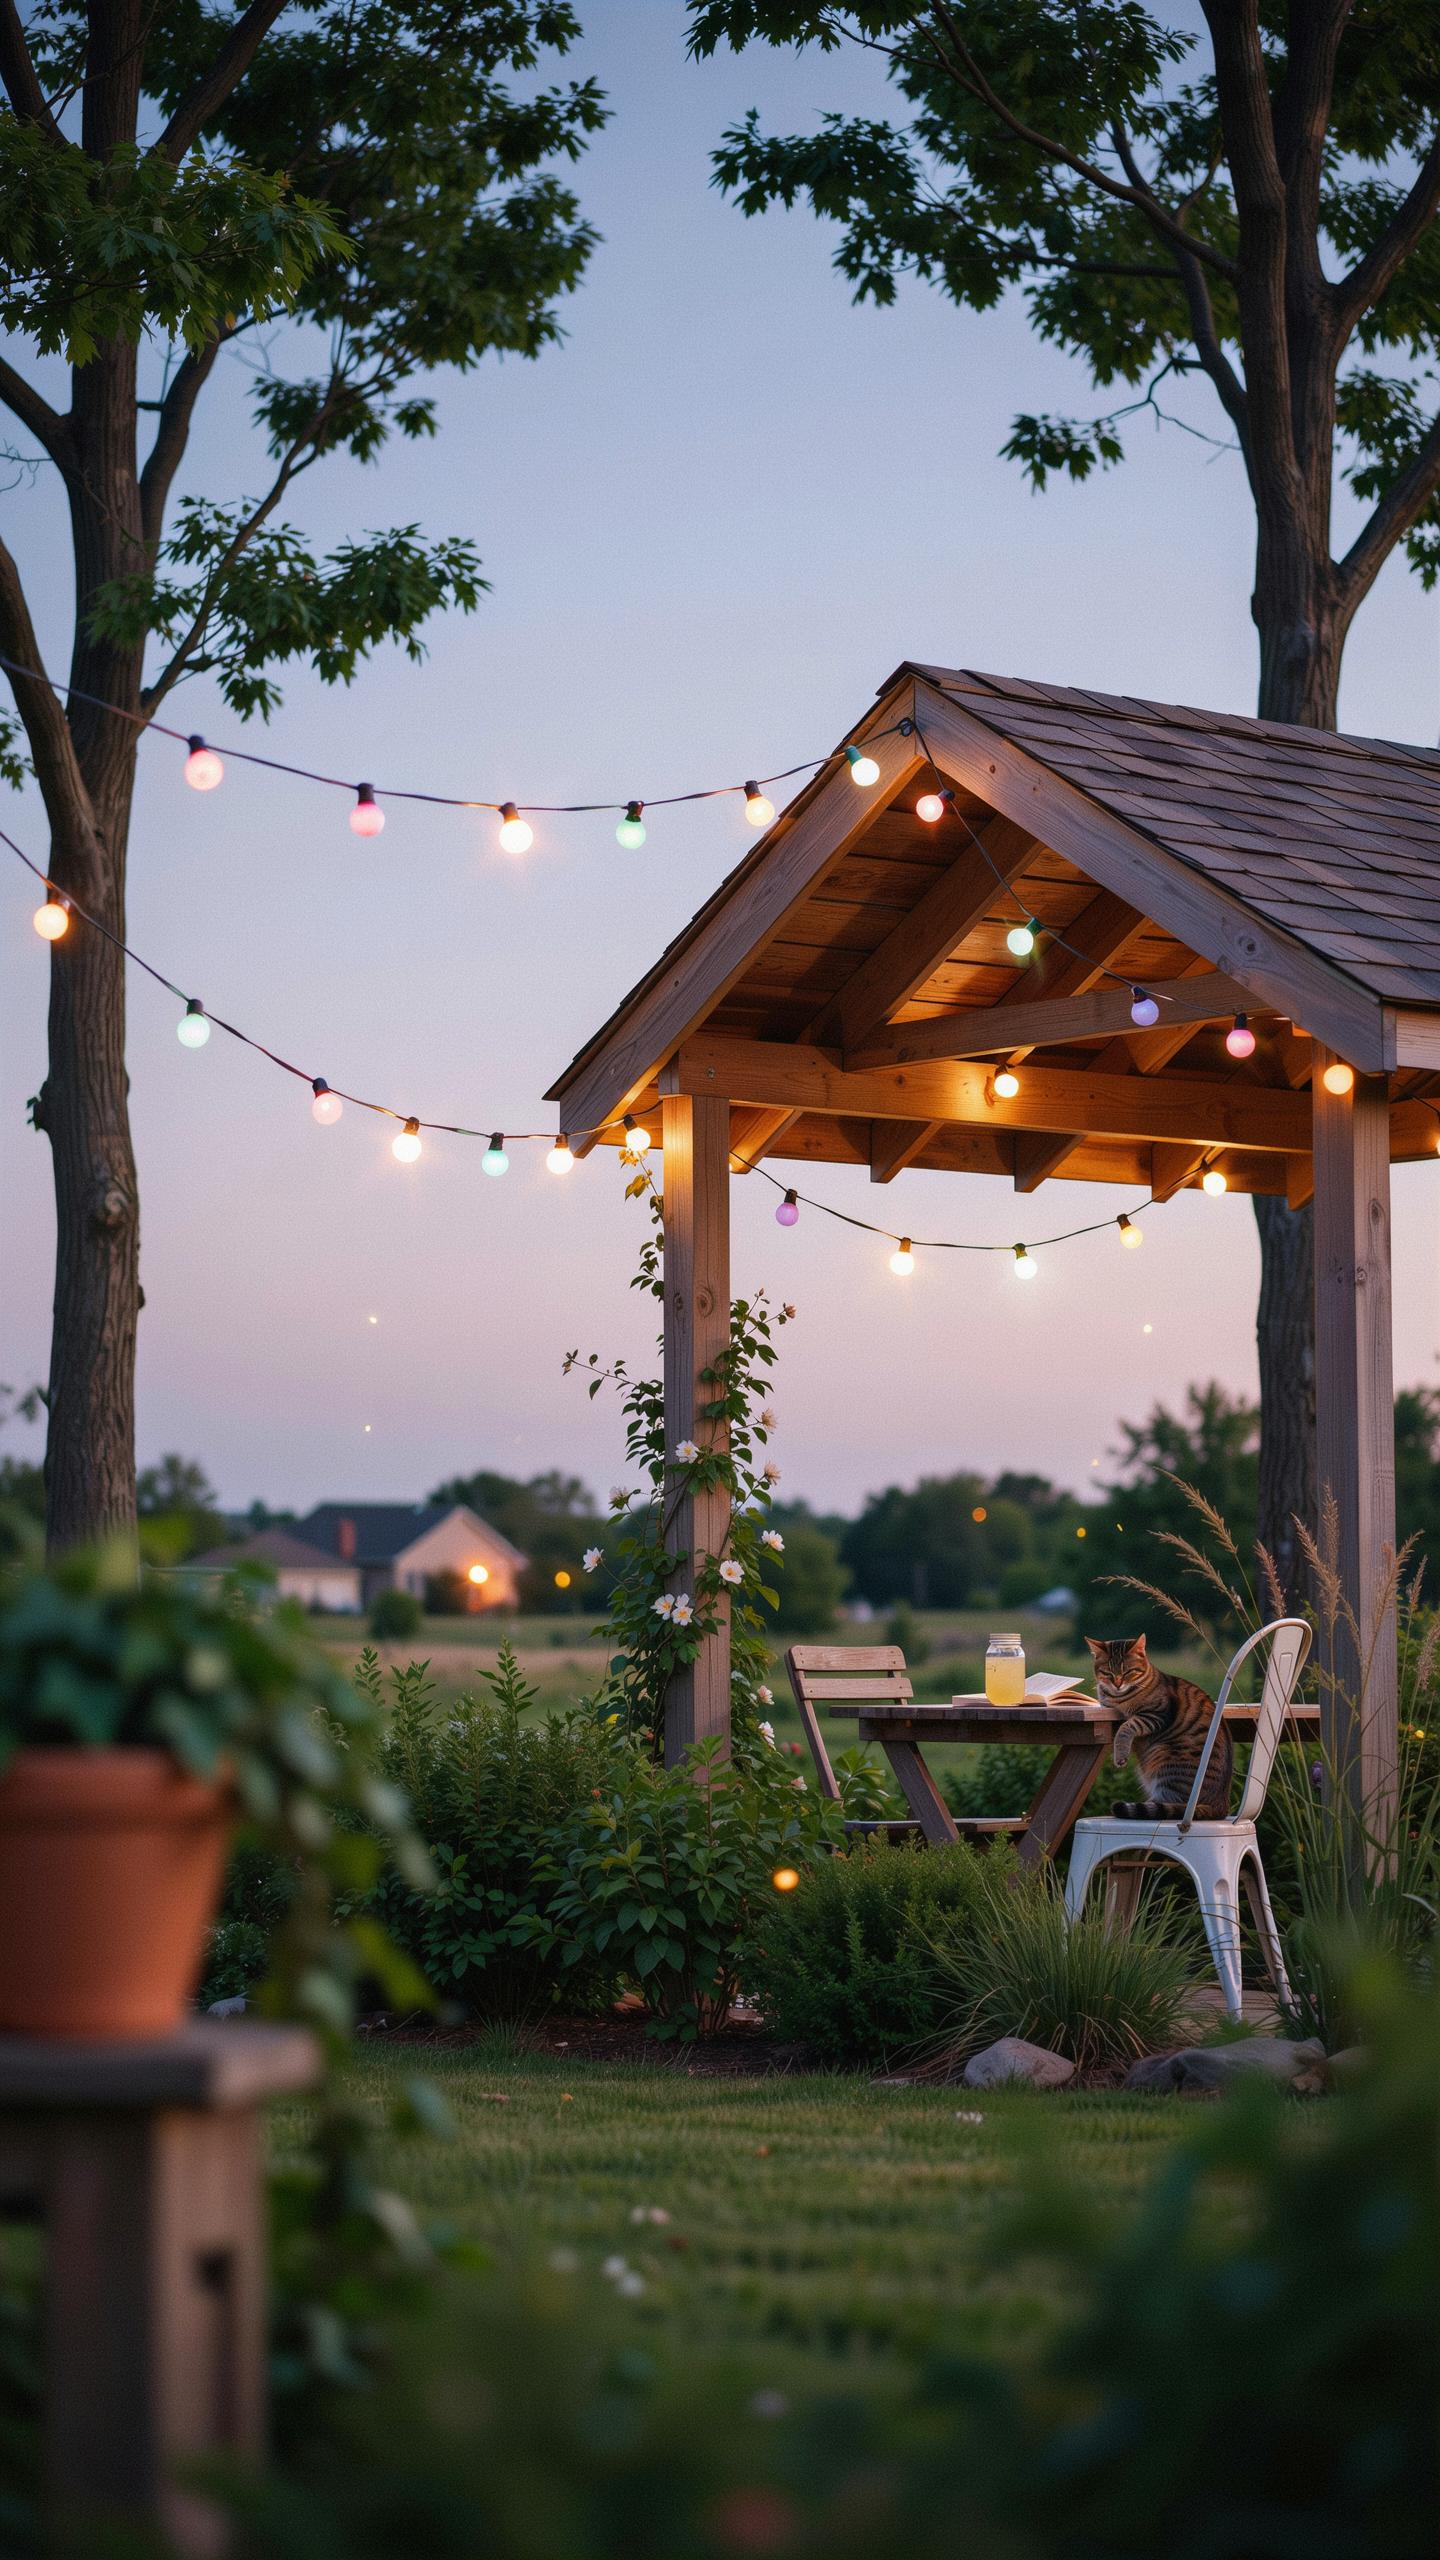
Techniques For Suspending String Lights
String lights require structural support that doesn’t damage trees or pavilions. Professional installation uses guide wires rated for outdoor tension and weather exposure. These systems distribute weight across multiple anchor points rather than concentrating stress on single fasteners. Proper suspension prevents sagging that reduces light visibility and creates water pooling hazards on cables.
- Stainless Steel Guide Wires: Prevent cable sag over spans exceeding 15 feet by distributing tension evenly. Use marine-grade stainless steel to resist corrosion from UV exposure and moisture.
- Tree Safe Straps: Protect bark by using 2 to 3 inch wide webbing that distributes pressure. Avoid nails and bolts that damage living tissue and invite disease pathogens.
- Quick Release Carabiners: Enable fast disconnect and reconnect cycles for seasonal takedown without tools. Use rated carabiners rated for minimum 20 pound holding capacity per connection.
- Tension Accessories: Include turnbuckles and cable tighteners to adjust sag after installation. These allow mid season adjustments as cable stretches from temperature fluctuations.
- Anchor Point Inspection: Check wood posts, beam connections, and attachment hardware annually before hanging lights. Look for rot, rust, or structural movement that compromises safety.
Quick release systems reduce maintenance burden significantly. You disconnect lights for storage in minutes rather than hours. This approach extends bulb life by removing seasonal exposure stress. Seasonal takedown also protects structures from ice and wind damage during winter months.
Pendant And Chandelier Focal Points
Outdoor chandeliers create defined entertaining zones under pergolas. Mount fixtures rated IP65 or higher to handle rain exposure and moisture intrusion. Center placement above dining tables establishes focal points that anchor furniture placement and traffic flow. This approach mimics indoor dining room aesthetics while functioning in open air environments.
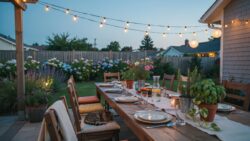
Chandelier placement requires electrical planning during pergola construction or retrofit. Use existing circuits or install dedicated lines rated for outdoor wet locations. Select fixtures with sealed socket assemblies and corrosion resistant hardware. Position chandeliers 7 to 8 feet above eating surfaces for adequate clearance and even light distribution across seating areas.
Inspirational House Yard Ideas For Small And Mid Sized Properties
Vertical Wall Wash Lighting
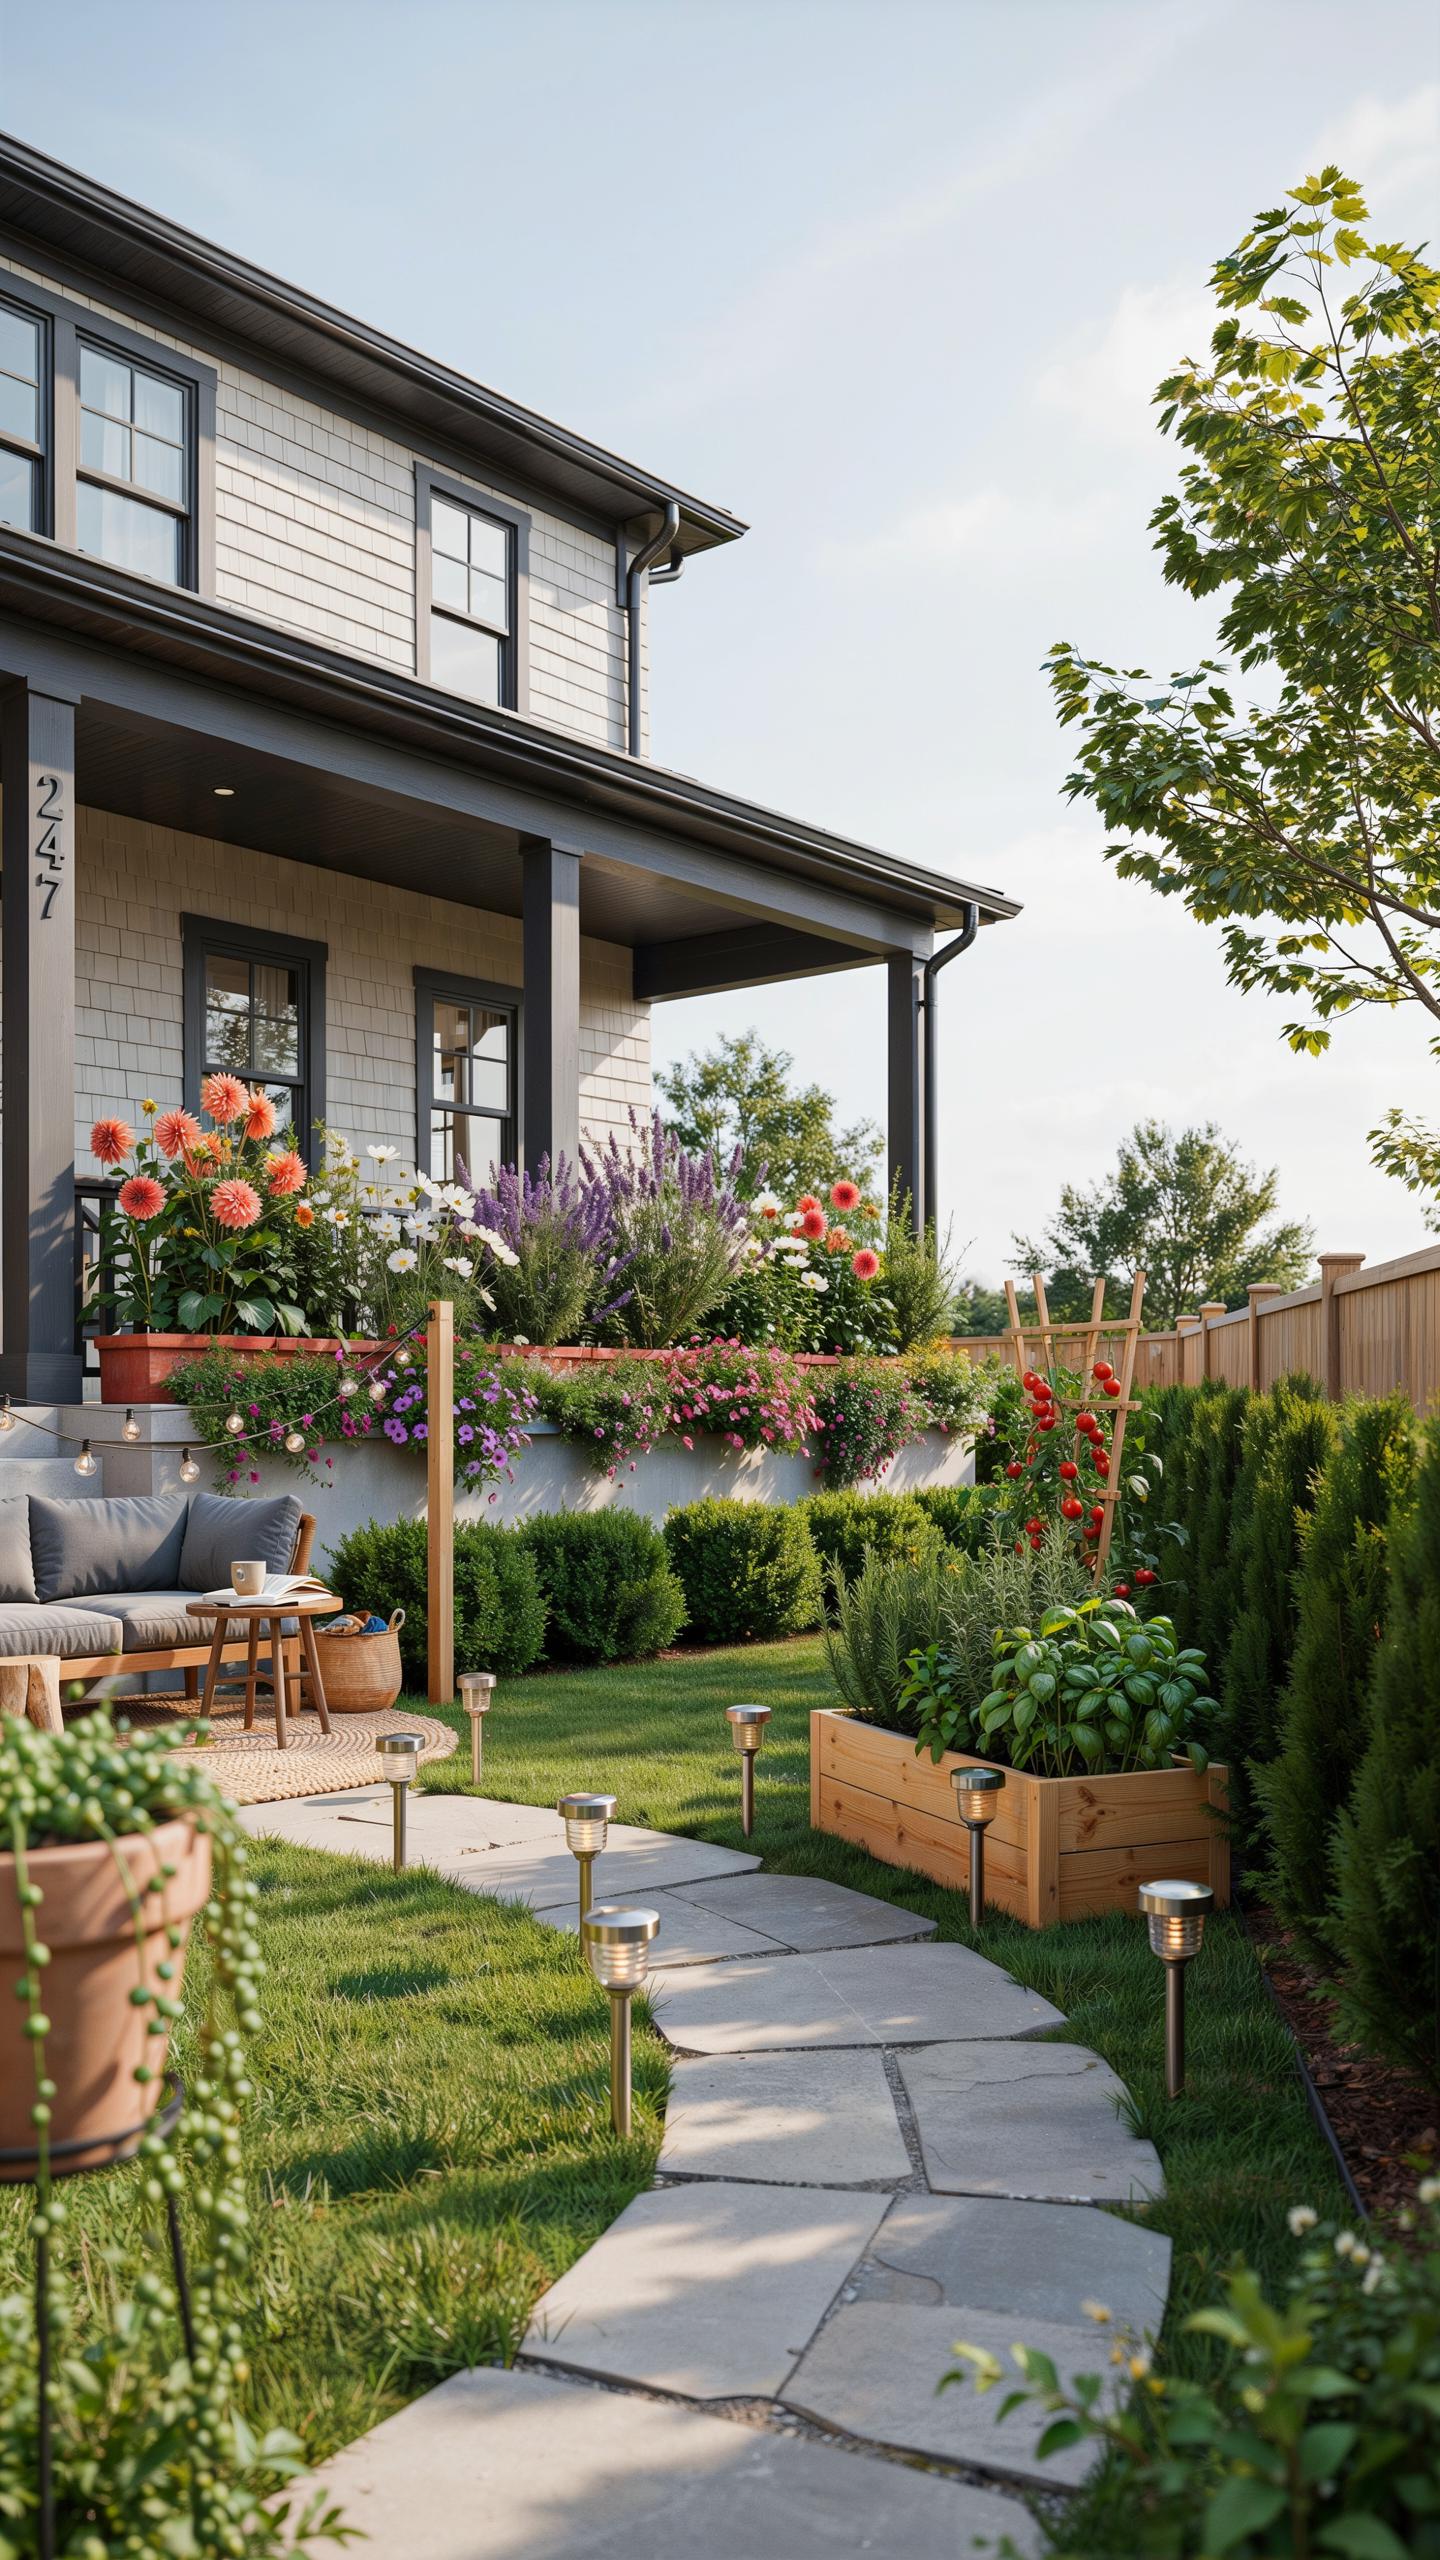
Narrow beam grazing lights pointed upward along exterior walls create visual depth in compact yards. This technique works because the human eye perceives height when light travels vertically along textured surfaces. Brick, stone, and stucco walls all respond well to this method. The light emphasizes architectural details while making tight spaces feel larger than they actually are. Install fixtures at ground level, angled upward at 45 degrees for optimal effect.
Wall wash lighting requires minimal horizontal space, making it ideal for properties where ground area is limited. Position fixtures 12 to 18 inches from the wall base for even light distribution. Use 20 to 40 watt LED fixtures depending on wall height and color. The technique adds visual interest without consuming usable entertaining area. This approach eliminates the need for overhead structures or hanging systems that consume square footage.
Multi Functional Portable Fixtures
Rechargeable cordless table lamps eliminate cable clutter while enabling quick seating reconfiguration. These fixtures run on lithium ion batteries with typical runtime between 8 and 20 hours per charge. They provide task lighting for dining tables, accent lighting for lounge areas, and ambient fill light as needed. Users move them freely to match changing guest patterns and activities throughout the evening. Battery powered fixtures eliminate the expense and safety concerns of running electrical runs to distant yard corners.

Portable lighting allows entertaining spaces to adapt without permanent installation or wiring work. Select fixtures with dimmable LED bulbs for control over light intensity and color temperature. Modern cordless lamps weigh between 2 and 5 pounds, making them easy to reposition. Charging typically takes 4 to 8 hours via standard USB or proprietary dock connectors. This flexibility transforms small properties into multipurpose entertaining zones that adjust to specific needs.
Frequently Asked Questions

What are the essential basics for a modern backyard lighting setup?
To create a welcoming backyard entertaining space lighting design, focus on layering your light. Start with ambient overhead options like cafe strings to set a mood, then add task lighting for cooking or dining zones. Finally, use accent lights to highlight architectural features or trees. Balancing these three layers ensures your outdoor area feels professionally designed while remaining functional for late-night gatherings with family and friends.
How can I effectively use lighting to define different functional zones?
You can define distinct zones by varying the intensity and style of your fixtures. Use warm, dimmable LED lanterns to create a cozy conversation nook, while employing brighter recessed lights or path markers to delineate the dining area and walkways. This strategic backyard entertaining space lighting design allows guests to navigate safely between the bar, fire pit, and lounge areas without disrupting the overall seasonal ambiance you have carefully curated.
Is it possible to upgrade my outdoor lighting on a strictly limited budget?
Absolutely! You can achieve a high-end look without a major renovation by utilizing solar-powered stakes and battery-operated LED candles. Drape affordable globe lights across a fence or pergola to instantly elevate the visual appeal. Upgrading your backyard with inexpensive, portable options is a great way to experiment with design trends before committing to permanent hardwired fixtures, making a beautiful outdoor retreat accessible for any homeowner.



