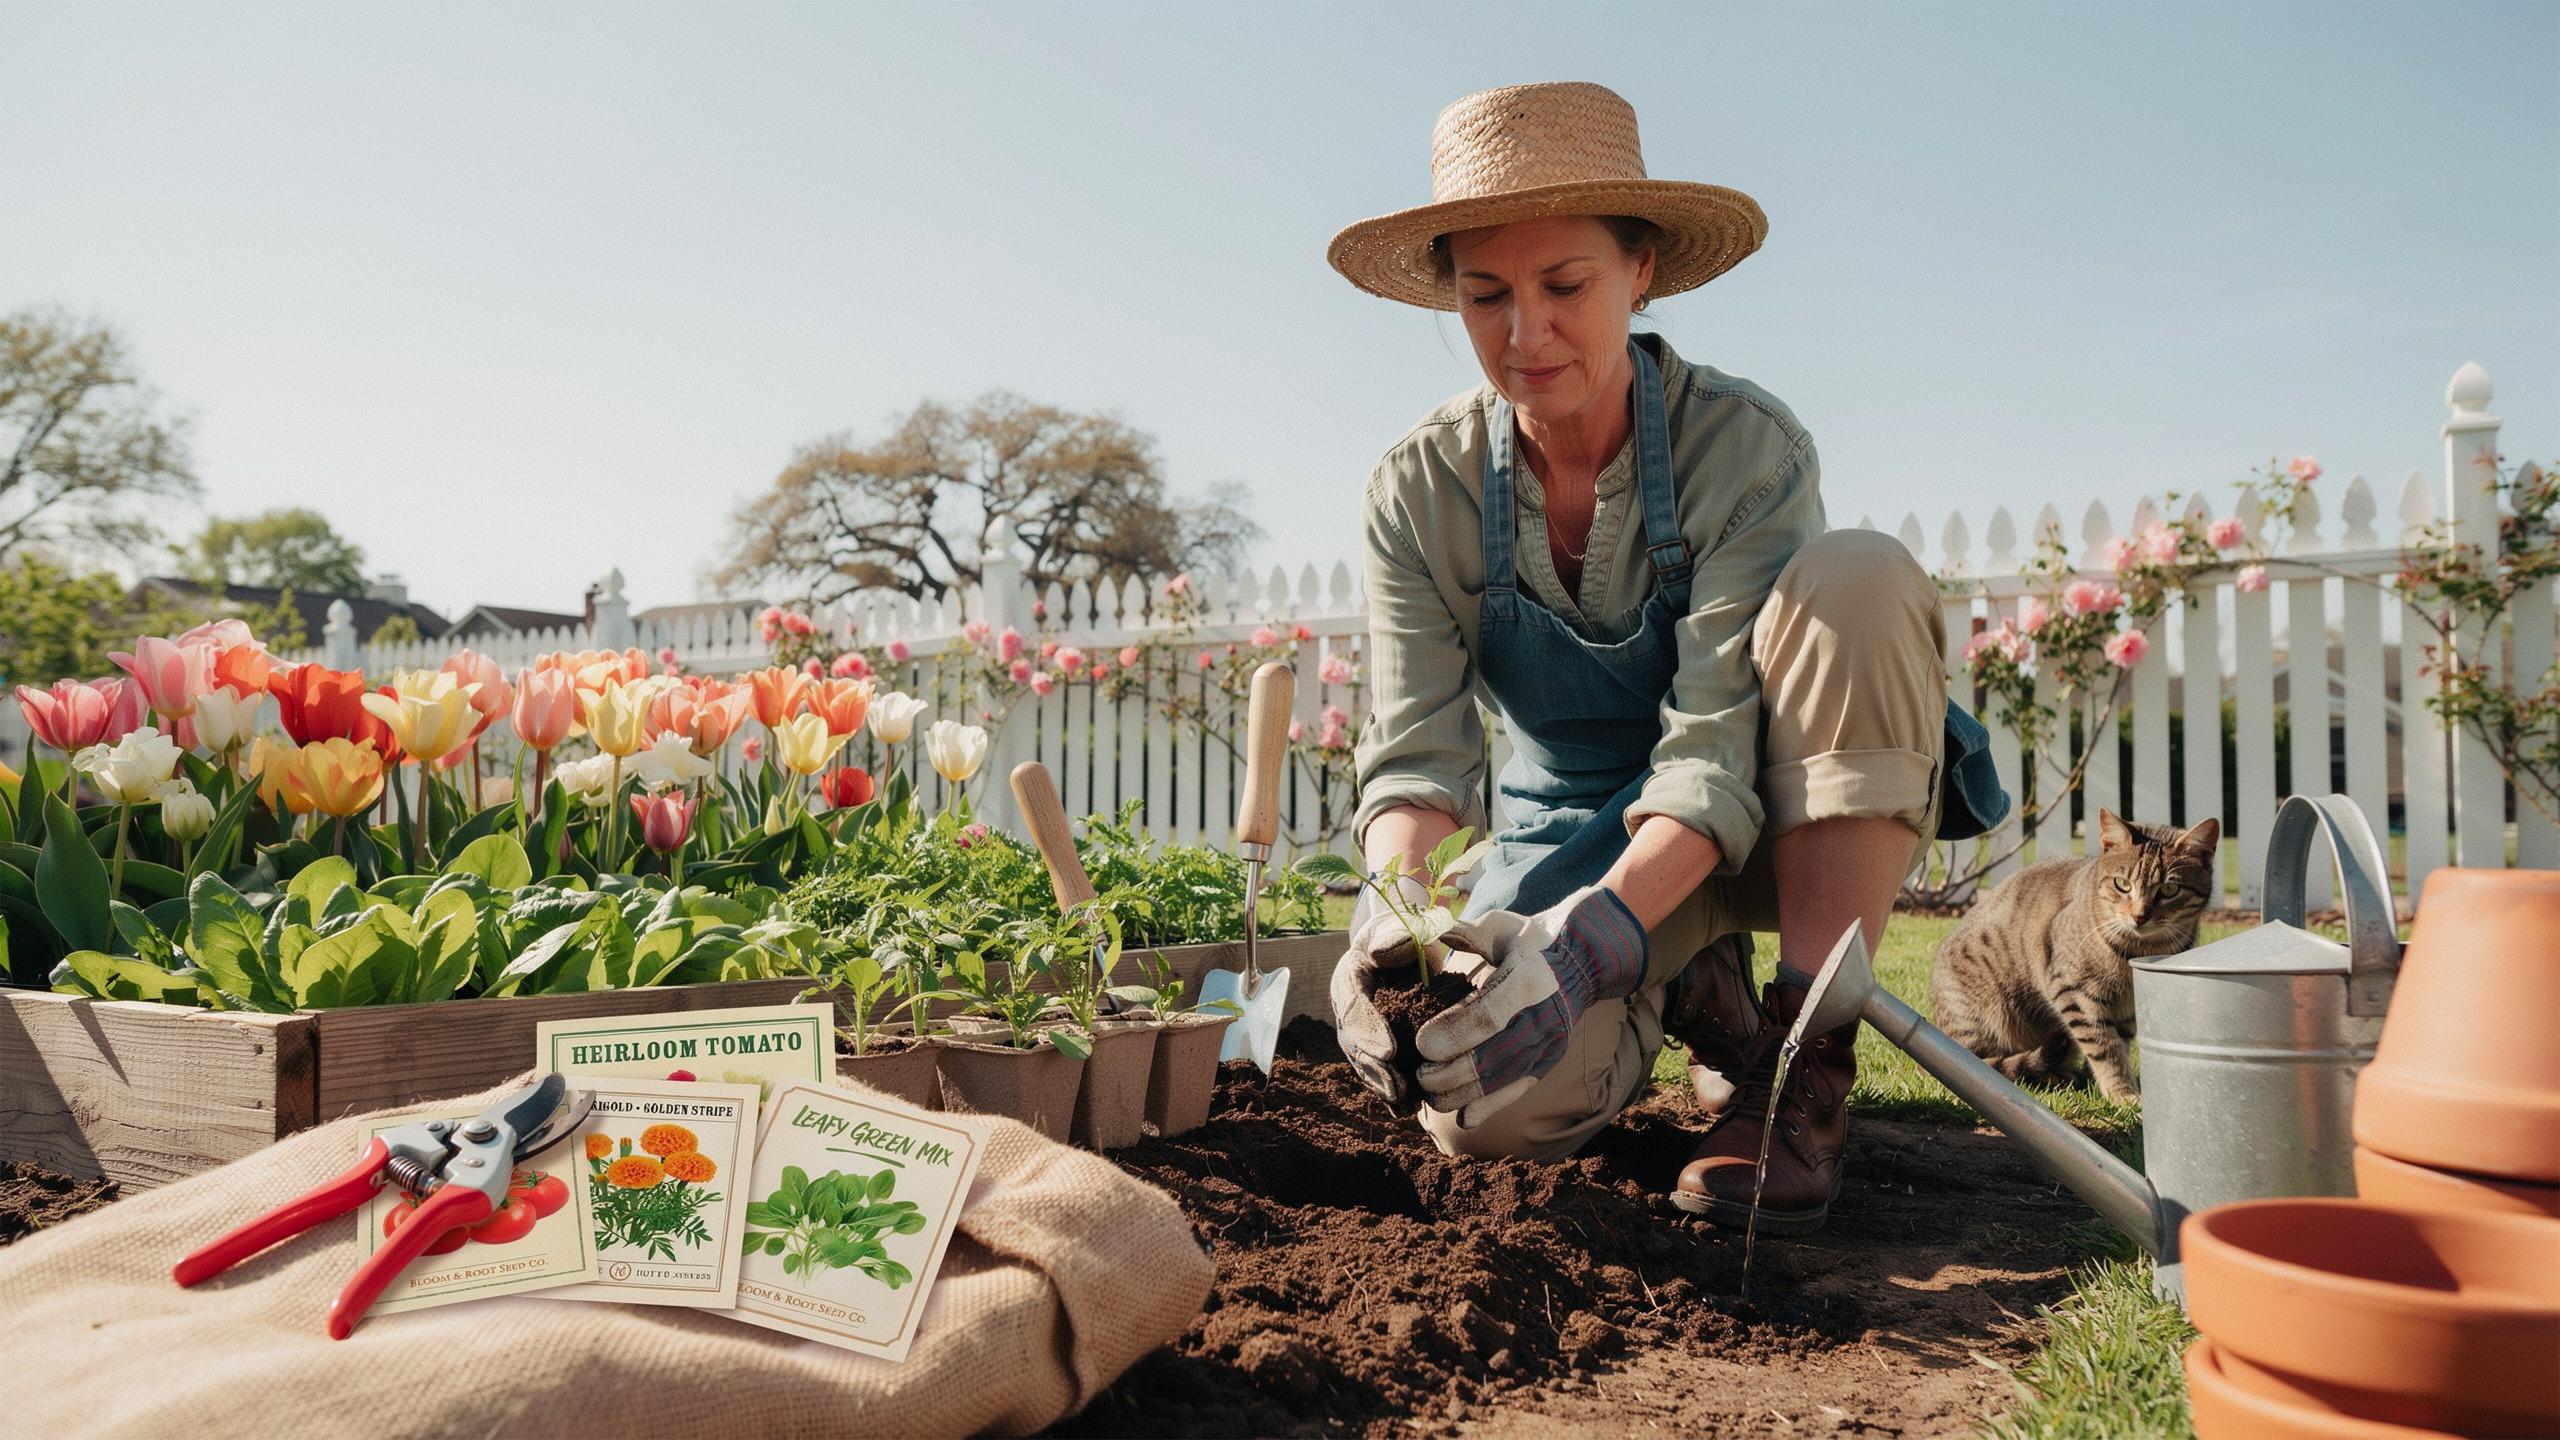
Essential Garden Prepping Assessing Your Soil Health
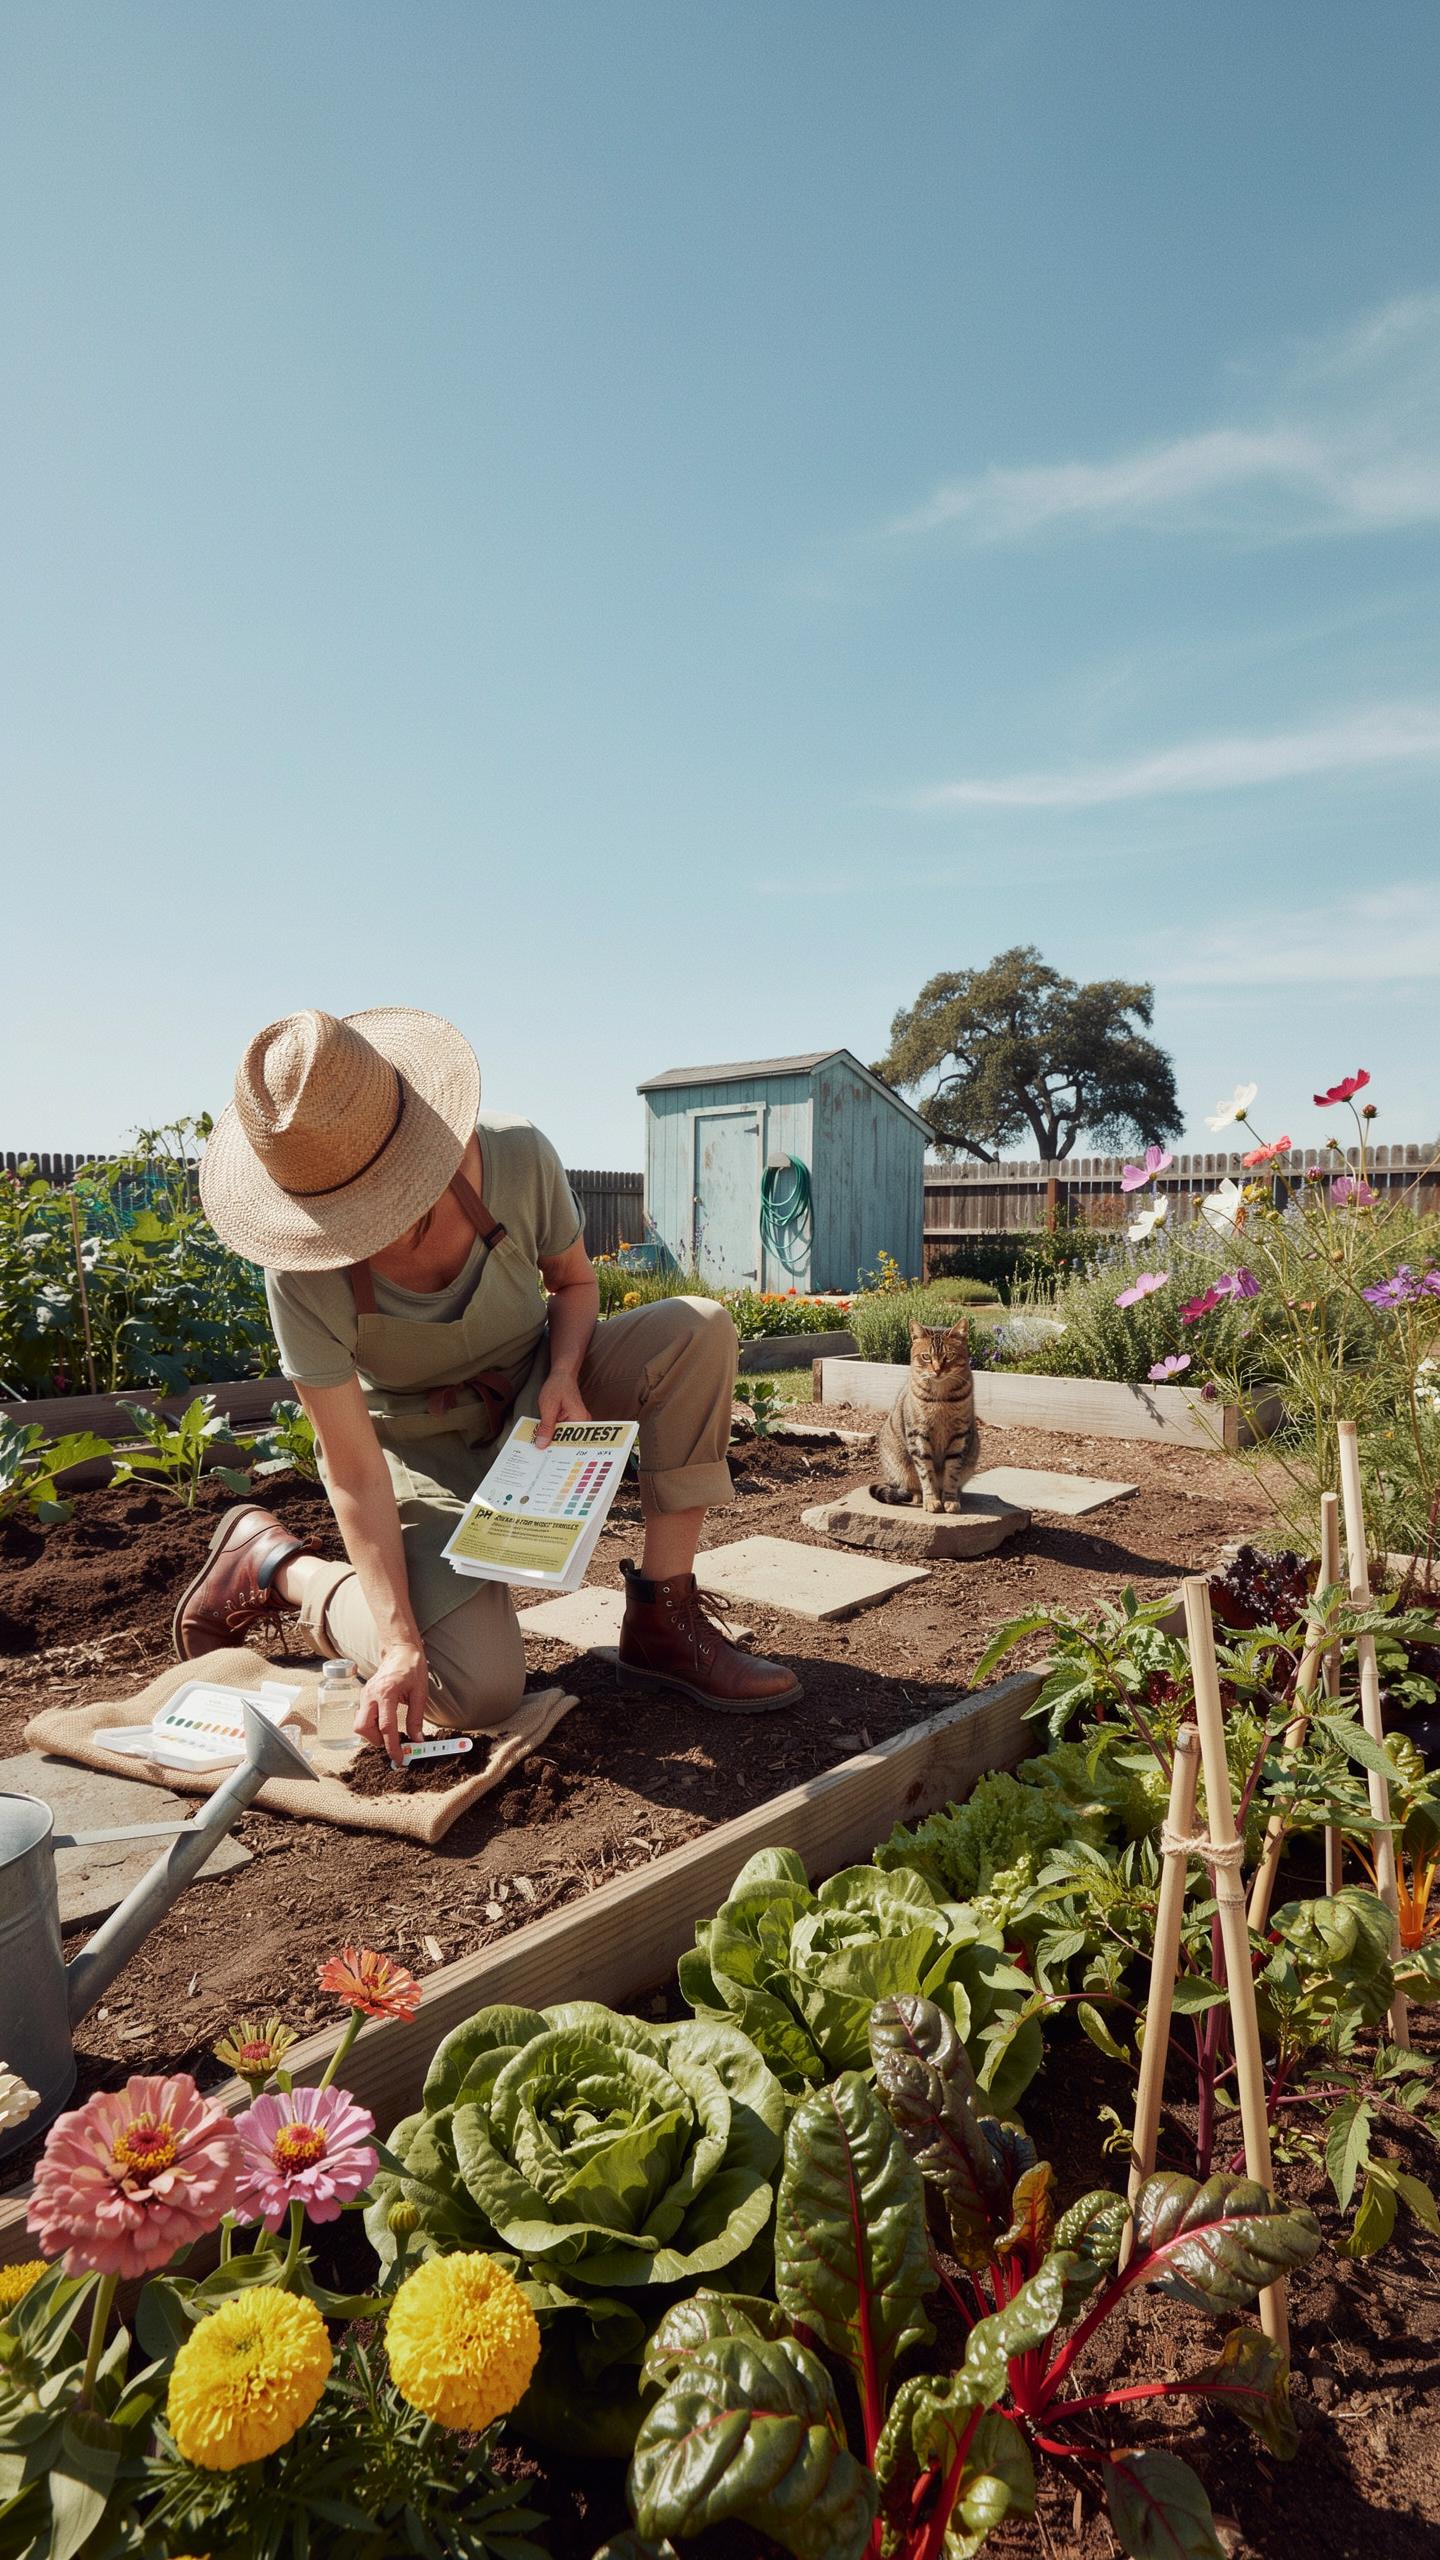
Soil Testing Ph
You cannot fix what you do not measure. Soil pH determines nutrient availability to your plants. Most vegetables thrive between 6.0 and 7.0 pH. Test your soil before amending. You have two options: conduct a basic home test or send samples to your local agricultural extension office for professional analysis.
Home test kits cost ten to twenty dollars and deliver results in minutes. Extension offices provide comprehensive reports that identify nutrient levels, organic matter content, and specific pH readings. Send samples in spring before planting begins. Extension testing typically costs five to fifteen dollars per sample. Results guide your amendment strategy and prevent costly mistakes.
Amending Soil
Compost, aged manure, and leaf mold build soil structure and boost fertility. Work these materials into the top six to eight inches of soil. Incorporate amendments four to six weeks before planting when possible. This timing allows microorganisms to stabilize nutrients in the soil profile.
Apply one to three inches of finished compost depending on your current soil quality. Aged manure provides nitrogen and organic matter but use it sparingly to avoid salt buildup. Leaf mold improves drainage in clay soils and water retention in sandy soils. Spread amendments evenly across beds and till or dig them in thoroughly.
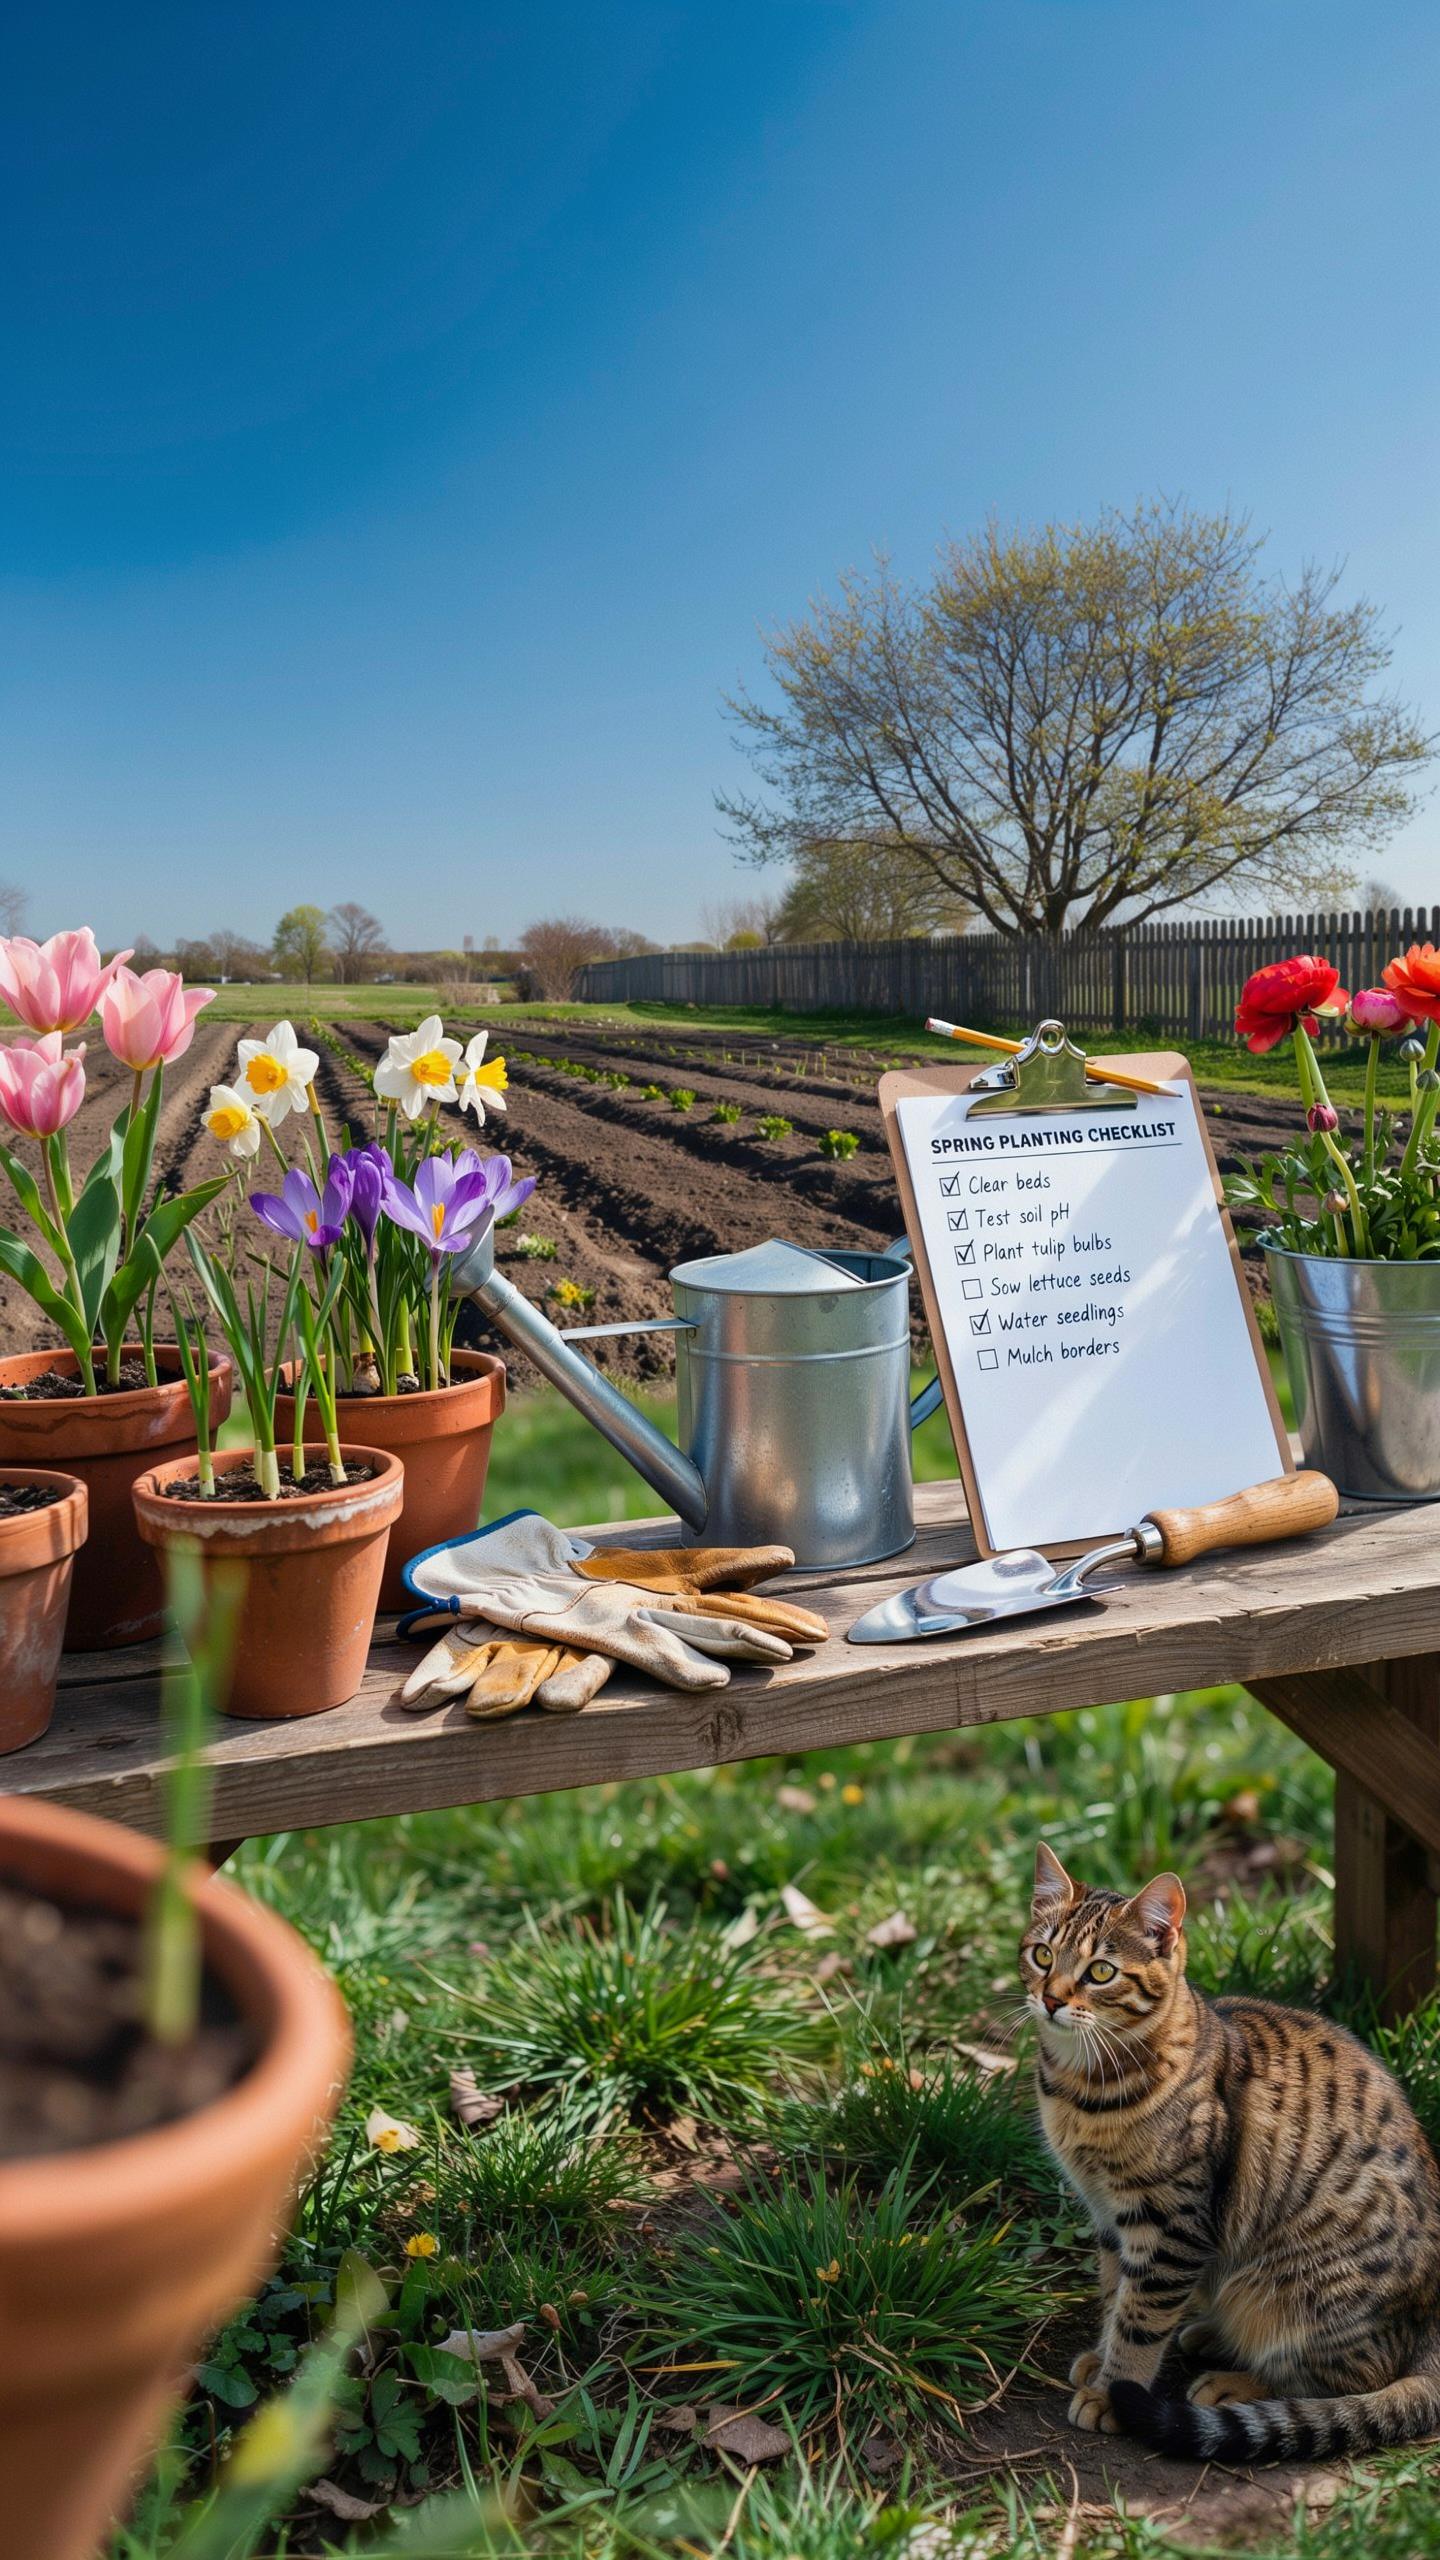
Setting Up A Garden Checklist For Early Spring
Clearing Winter Debris
Winter leaves dead plant material across your beds. This debris harbors overwintering pests like aphids, spider mites, and scale insects. It also traps moisture that breeds fungal diseases such as powdery mildew and root rot. Remove fallen leaves, broken twigs, and dead annuals before new growth emerges. This cleanup happens in early spring when soil thaws but before plants leaf out.
Rake thoroughly across all planting areas and under trees. Pull dead annuals by hand to ensure complete removal. Stack cleared debris in a separate pile for composting or disposal. Focus extra attention on bed edges where pests cluster. This single task cuts pest and disease pressure significantly for the entire growing season.
Essential Materials To Gather
Inventory your tools and supplies before spring gardening peaks. Running short mid-season wastes time and money on rush purchases. Check what you have now and order replacements early. This prevents delays when soil conditions are ideal for planting. Most gardeners need fresh supplies each season as tools wear out and materials get depleted.
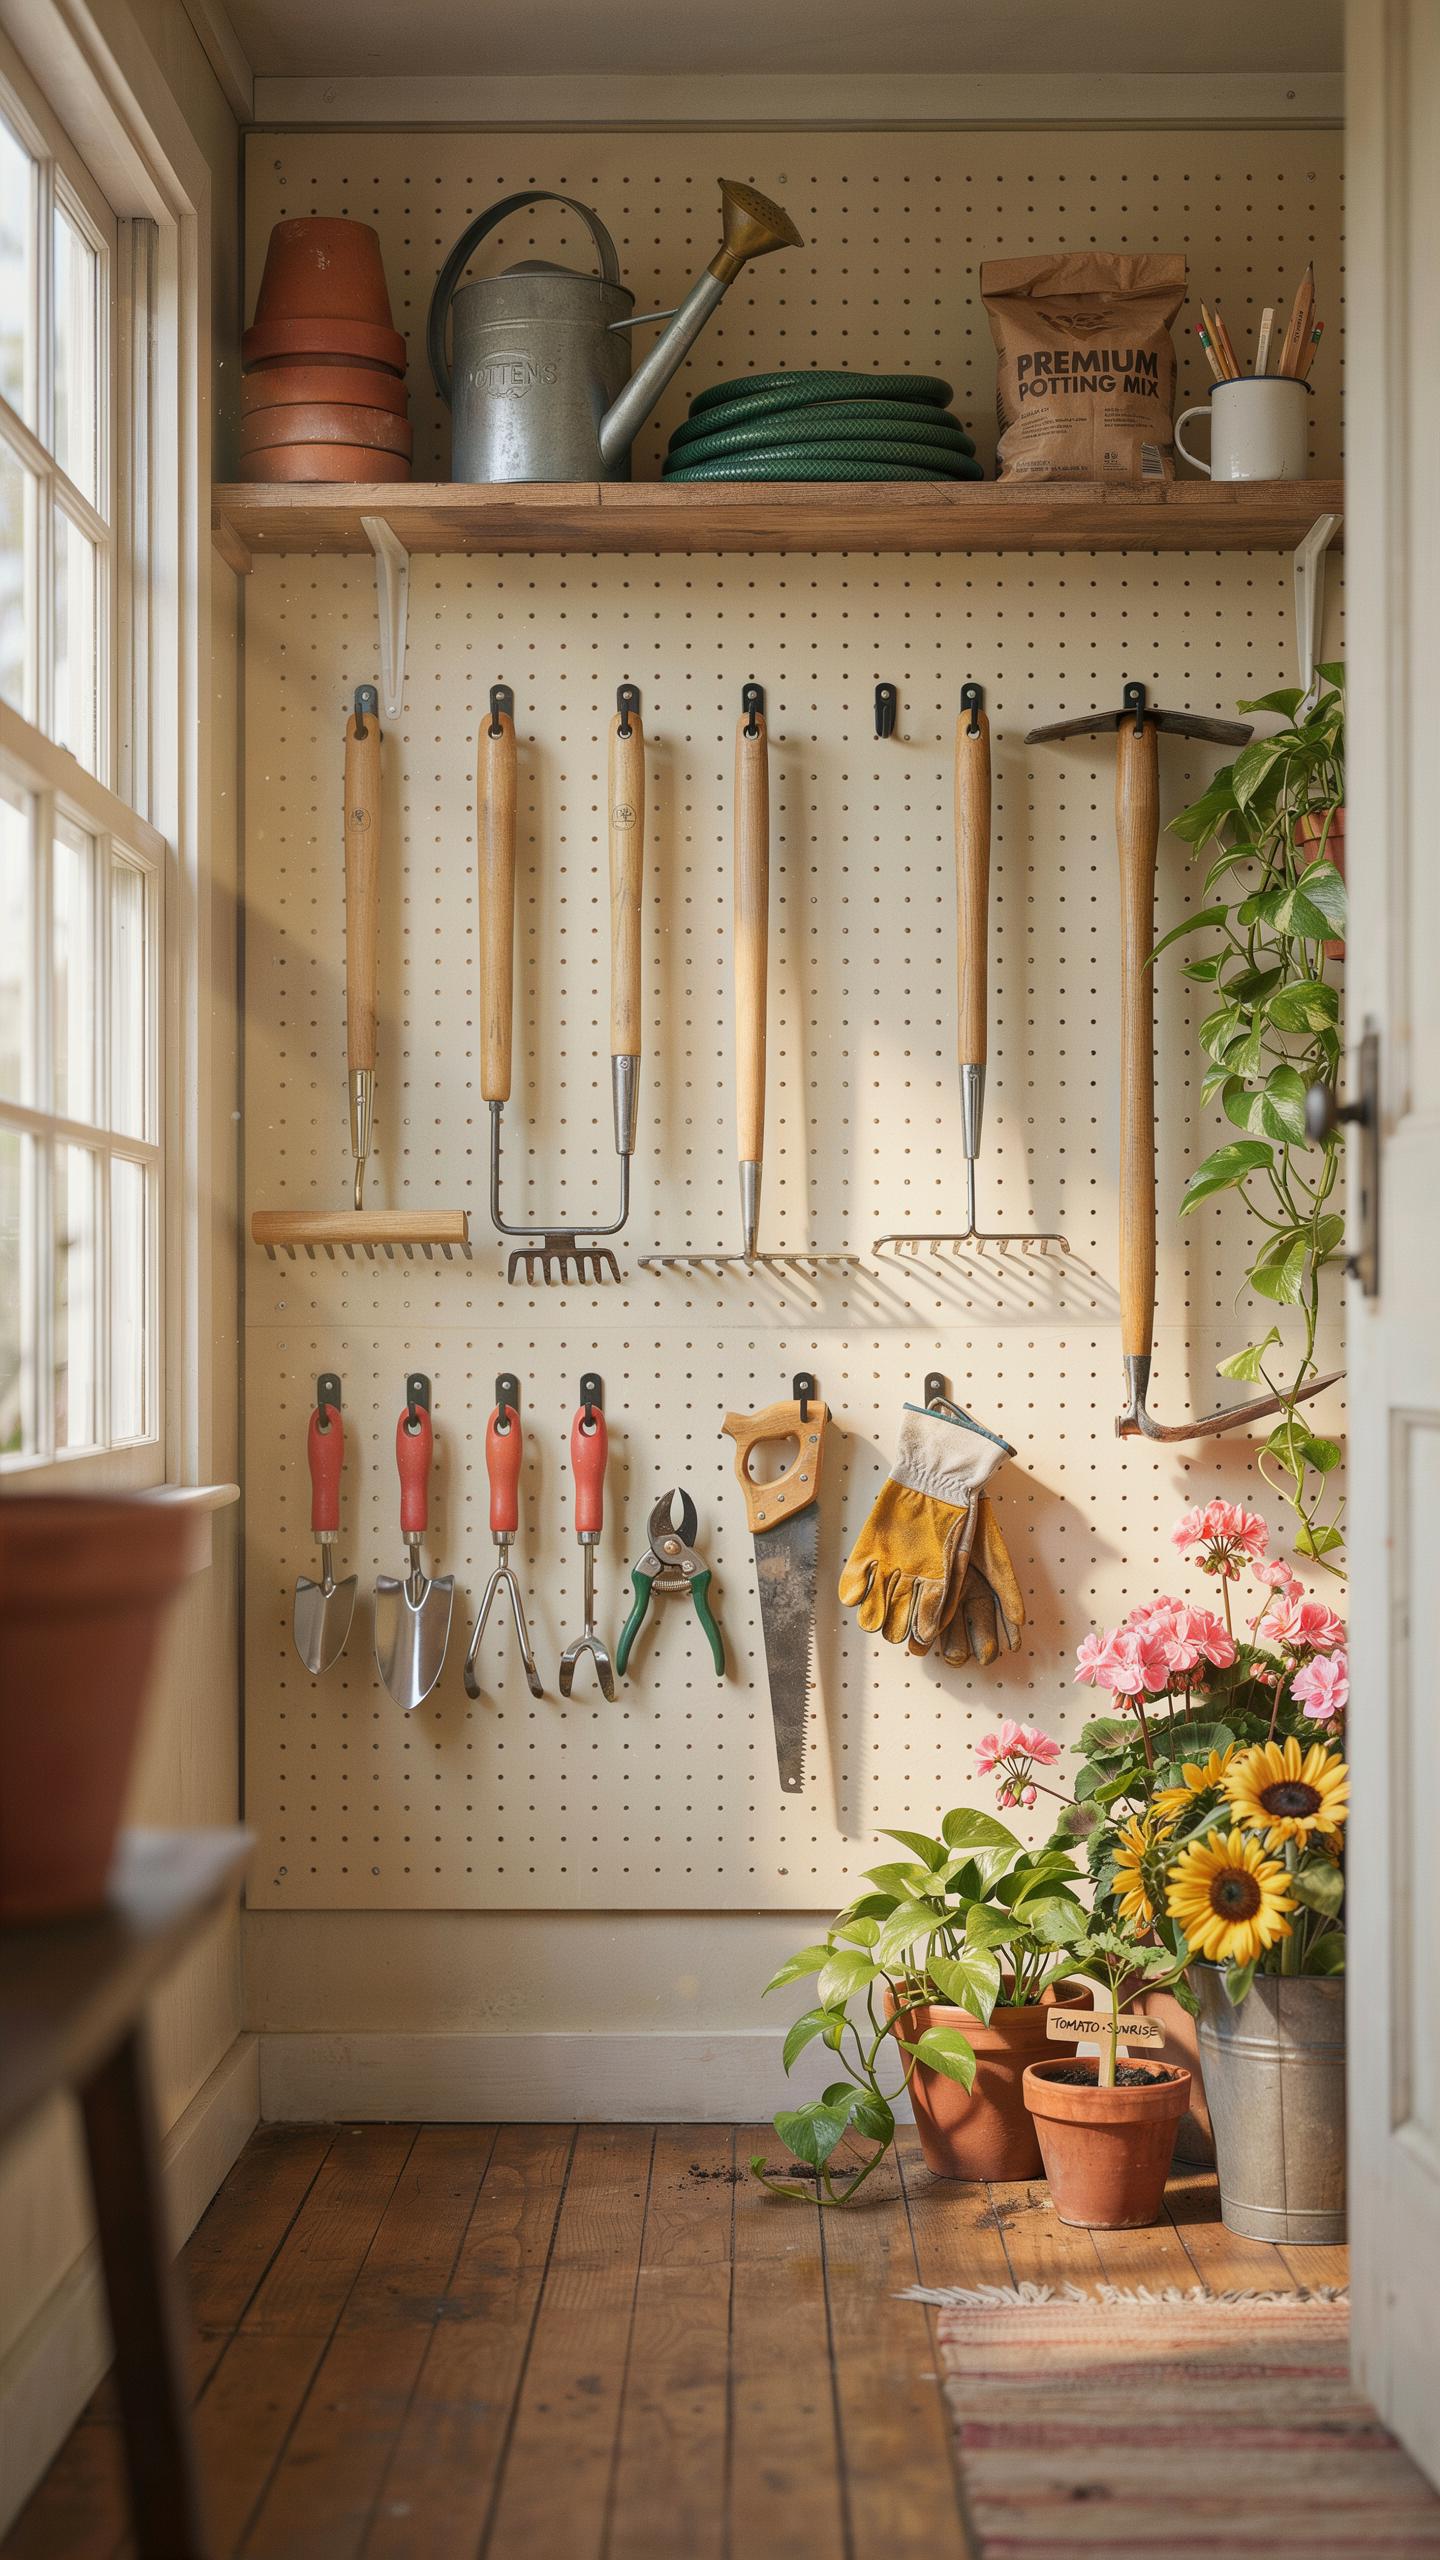
- Garden rake: Clear debris and level soil beds. Choose a metal rake with 10-12 teeth for efficient raking across large areas.
- Spade or shovel: Dig, edge beds, and move soil amendments. A sturdy spade with a flat blade works best for turning soil and edging.
- Potting soil and compost: Refresh beds with organic matter. Calculate volume based on bed size, typically 2-3 inches of amendment tilled into existing soil.
- Fertilizer: Feed early-season plants and soil microbes. Choose balanced formulas like 10-10-10 or organic options matched to your plant types.
- Hand tools: Trowels, cultivators, and pruners handle detail work. Keep multiple hand tools on site to speed up planting and maintenance tasks.
Order supplies in late winter to ensure delivery before peak planting season. Verify tool conditions now rather than discovering broken handles mid-project. This preparation keeps work moving without interruptions when weather and soil finally cooperate.
Cleansing Your Beds Prepping Garden For Spring
Eliminating Spring Weeds
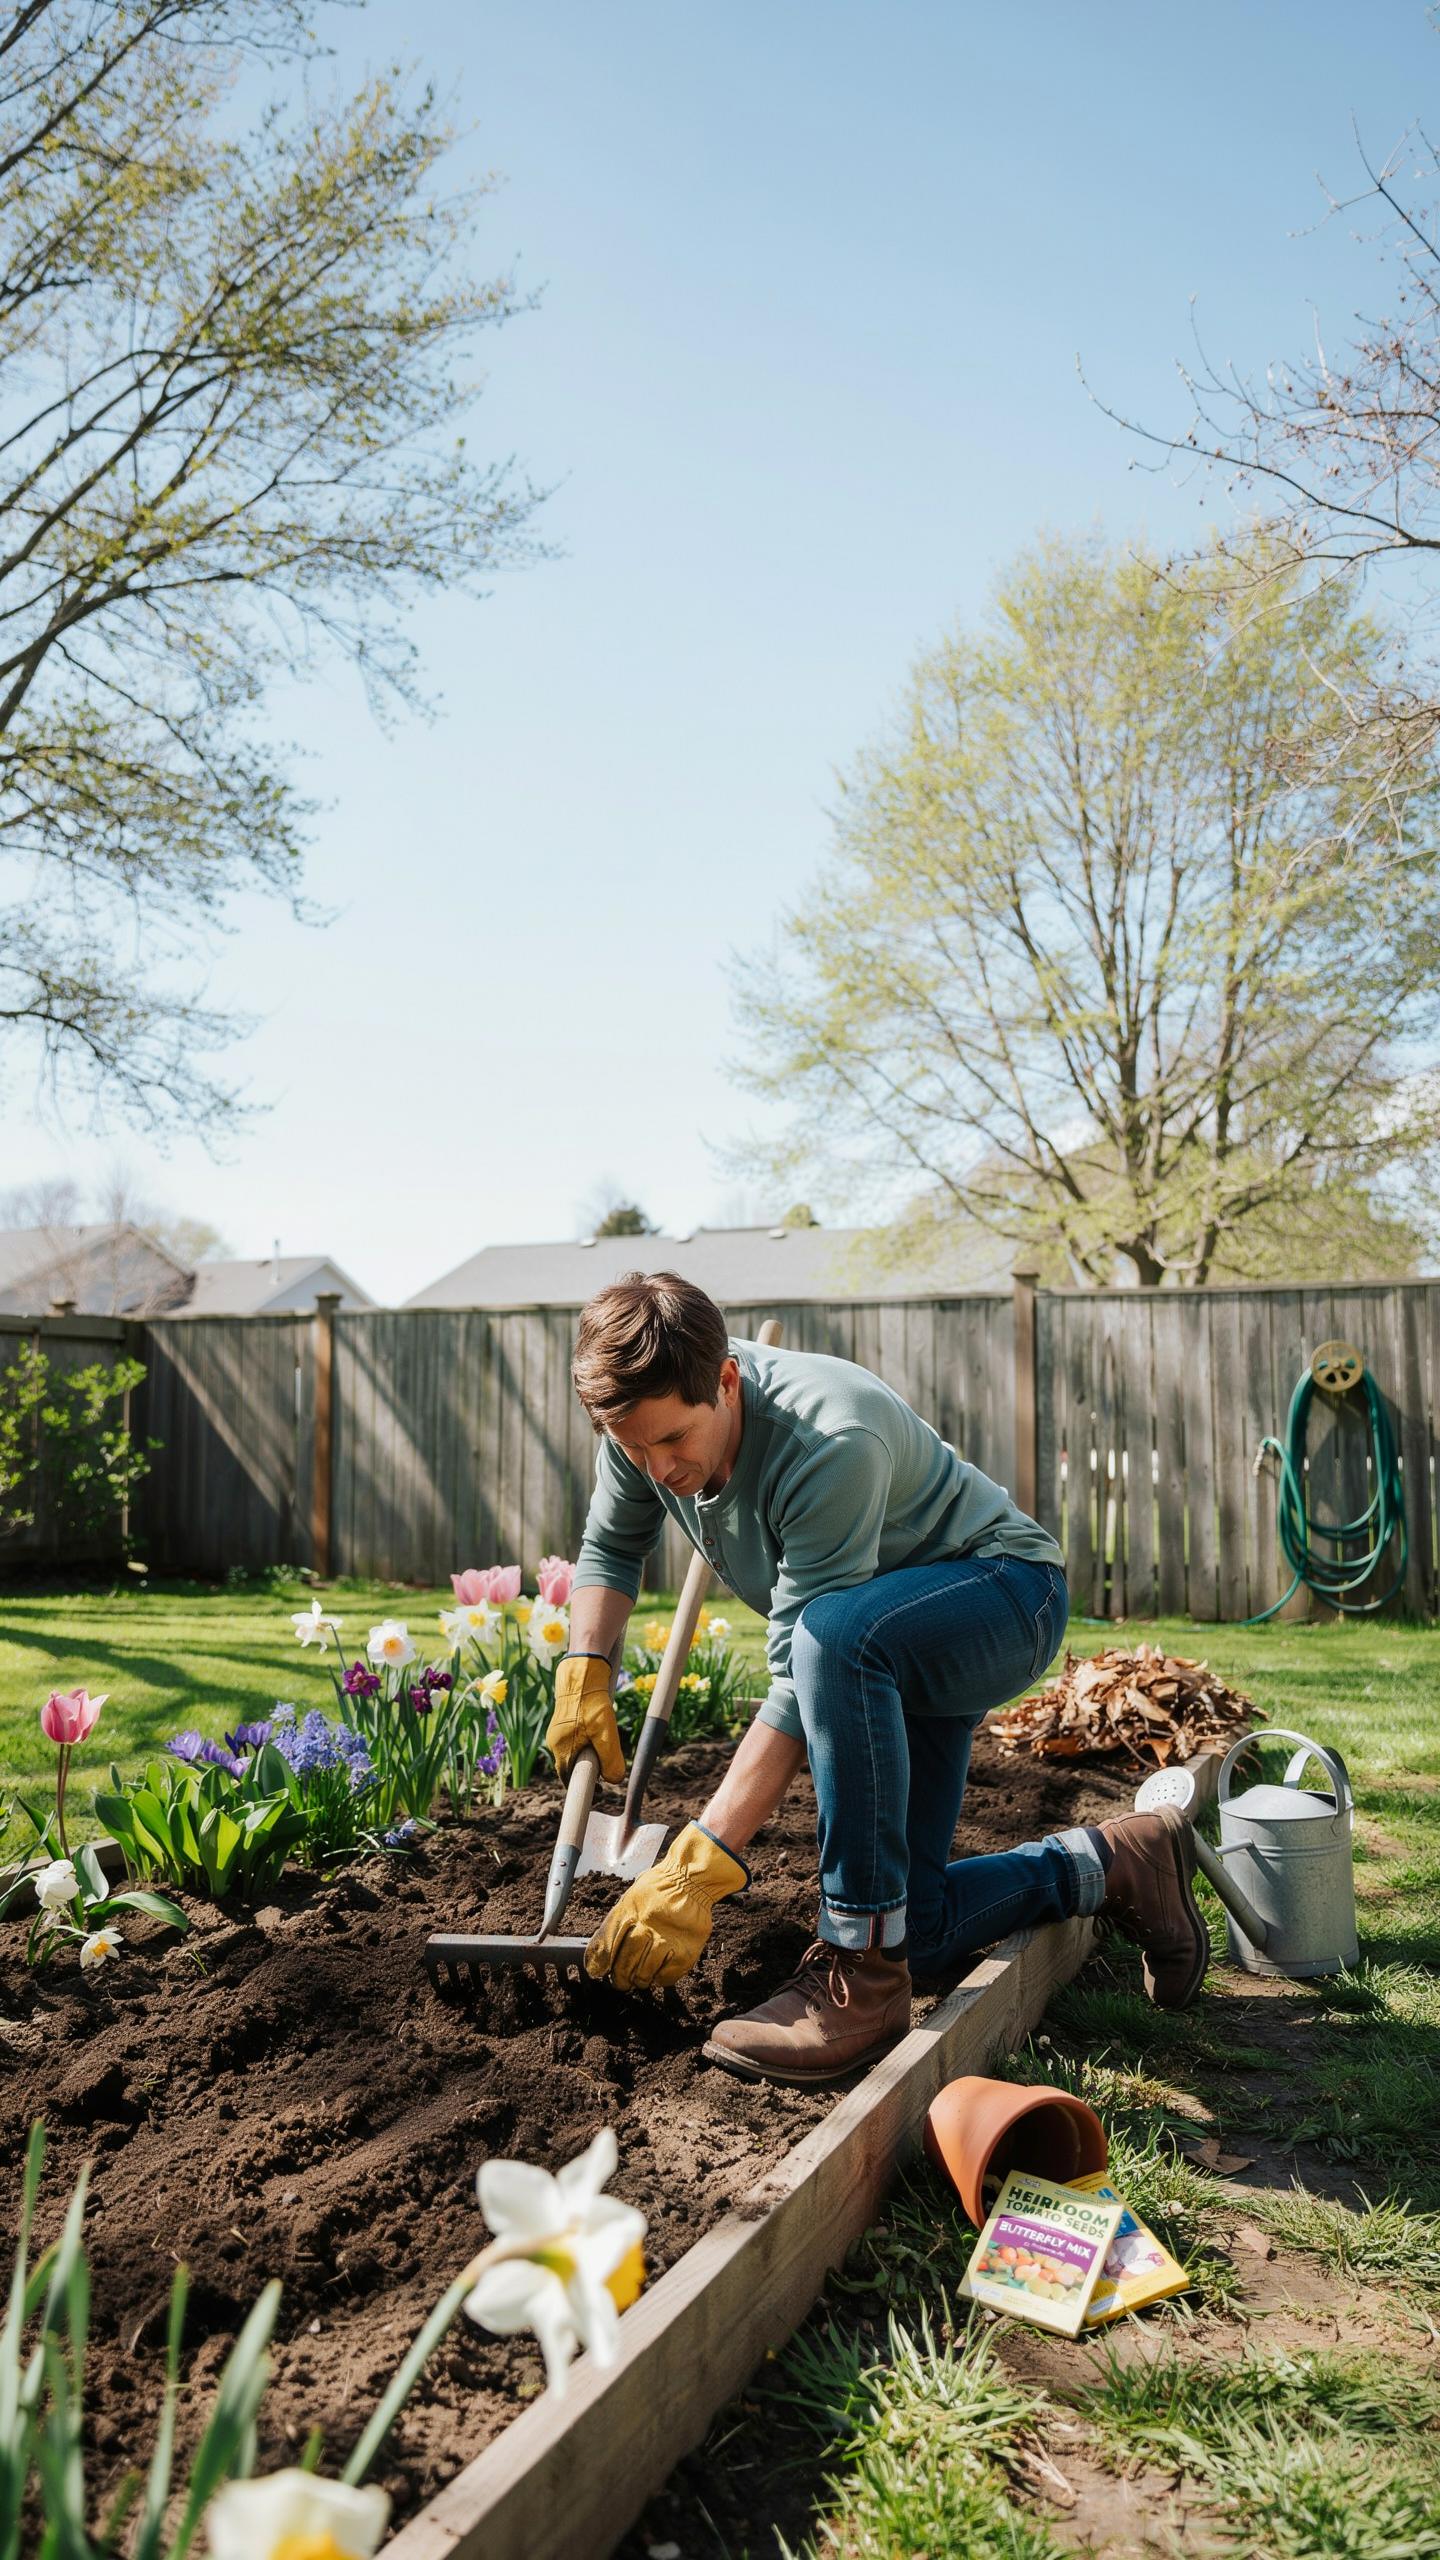
Cool-season weeds emerge in early spring before your garden plants establish themselves. Remove them now while soil moisture makes extraction easier and before they set seed. Target weeds like chickweed, henbit, and hairy bittercress. Pull by hand when soil is moist to get the entire root system. This prevents regrowth and eliminates future seed sources that complicate summer maintenance.
Timing matters here. Weeds pull cleanly in spring when the soil contains adequate moisture from snowmelt and spring rains. Waiting until late spring or early summer means roots dig deeper and soil dries out, making removal harder. Hand pulling beats chemical applications for spring cleanup because you avoid introducing herbicides near newly emerging perennials and annuals.
The glory of gardening: hands in the dirt, head in the sun, heart with nature. To nurture a garden is to feed not just the body, but the soul.
Dividing Perennials
Early spring is the optimal window for dividing cool-season perennials like hostas and daylilies. These plants grow from rhizomes or crown structures that split cleanly when you lift them before new growth hardens. Dividing reduces overcrowding, improves air circulation, and prevents disease pressure in established clumps.

Dig around the perennial’s base and lift the entire root system. Use a sharp spade to cut sections that contain at least three to five growth eyes. Replant divisions immediately at the same depth as the original plant. Water thoroughly after planting to settle soil and eliminate air pockets around roots.
Organizing Your Tools A Crucial Gardening List
Cleaning Sharpening Shears
Dirt and rust dull blade edges and invite plant disease. Scrub metal parts with a wire brush to remove debris. Wipe blades clean with a cloth. Sharpen edges using a whetstone or file, maintaining the original blade angle. This takes 15 minutes and extends tool life significantly.
Sharp shears make clean cuts that seal plant wounds faster. Jagged cuts leave torn tissue that bleeds sap and attracts pathogens. Plants recover quicker from clean cuts and resist infection better. Dull tools also require more hand pressure, causing hand fatigue and poor cut accuracy during extended use.
Maintaining Power Tools
Oil all hinges and joints on pruning equipment to prevent rust and binding. Sand wooden handles smooth to eliminate splinters that puncture skin. Check lawnmower blades for nicks and sharpen or replace them. Drain old oil, replace filters, and test the engine before heavy seasonal use.

Neglected power tools fail mid-season and cost money to repair. Fresh oil protects internal engine parts from corrosion. Clean filters improve fuel efficiency and engine performance. A quick pre-season tune-up prevents breakdowns during peak gardening months when you need equipment most.
Structural Plant Maintenance And Pruning Secrets

Pruning Deciduous Trees
Late winter and early spring offer the optimal window for pruning deciduous trees. At this stage, trees remain dormant, making it easier to see branch structure and assess damage. Remove dead wood first, then tackle diseased or damaged branches. Make cuts just outside the branch collar to promote proper healing and prevent disease entry.
Pruning before new growth emerges redirects the tree’s energy toward healthy development. Focus cuts on removing crossing branches, inward-facing growth, and weak limbs that won’t support leaves and flowers. Avoid topping trees or leaving stubs, both of which stress the plant and invite pest problems. Clean your tools between cuts to prevent spreading disease between branches.
Managing Evergreen Species
Evergreens tolerate light shaping in spring as new growth emerges. Prune summer-blooming shrubs before they flower to trigger bushier growth and increase bloom production. Unlike deciduous trees, evergreens need gentler handling since they don’t regenerate from bare wood as effectively. Focus on removing dead sections and shaping the overall form without cutting into old wood.

Timing matters with evergreens. Spring pruning allows wounds to heal before dormancy arrives in fall. Target overgrown sections and thin out dense interior growth to improve air circulation and reduce disease risk. Avoid heavy pruning that exposes brown interior branches, which won’t green back up.
Cultivating A Spring Vegetable Garden Laying The Groundwork
Cold Hardy Crops Planting
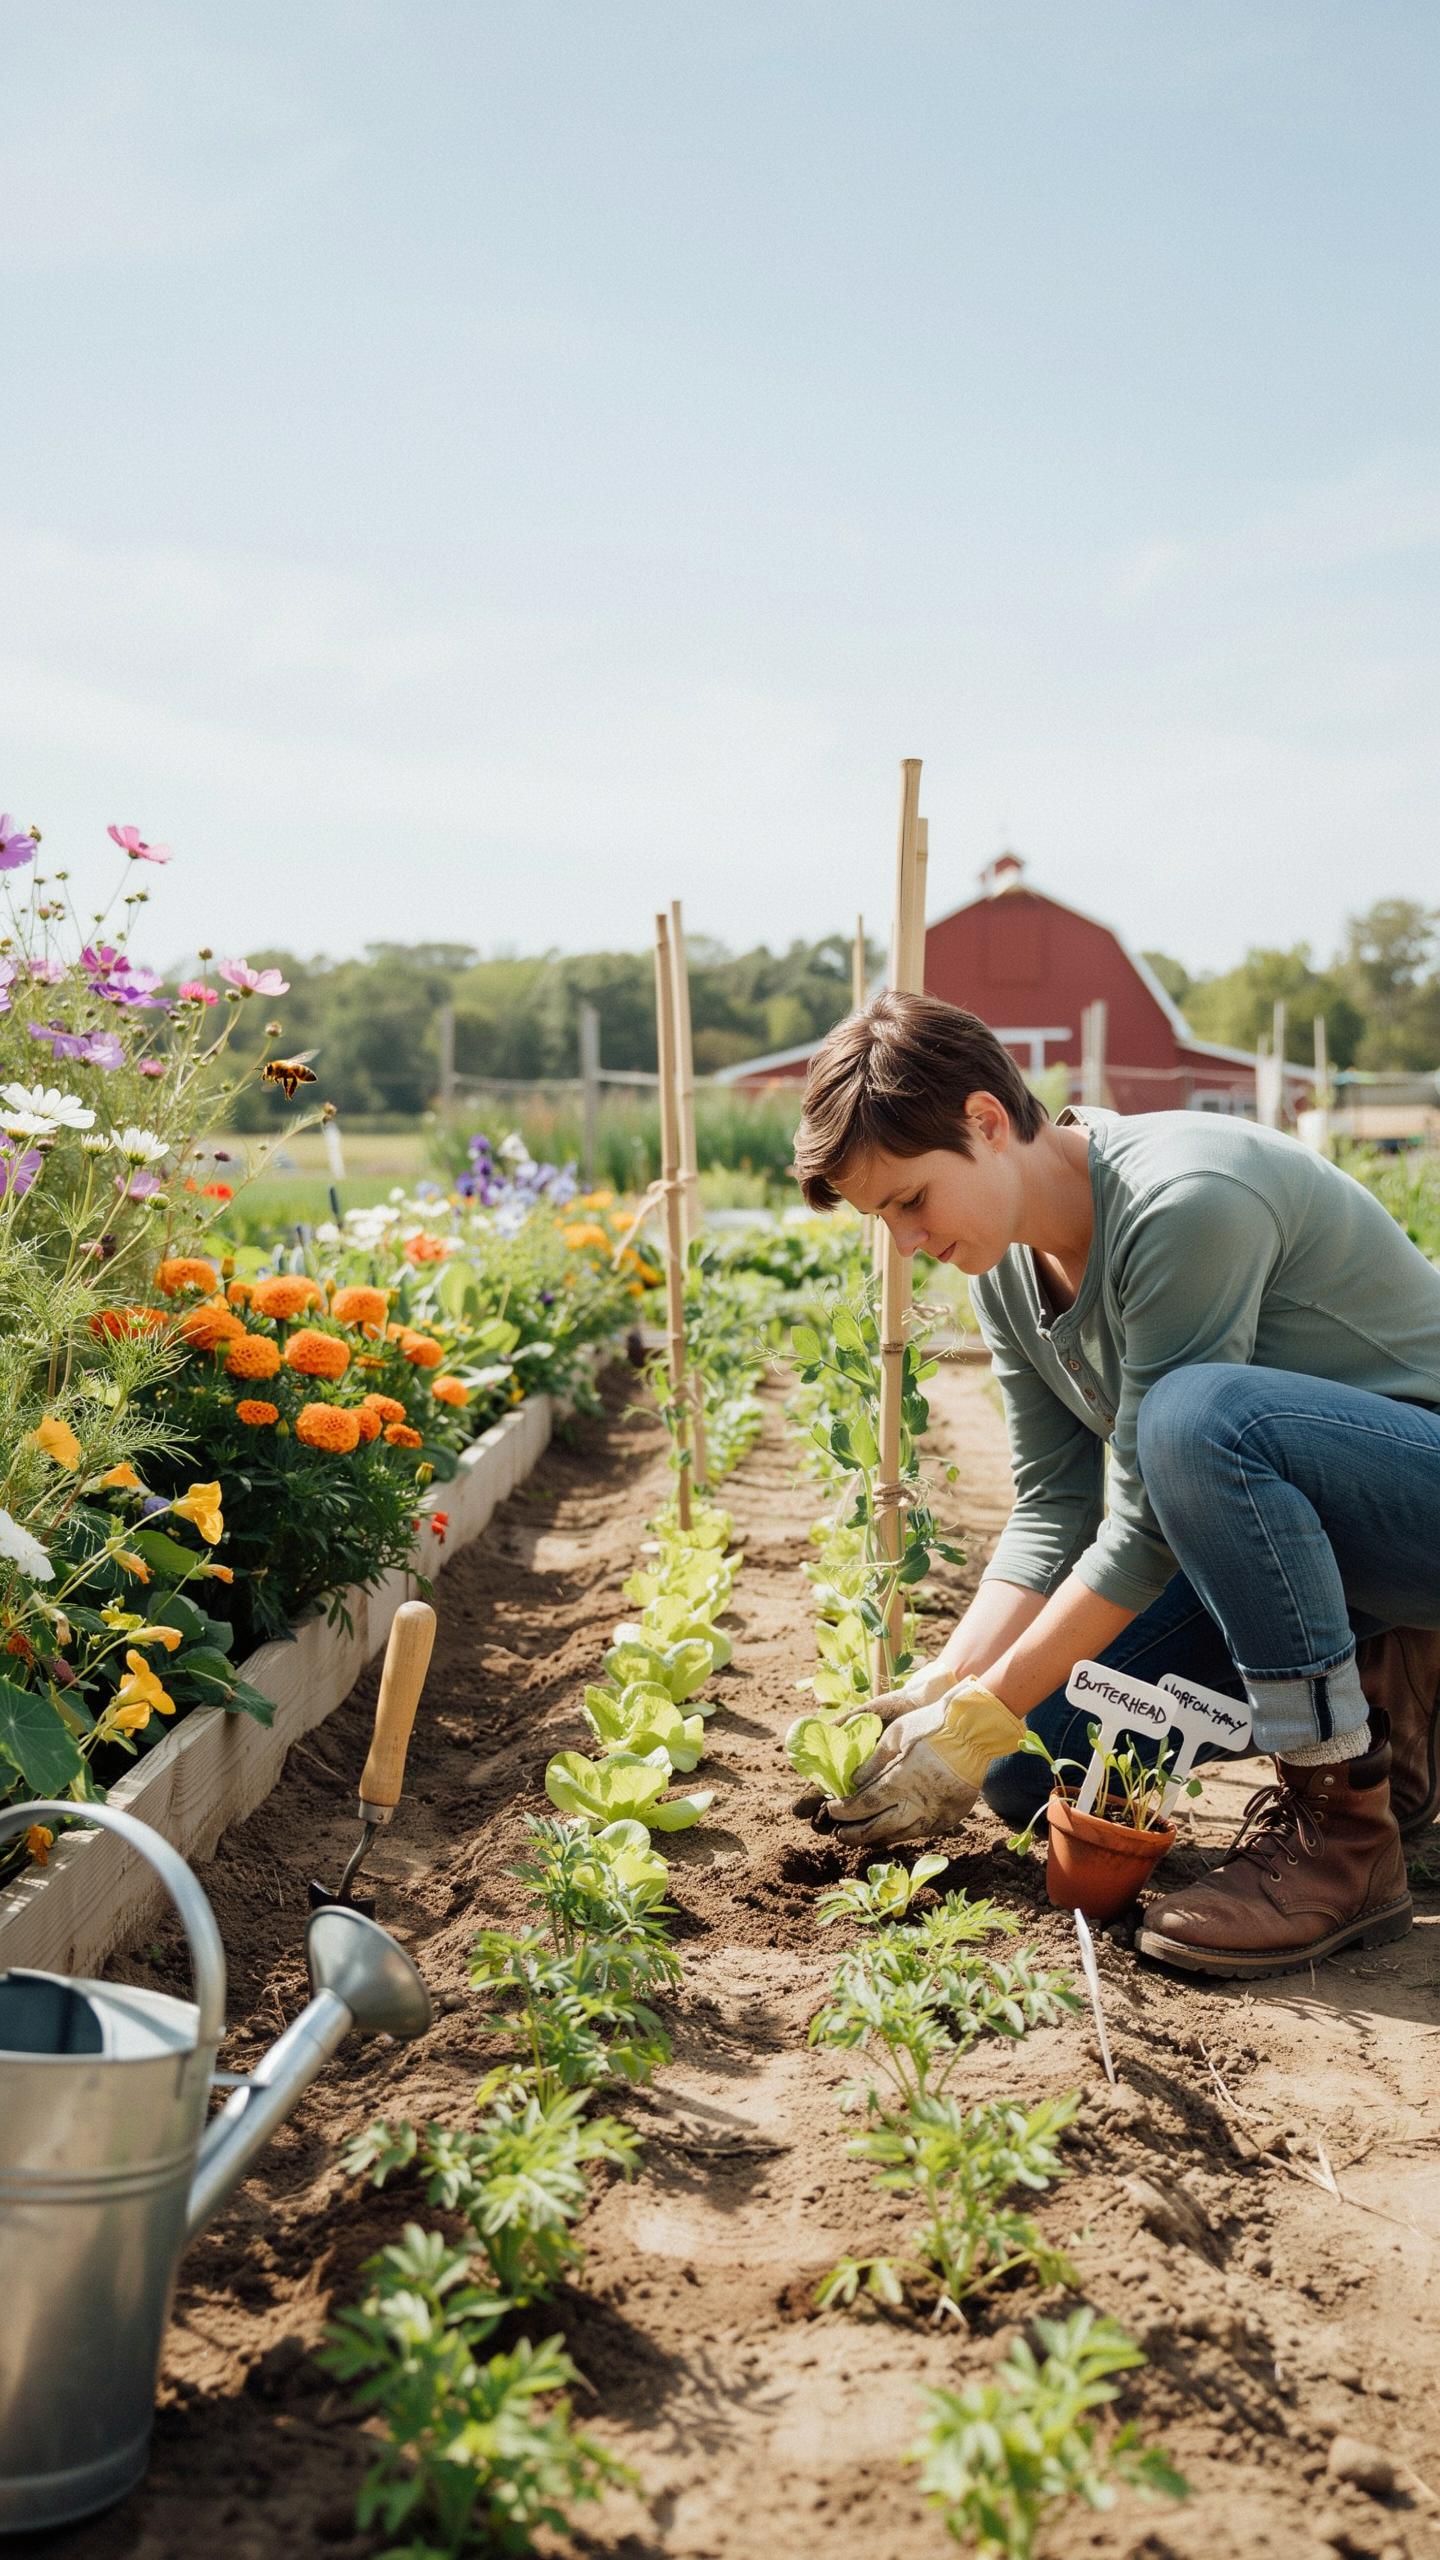
Cool season vegetables tolerate frost and germinate in soil temperatures between 40 and 60 degrees Fahrenheit. Plant these crops directly into prepared beds as soon as soil becomes workable in spring. Early planting captures the prime growing window before heat arrives and bolting occurs.
- Peas: Sow seeds one inch deep in rows spaced six inches apart. They germinate at 40 degrees and produce within 60 days. Trellising saves space and improves air circulation.
- Spinach: Direct seed one quarter inch deep in rows 12 inches apart. Harvest leaves when they reach three inches. Successive sowings every two weeks extend the season through late spring.
- Lettuce: Plant seeds one quarter inch deep in rows six inches apart. Thin seedlings to four inches for full heads. Shade cloth prevents bolting as temperatures rise above 70 degrees.
- Broccoli and Cabbage: Start seeds indoors six weeks before last frost, then transplant. These need consistent moisture and 18 inch spacing. Harvest heads before warm weather triggers flowering.
- Radishes: Sow seeds half inch deep, one inch apart. They mature in 25 days and break up compacted soil. Plant every three weeks for continuous harvests.
These crops establish strong root systems before summer stress begins. They also occupy beds early, allowing you to succession plant warm season vegetables later in the season.
Crop Rotation Schedule
Rotating plant families prevents pest and disease carryover year to year. Soil borne pathogens that attack tomatoes, peppers, and eggplants persist when you replant the same family in identical locations. Move these families to different beds on a three or four year cycle.

Document your planting map from the previous year to identify where each family grew. Group related vegetables by family: nightshades, brassicas, legumes, cucurbits, and alliums. This system disrupts pest lifecycles and reduces the need for chemical interventions. Plan next year’s layout during winter dormancy so you execute the rotation without hesitation come spring.
Nurturing A Thriving Garden With Strategic Fertilization
Organic Fertilizers Selection
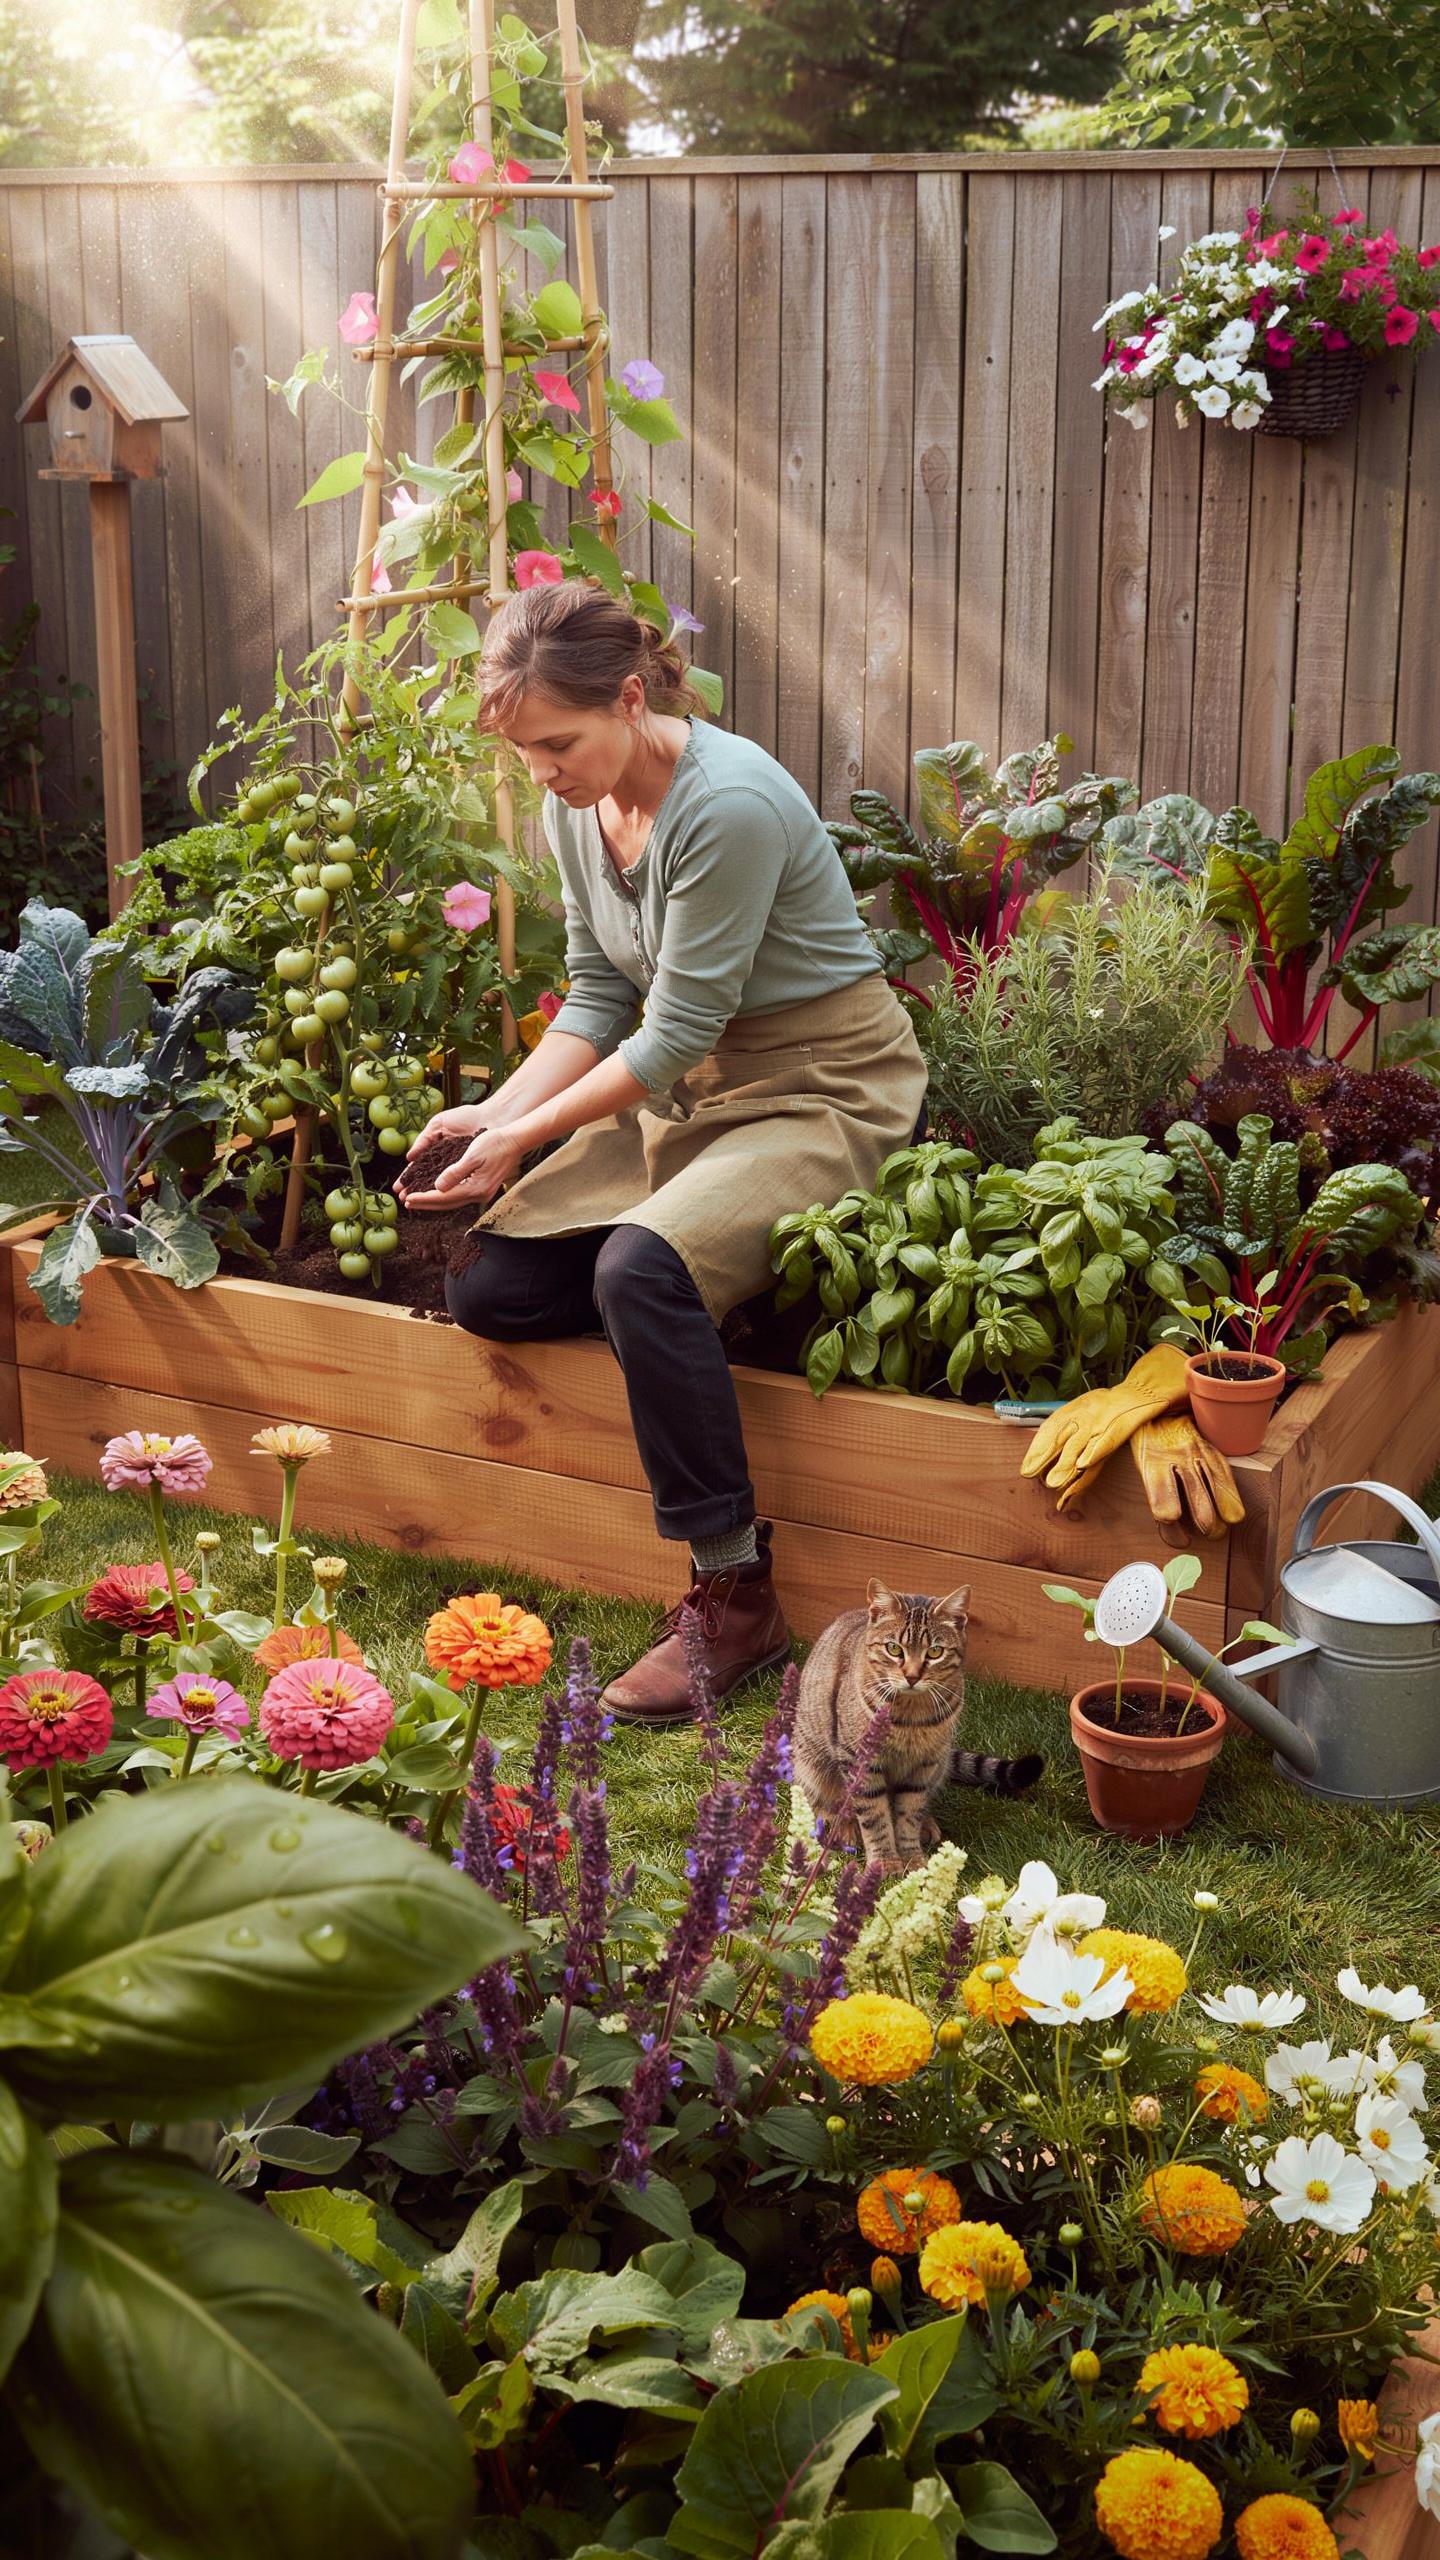
Organic fertilizers work differently based on their composition and breakdown rate. Slow-release fertilizers like compost and aged manure feed soil organisms, which gradually convert nutrients into plant-available forms over weeks or months. Fish emulsion delivers nitrogen quickly through liquid application, making it ideal for immediate nutrient boosts during active growth. Bone meal provides phosphorus for root development and flowering, releasing nutrients slowly as soil microbes break it down.
Each fertilizer type serves specific purposes in spring preparation. Fish emulsion works best when plants show active leaf growth and need quick nitrogen uptake. Bone meal should go into soil before planting to support root establishment. Slow-release options build soil structure while feeding plants steadily, reducing nutrient waste and runoff that damages waterways. Match your fertilizer choice to your plant’s current growth stage and soil test results.
Timing Fertilizer Applications
Apply fertilizers when plants transition from dormancy to active growth, which occurs as soil temperatures consistently reach 50 degrees Fahrenheit. This timing aligns nutrient availability with root uptake capacity, maximizing plant efficiency and minimizing nutrient loss. Early application into cold soil wastes resources since plant roots cannot absorb nutrients effectively. Wait until visible growth appears on perennials and shrubs before introducing supplemental nutrients.

Spring fertilization prevents nutrient deficiencies that stunt early season development. Roots absorb nutrients during active growth phases when metabolic demand peaks. Late applications after summer heat arrives prove less effective since many plants shift into maintenance mode. Test soil before fertilizing to avoid over-application, which creates salt buildup and reduces microbial activity. Precision timing transforms fertilizer from waste into fuel for garden productivity.
Designing A Vibrant Spring Garden Color And Layout Planning

Companion Planting Schemes
Companion planting pairs specific plants to solve real garden problems. Tomatoes grow stronger next to basil because basil repels certain insects that damage tomato foliage. Marigolds planted near vegetables deter aphids and spider mites through their natural compounds. Nitrogen-fixing legumes like beans restore soil nutrients when planted alongside heavy feeders like corn or squash. This approach reduces your reliance on chemical interventions and improves pollination rates.
Strategic placement saves money and labor throughout the growing season. Plant tall plants on the north side of your garden to avoid casting shade on shorter species. Group plants with similar water needs together to simplify irrigation and prevent overwatering sensitive species. Carrots and onions planted near each other confuse pests that target each crop individually. These combinations produce measurable improvements in yield and plant health.
Visual Interest Layering
Arrange plants by height to create functional depth and maximize sunlight exposure. Place tall plants like sunflowers or climbing beans along the back or north edge of beds. Position medium-height plants like peppers or ornamental grasses in the middle section. Install groundcover species like creeping thyme or lettuce at the front where they receive full light without being shaded by taller neighbors.

This tiered approach serves practical and aesthetic purposes simultaneously. Taller plants shield shorter ones from harsh afternoon heat in hot climates. Layering increases the total plant density per square foot without causing overcrowding issues. Front-row placement of low growers makes harvesting easier and lets you see all plants at a glance. The structure improves air circulation and reduces fungal disease pressure across the entire garden bed.
Creative Upgrades How You Make Beautiful Things In The Yard
Hardscape And Decor
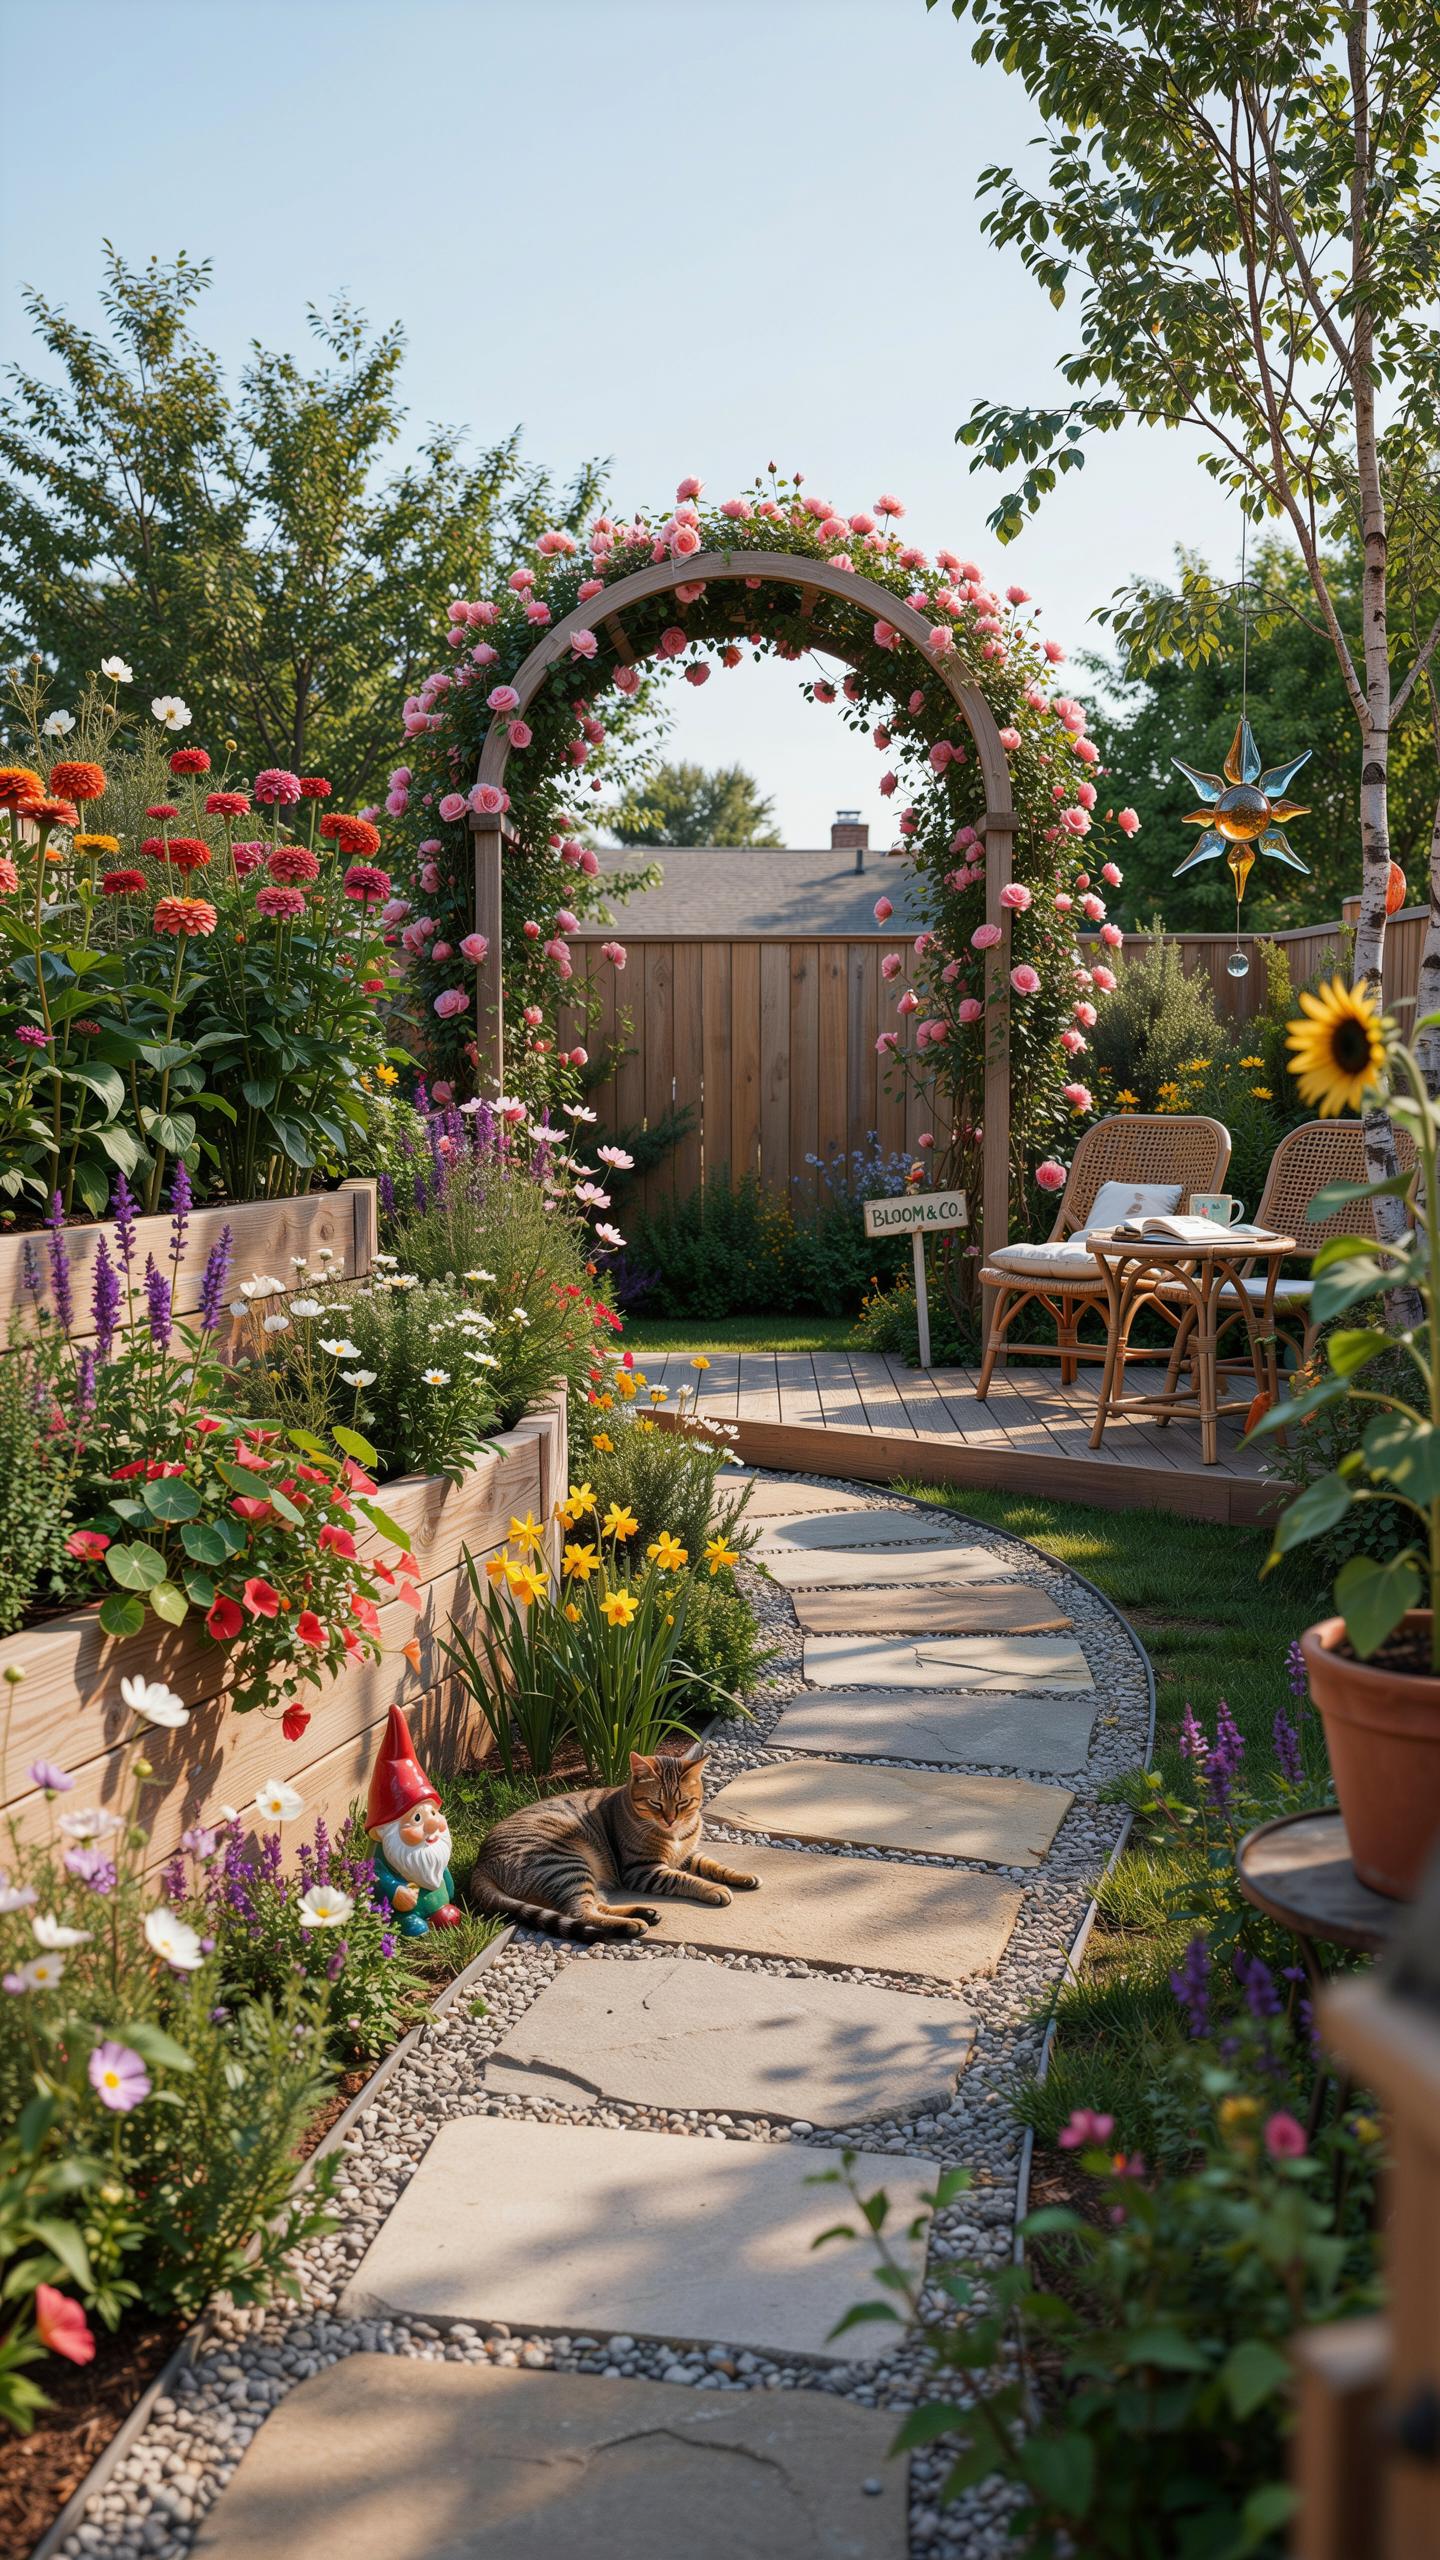
Stone paths serve a functional purpose beyond aesthetics. They define movement through your garden, prevent soil compaction from foot traffic, and create clear zones for planting beds. Trellises support climbing plants while adding vertical structure. Decorative birdbaths attract wildlife and break up flat yard layouts with strategic focal points.
Install these elements during spring when soil is workable but not waterlogged. Position stone paths along high-traffic routes between garden beds and seating areas. Place trellises on south or west-facing walls to support sun-loving climbers. Position birdbaths in open areas where you can observe activity from inside your home.
Outdoor Ambient Lighting
Solar powered path lights require no electrical installation and operate automatically at dusk. They eliminate tripping hazards on stone pathways and extend your usable garden hours into evening. Warm white fairy lights highlight architectural plants and create definition around seating zones without harsh overhead fixtures.
Install solar lights along pathways during spring setup before vegetation fills in completely. Space them 3 to 4 feet apart for consistent illumination. String fairy lights through pergolas or along fence lines where they won’t interfere with plant growth. Position lights to highlight specimen plants and garden structures rather than flooding entire areas uniformly.
Final Steps In Spring Garden Prep Tasks For The Season
Applying Fresh Mulch
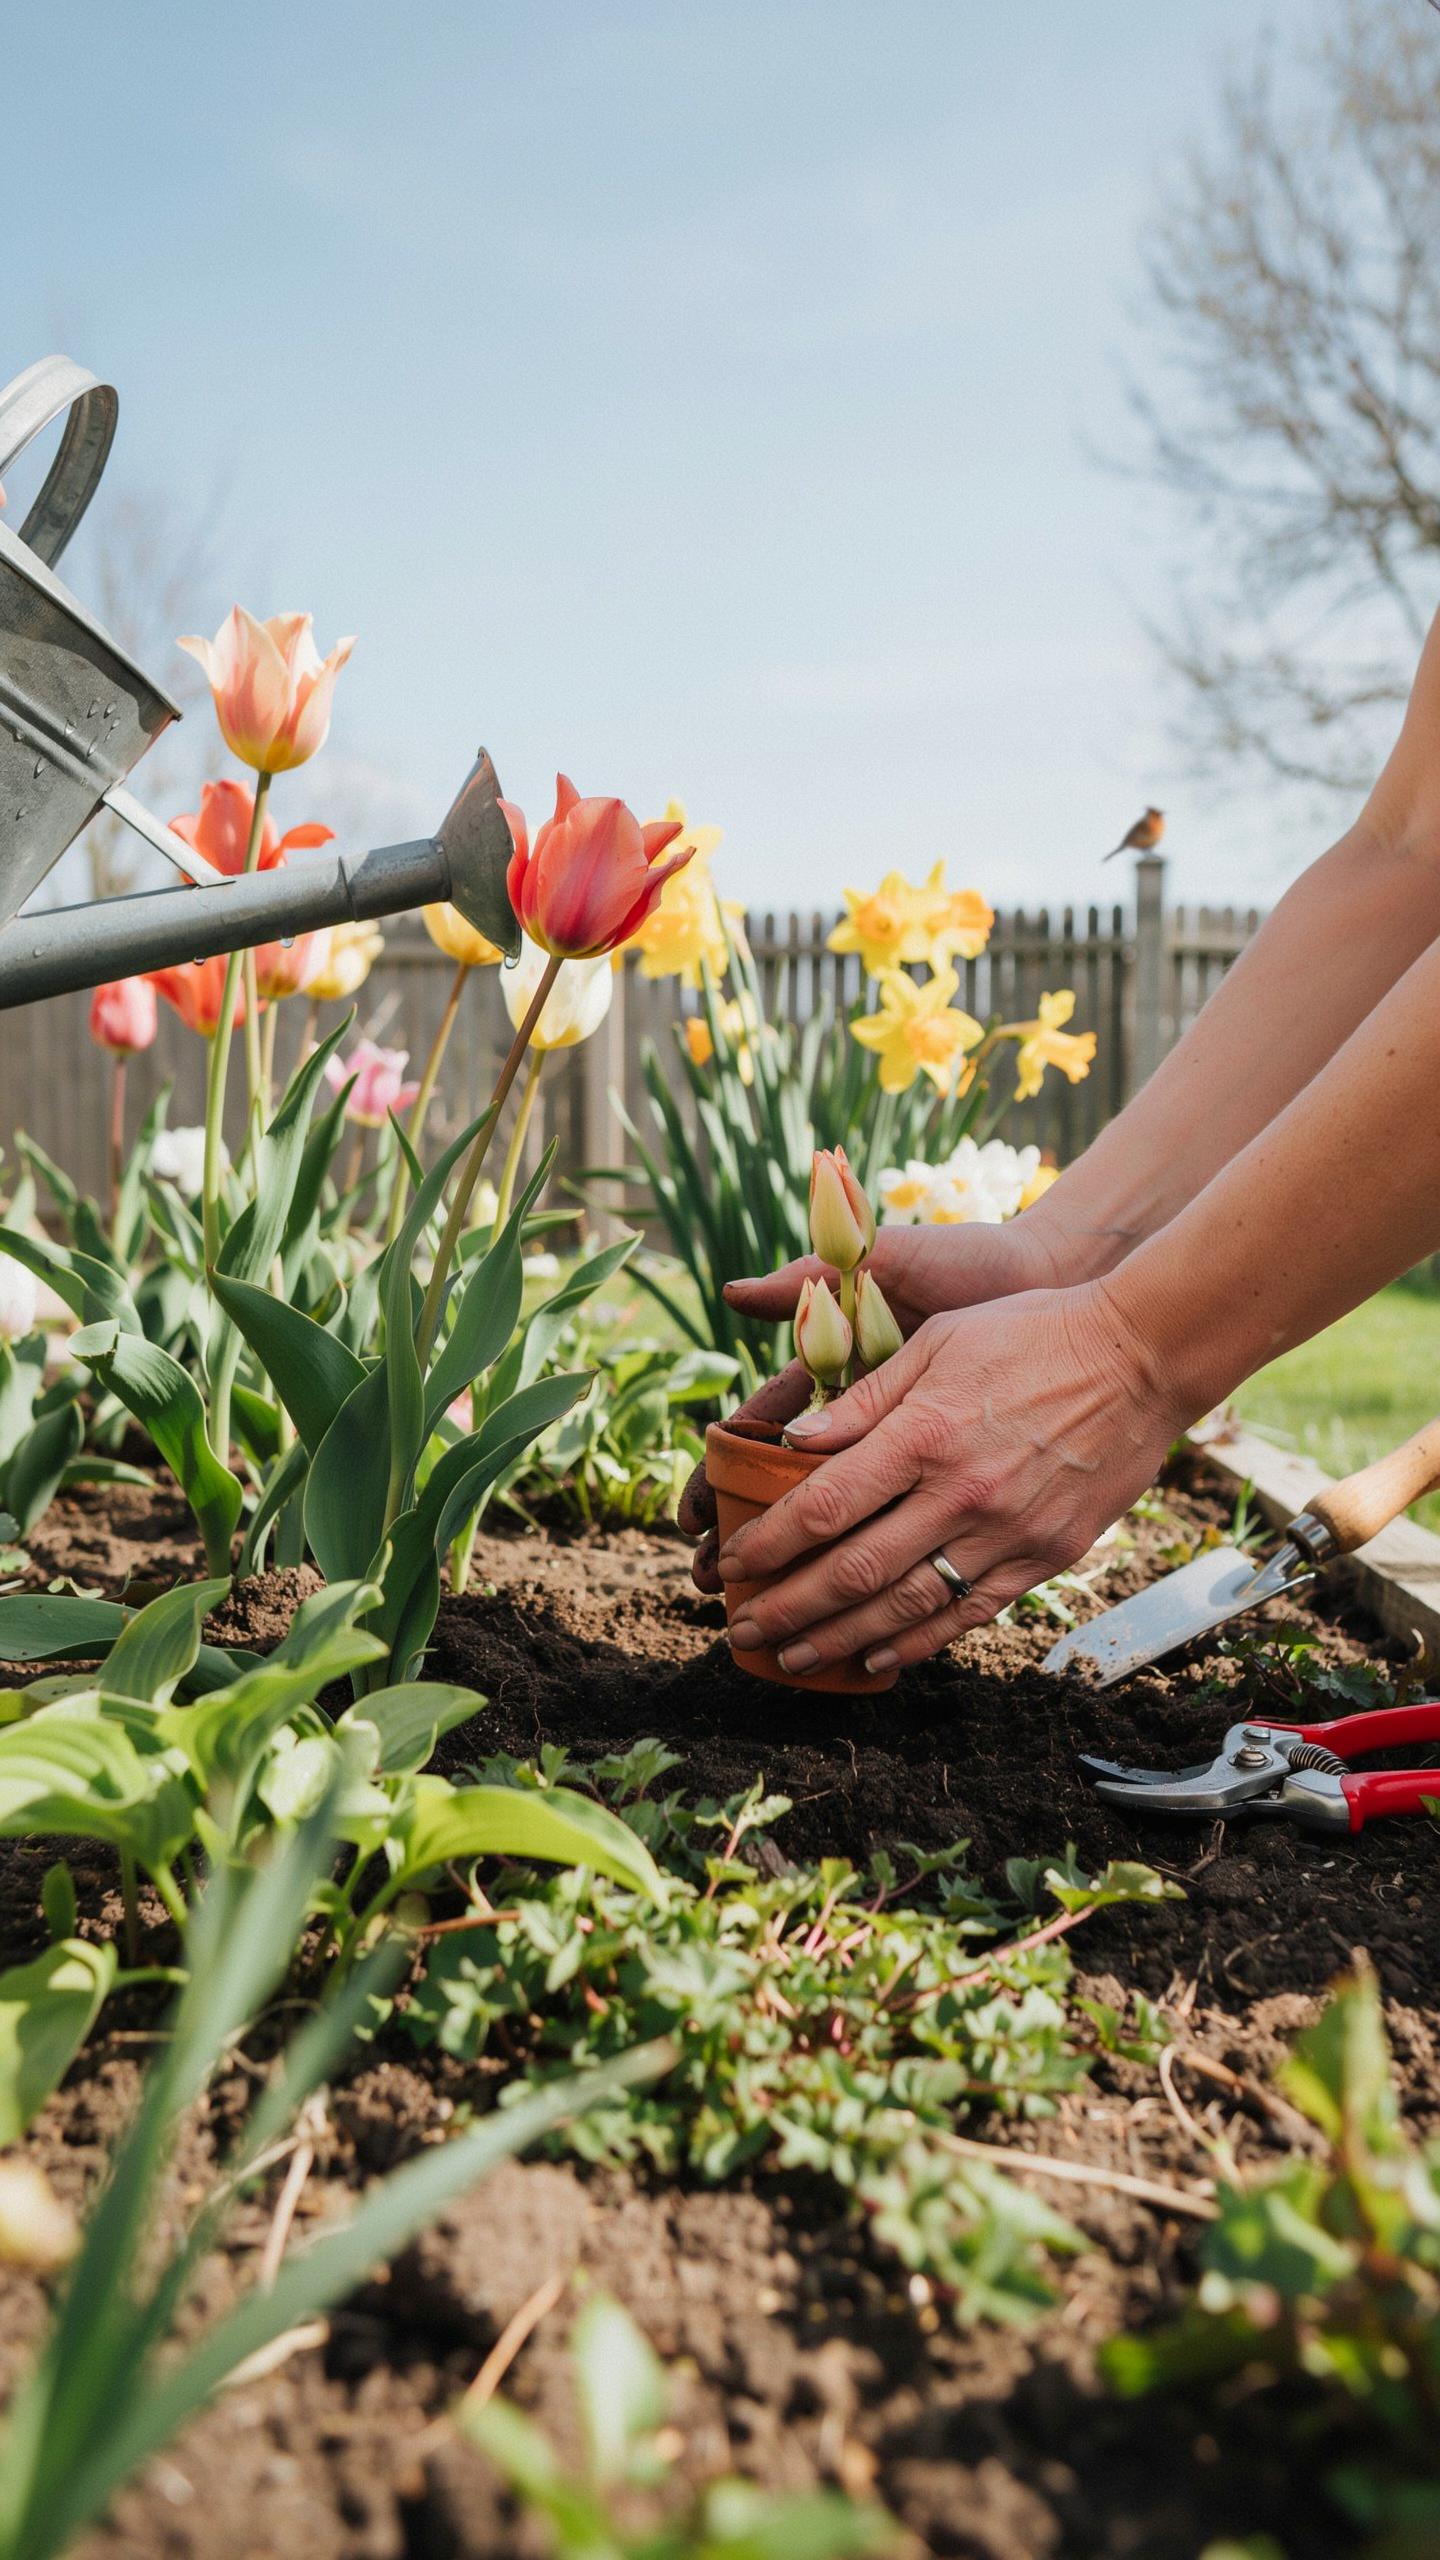
Spread two to three inches of organic mulch across your garden beds. This depth suppresses weed growth, locks in soil moisture, and moderates temperature swings. Apply mulch around plants but keep it six inches away from tree trunks and woody stems to prevent rot and pest damage.
Organic mulch breaks down over time and improves soil structure. Wood chips, shredded bark, and compost work effectively. Refresh mulch annually since decomposition reduces depth and effectiveness. This task takes minimal time and delivers measurable results in weed control and water conservation.
Setting Up Irrigation
Inspect all drip lines, hoses, and sprinkler heads before summer heat arrives. Look for cracks, leaks, and clogs that waste water or create dry spots. Test each zone to confirm water reaches intended areas uniformly and efficiently.
Clean clogged emitters with a small tool or compressed air. Replace damaged sections rather than patch them. Proper irrigation setup prevents plant stress during dry months and reduces your workload when temperatures spike. Schedule this inspection in early spring before you activate systems regularly.
Frequently Asked Questions

What are the most important spring garden prep tasks for beginners to focus on first?
For those just getting started, the most vital spring garden prep tasks involve clearing away winter debris and assessing your soil quality. Begin by removing dead leaves and fallen branches to prevent mold growth. Once the ground has thawed, work in some organic compost to nourish the earth. These foundational steps ensure your new plants have a clean, nutrient-rich environment to thrive in as the warmer weather finally approaches.
How do I properly prepare my flower beds for new seasonal planting?
To prepare your beds effectively, start by weeding while the soil is still damp and easy to work with. Use a garden fork to gently aerate the soil, being careful not to disturb existing perennial roots. Define your edges with a sharp spade for a polished look, then apply a fresh layer of mulch. Completing these spring garden prep tasks early helps regulate soil temperature and keeps moisture locked in for your new blooms.
Can I prepare my garden for spring effectively if I am on a tight budget?
Absolutely! You can achieve a stunning outdoor space without spending a fortune by focusing on manual maintenance and DIY solutions. Instead of buying expensive fertilizers, start your own compost pile using kitchen scraps and yard waste. Dividing existing perennials is another cost-free way to fill empty gaps. Prioritizing simple cleaning and pruning allows you to refresh your landscape’s appearance and health using only basic tools and a bit of elbow grease.



