
Why Spring Garden Prep Soil Testing Is Essential For Your Yard
Soil Nutrition Basics
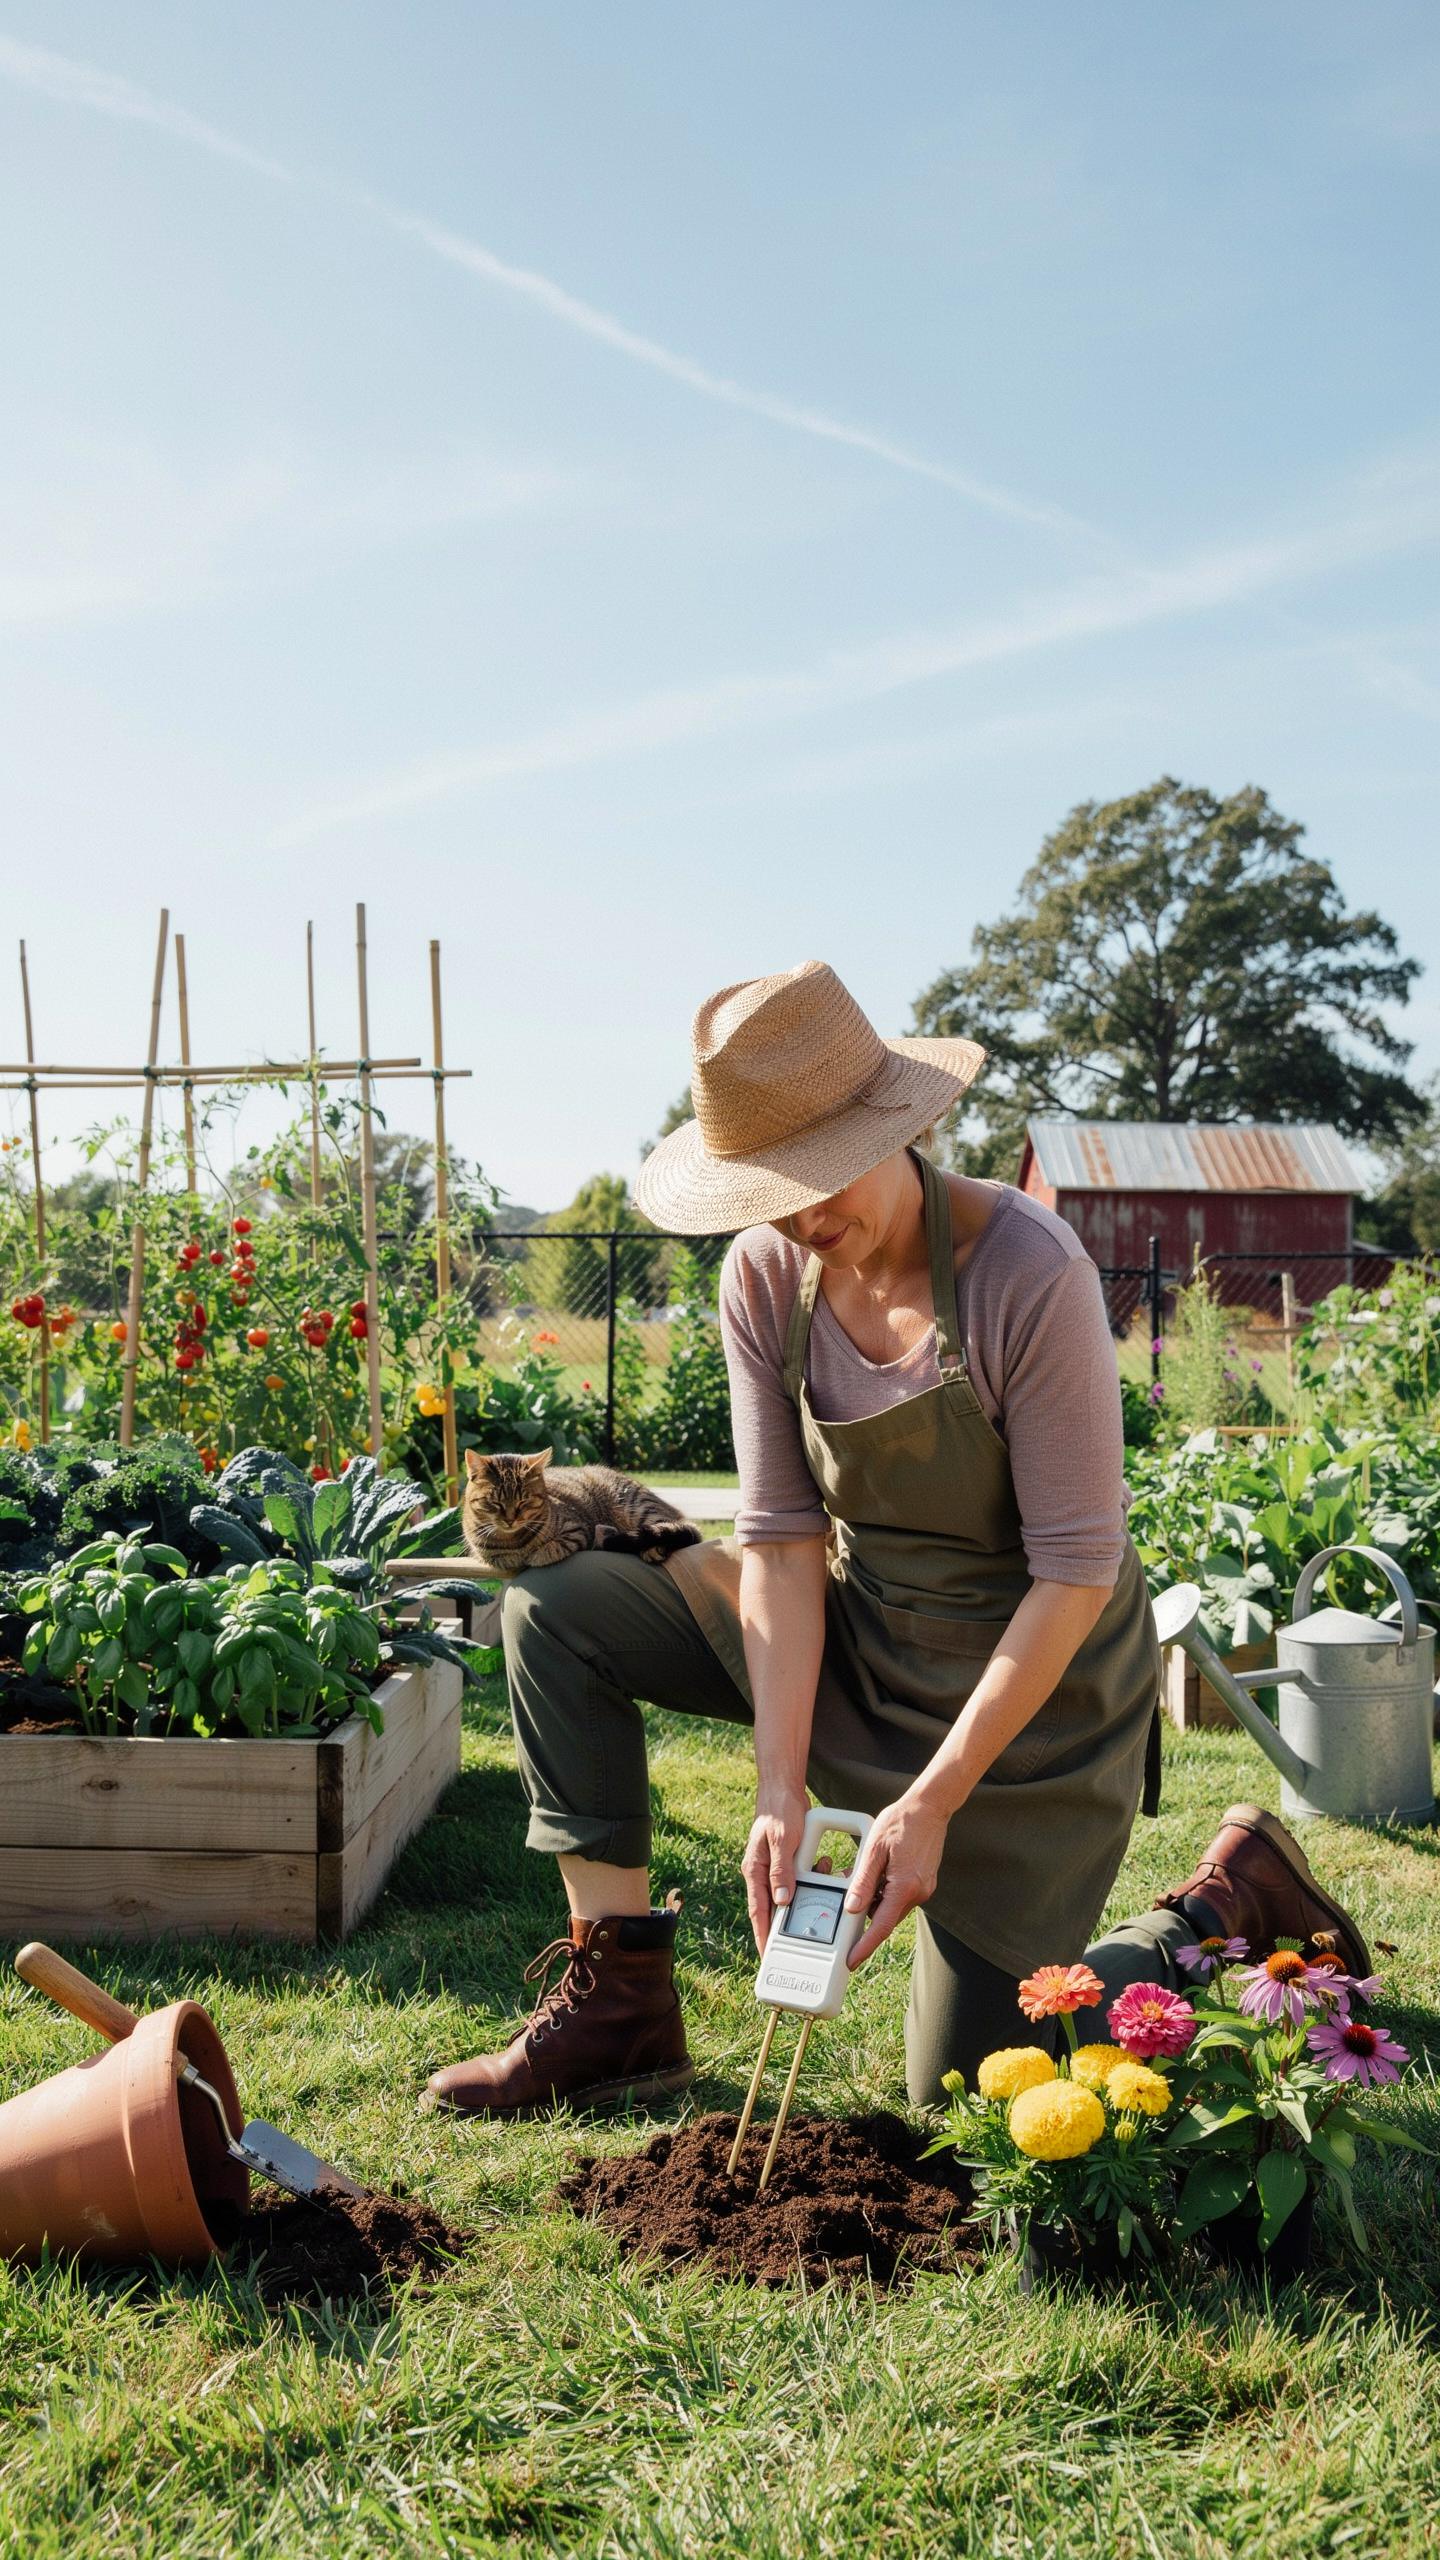
Plants require three primary macronutrients to function: nitrogen, phosphorus, and potassium. Nitrogen drives leaf and stem growth. Phosphorus develops root systems and flower production. Potassium strengthens plant cell walls and improves disease resistance. Soil testing measures these nutrients in parts per million, revealing exactly what your soil contains and what plants need.
Without testing, you guess at nutrient levels and waste money on unnecessary fertilizer. Over-applying nitrogen causes excessive leaf growth but reduces flowering. Under-applying phosphorus stunts root development. Testing identifies your soil’s actual composition so you apply only what the plants require. This approach saves money and produces better results.
Preventing Common Diseases
Soil-borne pathogens thrive in imbalanced conditions. High moisture combined with poor drainage creates environments where fungi and bacteria multiply. Nutrient deficiencies weaken plants, making them susceptible to infection. Testing reveals soil pH, drainage capacity, and nutrient levels, allowing you to correct problems before planting.
Optimal soil conditions mean plants establish strong root systems that resist pathogens naturally. Testing identifies compacted layers that trap water. It measures organic matter content, which improves soil structure and airflow. These factors directly reduce plant stress and disease pressure. You prevent problems rather than treating them after infection occurs.

Understanding Garden Soil Types And Properties

Identifying Soil Textures
Soil texture determines how water moves through your garden and how nutrients stay available to plants. The three primary soil types are sand, clay, and loam. Sandy soil drains fast but holds few nutrients. Clay soil retains water and nutrients but compacts easily, restricting root growth. Loam balances both properties and represents the ideal garden soil. You identify texture by the feel test or jar test using water and soil samples.
Texture affects your entire spring garden prep strategy. Sandy soils need frequent watering and organic amendments to improve nutrient retention. Clay soils require drainage improvement and organic matter to prevent waterlogging. Loamy soils still benefit from organic additions. Knowing your baseline texture tells you exactly what amendments to buy and how often to water during the growing season.
Importance Of Organic Matter
Organic matter is decomposed plant and animal material that fundamentally improves soil structure and function. It increases nutrient availability in all soil types, enhances water retention in sandy soils, and improves drainage in clay soils. Organic matter also feeds beneficial microorganisms that break down nutrients into forms plants can absorb. Adding compost, aged manure, or leaf mulch directly addresses soil deficiencies identified during spring testing.

Spring garden prep requires measuring your current organic matter content before adding amendments. Most productive gardens contain 5 to 10 percent organic matter by weight. You determine this through soil testing, which reveals whether you need minimal additions or significant investment. The payoff is direct: higher organic matter means stronger plant growth, reduced disease pressure, and lower fertilizer requirements throughout the season.
How To Test Soil Quality With Visual And Physical Signs

Soil Compaction And Aeration Checks
Push a metal rod or screwdriver into your soil. Resistance tells you everything. Hard, compacted soil stops root penetration within inches. Roots need space to grow down and spread sideways. Dig a small hole six inches deep and observe how easily your shovel moves through each layer. Loose, friable soil crumbles in your hand. Dense soil clumps and resists breaking apart.
Perform a percolation test to measure water drainage. Dig a hole twelve inches deep and fill it with water. Time how long the water takes to drain completely. Fast drainage in one to two hours indicates loose, well-aerated soil. Slow drainage over several hours signals compaction problems. Poor aeration restricts oxygen to roots and traps excess moisture, both conditions that stunt plant growth.
Observing Biodiversity In The Ground
Earthworms are your soil’s report card. A healthy soil contains five to ten earthworms per square foot. Dig into a section of soil and count what you find. Few or no worms mean biological activity has stalled. Earthworms break down organic matter and create air channels. Their presence indicates your soil supports the microbial communities plants depend on for nutrient access.

Flip over rocks and logs to spot insects and larvae. Beetles, millipedes, and fungal threads mean your soil ecosystem functions. A sterile, lifeless soil appears pale and produces no insect activity. Rich, dark soil teems with movement and small organisms. This biodiversity transforms nutrients into plant-available forms. Test this in early spring before chemical applications, which kill beneficial organisms and disrupt the biological balance you need for healthy growth.
Soil Testing For Beginners Getting Started The Right Way
Choosing The Right Testing Areas And Depths
Collect samples from multiple garden beds to get accurate data. Each bed has different soil composition, drainage, and nutrient levels. Take samples from at least three to five separate locations across your property. This approach prevents one problem area from skewing your results and gives you actionable information for targeted amendments.
Dig samples from the top six to eight inches of soil, where most plant roots live. Use a clean shovel or soil probe to avoid contamination. Remove rocks, debris, and old plant matter before placing soil in a clean container. Mix all samples together in a bucket, then take a subsample for testing. This gives you a representative picture of what your garden is actually working with.
To dwell is to garden, and preparing the earth is the first step in nurturing a home that truly flourishes. Knowing your soil is the secret to a timeless garden that reflects the soul of your landscape.
Home Kits Versus Professional Lab Analysis
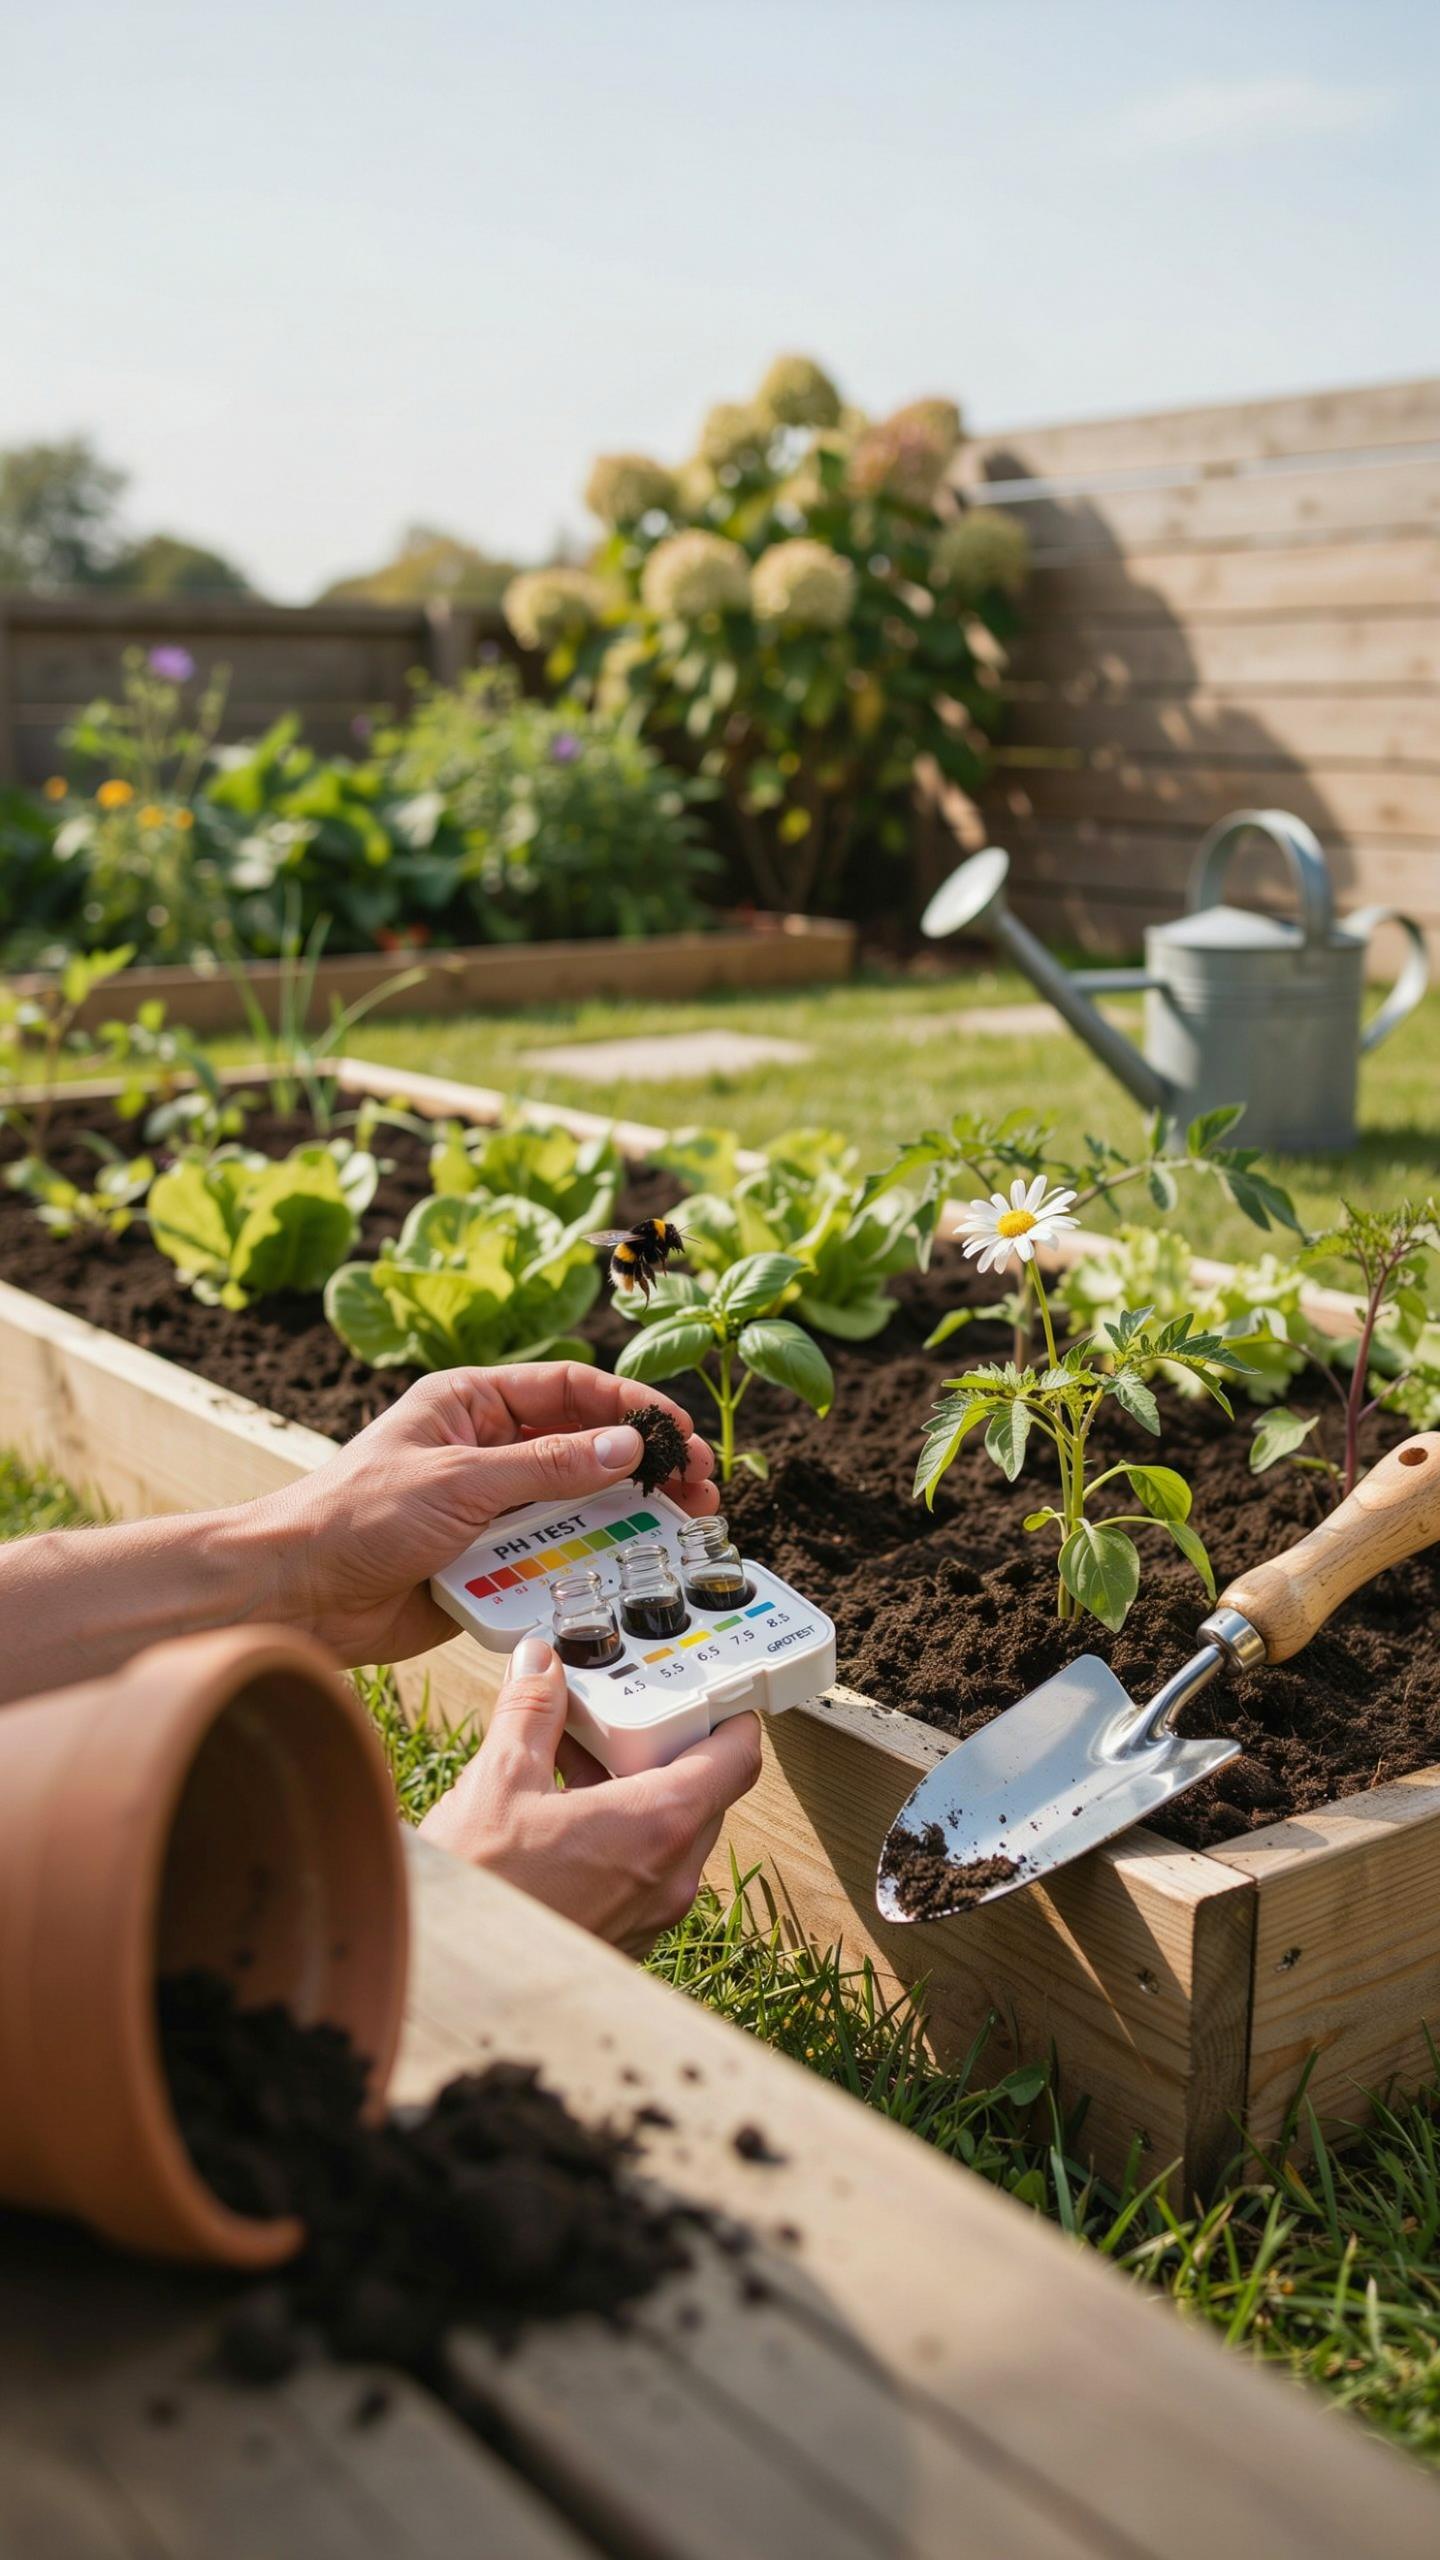
Home test kits give you fast results for pH and basic nutrient levels. They cost less and take minutes to complete. Use them for quick decisions on lime or sulfur additions to adjust pH. These kits work well for gardeners who need immediate information to start spring planting without delay.

Professional lab analysis through your local extension service provides detailed nutrient breakdown, organic matter percentage, and specific recommendations. Labs test for micronutrients that home kits miss entirely. Send soil to a lab when starting a new garden bed, dealing with persistent plant problems, or managing large property areas. The cost and three to seven day turnaround time pay off through accurate amendment guidance.
How To Test Soil Health With Simple Field Tests
Materials Needed For Basic Field Tests
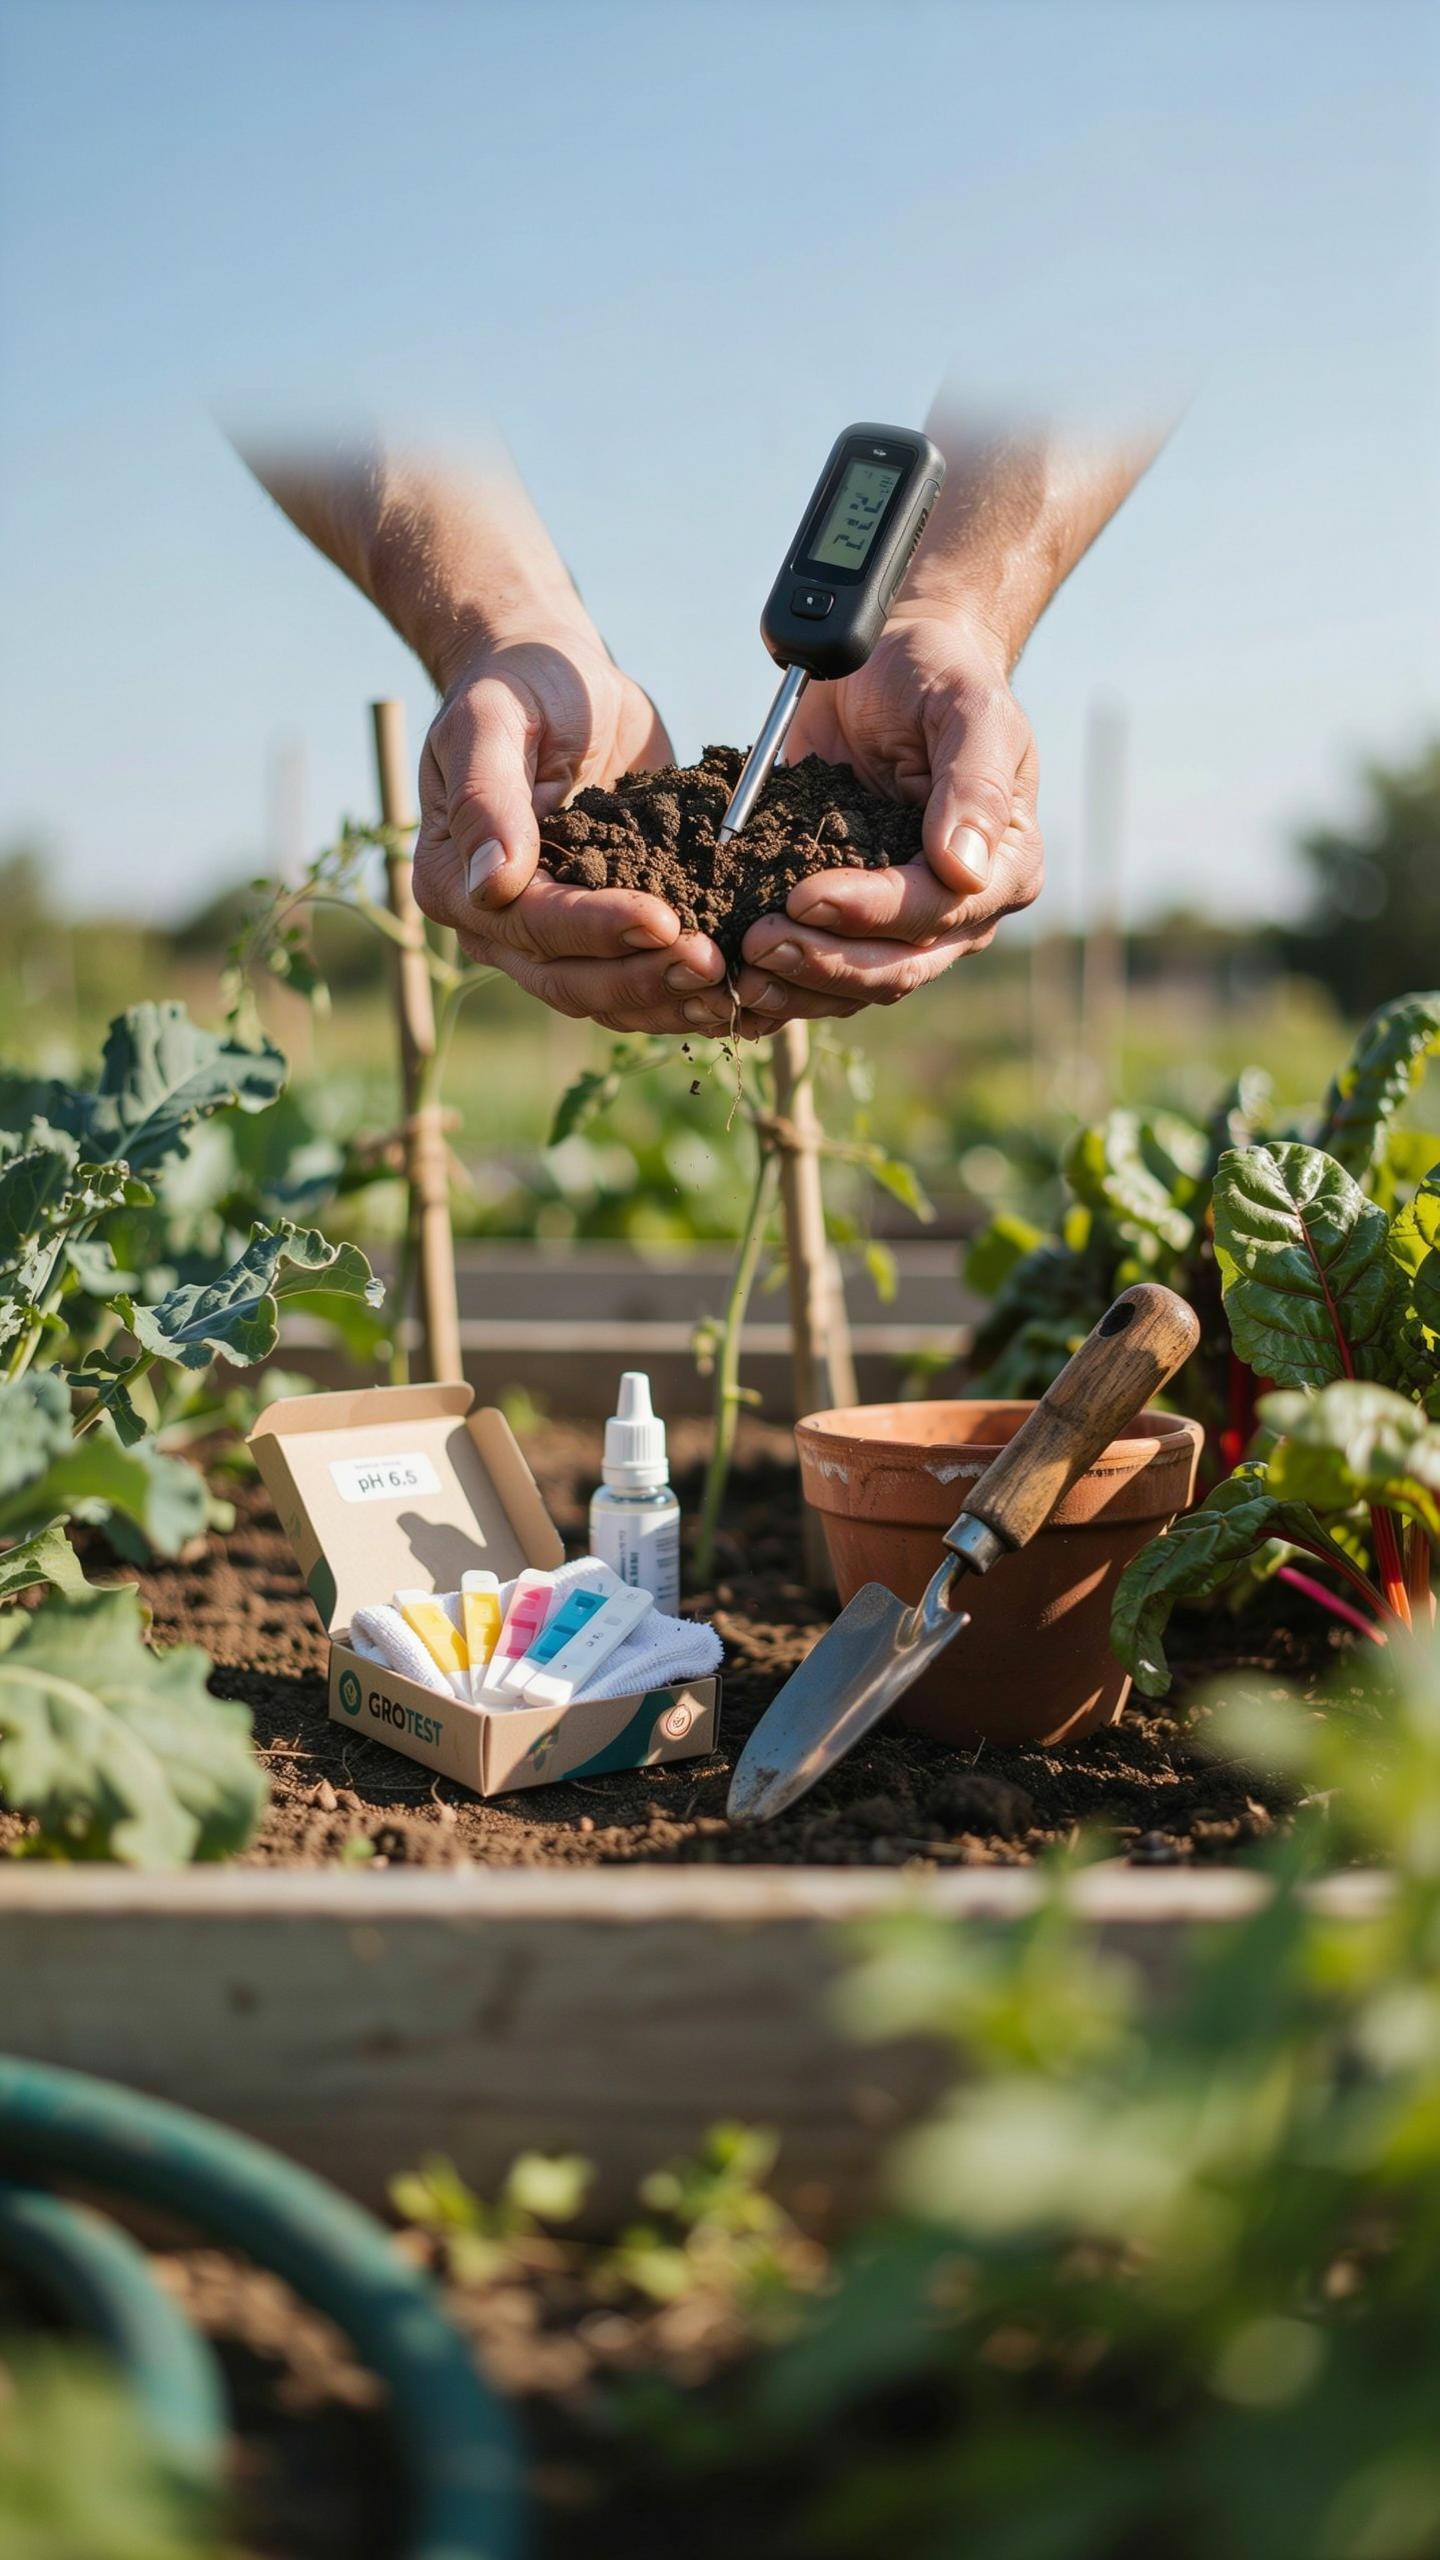
You need specific tools to assess drainage and root penetration accurately. These items cost little and reveal critical soil conditions before you plant. Gather everything now so you can conduct tests without delays.
- Spade or shovel: Use to dig soil pits and extract samples from multiple depths. A standard garden spade works for most residential testing needs.
- Measuring tape or ruler: Measure hole depth and water level drop over time. Accuracy here determines drainage rate calculations and soil permeability data.
- Stopwatch or timer: Track water infiltration speed in minutes and seconds. Precision timing reveals whether soil drains too fast or too slowly.
- Clear container or bucket: Hold water for the percolation test. A 5-gallon bucket or large glass container works equally well for measurements.
- Soil auger or hand drill: Extract undisturbed soil samples from below the surface. This tool reaches compacted layers that affect root development and drainage.
- Knife or probe: Test soil compaction and root resistance at various depths. A stainless steel rod reveals hardpan or clay layers blocking water movement.
These tools let you move fast and get reliable results. Keep them accessible so spring testing happens without scheduling delays or supply runs.
The Soil Percolation And Drainage Test
Dig a hole 12 inches deep and 6 inches wide in your proposed planting bed. Fill it with water and let it drain completely. This initial soak removes air pockets and prepares the soil for actual testing.

Fill the hole again with water to the top and start your timer immediately. Measure water level drop every 10 minutes for the first hour. Record the inches that drain per hour to calculate percolation rate accurately.
Soil that drains 2 to 6 inches per hour works well for most vegetables and perennials. Faster drainage above 6 inches means sandy soil that won’t retain moisture or nutrients. Slower drainage below 2 inches indicates clay or compaction that blocks root growth and causes waterlogging.
Repeat this test in at least three different spots across your garden area. Drainage rates vary depending on topography and soil composition. These multiple tests show you which zones need amendment and which beds are ready for planting.
An Easy Soil Testing Method To Measure PH Levels
The Pantry Baking Soda And Vinegar Trick
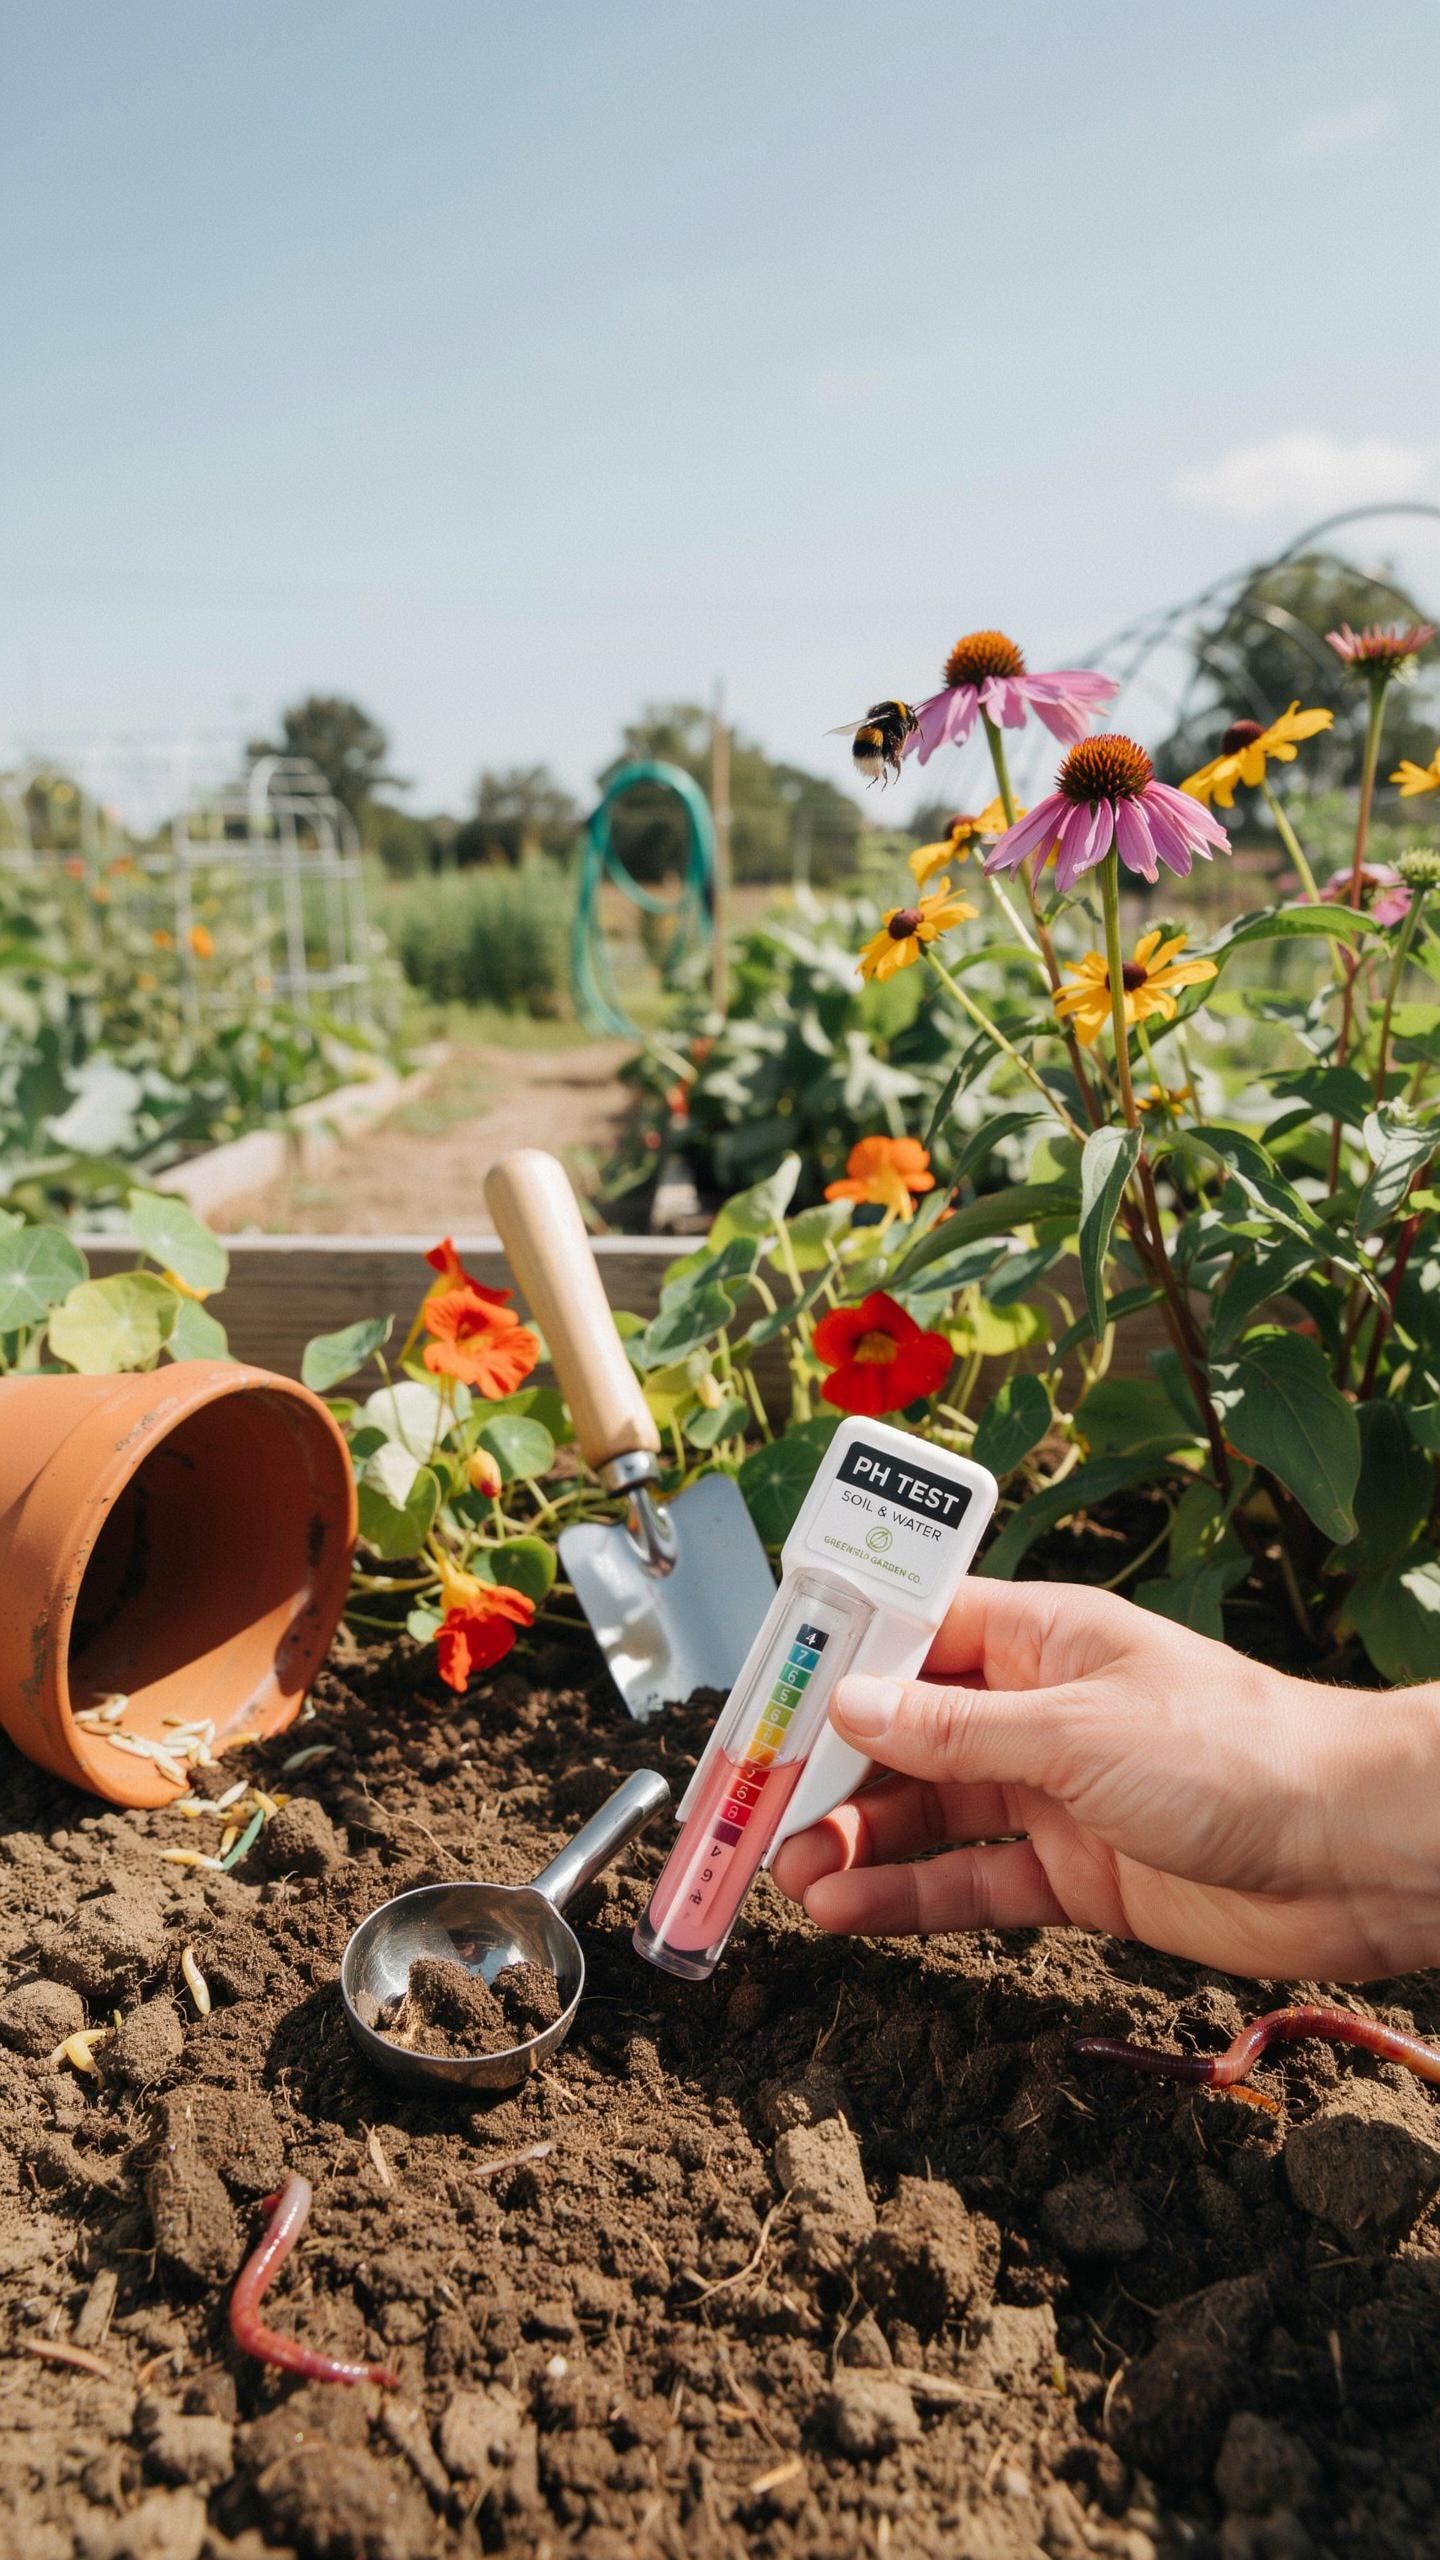
The baking soda and vinegar method gives you a quick baseline on soil acidity without lab equipment. Collect soil samples from several spots in your garden. Mix each sample with distilled water to create a paste. Add baking soda to one sample and vinegar to another. Fizzing indicates soil chemistry. Vinegar fizz means alkaline soil. Baking soda fizz means acidic soil.

This method works because of simple chemistry reactions. Baking soda reacts with acidic compounds in soil and produces carbon dioxide bubbles. Vinegar reacts with alkaline compounds and creates the same visible fizz. Neither reaction means neutral soil. The test gives directional information only, not precise pH numbers. Use this as your starting point before investing in more detailed testing.
Interpreting Your PH Results For Plants
The pH scale runs from zero to fourteen, with seven as neutral. Most vegetable gardens thrive between 6.0 and 7.0, which is slightly acidic. Berries like blueberries need 4.5 to 5.5 pH. Brassicas like cabbage and broccoli prefer 6.0 to 7.5. Tomatoes perform well at 6.0 to 6.8. Lettuce tolerates a wider range from 6.0 to 7.5. Test your specific crops before amending soil.
Perennials and shrubs have different preferences than vegetables. Most flowering perennials grow well between 6.0 and 7.0. Rhododendrons and azaleas require acidic soil around 4.5 to 6.0. Hydrangeas shift color based on pH, blooming blue in acidic soil and pink in alkaline soil. Ornamental grasses adapt to various pH levels but perform best near neutral. Match your plants to your soil pH or amend accordingly.
How To Test Garden Soil To Create A Custom Fertilizer Plan
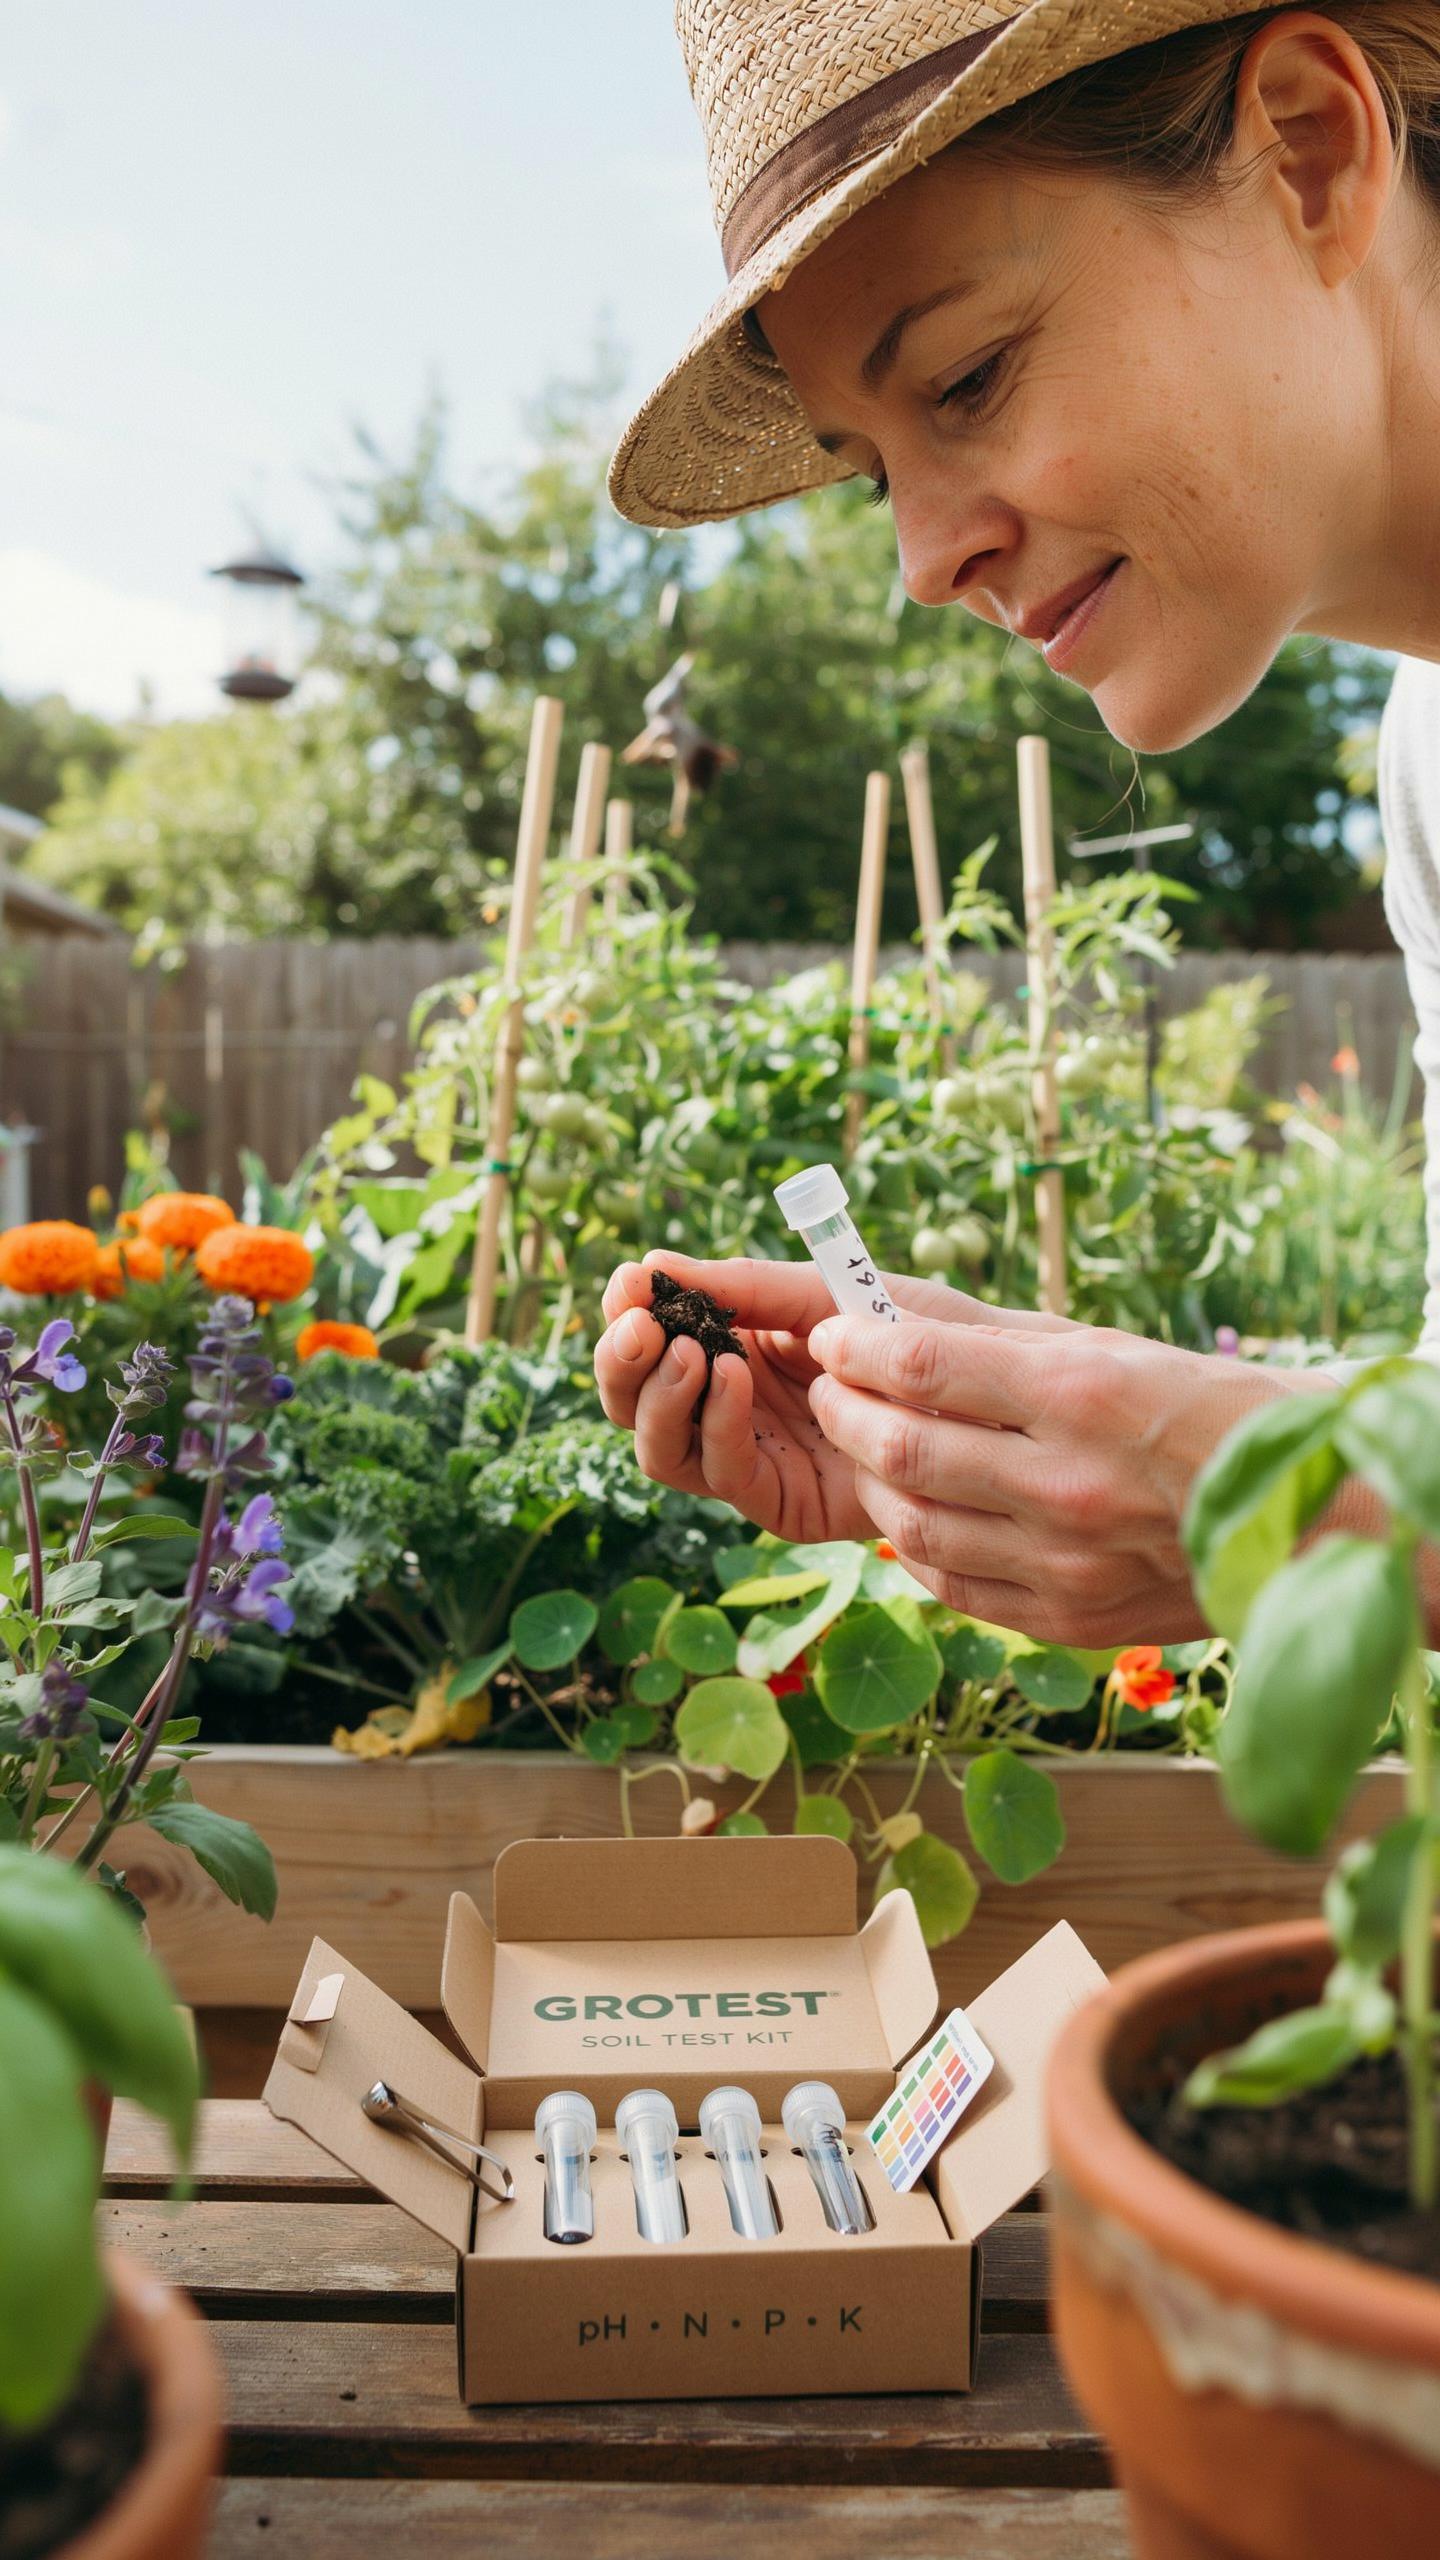
Calculating Nutrient Deficiencies From Reports
Soil test labs measure three primary nutrients: nitrogen (N), phosphorus (P), and potassium (K). Lab reports display these values in parts per million (ppm) or pounds per acre. Compare your results against the optimal range for your crop type. Most vegetables require 20-40 ppm nitrogen, 15-30 ppm phosphorus, and 100-200 ppm potassium. Numbers below these thresholds indicate deficiency requiring amendment.

Translate deficiency data into application rates using your soil test results. If nitrogen reads 10 ppm and your target is 30 ppm, you need to add nitrogen-rich material. The lab report typically includes fertilizer recommendations with specific application rates per square foot or per thousand square feet. Follow these calculations precisely to avoid over-application, which wastes money and damages soil structure.
Organic Amendment Recommendations By Soil Type
Choose amendments based on your soil’s texture, pH level, and specific nutrient gaps. Clay soil benefits from compost and aged manure to improve drainage and add structure. Sandy soil needs high-carbon compost to increase water retention. Loamy soil requires less structural work but still benefits from annual compost additions for nutrient replenishment.
- Compost: Adds organic matter and slow-release nutrients to all soil types. Improves water retention in sandy soils and drainage in clay soils. Apply 1 to 2 inches annually.
- Bone Meal: Supplies phosphorus for root development and flowering. Contains 10-12% phosphorus and 3-4% nitrogen. Apply according to soil test phosphorus deficiency levels.
- Agricultural Lime: Raises soil pH in acidic conditions and adds calcium. Use dolomitic lime for magnesium-deficient soils. Test pH before application to avoid over-correction.
- Aged Manure: Provides nitrogen, phosphorus, and potassium from decomposed animal waste. Use fully aged manure only, as fresh manure burns plants. Apply 2-4 inches worked into soil.
- Wood Ash: Adds potassium and raises pH in acidic soils. Contains 4-13% potassium depending on wood source. Apply sparingly as excessive ash hardens soil.
Apply amendments in spring before planting to allow proper incorporation and microbial breakdown. Work amendments into the top 6 to 8 inches of soil using a garden fork or tiller. Retest soil annually to track nutrient changes and adjust amendment strategy accordingly.
Following A Diy Soil Testing Guide To Prepare Your Flower Beds
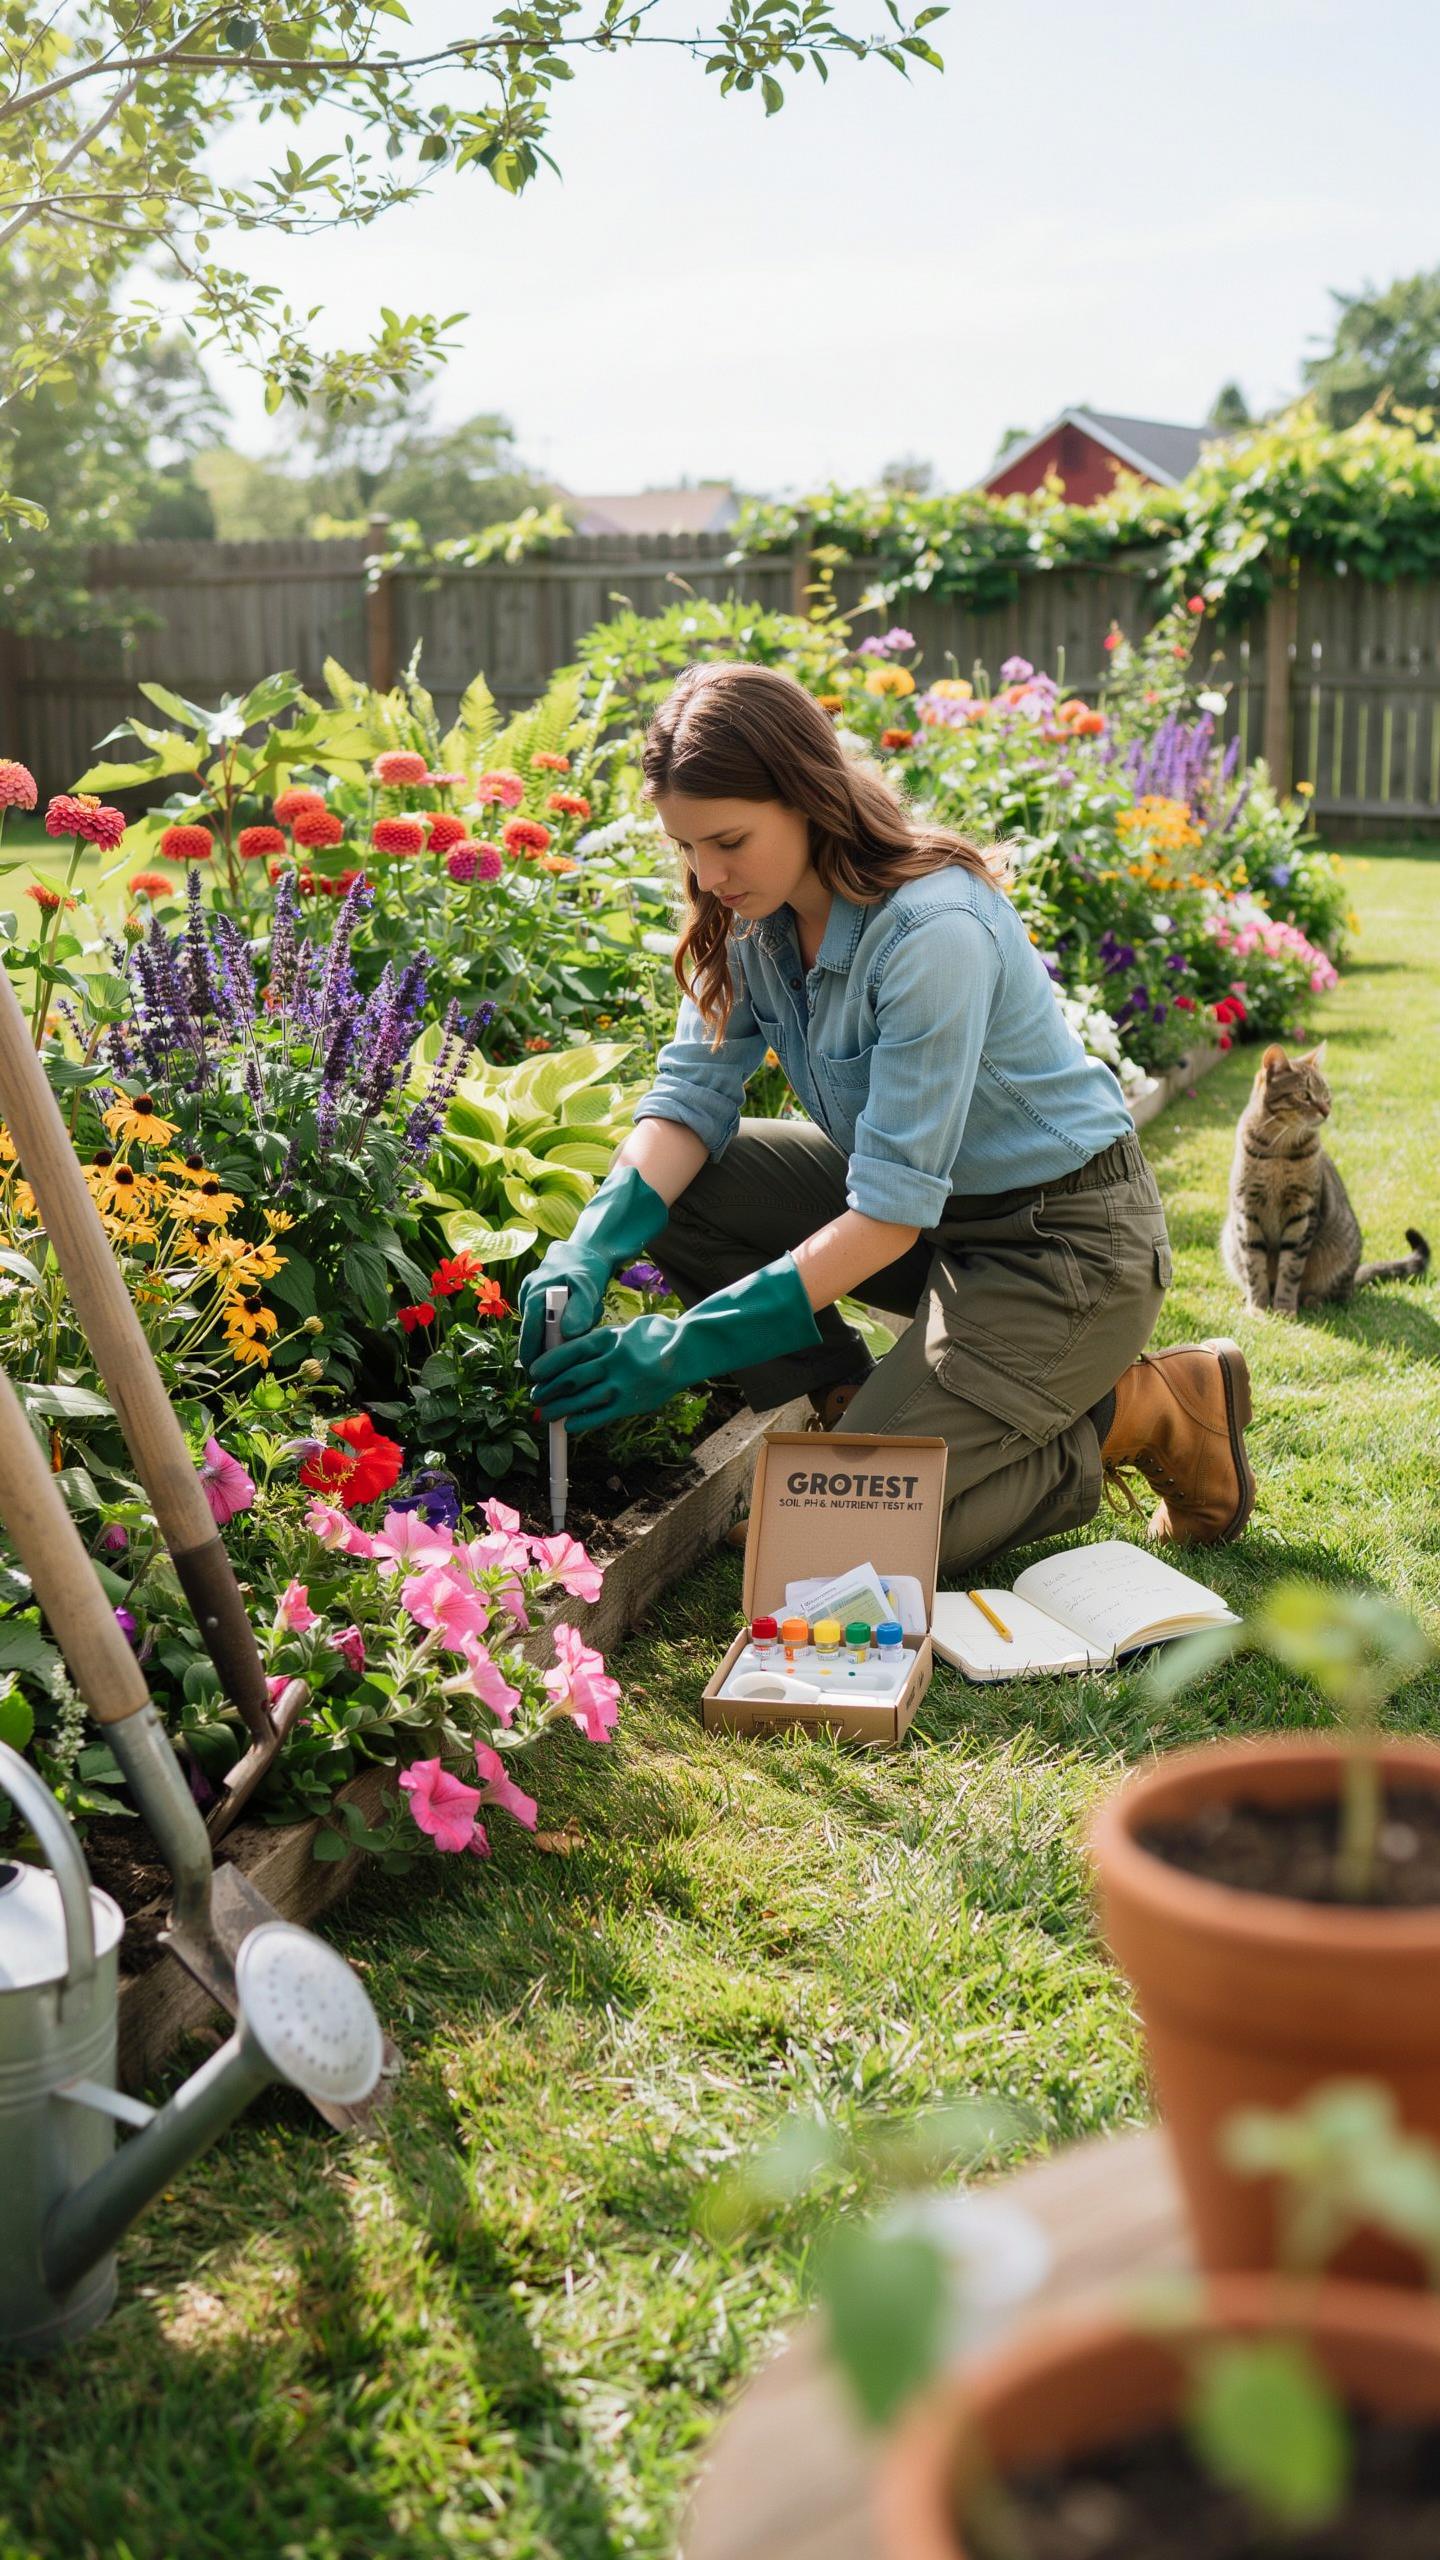
Step By Step Soil Sampling Protocol
Collect soil from multiple spots across your flower bed area. Dig down six inches with a clean spade or soil probe. Remove rocks, roots, and debris from each sample. Combine all samples in a clean bucket and mix thoroughly for two minutes.

Spread the mixed soil on a clean surface and let it air dry for several days. Break up any clumps by hand once fully dry. Place the dried soil in a labeled container with your location details and collection date. Send samples to your local cooperative extension office or private lab for analysis.
Seasonal Timing For The Most Accurate Readings
Test soil in early spring, ideally four to six weeks before planting. Soil conditions shift seasonally based on moisture, temperature, and microbial activity. Early spring testing captures winter nutrient levels and moisture patterns that directly affect plant establishment. This timing gives you weeks to adjust pH or add amendments before you plant.
Winter precipitation and freeze cycles alter soil structure and nutrient availability. Spring conditions stabilize as soil temperatures rise and moisture levels settle. Testing now reveals what your plants will actually encounter during the growing season. You avoid wasting time and money on amendments that target the wrong problems.
Frequently Asked Questions

Why is testing my soil so important for a successful spring garden?
Understanding your soil’s composition is the secret to a lush, vibrant landscape. Many homeowners skip this step, but spring garden prep soil testing allows you to identify specific nutrient deficiencies and pH imbalances before planting begins. By knowing exactly what your ground needs, you can tailor your fertilization strategy, ensuring your flowers and vegetables have the perfect foundation to thrive all season long rather than guessing at what might work.
How do I properly collect samples for my spring garden soil test?
For accurate results, use a clean trowel to collect small amounts of soil from several different spots across your planting area, going about six inches deep. Mix these samples in a clean plastic bucket to create a representative composite. Once mixed, take about a cup of this soil and let it air dry. This thorough approach to spring garden prep soil testing ensures you get a complete picture of your entire yard’s health.
Are professional soil tests expensive, or can I do this on a budget?
You don’t need a massive budget to achieve professional results. While high-end digital probes exist, the most cost-effective method is contacting your local university cooperative extension office. They offer incredibly detailed laboratory analysis for a small fee, often around fifteen to twenty dollars. This affordable option provides much more precision than cheap DIY kits, giving you expert insights into your property’s unique characteristics without breaking the bank this season.



