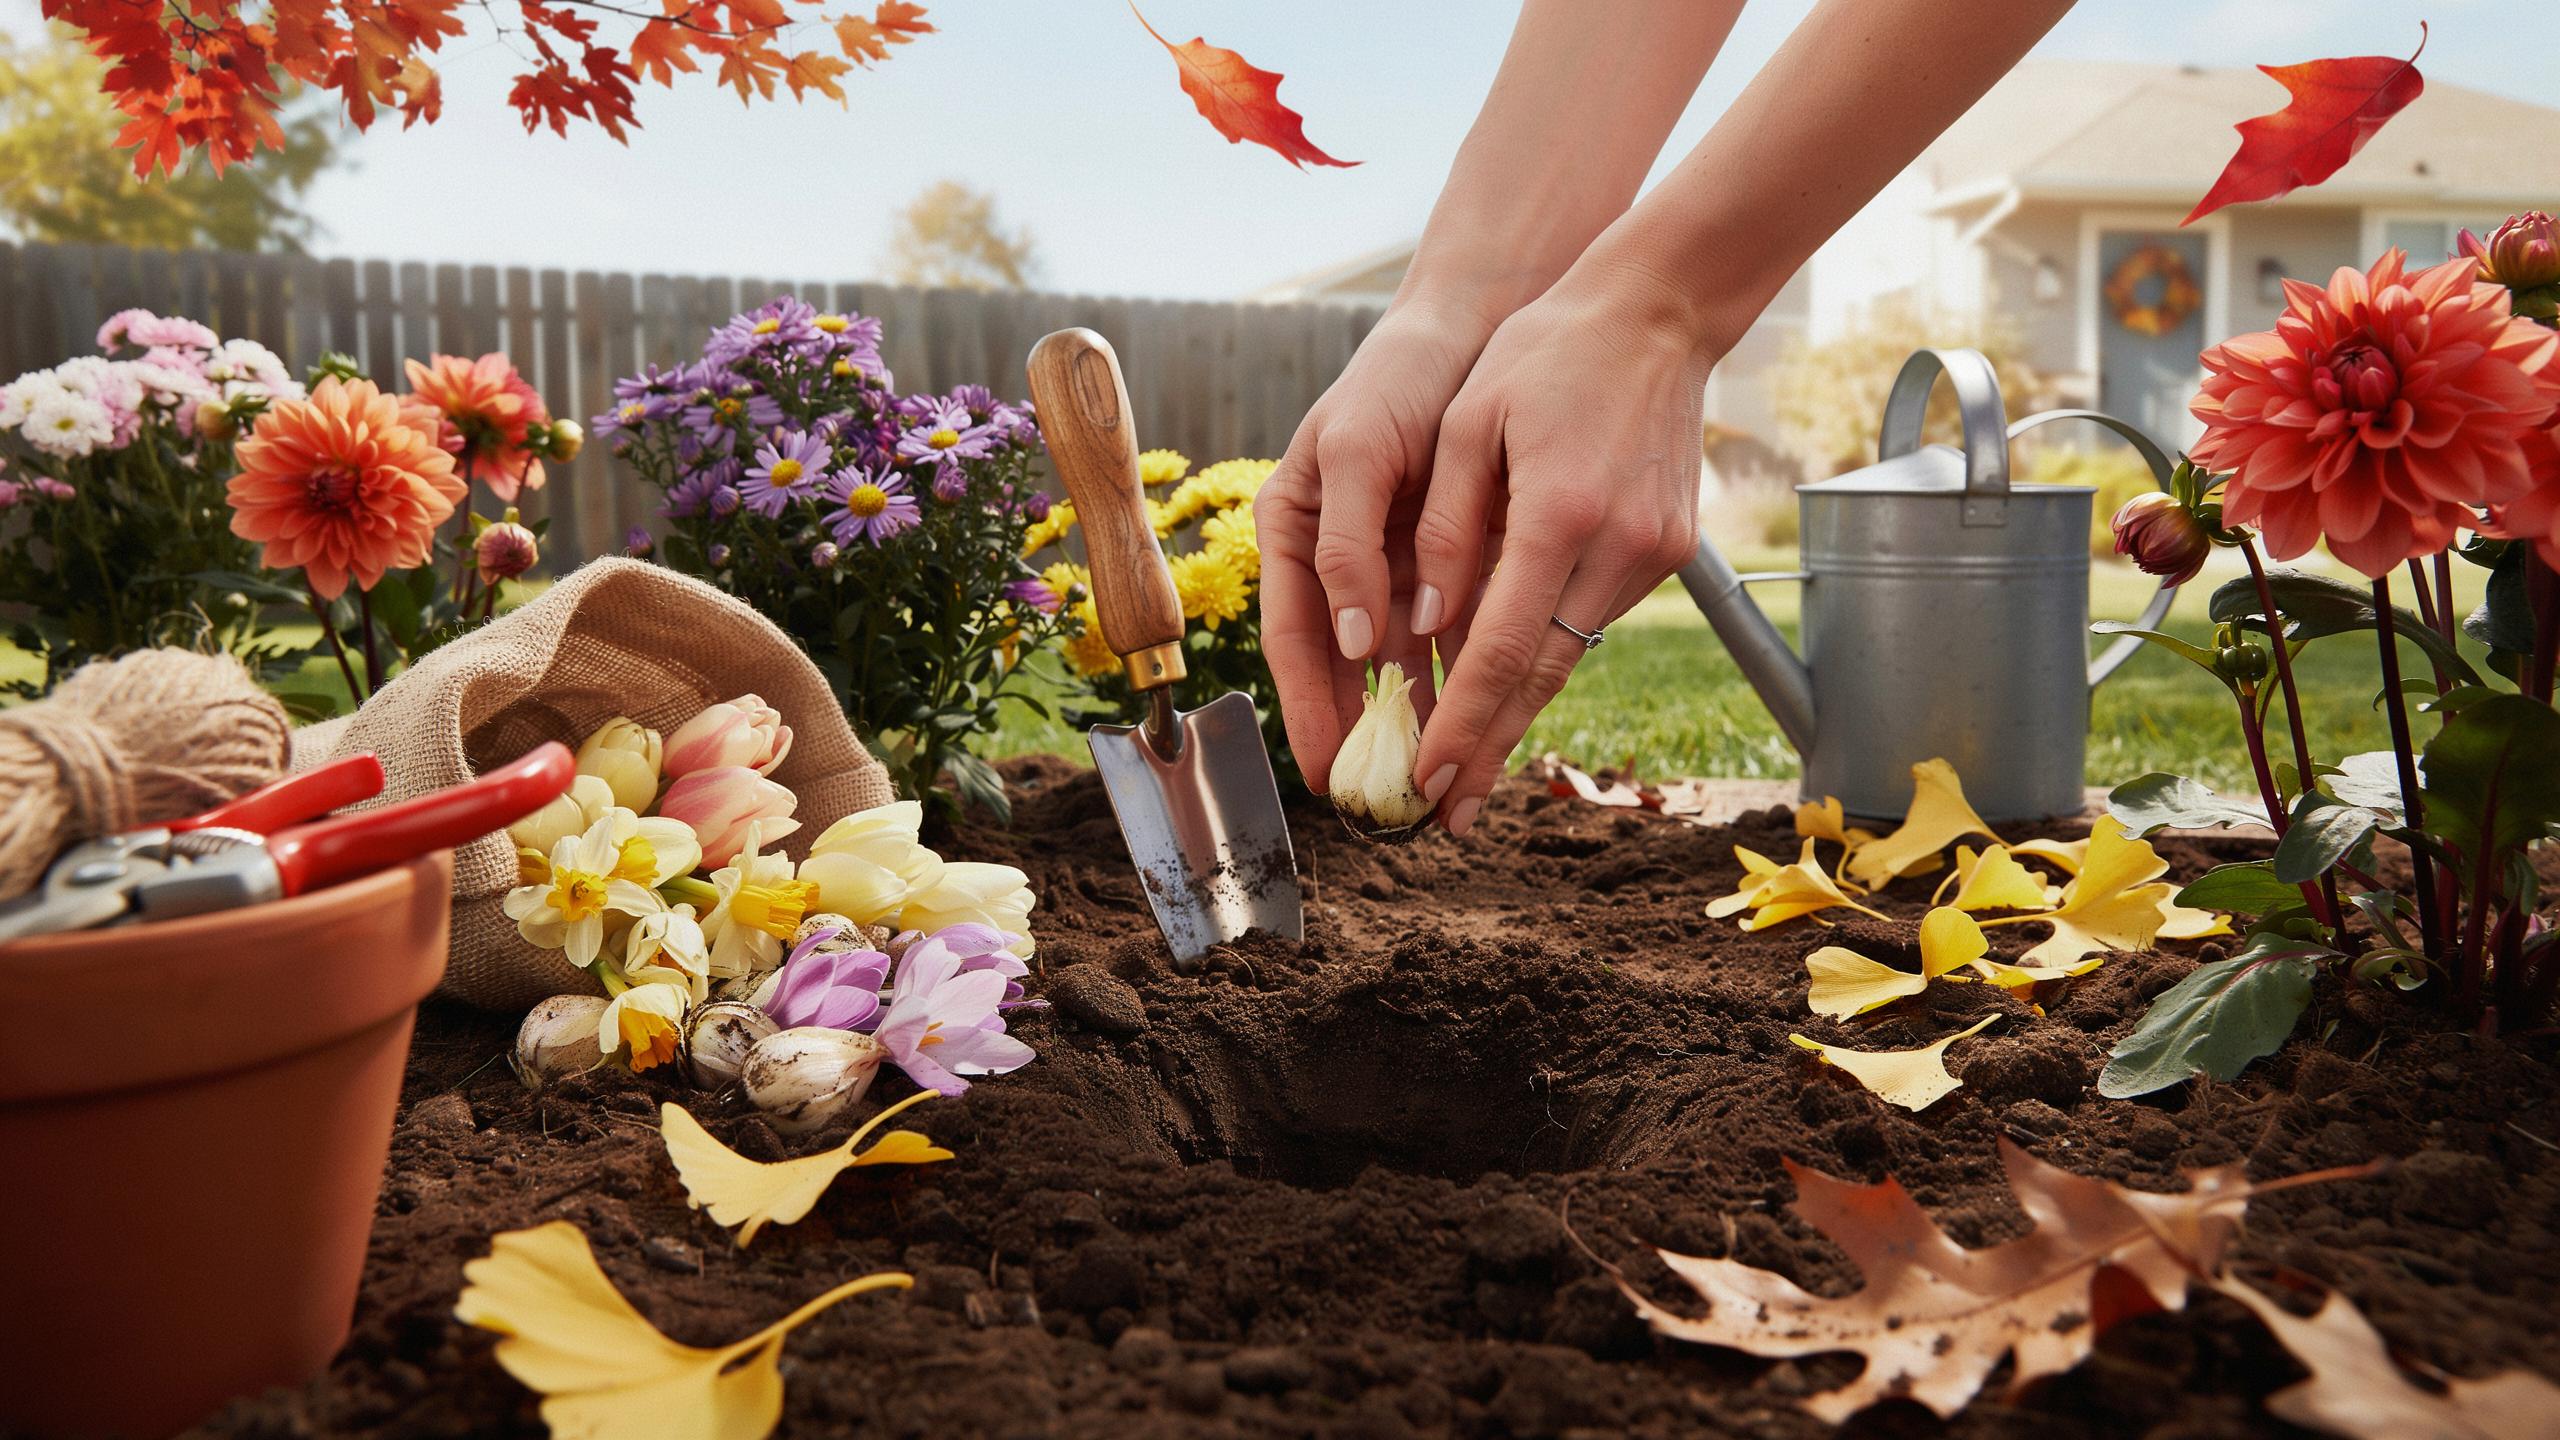
Why Fall Garden Care Bulb Planting Is Essential For A Vibrant Spring Garden
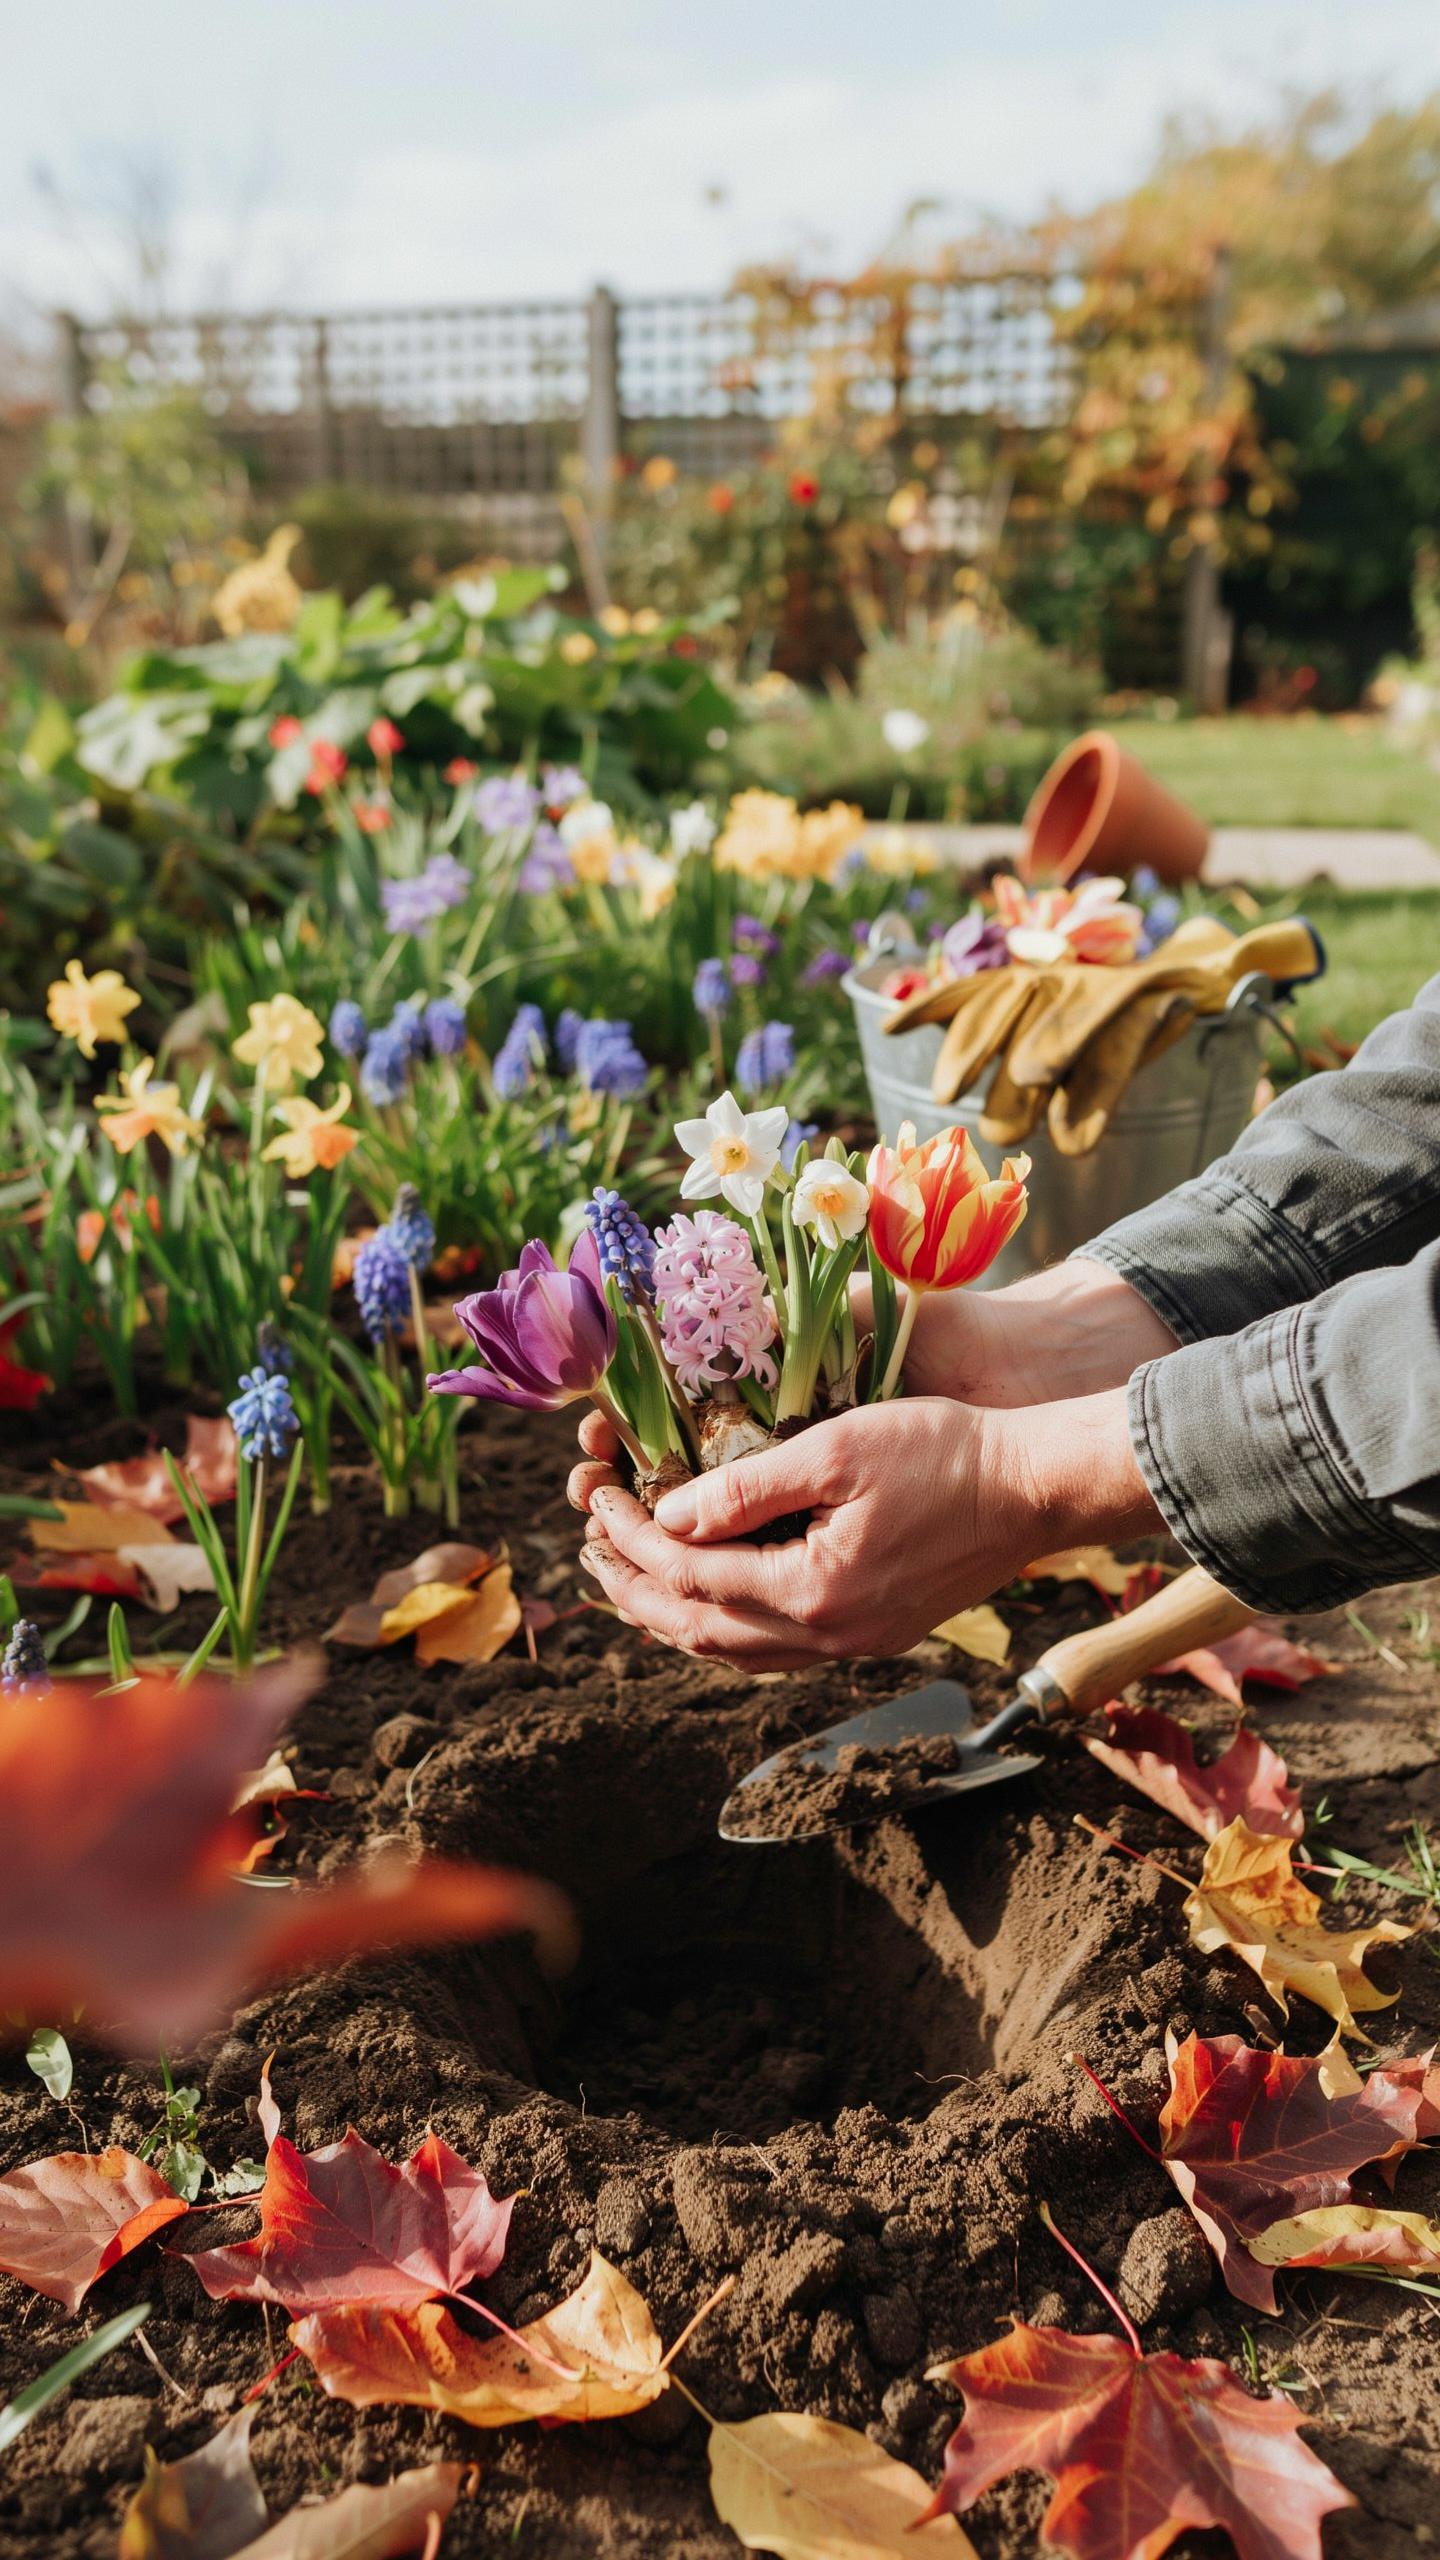
Understanding The Natural Refrigeration Cycle Required By Spring Blooms Like Tulips And Daffodils To Break Their Winter Dormancy
Spring bulbs need cold temperatures to complete their biological cycle. Tulips, daffodils, crocuses, and hyacinths require a period of sustained cold to trigger flowering. This chilling period breaks dormancy and allows the bulb to develop the hormonal signals needed for blooming. Fall planting ensures bulbs experience the cold they need during winter months.
The chilling requirement varies by bulb type but typically ranges from 12 to 16 weeks of temperatures below 55 degrees Fahrenheit. When you plant in fall, bulbs experience natural cooling as soil temperatures drop. This eliminates the need for artificial stratification and aligns with the bulb’s actual life cycle. Spring planting skips this essential cold period, resulting in no blooms or failed flowering.
How Early Root Development In The Cooling Soil Of Autumn Establishes A Resilient And Drought Tolerant Plant For The Following Season
Bulbs planted in fall develop roots before the ground freezes. This root establishment happens in September through November depending on your climate zone. Early roots absorb nutrients and water while soil conditions remain favorable. Strong root systems give bulbs a competitive advantage when spring growth accelerates.
A mature root system reduces water dependency after spring germination. Bulbs with established roots access deeper soil moisture during dry periods. This translates to stronger stems, larger flowers, and longer bloom duration. Fall planting essentially pre-positions the plant for success before above-ground growth even begins.

Selecting Your Spring Palette Flower Bulbs To Plant In Fall
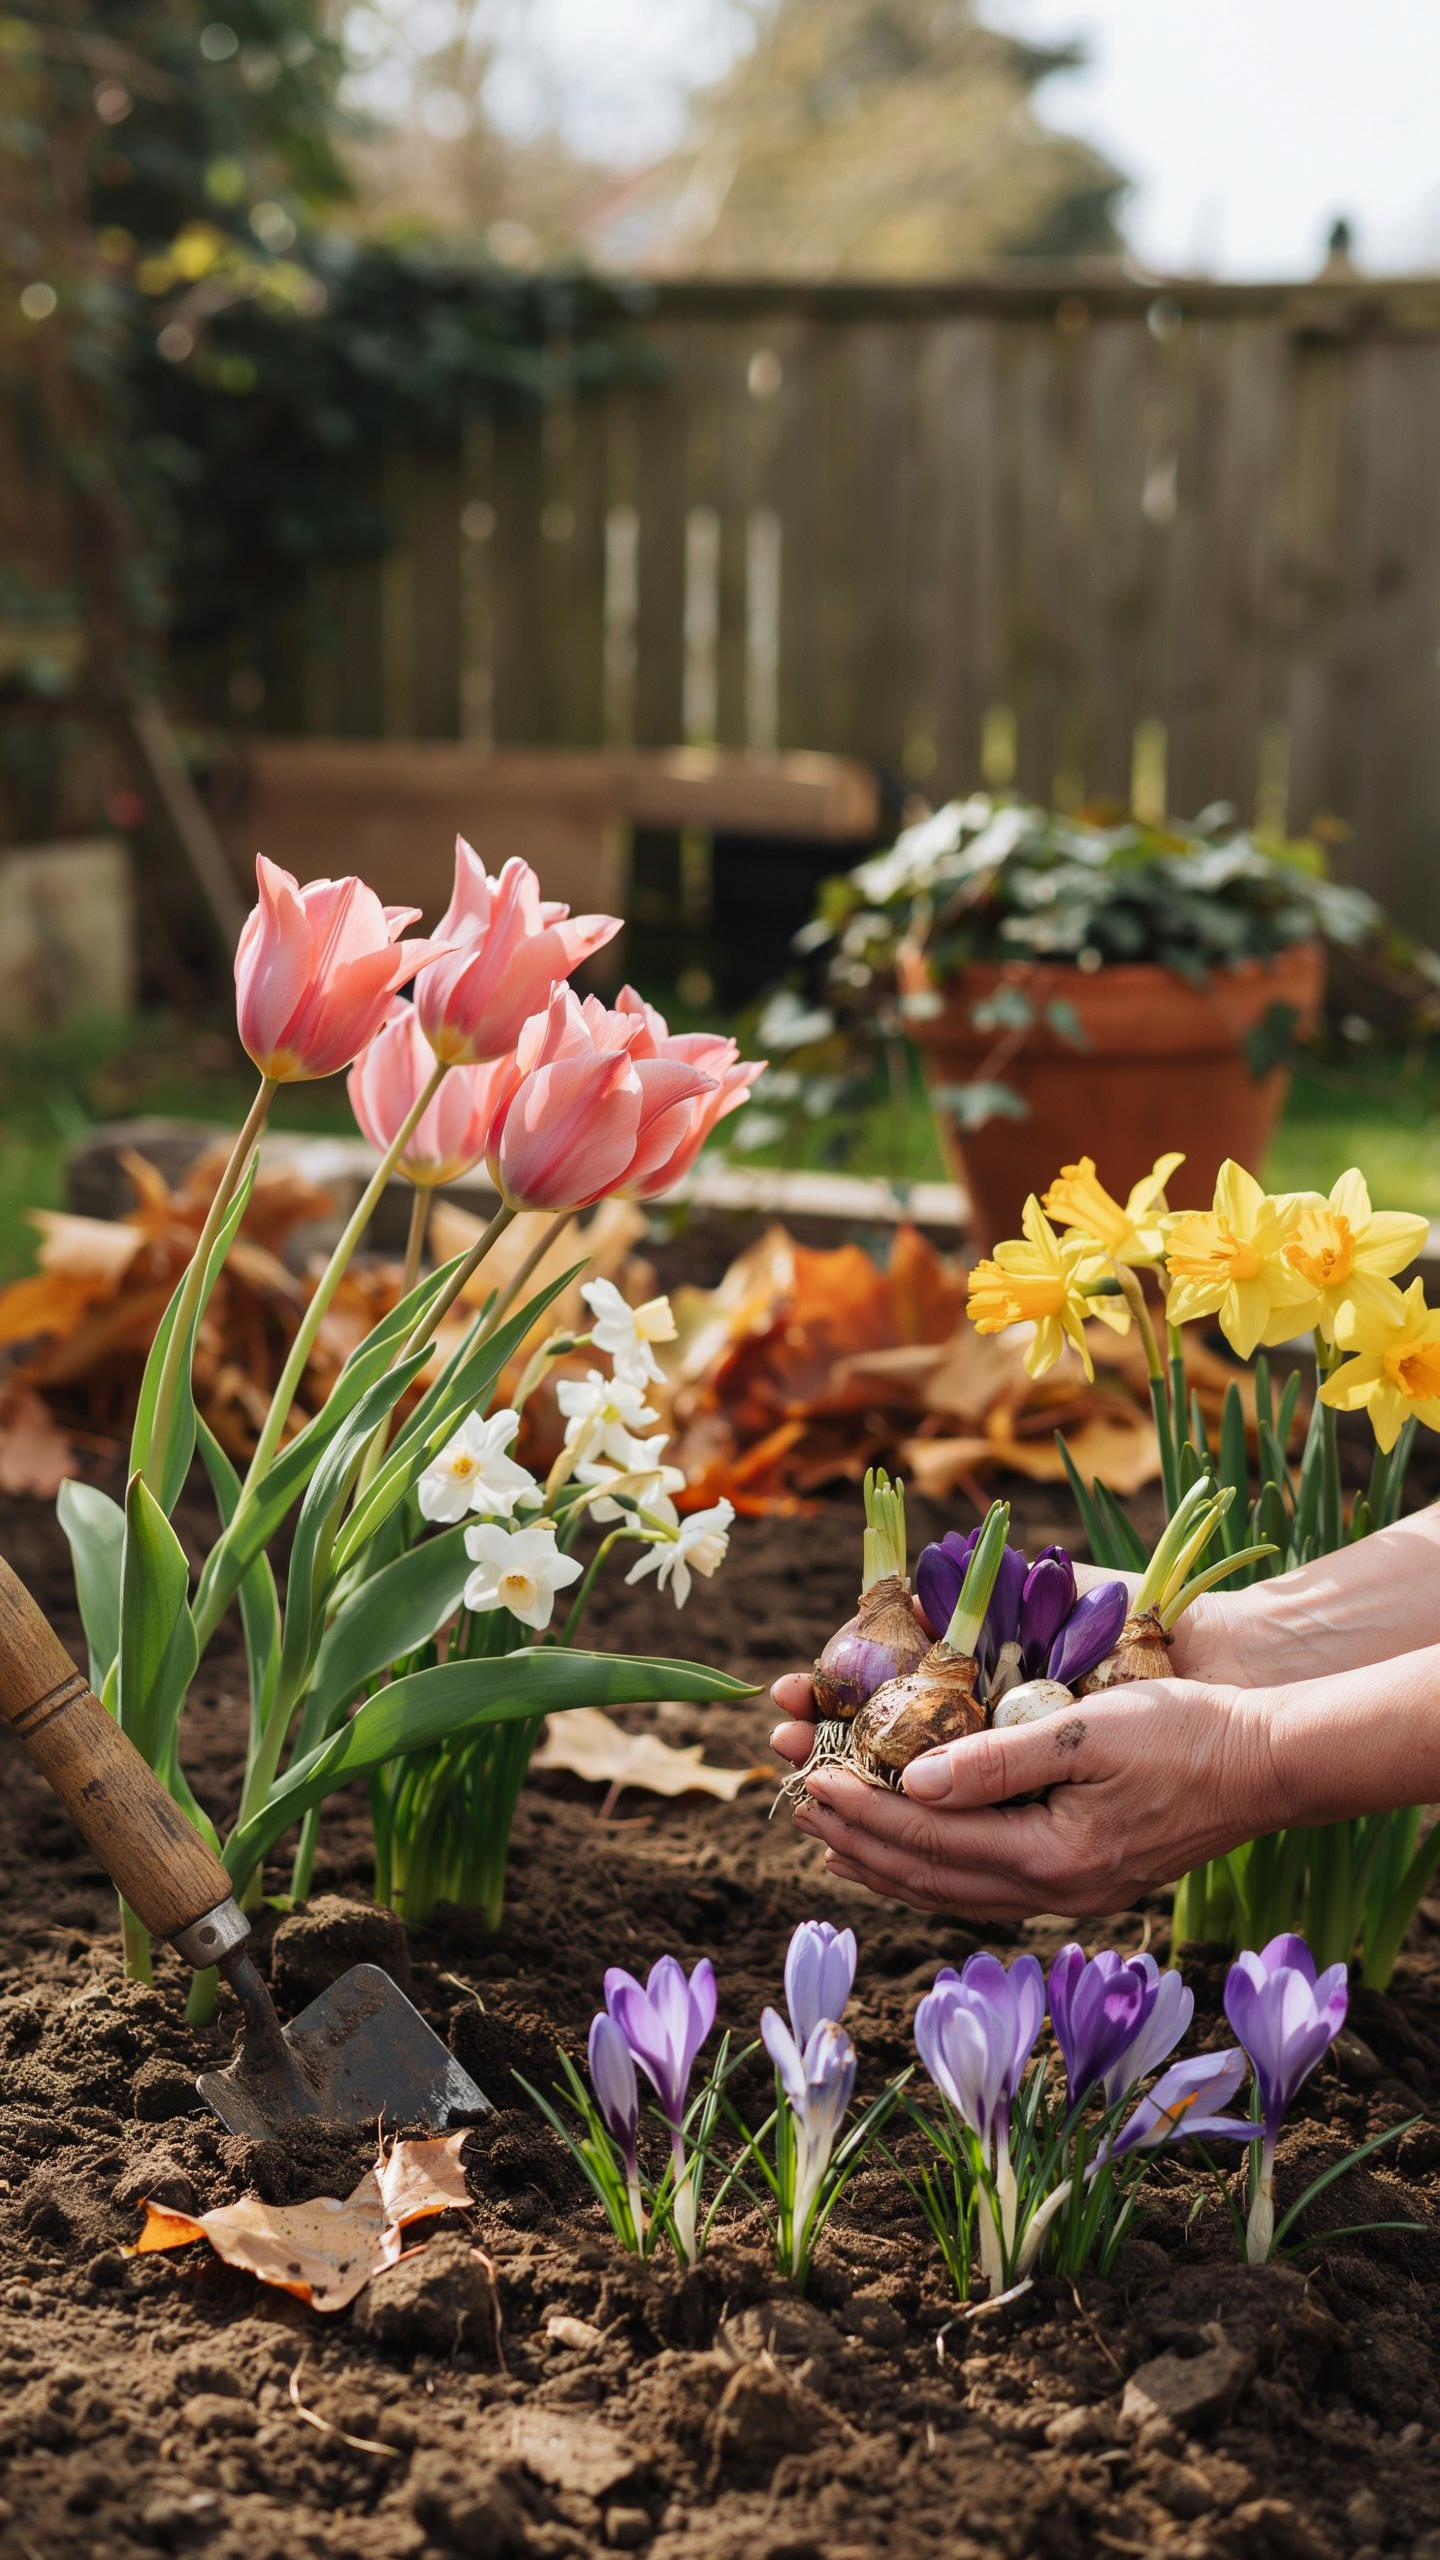
Popular Fall Planted Bulbs For Spring Blooms
Fall planting produces spring flowers because bulbs need cold temperatures to trigger blooming cycles. Choose bulbs that match your hardiness zone and desired bloom time. Early spring bloomers emerge first, mid-spring varieties follow, and late spring bulbs finish the season. Mix bloom times to extend color from March through May in most regions.
- Alliums: Tall ornamental onions reaching 24 to 36 inches with purple or white globe-shaped flower heads. Deer resistant and drought tolerant once established. Bloom mid to late spring.
- Crocuses: Low-growing plants reaching 3 to 6 inches with cup-shaped flowers in purple, yellow, or white. Earliest spring bloomers, often breaking through snow. Excellent for naturalizing in lawns.
- Daffodils: Trumpet-shaped flowers in yellow, white, or bi-color varieties reaching 10 to 24 inches tall. Highly deer resistant and long-lived. Bloom early to mid-spring depending on variety.
- Hyacinths: Fragrant dense flower spikes in blue, pink, purple, or white reaching 8 to 12 inches. Strong perfume fills gardens in mid-spring. Require well-draining soil to prevent rot.
- Tulips: Cup or parrot-shaped flowers in nearly every color except true blue reaching 10 to 28 inches. Mid to late spring bloomers. Deer browse them, so plant where protection exists.
Layer these bulbs by height and bloom time to create continuous color. Plant shorter varieties in front, taller ones behind for maximum visual impact. Mix early crocuses with mid-season daffodils and late tulips for season-long coverage. This approach keeps gardens interesting from first thaw through late spring.
Bulb Quality And Size At The Garden Center
Inspect every bulb before purchase. Firm, plump bulbs indicate health and vigor. Soft bulbs signal rot or disease. Reject any with visible mold, mushy spots, or wrinkled skin. Size matters too. Larger bulbs produce bigger flowers and stronger stems than undersized specimens.

Grade bulbs by circumference in centimeters. Larger bulbs cost more but deliver superior results for visible blooms. Standard sizes work fine for most gardeners and produce reliable flowers. Buy from reputable sources that store bulbs in cool, dry conditions. Check expiration dates if available. Fresh stock planted immediately outperforms old inventory stored in warm environments.
Timing Your Gardening Tasks When To Plant Bulbs Fall Season
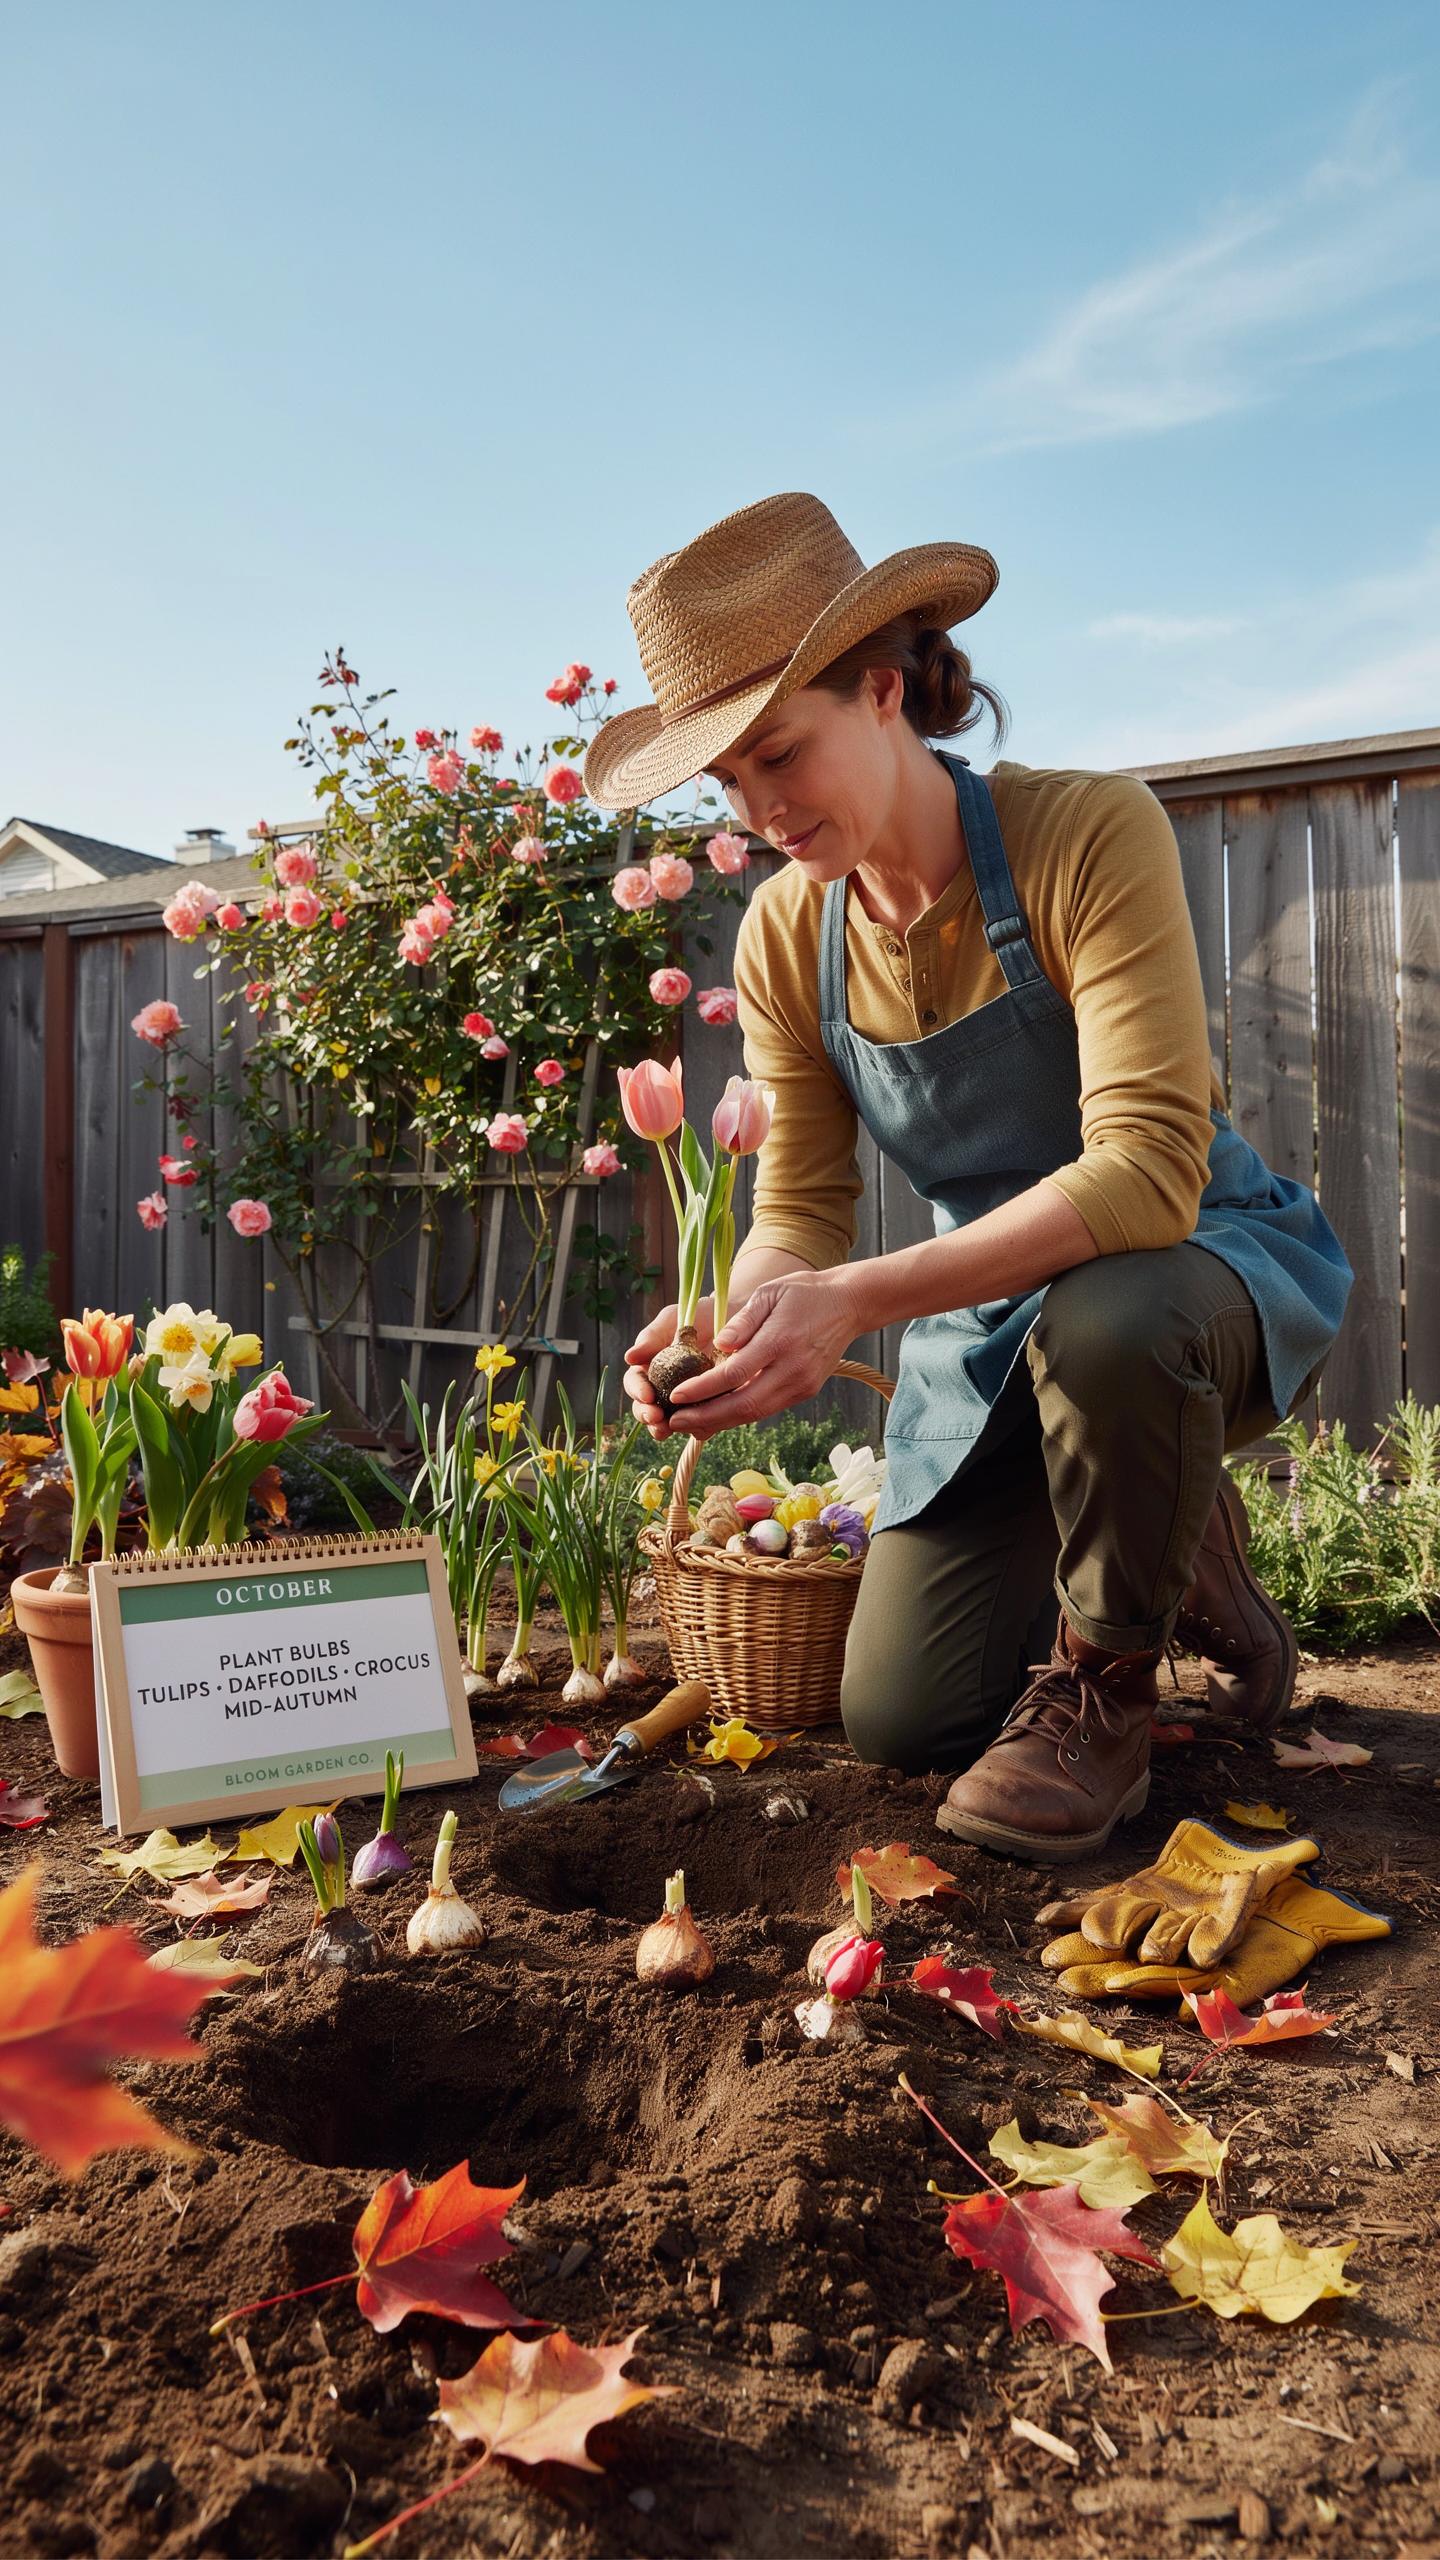
Monitoring Local Soil Temperatures To Ensure They Register Below 60 Degrees Fahrenheit Before Inserting Bulbs Into The Ground
Soil temperature drives bulb planting success. Bulbs require cold dormancy to develop roots properly. Plant when soil consistently reads below 60 degrees Fahrenheit. Use a soil thermometer to check depth at 4 to 6 inches where you’ll place bulbs. Wait if temperatures stay above this threshold.
Cool soil signals bulbs to root rather than sprout foliage. Planting in warm soil triggers premature growth that frost will kill. Most bulbs need 12 to 16 weeks of cold before spring emergence. Check your soil temperature every few days as fall progresses to catch the right planting window.
To plant a garden is to believe in tomorrow. Just tuck those tiny bulbs into the autumn earth and wait for the magic of spring to unfold.
How To Align Your Planting Schedule With Regional Frost Dates To Prevent Premature Foliage Sprouting Before Winter Arrives
Frost dates determine your planting deadline. Find your area’s average first frost date through your local cooperative extension office. Plant bulbs 4 to 6 weeks before this date. This timing lets roots establish before ground freezes solid. Bulbs planted too late won’t develop adequate root systems.

Early foliage emergence wastes bulb energy and exposes shoots to frost damage. Frost kills any green growth that emerges above ground. Your extension office provides region specific frost dates. Mark your calendar and plant accordingly. Late planting creates weak plants that struggle or fail to bloom in spring.
Prepping Your Soil For Planting Bulbs In Fall Flower Beds
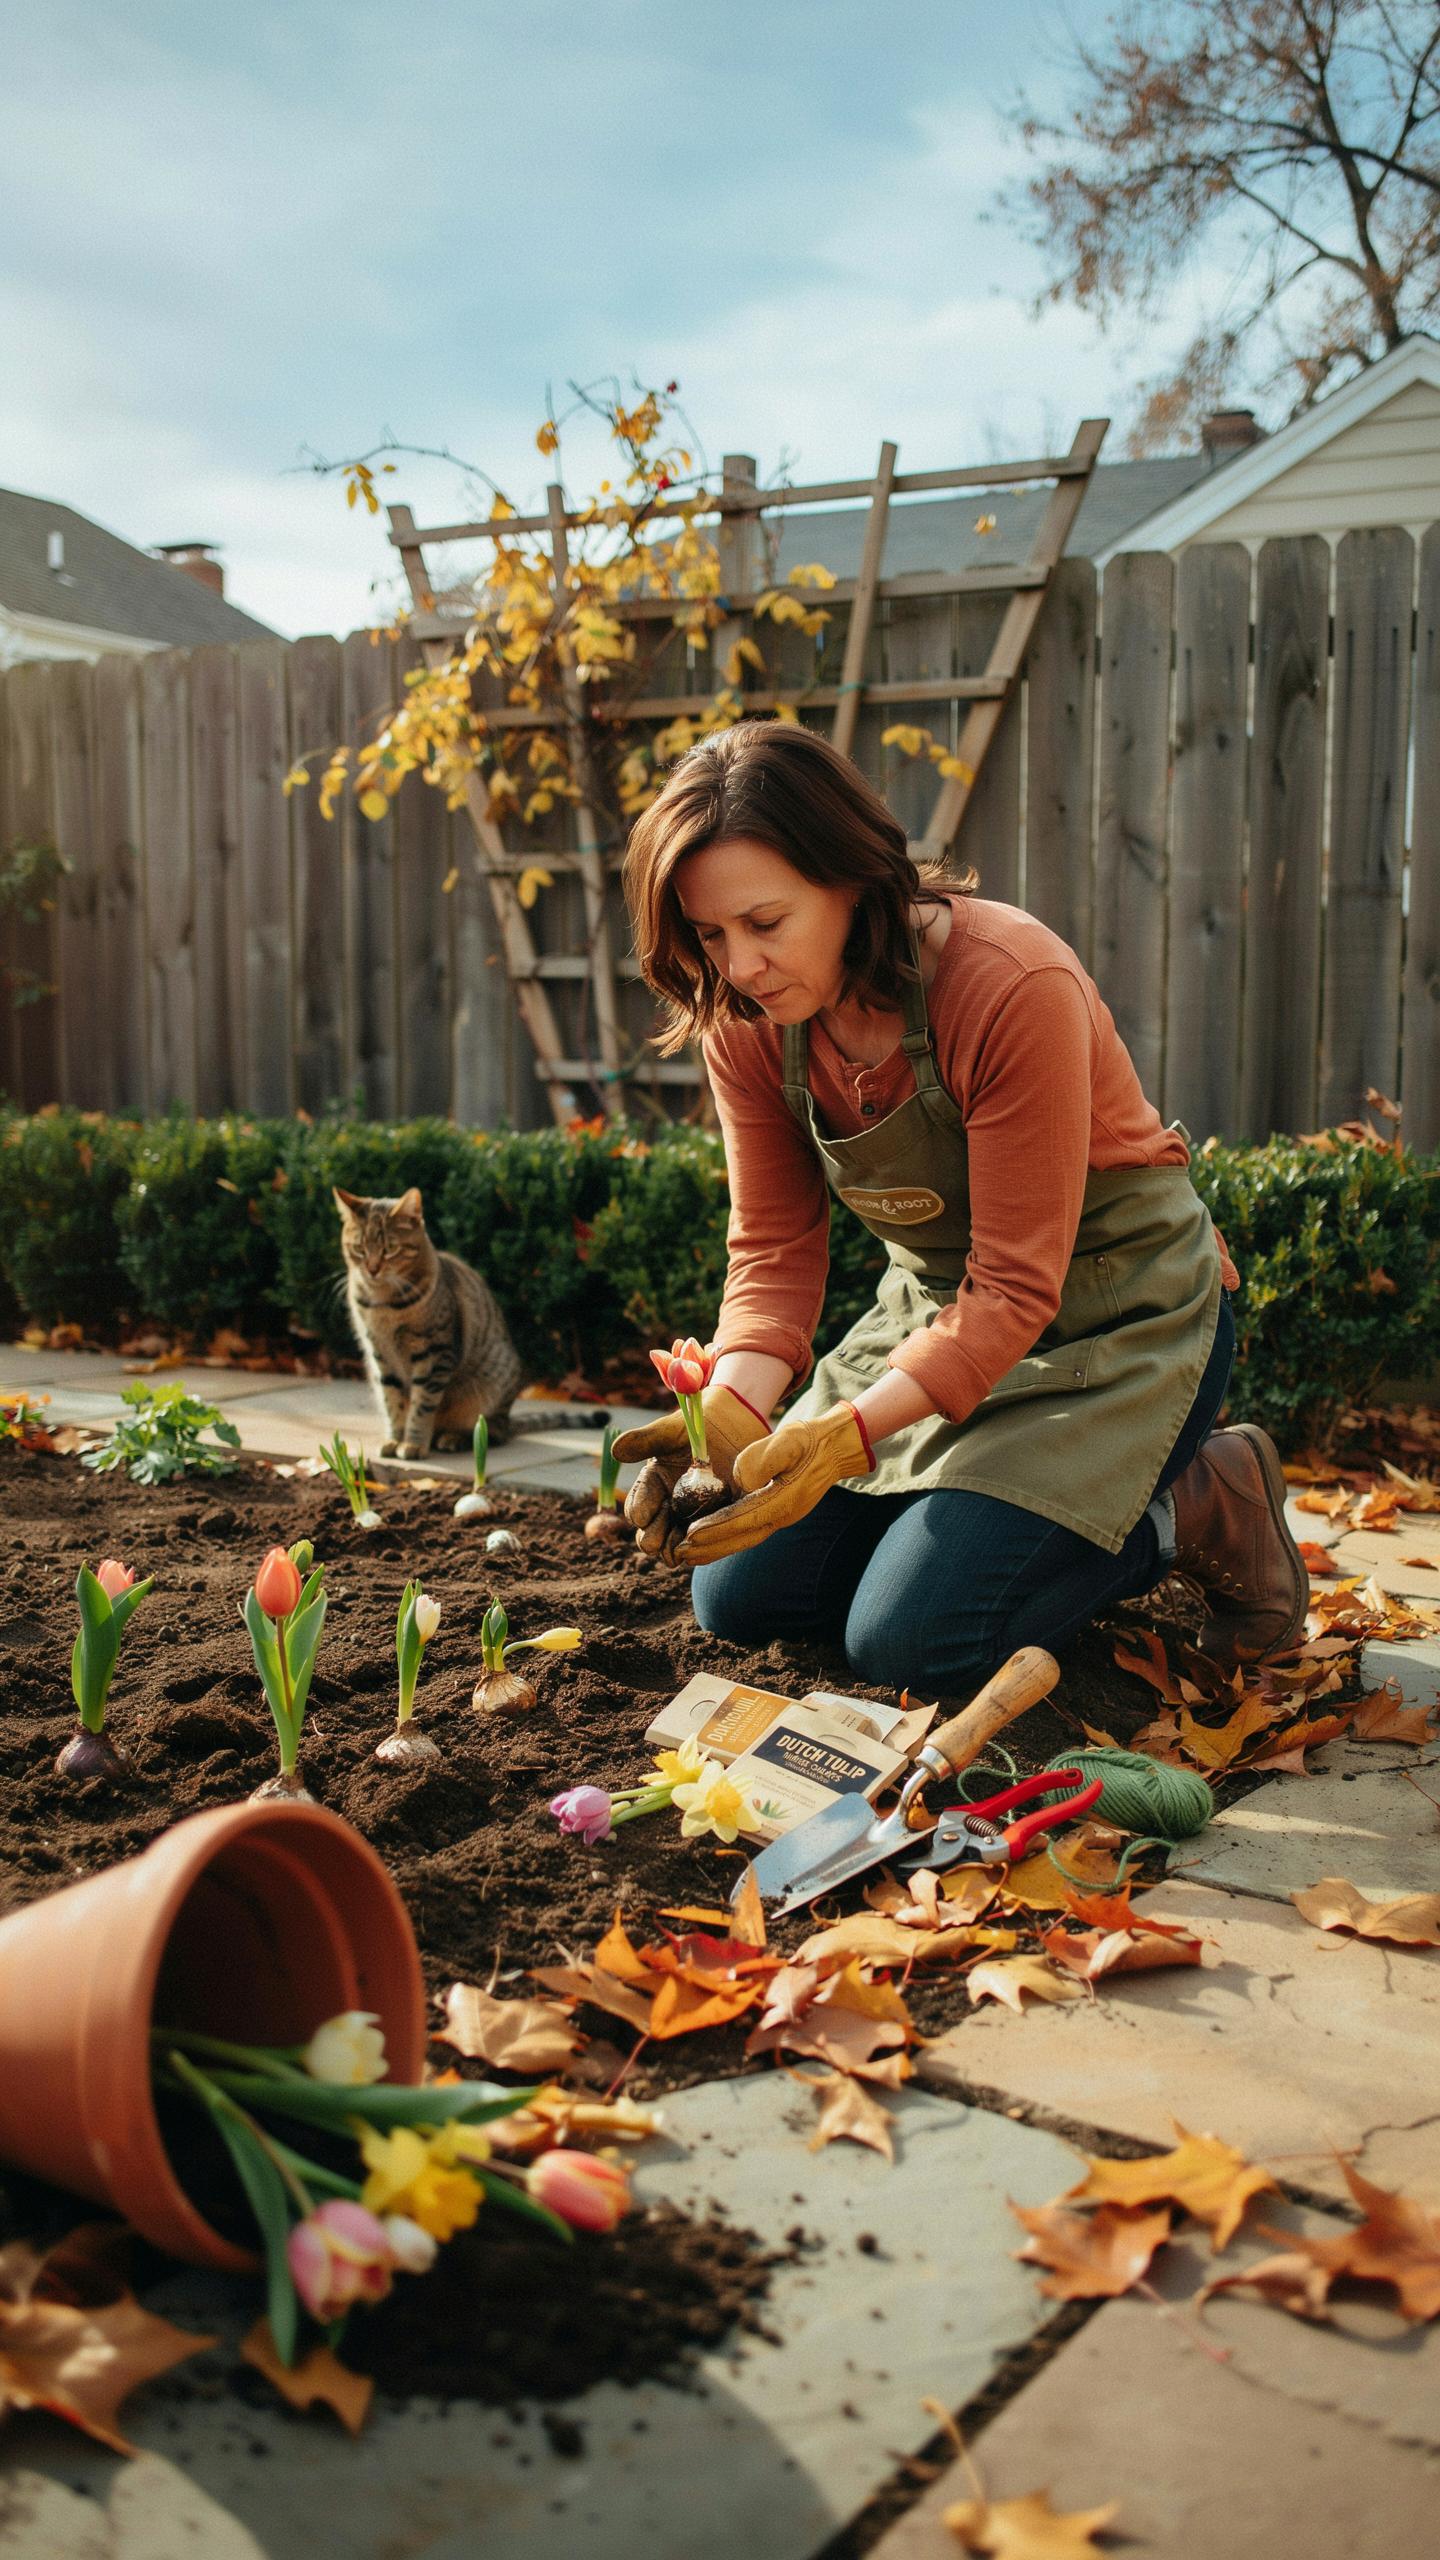
Amending Clay And Sandy Soil Before Planting Bulbs
Heavy clay soil compacts around bulbs and traps water, causing rot before roots establish. Sandy soil drains too fast and starves bulbs of moisture during their critical root development phase. Mix in 2 to 3 inches of organic compost into your planting beds. Work it down 8 to 12 inches deep to break up clay structure and improve water retention in sandy beds.
Compost does the heavy lifting. It opens clay particles to let air and water move freely. It also increases water holding capacity in sandy soil. This balance creates an environment where bulb roots penetrate easily and access consistent moisture. Turn your soil thoroughly before planting to avoid air pockets that can trap water or create dry zones around bulbs.
Testing And Adjusting Soil pH For Healthy Bulb Growth
Bulbs absorb nutrients best in neutral to slightly acidic soil, ideally between pH 6.0 and 7.0. Most bulb varieties tolerate this range well. Test your soil with a kit from a garden center or send samples to your local extension office for a full report. Know your pH before you plant, not after bulbs fail.

Acidic soil below pH 6.0 limits nutrient availability and can harbor fungal diseases. Alkaline soil above pH 7.5 locks up essential minerals like iron and manganese that bulbs need. If your soil tests too acidic, add lime according to test recommendations. If too alkaline, sulfur amendments lower pH over time. Adjust pH in fall before bulb planting to give amendments time to work into the soil.
Essential Fall Bulb Planting Tips For Gardeners Of All Skill Levels
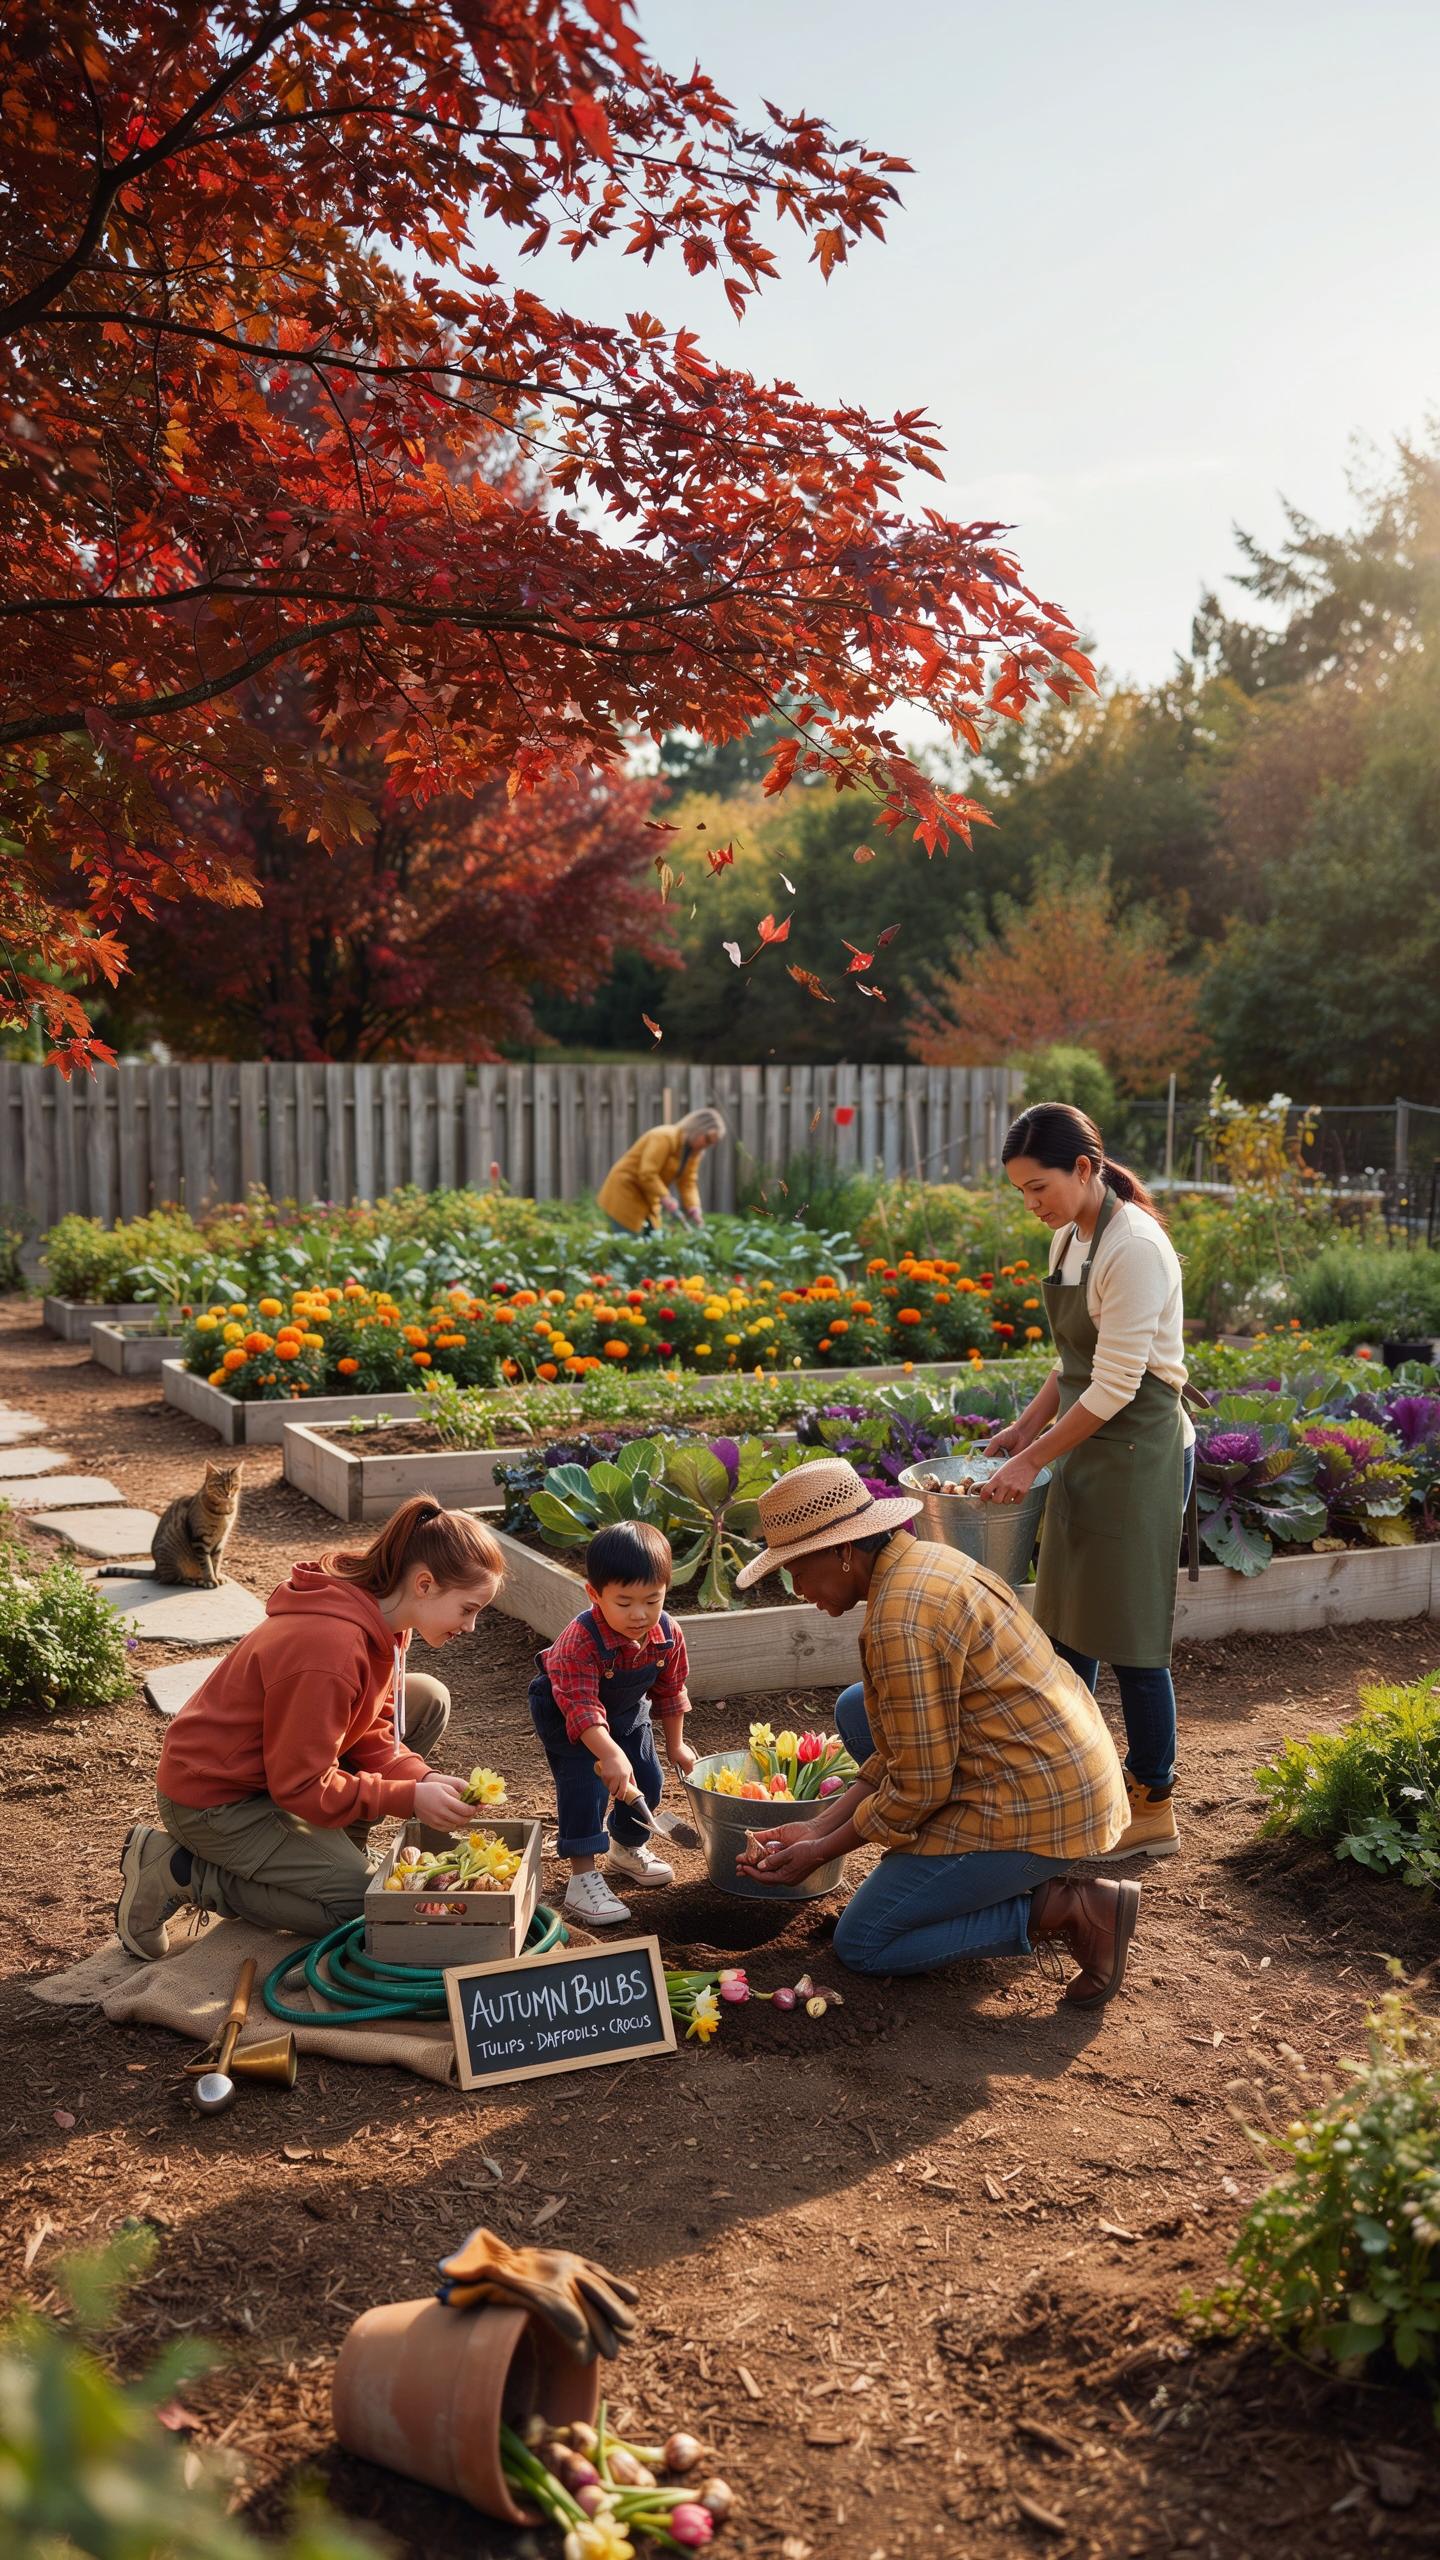
Plant Bulbs Pointy Side Up With Proper Depth And Spacing
Plant bulbs with the pointed end facing upward. This orientation allows the shoot to reach the surface while the basal plate and roots grow downward into the soil. Depth matters. Most bulbs need planting at a depth equal to three times their height. A two-inch bulb goes six inches deep. Spacing prevents competition. Space bulbs six to eight inches apart for tulips and daffodils, depending on mature plant size.
- Pointy side up rule: The shoot emerges from the pointed end. Planting upside down forces the bulb to expend energy correcting its position underground.
- Water deeply after planting: Soak the soil thoroughly after placing bulbs. Water settles soil around bulbs and triggers root development before winter arrives.
- Mark planting sites: Use stakes or markers to identify bulb locations. This prevents accidental digging in the same area and helps you track what you planted where.
- Use well draining soil: Bulbs rot in waterlogged conditions. Amend heavy clay with compost or perlite to improve drainage.
- Check soil temperature: Plant when soil reaches 60 degrees Fahrenheit or cooler. This prevents premature sprouting before winter.
After planting, monitor soil moisture through fall. Keep soil consistently moist but not saturated until the ground freezes. This allows root systems to establish before winter dormancy begins.
Protect Bulbs From Animal Damage Using Physical Barriers And Natural Methods
Rodents and deer target freshly planted bulbs as a food source. Hardware cloth creates a physical barrier that stops burrowing animals. Lay a cage of half-inch mesh hardware cloth over planted areas. Bury it six inches deep and extend it six inches above soil level. This prevents access without harming animals.

Natural deterrents offer additional protection. Capsaicin-based repellents derived from hot peppers irritate animal mouths and noses, forcing them elsewhere. Predator urine products like coyote or fox urine signal danger to rodents and deer. Apply these products according to label instructions. Reapply after rain or every two to three weeks during the planting season. Combine multiple tactics for best results.
Step By Step Guide How To Plant Bulbs In Fall Successfully
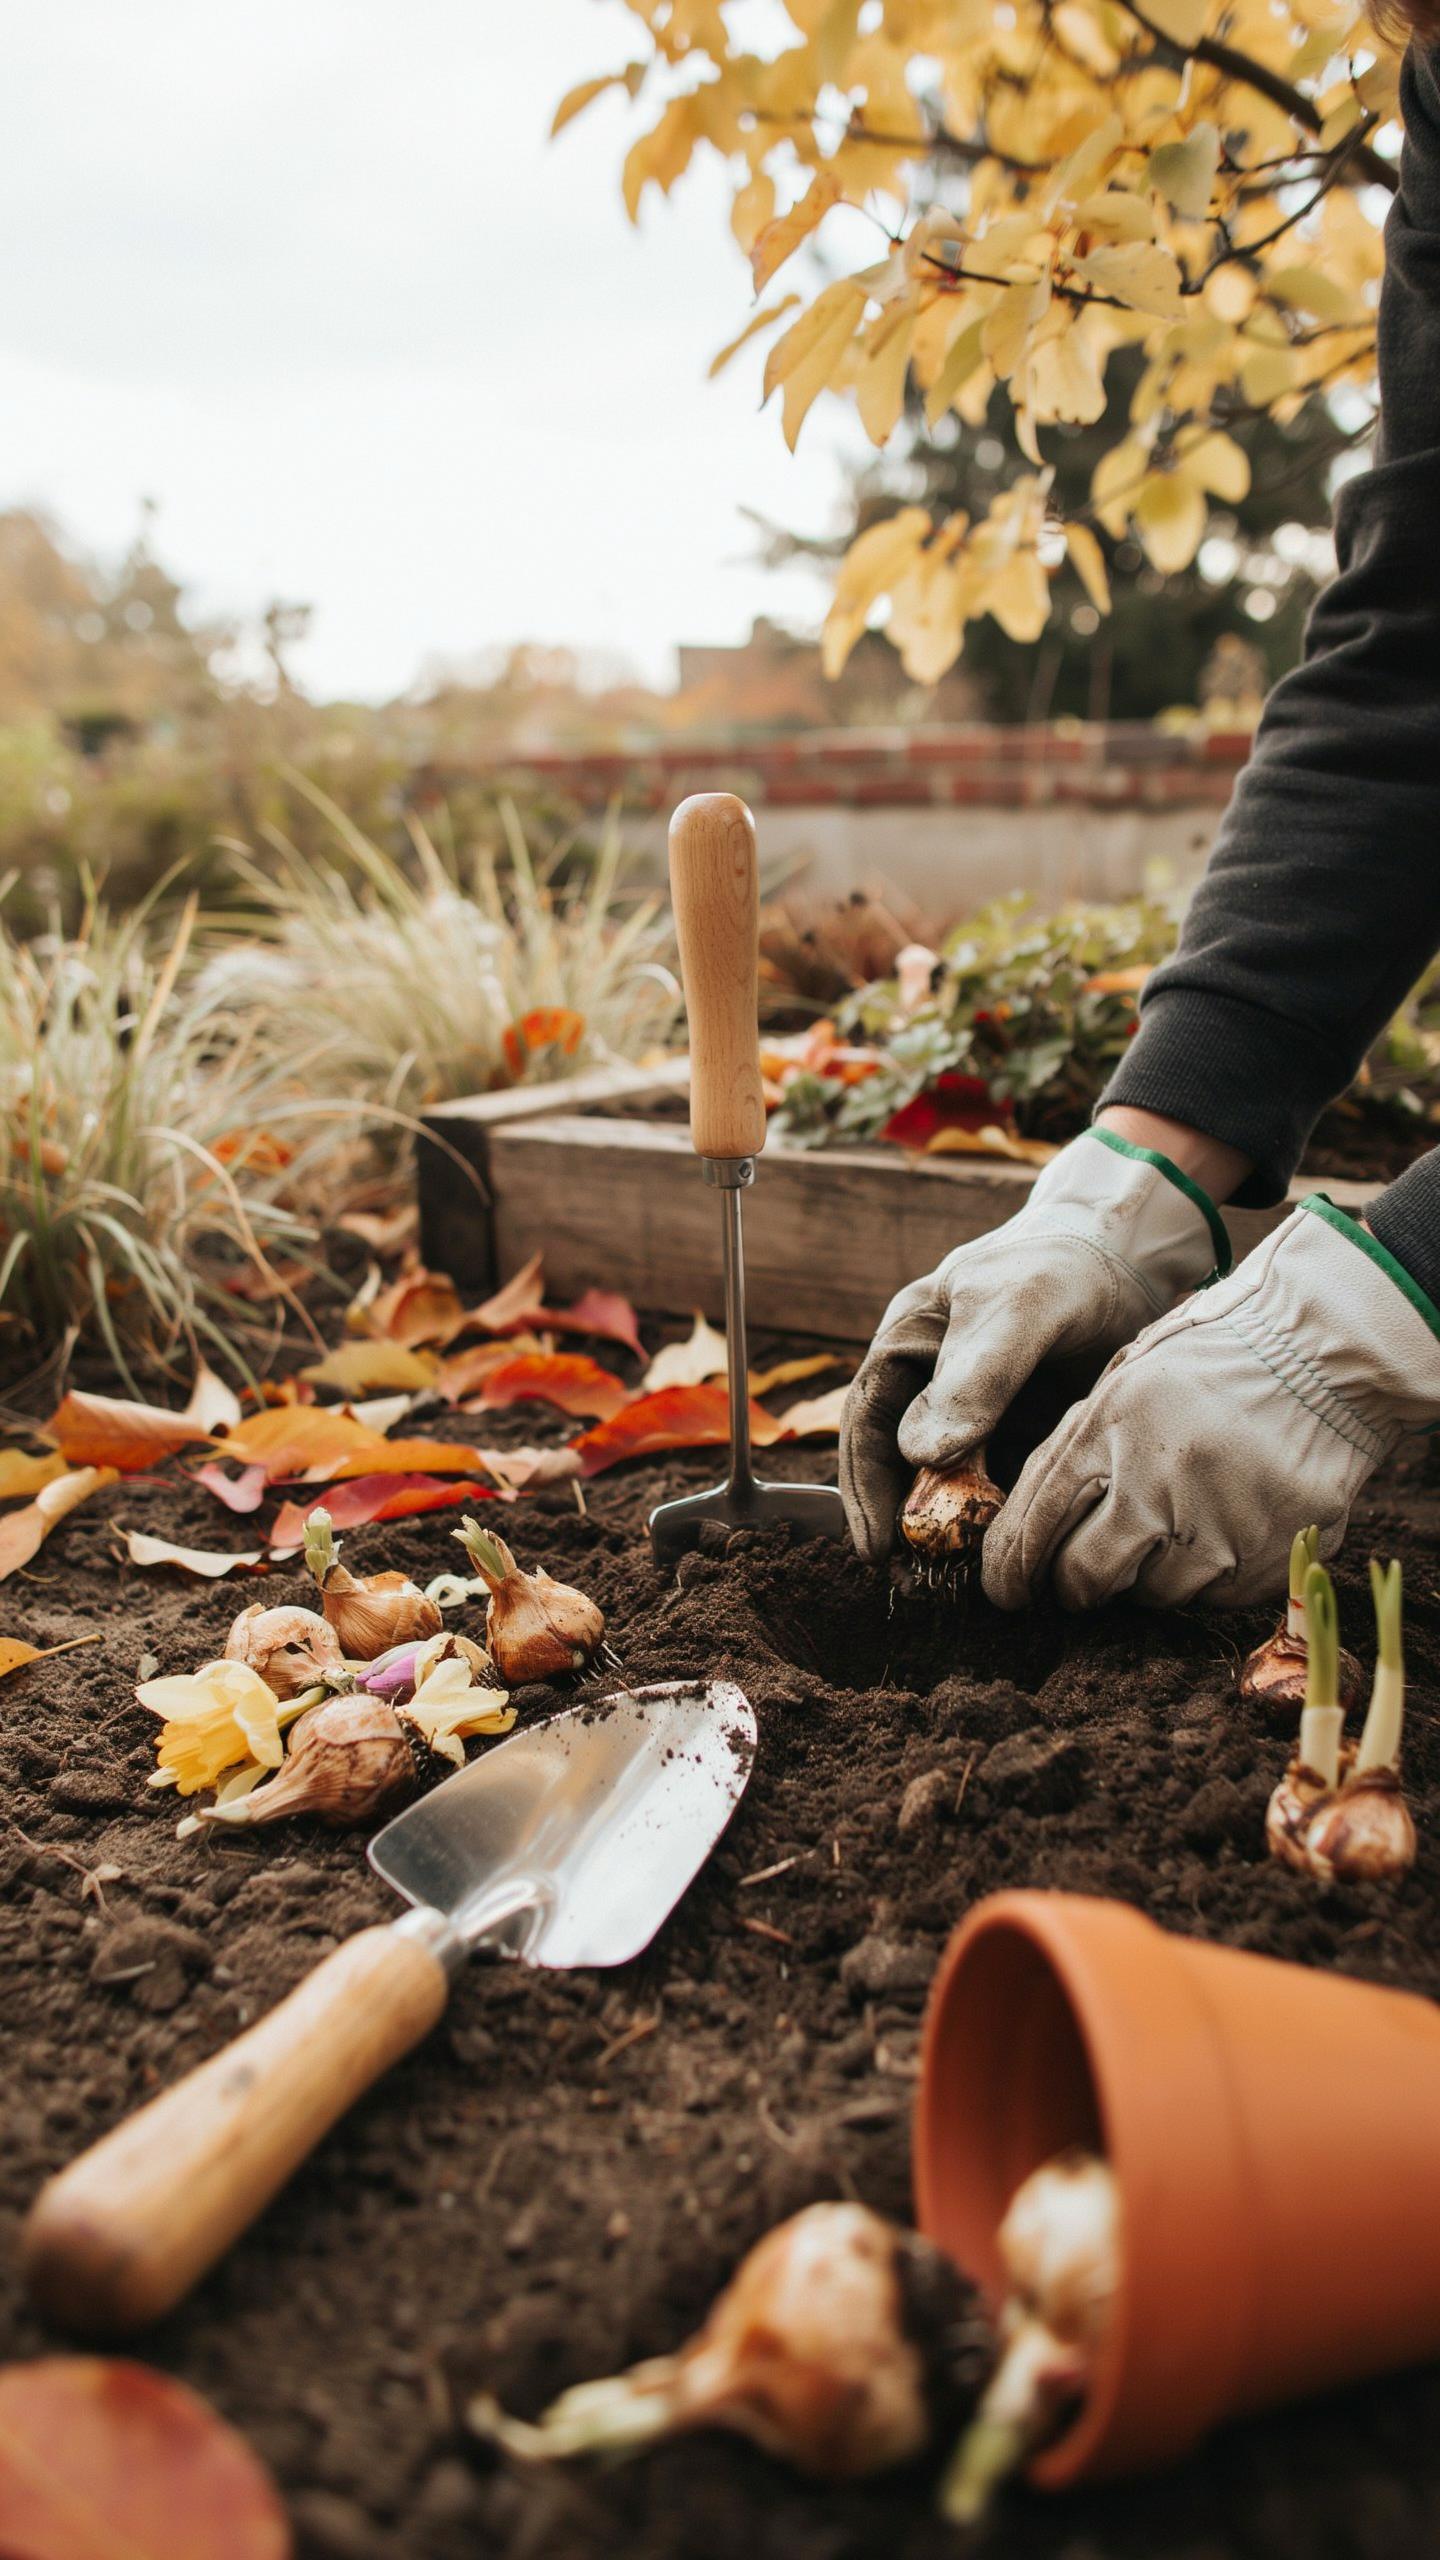
Determining The Ideal Planting Depth
Dig holes three times as deep as the bulb height. This rule works because bulbs need soil weight above them for stability and proper root development. A tulip bulb two inches tall requires a six-inch hole. Measure from the bulb bottom to the soil surface, not the pointed top. Shallow planting causes bulbs to heave upward during freeze-thaw cycles, exposing them to cold damage and drying out.
Depth prevents another critical problem: inconsistent flowering. Bulbs planted too shallow often produce weak stems and smaller blooms. They also dry out faster during warm spells in late fall or early spring. The three-times rule applies to most spring bulbs like daffodils, crocuses, and hyacinths. Always check specific varieties on the seed packet, as some specialty bulbs have different requirements.
Spacing Guidelines To Prevent Overcrowding
Space bulbs so they do not touch each other or container sides. Minimum spacing depends on bulb size. Large tulips need four to six inches between centers. Small crocuses need two to three inches. Crowded bulbs compete for water, nutrients, and oxygen in soil. Poor air circulation also increases fungal disease risk in humid climates.

Proper spacing ensures each bulb gets direct access to soil resources without competition. Sunlight penetration improves when bulbs sit apart. Roots expand outward instead of tangling with neighbors. Dense planting produces fewer blooms per bulb and weaker stems. Follow spacing recommendations for your specific bulb type to maximize spring flower production and plant health.
Alternative Techniques How To Plant Bulbs In Autumn Containers
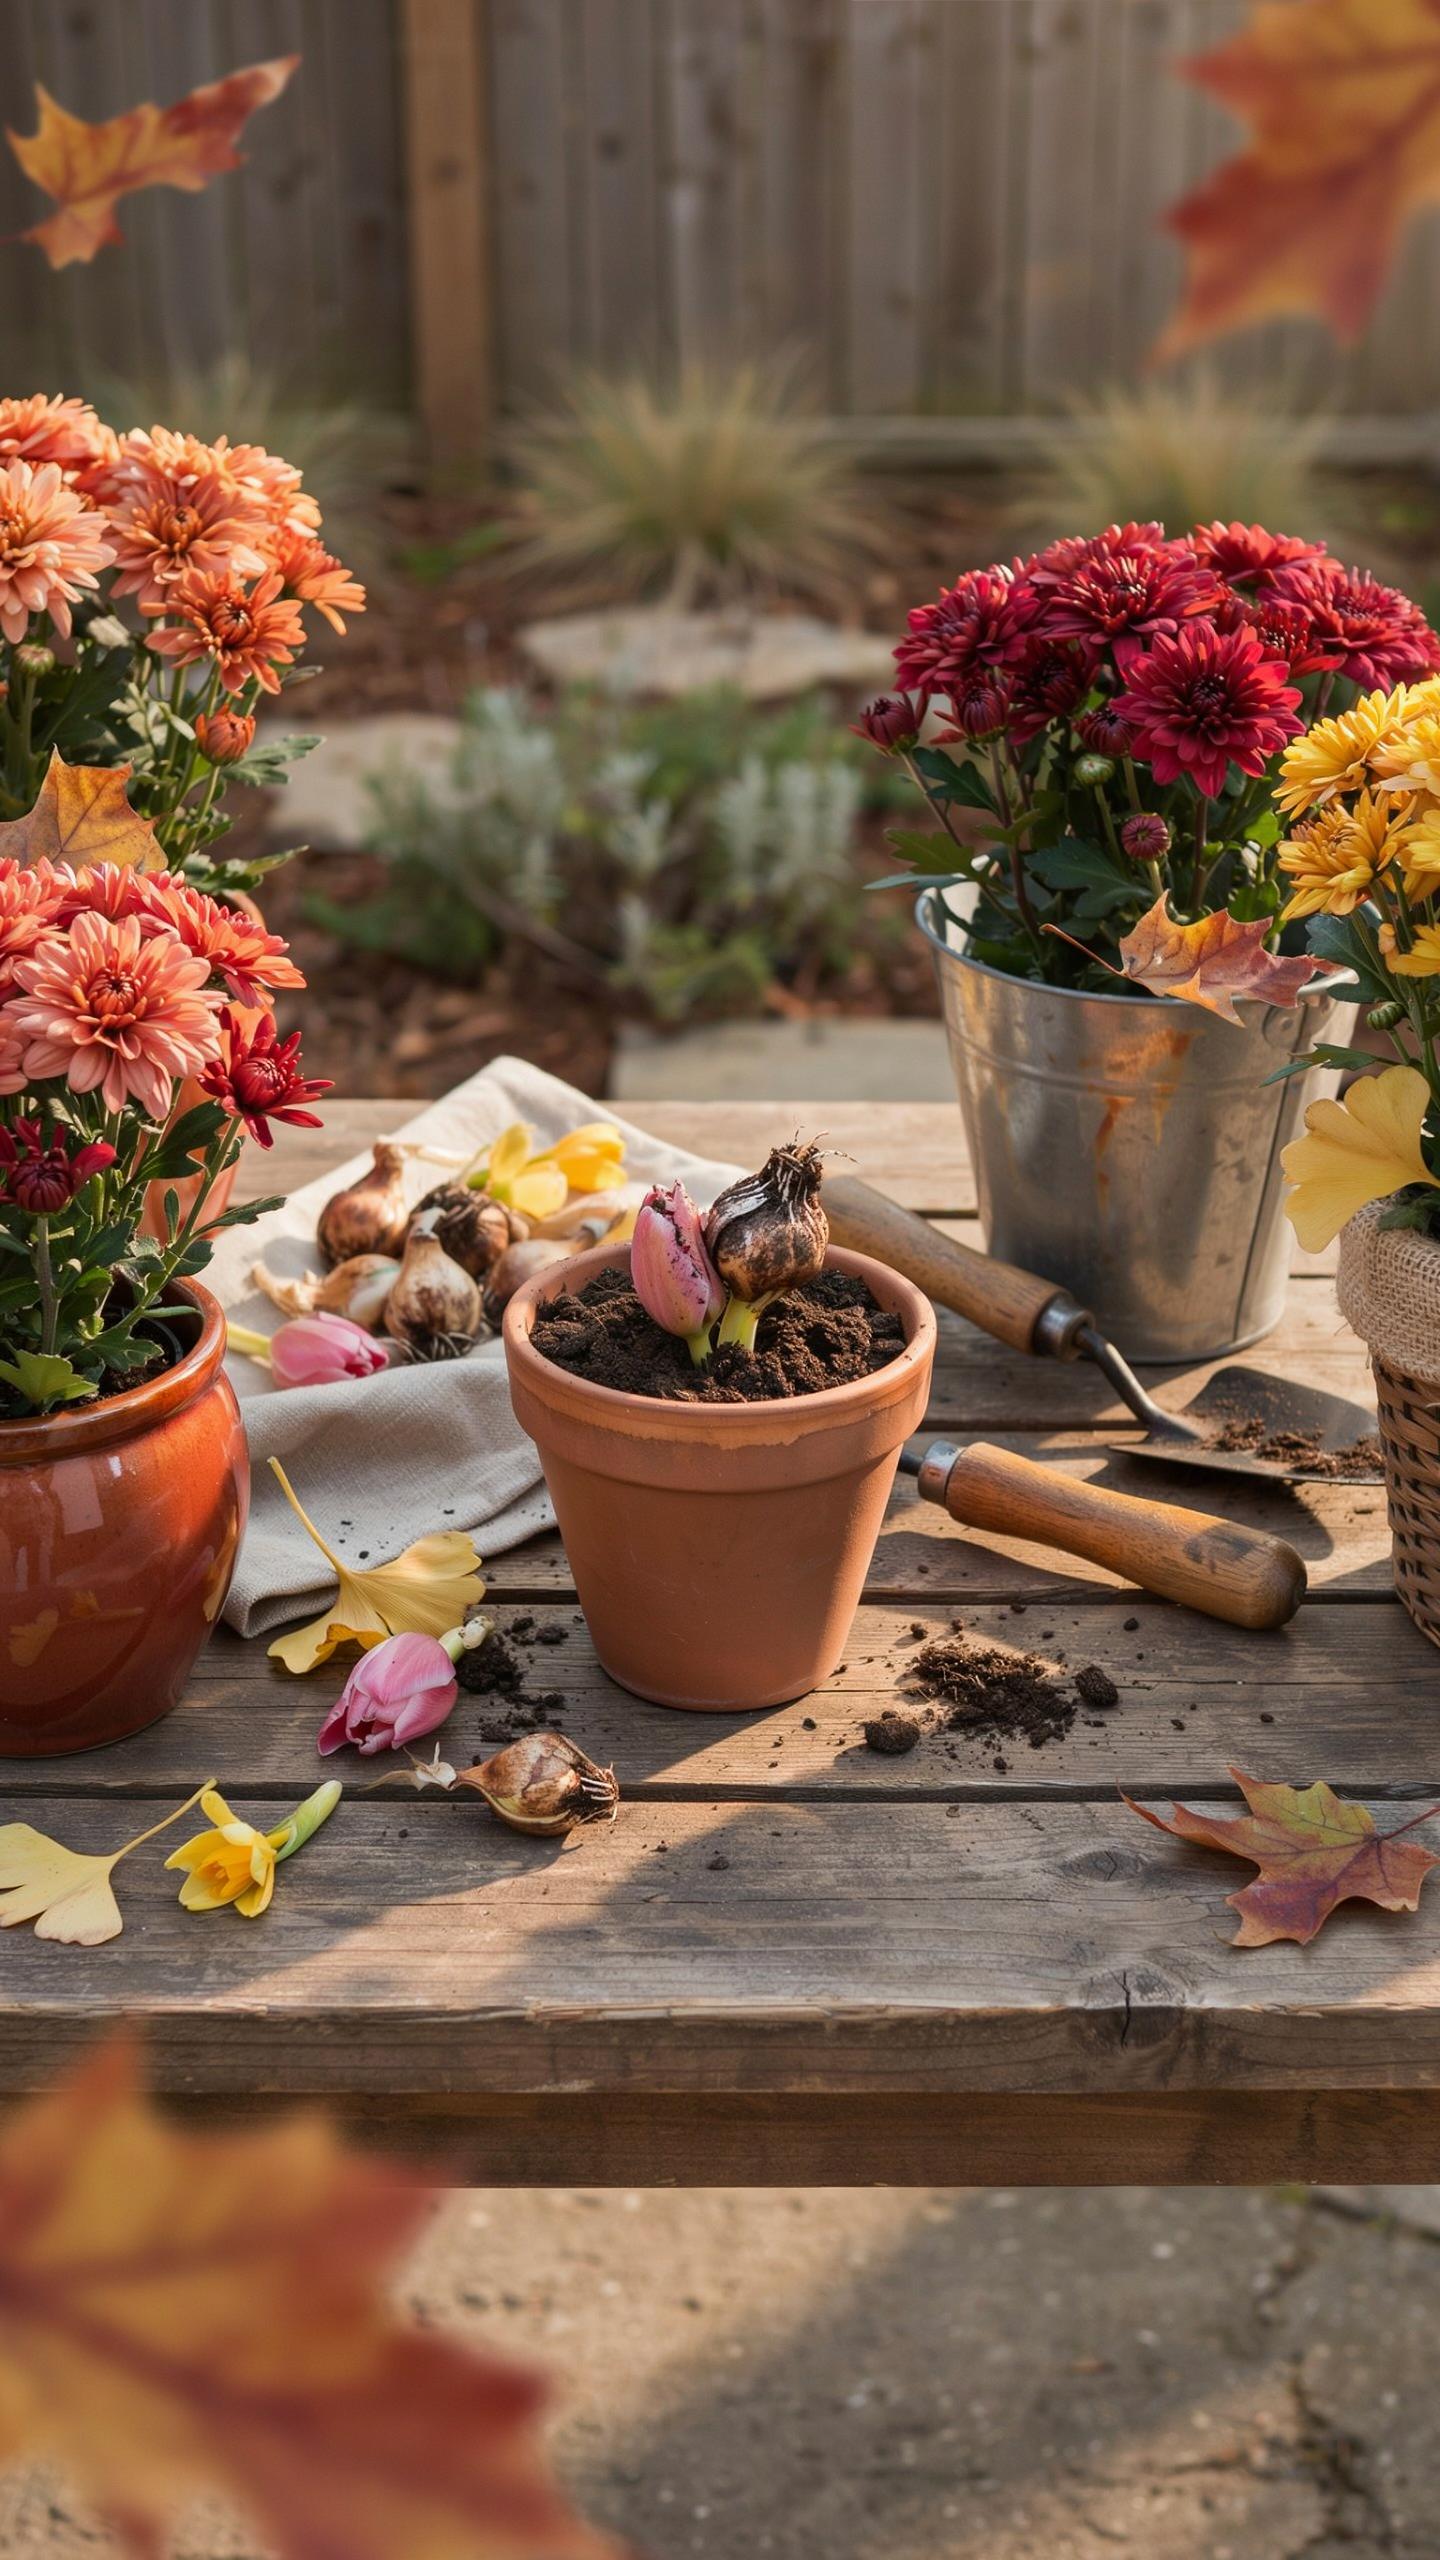
Layering Method Also Known As Bulb Lasagna To Create Continuous Waves Of Blooms In Limited Small Spaces
Bulb lasagna solves the space problem. Stack bulbs in layers inside containers, spacing each type at different depths. Early bloomers go at the bottom, late bloomers at the top. This technique multiplies bloom timing in one pot without expanding your footprint.
Each layer needs soil separation to prevent rot and disease spread. Use quality potting mix between layers. Water once after planting, then let drainage do its work. One container produces flowers from early spring through late spring with proper bulb selection.
Caring For Containerized Bulbs During Harsh Freezing Winters By Storing Them In Non Heated Garages Or Insulated Outdoor Spots
Container bulbs freeze solid in harsh winters without protection. Move potted bulbs to unheated garages or insulated cold frames when temperatures drop below 20 degrees Fahrenheit. The goal is consistent cold, not freezing and thawing cycles that kill bulbs.

Check soil moisture monthly during winter storage. Frozen soil holds moisture longer, so water sparingly. Ensure pots have drainage holes to prevent waterlogging. Bring containers back outside in early spring when ground thaws and daytime temperatures stay above freezing.
Determining When To Plant Tulip Bulbs Fall Schedule
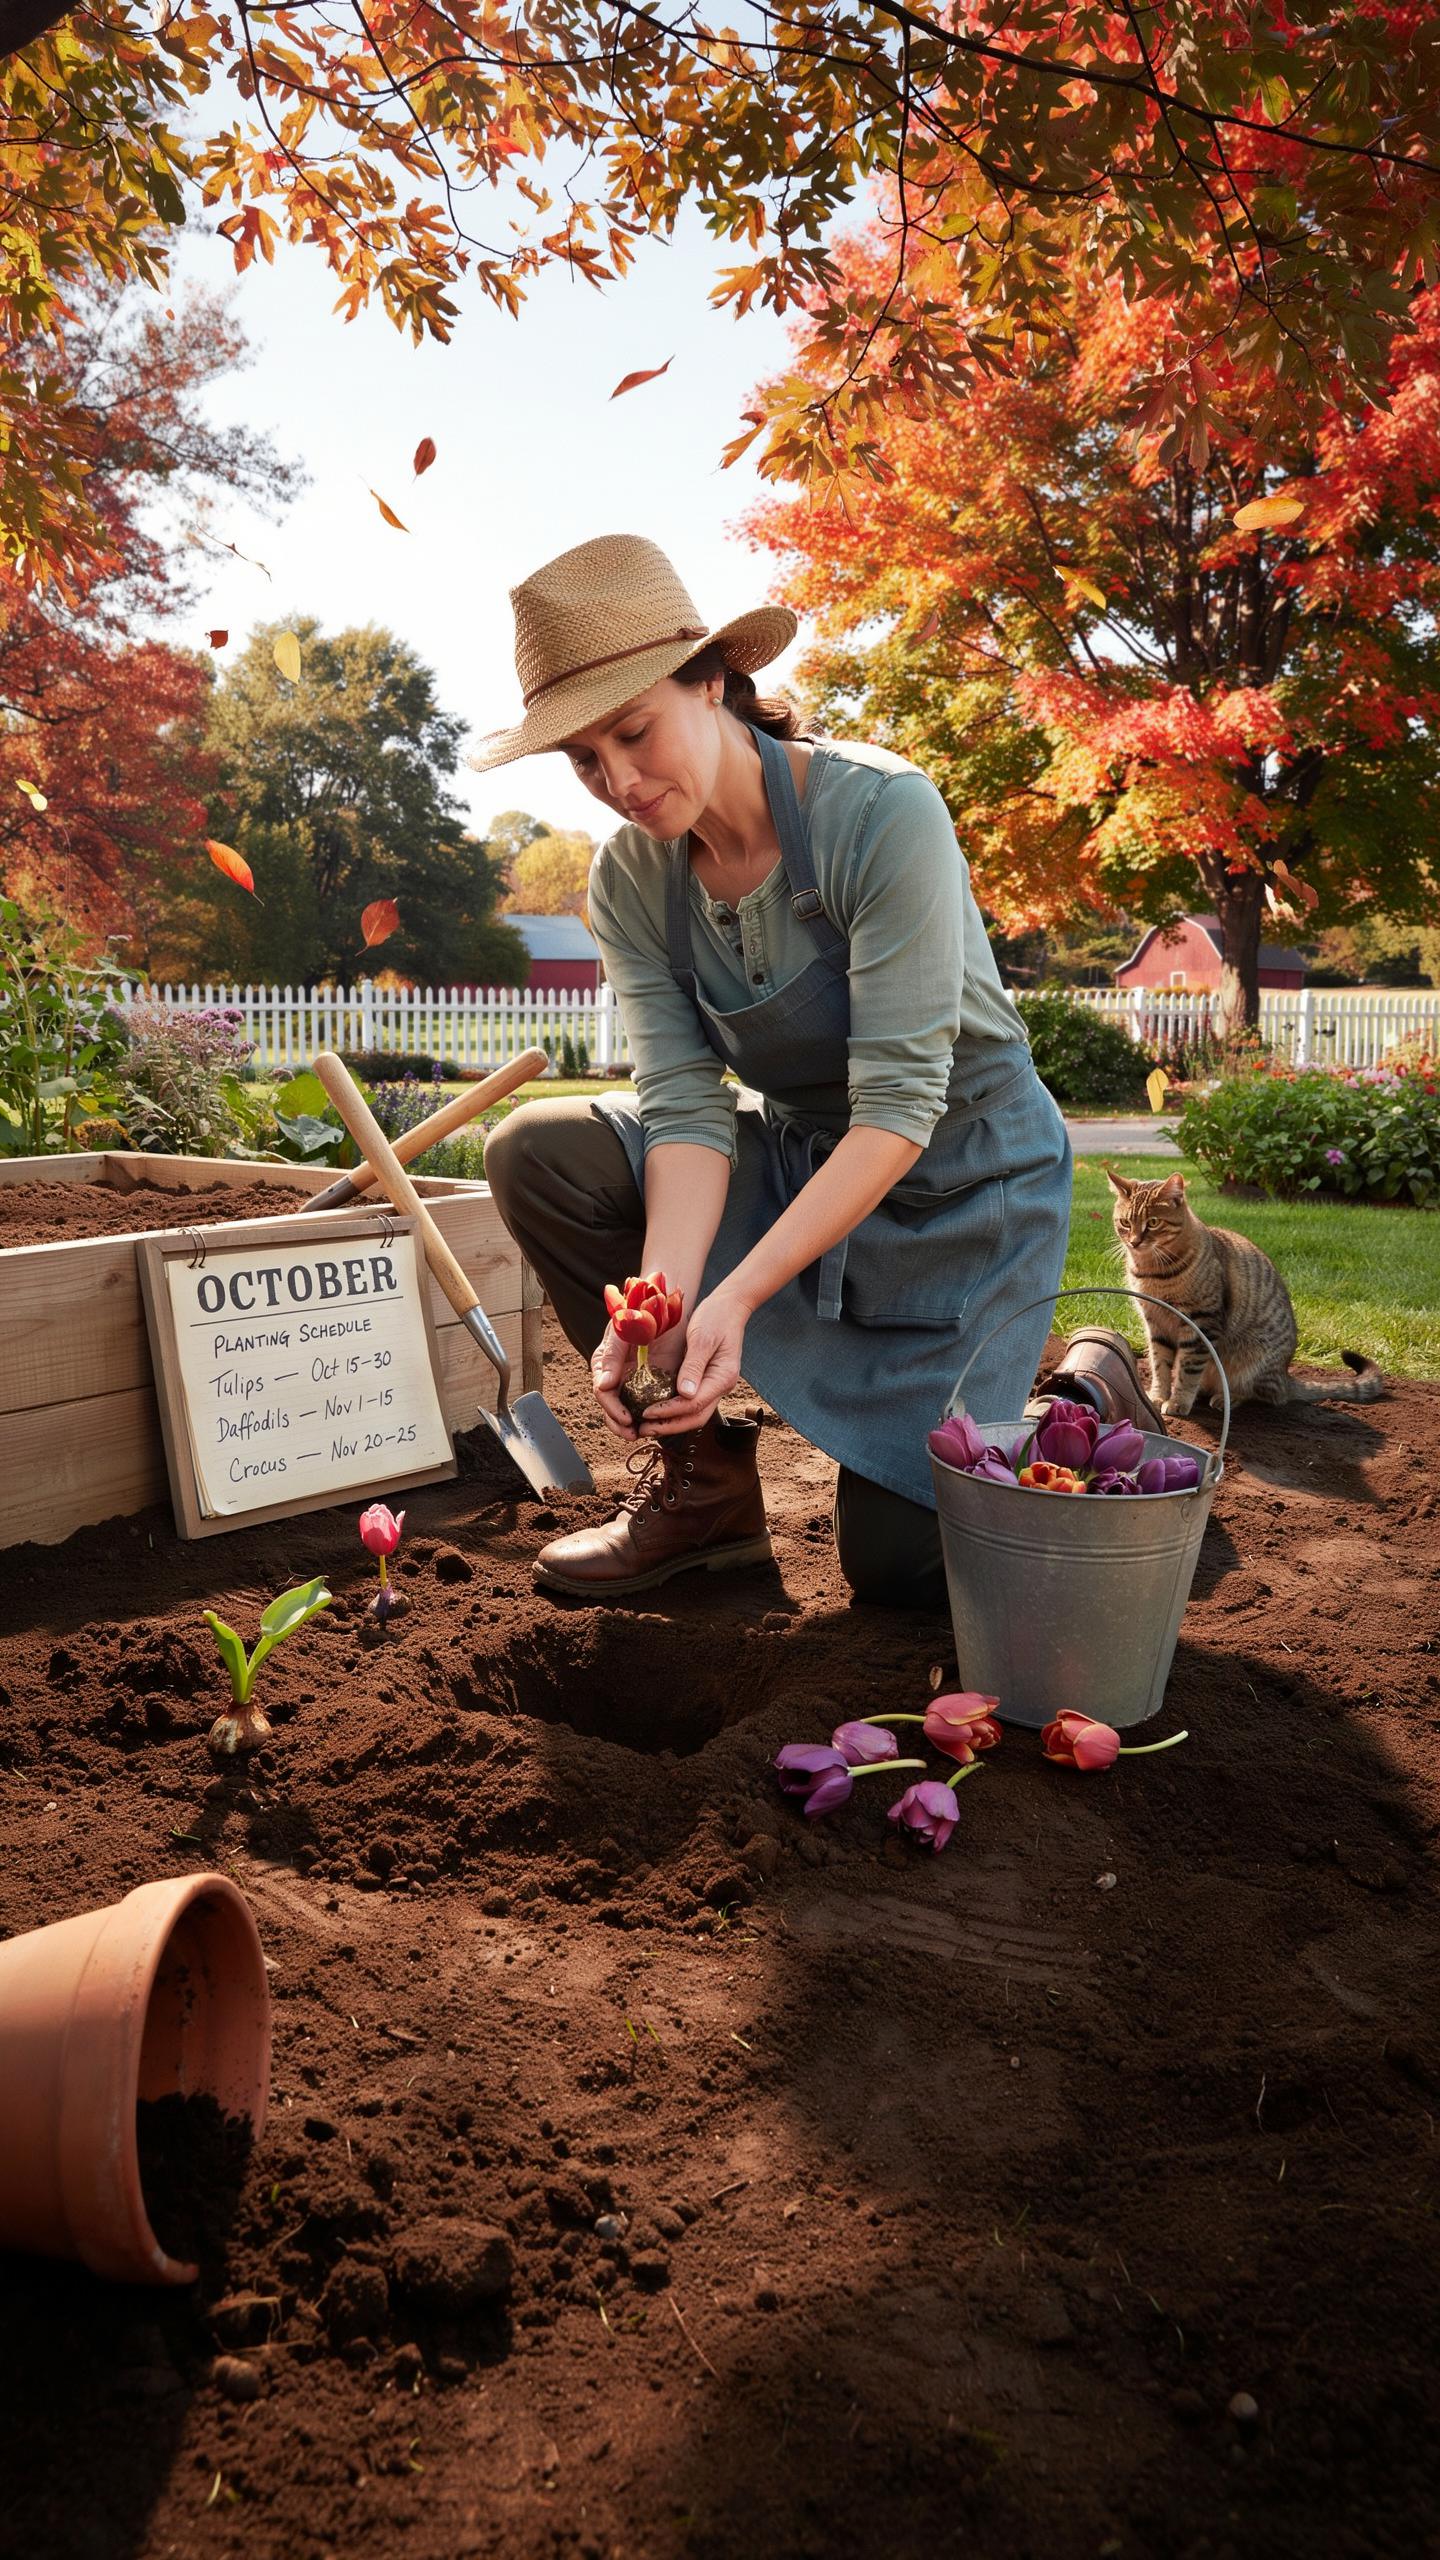
Why Tulip Bulbs Require Later Planting In Late Autumn To Avoid Fungal Diseases Like Tulip Fire Associated With Warm Soils
Tulip fire, caused by the fungus Botrytis tulipae, thrives in warm, wet conditions. Plant tulips too early when soil temperatures remain above 60 degrees Fahrenheit, and you create ideal conditions for fungal infection. The disease causes streaking on leaves, flower distortion, and bulb rot. Wait until late autumn when soil cools to protect your investment.
Plant tulip bulbs when soil temperature drops to 55 degrees Fahrenheit or lower and stays there consistently. In most zones, this happens between mid-November and December. Cold soil temperatures halt fungal activity and allow bulbs to develop roots before winter freeze. This timing strategy prevents disease and ensures healthy spring blooms.
Protecting Late Planted Tulips From Hungry Rodents By Burying Them Alongside Less Tasty Daffodil Bulbs
Rodents eat tulip bulbs through winter but avoid daffodils because they contain toxic compounds. Plant daffodils around and between tulips to deter mice and voles from digging. This natural barrier method works without traps or poison. The rodents simply move to easier food sources elsewhere.

Mix daffodil and tulip bulbs in the same planting area to maximize protection. Plant daffodils at regular intervals throughout your tulip beds. Rodents cannot distinguish between bulb locations underground, so they encounter daffodils and abandon their search. This intercropping approach solves your rodent problem while adding spring color diversity.
Caring For Your Fall Planted Bulbs Throughout The Cold Season
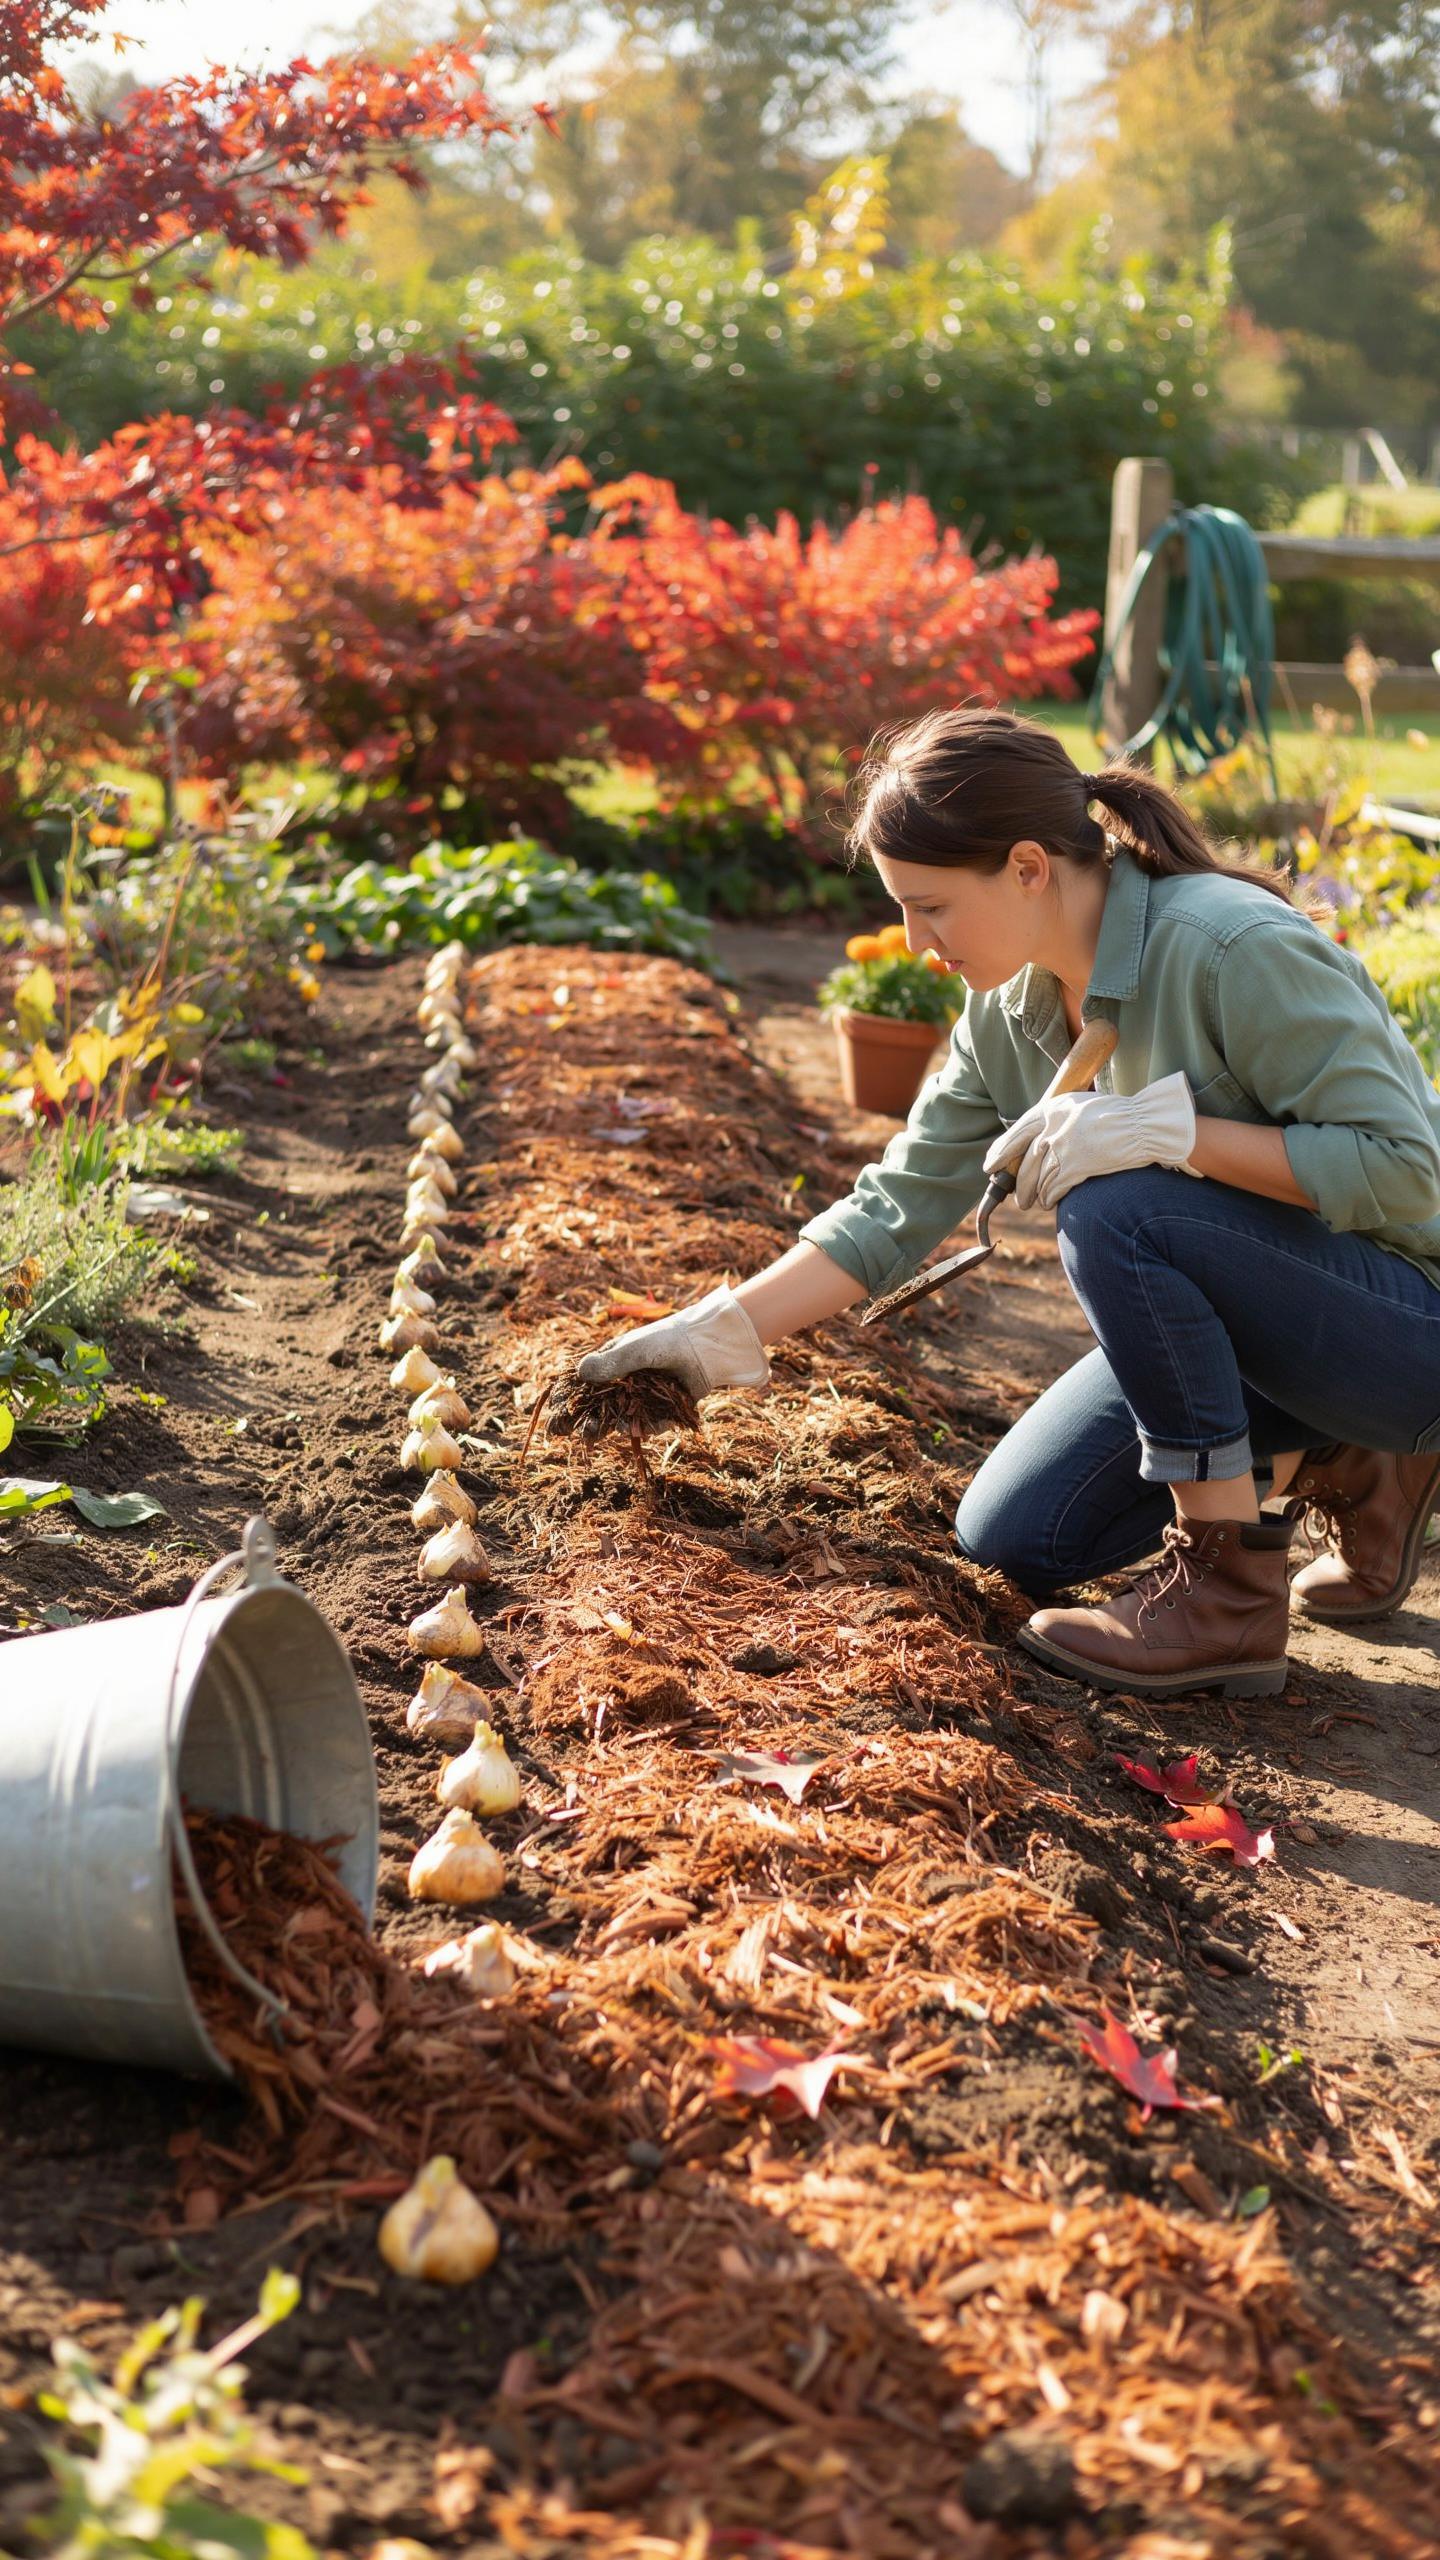
Timing Mulch Application After The First Hard Freeze
Apply mulch after the first hard freeze, not before. Mulch insulates soil and prevents temperature swings that trigger premature sprouting. A 2 to 3 inch layer of organic mulch stops freeze-thaw cycles from heaving bulbs out of the ground. This heaving exposes bulbs to cold air and desiccation, killing them. Wait for frozen ground to apply mulch, or you trap warmth and encourage rot.
Remove mulch gradually in spring as soil temperatures rise. Bulbs need warming soil to break dormancy and emerge. Pull back mulch too early and late frost damages shoots. Too late and shoots struggle to break through thick mulch. Time removal to match your region’s typical last frost date for optimal results.
Managing Winter Moisture To Prevent Bulb Rot
Winter moisture management determines bulb survival. Bulbs rot in waterlogged soil but desiccate in bone-dry conditions. Well-draining soil is non-negotiable for fall planted bulbs. Heavy clay requires amendment with compost or perlite before planting. Check soil moisture monthly during winter dry spells and water if the top inch is powder-dry.
Dormant bulbs need minimal water compared to growing bulbs. Existing soil moisture from fall rainfall usually sustains bulbs through winter. Only water if your region experiences unusual drought during dormancy. Soggy spring conditions damage bulbs more than winter drought does. Ensure drainage routes water away from planted areas to prevent pooling.
What To Expect When Spring Arrives After Planting Bulbs In Fall
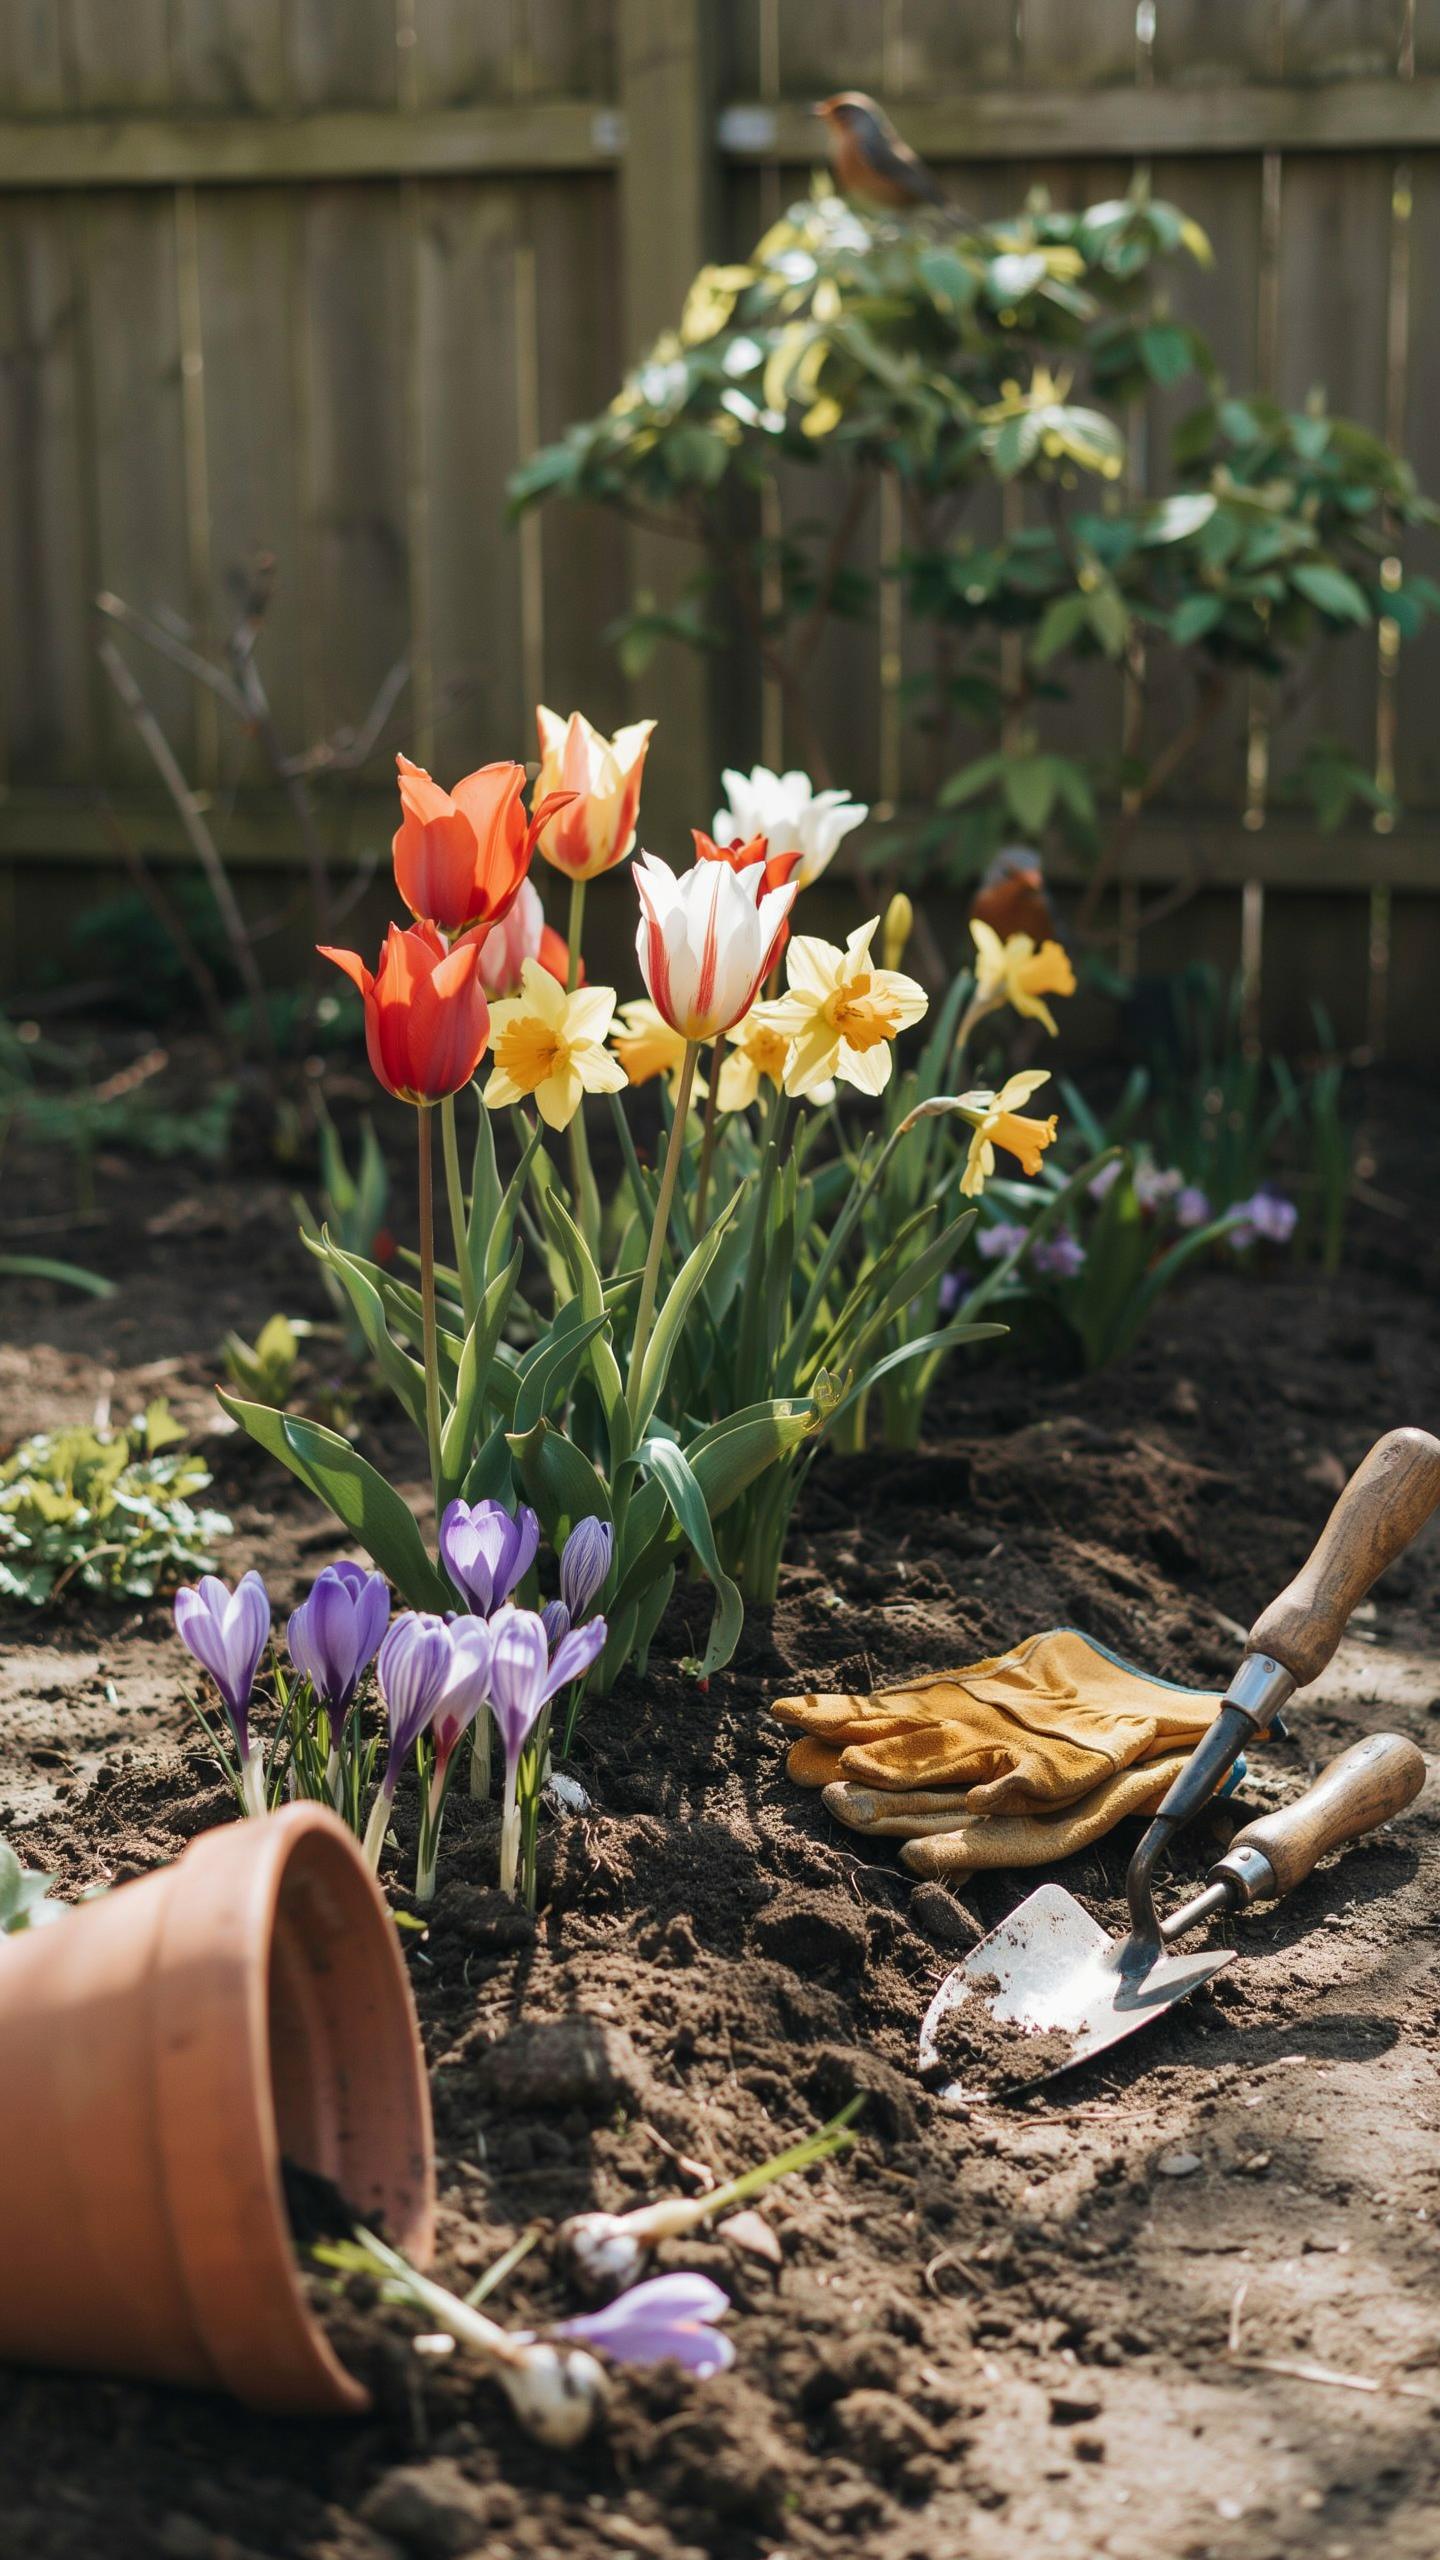
Recognizing The Early Green Shoots Of Crocuses And Snowdrops As They Break Through Late Winter Snow
Crocuses and snowdrops emerge first among spring bulbs. These hardy varieties break through snow and frozen ground while temperatures still hover near freezing. You’ll spot thin green shoots pushing upward in late winter, often before soil fully thaws. This early emergence signals your fall planting worked correctly.
The timing varies by region and winter severity. In mild climates, shoots appear in January or February. In colder zones, expect them in March or April. These shoots won’t harm from late snow or frost. The plants evolved to handle cold snaps, so sudden temperature drops won’t kill emerging growth.
Post Bloom Care Including Leaving The Green Foliage Intact So The Plant Can Photosynthesize And Recharge For Next Year
After flowers fade, resist the urge to cut back foliage. The green leaves fuel the bulb’s energy storage through photosynthesis. This process rebuilds the bulb for next year’s bloom cycle. Removing leaves early weakens the bulb and reduces future flowering.
Let foliage remain for six to eight weeks after blooms finish. Once leaves yellow and brown naturally, you can trim them back. This timeline gives the bulb sufficient time to absorb nutrients and prepare for dormancy. Skipping this step guarantees disappointing results the following spring.
Frequently Asked Questions

When is the best time for a beginner to start planting spring bulbs?
The ideal window for fall garden care bulb planting is when evening temperatures consistently hover between 40 and 50 degrees Fahrenheit. For most beginners, this means getting your tulips and daffodils into the ground about six weeks before a hard frost hits. This timing allows the bulbs to establish necessary root systems while the soil is still workable, ensuring a spectacular and colorful display once the spring thaw arrives.
How deep should I actually dig when planting my fall bulbs?
A simple rule of thumb for successful fall garden care bulb planting is to dig a hole three times as deep as the bulb is tall. For example, large bulbs like daffodils usually need a six-inch depth, while smaller crocuses only require about three inches. Always ensure the “pointy side” faces upward. If you are unsure which end is the top, planting the bulb on its side still allows the plant to find the light.
Can I start a beautiful spring garden if I am on a tight budget?
Absolutely! You don’t need expensive professional tools to begin. Focus on purchasing “naturalizing” bulbs like muscari or certain narcissus varieties, which multiply on their own year after year, giving you more value over time. You can use a simple hand trowel or even a sturdy kitchen laddle to dig small holes if you aren’t ready to invest in a specialized bulb planter. Strategic, small groupings often look better than sparse, expensive rows.



