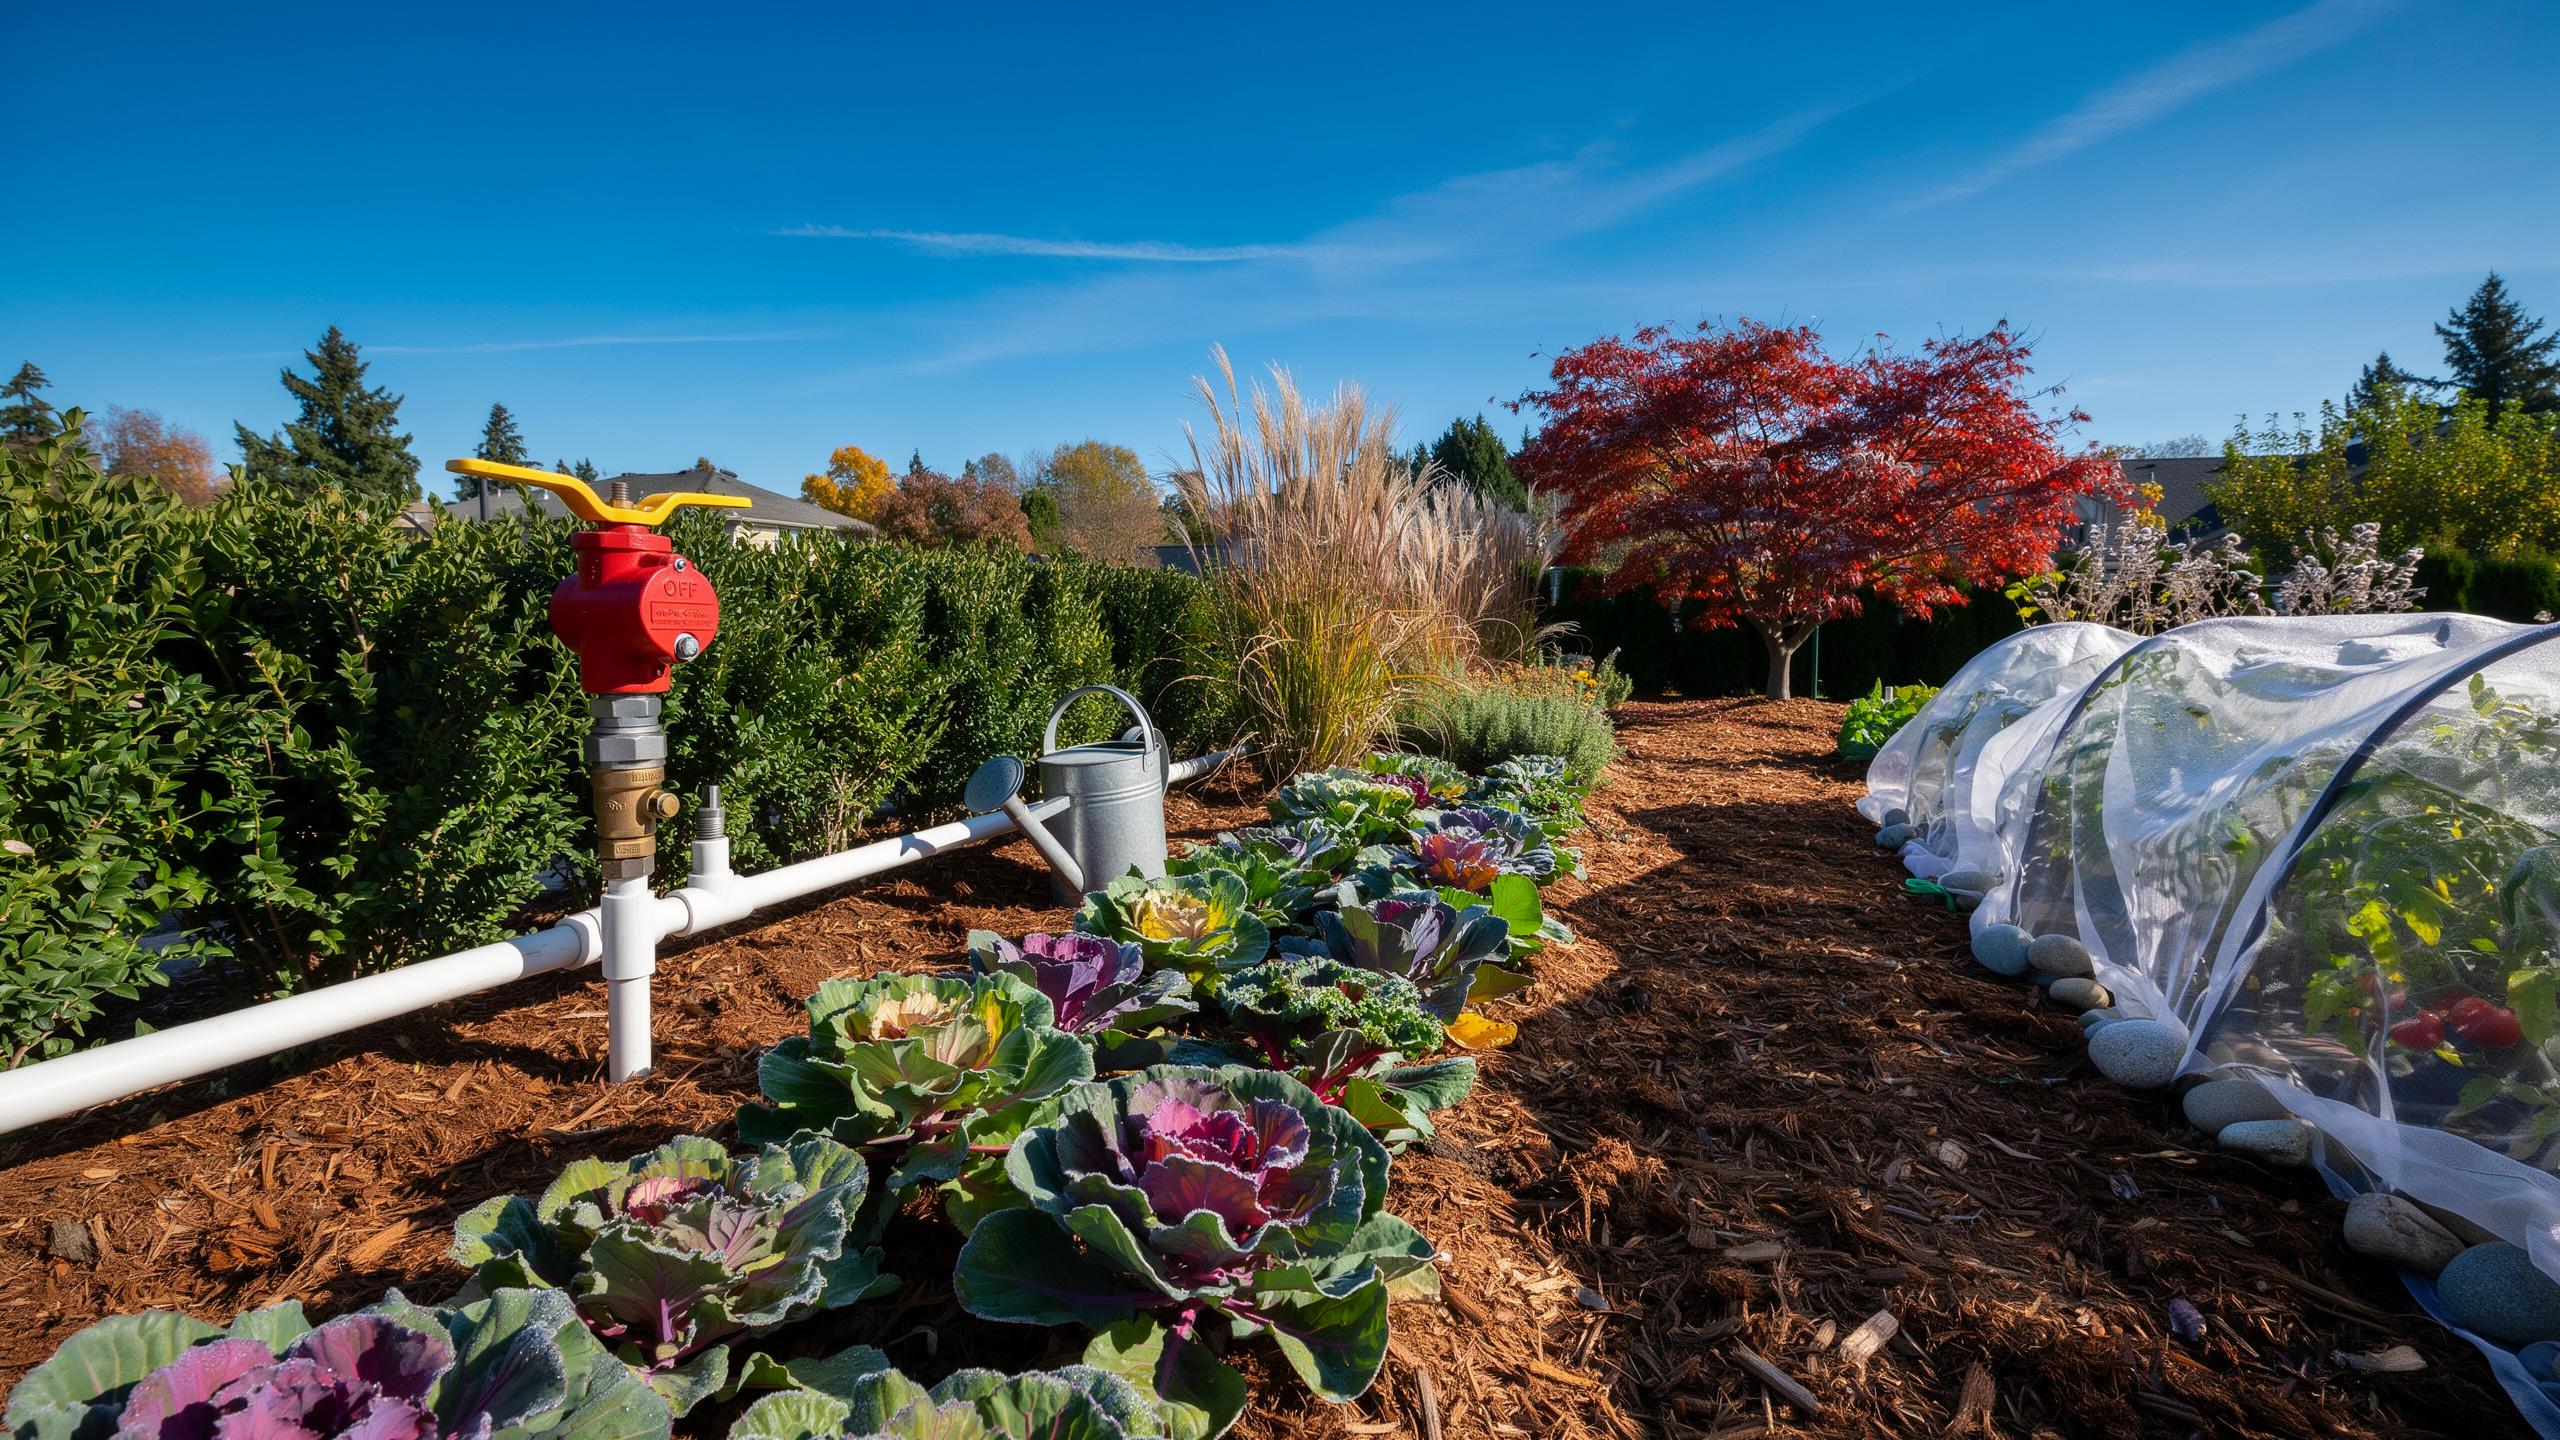
Understanding The Importance Of A Winter Garden Protection Irrigation Shutoff
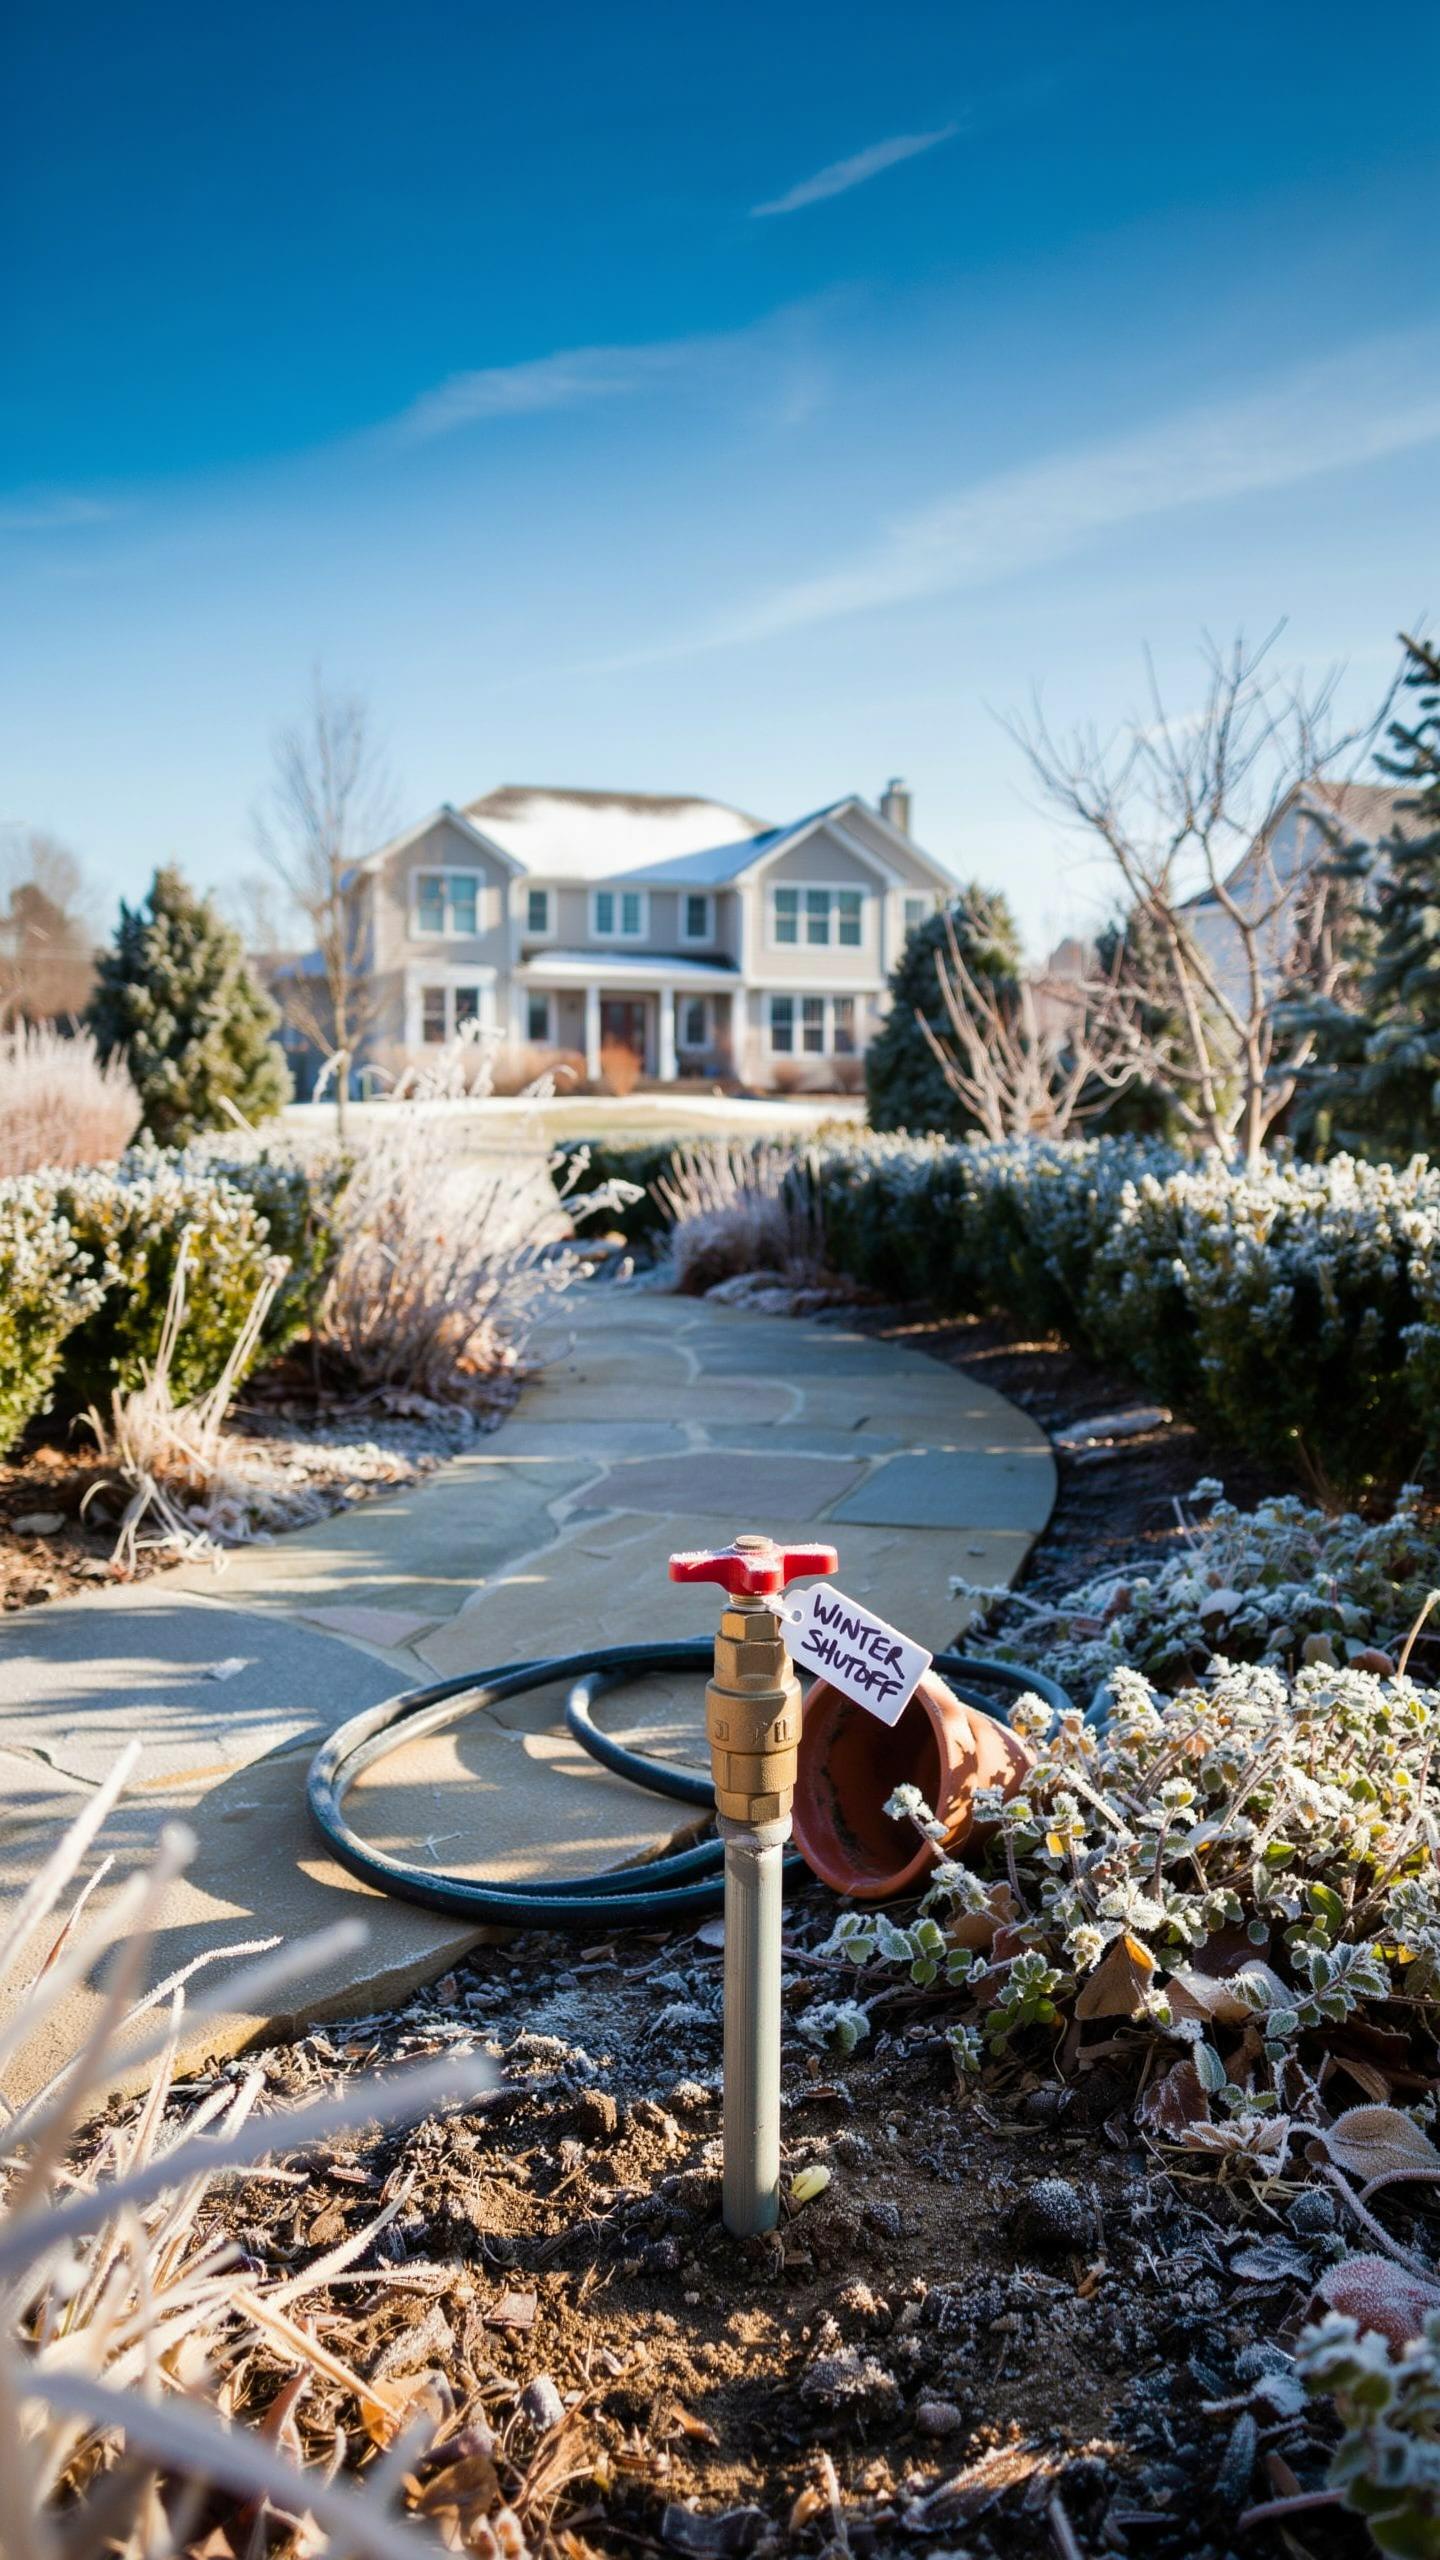
Why Shutoff Matters
Water expands when it freezes. This expansion creates pressure inside pipes that can exceed the structural limits of most irrigation systems. A shutoff valve stops water from remaining in exposed lines during freezing temperatures. Without one, you face burst pipes, cracked fittings, and replacement costs that easily reach hundreds or thousands of dollars. The shutoff prevents this damage by removing the water source before temperatures drop below freezing.
Timing matters more than most gardeners realize. You need to shut off your system before the first hard freeze, not after. Once pipes freeze, the damage is already done. A strategic shutoff takes minutes but saves you from spring repairs. This single action protects your entire irrigation infrastructure from coast to coast, regardless of your climate zone.
Garden Health Connection
Shutting off irrigation protects plant root systems from ice damage and waterlogging. Winter dormant plants don’t need active watering. Continuous moisture in the soil around root zones can freeze solid, damaging delicate perennial roots and killing plants that would otherwise survive. A proper shutoff prevents overwatering during dormancy and keeps soil moisture levels appropriate for winter conditions.
Your perennial beds depend on this protection. Roses, evergreens, and other winter plants survive because their roots remain dry enough to avoid ice formation. Shutting off irrigation removes the threat of standing water that freezes around root zones. This simple action preserves plant viability and ensures your garden emerges healthy when spring arrives.

How To Efficiently Winterize Sprinkler System Pipelines
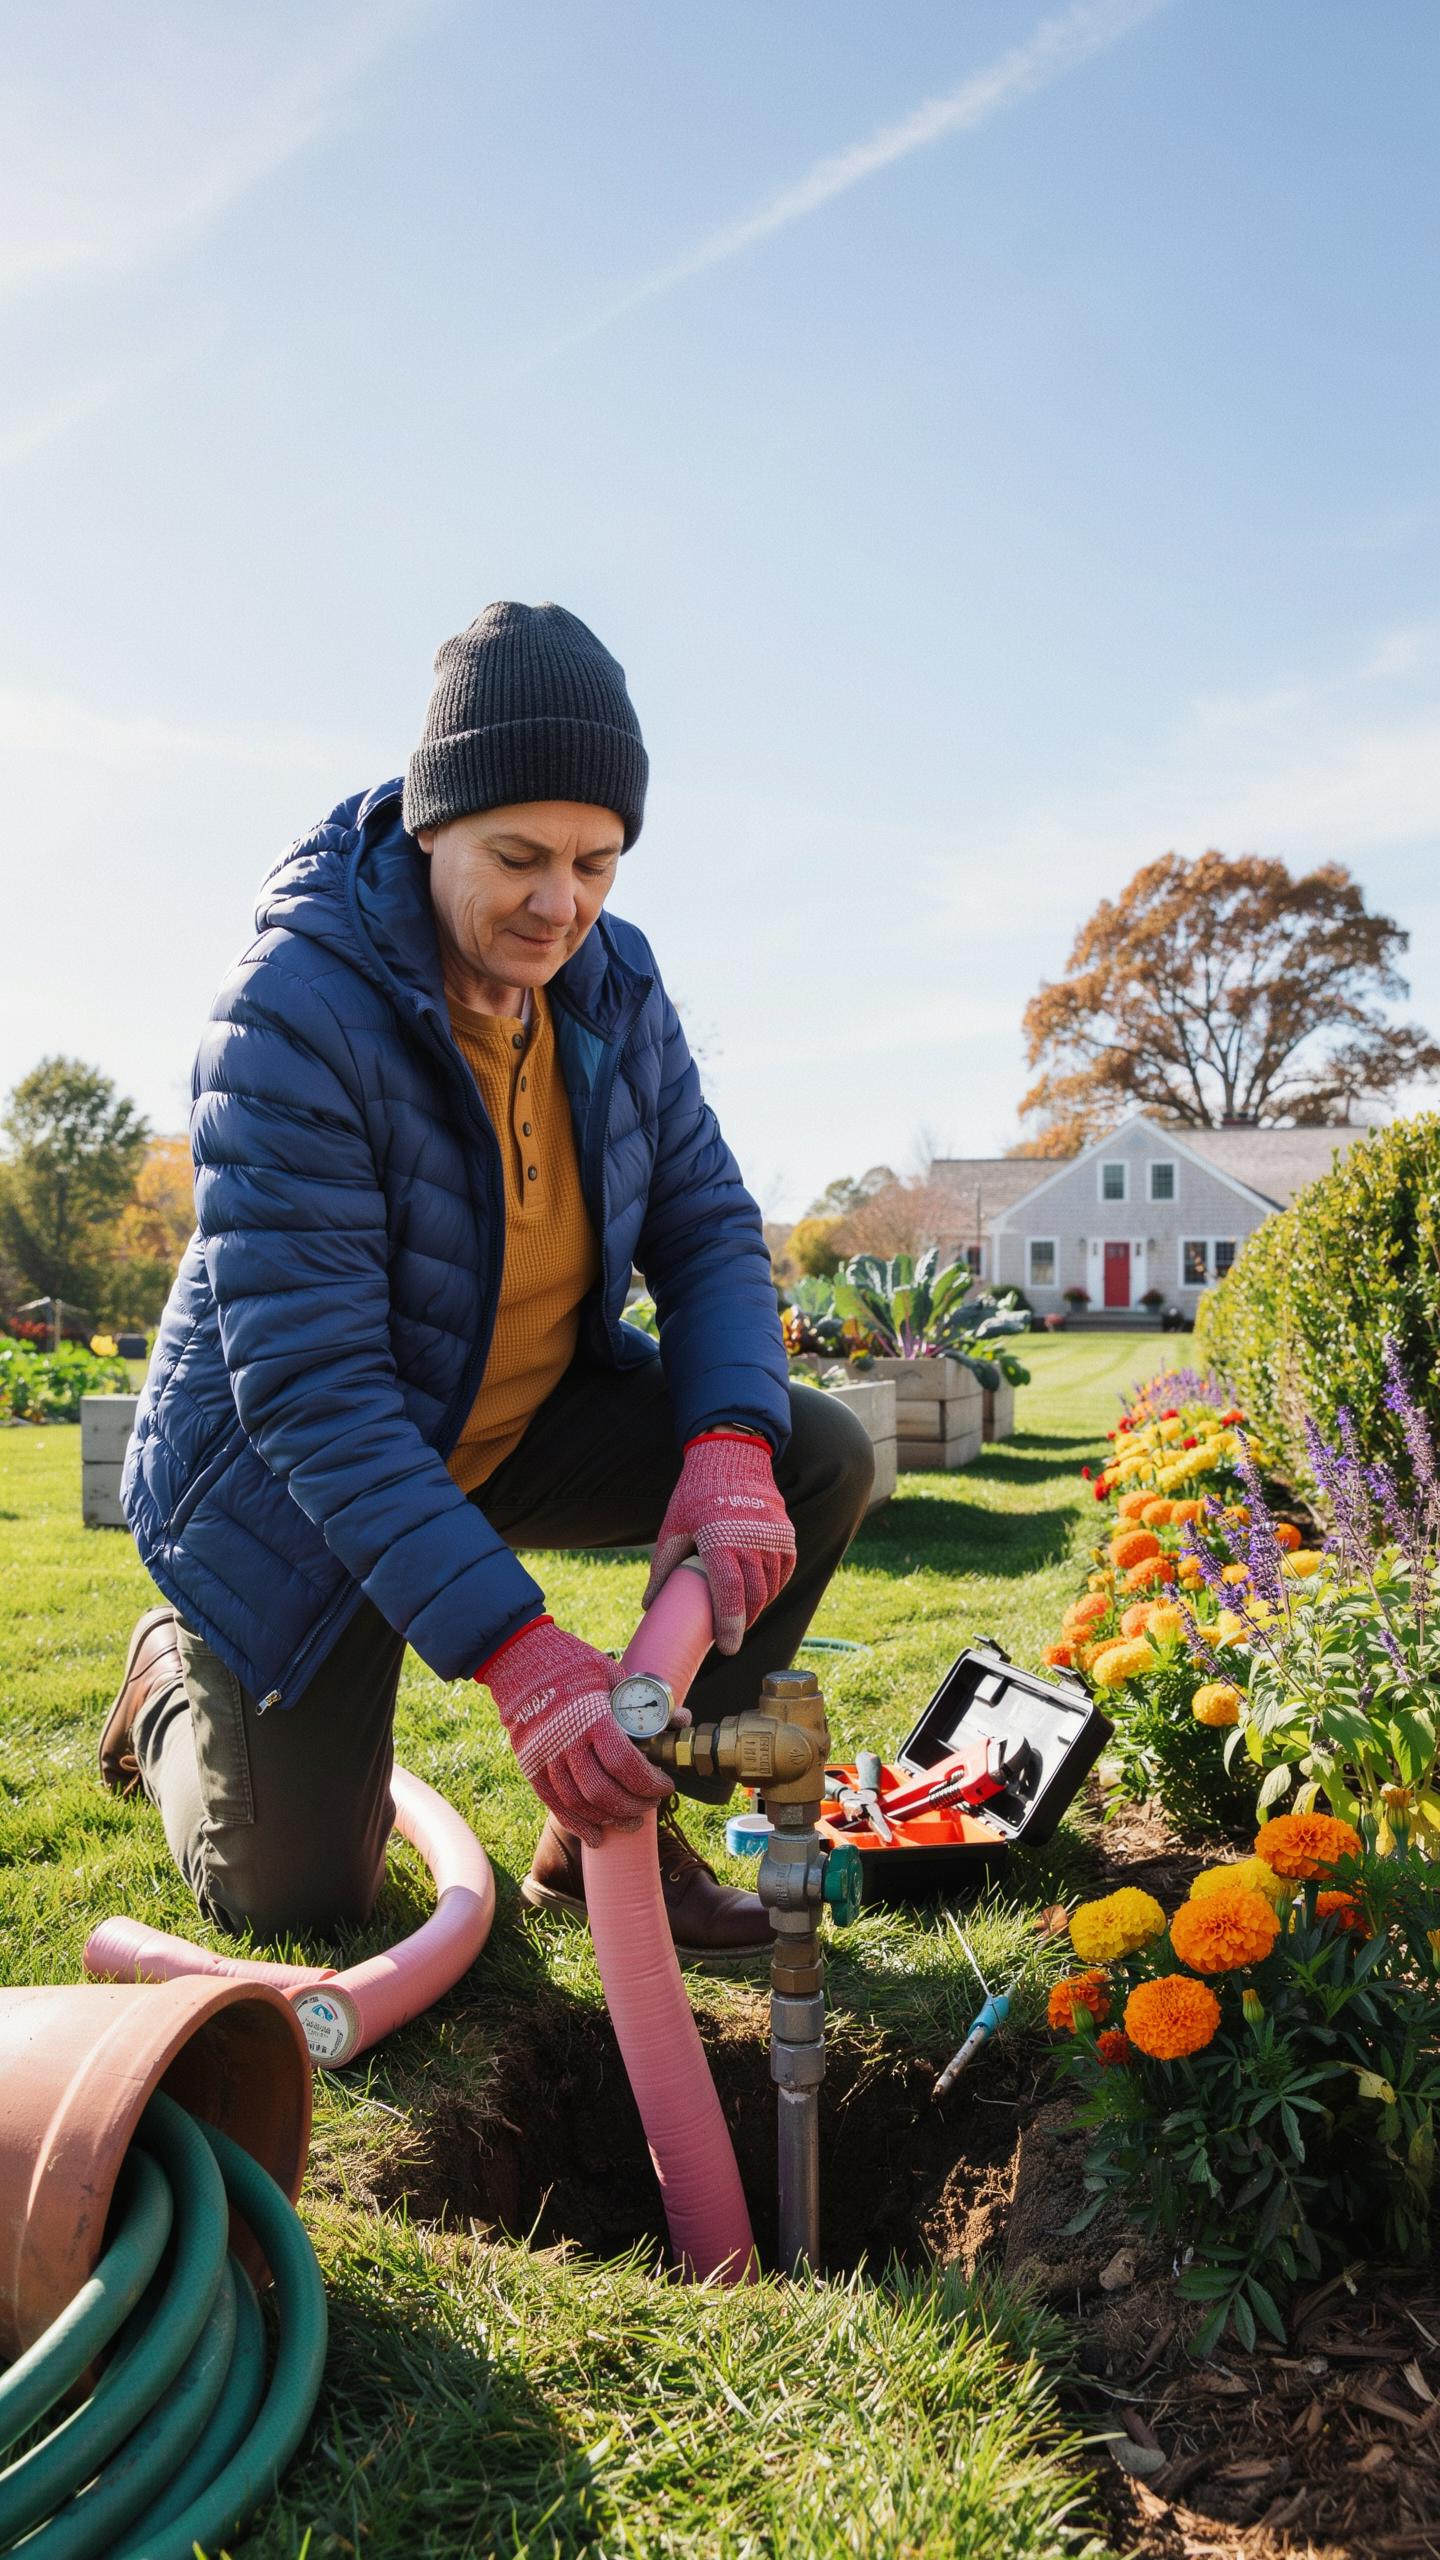
Step By Step Blowout
Blowing out lines removes water that freezes and cracks pipes. Compressed air forces water toward drain points. You need regulated pressure to avoid damaging fittings and sprinkler heads. Start at the highest elevation and work downward. This sequence ensures complete water removal throughout the system.
- Connect regulator to air source: Set pressure between 80 and 100 PSI. Higher pressure damages components. Lower pressure leaves water trapped in low spots.
- Attach blowout plug to main line: The plug replaces the backflow preventer or connects to a dedicated blowout valve on your system’s main line.
- Isolate zones one at a time: Turn off isolation valves for unused zones. Blow out only active zones to maintain pressure and force water out efficiently.
- Open each sprinkler head: Run water and compressed air through every head. You will see mist, then air, then nothing as water clears out completely.
- Check all low-point drains: Open manual drains at system low points while blowing out. These catch remaining water pockets that compressed air alone misses.
- Disconnect equipment safely: Turn off the air compressor. Release pressure from lines before removing the blowout plug to prevent sudden discharge.
Blowout timing matters. Perform this work before the first hard freeze in your region. Most systems need blowout between October and November depending on your climate. Waiting until after a freeze causes preventable pipe damage.
Drain Valve Maintenance
Manual drain valves sit at system low points and remove water gravity cannot reach. Locate your drain valves in blueprints or by tracing the main line to its lowest sections. Most residential systems have two to four drain points. Clean debris from valve handles and bodies before opening them.

Open all manual drain valves and leave them open during winter. Crack them slightly at first to release pressure, then open fully. Water drains for several minutes after you finish blowing out lines. Close valves when no water drains, then open them again for spring startup to release any trapped air in the lines.
Managing An Automatic Irrigation System In Freezing Weather
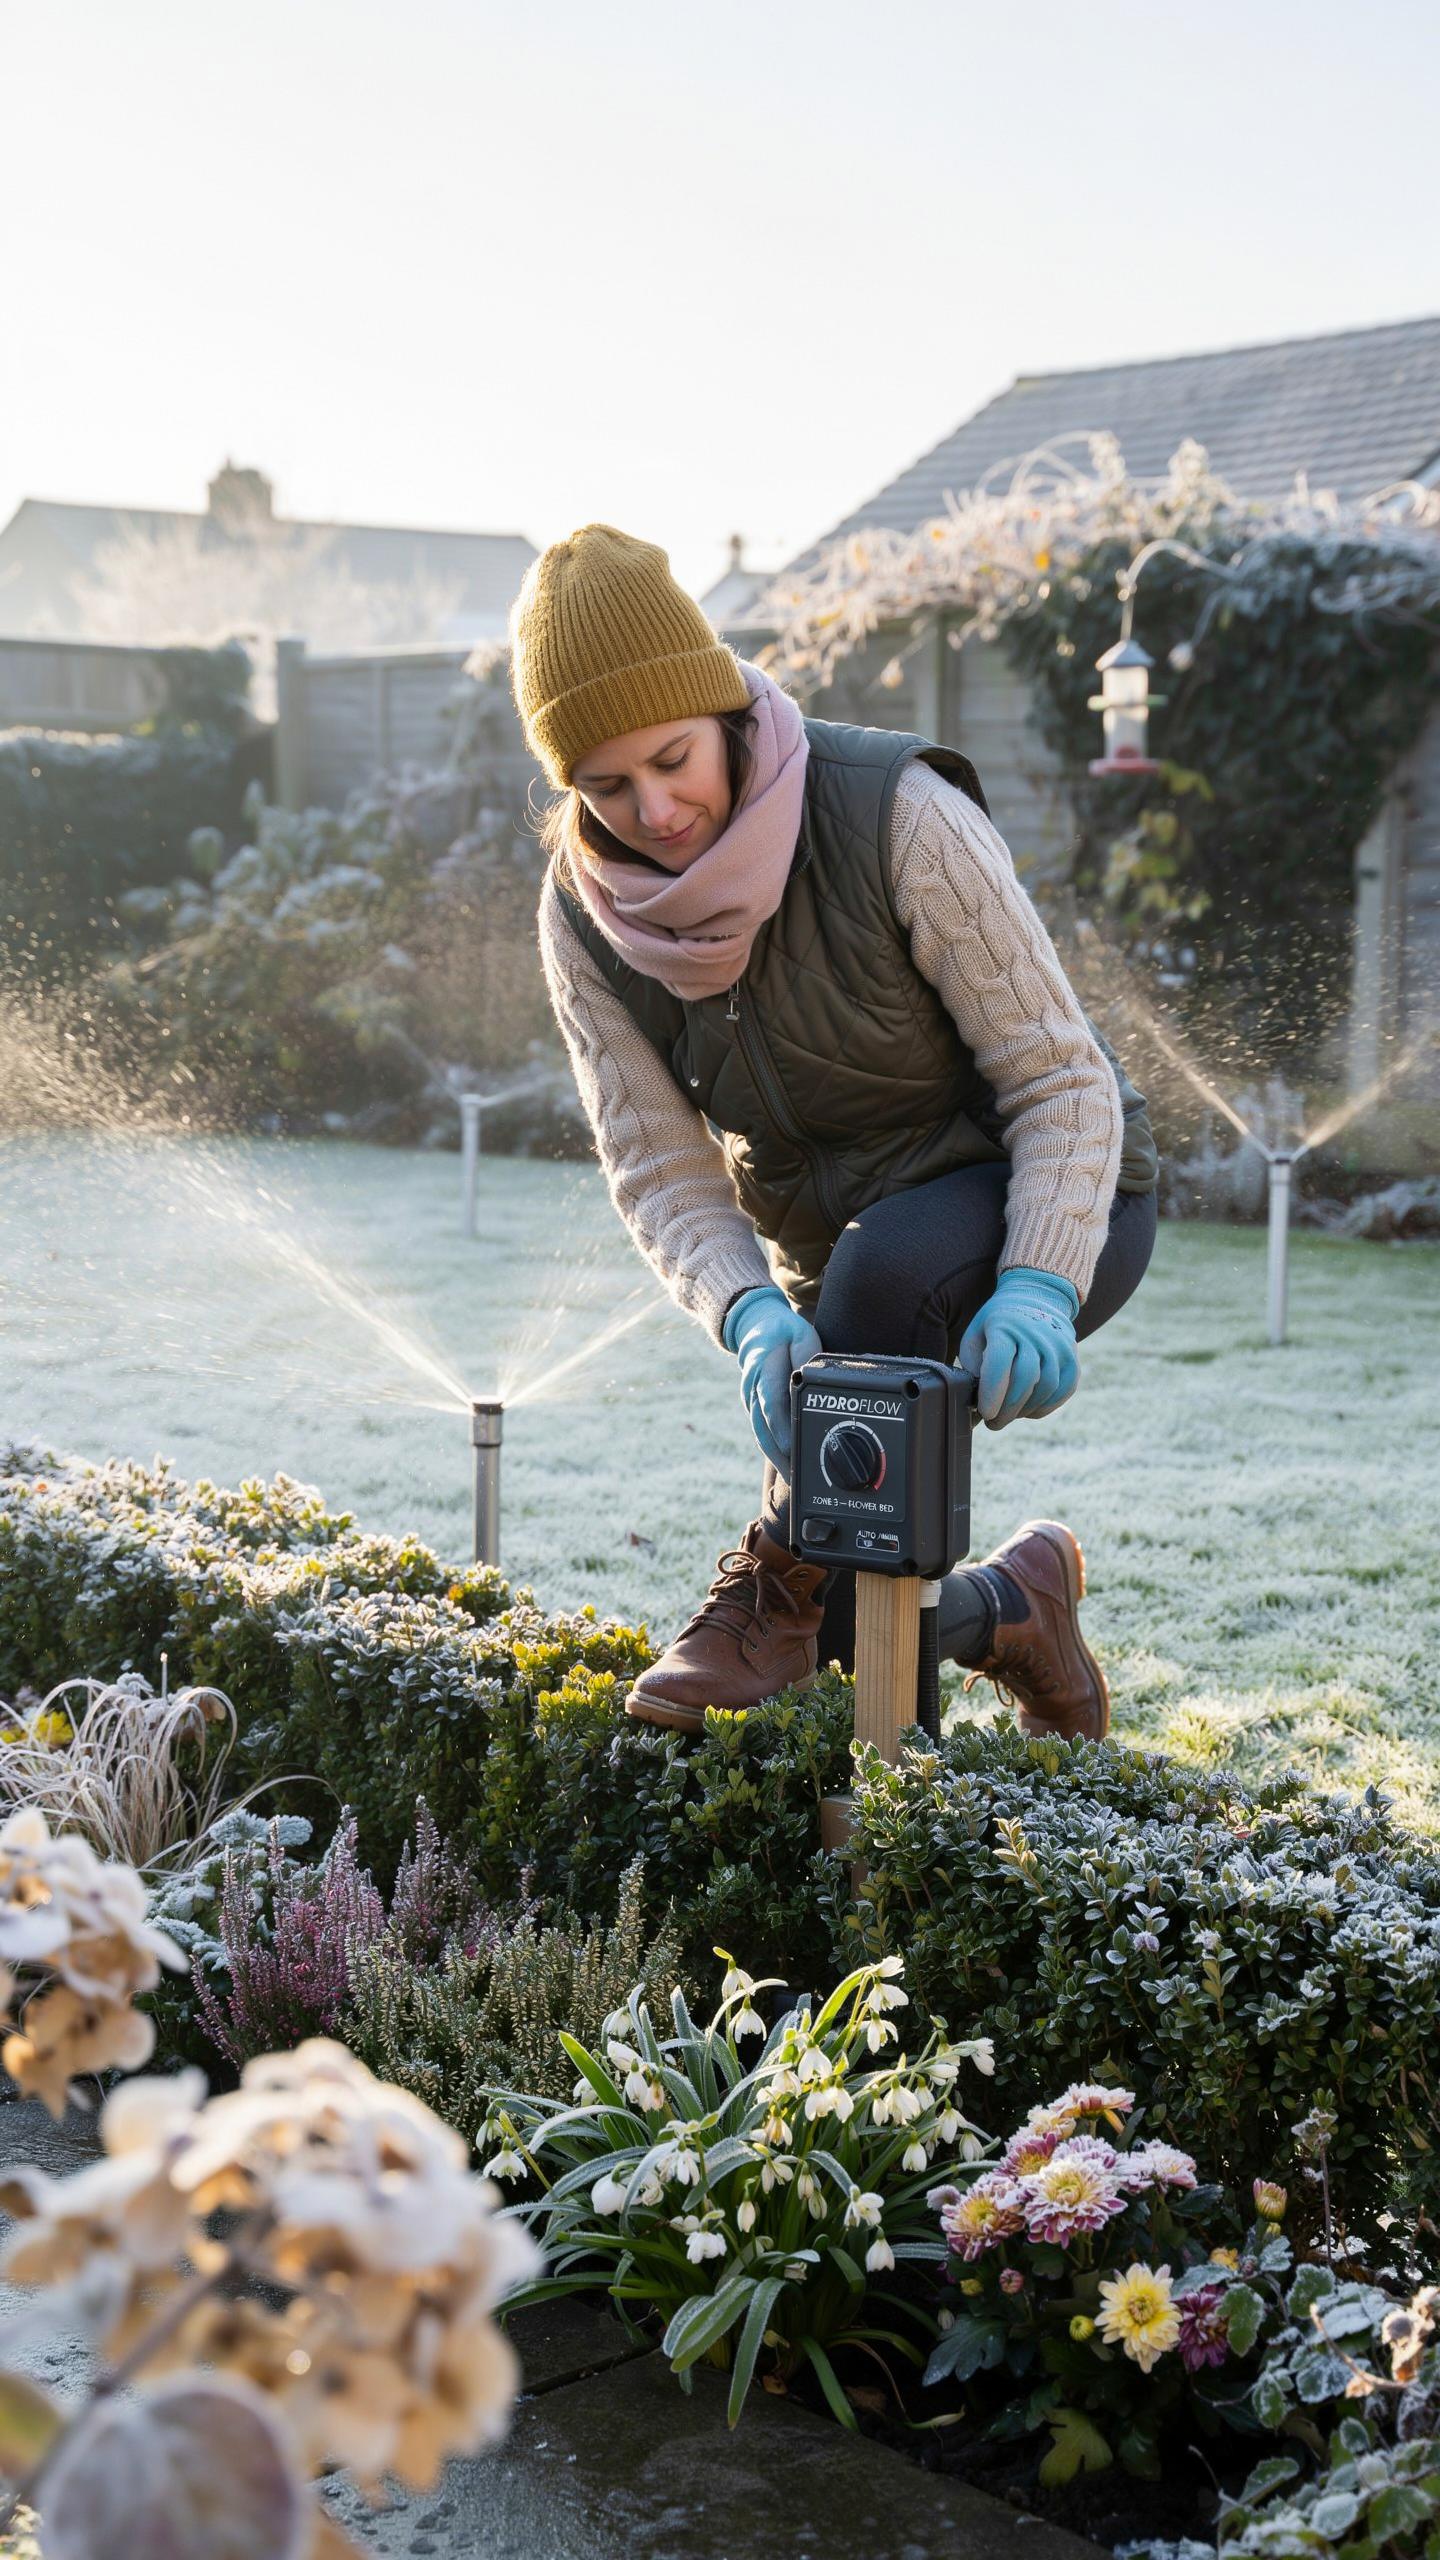
Smart Controller Settings
Most automatic irrigation controllers operate on preset schedules that ignore temperature drops. During freezing dormant seasons, you must manually suspend these schedules to prevent water from running through exposed pipes and sprinkler heads. Controllers with built-in freeze sensors can halt watering automatically when temperatures drop below a set threshold, typically 32°F or 40°F depending on your region and system design.
Adjust your controller before the first hard freeze arrives. Access the timer menu and either disable watering cycles entirely or set them to run only on warm days above freezing. Some controllers let you program seasonal schedules that activate and deactivate automatically on specific dates. Document your settings before changing them so you can restore your normal spring schedule quickly once frost danger passes.
Sensor Protection Steps
Freeze sensors mounted on the exterior of your controller housing accumulate ice and snow that block their ability to read temperature accurately. Clear these sensors regularly during winter storms and position them in shaded areas where they experience genuine outdoor conditions without roof overhang protection that artificially warms them.

Wrap rain gauges with foam pipe insulation or specialized sensor covers to prevent snow from packing inside the collection chamber. Remove accumulated snow by hand rather than with high-pressure water that can damage the gauge opening. This protects your controller from receiving false wet signals that trigger unnecessary irrigation during frozen conditions.
Sustainable Landscaping Practices For Cold Weather Irrigation Management
Mulching For Moisture
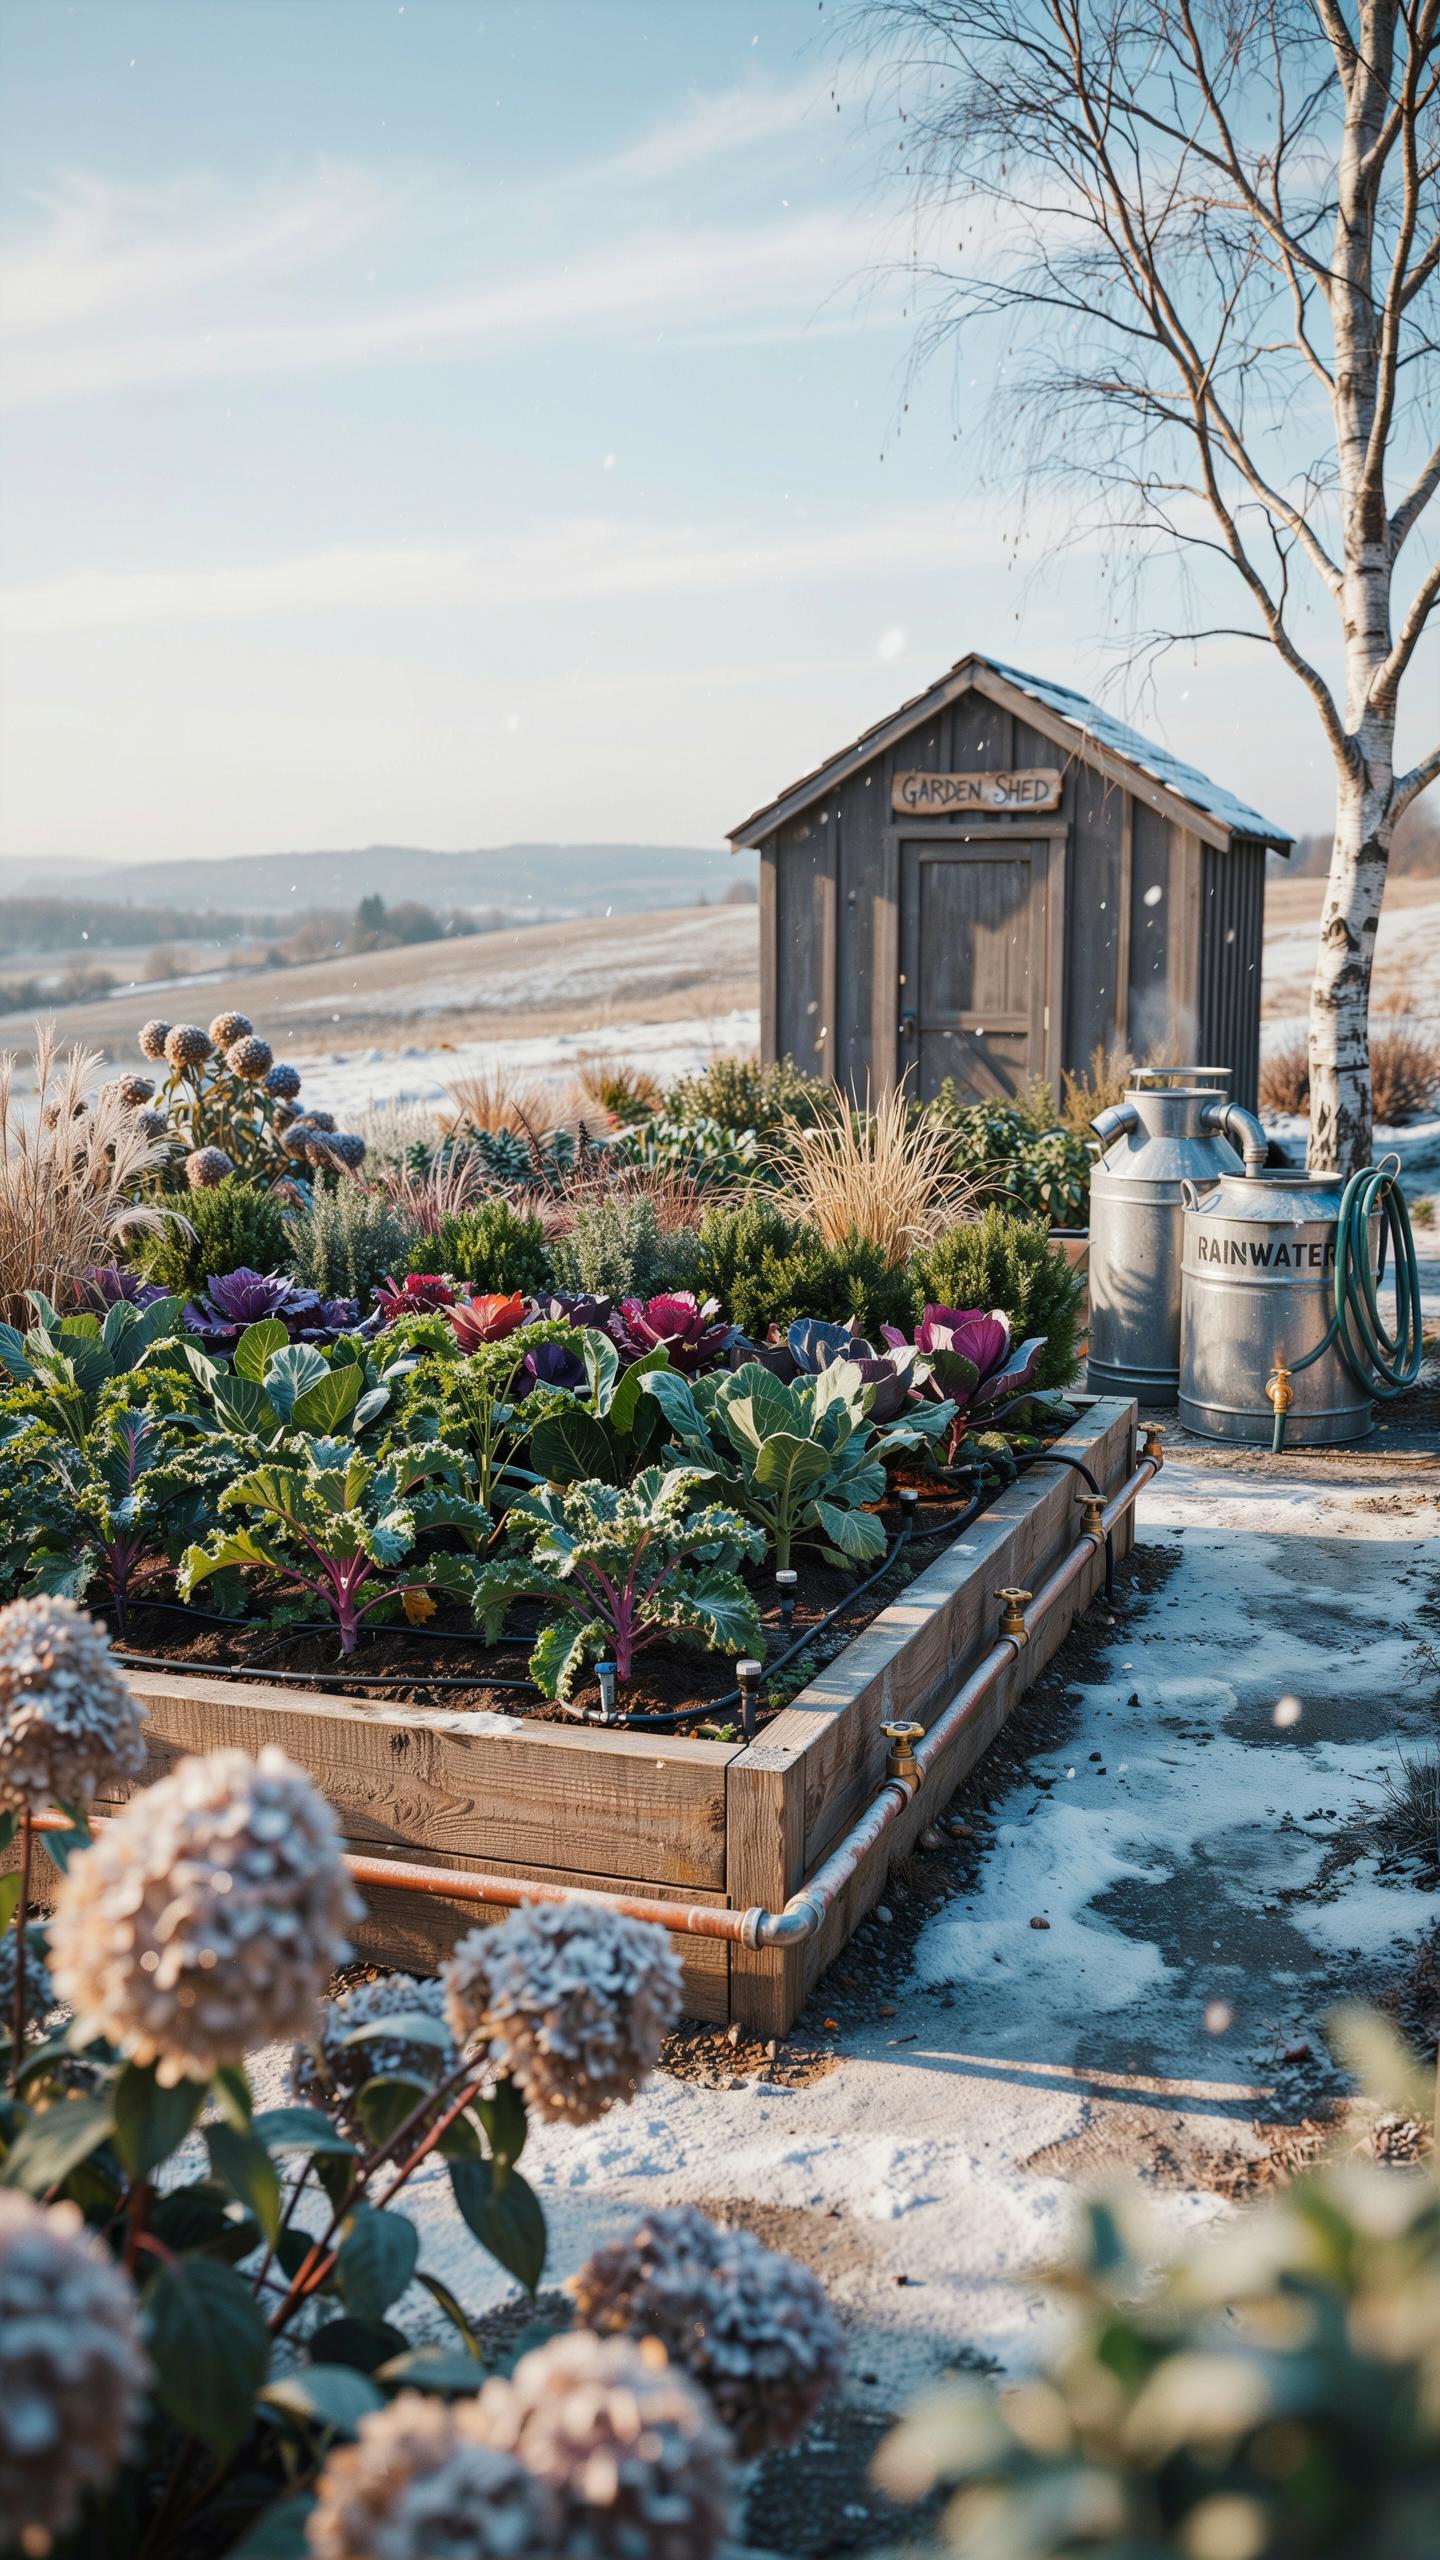
Organic mulch creates a thermal barrier that slows soil temperature fluctuations and reduces evaporation during winter months. Wood chips, shredded bark, and compost applied at 2 to 4 inches deep insulate root zones and retain moisture between irrigation cycles. This buffer reduces the frequency and volume of water you need to apply when soil temperatures drop.
Mulch also prevents frost heave, which occurs when repeated freeze thaw cycles push shallow rooted plants upward and damage their root systems. By stabilizing soil temperature, mulch keeps roots in consistent cold rather than cycling through thaw periods that stress plants. This protection directly reduces plant loss and irrigation demands throughout the winter season.
Selecting Hardy Varieties
Native plants adapted to your climate zone require minimal supplemental water once established because their root systems evolved to access available moisture efficiently. Cold climate natives like dogwoods, junipers, and sedges survive winter dormancy without extra hydration and resume growth in spring without intervention. Selecting these species eliminates unnecessary irrigation and reduces overall system runtime.

Drought tolerant varieties with deep taproots access moisture far below the soil surface where winter freezing doesn’t affect water availability. Plants like Russian sage and coneflowers store energy in established root systems and demand less frequent watering than shallow rooted ornamentals. This biological advantage makes them tactical choices for reducing your irrigation shutoff burden and winter maintenance labor.
Adjusting Lawn Irrigation Schedules Before The Ground Freezes
Pre Freeze Watering
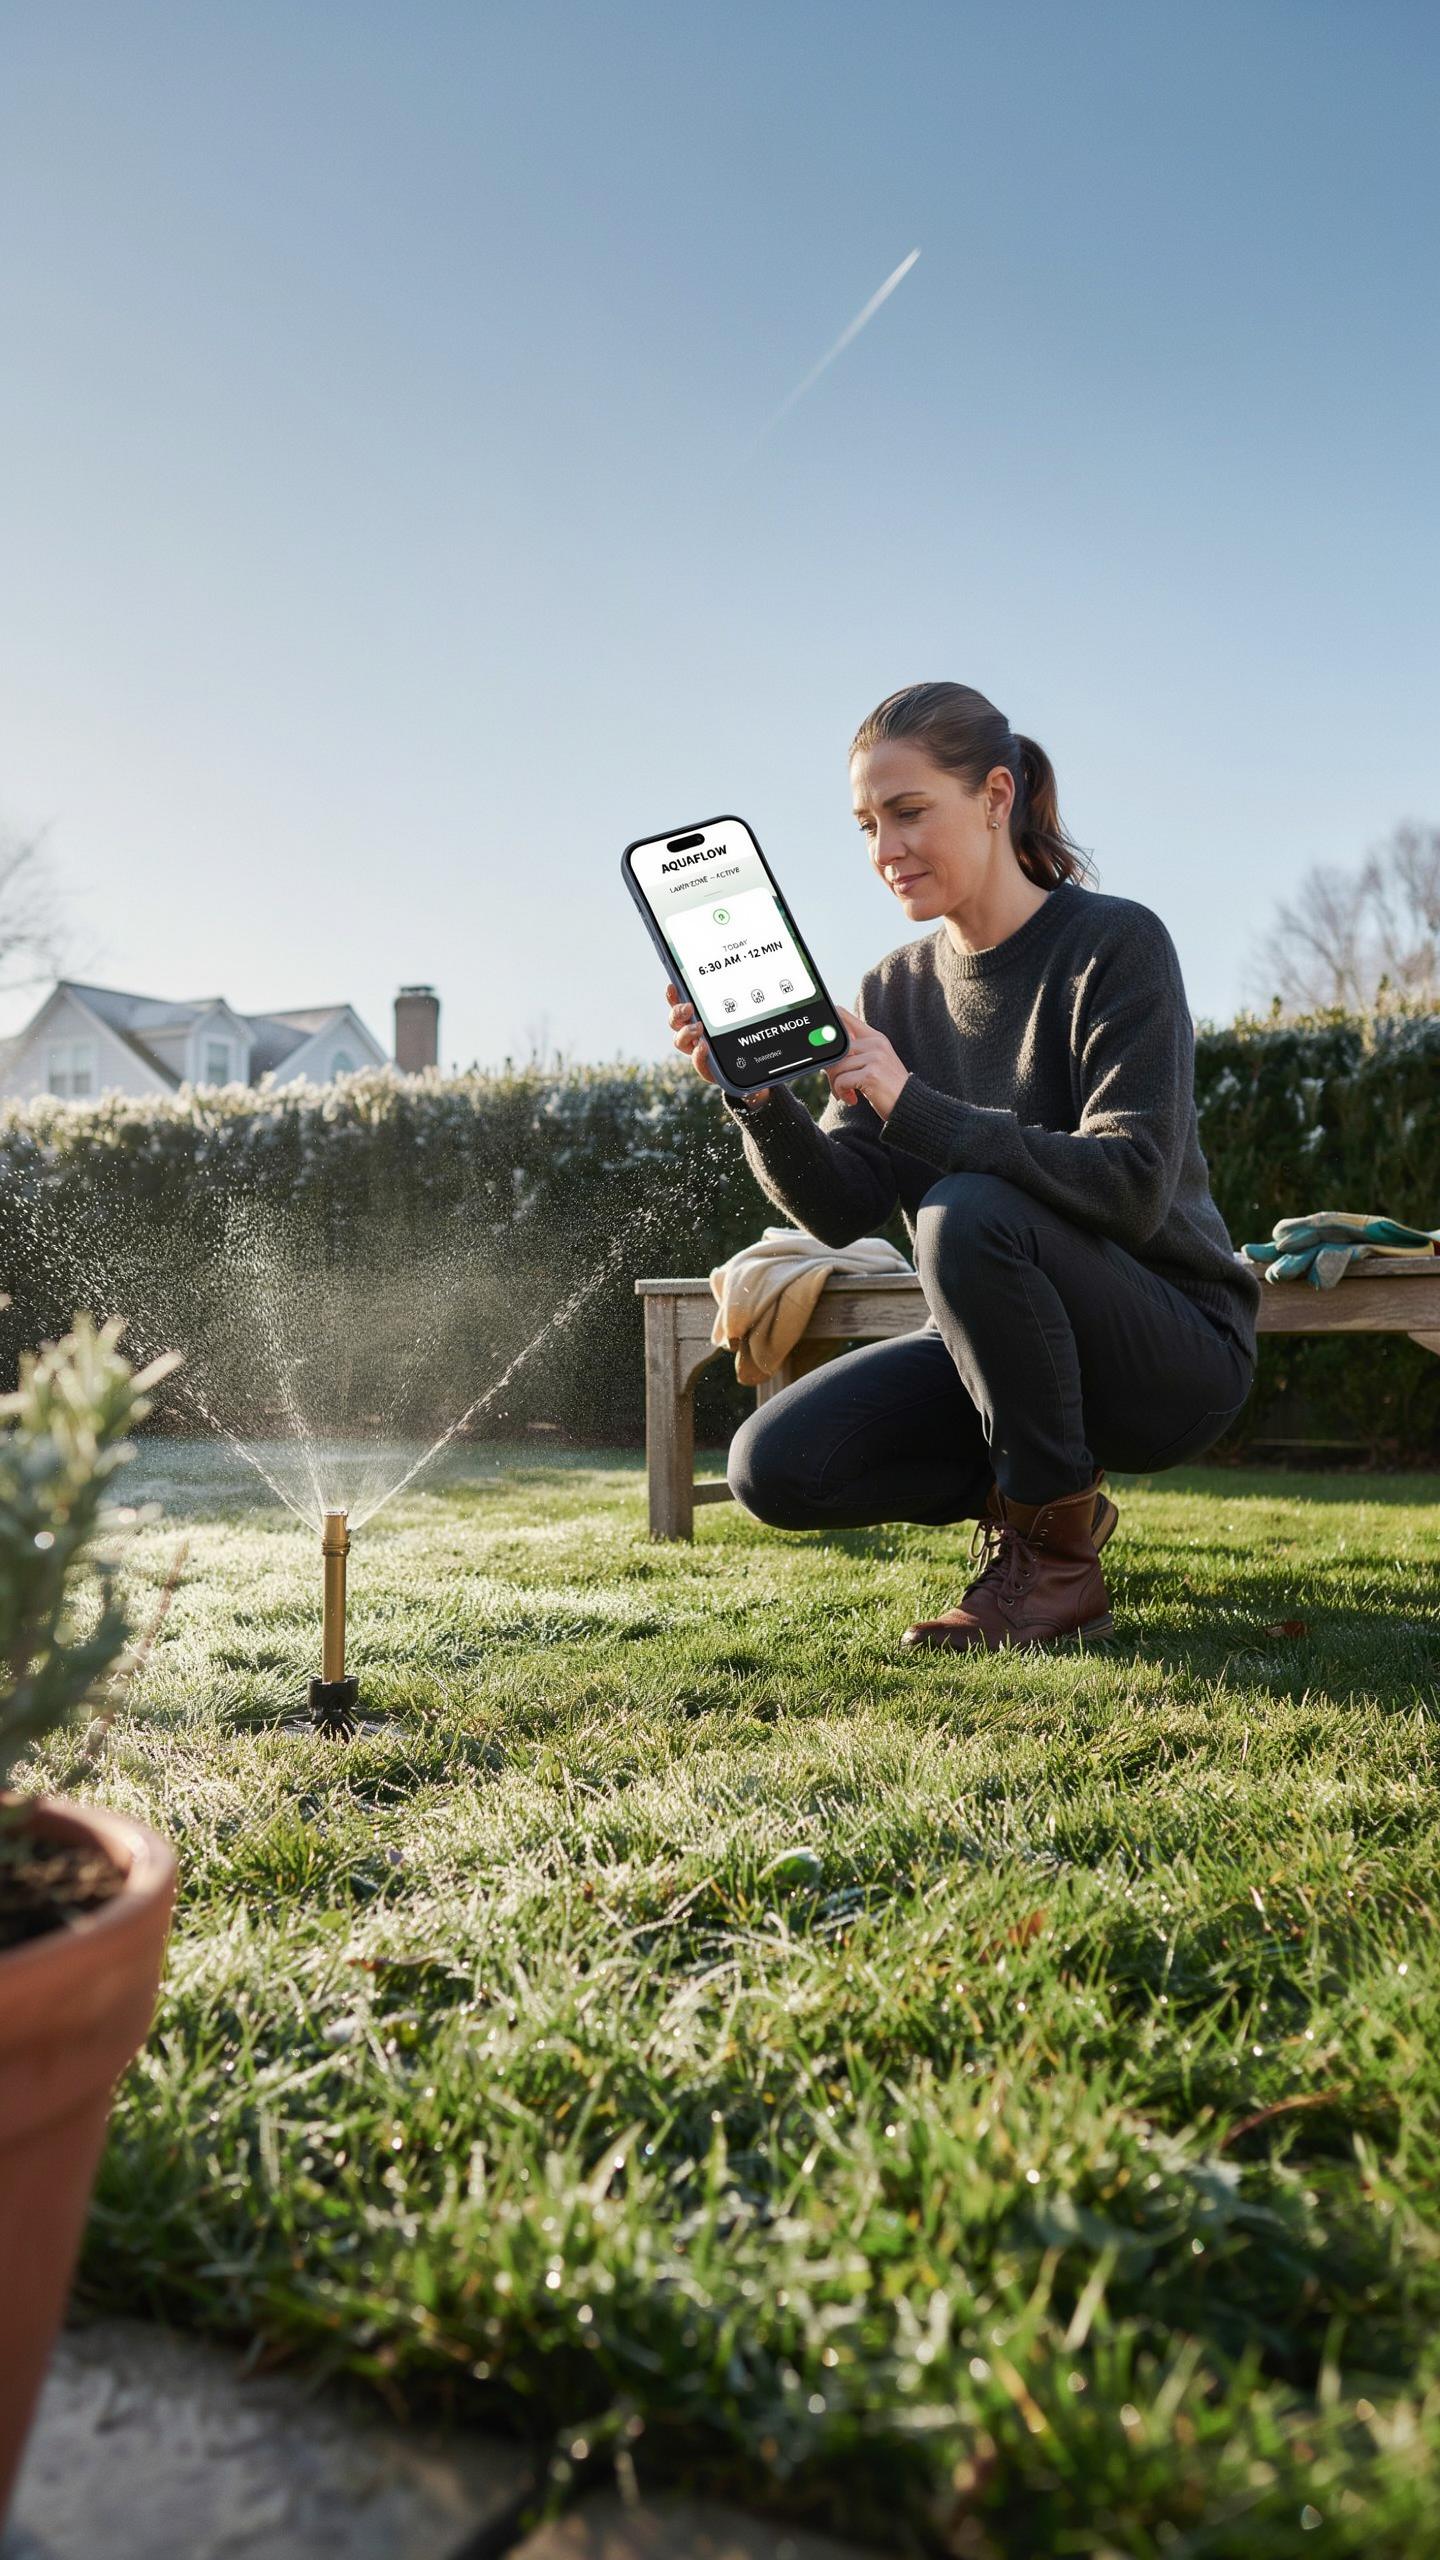
Deep watering before ground freeze provides turf roots with soil moisture reserves for winter dormancy. When soil temperatures drop below 40 degrees Fahrenheit, root uptake slows dramatically. A thorough watering cycle two to three weeks before the first hard freeze saturates the soil profile to depths of six to eight inches. This moisture buffer protects roots during freeze-thaw cycles and reduces winter desiccation damage to dormant grass.
Timing matters more than frequency at this stage. A single deep watering outperforms multiple shallow applications before freeze. Apply water until it penetrates the root zone completely, then stop all irrigation until spring green-up. This approach maximizes soil moisture retention without promoting new growth that frost will kill.
A garden should be a place where the soul finds rest, but true peace comes from knowing your pipes are drained and the water won’t freeze when the winter winds howl. Shutting off the irrigation is a simple act of love that ensures your landscape awakens with joy in the spring.
Gradual Reduction Cycles
Taper irrigation frequency starting in late September or early October, depending on your climate zone. Reduce watering intervals from weekly to every ten to fourteen days as temperatures decline. Monitor soil moisture conditions rather than following a fixed calendar schedule. If rainfall occurs, skip scheduled irrigation cycles to avoid oversaturation.

Cut irrigation cycles to zero once soil temperatures consistently drop below 50 degrees Fahrenheit during daylight hours. At this point, dormant turf requires no supplemental water. Resume full schedules only when soil temperatures warm above 50 degrees in spring. This gradual transition prevents root shock and aligns irrigation practice with turf physiology during dormancy.
Integrating Row Covers Garden Methods With Dry Irrigation Lines
Insulating Veggie Beds
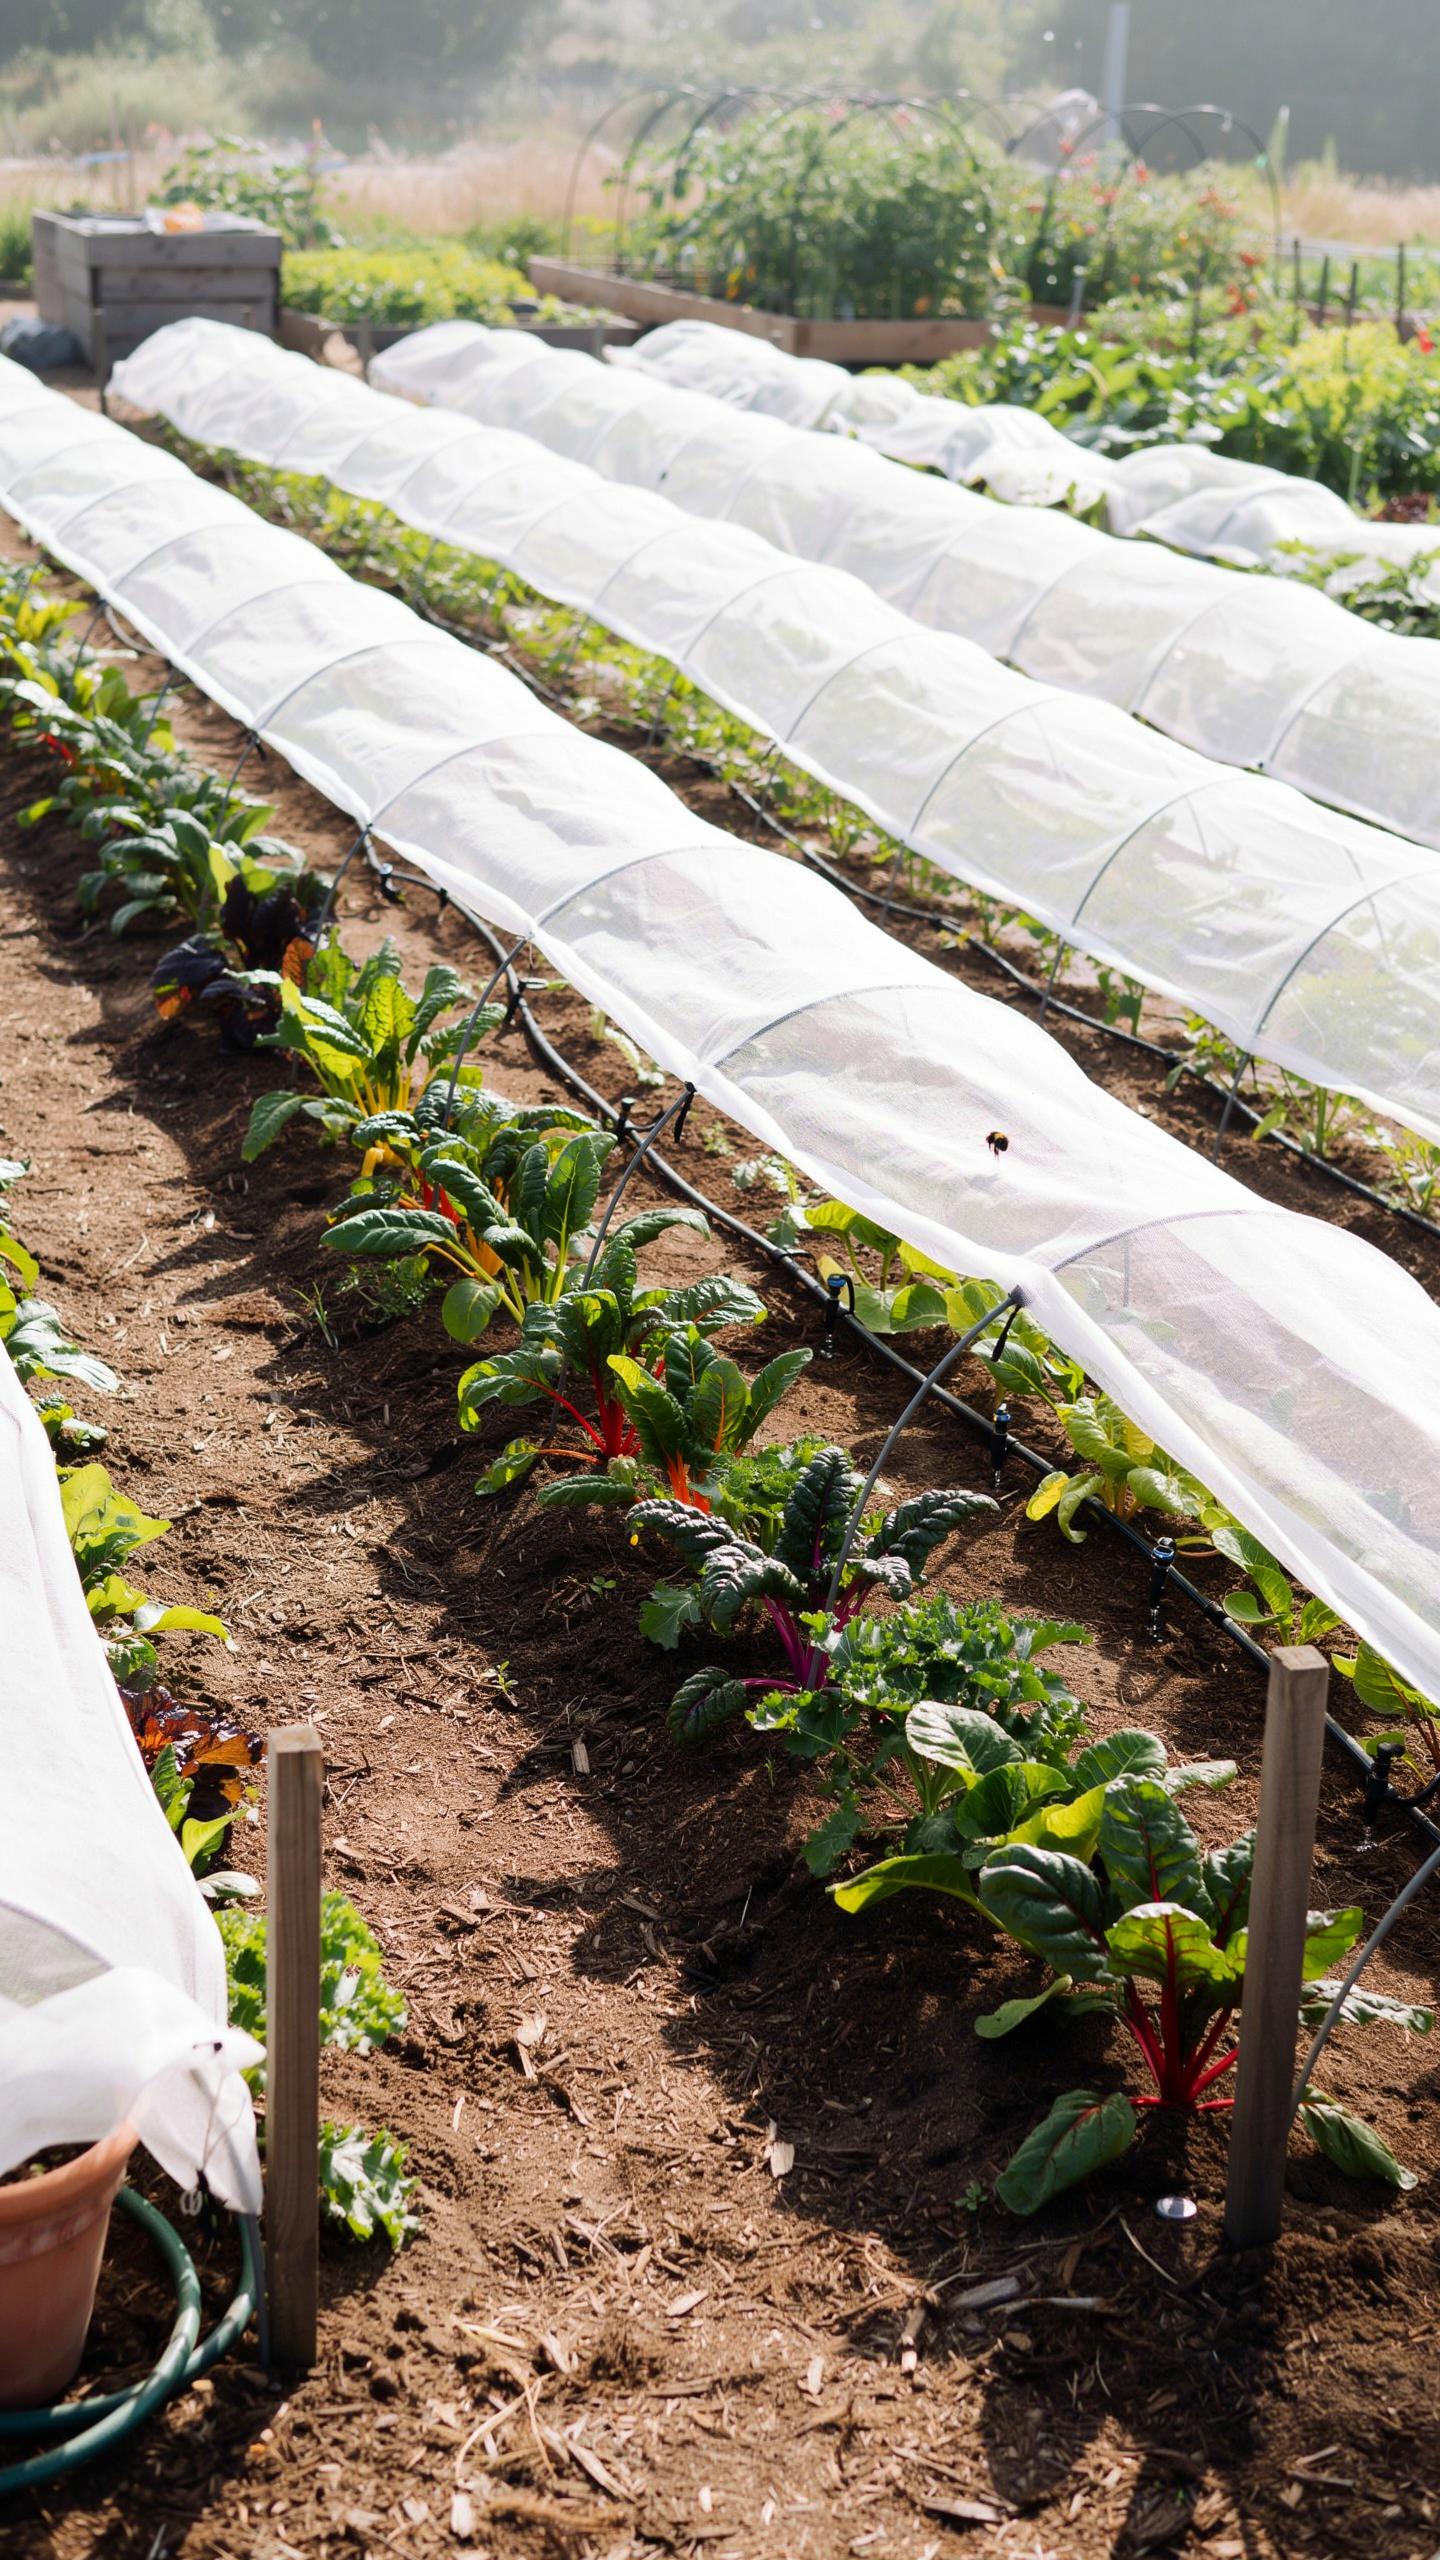
Row covers trap heat radiating from soil while your irrigation system sits dormant. The fabric creates a dead air space that slows heat loss. During winter, soil temperature matters more than air temperature. Covers reduce temperature swings that damage plant cells. This strategy works because you eliminate water delivery that would freeze on plants and in lines.
The cover method requires proper material selection. Spun polypropylene handles repeated freezing cycles without degradation. Weight matters. Heavier fabrics provide more insulation but trap less light. Lay covers directly on plants or use low hoops to maintain an air gap. Secure edges with soil, stakes, or stones to prevent wind from displacing the barrier and exposing plants to temperature shock.
Preventing Frost Heaving
Frost heaving occurs when soil moisture freezes and expands, lifting plants from the ground. Row covers reduce soil temperature fluctuations that trigger repeated freeze-thaw cycles. Dry irrigation lines prevent moisture from pooling near root zones where ice expansion causes the most damage. Combine these methods by draining systems completely before covering beds. The fabric acts as insulation while the absence of standing water eliminates the primary mechanism that uproots tender perennials and biennial crops.

Tender root crowns need stable soil conditions rather than protection from cold alone. Plants survive extreme cold when soil stays frozen consistently. The danger comes from thawing and refreezing cycles that crack crowns and rupture root tissues. Your row cover maintains dormancy by keeping soil consistently cold. Empty irrigation lines ensure no water feeds freeze-thaw cycles beneath the fabric, protecting root structure through winter.
How To Maintain Irrigation Systems And Valves In Extreme Cold
Valve Protection Checklist
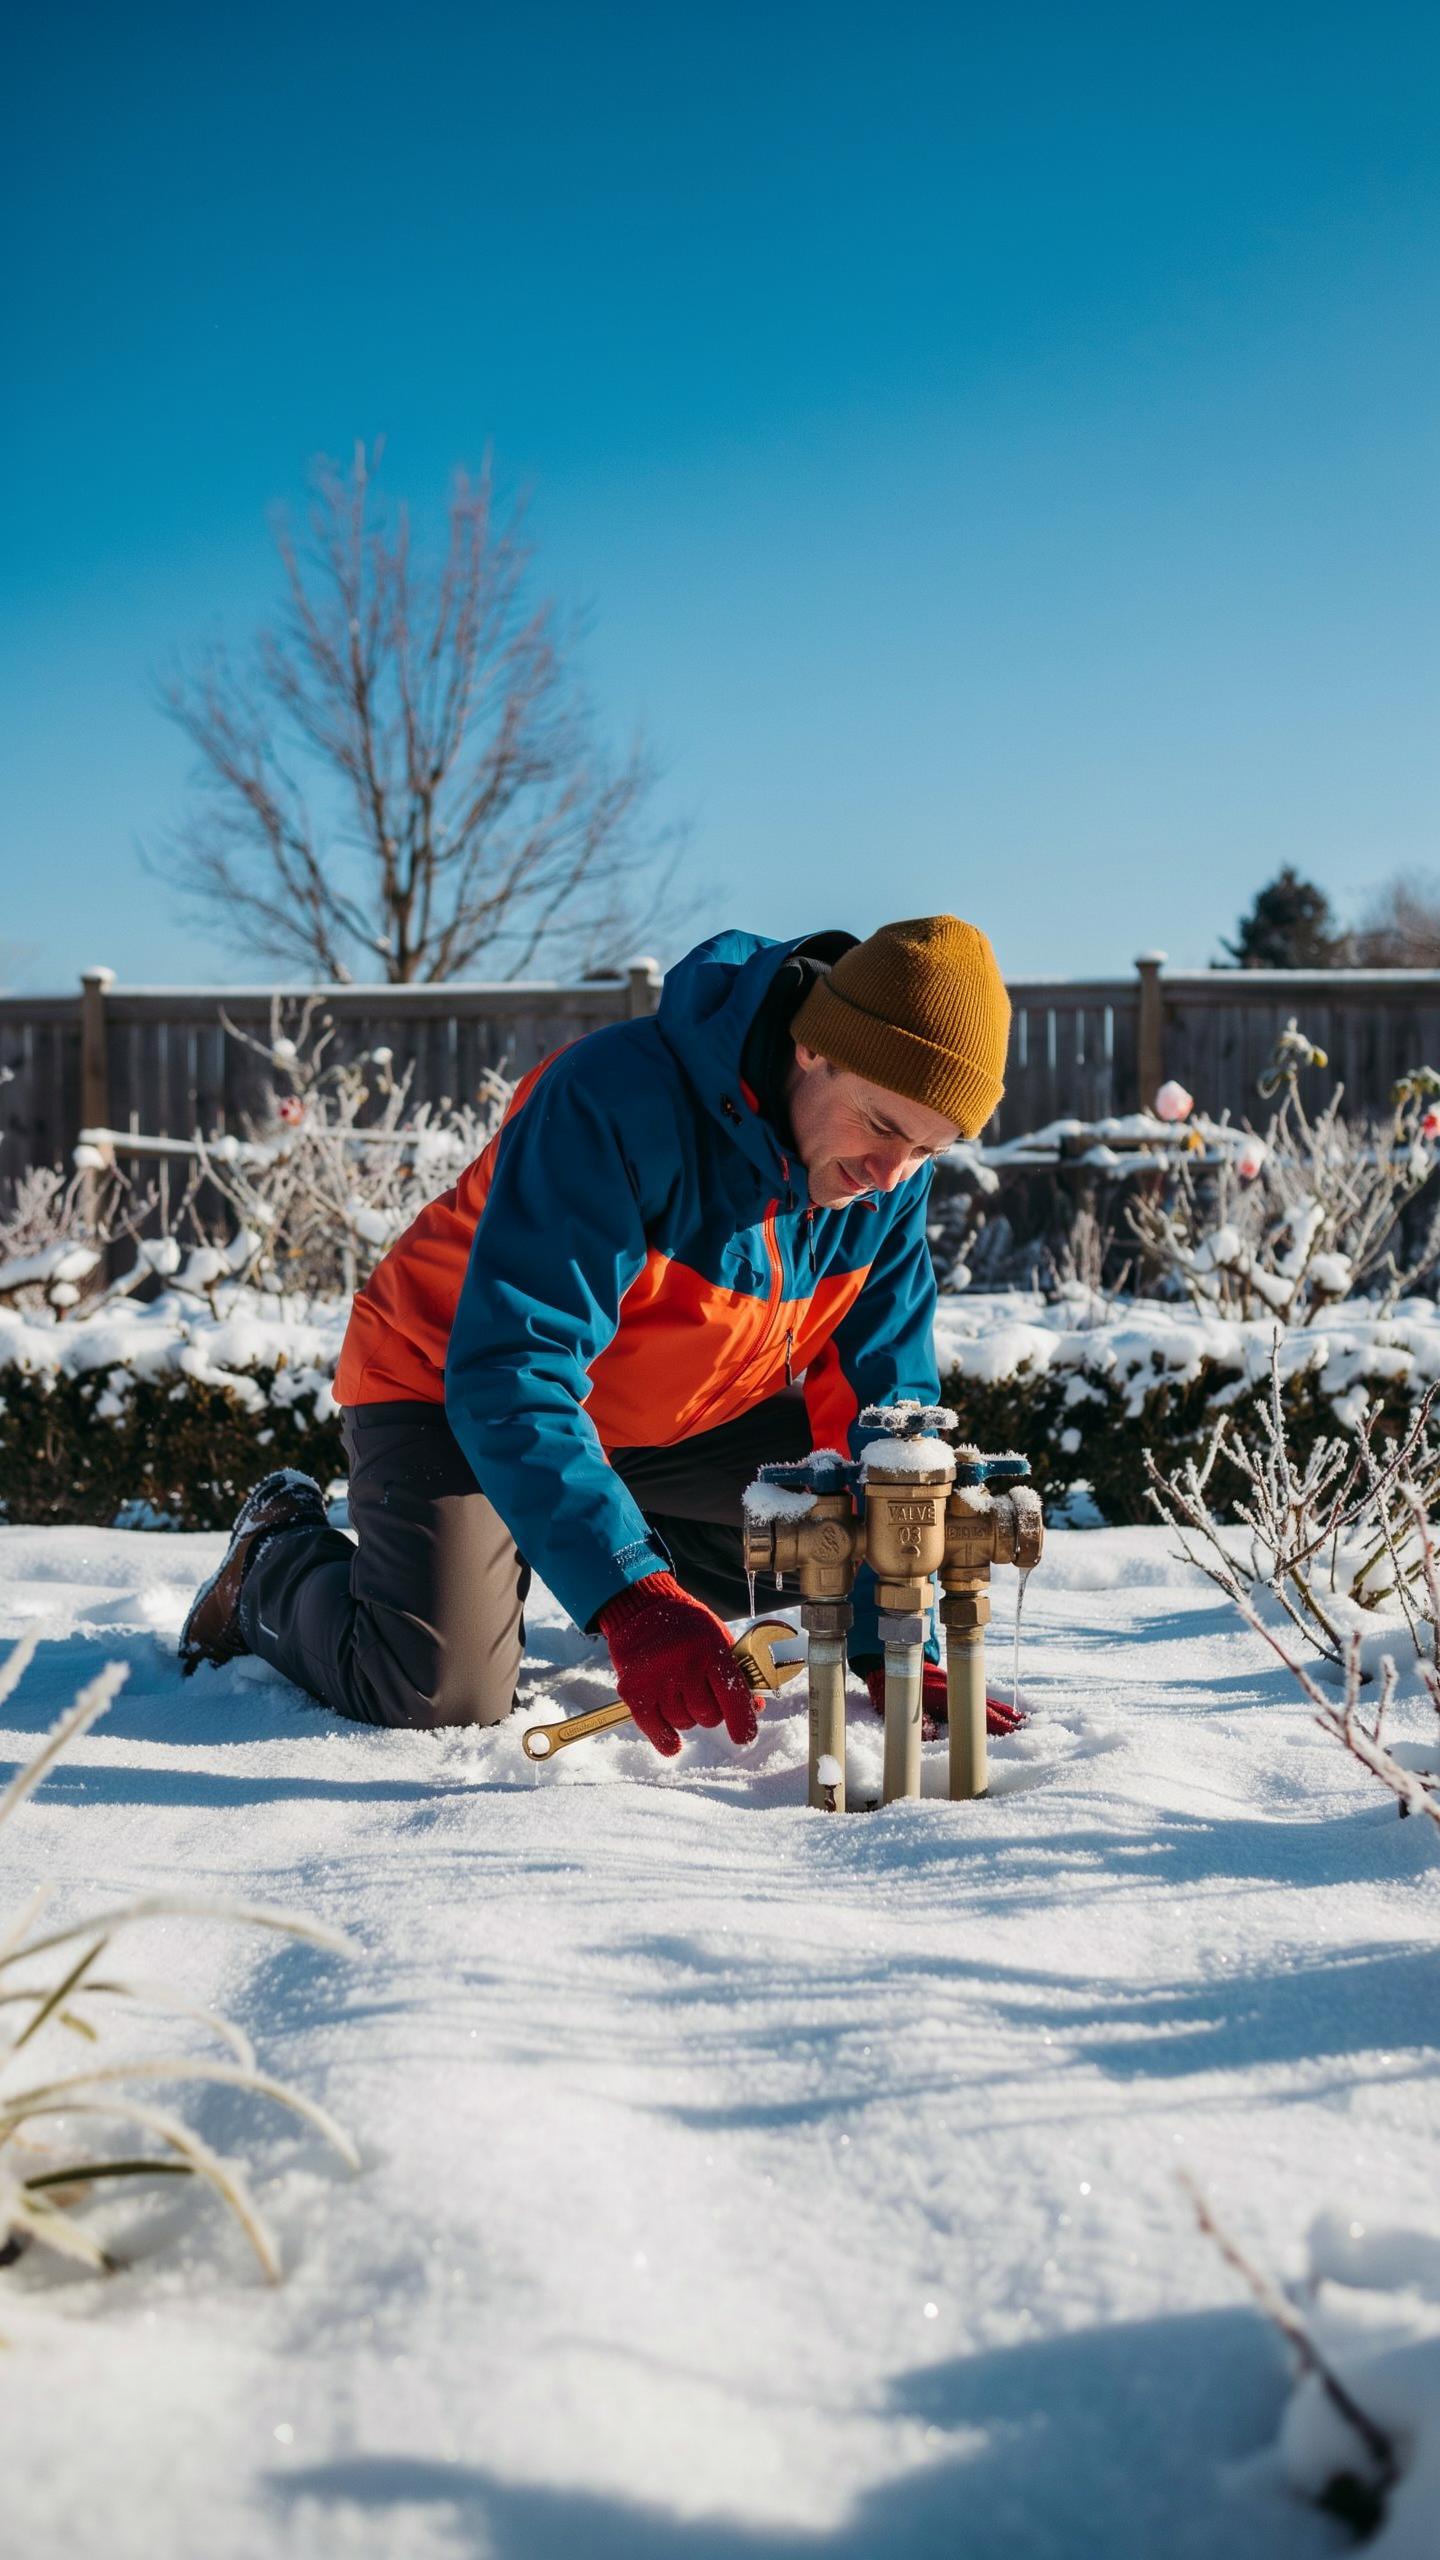
Backflow preventers and shutoff valves fail in freezing temperatures because water inside them expands and cracks metal or plastic components. You must insulate these devices before the first freeze arrives. Start by identifying all valve locations on your property, including underground boxes and above-ground connections near the main water line.
- Foam pipe insulation sleeves: Wrap backflow preventers and exposed valve stems with closed-cell foam rated for outdoor use. Use sleeves at least one inch thick to slow heat loss and protect against temperature swings.
- Fiberglass wrap or blankets: Layer fiberglass insulation around valve boxes and connections. Secure it with weatherproof tape to prevent moisture from entering gaps and creating ice pockets.
- Heat tape with thermostat: Install self-regulating heat tape around valves that remain in use during winter. Choose models with built-in thermostats to prevent overheating and reduce energy waste.
- Burlap or canvas covers: Use heavy burlap to create a windbreak around exposed valves. Layer it with plastic sheeting underneath to block wind-driven moisture and direct water away from valve bodies.
- Caulk and sealant: Apply weatherproof caulk around any gaps where pipes enter valve boxes. Seal valve stem openings to prevent water infiltration that turns to ice and damages internal seals.
After wrapping valves, check your insulation in late fall before temperatures drop. Ensure no gaps exist where cold air can reach metal or plastic surfaces. Replace damaged or deteriorated insulation immediately to maintain continuous protection throughout the winter season.
Valve Box Insulation
Underground valve boxes lose heat quickly because soil temperatures drop below freezing. You prevent ice formation by filling the box with non-conductive material that slows heat loss from the valve components inside. The goal is to keep valve internals above freezing even when outdoor temperatures drop significantly below zero.

Fill valve boxes with rigid foam boards cut to fit snugly inside the box cavity. Place foam pieces around the valve body and stem, leaving minimal air gaps. Alternatively, use pea gravel or sand mixed with expanded polystyrene beads to create an insulating layer. Pour this mixture around the valve until the box is nearly full, leaving the valve stem accessible for operation. Do not use materials that absorb water, as frozen moisture expands and damages valve components. Before filling, ensure the valve box lid closes properly. Add a weatherproof insulating box cover on top to block cold air circulation and trap heat rising from the ground below the frost line.
Outdoor Irrigation Setup Tips For Easy Winter Drainage
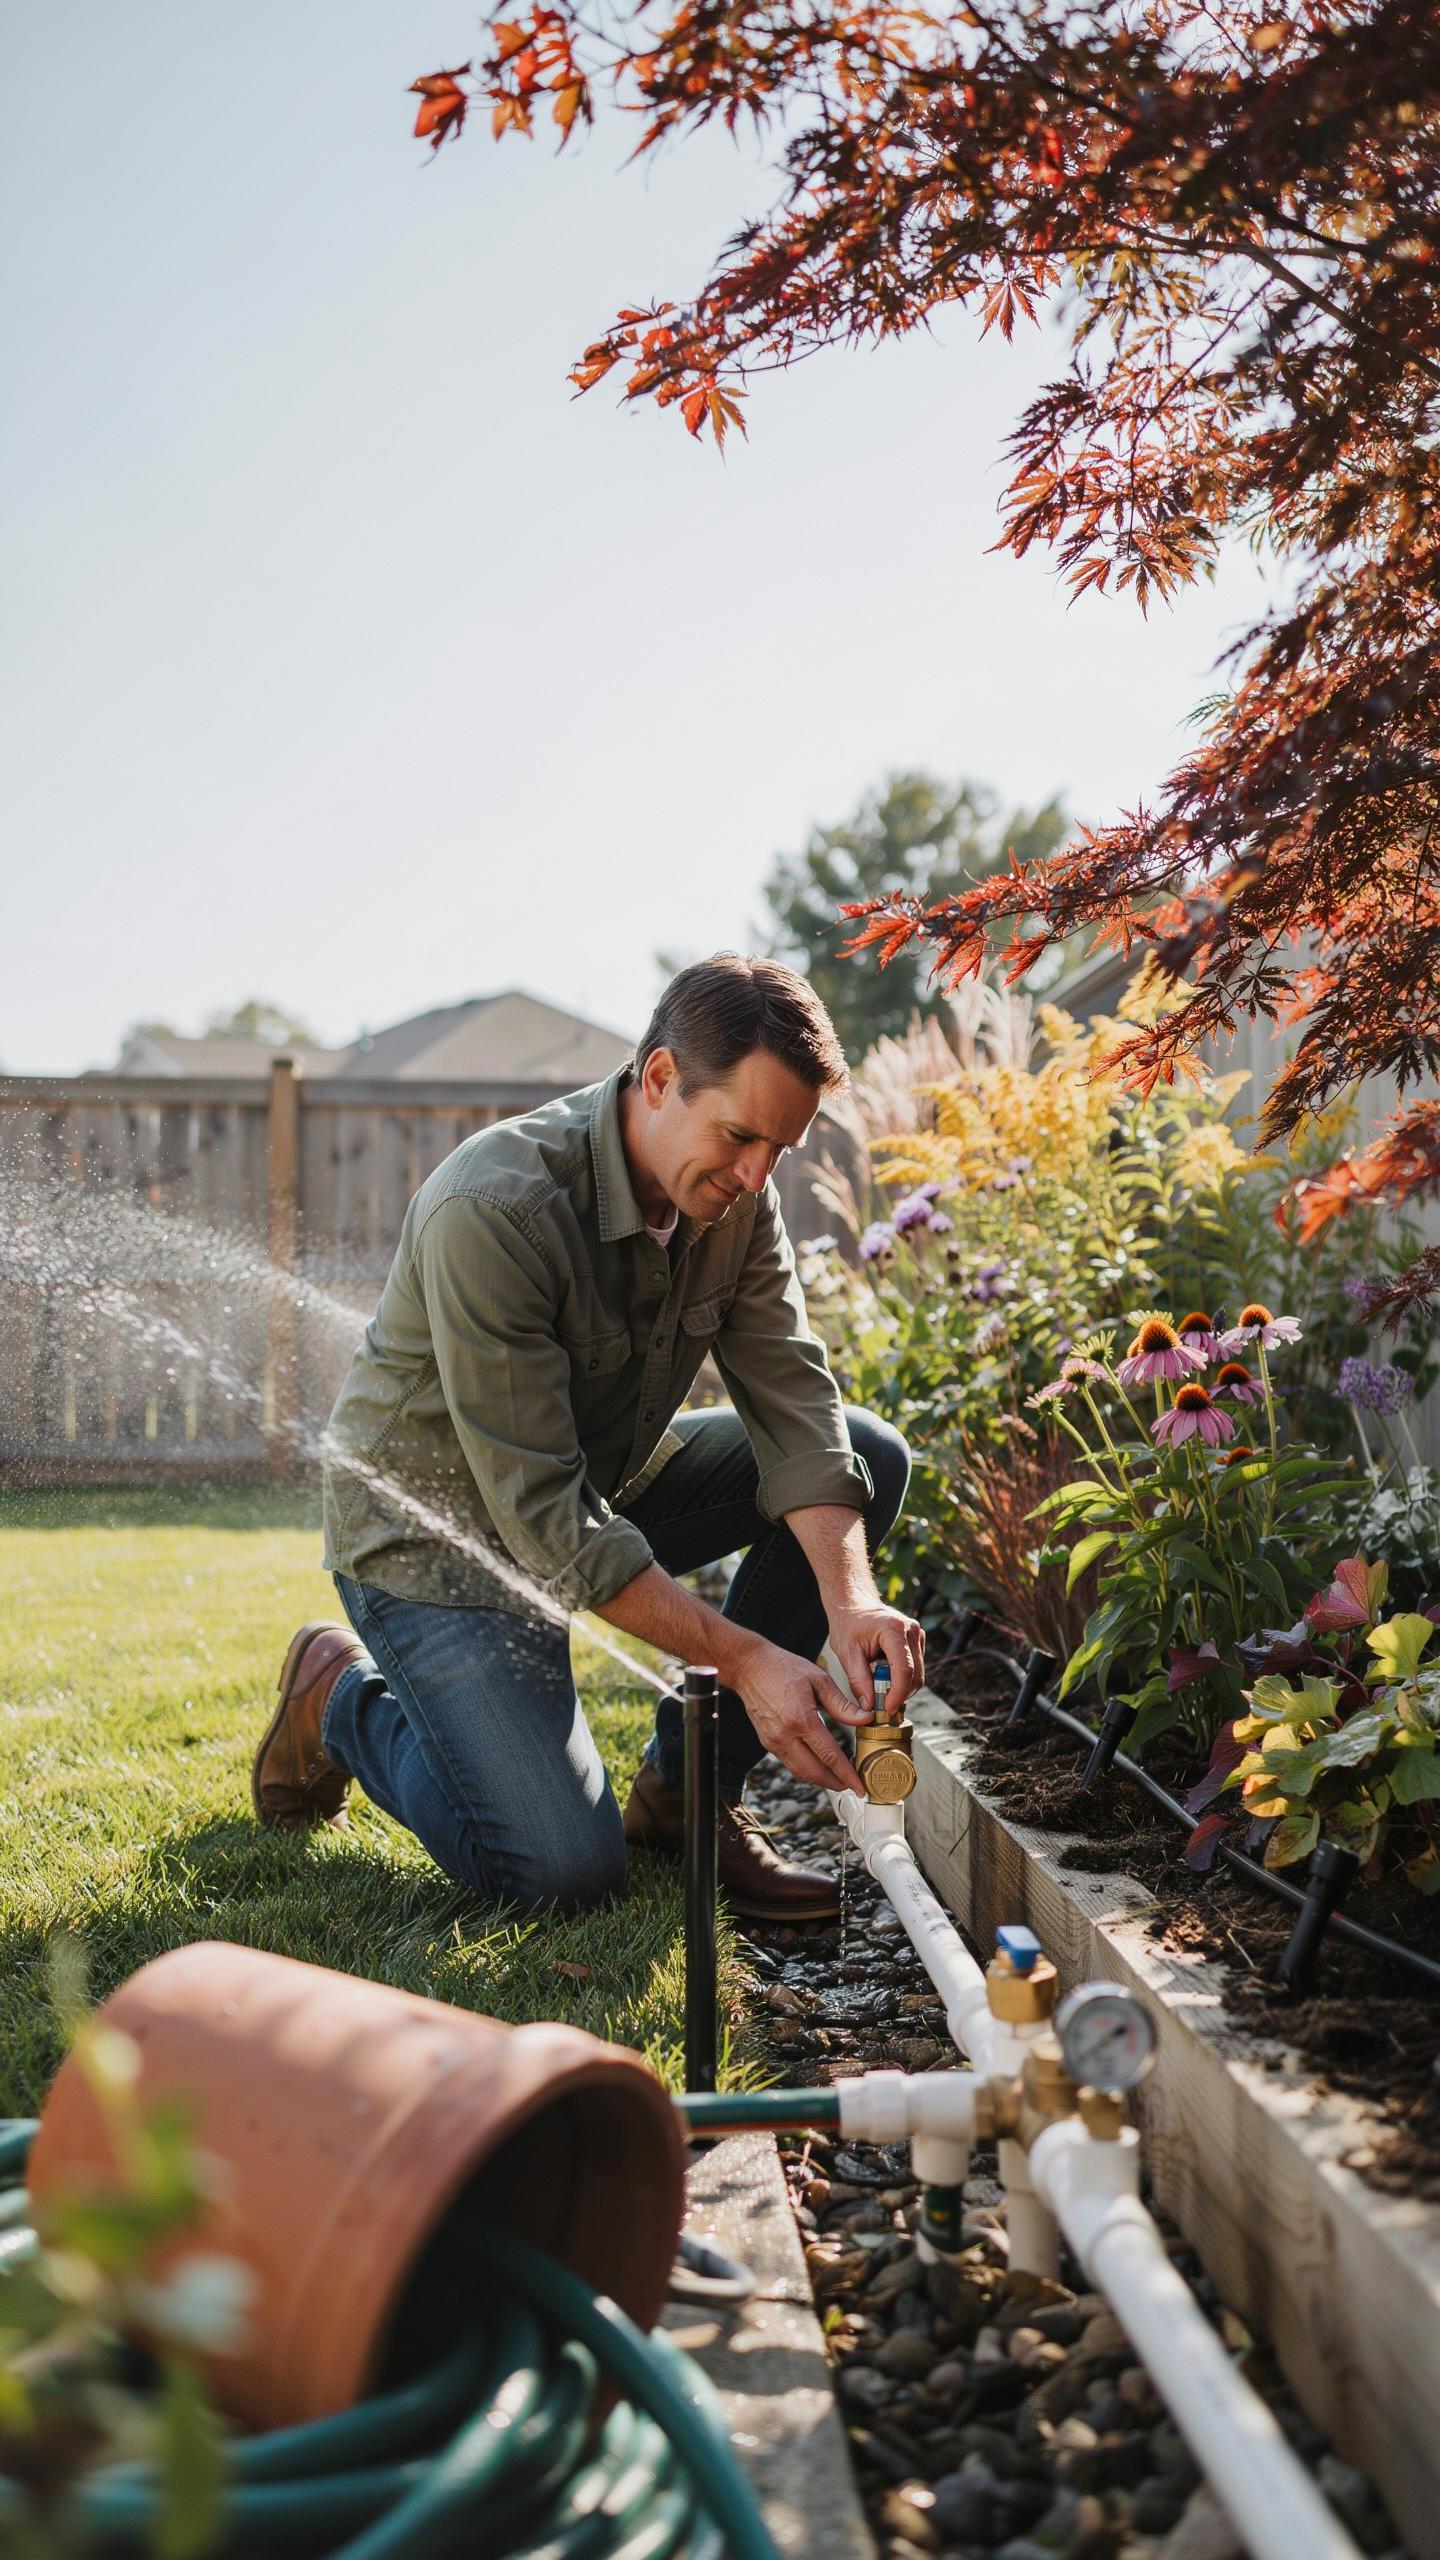
Slope And Gravity
Design your irrigation lines with a minimum slope of one-eighth inch per ten feet of run. This gradual descent moves water toward your designated drainage ports without creating pooling areas where ice forms. Gravity does the work. You simply establish the pitch during installation and let physics handle winter protection.
Locate drainage ports at the lowest points in your system. Install them at line endpoints and before any uphill sections. When you shut down for winter, open these ports and let gravity pull remaining water out. This method eliminates manual effort and reduces freeze damage risk significantly. The water exits naturally without additional equipment or labor.
Quick Disconnect Couplers
Install brass quick-disconnect couplers at strategic points where hoses connect to main lines. Brass resists corrosion better than steel and handles freeze-thaw cycles without cracking. Position couplers above ground near your shutoff valve for easy access. This setup lets you detach hoses in seconds without wrestling with rusted fittings or frozen connections.

Connect your hoses to these couplers before winter arrives. When shutoff time comes, disconnect hoses and leave couplers attached to the main line. The small volume of water trapped in couplers drains quickly through gravity ports downstream. This separation prevents hose degradation from prolonged exposure and eliminates the frozen hose problem entirely.
Troubleshooting Common Outdoor Irrigation System Issues In Winter

Cracked Manifold Hazards
Plastic manifolds crack when water freezes inside them. Ice expands and splits the material from within. Hairline cracks start small but grow under pressure. You must inspect manifolds before winter arrives. Look for stress points where multiple fittings connect. Small cracks leak water and reduce system pressure.
Replace damaged manifolds entirely rather than attempting repairs. Patching cracks fails because the underlying material weakens. Order replacement manifolds before freezing weather hits. Install new ones during your winterization process. Use brass or metal manifolds in cold climates for durability. Check all fittings and connections while you work.
Restoring Frozen Pipes
Thaw frozen lines slowly using warm water, not heat guns or torches. Direct heat causes rapid expansion that ruptures pipes. Start at the lowest point and work upward. Wrap towels around frozen sections and pour warm water over them. This gradual method prevents system damage and line splits.
Compressed air helps push water out of lines once they thaw. Blow air through sections from high to low points. Release pressure slowly to avoid forcing water into delicate components. Never use high-pressure systems to clear frozen lines. Let lines warm naturally indoors before pressurizing again. Check for leaks after thawing before restarting the system.
Frequently Asked Questions

Why is an irrigation shutoff necessary for winter garden protection?
Water trapped inside pipes can expand as it freezes, leading to catastrophic bursts and expensive landscape damage. Implementing a winter garden protection irrigation shutoff ensures that your main water supply is isolated from outdoor elements. By cutting off the flow early, you prevent ice from forming in vulnerable valves and sprinkler heads, which preserves your system’s integrity and prevents soil erosion from hidden leaks when the spring thaw arrives.
How do I properly perform a winter garden protection irrigation shutoff?
Start by locating your main isolation valve, usually found near your water meter or in a basement crawlspace. After turning the valve to the “off” position, you must run a manual cycle or use an air compressor to blow out any residual moisture. This thorough winter garden protection irrigation shutoff process ensures no pockets of water remain to freeze, effectively safeguarding your pipes against the harshest sub-zero temperatures.
What are some low-cost ways to protect my irrigation valves if I am on a budget?
If you cannot afford professional blowout services, a manual drain down is a highly accessible alternative. Ensure your shutoff valve is fully closed, then open the lowest manual drain valves in your yard to let gravity pull the water out. To add extra security, wrap exposed backflow preventers in old towels or inexpensive foam insulation tubes. These simple steps provide reliable protection without requiring expensive equipment or professional contractor fees.



