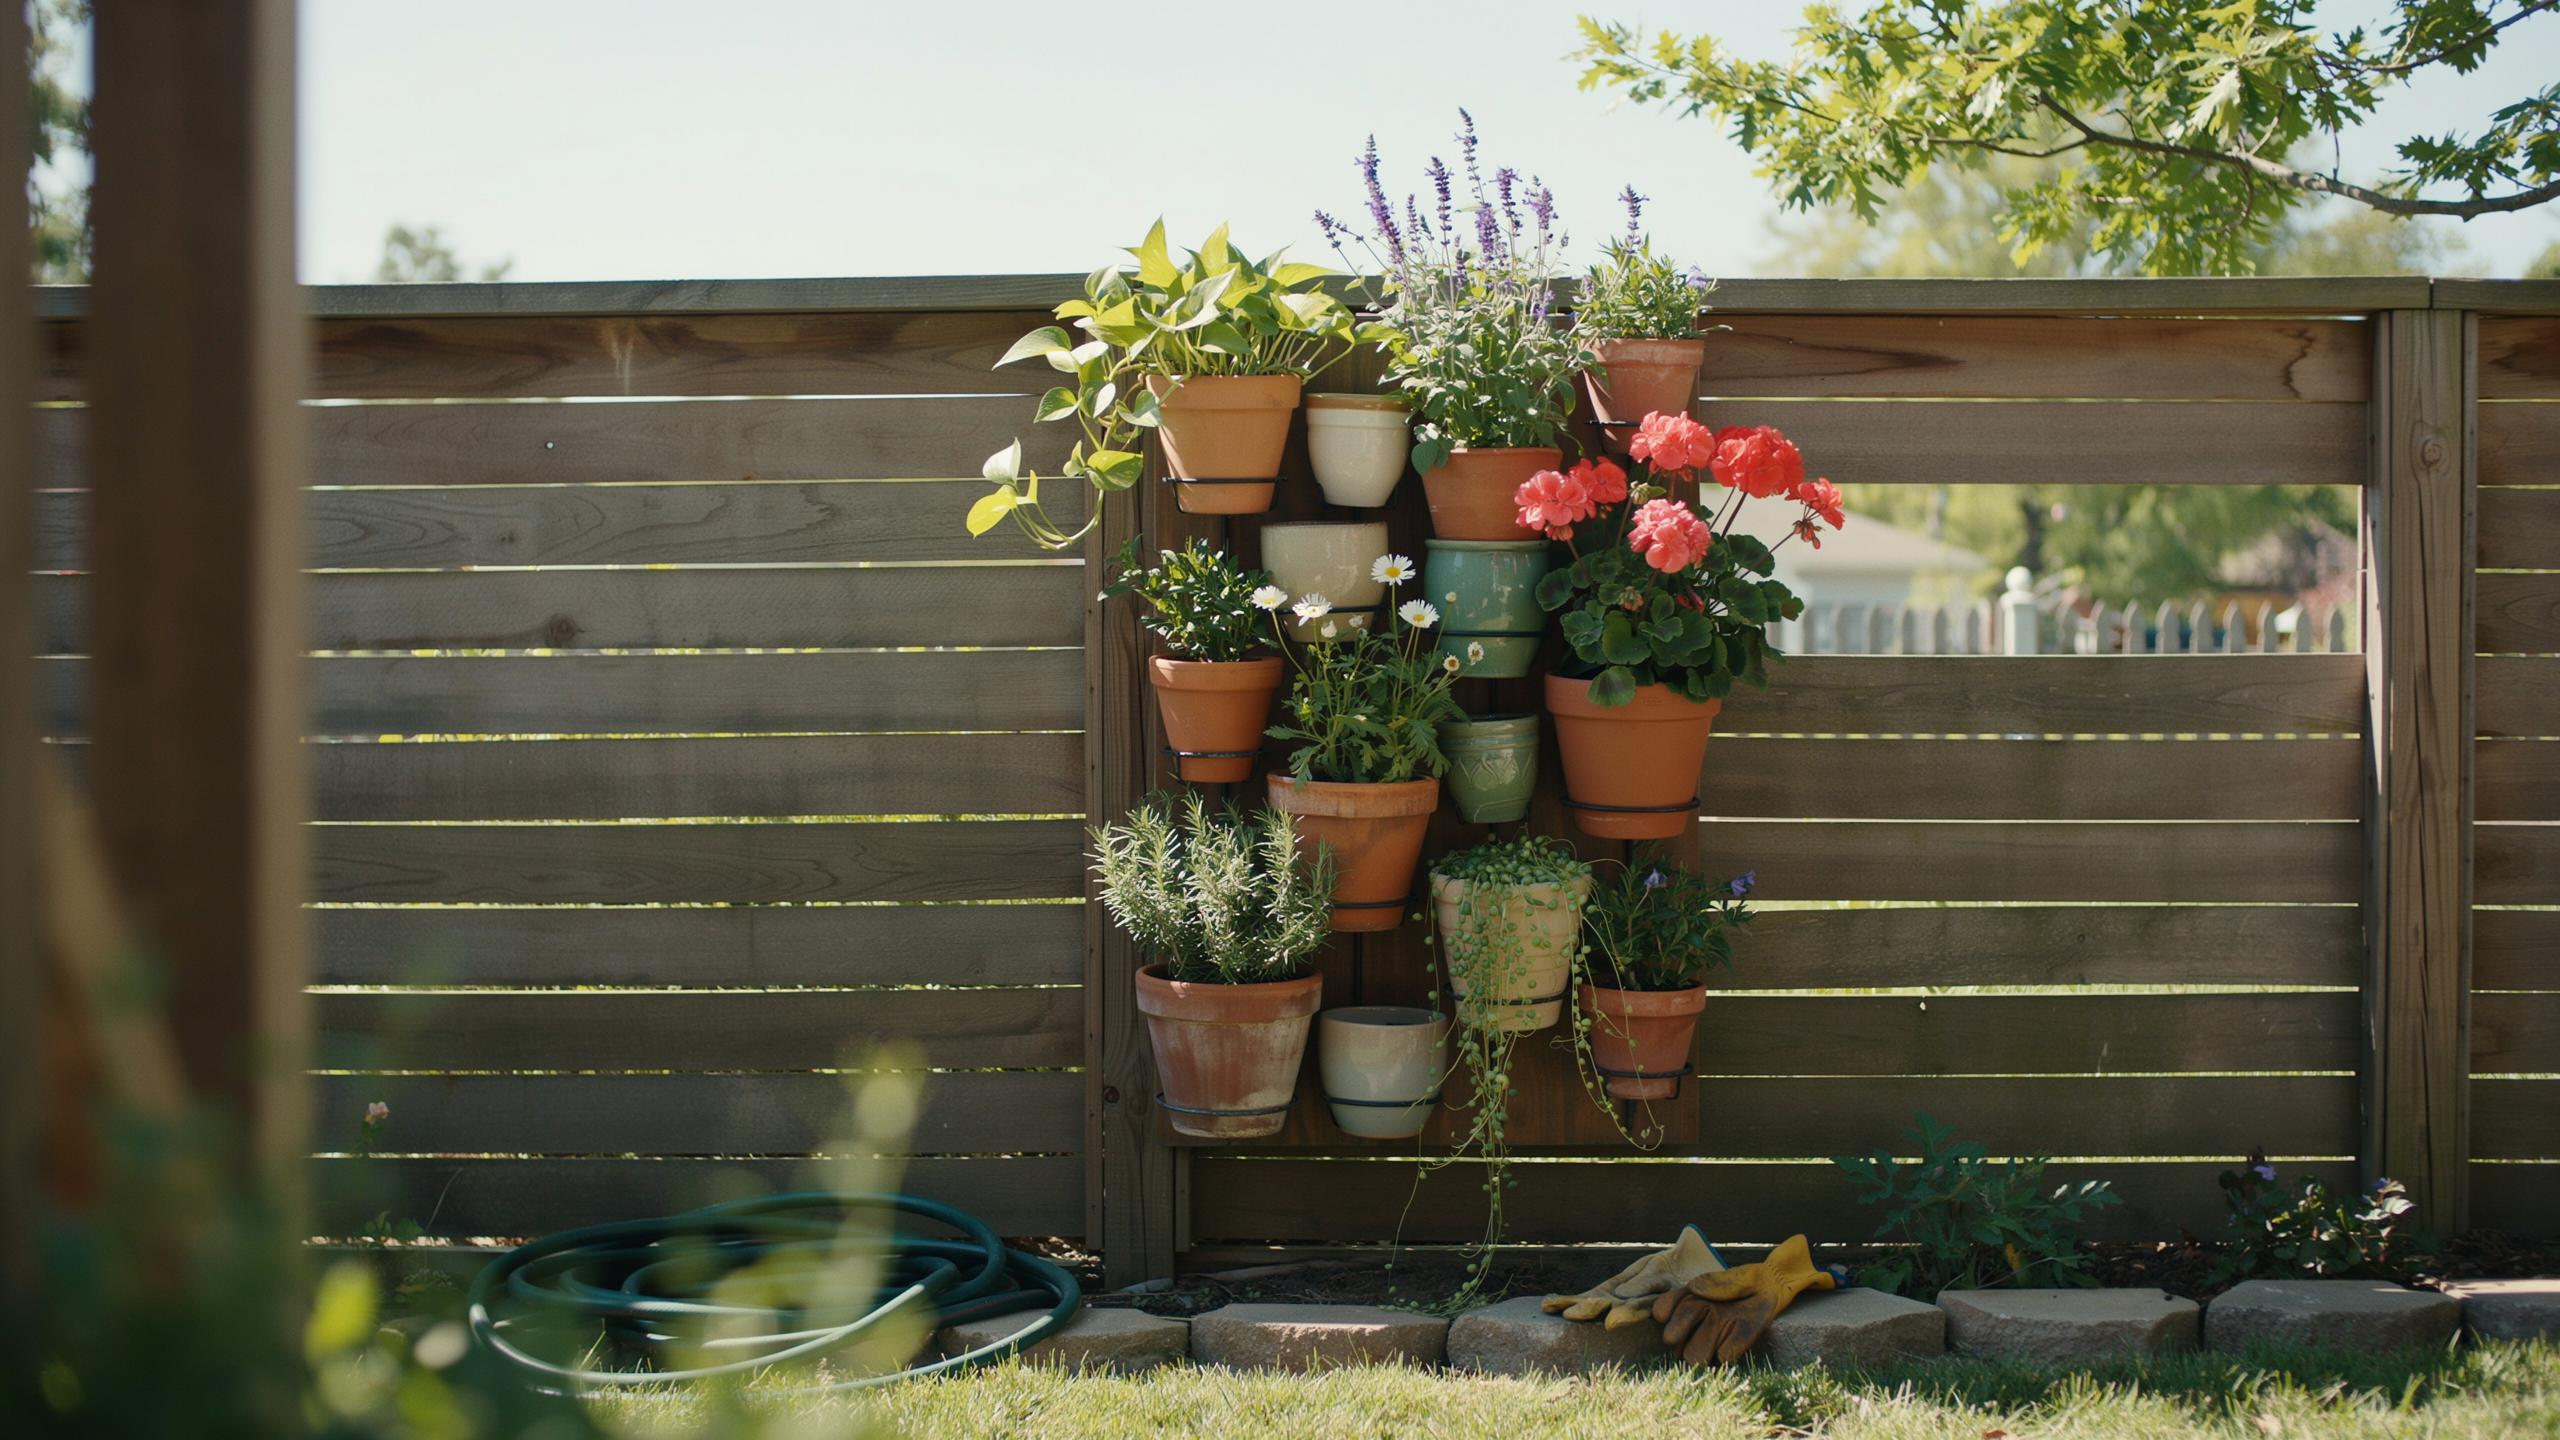
What Is A DIY Vertical Garden Wall And Why ItS Worth Building
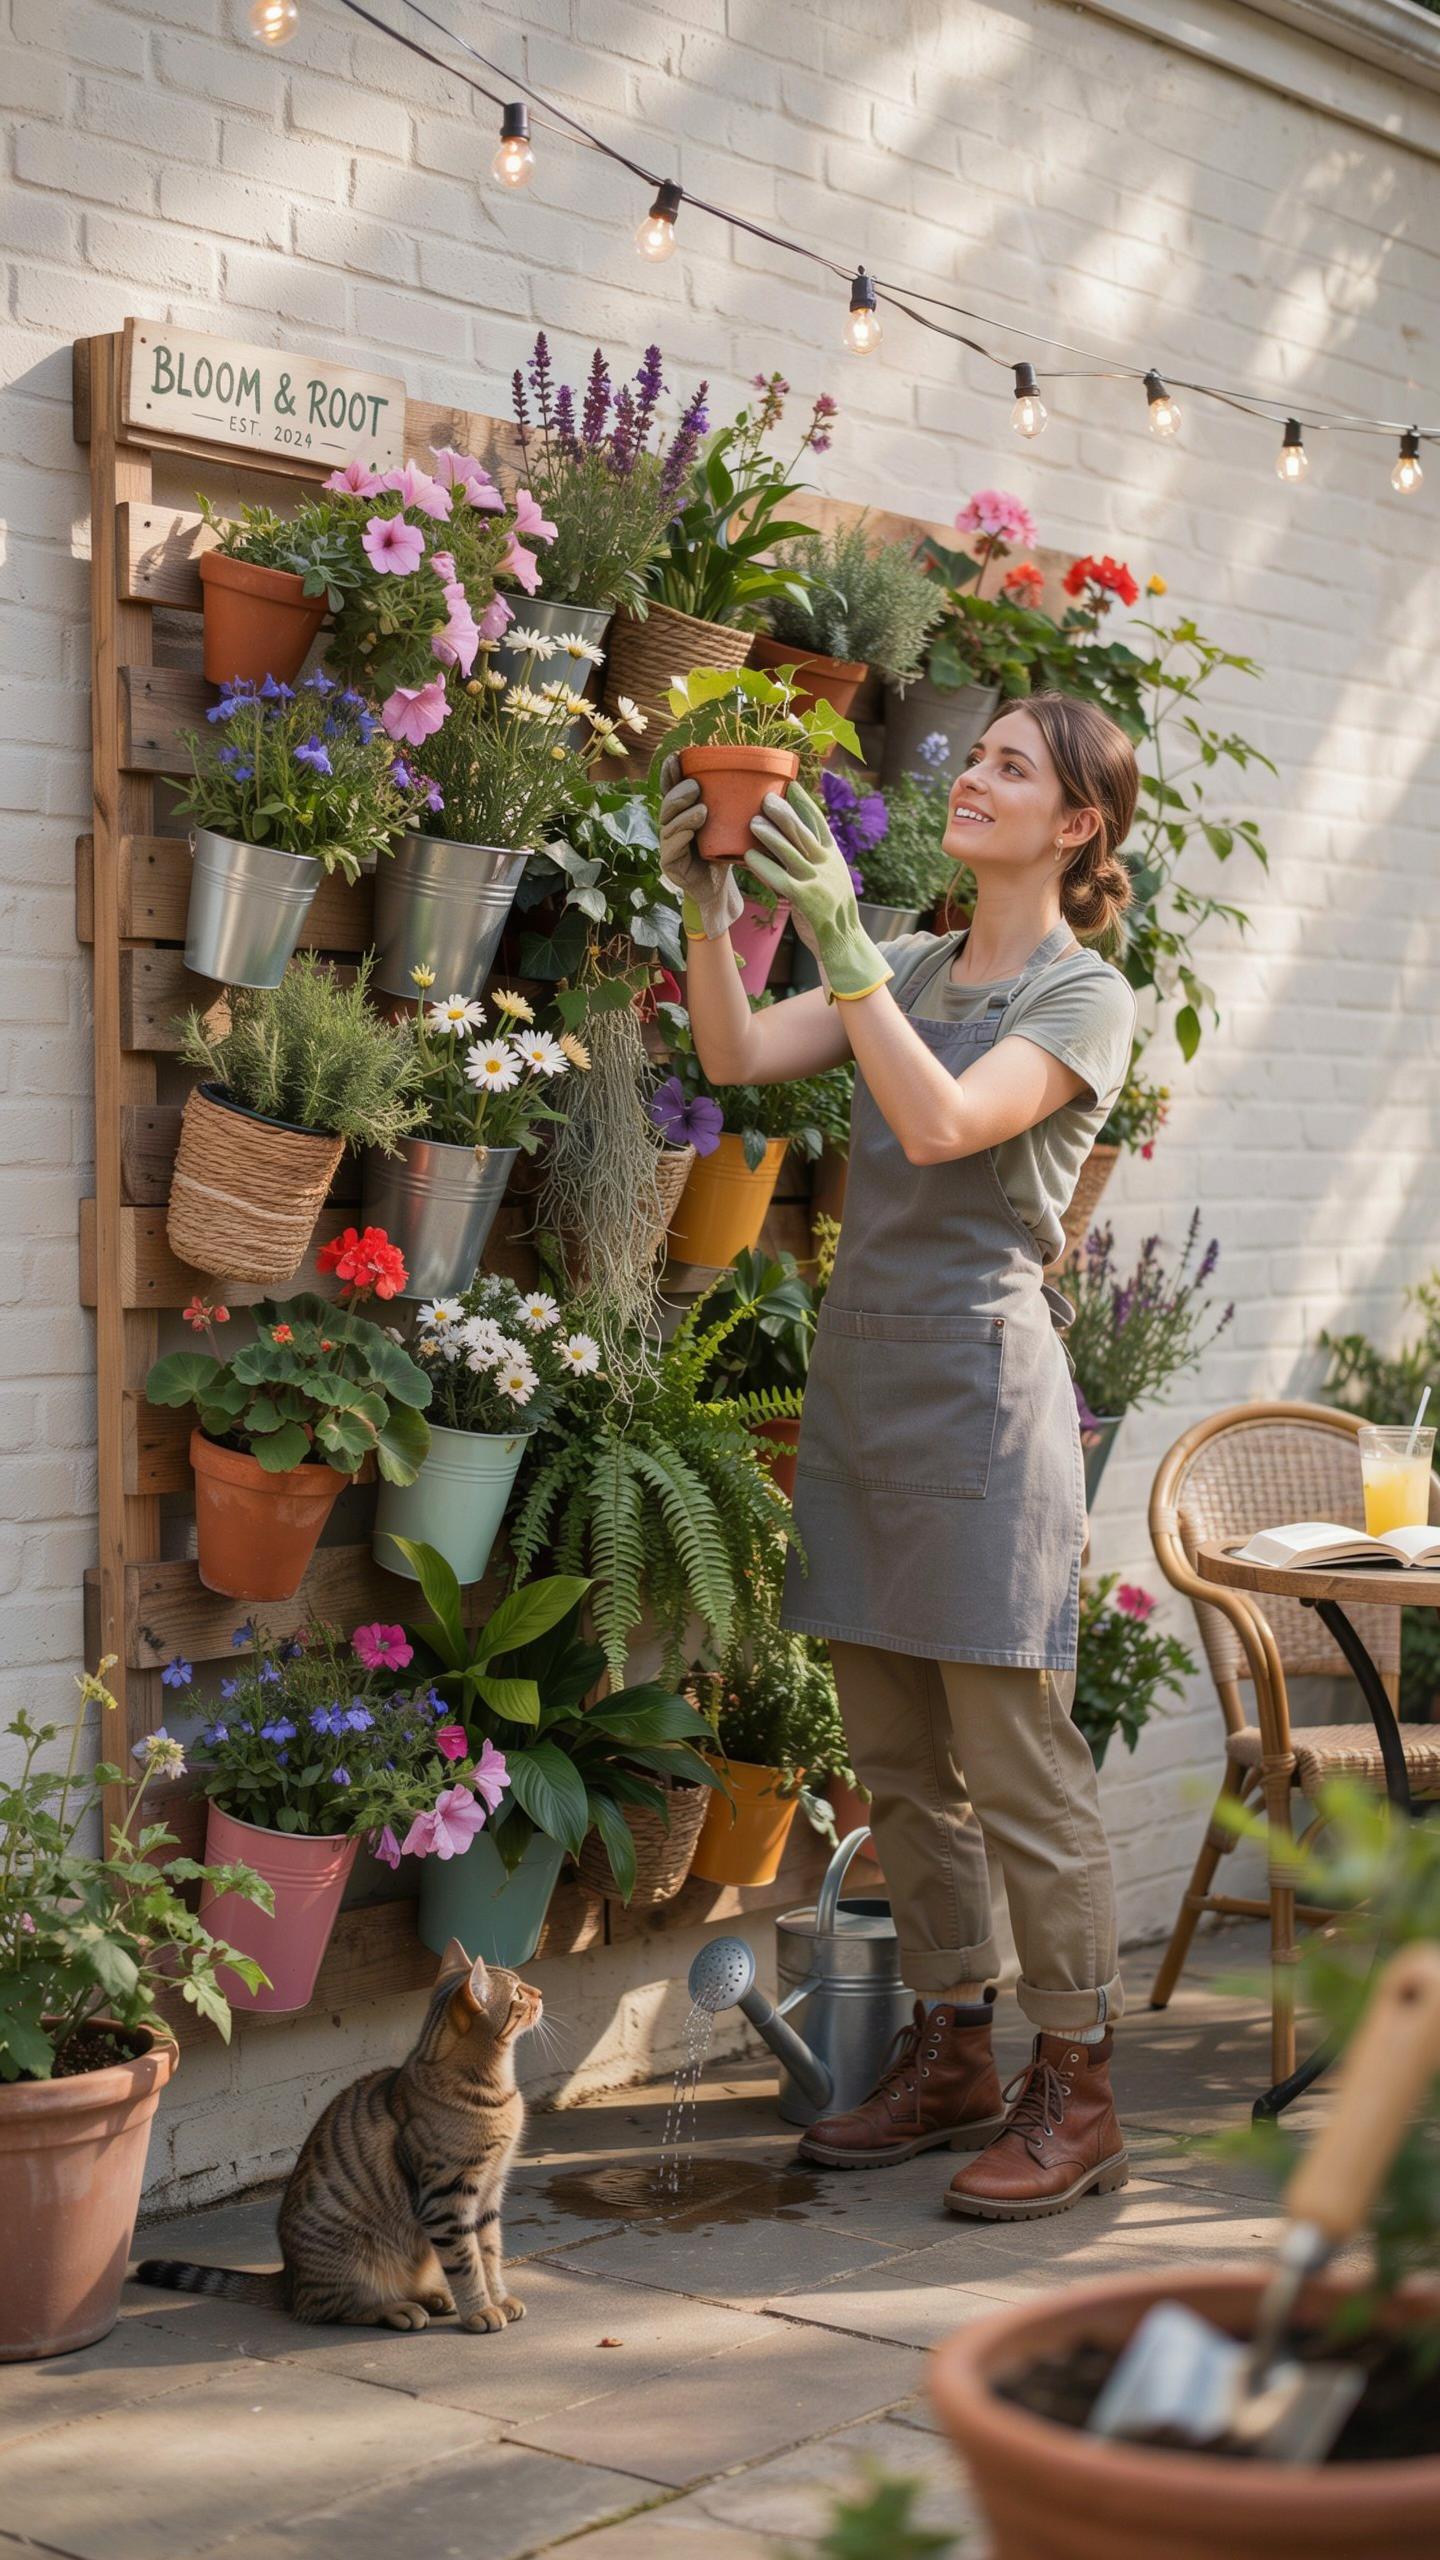
Understanding The Concept Of A Vertical Garden Wall
A vertical garden wall is a structural system that grows plants upward rather than across the ground. You attach containers or fabric pockets to a rigid frame. This frame secures to a fence or masonry surface. The method uses hydroponics or traditional soil to sustain plant life. It maximizes limited footprint areas. Designers often call this a living wall or a green wall.
Ancient civilizations used this concept for centuries. The Hanging Gardens of Babylon serve as a primary historical example. Modern versions use wood, plastic, or felt. You can build these systems using simple hardware store supplies. A DIY approach allows you to customize the size for your specific space. You control the irrigation and the light exposure. This setup solves the problem of small yard space.
Key Benefits Of Growing Plants Vertically On Your Wall
Vertical gardening offers immediate mechanical advantages. It improves air quality through natural filtration. The structure acts as a thermal buffer for your home. It creates a cooling effect via transpiration. You reduce the strain on your back because you work at eye level. This prevents the physical fatigue common with ground-level gardening. It also keeps plants away from most ground-based pests.
This method increases your total crop yield per square foot. You can grow herbs and vegetables in areas where soil is poor or paved. The wall protects your plants from soil-borne diseases. It also provides a noise barrier by absorbing sound waves. Strategic placement blocks unwanted views or wind. Building a wall adds functional value to your patio. It turns a bare surface into a productive asset.

Vertical Garden Wall DIY How To Build One From Scratch
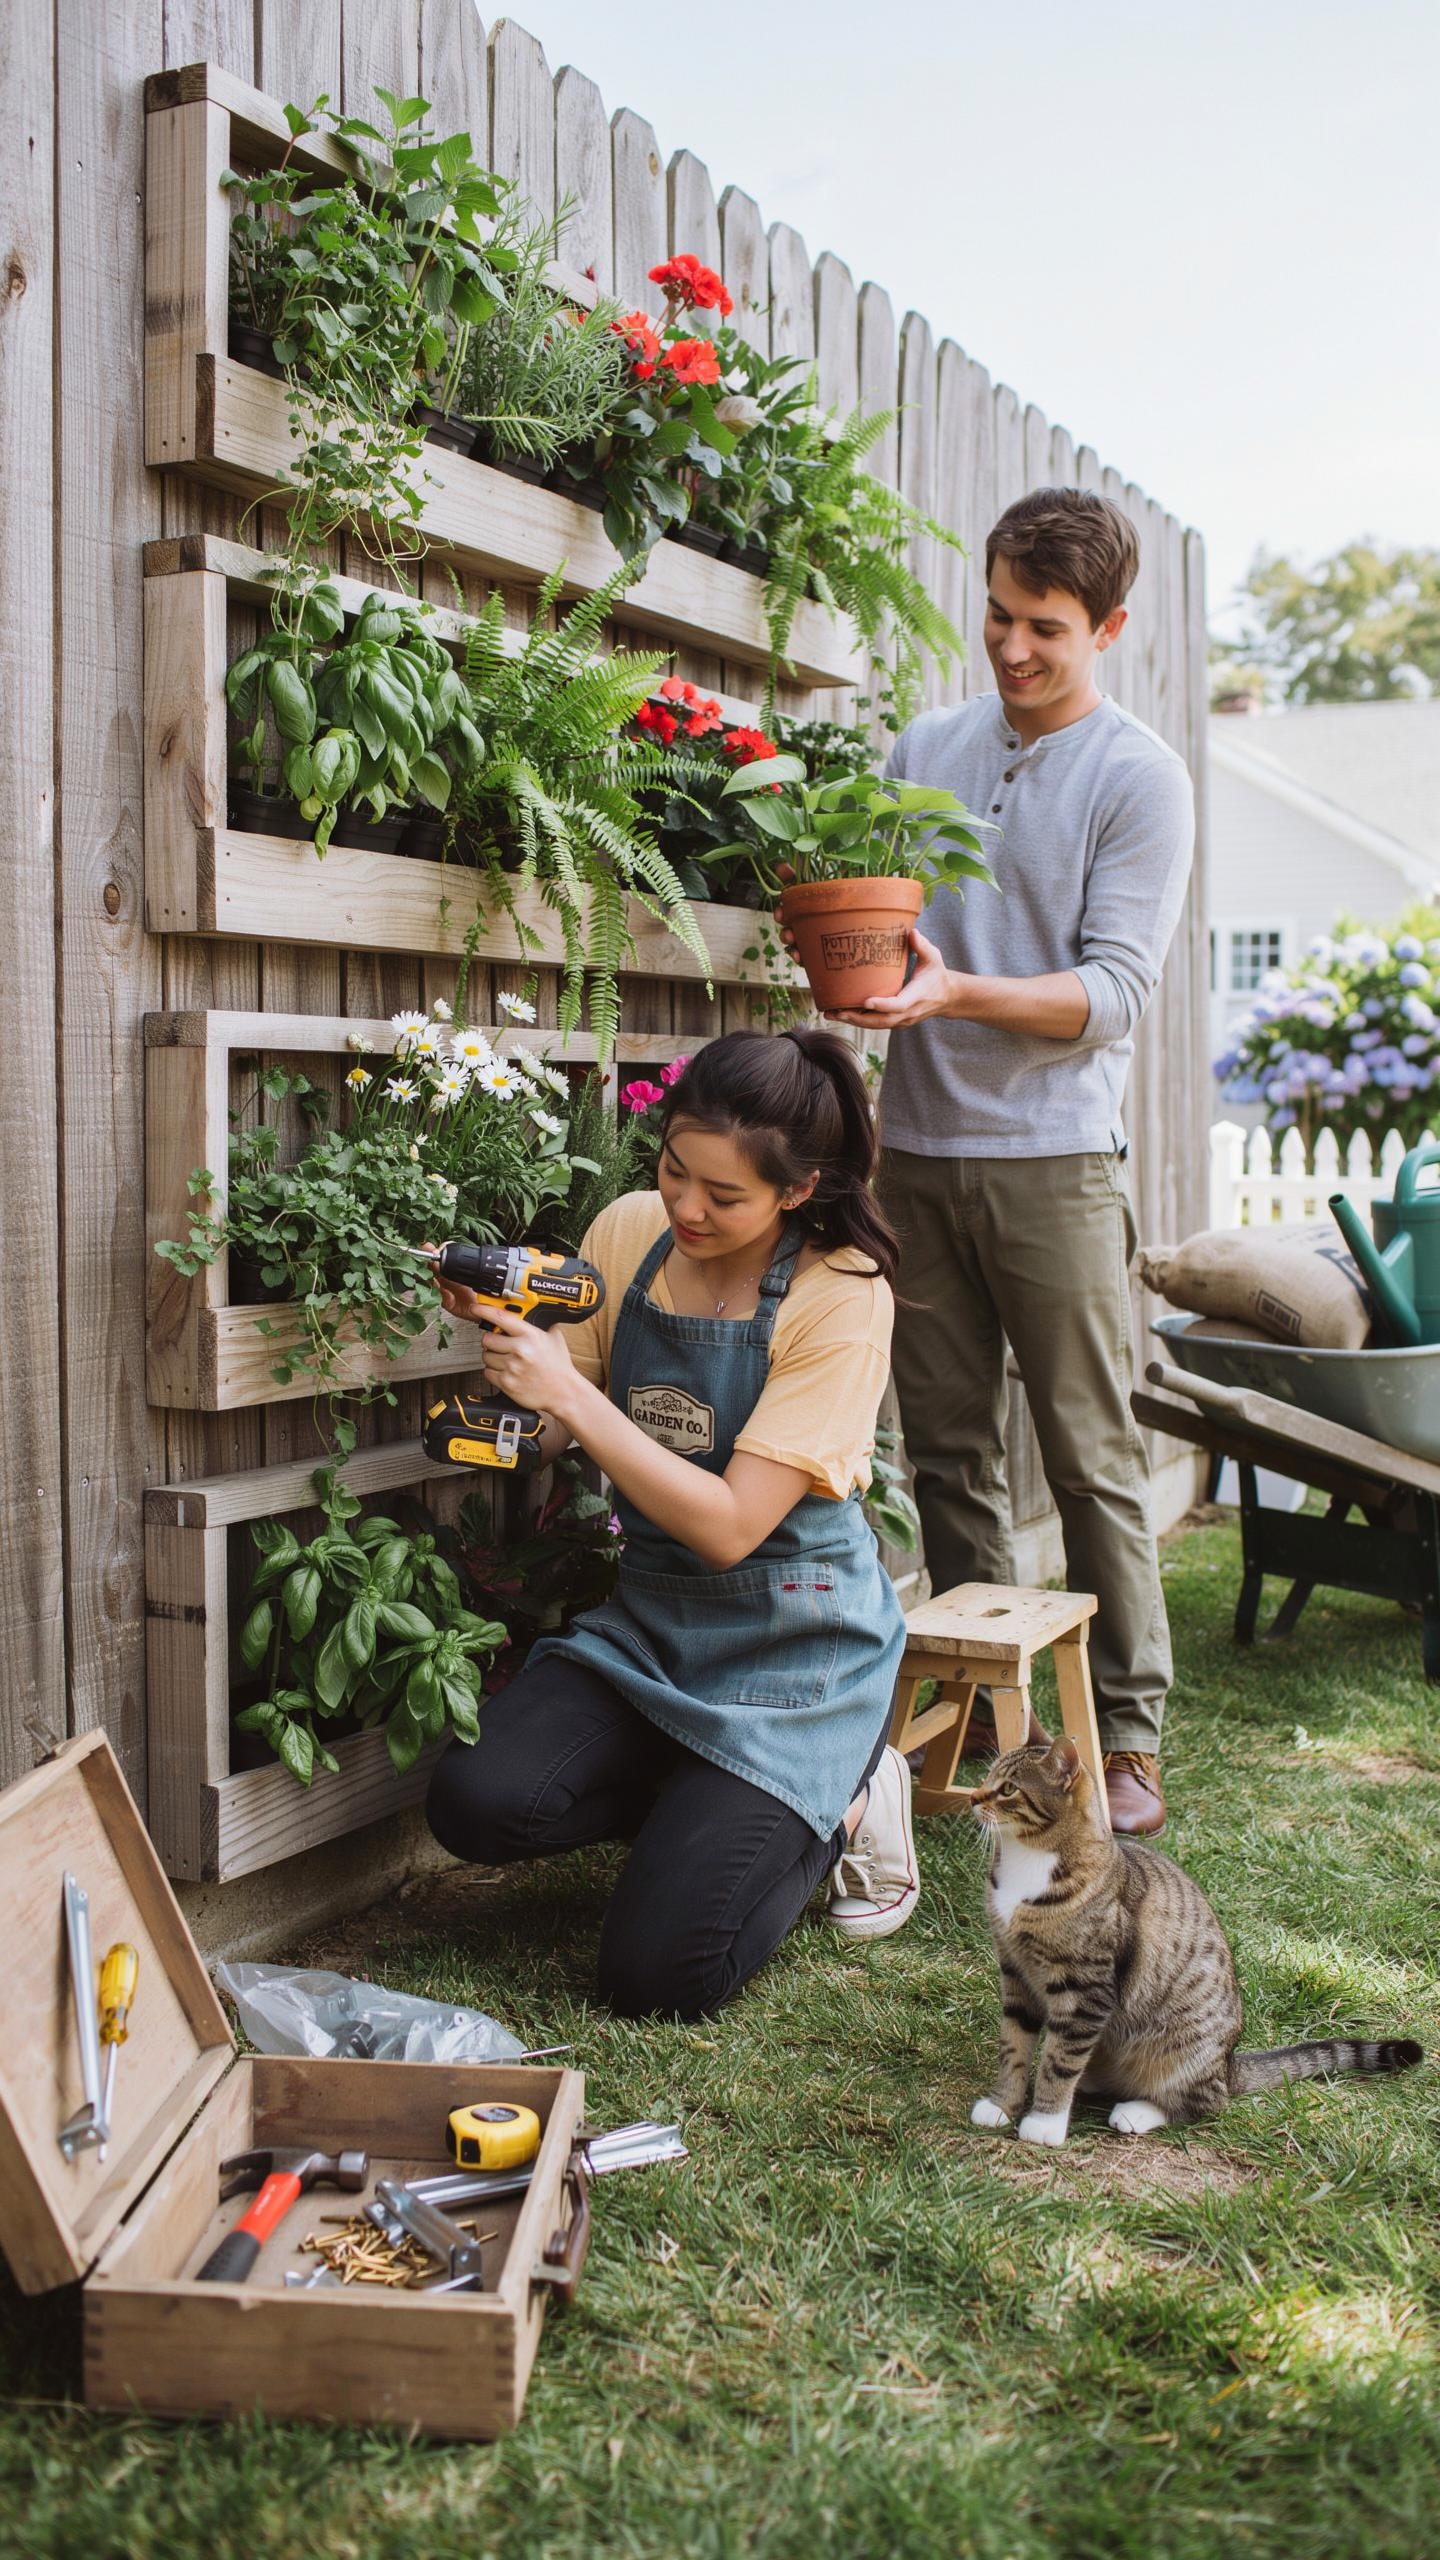
Essential Tools And Materials You Will Need To Get Started
Building a vertical wall planter requires durable materials that resist rot and manage weight. Cedar or redwood are the industry standards for outdoor structures due to their natural resistance to decay. You need heavy duty fasteners to secure the unit to a load bearing surface. Gather all components before you begin to ensure the structural integrity of the build.
- Pressure-Treated Lumber or Cedar: Use these for the main frame. Cedar offers natural rot resistance without chemical additives. Pressure-treated wood lasts longer in wet conditions but requires specific fasteners to prevent corrosion over time.
- Galvanized Hardware: Select stainless steel or galvanized screws and brackets. These materials prevent rust streaks and structural failure when exposed to moisture and soil. Standard interior screws will snap under the tension of a loaded planter.
- Landscaping Fabric: Line your planter boxes with heavy-duty permeable fabric. This material keeps soil inside the containers while allowing excess water to drain out. It prevents root rot by ensuring the growing medium does not become waterlogged.
- Power Drill and Driver: A high-torque cordless drill is necessary for driving long screws into dense wood. Pre-drilling pilot holes is a requirement to prevent the wood from splitting. This tool ensures all connections remain tight and professional.
- Level and Measuring Tape: Accuracy is critical for drainage and aesthetics. Use a four-foot level to ensure the horizontal supports are perfectly straight. Small errors in measurement lead to uneven water distribution and an unstable final structure.
Select a mounting location that can support the combined weight of wet soil and mature plants. A standard four-by-four foot vertical garden can weigh over two hundred pounds when fully saturated. Verify the strength of your wall or fence before installation. Use heavy-duty wall anchors if you are mounting directly into masonry or brick surfaces.
Step By Step Overview Of The Building Process
Start by constructing a rectangular outer frame using two-by-four lumber. Cut your vertical studs to the desired height and connect them with horizontal headers at the top and bottom. Square the frame by measuring diagonally from corner to corner. Secure the joints with three-inch outdoor screws to create a rigid base that will not rack or lean.
Attach horizontal cleats or French cleats to the frame to hold your planter boxes. Space these supports evenly to allow enough vertical room for plant growth. Build individual box containers and slant them at a slight angle to improve sun exposure. Mount the finished frame to your exterior wall using lag bolts driven into the structural studs for maximum safety.
Choosing The Right Structure For Your DIY Vertical Planter Wall
Wood, Metal, And Fabric: Comparing Popular Frame Materials
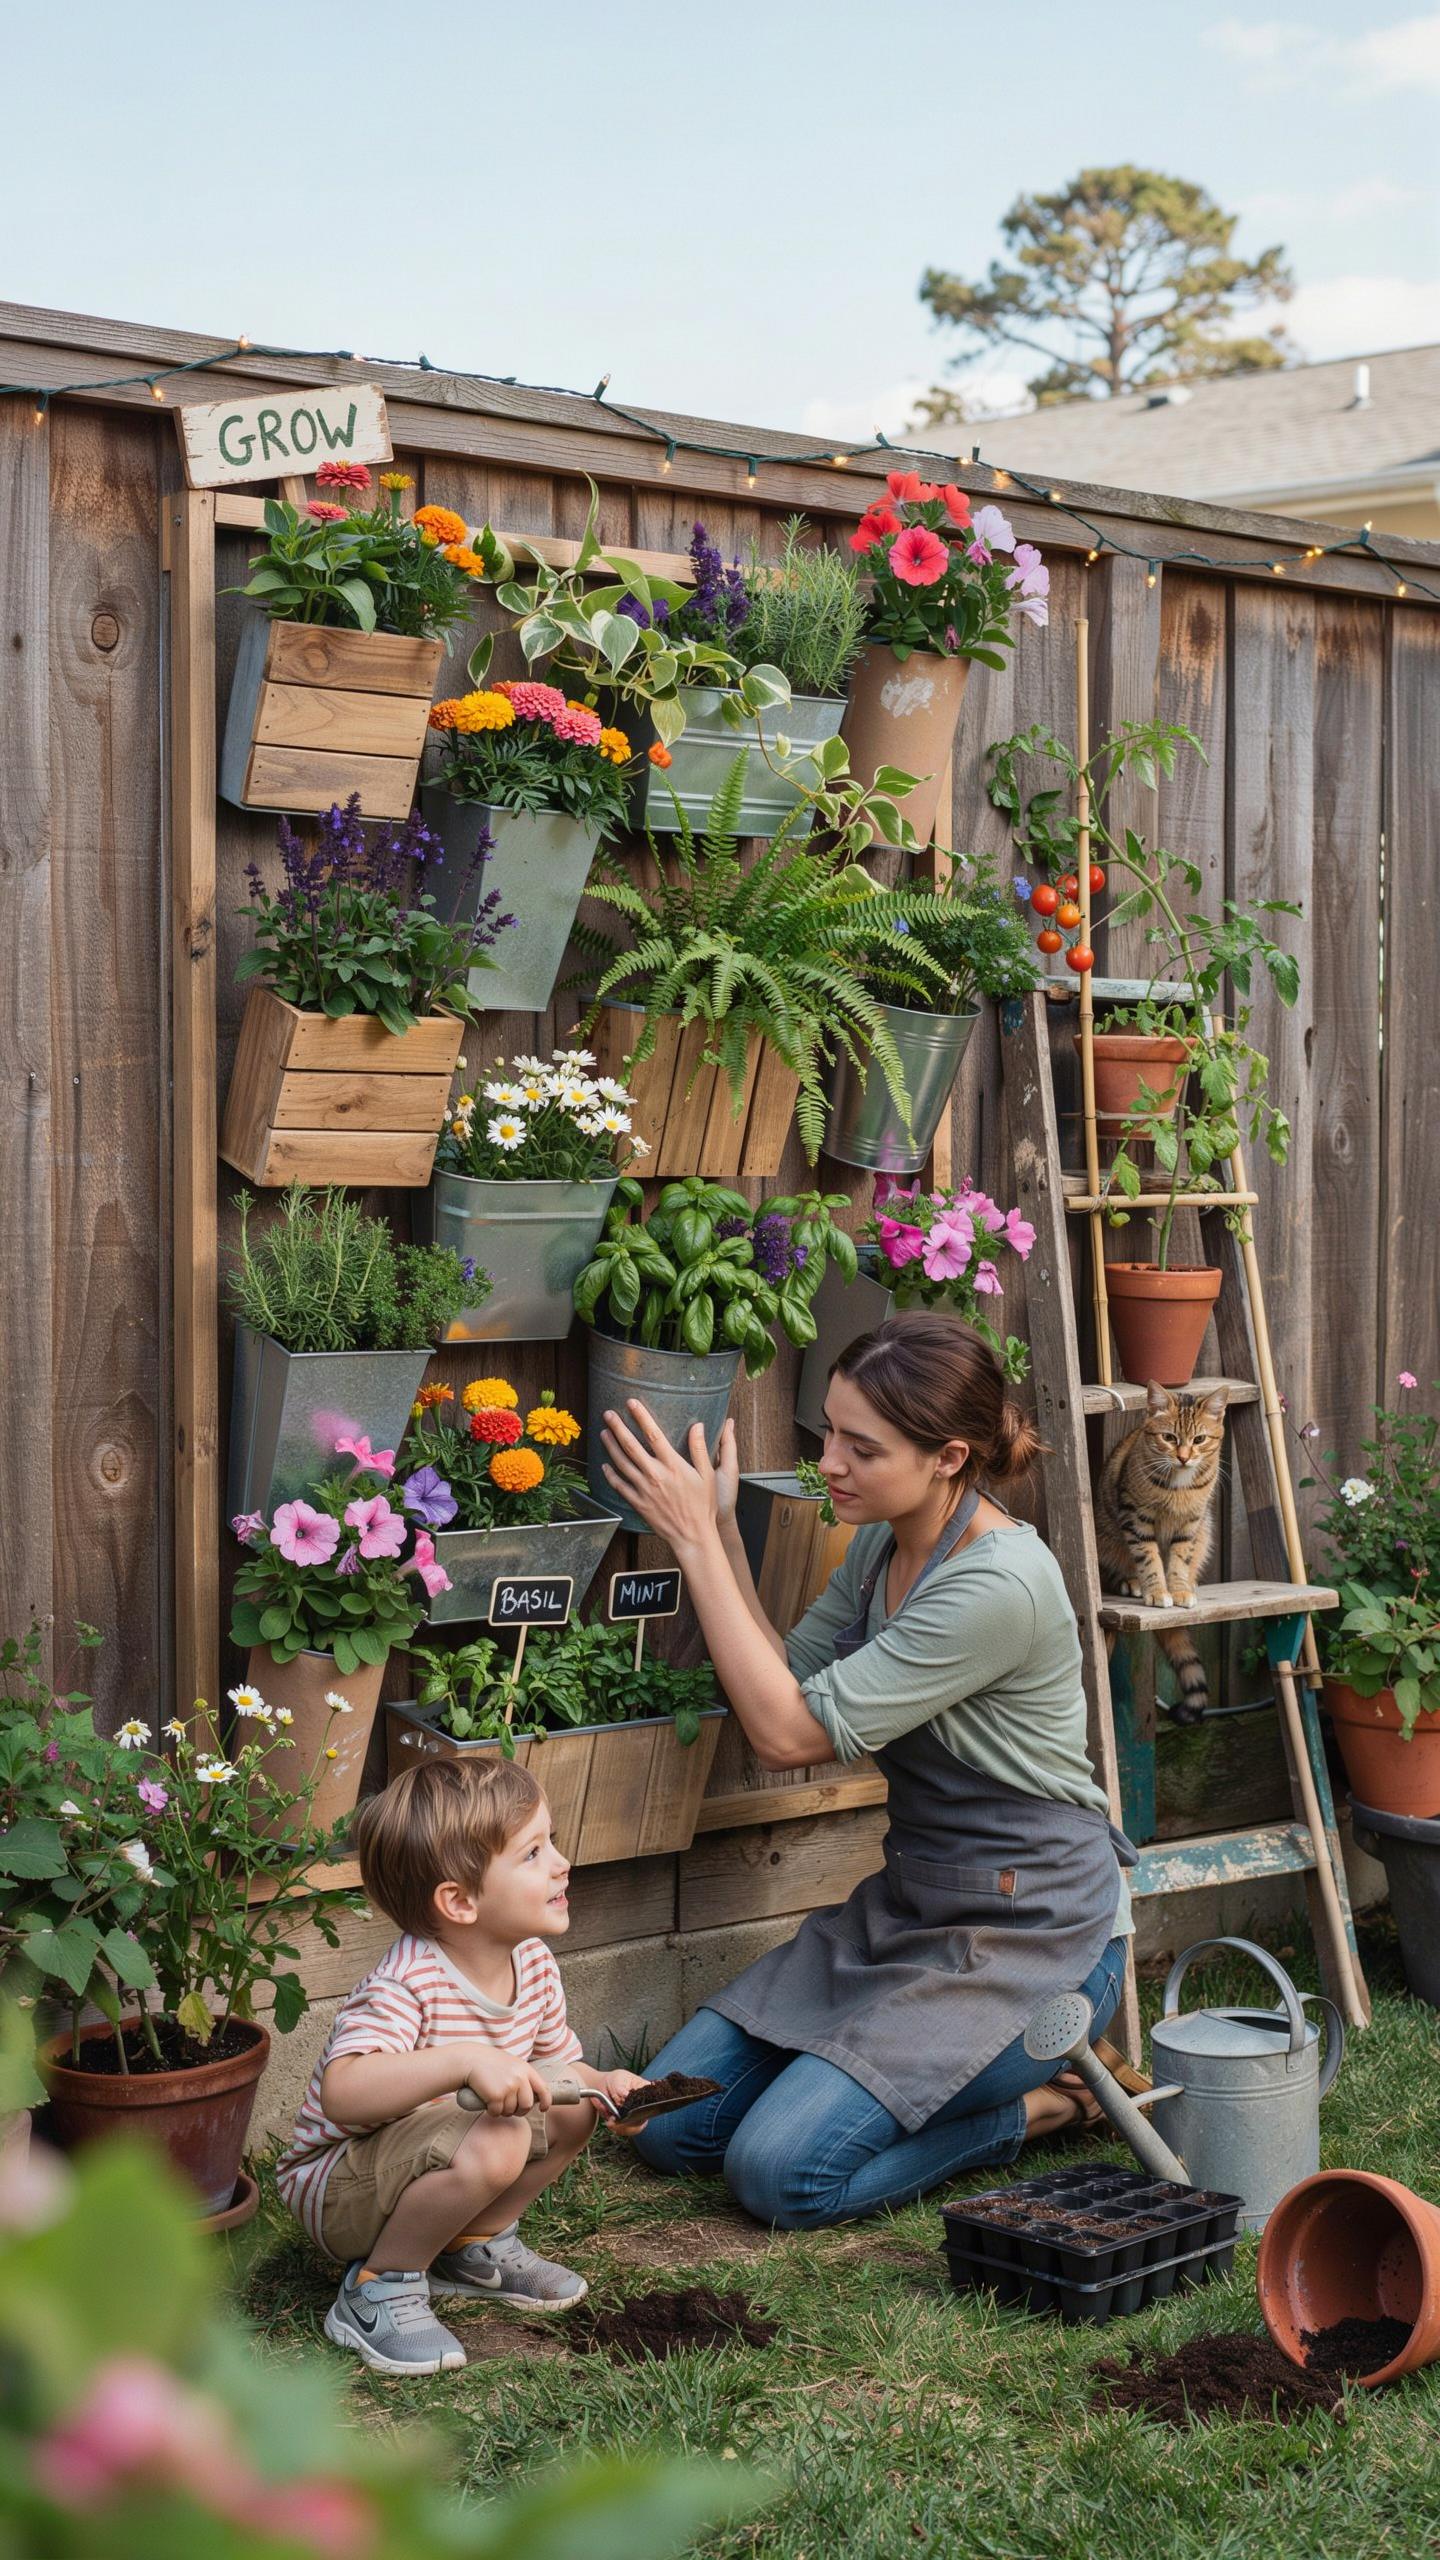
Cedar and redwood offer natural rot resistance for wooden frames. These materials handle moisture better than pine or spruce. Wood provides a thick thermal mass that protects roots from temperature spikes. You must use stainless steel hardware to prevent rust streaks on the timber. Wood requires a waterproof liner to stop direct soil contact. This prevents premature decay and extends the structure life.
Metal frames use steel or aluminum for industrial strength. Powder coated steel resists corrosion but weighs more than aluminum. Metal structures take up less visual space and survive high winds. Fabric pockets offer the most breathable option for plant roots. These felt materials promote air pruning which prevents root circling. Fabric systems require frequent watering because they dry out fast. Choose material based on your local climate.
How To Anchor Your Vertical Planter Safely To Any Wall Surface
Weight is your primary concern when mounting a vertical system. A wet planter weighs three times more than a dry one. You must find studs when mounting to wood frame walls. Use heavy duty lag bolts to secure the primary support rail. Masonry walls require concrete anchors or expansion bolts. Drill into the brick itself rather than the mortar joints for maximum grip.
Airflow must exist between the planter and the wall surface. Use standoff spacers to create a one inch gap. This gap prevents trapped moisture from rotting your siding or causing mold. Stainless steel brackets provide the best long term support against gravity. Check your local building codes for height restrictions on wall attachments. Always use a level to ensure the weight distributes evenly across all mounting points.
DIY Wall Planter Indoor Vertical Succulent Gardens Made Easy
Why Succulents Are An Ideal Choice For Indoor Vertical Planters
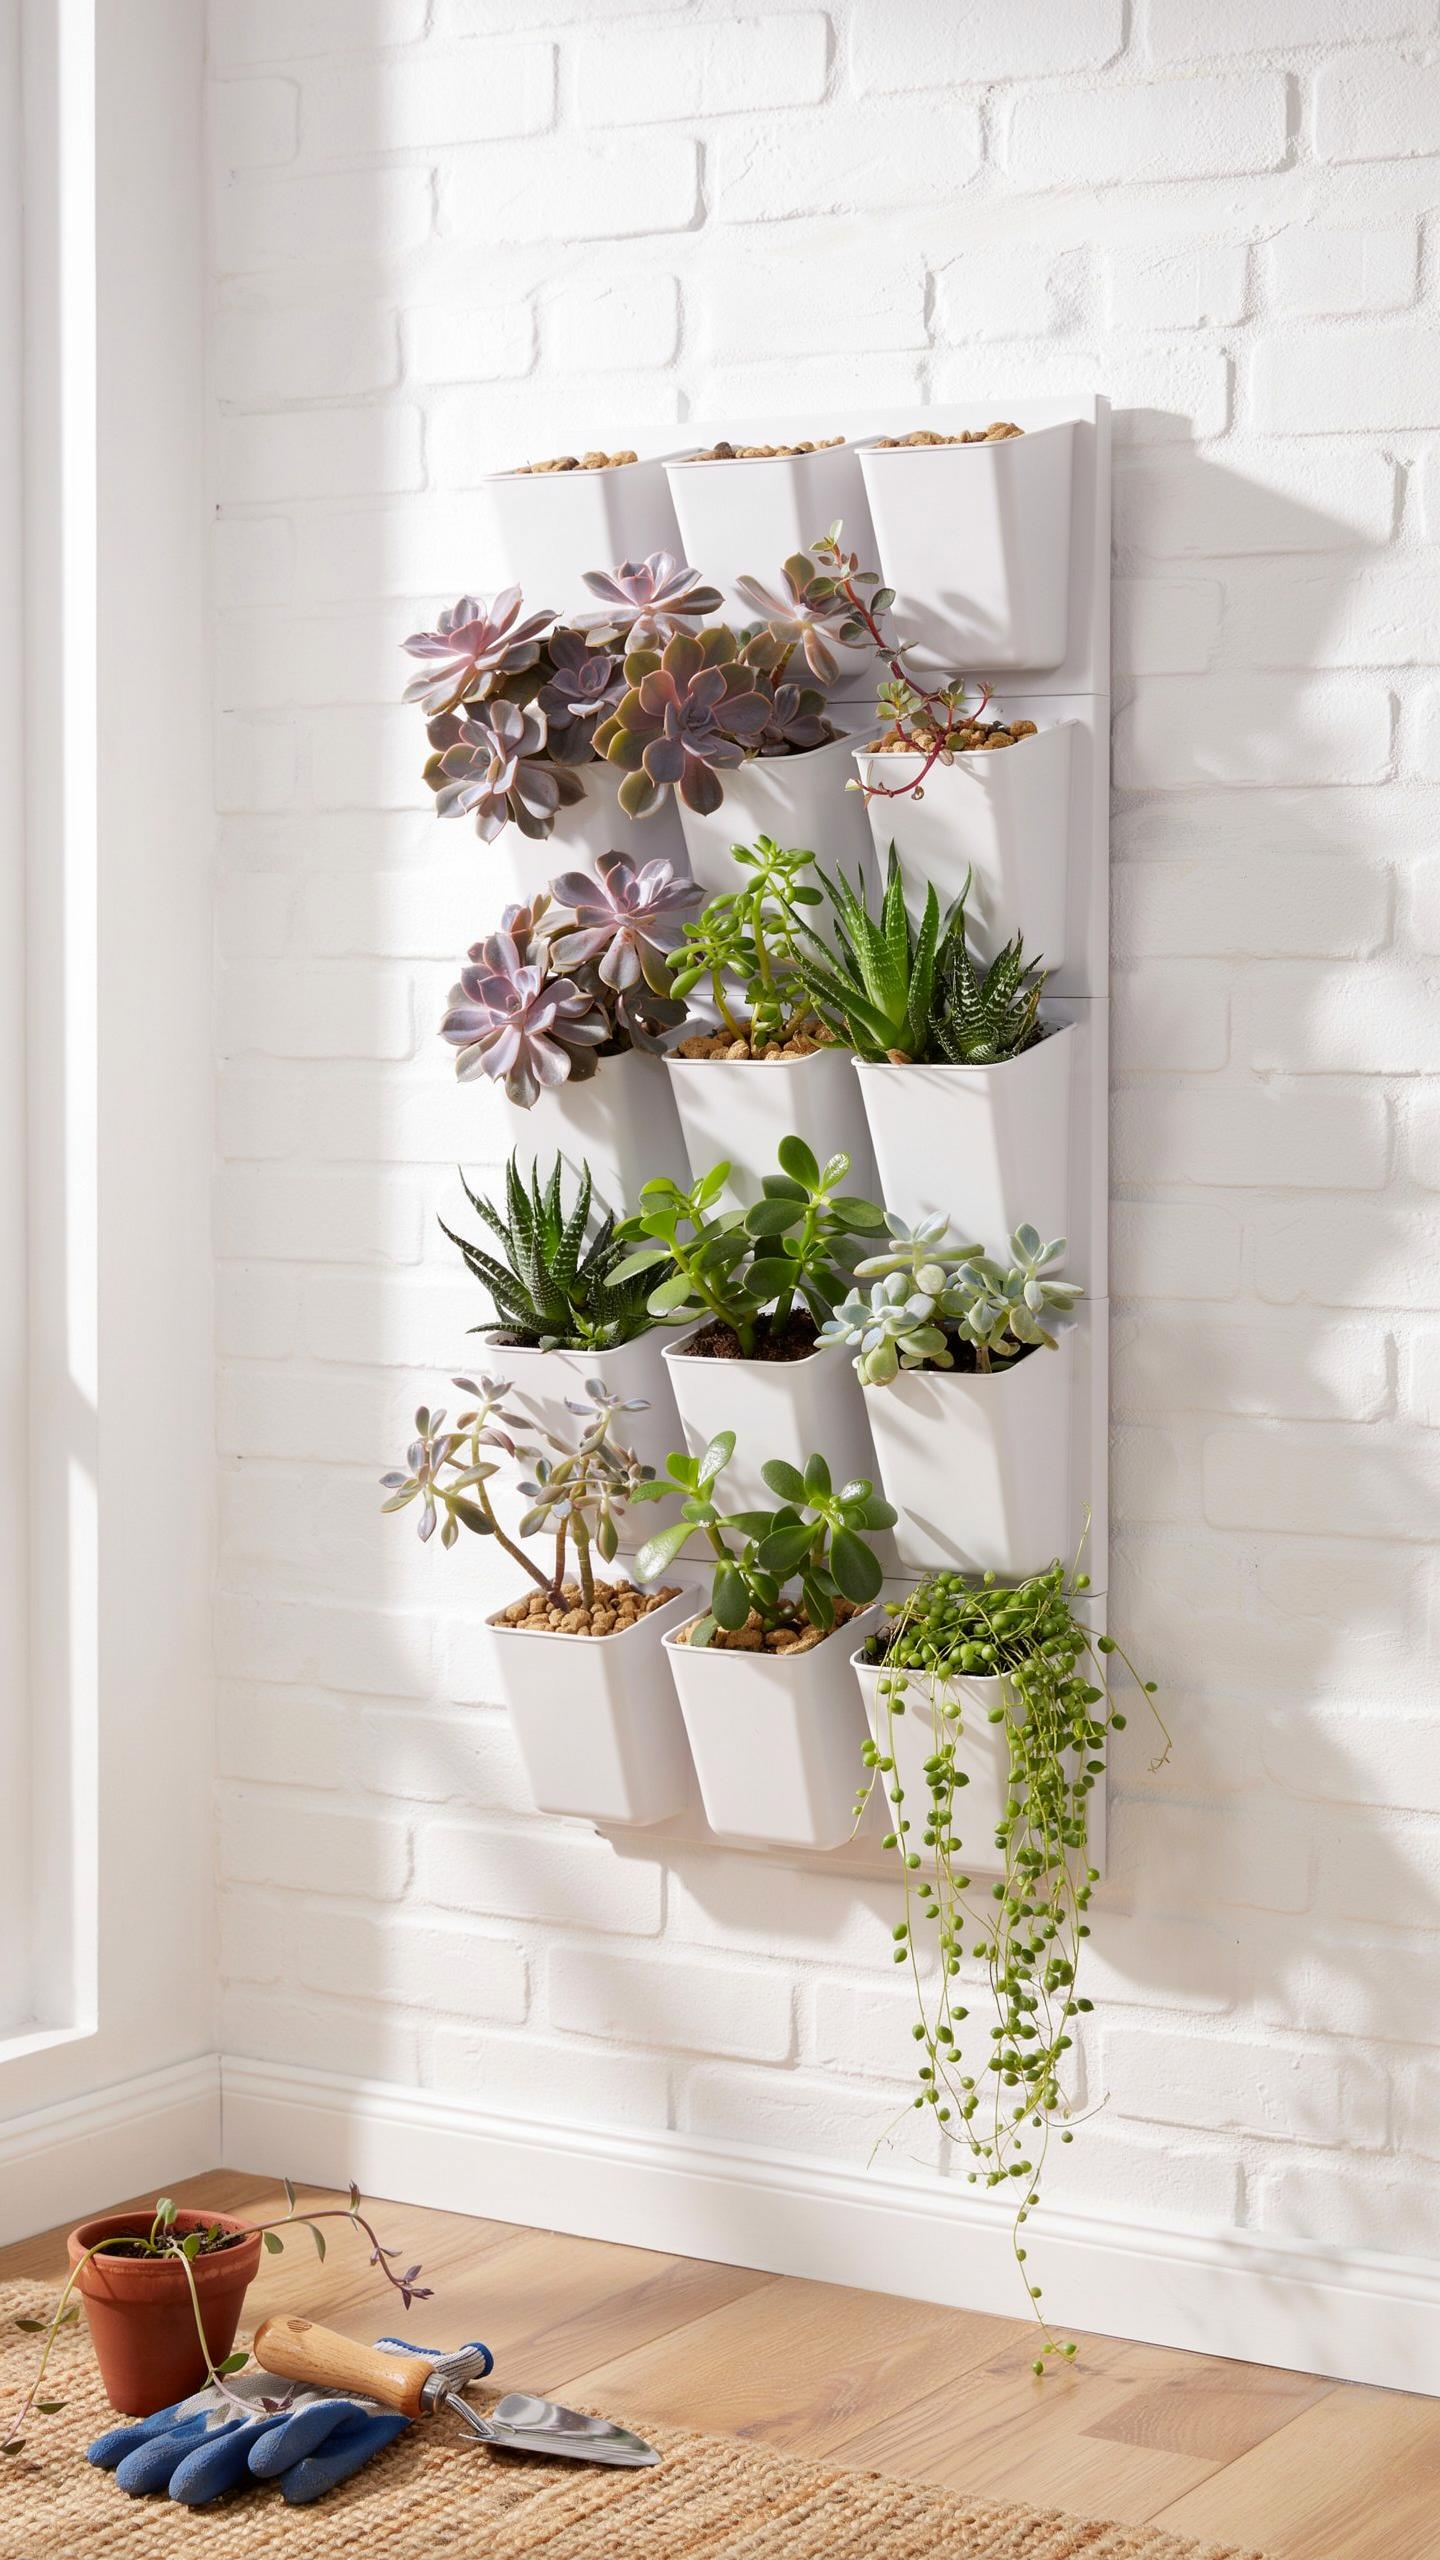
Succulents possess specialized tissues that store water for long periods. This biological trait allows them to survive in vertical structures where soil volume remains limited. These plants thrive in arid conditions and require infrequent watering. Their shallow root systems fit perfectly into the narrow profiles of wall-mounted frames. You gain a low-maintenance system that does not require constant monitoring or heavy irrigation.
The slow growth rate of succulents prevents the vertical garden from becoming overgrown too quickly. Most indoor plants outgrow small wall containers within months. Succulents maintain their compact shape and structural integrity for years. They adapt well to the indirect light found in most home environments. This makes them the most efficient biological choice for a vertical wall planter DIY project involving interior spaces.
How To Arrange And Plant Succulents In A Wall Mounted Frame
Begin by securing a wire mesh or hardware cloth over your wooden garden frame. This mesh keeps the soil and plants in place when you hang the unit vertically. Fill the frame with a specific succulent soil mix. Use a blend containing perlite or coarse sand to ensure rapid drainage. Compact the soil firmly behind the mesh to prevent sagging once the planter sits upright.
Insert your succulents through the mesh openings by poking holes in the soil. Place larger species toward the bottom to provide visual balance and support. Smaller cuttings work best for filling gaps and covering the wire. Keep the planter horizontal for at least two weeks. This allows the roots to anchor into the soil. Gravity will pull the plants out if you hang the frame too early.
Vertical Garden DIY Outdoor Designing For Sun Wind And Weather
How To Pick The Best Outdoor Location For Your Vertical Garden
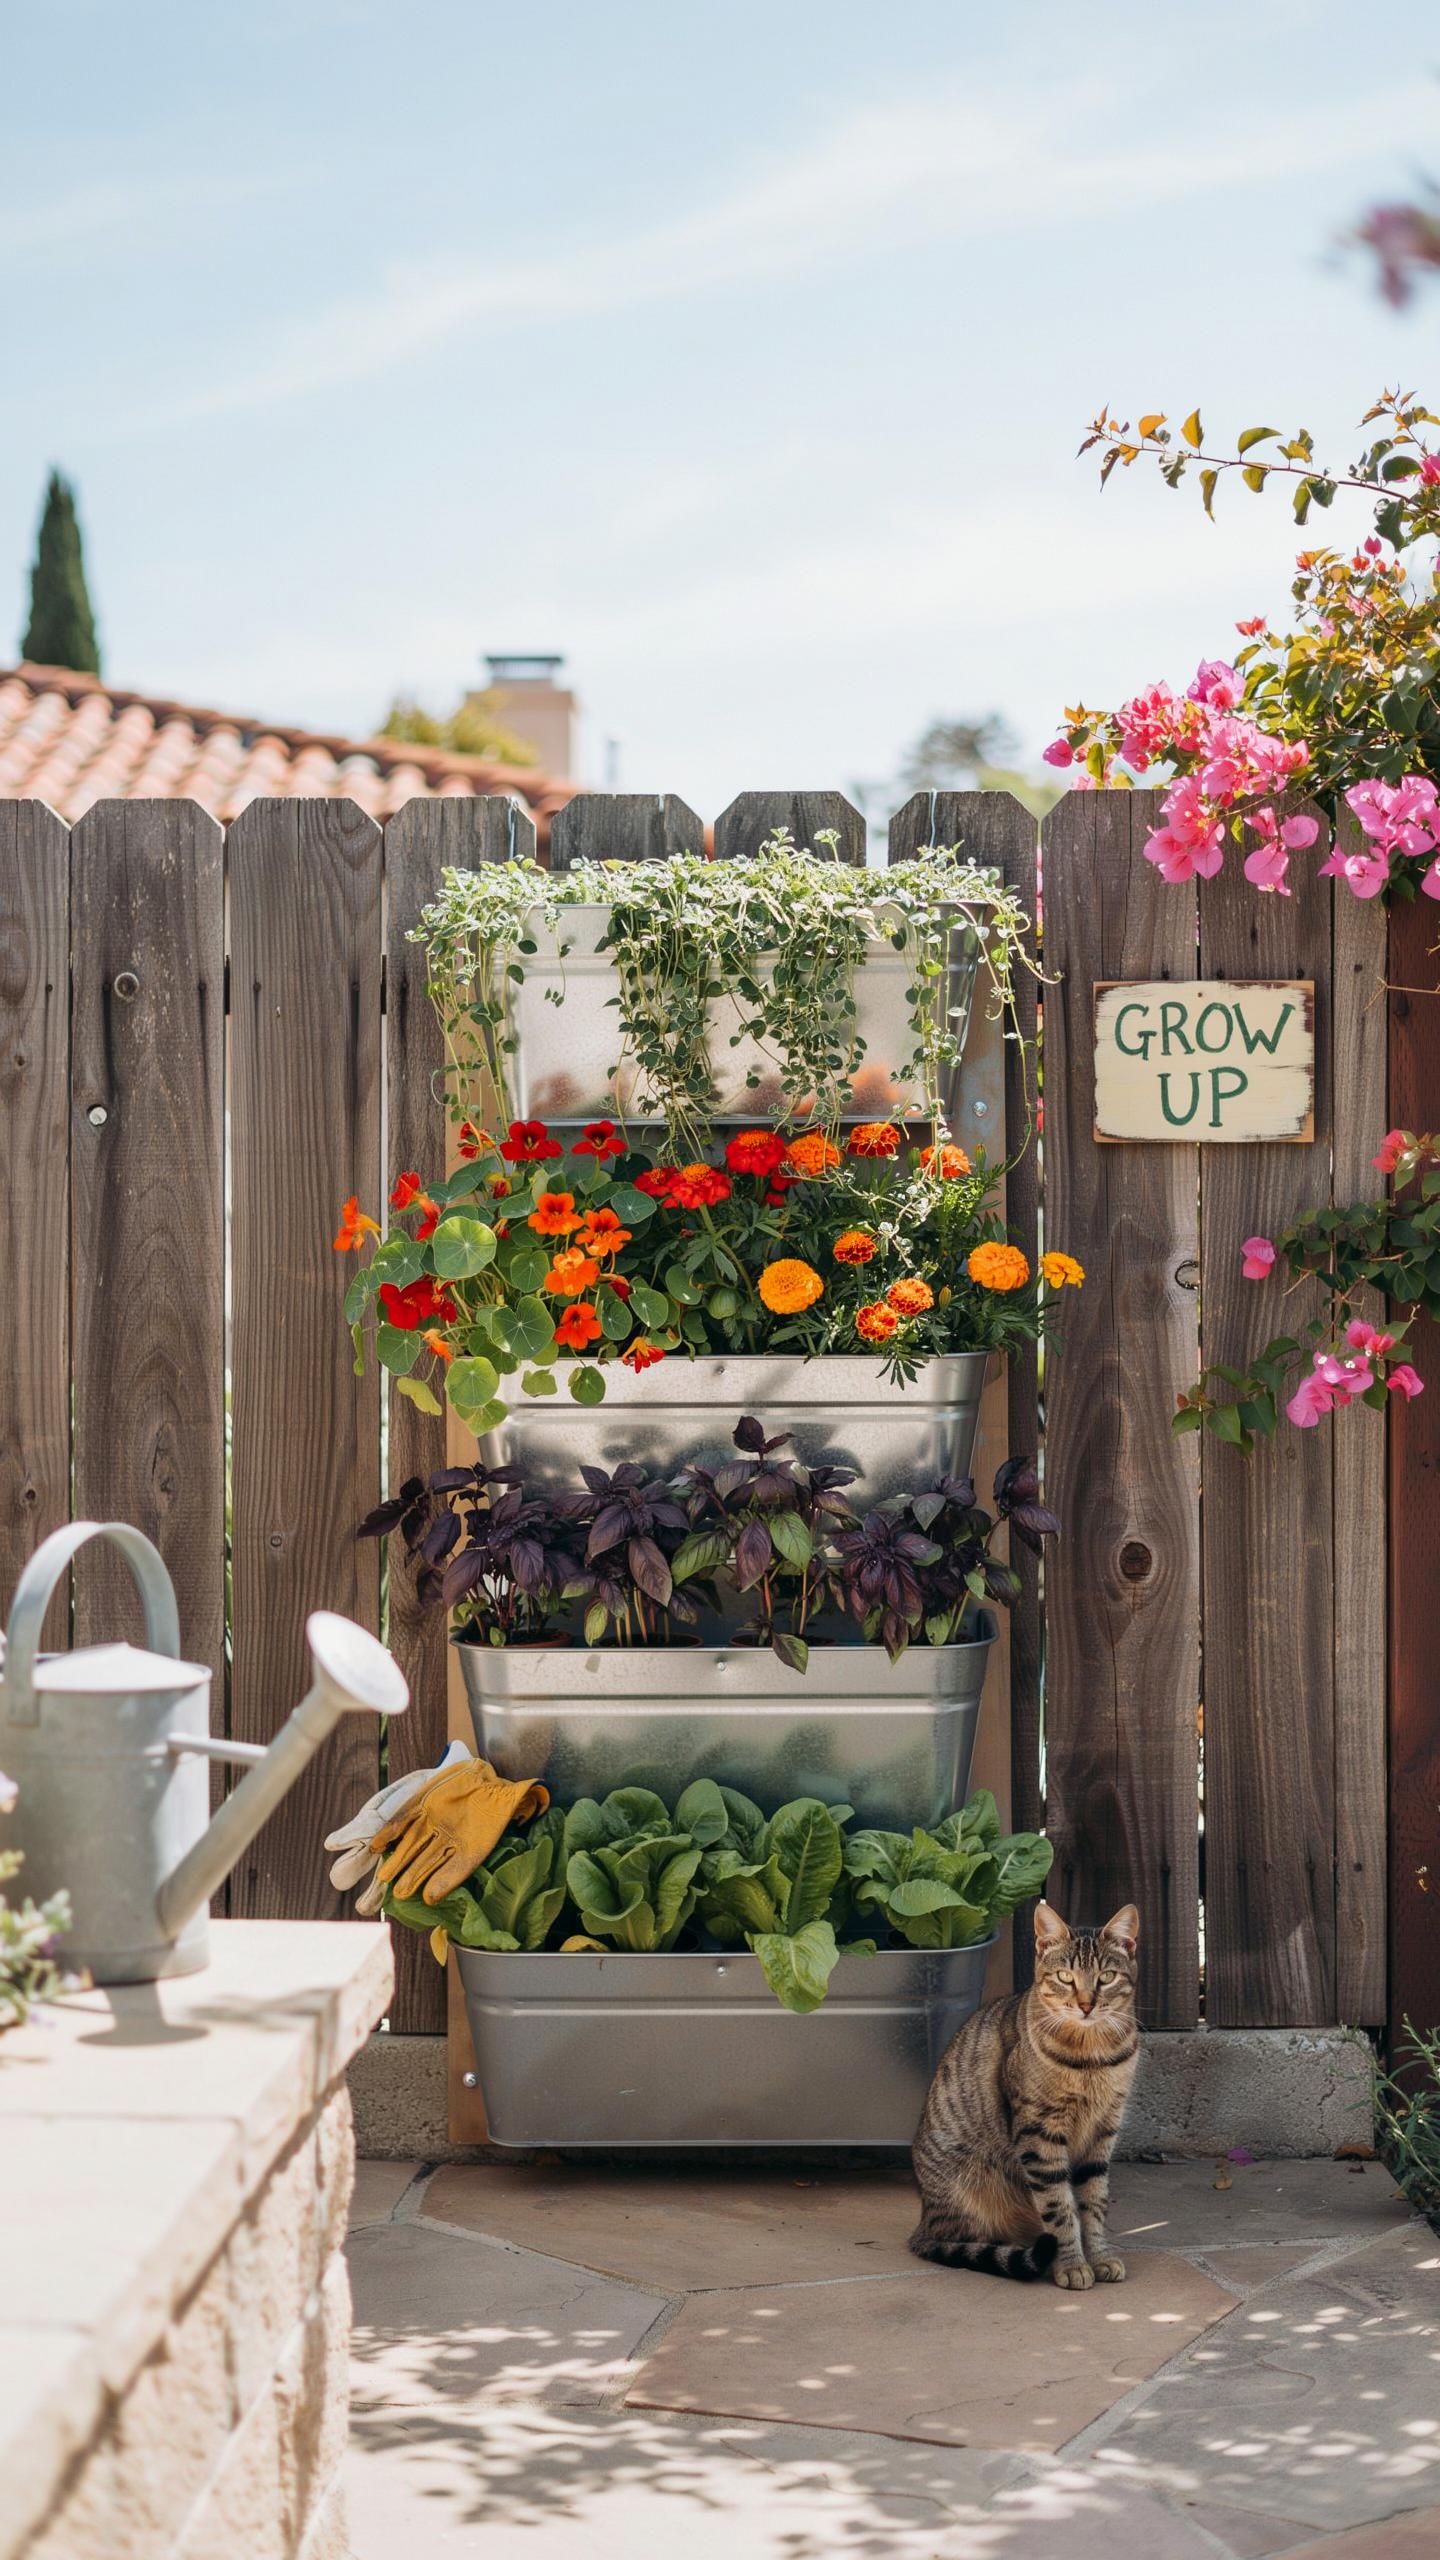
Location determines the success of your vertical wall planter DIY project. You must track sun patterns for three days before mounting. Most edible plants require six hours of direct light. South-facing walls provide maximum heat and solar exposure. North-facing walls remain cool and shaded. Match your plant species to the specific light levels of your chosen wall. Accuracy here prevents plant death later.
Wind exposure is a critical factor for vertical structures. High walls catch wind like sails and can rip anchors from masonry. Place your garden in a sheltered area or near a windbreak. Avoid corners where wind tunnels form. Check the structural integrity of the wall. Ensure the surface can support the combined weight of wet soil, heavy containers, and mature plant growth.
Weather Resistant Materials And Plants For Outdoor Vertical Walls
Select materials that withstand environmental stress. Use pressure-treated wood or cedar to prevent rot. Cedar contains natural oils that resist decay and insects. Stainless steel or galvanized fasteners prevent rust streaks on your exterior walls. Avoid untreated softwoods because they warp in high humidity. Use heavy-duty landscape fabric to line pockets. This material allows drainage while keeping soil contained during heavy rain.
Choose plants based on hardiness zones and wind tolerance. Succulents and ornamental grasses handle high-velocity air better than broadleaf plants. Trailing vines provide natural insulation for the root systems behind them. Utilize native species to ensure survival through local temperature swings. Perennials offer long-term structure but require deep pockets to survive winter freezes. Annuals allow for seasonal flexibility and quick aesthetic changes.
Fence Vertical Garden How To Turn A Plain Fence Into A Living Wall
Mounting Planter Pockets And Boxes Directly Onto A Garden Fence
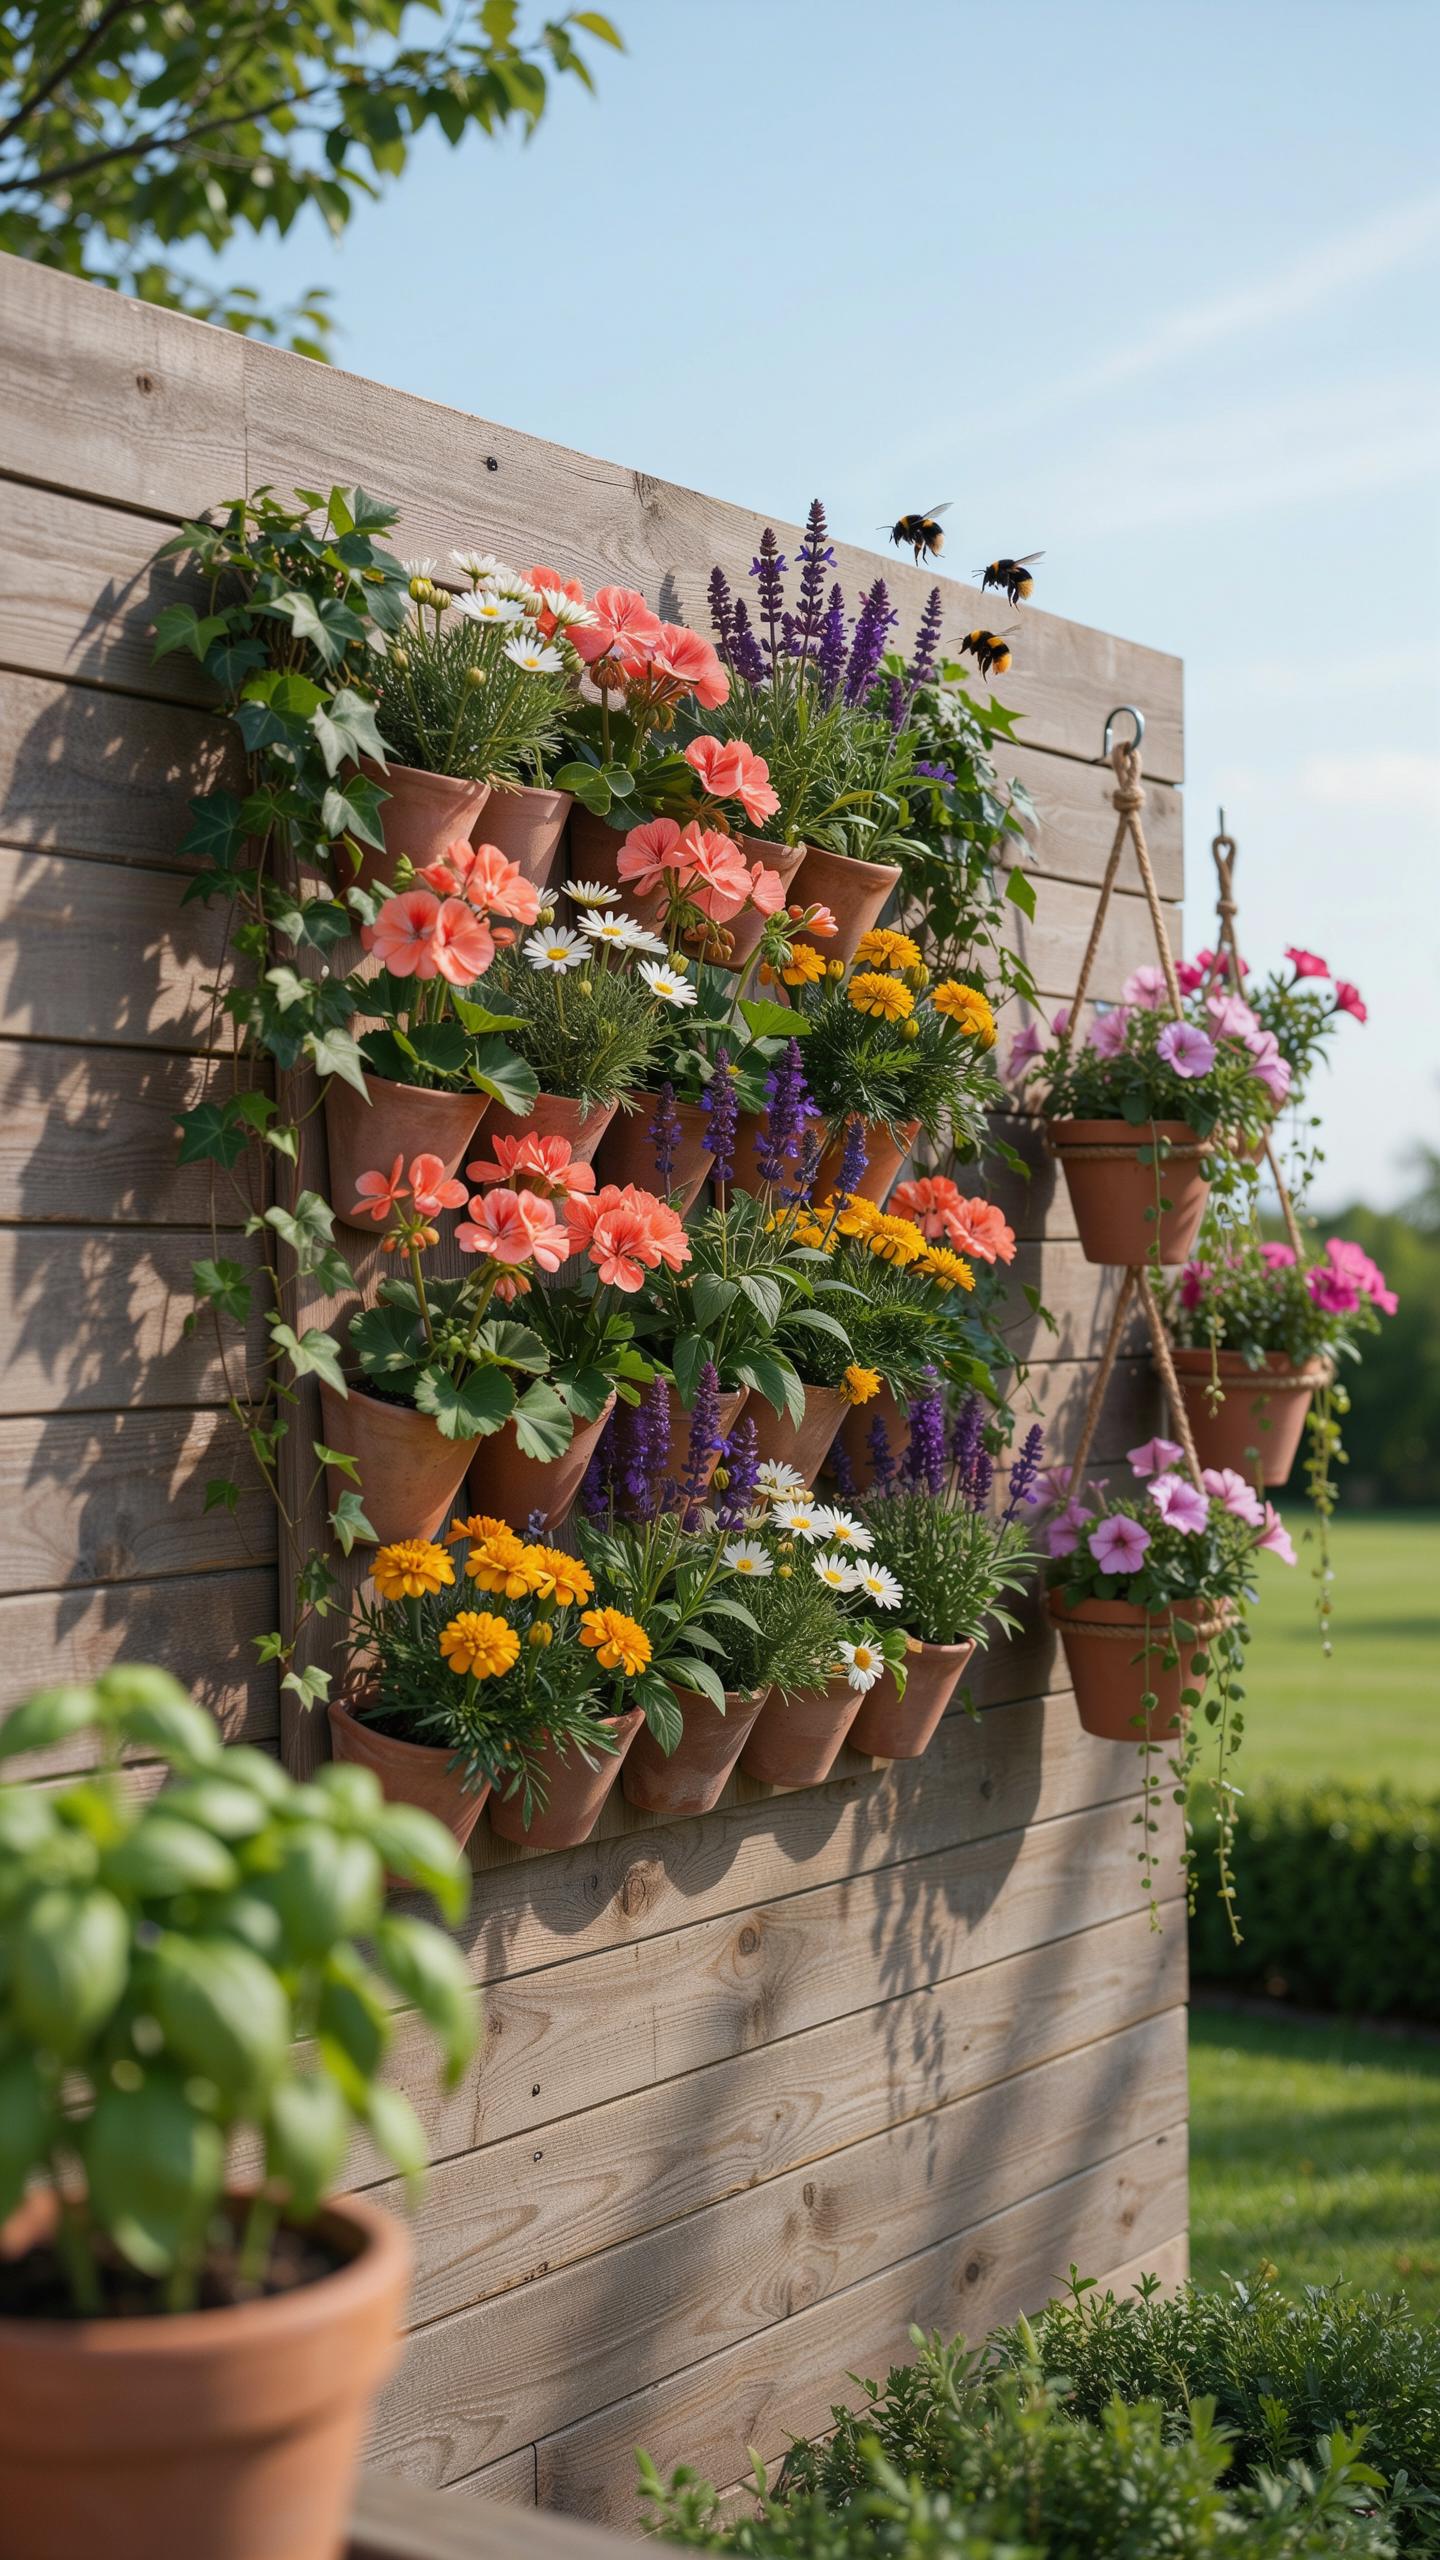
Wooden fences provide a sturdy foundation for vertical gardening. You must locate the structural posts and rails before drilling. Secure heavy wooden boxes into these horizontal rails using galvanized deck screws. This prevents the wood from rotting and ensures the structure holds the weight of wet soil. Distribute the weight evenly across the fence line to avoid sagging or leaning over time.
Felt pocket systems offer a lighter alternative for aged fences. Fasten these pockets using washers and screws to prevent the fabric from tearing under pressure. Leave a small gap or use a moisture barrier between the planter and the fence. This air gap protects the wood from constant dampness and fungal growth. Check the load capacity of your fence before installation to ensure it can support saturated planters.
Best Climbing And Trailing Plants For A Fence Vertical Garden
Choose plants based on how they attach to surfaces. Twining vines like clematis or honeysuckle require thin wire mesh or its equivalent to climb. These species wrap their stems around supports and provide dense coverage quickly. Use trailing varieties like creeping jenny or vinca minor for the edges of wall boxes. These plants spill over the sides to soften the hard lines of the fence structure.
Select hardy species that match your local hardiness zone and sunlight exposure. Ivy and climbing hydrangea thrive in shaded areas and utilize aerial roots to grip wooden surfaces. In sunny spots, star jasmine or morning glories offer rapid growth and visual density. Always consider the mature weight of the plant. Heavy woody vines like wisteria can collapse a standard garden fence without additional reinforced structural support.
Vertical Garden Plans Laying Out Your Design Before You Build
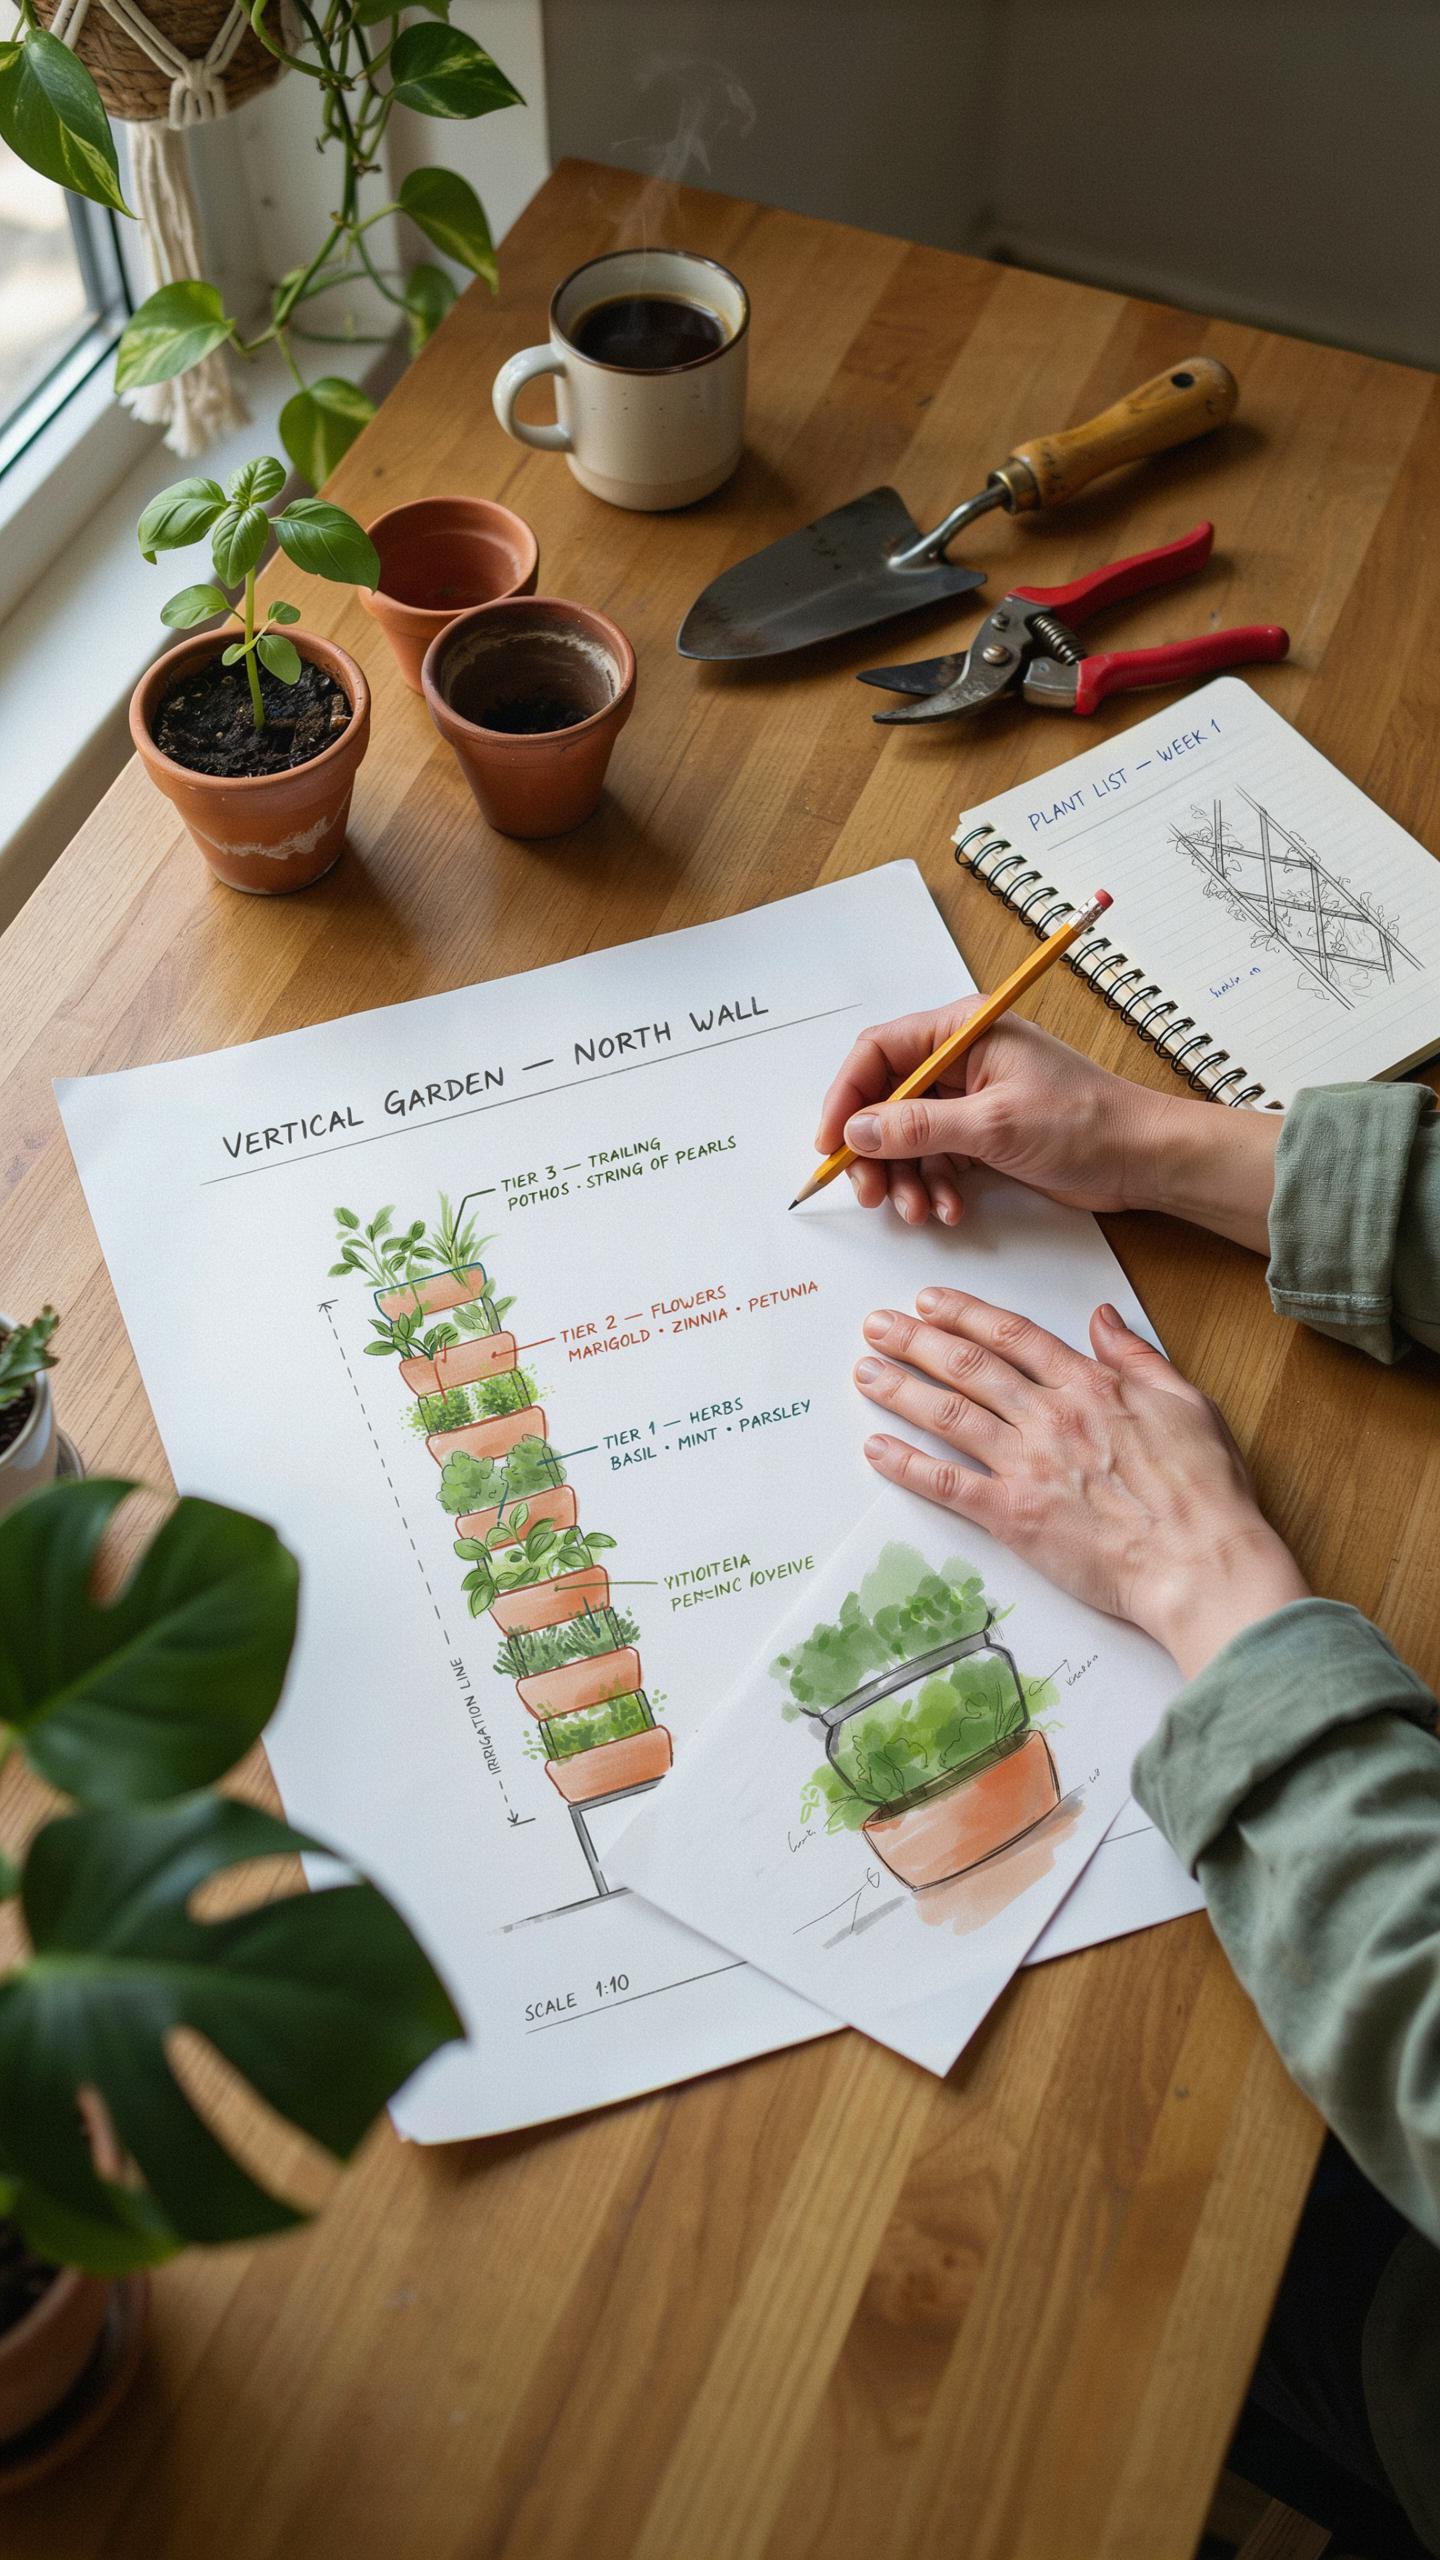
How To Sketch A Simple Vertical Garden Plan For Your Space
Measure your designated wall area with precision before drawing. Use graph paper to represent the layout at a scale of one inch per foot. Mark the locations of wall studs or structural supports. These points dictate where you will bolt your frame. Ignore the aesthetics until you map the structural reality of the surface. A plan without screw locations will fail.
Identify the sun patterns across your wall throughout the day. Draw zones for full sun, partial shade, and full shade on your sketch. This map decides which plants go where. Place heavy planters at the bottom of the sketch to lower the center of gravity. Ensure your plan leaves room for a ladder or reach tool. Maintenance access is as vital as the build.
Spacing, Drainage, And Soil Depth Considerations In Your Garden Plan
Successful vertical garden plans account for the physical needs of the root systems and water flow. You must calculate the weight of wet soil and containers to ensure the wall can hold the load. Proper spacing prevents overcrowding and fungal diseases by allowing air to move between plants. Every container requires a clear path for excess water to exit without rotting the wall.
- Root Depth: Different edible and ornamental plants require specific soil volumes. Shallow herbs need six inches of depth while larger perennials require ten inches or more for healthy growth and stability.
- Horizontal Spacing: Leave eight to twelve inches between plant centers to allow for mature spread. Tight spacing restricts airflow and promotes pest infestations while increasing competition for limited soil nutrients and water.
- Vertical Offset: Stagger your rows in a zigzag pattern rather than straight columns. This layout ensures that cascading foliage from the top containers does not completely block sunlight from reaching the plants positioned directly below.
- Drainage Holes: Drill three to five holes in the bottom of every planter box. These outlets prevent water from pooling at the roots which causes oxygen deprivation and eventual root rot in most species.
- Drip Path: Align your planters so that runoff from upper tiers does not drown the bottom rows. Use a gutter system or staggered placement to direct excess water away from the building foundation and siding.
Select your growth medium based on weight and water retention. Standard topsoil is too heavy and compacts quickly in vertical containers. Use a high quality potting mix with perlite or vermiculite to keep the system light. Verify that your drainage plan includes a waterproof barrier between the garden and the wall. This protects your home from moisture damage and mold growth.
DIY Vertical Garden On Patio Small Space Solutions That Truly Work
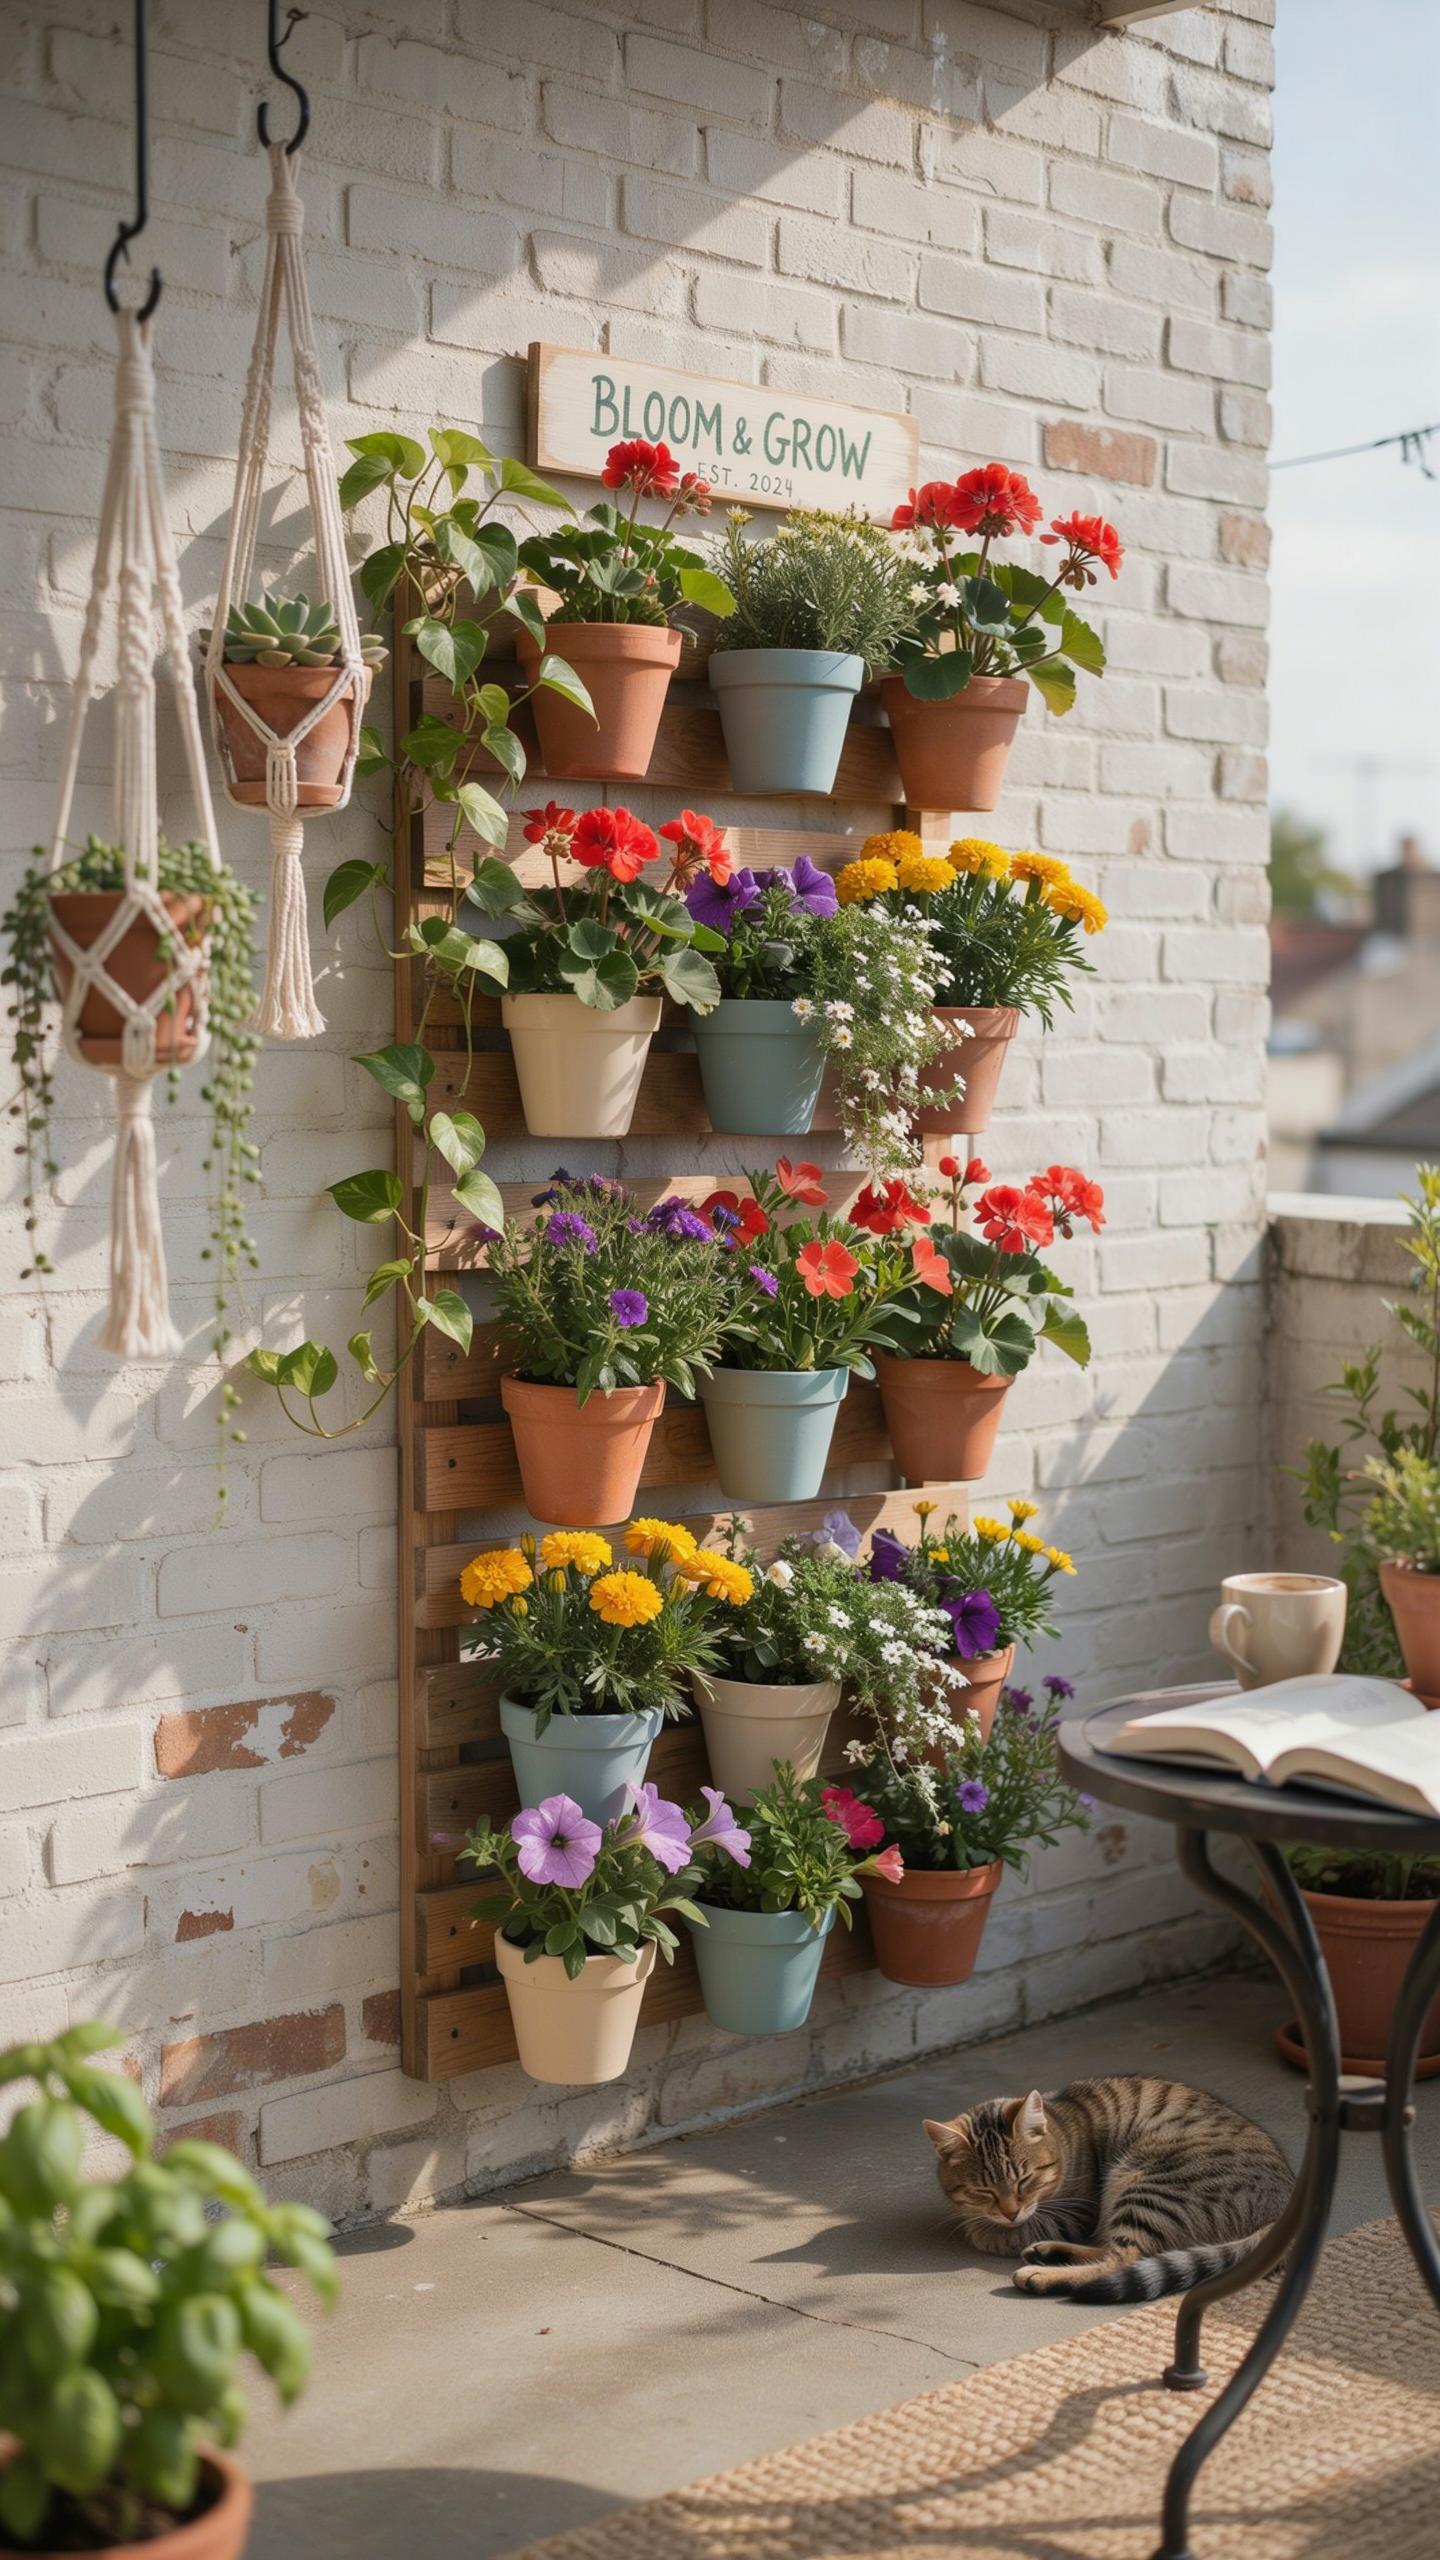
How To Maximize A Small Patio With A Freestanding Vertical Garden
Freestanding vertical gardens solve the problem of restrictive rental agreements or weak exterior siding. You use an A-frame or ladder design to support weight without drilling into walls. Use pressure-treated lumber or cedar to prevent rot from water contact. A stable base prevents tipping during high winds. Locate the structure in a corner to save floor space while utilizing the full height of the patio.
Build your frame using pocket hole joinery for maximum strength. Attach horizontal slats or wire mesh to hold individual pots or landscape fabric pockets. This modular approach allows you to move plants based on sun exposure. Focus on weight distribution by placing heavier pots at the bottom. Gravity-fed irrigation systems work best on these tall structures. Run a main supply line down the center for easy water access.
To plant a garden is to believe in tomorrow, even if your soil is just a small wooden box against a sun-drenched wall.
Patio Friendly Plant Combinations For A Lush Vertical Display
Select plants based on light levels and root depth requirements. Leafy greens and herbs thrive in shallow containers on vertical walls. Combine basil, parsley, and cilantro for a kitchen-focused garden. Ensure these plants receive at least six hours of sunlight daily. Use high-quality potting soil instead of garden soil to maintain drainage. Proper drainage prevents root rot and reduces the total weight load on your DIY vertical garden structure.
Mix trailing species like ivy or pothos with upright plants for a dense look. Use succulents for south-facing patios with high heat and low water access. Group plants with identical watering needs in the same row. This strategy prevents overwatering sensitive species. Use moisture-retentive liners in fabric pockets to keep roots cool. Monitor the top inch of soil daily because small containers dry out faster than traditional ground beds.
Backyard Vertical Garden Maintenance Tips To Keep It Thriving Year Round
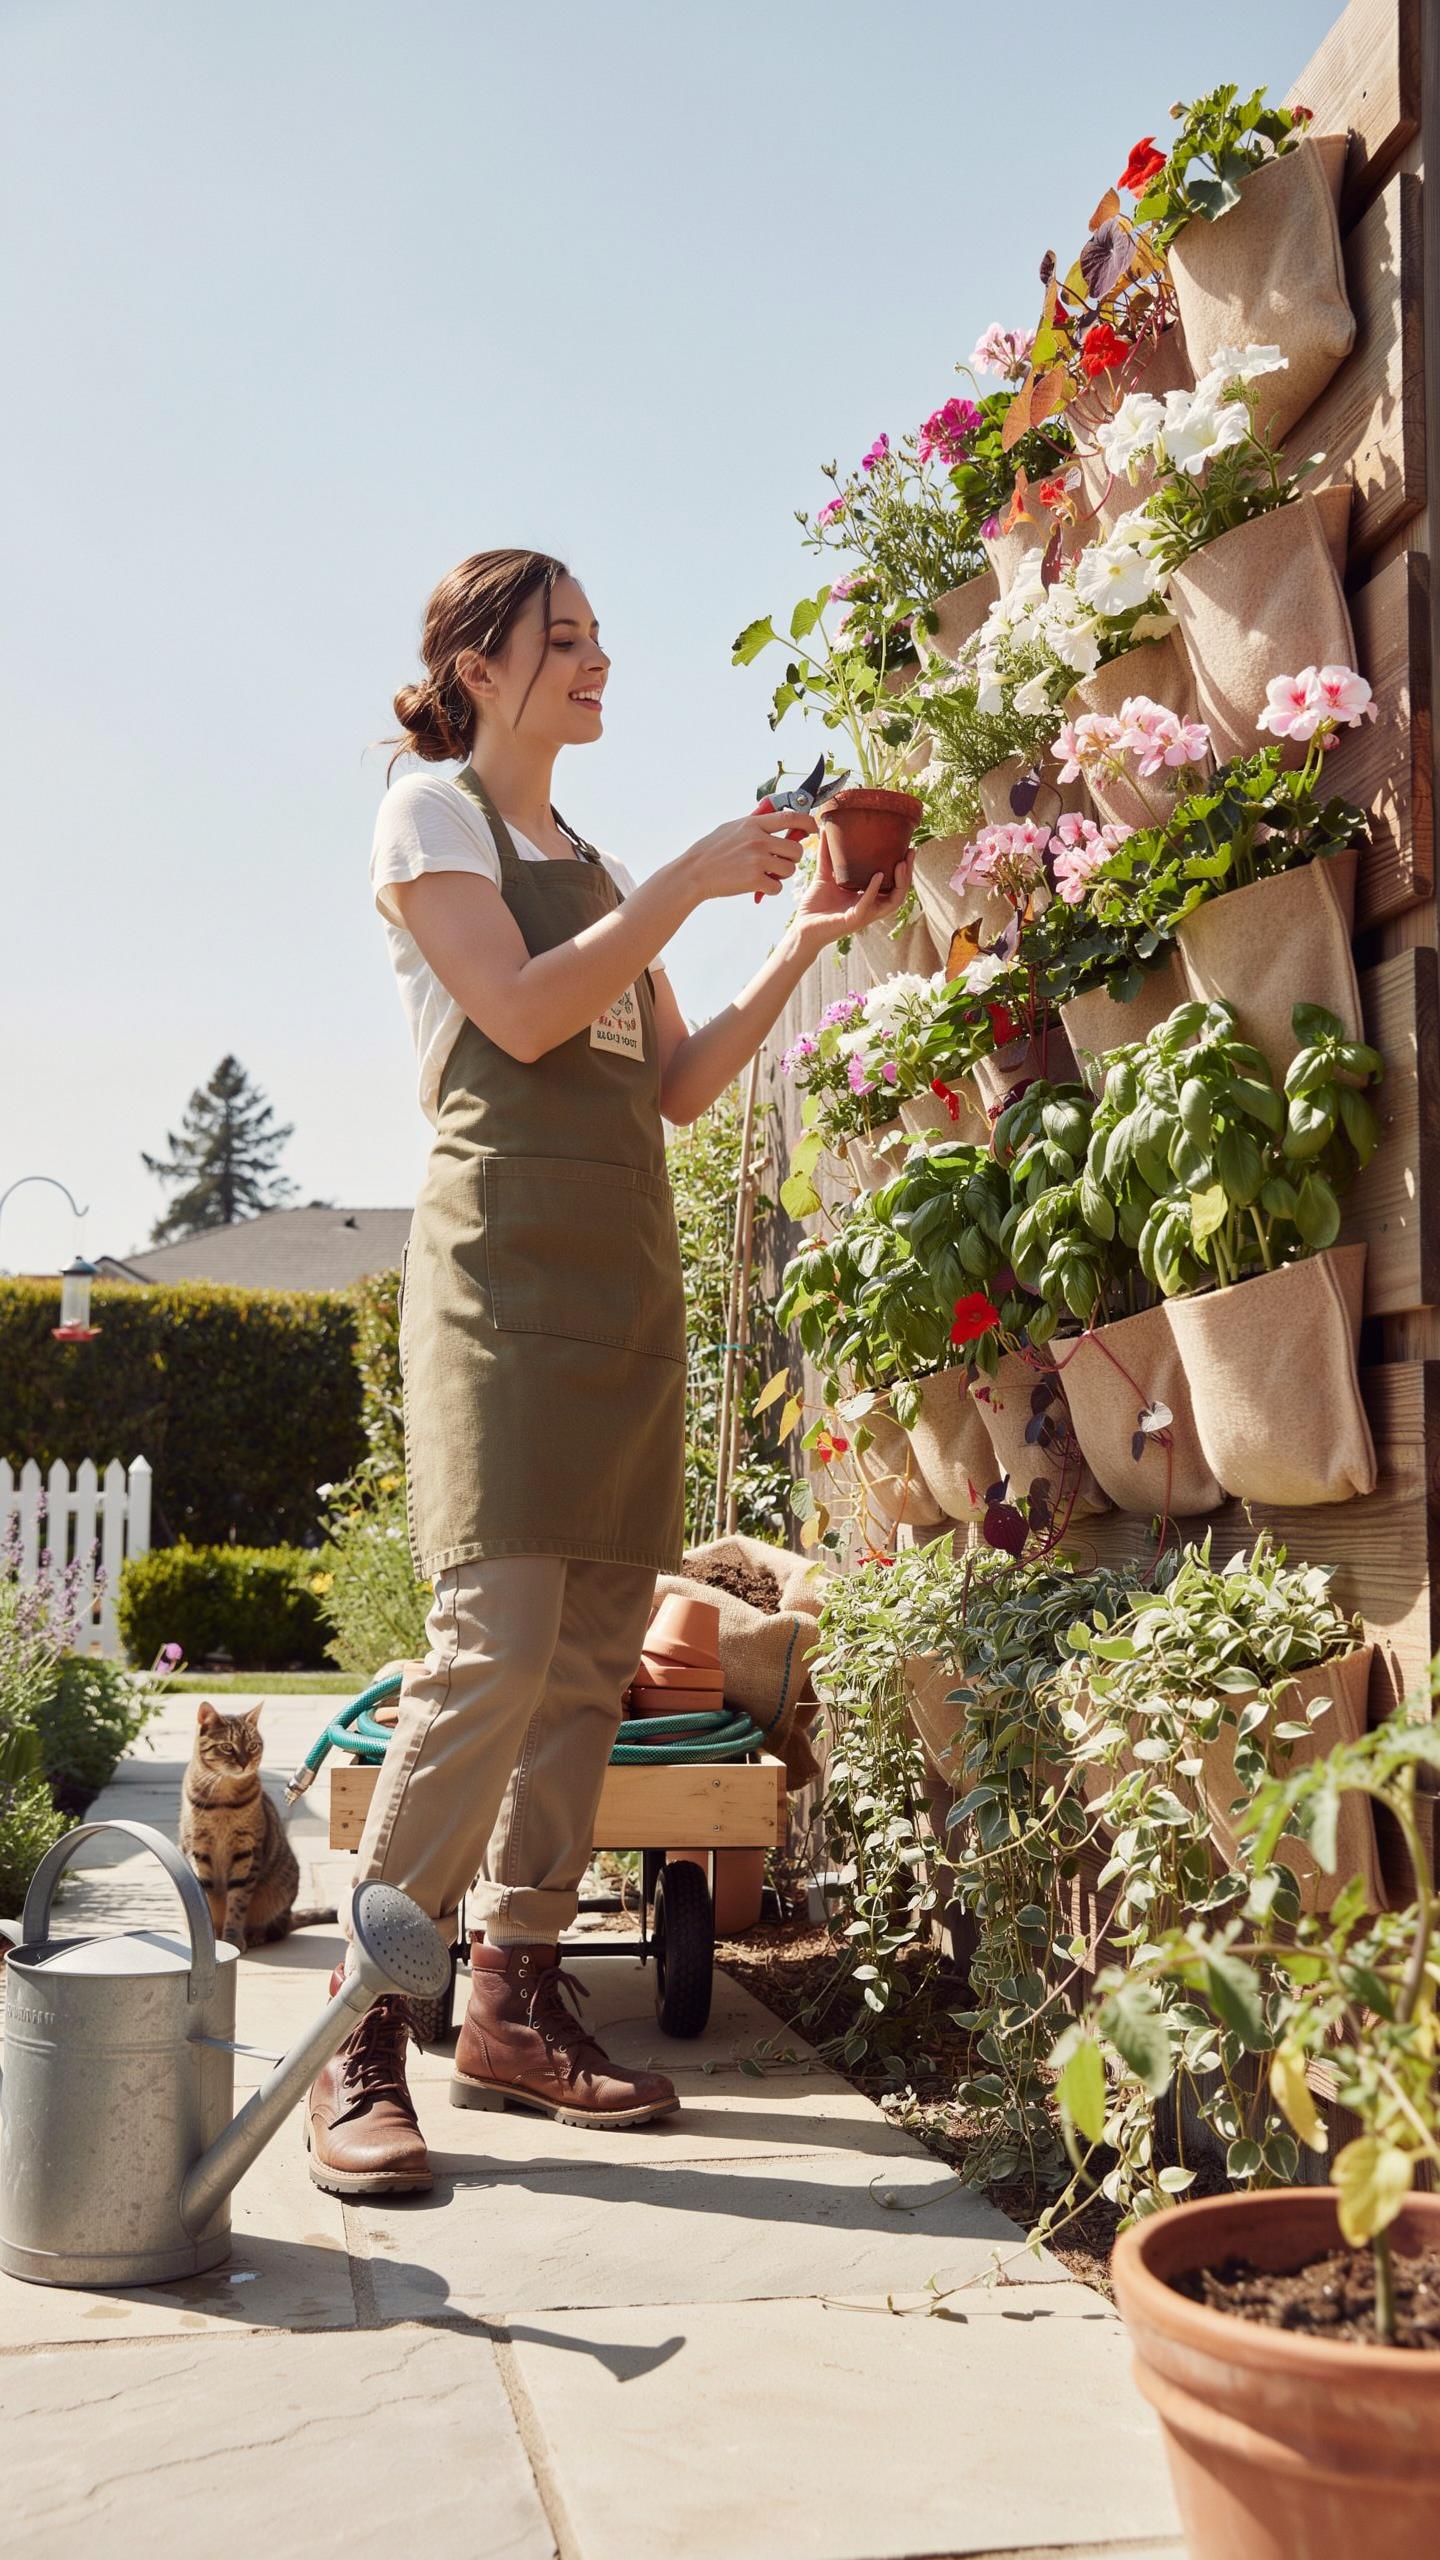
Watering And Fertilizing Your Backyard Vertical Garden Correctly
Vertical planters lose moisture faster than traditional ground beds. Gravity pulls water down to the lowest tiers while leaving top rows dry. You must install a drip irrigation system to ensure even saturation. Use pressure-compensating emitters to deliver exact amounts of water to every plant. Monitor the soil daily during summer months to prevent root lockout and heat stress.
Nutrients leach out of small containers quickly due to frequent watering. You must use a water-soluble fertilizer every two weeks during the growing season. This method provides immediate delivery to the root system. Choose a balanced N-P-K ratio for general foliage or high phosphorus for flowering plants. Avoid over-fertilizing as salt buildup kills roots in tight spaces. Flush the system with clear water monthly.
Seasonal Care And Plant Rotation For A Long Lasting Vertical Garden
Your vertical garden requires different strategies as the seasons shift. Inspect all mounting hardware for rust or loosening after heavy storms. Prune dead foliage immediately to prevent fungal diseases from spreading in cramped quarters. Replace tired annuals with hardy perennials as temperatures drop. Use frost blankets to protect the structure when sub-zero weather threatens. This proactive maintenance extends the life of your timber or metal frame.
Plant rotation keeps the soil healthy and prevents pest cycles. Swap heavy feeders with nitrogen-fixing plants to balance the soil chemistry. If you use felt pockets, check for root binding every six months. Repot plants that have outgrown their designated spaces to maintain airflow. Move sun-loving species to higher spots as the sun angle changes throughout the year. Constant adjustments ensure your vertical wall remains productive and aesthetically sharp.
Frequently Asked Questions

What are the best plants for a beginner to use in a vertical wall planter?
If you are new to the world of gardening, start with hardy, low-maintenance varieties that thrive in containers. Succulents are a fantastic choice because they require minimal watering and look artistic. For a lush, trailing effect, try Pothos or English Ivy. If you want a functional kitchen garden, herbs like mint, basil, and thyme are perfect candidates for your vertical wall planter DIY project as they grow quickly and remain manageable.
How do I ensure proper drainage when building my own vertical garden?
Proper drainage is crucial to prevent root rot and keep your plants healthy. When assembling your vertical wall planter DIY, always drill small holes at the bottom of each container or wooden box. Additionally, adding a thin layer of gravel or lava rocks before the potting soil can help excess water flow freely. Consider using a liner or moisture barrier against your exterior wall to protect your home’s siding from potential water damage.
Can I build an attractive vertical garden on a tight budget?
Absolutely! Creating a stunning outdoor feature doesn’t require expensive materials. You can repurpose wooden pallets, old tin cans, or even sturdy plastic soda bottles to act as your vessels. By using recycled items and basic hardware store supplies, you can complete a stylish vertical wall planter DIY for under twenty dollars. Opting for seeds instead of established nursery plants is another wonderful way to save money while watching your beautiful green wall grow.



