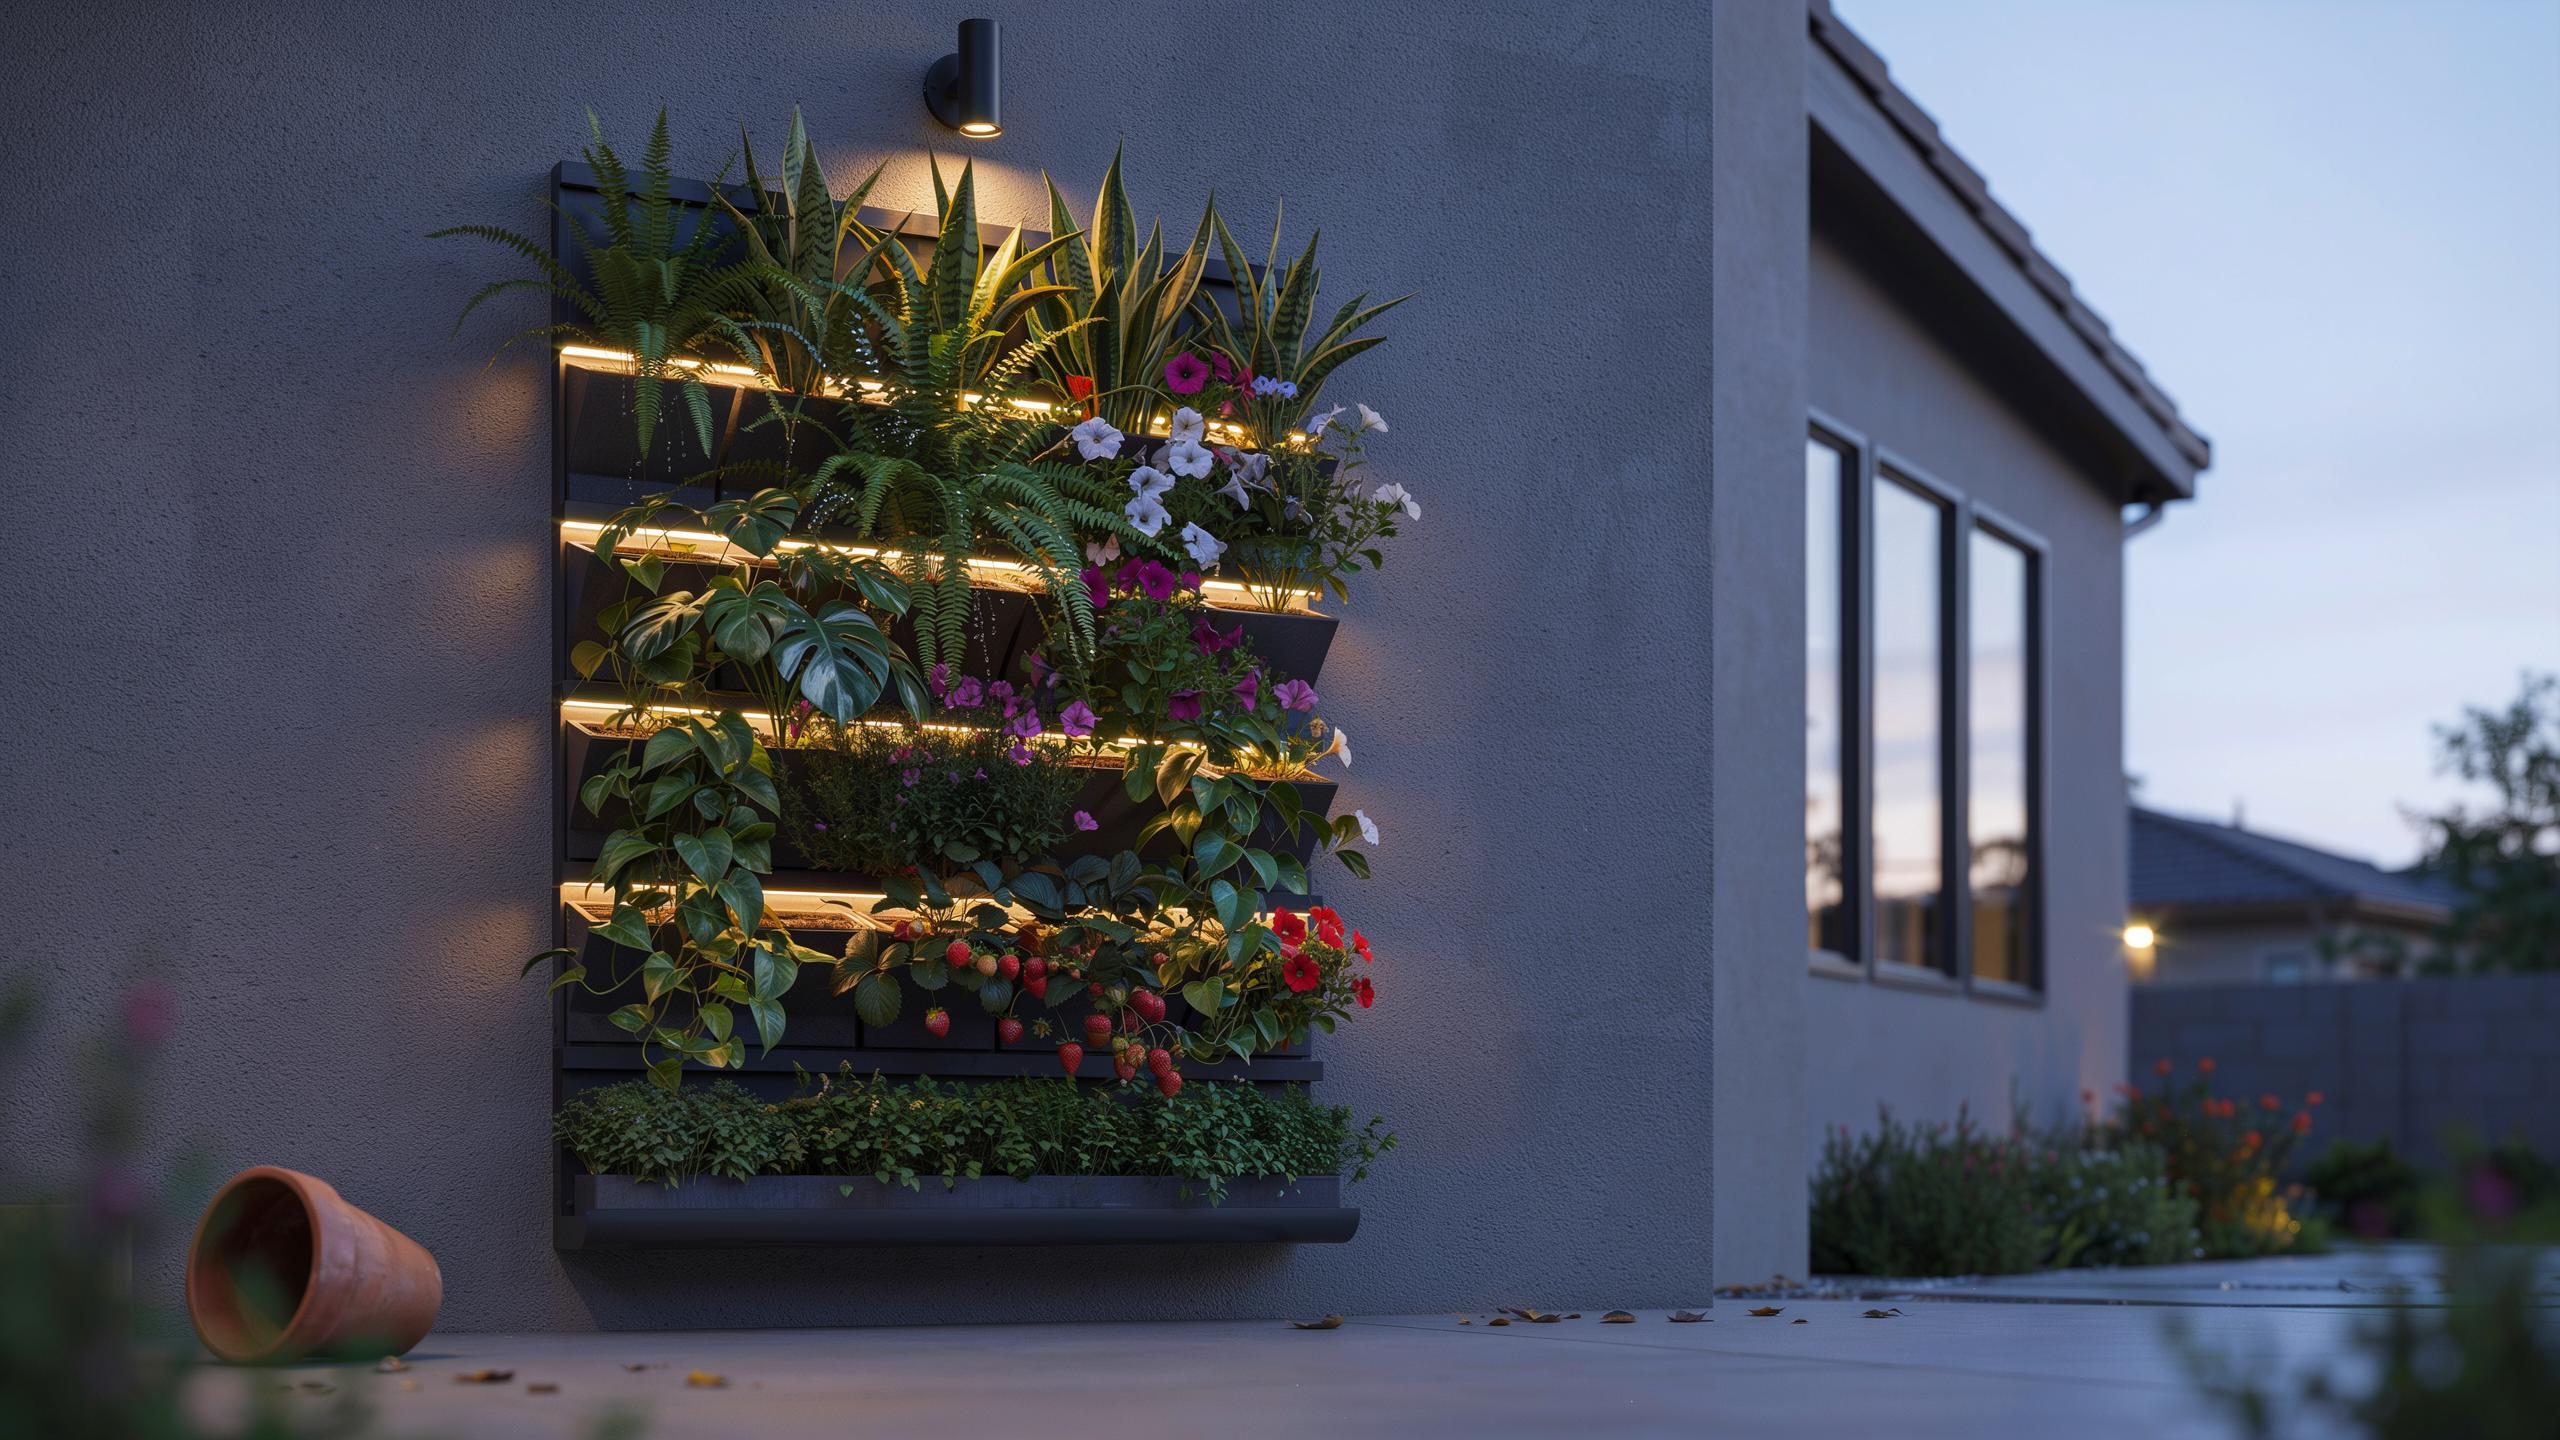
Understanding The Basics Of A Vertical Garden Lighting Setup For Indoor Garden Lighting
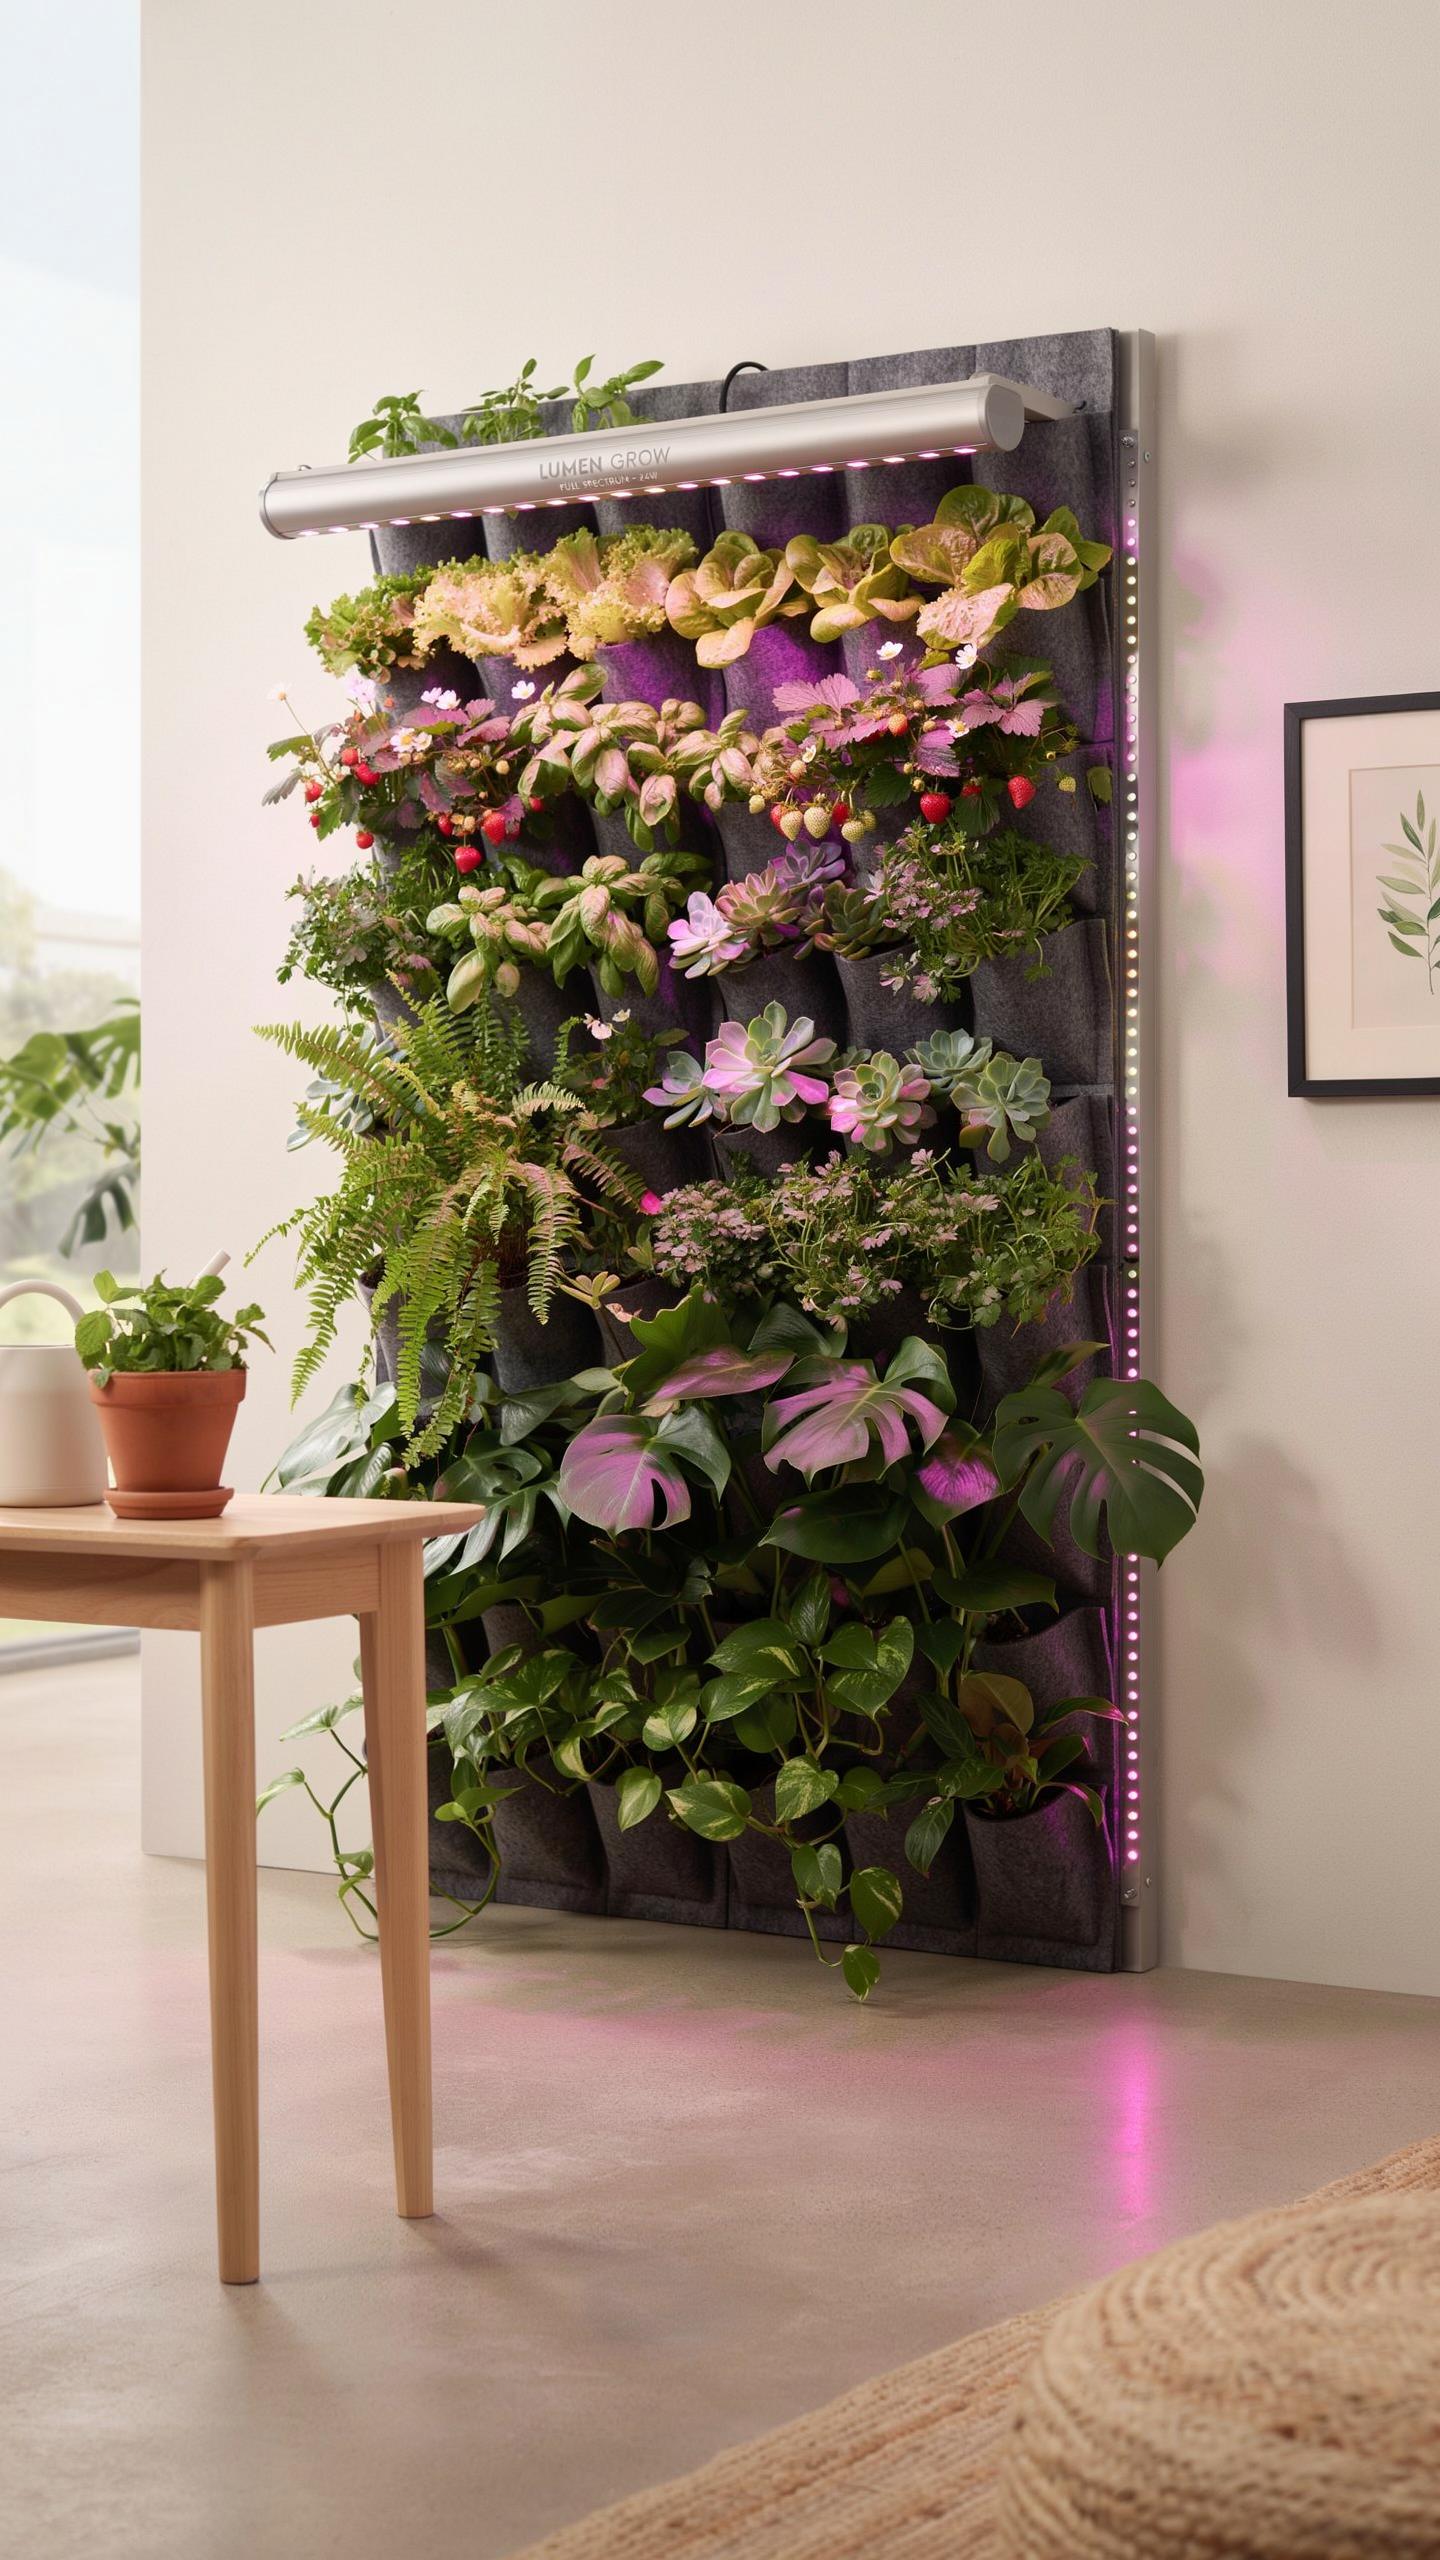
What Makes Indoor Garden Lighting Different From Standard Home Lighting
Standard home lighting focuses on human visibility and aesthetics. These bulbs emit light mainly in the yellow and green wavelengths. Plants ignore these colors. A vertical garden lighting setup requires specialized lamps that target photosynthetic active radiation. Standard fixtures often lack the power to reach the bottom layers of a tall wall. You must choose lights built for long run times.
Functional plant lighting generates heat that can damage foliage in tight spaces. Residential lamps often use shades that trap this heat. Professional indoor garden setups use heat sinks or LED technology to protect the plants. You must position these lights to provide uniform coverage across the entire vertical surface. Standard room lights create shadows that kill lower growth. Tactical placement ensures every leaf performs work.
How Light Intensity And Spectrum Directly Affect Plant Growth In A Vertical Setup
Light intensity drops fast as the distance from the source increases. In a vertical setup, the top plants often receive too much light while the bottom plants starve. You must calculate the foot-candles or LUX at every level of the wall. Proper intensity triggers the chemical reactions needed for glucose production. Without enough power, your vertical garden will turn leggy and weak.
The light spectrum dictates how the plant grows physically. Blue light keeps plants short and encourages thick leaf development. Red light triggers stretch and flowering responses. A balanced spectrum mimics natural shifts in daylight. You must match the spectrum to your specific crop. Foliage walls need more blue light to stay compact. Expert setups use full-spectrum LEDs to cover all stages of the plant life cycle.

Designing Your Vertical Garden Wall With Lighting In Mind From The Start
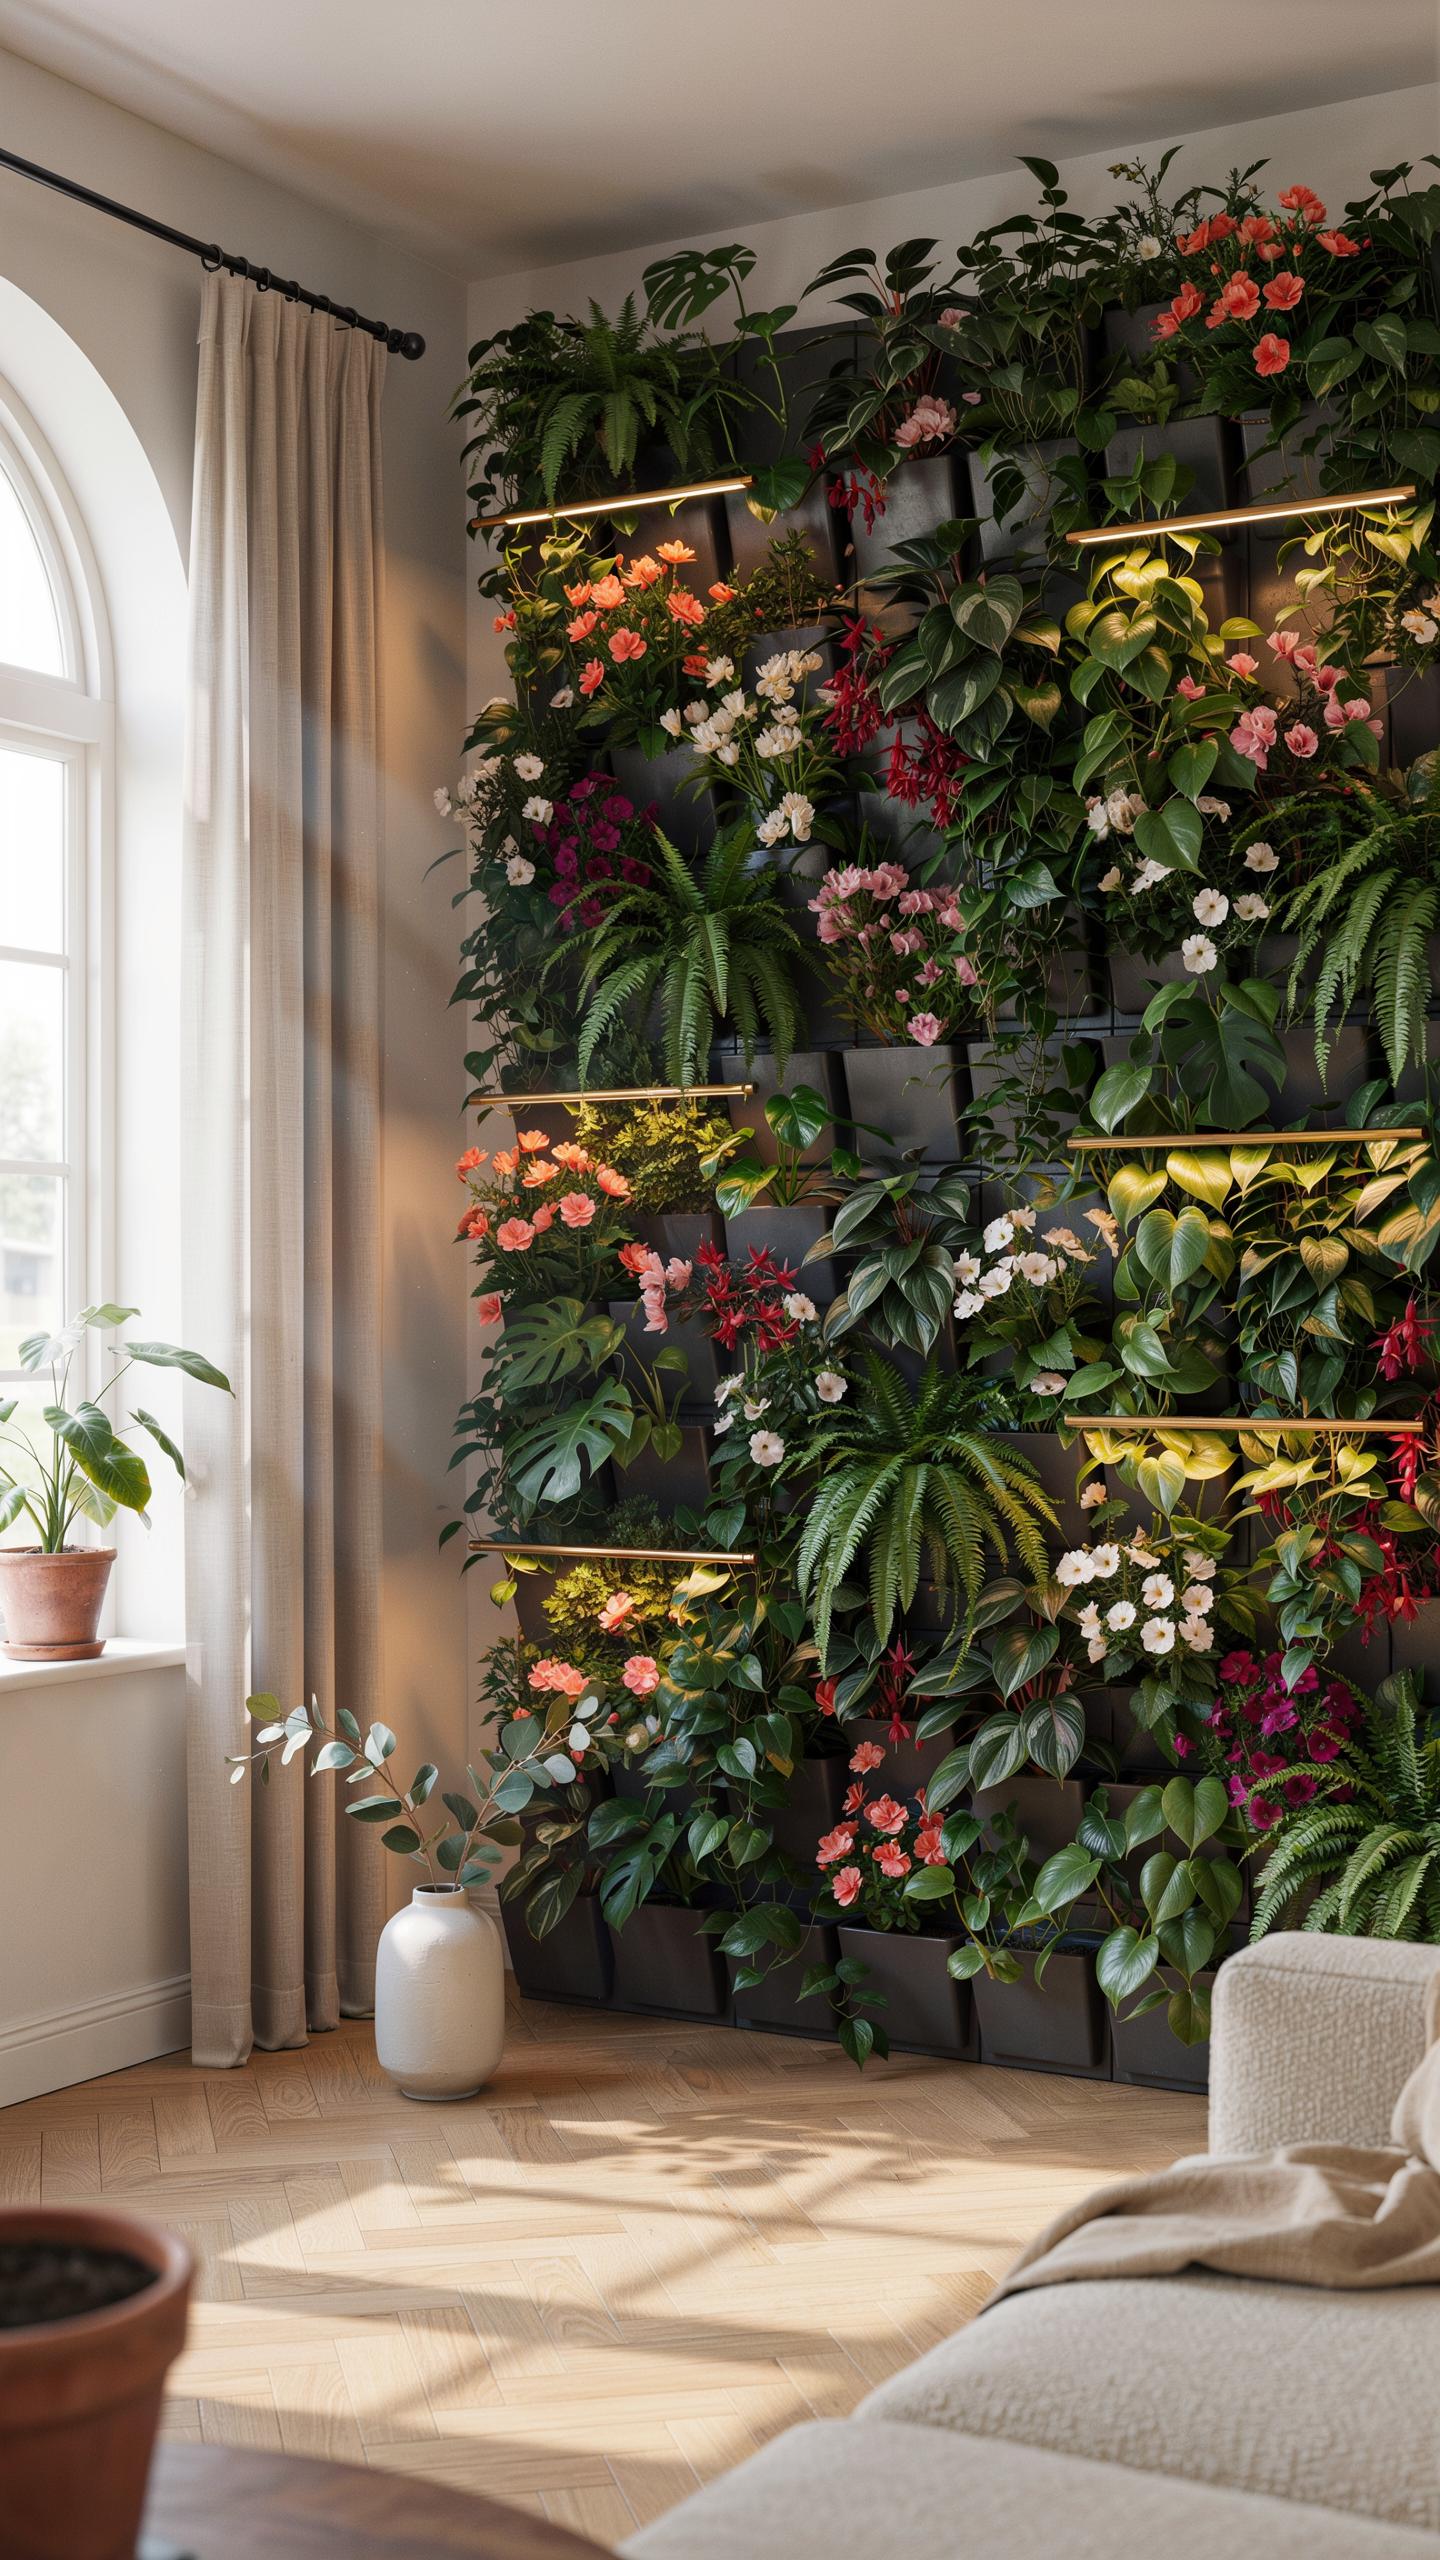
Planning Your Vertical Garden Wall Layout To Maximize Light Distribution
Vertical garden lighting setup requires precise spacing to prevent shadows. Foliage at the top often blocks light from reaching lower plants. You must stagger your plant containers to create clear paths for light beams. Designers call this the step-back method. It ensures every leaf receives adequate photon density. Proper planning prevents leggy growth at the bottom of your wall. High density walls need more light sources.
Position your lighting fixtures at a forty-five degree angle from the wall surface. This angle reduces glare and covers more surface area. If you place lights too close, you create hot spots. These spots burn delicate leaves and leave other areas dark. Use wide-angle lenses for short distances. Use narrow beams for tall walls. Effective light distribution depends on the physical distance between the fixture and the plant canopy.
Choosing The Right Wall Surface And Mounting Structure To Support Your Lighting System
The wall surface must handle the weight of plants and heavy lighting hardware. Brick and concrete provide the best stability for industrial-grade mounts. Use moisture-resistant backing boards to protect the building structure. These boards also act as a heat sink for LED drivers. Integrated rail systems allow you to move lights as plants grow. This flexibility is critical for long-term maintenance and plant health.
Mounting structures require dedicated cable management channels. Exposed wires create safety hazards in wet environments. Use powder-coated steel or anodized aluminum for frames. These materials resist corrosion from constant misting and humidity. Ensure the mounting brackets can support the leverage of extended lamp arms. A weak structure will sag over time. This ruins the light focus and damages the electrical connections. Strong foundations ensure a safe lighting system.
Exploring Plants Lighting Requirements To Match The Right Fixture To Each Plant
Understanding Low, Medium, And High Plants Lighting Needs Across Common Vertical Garden Species
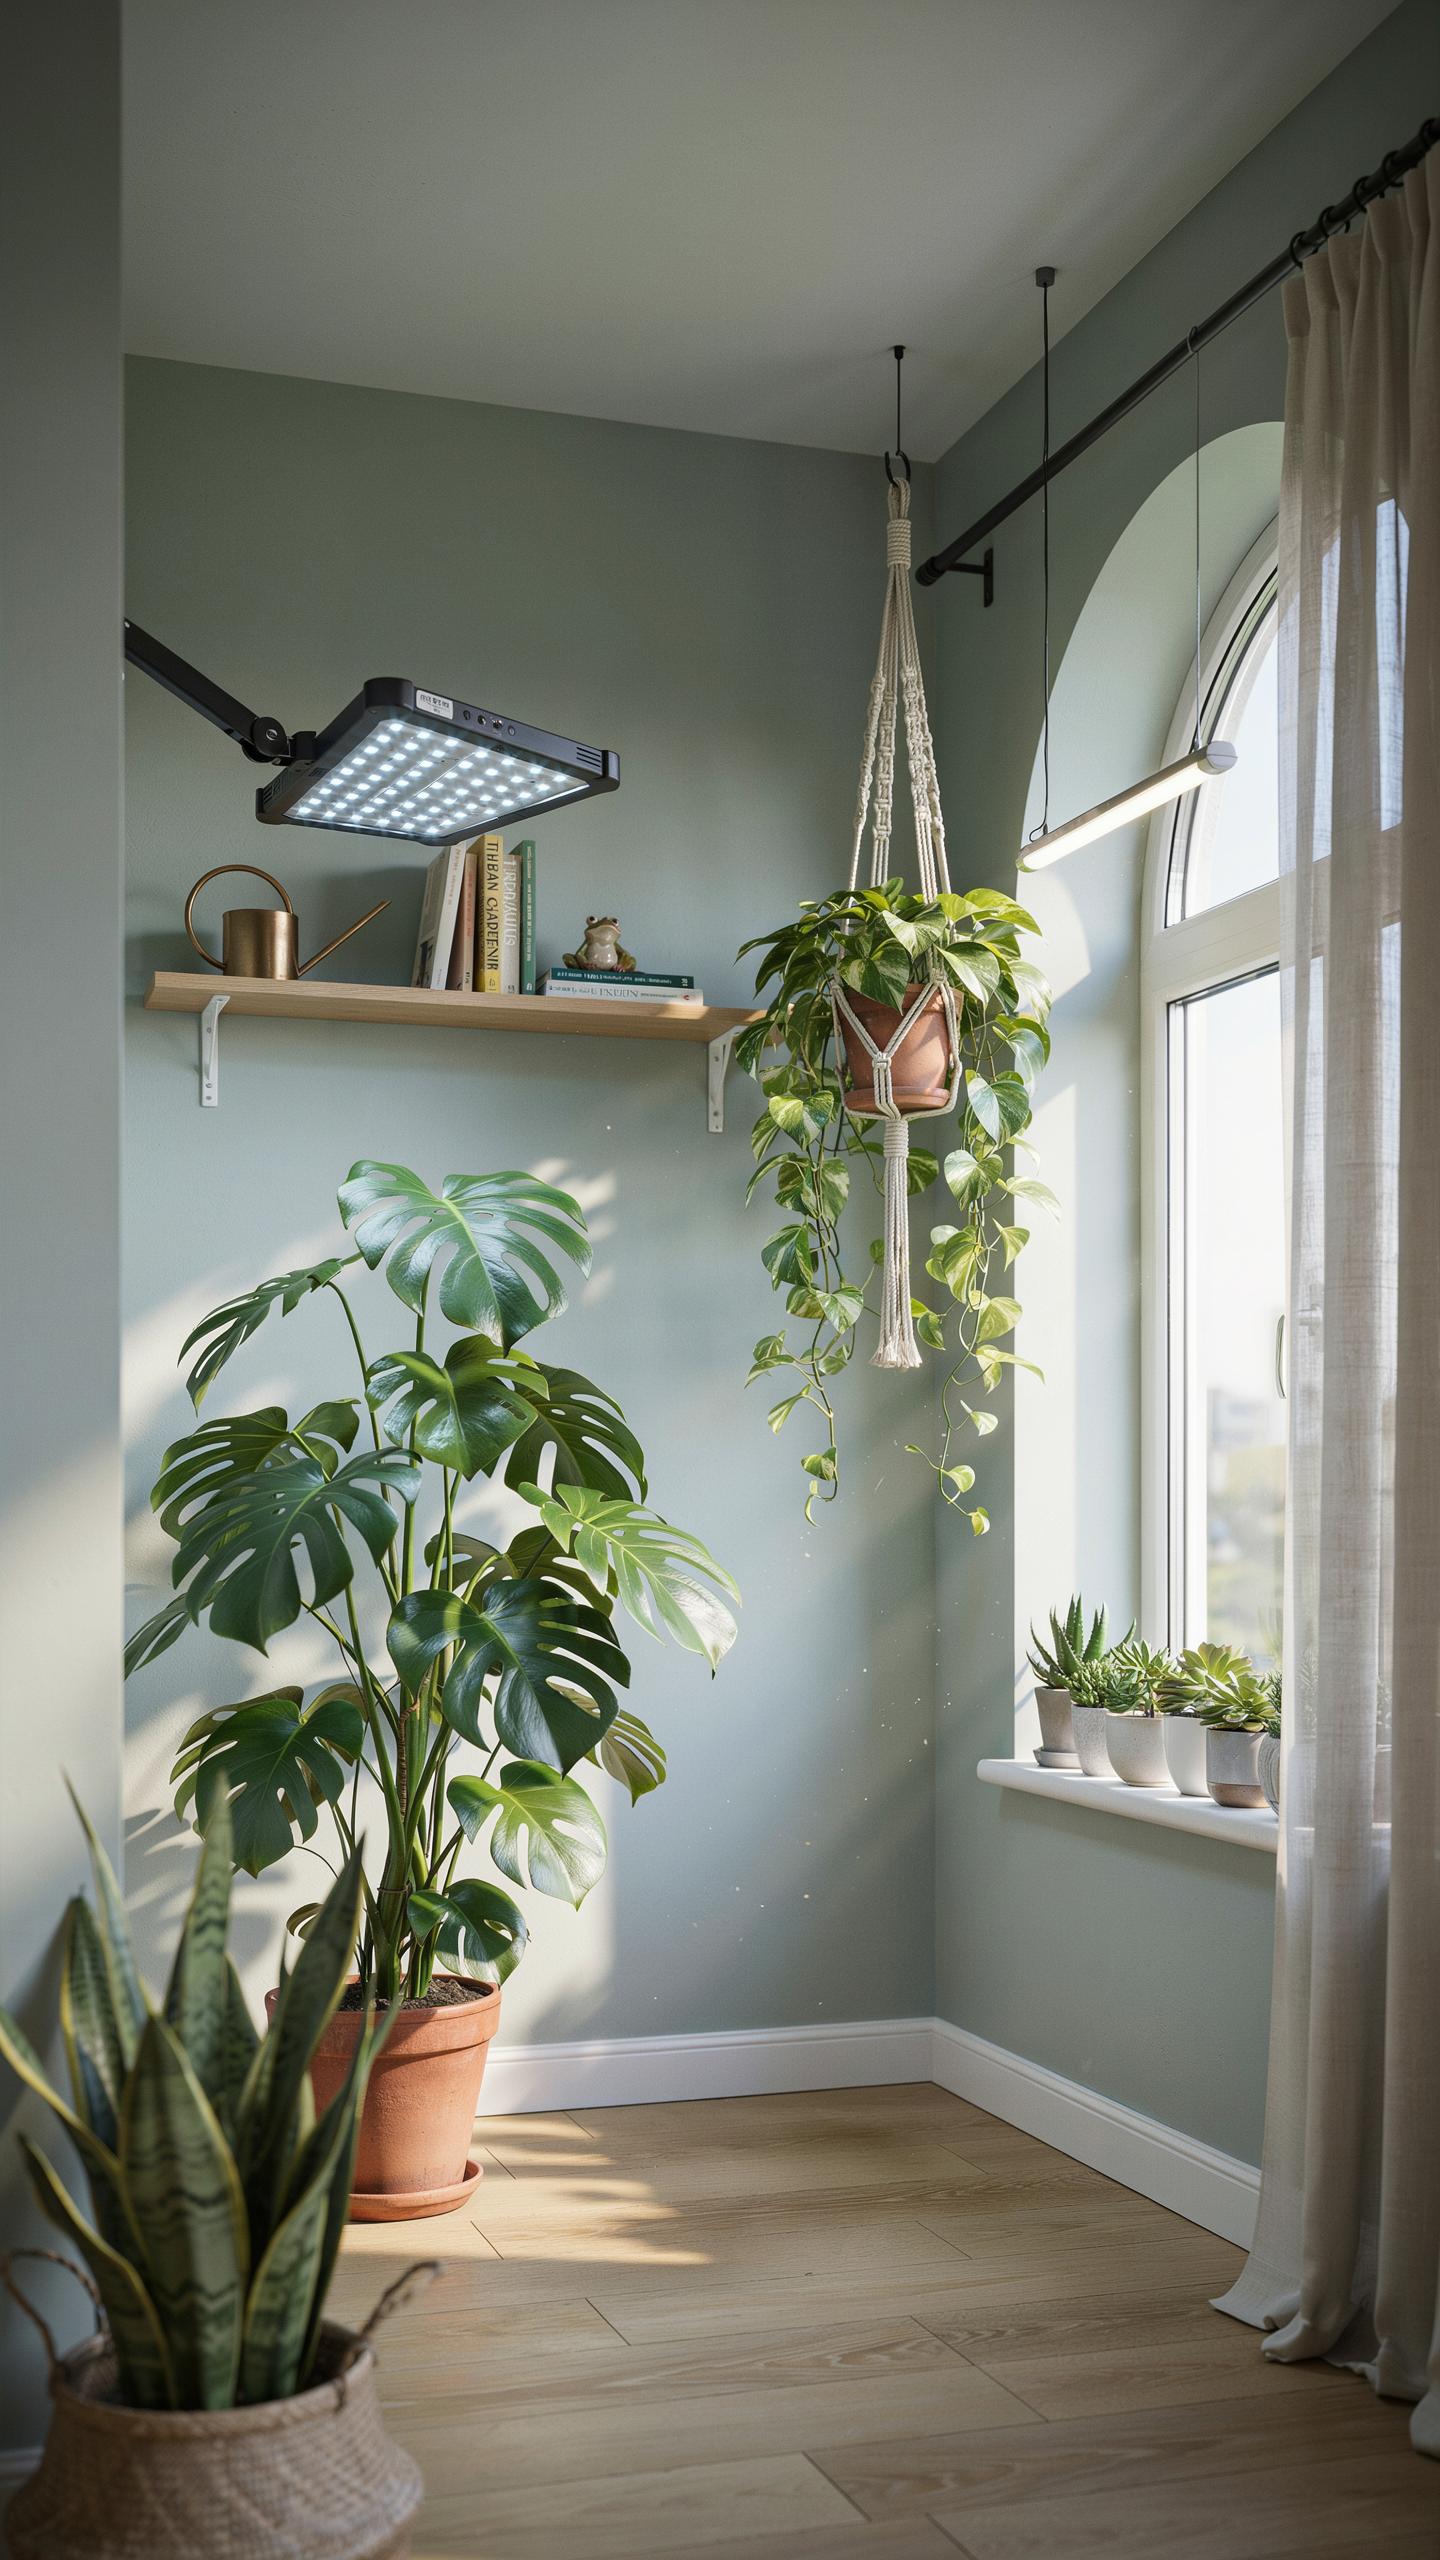
Vertical garden success depends on matching light intensity to species physiology. Low light plants like Pothos and ZZ plants survive on 50 to 250 foot-candles. These species thrive in the shaded lower tiers of a green wall. Medium light plants like Ferns and Philodendrons require 250 to 1,000 foot-candles. You must position these in the center where light spread is most consistent and even.
High light species such as herbs and flowering bromeliads demand over 1,000 foot-candles to maintain growth. These plants go at the top of the vertical structure near the primary light source. Failing to provide enough intensity leads to leggy stems and leaf drop. You must measure light levels with a PAR meter at every tier. Use LED fixtures with adjustable dimmers to calibrate the intensity for each specific plant zone.
How Photoperiodism Influences The Daily Lighting Schedule You Set For Your Vertical Garden
Photoperiodism is the physiological reaction of plants to the length of day or night. Short-day plants require long periods of darkness to trigger flowering cycles. Long-day plants need extended light exposure to produce blooms and fruit. Most tropical foliage used in vertical gardens is day-neutral. These plants focus on vegetative growth regardless of the light duration. You must set your timers to match your specific plant mix.

A standard vertical garden schedule runs between 12 and 16 hours of daily light. Avoid keeping lights on for 24 hours straight as plants need a respiration period. This dark phase allows the plant to process energy stored during photosynthesis. Use digital timers to automate this cycle and maintain a consistent biological clock. Consistent timing prevents stress and ensures your vertical garden maintains its structural integrity and vibrant color over time.
Applying Biophilic Lighting Design Principles To Your Vertical Garden At Home
What Biophilic Lighting Design Means And Why It Matters For Human And Plant Wellbeing
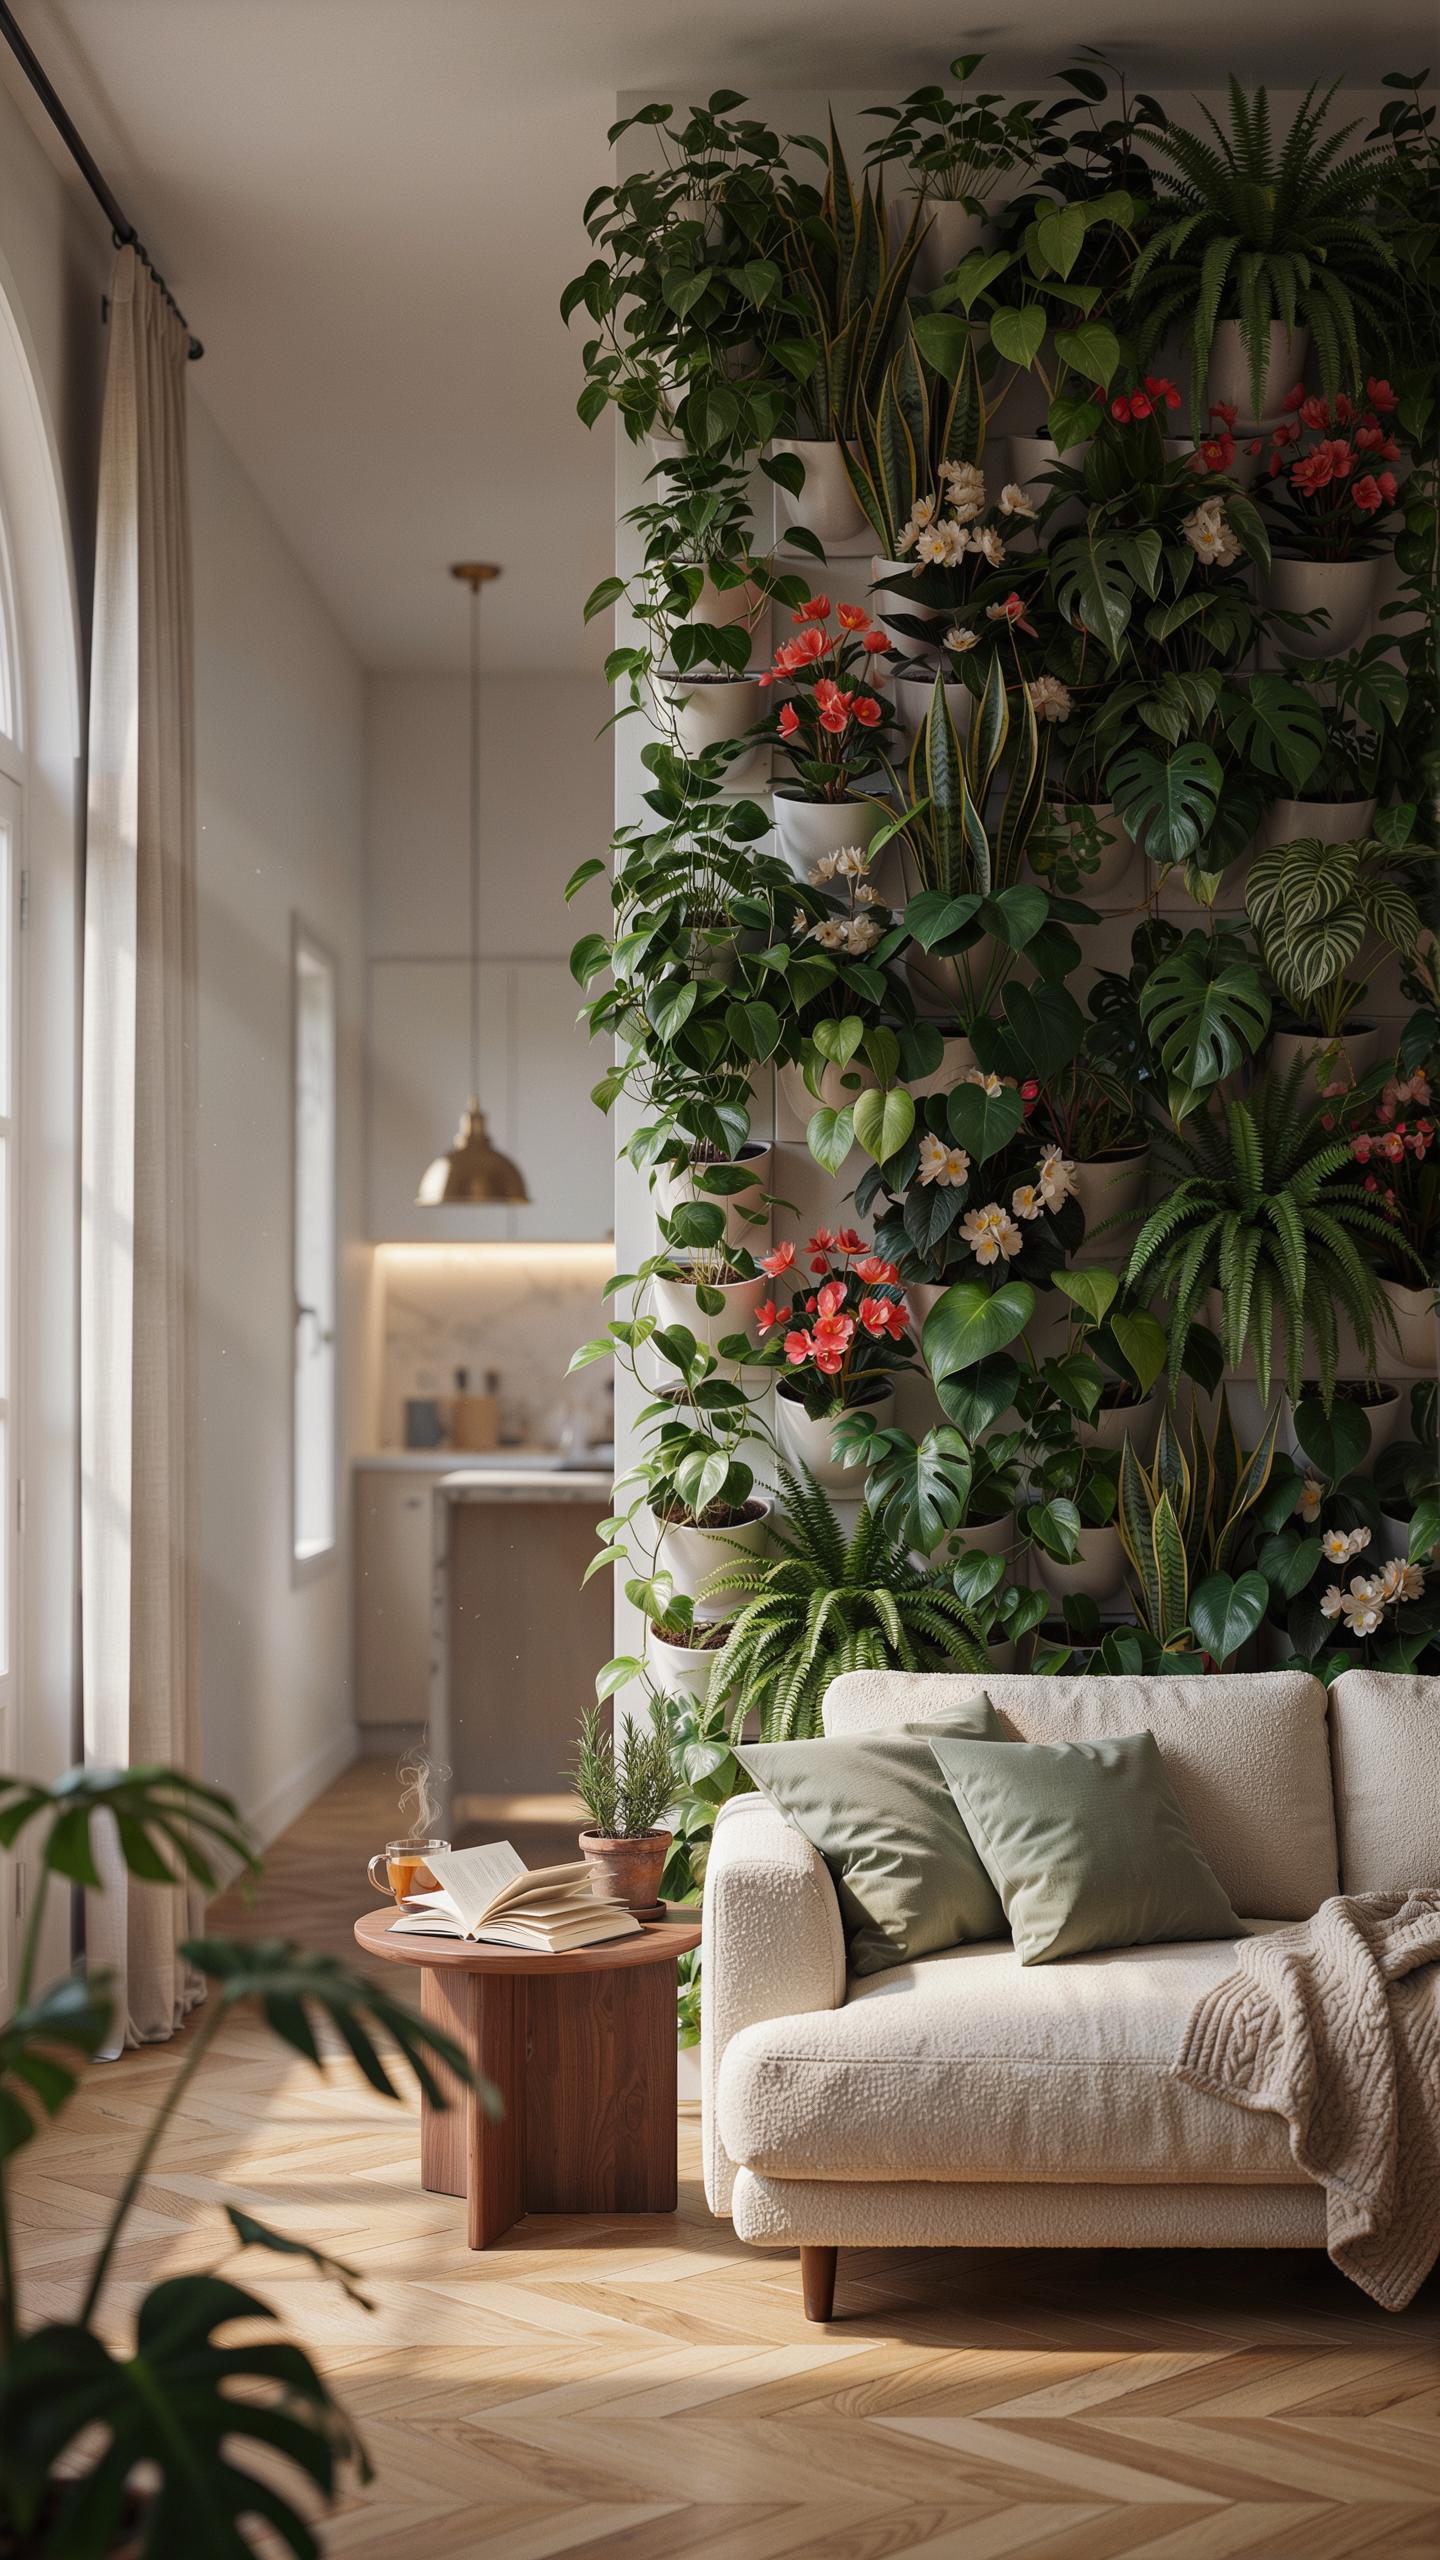
Biophilic lighting mimics natural light patterns to improve health. This design strategy connects people to nature inside their homes. It follows the 14 patterns of biophilic design developed by Terrapin Bright Green. These patterns focus on non-rhythmic sensory stimuli and dynamic light. Proper lighting resets the human circadian rhythm. It reduces stress and increases productivity for residents.
Plants also need specific light cycles to survive. Photosynthetically active radiation drives growth and oxygen production. A vertical garden lighting setup must balance human comfort with plant biology. Correct color temperatures prevent eye strain while feeding the leaves. This dual approach creates a functional living ecosystem. It ensures both the organisms and the observers thrive in a shared indoor space.
Layering Natural And Artificial Light Sources To Create A Truly Biophilic Atmosphere
Effective design layers three types of light to create depth. Ambient light provides general visibility throughout the room. Task lighting focuses on the foliage to highlight textures. Accent lighting adds drama and defines the spatial boundaries of the garden. Use high Color Rendering Index lamps to show true plant colors. This layering prevents a flat and clinical appearance.
Integrate smart controllers to simulate the movement of the sun. Morning light should be cool and bright to trigger alertness. Evening light needs warmer tones to prepare the body for rest. Dimmers allow you to adjust intensity based on the season. This variation mimics the shadows and highlights found in a forest. It creates a realistic and relaxing environment for everyone.
Why LED Indoor Garden Lights Are The Gold Standard For Vertical Garden Setups
The Science Behind LED Indoor Garden Efficiency: Heat Output, Energy Use, And Lifespan
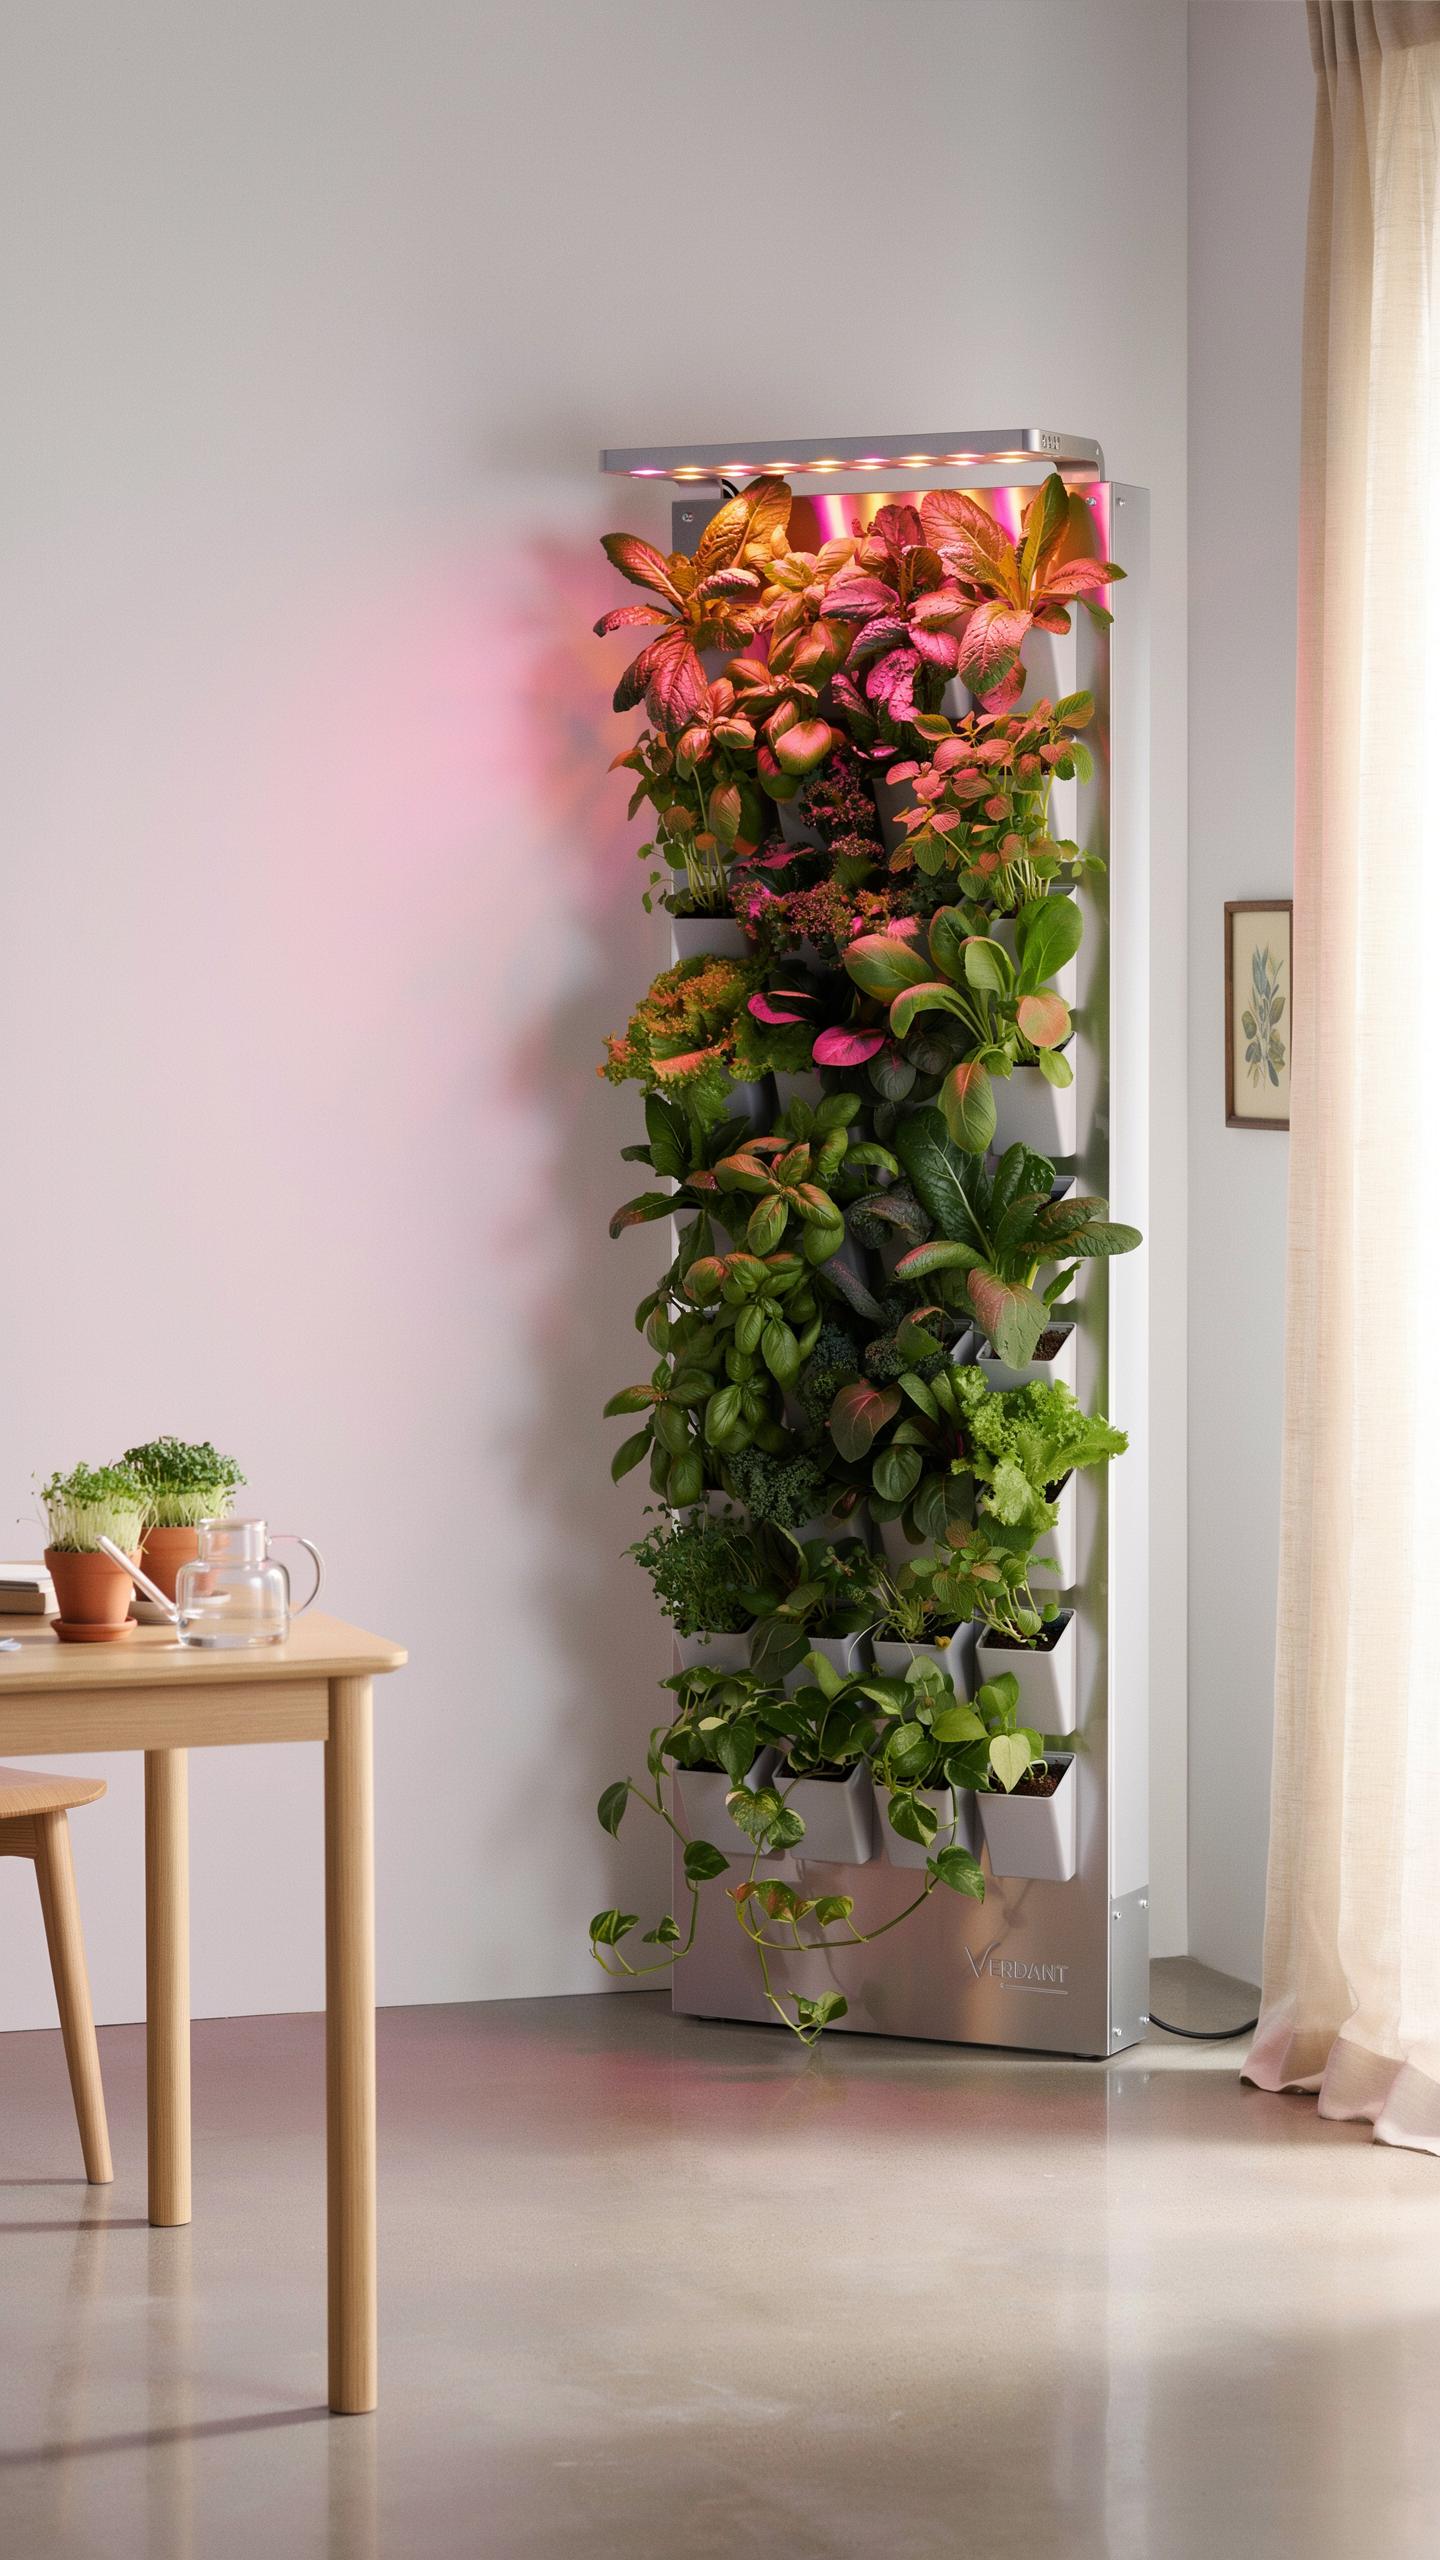
LED technology converts more electricity into light than heat. This efficiency is critical for a vertical garden lighting setup where plants occupy tight spaces. High heat from old bulbs scorches leaves and dries out soil quickly. LEDs run cool to the touch. This low heat output allows you to place lights closer to the foliage. Proximity increases light intensity without the risk of plant damage.
LEDs use significantly less power than metal halide or fluorescent tubes. This lower energy consumption reduces your monthly utility costs. These bulbs also boast a long lifespan of fifty thousand hours or more. You spend less money on replacements and maintenance. Rapid heat dissipation and low power draw make LEDs the most tactical choice for dense vertical systems. They offer reliable performance over several years of operation.
Full Spectrum Vs. Red Blue LED Indoor Garden Lights: Which Is Better For A Vertical Setup
Full-spectrum LEDs mimic natural sunlight by providing a wide range of wavelengths. These lights appear white to the human eye. This makes them ideal for living rooms or kitchens where aesthetics matter. They support every stage of plant growth from seedling to flower. Most modern vertical garden lighting setups favor full-spectrum chips. They provide a balanced environment for both the plants and the residents.
Red-blue lights focus only on specific wavelengths for photosynthesis. These lights often produce a harsh purple glow. This color is distracting in a home setting. While efficient for pure growth, they lack the visual clarity of full-spectrum options. Use full-spectrum LEDs to keep your home looking natural. They ensure healthy plant development while maintaining the visual appeal of your indoor space. Choose white light for the best results.
Setting Up Lighting For Indoor Vegetable Cultivation In Your Vertical Garden
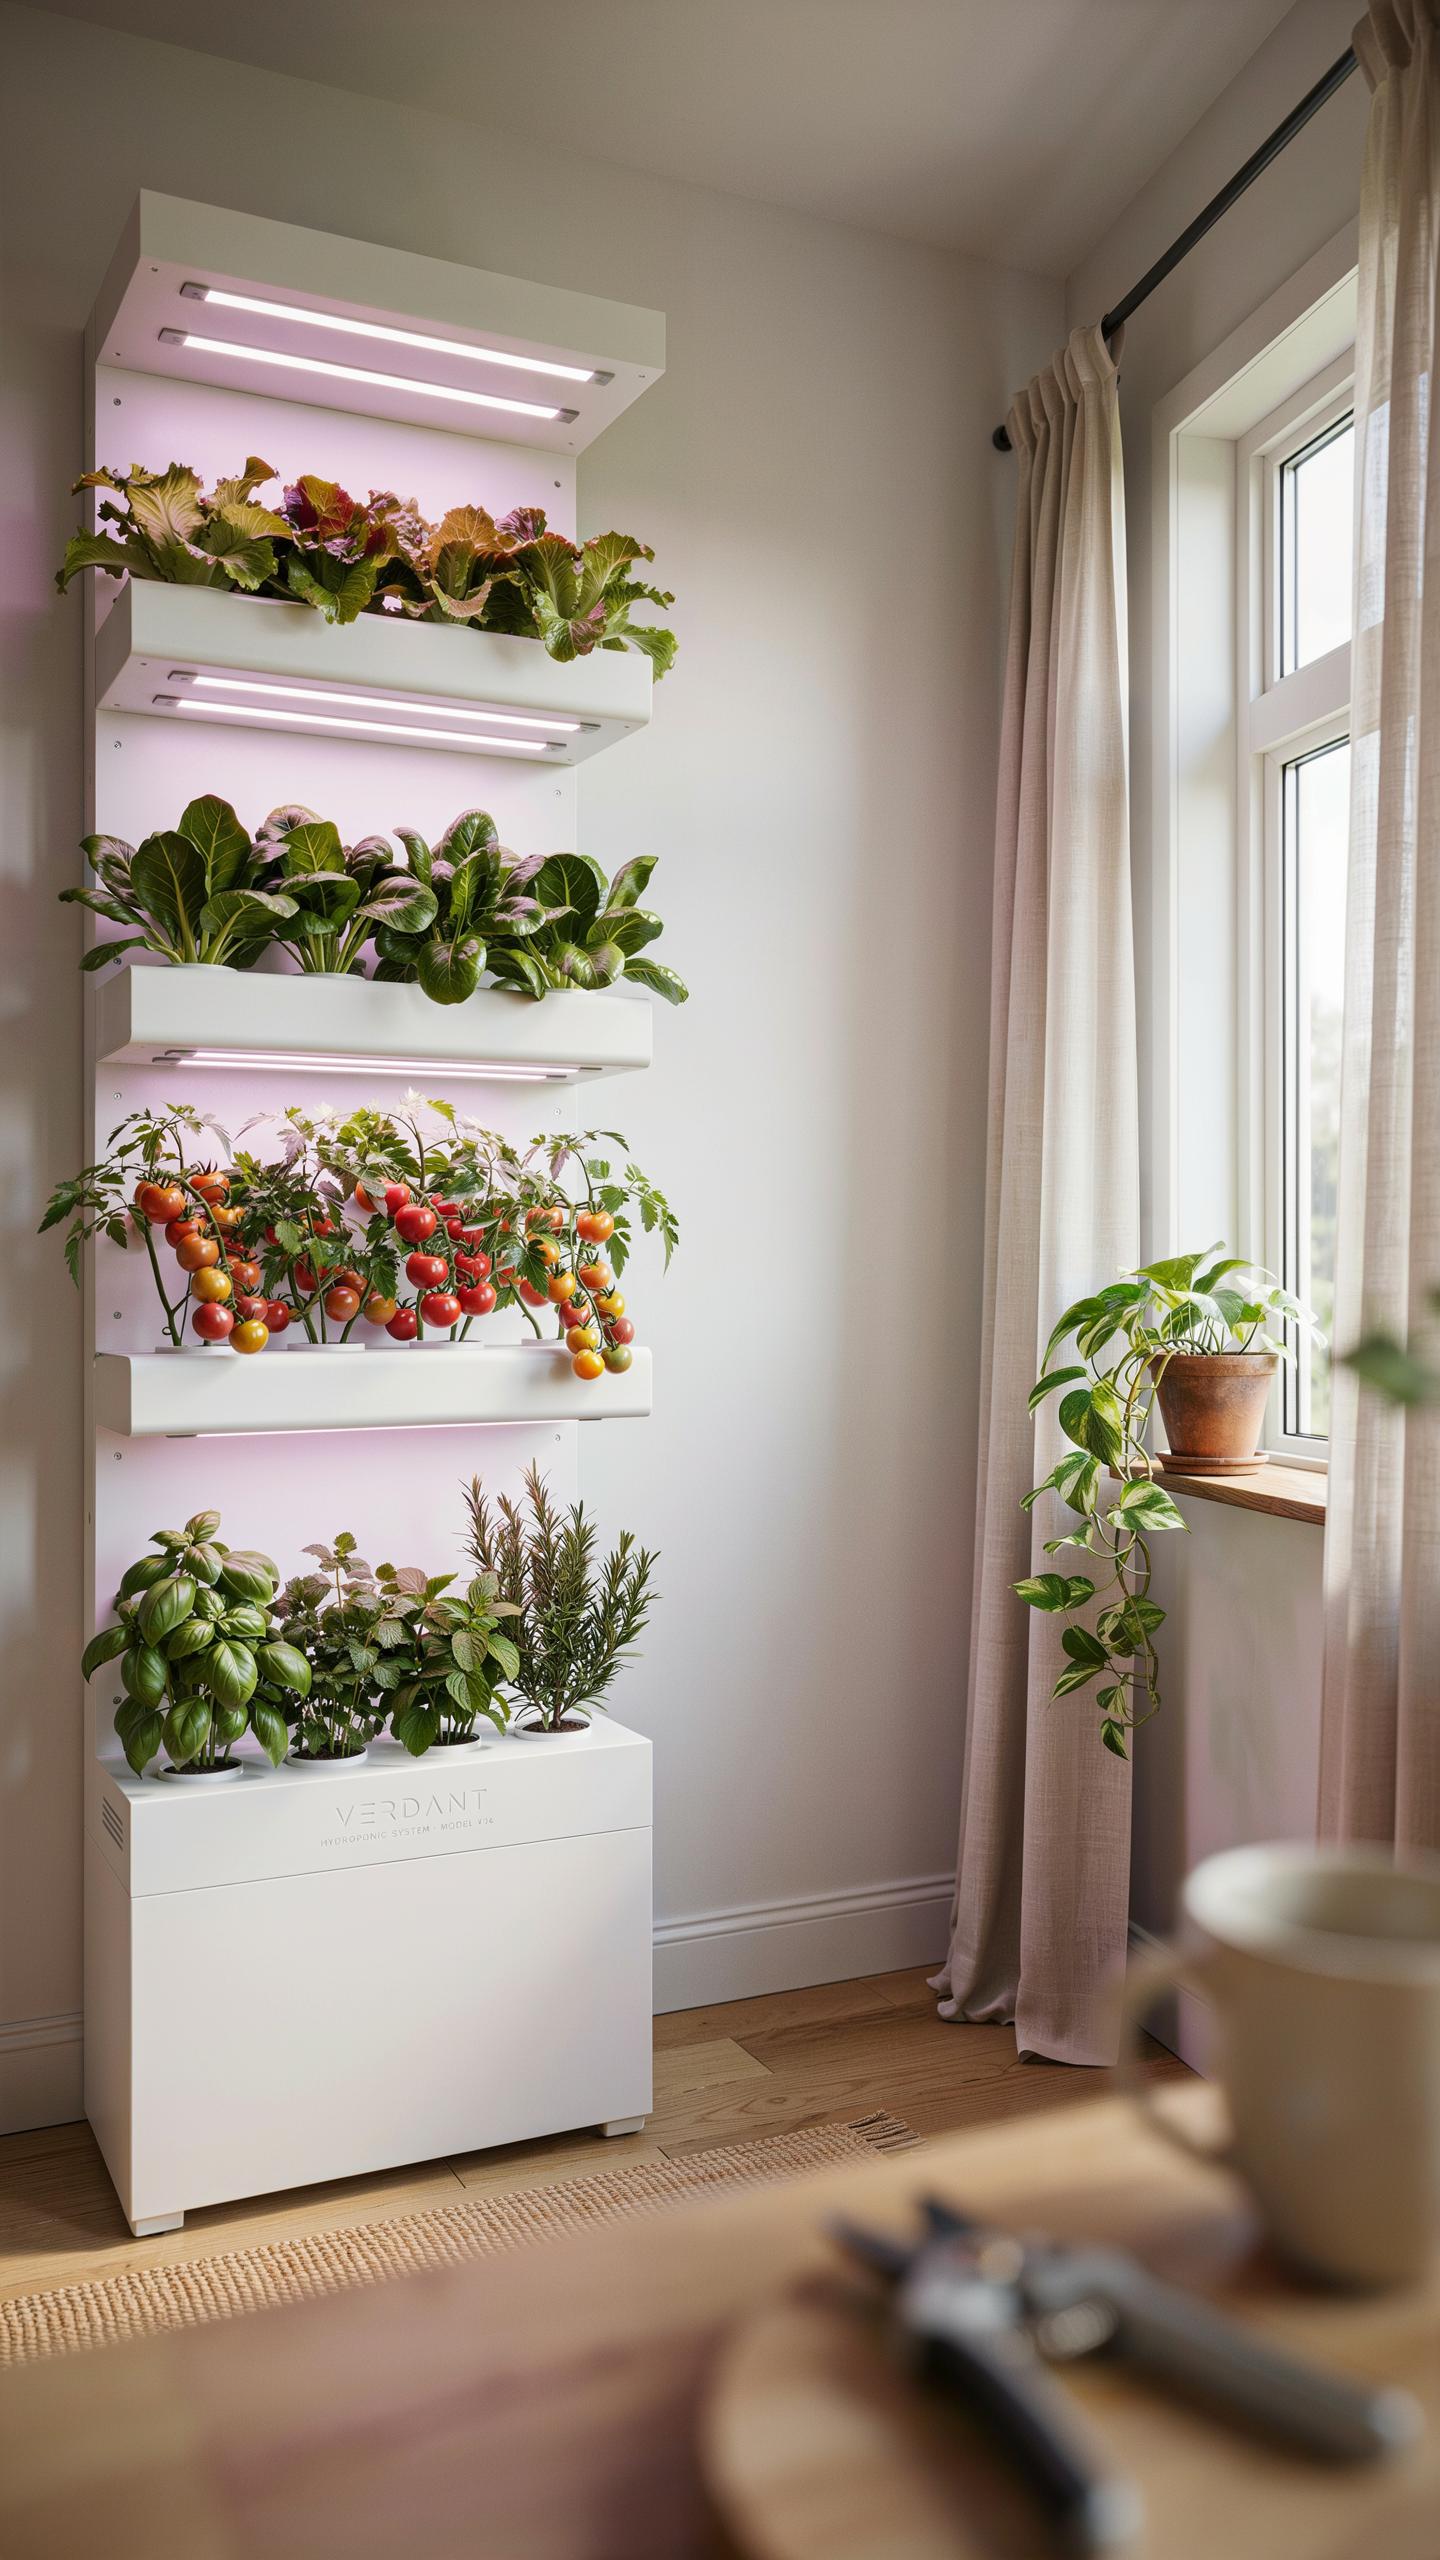
Which Vegetables Thrive Best Under Artificial Light In A Vertical Indoor Garden
Leafy greens and small herbs perform best in vertical systems using artificial light. These plants have shallow root systems and require less energy than fruiting crops. Low-profile crops allow for tighter shelf spacing and better light distribution across the vertical plane. Selecting species with similar light requirements ensures uniform growth and prevents tall plants from shading out smaller neighbors in your rack.
- Leafy Greens: Lettuce and spinach grow rapidly under broad-spectrum LED lights. These plants require consistent blue light waves to develop crisp leaves and prevent early bolting in indoor environments.
- Culinary Herbs: Basil, cilantro, and mint thrive in vertical setups with moderate light intensity. These species respond well to localized light sources and maintain high essential oil content when kept under controlled LED arrays.
- Microgreens: These young seedlings need high-intensity light for short durations. They are the most space-efficient option for vertical racks because they reach harvest maturity in less than fourteen days under proper lighting.
- Dwarf Peppers: Small pepper varieties can grow indoors if you provide high PAR levels. They require more red light spectrum than greens to trigger flowering and fruit production within the vertical structure.
- Radishes: These root vegetables grow quickly and tolerate the confined layers of a vertical garden. They need intense light to develop bulbs rather than just tall stems, making LED positioning critical for success.
Avoid large vining plants like standard cucumbers or heavy squash in vertical indoor setups. These plants demand massive amounts of light energy and physical space that typical indoor fixtures cannot provide. Stick to compact cultivars labeled as patio or container varieties. These plants stay small and utilize the available light footprint efficiently. Focus on high-turnover crops to maximize the utility of your vertical garden lighting setup.
The garden is a grand teacher that nurtures our spirits, and with the right light, your vertical walls become a glowing sanctuary of memories.
Optimizing Light Cycles And Fixture Placement For Productive Indoor Vegetable Cultivation
Position your light fixtures six to twelve inches away from the plant canopy. This distance prevents heat stress while maximizing photon intake. LED panels work best for vertical racks because they offer a slim profile and generate minimal heat. Use adjustable shelving or hanging kits to move lights upward as your vegetables grow. Consistent distance ensures every leaf receives the energy required for efficient photosynthesis.

Set your light timers for fourteen to sixteen hours of daily operation. Indoor vegetables need longer light periods than outdoor plants to compensate for lower light intensity. Use a digital timer to automate this cycle and maintain stasis. Night cycles are equally important for plant respiration and overall health. Monitor the temperature regularly because lights can raise the ambient heat in confined vertical spaces, which may stunt vegetable growth.
Adapting Your Vertical Garden Lighting Setup For An Outdoor Green Wall
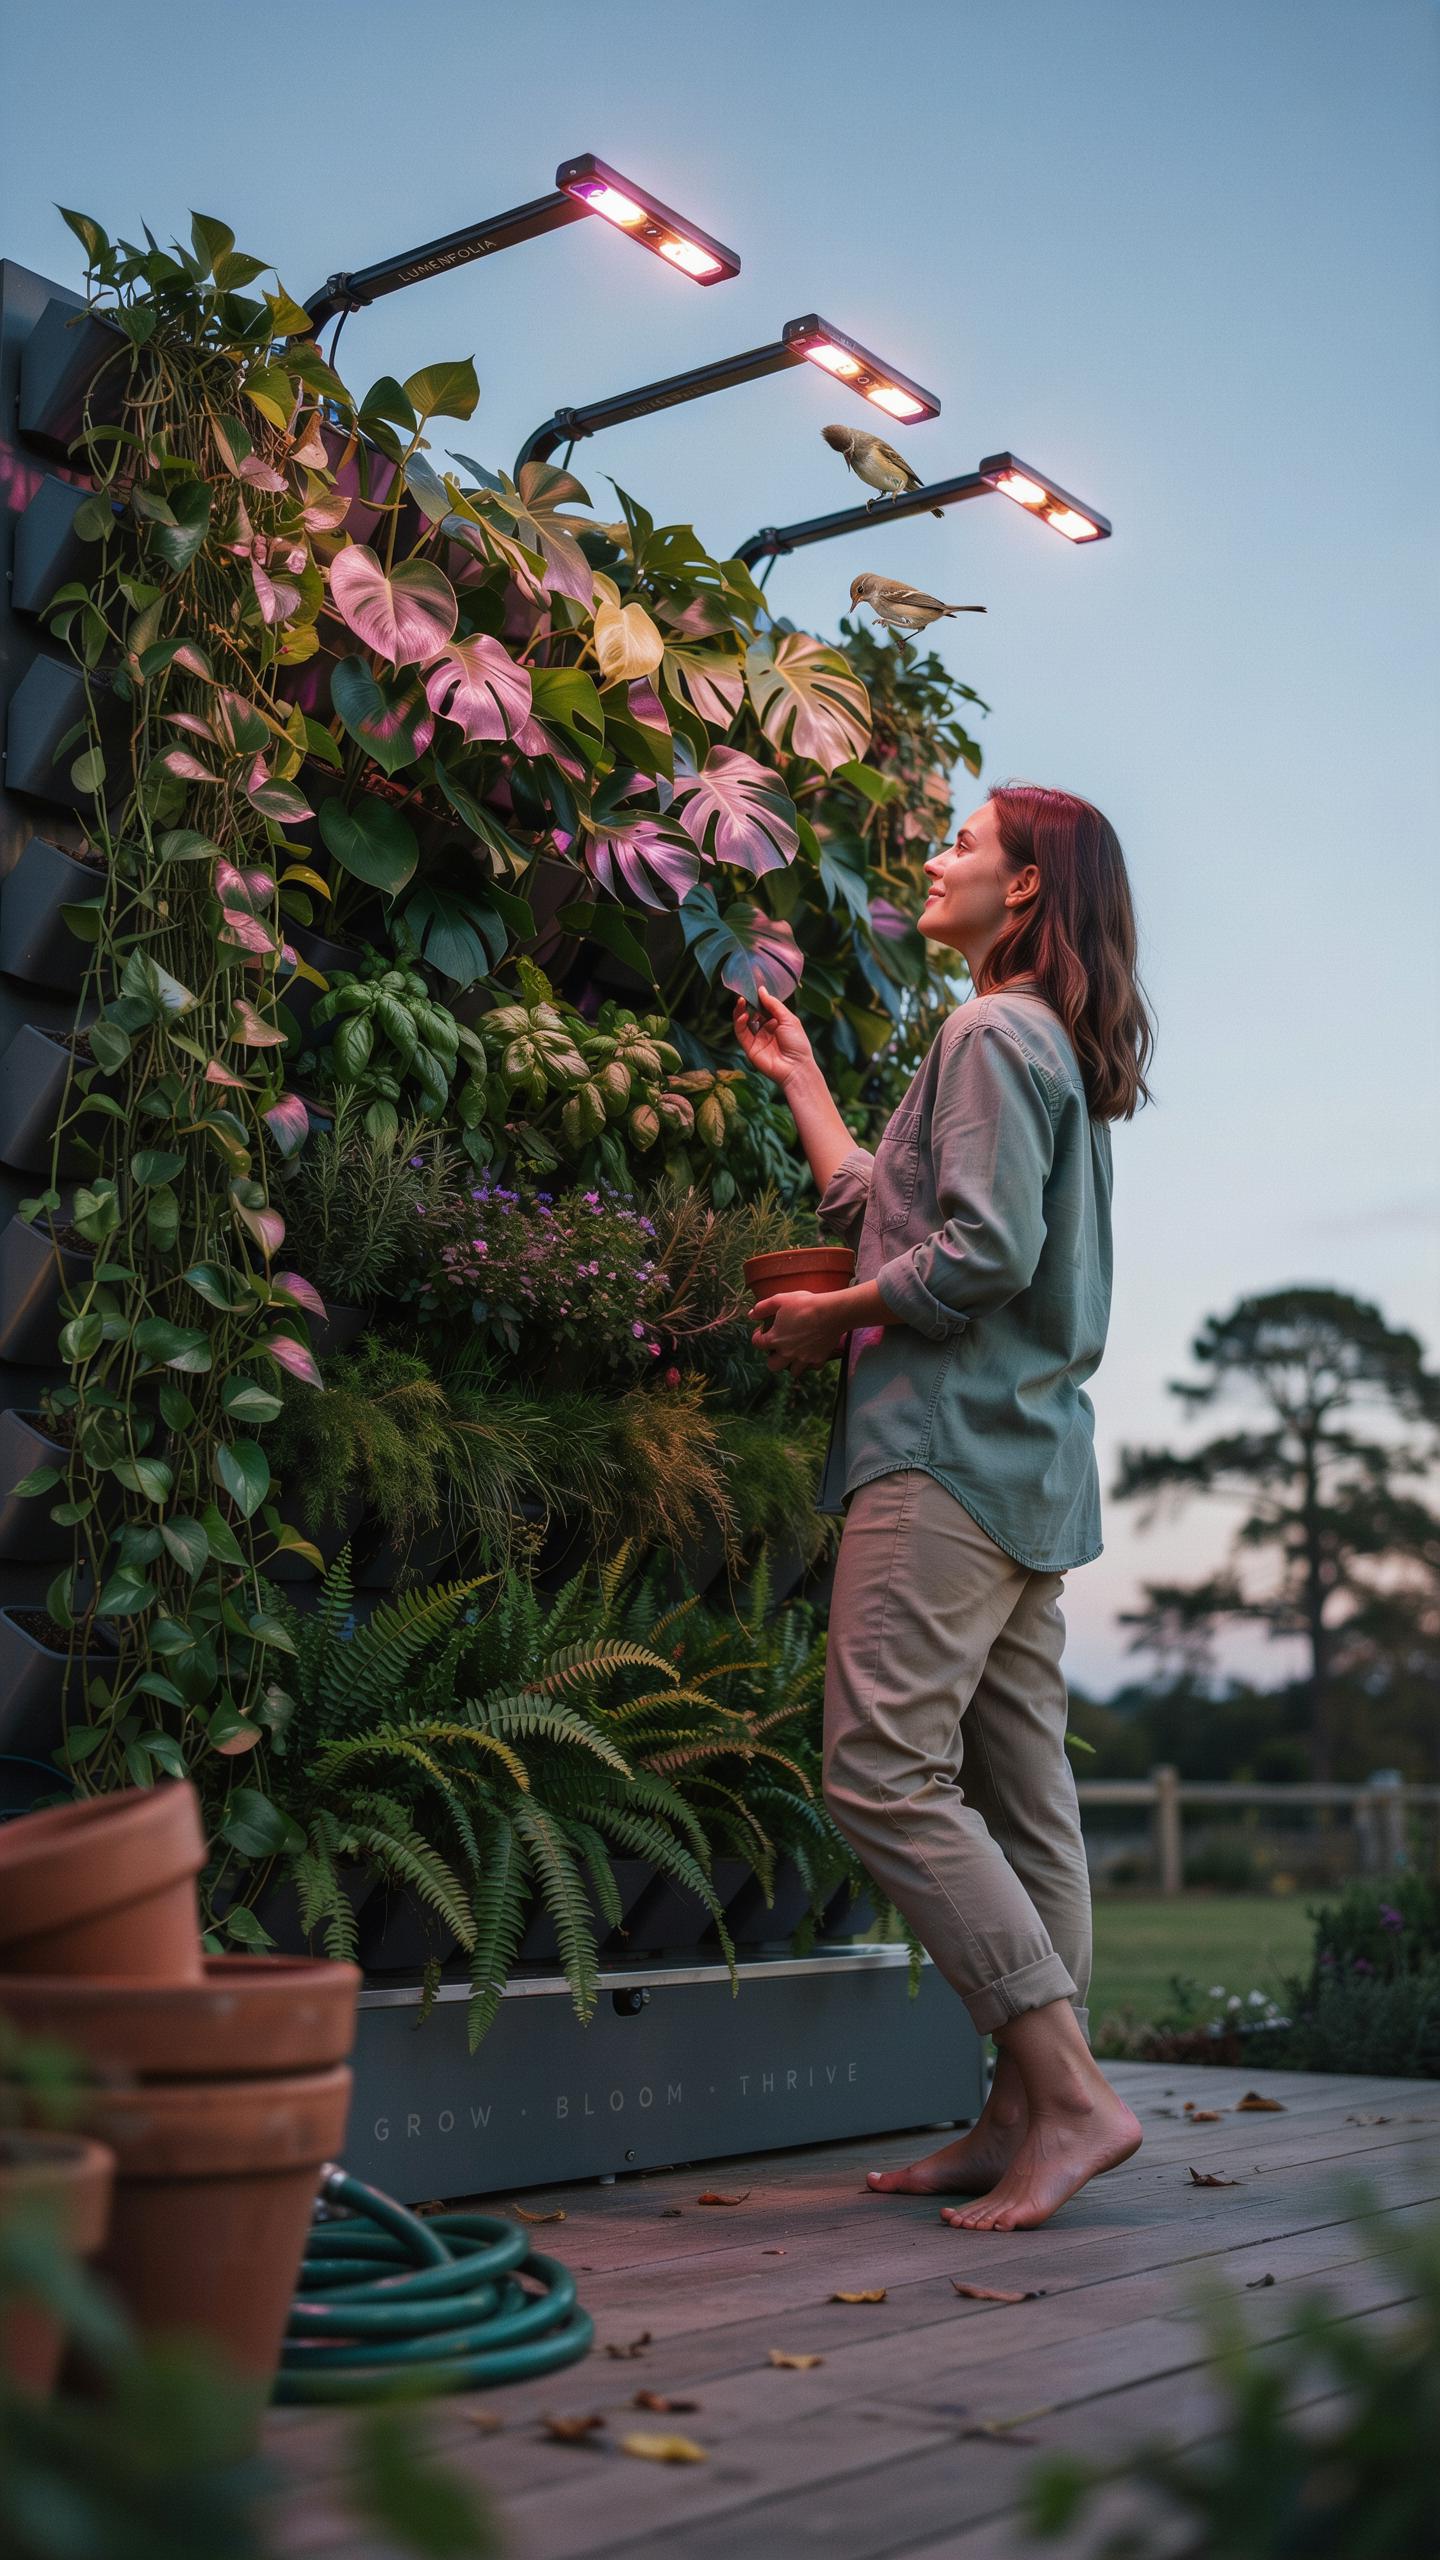
Key Differences Between Lighting An Outdoor Green Wall Versus An Indoor Vertical Garden
Outdoor vertical gardens face unpredictable light levels compared to stable indoor environments. Natural sunlight provides the primary energy source during the day but creates harsh shadows. Your artificial lighting must compensate for these shifts without scorching the foliage. Indoor setups rely on constant light cycles to replace the sun. Outdoor systems focus on supplemental lighting to extend the display hours or highlight textures after dark.
Wind and thermal expansion place physical stress on outdoor lighting hardware. Indoor fixtures remain static and protected from the elements. You must secure outdoor lights to rigid structures to prevent beam misalignment. Ambient light pollution also affects outdoor plant biology and visual impact. While indoor gardens exist in controlled voids, outdoor walls compete with streetlights and moon cycles. Adjust your lumen output to overcome this external light interference.
Weather Resistant Lighting Fixtures And Safety Ratings To Look For In An Outdoor Green Wall Setup
Select fixtures with an Ingress Protection rating of at least IP65 for outdoor use. This rating ensures the housing stops dust and low-pressure water jets from entering the electronics. Corrosion is the primary enemy of outdoor wiring. Use marine-grade stainless steel or powder-coated aluminum housings to prevent rust. Cheap plastic will crack under UV exposure. High-quality materials ensure the system survives rain, snow, and extreme heat cycles.
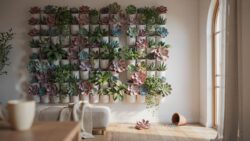
Safety requires Low Voltage Landscape Lighting systems operating at 12V or 24V. These systems reduce the risk of electric shock in wet conditions. Always install a Ground Fault Circuit Interrupter to shut down power if a leak occurs. Check that all connectors have silicone seals to keep moisture out of the wires. Proper sealing prevents short circuits and extends the life of your LEDs. Solid engineering keeps the garden safe for homeowners.
Mastering Indoor Plant Lighting Design Aesthetics Meets Functionality
Balancing Lumens, Color Temperature, And Fixture Style
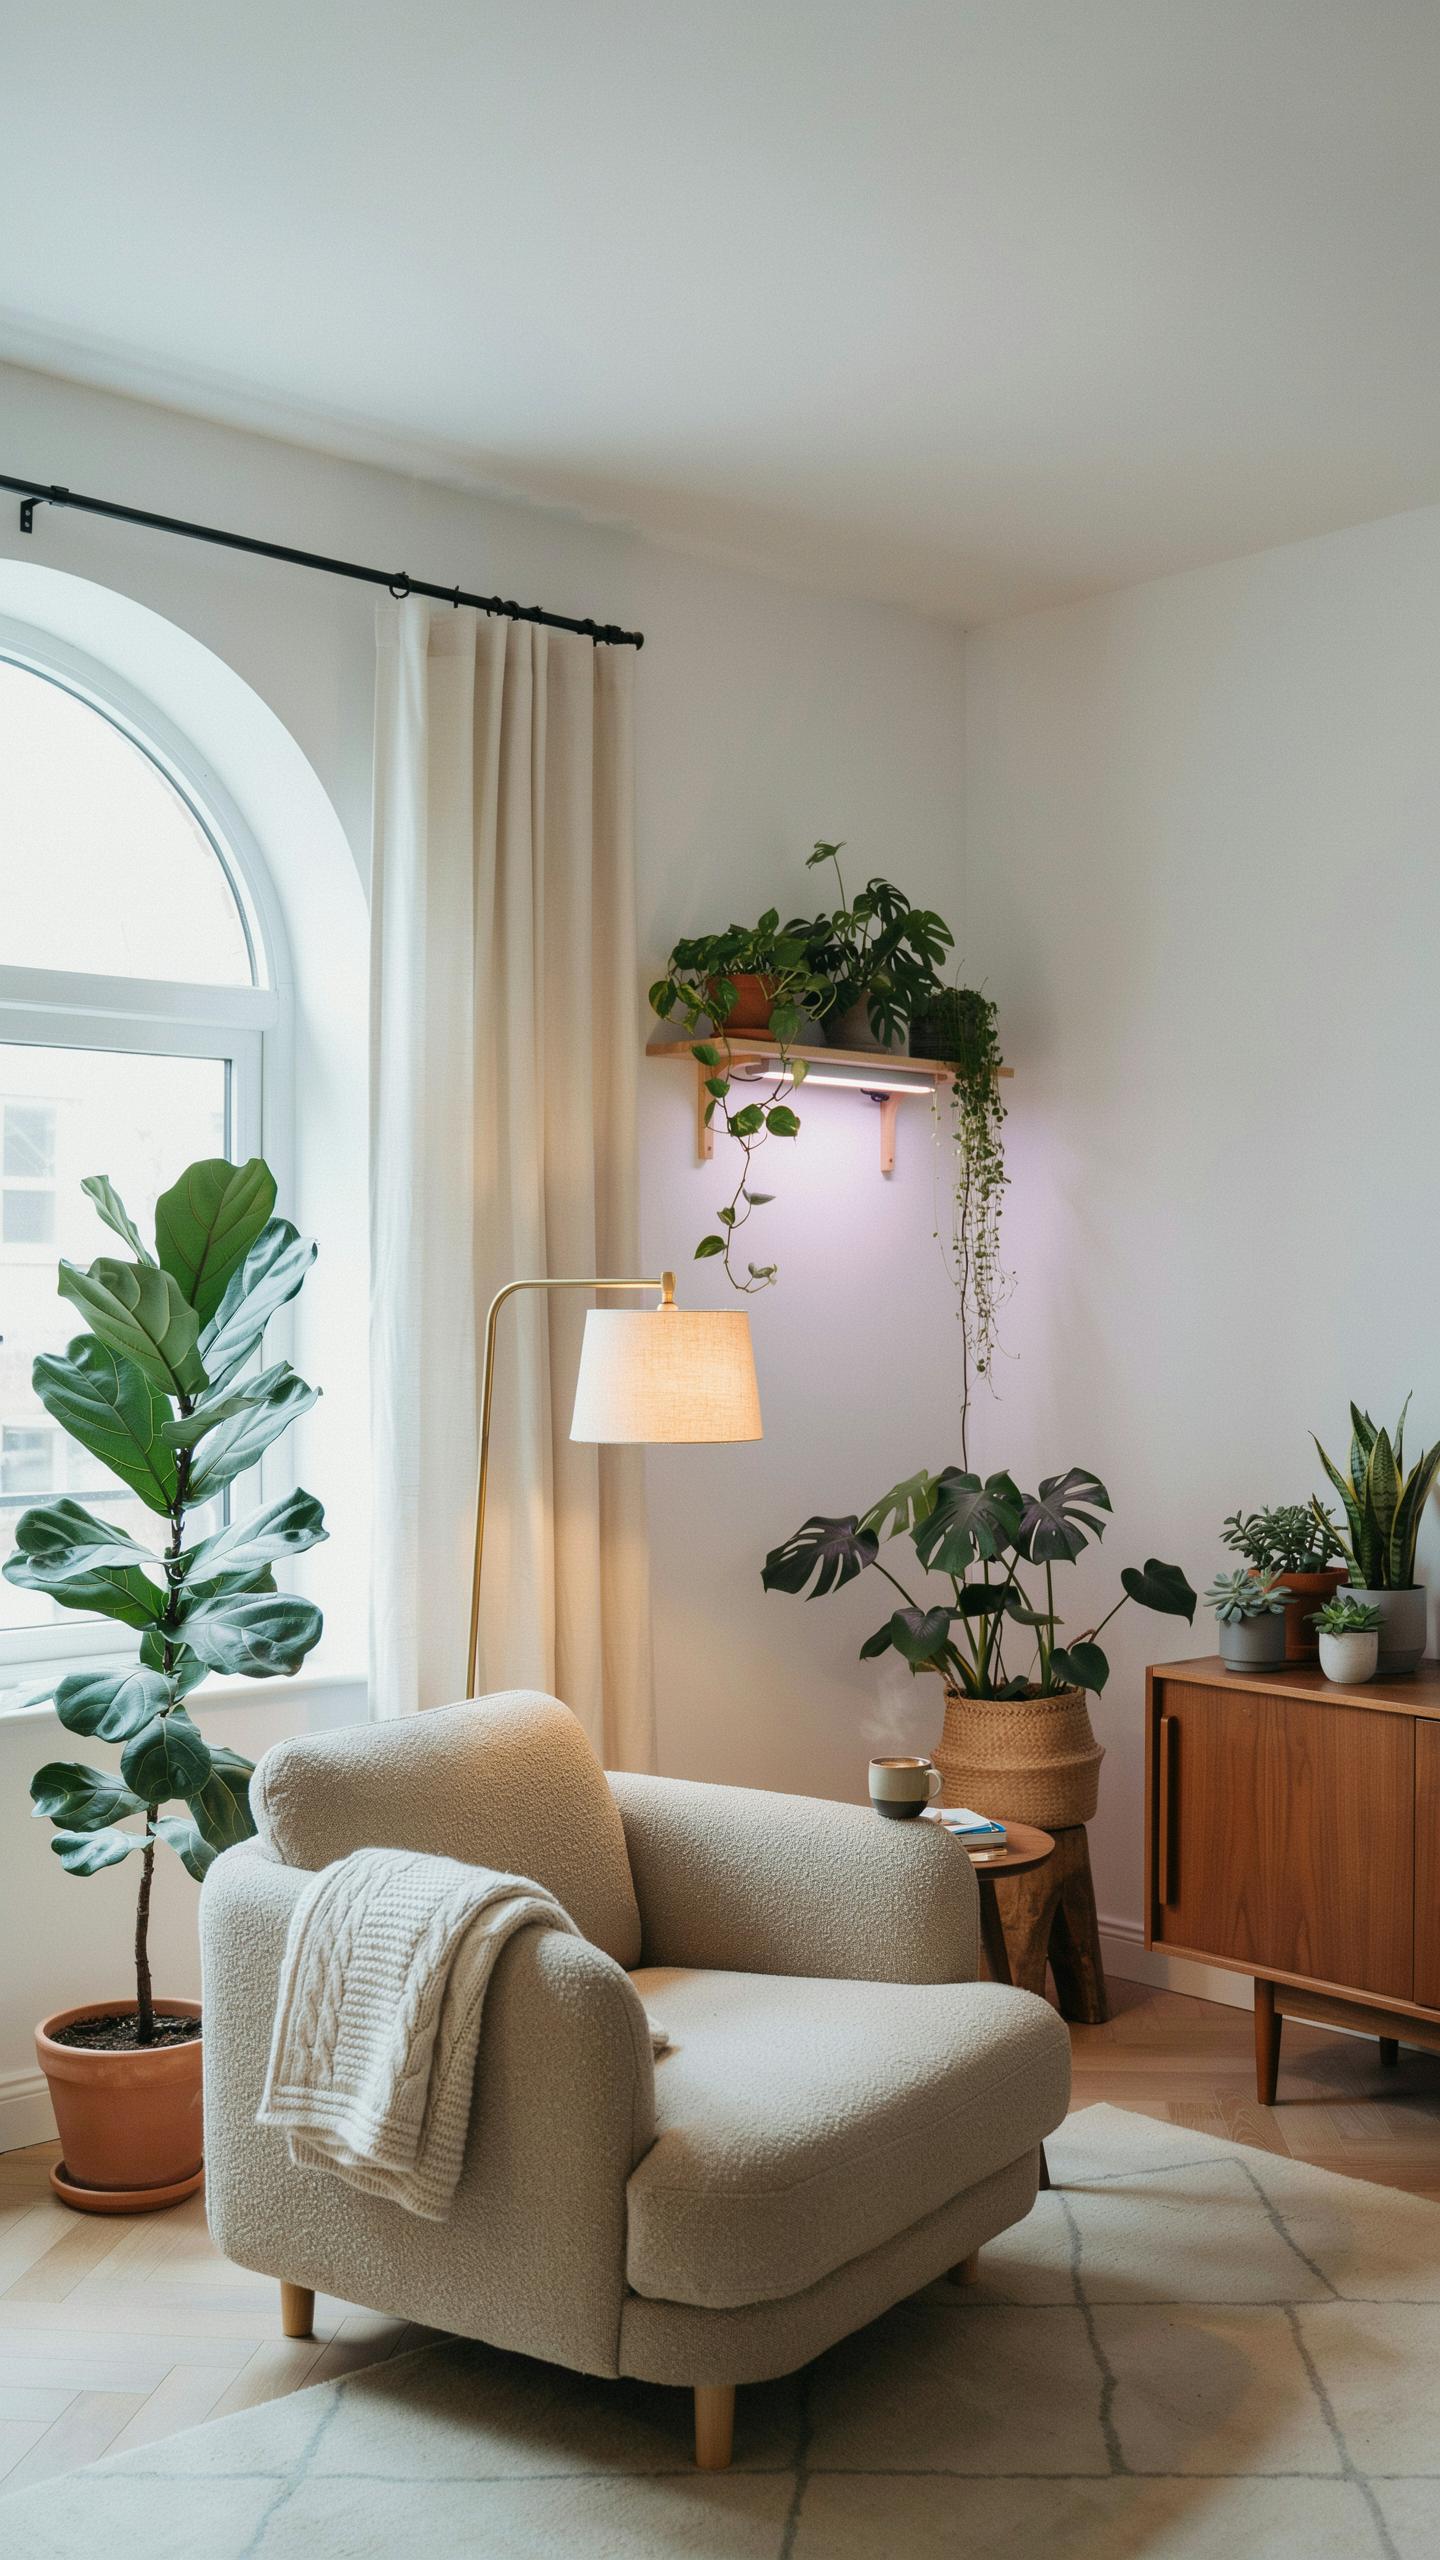
Vertical gardens require a precise balance between light intensity and visual comfort. Lumens measure total light output and dictate plant survival. You must calculate the distance from the light source to the foliage to ensure high intensity without burning the leaves. Professional setups often use high output LEDs that offer high lumen counts with low heat emission. This allows for closer mounting in tight indoor spaces.
Color temperature affects both plant growth and room mood. Use lights between 5000K and 6500K for vegetative growth. These cool blue tones mimic daylight but can feel harsh in living areas. Blend these with warmer 3000K fixtures to improve the aesthetic. Choose sleek track lighting or recessed gimbals to hide the hardware. Clean lines ensure the focus remains on the greenery rather than the industrial fixtures.
Using Smart Controls And Timers To Automate And Refine Your Indoor Plant Lighting Design
Automation removes human error from the growth cycle. Plants need consistent photoperiods to maintain their biological rhythms. Digital timers or smart plugs allow you to set exact schedules for 12 to 16 hours of daily light. Many modern systems use mobile apps to monitor energy consumption and adjust brightness. This precision ensures your vertical garden receives enough energy regardless of your personal daily schedule or physical location.
Smart controllers also allow for dimming and gradual light transitions. This feature protects plants from light shock by mimicking sunrise and sunset. You can integrate these controls with home automation hubs to sync your garden with other lighting zones. High quality sensors can even detect ambient light levels and adjust the output of your fixtures. This saves power on sunny days while maintaining the necessary light levels for optimal health.
Using Plant Uplighting To Add Dramatic Visual Depth To Your Vertical Garden
What Plant Uplighting Is And How Upward Facing Fixtures Change The Mood Of A Room
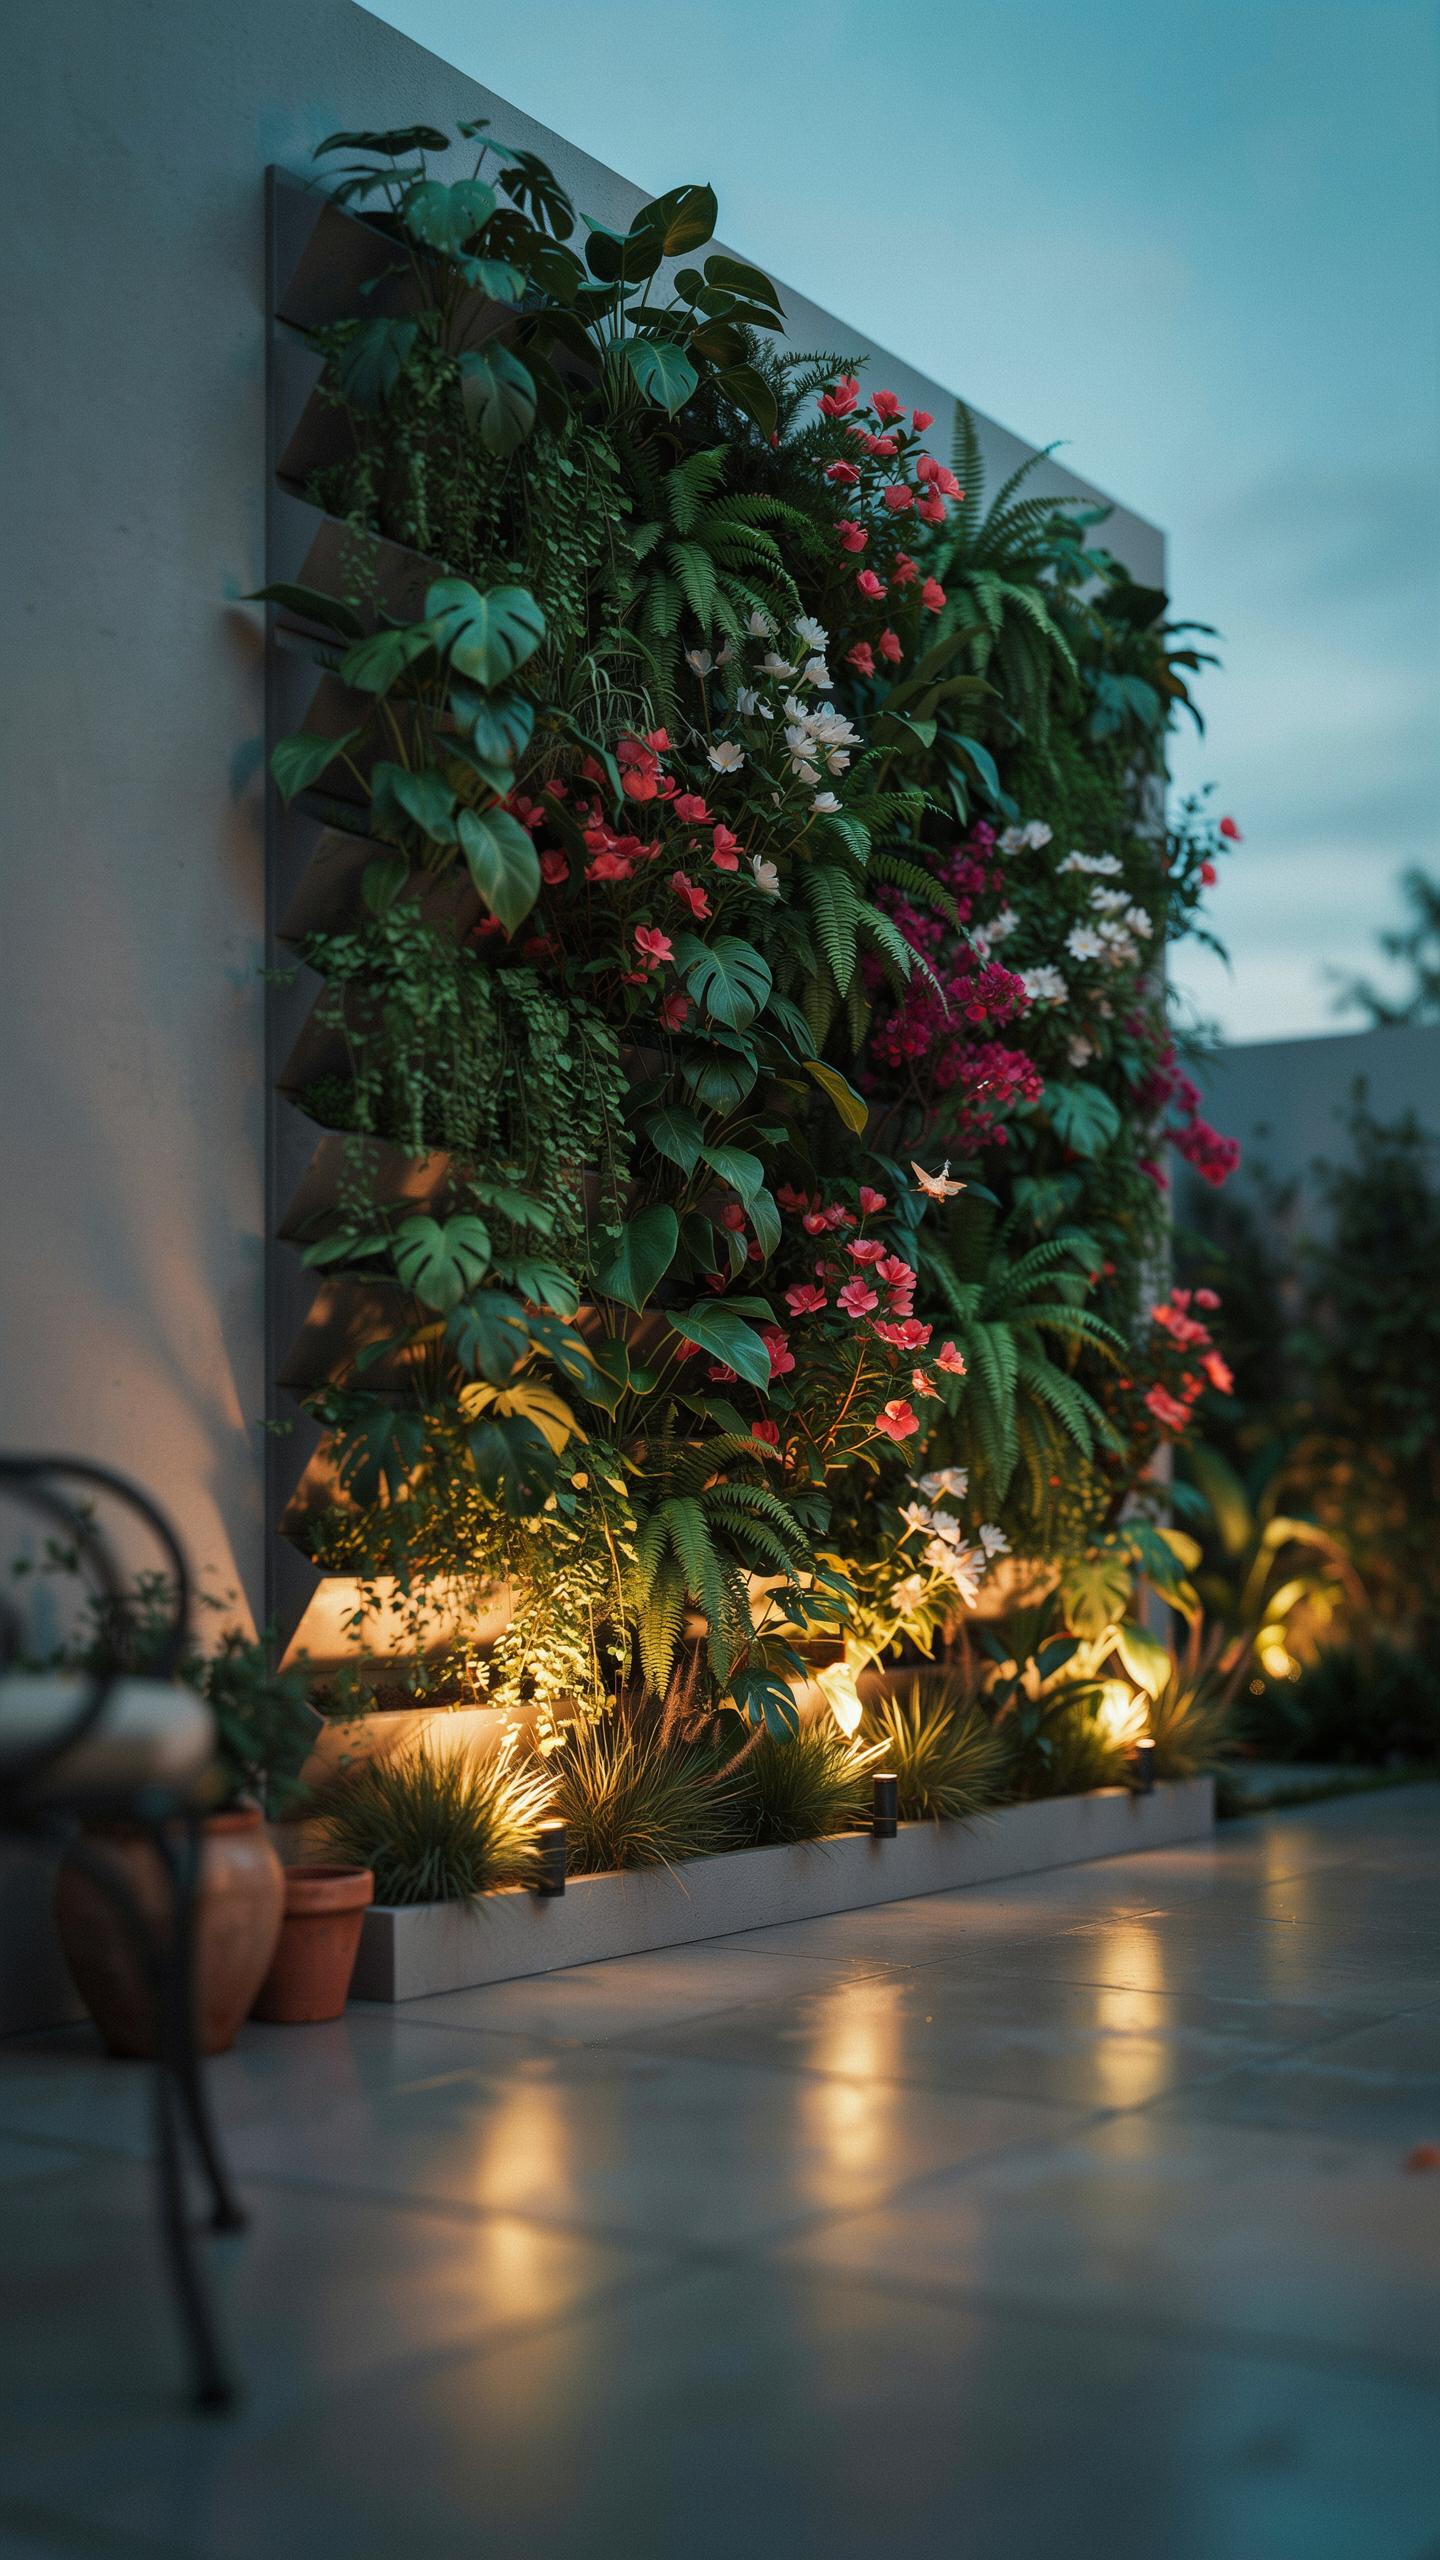
Plant uplighting places light sources at the base of a vertical garden. These fixtures point light toward the ceiling. This method mimics the high contrast lighting seen in theater or modern architecture. It emphasizes the structural form of stems and the underside of leaves. This technique moves away from flat ambient lighting. It creates a sense of height and importance for the greenery.
The directional light creates long shadows on the wall behind the plants. These shadows add vertical lines that make rooms feel taller. High contrast between light and dark areas builds a moody atmosphere. This setup helps define the edges of the living wall in low light conditions. It focuses the eye on the texture of the foliage. Proper uplighting transforms a flat surface into a three dimensional feature.
Best Plant Uplighting Techniques And Fixture Angles For Vertical Garden Installations
Positioning determines the quality of your vertical garden lighting setup. Place fixtures between two and six inches from the wall base. Tilt the lights at a thirty to forty five degree angle. This angle ensures the light hits the plant layers without causing glare for viewers. Use narrow beam spreads to highlight specific specimen plants. Use wide flood beams to wash the entire wall with light.
- Wall Washing: Position wide beam fixtures close to the base. This technique creates a uniform coat of light across the entire surface. It hides imperfections in the wall structure and emphasizes the total volume of the vertical garden.
- Cross Lighting: Place two fixtures on opposite sides of a large plant. Point them inward toward the center of the foliage. This eliminates harsh shadows and reveals the internal structure of dense ferns or bushy tropical plants.
- Silhouetting: Install lights directly behind the primary plants and point them at the back wall. This creates a dark outline of the foliage against a bright background. This technique works best for plants with high contrast shapes like snake plants.
- Grazing: Place the light source very close to the plant surface. Aim the beam straight up to hit the foliage at a sharp angle. This highlights the rough textures of moss and wood bark within the vertical installation.
- Spotlighting: Use narrow fifteen degree beams to focus on one unique plant species. This draws the eye to a specific focal point within a crowded living wall. It creates high intensity spots that provide visual relief in large setups.
Select LED bulbs with a high color rendering index for best results. CRI ratings above ninety ensure the greens and reds of the plants look natural. Avoid placing lights too close to heat sensitive leaves to prevent scorching. Adjust the distance based on the light intensity and plant density. Regular maintenance involves cleaning the glass lenses to maintain light output. Consistency in fixture spacing creates a professional and balanced appearance.
Common Mistakes To Avoid When Building A Vertical Garden Lighting Setup At Home
Overlighting And Underlighting: How Both Extremes Can Harm Your Vertical Garden Plants
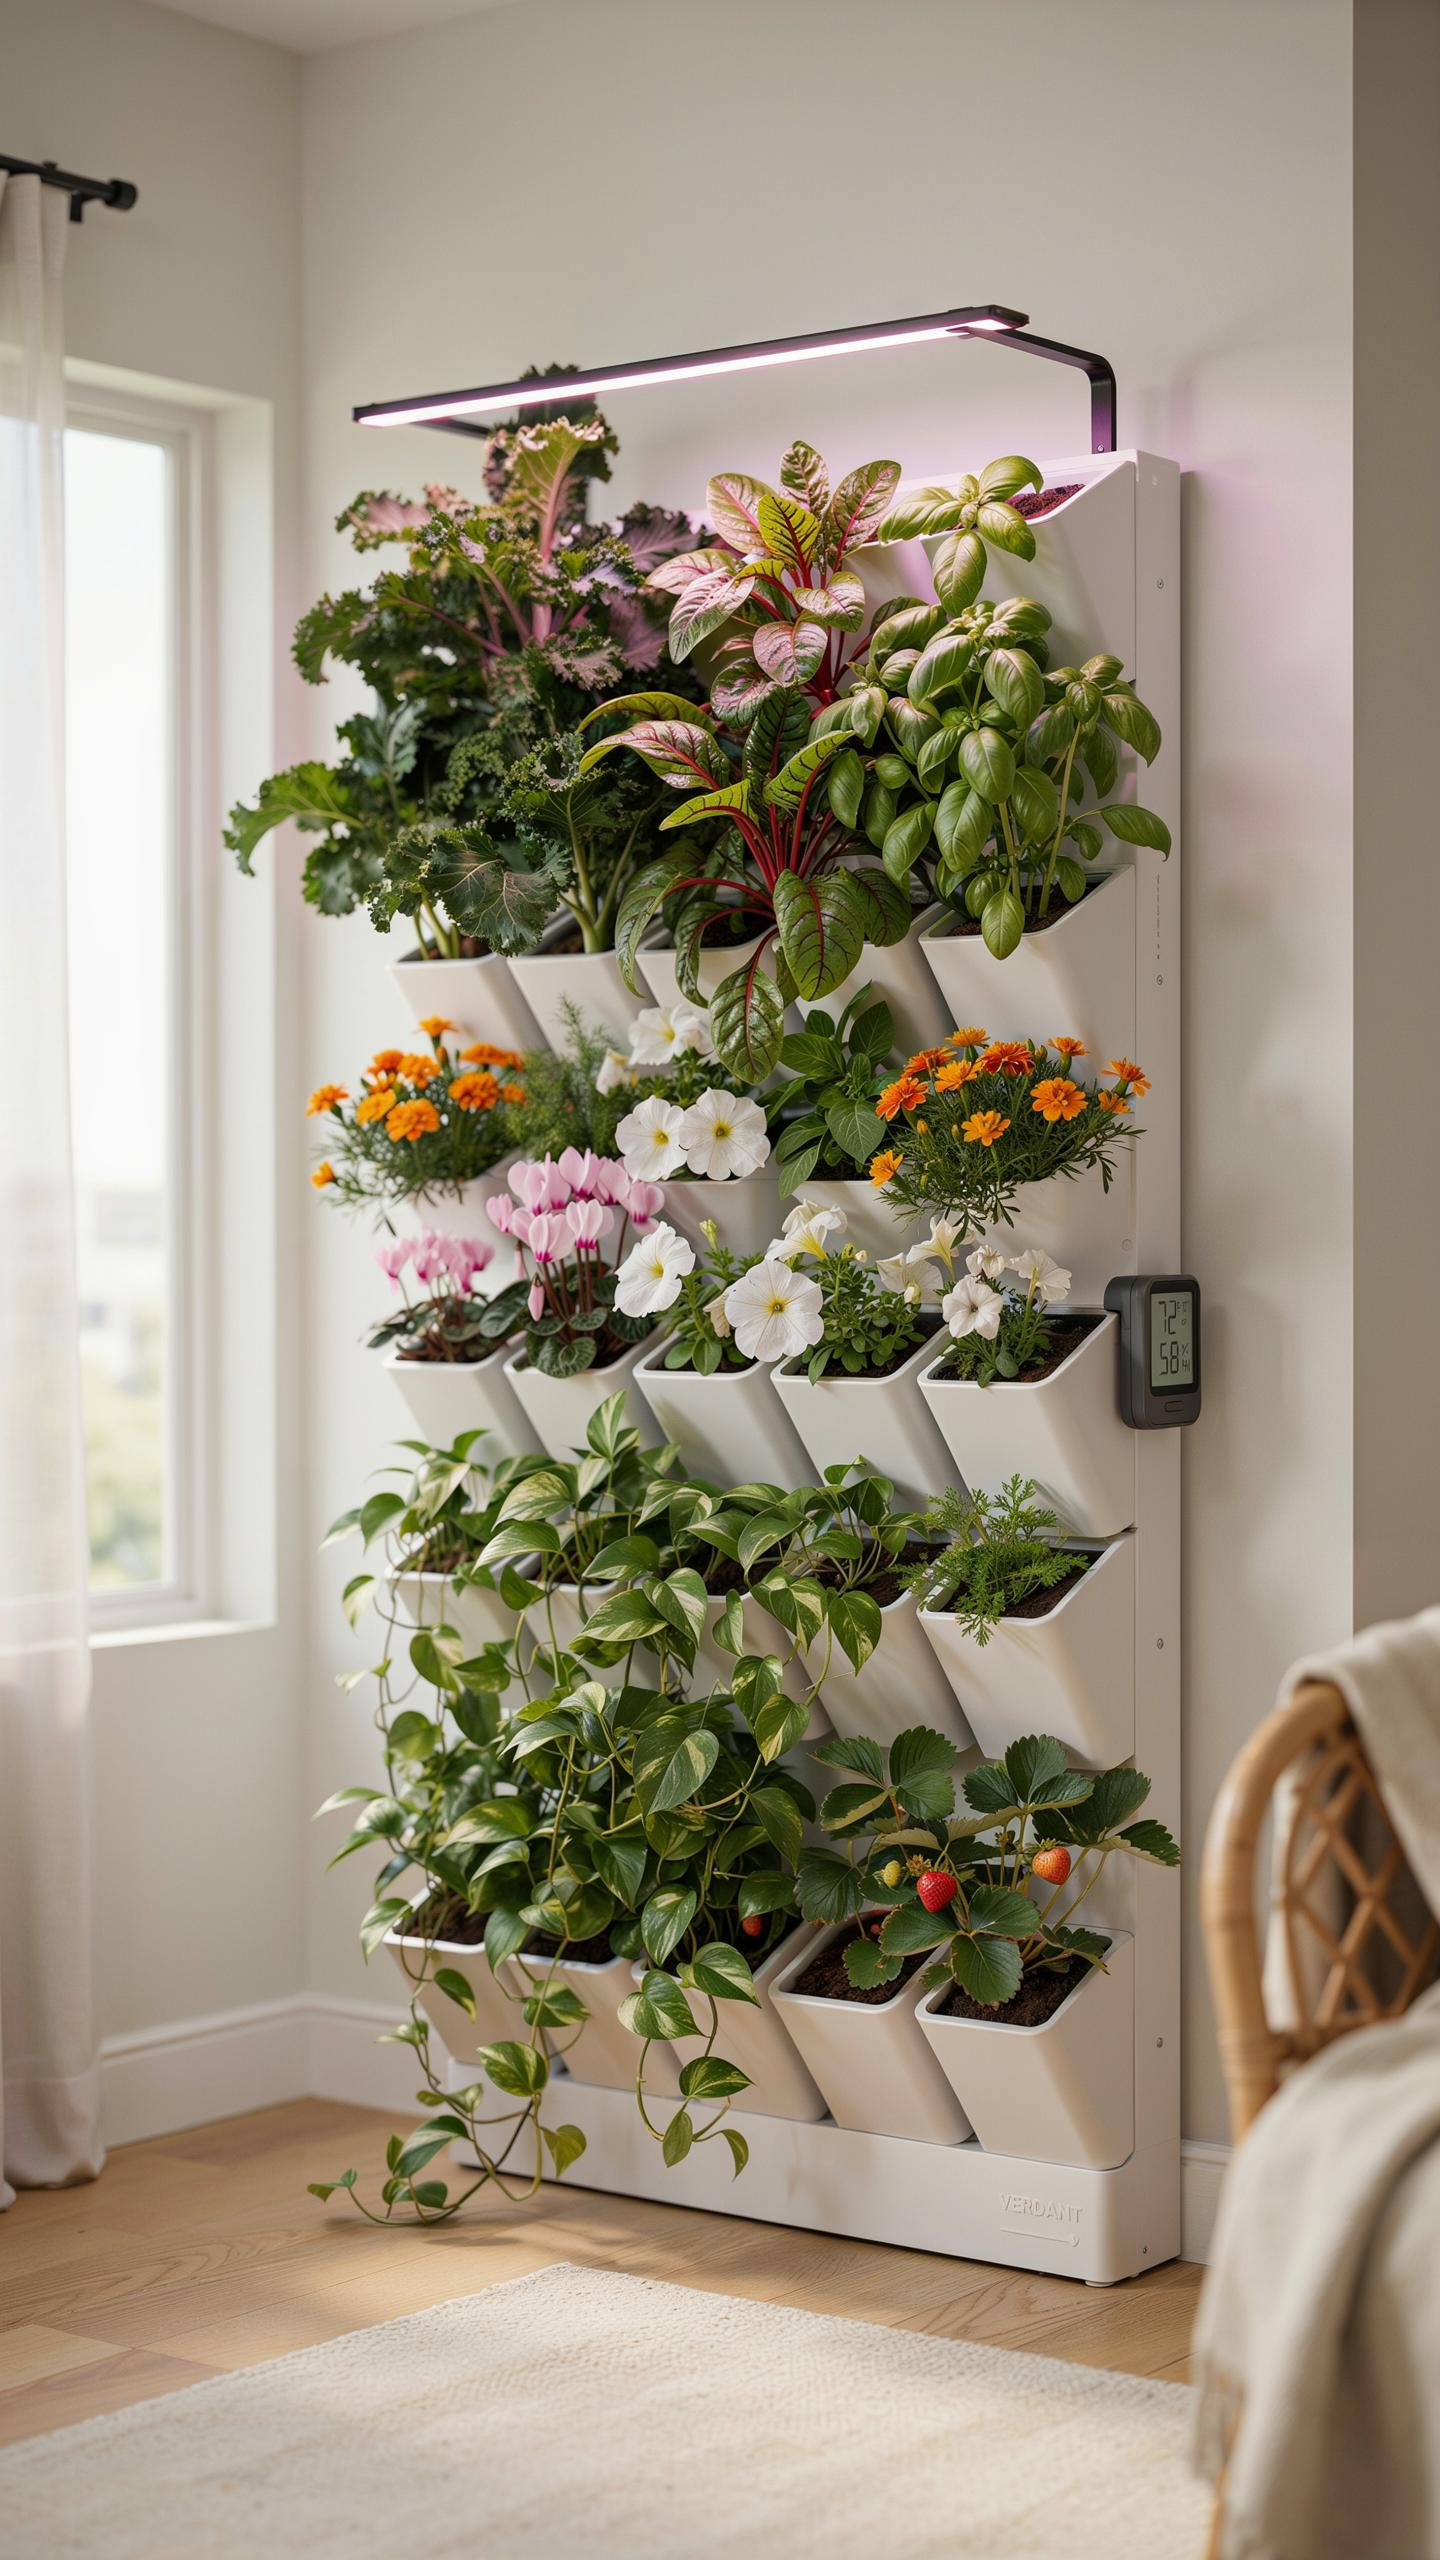
Light intensity dictates plant health. Beginners often blast plants with excessive light thinking it speeds up growth. This causes leaf scorch and dehydration. High intensity light breaks down chlorophyll in sensitive species. You must match the Photosynthetic Photon Flux Density to your specific plant needs. A one size fits all approach fails because top plants shade the bottom rows.
Underlighting is equally destructive. It causes leggy growth known as etiolation. Plants stretch toward the source and become weak. Lower leaves yellow and drop as the plant scavenges nutrients. You lose the dense green wall effect. Measure your light levels with a PAR meter at different heights. Adjust your fixture distance to ensure every level receives the minimum required light for photosynthesis.
Electrical Safety, Heat Management, And Maintenance Habits Every Vertical Garden Owner Should Know
Water and electricity do not mix. Many DIY setups fail to use GFCIs or waterproof connectors. Drip lines can leak onto exposed wires or hot bulbs. Always mount drivers and ballasts away from moisture zones. Use drip loops on all cables. Proper cable management prevents trips and snags. Poor planning leads to short circuits and fire hazards in confined indoor spaces.
Heat management impacts plant survival and equipment life. High discharge lamps or poorly cooled LEDs raise ambient temperatures. This heat dries out growing media rapidly and stresses roots. Clean your fixtures monthly to remove dust. Dust buildup acts as insulation and causes hardware to overheat. Check all connections for signs of melting or discoloration. Replace aging components before they fail to maintain a safe environment.
Frequently Asked Questions

What are the best types of lights to use for a vertical garden?
When planning your vertical garden lighting setup, it is essential to choose fixtures that balance aesthetics with plant health. Waterproof LED strip lights and low-voltage spotlights are popular choices because they provide a warm glow without emitting excessive heat. For indoor walls, consider full-spectrum LED grow lights disguised as stylish track lighting to ensure your greenery thrives while creating a stunning visual focal point in your living space.
How do I install lighting on a living wall without damaging the plants?
To protect your foliage, mount your fixtures on the surrounding frame or use adjustable clip-on spotlights rather than attaching hardware directly to the planting pockets. Position your vertical garden lighting setup roughly 12 to 24 inches away from the leaves to prevent heat scorch. Using smart timers is also a practical step, as it automates the light cycle, ensuring your plants receive consistent illumination without requiring manual adjustments every night.
Can I create a vertical garden lighting display on a tight budget?
Absolutely! You can achieve a high-end look without a massive investment by utilizing solar-powered stake lights or battery-operated outdoor fairy lights. These affordable options eliminate the need for professional electrical wiring. For an inexpensive yet effective vertical garden lighting setup, try repurposing old waterproof holiday lights or using adhesive LED puck lights, which allow you to highlight specific textures and colors in your garden for just a few dollars.



