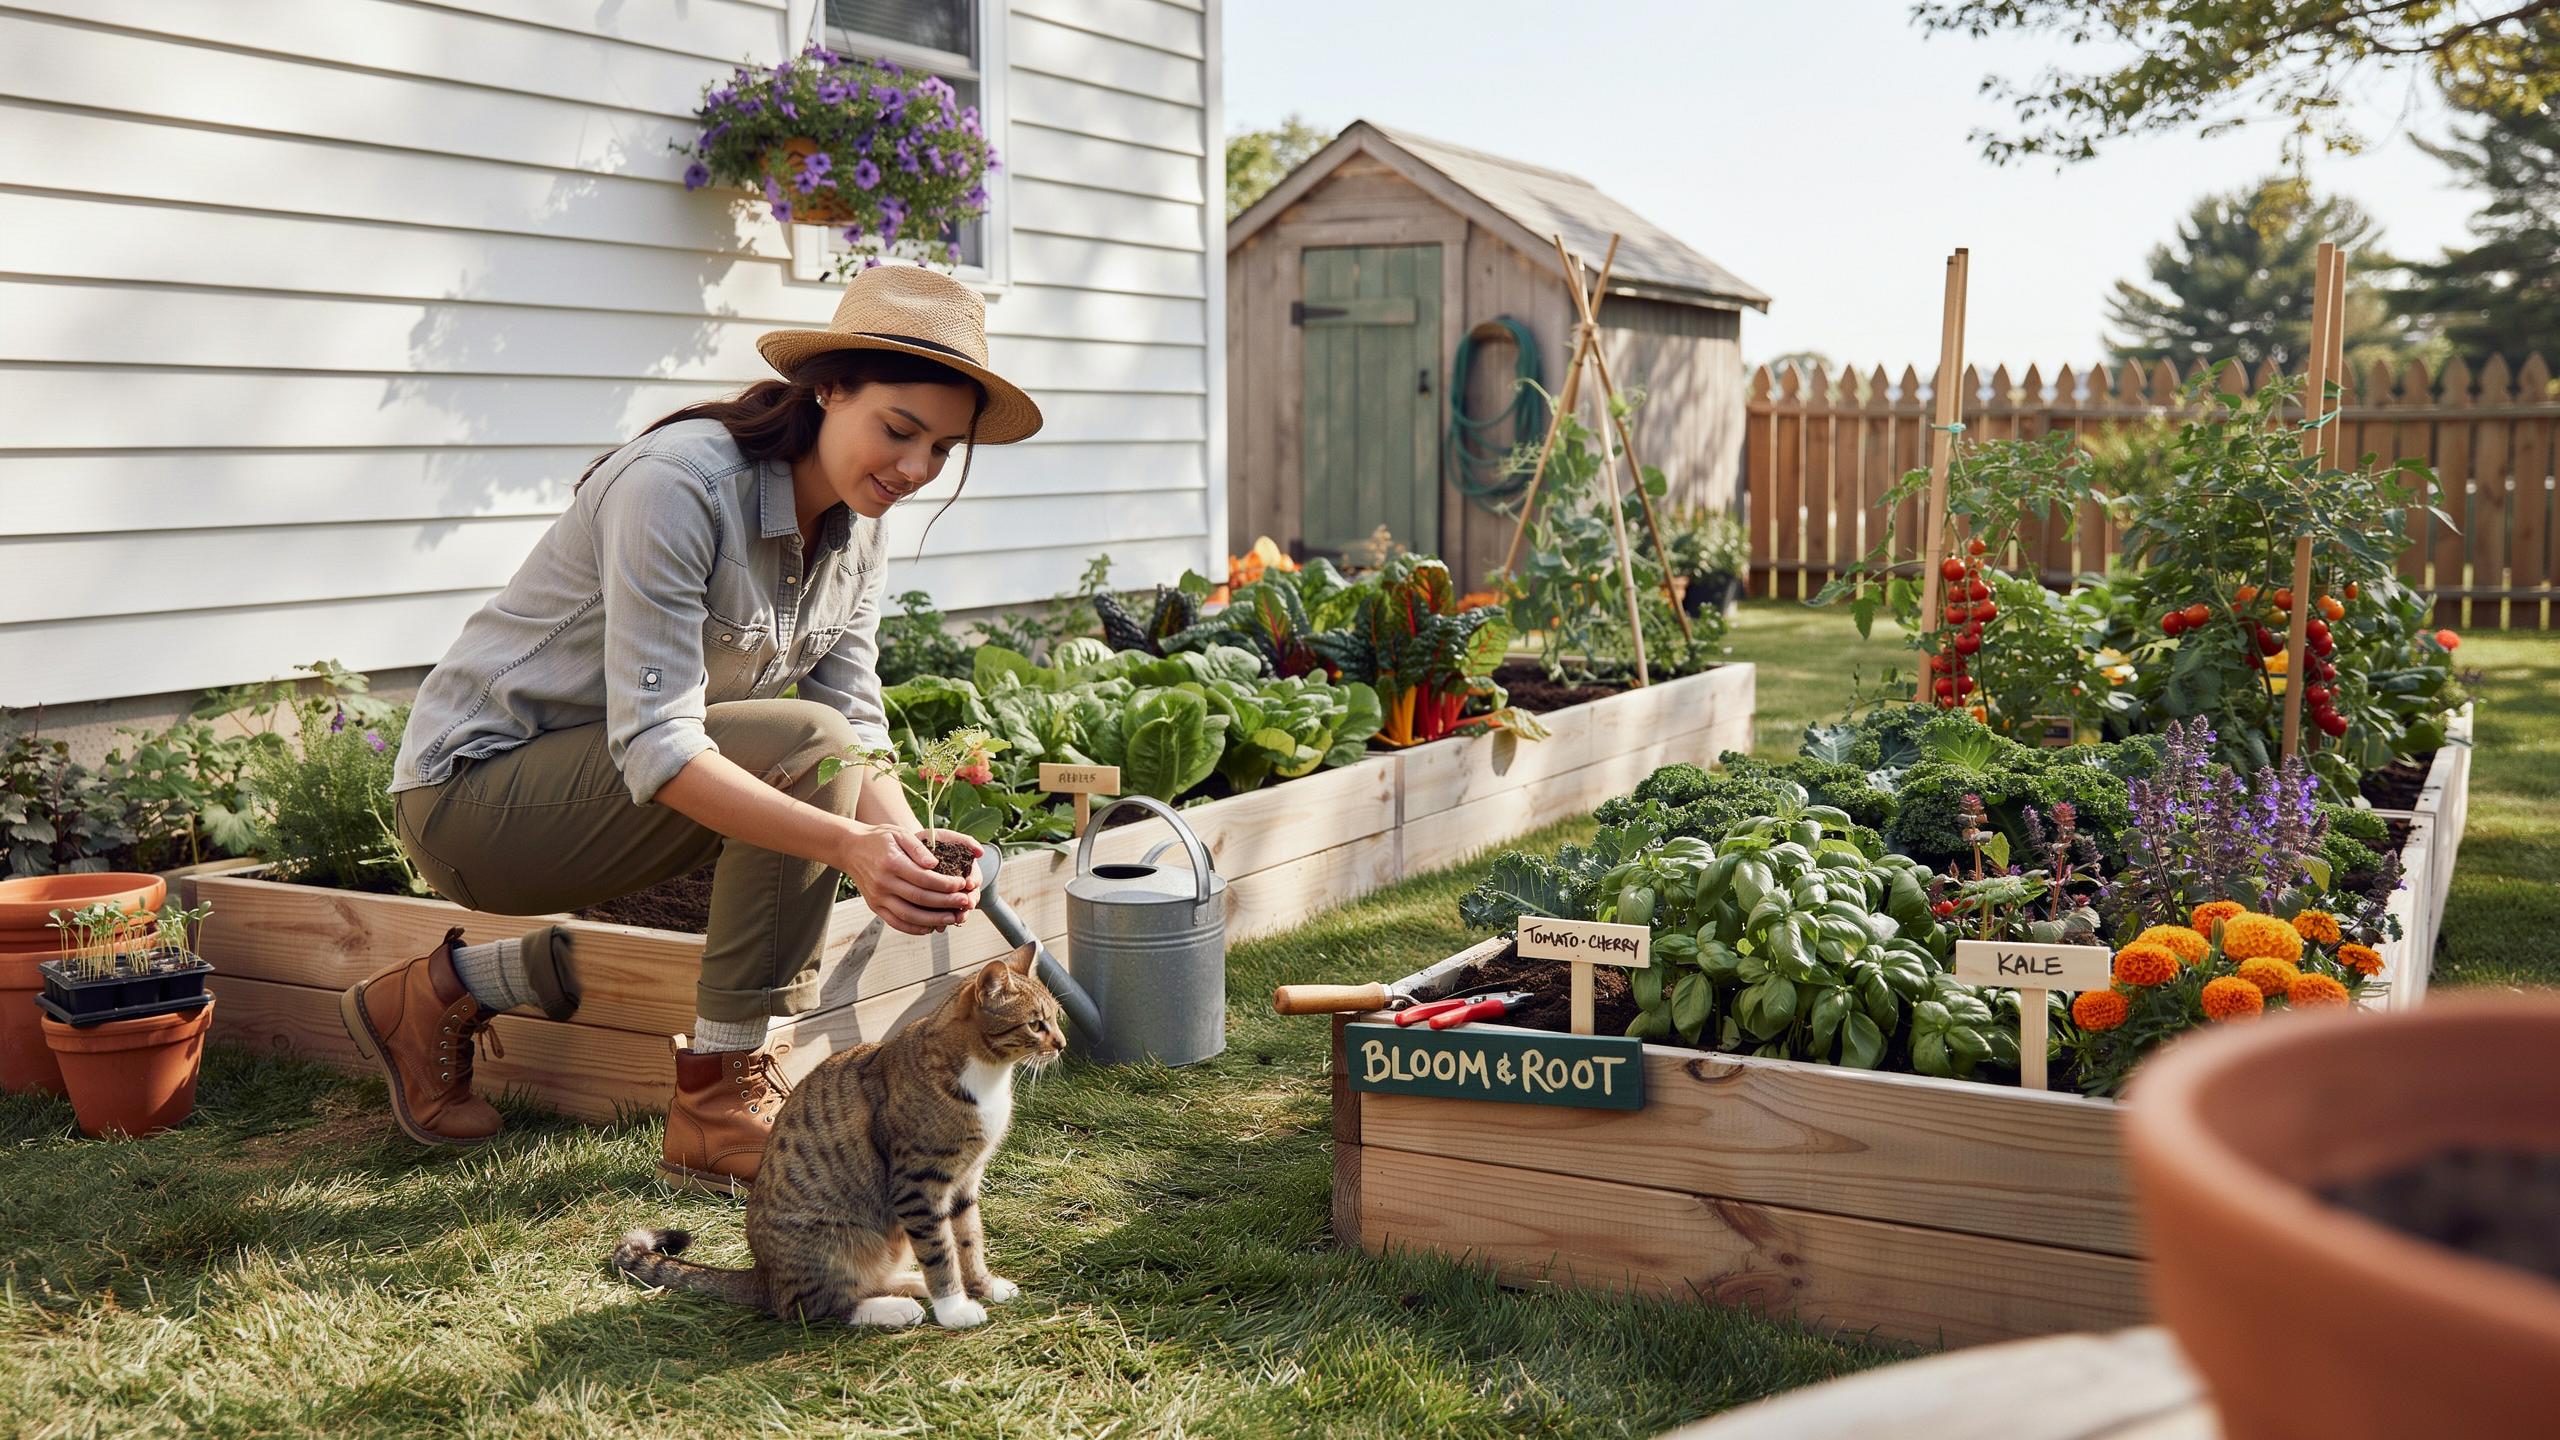
Why Raised Garden Beds For Beginners Is The Perfect Starting Point
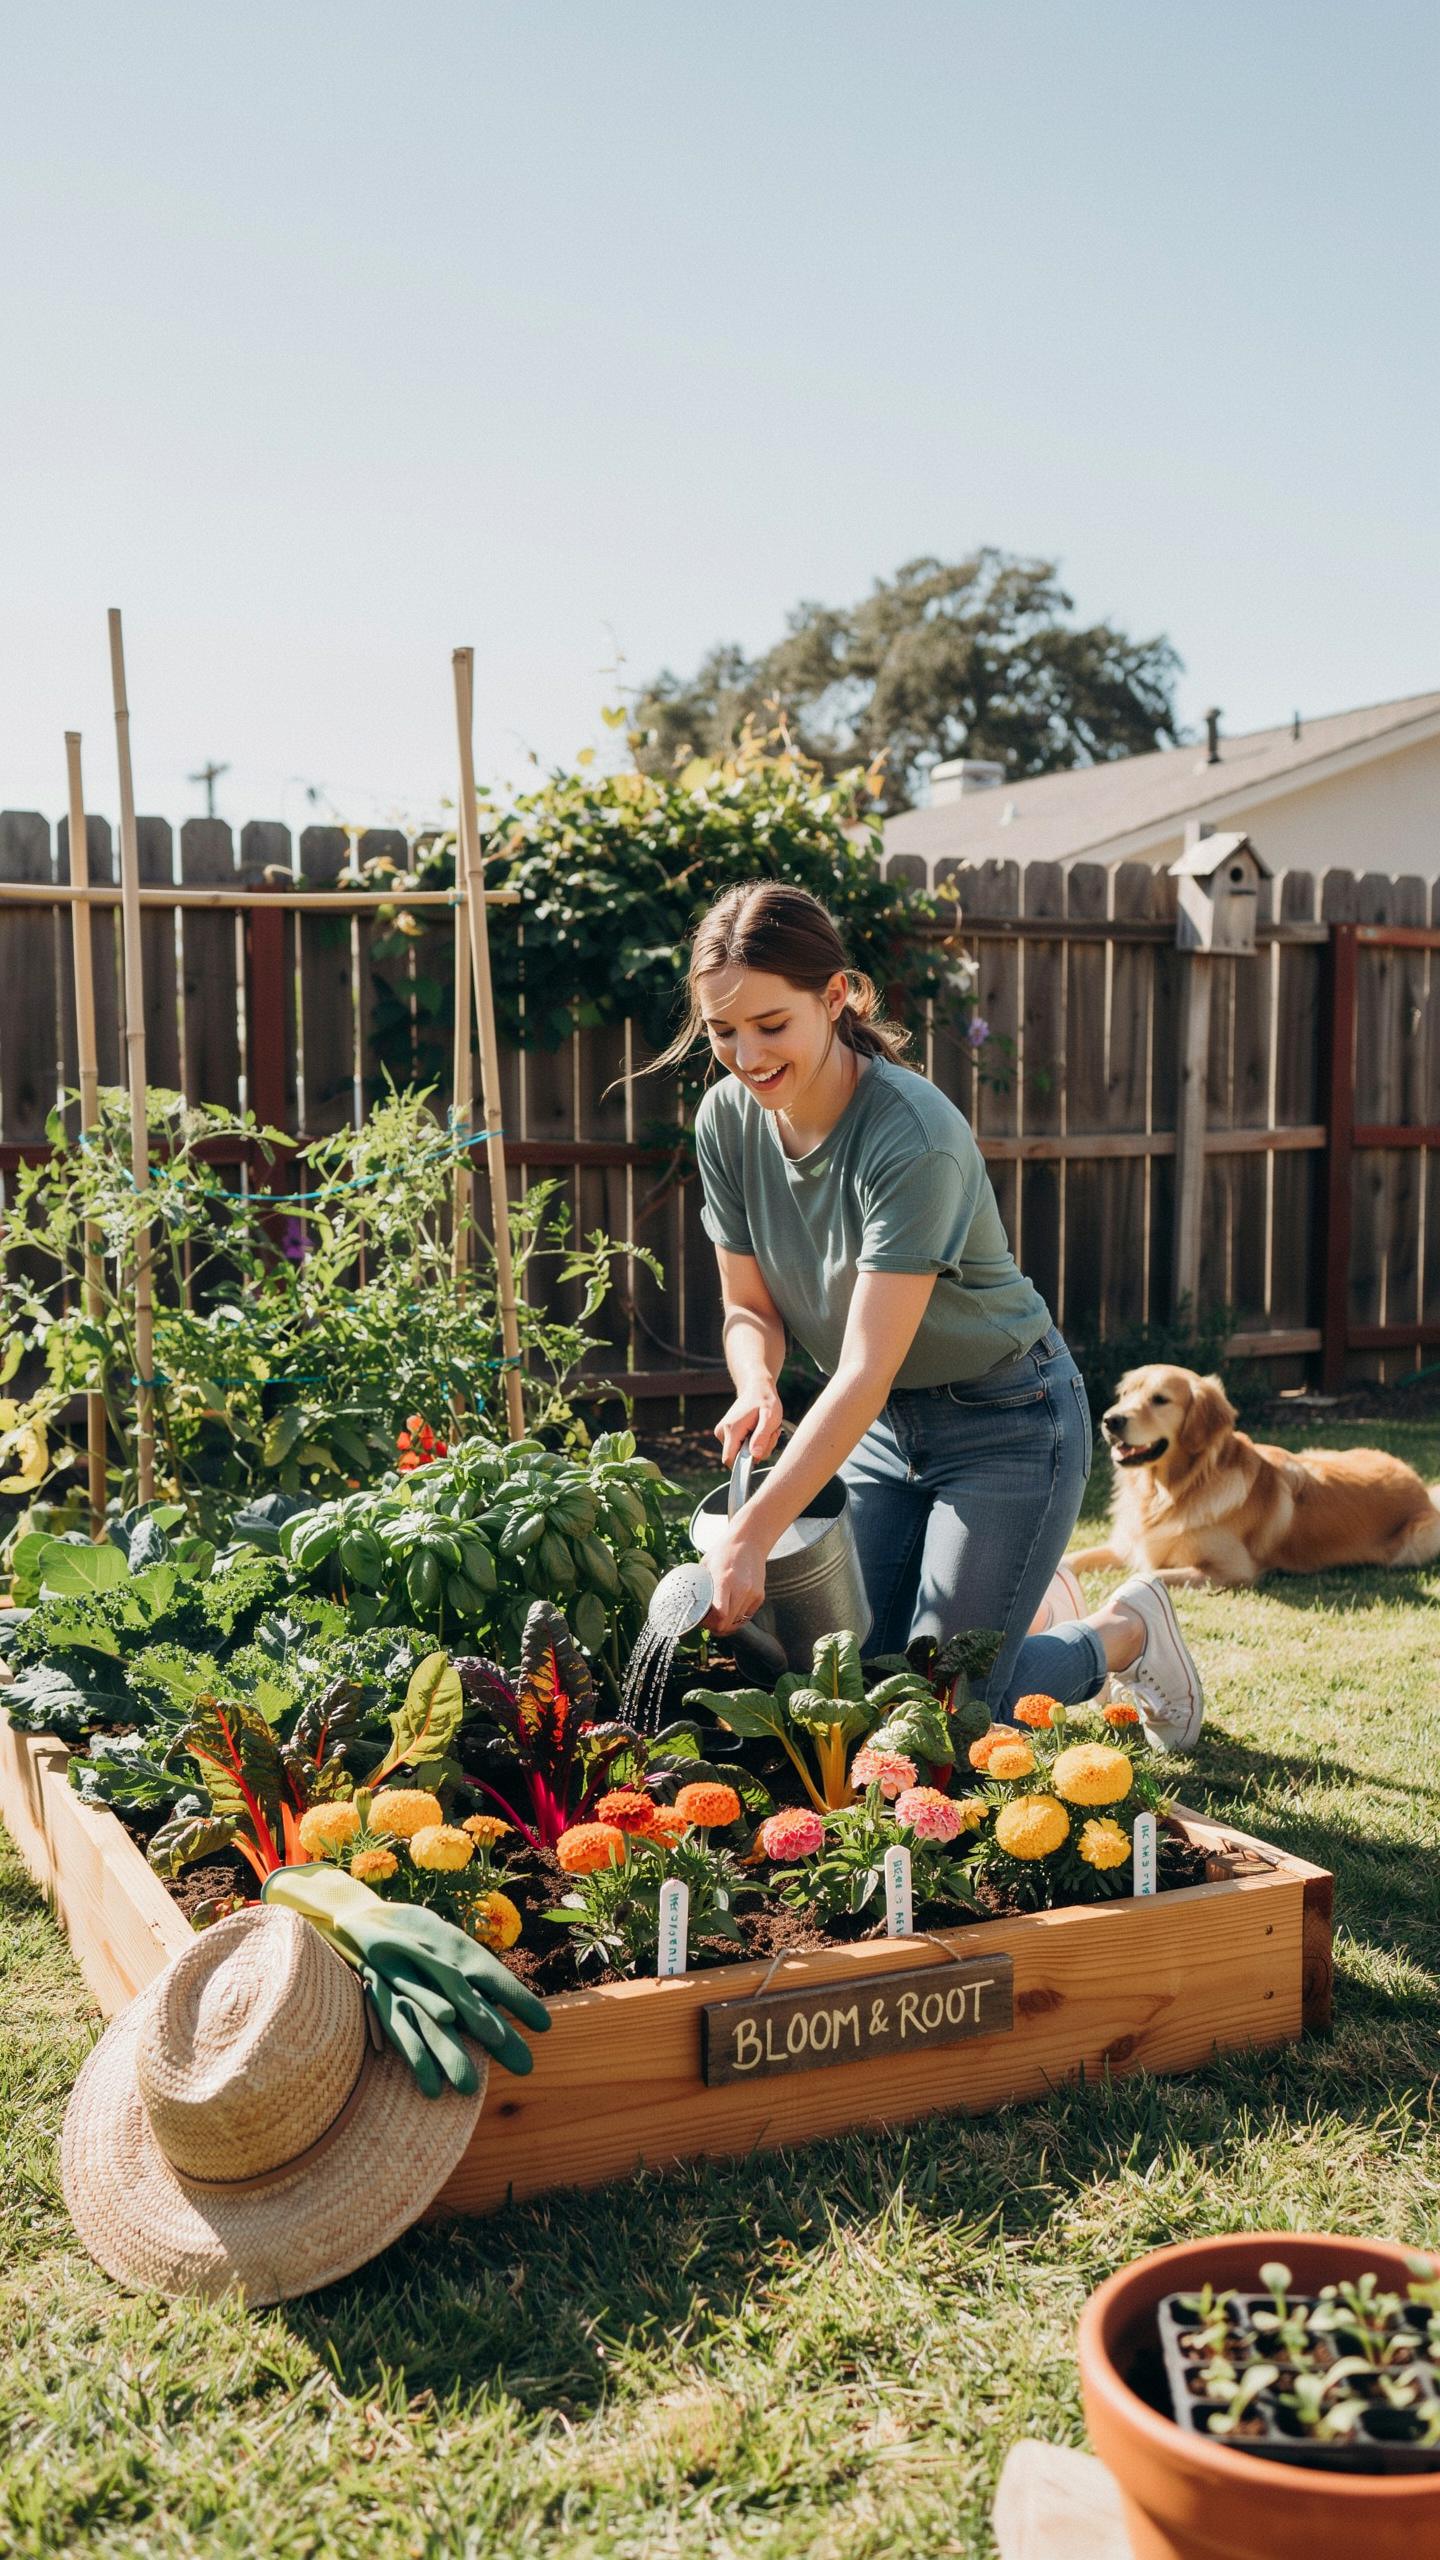
The Core Benefits Of Gardening In A Raised Bed Vs. The Ground
Raised beds solve the problem of poor soil quality immediately. In-ground gardening requires you to test and amend native dirt over several seasons. Raised structures allow you to import high-quality organic matter, compost, and topsoil. This creates an ideal growing environment from day one. You control the exact drainage and nutrient levels. This precision prevents common early failures caused by heavy clay or sandy soils.
Temperature control is a primary mechanical advantage of this method. Soil in elevated containers warms up faster in the spring than the ground does. A warmer root zone accelerates seed germination and plant growth. This extends your growing season in both spring and fall. You can start planting weeks earlier than neighbors using traditional rows. Early success builds momentum for first-time gardeners who need quick results.
How Raised Beds Make Gardening More Accessible For First Time Growers
Vertical height reduces the physical strain of maintaining a garden. Raised beds sit twelve to thirty inches off the ground. This elevation eliminates most of the bending and kneeling required for weeding or harvesting. Beginners stay more consistent with maintenance when the work is physically easier. The defined borders also prevent grass and weeds from encroaching on your crops. This saves hours of labor each week.
Management becomes simplified due to clear spatial boundaries. A four-by-four foot bed provides a manageable area that you can reach from all sides. You never step on the soil, which prevents compaction and maintains aeration. Beginners often struggle with spacing and irrigation in large open plots. The modular nature of raised beds makes planning your layout simple and logical. You focus on growing food instead of managing land.
Raised Garden Ideas To Inspire Your Outdoor And Backyard Space
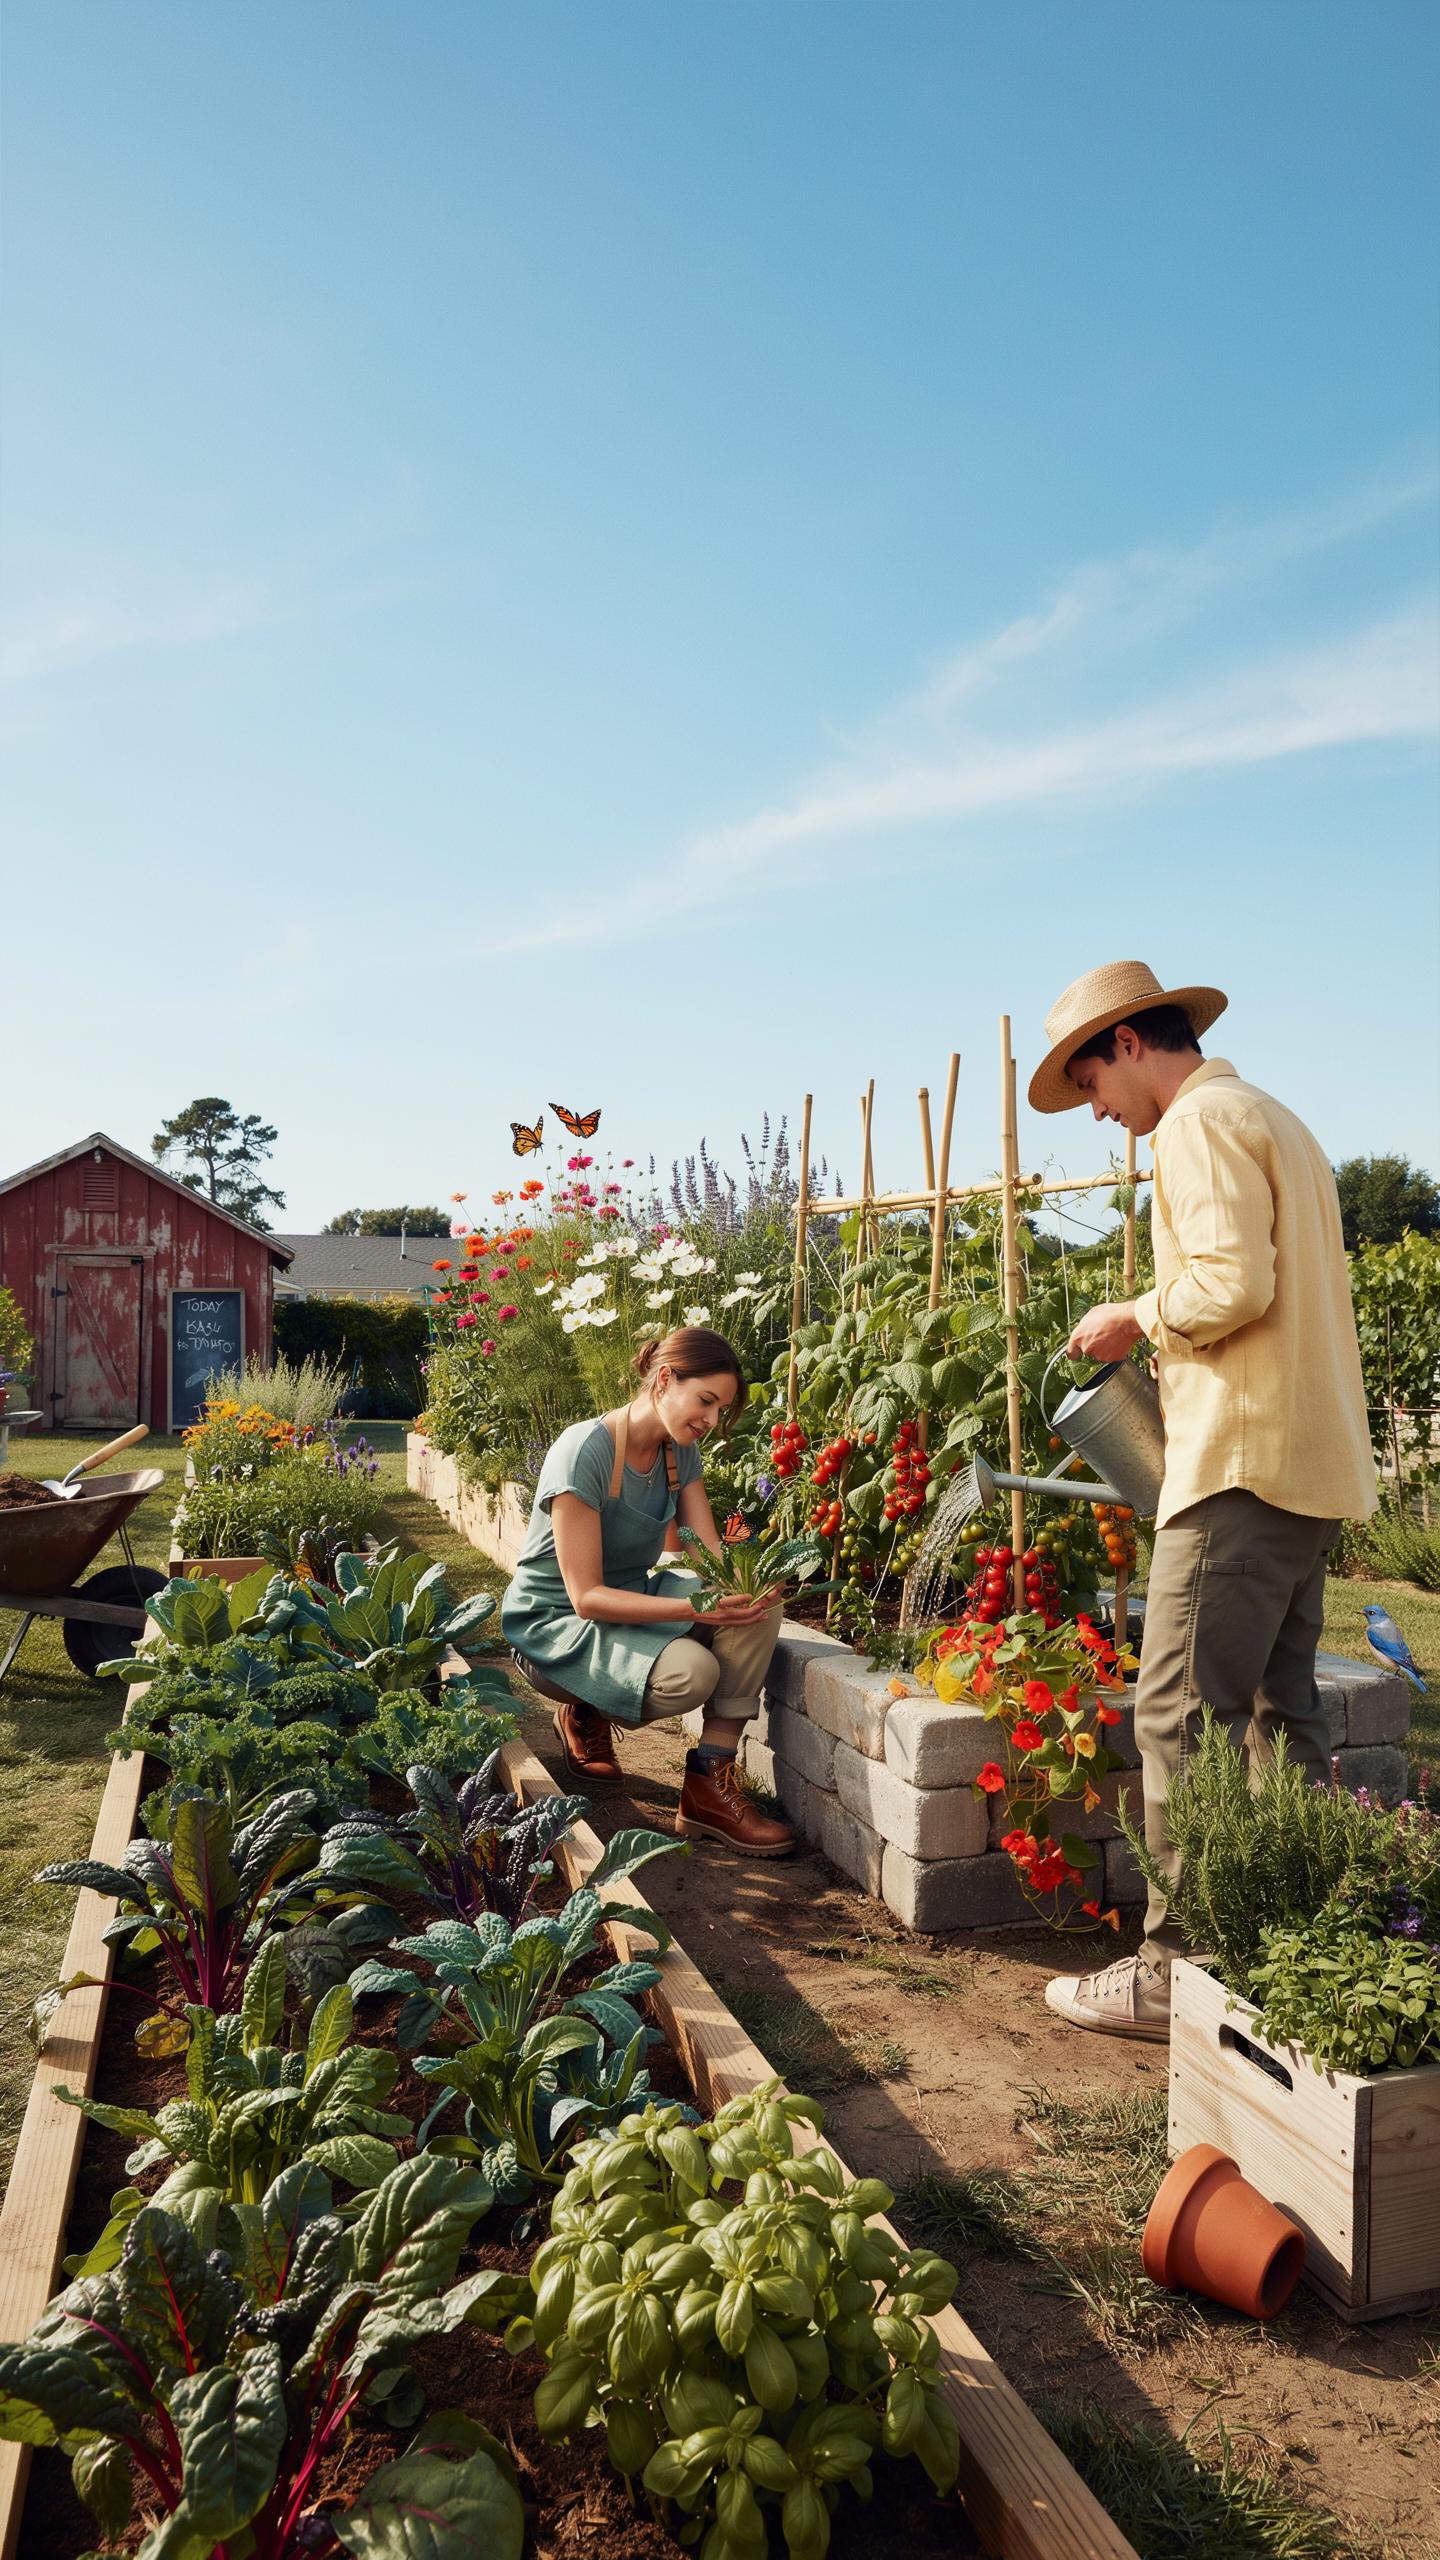
Creative Raised Bed Styles That Add A Cozy Aesthetic To Any Yard
Cedar remains the industry standard for durability and appearance. It resists rot naturally without chemical treatments. Build beds using thick planks to prevent bowing over time. Use mitered corners for a clean and professional look. Tiered designs maximize vertical space and create visual depth. These structures work well in small yards. They allow gardeners to grow more in less square footage.
Cottage style beds use woven willow or hazel branches known as wattle. This technique dates back centuries in Europe. It provides a rustic look and excellent soil aeration. Galvanized steel troughs offer a modern industrial contrast. These metal beds reflect heat in early spring to warm the soil. Choose light colors to prevent overheating in summer. Both styles define clear boundaries for your garden layout.
How To Use Raised Beds To Create A Warm And Inviting Garden Atmosphere
Strategic placement turns functional boxes into living furniture. Arrange beds in a U-shape to create a central seating area. This layout surrounds you with plants and simplifies irrigation. Use wide top caps on the bed frames. These caps double as benches for resting or holding garden tools. Proper spacing allows two people to walk side by side between the wooden frames.
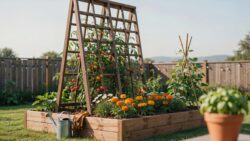
Lighting improves the utility of the space after dark. Attach low-voltage LED lights under the top caps of the beds. This illuminates paths and highlights plant textures. Path placement also matters for the feel of the yard. Use crushed gravel or wood chips between beds to soften the ground. These textured surfaces drain water quickly and keep feet dry. Consistent materials create a unified design.
Simple Raised Garden Beds DIY How To Choose The Right Materials
Best Wood And Non Wood Materials For Building A Beginner Friendly Raised Bed
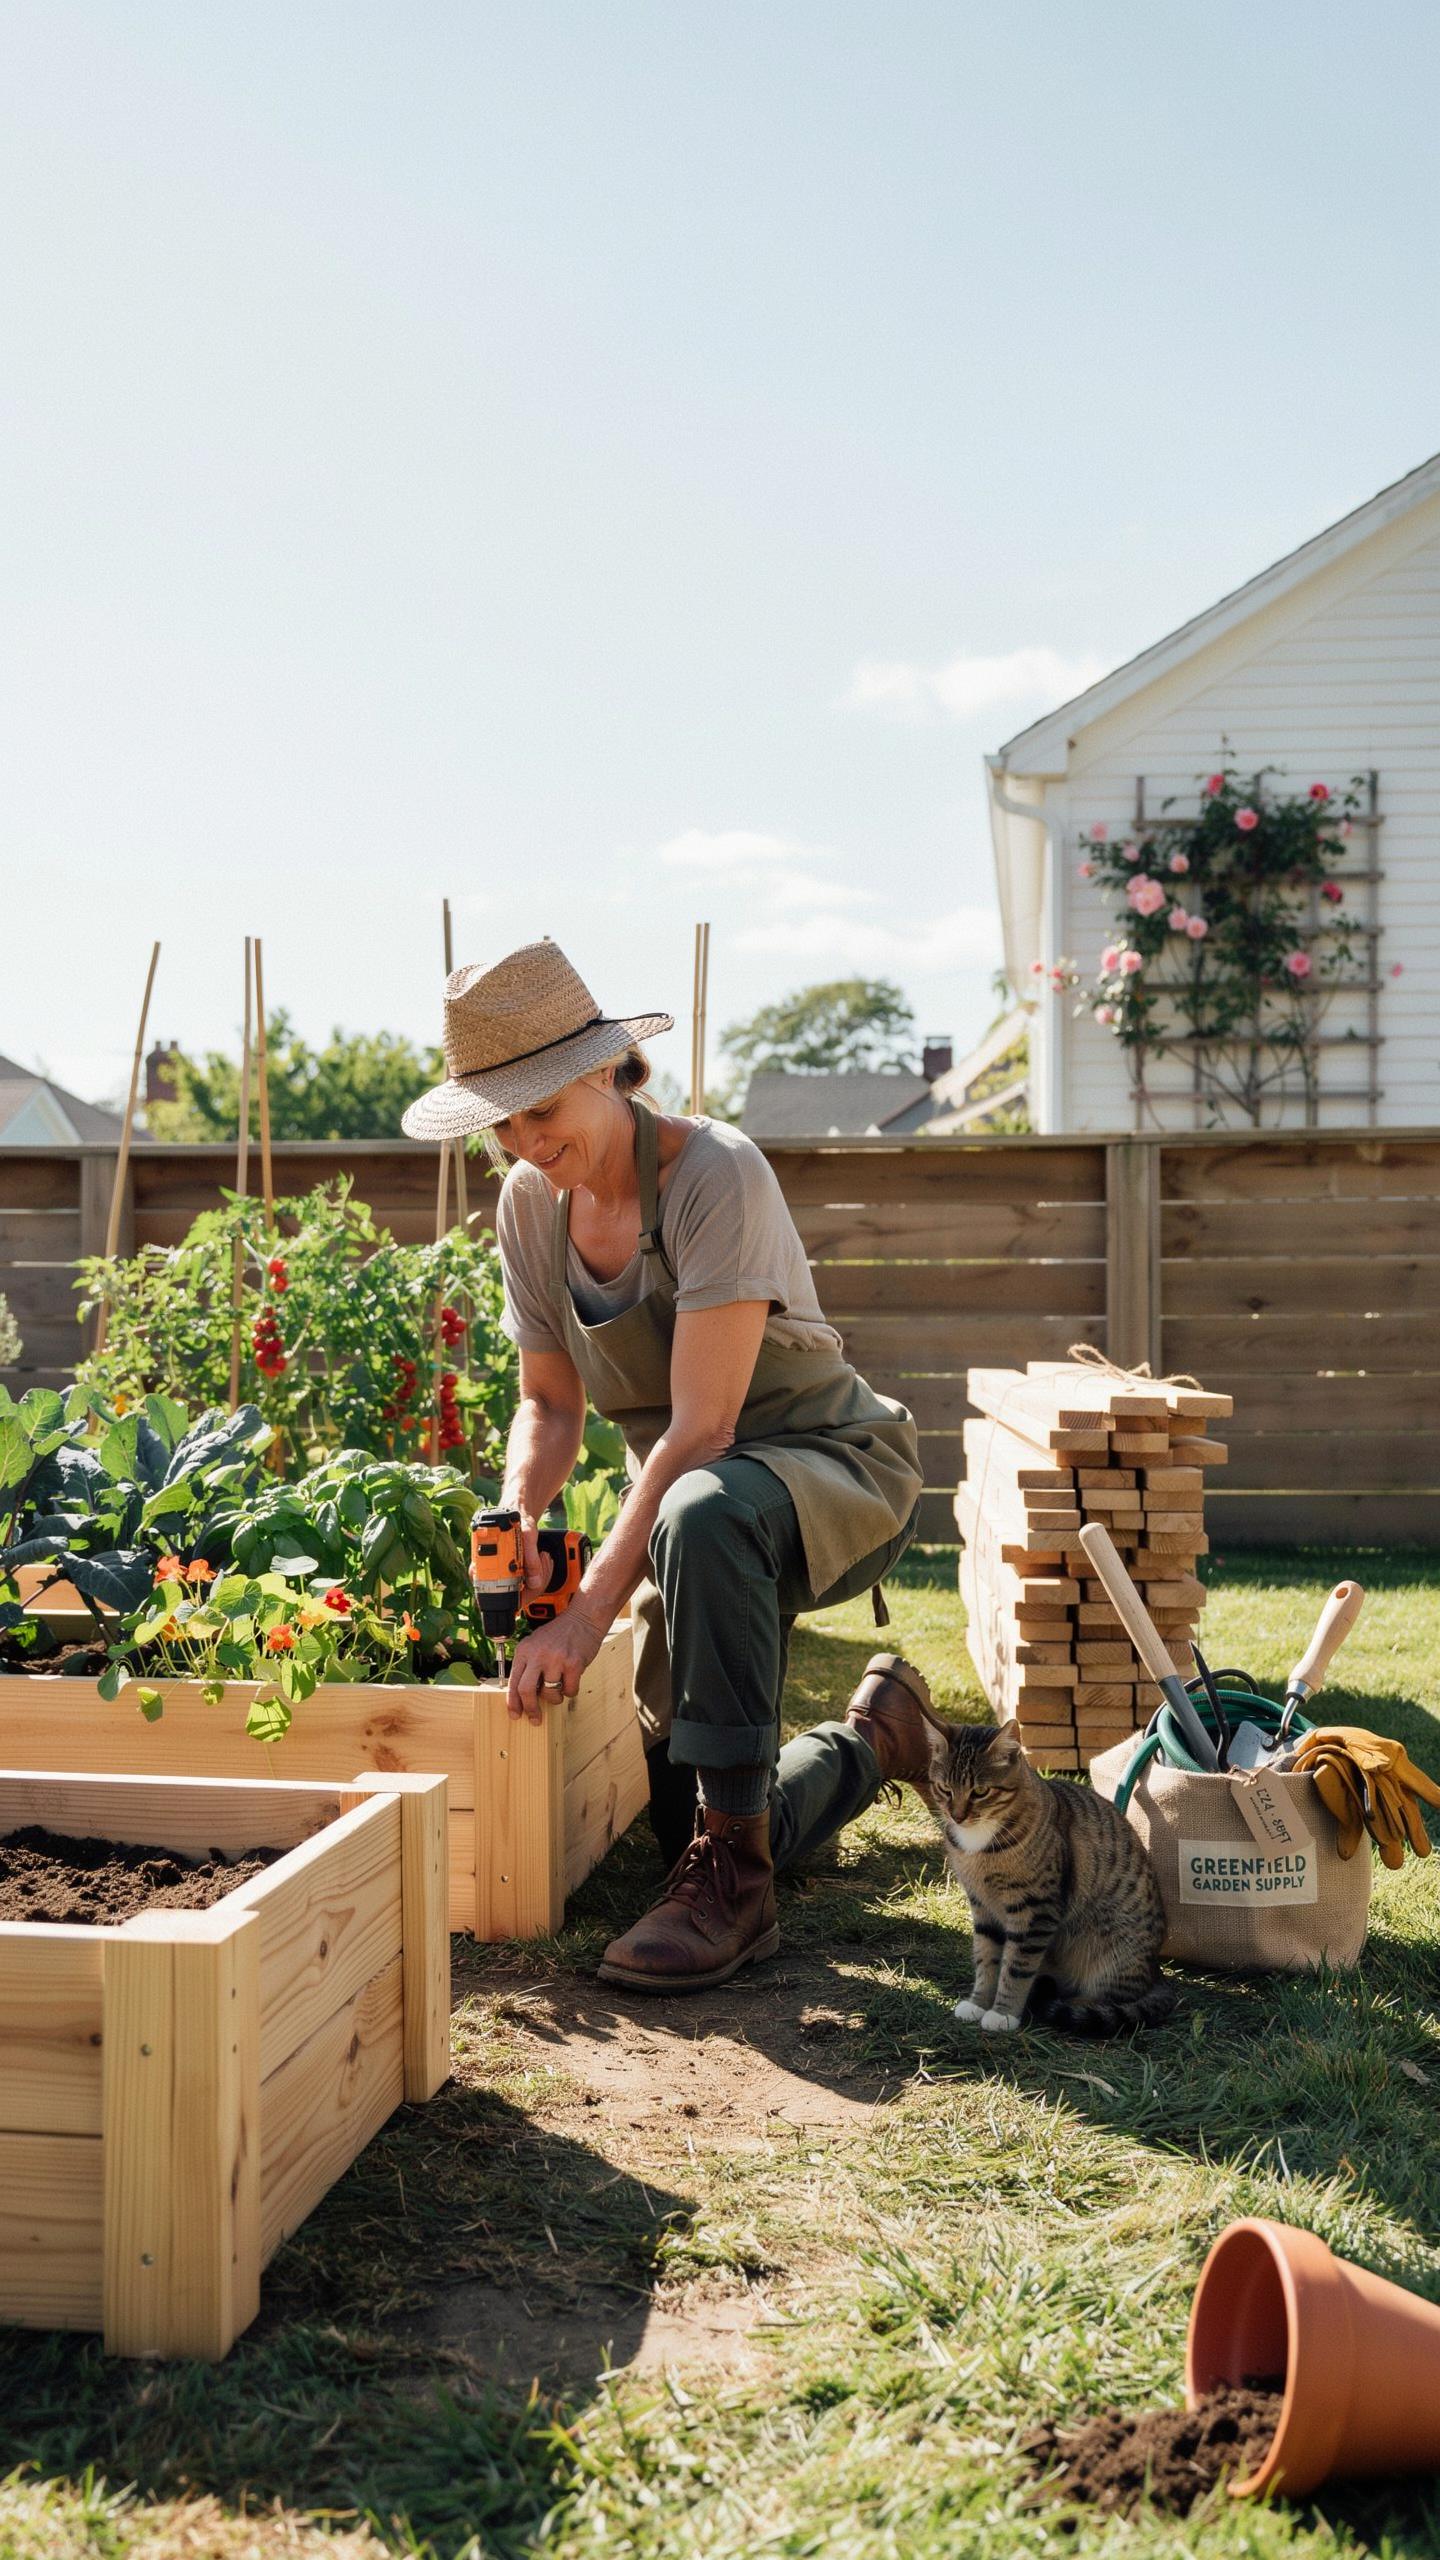
Select materials based on durability and safety. Raw wood is the most common choice for beginners. Cedar and redwood resist rot naturally without chemical treatments. Avoid older pressure-treated lumber manufactured before 2003 because it contains arsenic. Modern alkaline copper quaternary treatments are safer but still distinct from organic options. Metal and masonry offer permanent solutions for high-traffic garden areas.
- Cedar: This wood contains natural oils that repel insects and prevent decay. It lasts roughly ten years in wet soil conditions. It is lightweight and easy to cut with basic hand tools. Cedar remains the gold standard for organic edible gardening.
- Corrugated Metal: Galvanized steel panels provide a modern look and extreme longevity. Select panels with a zinc coating to prevent rust. These beds reflect heat and do not rot like wood. Ensure the edges have a protective trim for safety.
- Composite Lumber: Manufacturers make this material from recycled plastic and wood fibers. It will never rot, warp, or splinter over time. It costs more upfront but eliminates the need for future replacements. Use it for a clean, uniform appearance.
- Concrete Blocks: Stone and masonry units create a permanent structure that regulates soil temperature. They are inexpensive and readily available at hardware stores. Stack them without mortar for a fast build. Avoid using old industrial slag blocks that might leach chemicals.
- Redwood: Similar to cedar, redwood offers superior resistance to moisture and fungal growth. It is often available regionally on the West Coast. The dense grain provides structural integrity for large beds. It weathers to a grey patina if you leave it unsealed.
Non-wood options include galvanized steel and food-grade plastic kits. Steel beds reflect sunlight and keep soil cool if they have light-colored finishes. Masonry blocks provide thermal mass that keeps soil warm during chilly nights. Always verify that your chosen material does not leach harmful toxins into the soil. Function must dictate your choice over aesthetic appeal to ensure long-term gardening success.
What To Look For In Raised Bed Soil And Filling Mixes For Healthy Growth
Raised bed gardening for beginners requires specialized soil blends. Native backyard soil is often too heavy and lacks proper drainage for elevated frames. Use a mix of sixty percent topsoil, thirty percent organic compost, and ten percent potting soil. This ratio ensures oxygen reaches the roots while retaining necessary moisture. Quality compost provides the essential nitrogen and phosphorus needed for plant development.
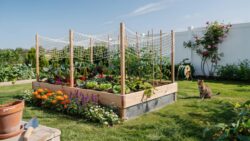
Avoid using straight topsoil or cheap fill dirt. These materials compact quickly and suffocate delicate root systems. Incorporate perlite or vermiculite to improve aeration if the mix feels too dense. Utilize the Hugelkultur method by placing rotting logs at the bottom to save money on soil. This organic matter breaks down over years to feed your plants. Consistent texture throughout the bed prevents water pooling at the root level.
Raised Garden Bed DIY A BeginnerS Step By Step Build Guide
How To Measure, Cut, And Assemble Your First Raised Bed Frame
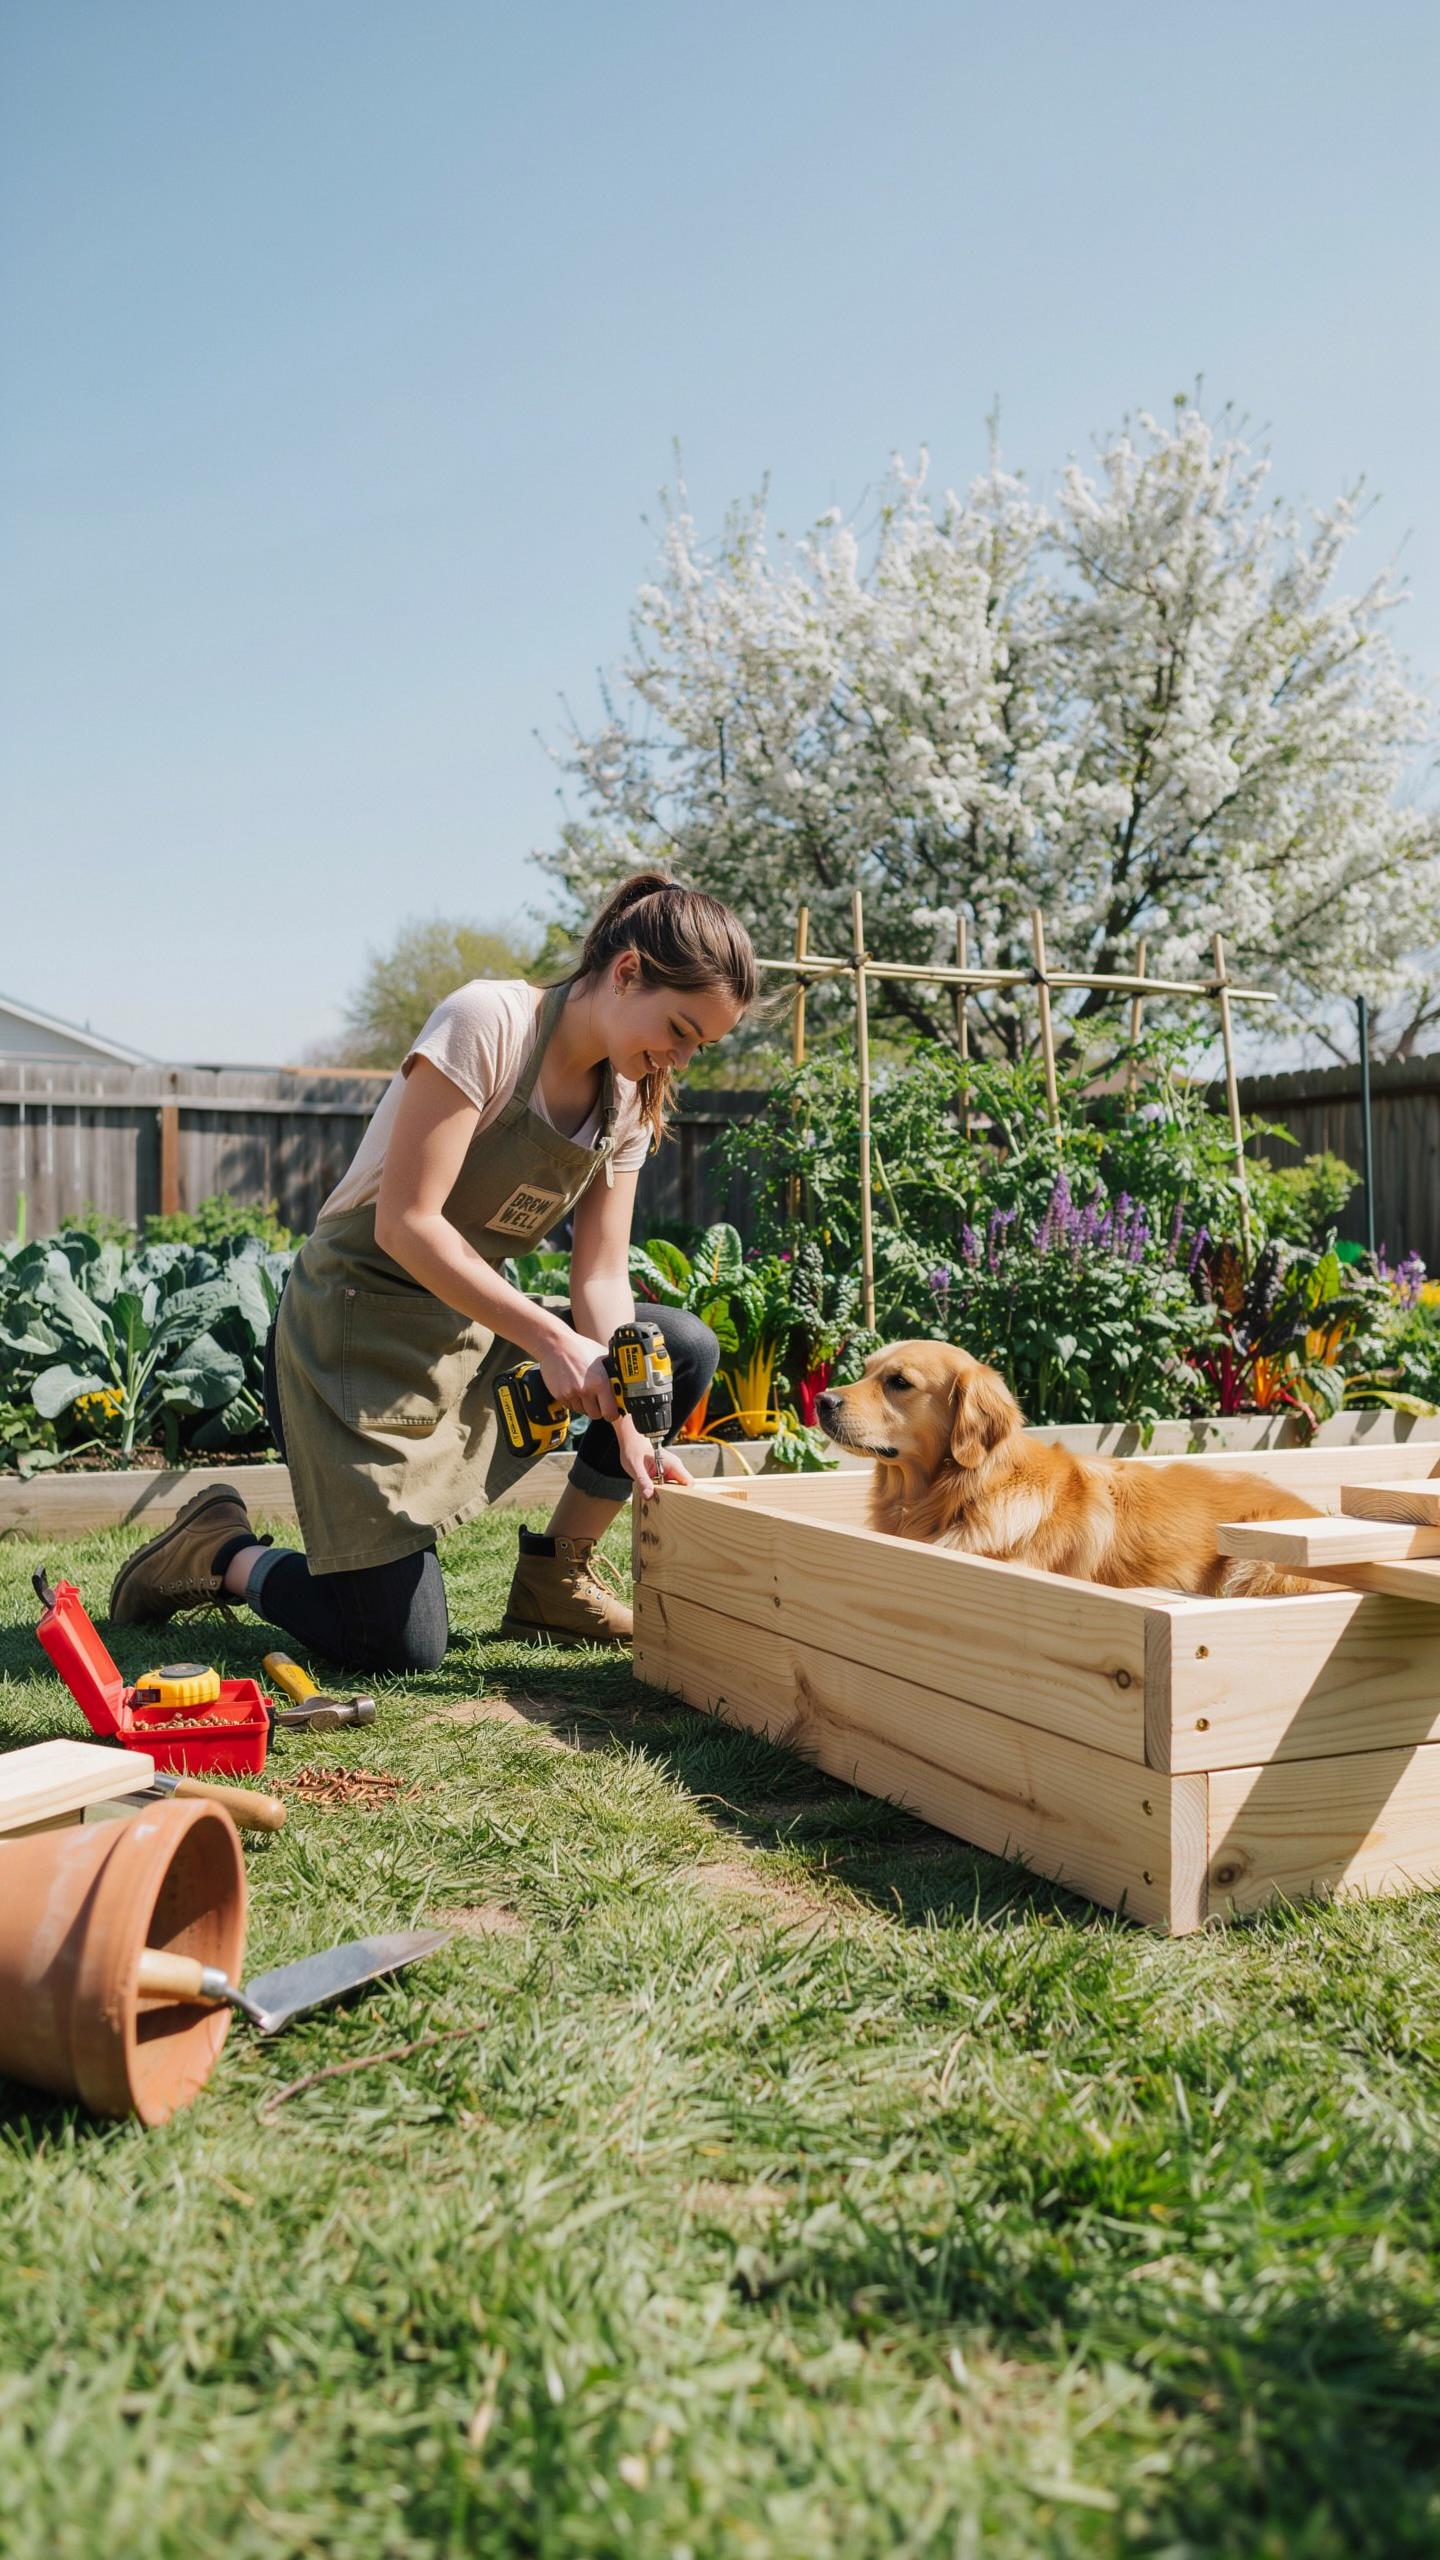
Standard dimensions for a beginner bed are four feet by eight feet. This width allows you to reach the center from either side without stepping on the soil. Use rot-resistant wood like cedar or heat-treated pine. Measure your boards and mark them with a carpenter square to ensure straight lines. Use a circular saw or hand saw for the cuts.
Lay your boards on a flat surface to form a rectangle. Use two-inch by four-inch corner posts for structural support. Drill pilot holes before driving galvanized screws into the wood. This prevents the timber from splitting during assembly. Check the corners with a speed square to maintain ninety-degree angles. Fasten the sides to the posts to finish the frame.
Common Garden Beds DIY Mistakes Beginners Make And How To Avoid Them
Many beginners use chemically treated wood that leaches toxins into the soil. Avoid older railroad ties or pressure-treated lumber processed before 2003. These materials often contain arsenic or creosote. Select untreated cedar or redwood instead for natural durability. Another common error is building the bed too wide. If you cannot reach the middle, you will compact the soil by stepping in it.
Failure to level the ground causes structural failure over time. An uneven base puts pressure on the joints and leads to wood bowing. Clear the grass and use a level to ensure the frame sits flat. Do not skip the weed barrier at the bottom. Use heavy cardboard or landscape fabric to stop grass from growing through. Proper drainage is also vital to prevent root rot.
How To Make A Garden Bed In Ground For A Natural Seamless Look
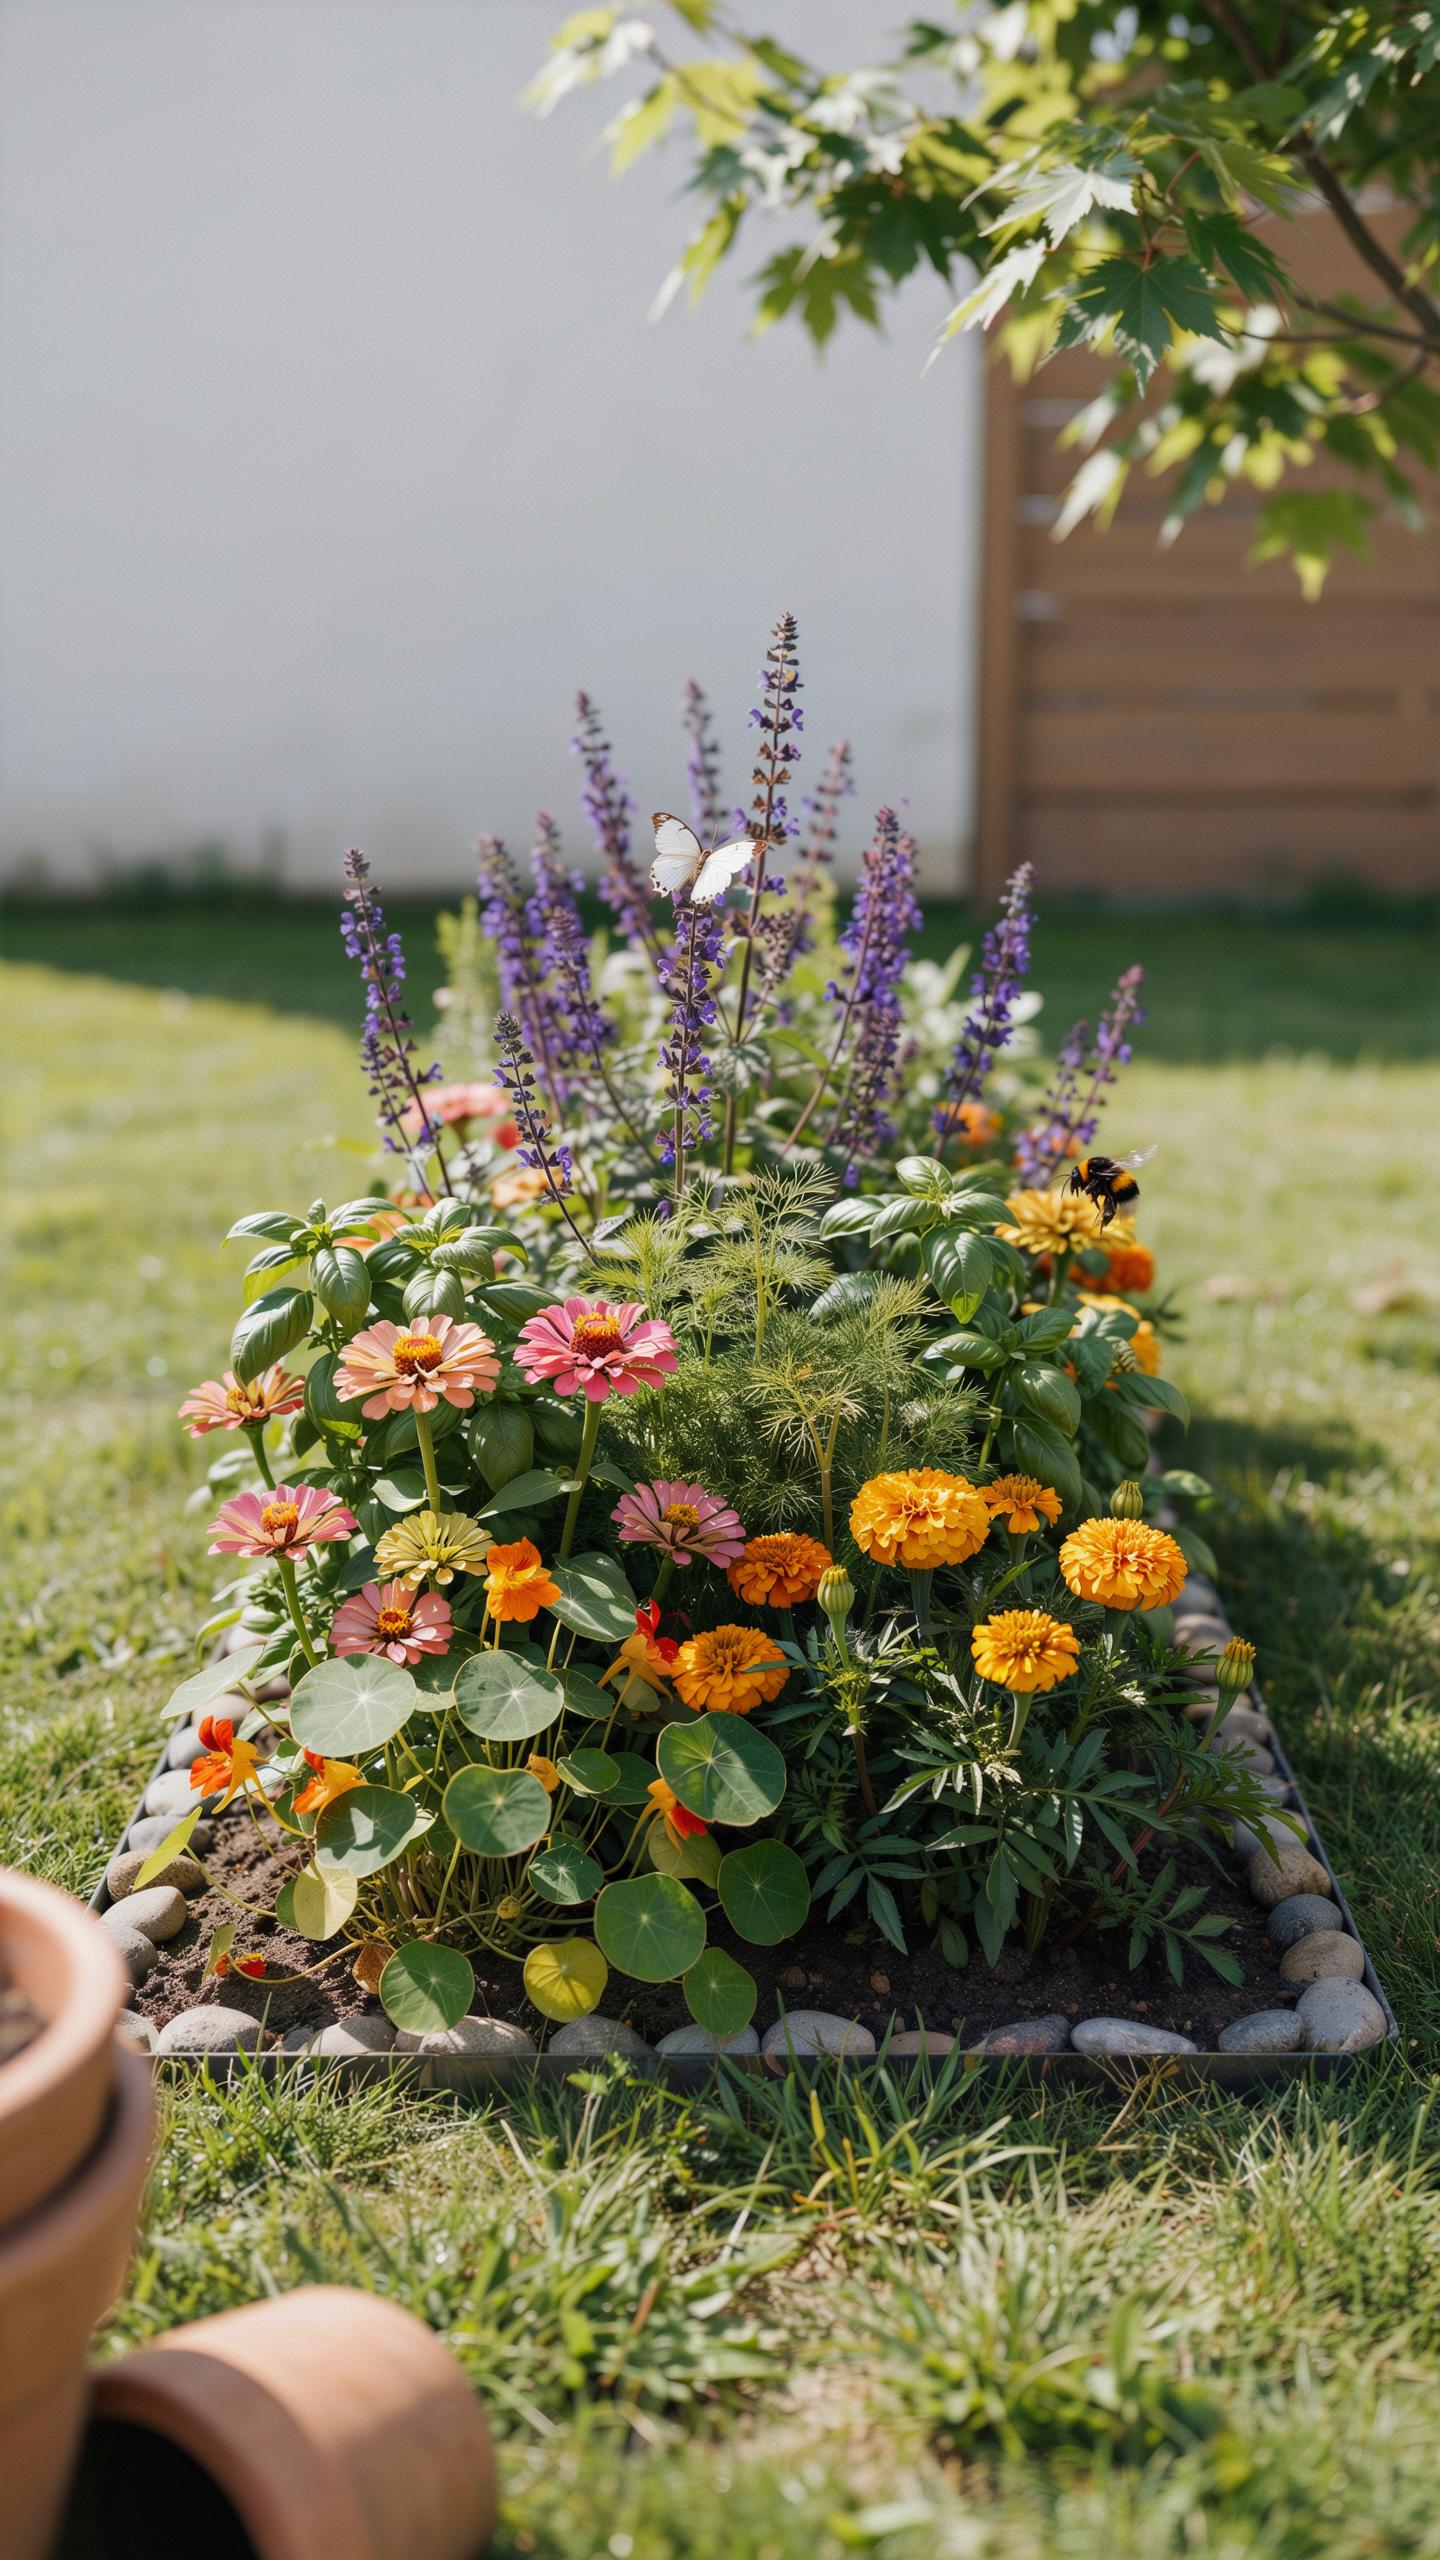
The Difference Between In Ground Garden Beds And Raised Beds Explained
Raised beds sit above the natural soil line within a frame of wood, stone, or metal. They provide total control over soil quality and drainage. This method works best for areas with heavy clay or contaminated soil. Raised beds warm up faster in spring. They offer a structured look that separates the garden from the lawn. High walls reduce the need for bending.
In-ground beds integrate directly into the landscape without physical barriers. This technique follows traditional agricultural practices and the English Cottage garden style. In-ground beds require less upfront investment because you do not buy framing materials. Plants benefit from deep root expansion and natural moisture retention. This method allows for easier use of large power tools like tillers. In-ground gardening creates a fluid transition within your yard.
To plant a garden is to believe in tomorrow. There is a peaceful magic in tending a small plot of earth right outside your own back door.
Step By Step Process For Preparing And Setting Up An In Ground Garden Bed
Start by marking the perimeter with stakes or string. Remove all grass and weeds from the area. Use a spade to cut deep edges for a clean look. Test your soil to determine nutrient needs. Turn the earth to a depth of twelve inches. Break up large clumps to ensure a fine texture. This preparation creates a healthy environment for root growth.
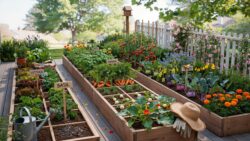
Incorporate organic matter like compost or aged manure into the soil. Spread a three-inch layer over the surface and mix it in thoroughly. Level the area using a metal rake. Apply a thick layer of mulch to prevent weed return and retain moisture. Design paths between planting zones to avoid soil compaction. Proper spacing ensures air circulation. This process creates a professional and lasting garden installation.
Garden Bed Layout How To Plan Your Space For Maximum Yield And Beauty
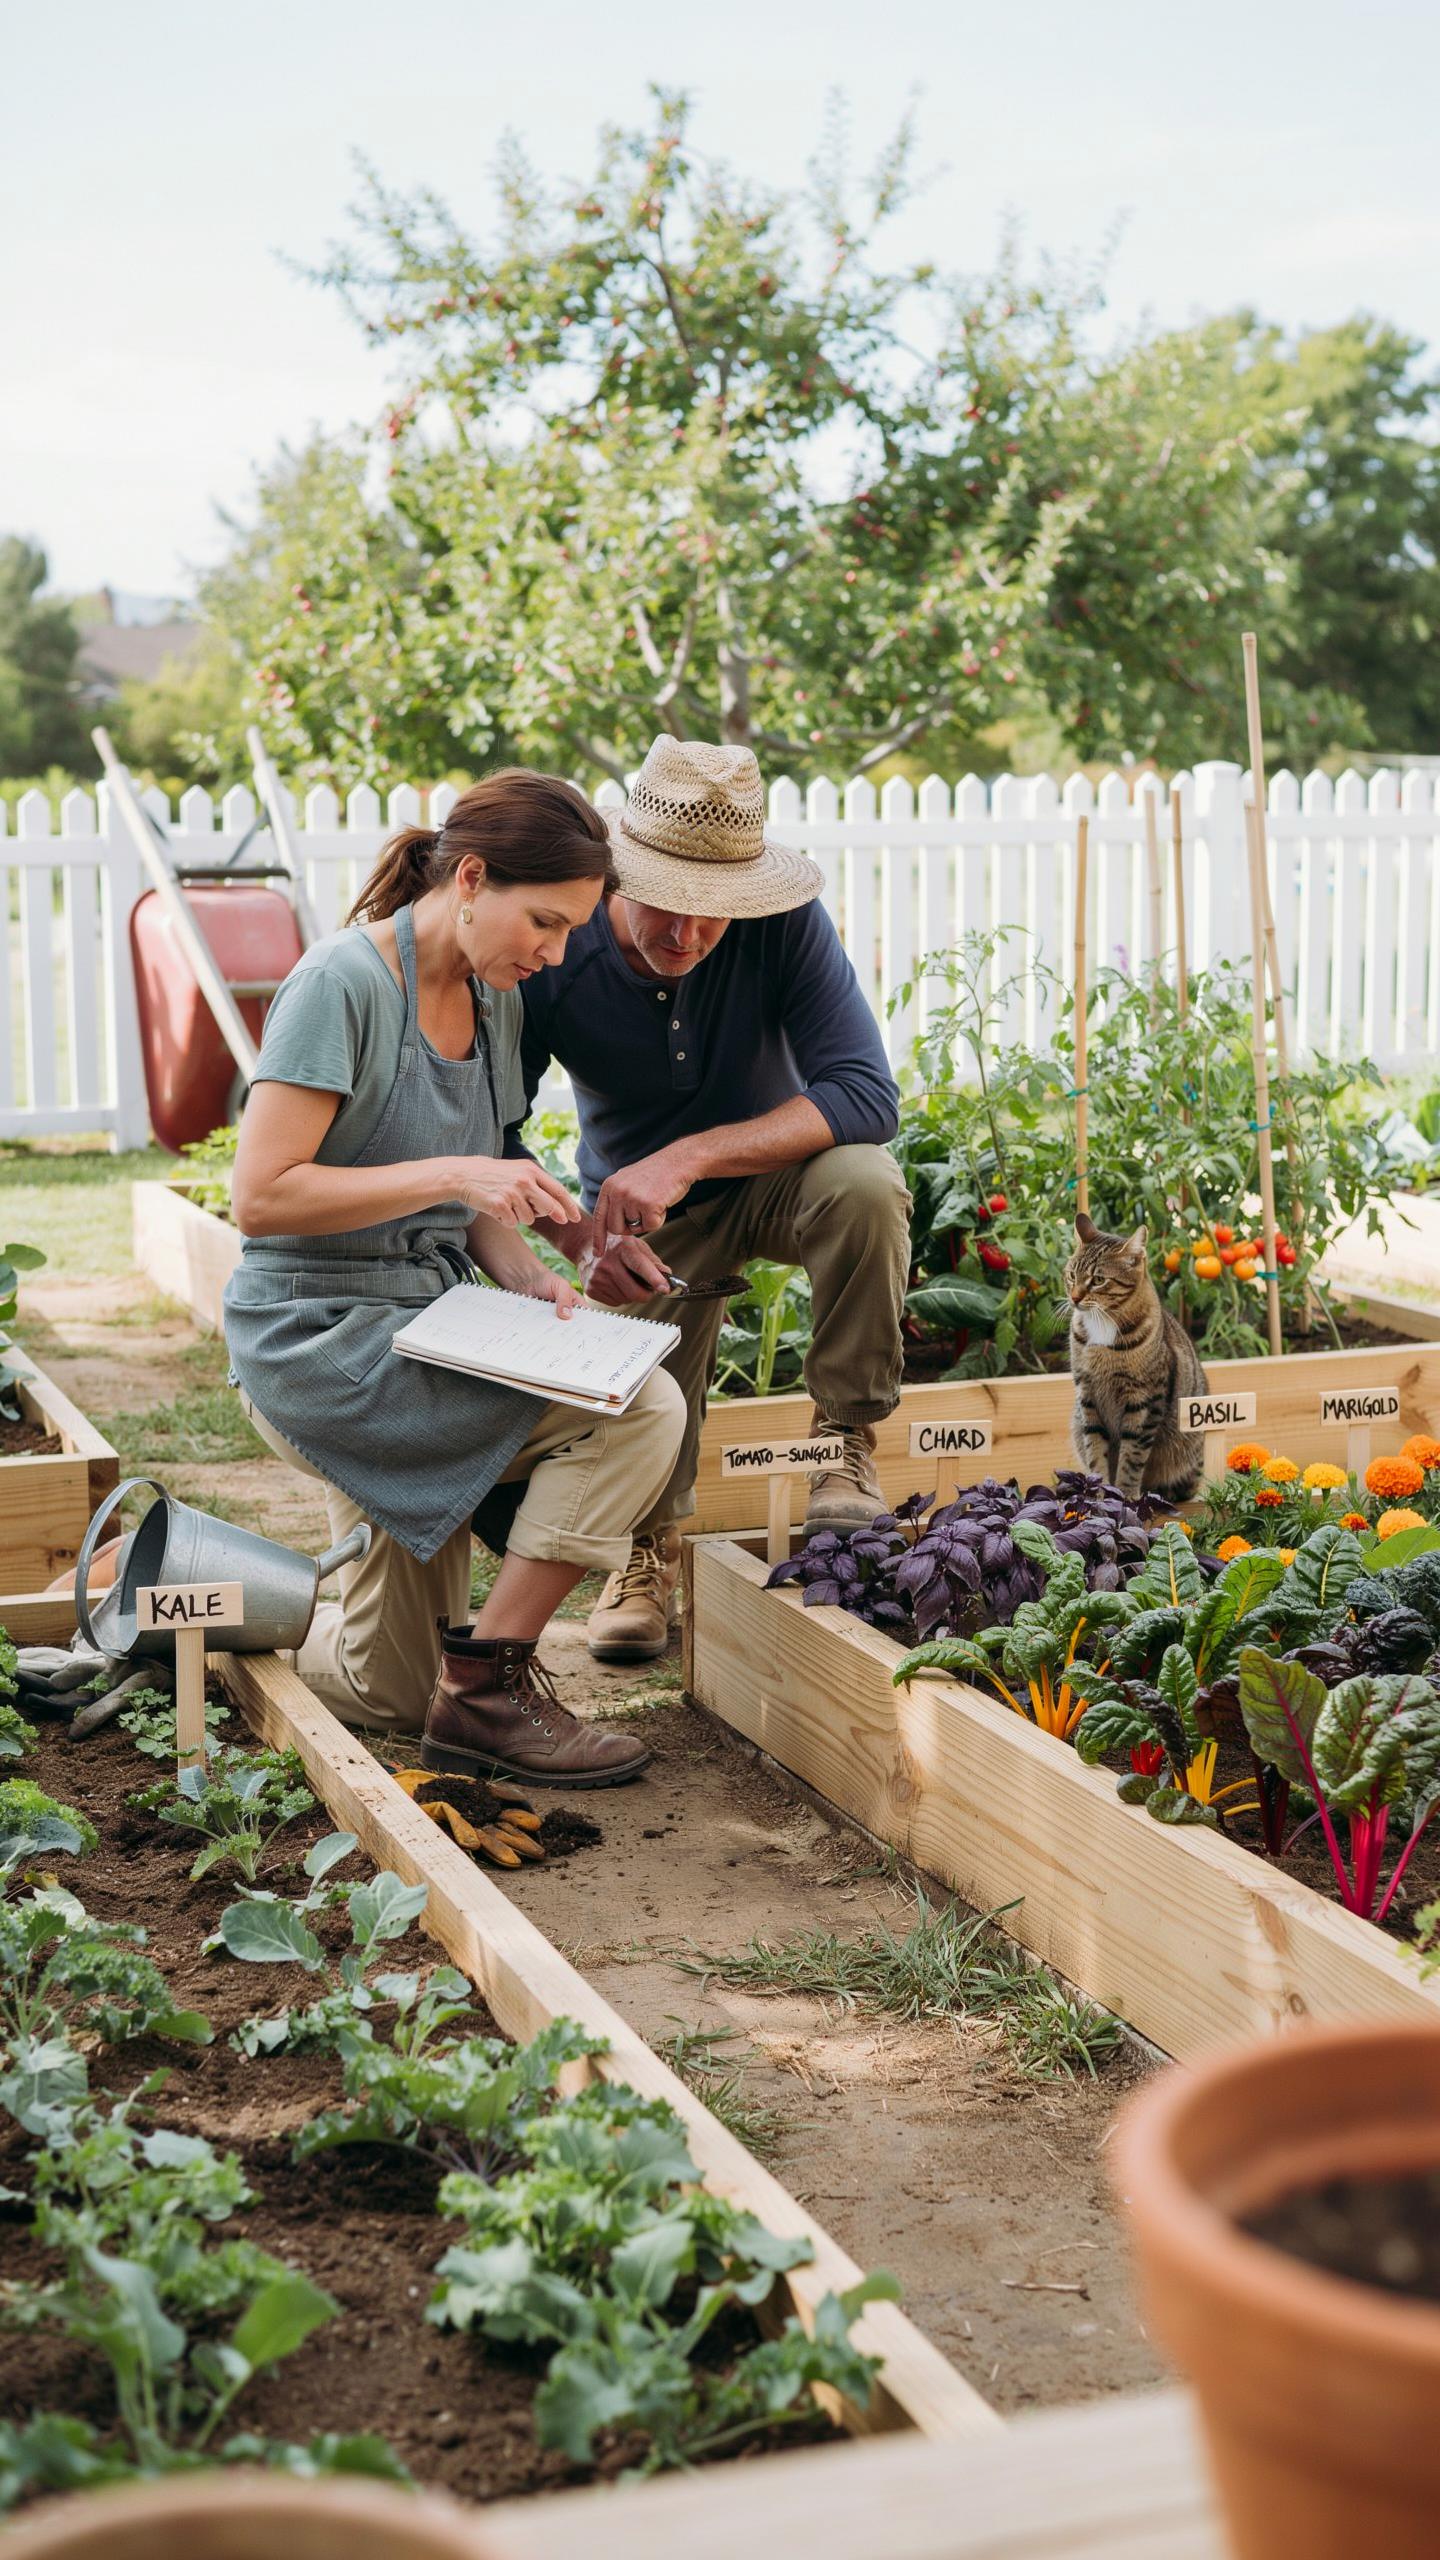
Understanding Spacing Sunlight And Pathways In A Well Planned Garden Layout
Success in raised bed gardening for beginners starts with solar orientation. Most edible crops require six to eight hours of direct sunlight. Position your beds to run north to south. This prevents tall plants from shading smaller neighbors as the sun moves. Measure your space before building. Leave at least three feet between beds for easy foot traffic and wheelbarrow access. Proper spacing prevents soil compaction and allows air to flow.
Control height to maximize production in small footprints. Place vertical structures like trellises on the north side of the bed. This keeps them from blocking light to lower crops. Match your plant spacing to the adult size of the vegetable. Crowding creates high humidity and invites fungal disease. Use intensive planting methods to fill the gaps. This shades the soil surface and reduces water evaporation. Smart layouts prioritize function over aesthetic appeal.
How Companion Planting In Your Garden Bed Layout Can Boost Plant Health
Companion planting is a tactical strategy to manage pests and soil nutrition. Certain plant combinations offer biological advantages. Marigolds emit chemicals that repel nematodes in the soil. Tall corn provides a natural trellis for climbing beans. These beans fix nitrogen into the dirt to feed the corn. This historical grouping creates a self sustaining ecosystem. It reduces your reliance on synthetic fertilizers and chemical sprays. Efficiency drives this layout choice.
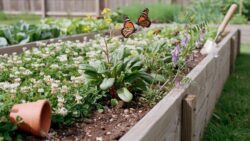
Plan your rows to mix scents and root depths. Fragrant herbs like basil can confuse pests that target tomato plants. Deep rooted carrots break up heavy soil for shallow rooted leafy greens. This diversity keeps the soil structure healthy and productive. Avoid planting members of the same family together every year. Crop rotation prevents the buildup of specific pathogens. Pair plants that share the same water and light needs for easier maintenance.
Raised Garden Bed Tips For Healthy Plants And Better Harvests
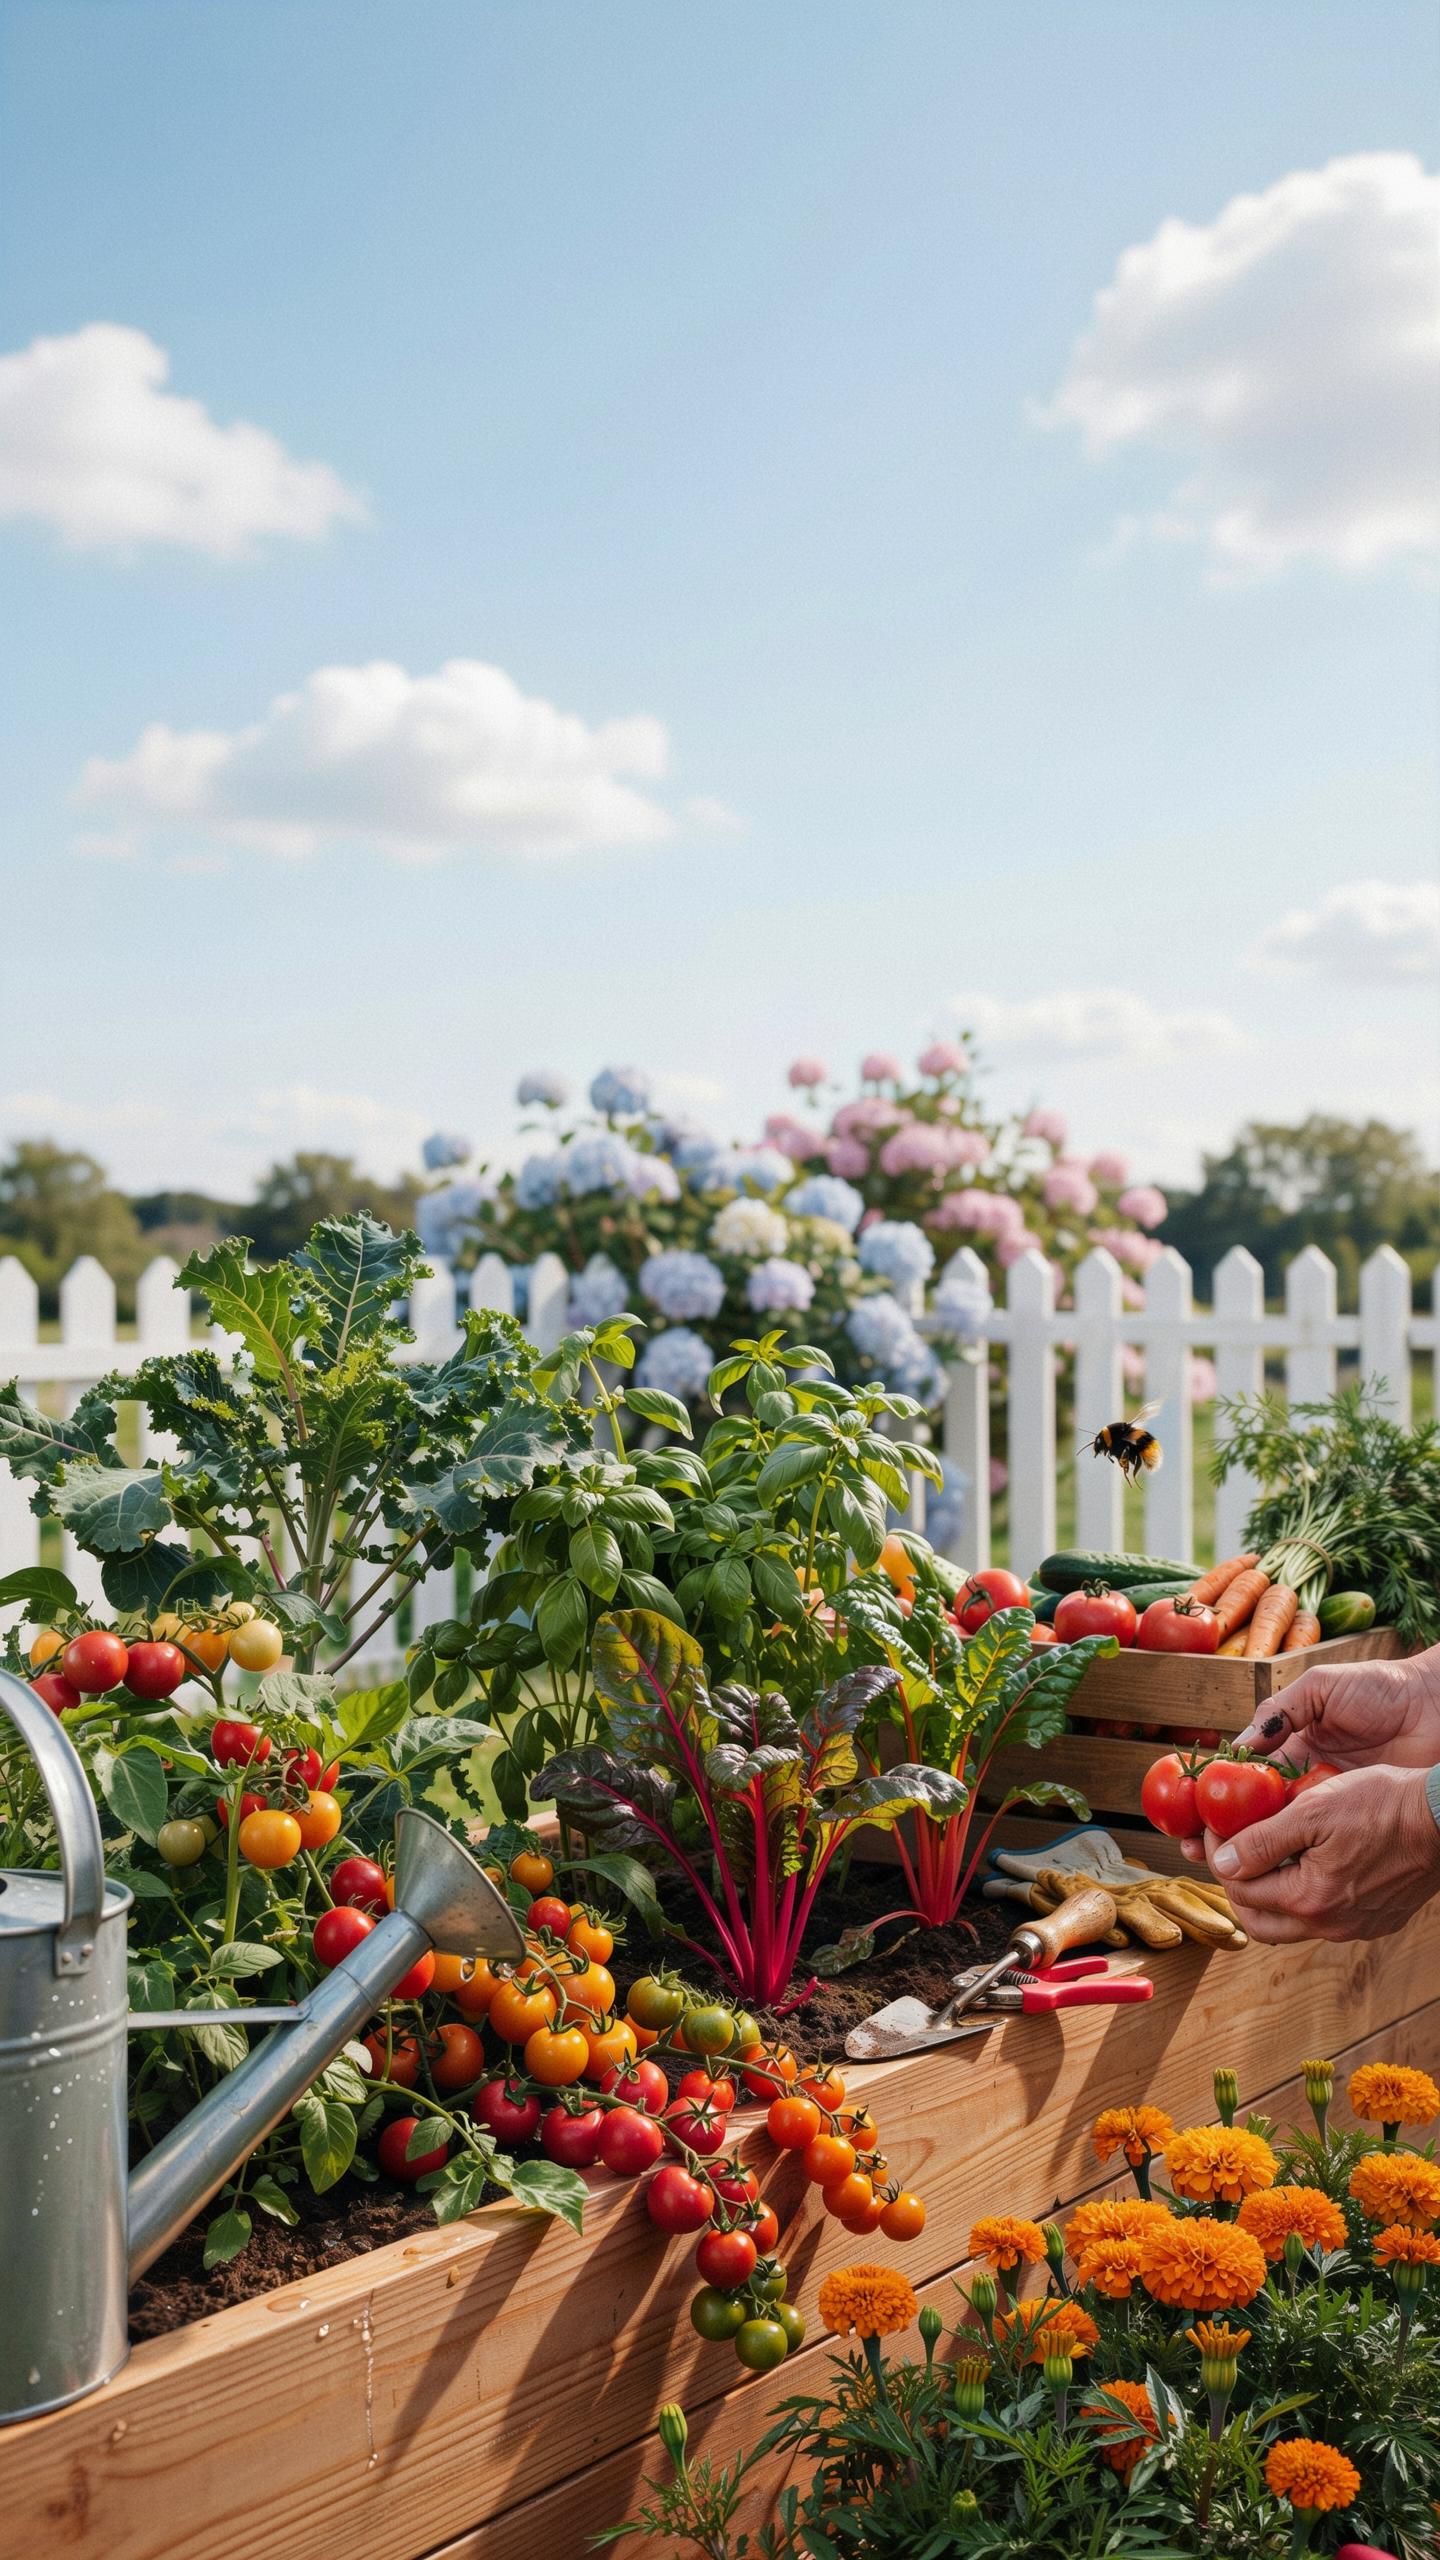
Essential Raised Garden Bed Tips Every Beginner Should Follow From Day One
Success in raised bed gardening for beginners starts with placement and structural integrity. You must position your beds in a spot that receives at least six to eight hours of direct sunlight daily. Ensure the ground is level before installation to prevent water runoff and soil erosion. Choose rot-resistant materials like cedar or heat-treated wood to ensure your garden lasts for several seasons.
- Orient Beds North to South: Align your beds along a north-south axis. This orientation ensures that plants receive even sunlight throughout the day. It prevents taller crops from shading out smaller ones as the sun moves across the sky.
- Install Hardware Cloth: Staple galvanized hardware cloth to the bottom of your wooden frame before adding soil. This metal mesh creates a physical barrier against burrowing rodents like moles and gophers. It protects root systems without restricting drainage or beneficial worm movement.
- Use High-Quality Soil: Avoid using standard bags of topsoil or dirt from your yard. Fill your beds with a specific raised bed mix consisting of sixty percent topsoil, thirty percent compost, and ten percent potting soil. This provides necessary aeration and nutrients.
- Plan Paths for Accessibility: Leave at least two to three feet of space between each raised bed. This allows enough room for a wheelbarrow or garden seat to pass through comfortably. Proper spacing also improves airflow between plants, which reduces the risk of fungal diseases.
- Install Drip Irrigation: Set up a dedicated drip irrigation system or use soaker hoses. Targeted watering at the soil level reduces evaporation and keeps foliage dry. This prevents common leaf diseases and ensures water reaches the root zone where plants need it most.
Avoid building beds wider than four feet. This width allows you to reach the center from either side without stepping on the soil. Stepping into the bed compacts the soil and kills vital air pockets. Intense compaction restricts root growth and prevents water from reaching the bottom. Maintain loose soil by working only from the outside perimeter of the frame.
How To Maintain Soil Health And Moisture Levels In Your Raised Bed Over Time
Soil in raised beds drains faster and warms up earlier than the ground. This means you must monitor moisture levels daily during the peak of summer. Apply a thick layer of organic mulch, such as straw or shredded bark, to the soil surface. Mulch acts as an insulating blanket that suppresses weeds and prevents the sun from baking the moisture out.
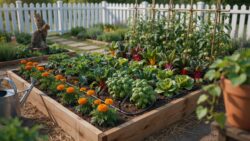
Nutrient depletion happens quickly because of the high density of plants in a small space. Add a two-inch layer of fresh compost to the top of your beds every spring and fall. Do not till the soil, as this disrupts the fungal networks and soil structure. Instead, let the nutrients leach down naturally through watering. Test your soil pH annually to ensure optimal balance.
Veg Garden Essentials The Best Vegetables To Grow In A Raised Bed
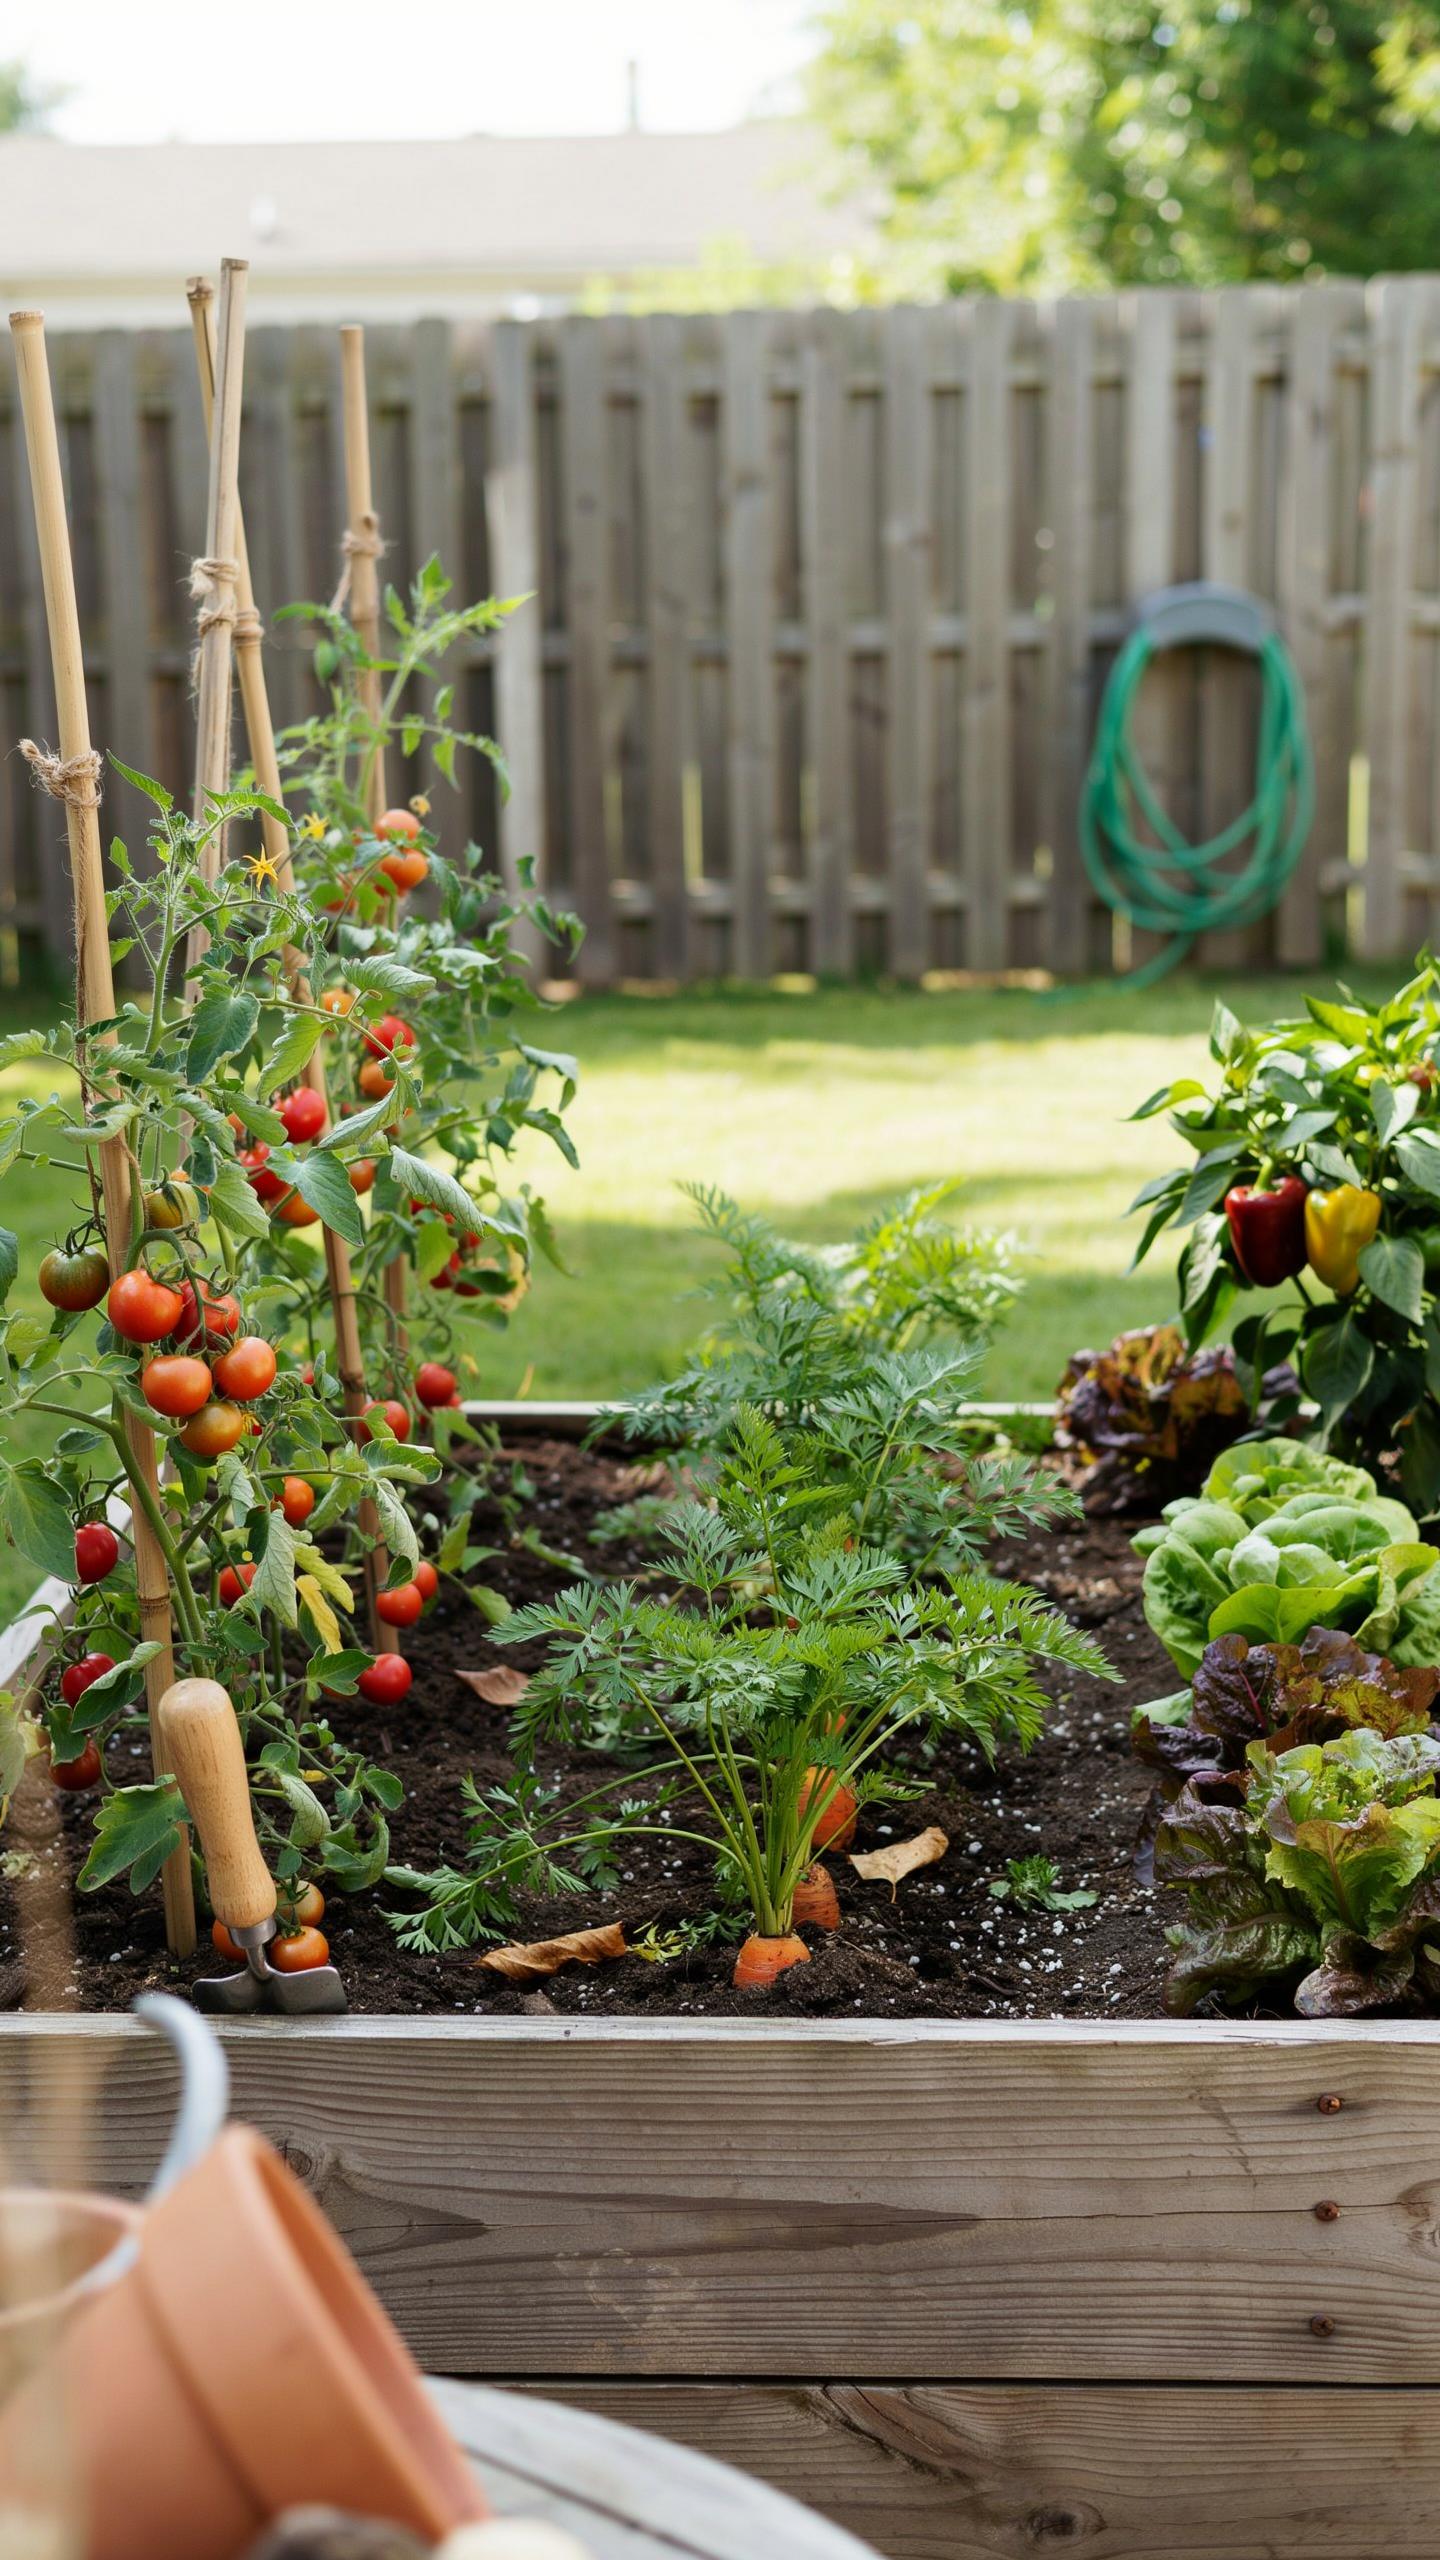
Top Easy To Grow Vegetables That Thrive In Raised Beds For Beginners
Root vegetables perform better in raised beds because the soil stays loose and uncompacted. Carrots and radishes struggle in heavy clay ground but thrive in the light texture of a raised environment. This setup allows roots to grow straight and deep without hitting stones or hardpan. You get higher yields and better shapes from your harvest. Beginners should start with these crops to see immediate results.
Leafy greens like spinach and kale flourish with the superior drainage found in elevated boxes. High walls keep many crawling pests away from your salads. You control the nutrient levels easily by adding compost directly to the beds. Bush beans also work well because they do not require complex trellising. These plants produce a lot of food in a small footprint. They make your gardening efforts highly efficient.
How To Plan A Seasonal Veg Garden Rotation In Your Raised Beds Year Round
Succession planting ensures your raised bed never sits empty or wasted. You must track which plant families occupy specific sections of the box. Follow heavy feeders like tomatoes with nitrogen-fixing legumes like peas. This natural cycle prevents soil exhaustion and stops pest life cycles from becoming permanent. Move plants to different sections every year. Proper planning maximizes your square footage and keeps the soil biology healthy.
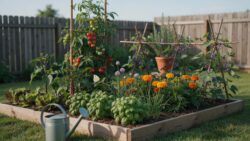
Temperature control determines your planting schedule. Use the early spring for cool-season crops like lettuce and onions. Transition to heat-loving peppers and eggplants once the soil warms up in late May. As summer ends, plant a final round of hardy greens that survive light frosts. This three-season approach triples your annual food production. You utilize the thermal properties of the raised bed to extend your growing window significantly.
Frequently Asked Questions

Why is raised bed gardening so effective for someone just starting out?
Raised bed gardening for beginners offers a controlled environment that eliminates many common frustrations. Since the soil is contained, it warms up faster in the spring and resists compaction from footsteps. This method provides superior drainage and makes weed management much easier. For those seeking a cozy home aesthetic, these organized plots create a neat, intentional look that instantly elevates the visual appeal of any backyard or small outdoor patio space.
What is the best strategy for filling a new raised garden bed?
To set yourself up for success, use a high-quality blend of 60% topsoil, 30% organic compost, and 10% potting mix. If your beds are deep, consider the “hugelkultur” method by placing rotting logs and branches at the bottom to save money on soil. When practicing raised bed gardening for beginners, remember that nutrient-rich soil is the foundation for healthy plants and that signature lush, cozy garden atmosphere you are craving.
Can I build a beautiful raised garden if I am on a tight budget?
Absolutely! You don’t need expensive cedar kits to create a charming garden. Repurposed materials like untreated scrap wood, old galvanized troughs, or even fabric grow bags can look incredibly stylish when styled correctly. Focus on vertical elements like simple bamboo trellises to add height and character. Adding a layer of natural wood mulch around your beds provides a finished, professional look that makes a budget-friendly setup feel like a high-end sanctuary.



