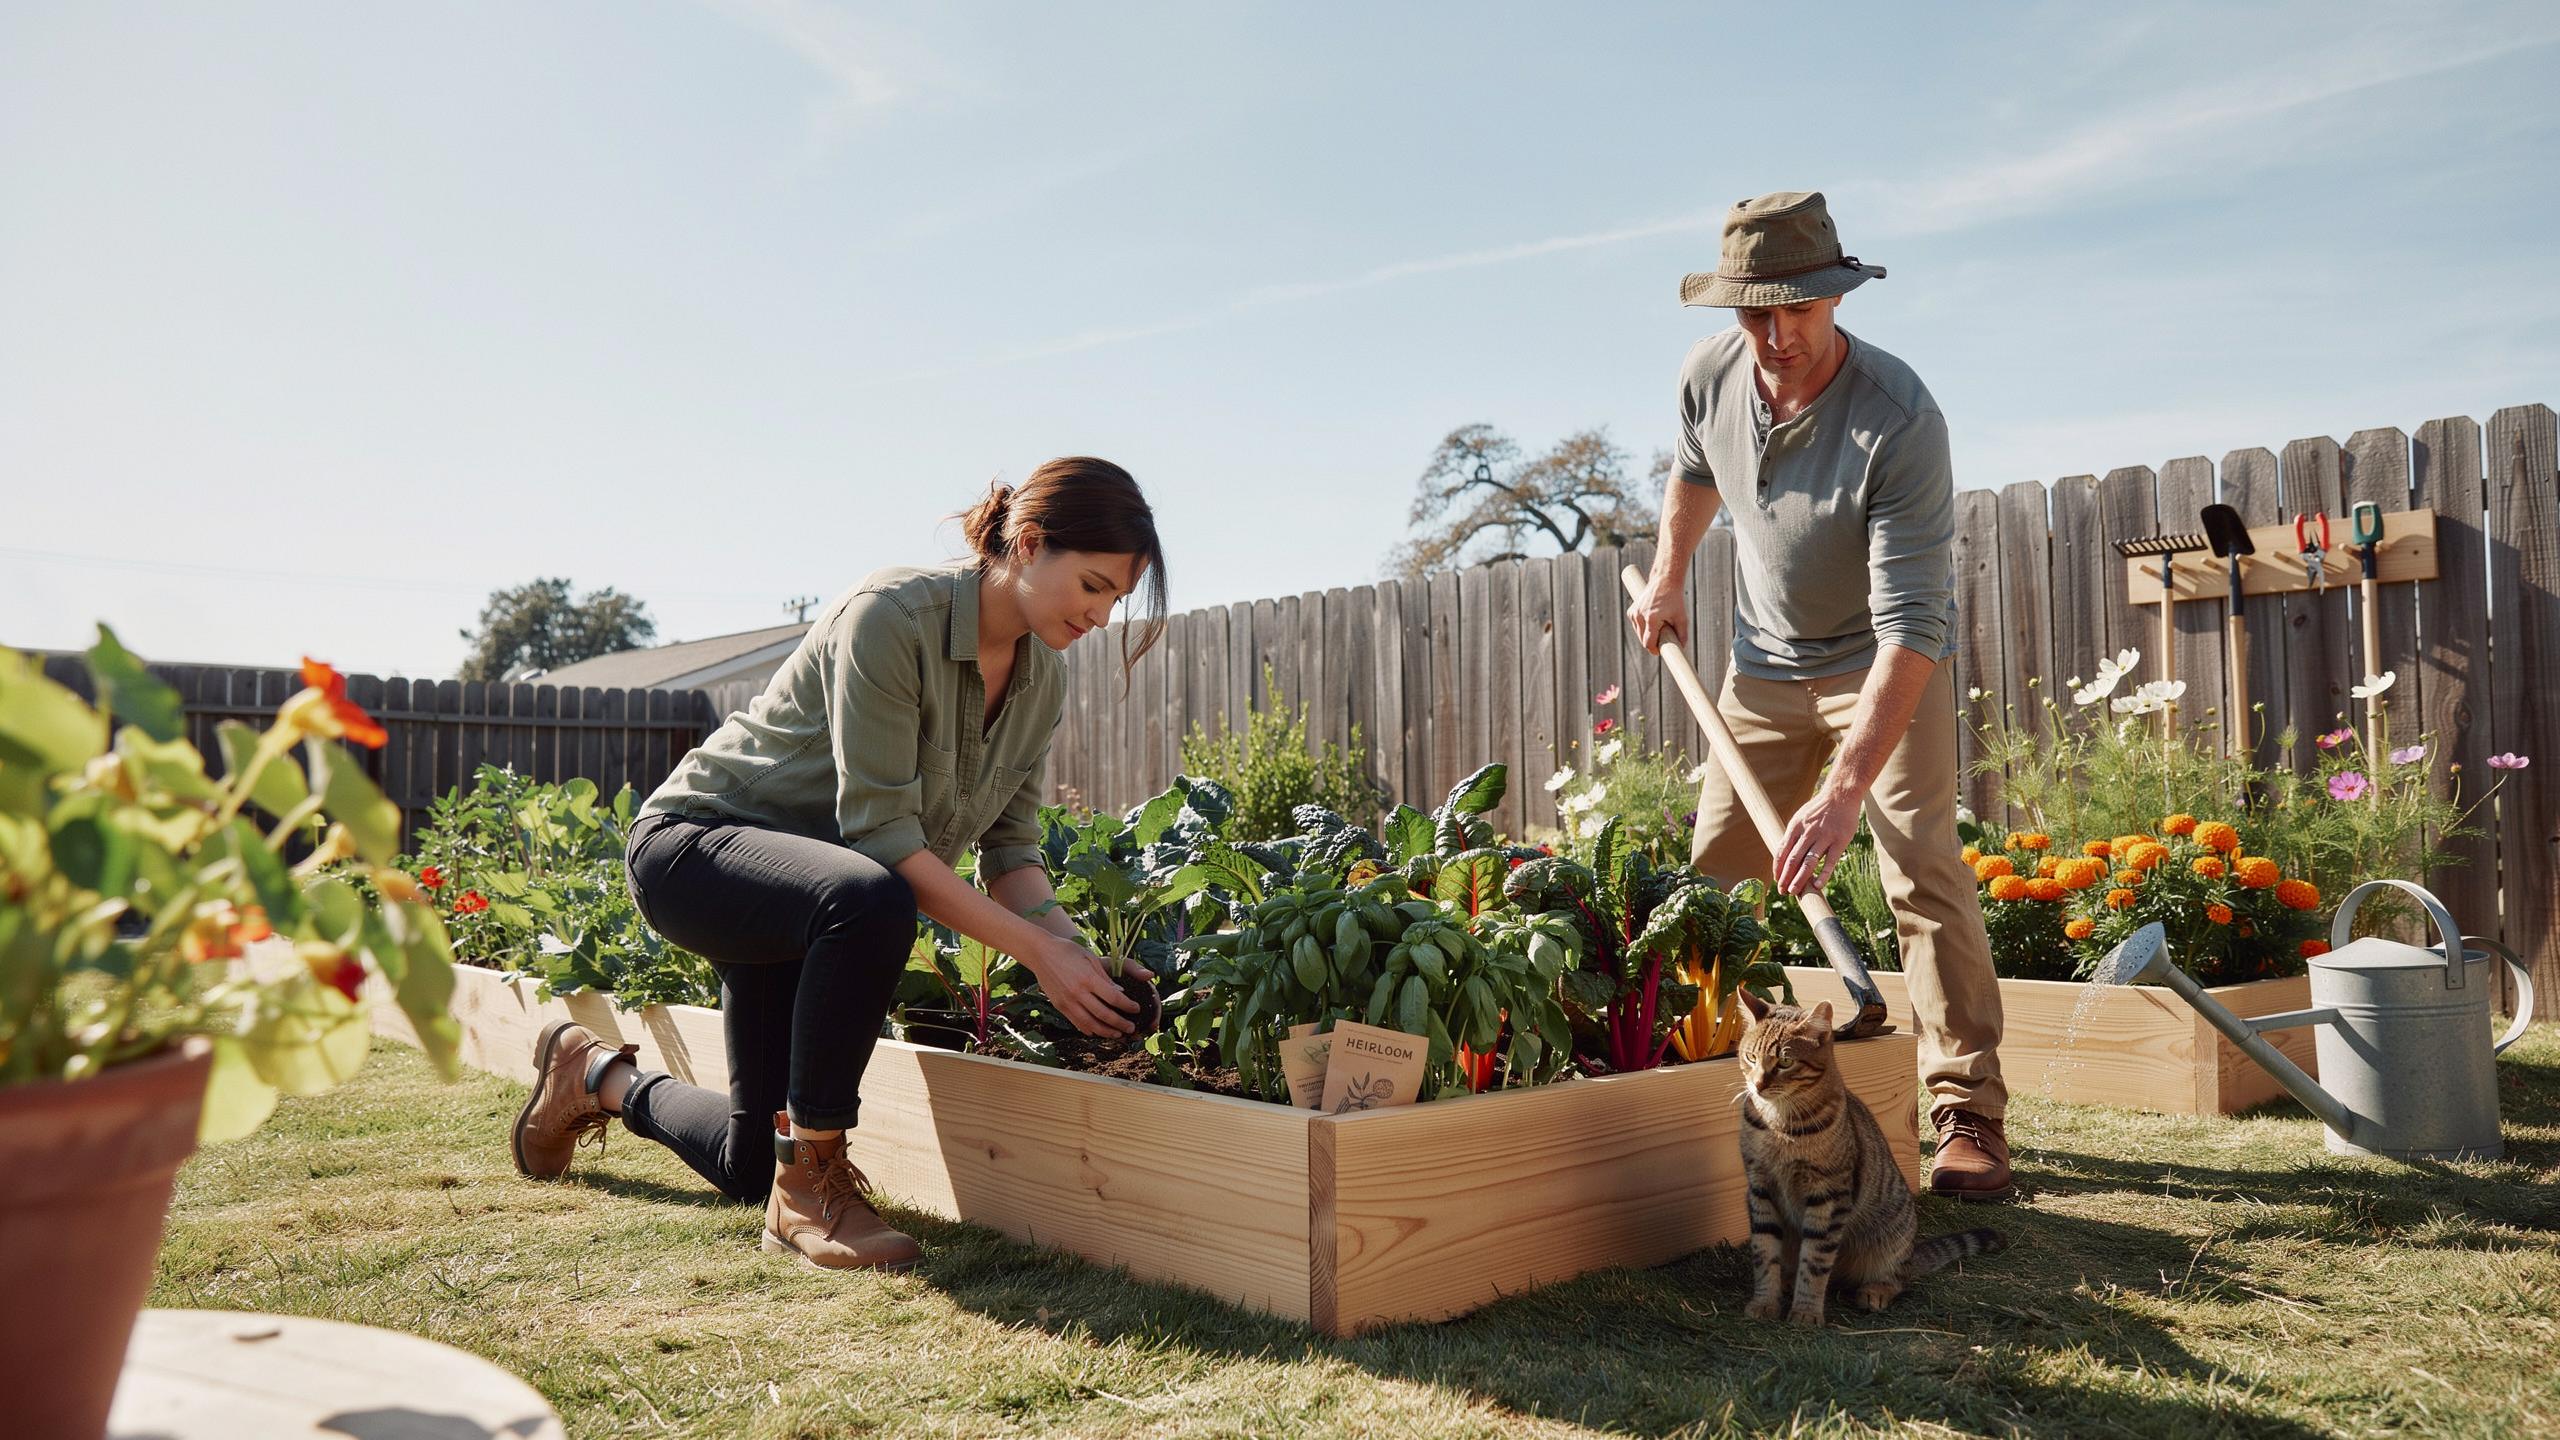
Why Cedar Raised Garden Beds Remain The Gold Standard For Backyard Growers
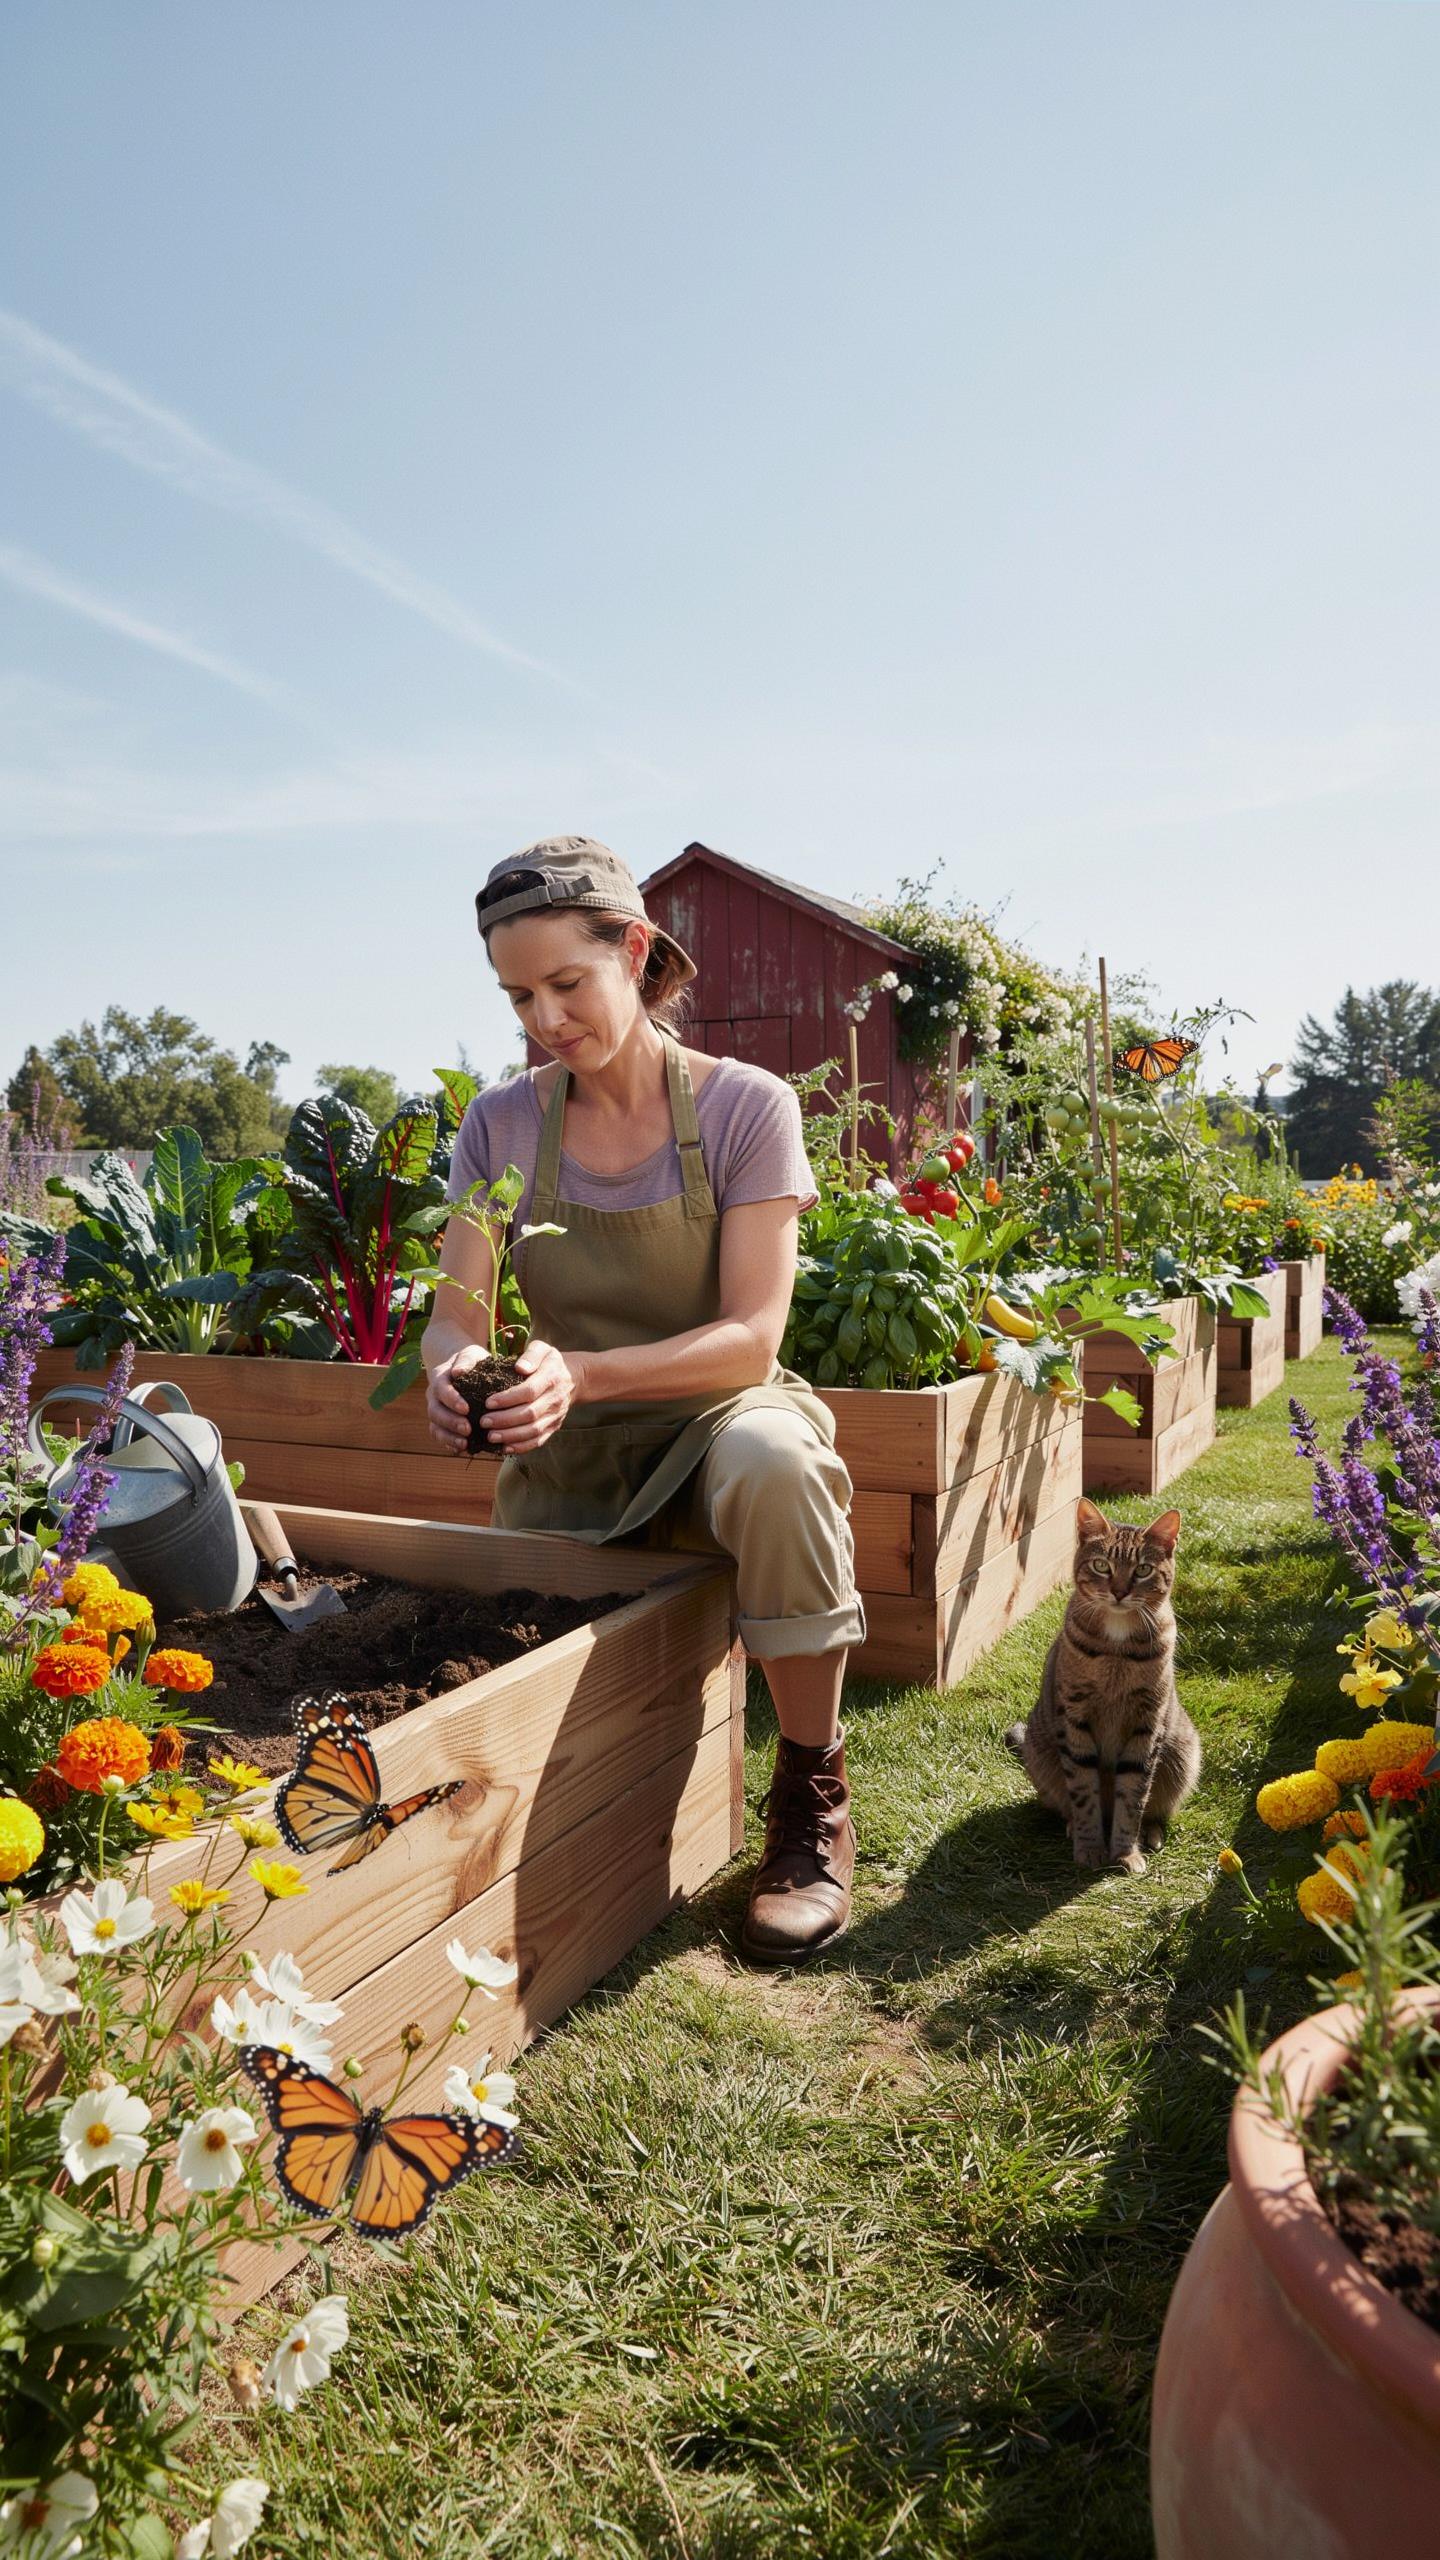
The Natural Properties That Make Cedar The Top Wood Choice For Garden Beds
Cedar offers structural stability that other softwoods cannot match. It contains a low density of cells which prevents the wood from shrinking or swelling. This means your garden boxes stay tight at the corners. Builders choose cedar because it resists warping even in high heat. It stays straight and true throughout many seasons of heavy use.
The wood fiber creates a natural thermal insulator for your soil. Cedar regulates the temperature of the root zone during extreme weather shifts. It keeps soil cooler in the summer and warmer in the fall. This stability protects sensitive vegetable crops from thermal shock. You get a longer growing season without needing extra insulation. Cedar provides a high return on investment.
How Cedar Natural Oils Resist Rot Insects And Moisture Over Time
Cedar produces organic compounds called thujaplicins and phenols. These chemicals act as natural preservatives within the wood fibers. They kill fungi and bacteria that cause common wood rot. This chemical makeup means you do not need to apply toxic sealants. Cedar survives direct ground contact for many years without failing. It is the safest choice for organic food production.
The scent of cedar comes from these same oils which repel boring insects. Termites and carpenter ants avoid cedar because the oils are toxic to them. This protection extends deep into the heartwood of the timber. Moisture does not penetrate the surface easily. This prevents the wood from cracking during freeze and thaw cycles. You get a durable structure with minimal maintenance.
Top DIY Cedar Raised Garden Bed Styles Trending This Season
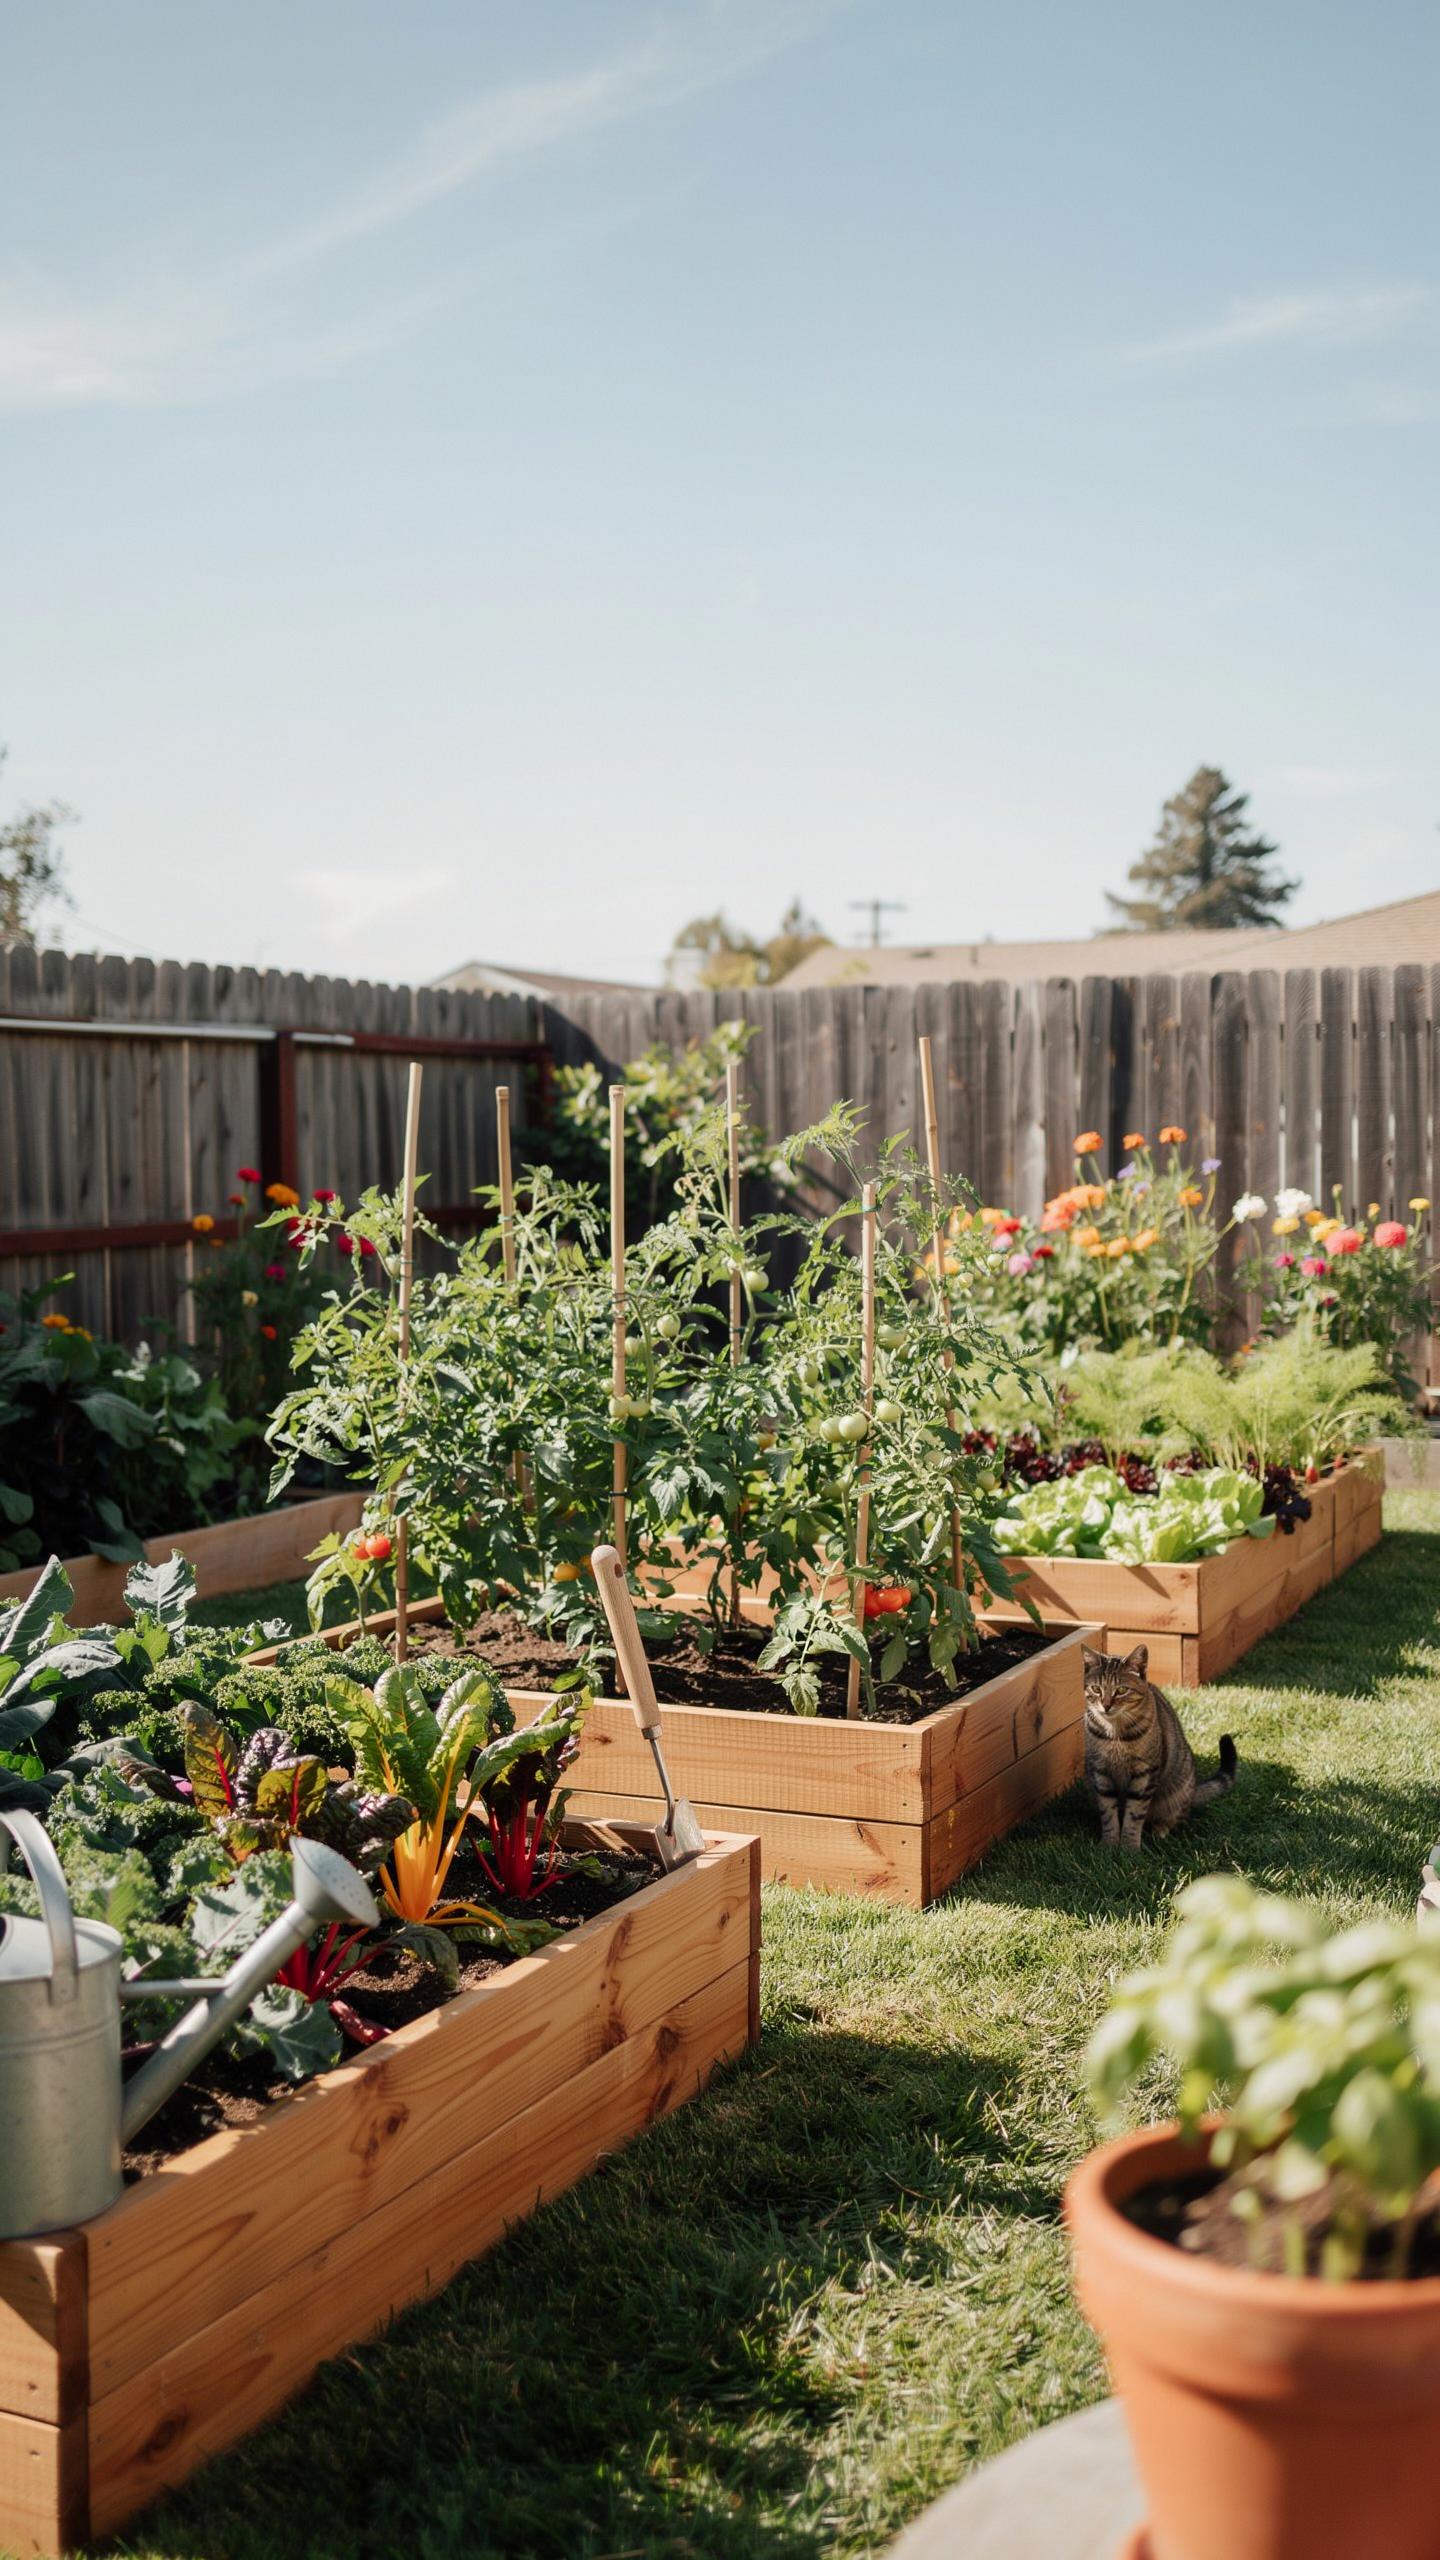
Modern Minimalist Cedar Bed Designs That Blend Aesthetics With Function
Modern minimalist cedar beds prioritize clean lines and structural integrity. Builders use thick two inch by six inch or four inch by four inch Western Red Cedar timbers. This approach eliminates the need for external trim or capped corners. These designs focus on the wood grain rather than fancy hardware. Use stainless steel fasteners to prevent black iron stains on your wood surfaces.
Minimalism improves airflow around the garden perimeter. These beds lack excessive decorative lips where moisture traps and insects hide. You should use heartwood for direct soil contact because it resists rot naturally. Smooth planed surfaces offer a contemporary look compared to rough sawn lumber. This style fits small urban spaces where every inch matters. Functional design ensures the bed lasts over fifteen years with zero maintenance.
Tiered And Cascading Cedar Raised Bed Layouts Gaining Popularity In 2024
Tiered cedar layouts solve the problem of gardening on steep slopes. Builders stack smaller cedar frames on top of larger base units to create vertical depth. This method allows you to grow deep rooted crops like carrots next to shallow crops like lettuce. High tiers also reduce the physical strain of bending over to reach plants. Successful builds use internal corner bracing to handle the extra soil weight.
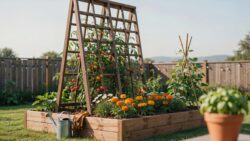
Cascading designs optimize light exposure for every plant in the bed. Southern facing tiers ensure shorter plants do not sit in the shade of taller neighbors. You must secure each level with timber screws to prevent shifting during heavy rain. Proper drainage is critical when stacking cedar frames. Use a heavy duty liner to separate the wood from wet soil while allowing water to escape from the bottom.
Choosing The Right Cedar Lumber For Your Cedar Raised Beds
Western Red Cedar Vs. Eastern White Cedar: What Every Builder Should Know
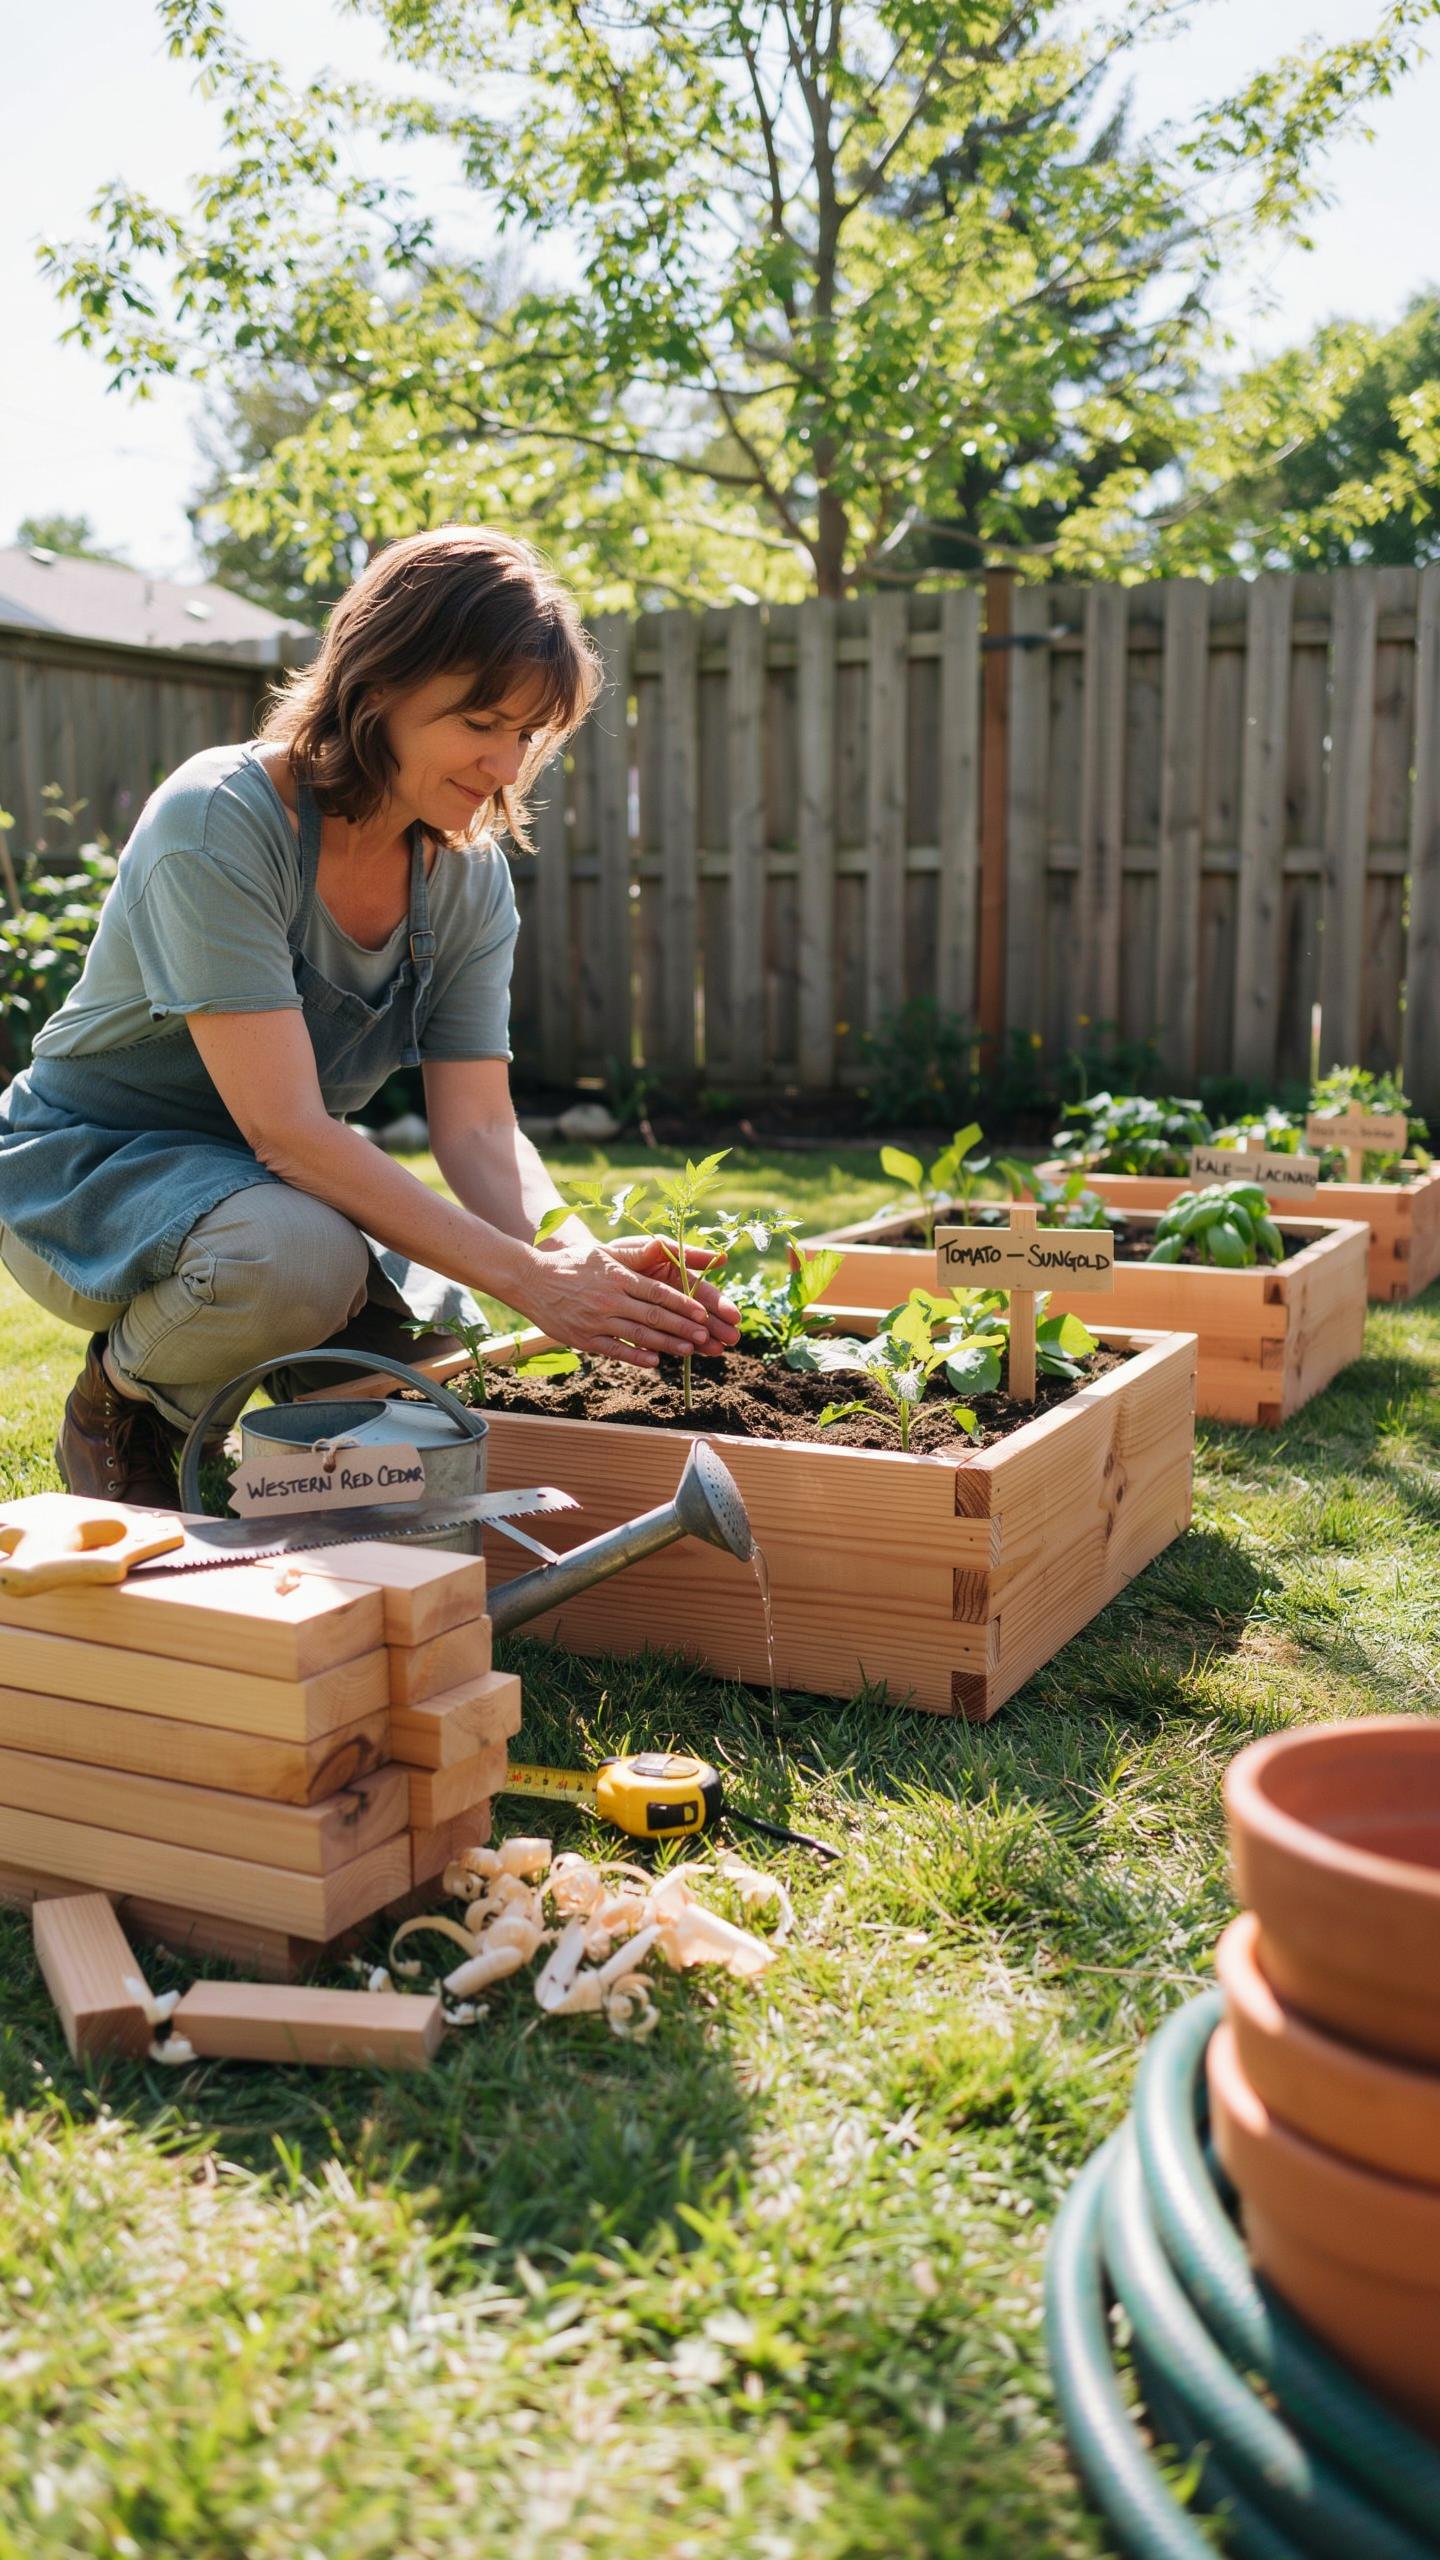
Western Red Cedar contains high concentrations of thujaplicins. These natural oils resist rot and repel wood-boring insects. This species offers superior dimensional stability in wet soil conditions. It shrinks and swells less than most softwoods. Builders choose Western Red Cedar for its availability in thick dimensions. It provides a long service life of fifteen to twenty years when in direct contact with earth.
Eastern White Cedar is a more sustainable option for Atlantic regions. It contains similar rot-resistant properties but grows smaller than its western relative. This results in more knots and shorter board lengths. It remains highly durable but often costs less due to lower weight. Builders should select this wood for smaller projects where budget matters. its silver-gray weathering provides a distinct look that many gardeners prefer over time.
Selecting The Correct Board Thickness And Grade For Long Lasting Cedar Raised Beds
Standard one-inch boards will bow under the heavy pressure of wet soil. You must use two-inch nominal thickness lumber for structural integrity. This thickness prevents the walls from warping or blowing out during freeze-thaw cycles. Thicker wood also provides better insulation for plant roots against extreme temperature shifts. Investing in two-by-eight or two-by-twelve planks ensures the bed maintains its rectangular shape for over a decade.
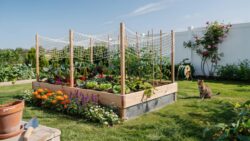
Specify Construction Common or Rough Sawn grades to save money without sacrificing strength. Clear grades cost significantly more but offer only aesthetic benefits. Avoid boards with large loose knots or encased bark. These defects create weak points that fail under hydraulic pressure. Rough-cut cedar offers a tactile grip for hardware and resists surface cracking. Always check that the lumber is kiln-dried to prevent immediate shrinkage after assembly.
Essential Cedar Raised Bed Plans Dimensions Layouts And Configurations
Standard Sizing Guidelines For Cedar Raised Bed Plans That Maximize Planting Space
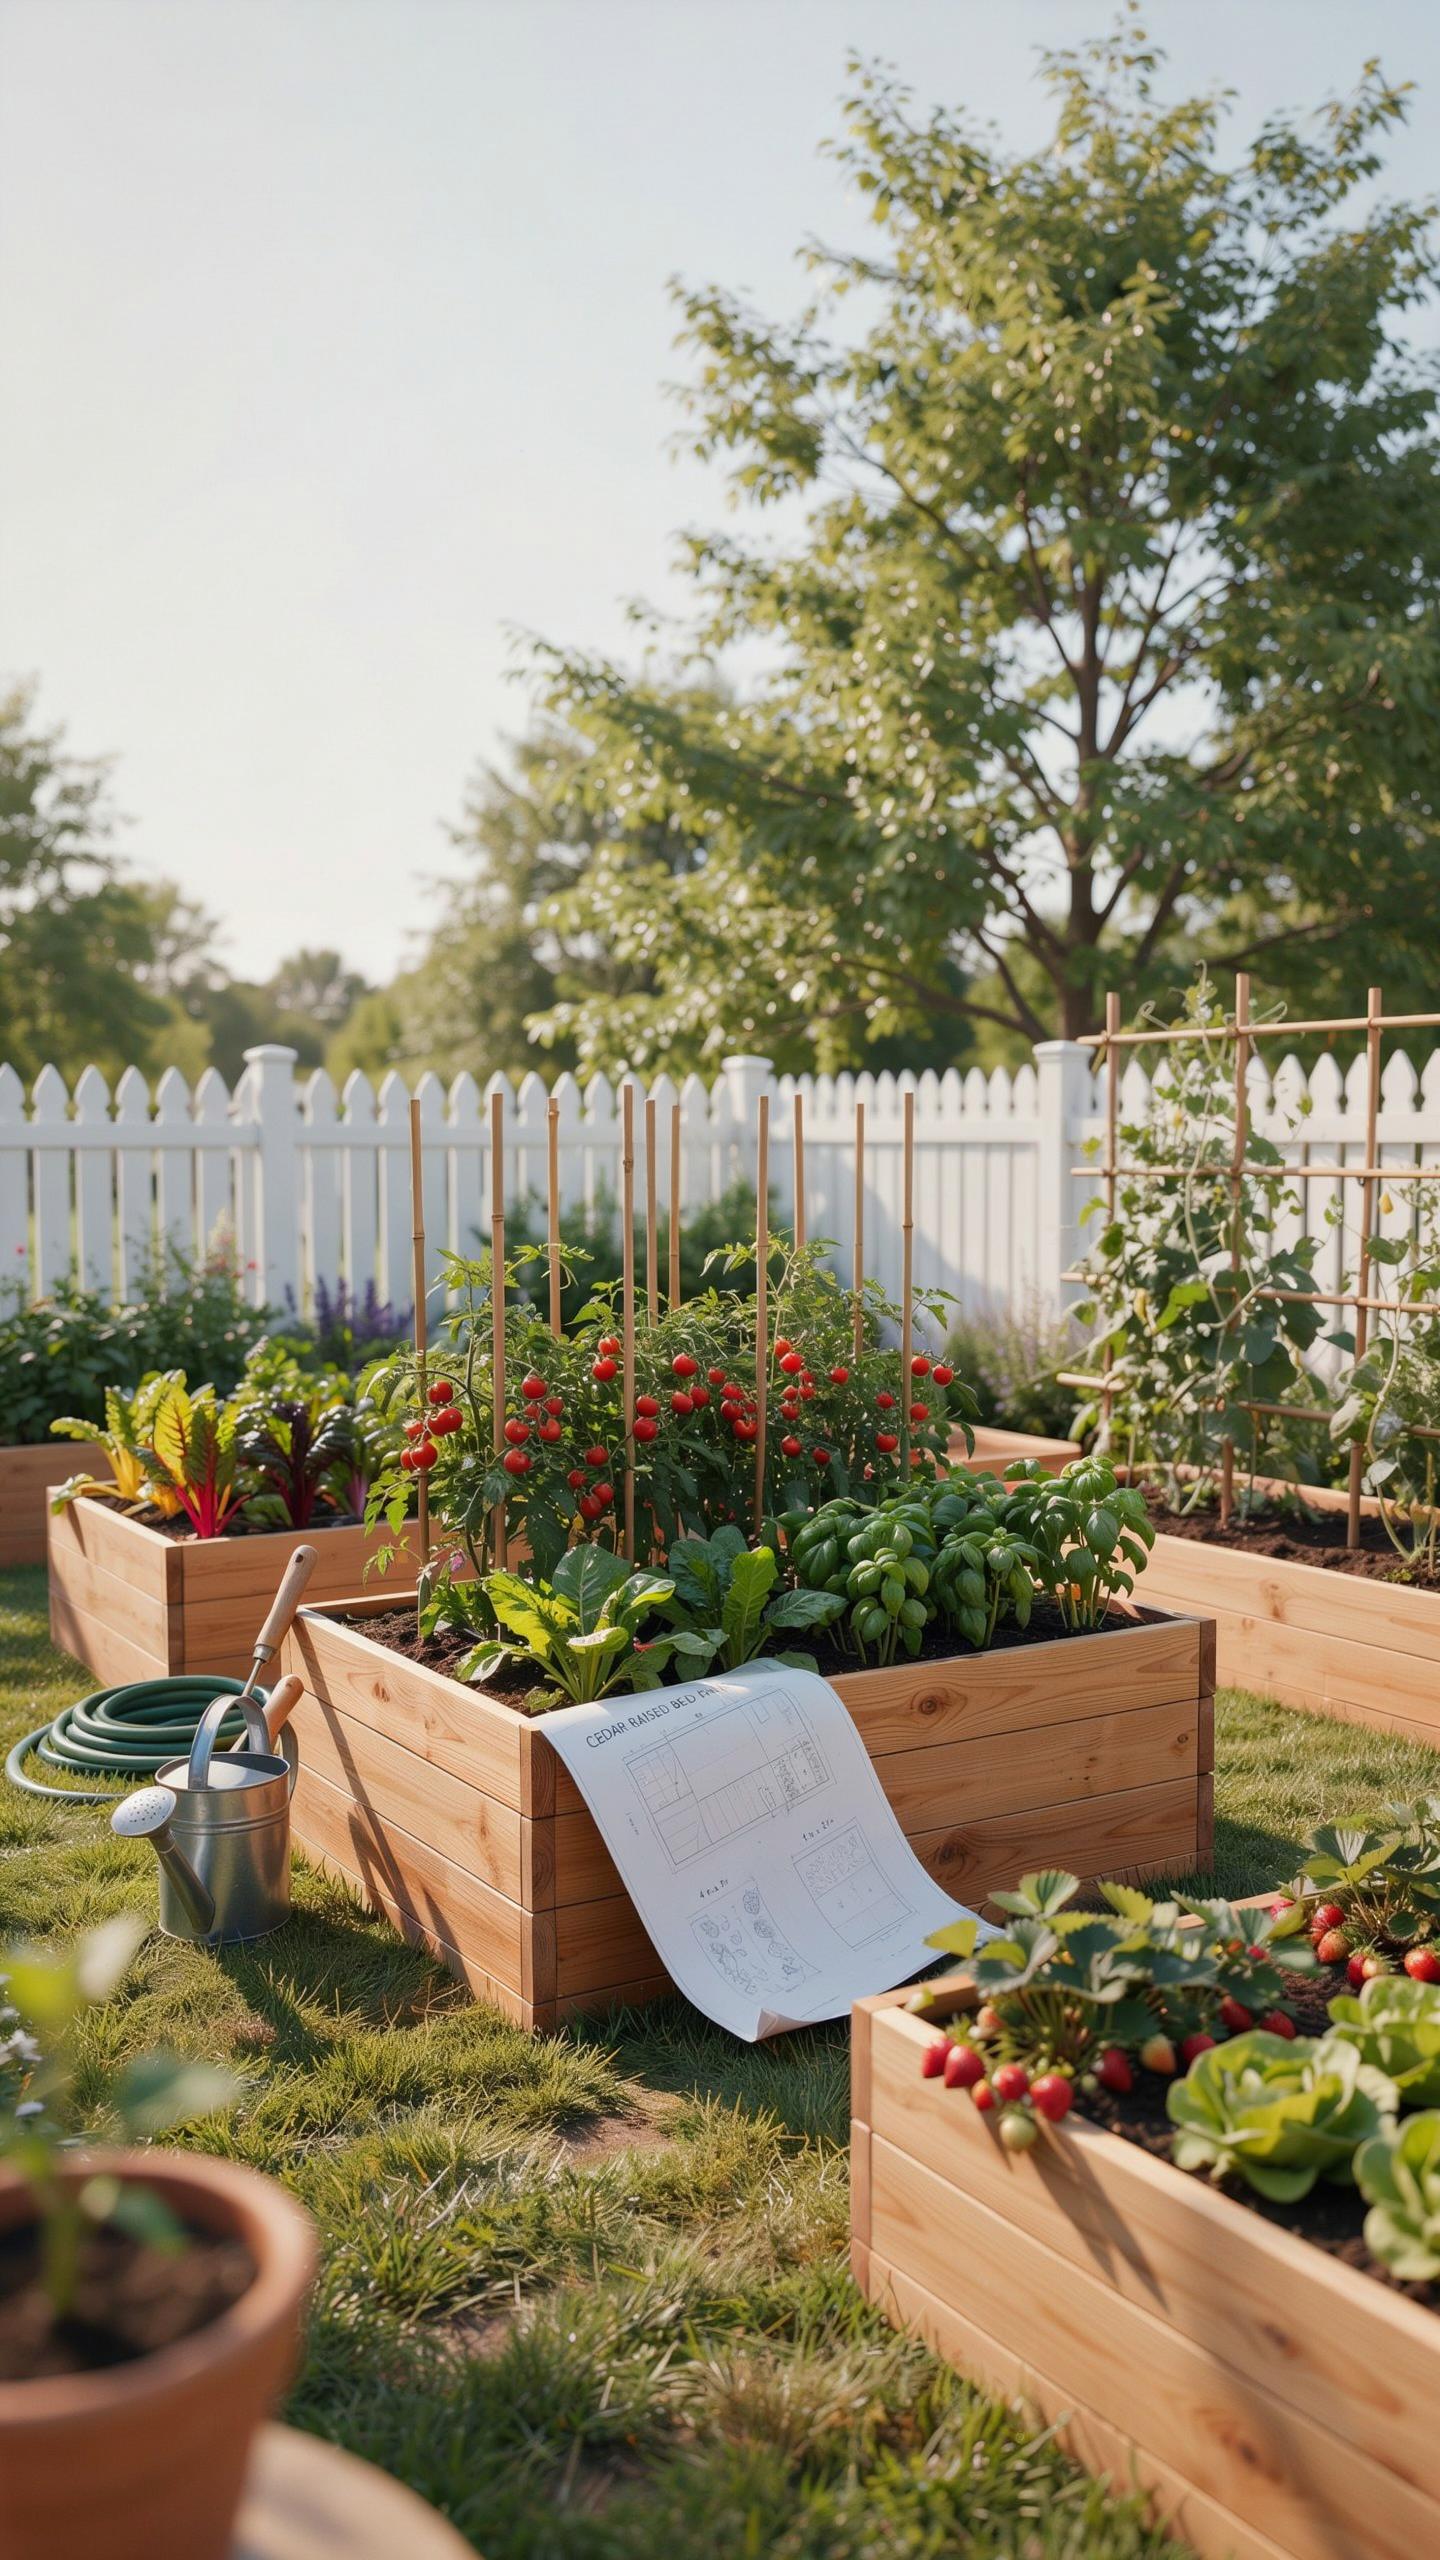
Standard cedar raised bed construction focuses on a four-foot width limit. This dimension allows growers to reach the center from either side without stepping on the soil. Compaction ruins soil structure and kills root health. Most cedar lumber comes in eight-foot or twelve-foot lengths. Designing beds in four-foot increments reduces wood waste and lowers your material costs. Efficiency dictates these specific geometric choices.
Layout choice depends on your irrigation and path strategy. A rectangular four-by-eight layout provides thirty-two square feet of growing area. Leave at least two feet between beds for foot traffic. If you use wheelbarrows, increase path width to three feet. Use thick cedar planks to prevent bowing under the weight of wet soil. Proper dimensions ensure that every square inch of your cedar garden remains productive and accessible.
Accessible And Ergonomic Height Options Featured In Modern Cedar Raised Garden Bed Plans
Modern cedar raised bed construction offers three primary height tiers based on user needs. A six-inch height works for simple site definition. Twelve inches is the standard for most root crops and drainage needs. Deep-rooted plants like tomatoes or carrots perform better in eighteen or twenty-four-inch beds. Proper height selection prevents unnecessary bending and saves your back. High beds also provide a physical barrier against many common crawling pests.
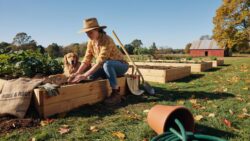
Ergonomic designs often feature wide top caps. A two-by-six cedar board flat on the top edge creates a seating ledge. This allows you to sit while weeding or harvesting. Use heavy-duty corner posts to support the extra lateral pressure of tall beds. High-capacity beds require more soil but offer superior temperature regulation for the root zone. Match the bed height to your physical mobility and the specific sunlight requirements of your planned crops.
How To Build Garden Boxes With Cedar A Practical Construction Overview
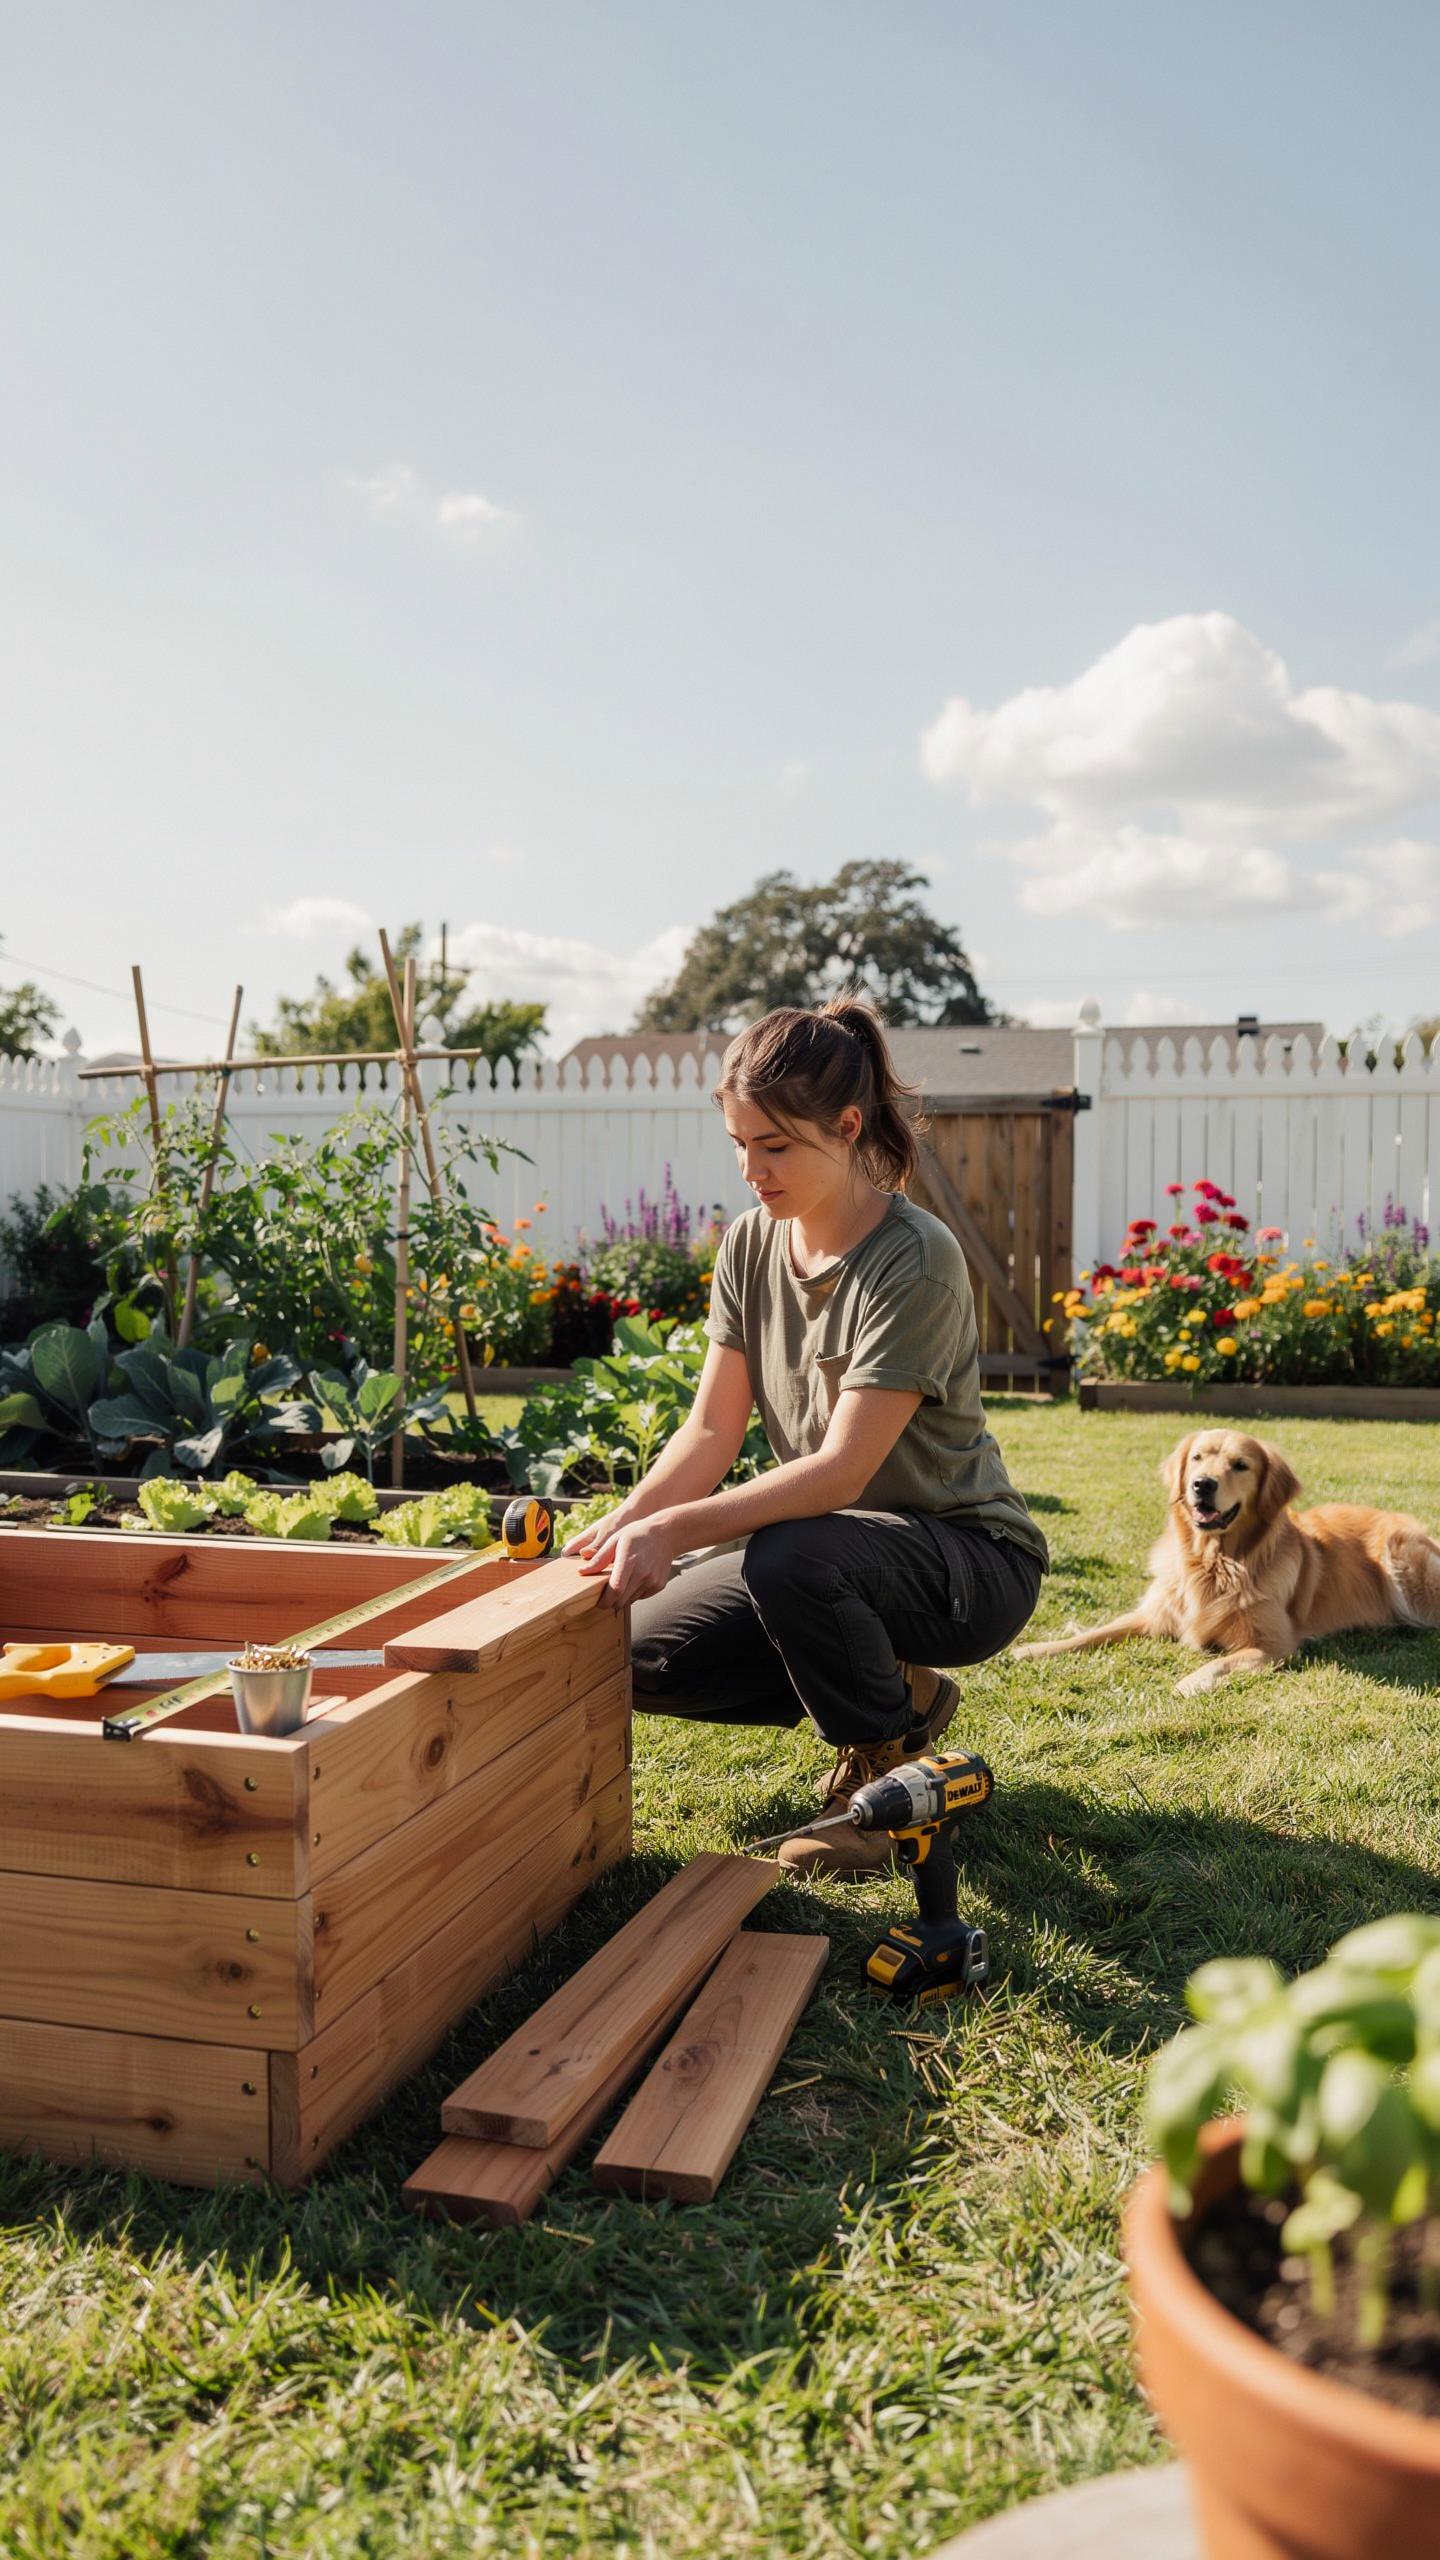
Site Preparation And Ground Leveling Before You Build Garden Boxes
Proper site selection dictates the lifespan of your cedar boards. You must choose a location that receives at least six hours of direct sunlight. Identify the lowest point of your chosen area using a string line or laser level. Remove all grass and weeds manually. Clearing the organic layer prevents the soil within your box from settling unevenly as time passes.
Grading the subsoil is the most critical step for structural integrity. Use a flat shovel to shave high spots rather than filling low spots with loose dirt. Compacted earth provides a stable foundation that prevents the cedar joints from pulling apart under the weight of wet soil. Laying a hardware cloth barrier at this stage stops burrowing pests from entering your new growing environment.
Recommended Tools And Fasteners For Solid Cedar Garden Box Assembly
Assemble your materials before you begin the physical build to ensure efficiency. Cedar is a soft wood but requires specific fasteners to prevent staining and rot. Standard steel screws react with the natural tannins in cedar and cause ugly black streaks. Use high quality drivers and bits to avoid stripping the heads. Sharp blades ensure clean cuts that keep your corners perfectly square.
- Stainless Steel Screws: Use Grade 304 or 316 stainless steel fasteners for all cedar joins. These metals resist the corrosive nature of wood tannins and moisture. They ensure the structural corners remain intact for a decade or longer without rusting through.
- Impact Driver: A cordless impact driver provides the necessary torque to sink long screws into thick cedar planks. It reduces the physical strain on the builder compared to a standard drill. This tool ensures every fastener sits flush against the wood surface.
- Speed Square: Use this tool to guarantee every corner meets at a perfect ninety degree angle. Square corners prevent the box from racking or leaning as you add heavy soil. It doubles as a guide for making straight crosscuts with your circular saw.
- Countersink Drill Bit: Pre drilling holes prevents the cedar ends from splitting during assembly. A countersink bit creates a recessed space for the screw head to sit. This technique protects the wood grain and results in a professional finish for the box.
- Bubble Level: Check for level at every stage of the assembly process. A four foot level confirms the boards are true across the entire span of the garden bed. Level boxes distribute water evenly to plant roots and prevent soil erosion.
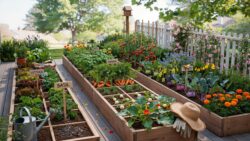
Structural reinforcement at the corners determines how long the box stays together. Use four by four cedar posts in each interior corner to provide a solid meat for your screws. This method moves the stress away from the end grain of the wall boards. Secure these posts using two screws per board side to create a rigid frame that resists bowing.
DIY Wooden Raised Garden Bed Joinery Techniques Making Waves This Season
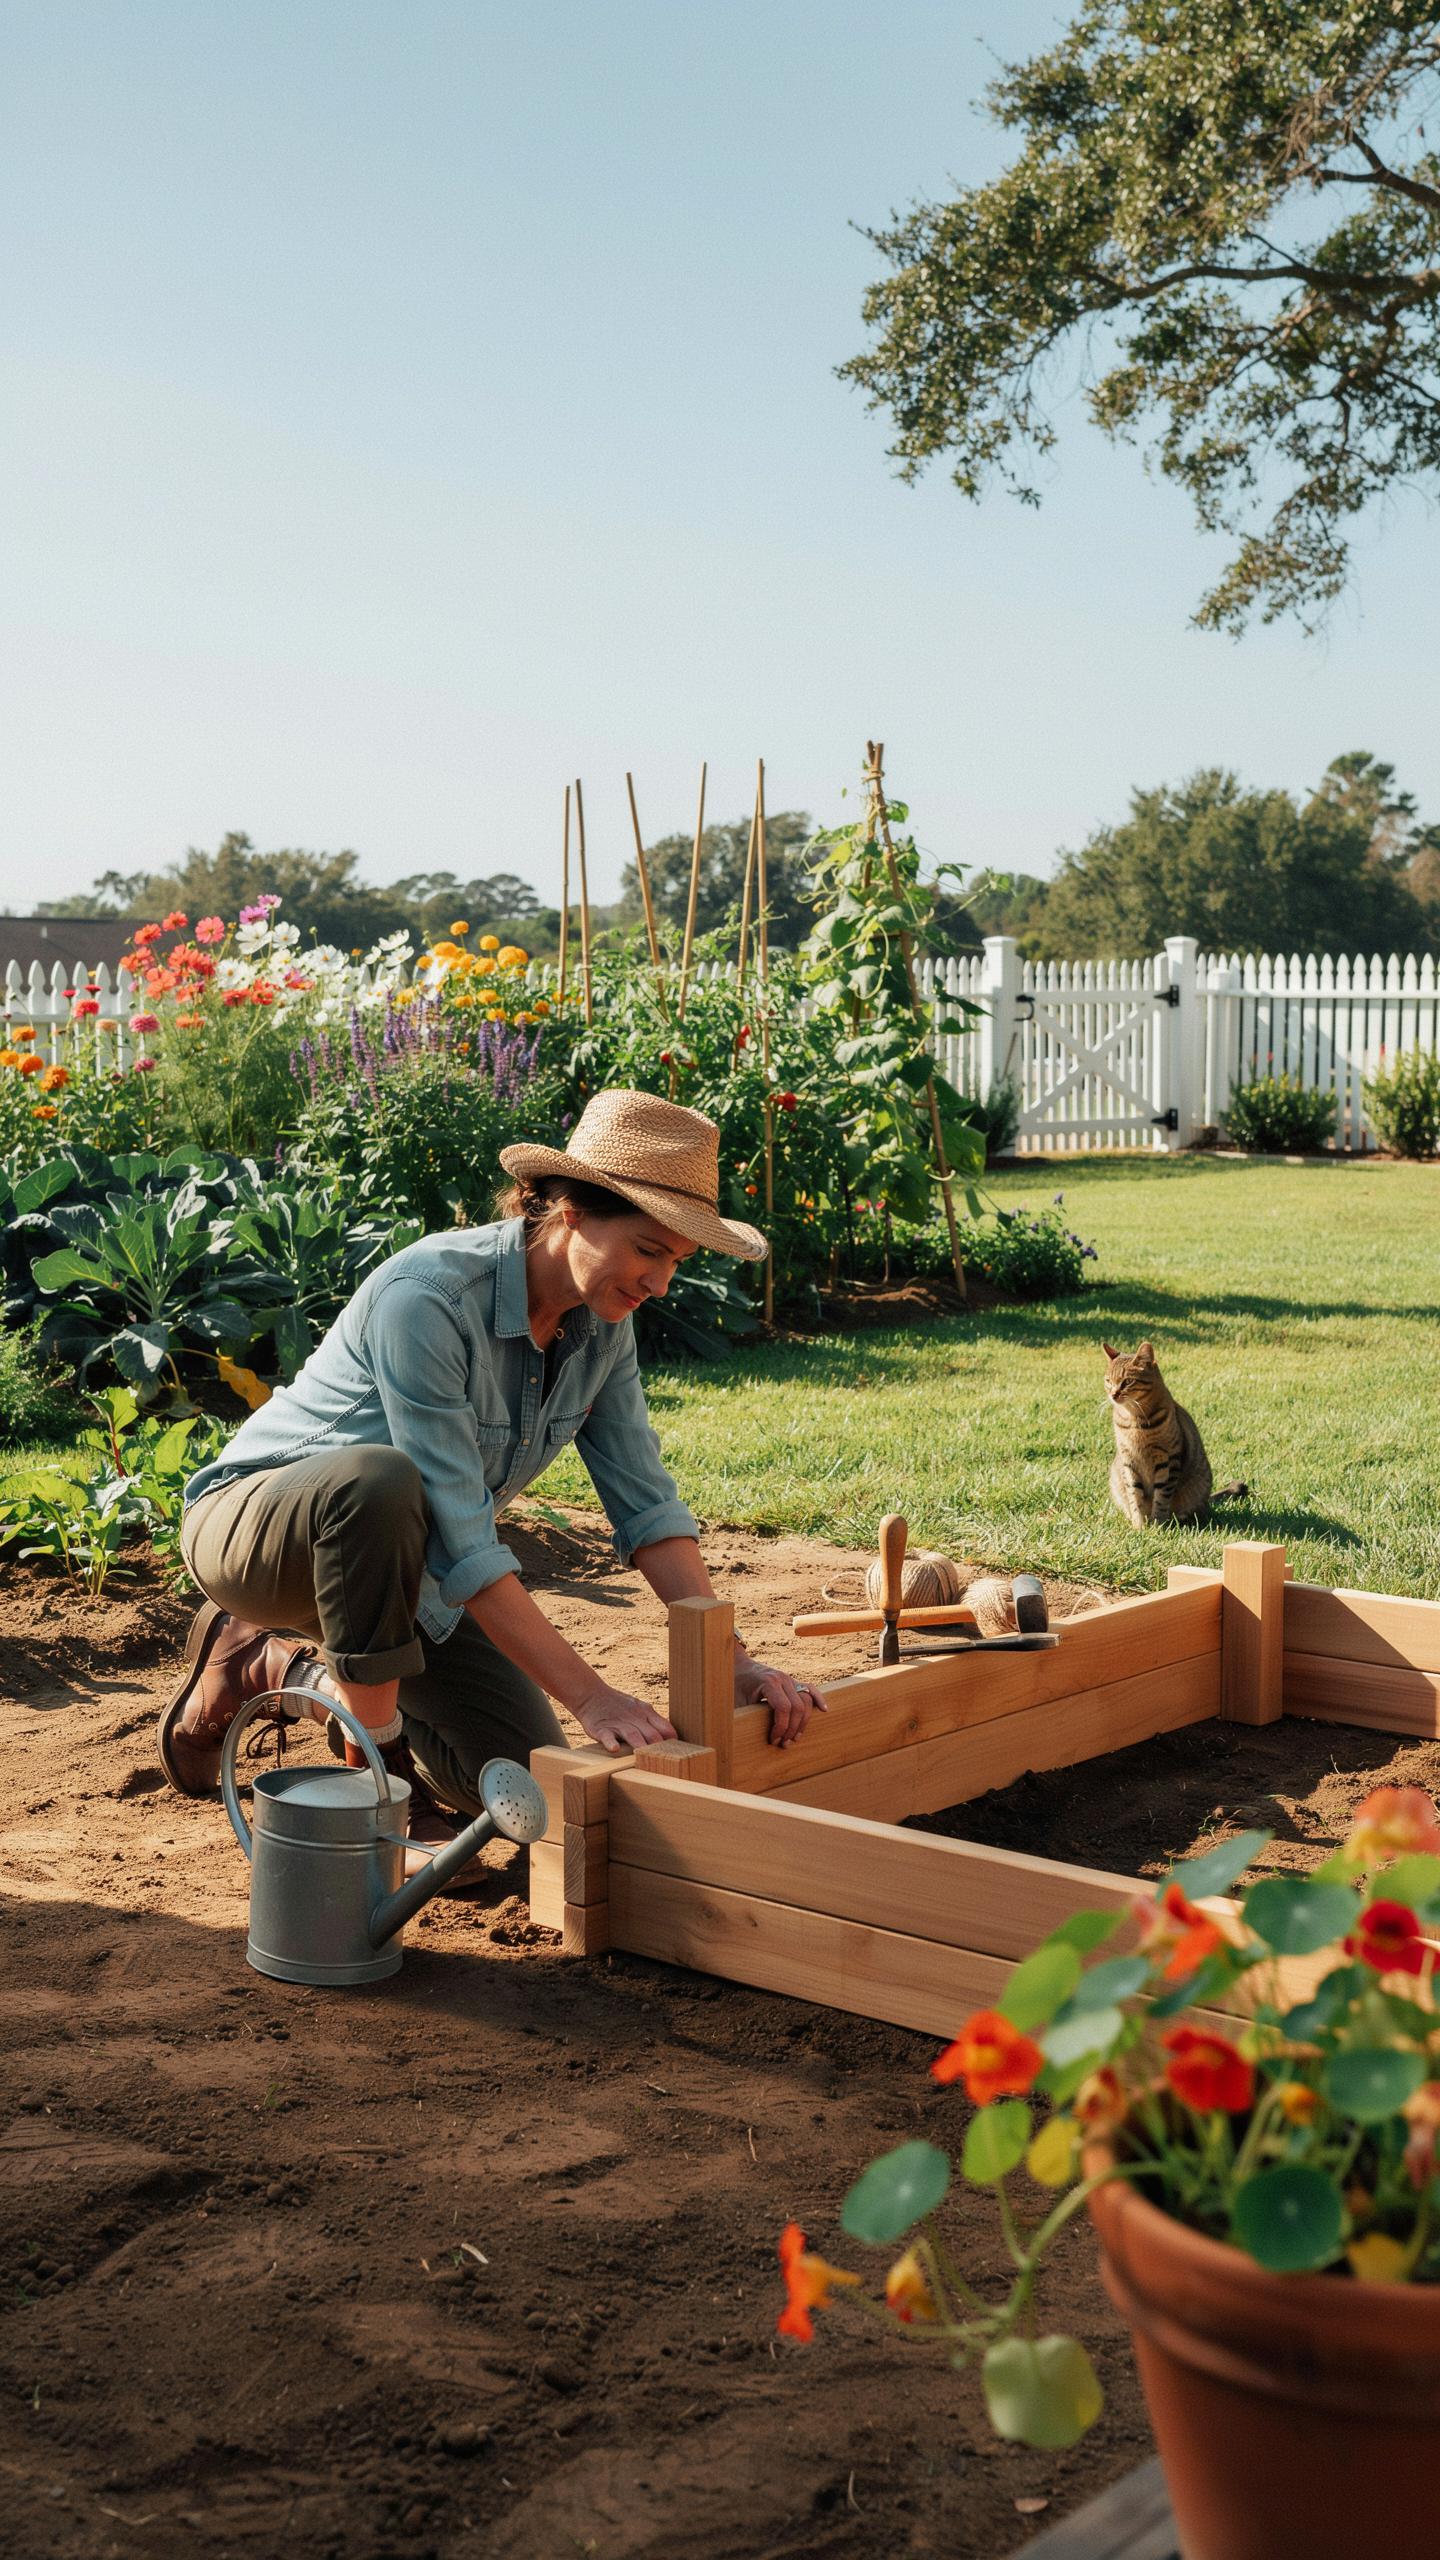
Corner Joint Methods That Add Structural Strength To Your DIY Wooden Raised Garden Bed
Standard butt joints fail when wet soil expands against the wood. Professionals now use corner posts for cedar raised bed construction to absorb this lateral pressure. You drive structural screws through the plank into a 4×4 cedar post set inside the frame. This method prevents the corners from pulling apart over time. It creates a solid anchor point that stabilizes the entire garden footprint.
Lap joints offer another superior alternative for long-term durability. You notch the ends of the cedar boards to fit together like puzzle pieces. This mechanical bond increases the surface area for fasteners to grip. It locks the boards in place and resists warping better than basic edge-to-edge methods. Choose this technique if you want your beds to remain square for over a decade without sagging.
Using Galvanized Hardware Vs. Stainless Steel Screws In DIY Wooden Garden Bed Builds
Cedar contains natural tannins that react poorly with standard steel. These tannins cause dark streaks and corrode low-grade fasteners quickly. Hot-dipped galvanized screws provide a budget-friendly shield against rust in most environments. However, the coating can chip during installation if you use high-impact drivers. Once the zinc layer breaks, the steel core begins to oxidize and weakens the structural integrity of your garden bed.
Stainless steel remains the gold standard for cedar raised bed construction despite the higher cost. Grade 304 or 316 stainless steel will never react with the wood acids or rust in wet soil. These screws maintain their grip strength for the entire lifespan of the cedar. Use them to avoid hardware failure and ugly staining on your wood. They ensure your garden beds stay intact through many freeze and thaw cycles.
Soil Drainage And Liner Innovations For Building A Raised Garden With Cedar
Optimal Soil Mix Ratios When Building A Raised Garden For Vegetables And Herbs
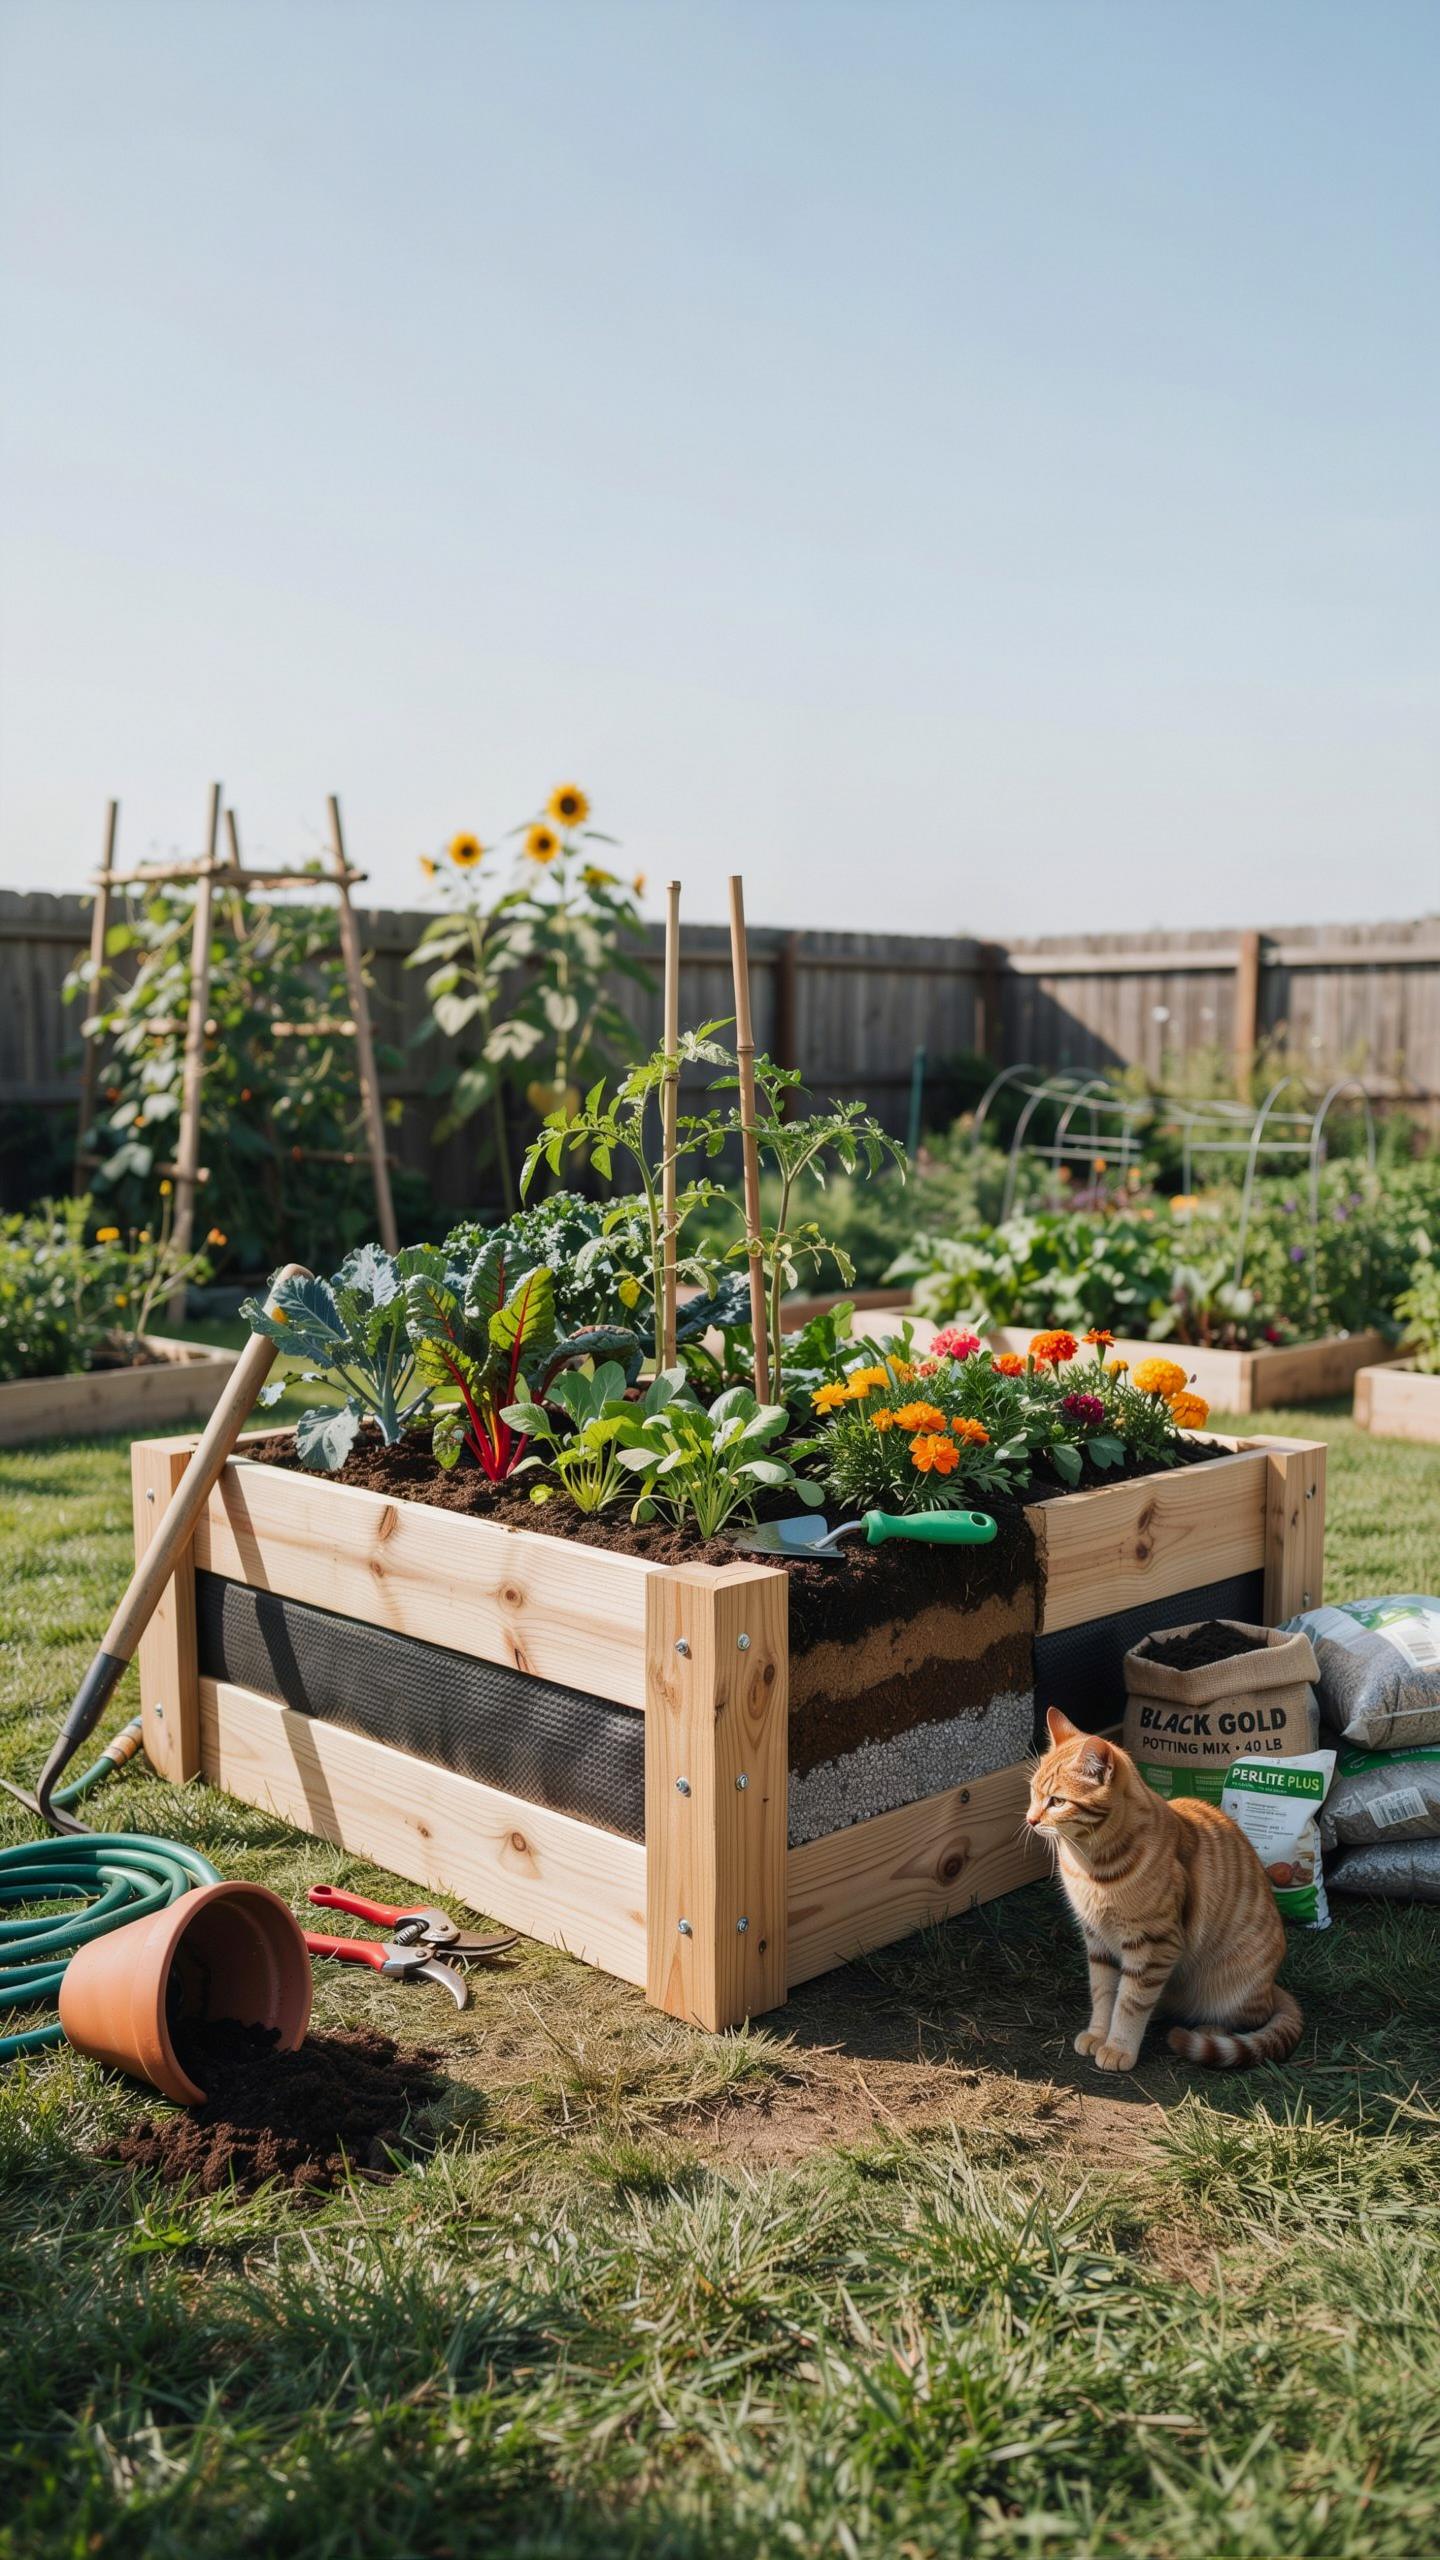
Cedar raised bed construction requires specific soil density to prevent structural bowing while supporting root health. Standard garden soil is too heavy and lacks necessary aeration for contained environments. You must use a mix that facilitates rapid drainage but retains enough moisture for the cedar to stay hydrated. A proven ratio balances organic matter, minerals, and aeration agents to maximize your crop yields.
- Screened Topsoil: High quality topsoil provides the mineral foundation for your growing medium. It gives the mix its body and prevents the bed from settling too quickly over time. Use local soil sources to ensure the minerals match your regional climate needs for vegetable growth.
- Finished Compost: Organic matter delivers essential nutrients and supports microbial life in the soil. Well rotted compost improves the cation exchange capacity of the mix. This allows plants to absorb nutrients more effectively throughout the entire growing season without needing constant liquid fertilizers.
- Coarse Perlite: These volcanic glass particles prevent soil compaction by creating tiny air pockets. Proper aeration is critical in a raised environment where physical weight can compress root zones. Perlite ensures that oxygen reaches the roots and water moves through the profile without puddling.
- Peat Moss: This material holds many times its weight in water to provide a steady moisture supply. It helps regulate the hydration of the cedar boards from the inside out. Peat also lowers the soil pH slightly, which benefits most common vegetable and herb varieties.
- Coarse Sand: Adding grit improves the physical structure and long term drainage of the bed. It prevents the soil from becoming a solid block during dry periods. Sand helps the water flow toward the bottom drainage layers away from the cedar base.
Avoid using bulk fill dirt or heavy clay in your new cedar beds. These materials suffocate roots and exert excessive lateral pressure on your wood joints. Mix your components on a tarp before shoveling them into the structure. This ensures a consistent nutrient profile from the bottom to the top. Proper soil preparation protects your cedar investment by preventing internal rot.
The scent of fresh cedar carries the promise of a new season and the timeless joy of building a garden with your own two hands. As trends evolve, the simple act of framing the earth remains one of life’s most grounding traditions.
Modern Liner And Drainage Solutions That Protect Your Cedar Bed From Ground Moisture
Select a permeable landscape fabric to line the bottom of your cedar structure. This barrier prevents invasive weeds and grass from migrating upward into your clean soil. It also keeps your engineered soil mix from washing away into the earth below. The fabric must allow water to pass through freely to prevent a bathtub effect that rots the bottom cedar planks.
Install a dimpled polyethylene membrane on the interior vertical walls of the cedar frame. This creates an air gap between the damp soil and the wood surface. The air gap allows the cedar to breathe and reduces the rate of fungal decay. Attach the liner using stainless steel staples to avoid rust streaks. This tactical layer doubles the lifespan of your raised garden beds.
Finishing Sealing And Maintaining Cedar Raised Garden Bed Plans Long Term
Whether To Seal Or Leave Cedar Untreated: What The Evidence Actually Shows
Cedar contains natural thujaplicins and water-soluble phenols. These compounds resist rot and repel insects without chemical help. Leaving wood untreated allows the cedar to silver over time through UV exposure. This process does not impact the structural integrity of the heartwood for several years. Most gardeners choose raw wood to avoid leaching synthetic chemicals into the soil near edible plants.
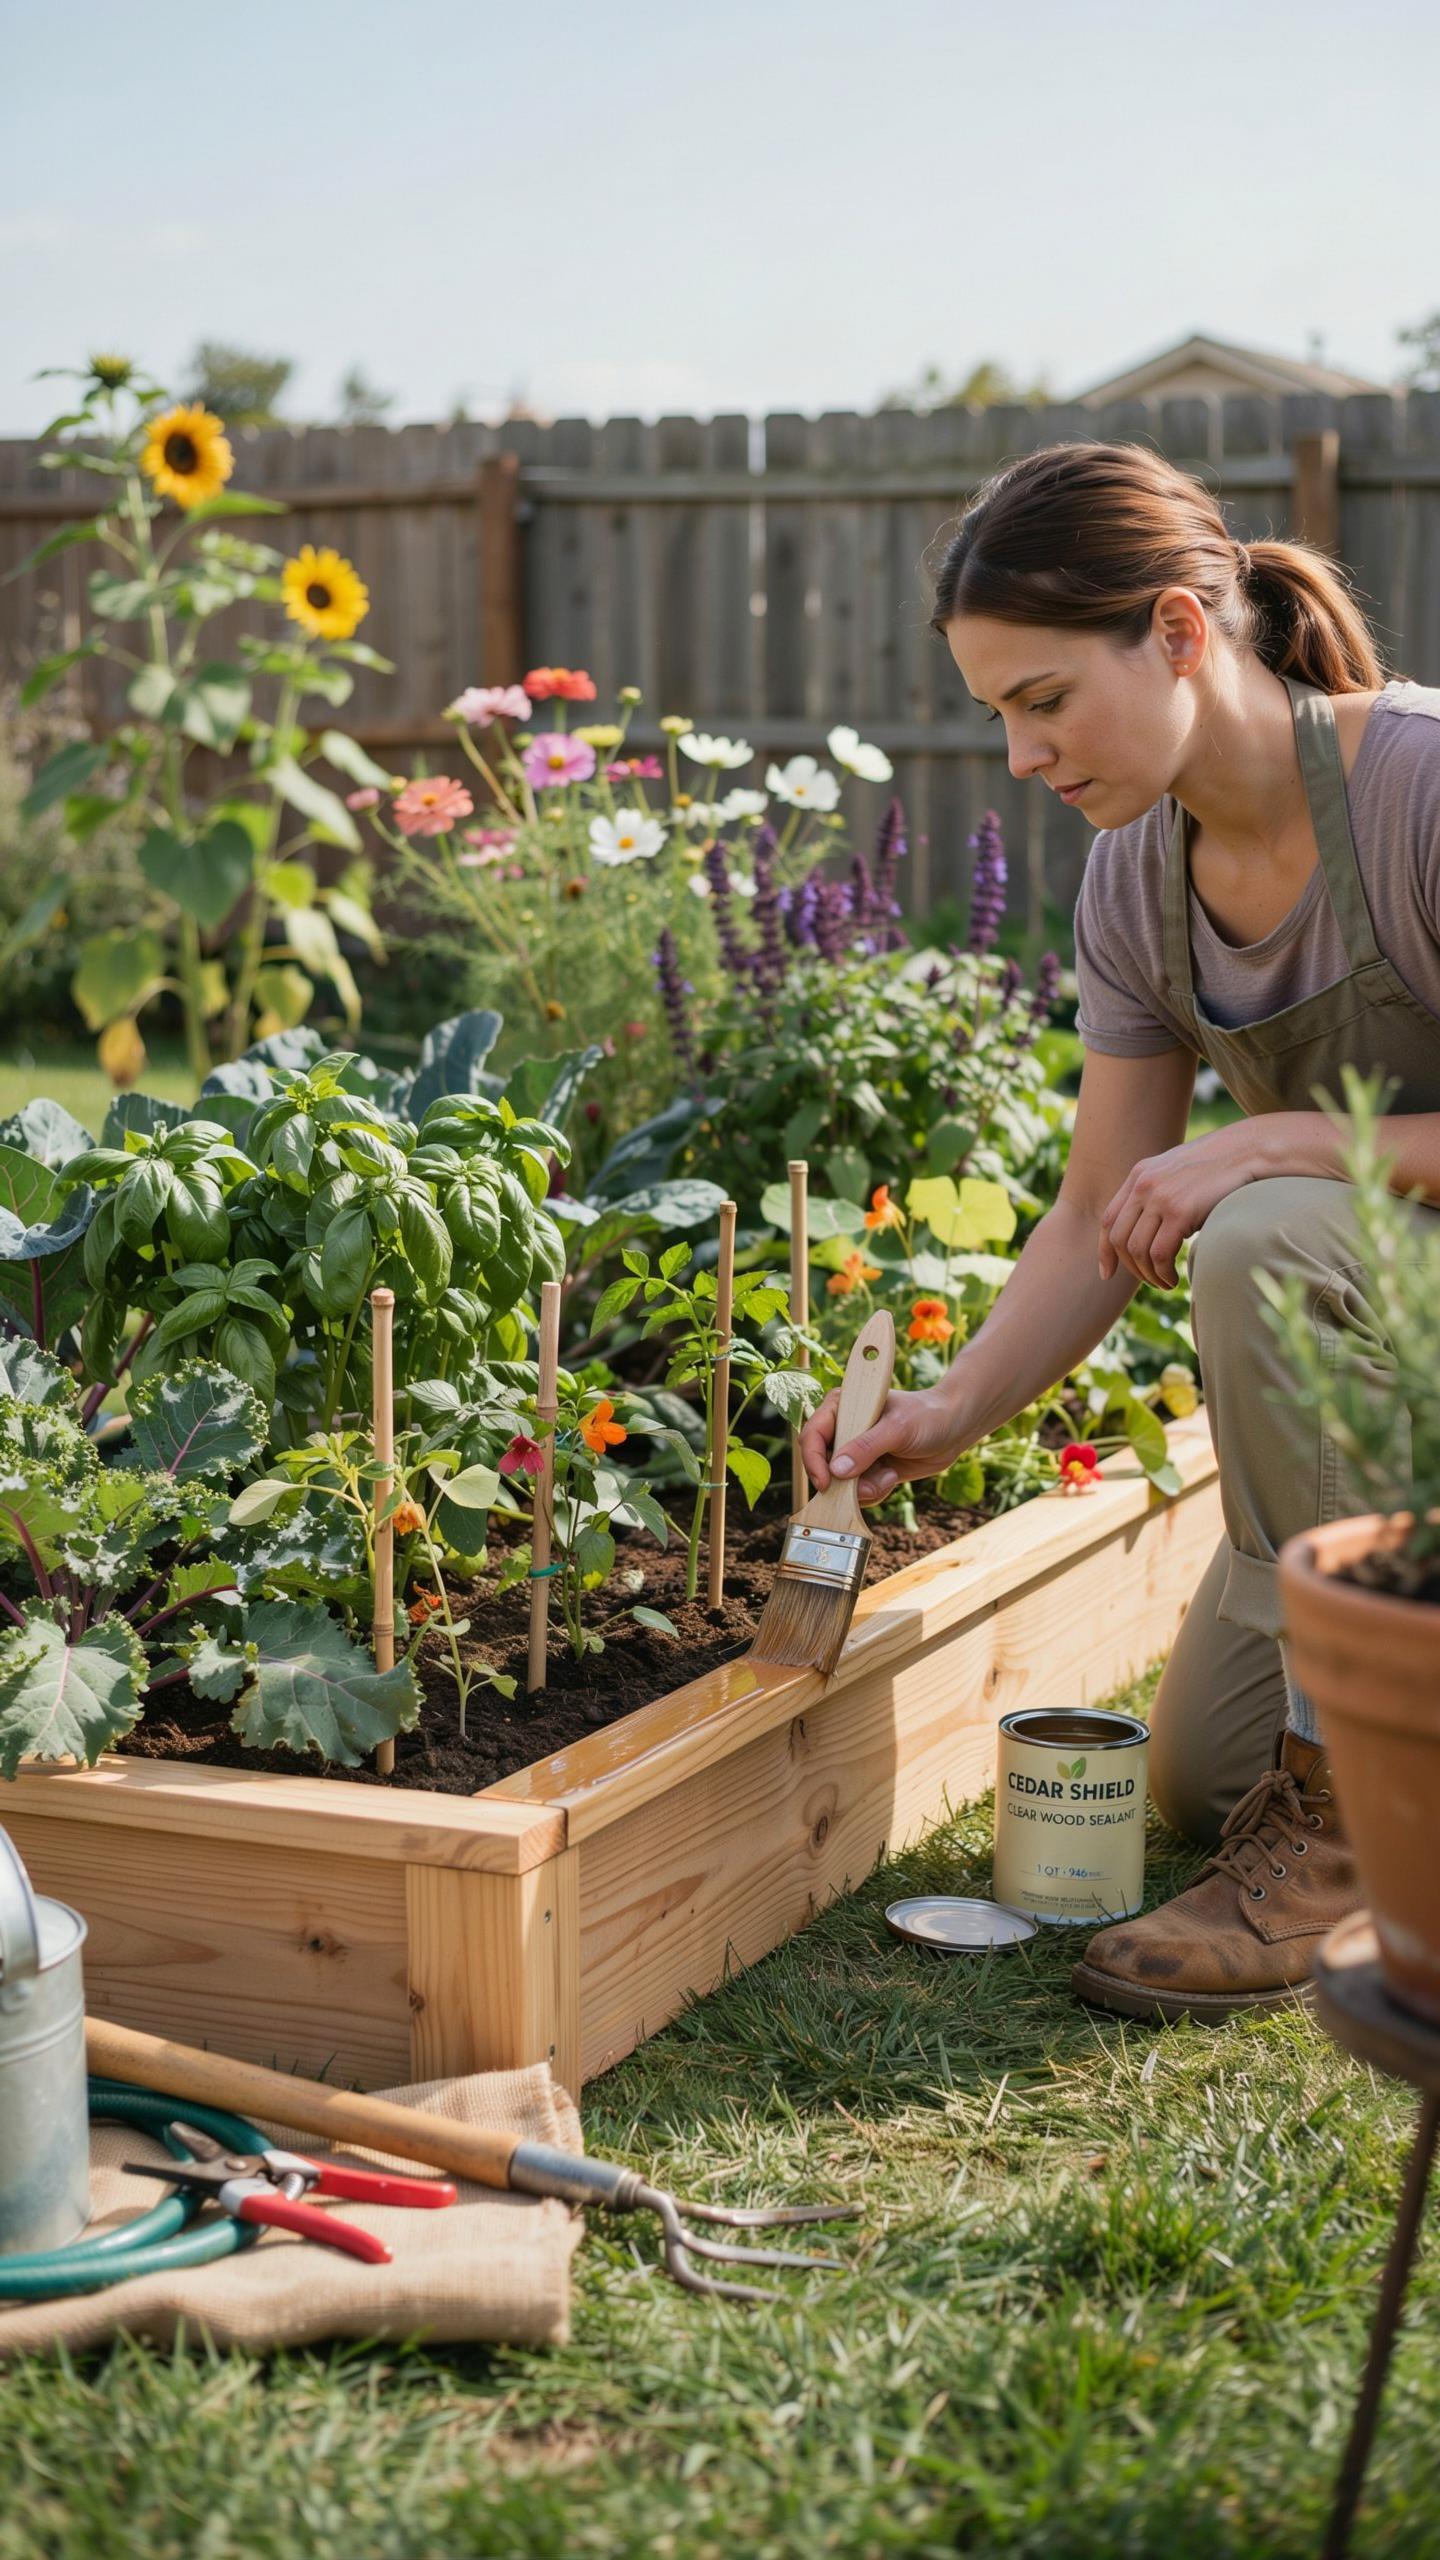
Sealing cedar provides a moisture barrier that slows down wood fiber breakdown. If you choose to seal, use only food-safe, non-toxic finishes like raw linseed oil or beeswax. Avoid petroleum-based stains and film-forming finishes that peel. A breathable sealer prevents the wood from trapping internal moisture. Trapped moisture causes internal rot. Apply sealers only to the exterior faces to keep the soil contact area natural.
Annual Maintenance Routines That Extend The Life Of Your Cedar Raised Garden Beds
Check your bed corners every spring before planting. Soil pressure and wood expansion often loosen the fasteners. Tighten any backing screws or structural bolts to keep the joints flush. If the wood shows significant checking or deep cracks, clear the debris from those gaps. Keeping the wood surface clean prevents fungal spores from taking root in the grain. This simple step adds years to the wood.
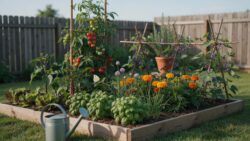
Managing the soil line is critical for long-term durability. Ensure the soil does not spill over the top edge of the cedar. Inspect any internal liners for tears or shifts that trap water against the planks. Dig out any grass or weeds growing against the exterior base. Good airflow around the bottom boards prevents foundational rot. Clear drainage at the base ensures the cedar dries out after heavy rain cycles.
Sustainability And Cost Considerations In New Season Cedar Raised Bed Construction
Sourcing Responsibly Harvested Cedar And What FSC Certification Means For Gardeners
Responsible sourcing keeps cedar forests healthy. The Forest Stewardship Council (FSC) provides the gold standard for wood certification. FSC labels ensure the lumber comes from well-managed forests that provide environmental and social benefits. Look for these stamps on the ends of your boards at the lumber yard. This chain of custody proves the wood is not from illegal logging operations.
Buyers must choose Western Red Cedar or Northern White Cedar for maximum rot resistance. These species contain natural oils that repel insects and decay. Non-certified wood often comes from clear-cutting practices that destroy local ecosystems. Buying FSC certified cedar supports businesses that replant trees. Check local specialty lumber yards if big-box stores lack certified stock. High-quality sourcing prevents premature bed failure.
Budgeting Realistically For Cedar Raised Bed Construction Without Cutting Corners
Cedar costs more than pine or hemlock. Expect to pay a premium for longevity. You must budget for the current market price of dimensional lumber. Rough-sawn cedar is often cheaper than smooth-surfaced boards. Thick pieces like two-by-sixes or four-by-fours handle soil pressure best. Skimping on board thickness leads to bowing and structural failure within three years. Invest more upfront to save later.
Hardware costs impact your total budget significantly. Use stainless steel or high-quality ceramic-coated screws. Standard steel screws react with cedar tannins and corrode quickly. This causes the wood to blacken and the joints to fail. Include the price of corner brackets and landscape fabric in your estimate. Strategic spending on fasteners ensures the bed lasts fifteen years. Reliable construction requires high-grade materials and proper planning.
Frequently Asked Questions

Why is cedar the best material for new raised garden beds?
Cedar is the gold standard for gardening because it is naturally resistant to rot, decay, and local pests without the need for chemical treatments. When focusing on cedar raised bed construction, you are investing in a durable wood that withstands moisture and temperature fluctuations beautifully. Its natural oils ensure your garden remains safe for organic vegetables while providing a stunning, rustic aesthetic that elevates your backyard landscape design.
How can I ensure my cedar garden bed lasts for many seasons?
Proper cedar raised bed construction requires attention to detail during assembly. Use stainless steel or coated exterior screws to prevent rust streaks and wood splitting. To extend its lifespan even further, consider lining the interior walls with a BPA-free plastic or landscape fabric to minimize constant soil contact. This keeps the wood dry and structural, ensuring your stylish garden beds remain a functional centerpiece of your outdoor living space for a decade.
Is it possible to build a cedar garden bed on a budget?
Absolutely! While premium clear cedar can be expensive, you can save money by using “common grade” cedar fence pickets or rough-cut lumber from local mills. These affordable alternatives offer the same rot-resistant properties as high-end planks but at a fraction of the cost. By choosing a DIY approach for your project, you can achieve a high-end look and custom dimensions without the premium price tag of pre-fabricated garden kits.



