
How To Winterize Raised Garden Beds What Every Beginner Needs To Know First
Why Winterizing Your Raised Beds Matters For Long Term Garden Health
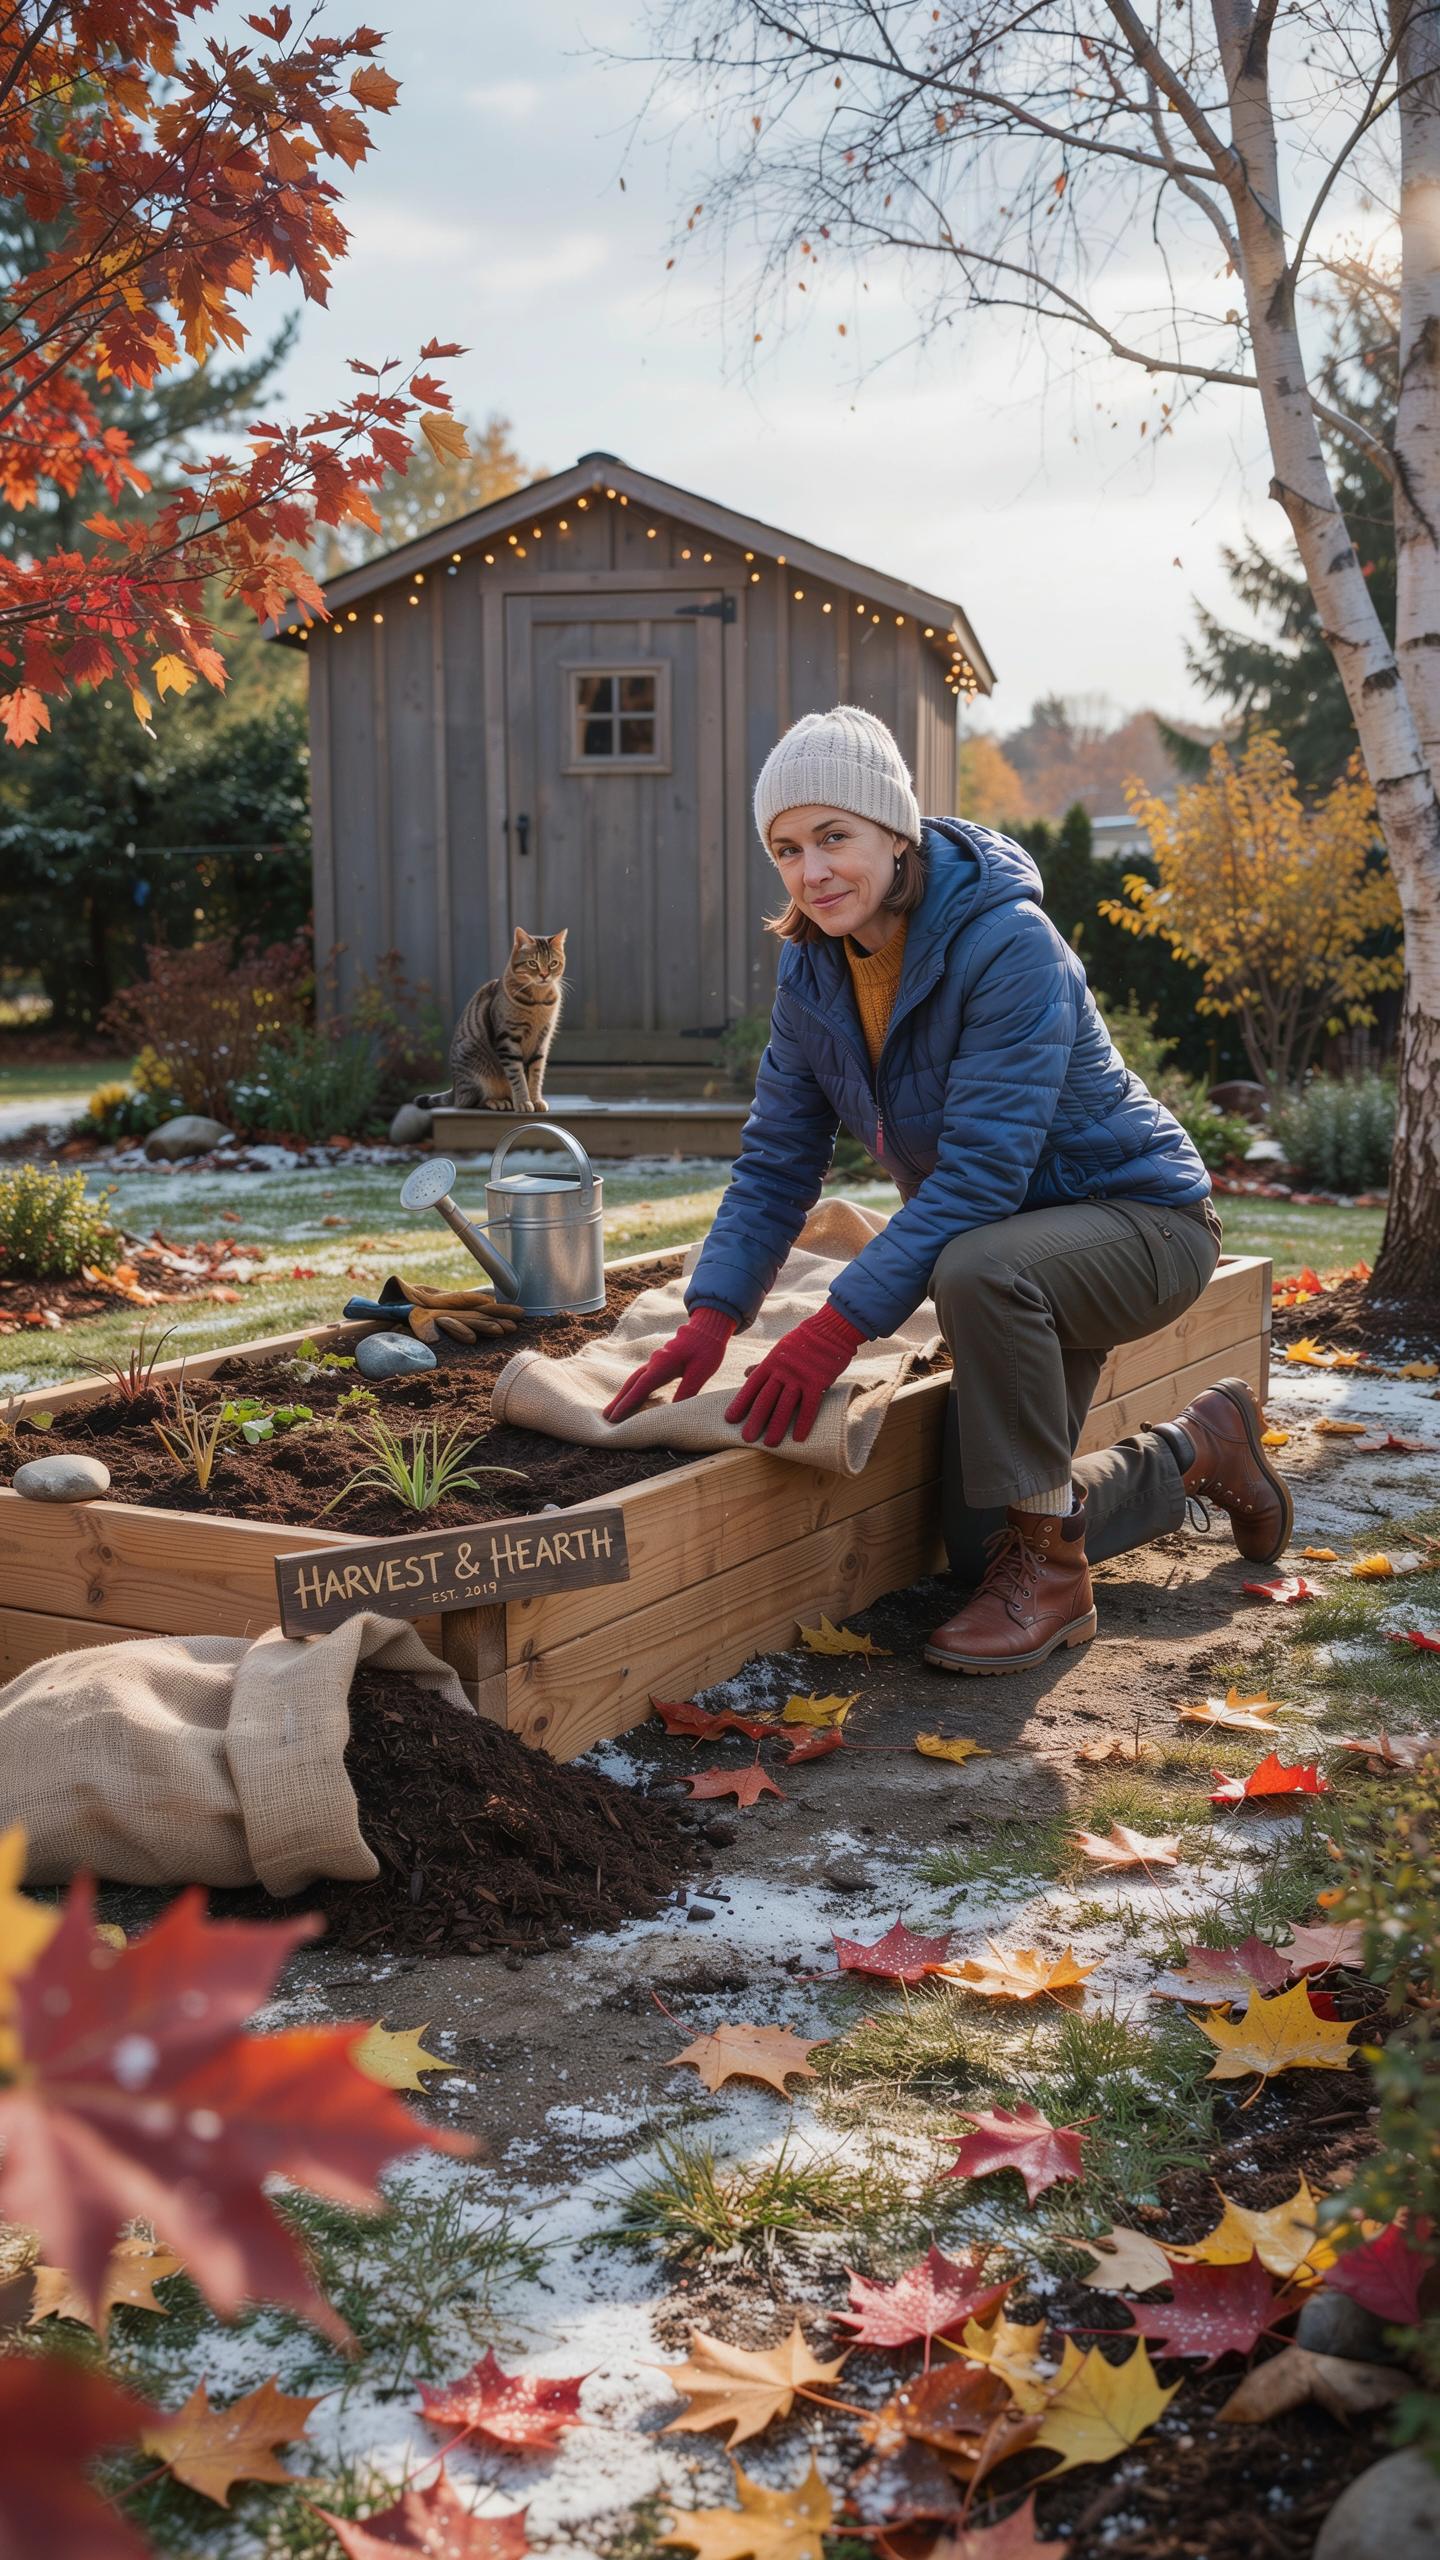
Winterizing protects your soil investment and ensures a productive spring. Soil in raised beds sits above the frost line and freezes faster than the ground. This exposure kills beneficial microbes and helpful insects without proper cover. Unprotected soil also loses vital nutrients through leaching during heavy snow and rain. You must act in the fall to prevent expensive topsoil erosion.
Effective winter prep suppresses weed growth and prevents disease. Dormant weed seeds settle into bare soil during winter months and sprout early in spring. Pests often hide in old plant debris to survive the cold. Clearing dead crops and adding mulch breaks these cycles. You save hours of labor next season by securing your beds now. Proper maintenance keeps your soil structure intact.
Essential Tools And Supplies You Need Before You Begin Winterizing
You need specific gear to prep your raised beds effectively. Standard garden tools work best for clearing and covering. Hand pruners and loppers remove tough stalks from summer crops. A sturdy garden fork or rake helps you spread mulch or compost evenly across the surface. These tools ensure you can work the soil without causing unnecessary compaction. Gather everything before the first frost.
- Garden Shears or Pruners: Use these to cut down dead stalks and spent vines at the soil line. Removing old vegetation prevents pests and pathogens from overwintering in your garden beds. Clean blades minimize disease spread.
- Steel Garden Rake: This tool levels the soil surface and spreads mulch or compost in even layers. It ensures full coverage across the entire raised bed area. Use it to pull debris out of the corners.
- Organic Mulch Material: Options include straw, shredded leaves, or wood chips to insulate the soil. Mulch prevents the freeze-thaw cycle from damaging soil structure and protects microbes. It acts as a barrier against heavy winter rains.
- Quality Compost: Spread a thick layer of fresh compost before adding mulch to recharge soil nutrients. This replaces the nitrogen and phosphorus used by summer crops. The compost breaks down slowly over the winter months.
- Soil Thermometer: Monitoring the temperature tells you exactly when to apply winter covers or mulch. It provides data on when the ground is cold enough to go dormant. This tool removes guesswork from your seasonal timeline.
Organize your supplies to finish the job in one afternoon. Speed matters when the weather turns cold. Check your tool handles for cracks and oil any metal parts to prevent rust during storage. Keeping your inventory ready ensures you don’t skip critical steps due to missing materials. Proper preparation leads to a successful winterization process and a healthier garden next year.

Winterizing Raised Garden Beds How To Clear Out And Clean Up After The Growing Season

How To Properly Remove Spent Plants And Debris From Your Raised Beds
Pull all annual vegetable plants once they stop producing. Do not leave dead tomato or pepper stalks in the soil. These roots often host pathogens that survive cold winters. Use a garden fork to loosen the soil around the base of the plant. Pull the entire root system out to prevent regrowth. Shake off excess soil to keep your nutrient-rich dirt inside the bed.
Check all removed foliage for signs of disease or pest eggs. Compost only the healthy plant material. Bag and dispose of any plants showing blight, rot, or heavy insect infestations. Leaving diseased debris on top of the soil allows spores to overwinter and attack your spring seedlings. Clear away fallen leaves and rotted fruit. A clean soil surface reduces the habitat for burrowing garden pests.
Why Sanitizing Your Raised Bed Frame And Walls Helps Prevent Spring Pest Problems
Scrub the interior and exterior walls of your raised bed frames. Insects like squash bugs and spider mites hide in the crevices of wood and metal during winter. Use a stiff brush to remove dried mud and organic buildup. This physical cleaning disrupts the life cycle of pests. Eliminating their shelter now prevents a massive population surge when the weather warms up next season.

Use a mild solution of water and vinegar to wipe down the edges of the bed. This step kills lingering fungal spores and bacteria stuck to the structure. Pay close attention to corners where spiders and beetles congregate. Clean frames also prevent rot in wooden beds by removing damp debris. Maintaining the structure increases the lifespan of your garden investment. Proper hygiene ensures a sterile environment for your future crops.
How To Protect Raised Beds In Winter By Improving And Replenishing Your Soil
Adding Compost And Organic Matter To Restore Nutrients Before The Ground Freezes
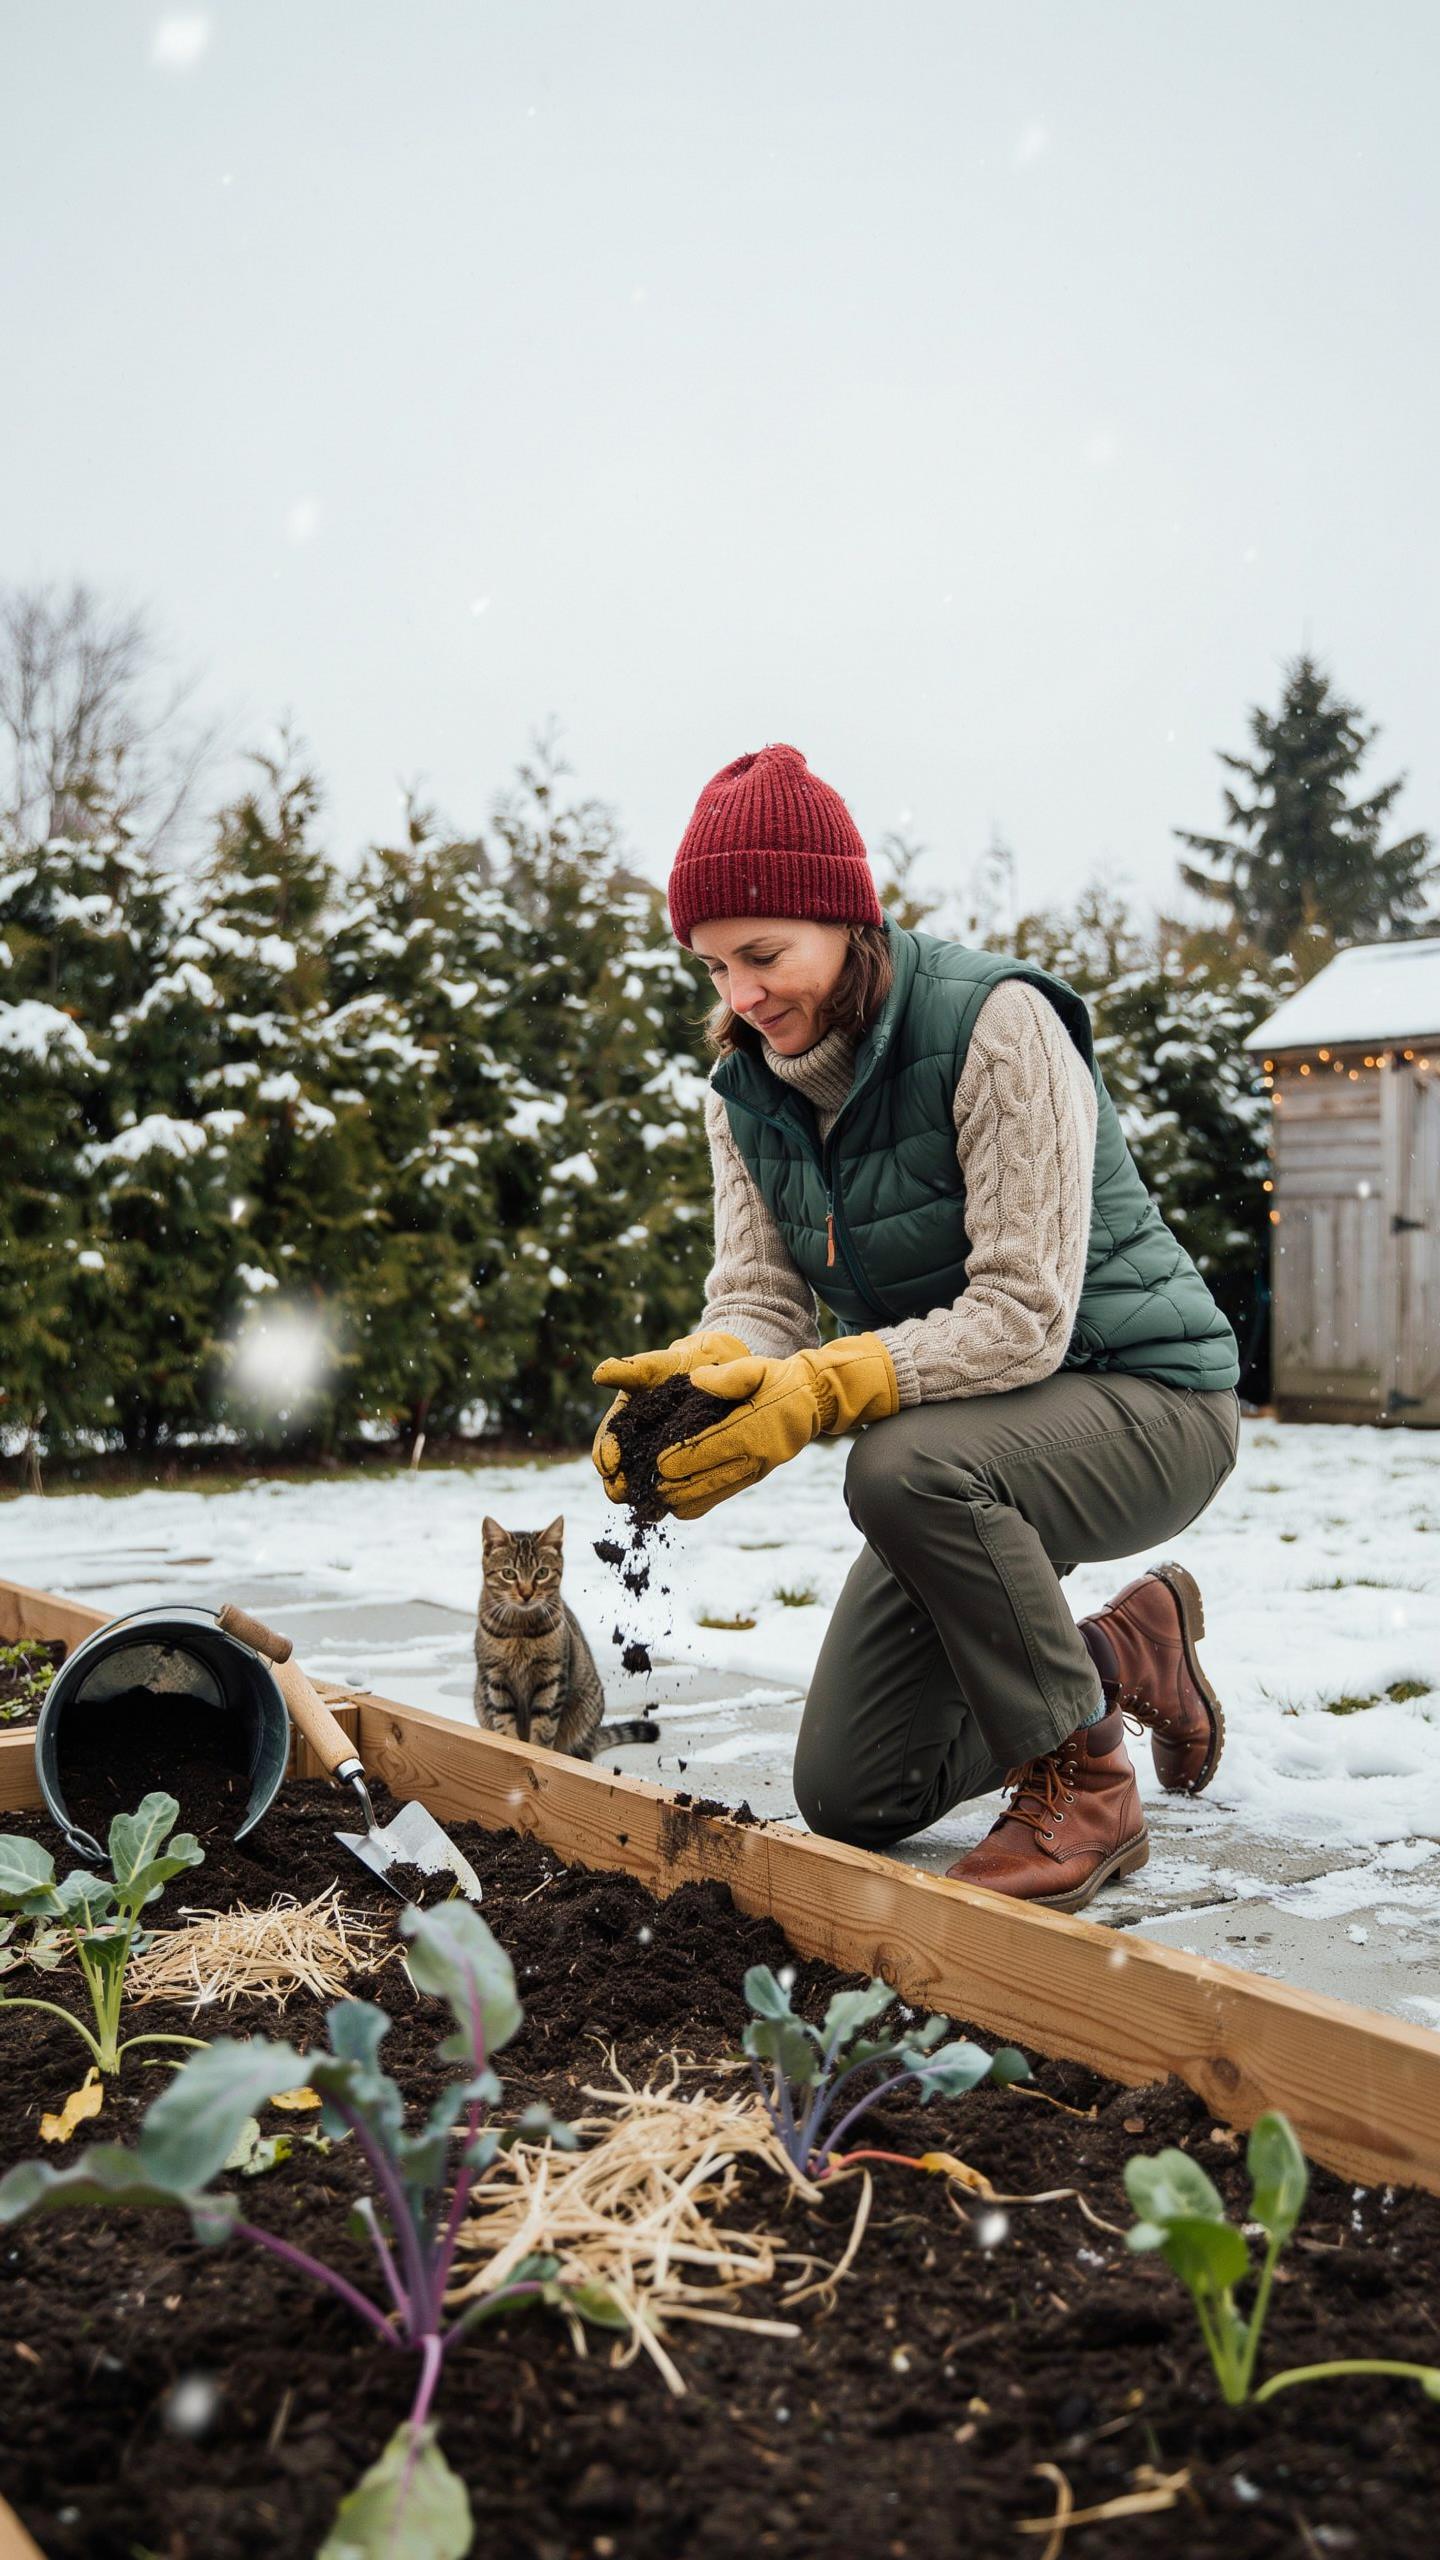
Summer crops deplete nitrogen, phosphorus, and potassium from your raised beds. You must replace these nutrients before the ground freezes solid. Spread two to four inches of finished compost over the soil surface. Do not till the compost into the ground. Tilling destroys the soil structure and kills beneficial fungi. Let the natural freeze-thaw cycle pull the nutrients deep into the root zone for you.
Microbes stay active in the soil until the temperature drops below forty degrees. Adding organic matter now feeds these organisms while they are still working. Use well-rotted manure or leaf mold if compost is unavailable. These materials break down slowly over the winter months. This timing ensures the biology of your soil remains healthy. It prevents the bed from becoming inert dirt during the dormant season.
How Soil Amendment In Fall Sets You Up For A More Productive Spring Growing Season
Fall amendments provide a head start for early spring planting. You cannot work frozen or waterlogged soil in March without damaging its texture. Adding organic matter in autumn allows the material to stabilize over several months. It improves soil drainage and aeration long before the first seed hits the ground. This preparation ensures your raised beds are ready for cool-season crops the moment the snow melts.

Nutrient availability peaks when the soil has time to process raw materials. Spring applications often take weeks to become accessible to plant roots. Fall prep solves this delay. Healthy soil also suppresses soil-borne diseases and pests that over-winter in the garden. By strengthening the soil profile now, you build a resilient environment. This tactical move reduces your workload in the spring and increases your total crop yield.
Winter Garden Bed Ideas Using Cover Crops To Protect And Enrich Your Raised Beds
What Are Cover Crops And Which Ones Work Best In Raised Beds Over Winter
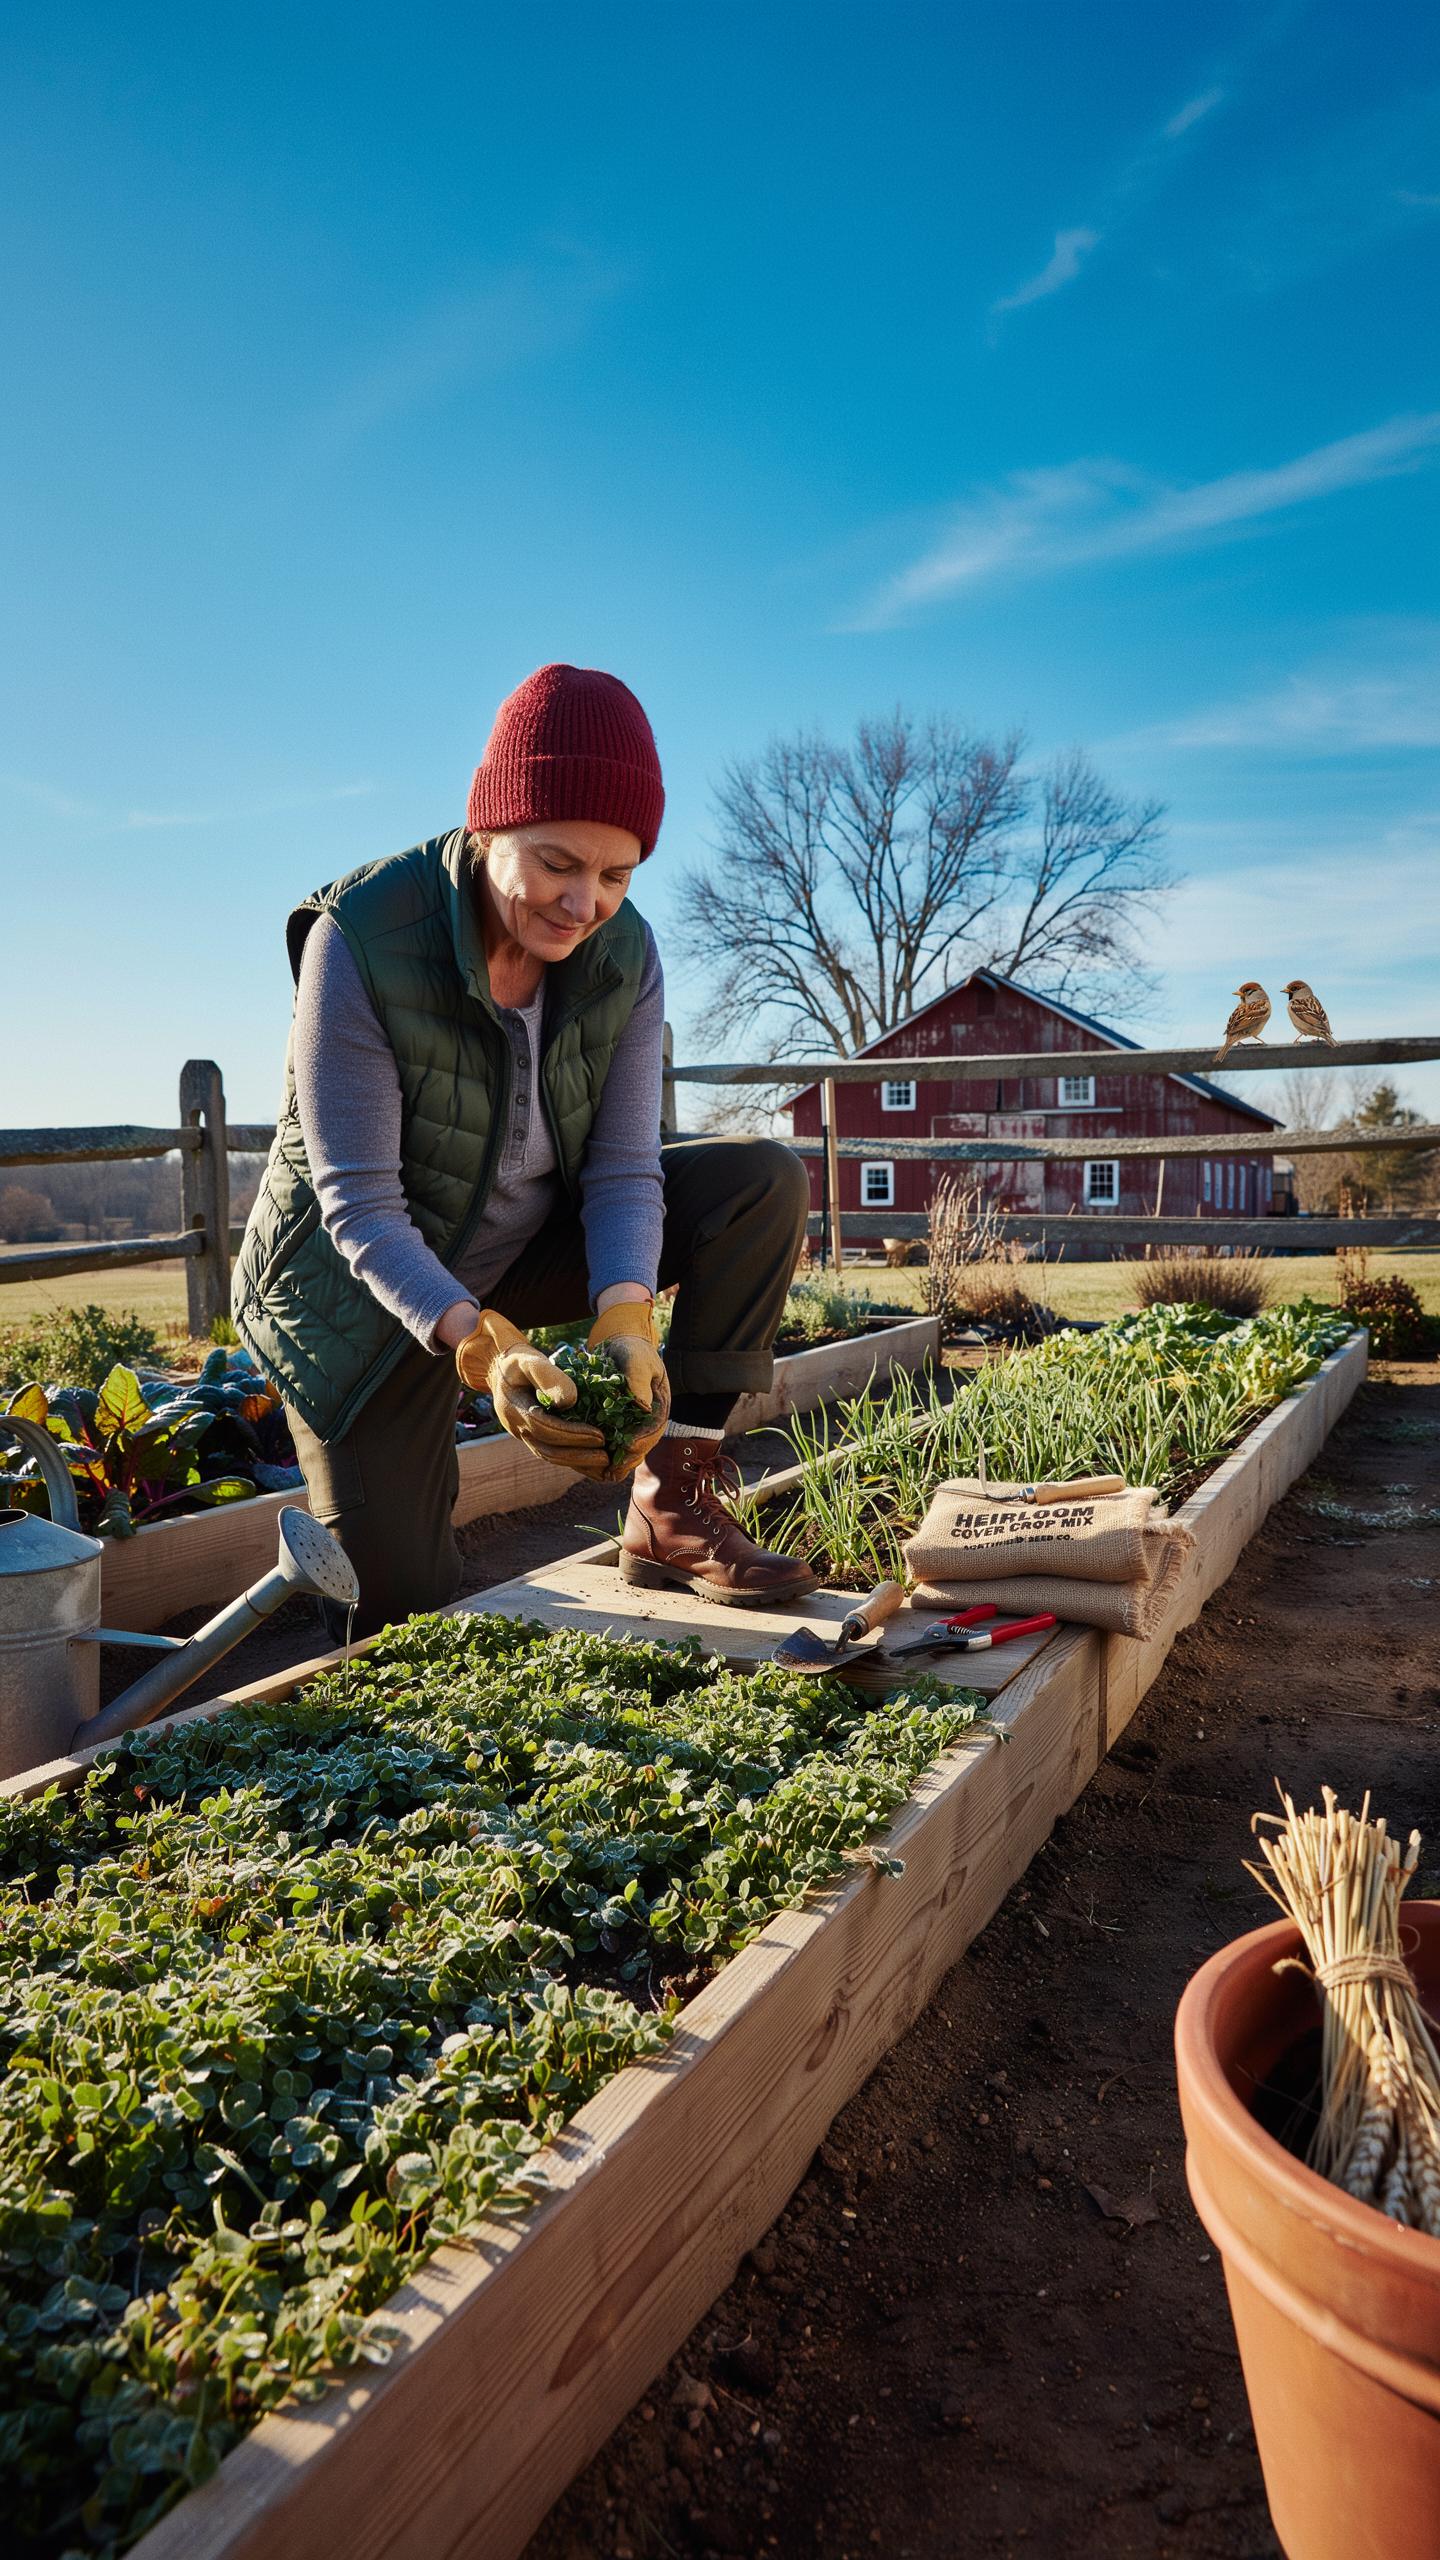
Cover crops are specific plants grown to manage soil erosion and fertility. Farmers call them green manure because they cycle nutrients back into the dirt. These plants shield the soil surface from heavy rain and wind during the cold months. They prevent vital minerals from leaching out of your raised beds. This practice keeps your soil structure intact until the spring planting season begins.
Vetch and winter rye are top choices for cold weather. Cereal rye grows deep roots that break up compacted soil in tight spaces. Legumes like crimson clover or field peas pull nitrogen from the air into the root zone. This process naturally fertilizes your bed for next year. Choose oats or oilseed radish if you want the crop to die off during the first hard freeze.
How To Plant And Manage A Winter Cover Crop In A Small Raised Bed Space
Plant your cover crops four weeks before the first frost. Clear away old vegetable debris to expose the soil surface. Broadcast the seeds by hand across the entire raised bed. Rake the seeds into the top inch of soil to ensure good contact. Water the bed lightly to trigger germination. Fast growth is essential to establish a strong root system before the ground freezes.

Manage these crops by cutting them down in early spring. Do not let the plants go to seed or they become weeds. Mow or weed whack the green material three weeks before you plan to plant. Leave the residue on the surface as mulch or tilled it into the soil. Bacteria will break down the organic matter. This adds carbon and creates a rich environment for your spring vegetables.
How To Winterize Your Vegetable Garden With Mulch For Maximum Cold Protection

Best Mulching Materials For Raised Vegetable Beds And How Thick To Apply Them
Select materials that insulate soil while allowing moisture to pass through. Clean wheat straw remains a top choice for raised beds. It traps air within its hollow stems to regulate temperature effectively. Shredded leaves also work well and add organic matter as they break down. Avoid using fresh wood chips in vegetable beds. These can tie up nitrogen and disrupt the soil chemistry needed for spring planting.
Target a depth of three to four inches for maximum protection. Thin layers fail to stop frost heave which damages root systems. Excessive depth can trap too much moisture and cause stem rot. Spread the mulch evenly across the entire surface. Keep the material a few inches away from the base of any perennial stems. This gap prevents pests like voles from nesting against the plants during the winter months.
Step By Step Guide To Mulching Your Raised Vegetable Beds Before The First Frost
Timing determines the success of your winterization strategy. You must apply mulch after the first light frost but before the ground freezes solid. This timing traps the residual heat of the earth while signaling to the plants that it is time for dormancy. Clear out all diseased foliage and spent vegetable remains before you begin. Clean soil prevents pathogens from overwintering and attacking your next spring crop.
- Clear The Surface: Remove all weeds and dead vegetable plants from the raised bed. This eliminates hiding spots for garden pests and reduces the risk of fungal diseases spreading through the soil during wet winter months.
- Hydrate The Soil: Water the bed deeply one last time before the ground freezes. Moist soil holds heat better than dry soil. This hydration protects the root systems of any overwintering crops or beneficial soil organisms from desiccation.
- Layer The Material: Spread your chosen mulch in an even layer across the bed. Aim for a consistent thickness of three inches to ensure the entire root zone stays protected. Use a rake to level the surface and fill any gaps.
- Leave Breathing Room: Pull the mulch back two inches from the base of any standing plants. Direct contact between wet mulch and plant stems causes rot. Creating this small buffer zone ensures proper airflow and prevents pest damage to the crown.
- Secure The Mulch: Weigh down light materials like straw or dry leaves with a thin layer of compost or bird netting. High winter winds can strip a bed bare in a single night. Securing the layer ensures the insulation stays exactly where you put it.

Monitor the mulch levels throughout the winter season. Heavy snow or wind can compress the materials and reduce their insulating power. Add a fresh inch of straw if the layer thins out significantly. This maintenance keeps the soil temperature stable during freeze-thaw cycles. Stable temperatures prevent the soil from buckling and pushing roots out of the ground. Proper mulching now saves significant labor during the spring replanting phase.
Winterize Garden Beds How To Inspect And Repair Your Raised Bed Structure Before Winter

Common Wear And Damage Issues To Look For On Wood Metal And Composite Raised Beds
Wood beds fail through rot and hardware fatigue. Inspect the corners where moisture traps against the grain. Soft spots in cedar or redwood indicate fungal decay that compromises structural integrity. Check for bowing walls caused by soil weight. Rusted screws lose their grip on the wood. Look for visible gaps at the joints. These openings allow cold air to penetrate the root zone during deep freezes.
Metal beds face oxidation and fastener failure. Examine the protective coating for chips or deep scratches. Exposed steel rusts quickly in wet winter conditions. Check the tension rods if your bed uses them. High soil pressure pushes against thin metal walls. Composite materials rarely rot but can become brittle in low temperatures. Look for hairline cracks in the plastic resin. These small fissures expand when water freezes inside them.
Simple Repairs And Reinforcements That Help Your Raised Bed Survive Freeze Thaw Cycles
Reinforce weak joints with galvanized steel corner brackets. Use exterior grade screws that resist corrosion. If a wooden board shows significant rot, replace it now. Patching a failing bed in spring is harder because of wet soil. Add a center brace to long beds to prevent outward bowing. This brace keeps the walls vertical under the pressure of heavy, saturated winter earth. Tighten all existing hardware before the ground freezes.

Apply a food safe waterproof sealer to dry wood surfaces. This coating creates a barrier against melting snow and ice. For metal beds, touch up any scratches with enamel paint to stop rust. Line the interior walls with heavy duty plastic or landscape fabric if you notice soil leaking. This layer protects the structure from direct moisture contact. Proper structural maintenance ensures your garden stays contained and level through the entire winter season.
How To Protect Garden Beds In Winter Using Row Covers Cold Frames And Frost Cloth

Understanding The Difference Between Row Covers, Frost Cloth, And Cold Frames For Raised Beds
Row covers and frost cloths are flexible fabrics made from spun-bonded polyester or polypropylene. Lightweight row covers allow light and water to pass through while protecting against light frost and pests. Heavier frost cloths provide higher thermal insulation but block more sunlight. These materials trap heat radiating from the soil to keep plants a few degrees warmer than the surrounding air during cold nights.
Cold frames are rigid structures with transparent tops made of glass or polycarbonate. They act like miniature greenhouses for your raised bed. Unlike fabric covers, cold frames create a sealed environment that captures solar energy and blocks wind entirely. You use them for hardening off seedlings or overwintering hardy greens. They require manual venting on sunny days to prevent heat from killing the plants inside.
To nurture a garden is to feed not just the body, but the soul. Taking the time to tuck your beds in for the winter is the first quiet step toward a beautiful spring.
How To Correctly Install A Cold Frame Or Frost Cover Over Your Raised Bed For Winter
Installation requires a sturdy support system to prevent fabric from touching plant foliage. Drive PVC pipes or metal conduits into the soil to create support hoops across the bed. Drape the frost cloth over these hoops and secure the edges to the wooden frame using heavy duty clips or bricks. Ensure the fabric reaches the ground to seal in heat. This setup prevents ice from transferring directly to leaves.

Mount cold frames directly onto the top of the raised bed walls for a tight seal. Align the sloping lid toward the south to maximize sun exposure during winter months. Use weather stripping at the joints to stop cold drafts from entering the structure. Check the internal temperature daily. You must prop the lid open when outdoor temperatures rise above freezing to regulate moisture and prevent fungal growth.
Winter Raised Beds Planning Your Spring Garden Layout During The Off Season
How To Use Winter Downtime To Rotate Crops And Redesign Your Raised Bed Garden Plan
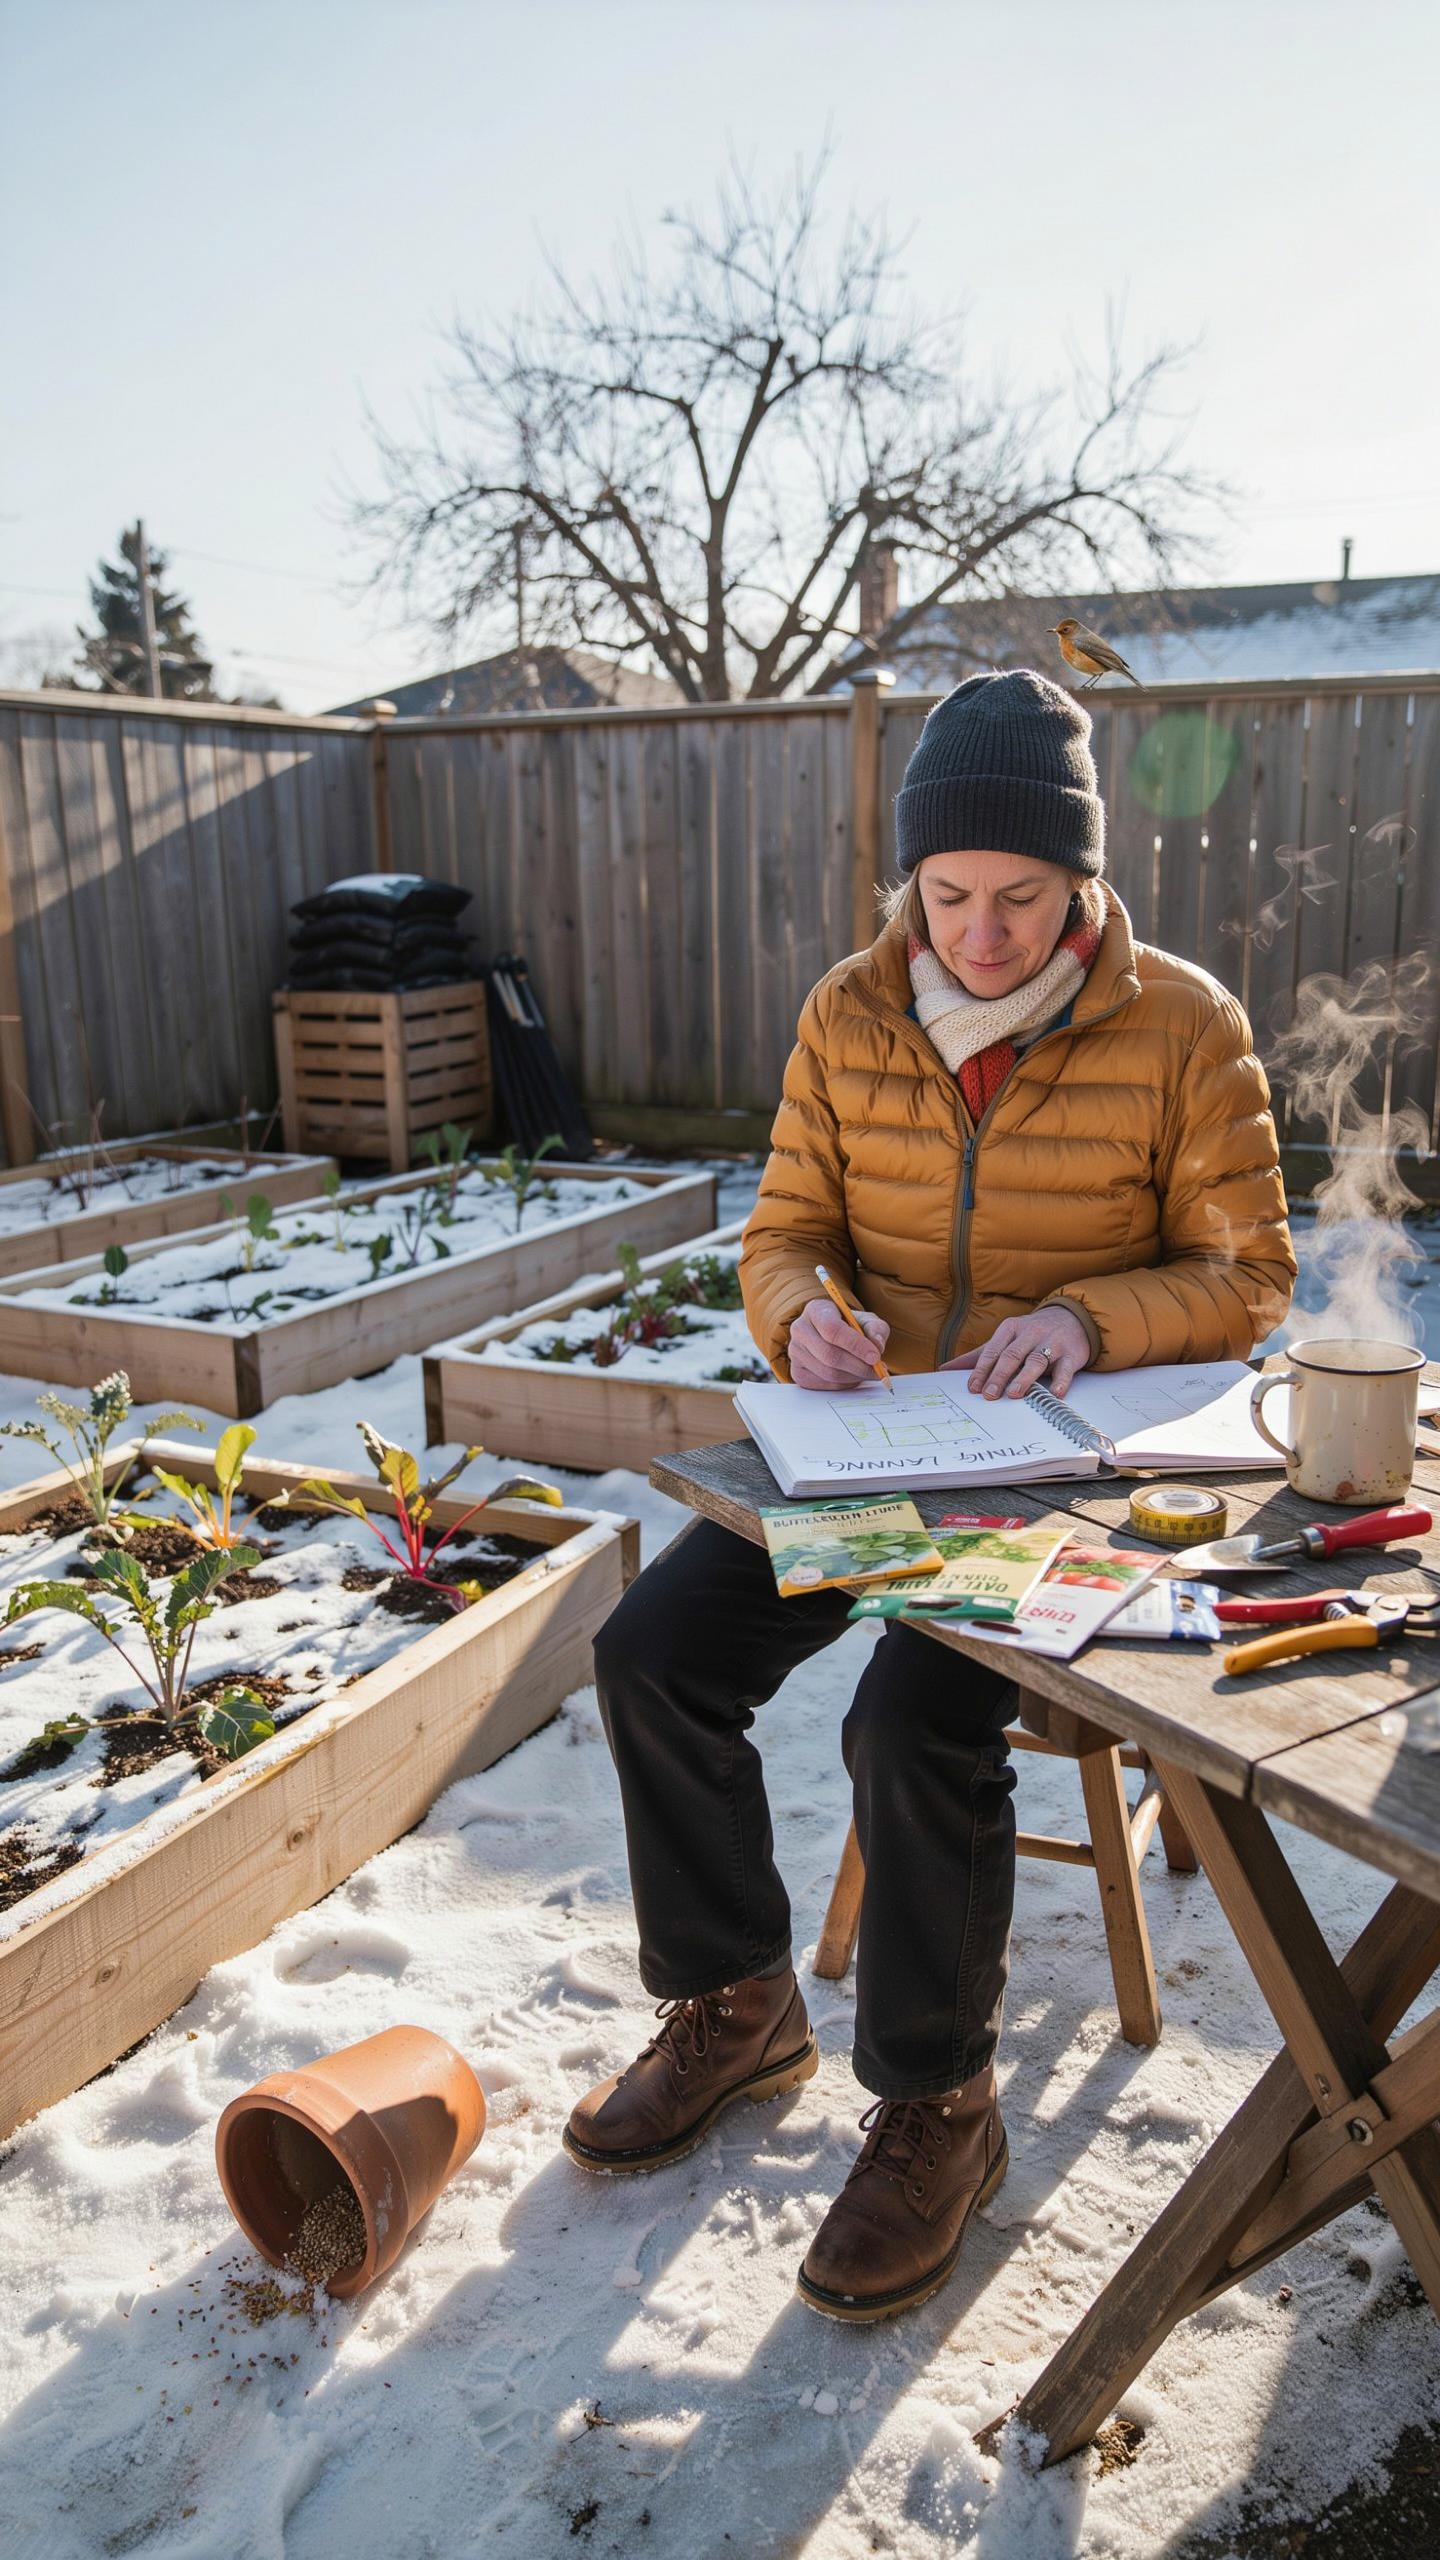
Crop rotation prevents soil depletion and breaks pest life cycles. Use the winter months to map your beds. Move heavy feeders like tomatoes to spots previously occupied by nitrogen-fixing legumes. This strategy maintains nutrient balance without over-reliance on synthetic fertilizers. Map your spatial layout now to avoid poor planting decisions in the spring heat. Professional growers prioritize this tactical spacing to maximize yields per square foot.
Structural redesign happens best when beds are empty. Review your current height and material integrity during the frost. Taller beds reduce physical strain and improve drainage in clay-heavy areas. Consider adding trellises or vertical supports to your plan now. Finalize your dimensions and order lumber or steel panels before the spring rush. Early planning ensures your infrastructure is ready for the first thaw without delays or inventory shortages.
Keeping A Garden Journal Over Winter To Improve Your Raised Bed Results Year After Year
A garden journal is a data tool for long-term success. Record which varieties failed and which thrived in your specific microclimate. Note the exact dates of the first frost and any drainage issues observed during winter rains. Documenting these details removes guesswork from your next planting cycle. Strategic gardeners use this historical data to select seeds that match their actual growing conditions rather than relying on generic packets.

Track your soil amendments and fertilizer applications throughout the year. Winter is the time to analyze these records to determine your budget for the coming season. Efficient journals include sketches of sun patterns and shade zones across your raised beds. Use this information to place high-light crops in optimal positions. Consistent record-keeping turns amateur mistakes into actionable insights. This disciplined approach ensures cada bed reaches its full production potential annually.
Frequently Asked Questions

Why is winter preparation important for someone just starting a raised bed garden?
Preparation is the secret to a successful spring harvest. For beginners, raised bed gardening winter prep prevents soil erosion and nutrient loss during harsh weather. By clearing debris and adding a protective layer of mulch now, you suppress future weeds and create a cozy environment for beneficial soil microbes. Taking these simple steps ensures your soil stays healthy, making your gardening journey much easier and more productive when the planting season returns.
What are the essential steps to winterize my raised bed soil effectively?
Start by removing any dead or diseased plants to prevent pests from overwintering. Next, loosen the soil gently and add a two-inch layer of organic compost to replenish nutrients. Finally, finish your raised bed gardening winter prep by covering the surface with straw, shredded leaves, or burlap. This insulation protects the soil structure from freezing temperatures and heavy rains, keeping your garden beds primed and ready for early spring vegetables.
Can I prepare my raised beds for winter on a limited budget?
Absolutely! You don’t need expensive store-bought supplies to protect your garden. Use free resources like fallen autumn leaves as mulch or grass clippings from your final mow of the season. Cardboard is another fantastic, cost-free option for suppressing weeds over the winter months. By repurposing organic materials found in your own backyard, you can achieve professional results without spending a dime, ensuring your garden stays healthy and protected until spring.



