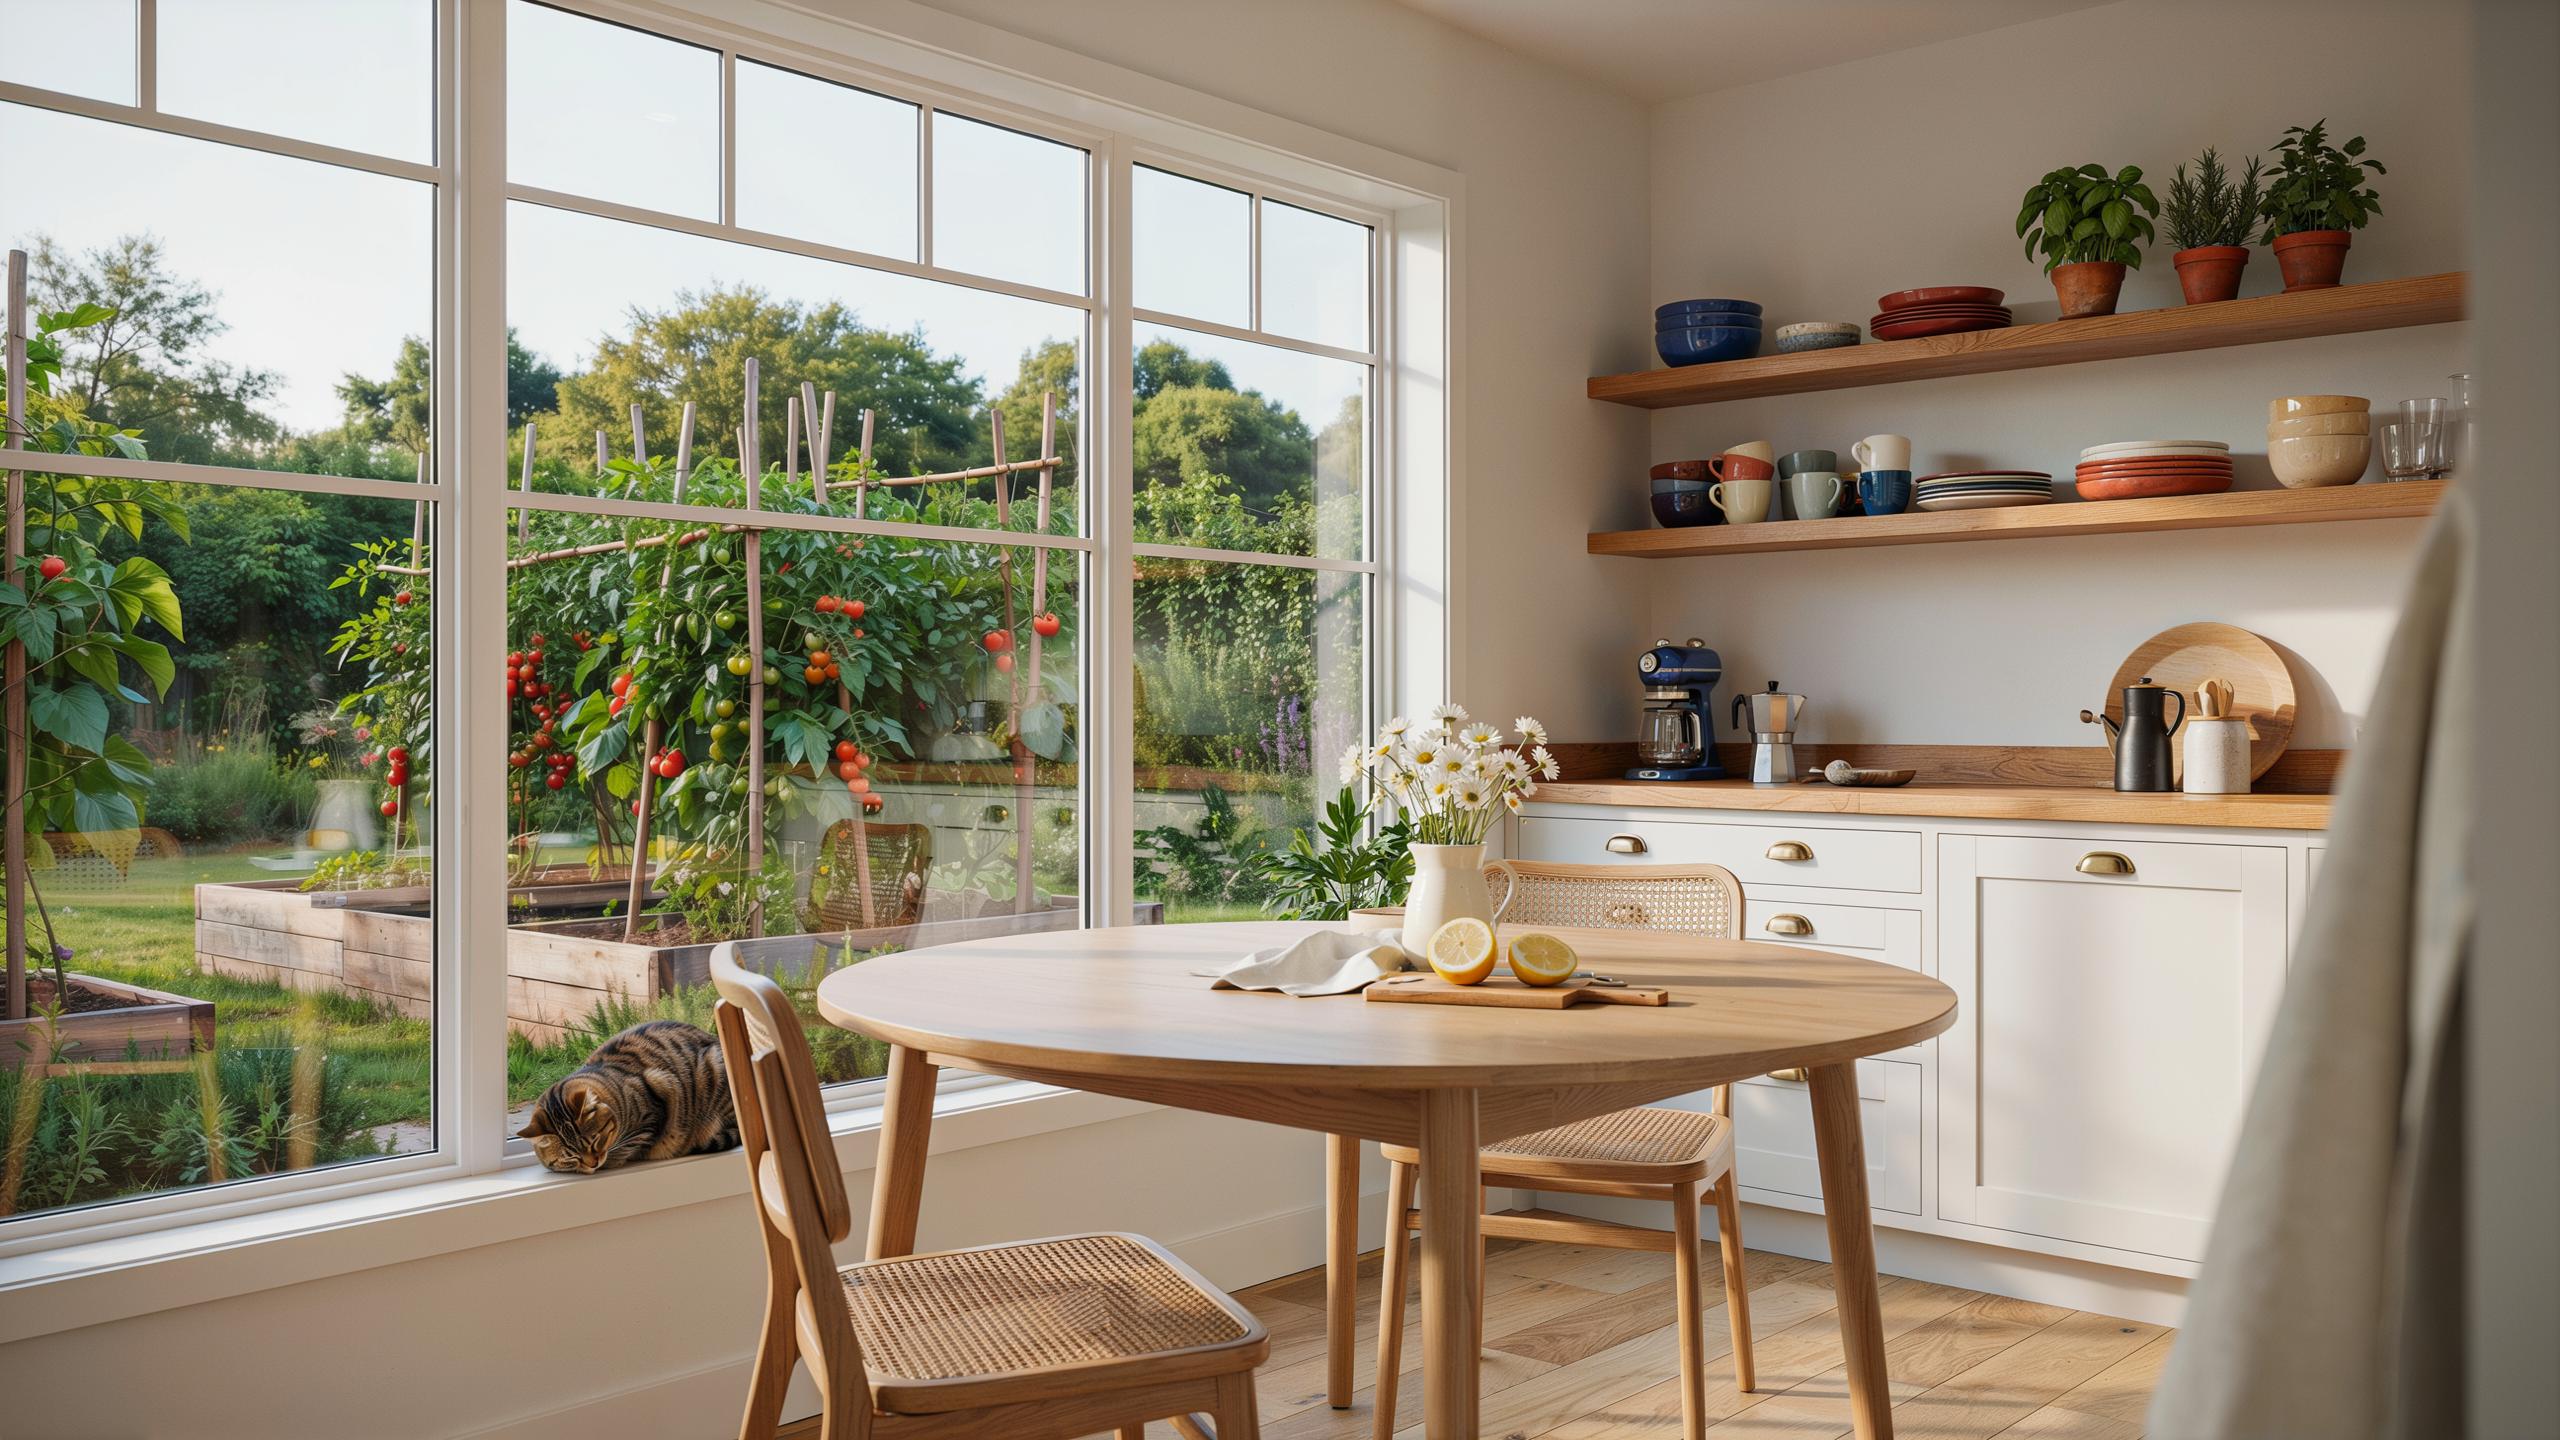
Embracing Farmhouse Open Shelves For An Outdoor Connection
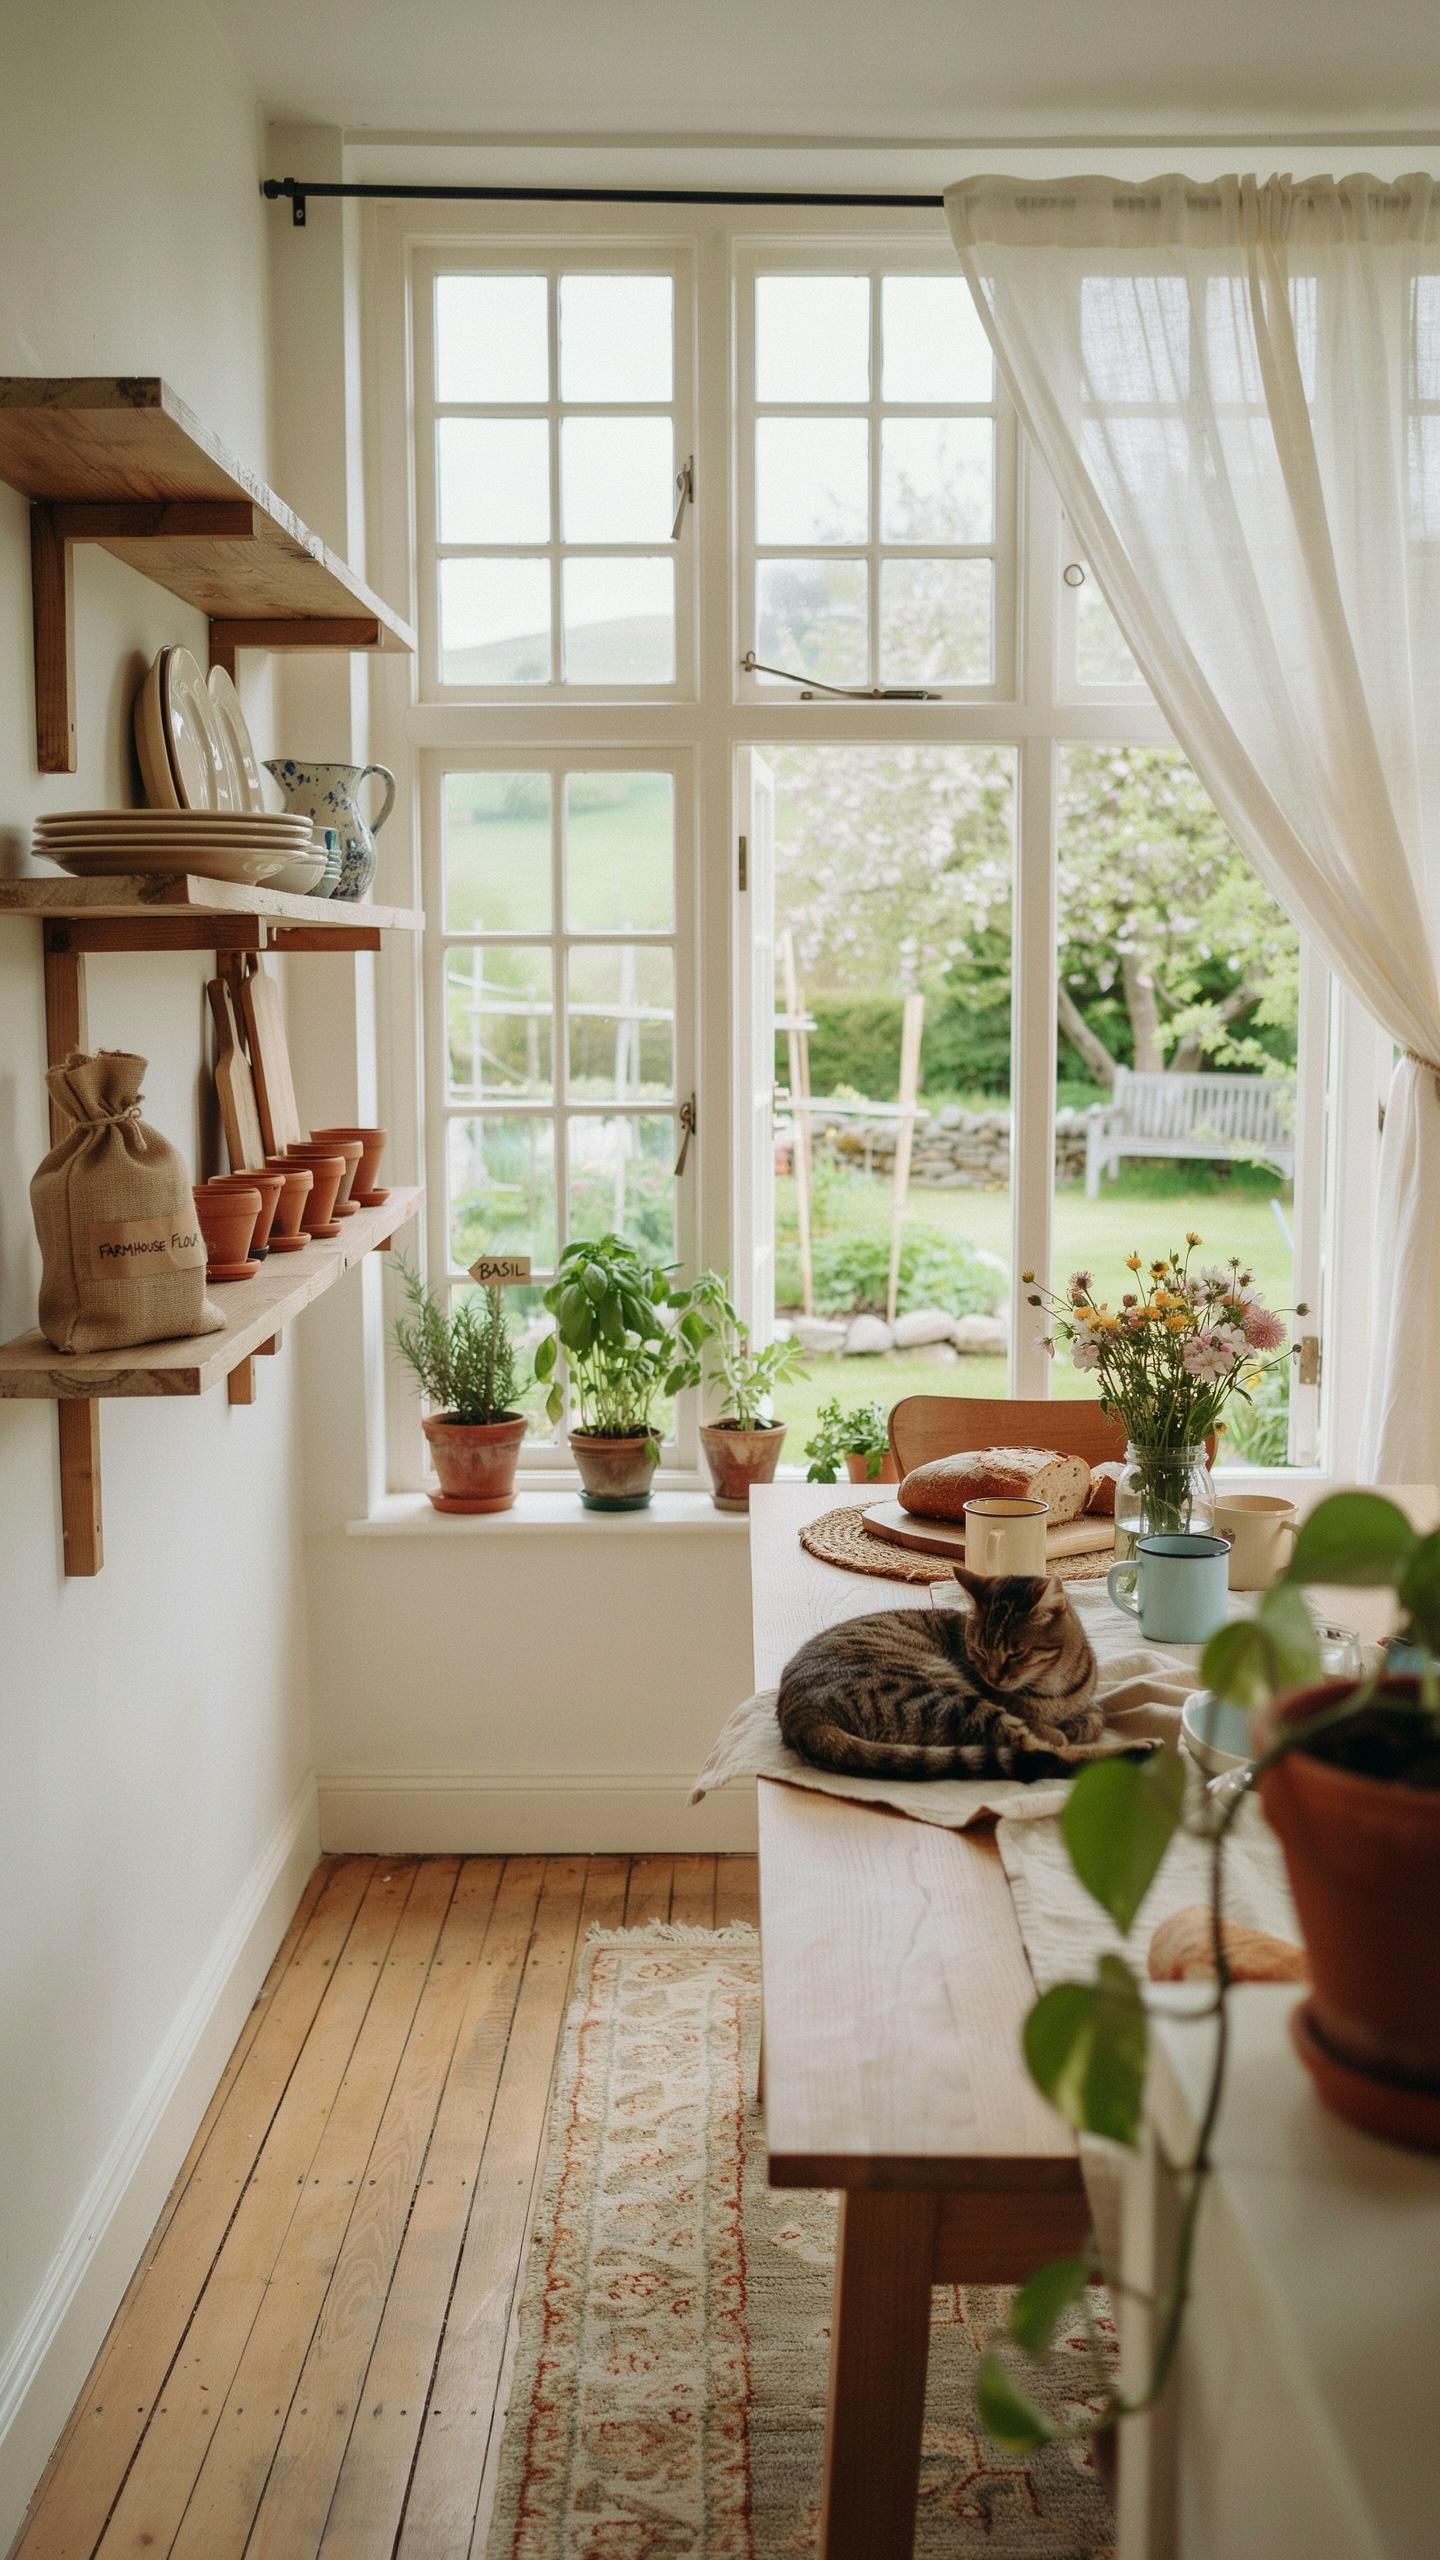
Blurring The Lines Between Interior Kitchens And Exterior Nature
Open shelving in farmhouse kitchens serves a tactical function: it removes visual barriers that separate your cooking space from outdoor views. Traditional upper cabinets create solid walls that block sightlines to gardens and patios. Open shelves eliminate this obstruction, allowing your eye to travel from counter to window to landscape without interruption. This design choice grounds your kitchen in the natural environment rather than isolating it as an enclosed room.
The farmhouse style emerged from practical rural design where kitchens functioned as central gathering spaces. Open shelving aligned with this necessity because it reduced construction costs and maintained visual flow in modest homes. Modern farmhouse kitchens adopt this principle intentionally: you position shelves to frame outdoor views as focal points. Placing shelves along walls that face windows or glass doors creates a direct visual connection between your display items and the surrounding landscape.
Choosing Natural Elements To Mirror Your Back Garden Views
Material selection directly impacts how well your shelves connect to outdoor spaces. Wood shelves in weathered finishes, reclaimed barn wood, or whitewashed tones echo the textures present in gardens and natural landscapes. Stone, ceramic, and unfinished pottery displayed on these shelves reinforce this connection. The items you select should reference materials found outside your home, creating visual continuity between interior and exterior environments.
Lighting plays a critical role in establishing this outdoor connection. Natural light hitting wood shelves and their contents creates shadows and depth that mimic how sunlight interacts with garden elements. Install shelves where morning or afternoon light filters through adjacent windows. Pair this with plants in ceramic containers and wooden cutting boards to complete the material palette. These choices make your kitchen feel like a transitional space between indoor cooking and outdoor living rather than a closed, artificial room.
Selecting The Perfect Wood Shelves In Kitchen Renovations
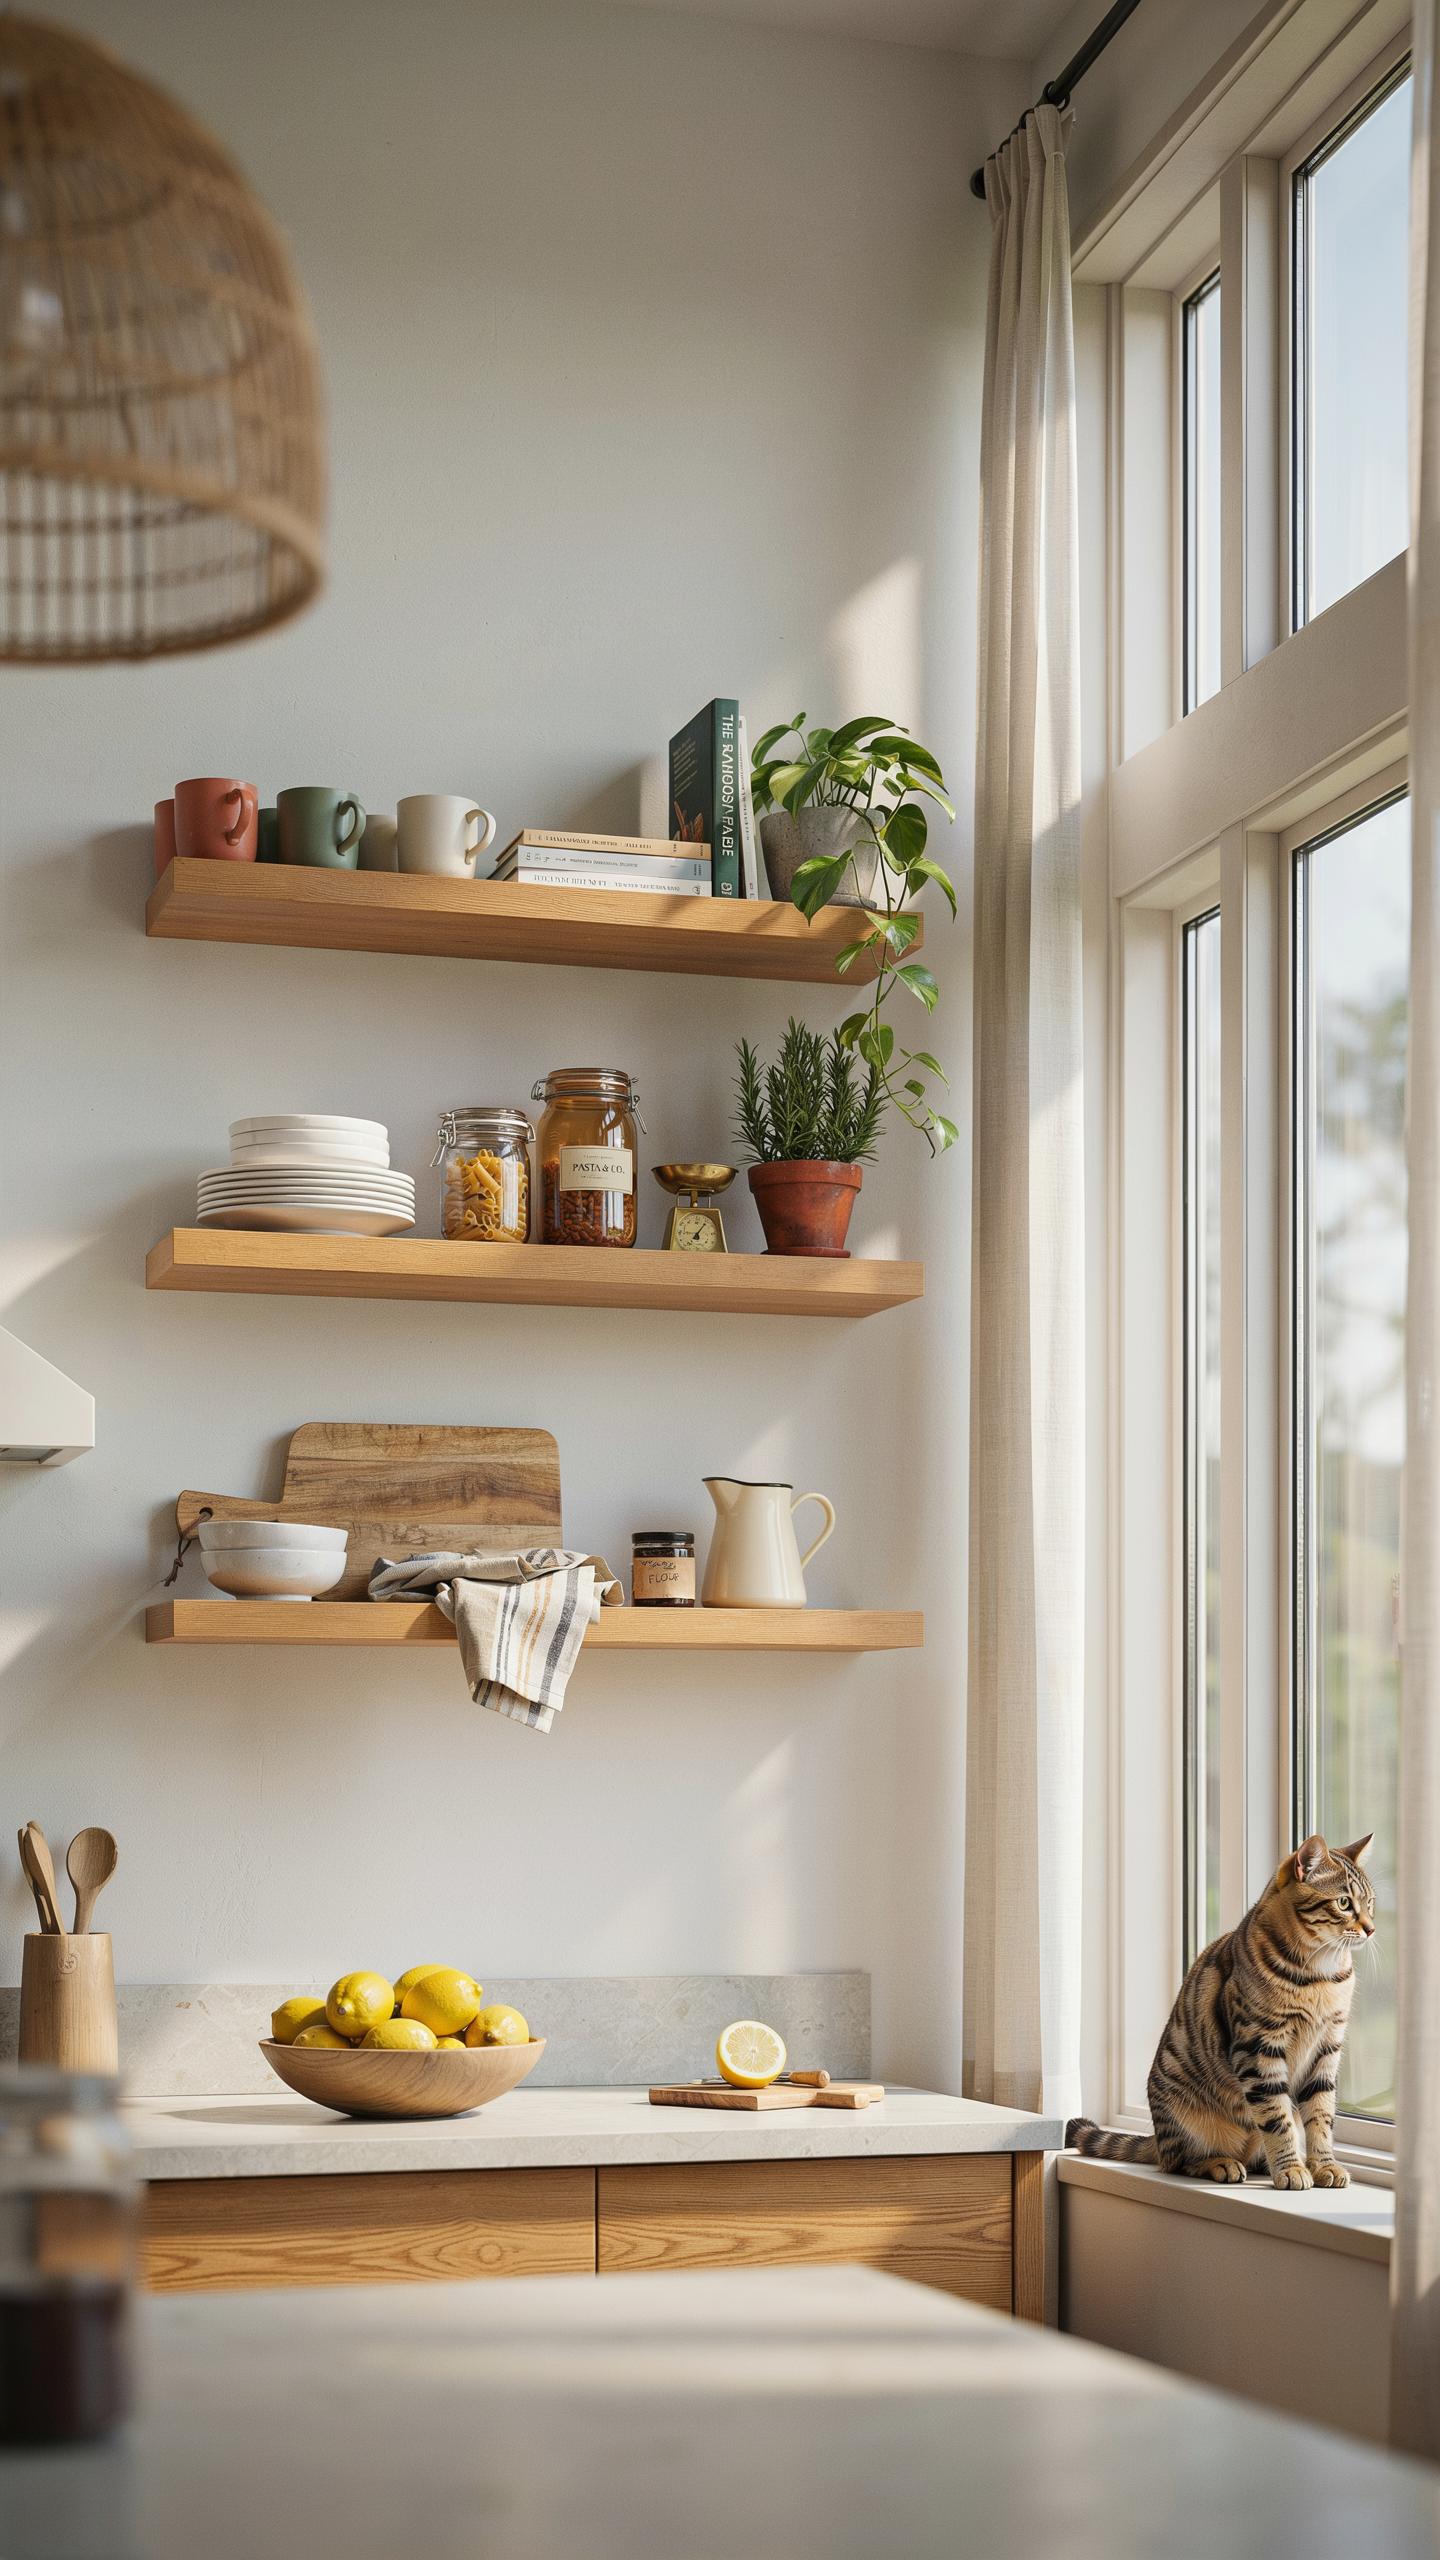
The Appeal Of Reclaimed Oak, Pine, And Douglas Fir Wood Species
Reclaimed oak brings density and stability to open shelving. This hardwood resists warping from kitchen moisture and temperature swings. Oak’s grain pattern reads as authentic farmhouse style without requiring distressing techniques. The wood tolerates weight loads from dishes and cookbooks. Cost runs higher due to sourcing and milling labor.
Pine offers accessibility and visual warmth at lower price points. Softwood construction means pine dents and scratches more easily than oak. The wood accepts stain and finish treatments readily. Pine performs adequately in kitchens with proper sealing. Douglas fir splits the difference between cost and durability, delivering acceptable performance for most residential applications.
Understanding Protective Seals Against Humidity And Steam Damage
Kitchen environments create constant moisture exposure. Water vapor from cooking penetrates unsealed wood and triggers swelling, warping, and discoloration. Polyurethane topcoats block moisture effectively and harden wood surfaces against impact. Oil-based finishes penetrate grain while water-based options dry faster with lower odor. Reapplying seals every two to three years maintains protection.

Steam damage accelerates near stoves and dishwashers. Shellac and lacquer finishes fail quickly under sustained humidity. Conversion varnish and marine-grade polyurethane outperform standard options in high-moisture zones. Test finishes in your specific kitchen environment before committing to full installation. Proper ventilation from range hoods extends seal lifespan significantly.
Designing Light And Airy Kitchens With Strategic Shelf Placement
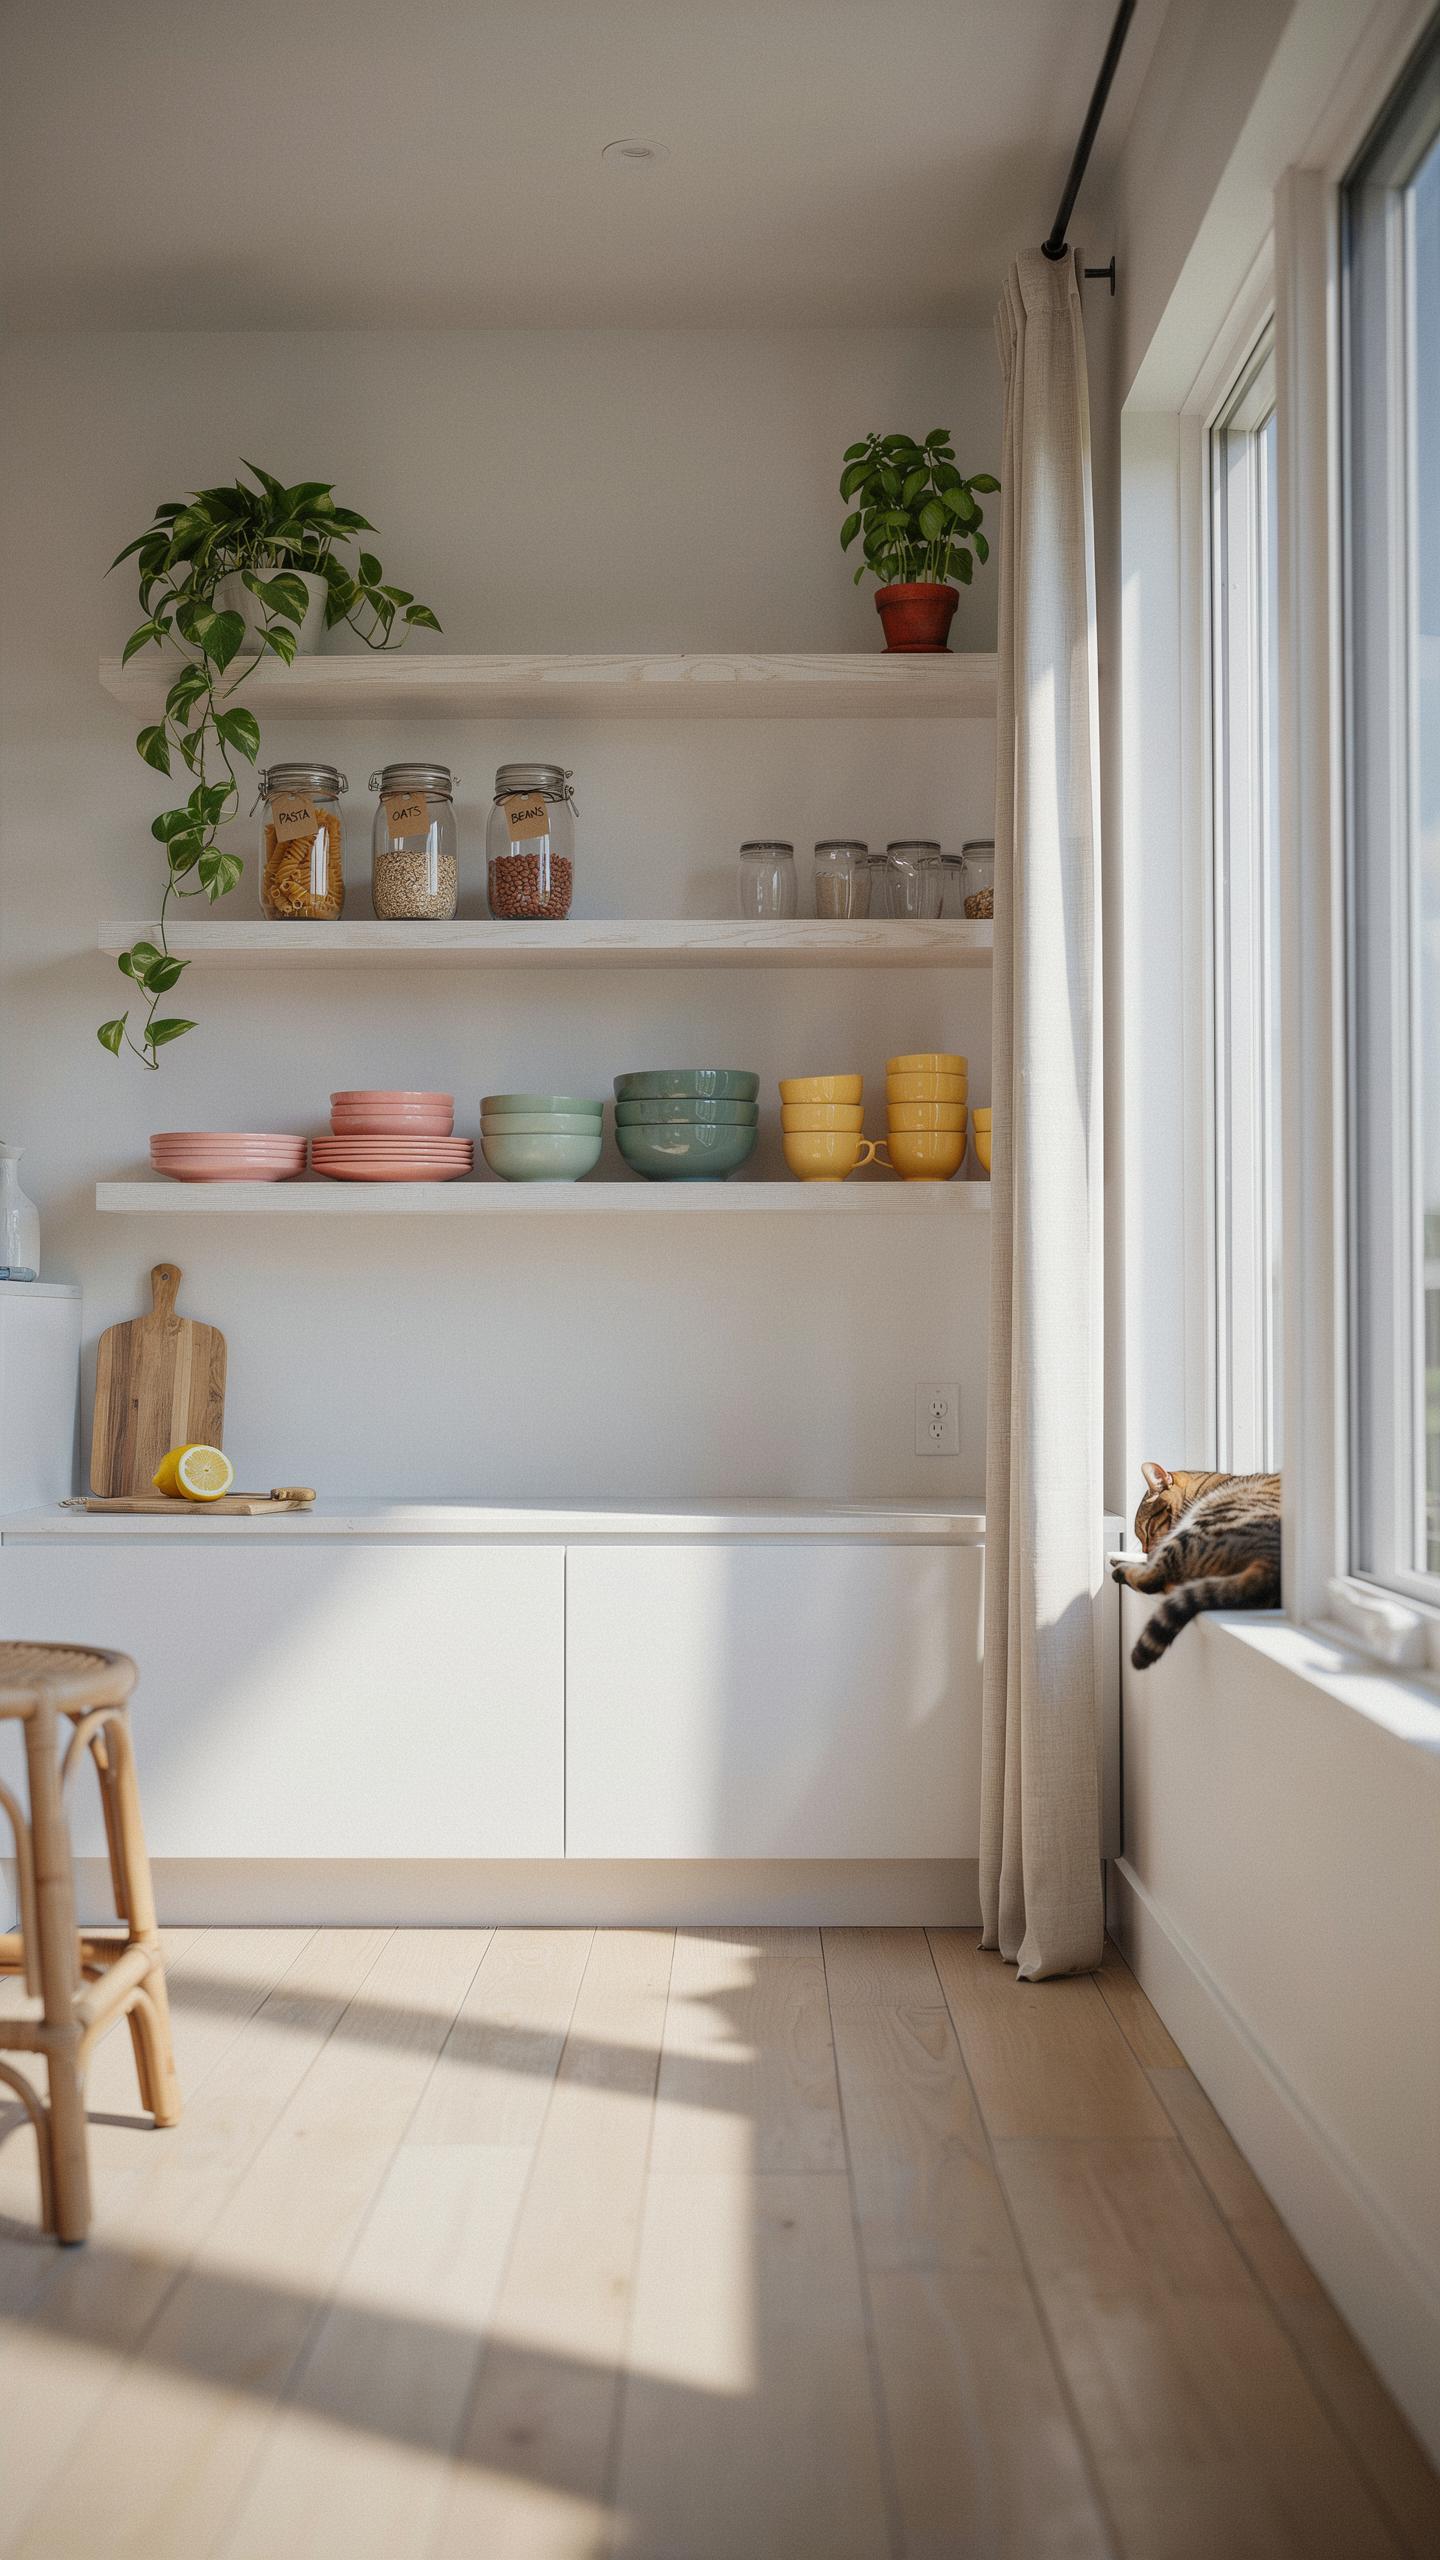
Positioning Shelves Near Windows For Maximum Daylight Reflection
Window placement determines how daylight interacts with open shelving. Position shelves within 2-3 feet of windows to capture natural light bouncing off displayed items. This placement eliminates dark corners where open shelving typically creates visual dead zones. North-facing windows provide consistent, cool light without harsh shadows. South-facing windows require consideration of afternoon glare on glossy surfaces.
Daylight reflection off open shelves reduces the need for artificial lighting during daytime hours. This cuts energy costs while highlighting the texture and color of displayed dishware and decor. Shelves positioned perpendicular to windows reflect light deeper into the kitchen space. The combination of natural light and strategic shelf angles creates the illusion of increased square footage without adding cabinetry.
Replacing Heavy Overhead Cabinetry With Minimalist Wall Displays
Removing upper cabinets and installing open shelving reduces visual weight in kitchens with 8-foot or lower ceilings. Heavy wood or painted cabinetry absorbs light and makes compact kitchens feel cramped. Open shelving with thin metal brackets or minimal supports creates negative space. This approach requires discipline in what you display, forcing intentional curation of everyday items.

Minimalist wall displays work best when you limit displayed items to 40-50 percent of shelf capacity. Empty shelf space between grouped items prevents visual clutter. Use matching dishware sets, uniform container heights, and consistent material palettes like ceramic, glass, and wood. This restraint maintains the airiness that makes open shelving effective in farmhouse design while keeping functionality intact.
How To Style A Rustic Kitchen Shelf With Organic Elements
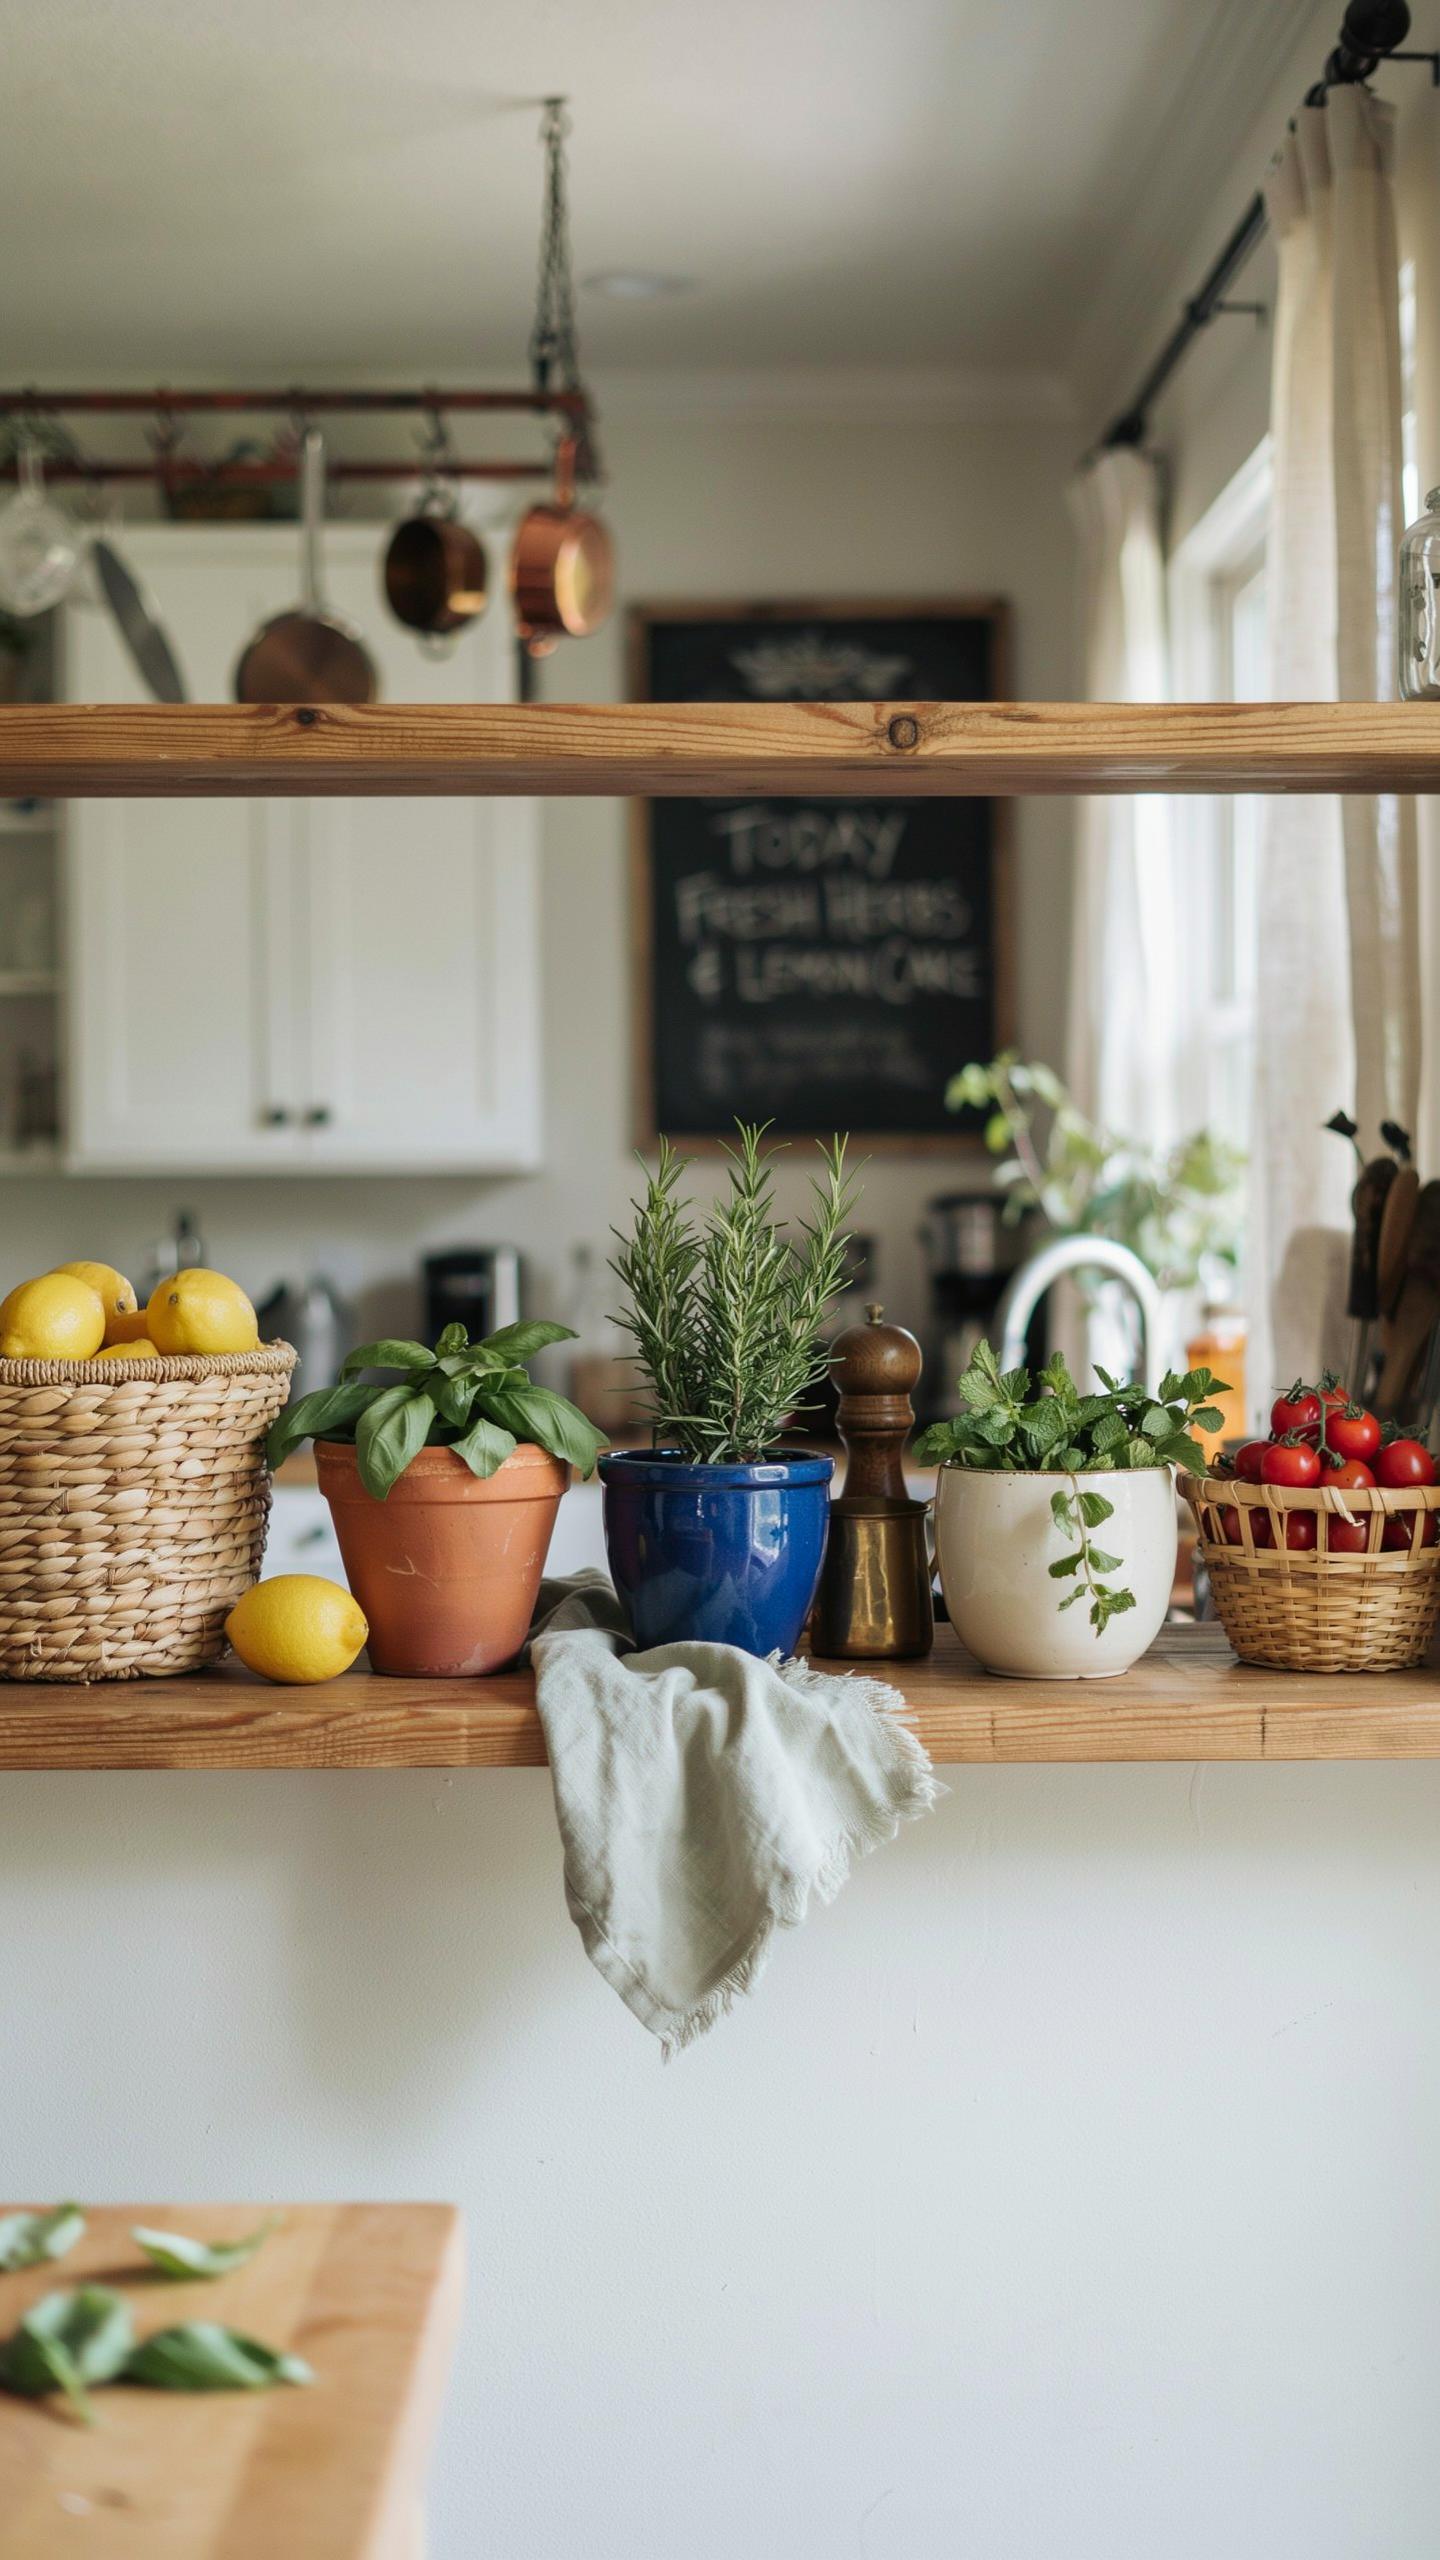
Step By Step Guide To Layering Matte Ceramics, Glass, And Fresh Greenery
Start with a base layer of matte ceramic pieces. These absorb light and create visual weight at shelf depth. Matte finishes recede visually, making them ideal foundation elements. Position larger pieces toward the back or sides. This prevents front-facing clutter. Leave negative space between items.
- Matte ceramic bowls: Stack two or three in descending sizes. Creates vertical interest without taking up additional shelf real estate. Choose neutral tones like cream, gray, or clay.
- Clear glass vessels: Use for storing dry goods or displaying items within. Glass allows shelf background visibility and creates transparency layers that prevent visual heaviness.
- Potted herbs or trailing greenery: Position at shelf edges or corners. Live plants add organic texture. Pothos and trailing succulents survive low-light kitchen conditions effectively.
- Ceramic pitchers or jugs: Mix heights using one tall pitcher with shorter bowls nearby. Varied heights guide the eye across the shelf horizontally and prevent monotony.
- Textured linens or small cutting boards: Lean smaller boards against the shelf back. Linens add fabric texture that balances hard ceramic and glass materials on display.
Layer by alternating materials to break up visual monotony. A ceramic bowl next to glass, then greenery, then wood creates rhythm. This prevents shelves from reading as flat or monotonous. Refresh greenery every two to three weeks or swap dried stems when plants decline.
Balancing Utilitarian Cookware With Sculptural Decorative Objects
Utilitarian items like cast iron skillets and stoneware crocks serve dual purposes on open shelving. They function for cooking while contributing authentic farmhouse aesthetic. Position cookware pieces at eye level where they remain accessible for regular use. This eliminates the contradiction between display and utility.
Sculptural objects work best when they echo cookware silhouettes or material qualities. A wooden cutting board references wooden spoon handles. A ceramic sculpture mirrors the bowl collection nearby. This creates cohesion rather than random decoration. The shelf reads as intentional, not cluttered.
Selecting Sturdy Kitchen Shelves With Brackets For Heavy Tableware
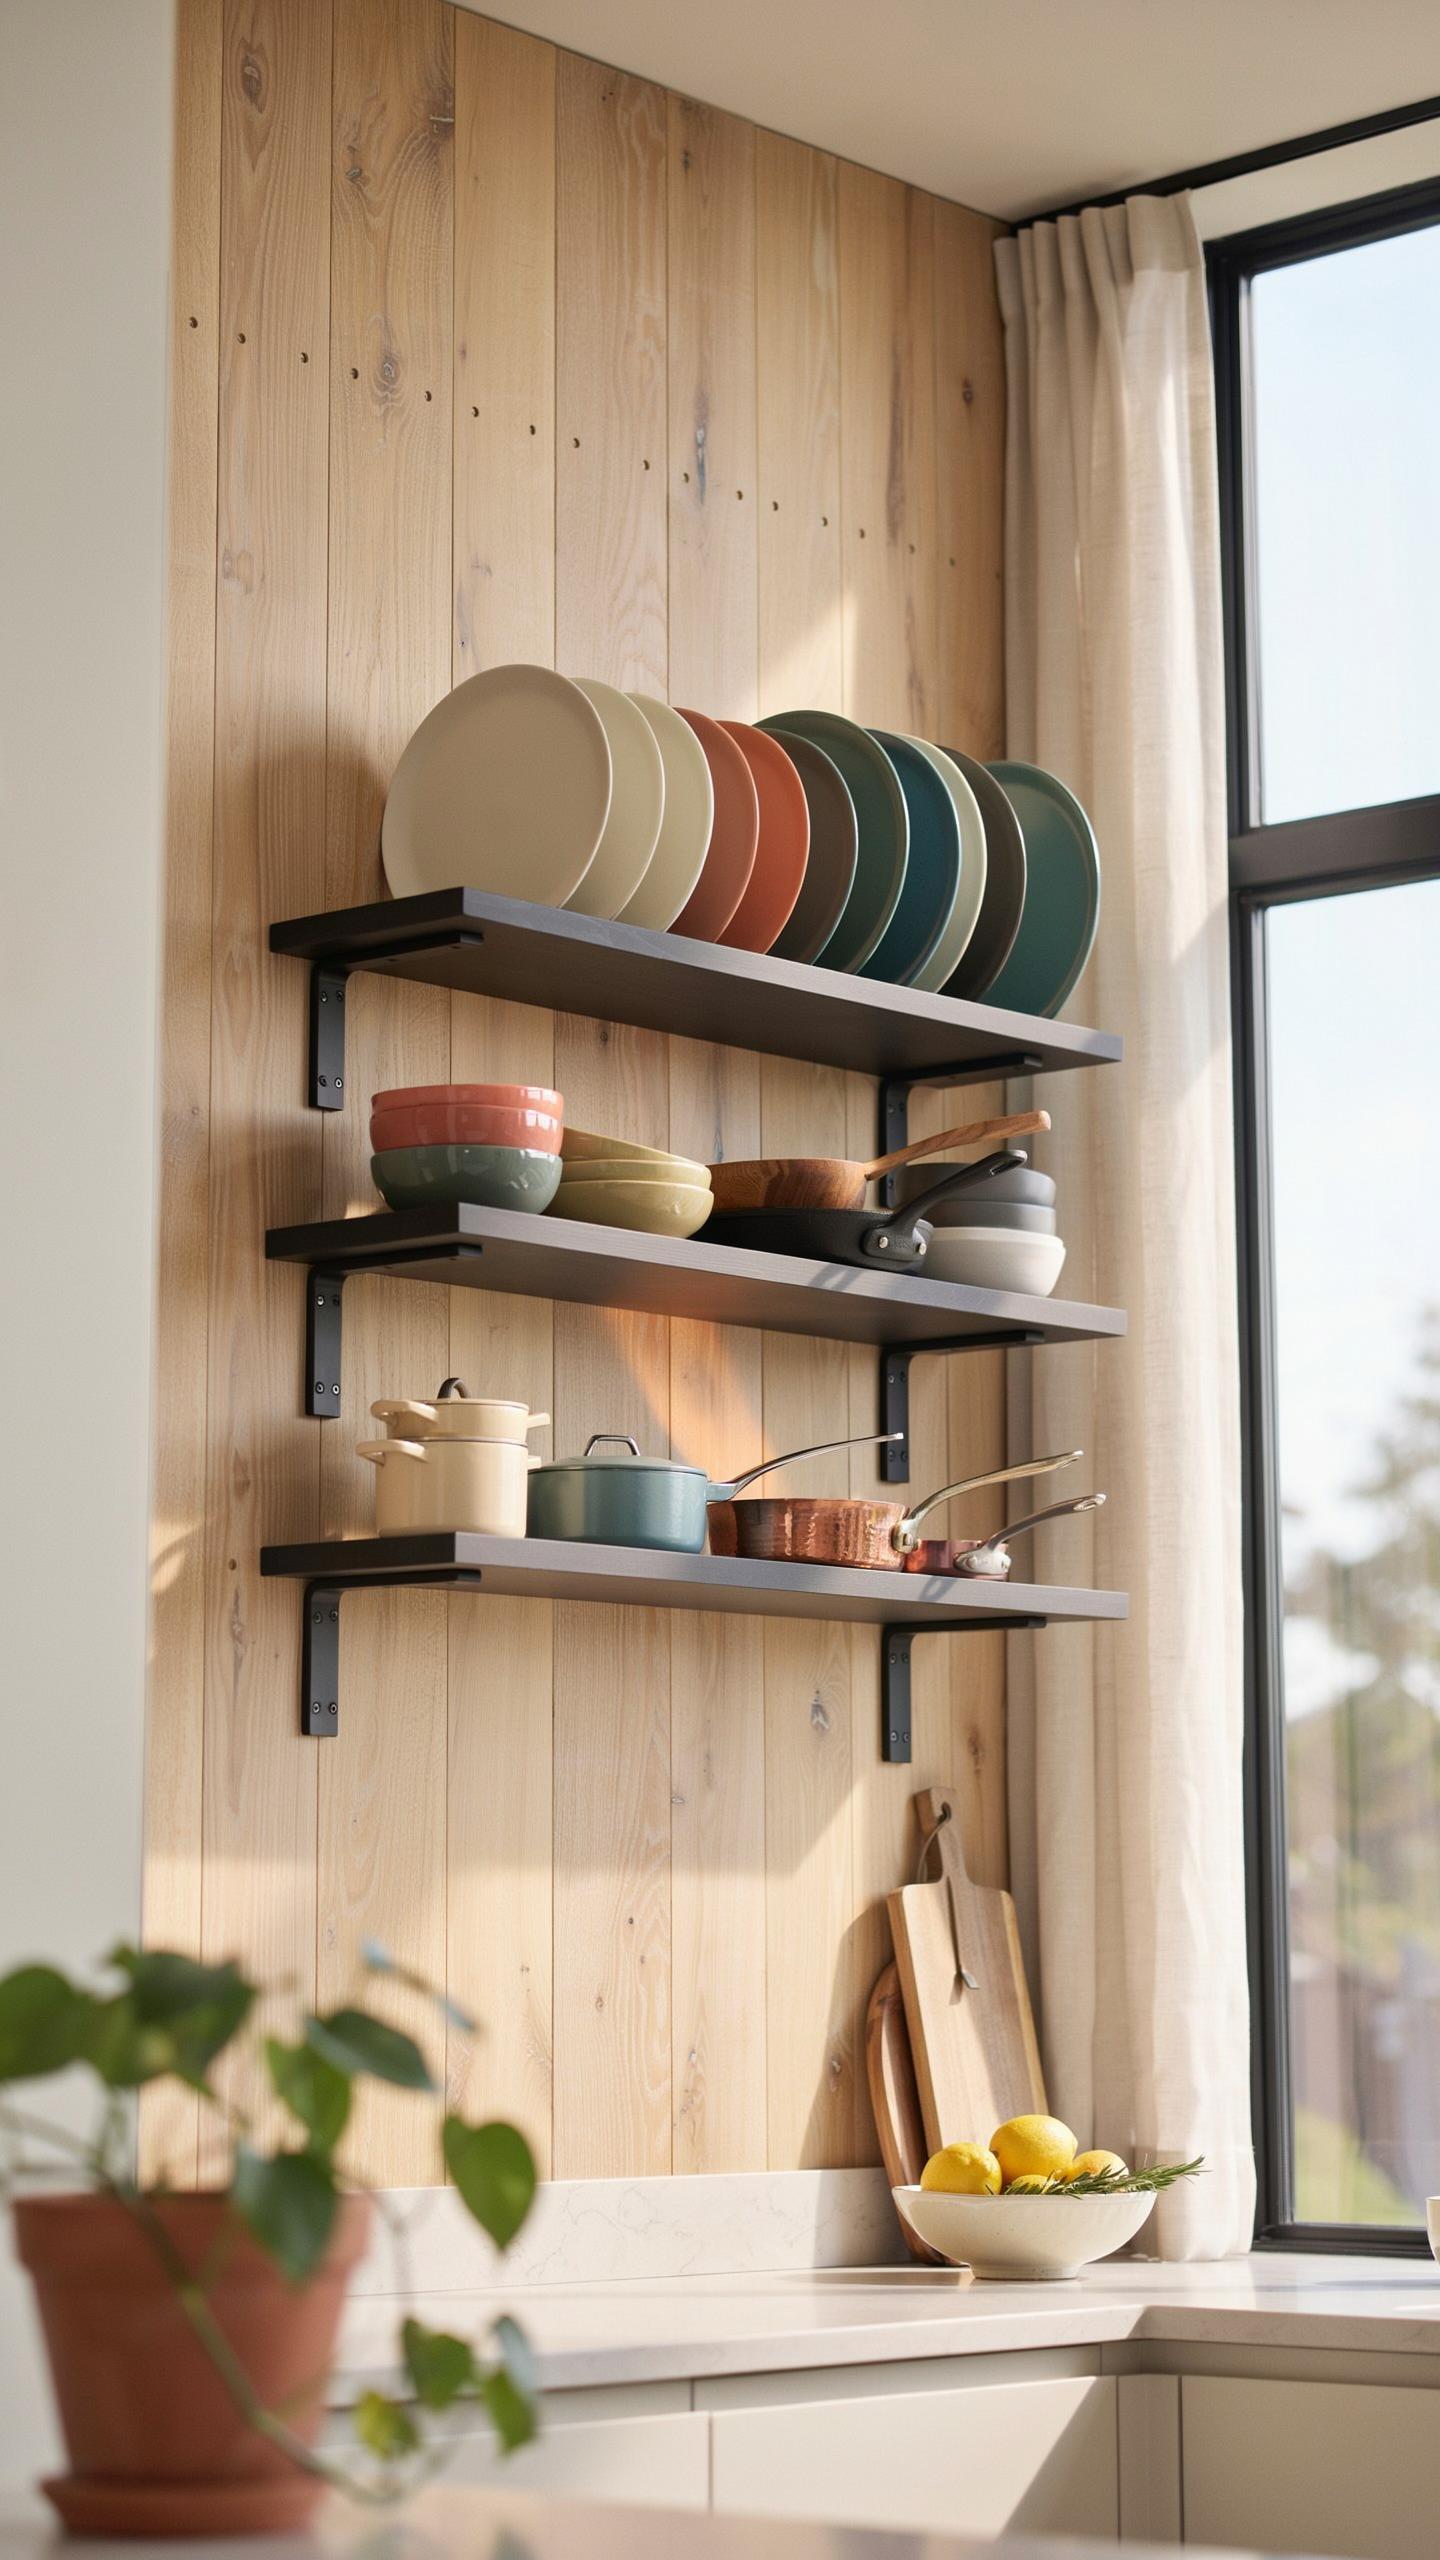
Forged Iron And Brass Hardware To Complete The Industrial Farmhouse Look
Forged iron brackets provide the structural foundation for open shelving in farmhouse kitchens. Blacksmiths traditionally shaped iron through heating and hammering, creating brackets with visible grain and weight capacity typically between 50 to 150 pounds per bracket depending on thickness and design. This method produces hardware that handles heavy dishware reliably while displaying authentic industrial character that defines the farmhouse aesthetic.
Brass hardware complements forged iron by adding warmth and contrast to kitchen shelving systems. Brass resists corrosion better than raw iron, making it practical for kitchen moisture exposure. Combining forged iron with brass accents creates visual interest while maintaining the utilitarian roots of farmhouse design. Both materials age visibly over time, developing patina that enhances rather than diminishes their appearance.
Proper Wall Stud Alignment And Weight Capacity Guidelines
Wall studs provide the only reliable anchor point for open shelving that holds heavy tableware and serving pieces. Standard wall framing in residential construction spaces studs 16 inches on center, though some older homes use 24-inch spacing. Locating studs requires a stud finder or the knock test method. Mounting brackets directly into studs distributes weight through the home’s structural frame rather than relying on drywall anchors alone.

Weight capacity depends on bracket design, fastener type, and shelf material thickness. Lag bolts or structural screws rated for wood framing provide superior holding power compared to standard drywall anchors. A single bracket anchored to one stud typically handles 50 to 100 pounds safely. Calculate total load by adding the shelf weight plus all items placed on it, then divide by the number of brackets to determine if your system meets requirements.
Creative Rustic Kitchen Shelving Ideas Inspired By Garden Sheds
Using Weathered Finishes And Live Edge Planks For Character
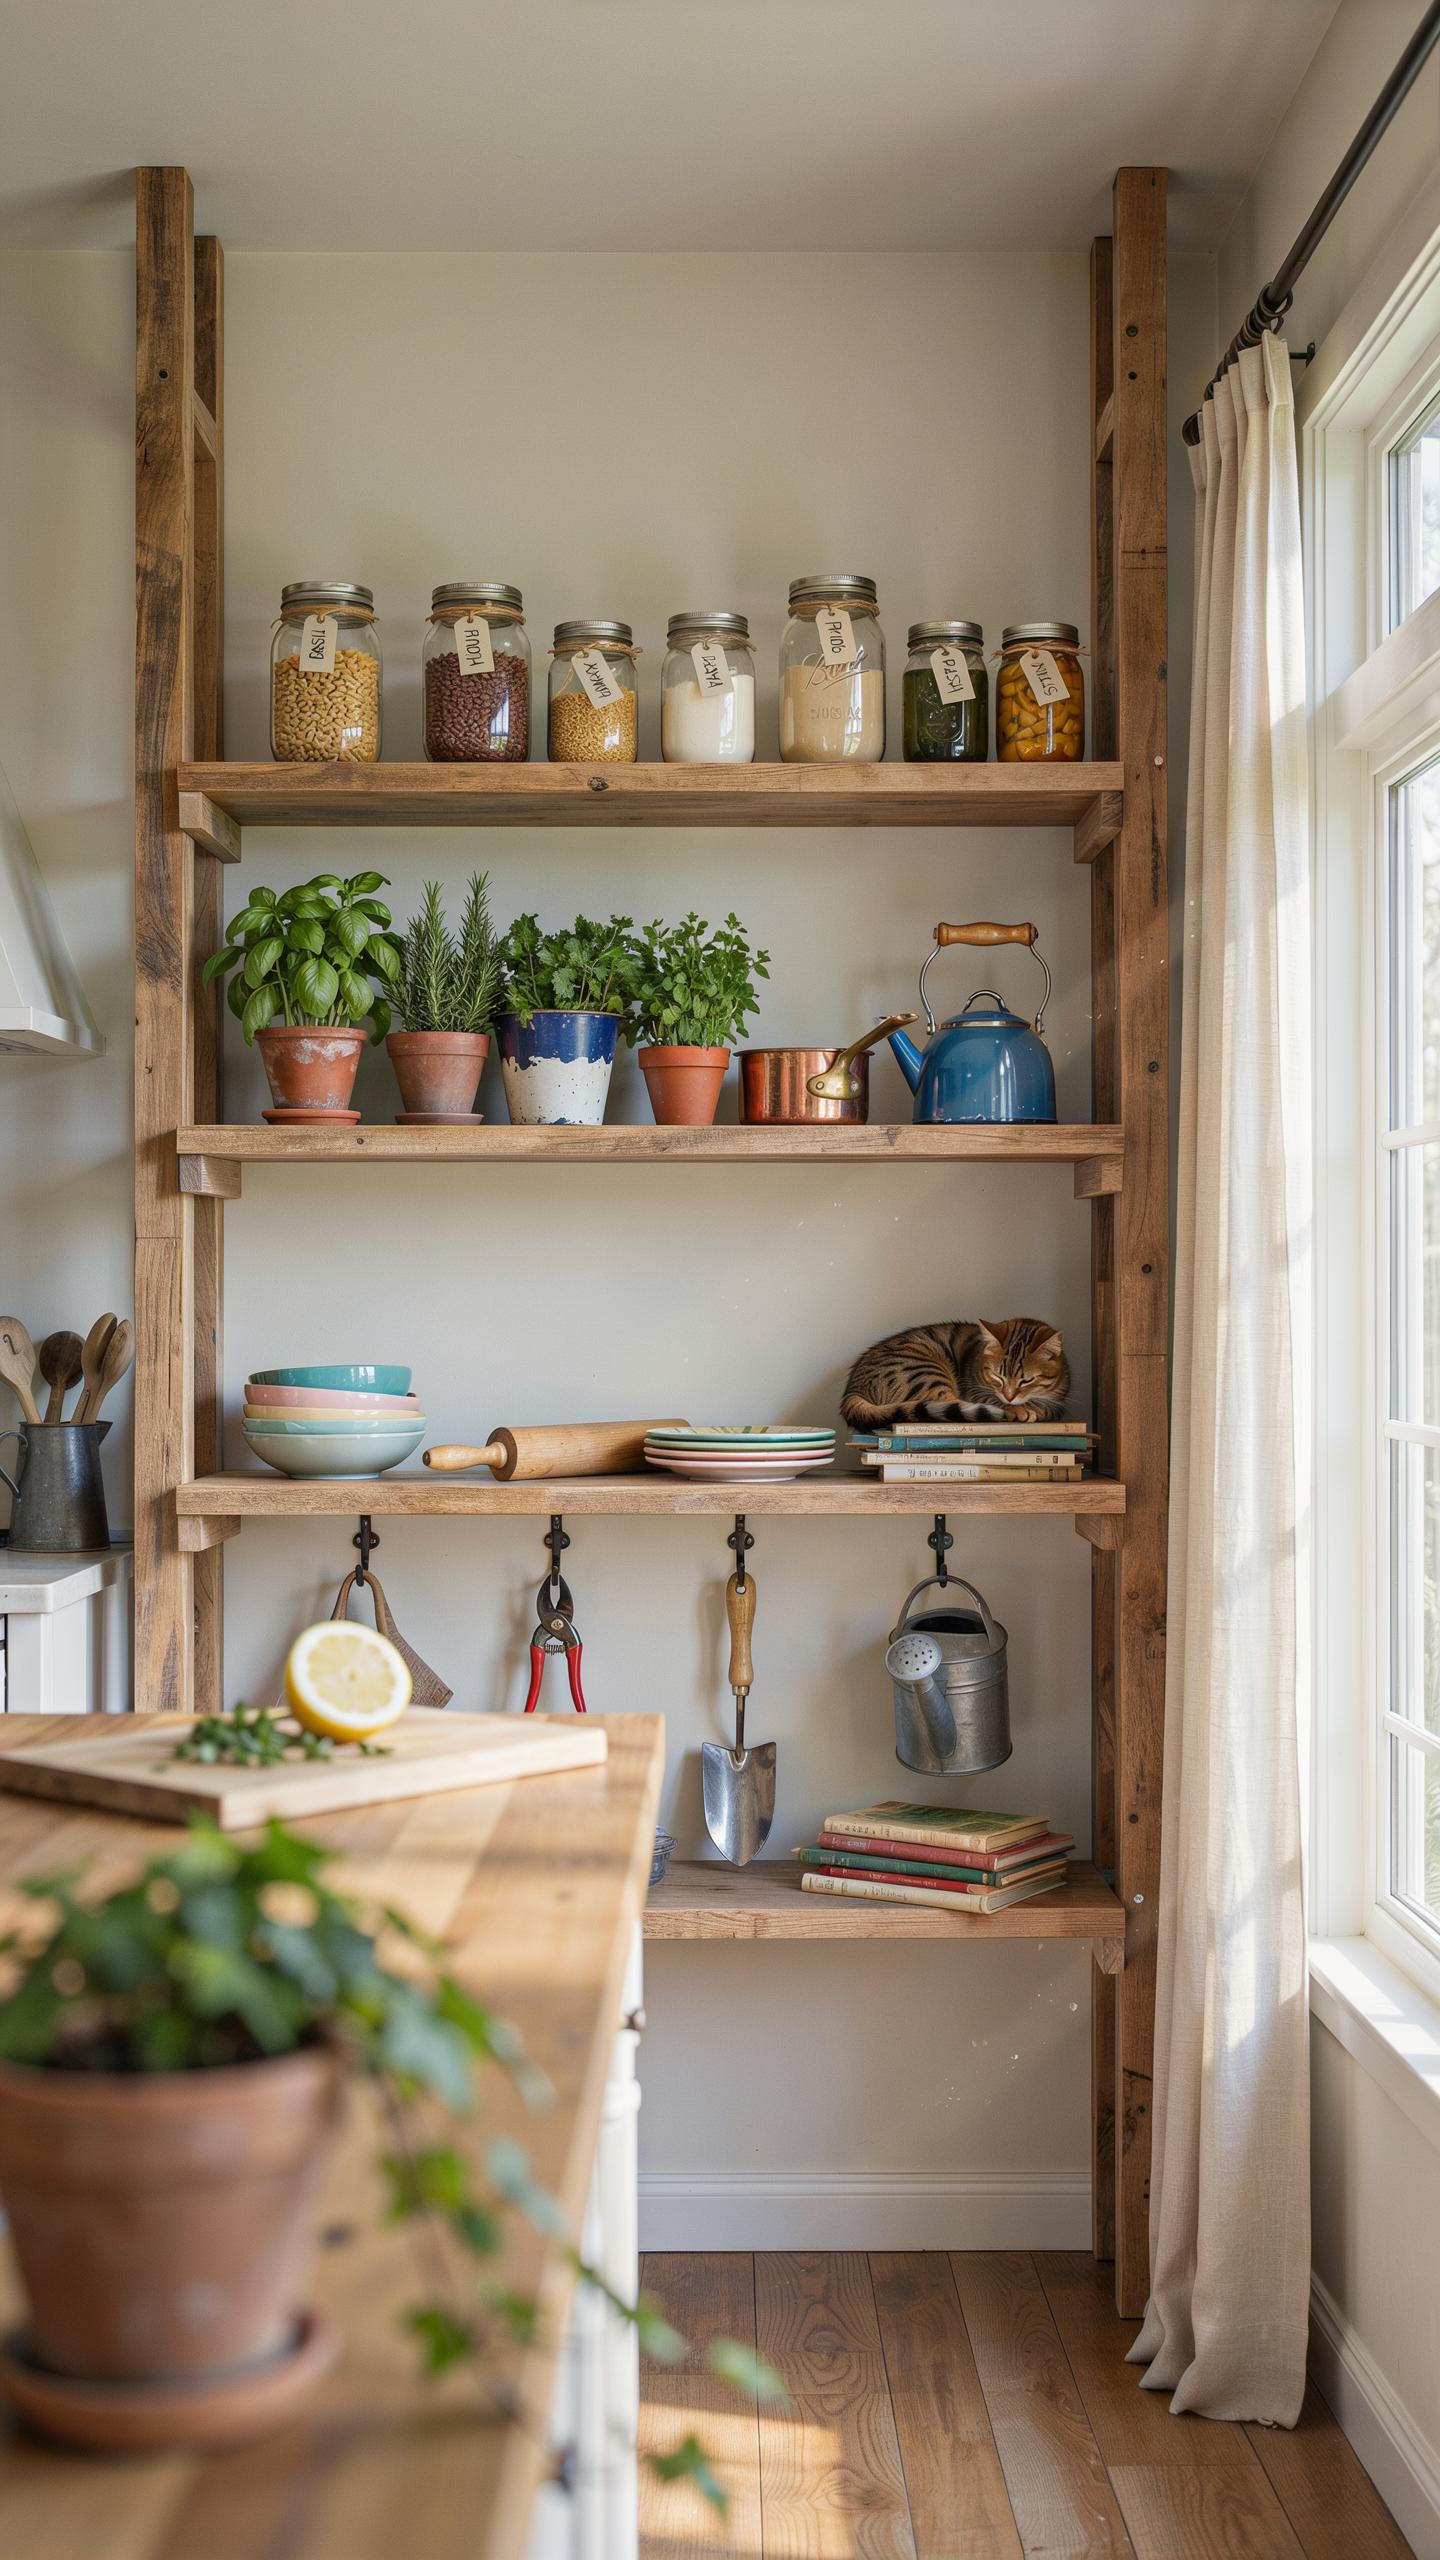
Weathered finishes signal authenticity in farmhouse design because they reflect actual use and time. Reclaimed wood develops patina through exposure to elements, UV light, and moisture. This natural aging process creates color variation and surface texture you cannot replicate with new materials. Live-edge planks preserve the raw tree edge, establishing a connection between interior kitchens and outdoor construction methods. This technique originated in rural barn conversions where salvaged timber became functional shelving.
Live-edge shelving performs a specific function in farmhouse kitchens. The irregular outer edge breaks the monotony of straight lines while maintaining structural integrity. Install live-edge planks at standard 12-16 inch depths to support everyday dishware and glassware without sagging. The wood grain and natural knots become focal points that draw the eye upward, making modest kitchen spaces feel larger. Support brackets must remain visible to enhance the industrial farmhouse aesthetic rather than hide behind trim.
Incorporating Handwoven Wicker Baskets For Organic Under Shelf Storage
Handwoven wicker baskets function as practical storage while maintaining the farmhouse visual language. Wicker construction allows airflow around stored items, preventing moisture accumulation in enclosed kitchen spaces. The natural fiber color complements both painted and stained wood shelving. Baskets contain dry goods, linens, and small appliances while keeping clutter off open surfaces. This storage method traces back to rural kitchen organization before cabinets became standard.
Sizing matters when selecting wicker baskets for under-shelf storage. Measure your shelf depth and the space between shelves before purchasing. Most handwoven baskets range from 12 to 18 inches wide and accommodate standard 10-14 inch shelf heights. Position baskets at eye level or lower for frequently accessed items like cookbooks or bulk ingredients. Quality wicker withstands kitchen humidity better than wire or plastic alternatives when constructed from natural materials like rattan or seagrass.
Engineering Sleek Farmhouse Floating Shelves Kitchen Installations
The Mechanics Of Internal Steel Floating Shelf Brackets
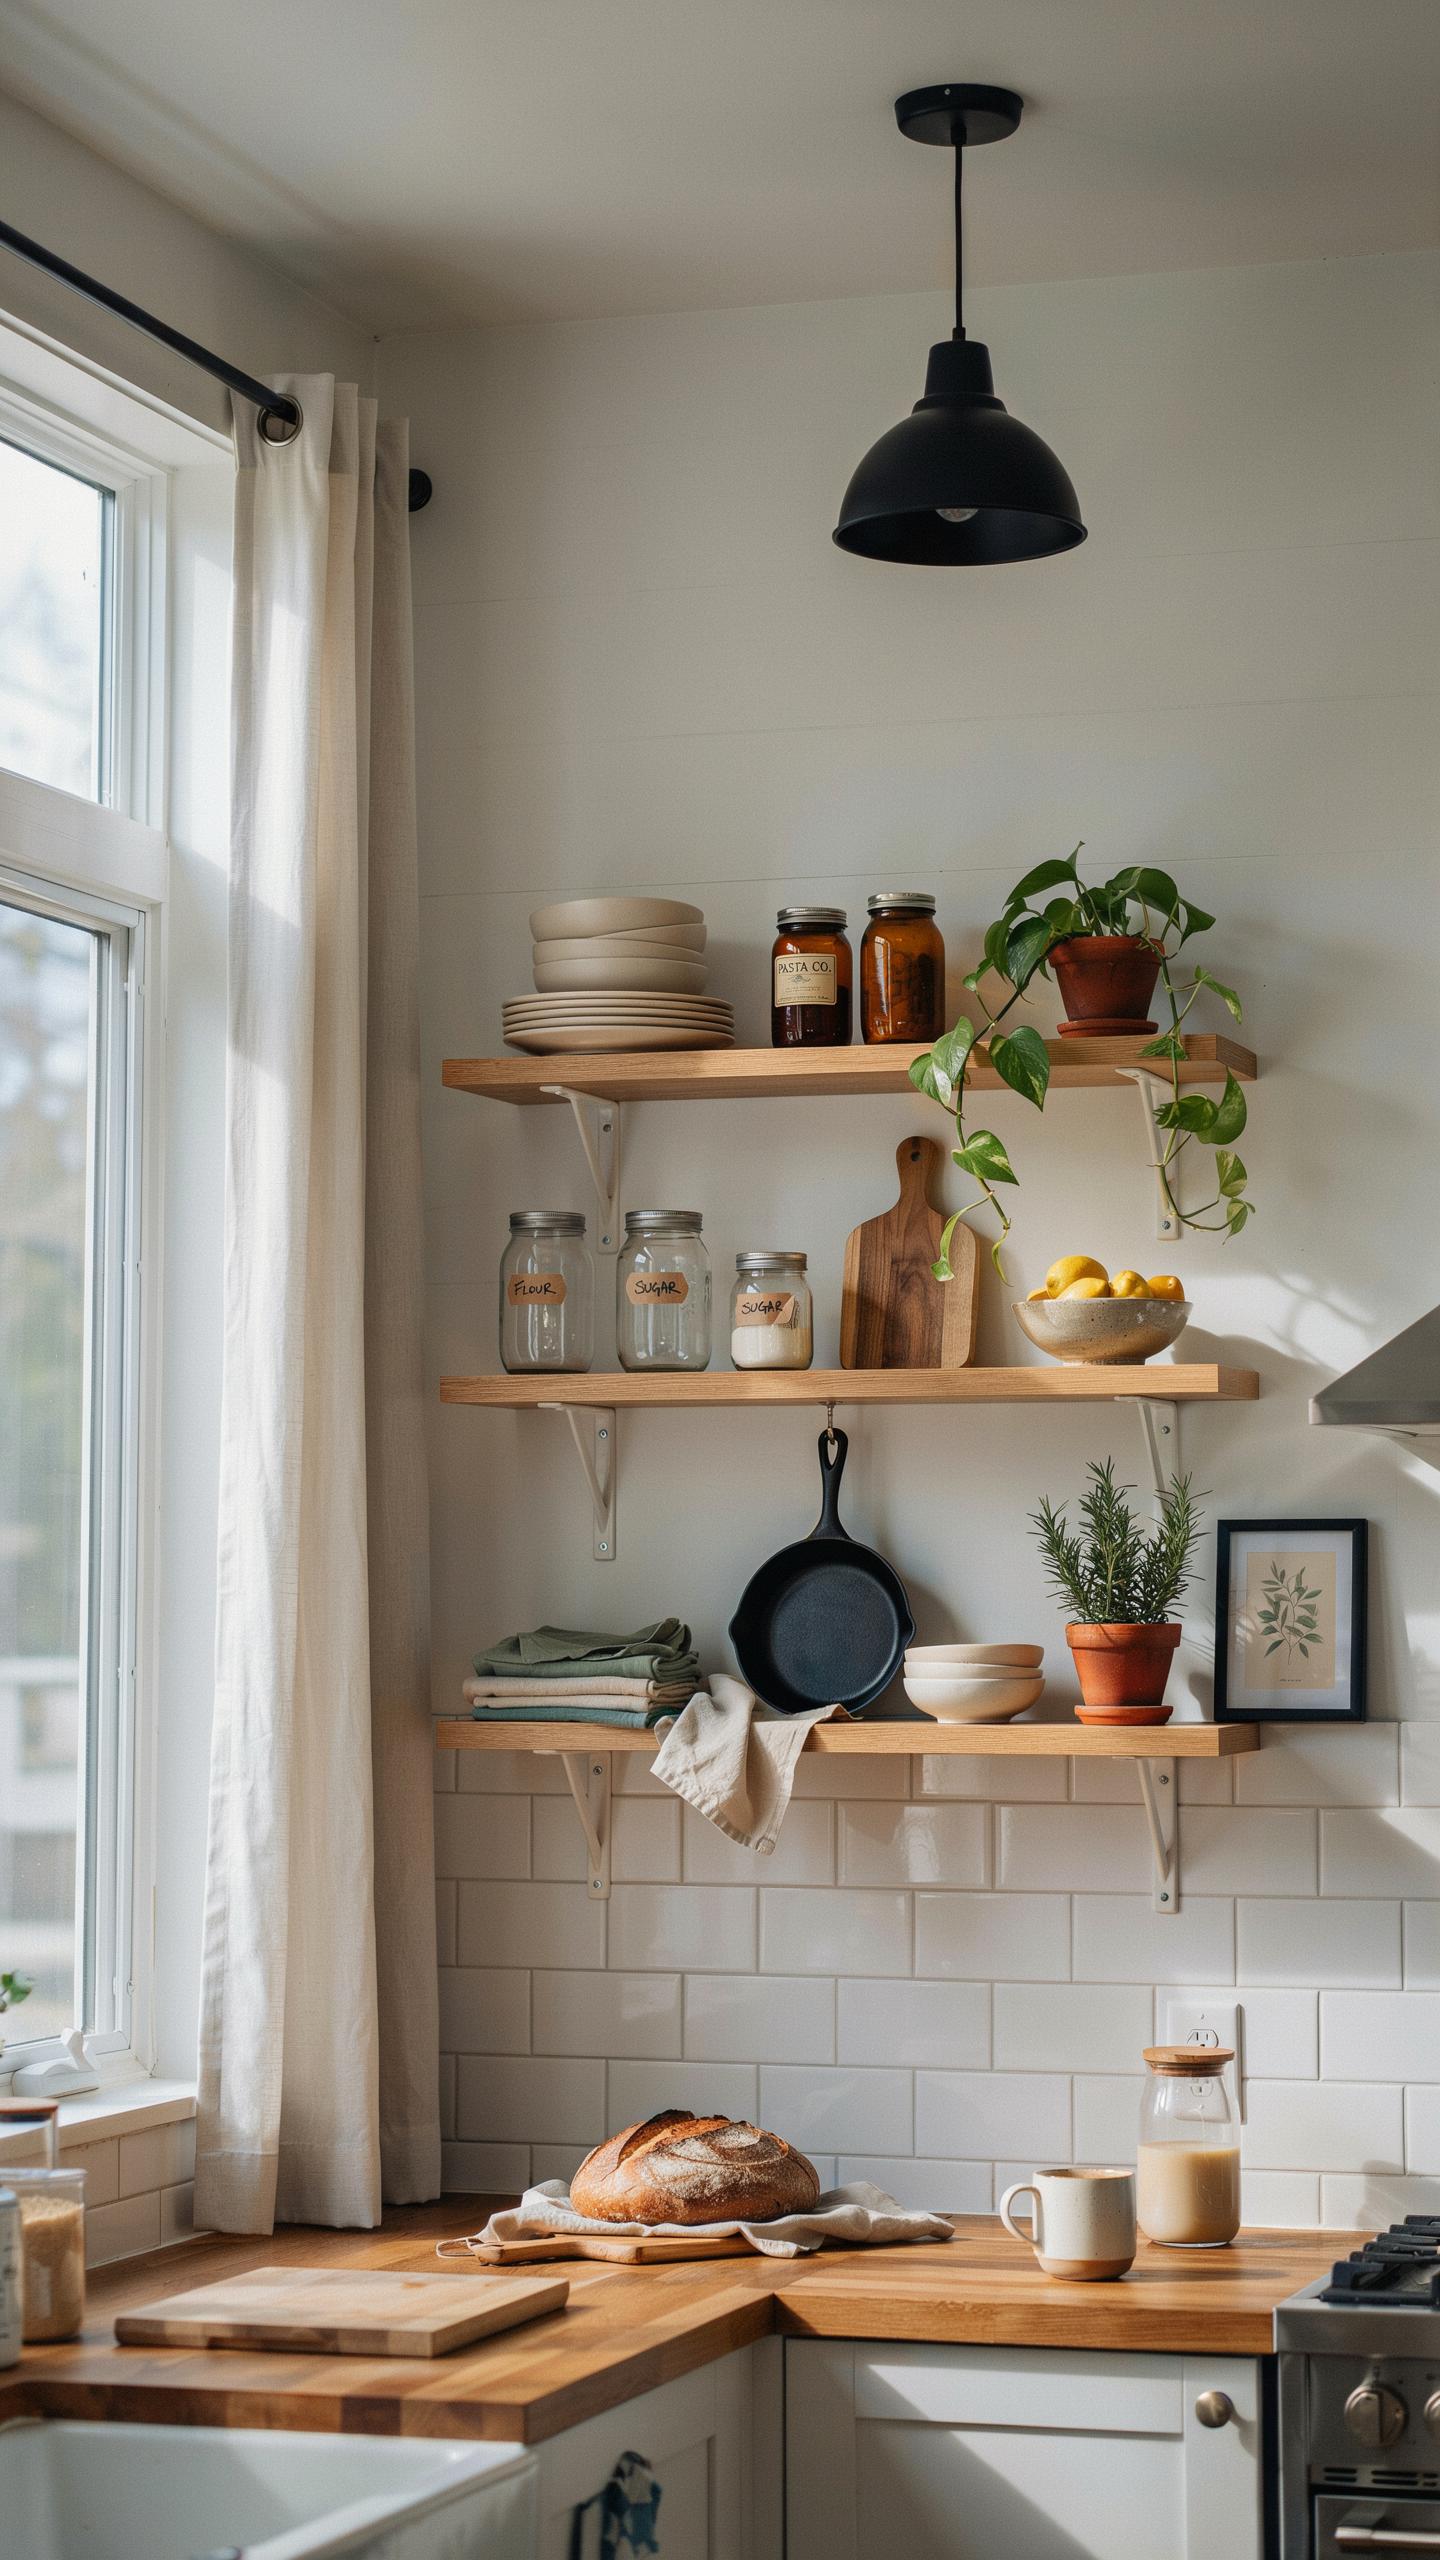
Floating shelf brackets hide inside the wall, anchored directly into wall studs or with heavy-duty toggle bolts for drywall applications. Steel brackets come in two main types: L-shaped supports that run perpendicular to the wall and rod-based systems that insert into the shelf’s underside. Load capacity depends on bracket material, stud spacing, and fastener quality. Standard L-brackets handle 25 to 50 pounds per shelf when properly installed into studs. Rod systems typically support 30 to 60 pounds depending on rod diameter and material thickness.
Installation requires locating studs with a stud finder, then drilling pilot holes and securing brackets with lag bolts or structural screws. The shelf itself sits on top of or slides over the bracket system. Proper alignment matters. Uneven brackets create shelves that slope, causing dishes and decor to shift. Use a level during installation. Remove brackets if they bend or show rust, as they lose structural integrity over time. Replacement is cheaper than a kitchen accident.
Let your kitchen breathe by displaying what you love on open shelves that bridge the gap between your home and the natural world. True style is found when we invite the sunlight and the simplicity of the outdoors into the heart of our daily gatherings.
Achieving A Seamless Backsplit To Shelf Transition With Floating Timber
Timber shelves in farmhouse kitchens require a clean junction where they meet the backsplash. Start by securing the backsplash material first, whether tile, shiplap, or paint. Measure shelf depth from the backsplash face outward to determine how far the timber extends into the kitchen space. This measurement drives bracket placement and ensures the shelf sits flush against the backsplash without gaps or shadows.

Caulk or grout fills minor gaps between the shelf edge and backsplash. For tile backsplashes, use matching grout color. For painted or shiplap walls, use paintable caulk that matches the wall finish. Sand the timber shelf edge smooth and round it slightly before installation to catch light evenly and hide dust buildup in corners. This transition detail separates amateur installations from professional ones.
Curating Your Display Creative Shelf In Kitchen Ideas
Essential Kitchen Items Worth Styling On Your Open Ledgers
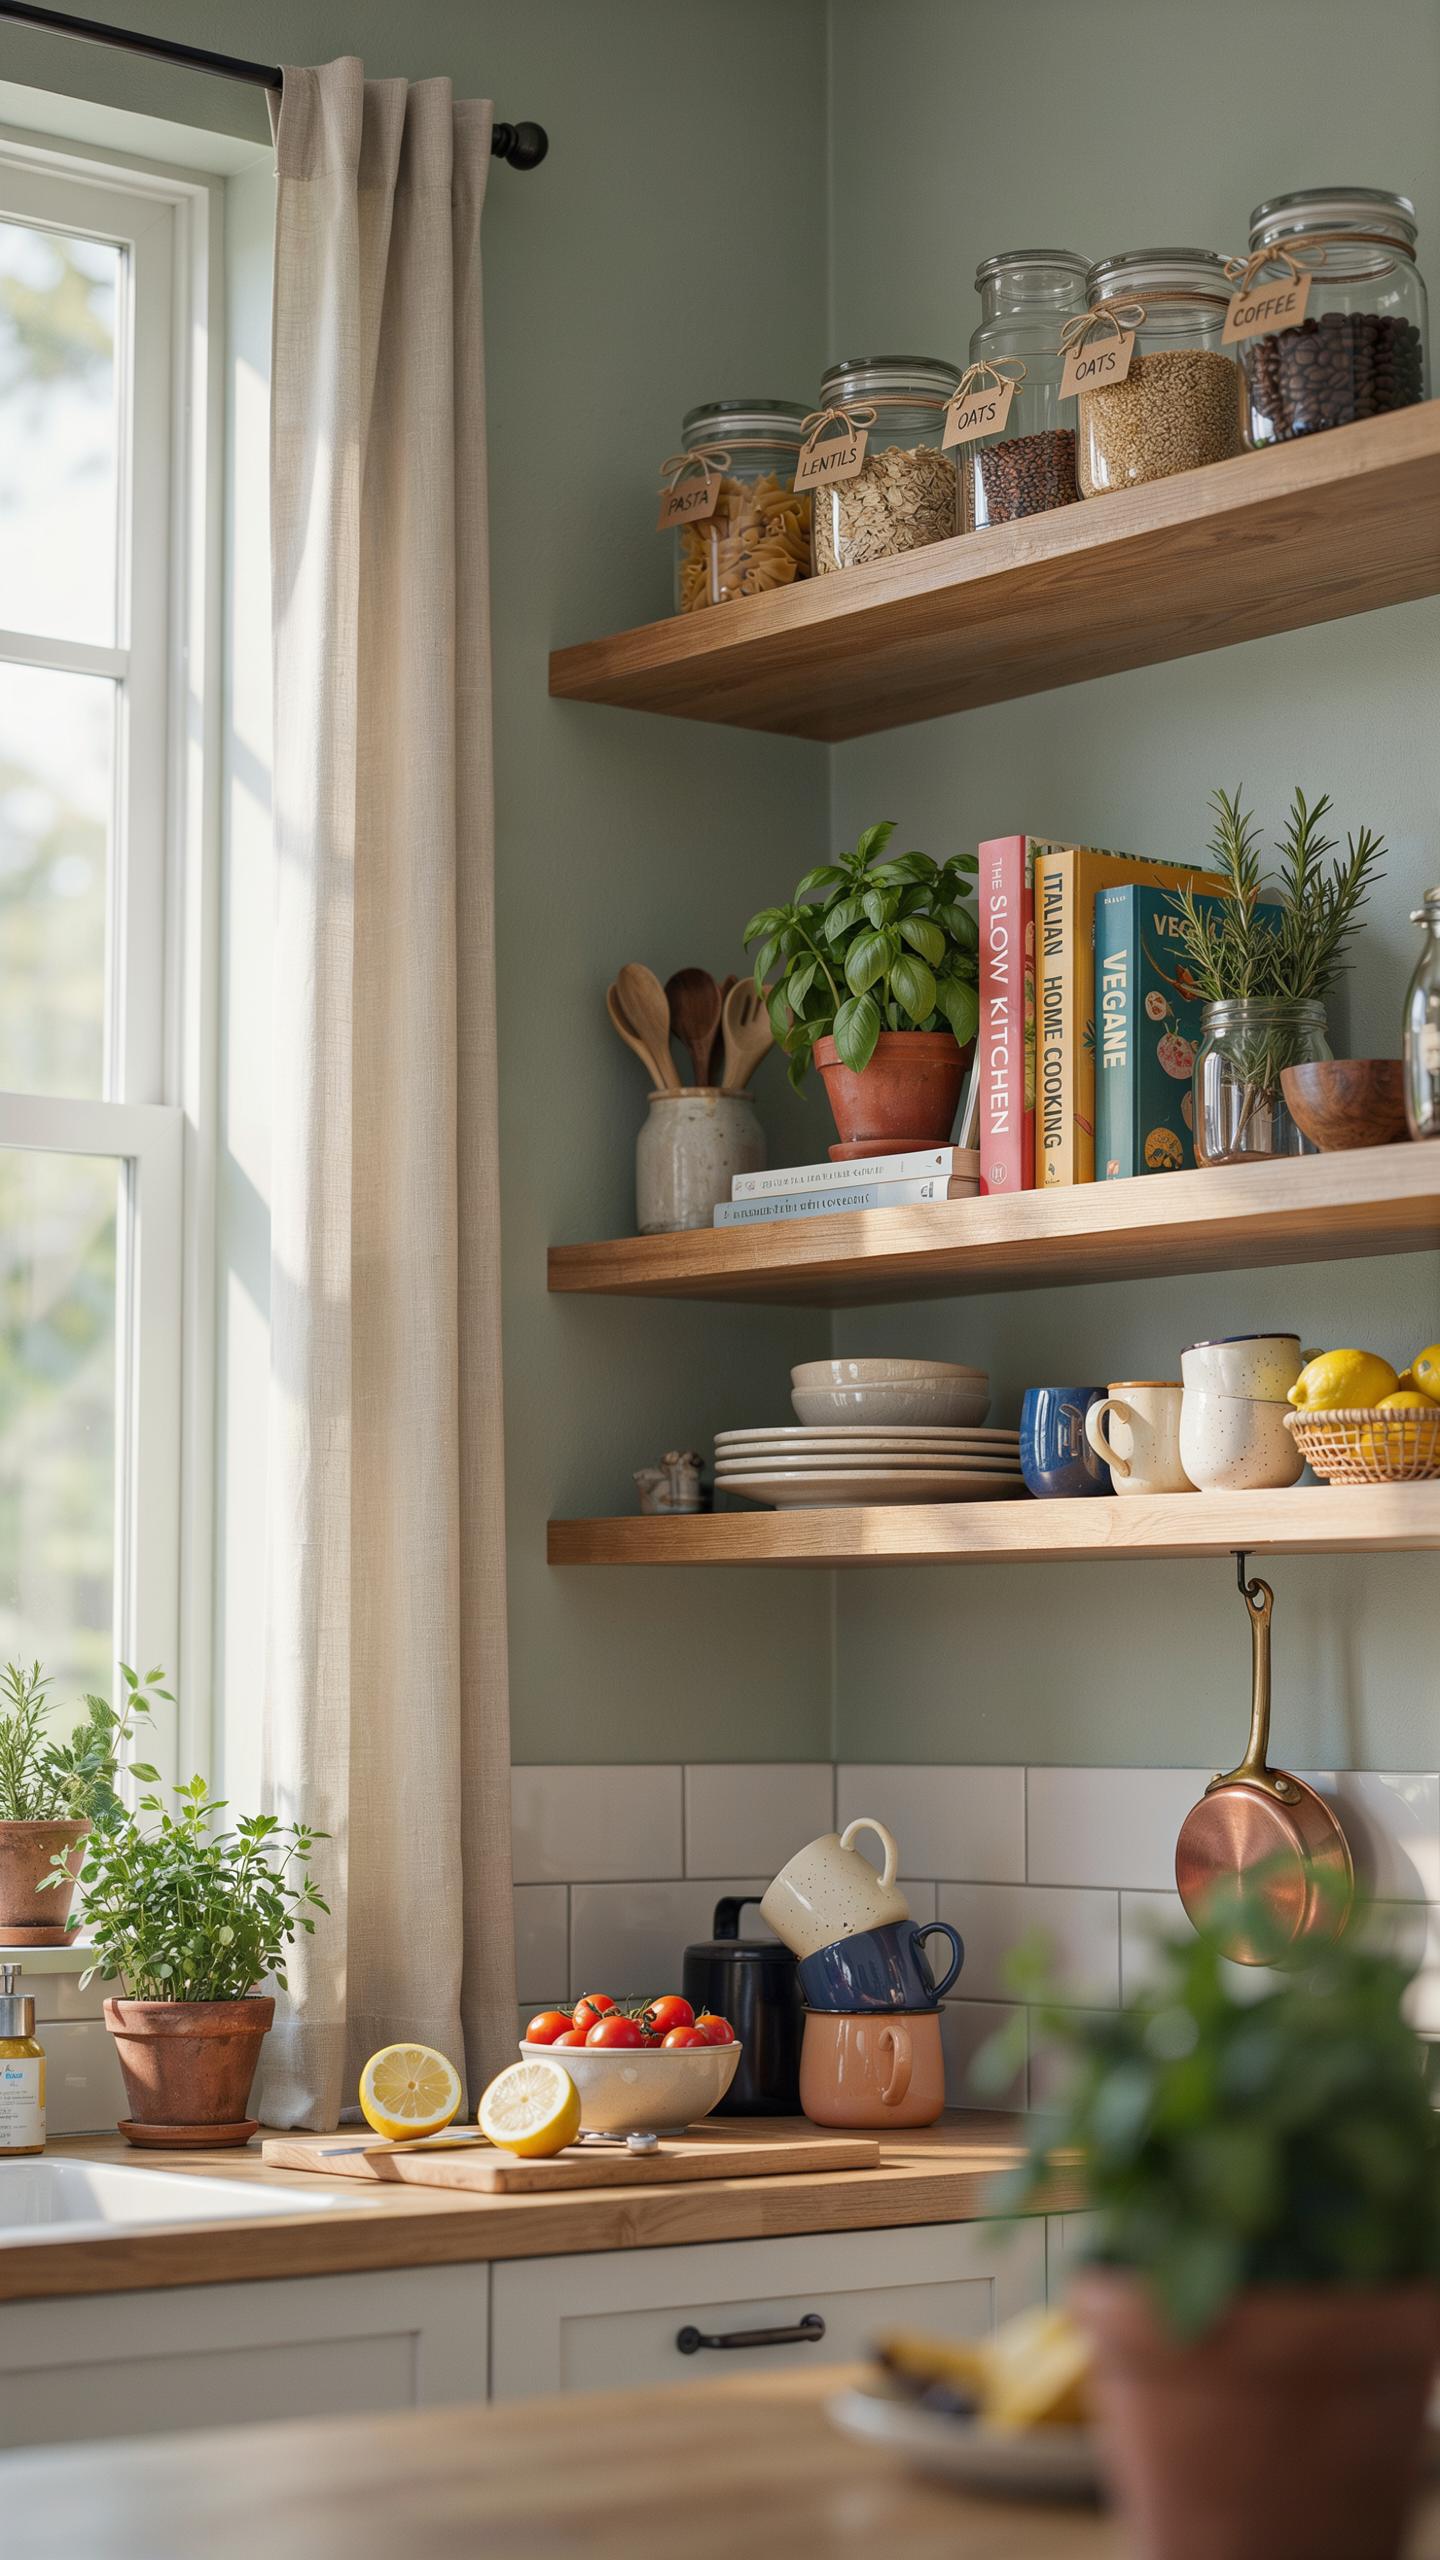
Open shelves work best when you display items you actually use. This approach solves a core problem: farmhouse kitchens need function and aesthetics working together. Styling only decorative objects wastes prime real estate. Instead, choose pieces that serve daily purposes while looking intentional on display.
- Ceramic bowls and serving dishes: Stack neutral tones in varying heights. Ceramics anchor farmhouse style because they reference traditional pottery and handmade craftsmanship rooted in agrarian kitchens.
- Glass jars and canisters: Store dry goods like flour, sugar, and pasta. Transparent containers let you see contents while maintaining clean lines. Label them for clarity and visual organization.
- Cast iron cookware: Hang or display pieces you cook with regularly. Cast iron connects to farmhouse heritage and improves with age, creating authentic character that photographs well.
- Wooden cutting boards and utensils: Lean boards vertically or hang utensils on hooks. Wood tones warm the space and reference farm-to-table kitchen traditions without feeling forced.
- Open cookbooks: Stand open volumes or prop them upright between bookends. Cookbooks indicate an active kitchen and add texture. Select versions with visible spines that match your color palette.
Select items that appear regularly on your countertop anyway. This strategy prevents shelves from looking staged or unused. Rotate pieces quarterly to keep the display fresh without requiring complete redesigns.
How To Rotate Decorative Cookware Seasonally For Fresh Appeal
Seasonal rotation refreshes open shelving without major investments or structural changes. Summer calls for lighter ceramics and glass, while cooler months accommodate warmer earth tones and darker pieces. This tactical shift aligns your kitchen with natural seasonal transitions that humans instinctively recognize.
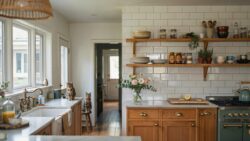
Plan rotations around holidays and season changes. Store off-season items in cabinets below or in a pantry closet. This method keeps shelves curated instead of cluttered while preserving pieces that don’t suit current displays. Rotate every eight to twelve weeks for noticeable impact without constant rearranging.
Merging Modern Farmhouse Shelves With High Contrast Wall Tiles
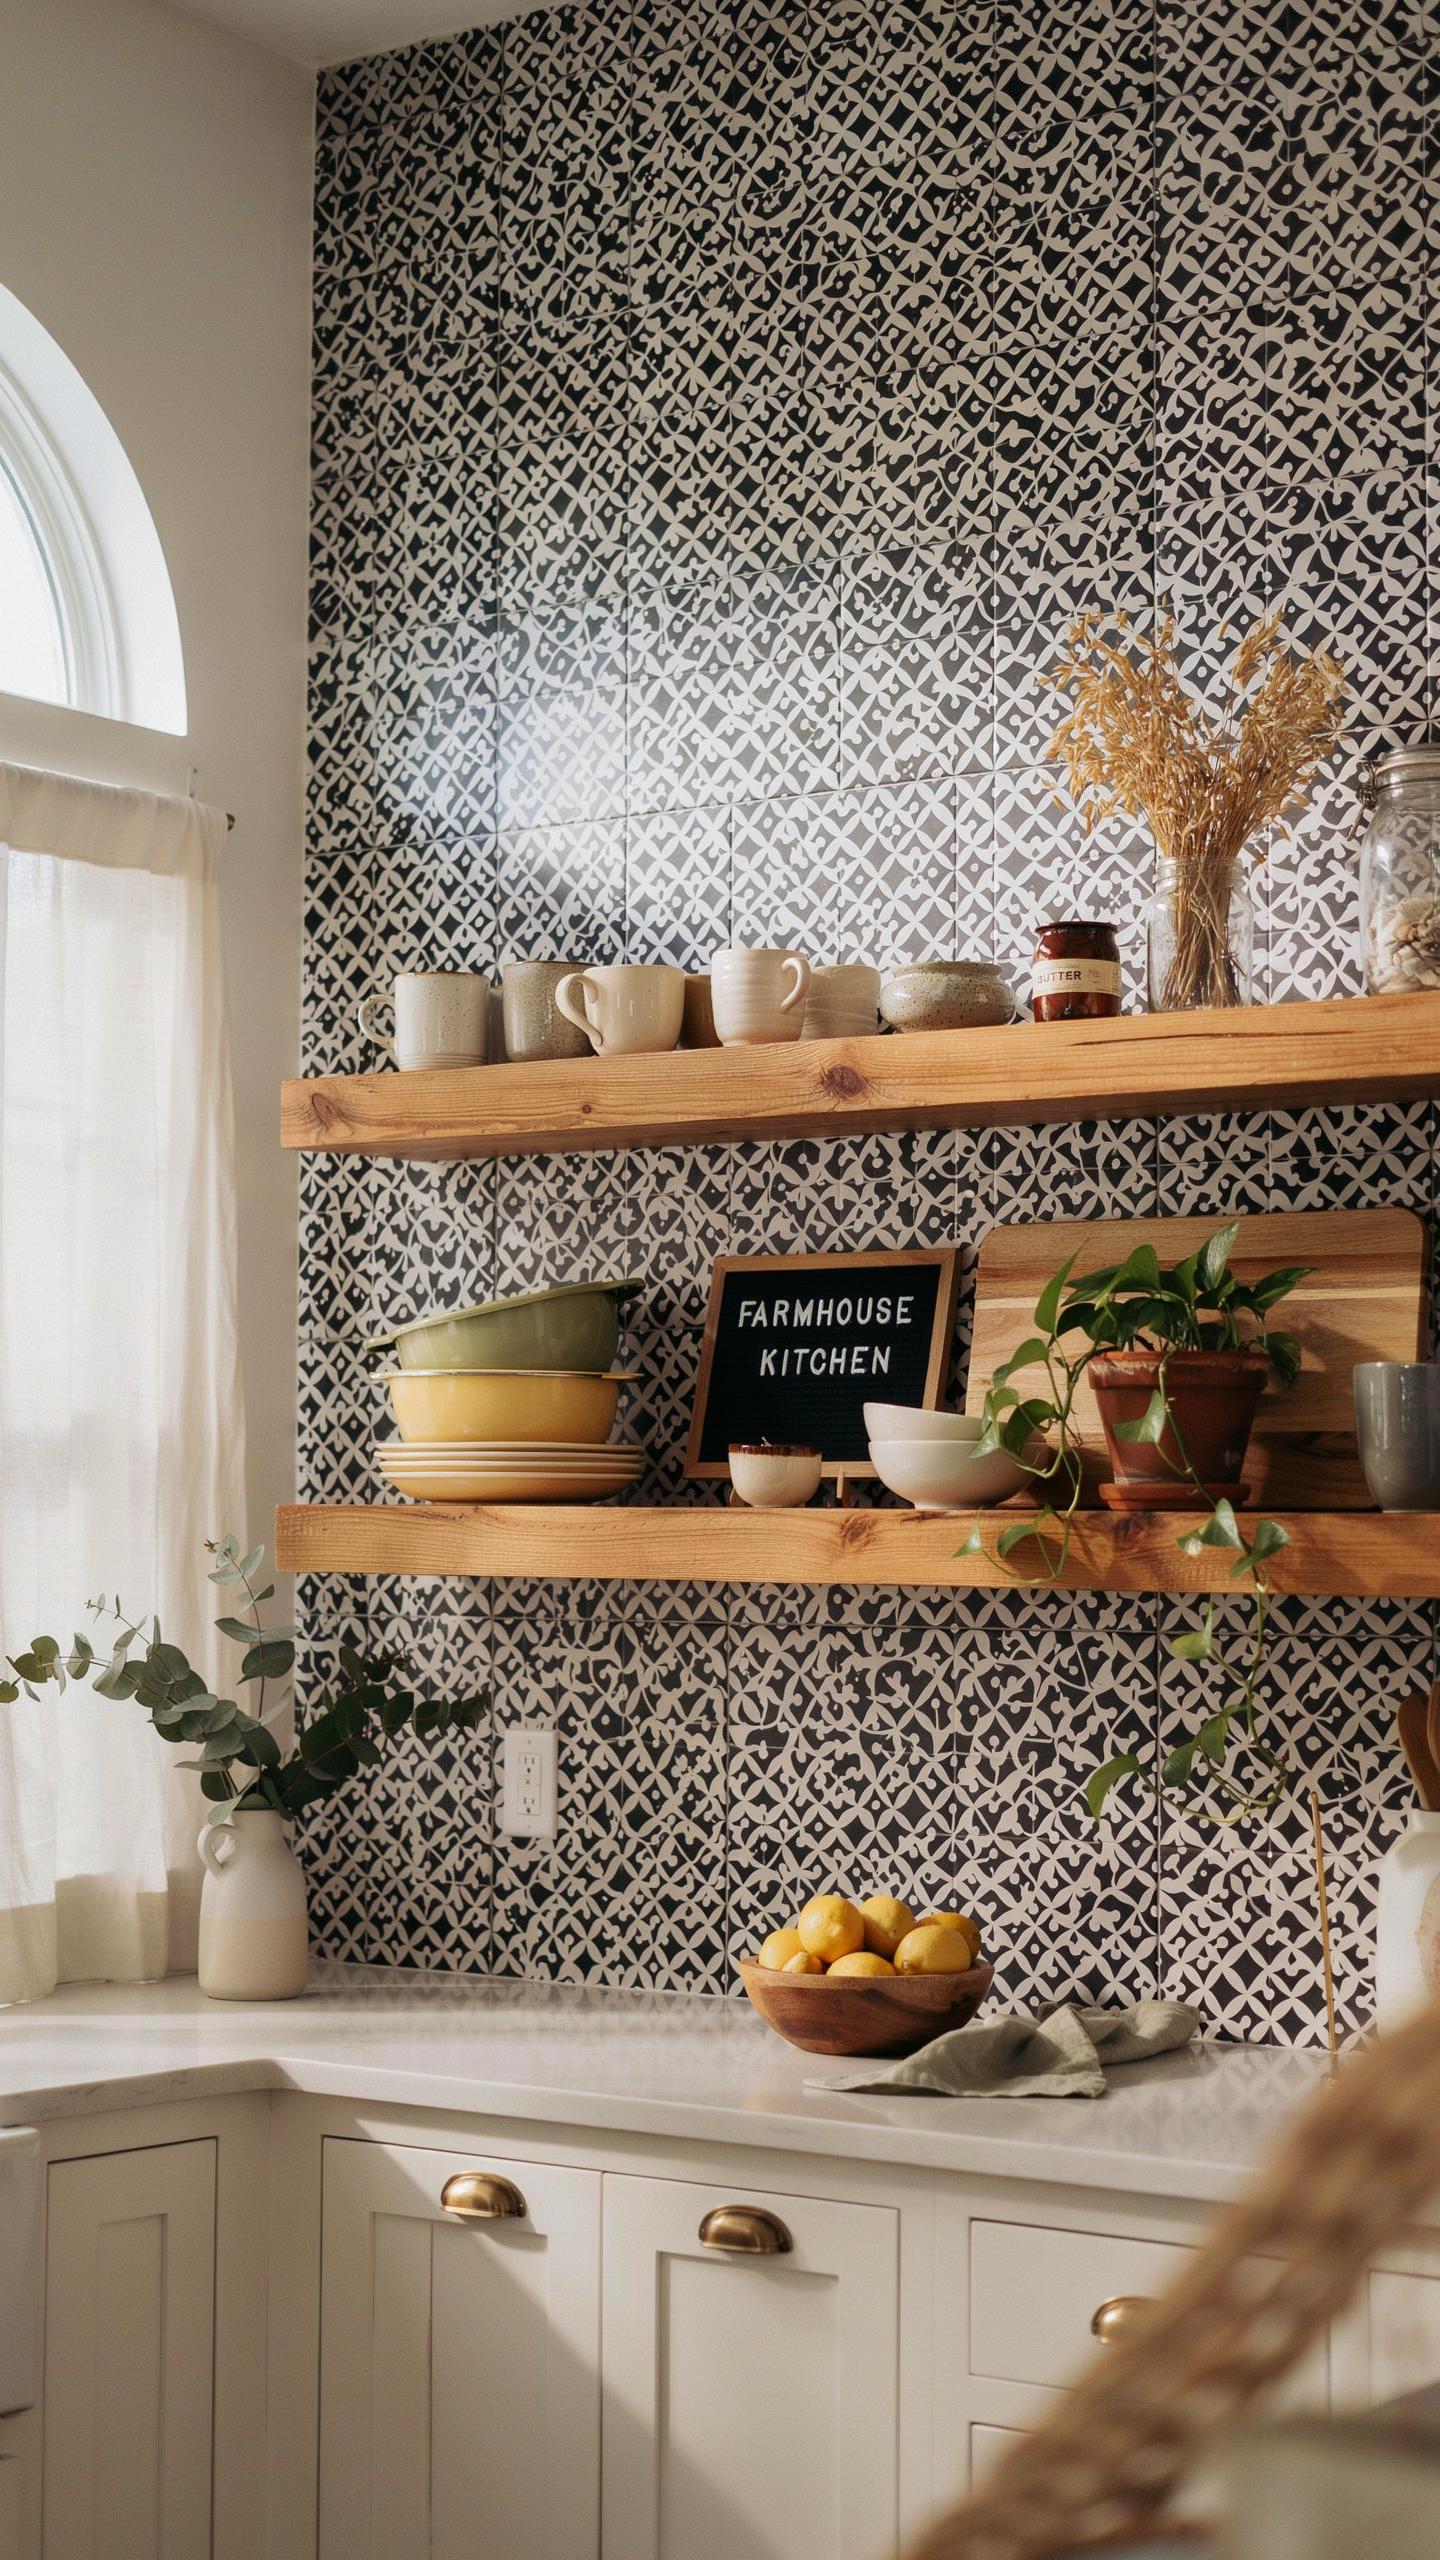
Contrasting Warm Wood Textures Against White Handcrafted Subway Tiles Zellige
Warm wood shelving creates visual weight that needs counterbalance. White zellige tiles provide that contrast without competing for attention. Zellige tiles feature uneven surfaces and slight color variations, which adds depth. This pairing works because the tiles recede while wood shelving advances forward. The wood grain becomes the focal point when tiles stay neutral and matte.
Install open shelving at least six inches from tile surfaces. This gap prevents moisture damage to wood and maintains the contrast between materials. Dark grout lines between zellige tiles emphasize the tile pattern, so keep shelves far enough to avoid visual collision. The contrast only works when each material has breathing room. Overlapping these elements destroys the strategic separation you need.
Picking The Perfect Neutral Paint Palettes To Make Your Shelving Pop
Paint surrounding walls in soft white, warm gray, or cream to frame open shelving effectively. These neutral backgrounds let wood and tile compete for visual interest without wall color interfering. Avoid stark whites if your tiles are already pure white, as this flattens the space. Warm grays add subtle depth without introducing competing tones. The wall becomes a canvas that supports your shelving, not a distraction from it.
Test paint samples on your walls under natural and artificial light before committing. Lighting changes how neutrals read throughout the day. Morning light reveals cool undertones while evening light exposes warm undertones in the same paint. Matte finishes on walls reduce glare and emphasize shelf styling, while semi gloss works for trim framing shelves. The right neutral palette makes your farmhouse kitchen decor open shelving the clear design anchor.
Ensuring Longevity And Care For Farmhouse Kitchen Decor Open Shelving
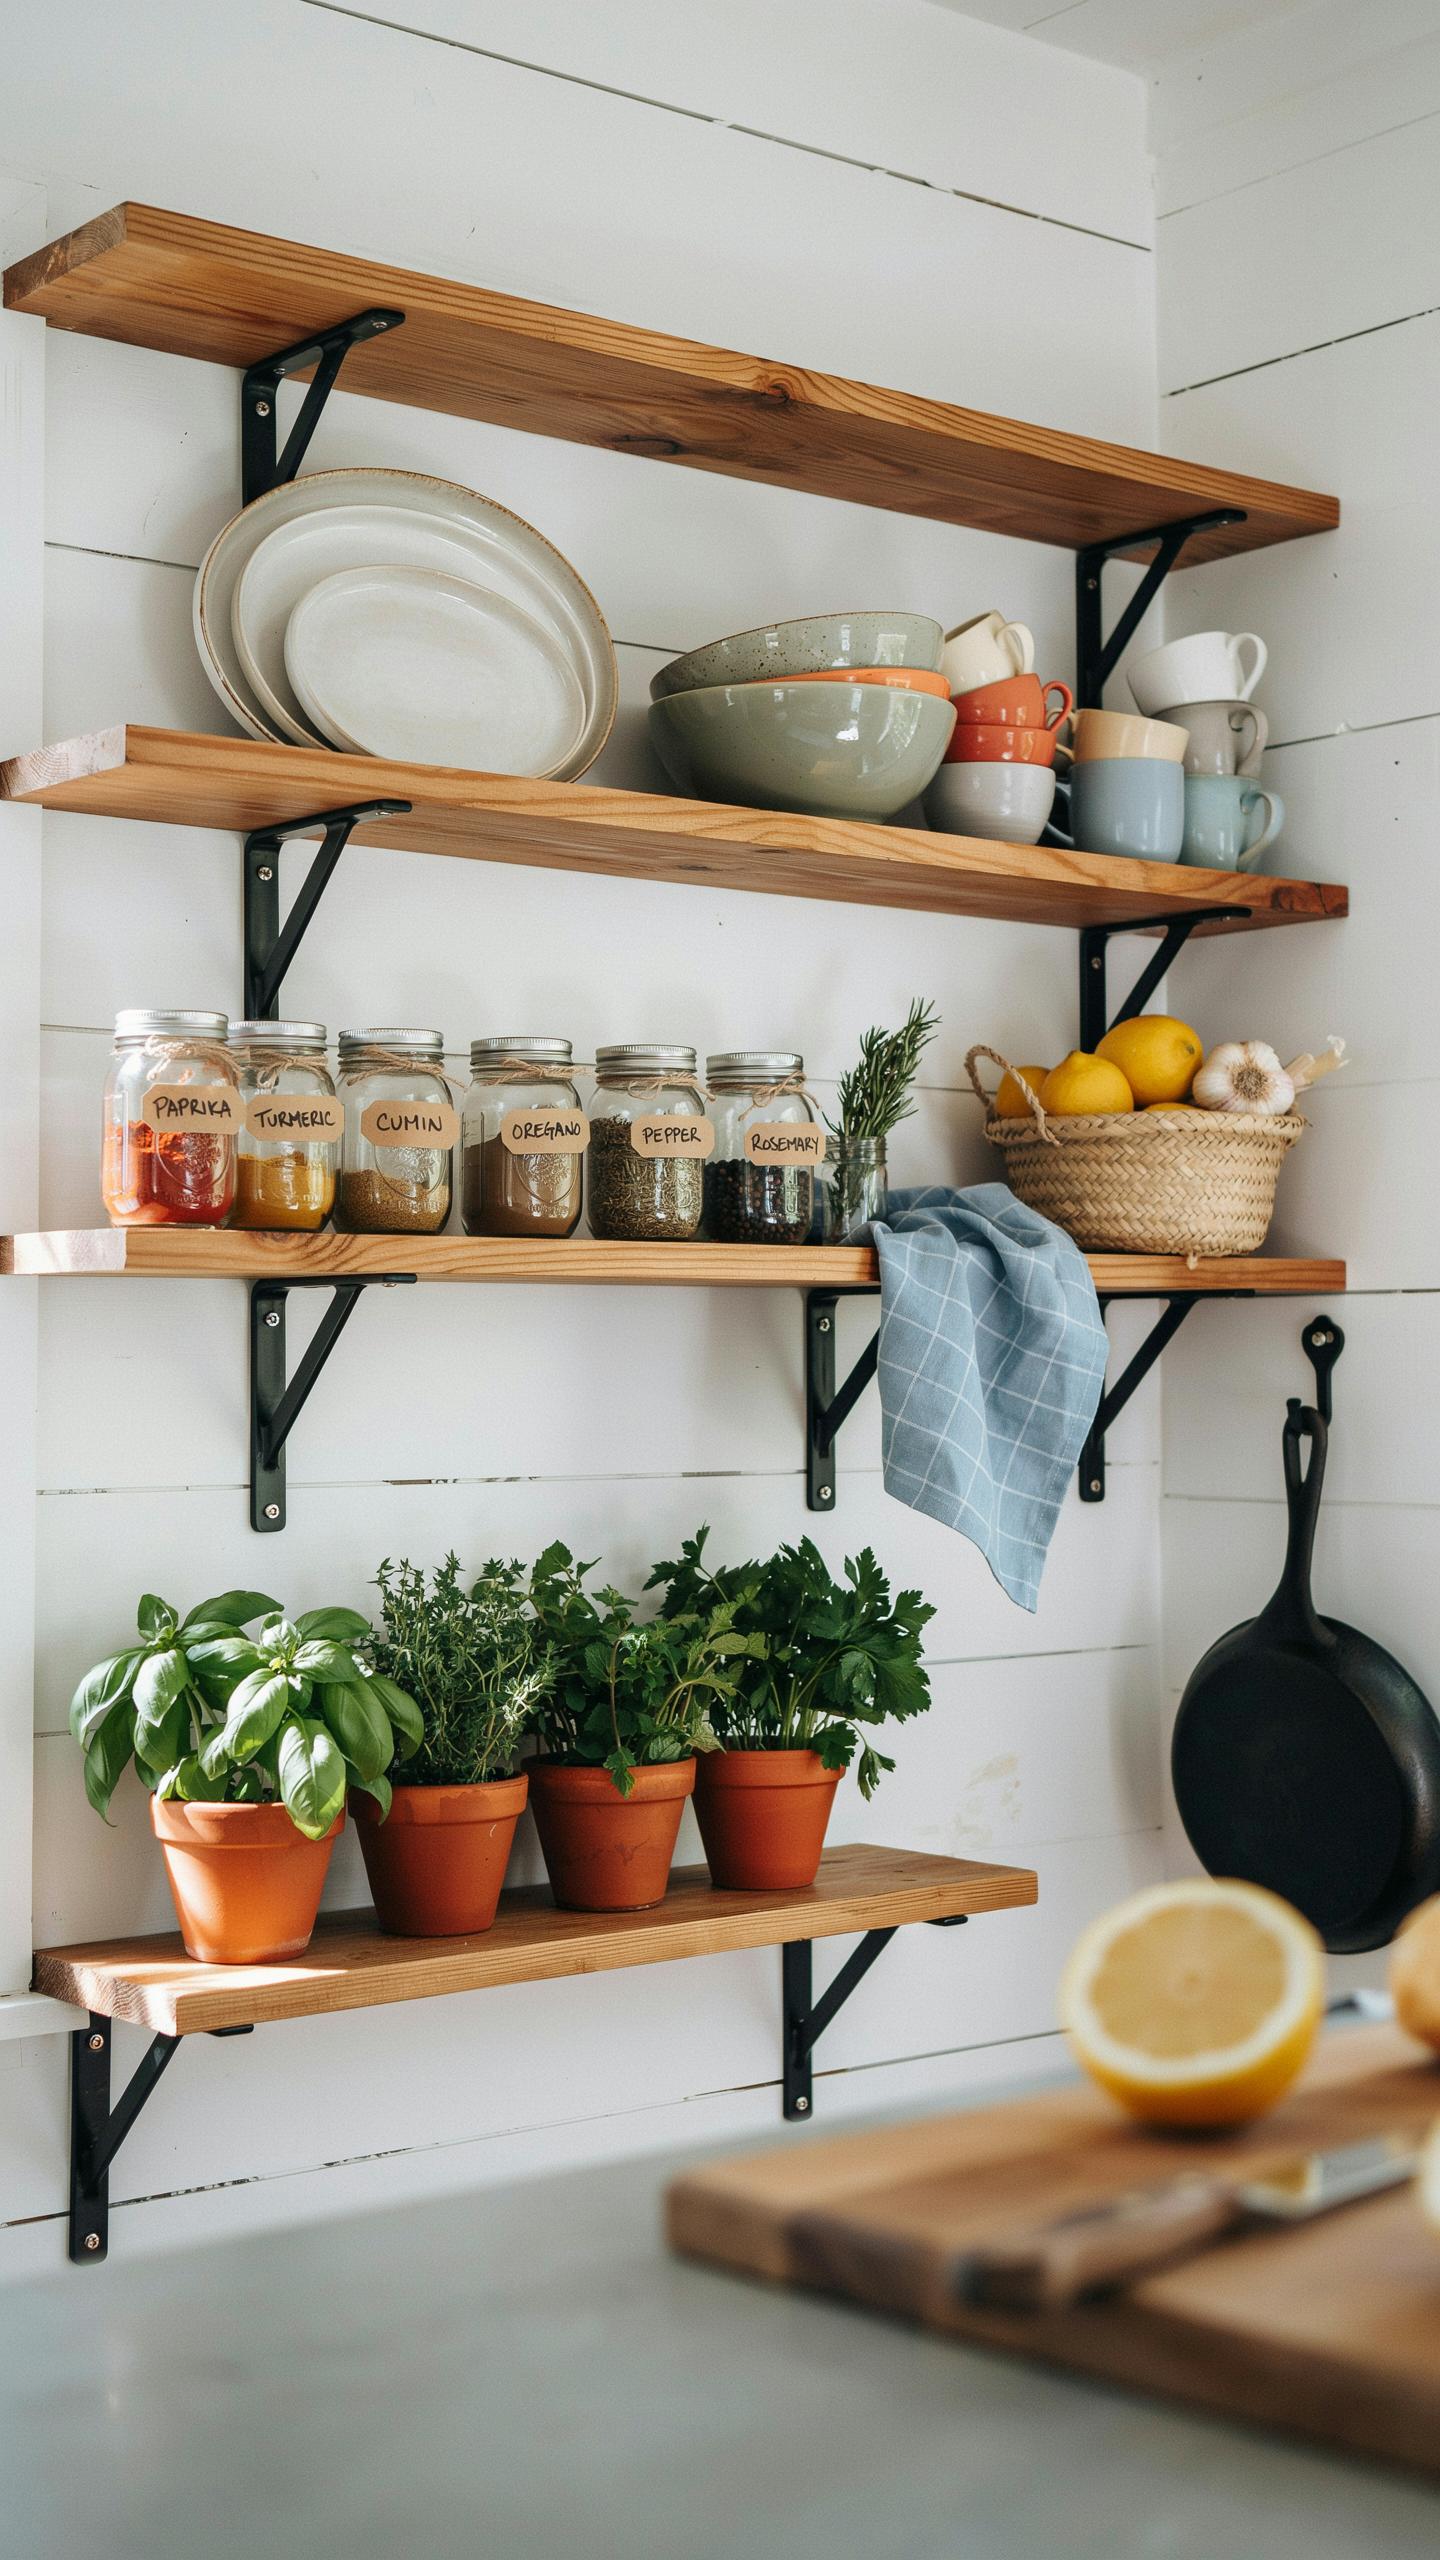
Effective Cleaning Methods For Removing Grease Residues Without Stripping Wax
Grease buildup on open shelving happens fast in kitchens. Use a microfiber cloth with warm water and mild dish soap to wipe surfaces regularly. This approach removes grease without stripping protective finishes. For stubborn buildup, add a small amount of white vinegar to the water. Avoid abrasive scrubbers that damage wood or damage finish coatings.
Wax-sealed wood shelving needs specific care to maintain its protective layer. Never use commercial degreasers or harsh cleaners on waxed surfaces. These products break down wax and expose raw wood underneath. Dry shelves immediately after cleaning to prevent water absorption and staining. Work quickly and methodically to keep wax intact while removing cooking residue.
Re Oiling And Conditioning Raw Wood Elements To Prevent Drying And Warping
Raw wood shelving loses moisture in kitchens due to heat and humidity changes. Apply food-grade mineral oil or linseed oil every six to twelve months depending on climate. These oils penetrate wood fibers and restore lost moisture. Apply oil with the grain using a lint-free cloth. Wipe away excess oil to prevent sticky buildup that attracts dust.
Wood warping occurs when moisture levels fluctuate consistently over time. Conditioning prevents extreme drying and shrinking that causes gaps and cracks. Choose between mineral oil for food contact areas or tung oil for a harder finish. Test any oil on an inconspicuous area first. Reapply based on how quickly your wood loses its matte appearance after previous treatments.
Frequently Asked Questions

What are the benefits of integrating open shelving into a modern farmhouse kitchen?
Open shelving creates an airy, spacious feel that perfectly complements the rustic yet clean aesthetic of a contemporary homestead. By utilizing farmhouse kitchen decor open shelving, you can easily display heirloom ceramics or indoor herbs that bridge the gap between your indoor space and the outdoors. This design choice makes essentials more accessible while allowing you to showcase natural textures like reclaimed wood, which adds warmth and character to your cooking area.
How do I style my open shelves to maintain a clean look without clutter?
To achieve a curated look, focus on a cohesive color palette and vary the heights of your items. Start with larger stacks of plates as a base, then layer in natural elements like wooden bowls or potted greenery to emphasize the “style outdoors” theme. When arranging your farmhouse kitchen decor open shelving, remember to leave some white space between objects; this prevents the shelves from feeling overcrowded and maintains that sought-after minimalist farmhouse vibe.
Can I achieve the farmhouse open shelving look on a tight budget?
Absolutely! You can create stunning displays without a full renovation by repurposing old barn wood or using affordable pine planks from a local hardware store. Sanding down reclaimed timber and adding simple matte black brackets provides an instant style upgrade. Finish the look with inexpensive glass jars for dry goods and a few sprigs of fresh eucalyptus to bring that fresh, outdoor-inspired charm to your kitchen for a fraction of the cost.



