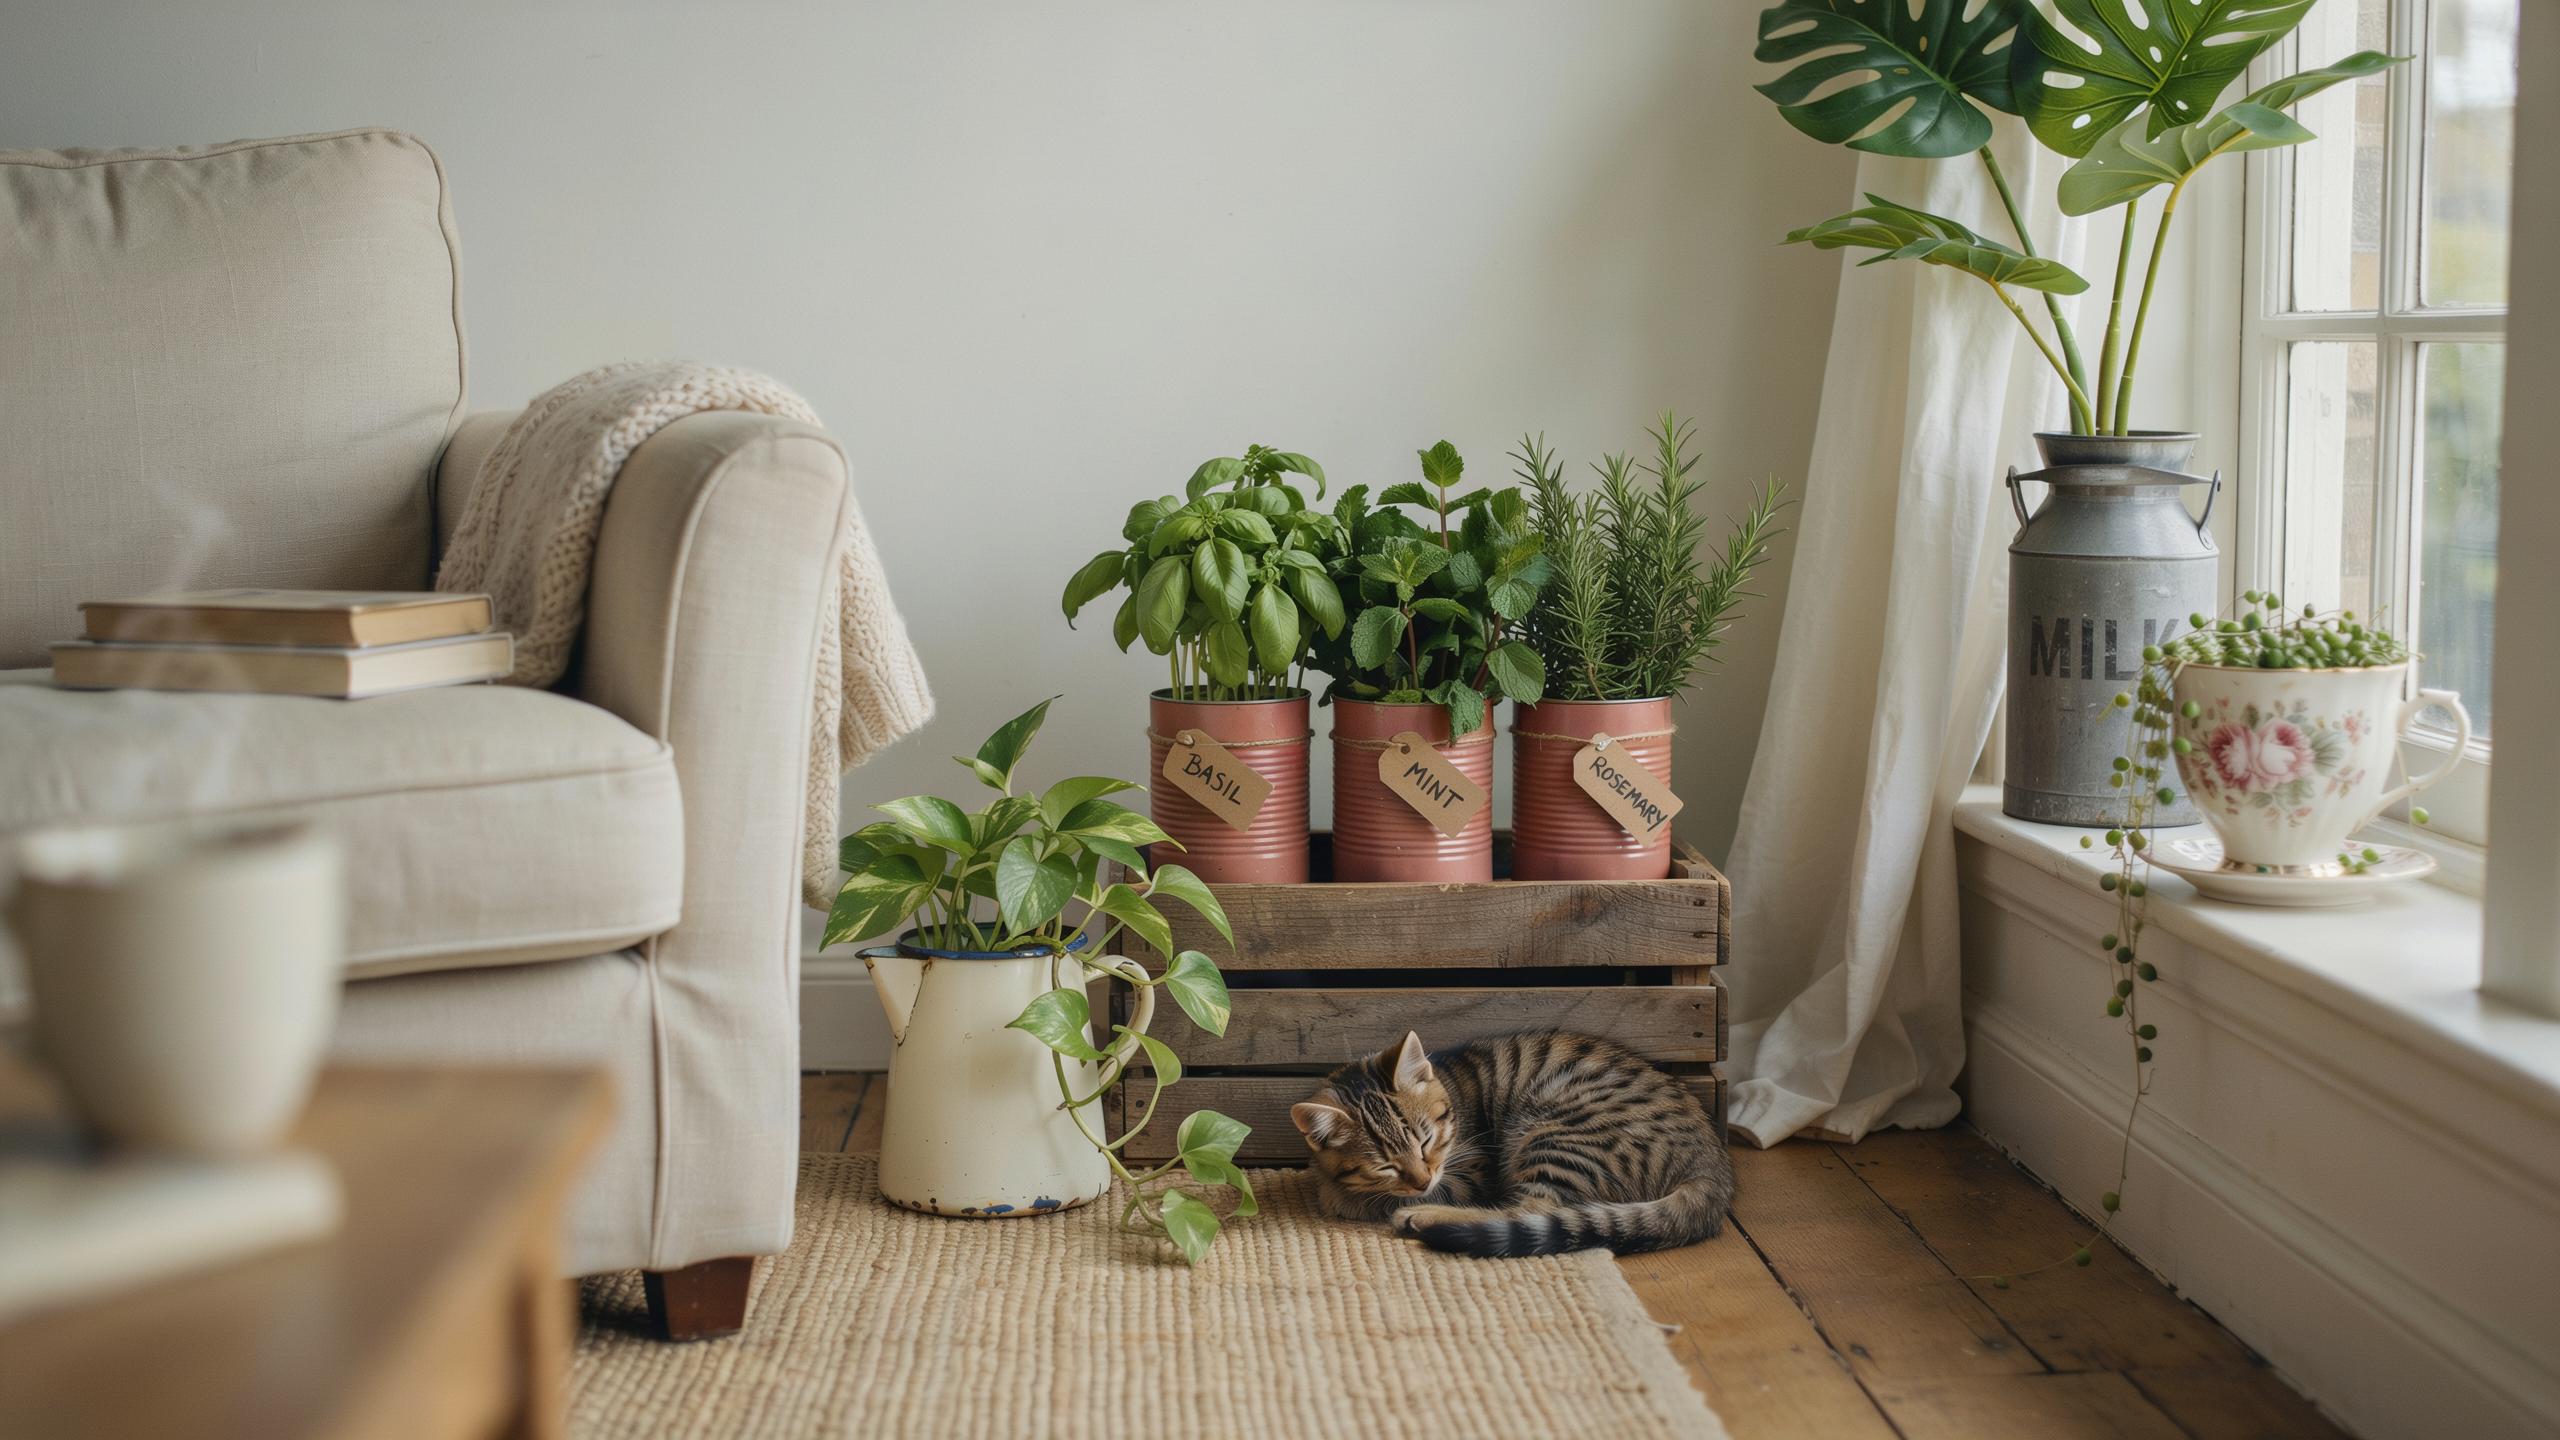
Embracing Upcycled Pots For Plants To Enhance Your Space
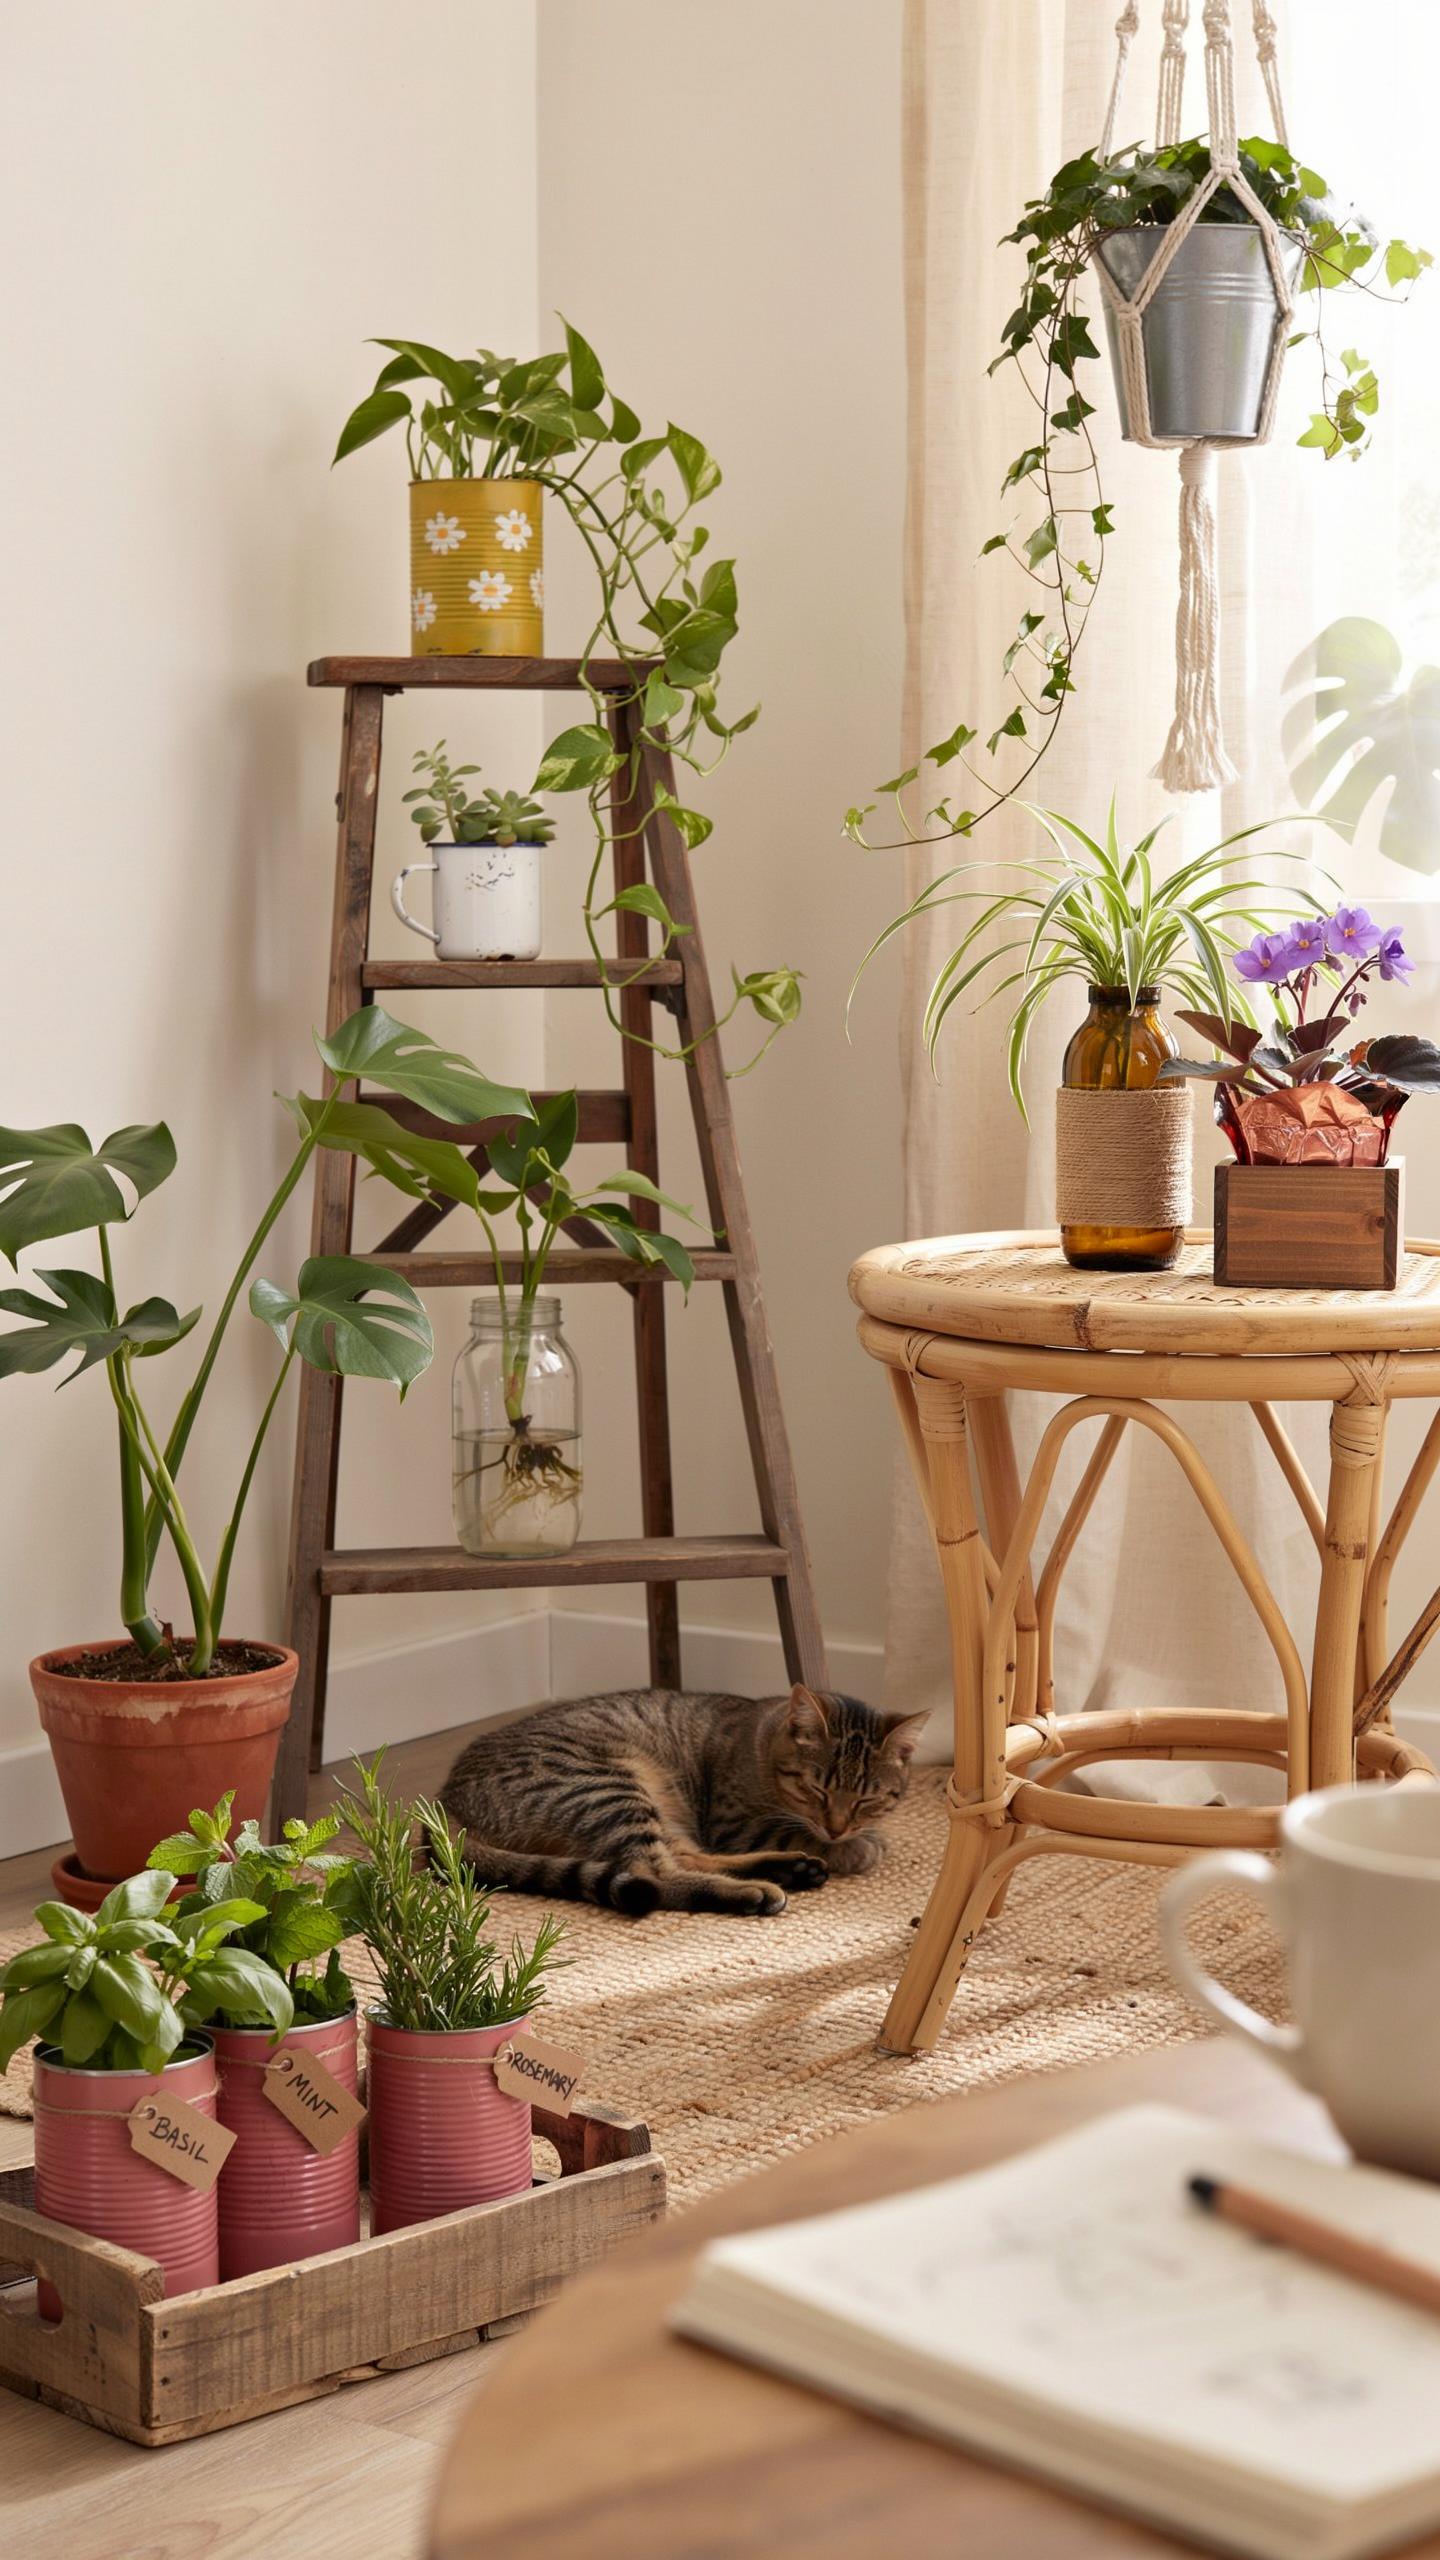
Natural Aesthetic
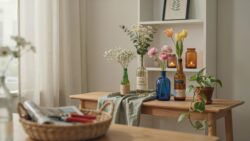
Worn containers create visual interest through authentic texture and patina. Repurposed vessels like terracotta pots, ceramic bowls, and vintage tins establish a grounded atmosphere without forced design choices. These containers work in modern spaces because imperfection reads as intentional. Layering plants in mismatched vessels builds depth and prevents the sterile look of uniform planters. The natural wear on upcycled materials grounds a room in reality rather than aspirational design.
Mixing container types creates cohesion through contrast. A chipped ceramic pot beside a weathered metal container establishes visual rhythm. Rust, fading, and cracks become design features rather than flaws. This approach aligns with how living spaces actually evolve. Plants thrive in these containers while simultaneously improving the room’s tactile and visual quality through their presence alone.
Environmental Benefits
Transforming discarded items into planters eliminates waste while solving functional needs. Household containers like mason jars, wooden crates, and tin cans serve plants effectively when drainage holes are added. This practice reduces landfill contributions from items that would otherwise require disposal. Repurposing also eliminates the manufacturing impact of purchasing new planters. One kitchen container becomes a thriving planter within minutes, requiring only basic tools and drainage preparation.
Scaling this approach across a household multiplies environmental gains. Each repurposed vessel prevents new plastic or ceramic production. Supply chain emissions decrease when existing materials replace manufactured goods. This method removes barriers to plant ownership for budget-conscious households while addressing waste reduction. The combined effect of individual repurposing decisions creates measurable environmental impact across communities adopting these practices.

The Art Of Designing Creative Pots For Plants Using Daily Objects
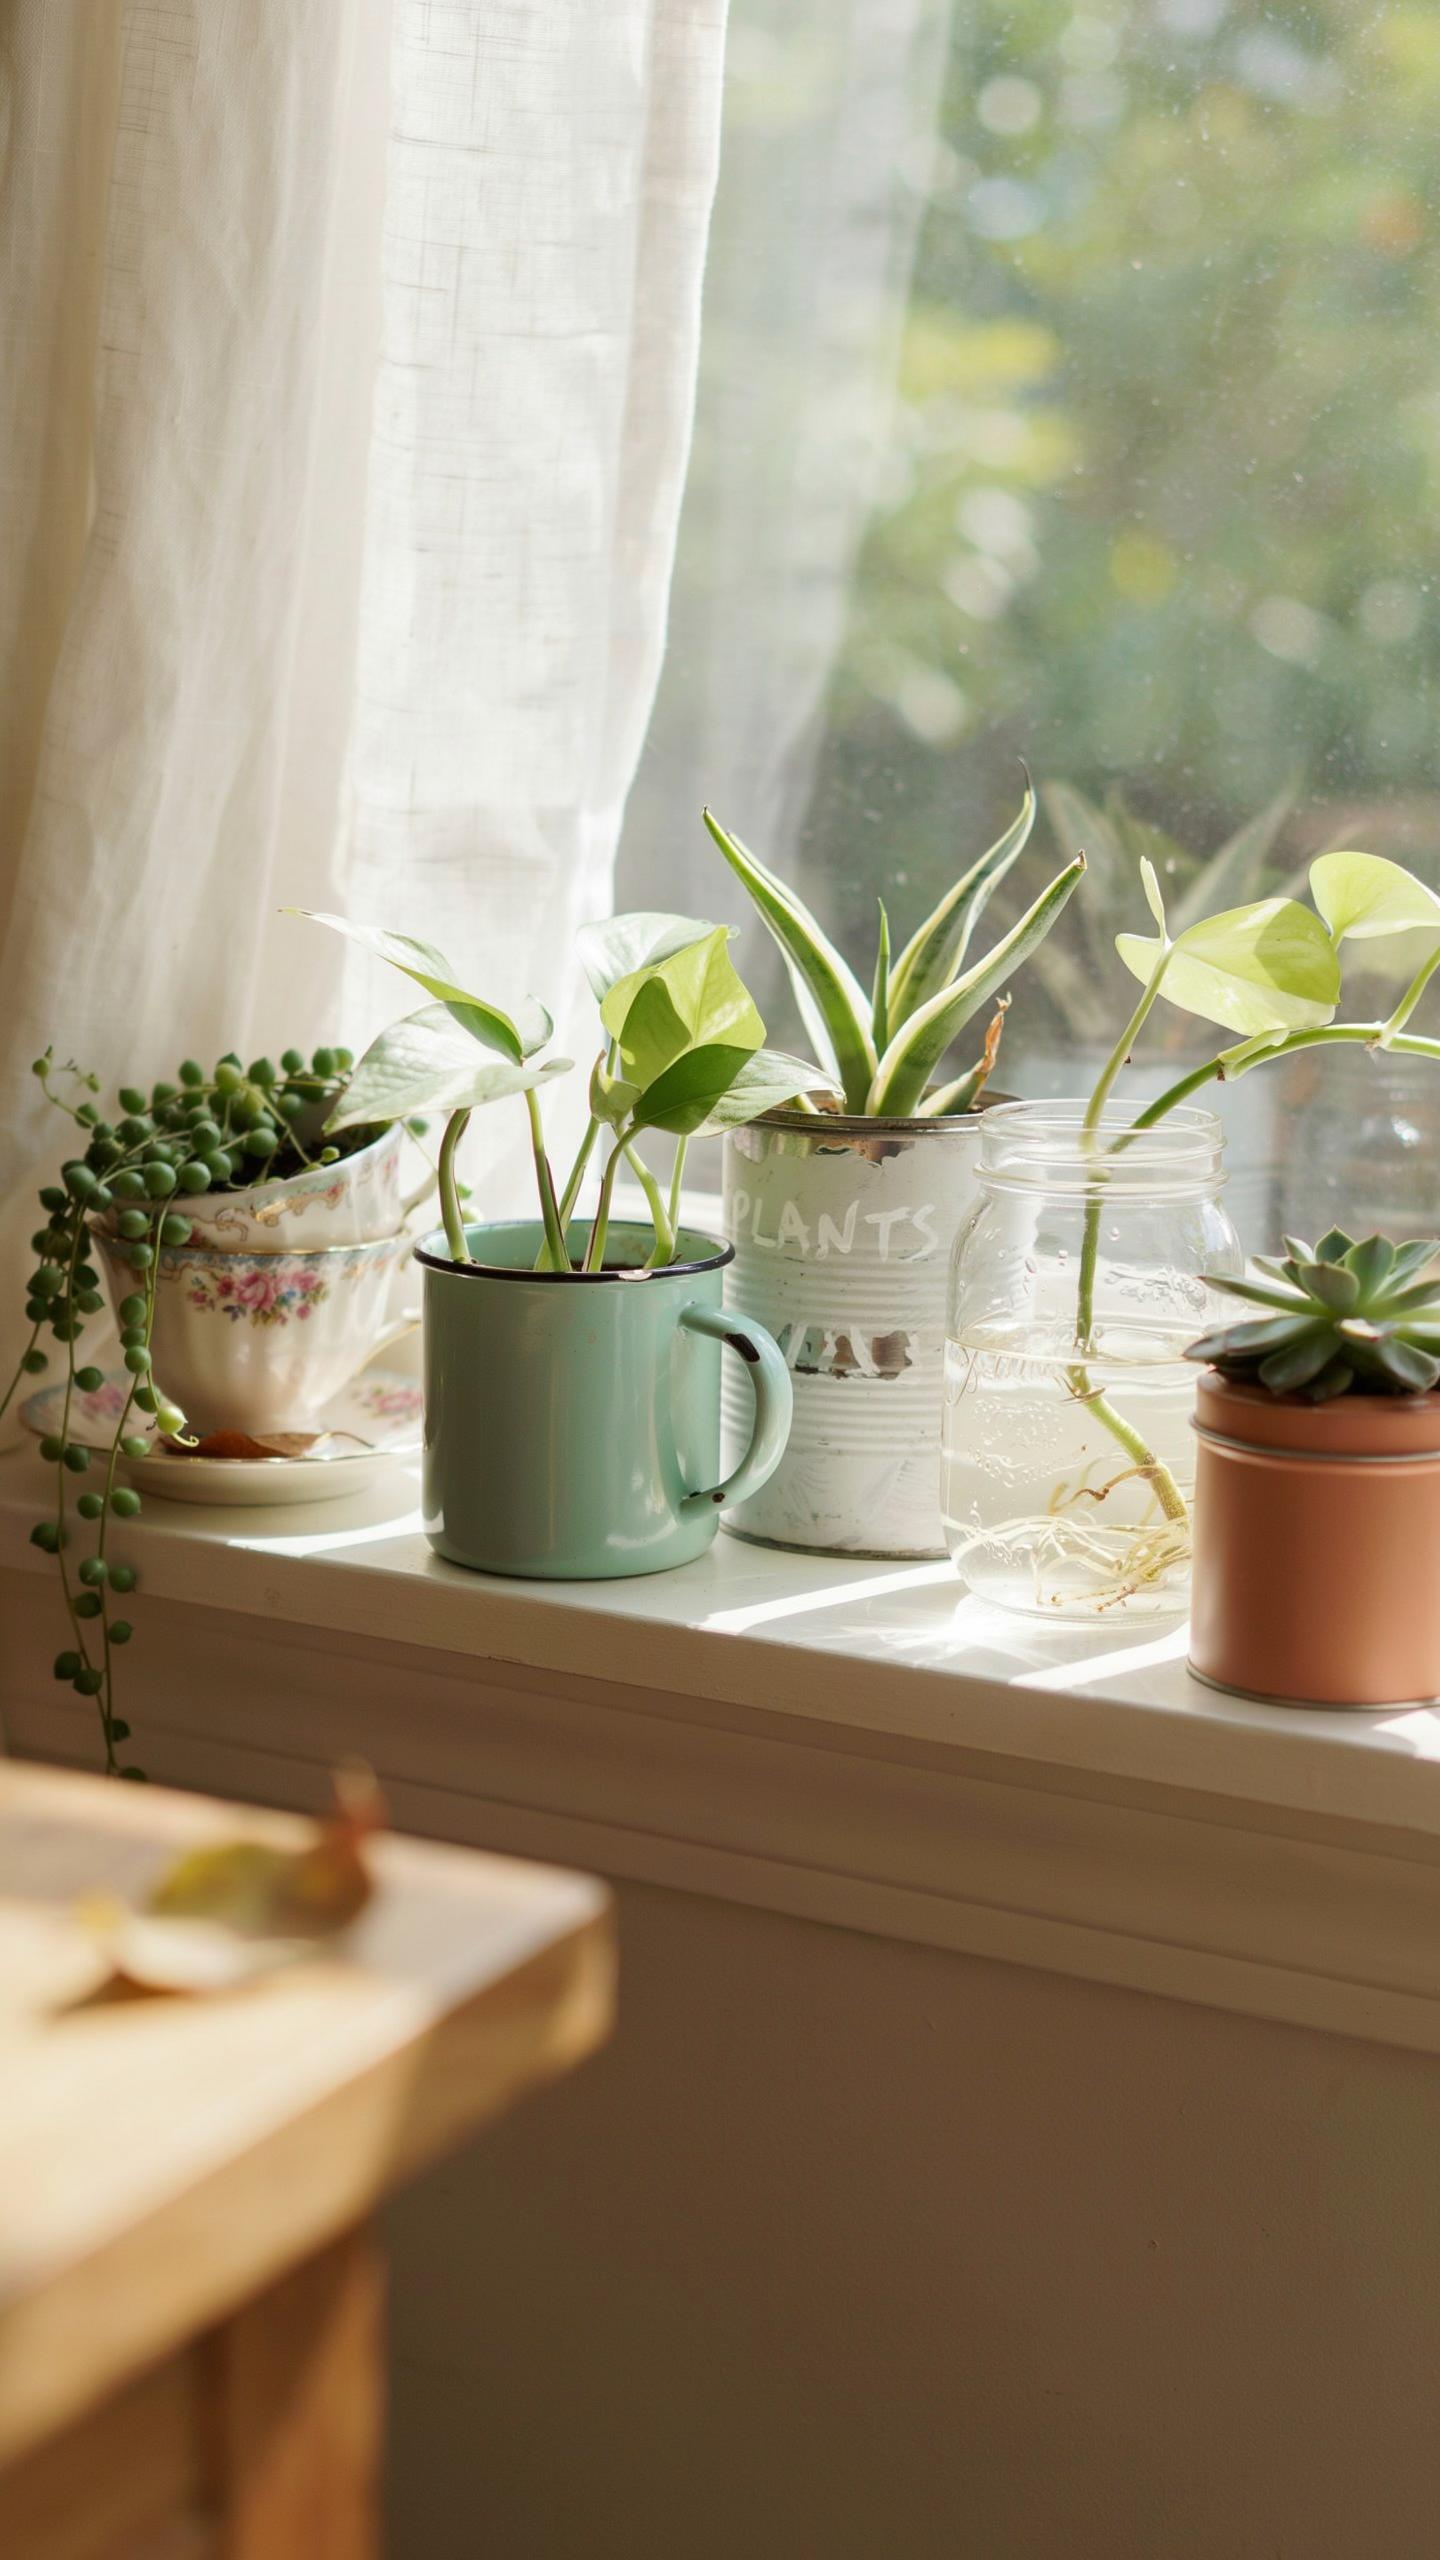
Household Treasures
Vintage colanders work as planters because their drainage holes already exist. You skip the drilling step and gain a functional container. Ceramic bowls need drainage holes drilled through the bottom before planting. Wooden boxes require waterproof liners to prevent rot and soil moisture damage. These objects cost less than buying new planters and reduce waste in your home.
The key is assessing structural integrity before repurposing. Check colanders for rust or weak spots. Inspect ceramic bowls for cracks that expand when wet. Test wooden boxes for soft wood indicating decay. Objects in good condition handle soil weight and water without failing. Poor condition pieces create drainage problems or collapse under plant weight.
Stylistic Harmony
Match vessel color and texture to your existing decor system. A industrial loft suits metal colanders and concrete vessels. Farmhouse styles pair with terracotta tones and weathered wood boxes. Minimalist spaces work best with neutral ceramic containers in simple shapes. Scale matters too. Large plants need proportional containers to avoid visual imbalance in rooms.

Texture coordination creates visual cohesion across your space. Rough wooden planters complement exposed brick walls. Smooth ceramic vessels work in modern settings with clean lines. Woven baskets lined with plastic add warmth to eclectic rooms. The repurposed vessel becomes part of your design system, not an afterthought. Treat it as a design element equal to furniture and wall color.
Step By Step DIY Tin Can Planter Projects For Beginners
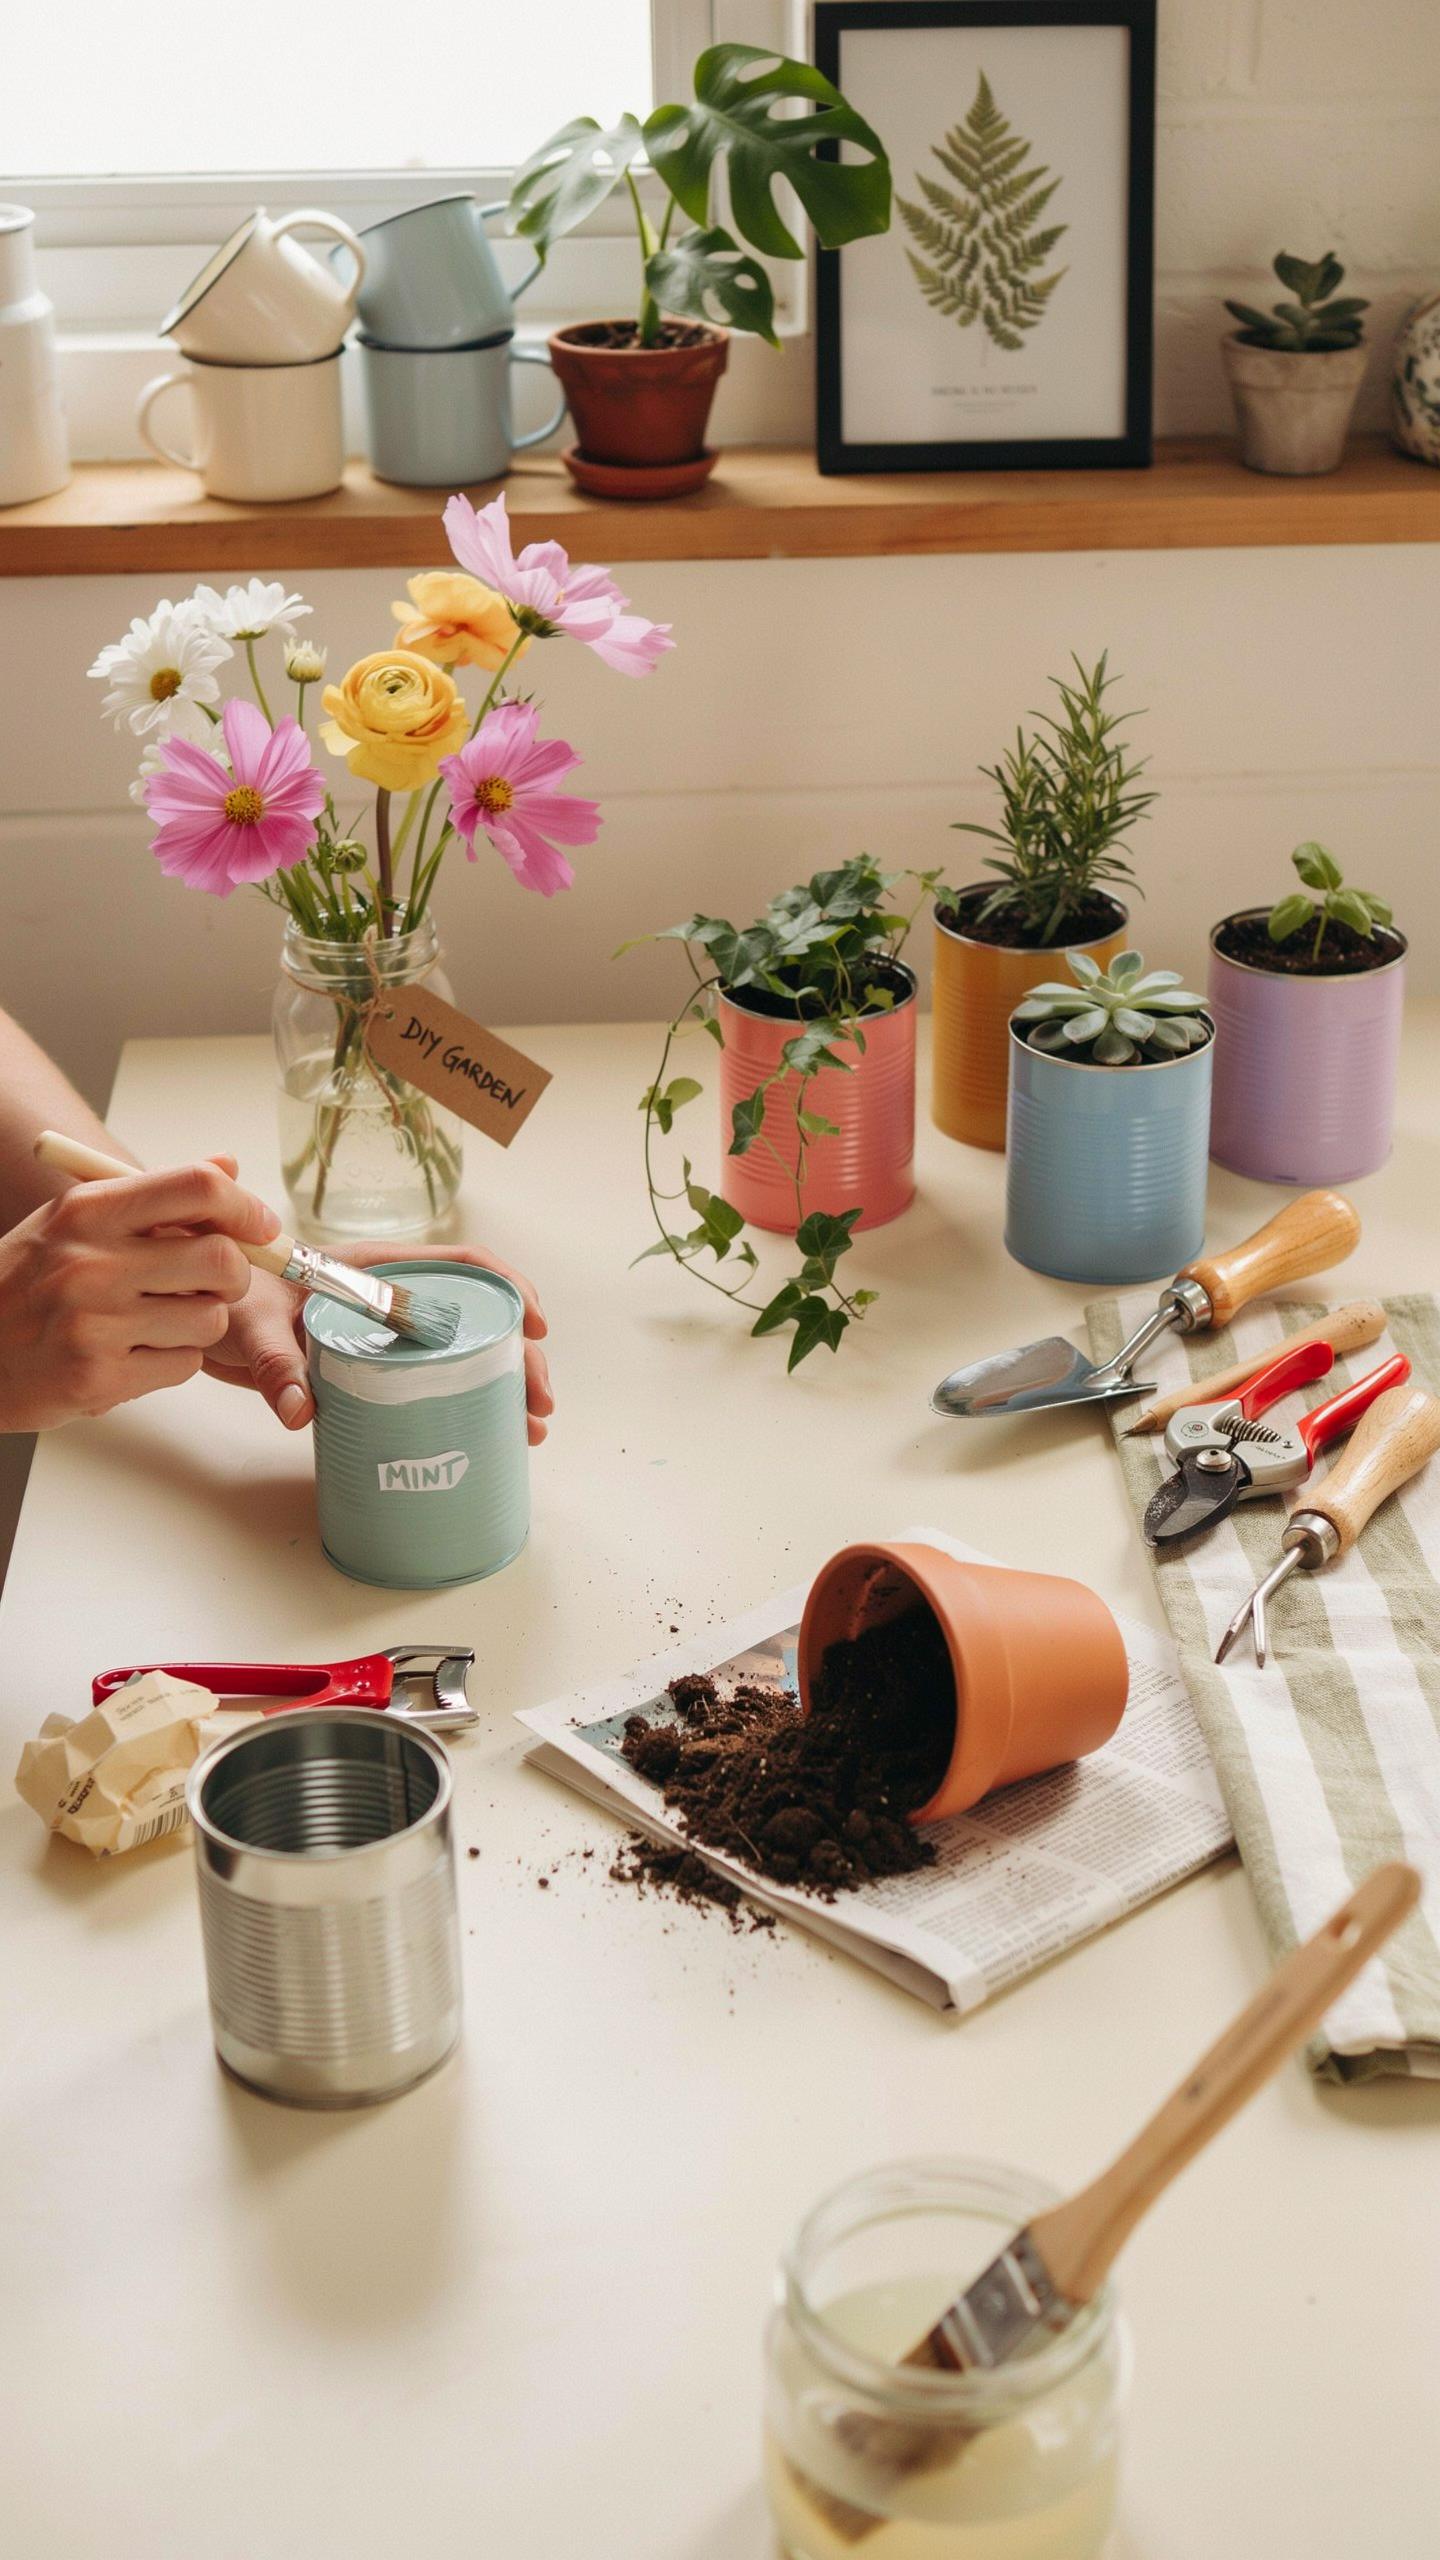
Essential Materials
Tin can planters require basic supplies you likely have at home or can source cheaply. The foundation starts with empty aluminum food cans from canned vegetables, beans, or fruit. You need a hammer and nails to create drainage holes, sandpaper for smoothing sharp edges, primer to seal the metal surface, and non-toxic acrylic paint for finishing.
- Empty Aluminum Food Cans: Collect standard sized cans from grocery items. Rinse thoroughly and remove labels completely. Various heights work for different plant types and spacing arrangements.
- Hammer and Nails: Use a standard claw hammer with common finish nails. The nail creates drainage holes when struck through the can bottom. A 2 to 3 inch nail works best for most tin cans.
- Sandpaper: 120 to 150 grit sandpaper smooths the interior and exterior can edges. This prevents cuts during handling and improves paint adhesion significantly. Sand lightly in circular motions across all surfaces.
- Primer: Metal primer seals the tin surface and prevents rust development. Apply one thin coat before painting. Quality primers dry in 1 to 2 hours typically.
- Non Toxic Acrylic Paint: Choose acrylic paint rated non-toxic for indoor use around plants. Multiple color options exist for design flexibility. Two coats provide full coverage and durability.
Gather these materials before starting any project to maintain workflow efficiency. Most supplies cost under five dollars total per planter, making bulk creation affordable.
Step By Step Assembly
Preparation starts with cleaning cans inside and out, then creating drainage holes in the bottom using your hammer and nail method. Strike the nail firmly through the can base with 4 to 6 holes spaced evenly. This prevents water pooling and root rot development in soil.

Sand all edges and surfaces smooth after drainage hole creation. This removes sharp points that cut hands and improves the visual finish. Wipe away dust with a damp cloth before moving to the primer stage.
Apply primer in thin, even coats across the exterior surface. Allow proper drying time between coats as specified by product instructions. Primer creates a base that helps paint adhere correctly to the metal material.
Paint your prepared cans with non-toxic acrylic paint in your chosen colors. Use a brush or sponge applicator for even coverage. Allow paint to dry completely before filling with soil and adding plants.
Fill prepared and dried cans with potting soil appropriate for your plant type. Add your plant seedling or small established plant to the soil. Water lightly and place in suitable light conditions for your specific plant species.
Why Tin Can Planters Are The Perfect Weekend Craft Activity
Low Cost High Reward
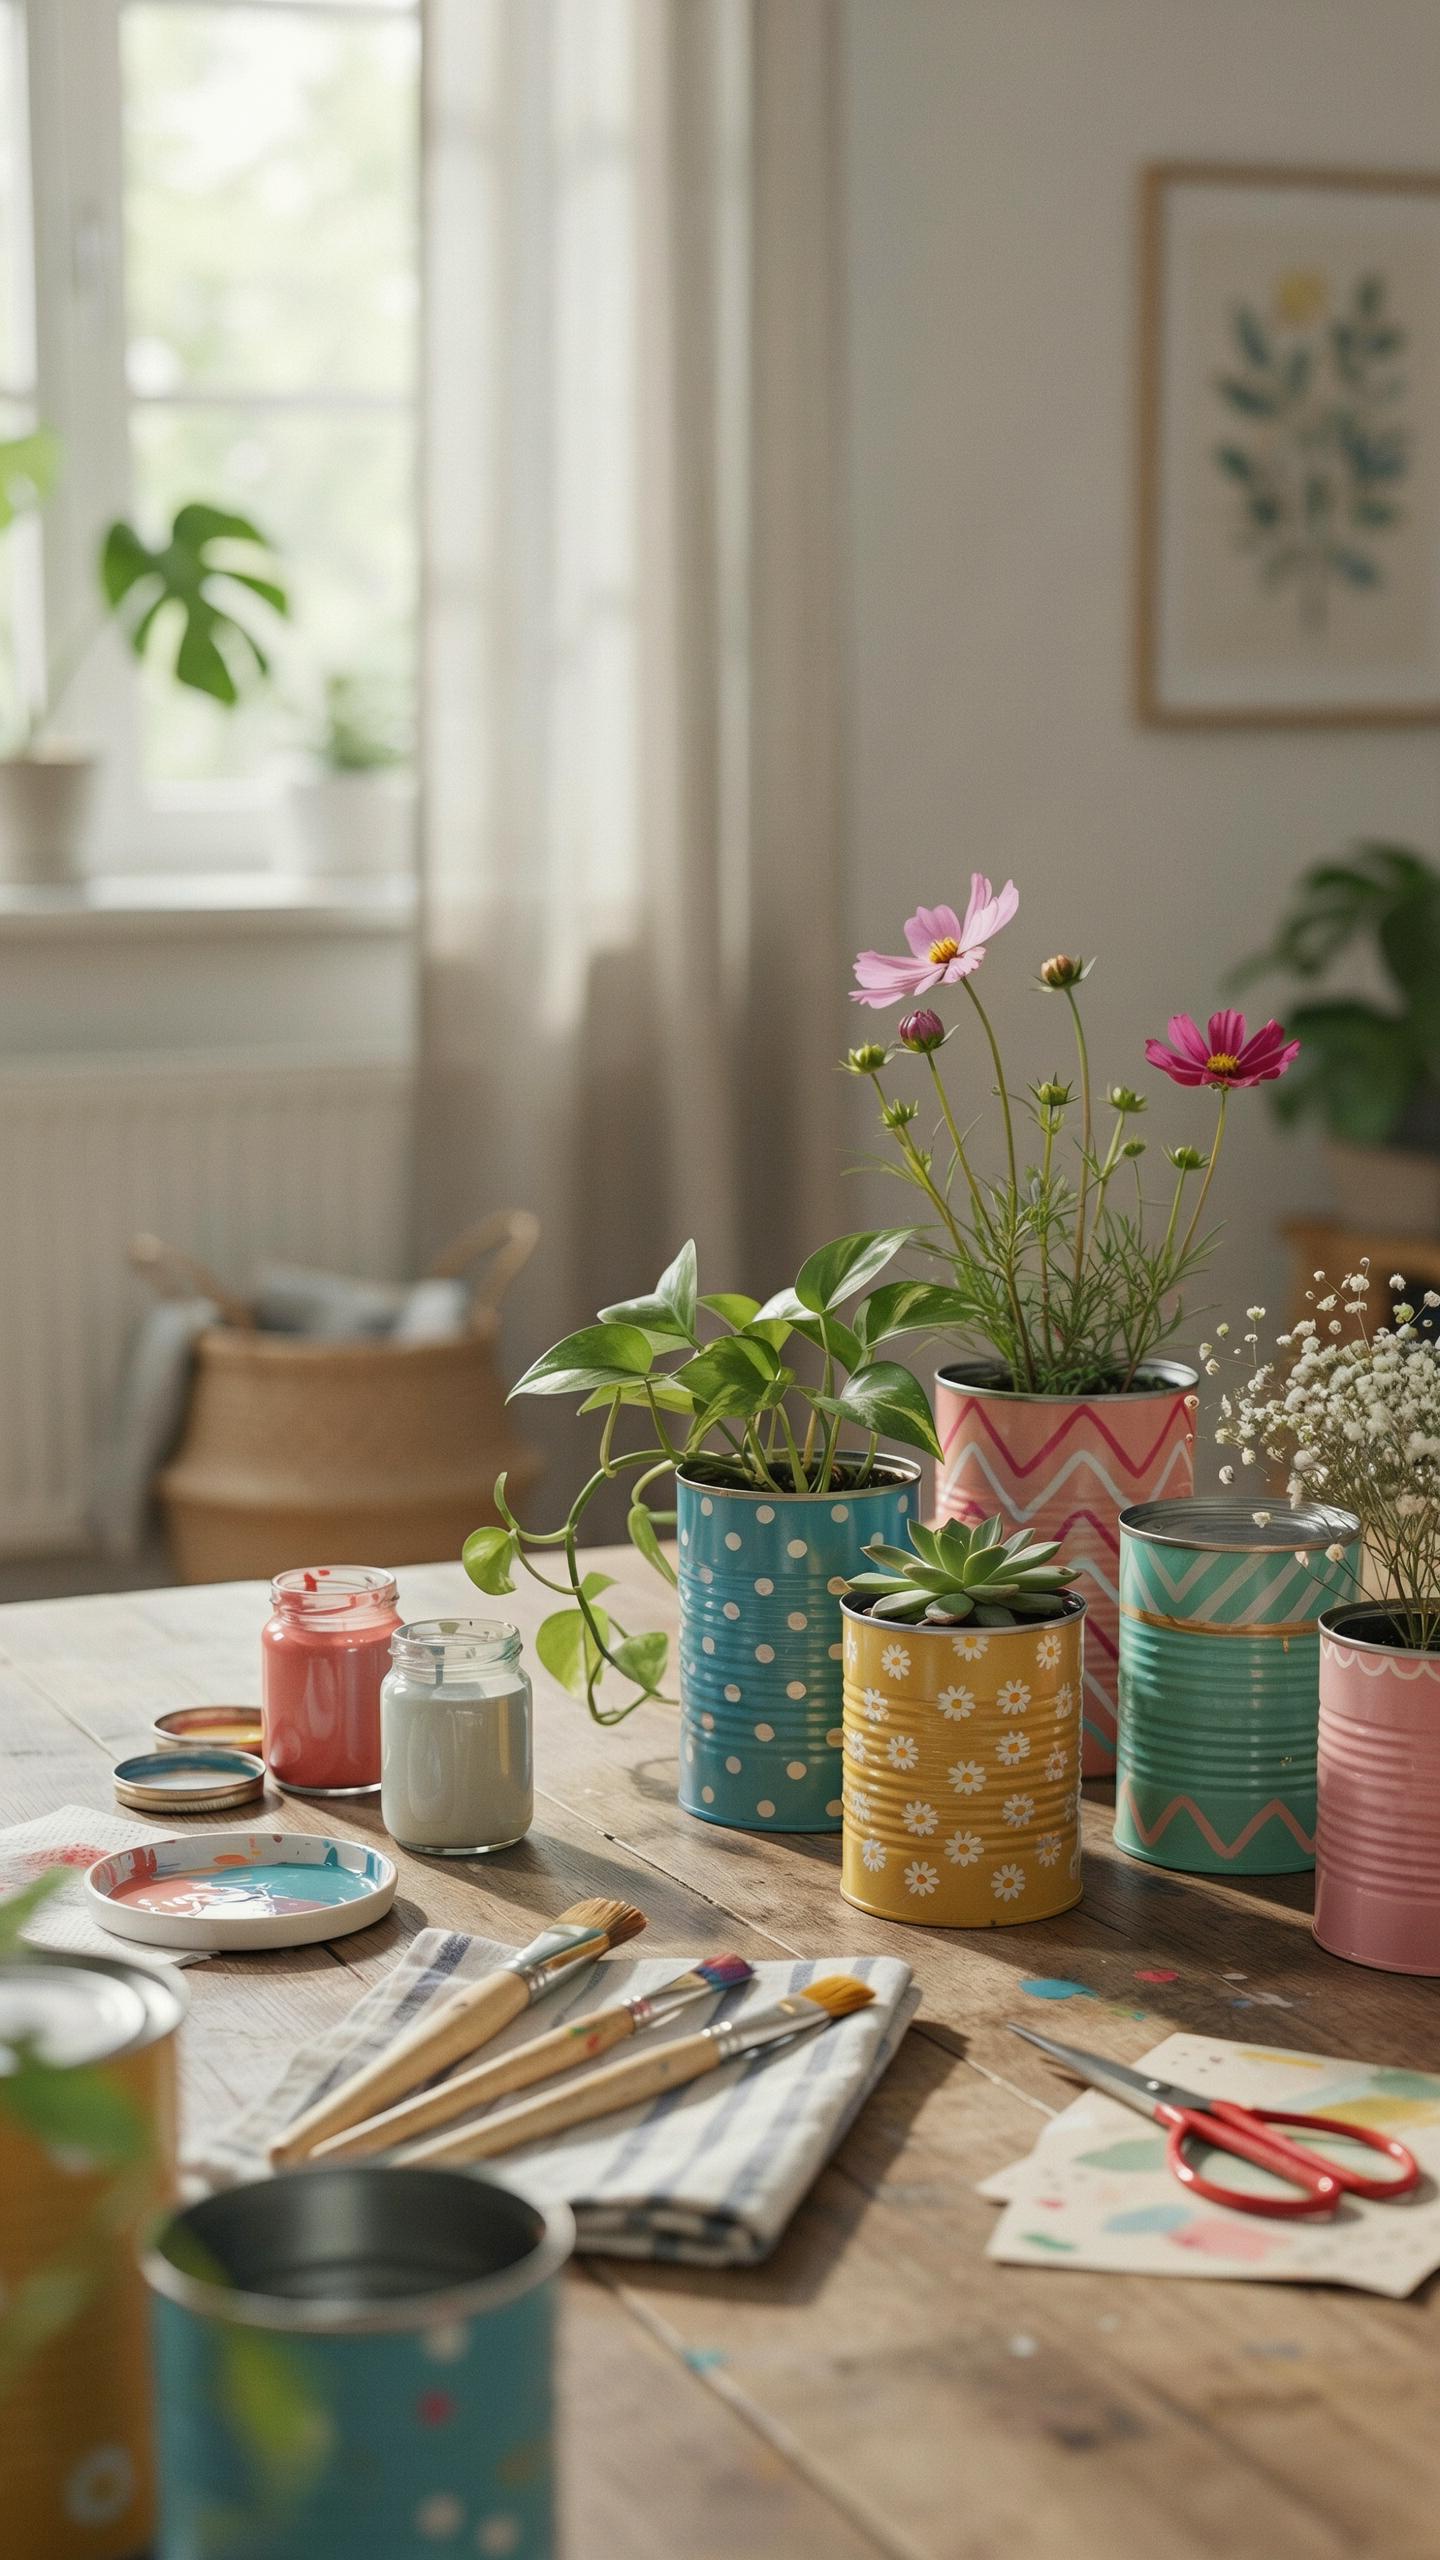
Tin cans cost nearly nothing. You collect them from recycling or purchase them in bulk for cents per unit. Paint, soil, and seeds add minimal expense. The visual output rivals planters that cost ten to fifty dollars retail. This math works because you control labor costs by doing the work yourself. The material-to-appearance ratio makes tin cans the most efficient container choice for budget-conscious growers.
Creating tin can planters teaches you where your money goes in home decor. Most expensive planters charge for brand names and retail markup, not superior function. A painted tin can with drainage holes performs identically to a ceramic pot costing five times more. You gain the practical skill of evaluating products by actual utility rather than price tags. This mindset shift saves money across all household purchases, not just planters.
Relaxing Low Barrier Entry
Tin can planting requires no prior experience or special skills. You need a hammer, nail, and paint brush. These tools exist in most homes already. The steps move quickly: clean the can, punch drainage holes, paint, fill with soil, plant seeds. The entire process takes under thirty minutes per planter. Low complexity removes the anxiety that stops people from attempting creative projects.
Tactile work with your hands reduces stress measurably. Painting, arranging soil, and positioning plants engage your focus in the present moment. Your brain stops cycling through work tasks and worries. The finished planter provides immediate visual proof of accomplishment. This combination of simple effort plus tangible result creates satisfaction that sedentary hobbies cannot match. Weekend craft time becomes genuine mental recovery, not another obligation.
Essential Tools For Crafting DIY Planters Outdoor Upcycle Style
Tool Kit Safety
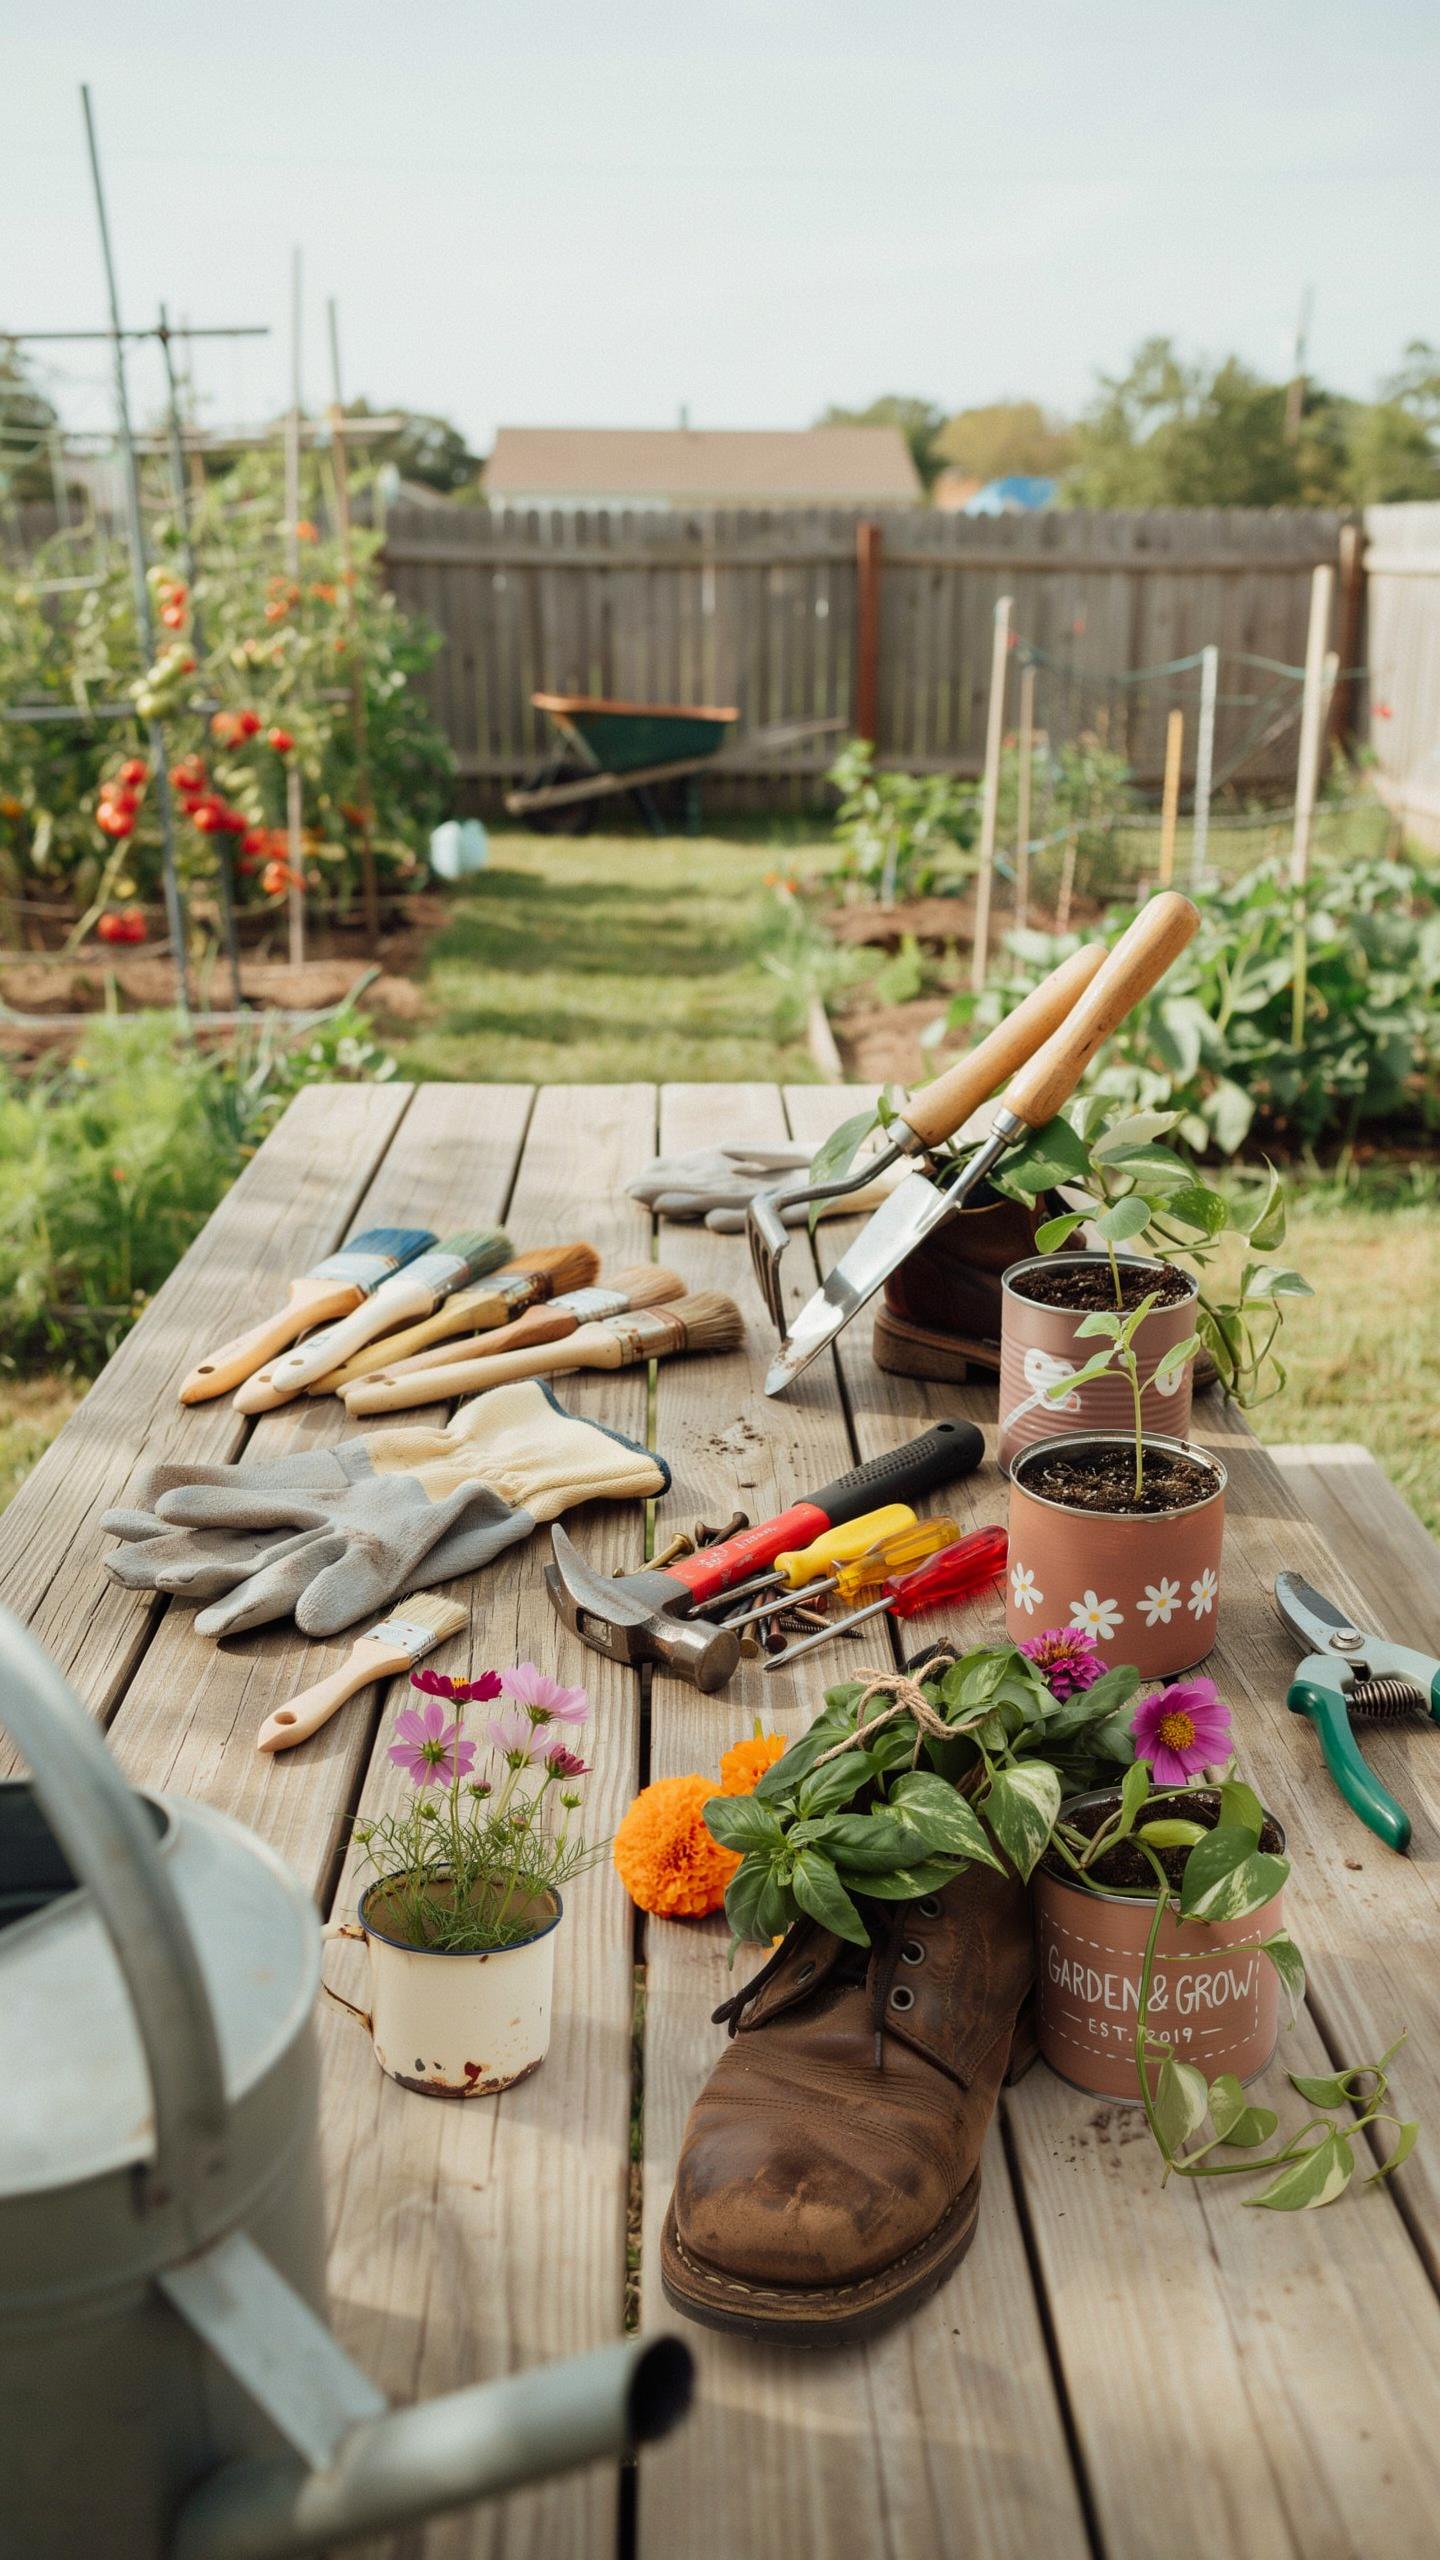
You need specific equipment to work safely with repurposed materials. Upcycling planters often involves cutting, drilling, and handling metal or wood that may have sharp edges or rust. Proper tools protect your hands and eyes from injury. Safety gear is not optional when working with power tools or harsh chemicals.
- Safety Goggles: Protect eyes from debris when drilling or cutting materials. Impact-resistant lenses shield against flying particles during high-speed operations.
- Work Gloves: Heavy-duty leather or nitrile gloves prevent cuts from sharp edges and protect skin from rust, splinters, and chemical sealants during application.
- Metal Compatible Drill Bits: Titanium or cobalt bits cut through aluminum, steel, and copper without binding or dulling quickly. Essential for drainage holes in recycled containers.
- Weatherproofing Sealants: Polyurethane or silicone-based sealants create water barriers on wood and porous materials. These prevent rot and extend planter lifespan in outdoor conditions.
- Rust Oleum Exterior Paint: Oil-based or spray formulations adhere to metal surfaces and resist UV fading. Provides both aesthetic finish and protective rust barrier on steel or iron planters.
Quality tools reduce mistakes and speed up your project timeline. Investing in durable gloves and proper drill bits pays off across multiple planter builds. Cheap alternatives fail quickly and waste time and money.
Weatherproofing Basics
Weatherproofing seals your planters against moisture, UV rays, and temperature swings. Without protection, outdoor planters deteriorate rapidly from rain, sun exposure, and freeze thaw cycles. Sealants create a moisture barrier that stops water penetration into wood or porous recycled materials.
Apply weatherproofing sealants in thin, even coats using a brush or applicator. Allow proper drying time between coats, typically four to eight hours depending on the product. UV protectant coatings work alongside sealants to prevent color fading and material degradation from sun exposure. Reapply these coatings every one to two years for maximum protection in harsh climates.
Creative Inspiration Clever Can Planters DIY Designs
Painted Patterns
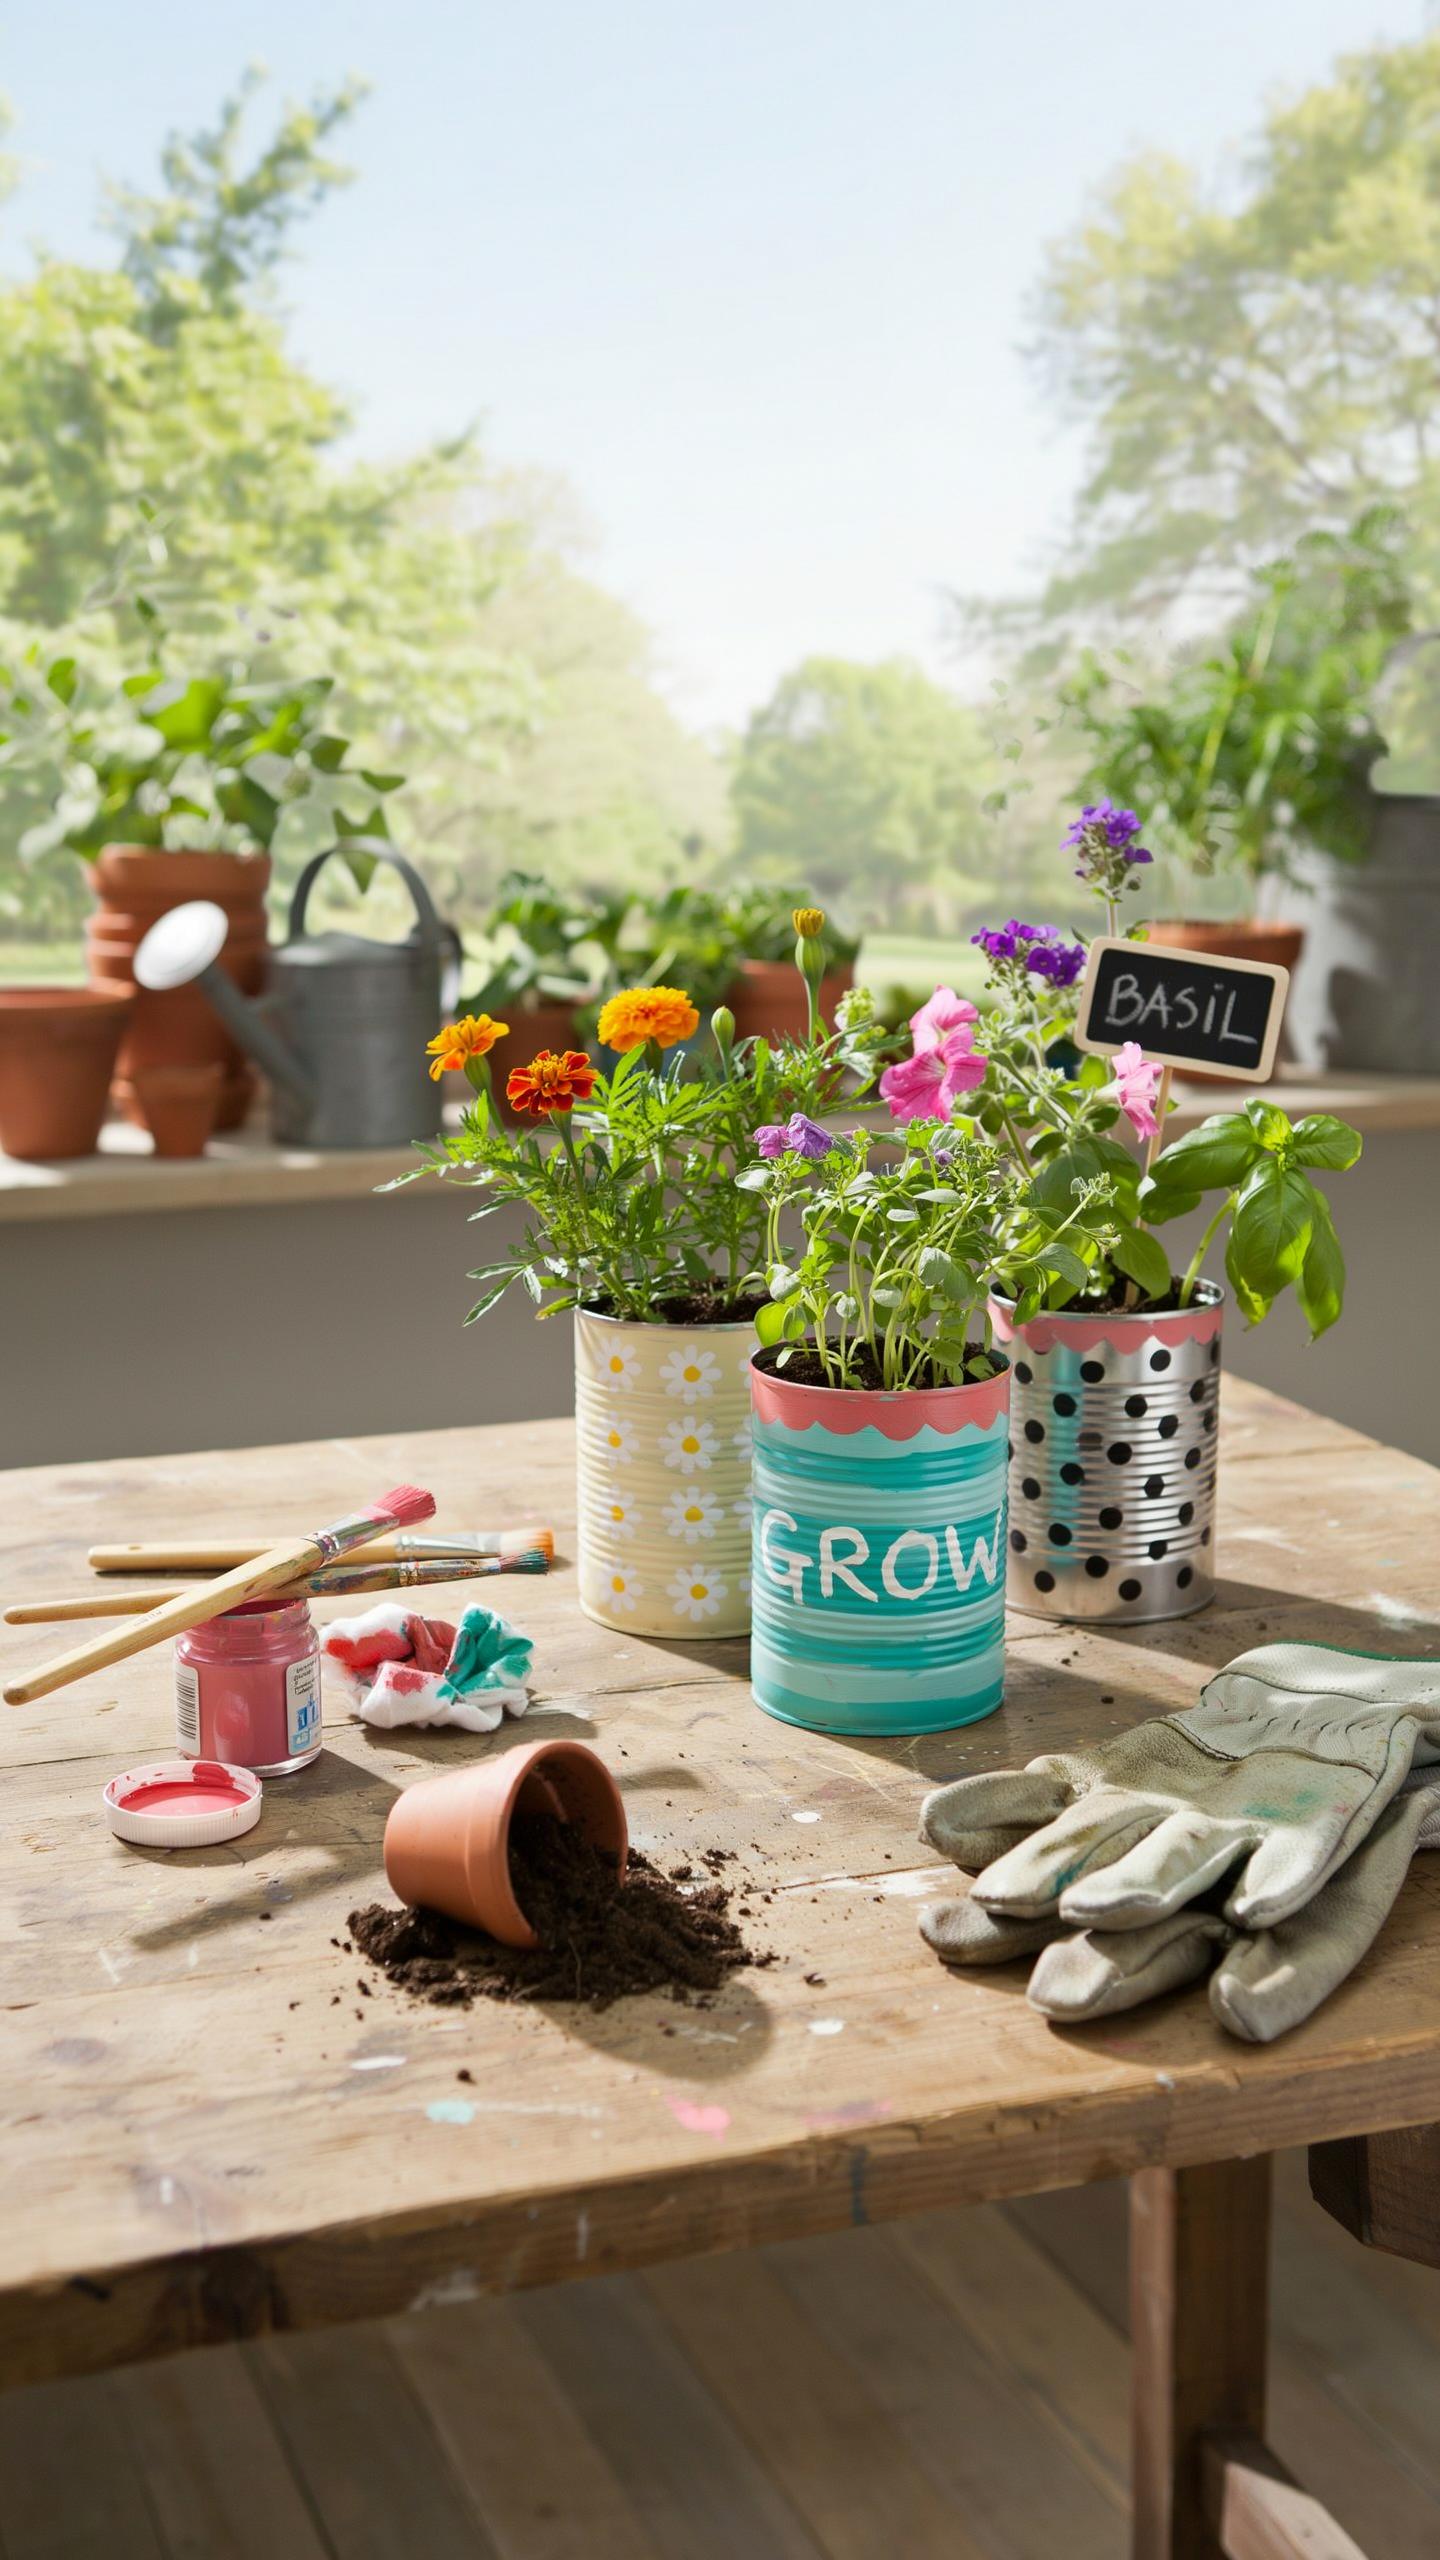
Painter’s tape creates clean lines for geometric designs on tin surfaces. Apply tape to define shapes, then paint between sections with acrylic or spray paint. Stencils work for repeated motifs like polka dots or chevron stripes. Freehand brushwork demands steady hands but offers total design control. Block colors in contrasting shades make patterns pop against metal surfaces.

Preparation determines paint adhesion on cans. Clean the surface with soap and water, then dry completely. Roughing the metal slightly with fine-grit sandpaper helps paint grip better. Prime with metal-specific primer before adding design layers. Two coats of quality acrylic or outdoor paint ensure durability through seasons.
Breathing new life into old things brings a certain peace that new objects simply cannot provide. There is a quiet beauty in a home where every planter tells a story of the past.
Suspended Gardens
Tin vessels mounted on wall plaques create vertical planting zones that save floor space. Wooden pallets serve as structural frames for organizing multiple cans at staggered heights. Secure cans with rust-resistant brackets or wire loops attached directly to the mounting surface. This setup works in tight apartments, small patios, or indoor corners where ground space is limited.
Hanging systems distribute weight evenly across wall studs for safety. Install mounting hardware at appropriate intervals to prevent stress on single anchor points. Drainage holes in cans direct water away from walls and prevent moisture damage. Rotate plant positions seasonally to ensure even light exposure across the entire garden arrangement.
How To Properly Prepare DIY Planters Made From Recycled Cans
Deep Cleansing Prep
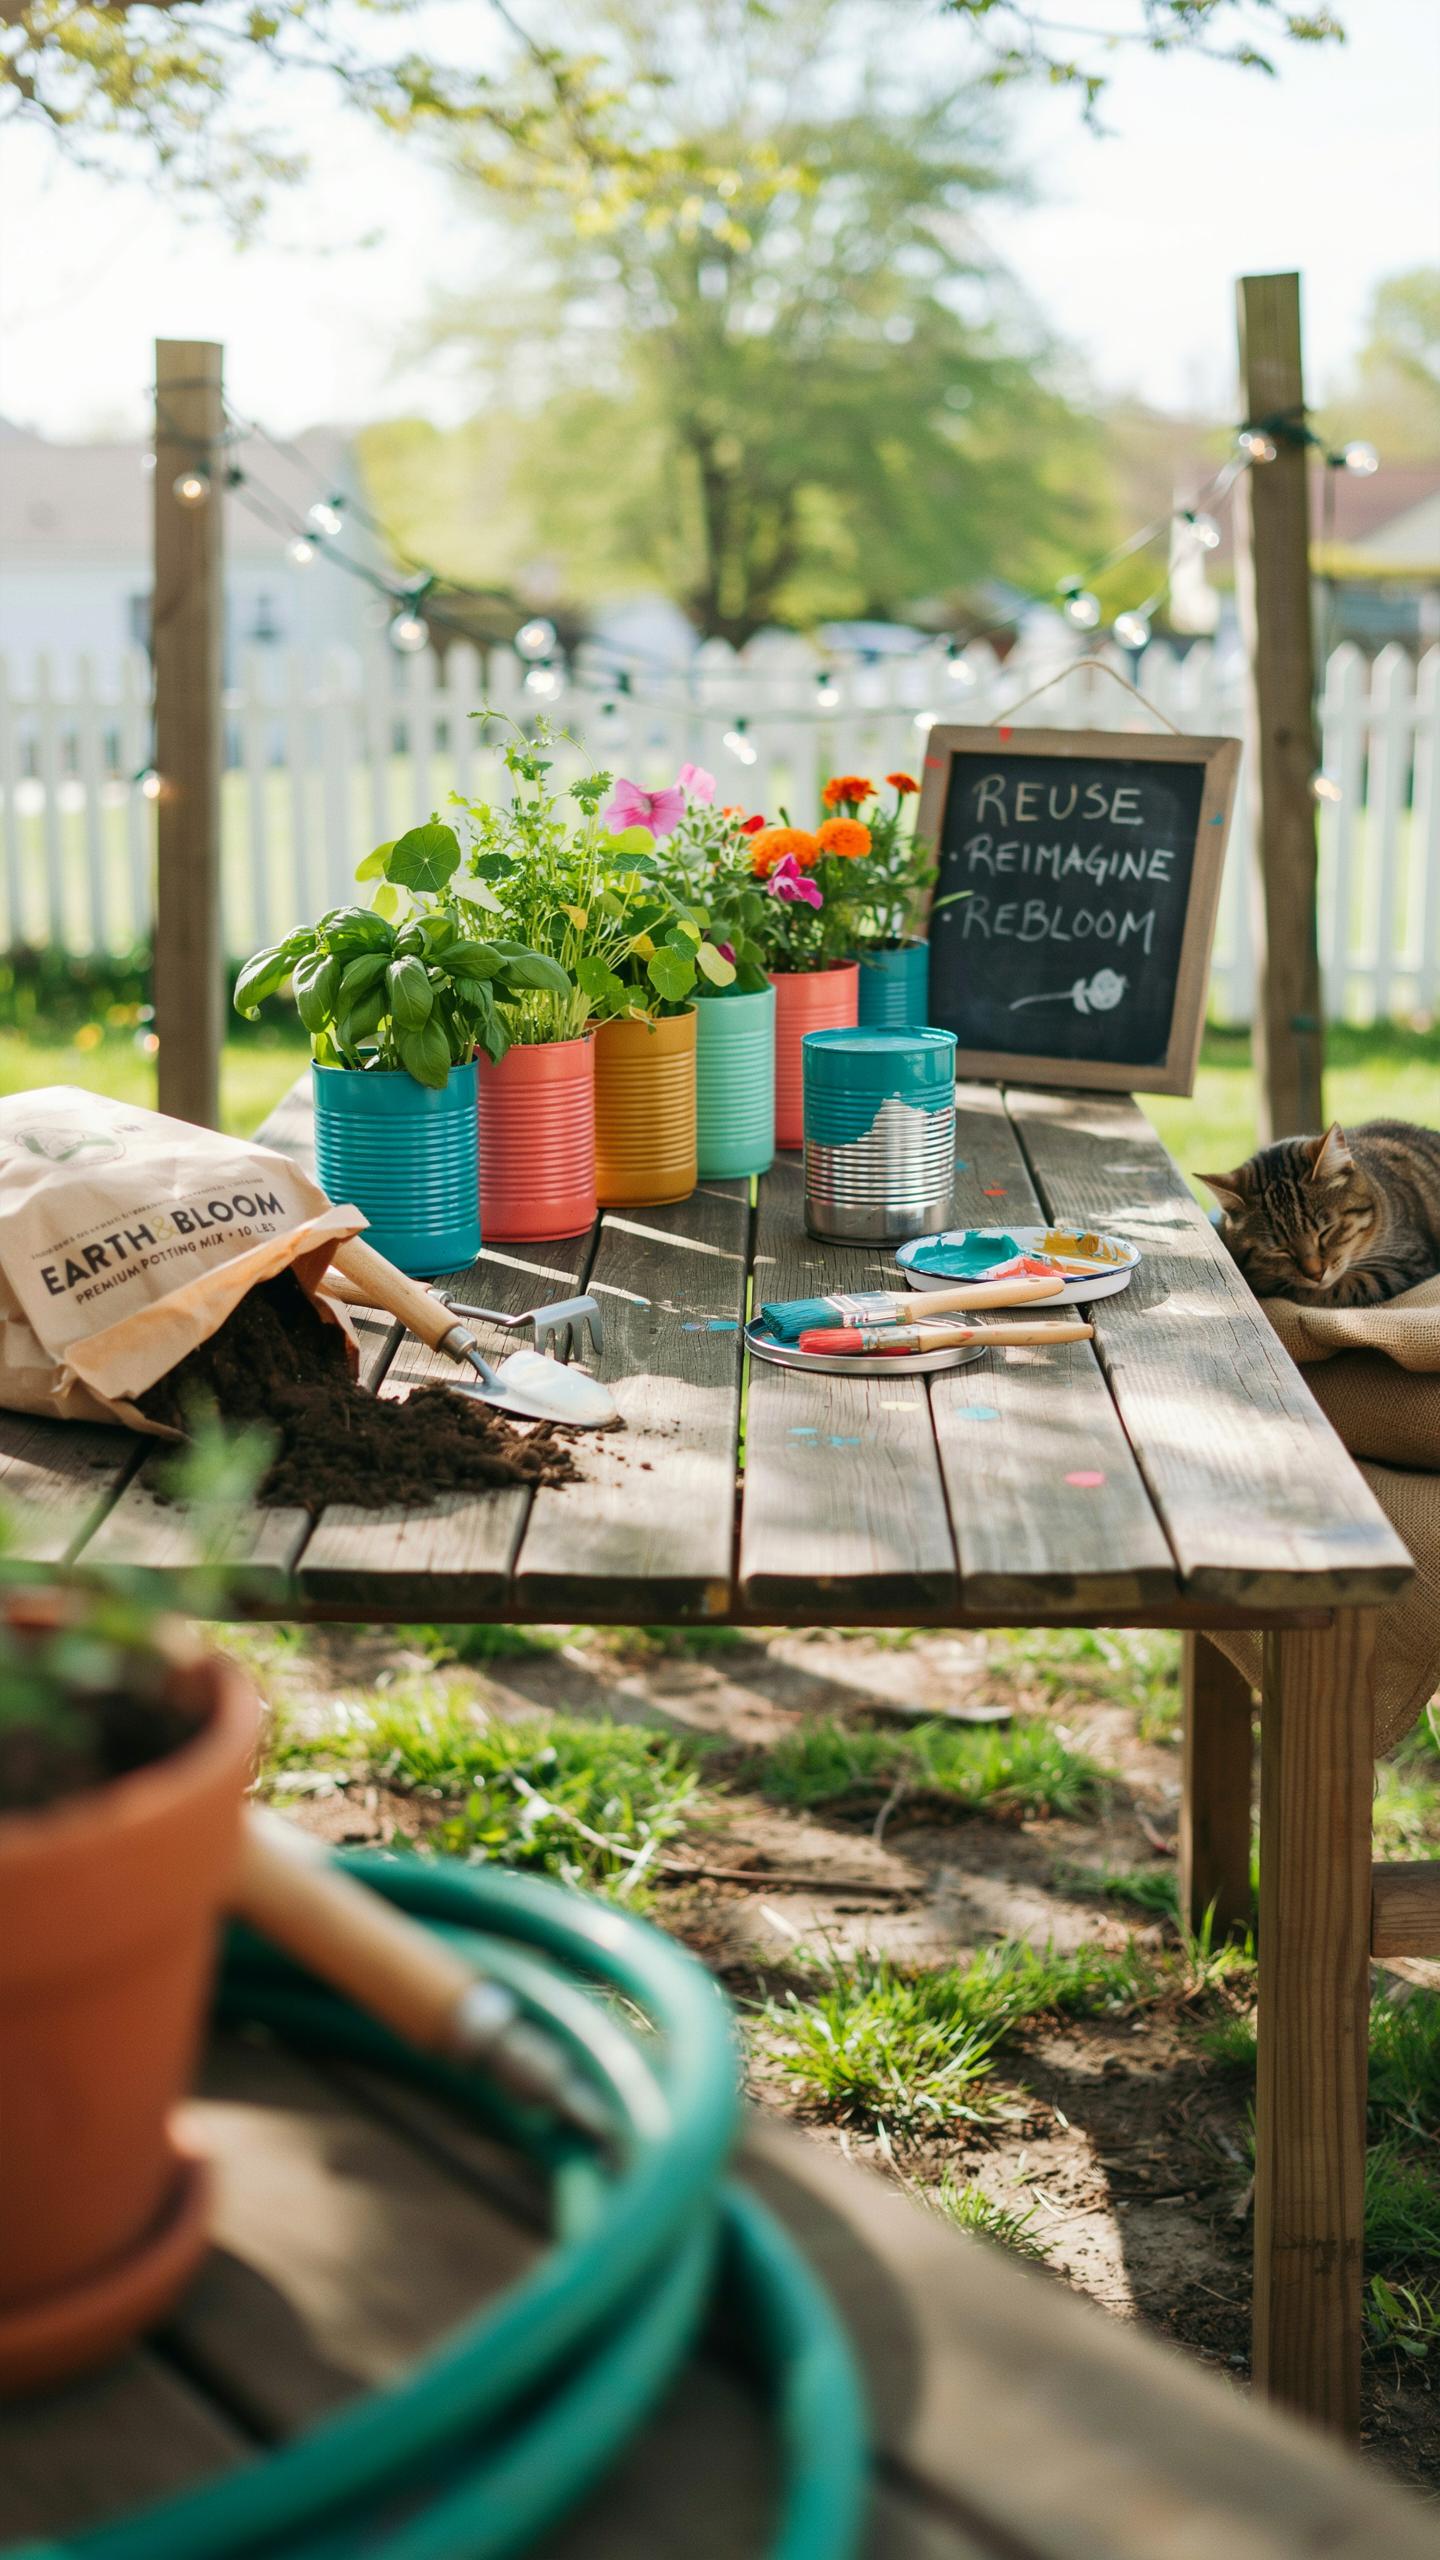
Metal cans from food products leave behind sharp edges and residual grease that compromise both safety and plant health. Use medium-grit sandpaper to smooth the rim and any jagged cuts. Sand in circular motions until edges feel dull to touch, eliminating cut risk and creating better paint adhesion later.
Wash containers thoroughly with hot water and dish soap to strip grease, oils, and paper residue from labels. Scrub the interior walls with a sponge or brush to remove any food particles or adhesive buildup. Rinse multiple times until water runs clear. Air dry completely before adding soil or plants.
Improving Container Drainage
Solid metal cans trap water at the bottom, causing root rot within weeks. Drill or puncture three to five holes in the container base using a power drill with a metal bit or a hammer and nail. Space holes evenly around the bottom to create consistent drainage pathways throughout the planter.
Holes should measure between one quarter and one half inch in diameter. Larger holes allow faster water escape but may let soil particles fall through. Smaller holes work for dense soil mixes. Test drainage by pouring water into the prepared can and confirming it flows out the bottom holes within seconds.
Plant Coordination Strategies For Upcycle Planters
Succulent Cacti Pairings
Aluminum cans work well for succulents and cacti because both the plants and containers demand minimal maintenance. Succulents store water in leaves and stems, so they tolerate dry soil between waterings. Cacti thrive in shallow soil with fast drainage. Aluminum cans provide adequate drainage when punctured at the base. The small volume forces you to select compact species that won’t outgrow the container.
Match aluminum cans with Echeveria, Sedum, or Christmas cactus varieties. These species spread horizontally rather than vertically, fitting container constraints. Jade plants work but grow slowly in restricted spaces. Aloe vera requires more vertical room than most cans provide. Test soil moisture before watering. In these confined spaces, overwatering kills plants faster than underwatering does.
Trailing Ivy Herbs Pairings
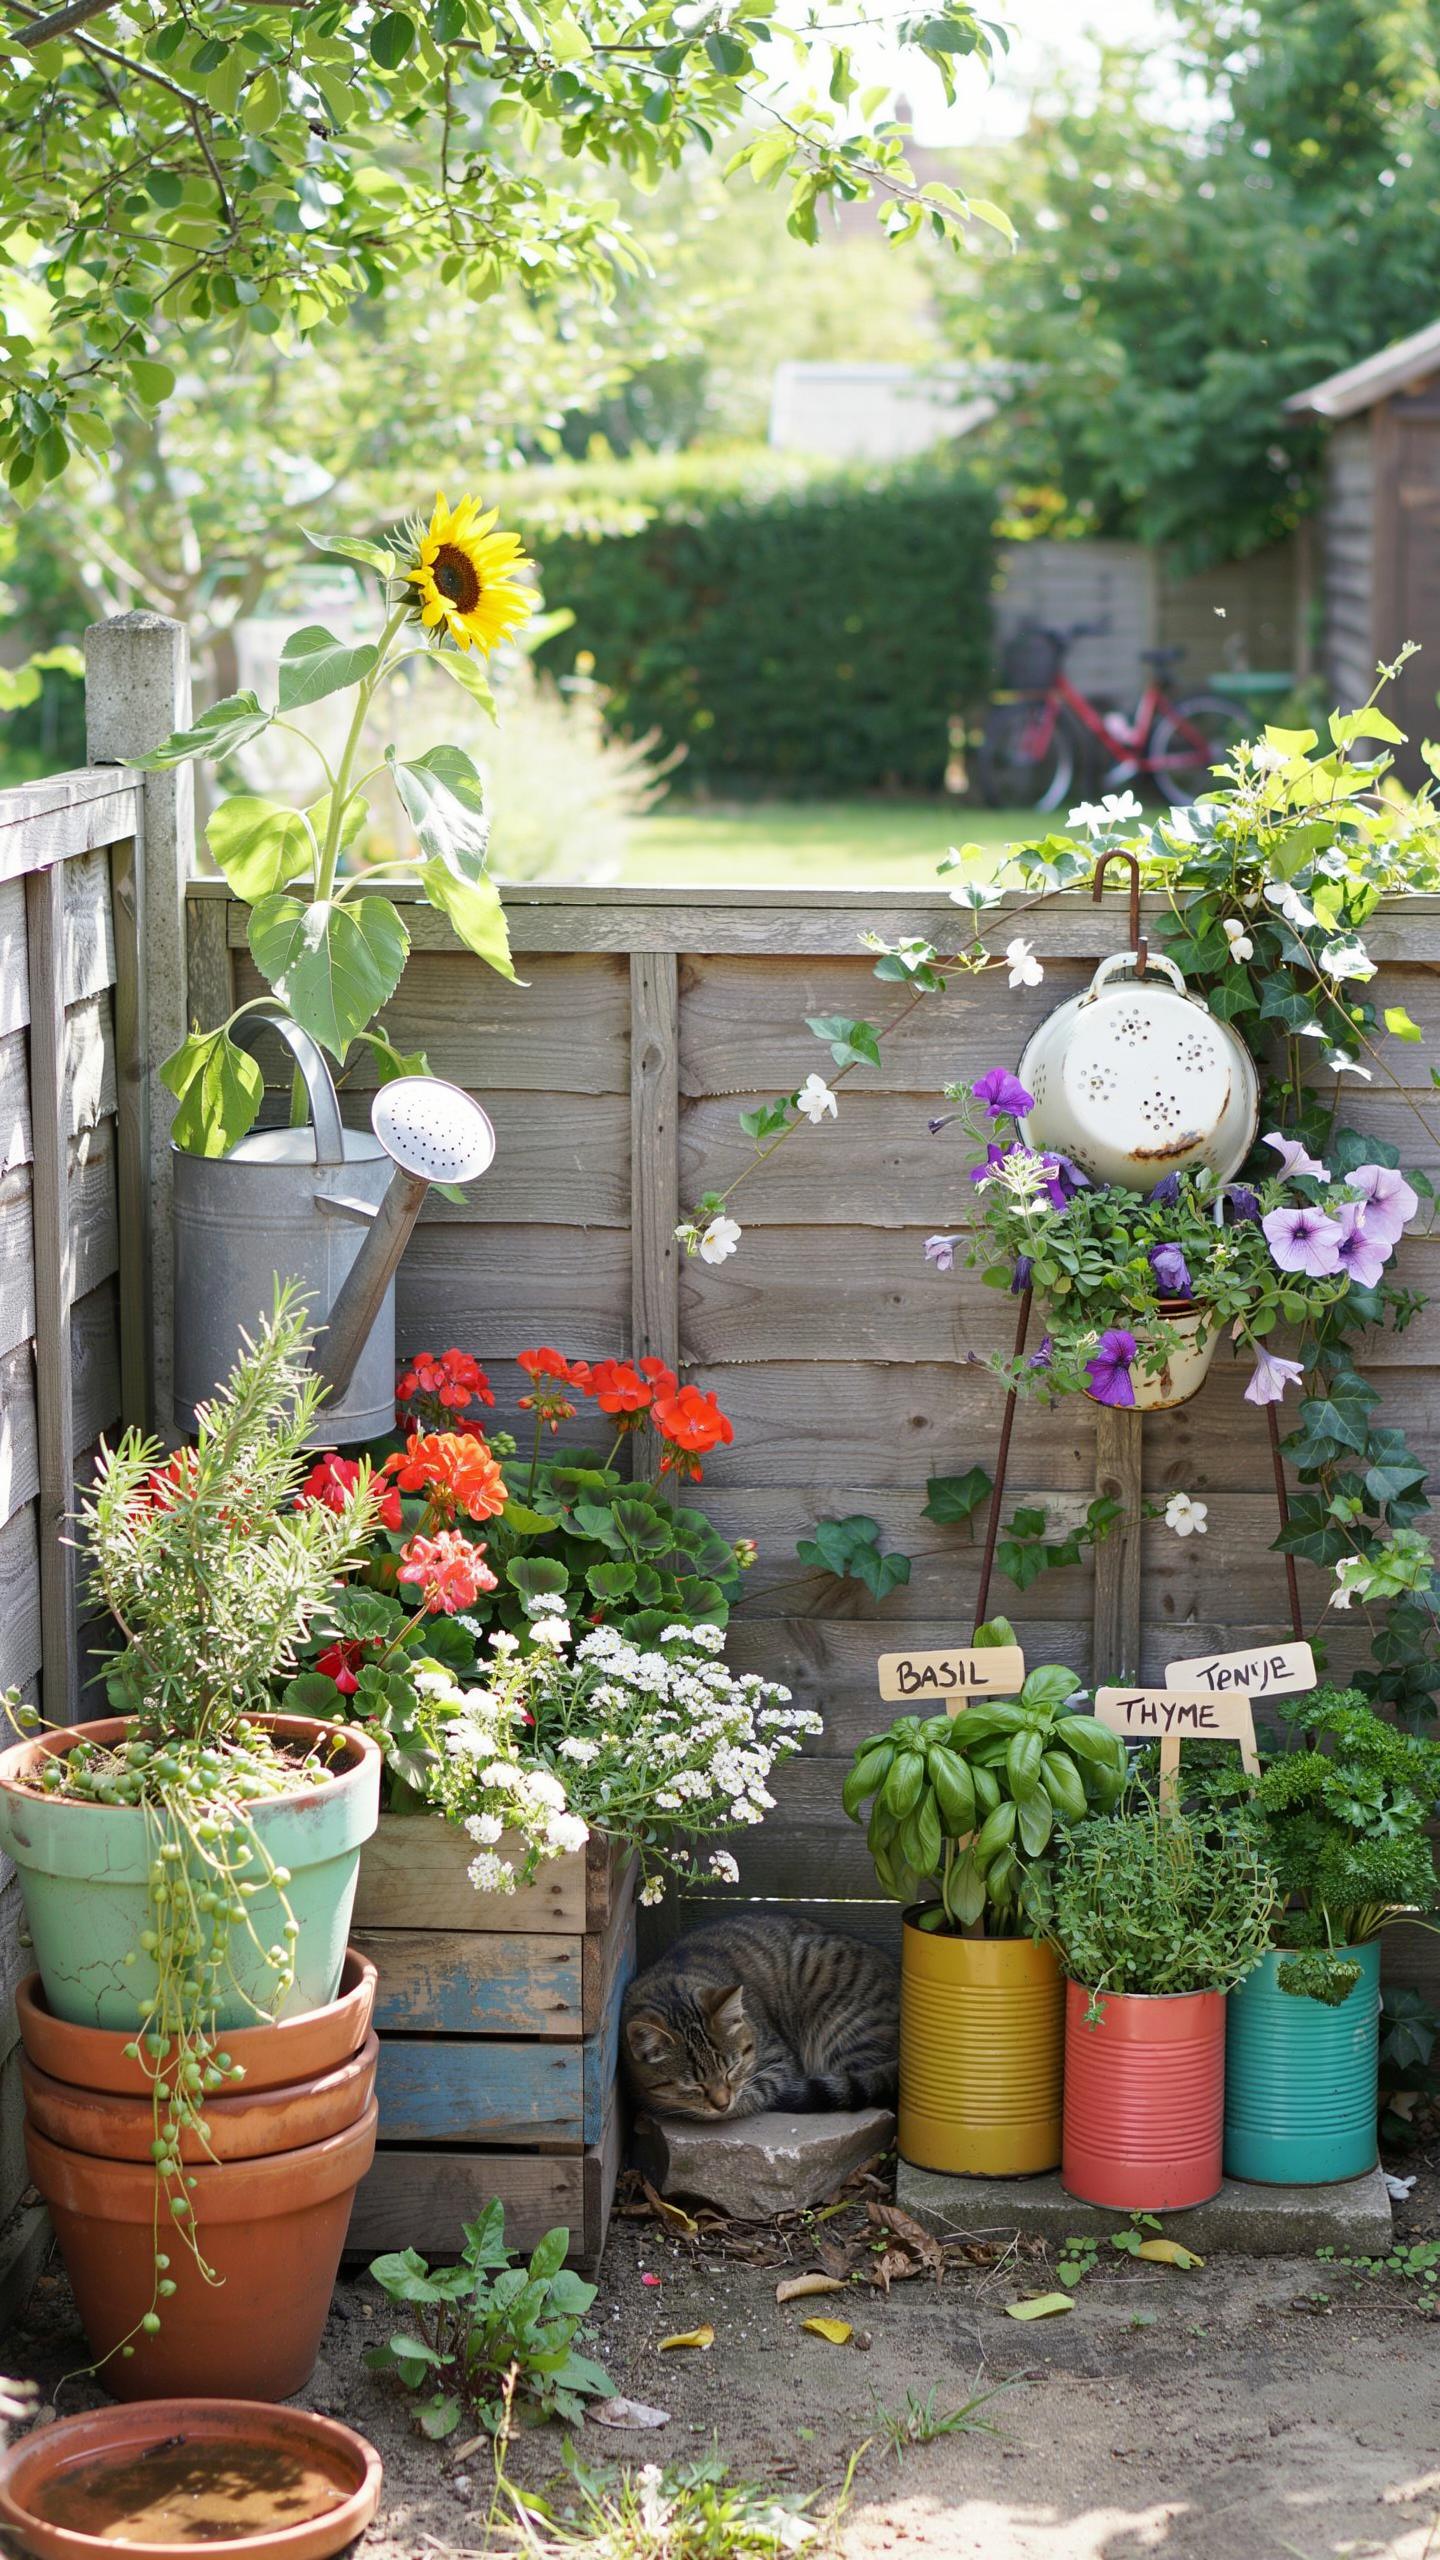
Tall cylindrical tin vessels create ideal conditions for trailing plants. The vertical structure accommodates vining growth patterns naturally. English ivy adapts to indoor and outdoor settings with minimal fuss. Culinary herbs like thyme and oregano produce usable harvests while trailing downward. Cylinder shapes allow roots to develop without competition for space at the container base.
Position trailing containers where vines receive indirect light. Thyme tolerates partial shade better than oregano does. Pinch herb stems regularly to encourage bushier growth and prevent leggy development. Ivy requires consistent moisture but not waterlogged soil. Ensure drainage holes prevent root rot in cylindrical vessels. Rotate containers quarterly so all sides receive balanced light exposure.
Maintaining And Styling Upcycle Pots For Plants Indoors
Watering Indoor Upcycled Vessels
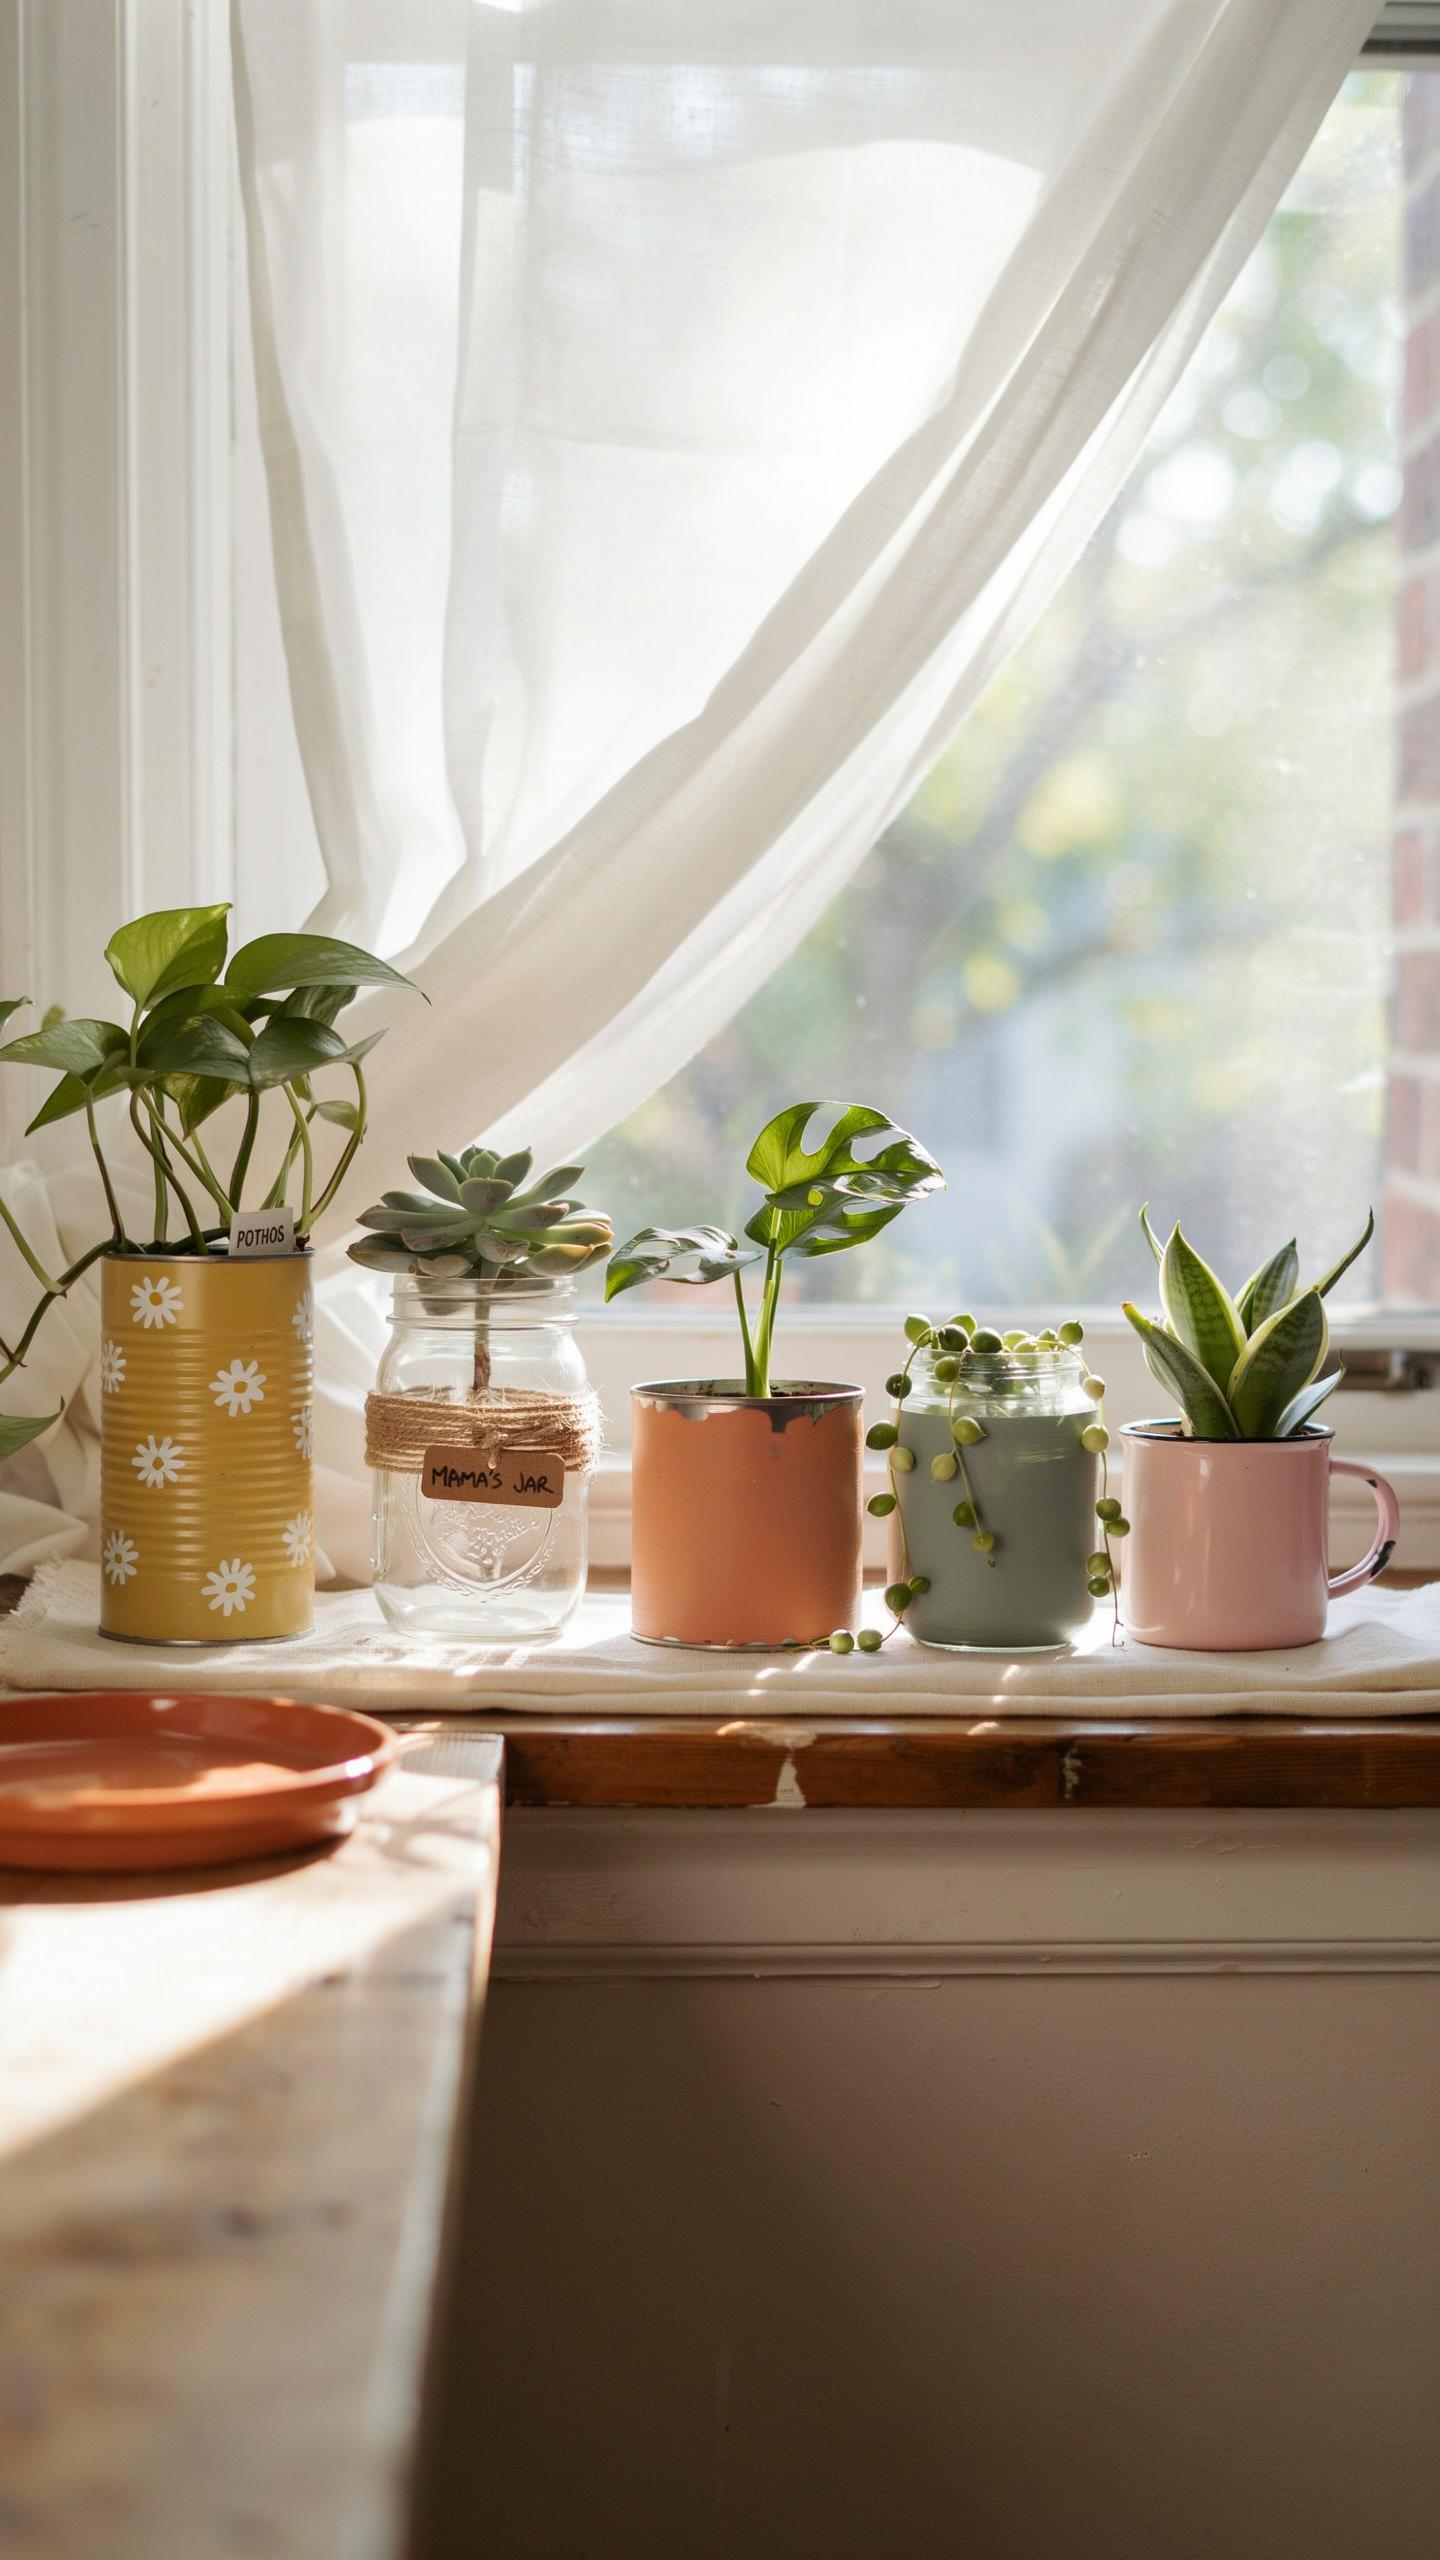
Water sits on surfaces when drainage holes fail to direct it away. Most repurposed containers lack factory drainage systems, so you must install them or use saucers to catch excess water. Drill holes in the bottom of ceramic, wood, or metal vessels before planting. Position saucers underneath to protect furniture and flooring from water damage and staining.
Check soil moisture before watering by inserting your finger two inches deep into the soil. Water only when the soil feels dry at that depth. This approach prevents root rot and reduces spillage frequency. Empty saucers within thirty minutes after watering to prevent standing water that attracts pests and causes root damage over time.
Rotating Displays Seasonal Styling
Winter sunlight travels lower across the sky than summer sunlight does. Move containers closer to south or west-facing windows during winter months to maximize light exposure. Relocate plants away from direct afternoon sun during summer to prevent leaf burn and excessive heat stress. This rotation ensures consistent growth and prevents weak, leggy growth patterns caused by insufficient light.
Swap plant arrangements every four to six weeks to refresh your space and evaluate which plants thrive in specific locations. Rearrange containers based on growth performance rather than aesthetics alone. Moving slow-growing plants to brighter spots and relocating fast-growing species to shadier areas maintains visual balance. Document which plants perform well in each location to streamline future seasonal adjustments.
Frequently Asked Questions

What are the best everyday items to use for a beginner repurposed decor project planters?
If you are new to upcycling, start with sturdy household items like vintage tea tins, wooden crates, or ceramic colanders. These objects are easy to clean and provide a stable base for greenery. Creating a repurposed decor project planters display with these items adds instant charm to your home without requiring power tools, making it the perfect entry point for anyone looking to achieve a relaxed, cozy aesthetic.
How do I ensure proper drainage when converting old containers into planters?
Proper drainage is crucial for plant health. Use a drill with a masonry or multipurpose bit to create several small holes in the bottom of your container. If the material is too fragile to drill, layer the bottom with an inch of activated charcoal or small river pebbles before adding soil. This technique ensures your repurposed decor project planters remain functional and keep your indoor garden thriving in a relaxed living environment.
Can I create unique upcycled planters if I am on a very tight budget?
Absolutely! The beauty of this hobby is that the materials are often free or very inexpensive. Browse local thrift stores, garage sales, or even your own recycling bin for glass jars, rusted tin cans, or old boots. With a simple coat of leftover paint or some jute twine, you can transform discarded items into beautiful focal points. It is an affordable way to personalize your space with low-cost, sustainable style.



