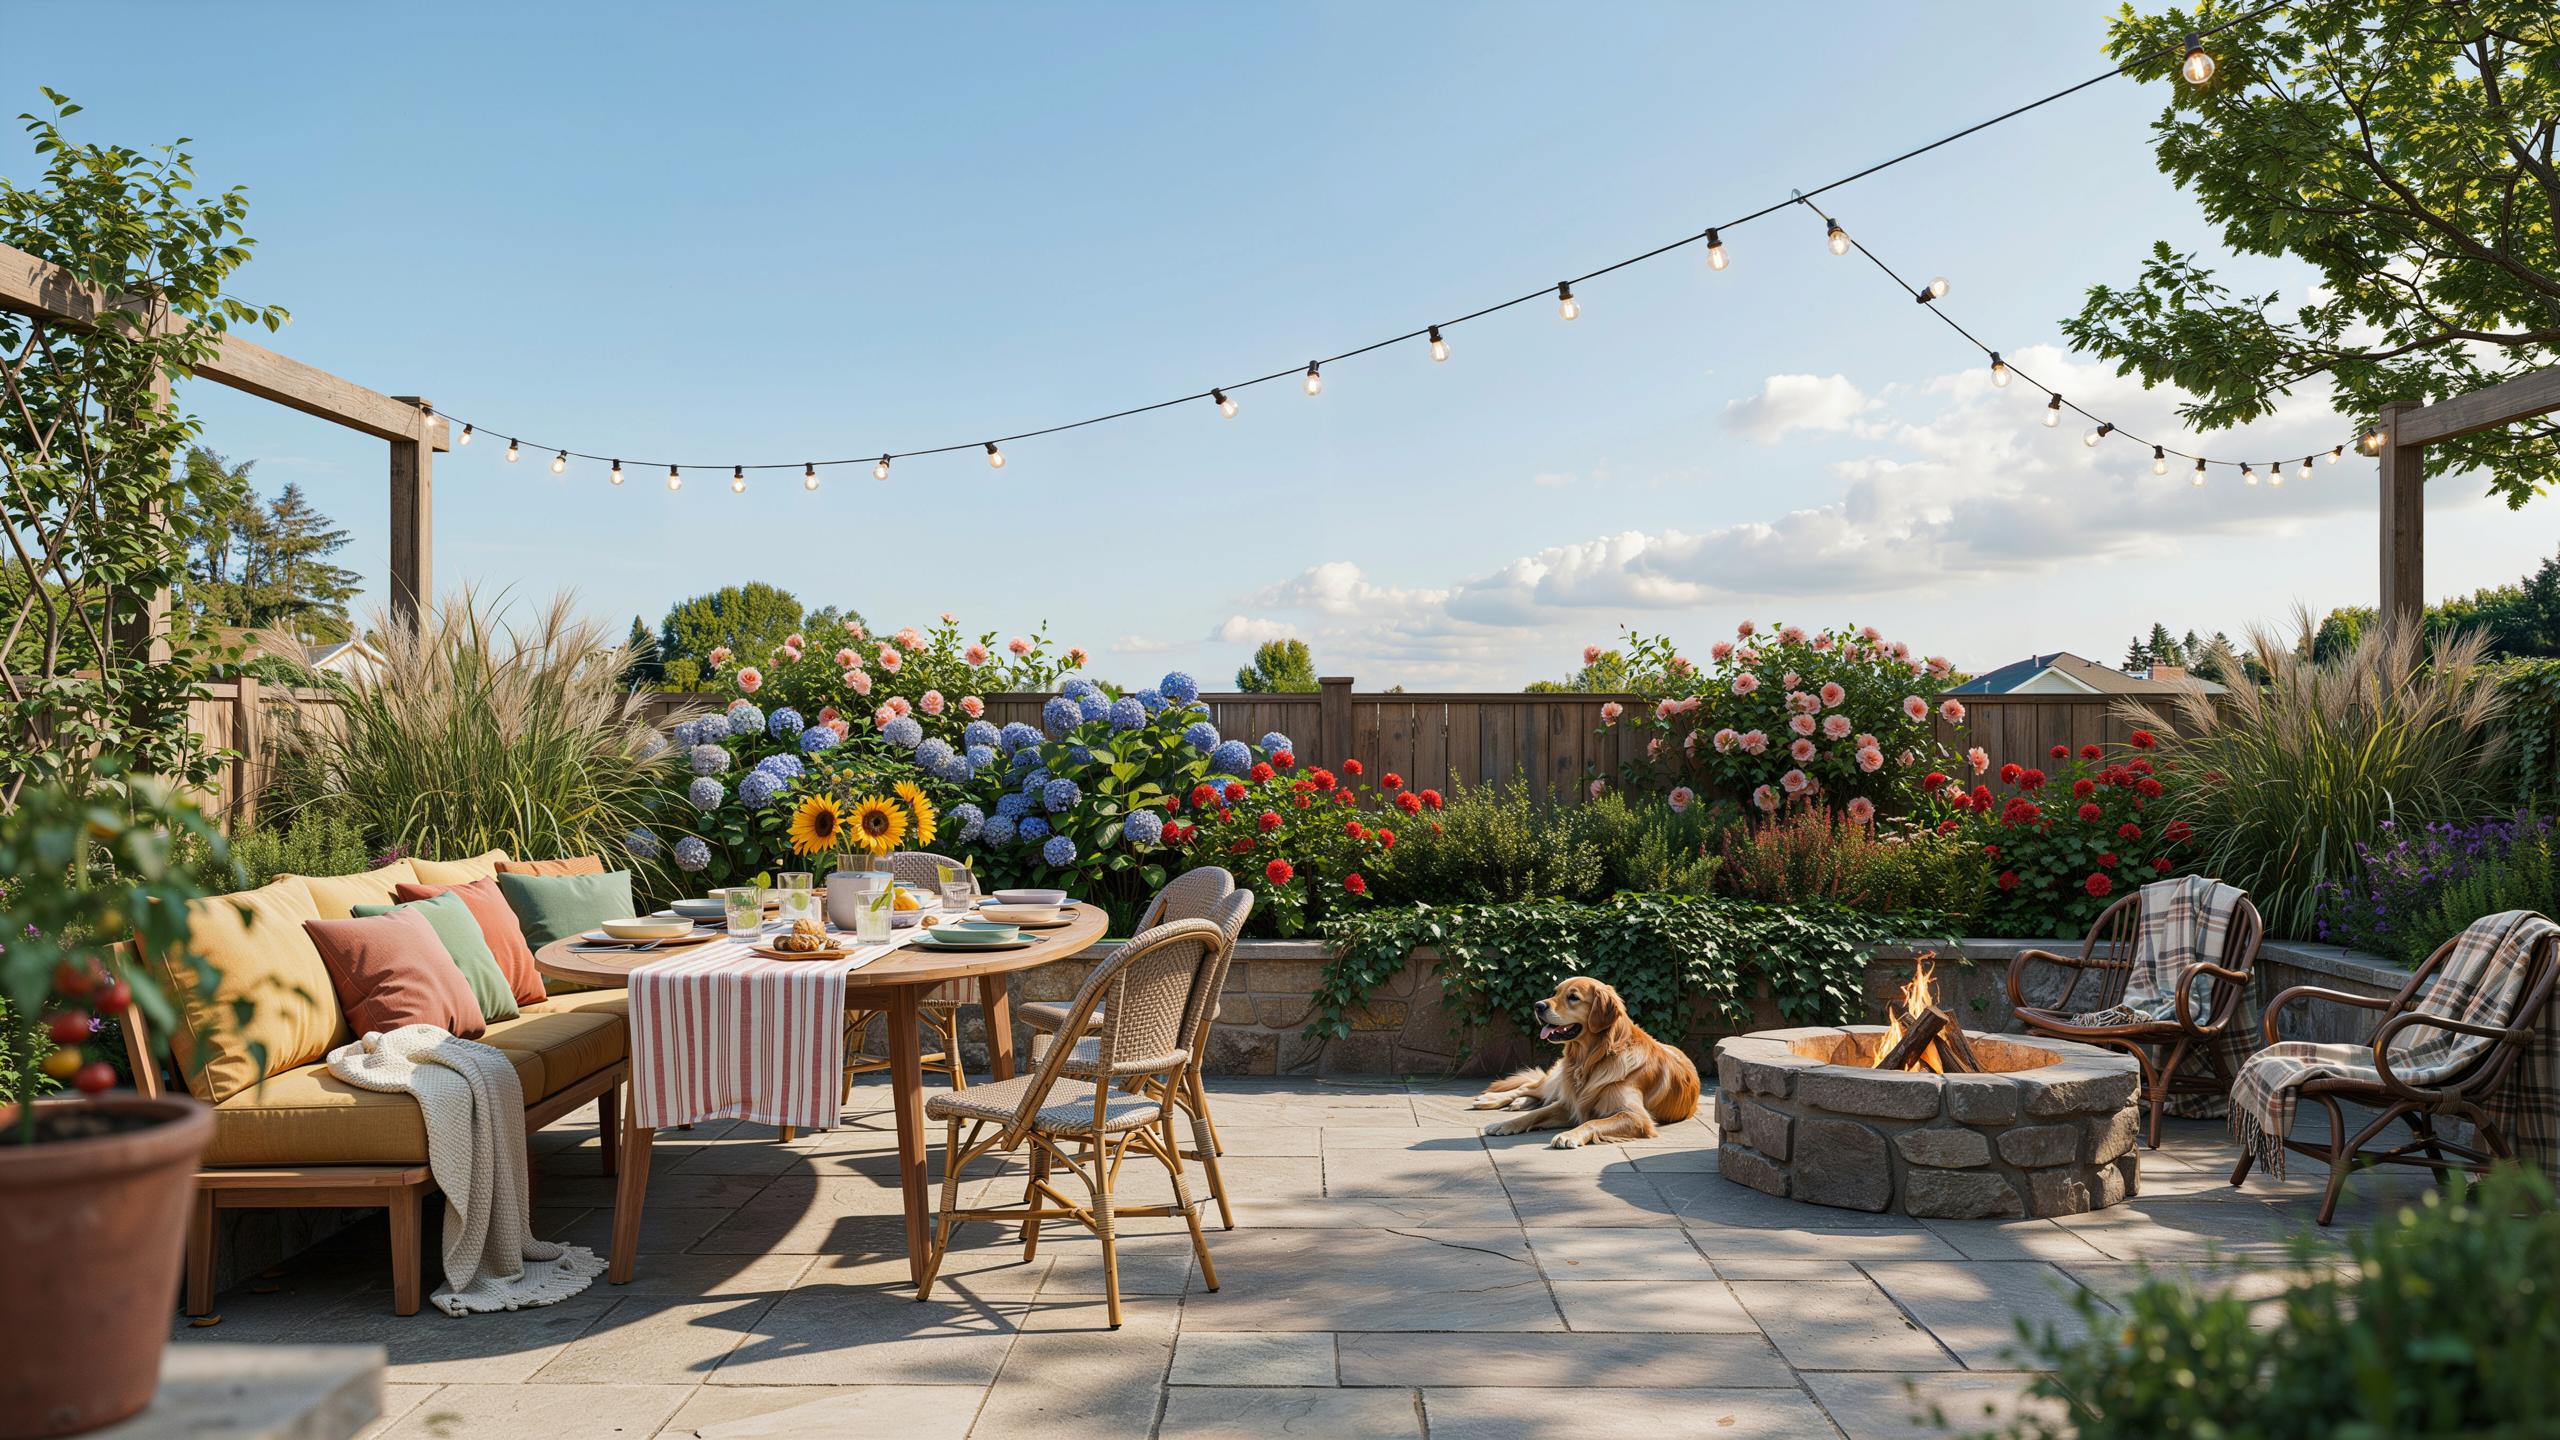
Introduction To Your Backyard Entertaining Space Layout Plan
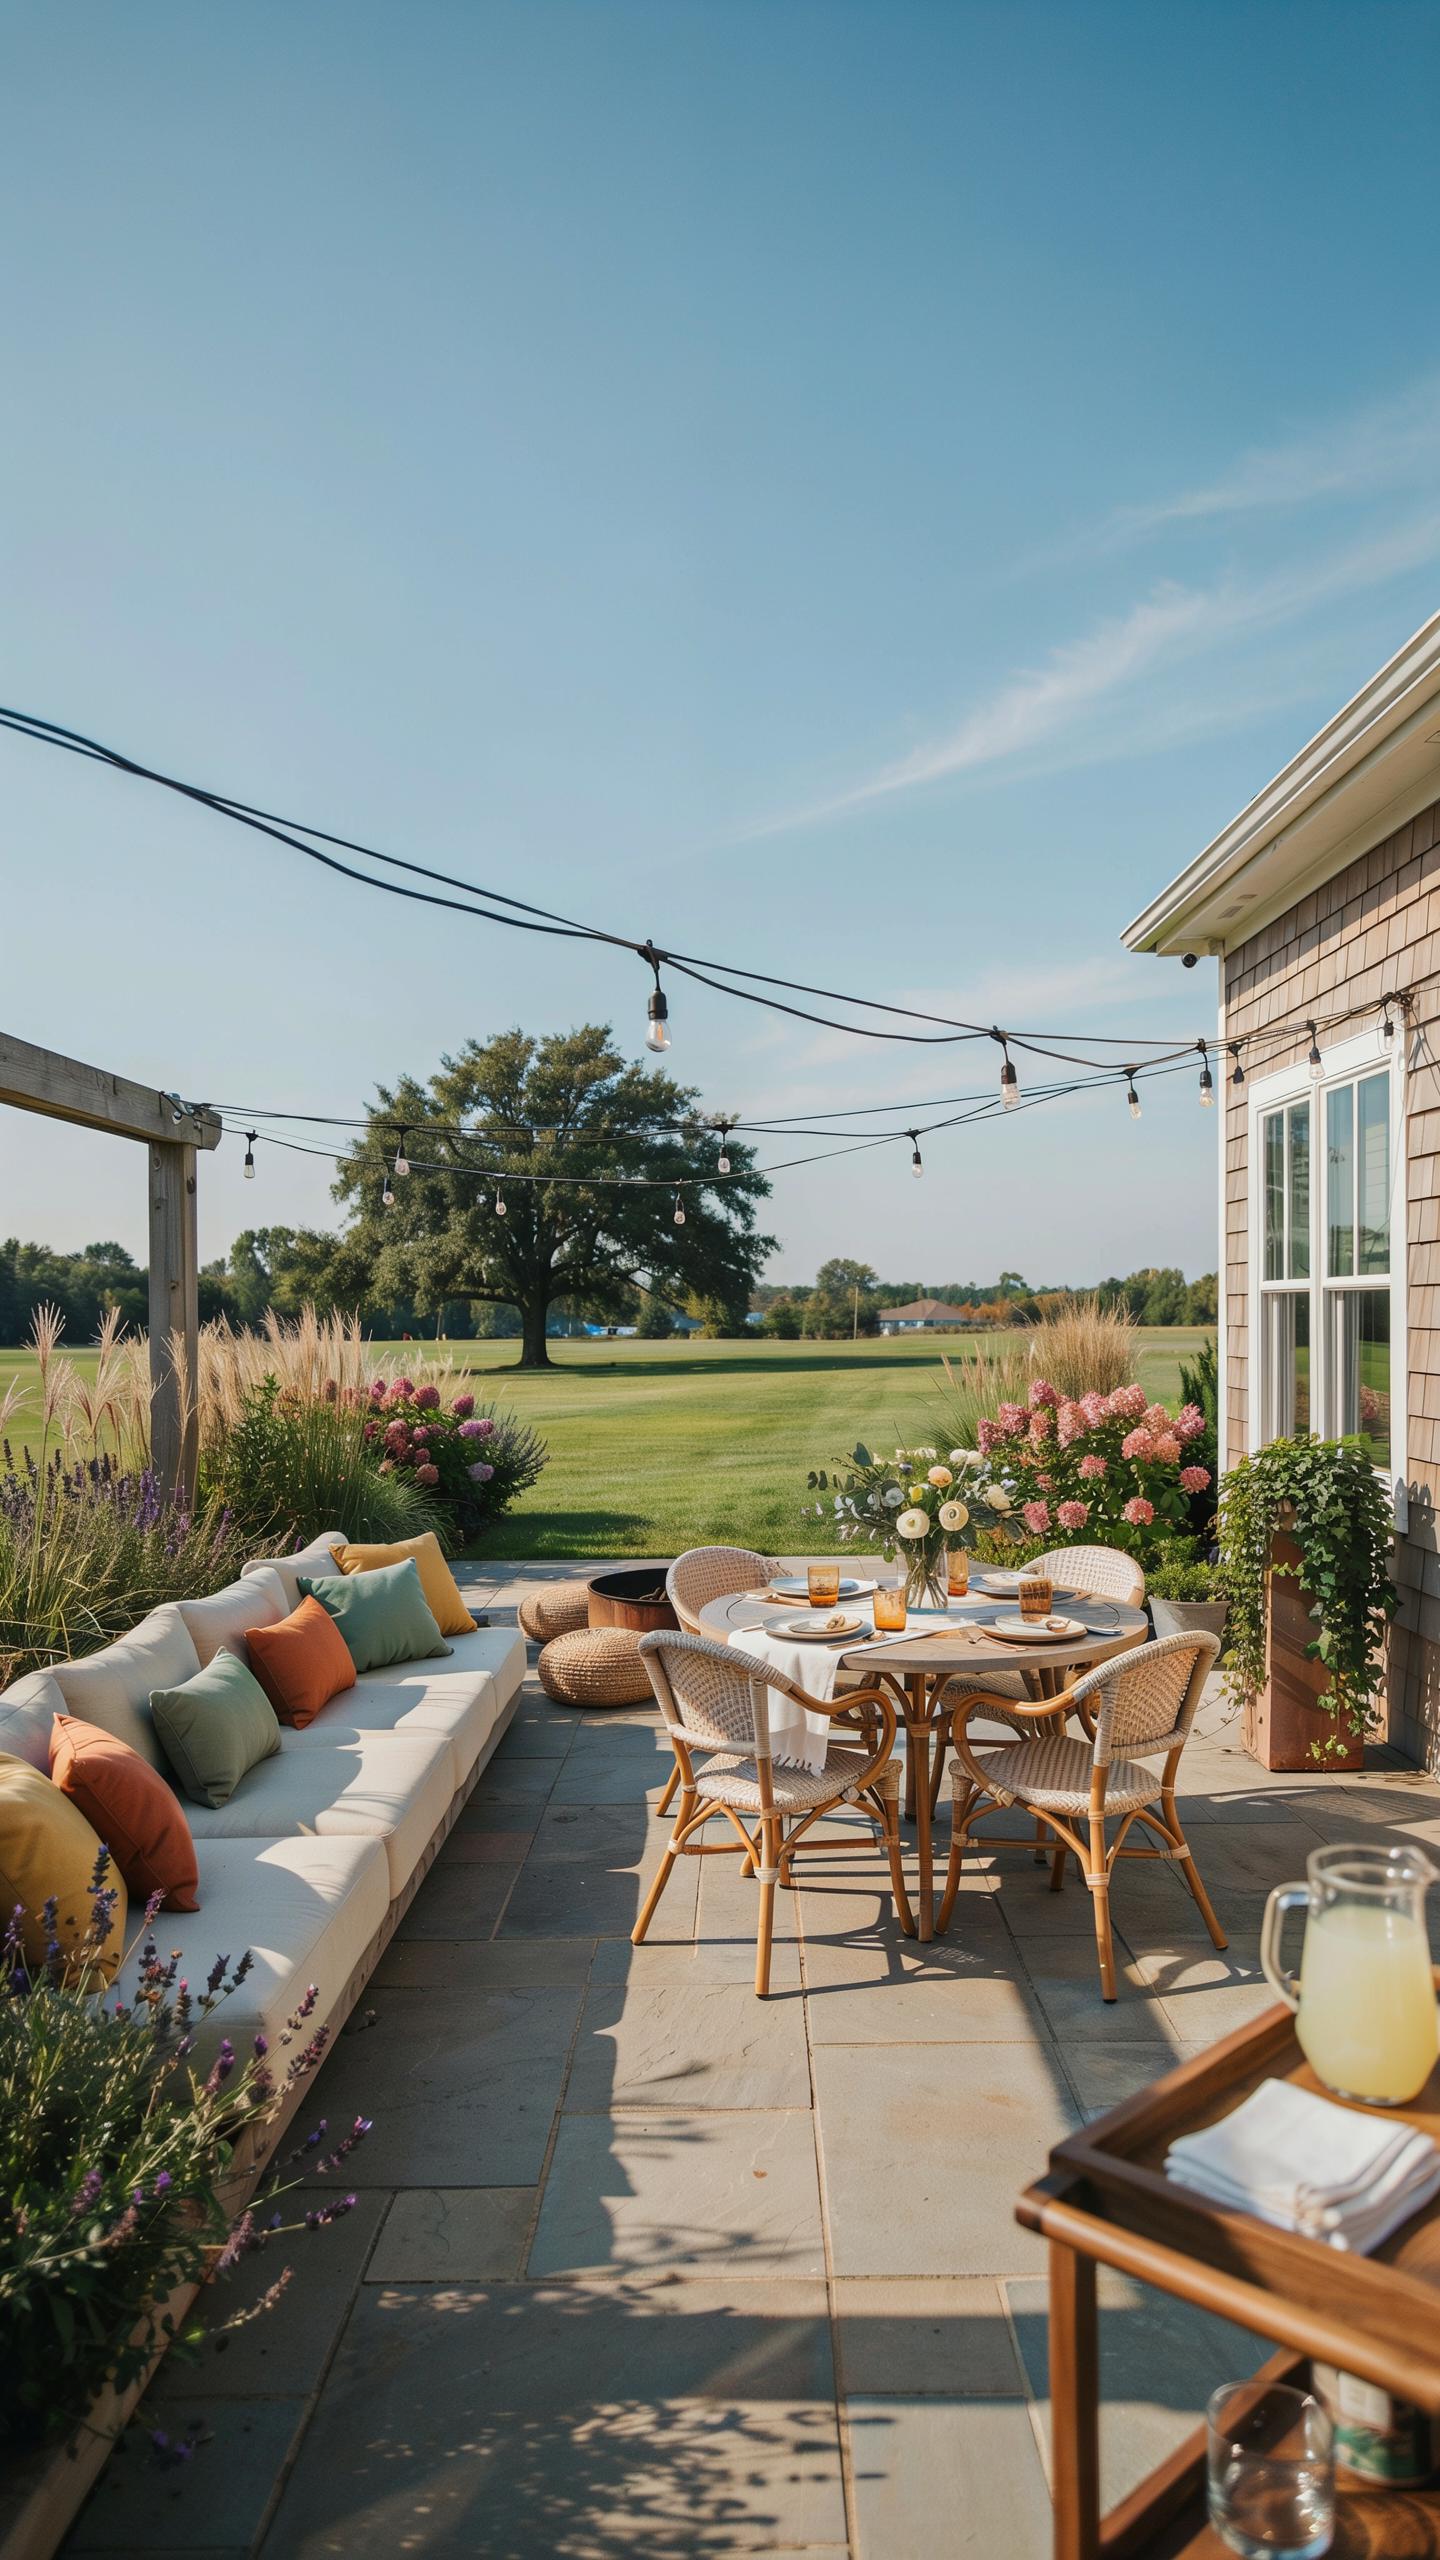
Defining The Scope Of Your Outdoor Living Area
Start by identifying how you actually use your backyard. Do you host dinner parties, family gatherings, or quiet evenings alone? Answer this first. Your activities determine everything: zone placement, furniture sizing, and traffic flow. Skip this step and you’ll waste money on features you never use.
Write down specific activities you want to support. Dining requires different spacing than lounging. Cooking demands proximity to the house and utilities. Identify which activities matter most. Rank them by frequency and importance. This list becomes your planning foundation. It eliminates guesswork and keeps decisions focused.
Essential Materials And Tools For Planning
Grab a tape measure, notepad, and graph paper before you start. You need accurate measurements of your yard’s dimensions and existing features like trees, structures, and slopes. These basics prevent costly design errors. Precision saves money and time during the actual build phase.
- Tape Measure: Get a 25-foot minimum length. Measure property lines, existing structures, and tree locations. Record all dimensions on your notepad immediately.
- Graph Paper: Use quarter-inch grid squares. Each square equals one real foot. This scaling method works for all yard sizes and creates proportionally accurate layouts.
- Colored Pencils: Assign colors to different zones: dining in blue, lounge in green, cooking in red. Visual separation clarifies zones and reveals traffic flow problems.
- Digital Design Software: Tools like SketchUp Free or SmartDraw allow quick revisions. They’re optional but speed up iteration and help visualize 3D layouts before construction.
- Smartphone Camera: Photograph existing conditions from multiple angles. Include fence lines, sun direction, and problem areas like wet spots or tree roots.
Having these tools ready means you capture accurate data once. You won’t revisit your yard repeatedly for forgotten measurements. Efficiency at this stage prevents delays and redesigns later.

Backyard Planning Prioritizing Comfort And Functionality
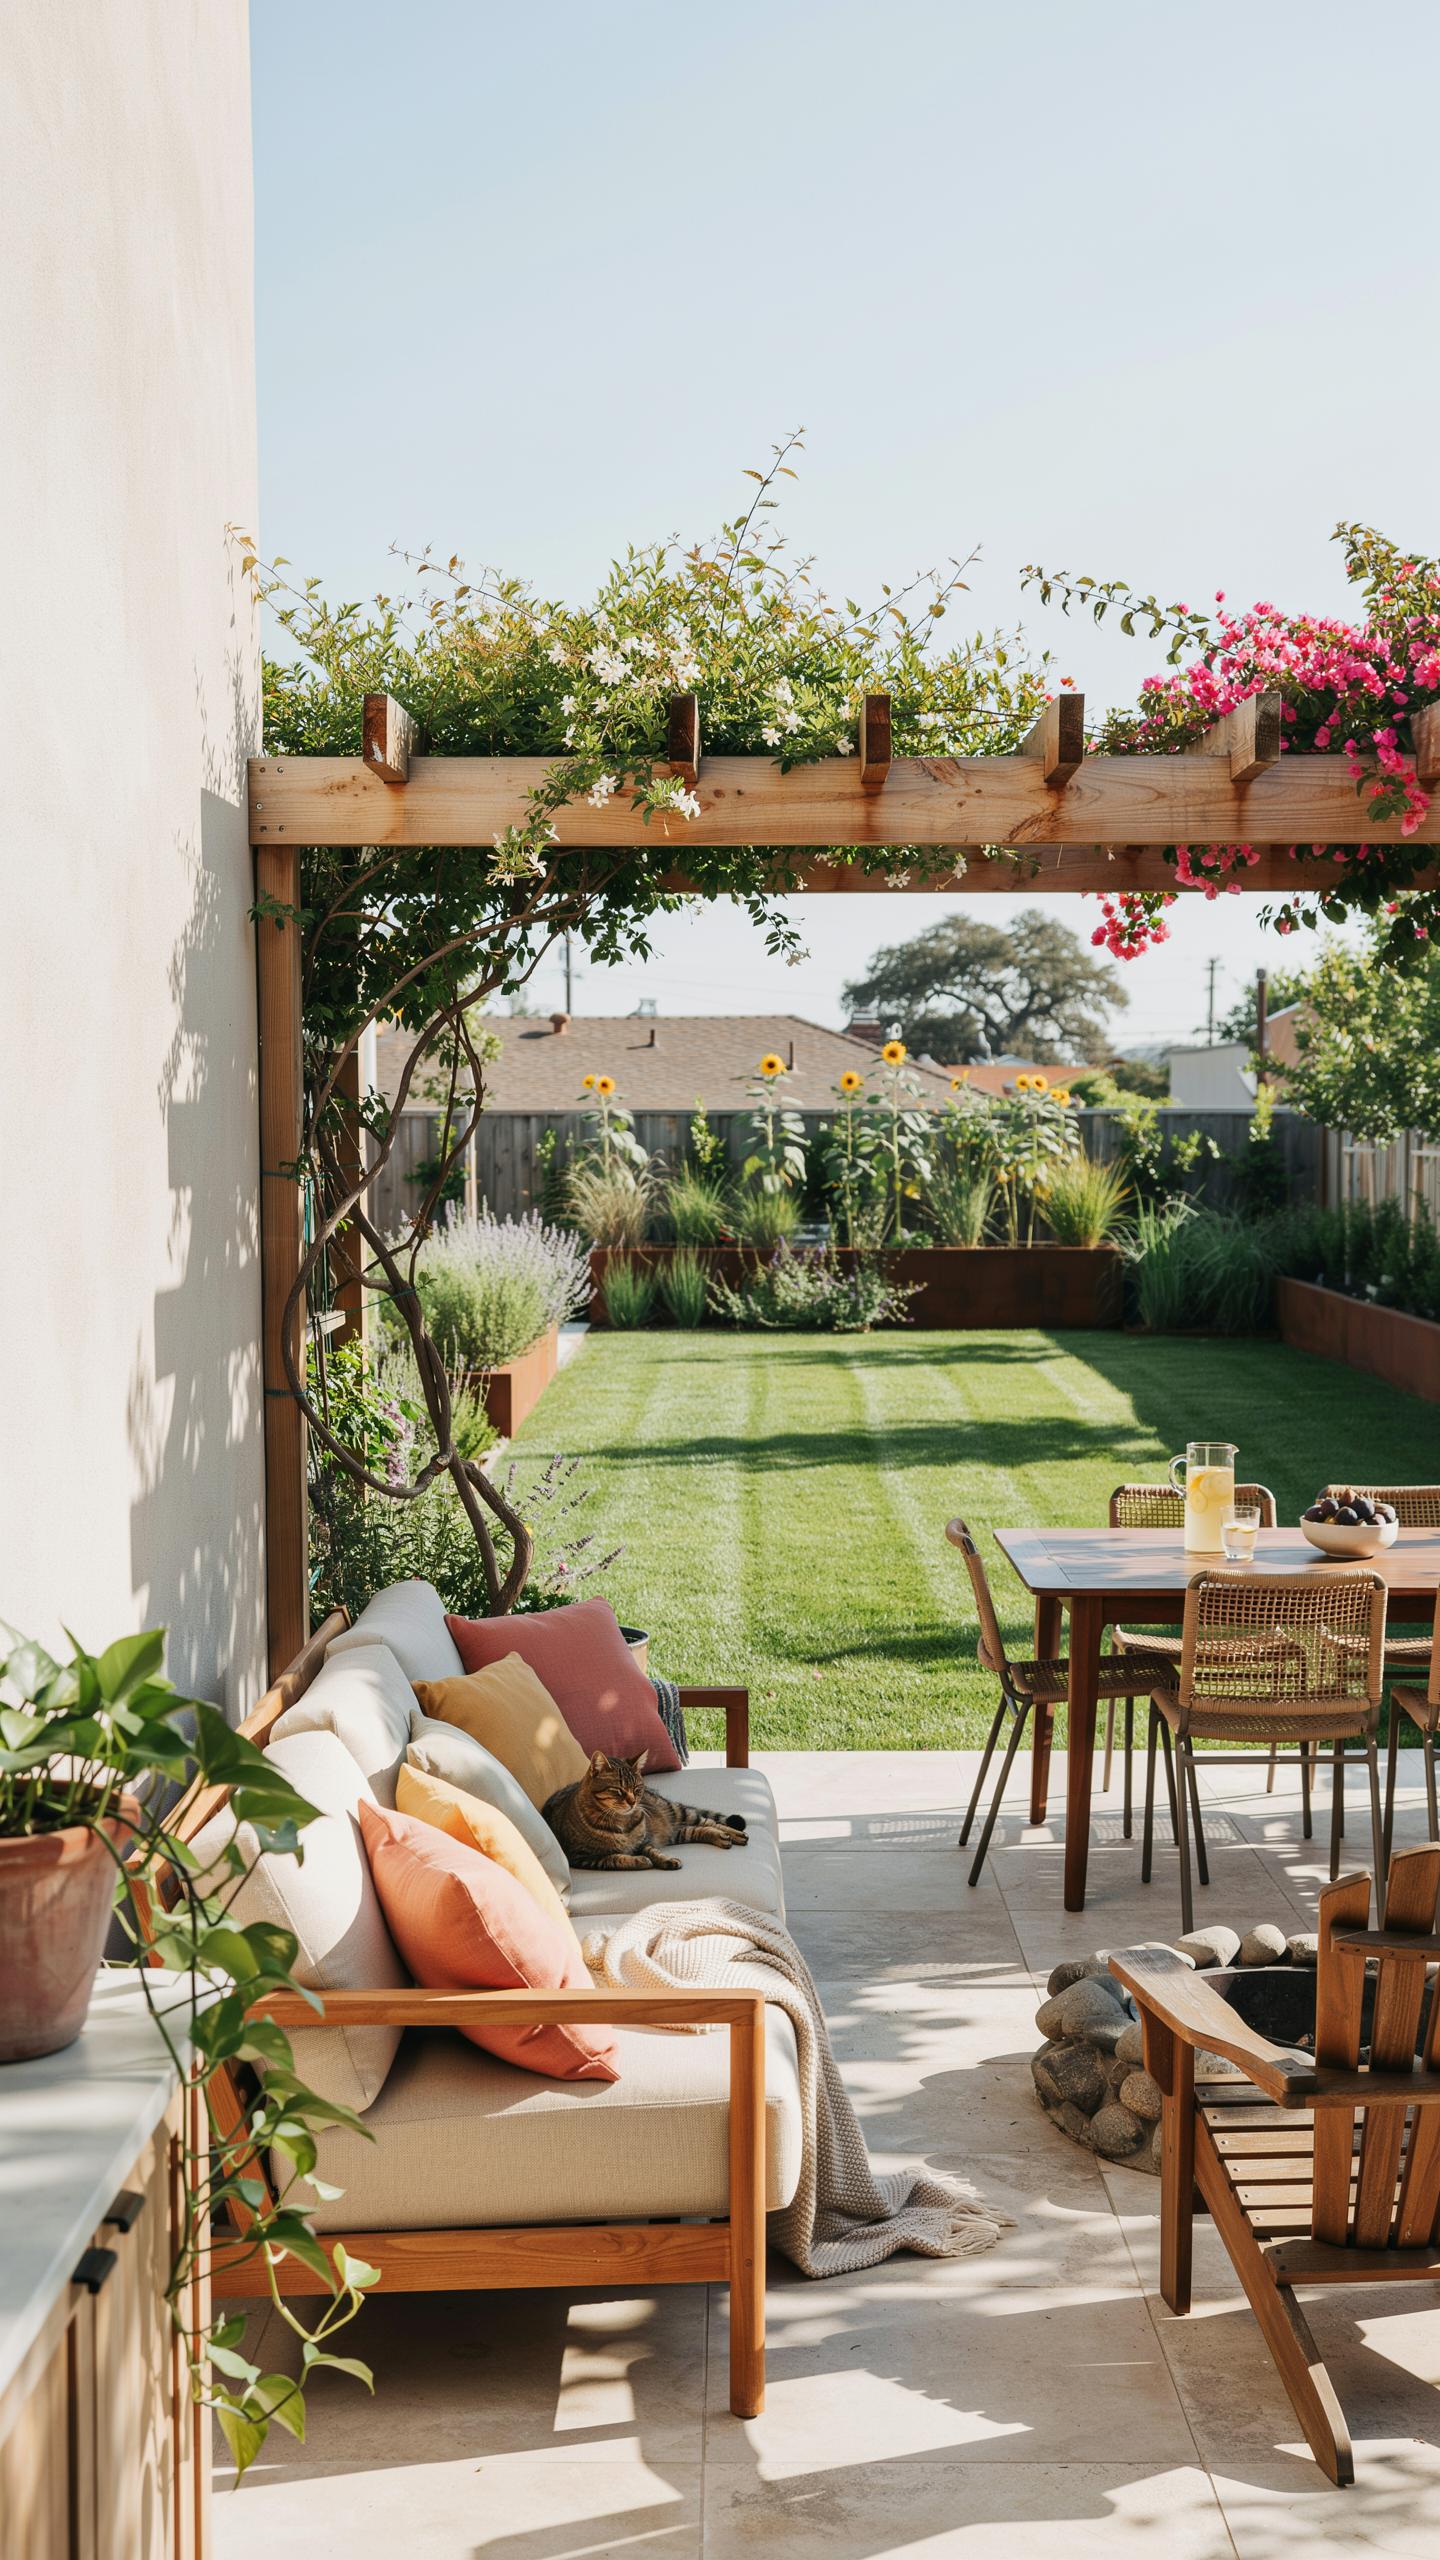
Analyzing Wind, Sun, And Shade Exposure
Track sun position across your property at different times of day. Morning sun differs from afternoon intensity. Document which areas receive direct heat during peak entertaining hours, typically 2 PM to 6 PM. This data drives seating placement decisions. Position your main gathering zone where shade naturally falls or where you can install a pergola or shade structure. Shade reduces guest discomfort and extends usable entertaining hours.
Wind patterns matter as much as sun exposure. Observe how wind moves through your yard during different seasons. Position seating areas away from prevailing wind directions to protect guests from cold drafts and flying debris. Trees and fencing act as windbreaks. Strategic placement of these elements creates comfortable microclimates without blocking desired airflow. Test your layout during actual entertaining conditions before making permanent installations.
Implementing Low Maintenance Hardscapes And Plants
Choose durable hardscape materials that require minimal upkeep. Composite decking resists rot, splitting, and requires no staining or sealing. Concrete pavers eliminate weeding and stay level longer than wood. These materials reduce seasonal maintenance cycles. Invest upfront in quality installation to avoid repairs that interrupt entertaining seasons. Low maintenance hardscapes free your time for actual enjoyment rather than constant upkeep.

Select native perennial plants suited to your climate zone. Native species thrive with minimal watering once established and resist local pests naturally. They require fewer fertilizer applications than exotic plants. Group plants by water needs to simplify irrigation. Perennials return yearly without replanting, lowering labor demands. This approach creates a functional landscape that supports relaxed entertaining without demanding constant attention.
Choosing The Right Backyard Layout For Flow And Conversational Areas
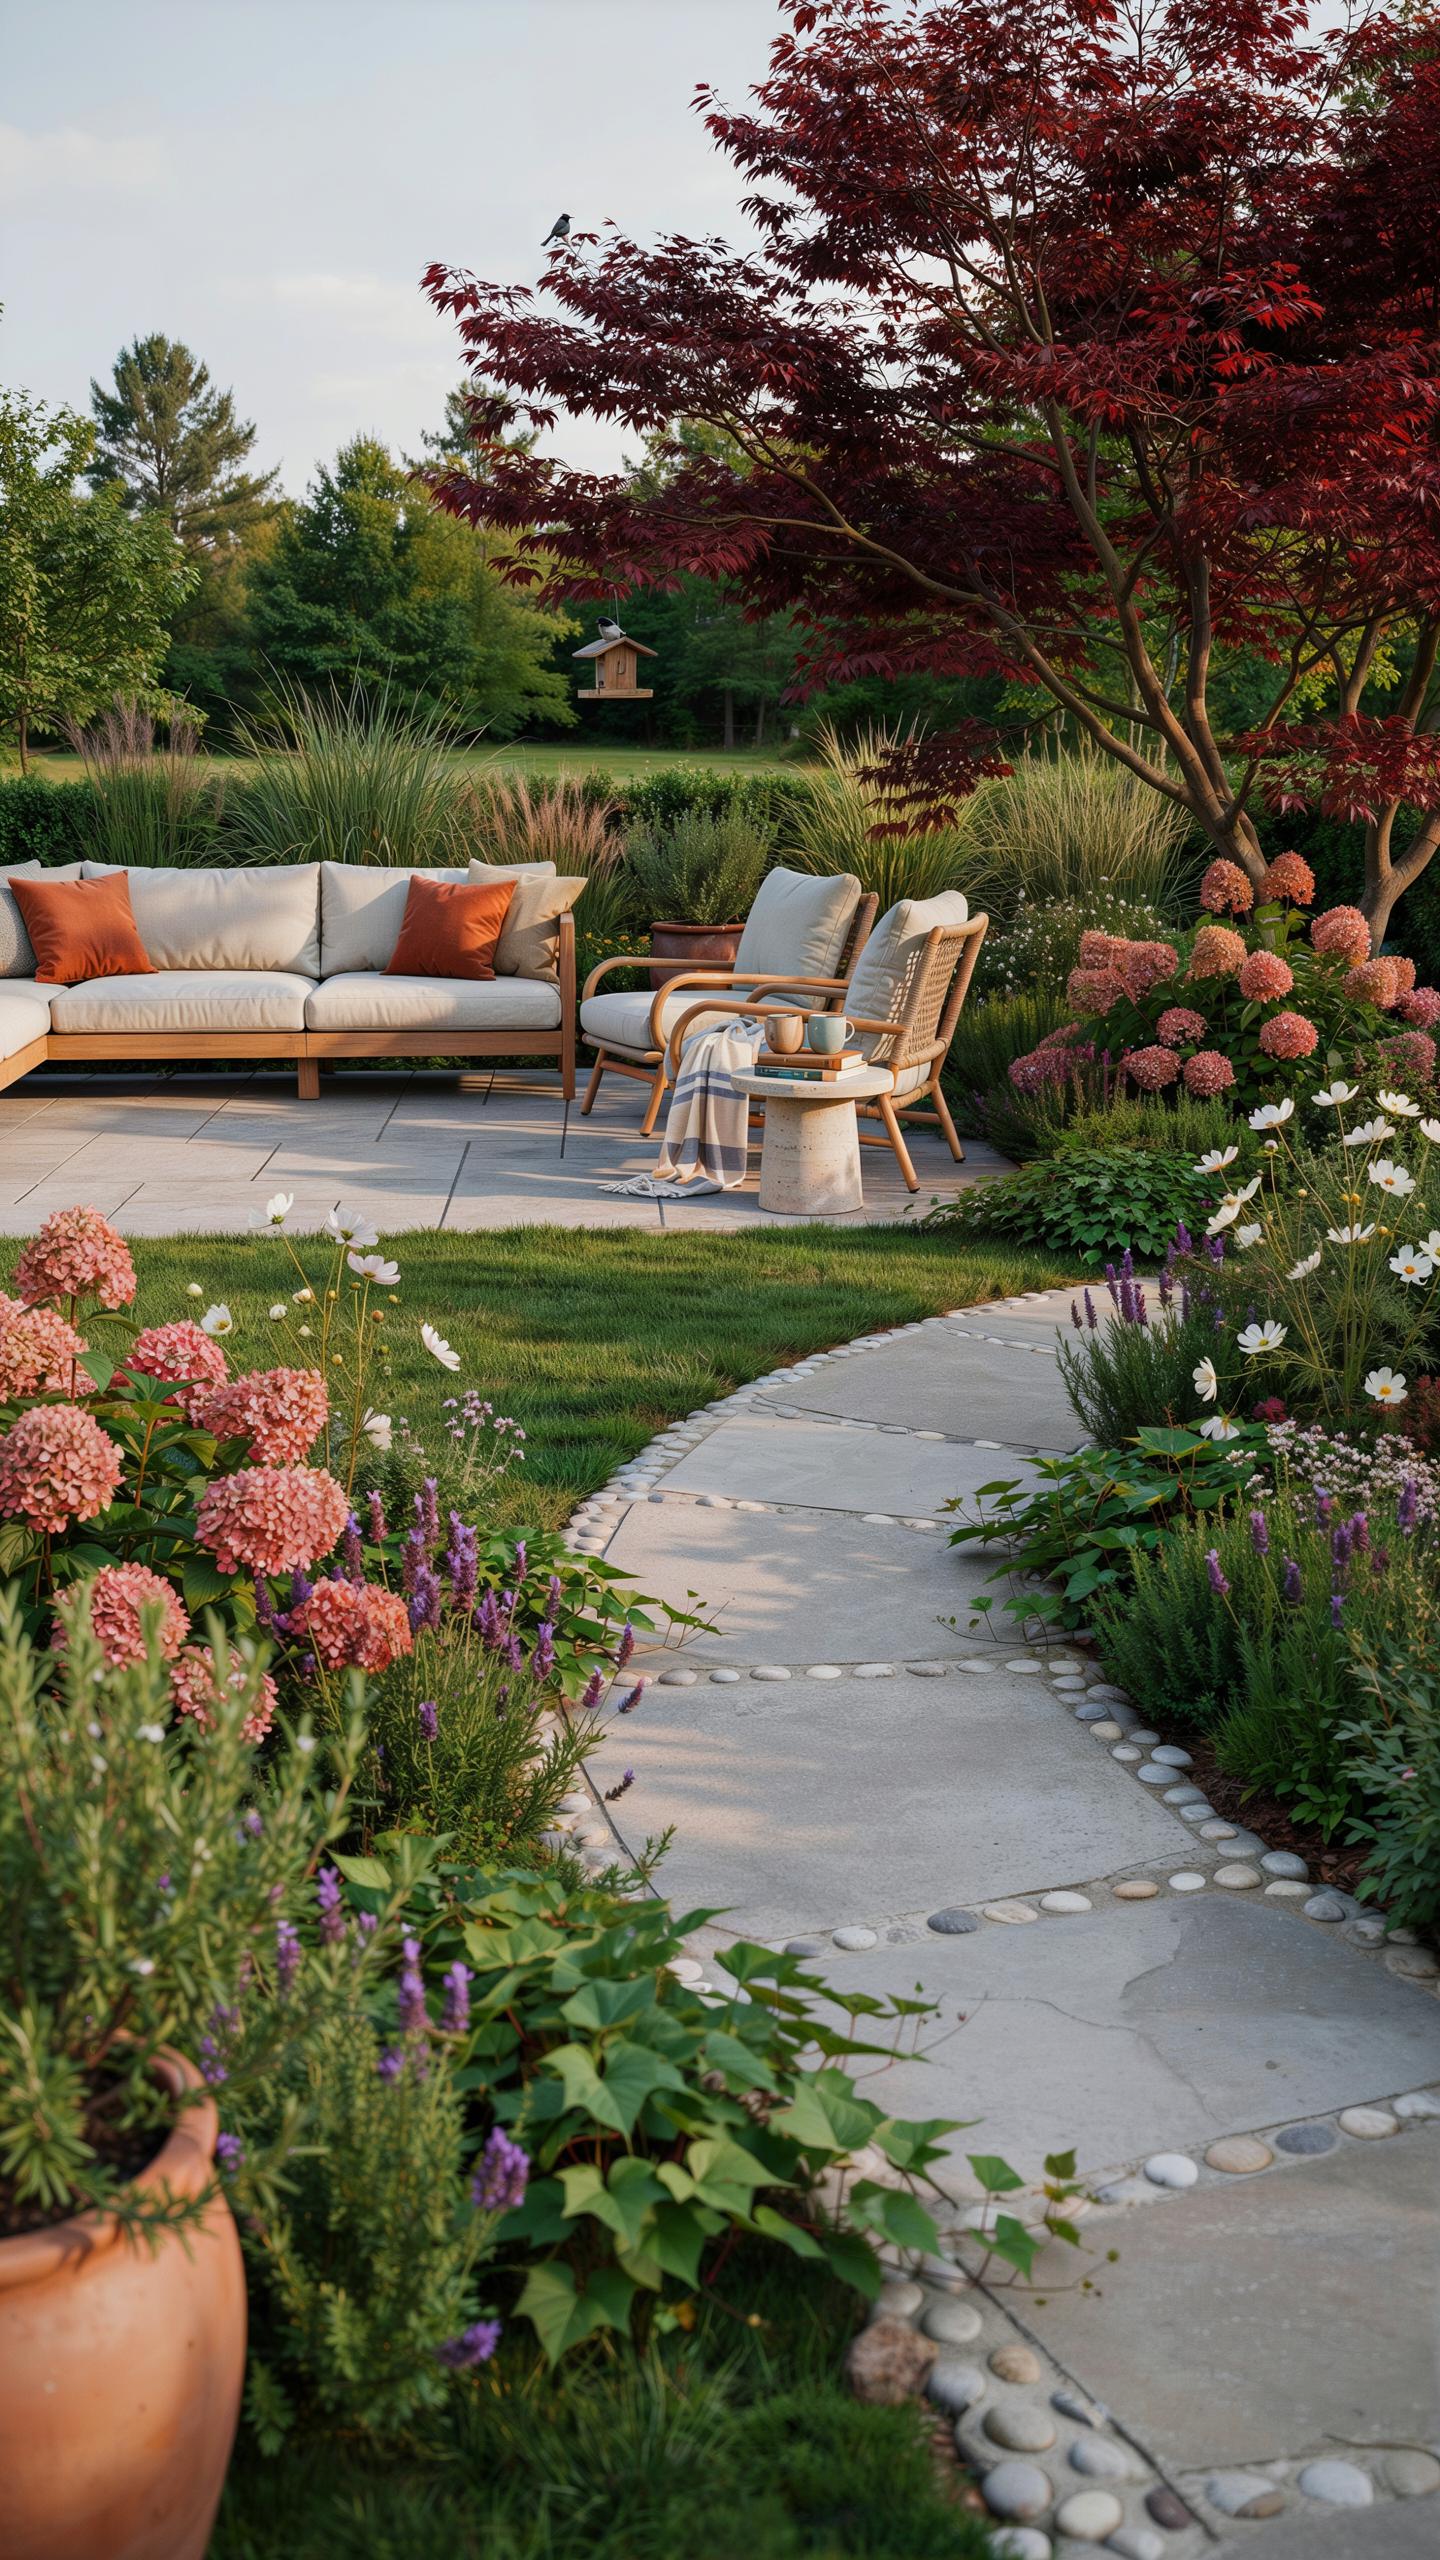
Defining Natural Traffic Paths
Movement patterns drive backyard functionality. Guests naturally walk from your home’s back door toward seating, food stations, and restrooms. You must keep these routes clear and obvious. Wide pathways prevent bottlenecks and reduce accidents during gatherings. Aim for at least three feet of unobstructed space along main routes. This simple standard accommodates two people walking side by side without friction.
Obstacles kill flow. Planters, decorative rocks, grills, and furniture placed randomly force guests into awkward detours. Map your high-traffic zones before arranging anything. Position permanent features like fire pits and dining tables away from main pathways. Test your layout by walking the route yourself multiple times. If you hesitate or change direction, so will your guests. Strategic placement prevents congestion and keeps your space feeling larger and safer.
Setting Up Intimate Seating Arrangements
Conversation requires proximity. Chairs arranged in tight circles encourage natural dialogue without raised voices. The ideal distance between facing seats is four to six feet. This range allows eye contact and comfortable hearing without discomfort. Group four to six chairs around a central point like a fire pit or table. Avoid lining chairs against walls, which creates an audience setup rather than a gathering space.

Focal points anchor conversation zones. Fire pits, outdoor coffee tables, and water features give people a reason to cluster. They eliminate awkward open space that makes groups feel scattered. Position seating so all participants face toward the center, not away from it. Test your arrangement by sitting in each chair and assessing sightlines. Everyone should see at least three other people clearly. This setup transforms your backyard into functional gathering zones that encourage actual interaction.
Visualizing Your Space With A Detailed Patio Design Drawing
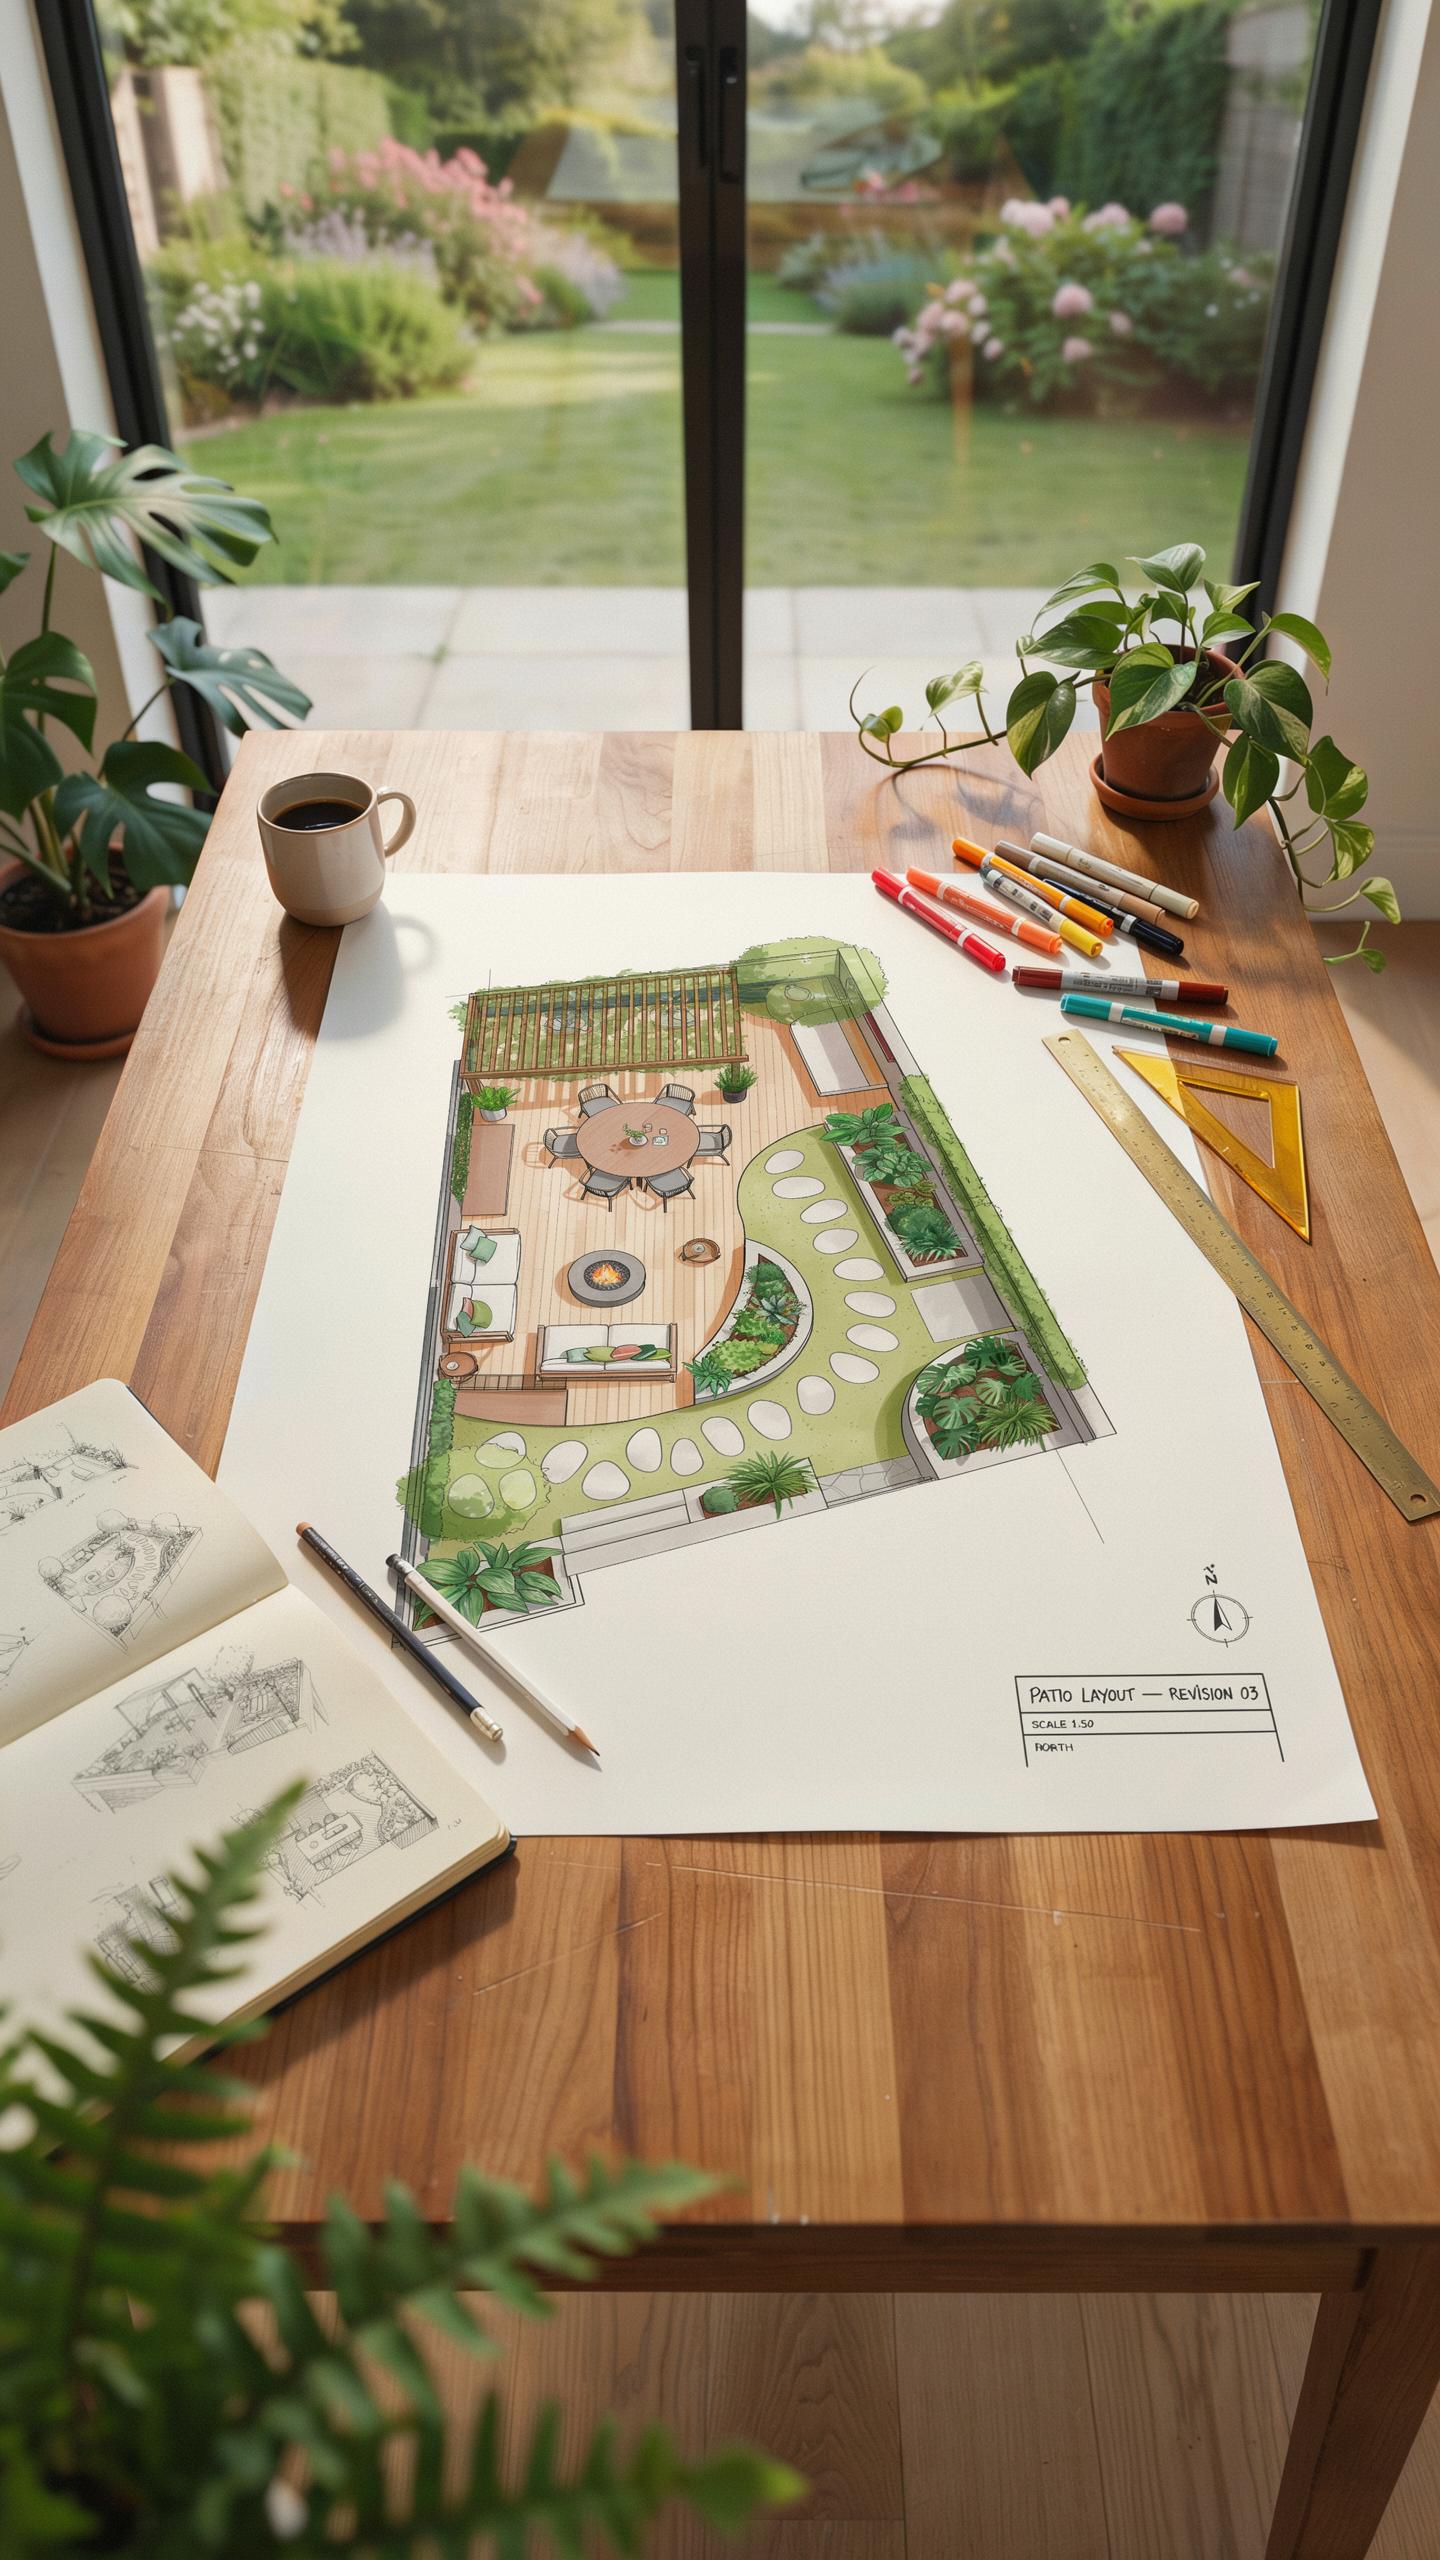
Sketching Overhead Perspectives Of The Patio
A top-down drawing reveals how your patio footprint aligns with existing doors, windows, and fence lines. This overhead view prevents costly mistakes by showing traffic flow patterns and sight lines before you buy materials. Scale errors at this stage multiply into budget overruns.
Draw your patio to scale on graph paper or use digital tools like Google Sketchup. Mark door swing directions, existing utilities, and sun exposure patterns. This single document becomes your reference point for all purchasing decisions and contractor conversations.
Essential Dimension Checklist For Patio Layouts
Accurate measurements stop you from buying undersized furniture or creating cramped layouts. Measure twice before ordering anything. These critical dimensions determine whether your space functions or fails.
- Patio perimeter: Measure all four sides of your proposed patio area in feet. Account for slopes, existing structures, and setback requirements from property lines.
- Distance from house to fence: Measure the depth of your yard from the back door to the rear fence or property line. This determines maximum patio depth.
- Door swing clearance: Measure from the door frame to where the door stops when opened. Allow minimum 3 feet of clearance for safe entry and exit.
- Pathway widths: Measure existing walkways and driveways accessing your patio. Standard pathway width is 3 to 4 feet for single-file traffic, 5 to 6 feet for two people side by side.
- Furniture spacing: Measure distances between where you plan to place seating, dining tables, and fire features. Standard clearance is 18 to 24 inches between furniture pieces for movement.
- Sun and shade patterns: Photograph your yard at morning, noon, and evening to identify shade zones from trees and structures. Measure the shadow reach during your target entertaining hours.

Document all measurements on your overhead drawing with a legend showing what each number represents. Transfer these dimensions into your furniture layout before ordering pieces. This prevents the common problem of oversized furniture that blocks movement or undersized patios that feel crowded.
How To Map Out A Rectangle Backyard Landscaping Scheme
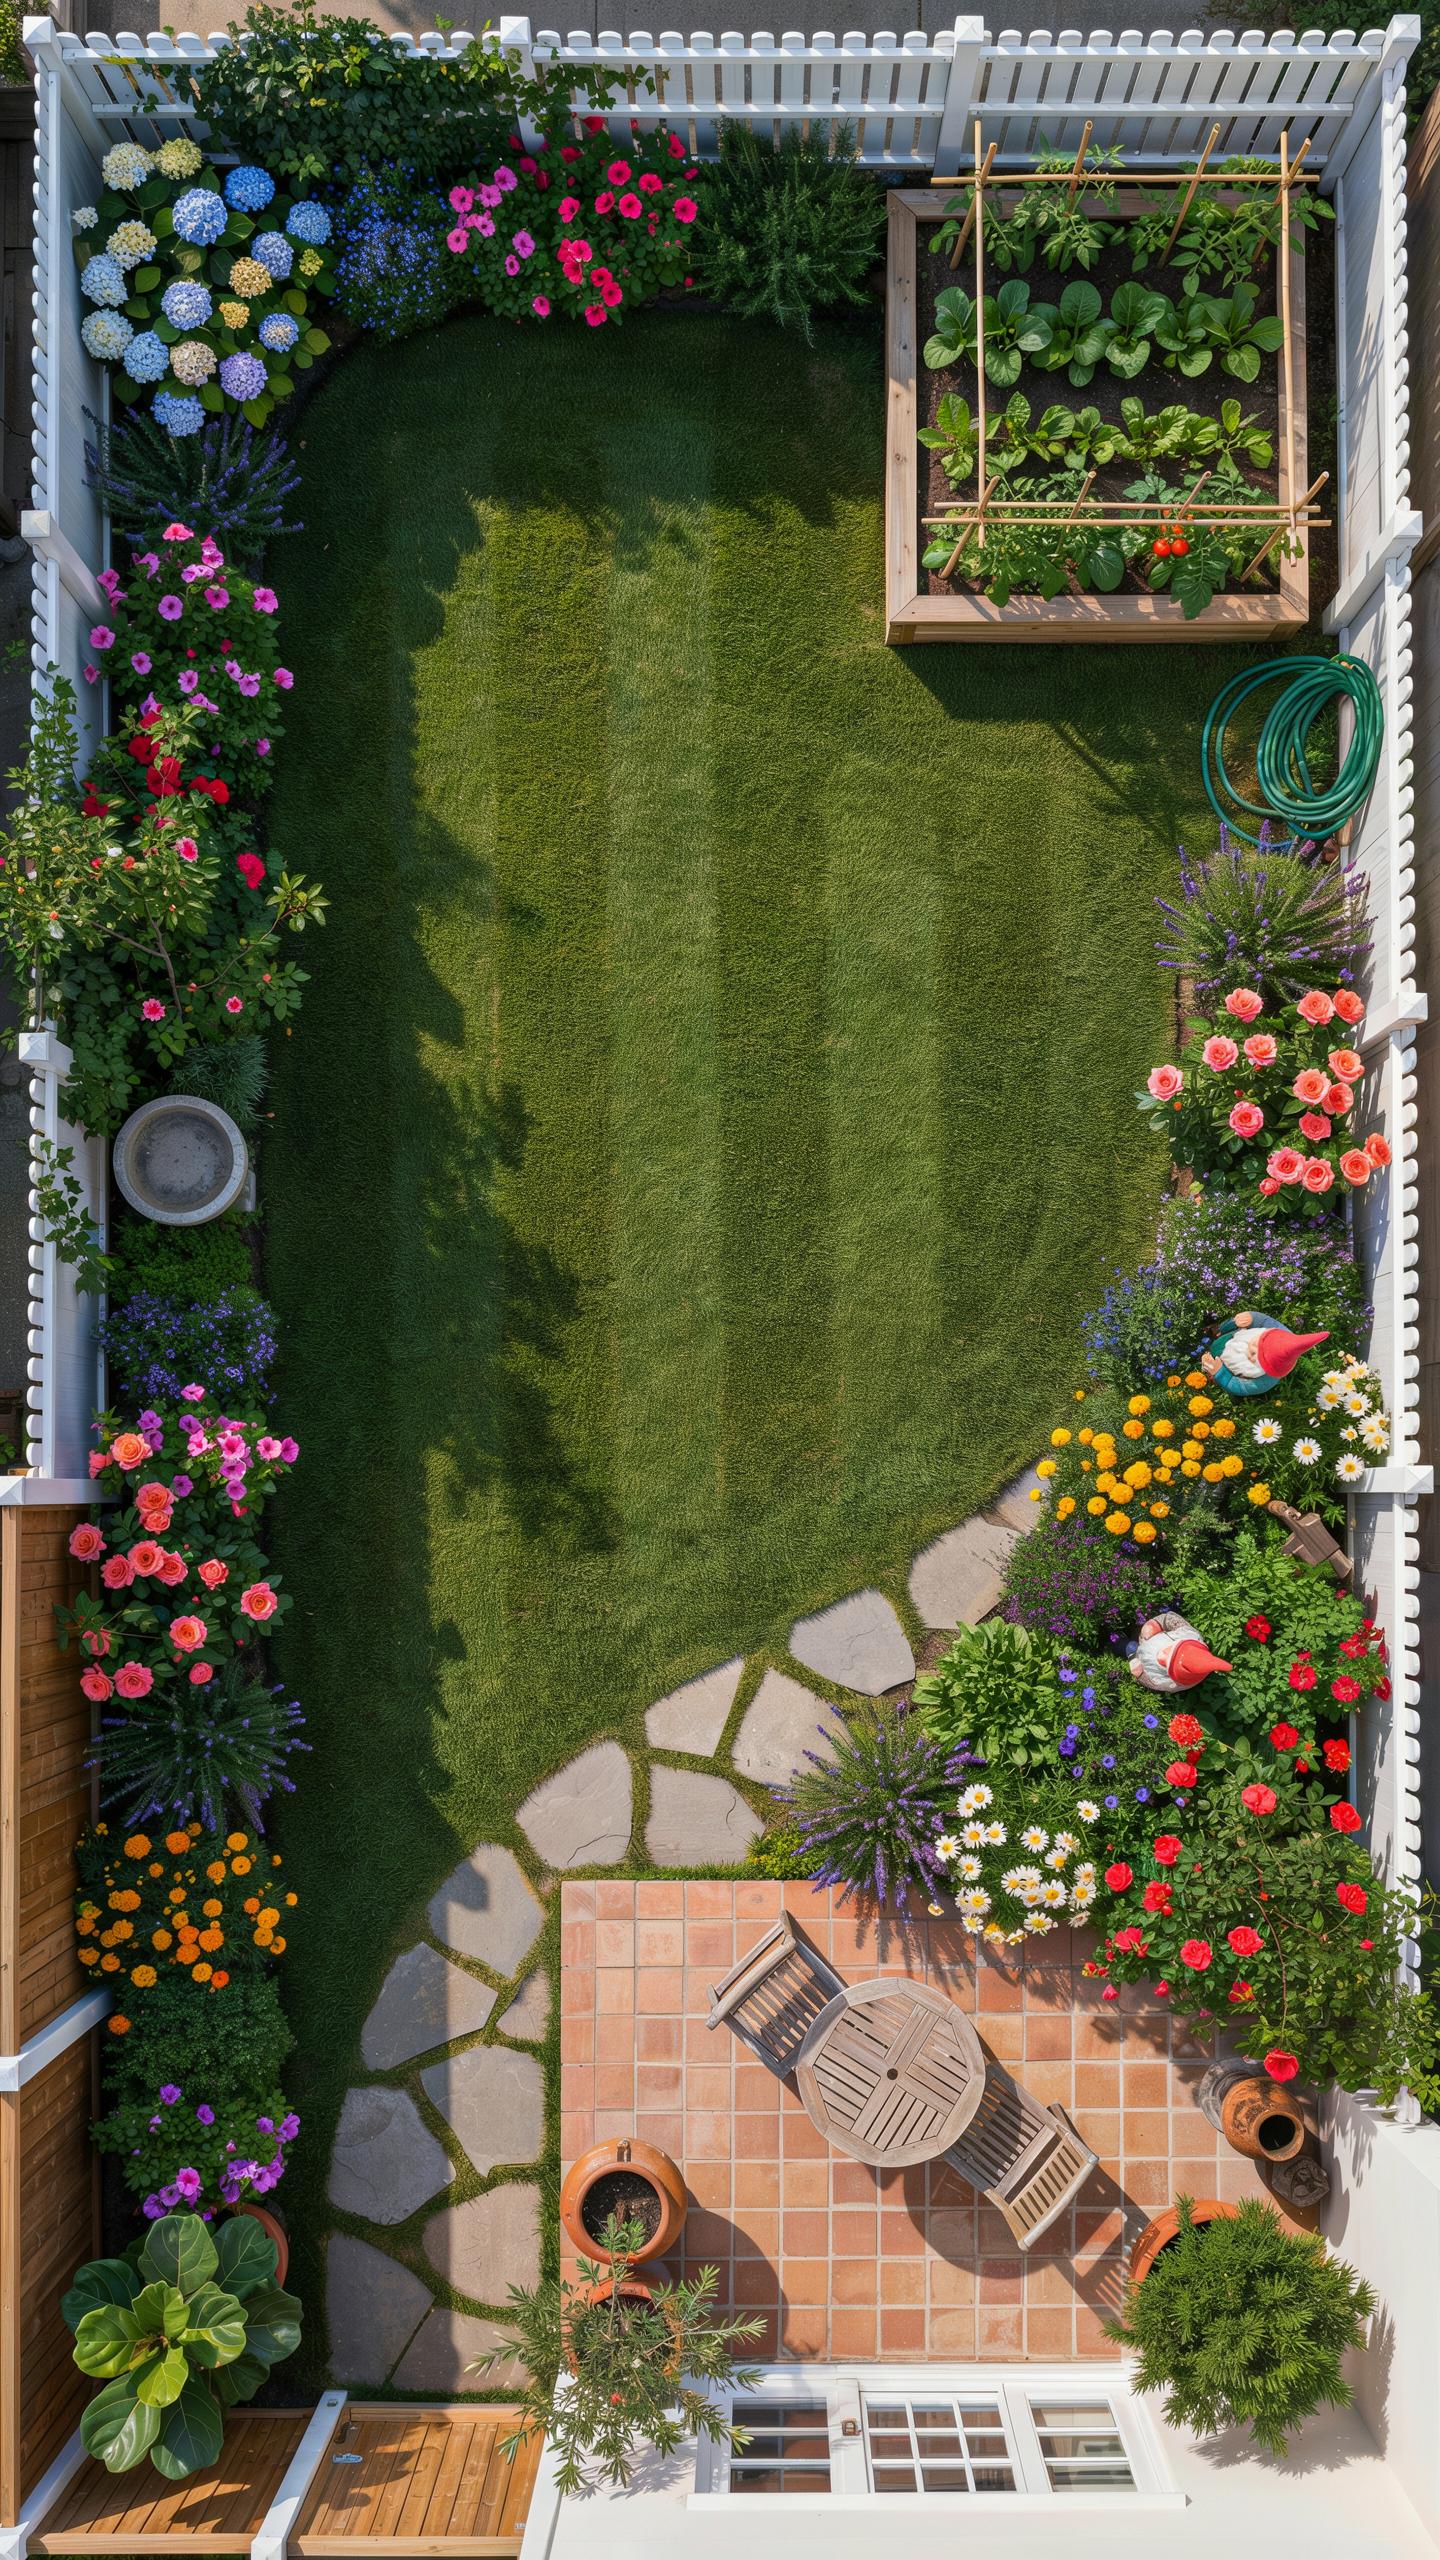
Dividing Long Plots Into Multiple Zones
Rectangle yards naturally compress activity into a linear strip. Break this pattern by creating distinct zones that serve different functions. Position a dining area near the house where foot traffic flows naturally. Place a fire pit or lounge zone at the yard’s far end. This separation forces movement through the space and prevents the dead, unused middle ground that kills most rectangular layouts.
The distance between zones matters tactically. A 10 to 15 foot buffer between your dining area and secondary gathering space creates breathing room without wasting usable square footage. Pathways connecting these zones should run at angles rather than straight lines. Angled paths interrupt the rigid rectangle geometry and make the yard feel less like a corridor. Hardscaping materials like gravel or pavers define zone boundaries without walls.
Using Vertical Planting And Border Gardens
Fence lines and walls in rectangular yards amplify the tunnel effect. Counter this by installing tiered plantings that draw the eye upward and outward. Vertical trellises with climbing vines break the plane of flat fencing and add depth perception. Stagger plant heights in border gardens: shorter plants near viewing areas, taller specimens toward fence lines.

Vertical solutions work because they occupy unused space above ground level. A 6 to 8 foot trellis with climbing clematis or jasmine costs far less than expanding the yard horizontally. Layered plantings also screen undesirable views like neighboring properties or utility areas. Border gardens positioned on both long sides of a rectangle yard compress the visual width while the vertical elements push the perceived boundaries outward and upward.
Maximizing Charm With Small Backyard Layout Ideas
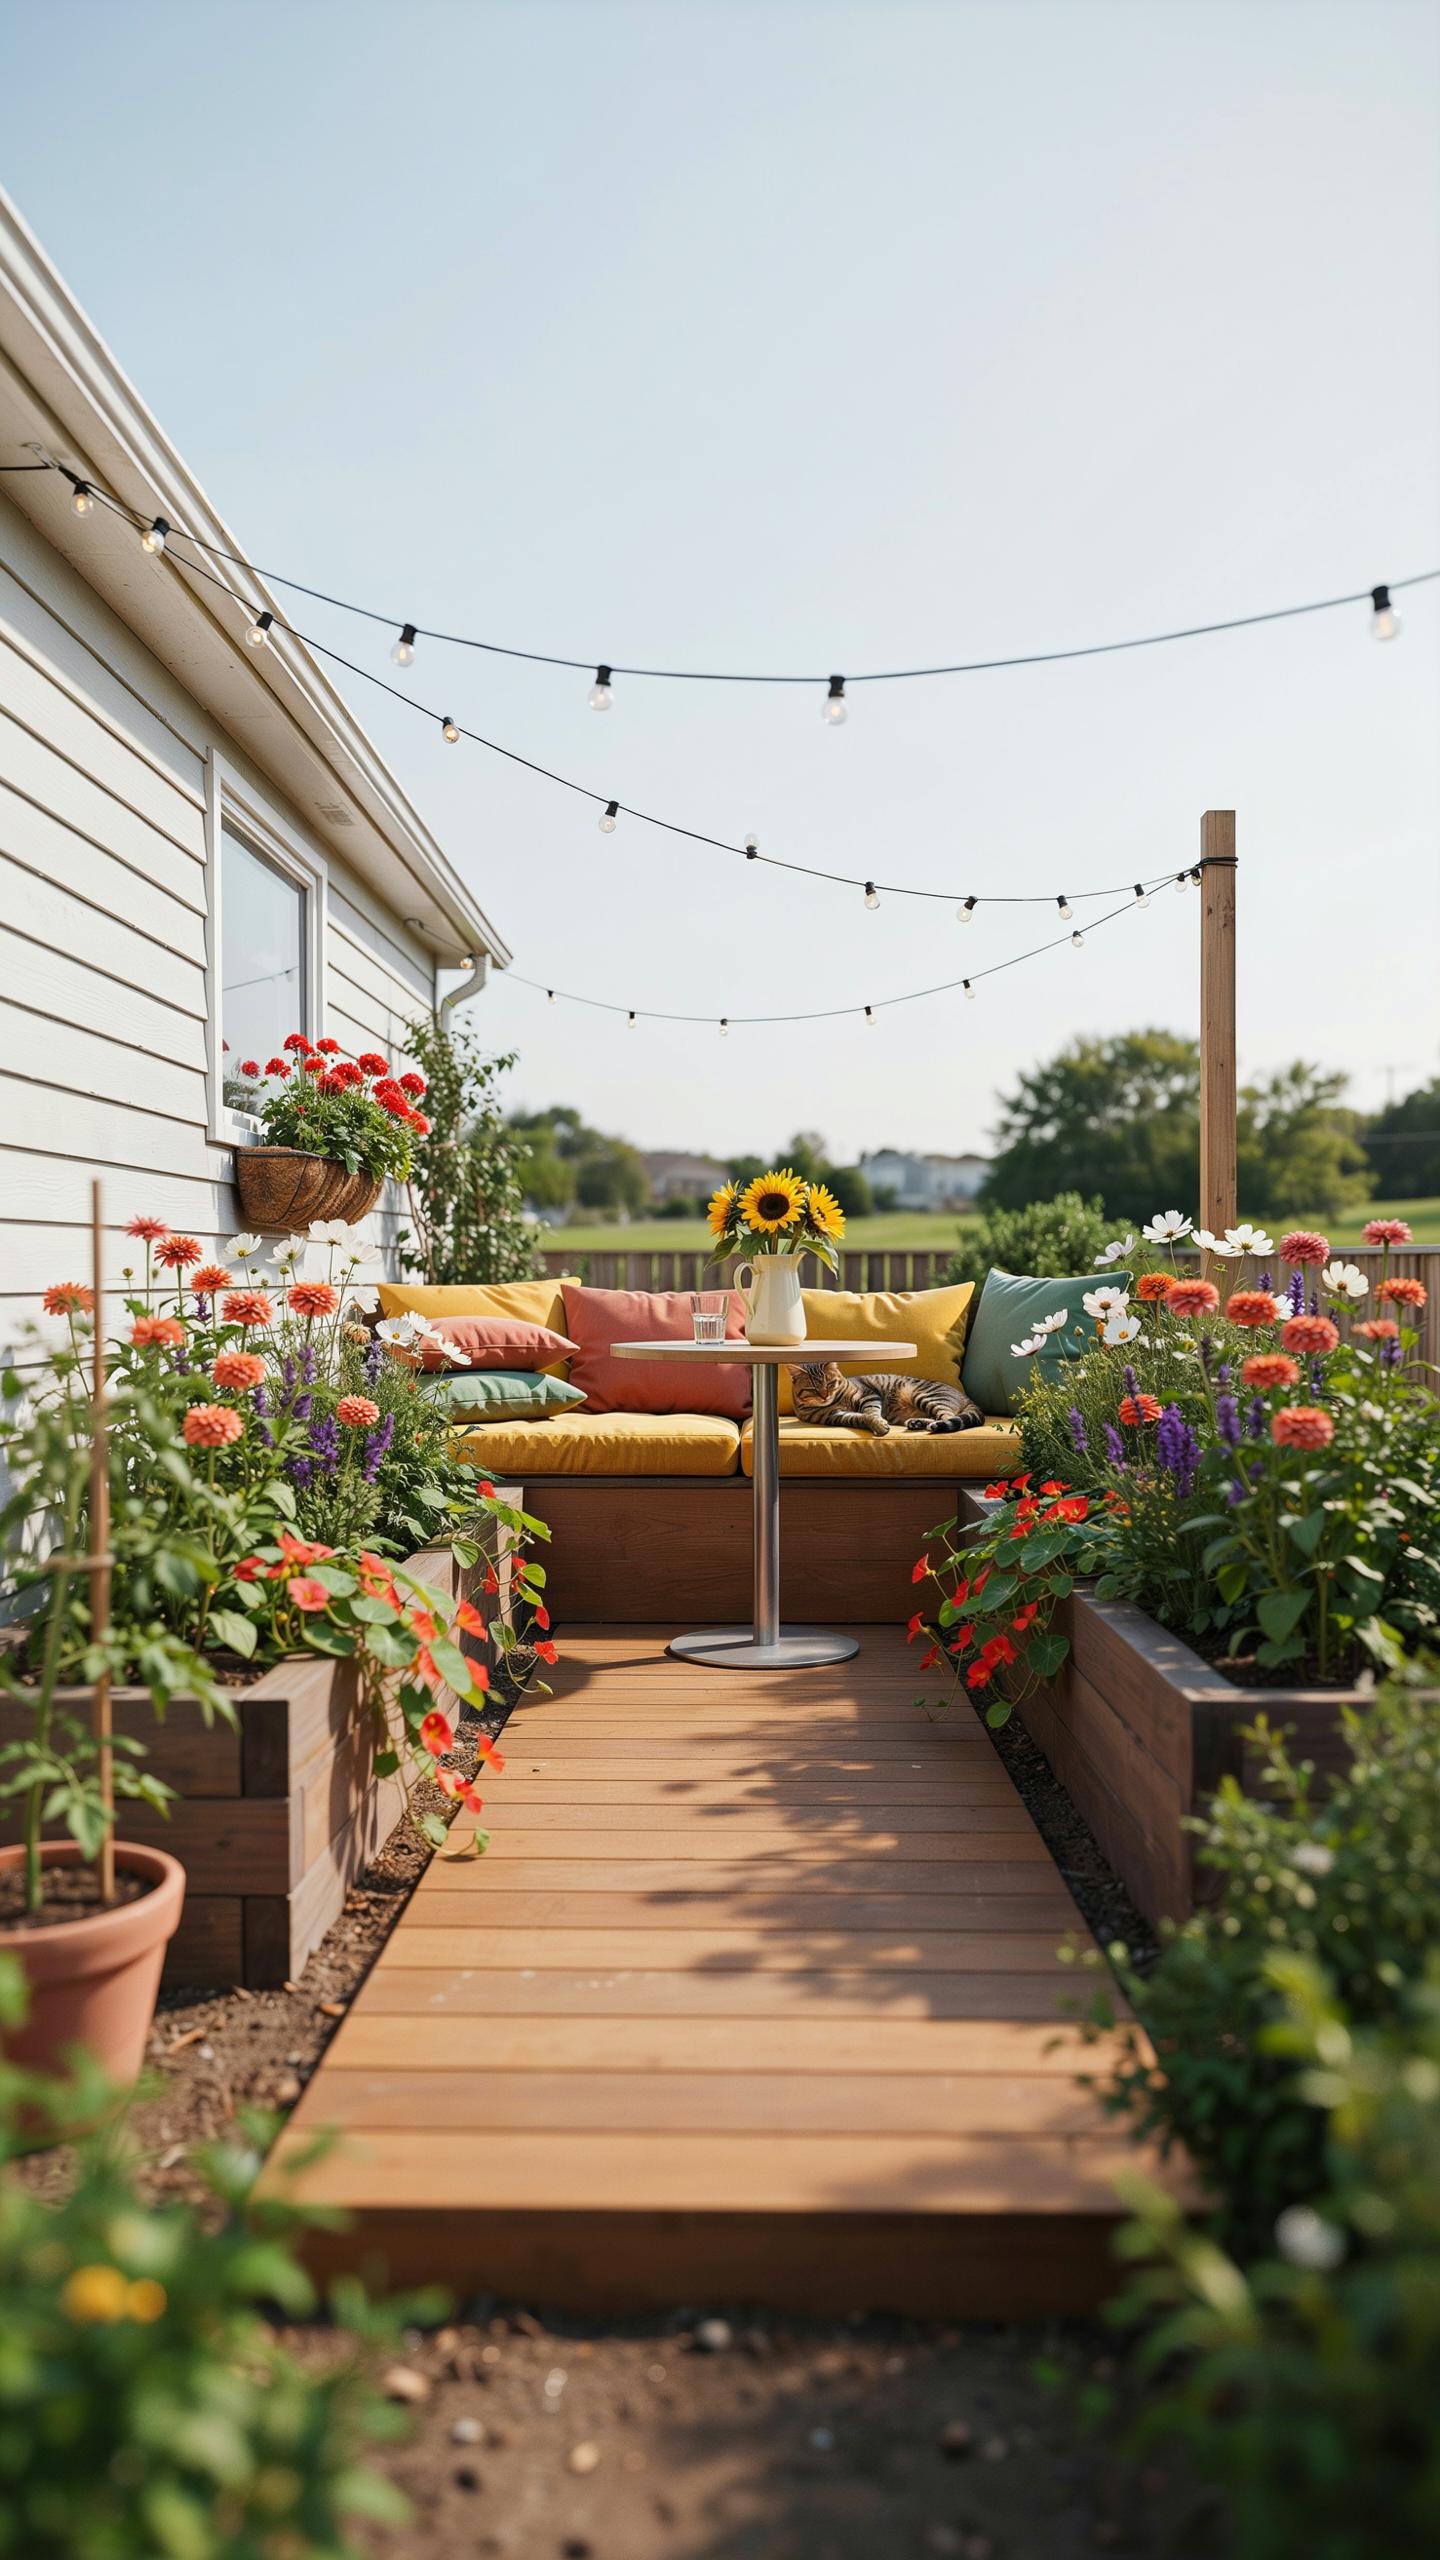
Selecting Multi Functional Outdoor Furniture
Multi-functional furniture solves the core problem of small spaces. Storage benches eliminate the need for separate seating and storage units. Extendable tables expand when you host groups and contract for daily use. Folding chairs stack away when not needed. These pieces let you entertain without sacrificing walkable floor space.
The math is straightforward. You reduce the total number of items in your yard while increasing usable seating capacity. Nesting tables work similarly. A set of three tables takes the footprint of one but provides multiple surfaces. Choose pieces built from weather resistant materials like teak, powder coated metal, or composite wood to ensure durability through seasonal changes.
Utilizing Vertical Space And Living Walls
Vertical planters move greenery off the ground and free up square footage for seating and movement. Wall mounted trellises, hanging baskets, and tiered plant stands achieve this without consuming horizontal space. Living walls made from modular planter systems cover entire fence or wall sections with vegetation. This approach transforms unused vertical surfaces into functional design elements.

Ground level square footage becomes precious in compact yards. Growing upward creates visual density while maintaining open floor space. Vertical gardens also improve privacy perception by adding height around seating areas. They require less water than ground gardens and provide easier maintenance since you access plants at eye level rather than bending down repeatedly.
Utilizing Hidden Areas With Side Of House Patio Ideas

Transforming Underutilized Side Pathways
Side yards typically measure 3 to 6 feet wide and serve only as walkways. Converting this space into a functional patio requires minimal investment and yields significant usable square footage. Flagstone paving creates a stable, permeable surface that handles foot traffic and drainage. A bistro table with two chairs fits comfortably in most side yards and establishes a dedicated gathering zone.
This configuration works because it serves a specific purpose without competing with primary entertaining areas. Morning light typically hits side yards early, making them ideal for coffee or reading. The confined space naturally creates intimacy and reduces maintenance compared to larger patios. Installation takes a weekend and costs between 500 to 1500 dollars depending on paving materials and existing conditions.
The ornaments of your house will be the guests who frequent it. Layout your garden to welcome the laughter of friends and the quiet comfort of home.
Creating Privacy In Cozy Side Passages
Neighbors can see directly into side yards without barriers, exposing your space to foot traffic and noise. Tall privacy screens block sightlines while maintaining airflow. Six to eight foot evergreen hedges provide year-round coverage and live privacy that screens cannot match.
Strategic placement matters more than height. Position screens or hedges along the neighbor-facing side only, preserving open sight lines toward your home. This approach maximizes the sense of seclusion while keeping costs reasonable. Maintenance is minimal with proper species selection, and both solutions increase property value through improved outdoor functionality.
Creating Structure Using Backyard Blueprints Layout Techniques

Measuring Key Site Boundary Lines
Establish accurate property boundary lines on your blueprints before placing any structures. Contact your local assessor’s office or review your property deed to confirm exact boundaries. Mark setback requirements on your plan, which dictate how far structures must sit from property lines. These measurements prevent costly code violations and legal disputes with neighbors.
Record all boundary measurements directly on your blueprint using a consistent scale. Standard scales for residential layouts are 1/4 inch or 1/8 inch per foot. Transfer measurements from a professional survey if available, as these provide the highest accuracy. Update your blueprint whenever local zoning codes change or when you acquire new property information.
Mapping Underground And Overhead Utilities
Contact your local utility locating service before any excavation work begins. They mark water lines, gas lines, electrical conduits, and sewer connections at no cost. Transfer these marked locations directly onto your blueprint using different colors for each utility type. This step prevents accidents, injuries, and expensive damage to critical infrastructure.

Identify overhead utilities like power lines and cable runs on your blueprint as well. Measure heights from ground level and note clearance requirements for structures and tall plantings. Keep excavation zones clear of all utility pathways and maintain minimum safe distances. Review your blueprint with utility companies if you plan major construction or ground work.
Drafting Backyard Patio Blueprints For Construction Accuracy
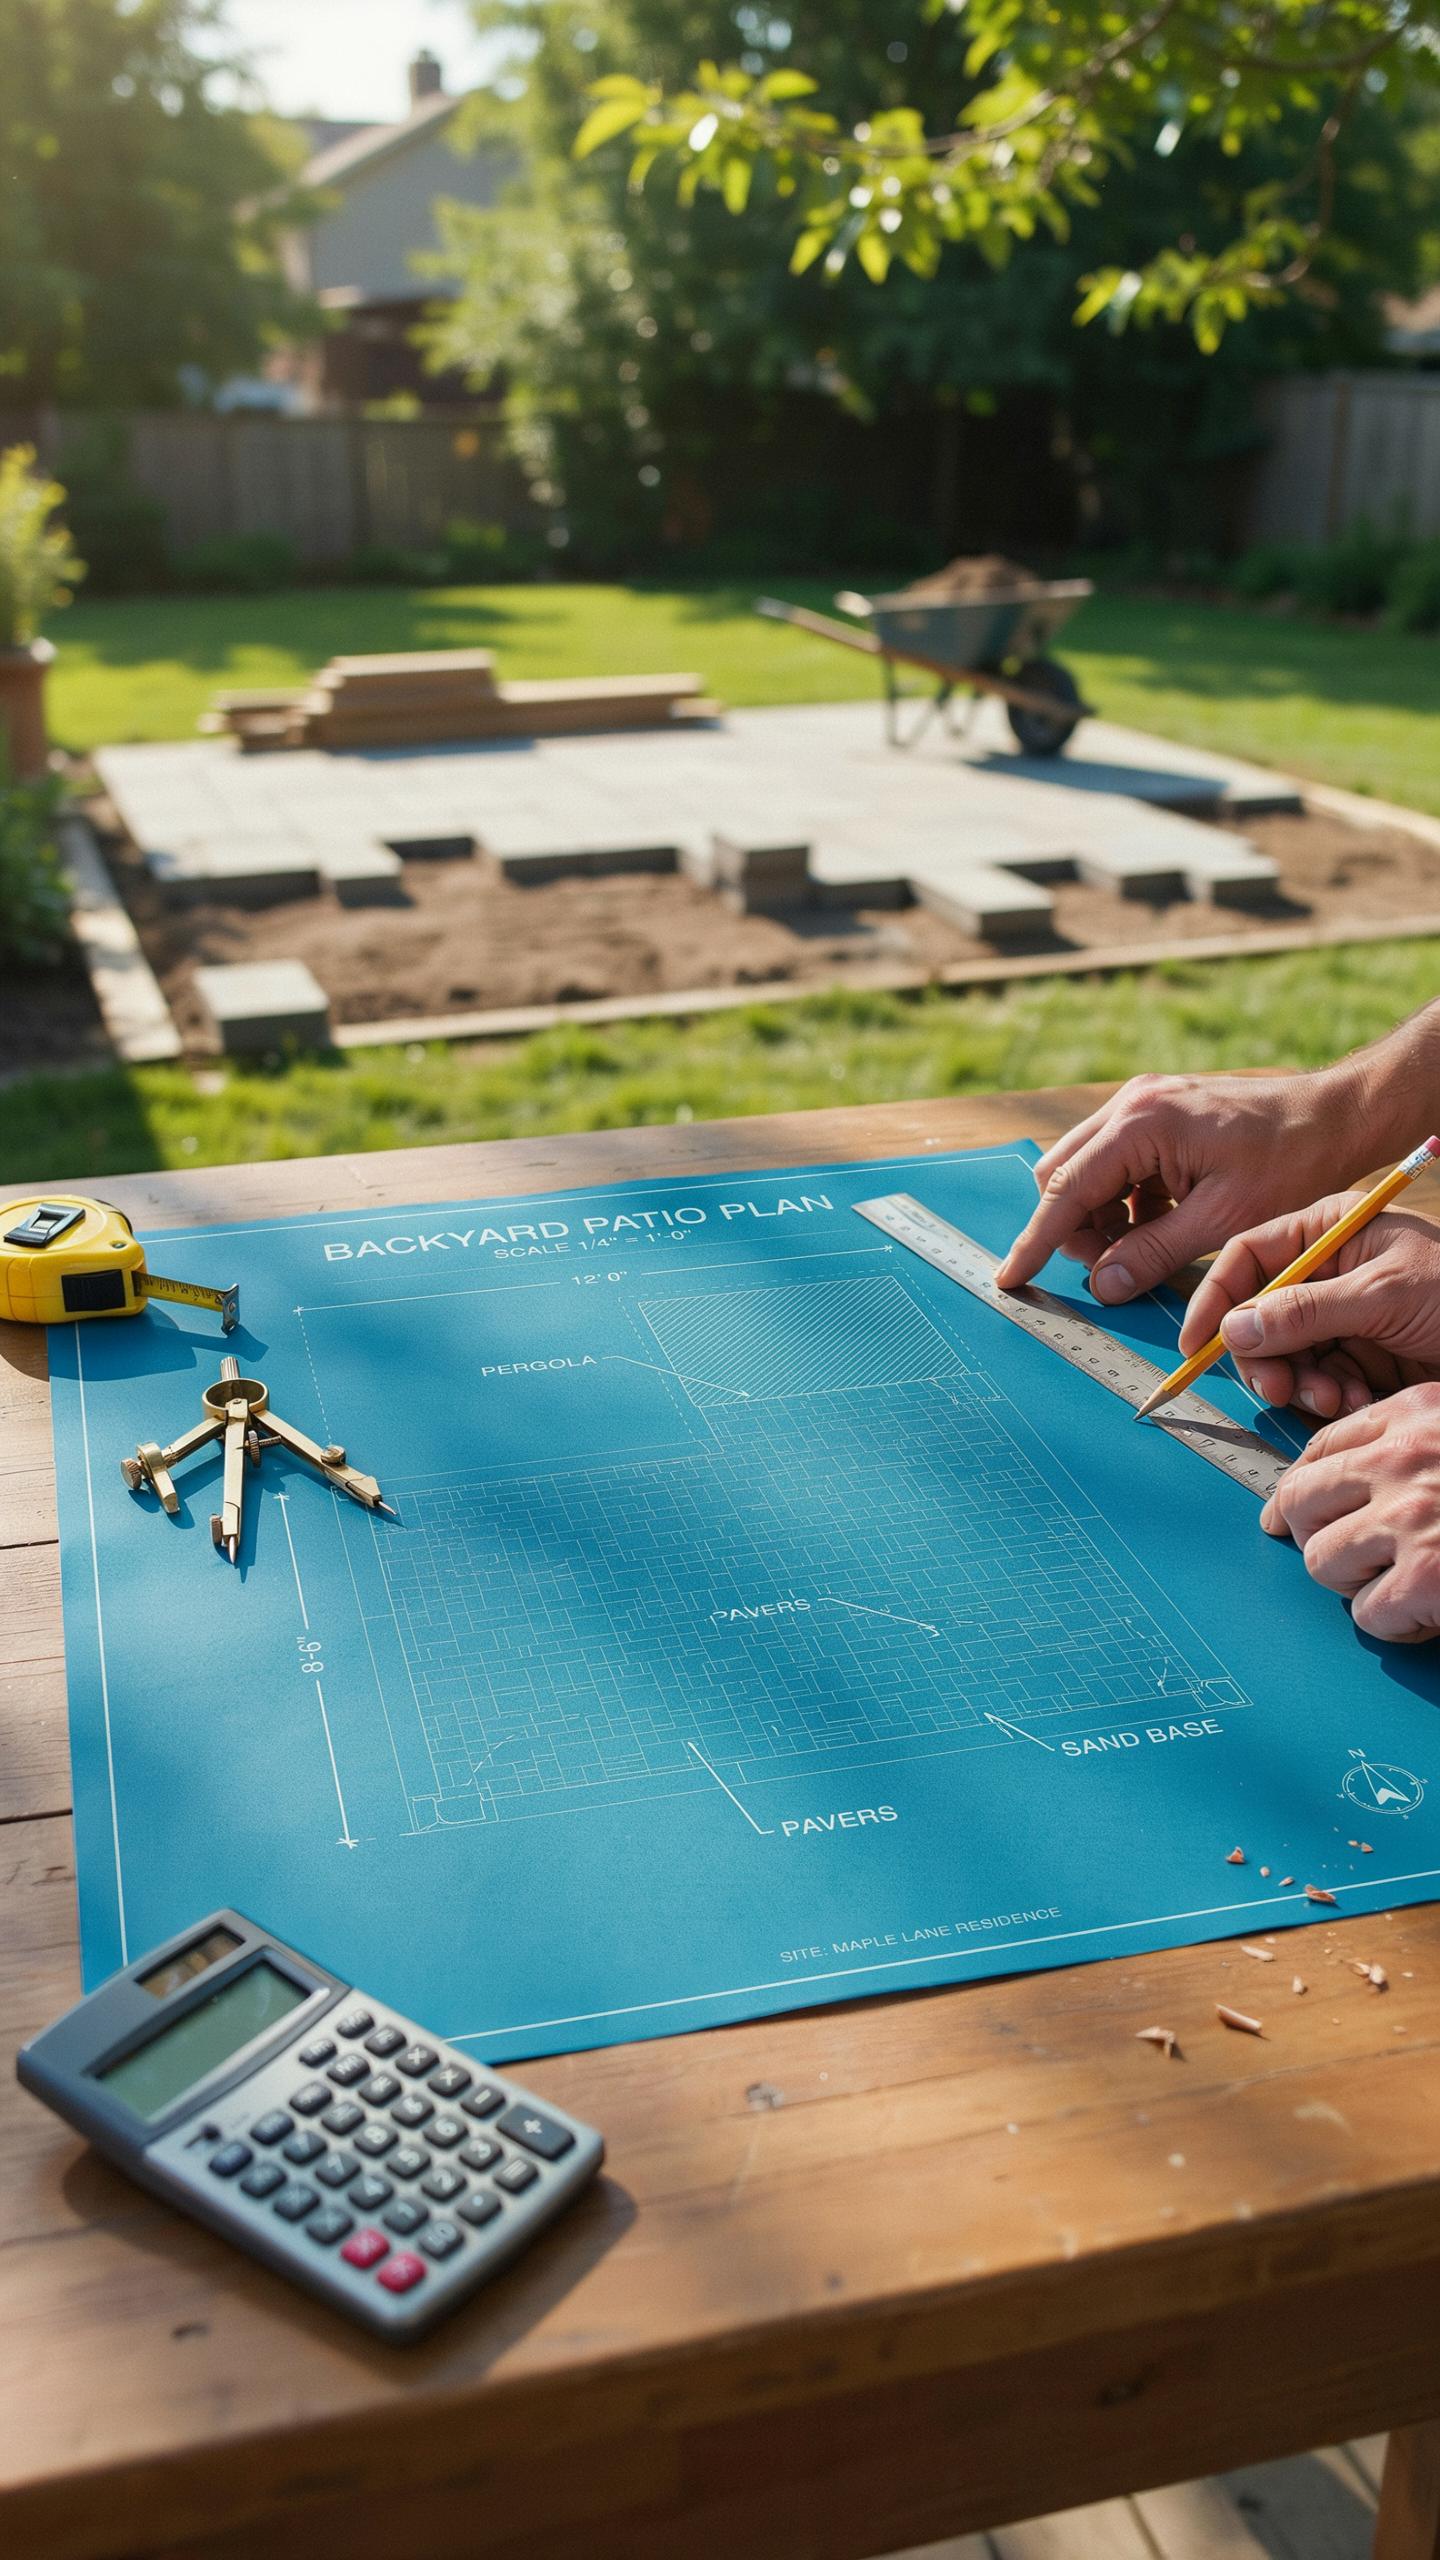
Specifying Footprints For Pergolas And Decks
Your blueprints must show exact footing locations and dimensions for all structural elements. Pergolas and decks require deep footings below frost lines to prevent settling and damage. Mark each footing on your drawing with precise coordinates and depth requirements. Local building codes dictate minimum footing depths, typically between 36 to 48 inches in most climates. Get these measurements wrong and you face cracking, shifting, and costly repairs within years.
Construction crews need clear footing specifications to dig post holes accurately. Your blueprint should indicate footing diameter, concrete depth, and post placement tolerances. Include measurements from reference points like property lines or existing structures. This eliminates guesswork on site and prevents structural failures from improper installation. Accurate blueprints reduce construction delays and eliminate the need for expensive do-overs during building phase.
Integrating Electrical And Plumbing Layouts
Route all conduit runs beneath your patio surface before pouring concrete or laying pavers. Underground electrical conduit protects wiring from damage and simplifies future maintenance work. If you plan landscape lighting, outdoor speakers, or an outdoor kitchen, establish these pathways now. Running lines after construction requires digging up finished surfaces and creates safety hazards. Your blueprint must show conduit entry points, junction boxes, and destination locations with exact measurements.
Detail water supply lines and drain pathways if your design includes an outdoor kitchen or water feature. Sloping drain lines properly prevents standing water and system failure. Show all utility locations on your blueprint with clear labels and measurements from existing structures. Building inspectors verify these layouts before you begin construction. Missing or poorly documented utilities on blueprints force costly corrections and permit delays.
Refining Details With Professional Patio Drawing Plans

Setting Material And Texture Requirements
Your final technical plans must specify exact material types. Concrete pavers, natural stone, or composite decking each behave differently under weather exposure and foot traffic. Contractors execute to specification, not assumption. Vague material descriptions create costly change orders and mismatched aesthetics that undermine your entire layout.
Material selection drives both function and appearance. Concrete pavers offer consistency and affordability. Natural stone provides durability but requires sealing. Composite materials resist rot and staining. Your plans should identify specific products by name, finish type, and color code. This eliminates guesswork and ensures the contractor sources matching inventory from the same production batch.
Determining Proper Drainage And Slope Variables
Patio slope determines whether water pools or drains. Most jurisdictions and drainage standards require a minimum quarter inch drop per linear foot away from structures. This gentle slope remains invisible to the eye but critical for preventing foundation damage and mosquito breeding grounds.
Your professional plan must include slope calculations and drainage direction arrows. Mark the high point nearest your home and the low point where water exits. Specify whether you’ll use French drains, dry wells, or grade-level runoff paths. These technical details prevent contractor interpretation errors that lead to standing water and structural problems within two years.
Frequently Asked Questions

What are the essential elements of a successful backyard entertaining space layout plan?
A successful backyard entertaining space layout plan begins with defining distinct zones for lounging, dining, and cooking. To create a cozy atmosphere, focus on traffic flow and focal points like a fire pit or water feature. By arranging furniture to encourage conversation and incorporating soft outdoor lighting, you can transform a basic yard into a functional sanctuary that feels both organized and inviting for your family and guests.
How can I arrange furniture to maximize flow in a small outdoor area?
When working with limited square footage, use multi-functional furniture and “anchor” your zones with outdoor rugs. To optimize your backyard entertaining space layout plan, keep walkways at least three feet wide to prevent congestion. Opt for circular seating arrangements around a central point, which creates an intimate feel while ensuring guests can move easily between the beverage station and the seating area without feeling cramped.
Is it possible to create a cozy entertaining layout on a tight budget?
Absolutely! You can achieve a high-end look by using affordable materials like pea gravel for flooring or DIY pallet seating with weather-resistant cushions. Instead of expensive structural changes, focus on vertical elements like string lights and potted greenery to define the perimeter. A thoughtful layout relies more on the strategic placement of zones than expensive decor, making a relaxed and stylish outdoor lifestyle accessible to everyone.



