
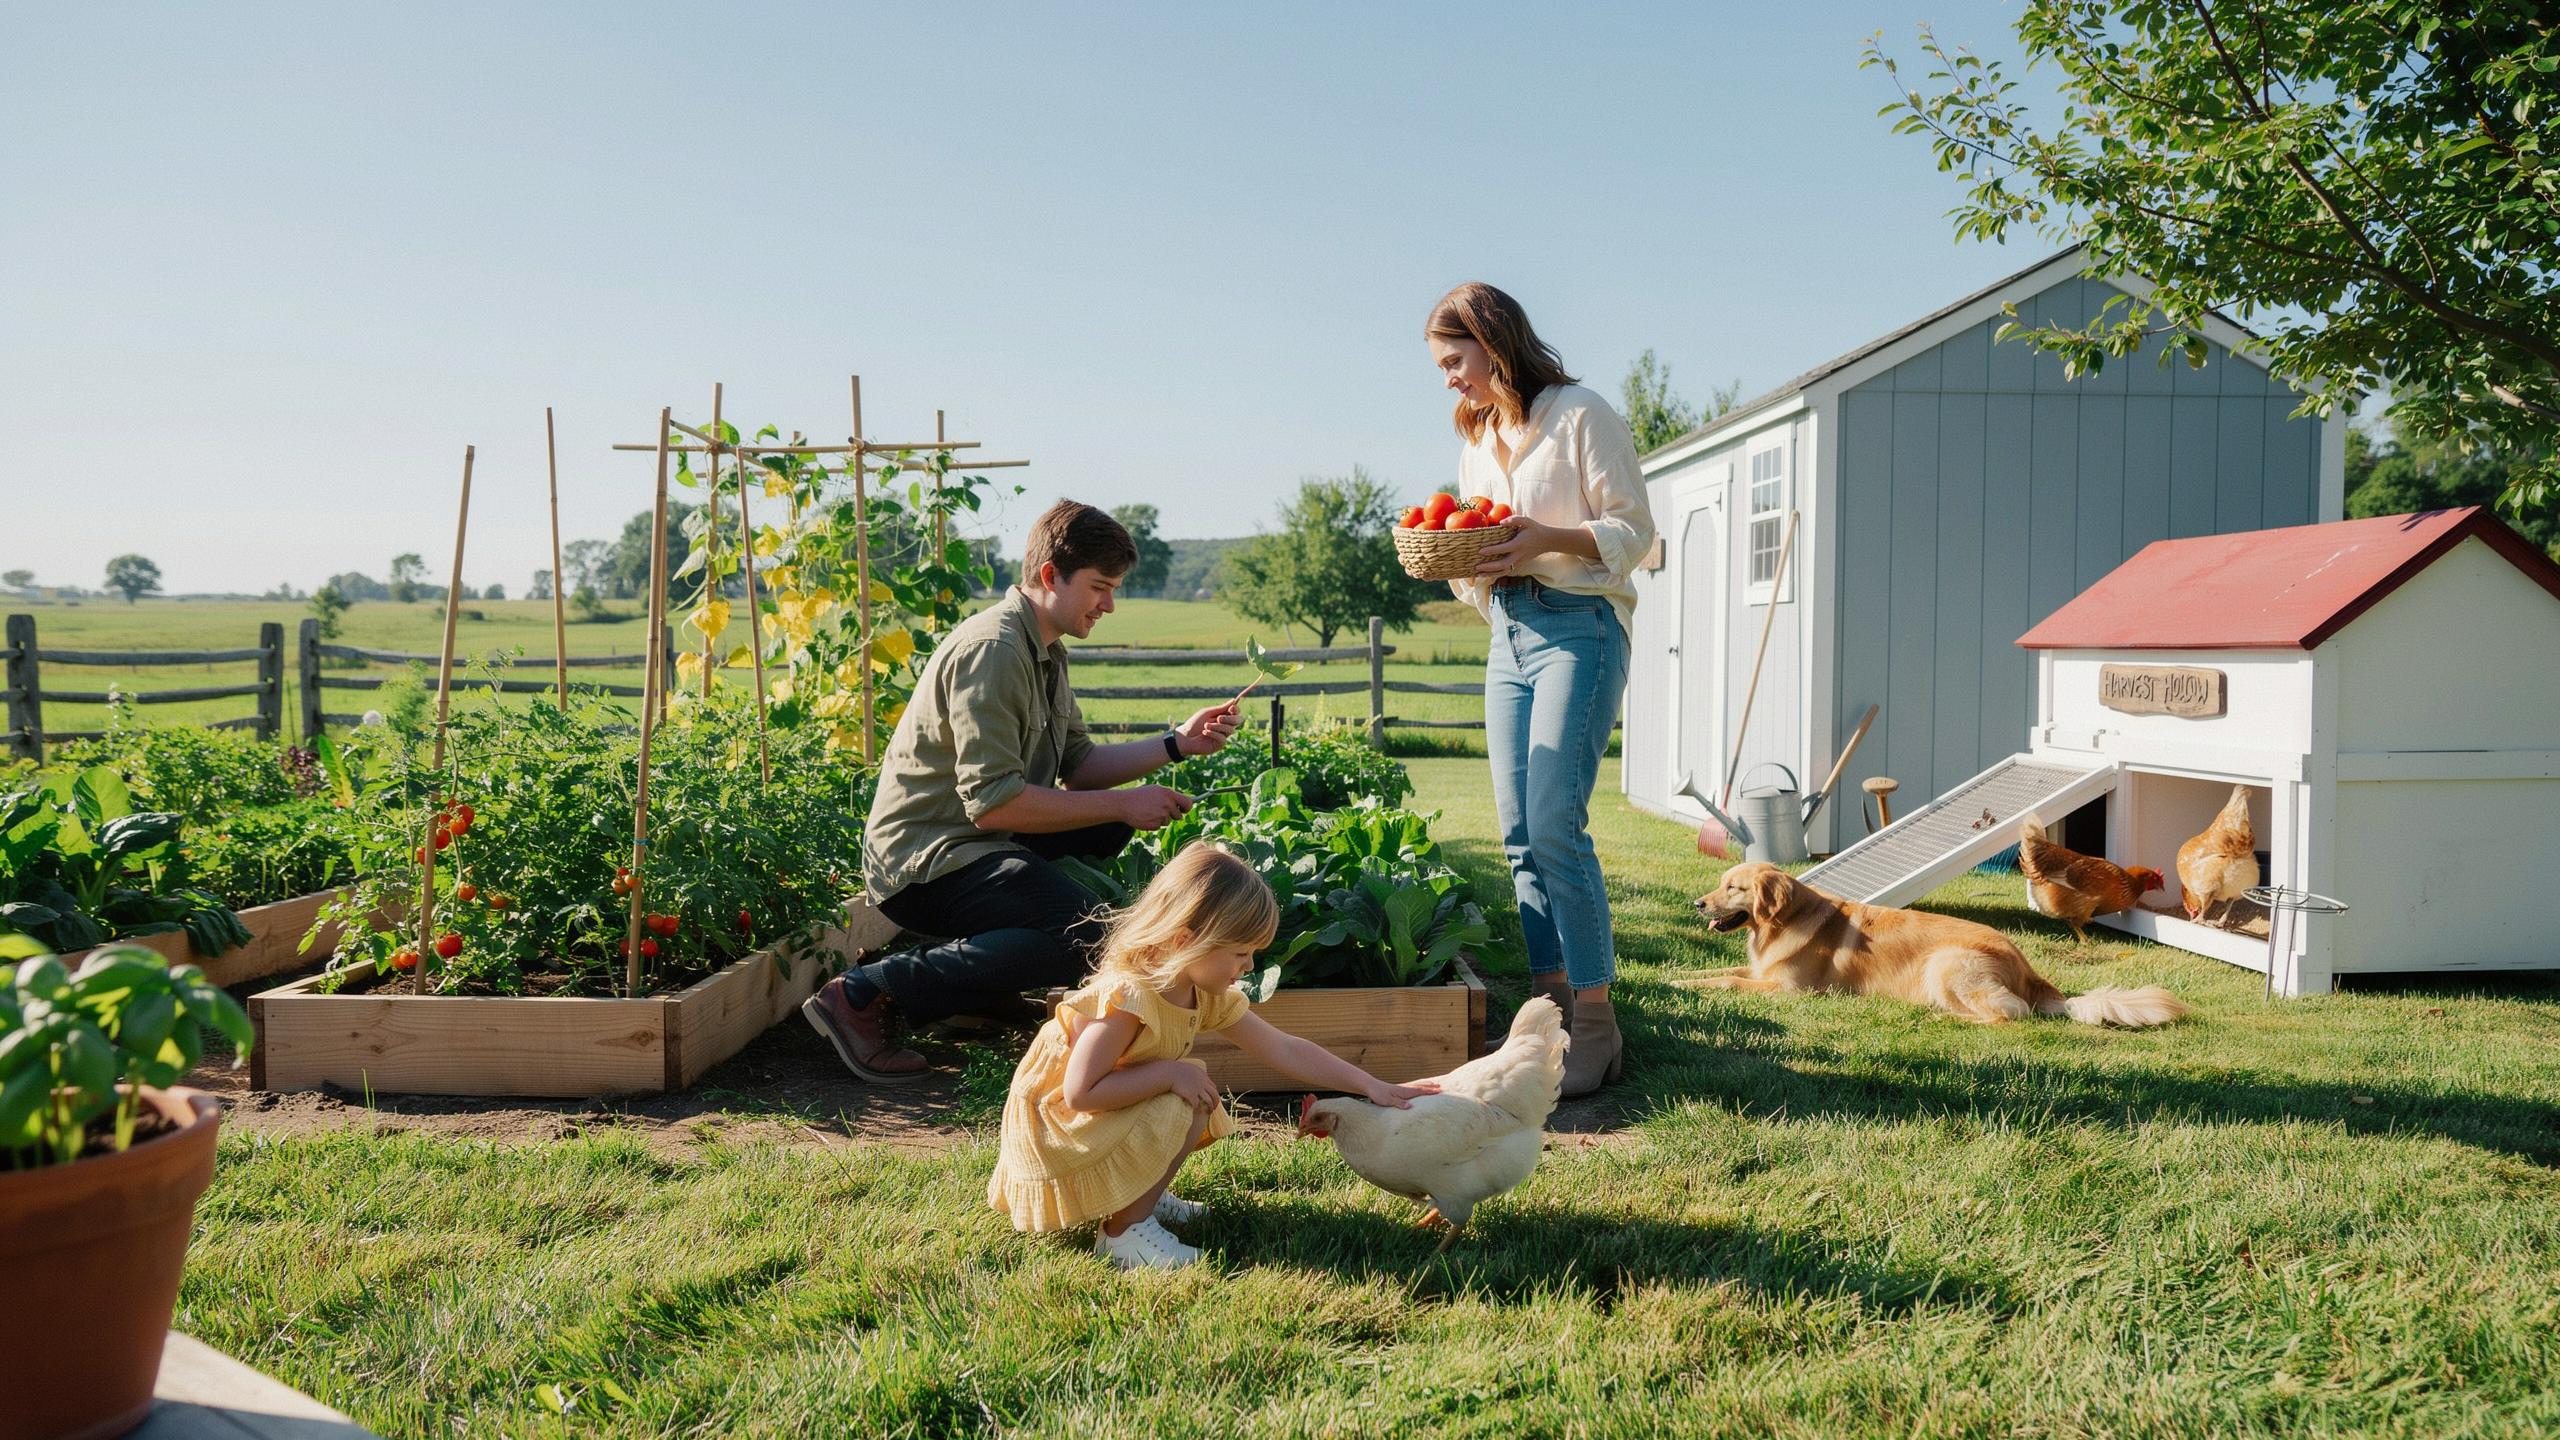
Planning Your Initial Homestead Layout And Zoning
Assessing Topography And Solar Exposure
Topography dictates drainage patterns and building placement on your property. South-facing slopes in the Northern Hemisphere receive maximum solar radiation during winter months. North-facing slopes stay cooler and retain moisture longer. Prevailing winds vary by region and season, affecting structure placement and windbreak effectiveness. Map sun patterns across all seasons before positioning structures.
Place your main residence and high-use outbuildings where they capture winter sun but avoid summer overheating. Position livestock shelters to block harsh winter winds while allowing summer ventilation. Low-lying areas collect cold air and runoff, making them unsuitable for most structures. High points offer drainage benefits but expose buildings to wind stress. Use contour lines on topographic maps to identify optimal building zones.
Navigating Permits And Property Boundaries
Local zoning codes specify setback requirements from property lines, typically ranging from ten to fifty feet depending on jurisdiction and structure type. Call your county assessor’s office to confirm exact setback distances for your zone designation. Many areas distinguish between principal structures and accessory structures, applying different rules to each category. Utility easements often run through properties, restricting building placement over underground lines. Obtain written verification of easement locations before finalizing your outbuilding plan.
Building permits exist to verify structural safety and code compliance, not to obstruct your project. Your local building department provides specific requirements for foundation depth, wind load ratings, and flood zone considerations. Schedule a pre-construction meeting with the inspector to clarify expectations upfront. Document all approvals in writing. Violations discovered later trigger costly removal orders or fines that exceed permit costs significantly.
Structuring A Productive Hobby Farm Layout
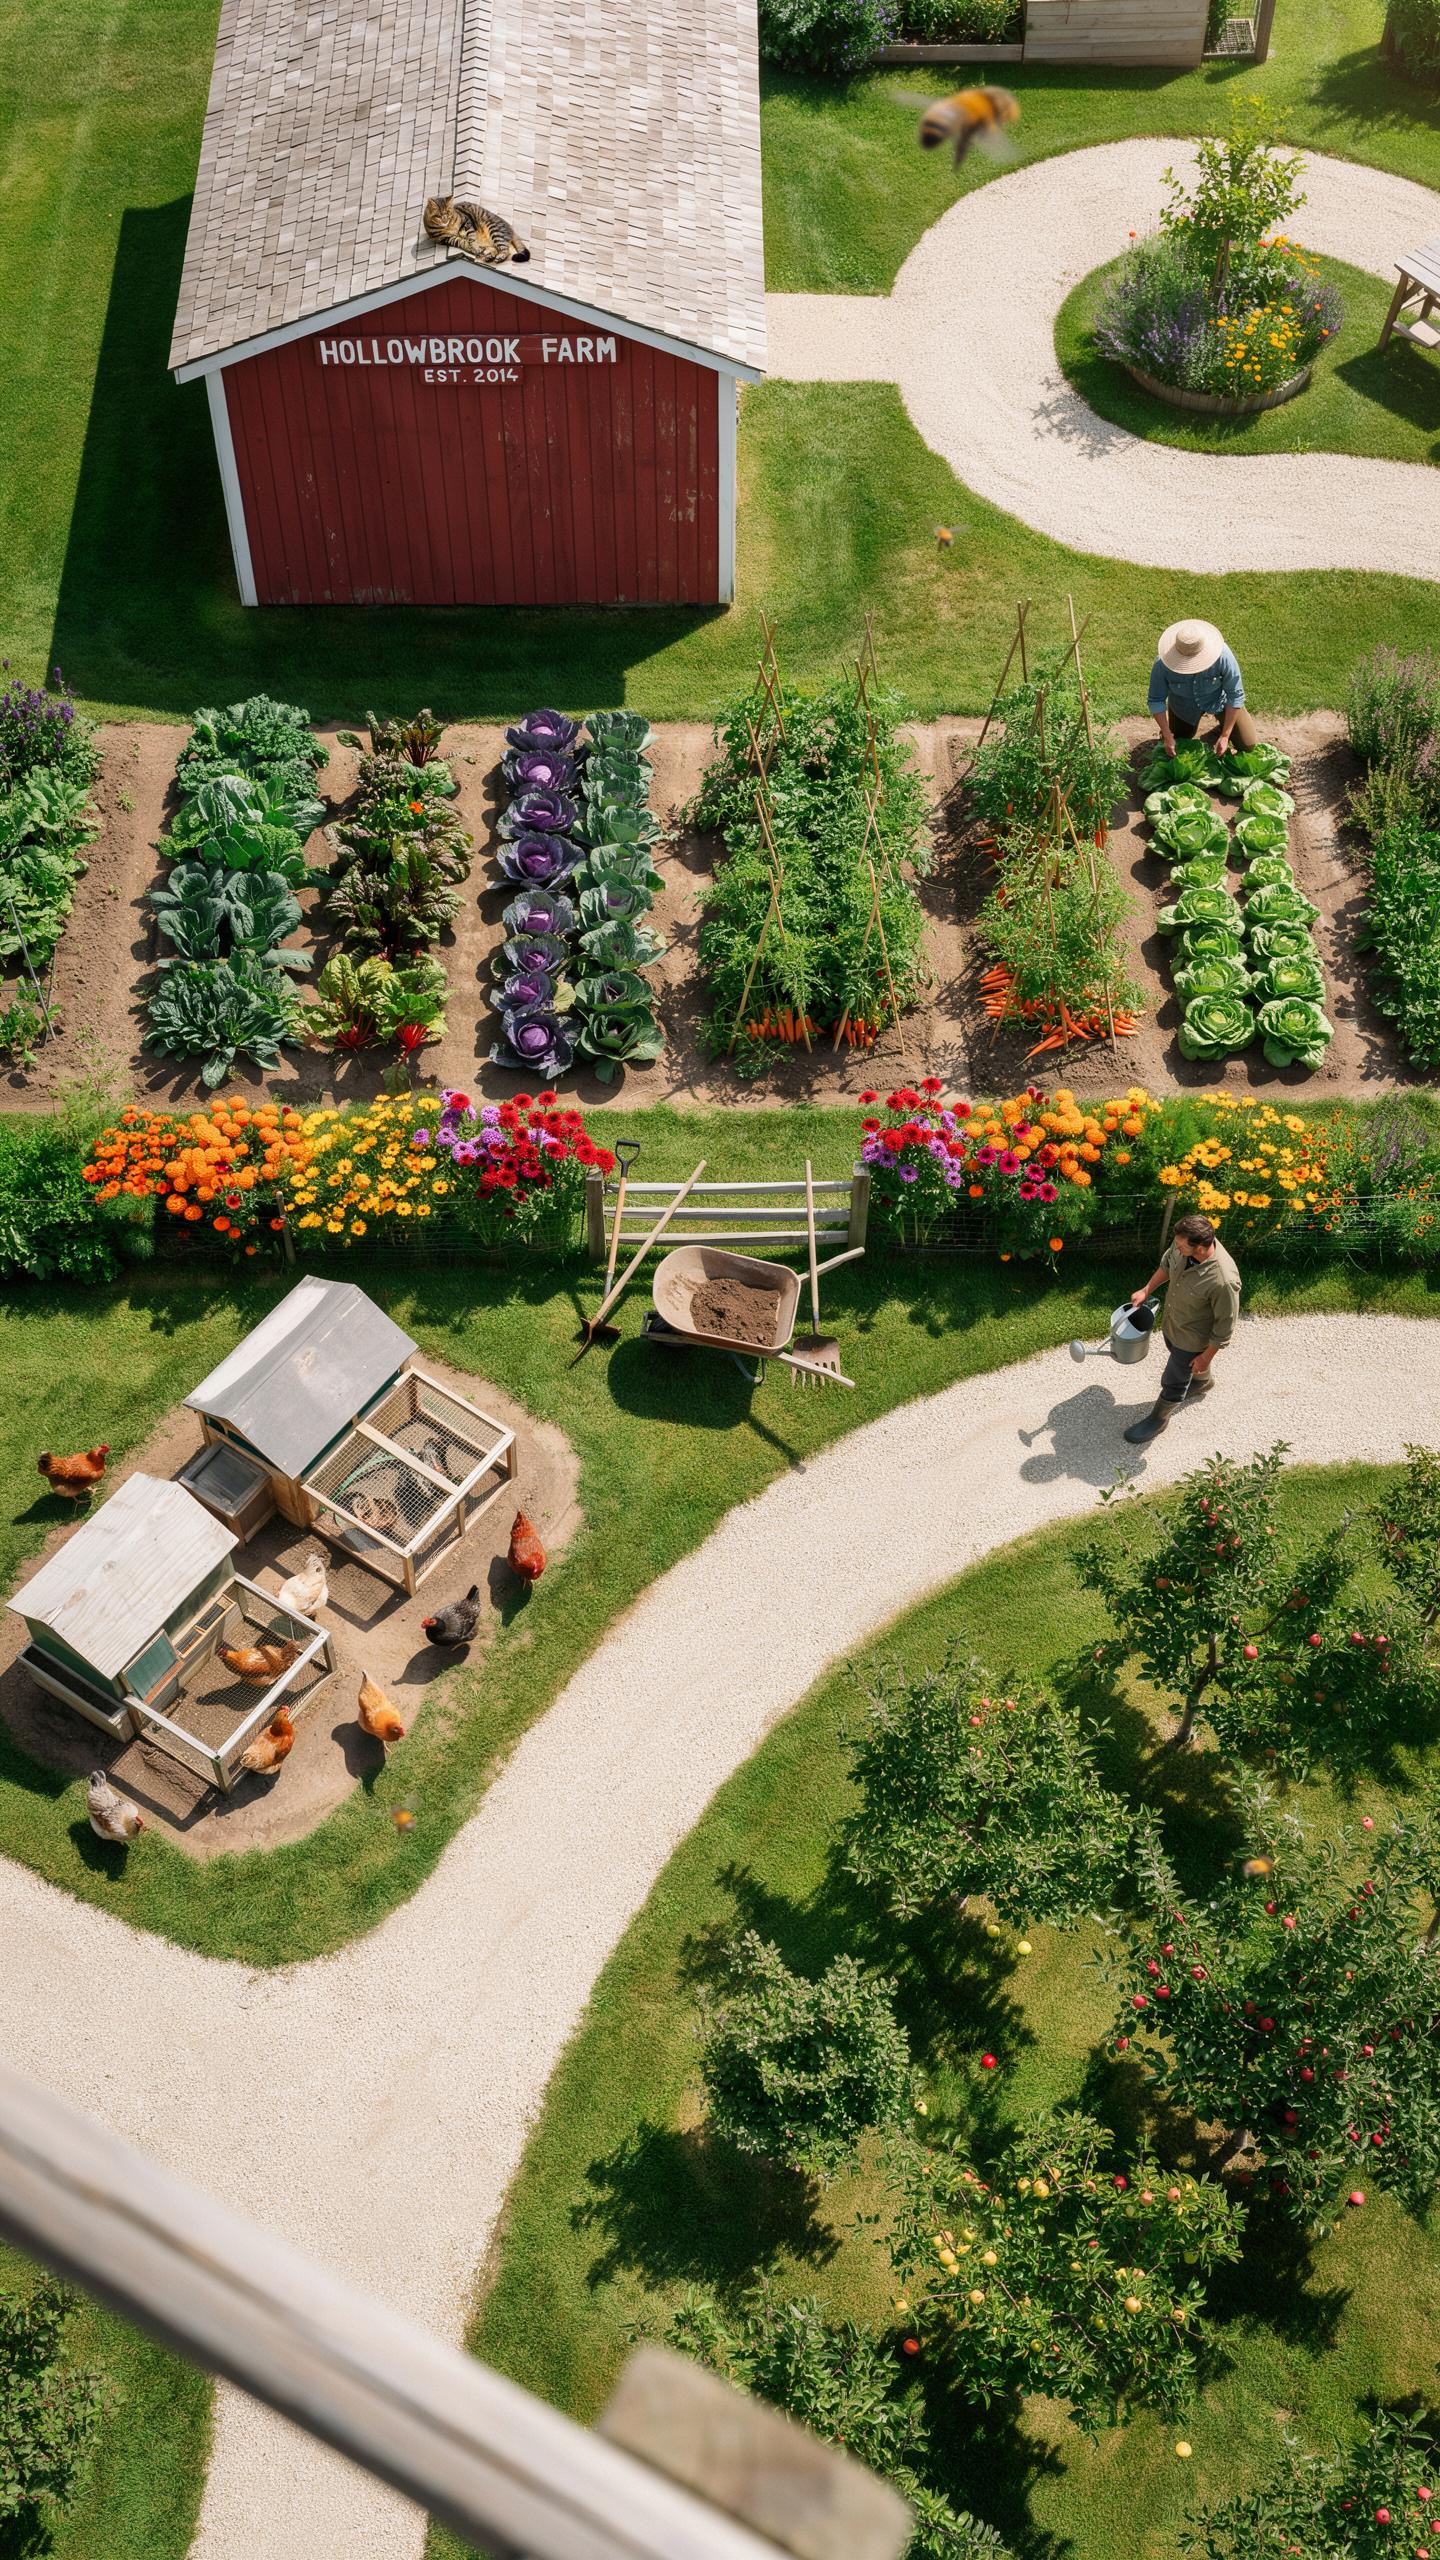
Creating Efficient Work Zones
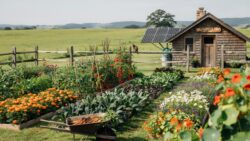
Divide your property into functional zones based on activity type and access frequency. Place structures you visit daily closer to your home and primary driveway. Livestock housing, manure management, and processing areas belong farther from living spaces to reduce odor and pest issues. Water sources and electrical panels should sit centrally to serve multiple zones efficiently.
Zone organization prevents unnecessary travel and reduces workflow bottlenecks. Separate animal grazing areas from equipment storage and feed preparation zones. Position quarantine structures away from healthy livestock. This layout cuts daily labor time and improves animal health outcomes. Poor zoning creates endless backtracking and operational chaos on even small properties.
Designing Walkways And Utility Access
Before building any outbuilding, establish clear pathways for wheelbarrows, ATVs, and hand trucks. Mark routes with stakes and walk them under real conditions to identify drainage problems and grade issues. Run water lines and electrical conduits underground or on established routes before construction starts. Retrofitting utilities after buildings exist costs significantly more and disrupts established operations.

Plan walkway widths for equipment you actually own or will acquire. Standard wheelbarrows need minimum 3-foot clearance. Tractor access requires 10 to 12-foot paths on slopes where you anticipate traffic. Utility trenches should run 18 to 24 inches deep for frost protection in cold climates. Establish these infrastructure pieces first because moving them later creates expensive problems and downtime.
Designing A Functional 3 Acre Homestead Layout
Maximizing Small Acreage With Multipurpose Outbuildings
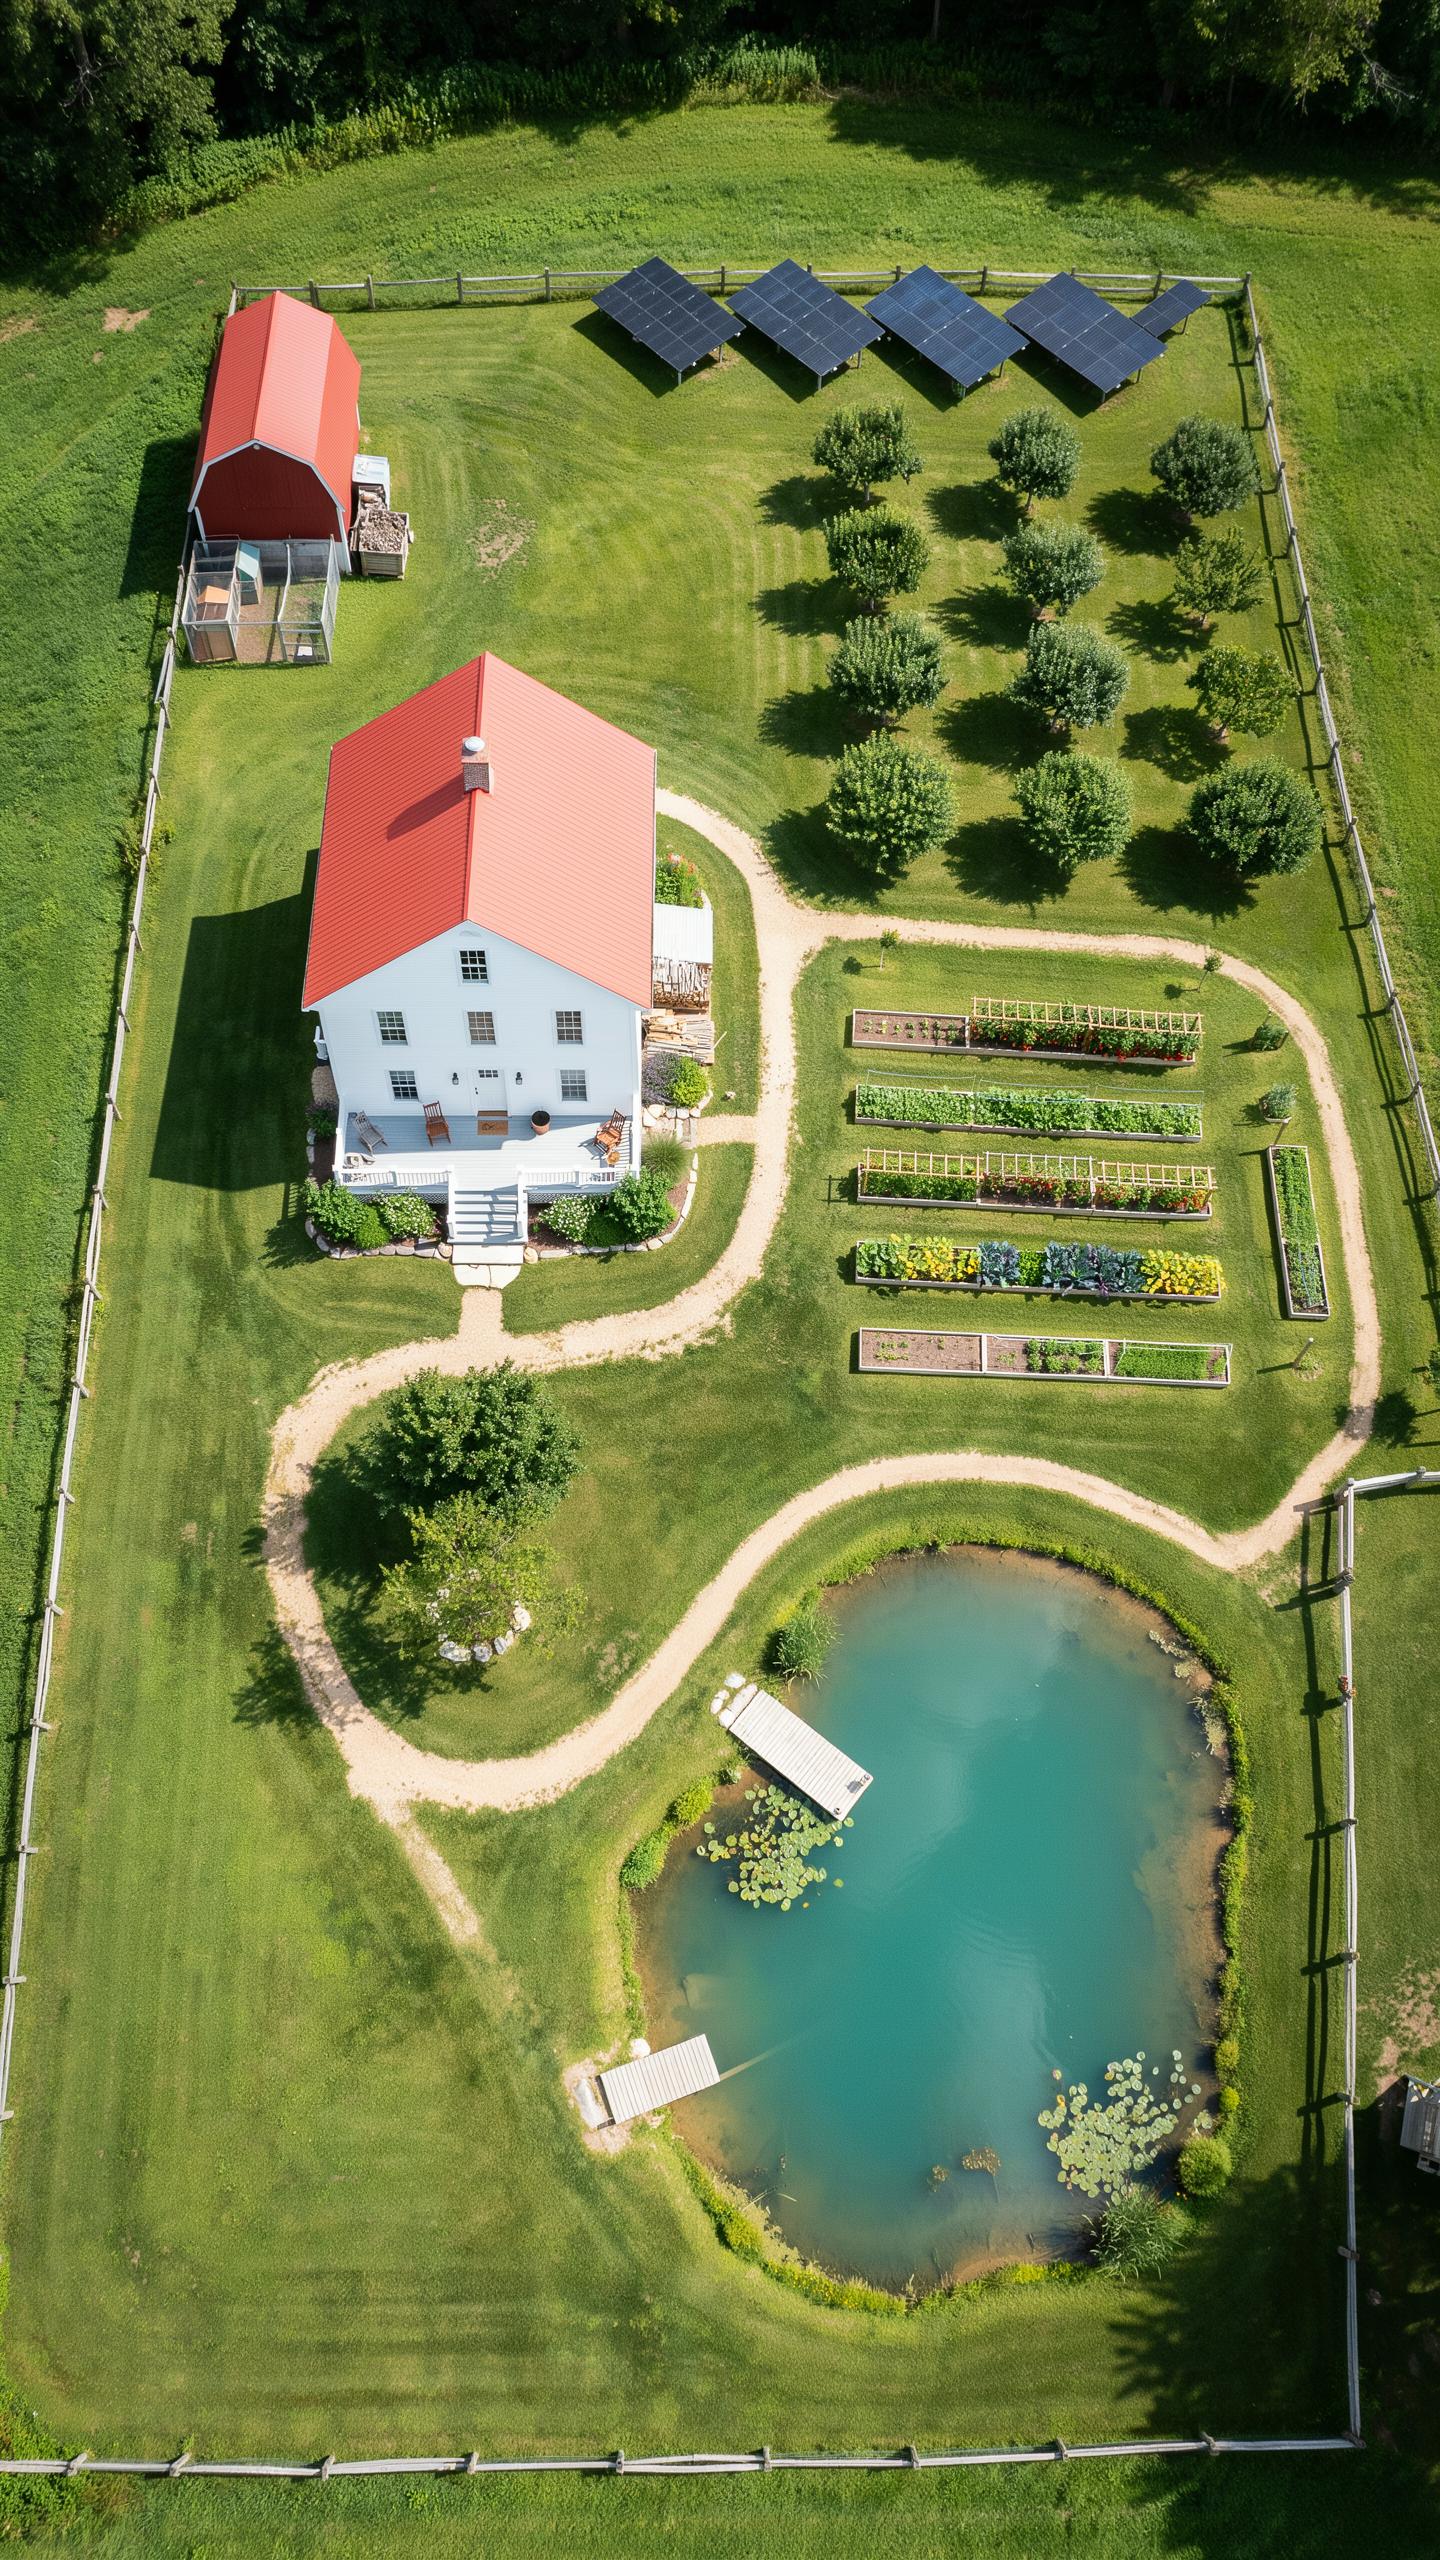
Three acres demands ruthless prioritization. Combined structures serve dual or triple functions, cutting construction costs and land footprint. A single 12×16 building can house chickens in one section and store tools in another. This approach eliminates redundant structures and keeps your usable land open for gardens, grazing, or future expansion.
Build vertically when possible. Use wall-mounted storage, tiered nesting boxes, and overhead shelving to pack more function into less square footage. Design your combined shed with cleanout doors on the animal side and access doors on the storage side. This layout prevents feed and equipment mixing while maintaining one roof and foundation investment.
Strategic Placement Of Small Livestock Shelters
Position animal housing 100 to 200 feet downwind from your residence. Wind direction carries odor and dust away from where you live and sleep. This buffer distance works for rabbits, chickens, and small goats without isolating animals from daily care and observation.

Keep structures close enough to minimize morning chore time. A five minute walk to your coop is feasible. A fifteen minute trek becomes a burden during harsh weather. Place water and feed storage within arm’s reach of animal shelters. This eliminates multiple trips and reduces labor time when temperatures drop or summer heat peaks.
Developing 4 Acres Of Land Ideas For Smart Infrastructure

Integrating Greenhouses And Tool Storage
Position your greenhouse on the south-facing side of your property to capture maximum winter and spring sun angles. This orientation gives you 6 to 8 additional hours of usable daylight during cold months. Attach a small tool storage structure directly to the greenhouse’s north wall. This placement shields your tools from wind and keeps them accessible during propagation work.
The attached storage bay serves dual purposes: it blocks cold wind from hitting your greenhouse while providing climate-controlled space for seed trays, potting soil, and hand tools. Build this bay with solid walls and a roof pitch that matches your greenhouse structure. Keep the interior organized with wall-mounted racks and shelving to maximize your 100 to 150 square feet of space.
Essential Tools For A Four Acre Infrastructure Setup
Four acres demand machinery and implements that handle regular maintenance tasks across fencing, brush clearing, and soil management. Manual tools provide precision work and backup capability when fuel-powered equipment fails. Powered equipment saves time on repetitive tasks but requires maintenance discipline and fuel storage infrastructure on your property.
- Post hole digger and auger: Essential for fence installation and repair. Manual diggers work for sandy soil. Powered augers cut installation time by 75 percent in clay or compacted ground.
- Brush cutter or clearing saw: Maintains property perimeters and removes undergrowth. A gas-powered model handles dense vegetation faster than manual tools across large acreage.
- Soil testing kit and amendments spreader: Tests pH and nutrient levels to guide improvement. A broadcast spreader distributes lime, compost, or fertilizer across beds and fields uniformly.
- Fencing tools: Wire stretchers, staple guns, and fence pliers maintain animal enclosures and property boundaries. These prevent escape incidents and define your working zones clearly.
- Rototiller or cultivator: Breaks compacted soil for garden beds and pasture improvement. Eight to ten horsepower handles most four acre operations without commercial-grade equipment costs.

Stock these tools in your attached storage bay for quick access during seasonal work. Organize by frequency of use, keeping daily implements at eye level and seasonal equipment on upper shelves. Establish a maintenance log to track fuel, blade sharpening, and repairs before failures disrupt your workflow.
Essential Outbuildings For A 10 Acre Homestead Layout Small Farm
The Anatomy Of A Practical Multiuse Barn
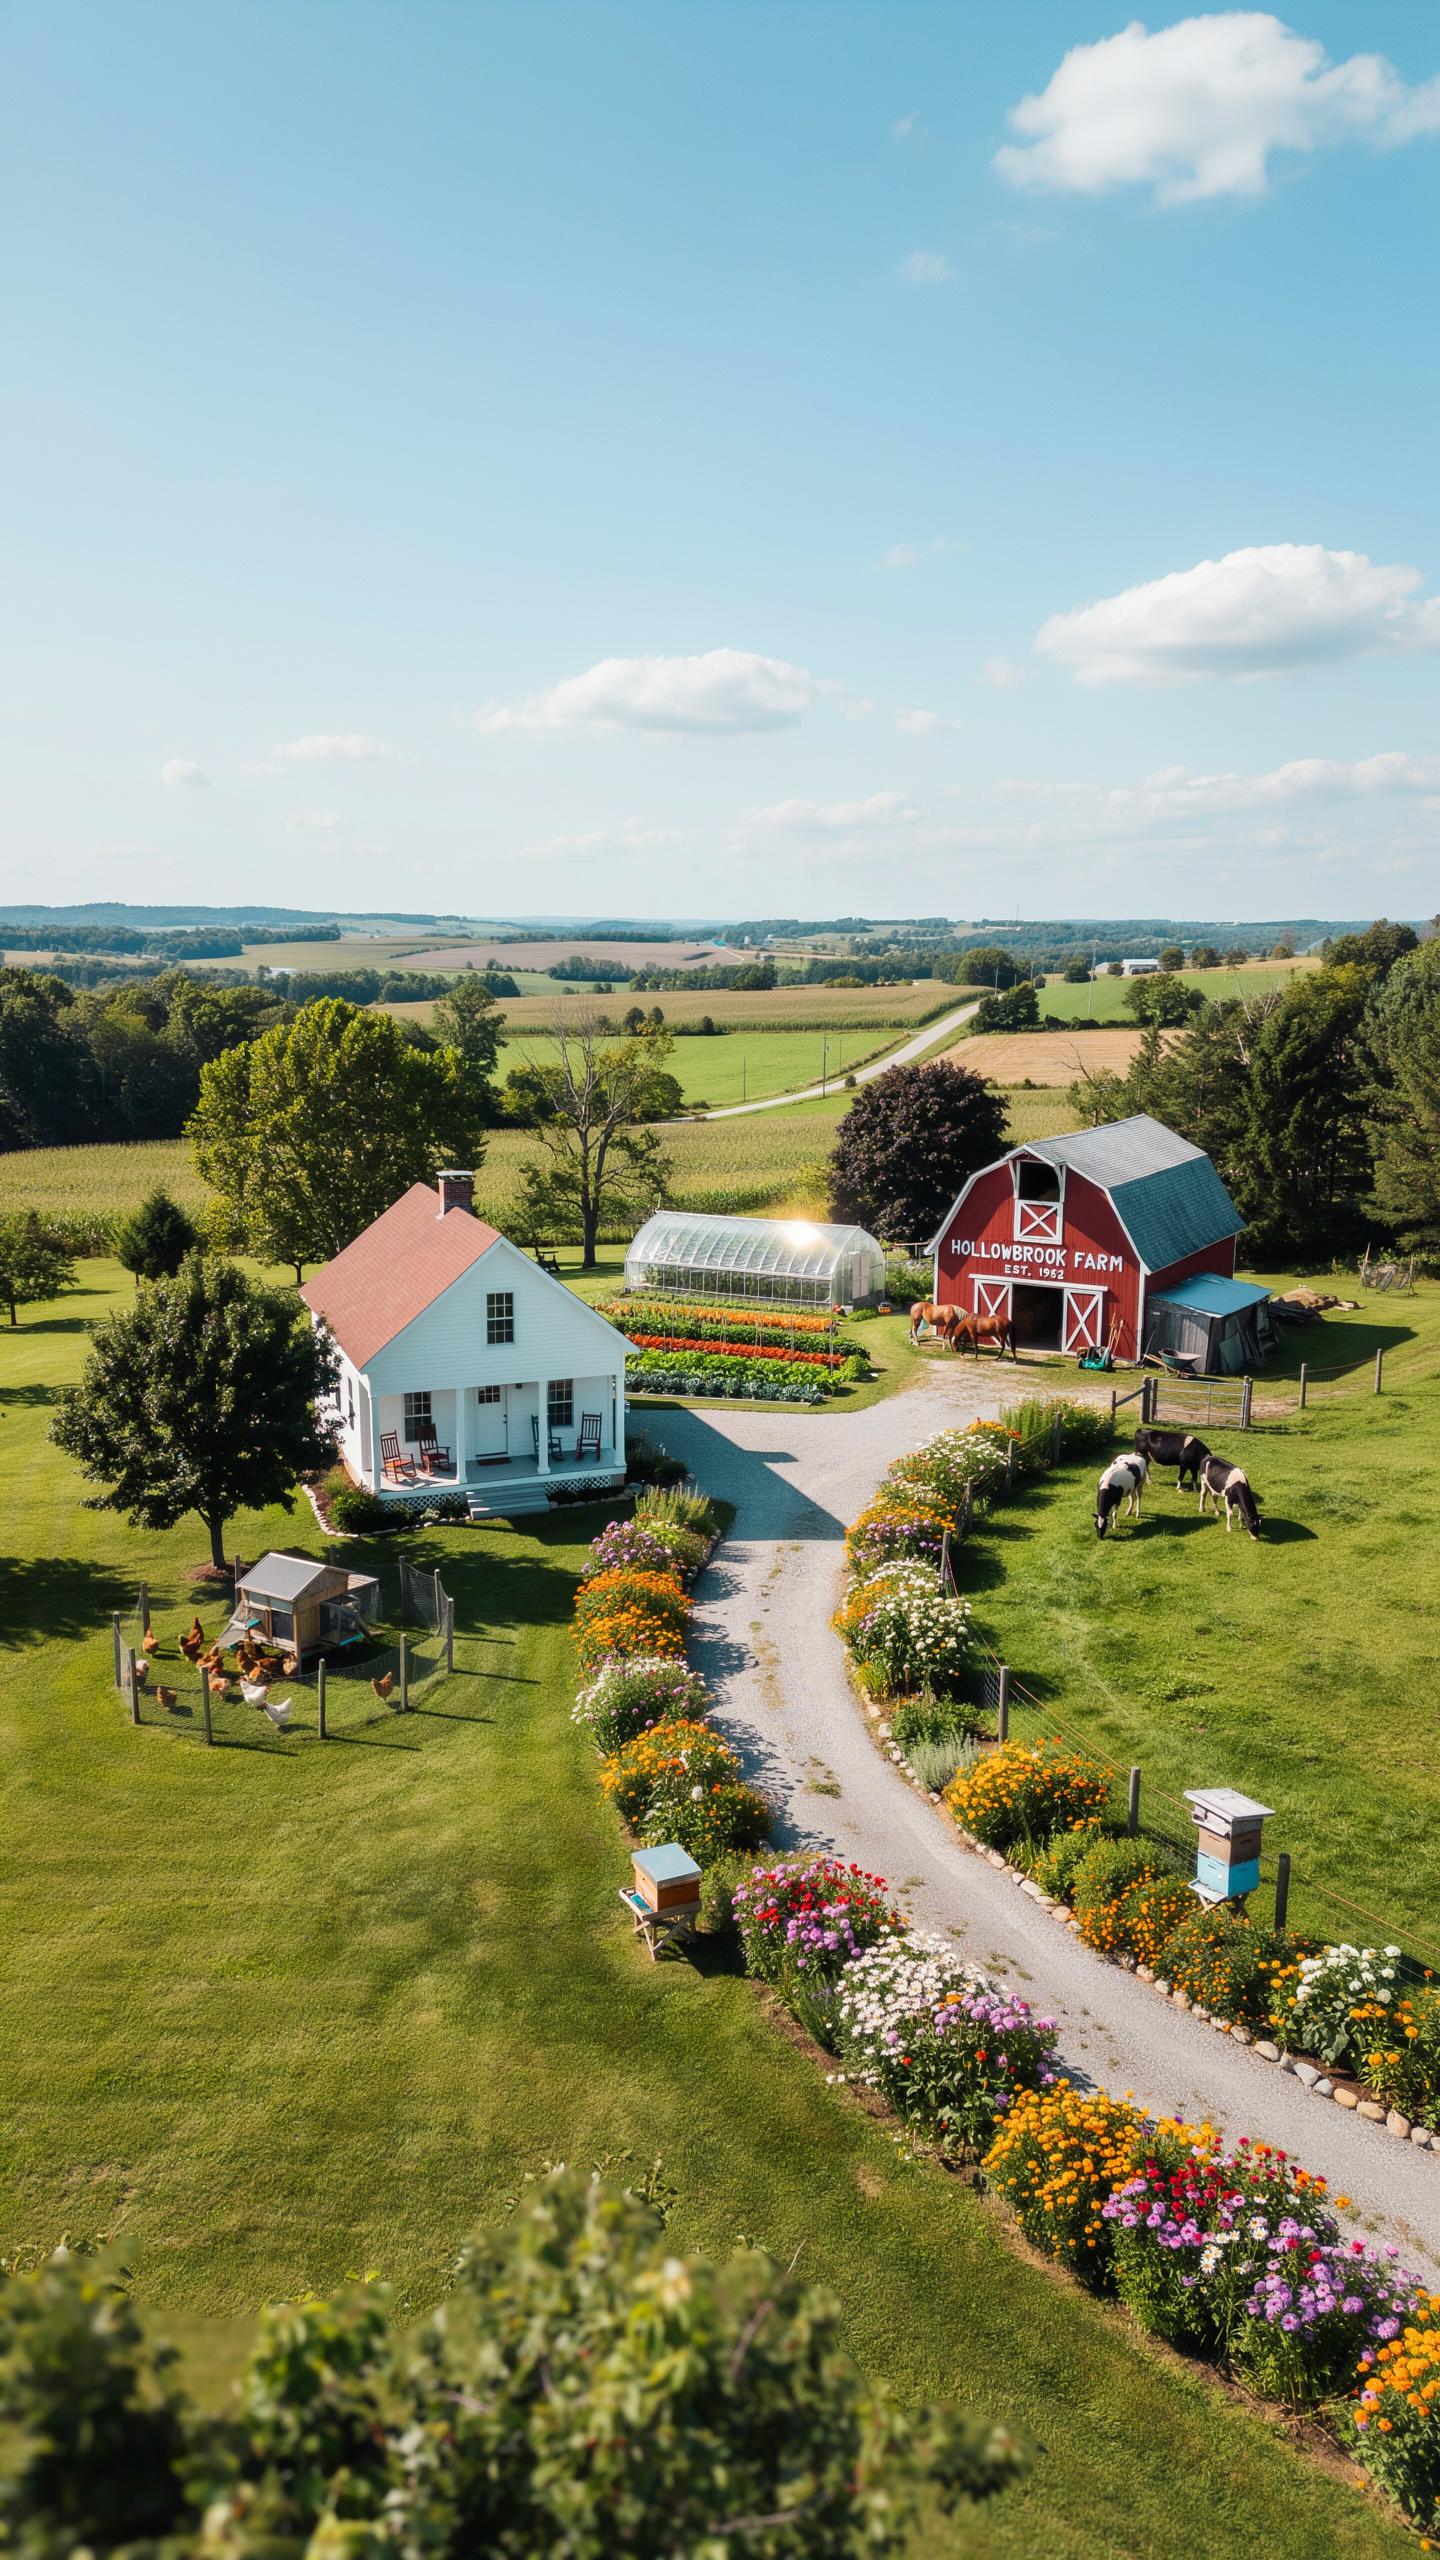
A 10 acre homestead needs one central barn as the operational hub. This structure houses feed storage, animal stalls, and hay lofting in distinct zones. Positioning it near your home reduces labor time for daily chores. The barn protects feed from weather and pests, directly impacting your feed costs and animal health.
Divide your barn interior into three functional areas. The ground level holds grain bins and bagged feed in a sealed section away from moisture. Animal stalls occupy another ground zone with easy access to water and paddocks. Install a hayloft above using a pitched roof design that sheds rain effectively and maximizes storage capacity.
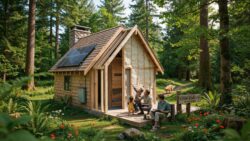
Little by little, one travels far, and even the smallest shed is a giant step toward your own piece of freedom.
Dedicated Workshop And Equipment Shed Setup
Tractors, tillers, and hand tools require protection from weather and theft. A separate workshop shed keeps machinery organized and accessible for maintenance work. Build this structure with a wide door opening, minimum 12 feet, to accommodate equipment movement. Concrete flooring prevents mud accumulation and makes cleaning straightforward.

Stock your workshop with a workbench, tool pegboard, and fuel storage in a locked cabinet away from living areas. Provide adequate electrical outlets and outdoor lighting for mechanical repairs. Proper organization cuts repair downtime and extends equipment lifespan. Secure valuables behind locked doors and consider security cameras if your property sits far from neighbors.
Managing Livestock And Feeds On A 12 Acre Farm Layout
Securing Feed And Preventative Pest Control
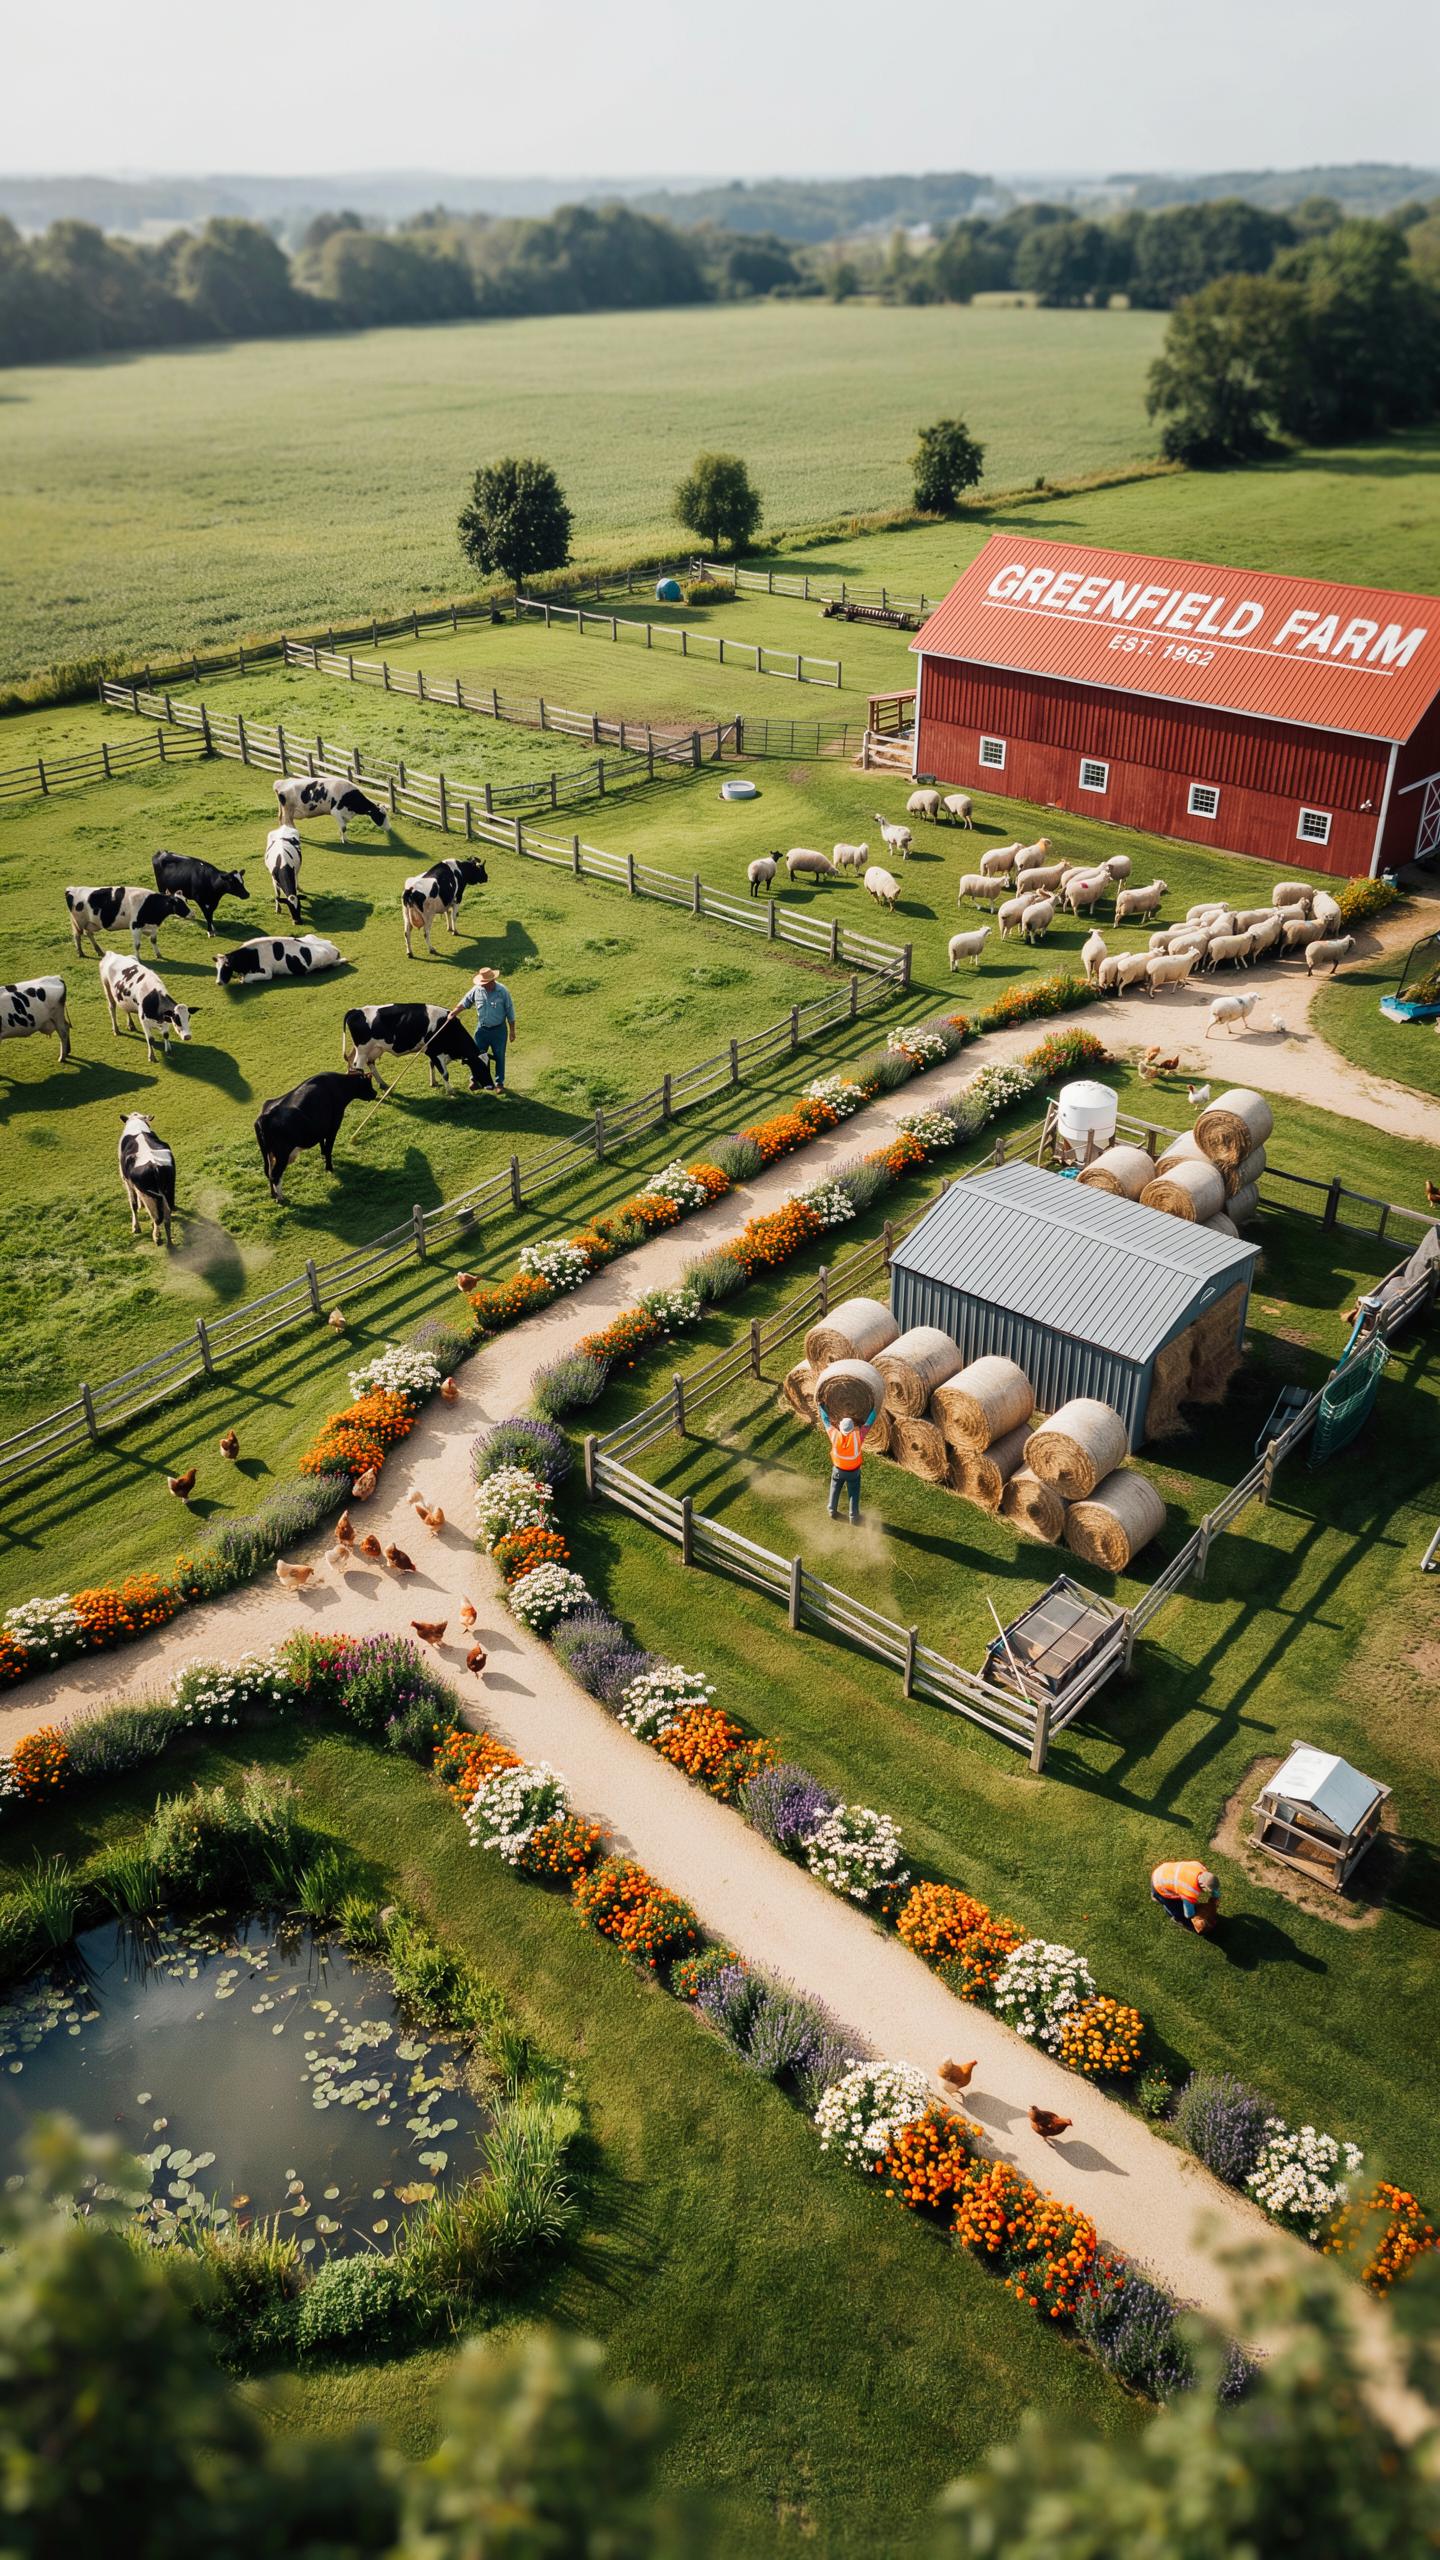
Rodents destroy feed stores and contaminate grain supplies within days. Build a dedicated feed room inside a weathertight structure with concrete flooring. Metal storage bins prevent gnawing access. Elevate shelving 18 inches minimum from the floor to block ground-level rodent entry points and allow air circulation underneath.
Moisture ruins nutritional value and promotes mold growth that sickens livestock. Install roof overhangs and guttering to direct water away from storage areas. Use desiccant packets in sealed containers during humid months. Inspect bins monthly for damage, gaps, or signs of pest activity. Replace compromised seals immediately to maintain feed quality.
Rotational Grazing Shelters And High Traffic Areas
Mobile run-in sheds move with livestock to distribute grazing pressure evenly across your property. Position these structures to prevent soil compaction in core pasture zones. Portable shelters on skids or wheels shift location every four to eight weeks depending on herd size and forage availability. This method preserves soil structure and extends pasture lifespan significantly.

Heavy concentration of animals in one area creates bare spots and increases parasite transmission through accumulated manure. Rotate shelters systematically across all twelve acres using marked zones or GPS coordinates. Heavy traffic areas near water sources need the most frequent movement. Track rotation cycles in a simple spreadsheet to maintain consistency and identify problem zones that need rest periods.
Scaling Up Facilities On A 50 Acre Farm Layout
Key Large Scale Outbuildings For Extensive Acreage
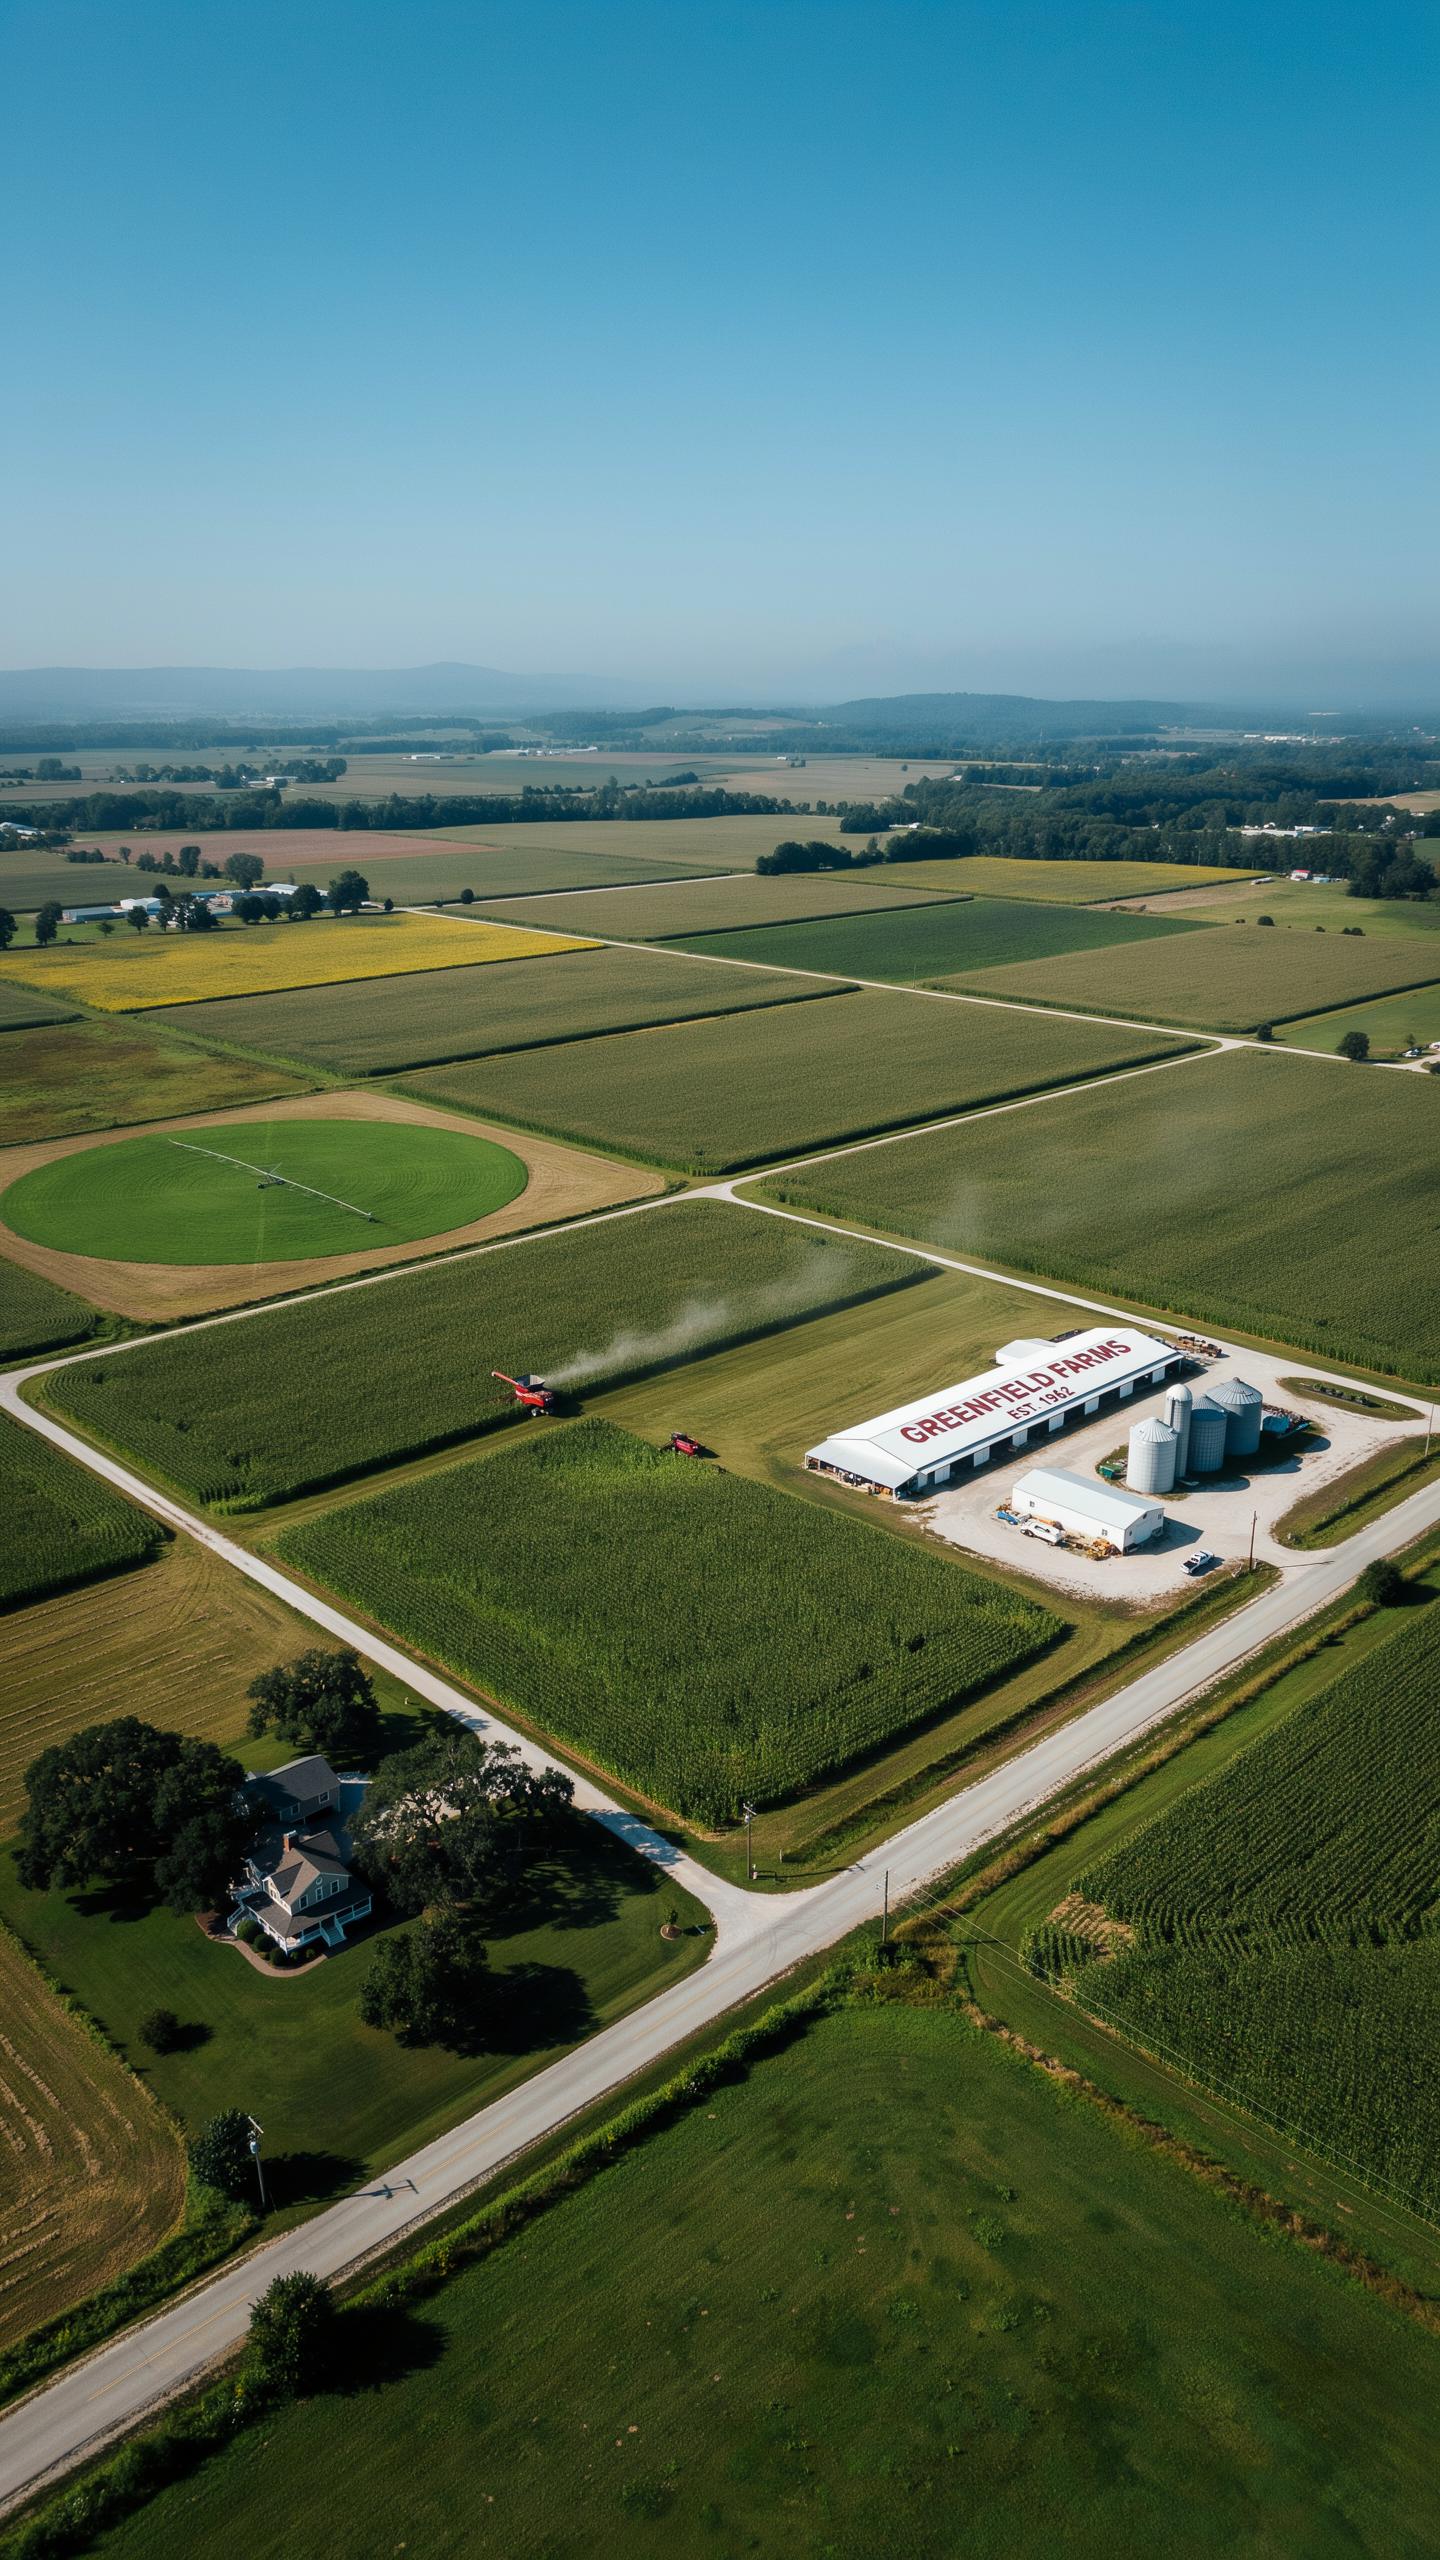
Fifty acres demands outbuildings sized for serious operations. Your facility footprint must handle machinery storage, livestock management, and crop processing simultaneously. Undersized structures force inefficient workflows and equipment damage. Plan for buildings that accommodate your peak operational needs, not your average day.
- Machinery Storage Barn: Minimum 60 by 100 feet. Houses tractors, balers, combines, and implements. Metal frame construction handles equipment weight and provides weather protection without interior support posts obstructing movement.
- Hay and Grain Storage: 40 by 60 feet or larger depending on livestock count. Stores 200 to 400 tons of hay or grain. Requires roof ventilation to prevent moisture accumulation and mold growth that ruins feed quality.
- Livestock Shelter Building: 40 by 80 feet minimum for 30 to 50 head of cattle. Must include separate zones for feed storage, animal housing, and work areas. Concrete floors in work zones prevent mud and disease spread.
- Equipment Maintenance Workshop: 30 by 40 feet with 12 foot ceilings. Includes concrete foundation, electrical service, and workbench space. Protects tools and enables repairs without weather delays during critical seasons.
- Processing and Utility Building: 20 by 30 feet for butchering, vegetable processing, or equipment washing. Includes water access, drainage systems, and separate entrance from animal housing to maintain sanitation standards.
These structures work together as an integrated operation. Each building serves specific functions that prevent cross contamination and maximize efficiency. Position them logically to reduce travel time between daily tasks. Water lines, electrical runs, and equipment movement paths determine optimal placement before construction begins.
Logistics And Roadways For Large Machinery Access
Fifty acres requires interior road networks that support continuous equipment movement. Gravel roads must handle 40,000 to 60,000 pound loads from fully loaded hay wagons and grain trucks. Inadequate roads create ruts, mud, and equipment immobilization during wet seasons. Road quality directly impacts your operational uptime.
Base your main access road with 8 inches of compacted gravel over fabric underlayment. Width must reach 16 feet minimum to allow two tractors to pass. Secondary roads connecting outbuildings need 12 feet minimum width. Crown the surface slightly for drainage, sloping water toward ditches on each side. Maintain crowning and drainage annually to prevent washout during heavy rain. Drive gravel roads at reduced speed during thaw periods when underlying soil softens. Budget for gravel replenishment every 2 to 3 years depending on traffic volume and weather. Strategic turnarounds at building clusters prevent equipment jackknifing and reduce maneuver time during peak harvest operations.
Step By Step Homestead Property Setup Outbuildings Guide
Selecting And Sourcing Quality Building Materials
Your outbuilding frame determines how long the structure lasts. Pressure treated lumber resists rot and insects for 15 to 20 years in most climates. Metal framing eliminates rot entirely but costs more upfront. Choose based on your local moisture levels and budget constraints.
Roofing and siding take the heaviest weather abuse. Metal roofing sheds water fast and lasts 40 to 50 years. Asphalt shingles cost less but need replacement every 15 to 20 years. For siding, metal panels withstand wind and require no maintenance. Wood siding needs regular treatment to prevent decay.
Foundation Options For DIY Homesteaders
Gravel pads work for run in sheds and livestock shelters where weight stays minimal. Dig out soil, add landscape fabric, then spread 4 to 6 inches of compacted gravel. This approach costs almost nothing and drains water naturally away from the structure base.

Concrete slabs support workshops, equipment storage, and any building holding heavy machinery or tools. Pour a 4 inch slab on compacted gravel with a slight slope for drainage. Frost footings dig below your local frost line to prevent heaving during freeze thaw cycles. Use concrete piers when building on slopes or unstable soil to keep structures level and stable long term.
Frequently Asked Questions

Which structures are most essential for a beginner someone starting a new homestead?
When planning your initial homestead property setup outbuildings, prioritize structures that provide immediate utility. Most beginners should start with a secure tool shed for equipment and a dedicated coop if raising poultry. These foundational buildings protect your investments from the elements and predators. By starting small, you can observe your daily workflow and determine which additional structures, like greenhouses or workshops, will best support your growing self-sufficiency goals.
How do I choose the best location for placing my new outbuildings?
Successful placement depends on accessibility and environmental factors. Position frequently used structures, like woodsheds, close to the main house, while placing livestock housing downwind. Ensure the ground is level and well-drained to prevent foundation rot. For an efficient homestead property setup outbuildings should be arranged to minimize walking distances during chores. Always check local zoning laws and setback requirements before finalizing your layout to avoid costly relocation issues later.
Are there budget-friendly ways to add outbuildings without expensive construction?
Absolutely! You can save money by repurposing materials like reclaimed lumber or pallets for smaller projects. Many beginners also find success using prefabricated metal kits or converting existing shipping containers into functional spaces. Another affordable strategy is to build multi-purpose structures that combine storage and workspace into one footprint. This resourceful approach allows you to expand your homestead infrastructure gradually while staying within a modest startup budget.



