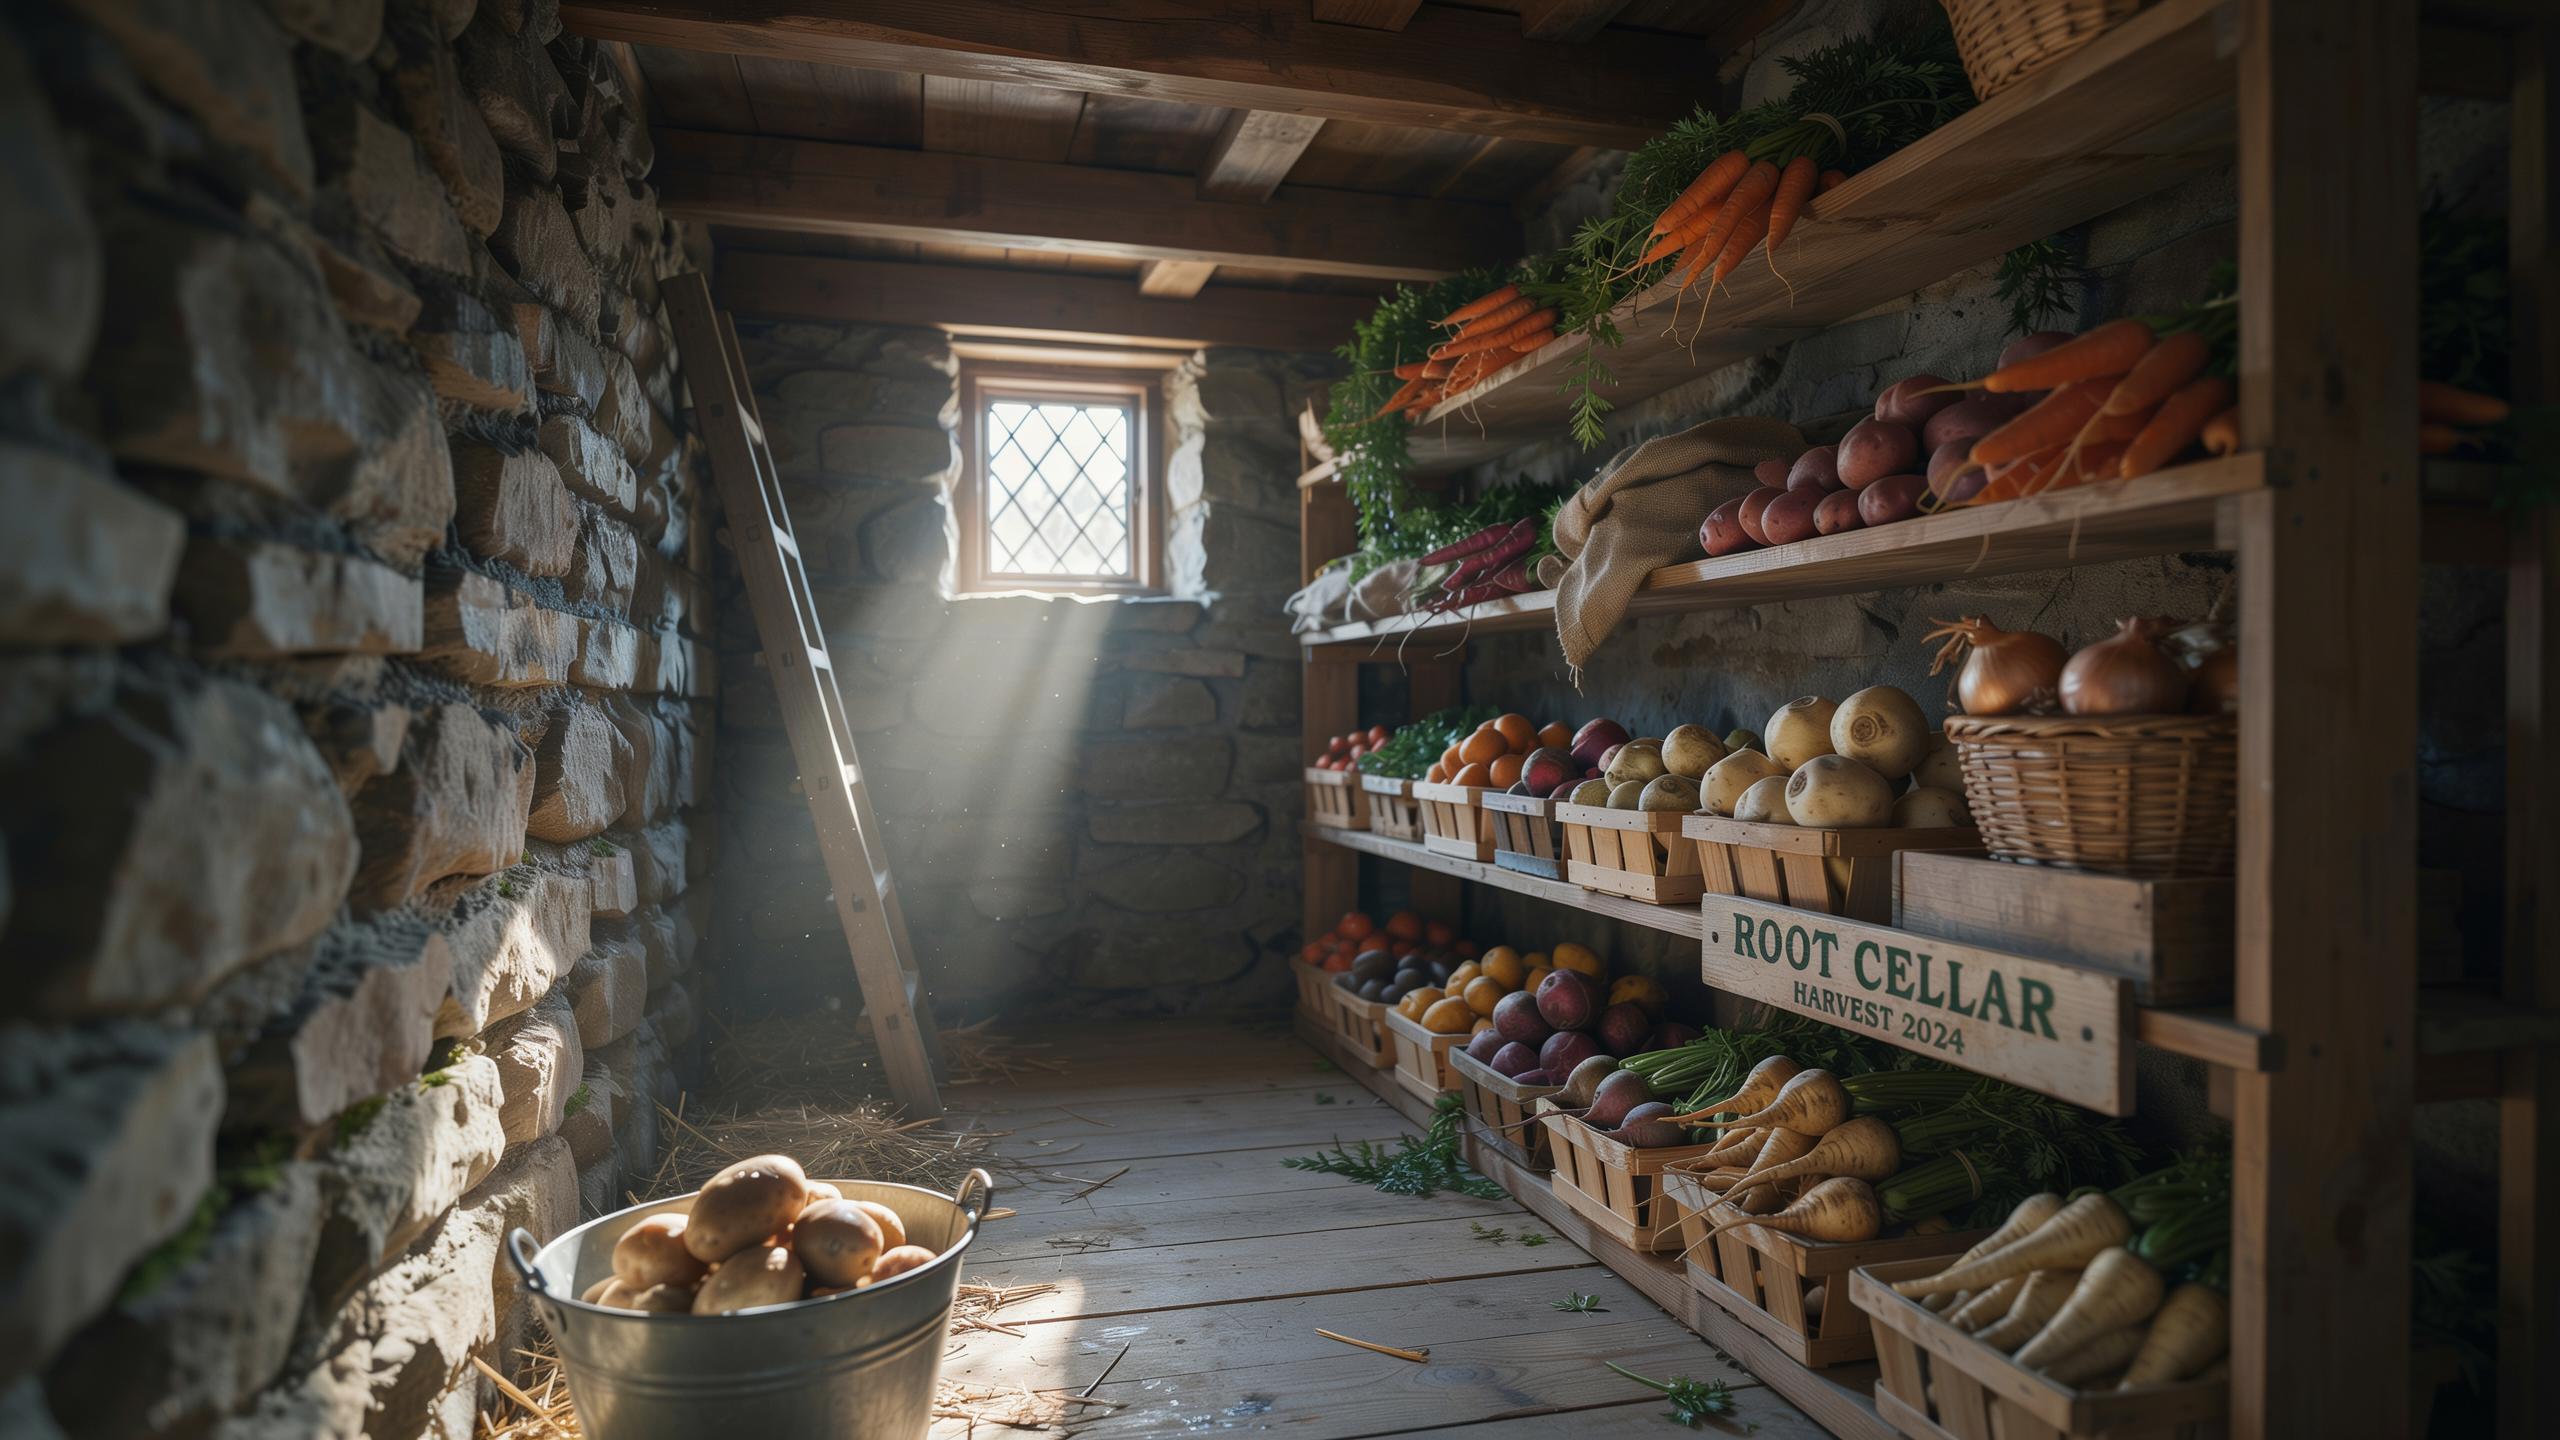
Embracing Homestead Self Sufficiency Root Cellar Systems For Modern Food Security
Understanding Passive Cold Storage
Root cellaring works because earth maintains stable temperatures year-round. Underground spaces stay between 32 and 50 degrees Fahrenheit in most climates, regardless of outside weather. Humidity levels naturally remain between 85 and 95 percent, which prevents produce from drying out. This passive system requires no electricity, making it fundamentally different from mechanical refrigeration. The earth acts as a thermal buffer that stabilizes conditions without active cooling.
Homesteaders use root cellars to extend harvest seasons by months. Potatoes, carrots, beets, apples, and cabbage store reliably in these conditions. Proper ventilation prevents gas buildup that causes spoilage. Air circulation removes ethylene gas produced by ripening produce. The combination of temperature, humidity, and airflow creates an environment where perishables maintain nutritional value and flavor far longer than surface storage.
The Economic And Ecological Benefits
Root cellars eliminate electricity costs associated with refrigeration. A household refrigerator runs continuously and consumes significant power annually. Underground storage requires zero ongoing energy input after initial construction. This translates to lower utility bills and reduced fossil fuel consumption. Over a decade, the savings compound substantially for homesteads processing large harvests.
Storing homegrown food locally cuts transportation emissions and packaging waste. Commercial produce travels thousands of miles before reaching tables, burning fuel throughout the supply chain. Root cellars keep seasonal harvests available through winter months without importing food. Households reduce reliance on industrial agriculture and lower their carbon footprint. Self sufficiency through storage builds food security while decreasing environmental impact.
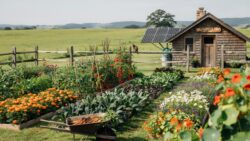
Essential Root Cellar Building Plans And Site Selection
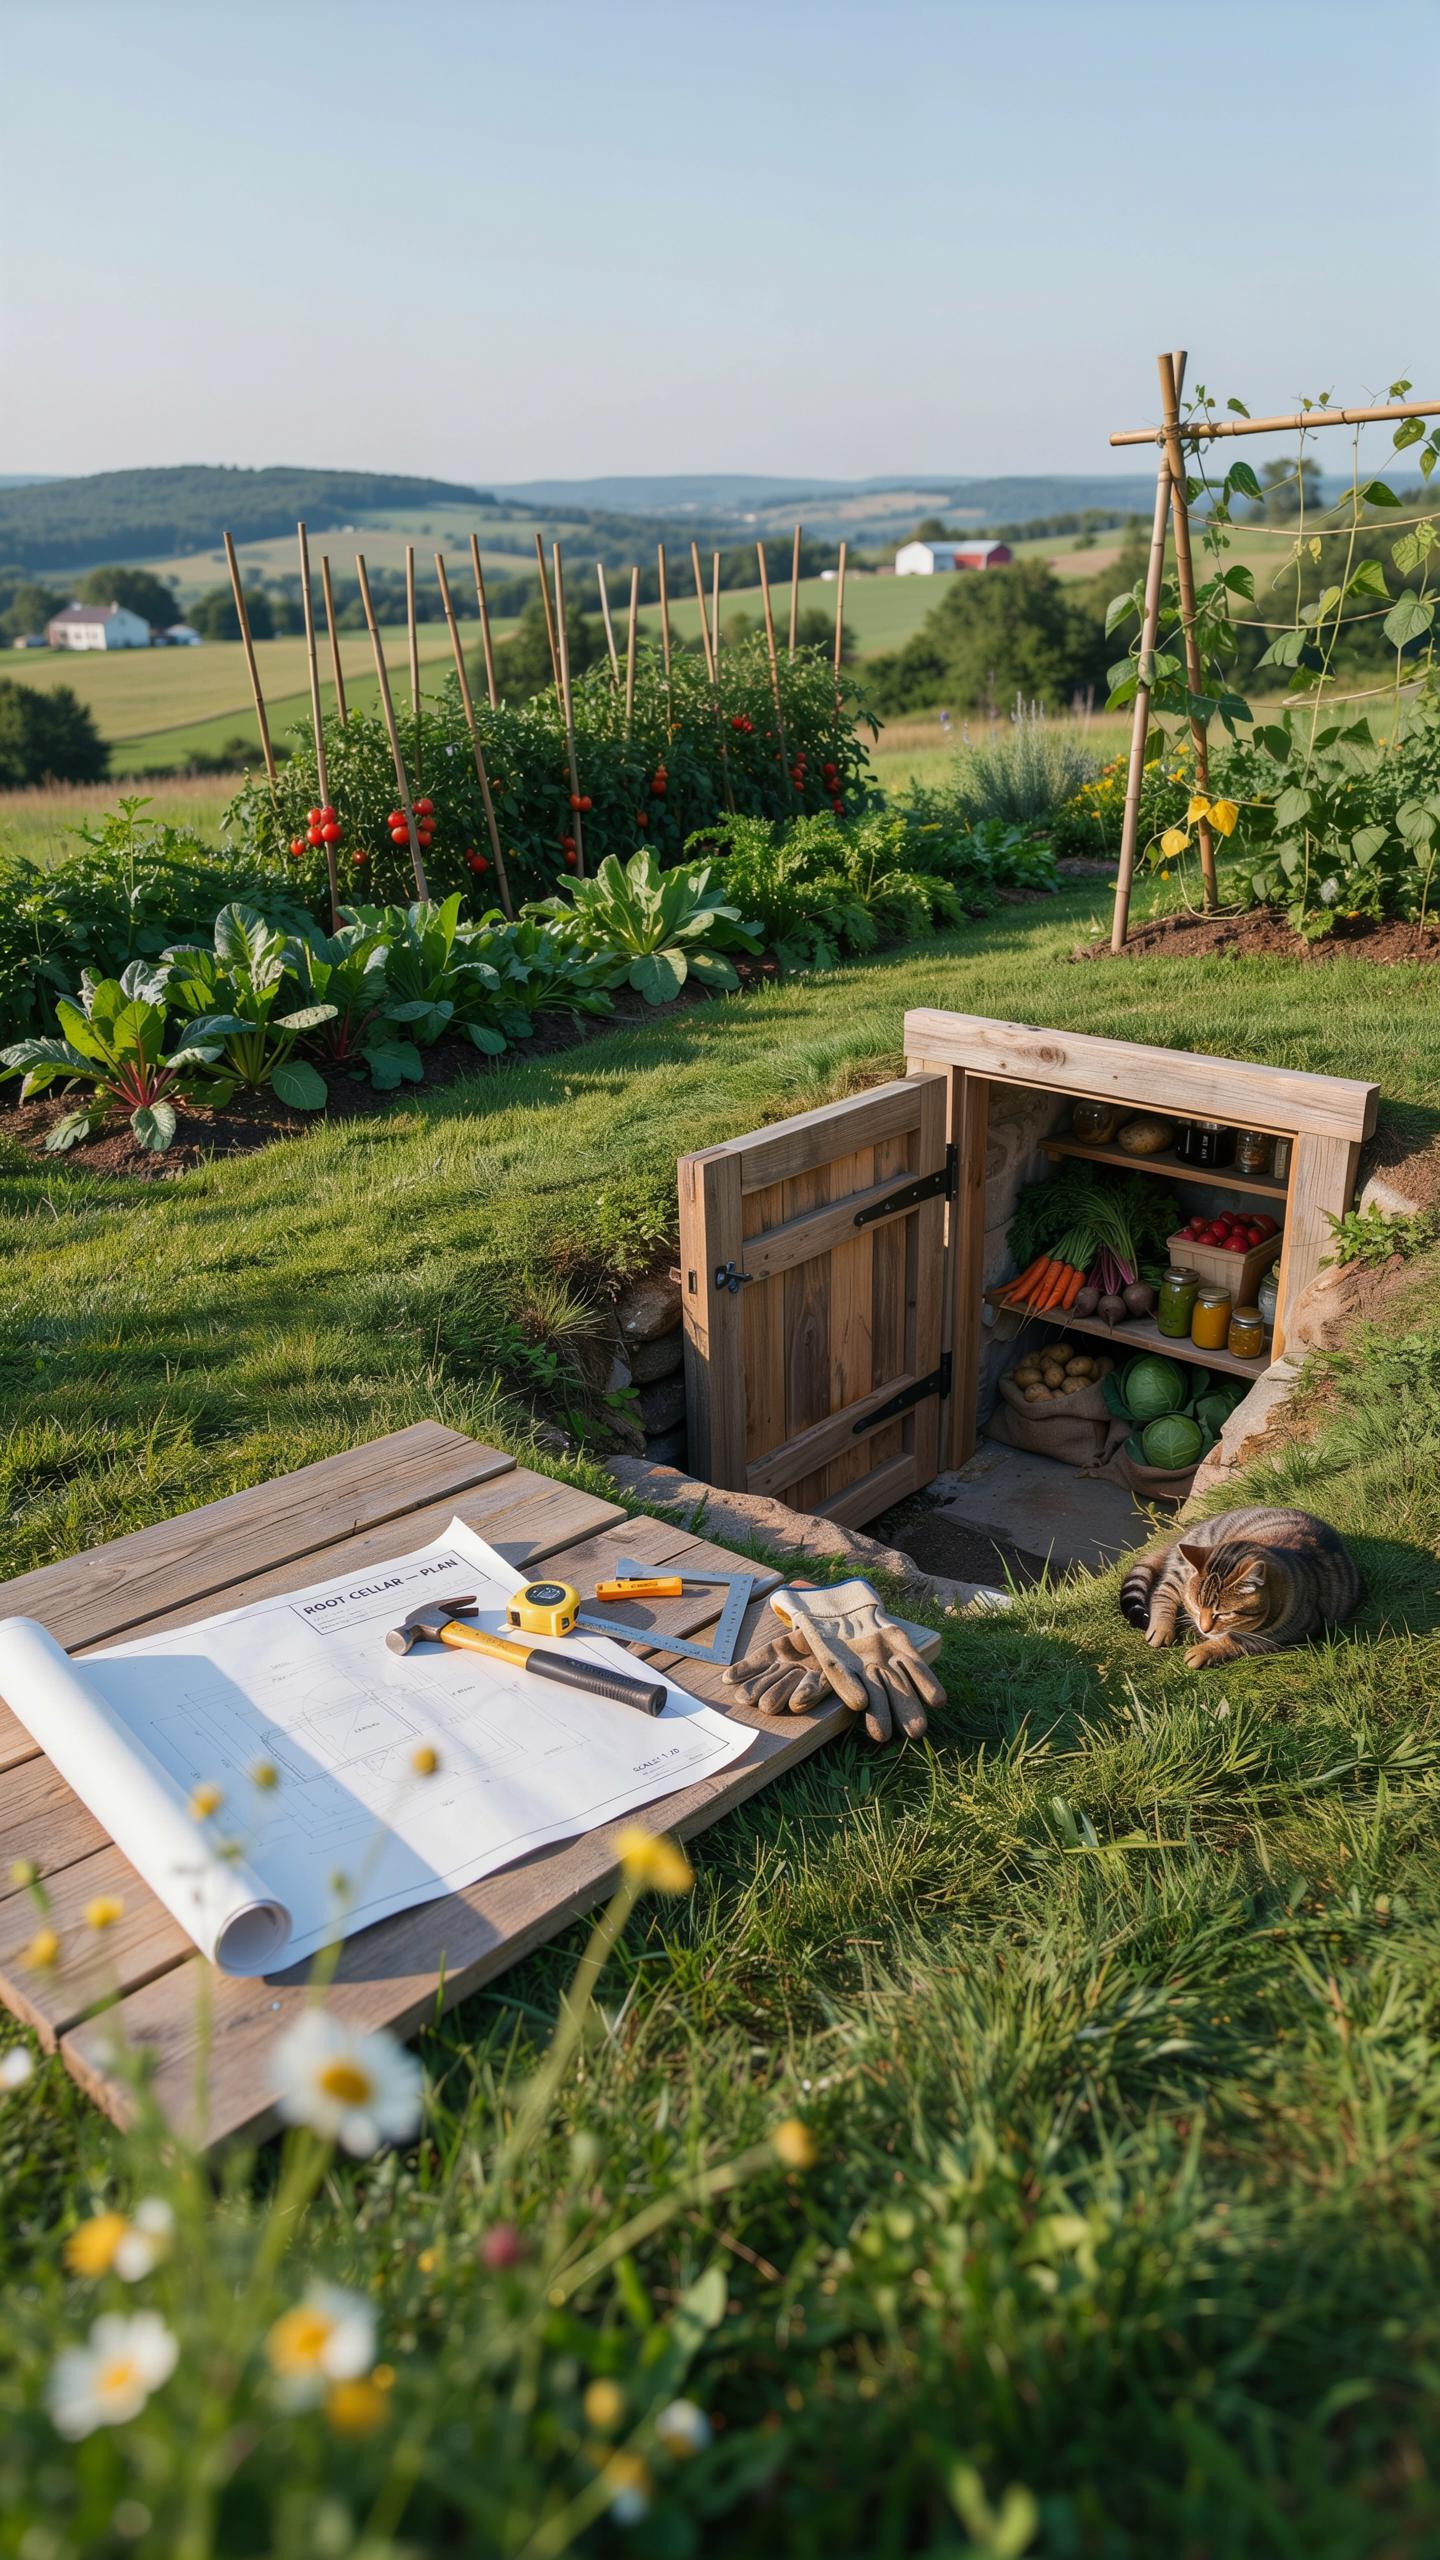
Evaluating Drainage And Soil Types
Water kills root cellars. Standing water rots food stores and compromises structural integrity. Choose a hillside or sloped area where water naturally moves away from your building site. Test your soil by digging a hole, filling it with water, and observing how fast it drains.
Sandy loam soil drains well and requires minimal intervention. Heavy clay soil traps moisture and demands drainage pipes installed around the foundation perimeter. Conduct a soil test before committing resources to construction. Poor drainage choices force expensive remediation or cellar failure.
There is a deep sense of security and peace in seeing the harvest tucked away for winter, where the earthen walls hold the promise of a cozy table. The root cellar is the very heart of a self-sufficient home, keeping us rooted in the cycles of the seasons.
Crucial Elements Of Structural Blueprints
Root cellars need three design components working together: insulation, ventilation, and humidity control. Thick earth-sheltered walls maintain stable temperatures year-round. Build walls at least 12 inches thick using stone, concrete, or treated wood to buffer external temperature swings.
- Earth sheltering: Bury walls partially or fully underground to leverage soil’s natural insulating properties and reduce temperature fluctuation throughout seasons.
- Intake and exhaust ventilation pipes: Install two pipes of equal diameter entering opposite walls, positioned high and low to create natural air circulation without mechanical fans.
- Dirt or gravel flooring: Never use concrete alone, which traps moisture. Bare earth or gravel floor allows humidity to dissipate naturally, keeping stored food dry.
- Thermal mass walls: Stone or concrete absorbs daytime heat and releases it slowly at night, stabilizing internal temperatures between 32 and 40 degrees Fahrenheit.
- Vapor barriers: Install plastic sheeting on interior walls to prevent ground moisture from migrating inward and affecting your storage environment.
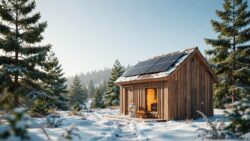
These three structural elements work together to create conditions where food stores last months without refrigeration. Skipping any component undermines the entire system’s effectiveness.
Step By Step Guide To Building A Root Cellar From The Ground Up
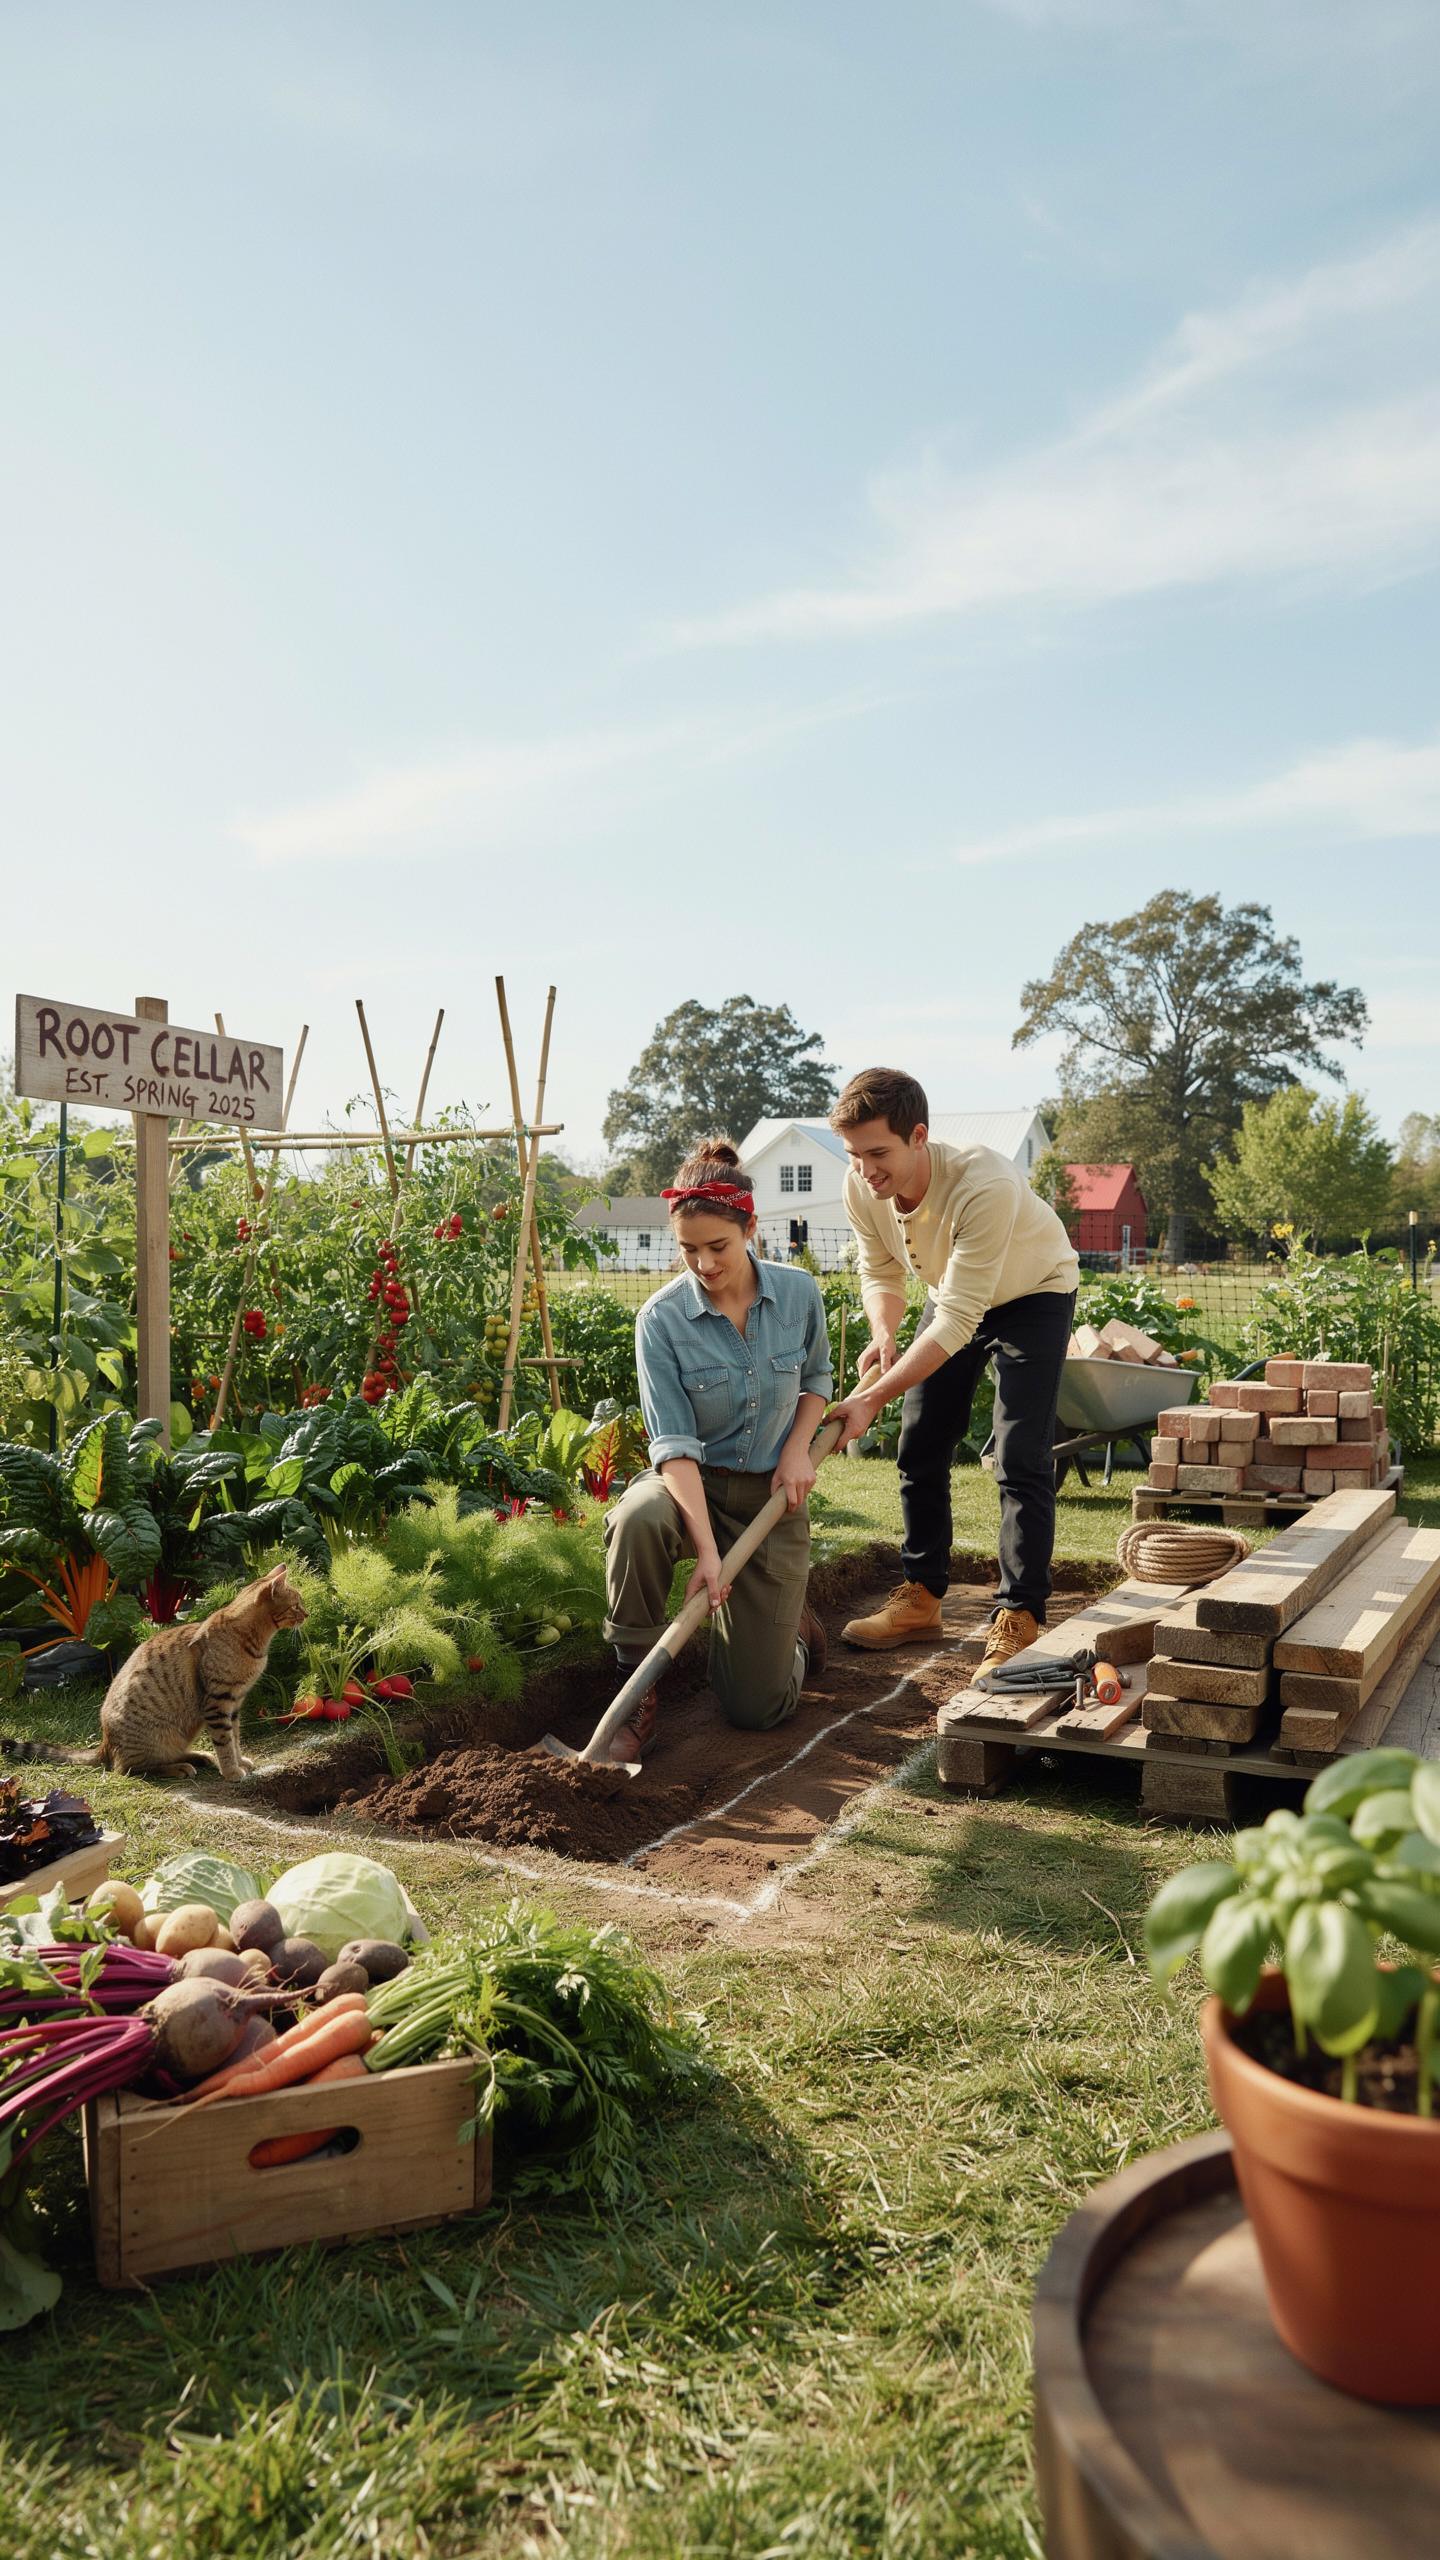
Excavating And Framing The Space
Dig below the frost line in your region, typically 5 to 8 feet deep. At this depth, earth temperature stays constant year-round, usually between 50 and 60 degrees Fahrenheit. This thermal stability eliminates temperature swings that damage stored produce. Shallow cellars fail because ground freezes above them in winter and heats up in summer.
Build walls using materials that resist rot and support soil weight. Poured concrete works best for longevity and structural strength. Stone or concrete block are viable alternatives. Timber framing requires pressure-treated wood or naturally rot-resistant species like cedar, but eventually deteriorates. Reinforce walls adequately because wet soil exerts constant pressure against them.
Installing Passive Ventilation And Drainage
Root cellars need two ventilation pipes positioned strategically. Run the cold air intake pipe near the floor, extending outside where it draws in cooler external air. Run the warm air exhaust pipe near the ceiling to release warmer internal air. This setup creates natural convection without fans or electricity.

Drainage prevents water pooling on your cellar floor. Install perforated drainage pipe around the exterior foundation, sloped away from the structure. Direct water toward a sump pit or daylight drain if your property slopes. Wet cellars breed mold, rot produce, and create unsafe conditions. Proper drainage keeps the space dry and extends the life of your storage investment.
Innovative Root Cellar Ideas Basement Conversions For Cozy Homes
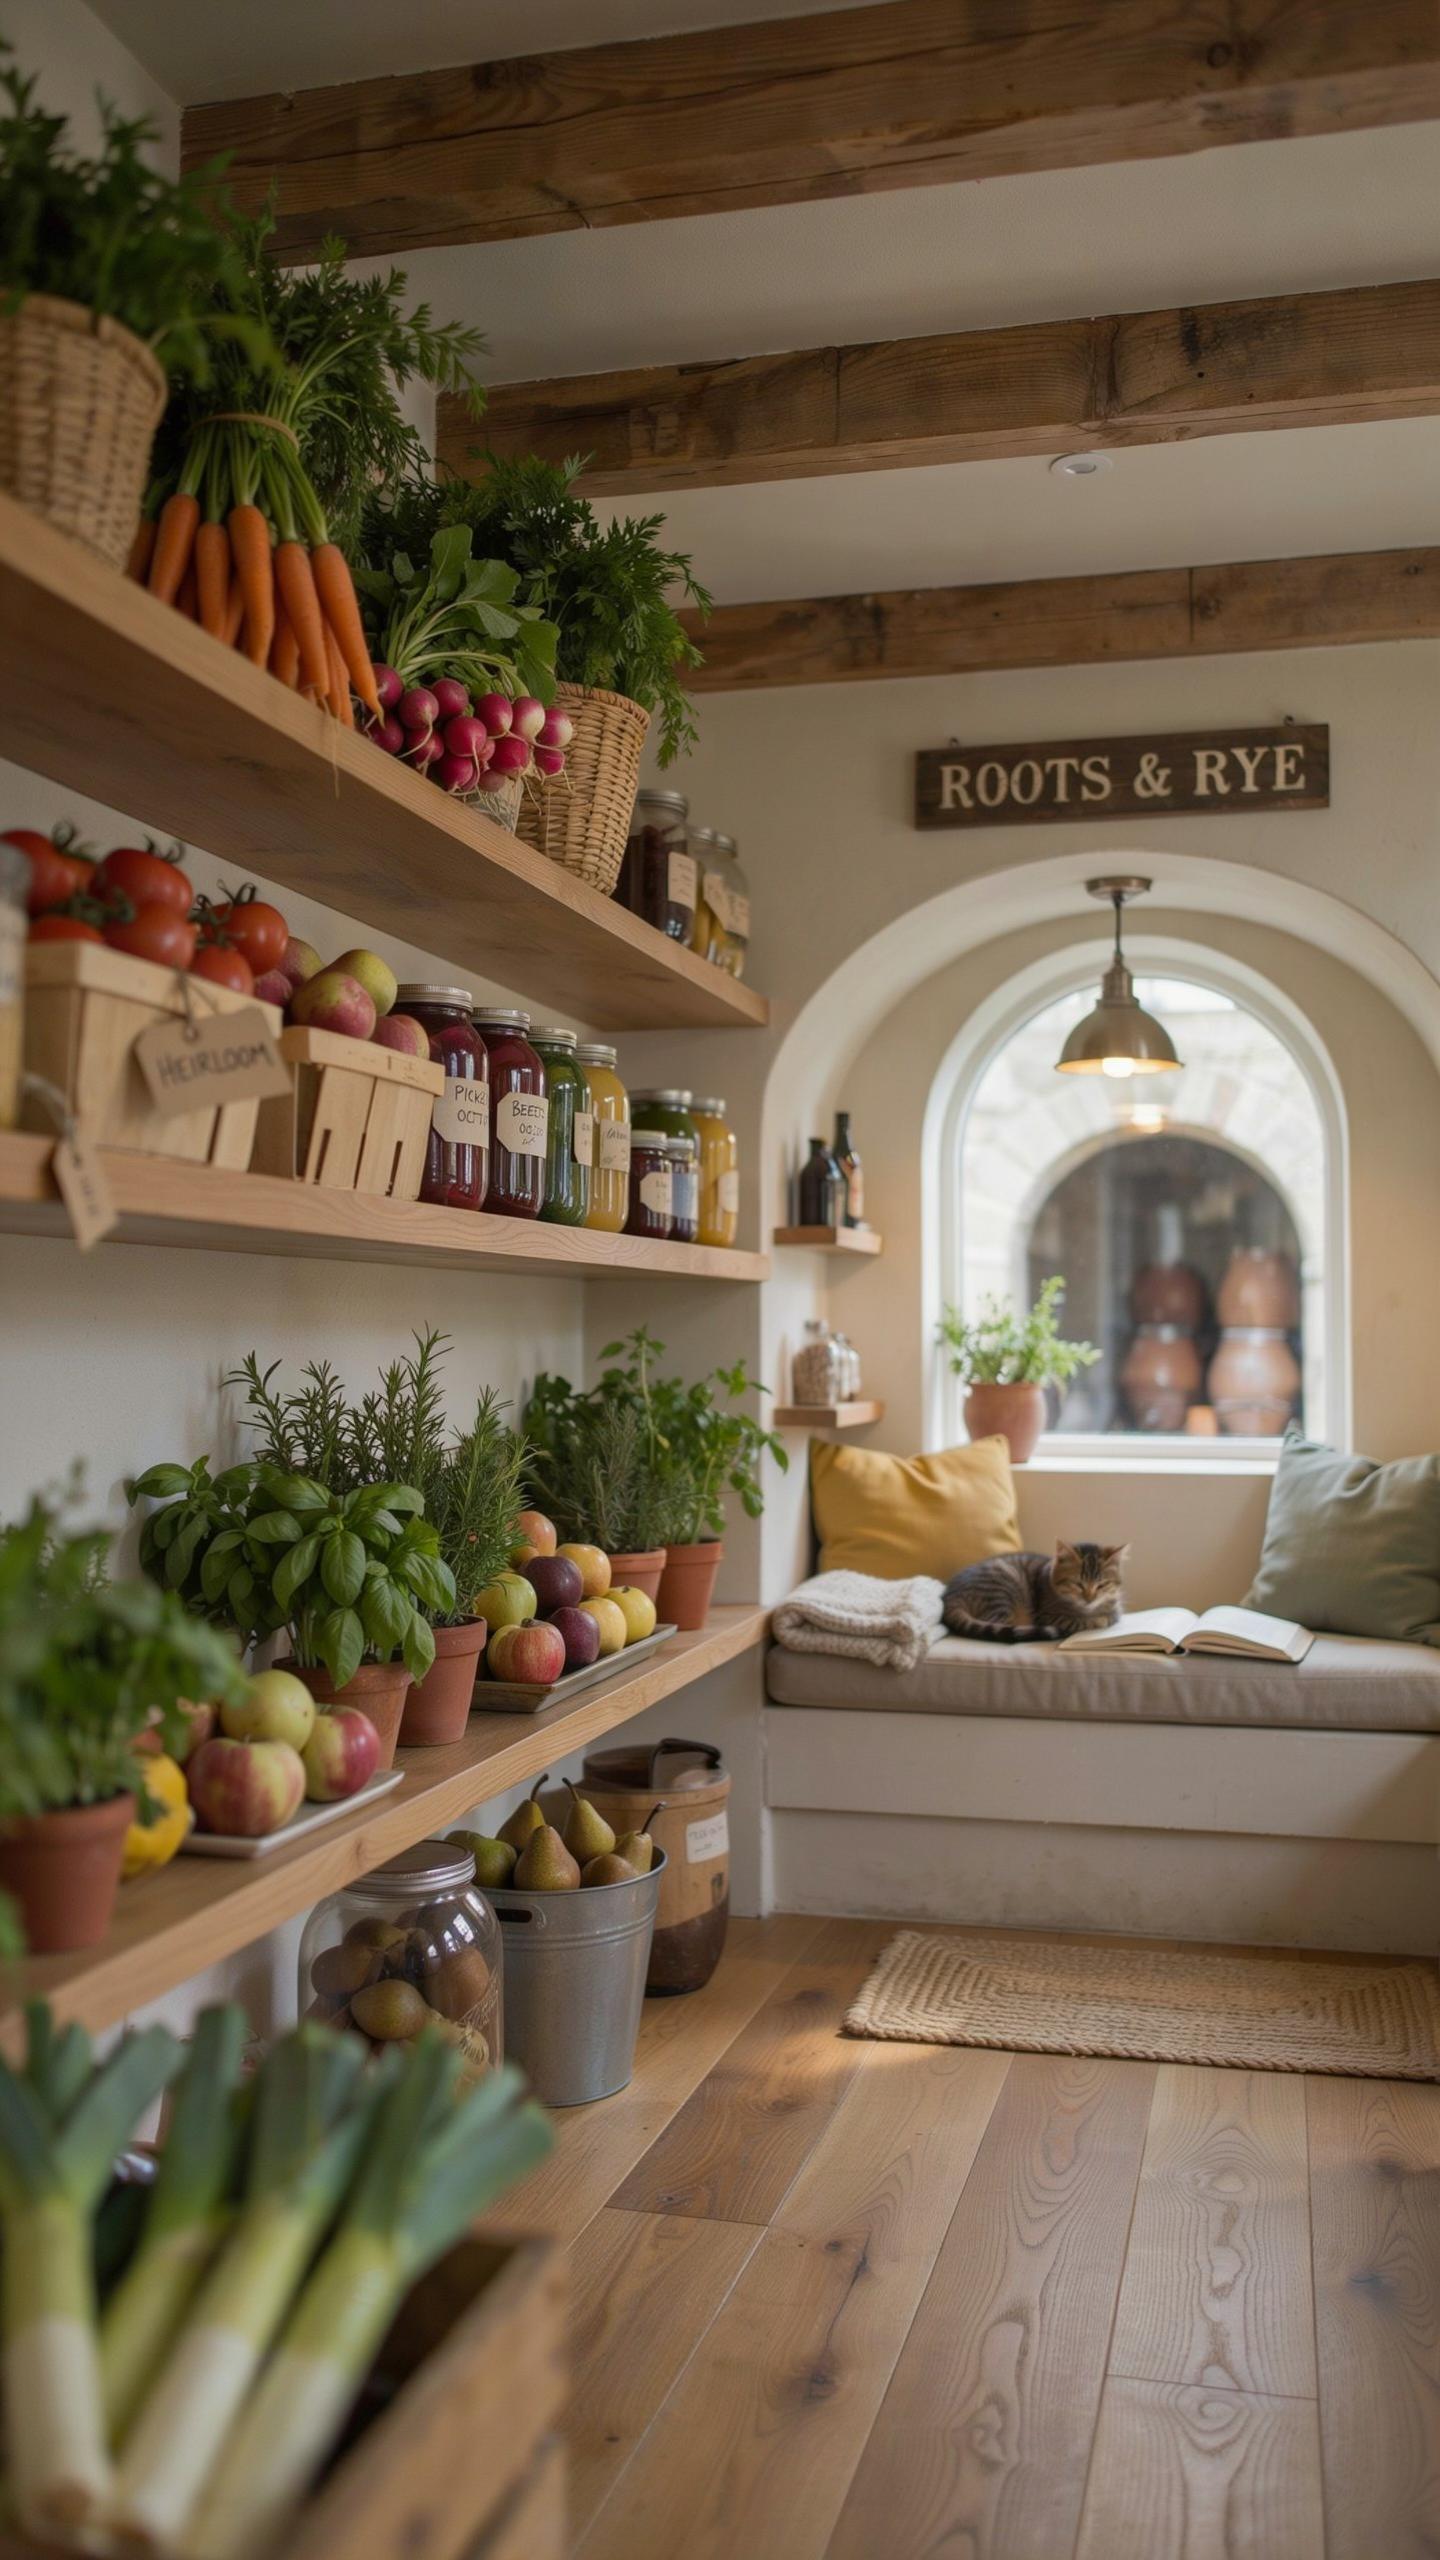
Converting An Existing Basement Corner
An unheated basement provides the foundation for a functional root cellar. Partition off a northeast or northwest corner to maximize cold retention. These orientations receive minimal direct sunlight, keeping temperatures naturally lower. Insulate interior walls with rigid foam or fiberglass batts to stop warm household air from entering the storage zone. This thermal barrier maintains consistent cold without relying on mechanical cooling.
The corner approach uses existing structure efficiently. You avoid building entirely new spaces while creating dedicated storage that stays isolated from your home’s heated areas. Concrete block walls require vapor barriers to prevent moisture migration. Seal all penetrations where utilities pass through. This method costs less than ground-level construction and works in most existing homes.
Managing Airflow And Temperature Indoors
Basement root cellars need exterior vents to pull cold outside air during winter months. Install vents on opposite walls to create cross ventilation and prevent dead zones. Size vents for 4 to 6 air changes per hour depending on your climate. Position lower vents to intake cold air and upper vents to exhaust warmer air. Check vent sizing against local building codes before installation.

Seal the access door with heavy-duty weather stripping to maintain thermal separation. Use perimeter stripping on all four sides to prevent air leakage. Install a door sweep on the bottom edge. This isolation keeps cold room temperatures between 32 and 40 degrees Fahrenheit while your home stays warm. Caulk any gaps around door frames and insulate the door itself with rigid foam facing.
Creative And Practical Root Cellar Ideas For Diverse Landscapes
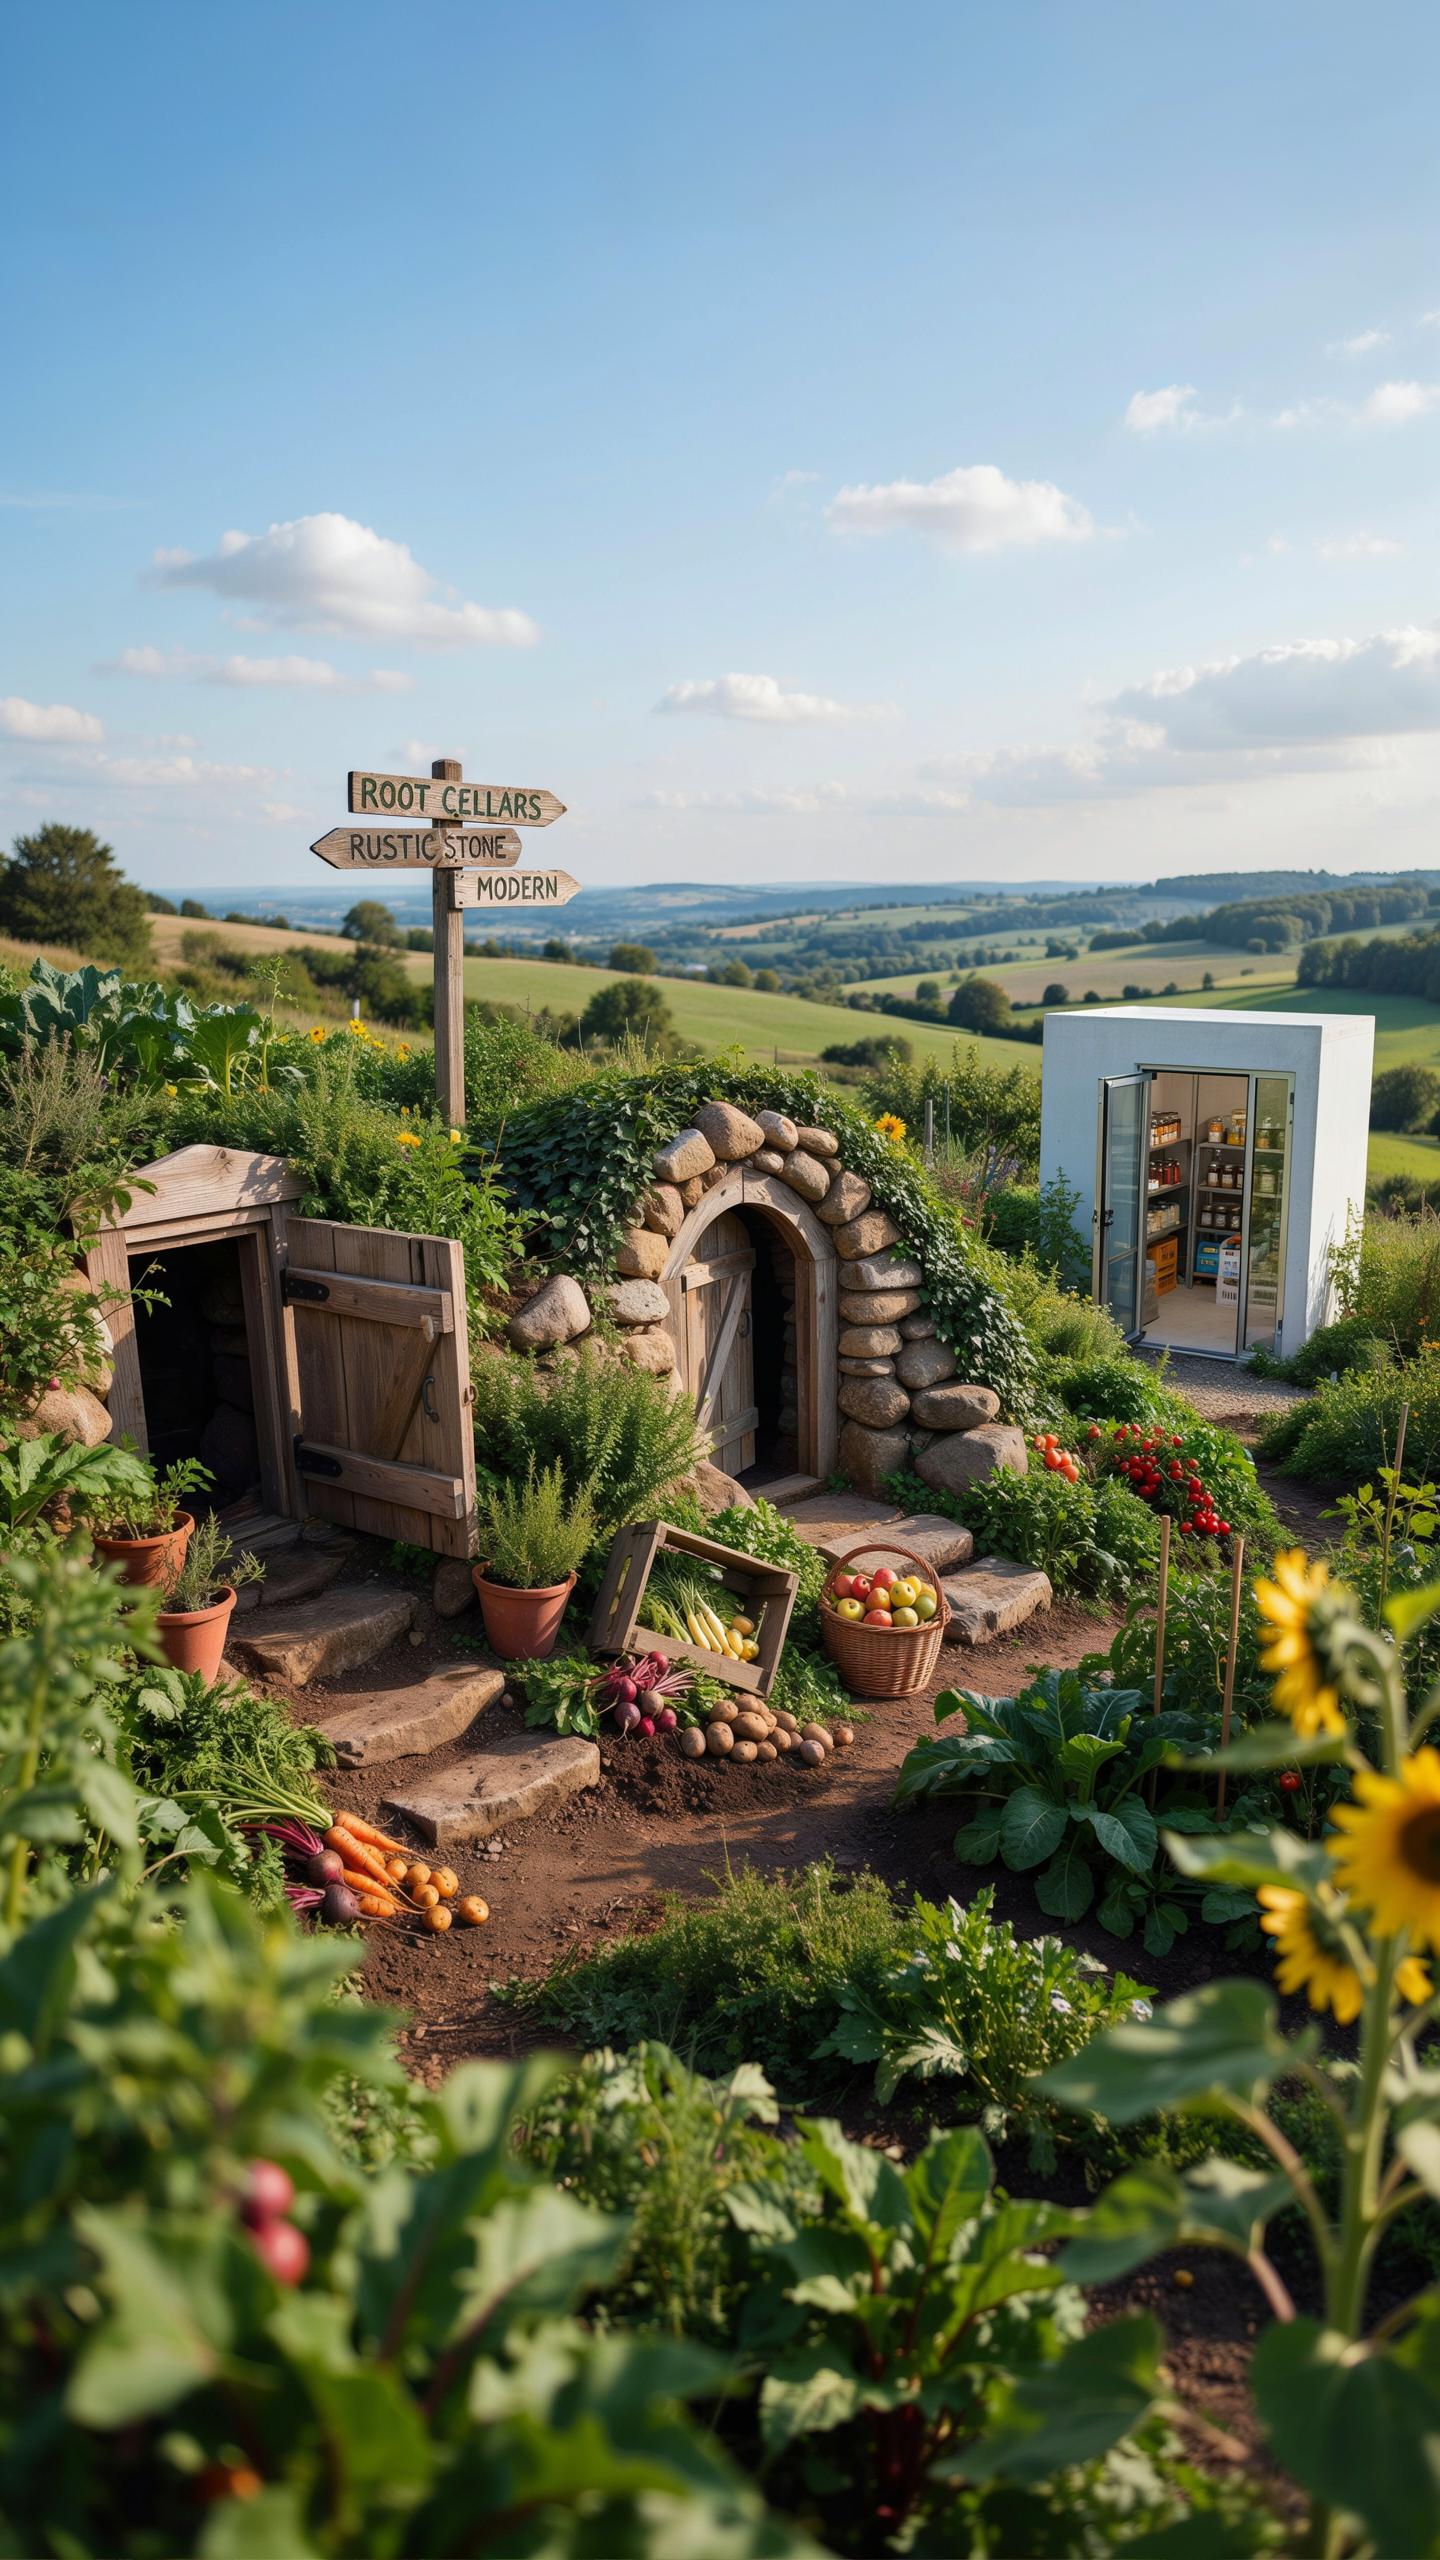
The Backyard Mound And Earth Bermed Chambers
High water tables eliminate traditional underground root cellars. Earth-bermed structures solve this problem by building above ground and covering the vault with several feet of soil. This approach maintains the temperature stability of buried storage without excavation below the water line. Concrete or stone vaults form the structural core, while the soil blanket insulates year-round.
The soil covering acts as a thermal buffer, keeping interior temperatures stable between 45 and 55 degrees Fahrenheit. Earth-bermed designs work across climate zones because soil depth and placement determine insulation value. This method requires proper drainage around the structure to prevent water pooling against the walls. Homesteaders use this technique successfully in areas where digging deep proves impossible or impractical.
Repurposing Shipping Containers And Vaults
Standard shipping containers bury poorly without heavy reinforcement because they collapse under soil weight. Pre-cast concrete septic tanks and storm shelters offer superior durability as ready-made underground chambers. These structures resist crushing, maintain structural integrity underground, and require minimal modification for food storage. They arrive complete, eliminating months of construction time.

Installing a pre-cast vault costs less than hand-digging and pouring concrete underground. These tanks feature sealed construction designed to withstand soil pressure and moisture exposure. Access points and ventilation need modification to suit root cellar requirements. Homesteaders position them below the frost line and backfill with soil to achieve proper temperature control for root vegetables and preserved goods.
An Easy To Build Root Cellar Option For Novice Homesteaders
The Trash Can Root Cellar Method
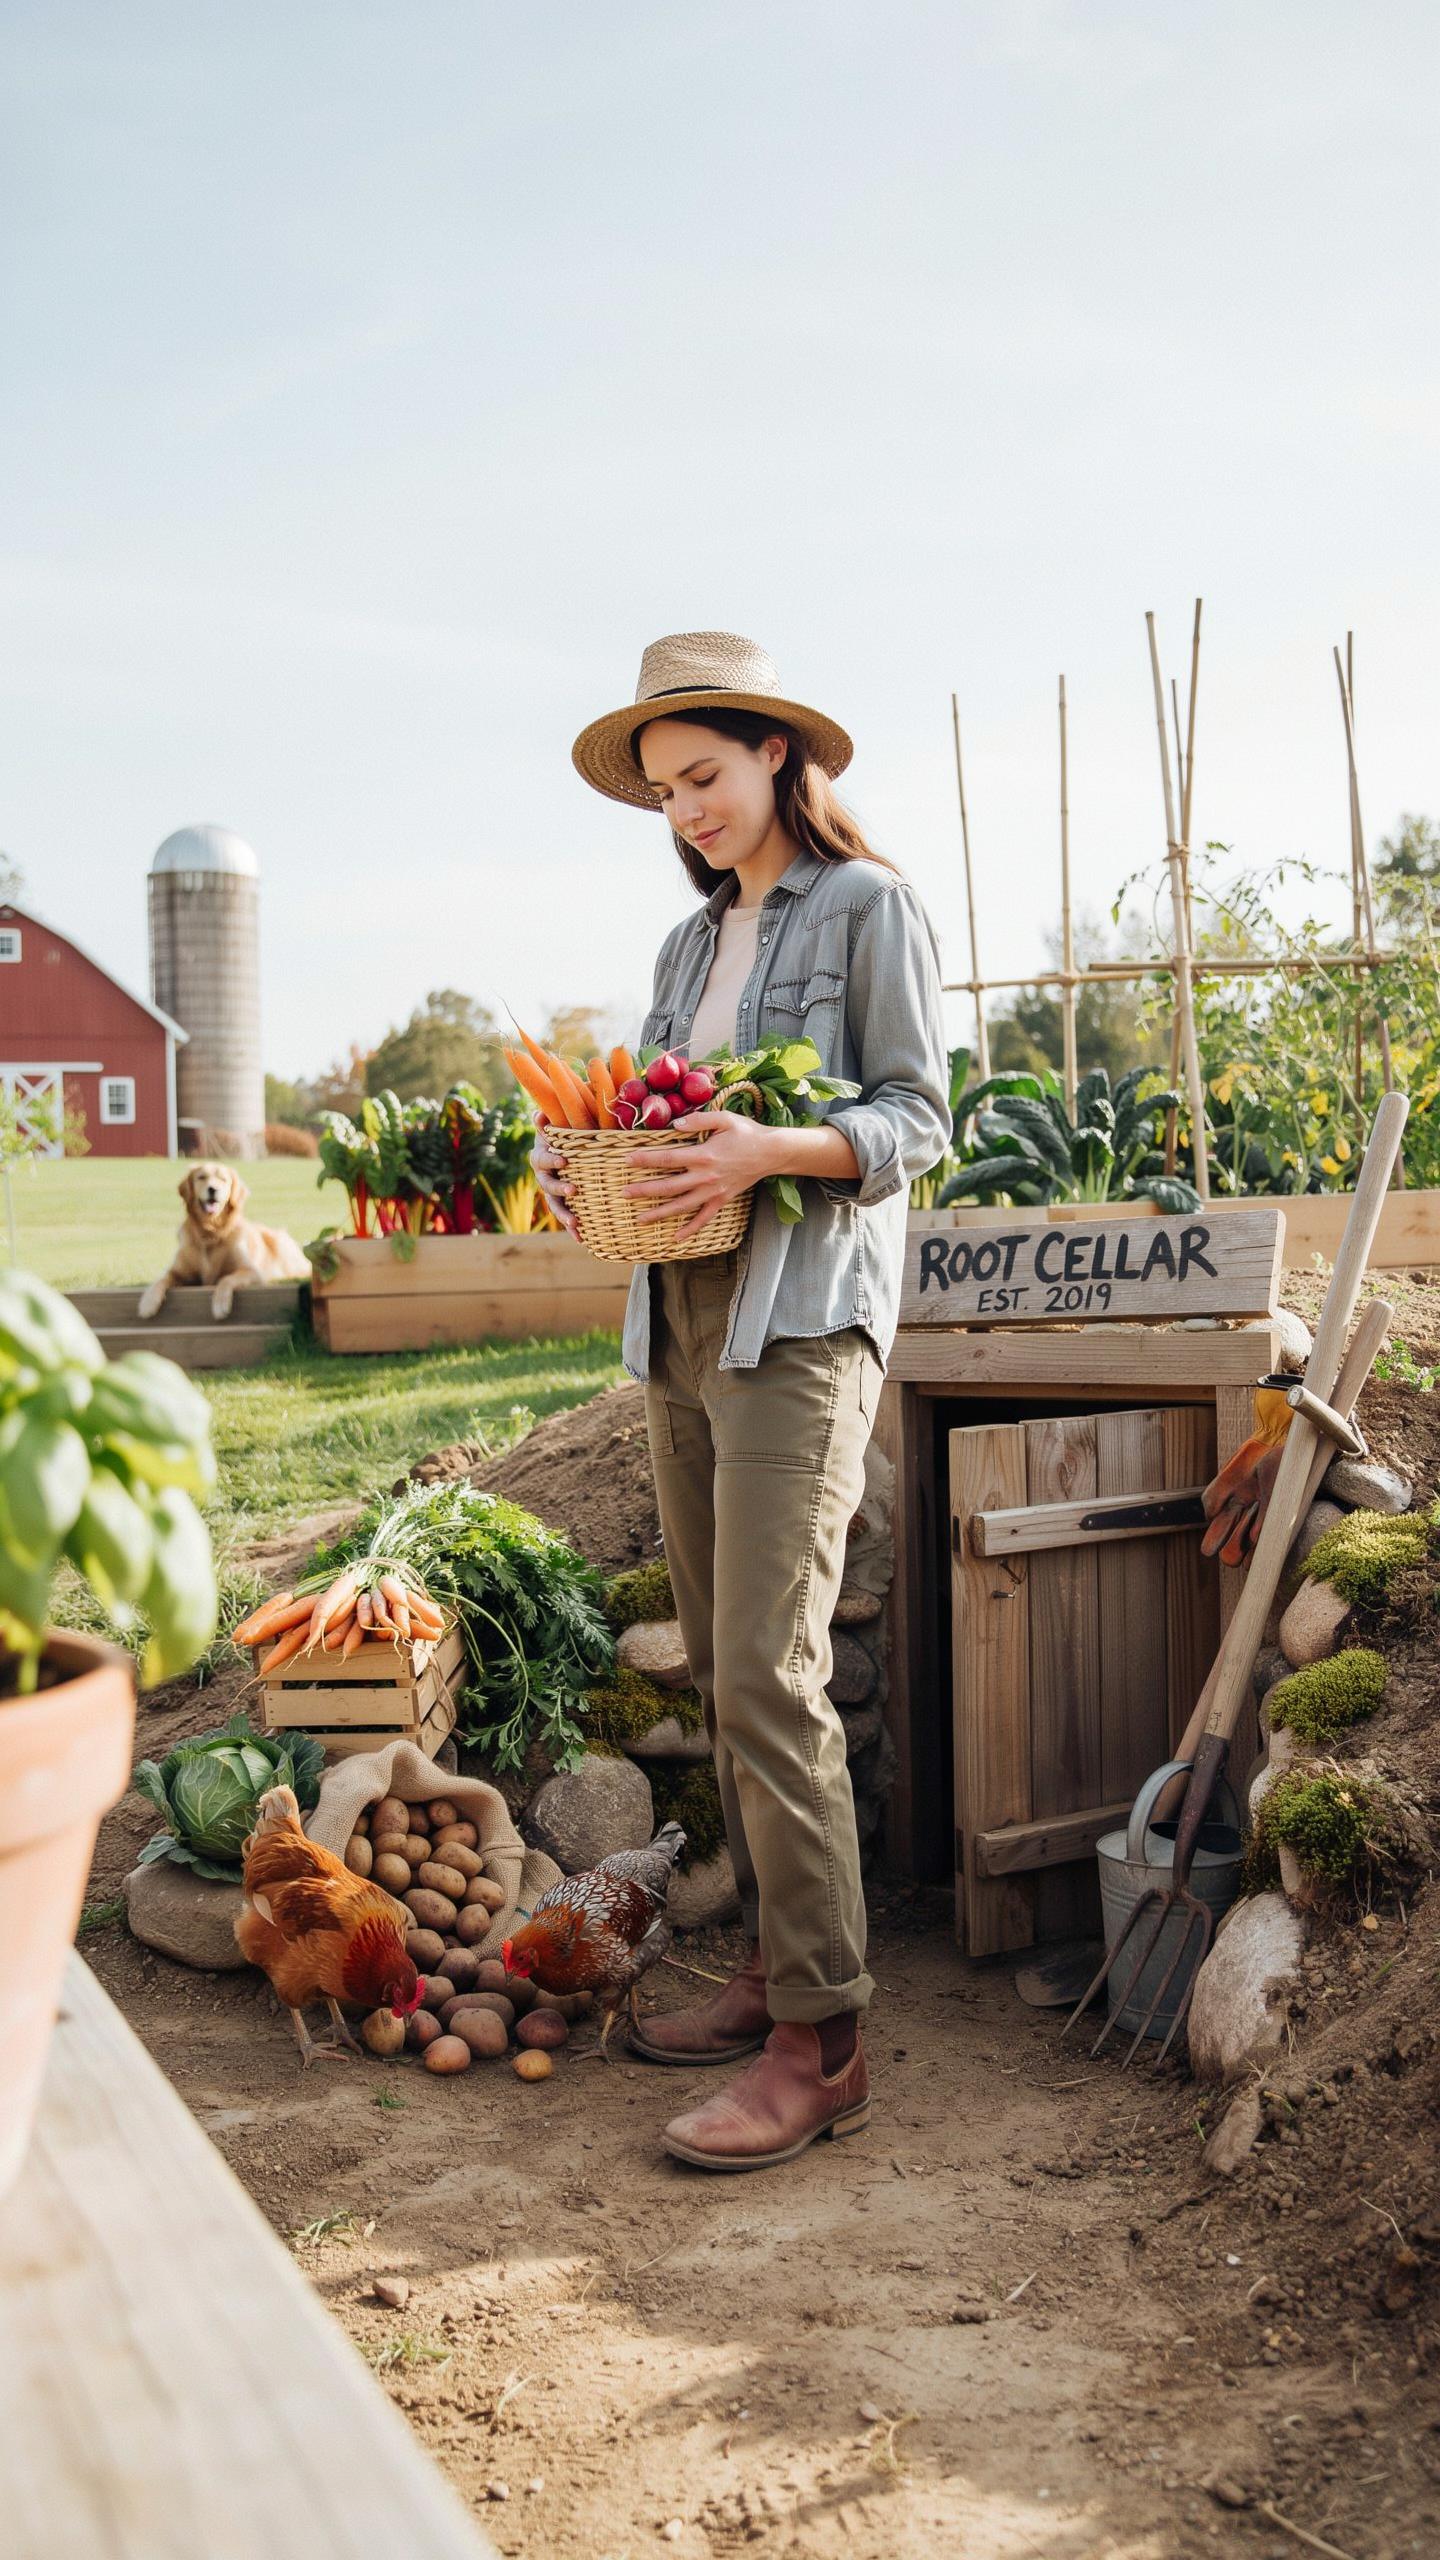
A buried trash can becomes functional storage for root vegetables with minimal effort and cost. Use a food-grade metal or heavy-duty plastic can with a tight-fitting lid. Drill quarter-inch holes in the bottom for drainage. This prevents water pooling that rots crops. Bury the can two-thirds deep in well-draining soil. Access remains simple for seasonal harvesting.
- Drainage holes: Drill 4 to 6 quarter-inch holes in the bottom to prevent standing water and fungal rot in stored vegetables.
- Straw layering: Pack root vegetables between straw layers to provide insulation and reduce direct contact between items that could promote decay.
- Secure lid placement: Use a heavy flat stone or concrete block on top of the lid to keep it sealed against weather and pest intrusion.
- Location selection: Position the can in a spot with shade and drainage away from downslope runoff to maintain consistent temperature.
- Soil depth: Bury at least two-thirds of the can below grade to leverage ground insulation for winter temperature stability.
- Vegetable types: Store potatoes, carrots, beets, parsnips, and turnips. Avoid items needing high humidity like leafy greens.
This method works because ground temperature stays near 32 to 40 degrees Fahrenheit in most climates once you go 3 to 4 feet down. The trash can acts as a containment vessel. Straw insulates against temperature swings. The setup takes two hours and costs under 50 dollars. Beginners see results in their first season.
Maintaining A Simple Below Grade Pit
Dig a trench cellar directly in garden soil to store hardy crops through winter without building permanent structures. Depth matters. Go down 2 to 3 feet minimum in areas with moderate frost. Cover crops include potatoes, parsnips, carrots, and rutabagas. These tolerate freezing soil better than other vegetables. The ground itself becomes your cooler.

Thick covering layers stop temperature fluctuation and moisture loss. Start with 6 to 12 inches of straw or leaves. Add 4 to 6 inches of wood chips for weight and insulation. Top this with a waterproof tarp secured at edges with soil or stones. This stops rain and snow from reaching stored crops. Check the tarp monthly for damage during winter months.
Transforming Small Utility Areas Into Functional Food Storage Rooms
Optimizing Airflow And Moisture Controls
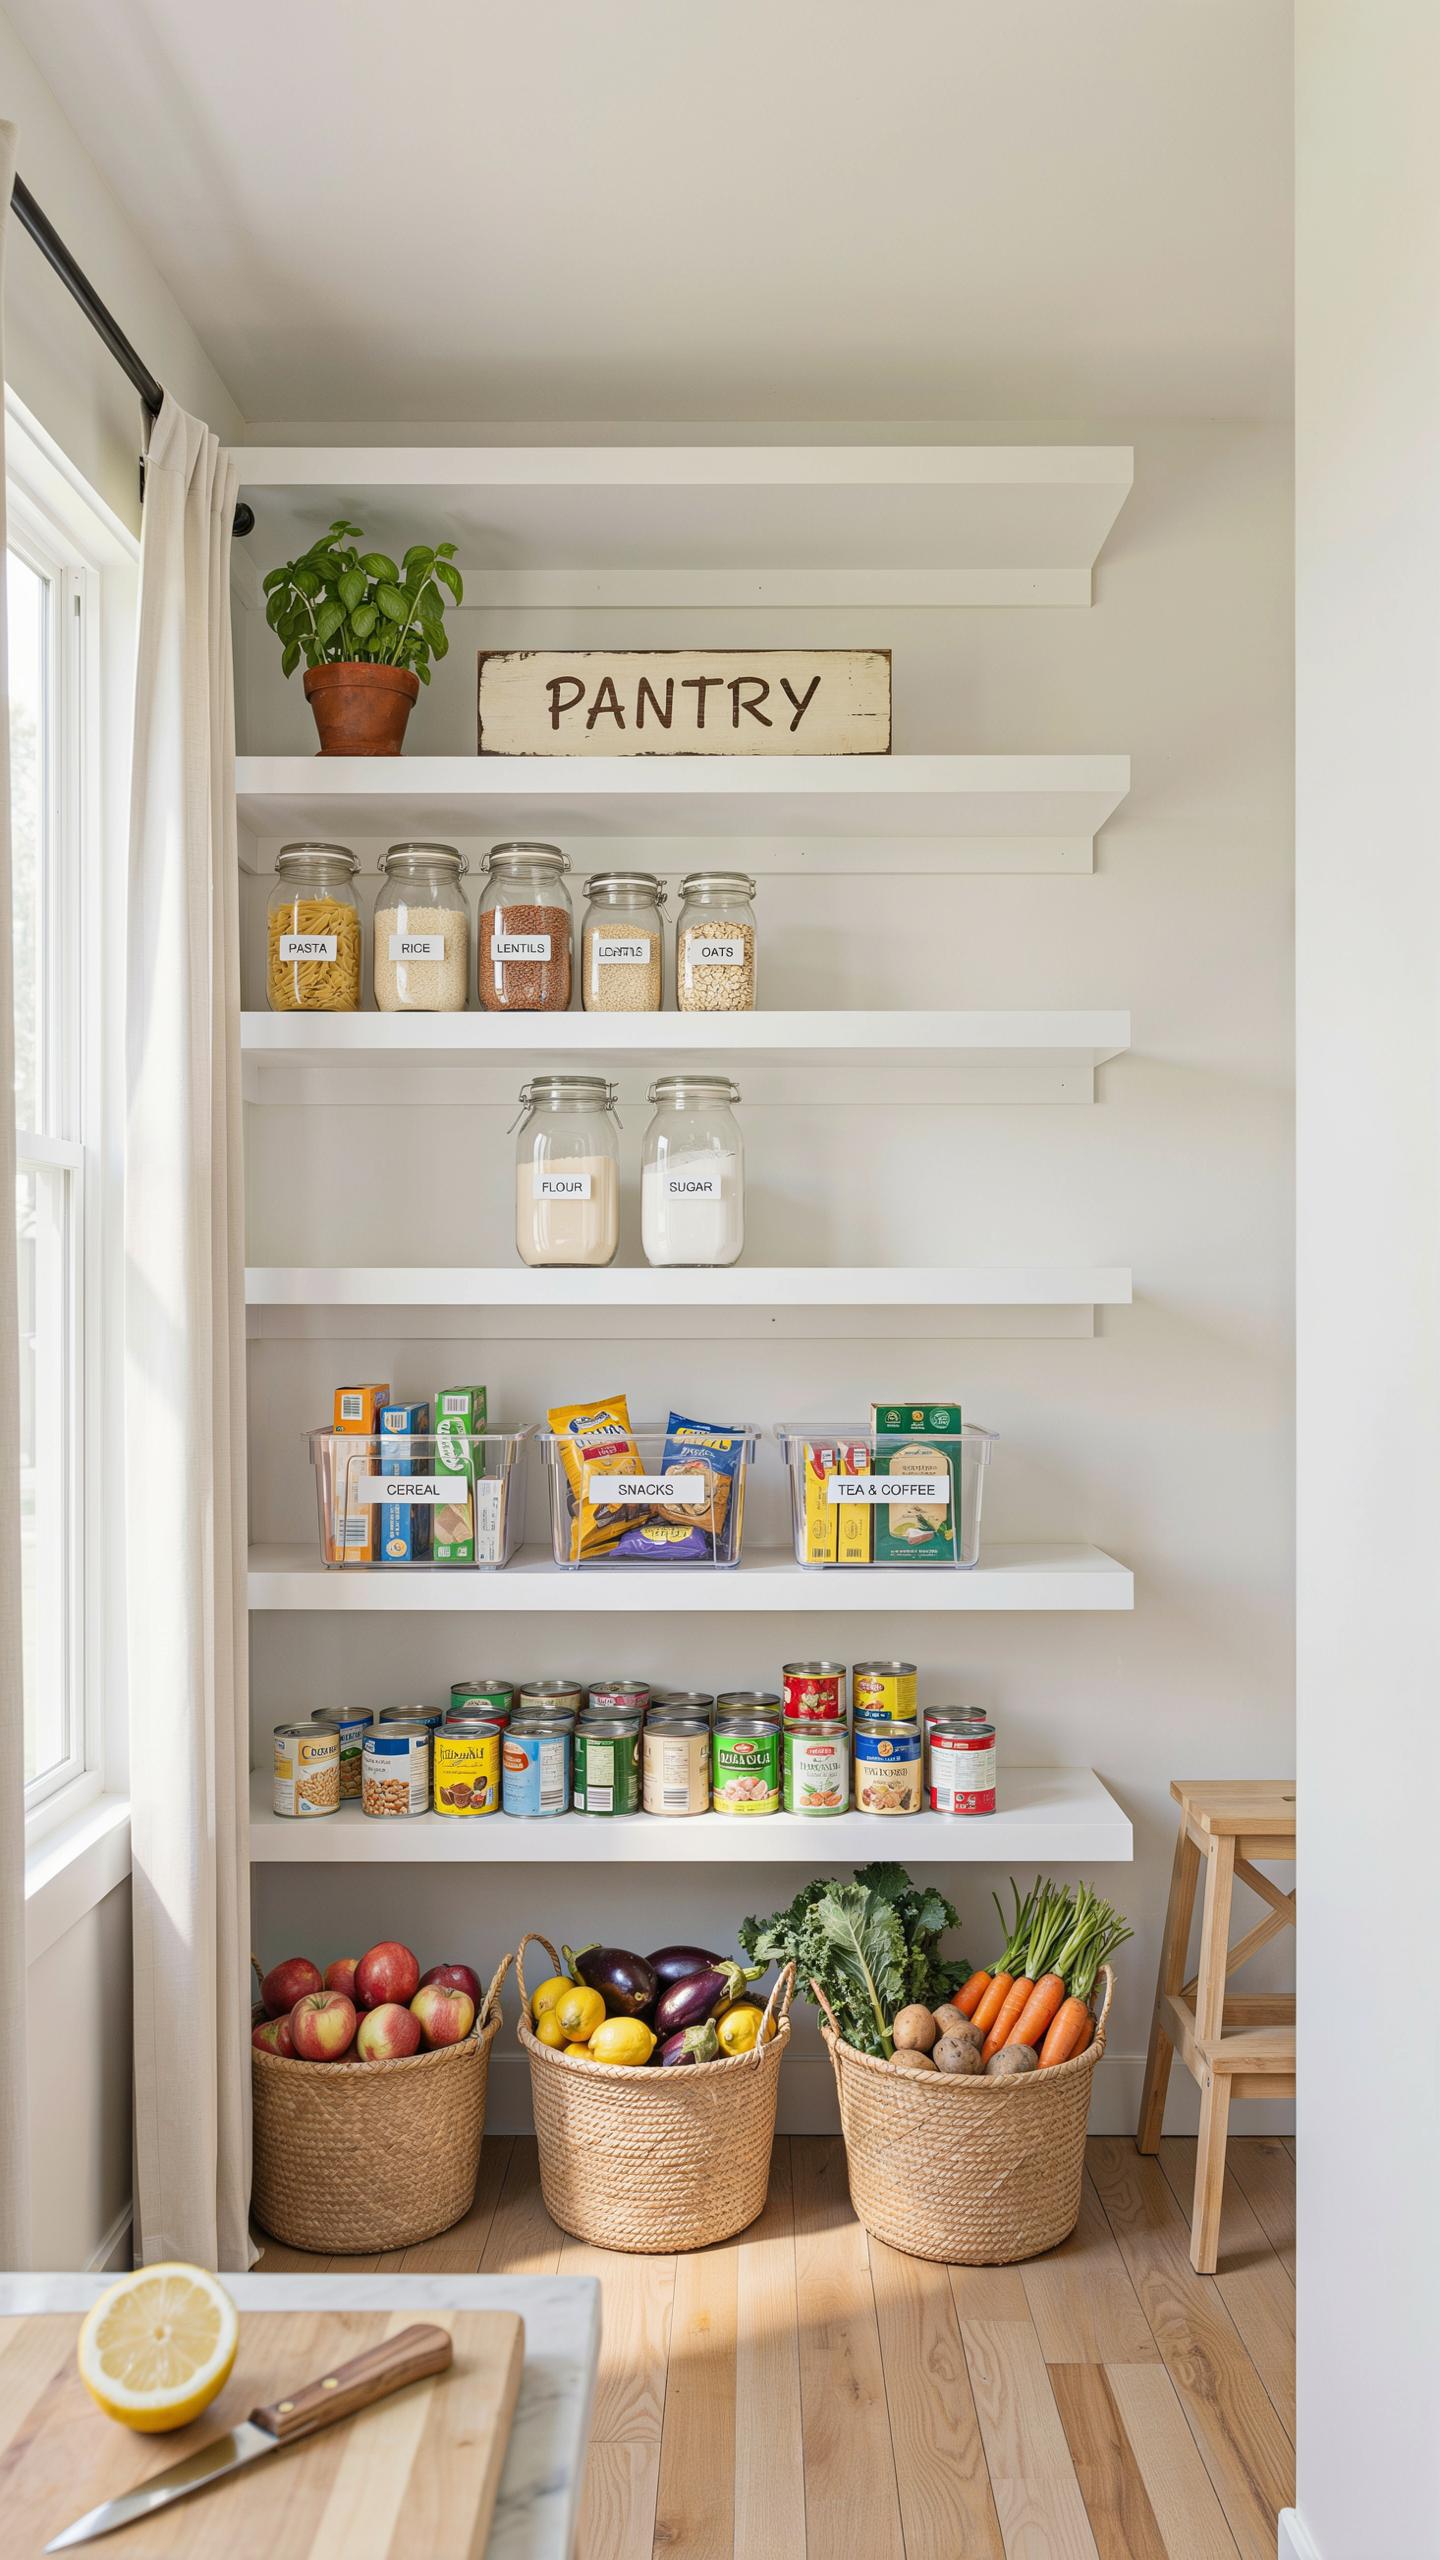
Humidity control determines whether your stored crops survive or rot. Target a humidity range between 80 and 95 percent. This range prevents produce from drying out while stopping mold growth. A gravel floor helps regulate moisture naturally. Splash water on the gravel periodically to maintain humidity levels without installing expensive equipment.
Ventilation works alongside humidity to keep air moving through the storage space. Stagnant air creates cold spots where moisture accumulates and mold thrives. Install vents on opposite walls to establish cross ventilation. Position fans low to circulate cool air around stored produce. Monitor temperature and humidity with inexpensive digital gauges placed at different heights.
Shelving Configurations And Wood Selection
Cedar and hemlock resist rot better than pine or softwoods when exposed to moisture. Build slatted shelves instead of solid ones to let air flow freely around stored items. Space slats one inch apart minimum to prevent moisture from pooling on shelf surfaces. Elevate all shelving at least six inches off the floor to block pests and ground moisture.

Bins and containers on slatted shelves keep produce organized and off direct contact with wood. Use containers with ventilation holes or open sides rather than sealed plastic boxes. Arrange shelves to maximize airflow from vents and fans. Leave gaps between bins so cool air reaches every section of stored food.
Best Practices For Managing A Building Root Cellar Inventory
Understanding Ethylene Gas And Crop Separation
Ethylene gas is a plant hormone that ripening fruits release naturally. Apples, pears, and avocados produce high levels and speed decay in nearby vegetables. This gas damages leafy greens, carrots, and potatoes by triggering premature aging. Separation prevents total crop loss from a single ethylene source.
Store ethylene producers away from sensitive crops using physical distance or barriers. Place apples and pears on upper shelves or near exhaust vents where gas disperses quickly. Root vegetables and greens belong on lower shelves in sealed containers when possible. This layout protects your entire inventory from concentrated ethylene exposure.
Sorting And Inspecting Stored Staples
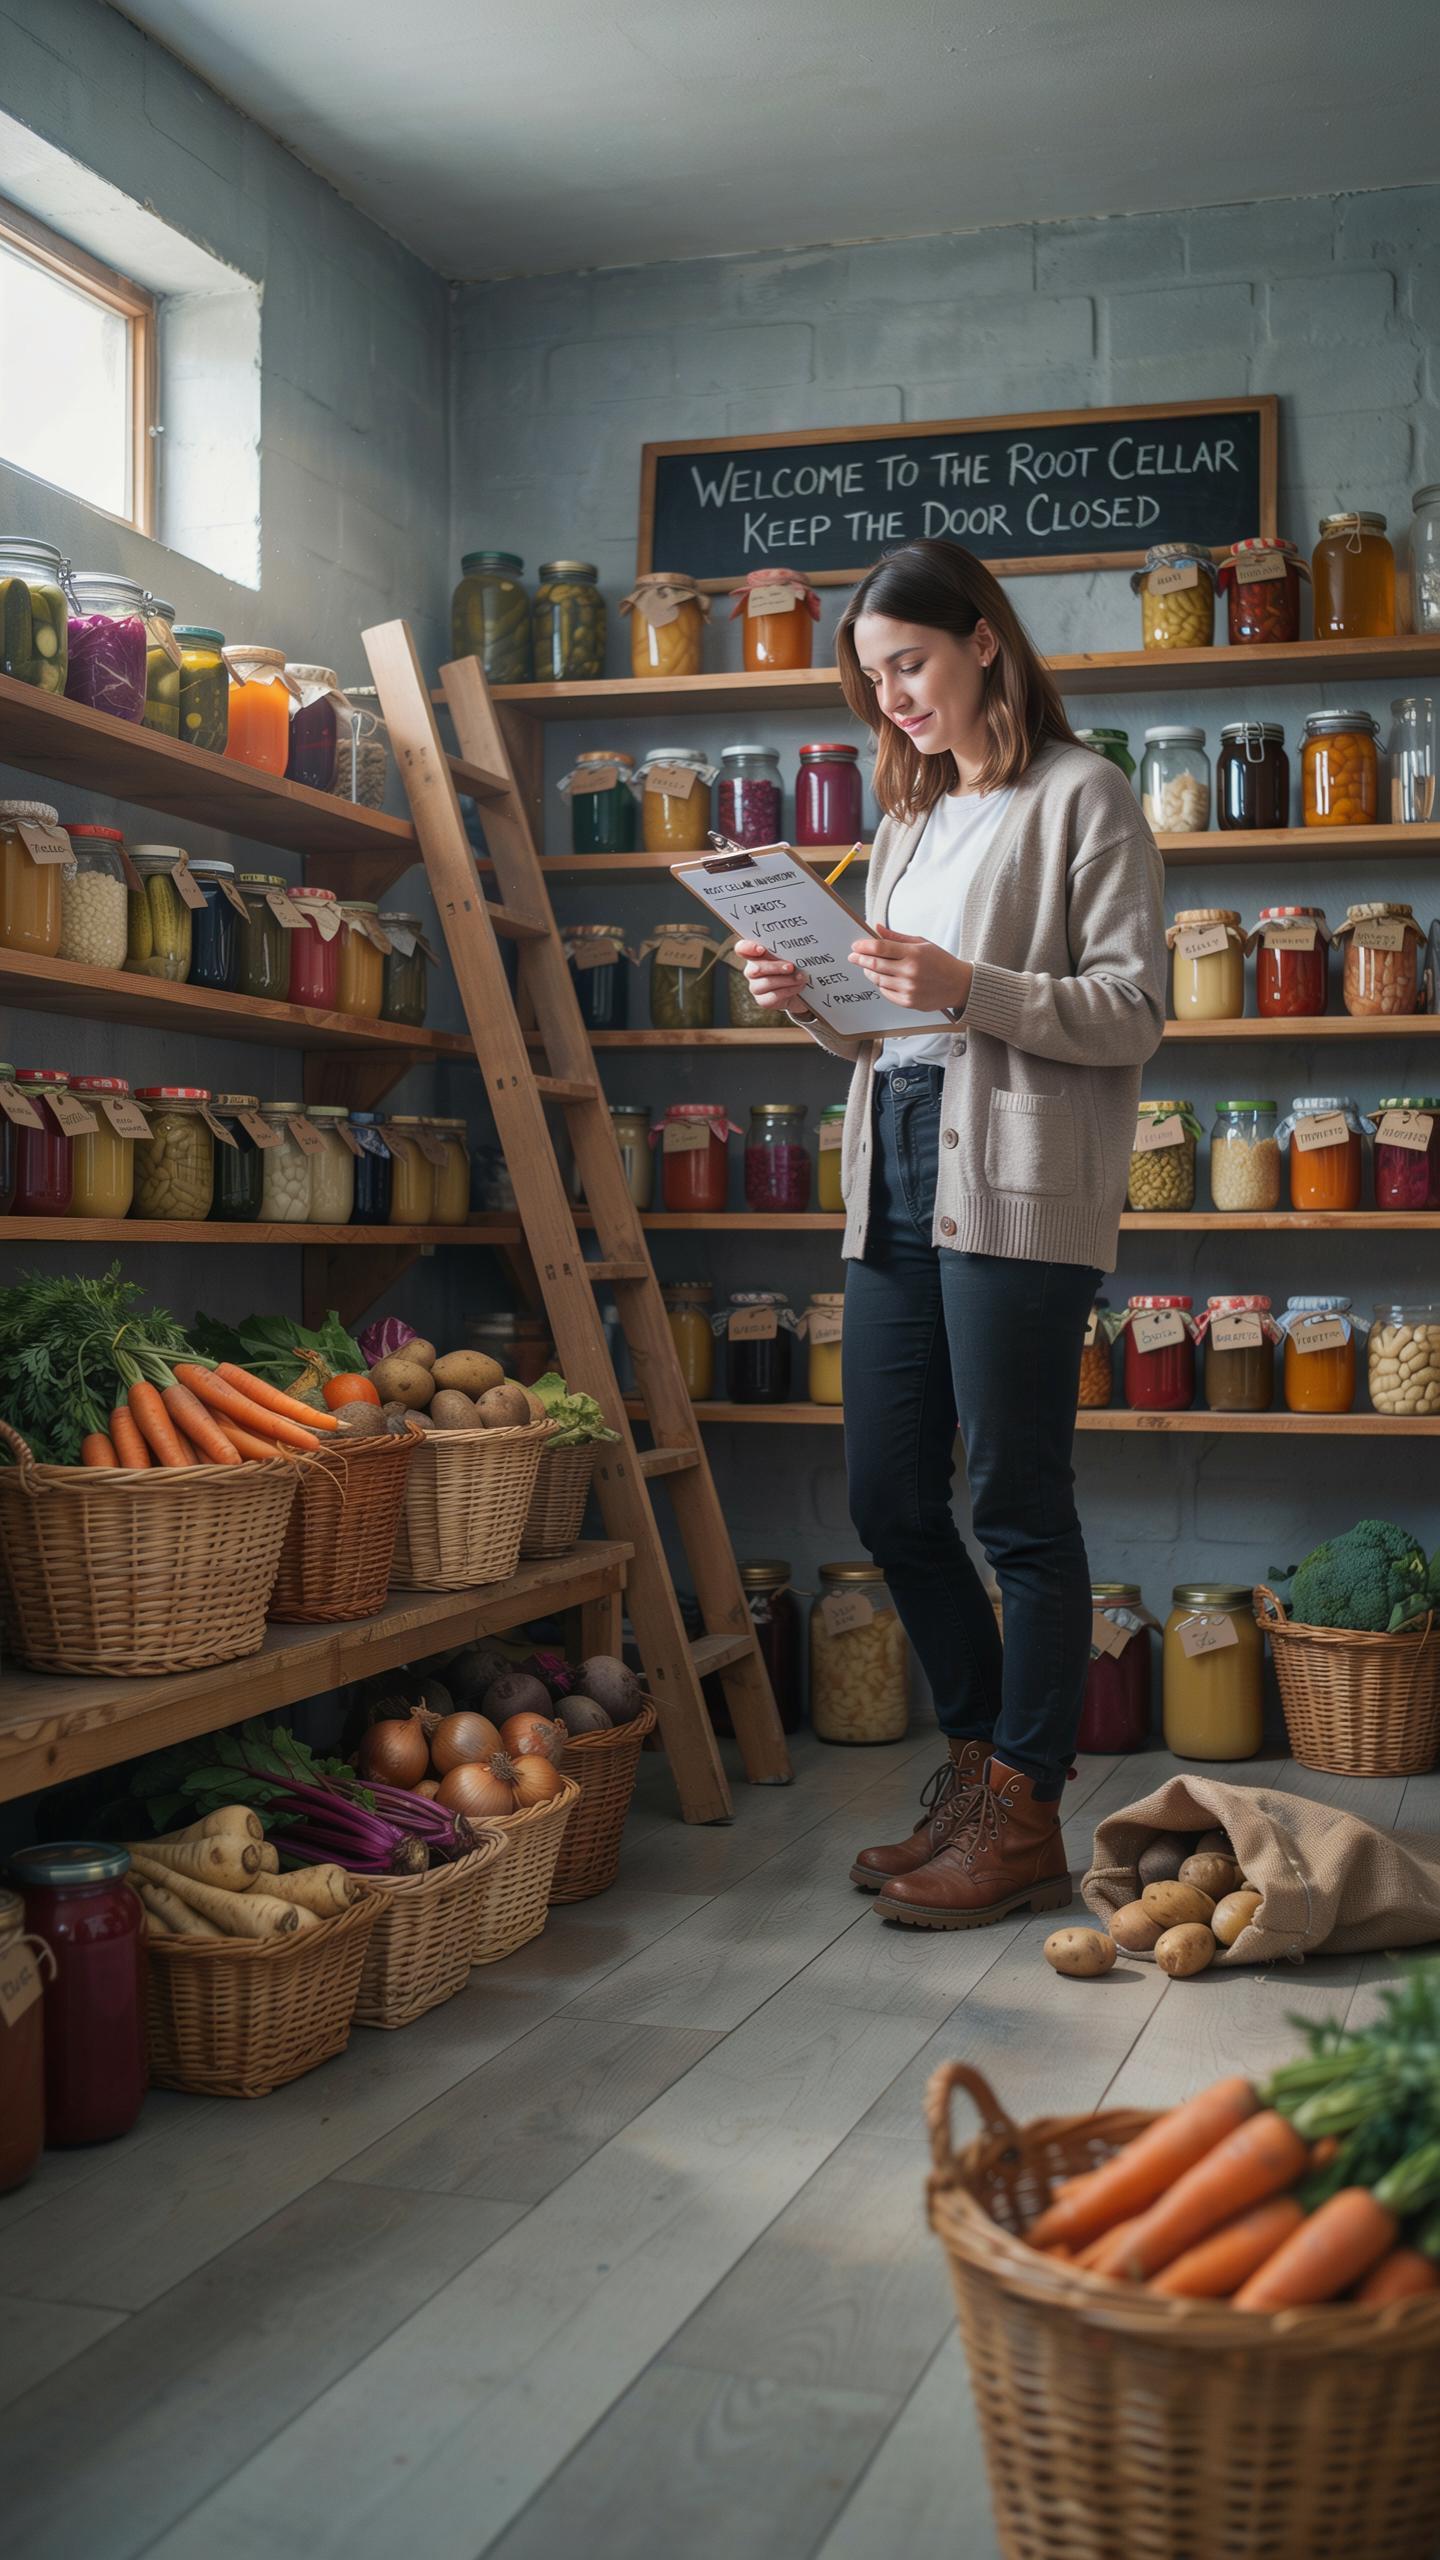
Only store produce with no bruises, cuts, or soft spots. Blemished items rot faster and contaminate surrounding crops. Brush soil off gently instead of washing, as moisture promotes mold growth. Cure onions and potatoes in a warm, dry space for two weeks before storage to harden their skins.

Inspect your root cellar weekly and remove any decaying produce immediately. One rotting item spreads disease to neighbors quickly in enclosed spaces. Keep detailed notes of what you stored and when to track rotation patterns. Replace spoiled items in your inventory records to maintain accurate stock counts.
Frequently Asked Questions

What is a root cellar and why is it essential for sustainable living?
A root cellar is a traditional underground storage space that uses the earth’s natural temperature and humidity to preserve food without electricity. It is a cornerstone of homestead self sufficiency root cellar design because it allows you to store a year’s worth of harvests. Beyond utility, it adds a rustic charm to your property, fostering a deeper connection to the land and a cozy, prepared feeling for the winter months.
How do I maintain the right environment for storing vegetables long-term?
Successful storage relies on regulating temperature, humidity, and ventilation. Ideally, you want to keep the space between 32°F and 40°F with high humidity. Using adjustable vents helps circulate fresh air while removing ethylene gas produced by ripening fruits. Properly managing these elements ensures your homestead self sufficiency root cellar keeps your potatoes, carrots, and apples crisp and nutrient-dense for your family to enjoy throughout the coldest seasons.
Can I build a functional root cellar if I have a limited budget?
Absolutely! You don’t need an expensive concrete bunker to start preserving your harvest. Many beginners use affordable alternatives like a buried galvanized trash can or a repurposed chest freezer sunk into the ground. These “mini-cellars” work on the same geothermal principles as larger structures. By focusing on site drainage and insulation, you can achieve impressive food security and a charming homestead aesthetic without breaking the bank.



