
Embracing The Off Grid Homesteading Composting Toilet Lifestyle
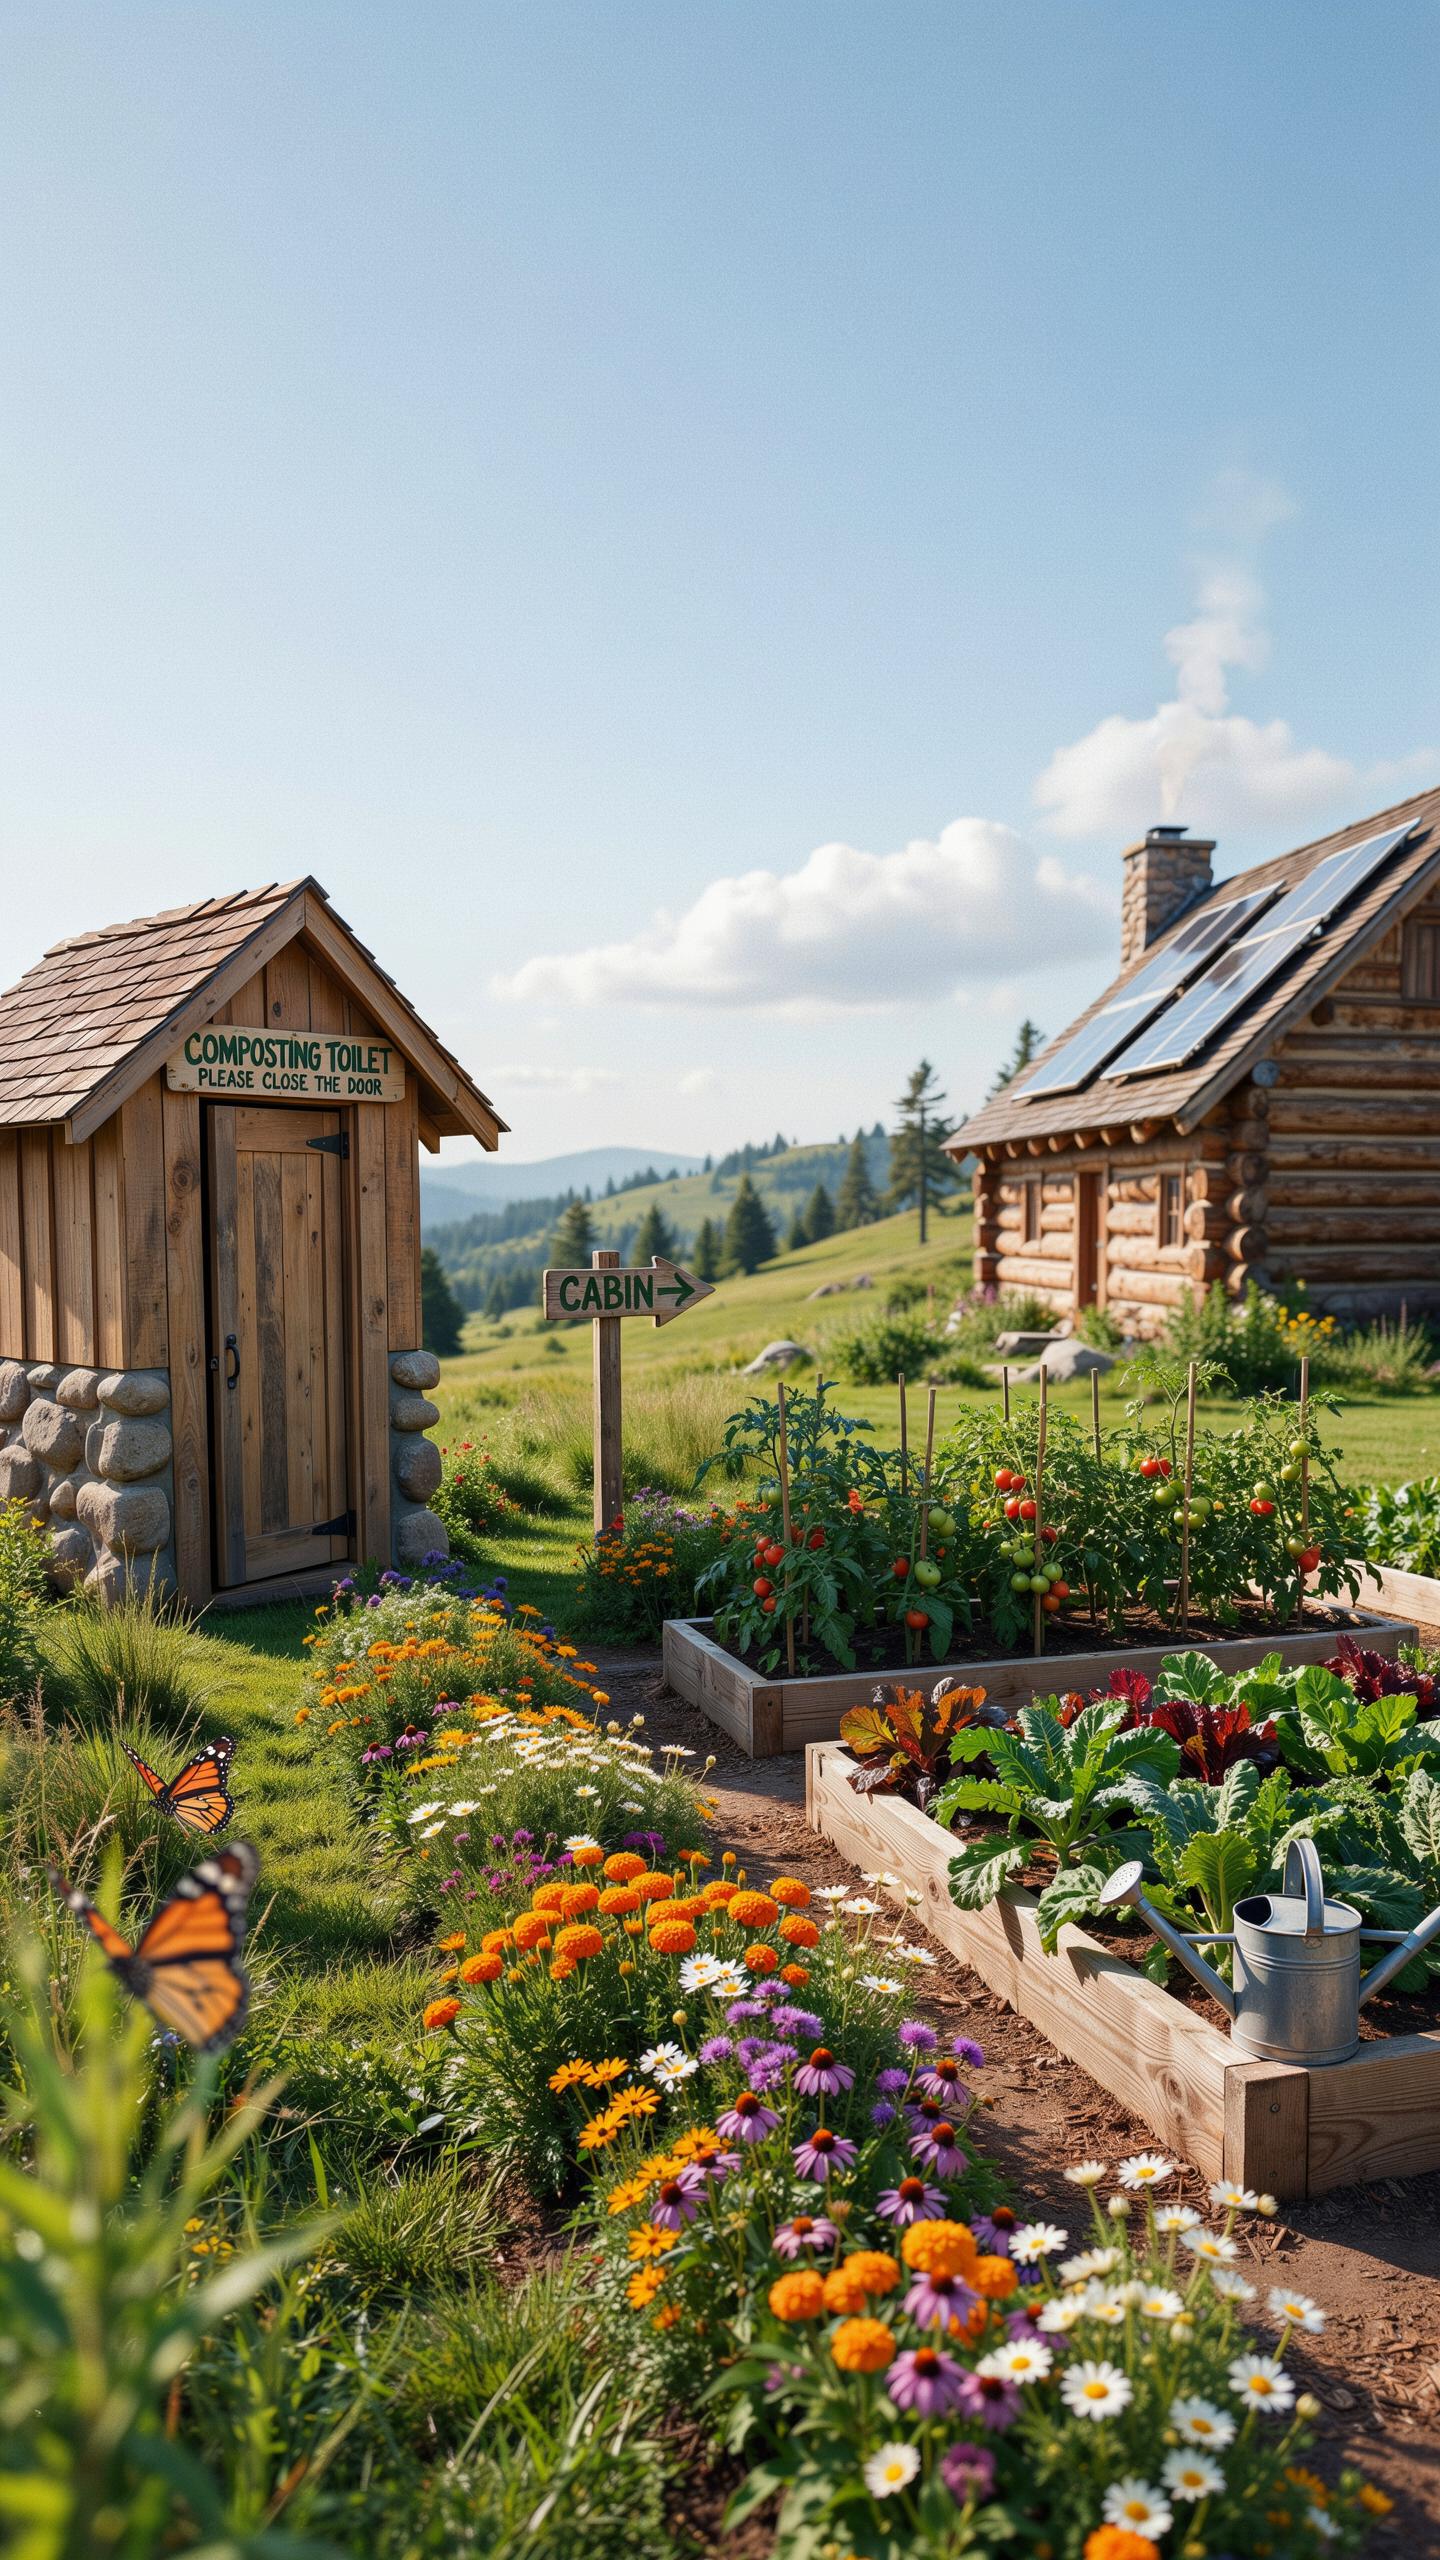
Why Eco Conscious Homesteaders Are Ditching Flush Toilets
A typical household uses between 20,000 and 30,000 gallons of water annually for toilet flushing alone. Off-grid homesteaders eliminate this waste by switching to waterless systems. The shift removes dependency on municipal water supplies and septic systems entirely. This independence translates to lower utility costs and zero environmental contamination from sewage discharge into local water systems.
Composting toilets solve a fundamental problem for remote properties without access to municipal infrastructure. Properties located beyond sewer lines or with poor soil conditions face expensive septic installation costs. A composting toilet requires no underground plumbing, no drain field, and no ongoing septic maintenance. Homesteaders gain complete control over waste management while reducing their operational overhead significantly.
The Biological Science Behind Waste Decomposition
Aerobic decomposition requires oxygen, heat, and carbon-rich material to function. Bacteria consume human waste and break it down into carbon dioxide, water vapor, and solid humus. The process eliminates pathogens when temperatures reach thermophilic ranges between 130 and 150 degrees Fahrenheit. Proper ventilation ensures oxygen flows continuously through the waste chamber, accelerating bacterial activity and odor elimination.
Carbon materials like sawdust, wood chips, or coconut coir absorb moisture and create air pockets within the waste pile. These materials shift the carbon to nitrogen ratio, allowing decomposition to proceed efficiently. The end product resembles dark, crumbly soil with an earthy smell. This humus contains nutrients plants require and takes approximately one to two years to fully mature depending on system design and management practices.

Designing Your Dream Compost Bathroom For Comfort And Style
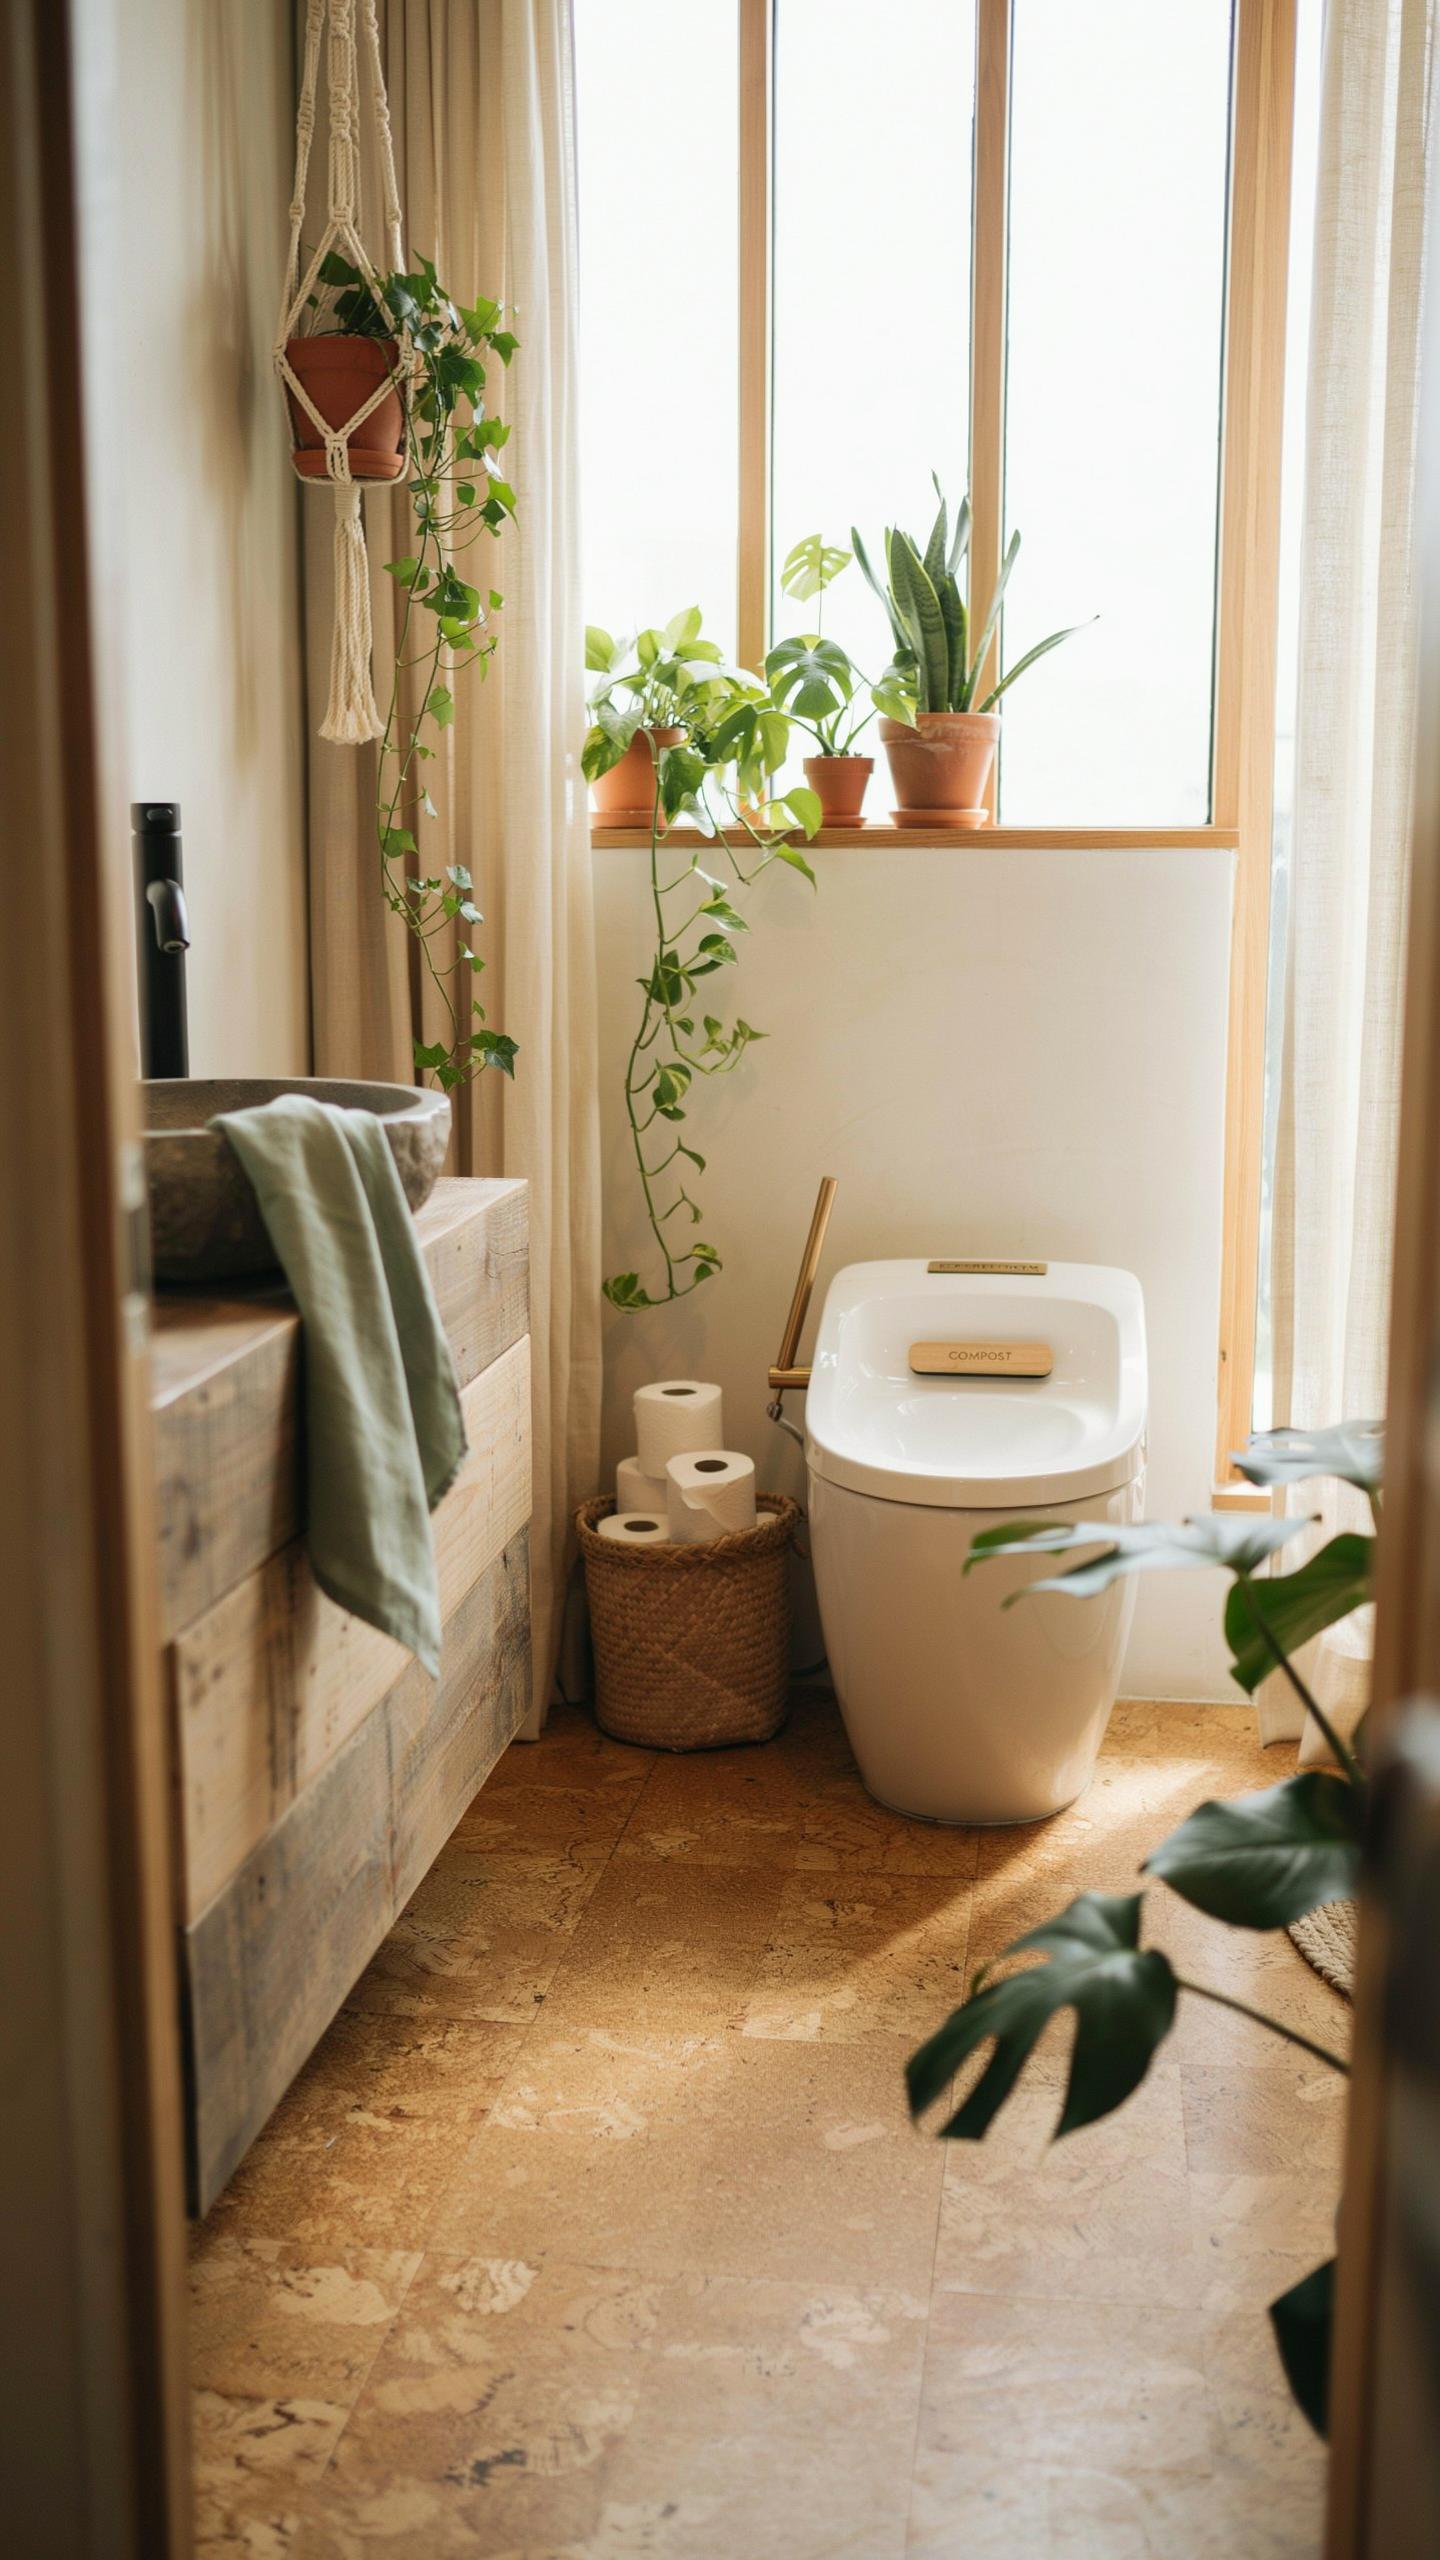
Creating An Odorless And Inviting Indoor Space
Moisture and odor control determine whether your indoor composting toilet functions or fails. A properly sized vent pipe running vertically through your roof creates a passive stack effect that continuously pulls air upward and out. This natural draft removes water vapor and gases without requiring electricity. Seal all gaps around the toilet base and tank to prevent odors from escaping into your living space.
Solar chimneys amplify ventilation performance by heating air inside the vent pipe, increasing draft strength. Paint your vent pipe black to absorb solar heat during daylight hours. The temperature differential between inside and outside air creates stronger upward air movement. A one-inch diameter vent pipe works for single-occupancy systems. Larger households need two-inch pipes to handle increased airflow demands.
True sustainability is return to the cycles of nature, finding grace in the quiet wisdom of our own backyards. When we honor the earth through simple living, we transform our dwellings into a sanctuary for the soul.
Interior Design Tips For Modern Off Grid Washrooms
Natural wood accents work in off-grid bathrooms because they tolerate humidity variations better than drywall. Cedar and pine boards resist moisture damage while maintaining visual appeal. Install wooden shelving above the toilet for storage without taking floor space. Use stainless steel or porcelain fixtures that withstand moisture exposure and require minimal maintenance.

Lighting strategy matters more in off-grid spaces than conventional homes. Install a south-facing window to provide daytime illumination while supporting passive solar ventilation. LED fixtures on a dedicated battery circuit offer nighttime functionality without draining your main power system. Warm color temperature bulbs at 2700K create a residential feel rather than institutional appearance.
How To Plan A Backyard Composting Toilet Project From Scratch
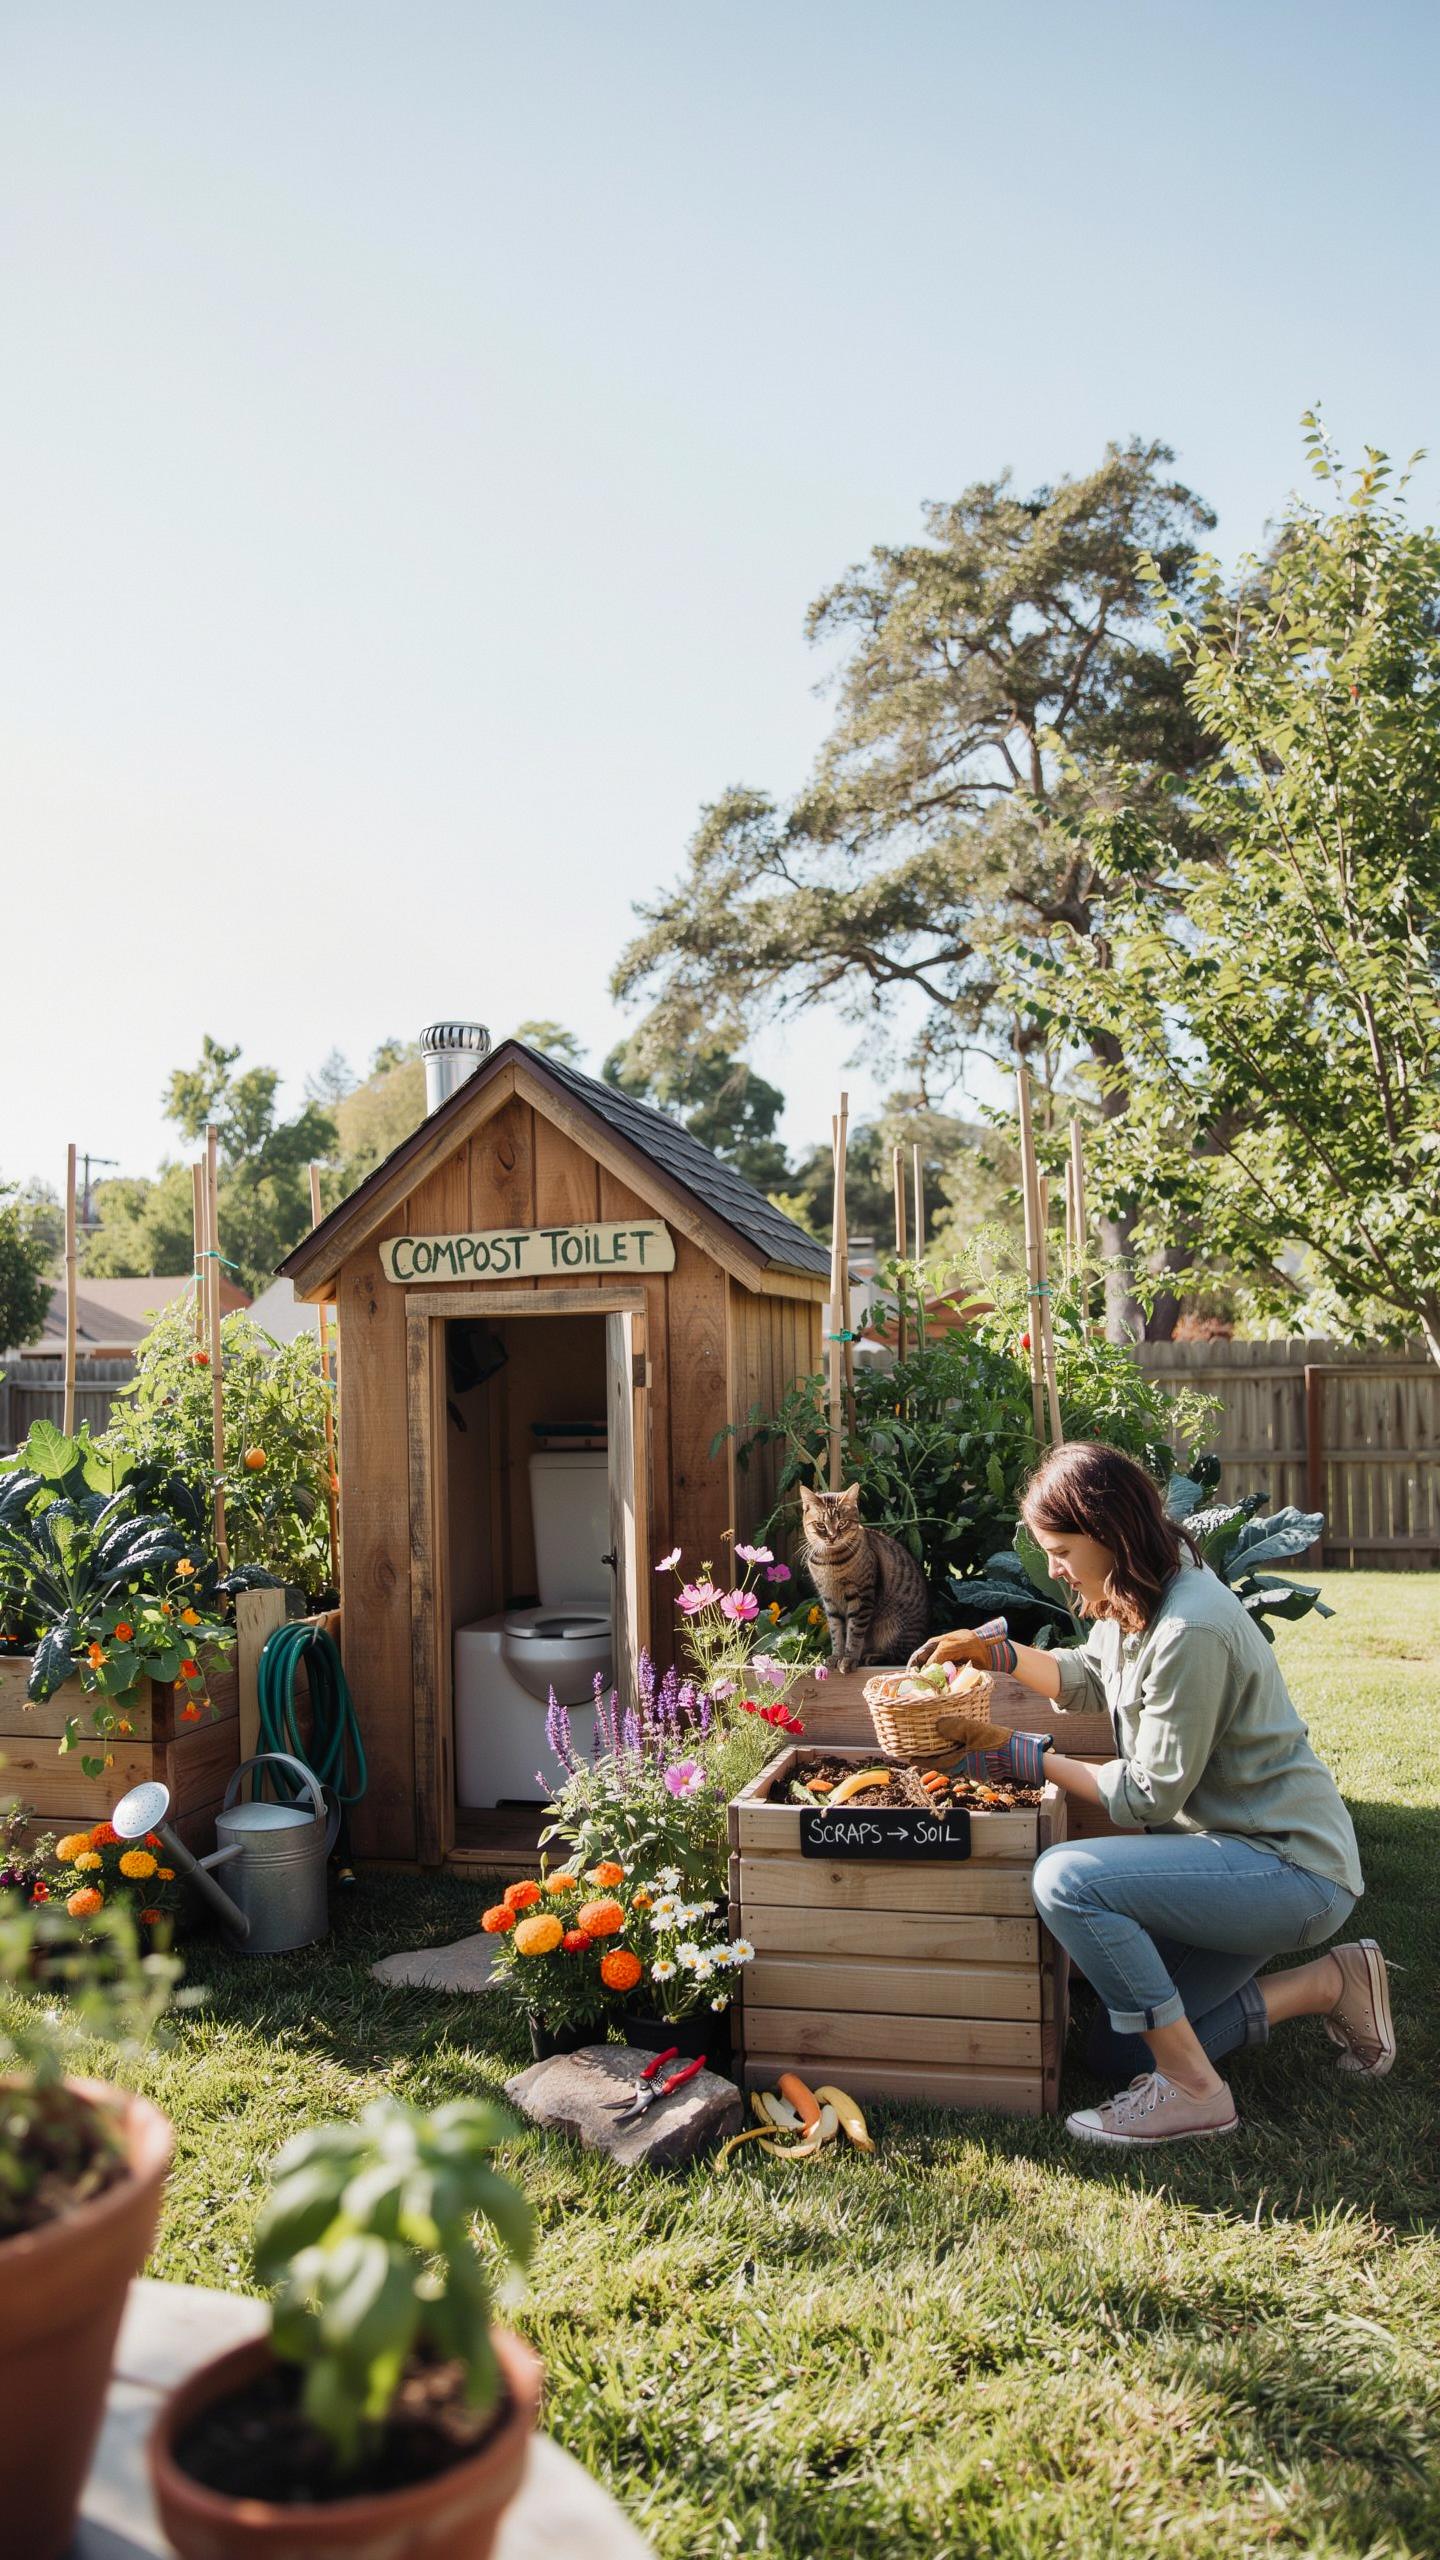
Assessing Your Homestead Landscape And Local Zoning Codes
Before you dig a hole or order materials, contact your local building department. Most jurisdictions regulate toilet systems through health codes and septic regulations. You need written approval before installation. Check whether composting toilets are permitted in your area, as some municipalities restrict them entirely.
Site selection determines long-term function. Position your toilet at least 50 feet from wells or water sources. Choose elevated terrain with natural drainage to prevent water pooling. Ensure the location gets morning sun exposure for faster decomposition. Place it far enough from your home to avoid odor issues, but close enough for practical daily use.
Essential Tools And Materials Needed For Construction
You need proper materials to build a system that lasts 10+ years without degradation. Substandard components fail quickly and create maintenance nightmares. Budget for quality upfront rather than replacing parts constantly.
- Treated Lumber For Framing: Use pressure treated 2×8 or 2×10 boards for the base structure. Untreated wood rots within 3-5 years in moist conditions. Treated lumber extends lifespan to 15+ years in outdoor environments.
- Heavy Duty Urine Diverter: Install a model rated for continuous use. This separates liquid from solids, reducing odor and speeding decomposition. Quality diverters cost $150-300 and pay dividends in usability.
- Solid Backed Toilet Seat: Choose a seat with no gaps or ventilation holes facing the user. Plywood backing works well. This minimizes spray and directs waste into collection areas efficiently.
- Durable Plastic Collection Buckets: Use food grade buckets with tight fitting lids rated for outdoor storage. Standard 5-gallon buckets work but require frequent dumping. Larger capacity reduces maintenance frequency significantly.
- 12V Exhaust Fan System: Install a bathroom exhaust fan with ducting that vents upward through the roof. This prevents odor accumulation and speeds moisture evaporation. Solar powered 12V fans work best for off grid systems.

Quality materials eliminate problems before they start. A complete system costs $800-2000 depending on size and complexity. Poor choices force rebuilds within 2-3 years.
Step By Step Guide To A Homemade Composting Toilet Build
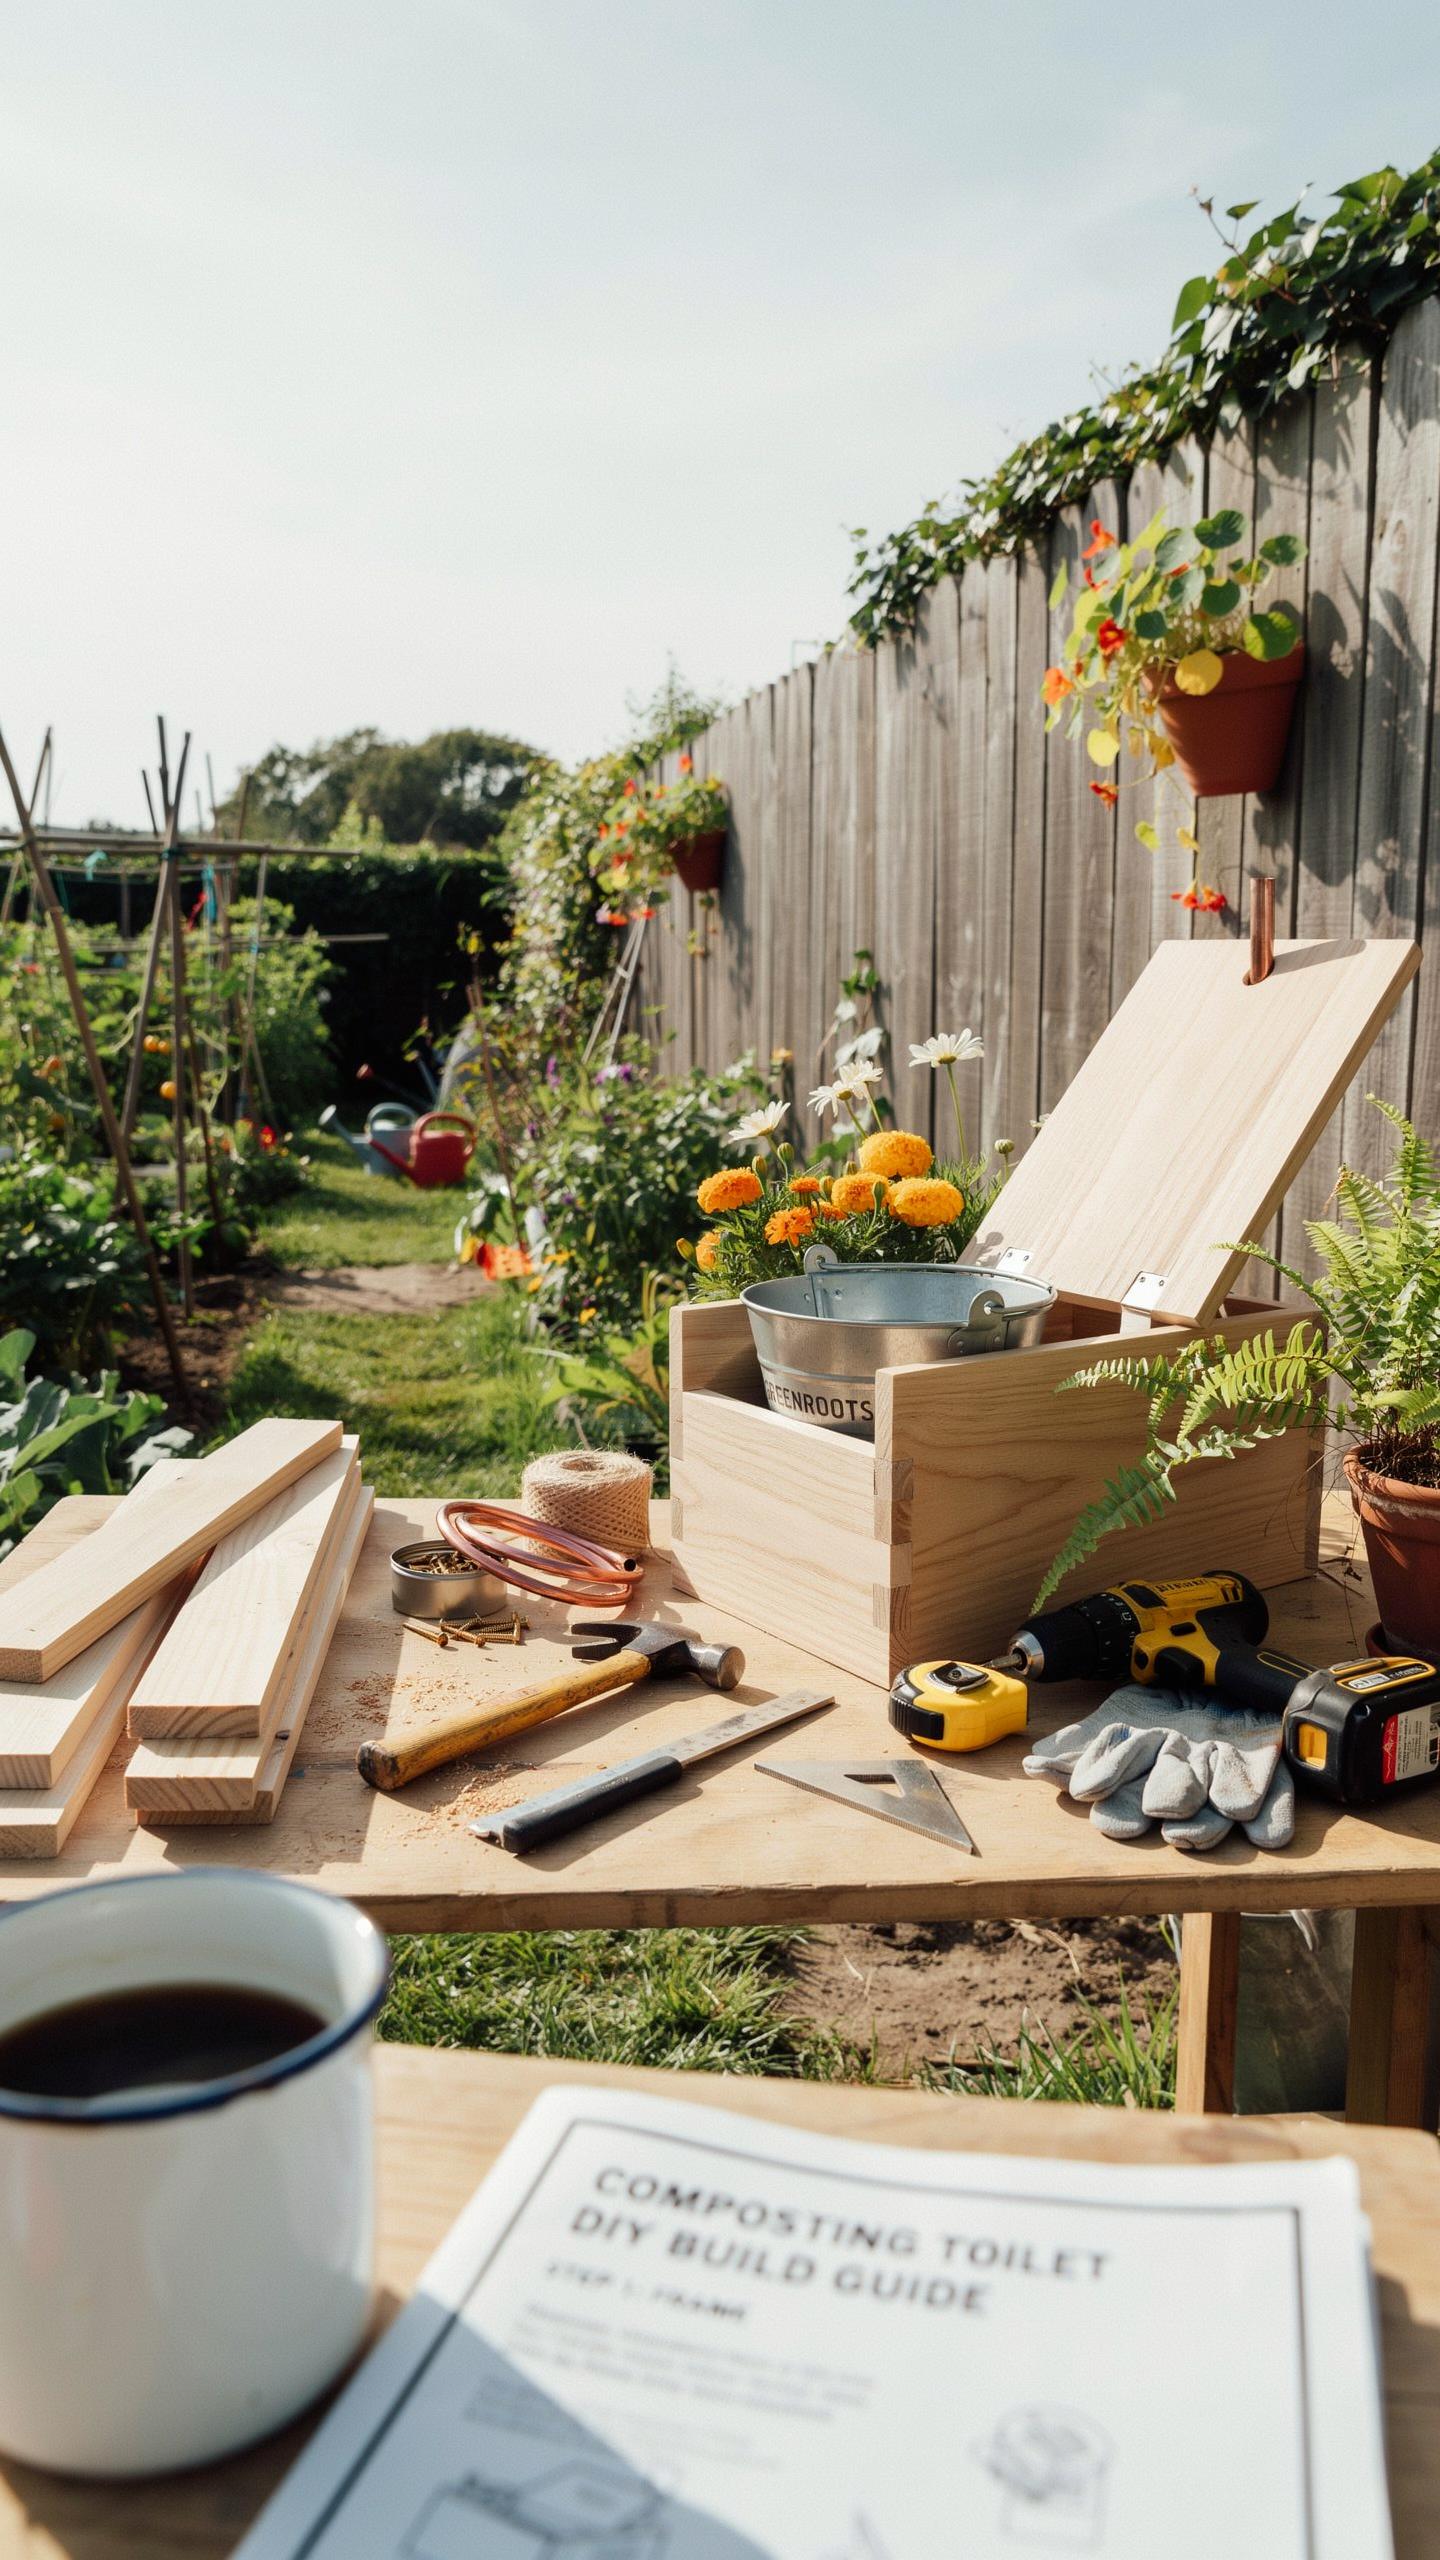
Framing The Wooden Box Enclosure And Installing The Seat
Build your base from three-quarter inch plywood. Construct a box roughly 24 inches wide, 18 inches deep, and 30 inches tall. Use two by four lumber for the frame to handle weight distribution. Secure all joints with lag bolts or deck screws rated for structural load. Reinforce the bottom to support two separate collection chambers underneath the main seating platform.
Cut a 12 to 14 inch diameter hole in the top plywood panel for your toilet seat mount. Use a standard residential toilet seat with hinges that allow full access to the chamber below. Ensure the seat is level and secure it with bolts through the plywood. Install a hinged lid that covers the entire top to control odor between uses. The lid should seal snugly but remain easy to open with one hand.
Configuring The Urine Diversion System To Prevent Odors
Install a urine diverter directly under the toilet seat. This device routes liquid waste forward into a separate collection container while solids fall straight down into the composting chamber. Use food-grade plastic or stainless steel for the diverter surface. Slope the diverter forward at a minimum 15 degree angle to direct urine flow away from solids effectively.

Connect rigid PVC piping or flexible tubing from the diverter outlet to your urine storage container. Position this container outside the main enclosure for easy emptying and reduced odor in your living space. Slope all piping downward at least one quarter inch per foot to prevent liquid backup. Seal all connections with stainless steel clamps to eliminate leaks that cause smell problems.
Upgrading To A Premium Homestead Composting Toilet Manufactured Unit
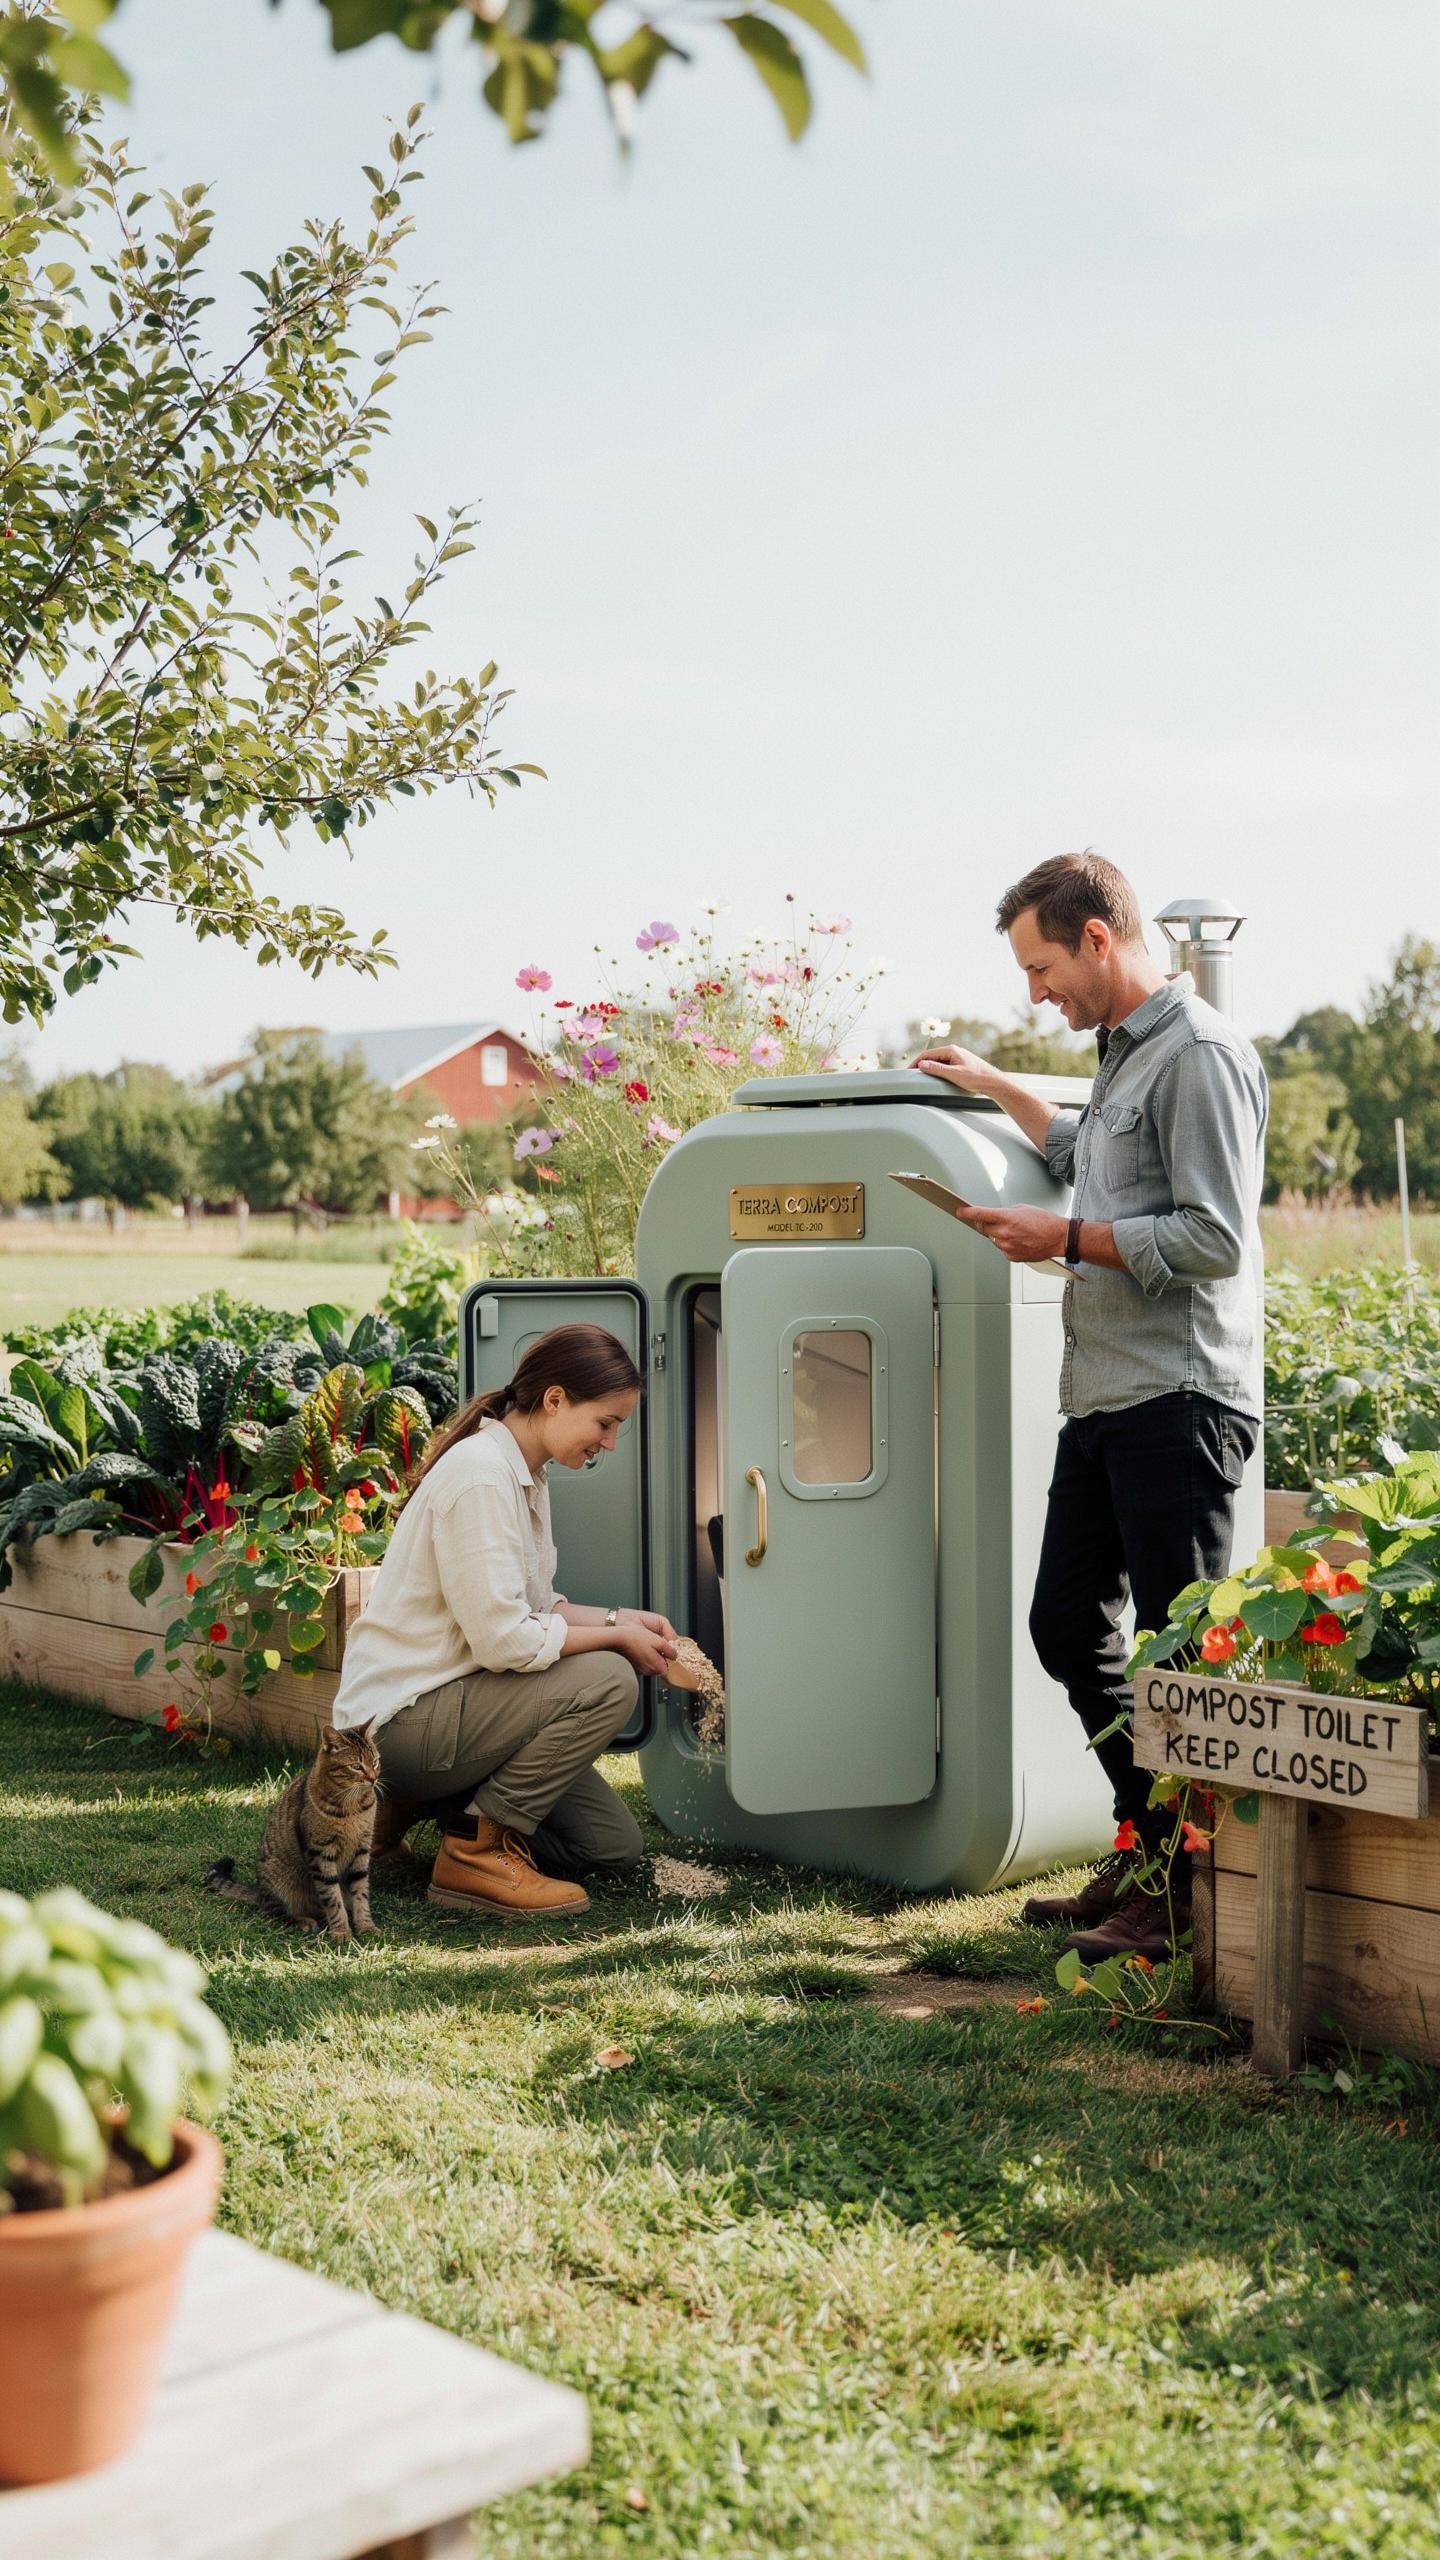
Comparing Self Contained Vs Split System Commercial Models
Self-contained units integrate the compost chamber directly under the toilet seat. This design eliminates the need for external plumbing or separate storage tanks. The waste drops into a chamber below where decomposition occurs. You empty the finished compost directly from the unit when full. Installation is simple since no basement infrastructure is required.
Split-system models route waste from the toilet bowl down to a larger storage tank located in a basement or crawlspace. The separation allows for higher capacity and less frequent emptying. Bathroom odors decrease because the decomposition chamber sits away from living space. These systems work well for households with multiple bathrooms or higher waste volume. Installation demands more planning but offers greater convenience over time.
Top Rated Commercial Brands On The Market Today
Sun-Mar produces self-contained and split-system units with electric fans that accelerate decomposition. Nature’s Head offers compact self-contained models popular for RVs and small spaces. Separett manufactures split-system toilets with urine diversion technology and powerful mixing mechanisms. All three brands eliminate water usage entirely. Their units include heating elements or fans to control moisture and odors.

These manufacturers design toilets to handle residential waste loads reliably. Built-in mixing mechanisms churn compost material to speed digestion. Electric components require either battery backup or grid connection. Models range from basic units to systems with adjustable settings. Real-world operation shows minimal maintenance when used according to specifications and manufacturer guidelines.
Building A Composting Outhouse For Year Round Outdoor Use
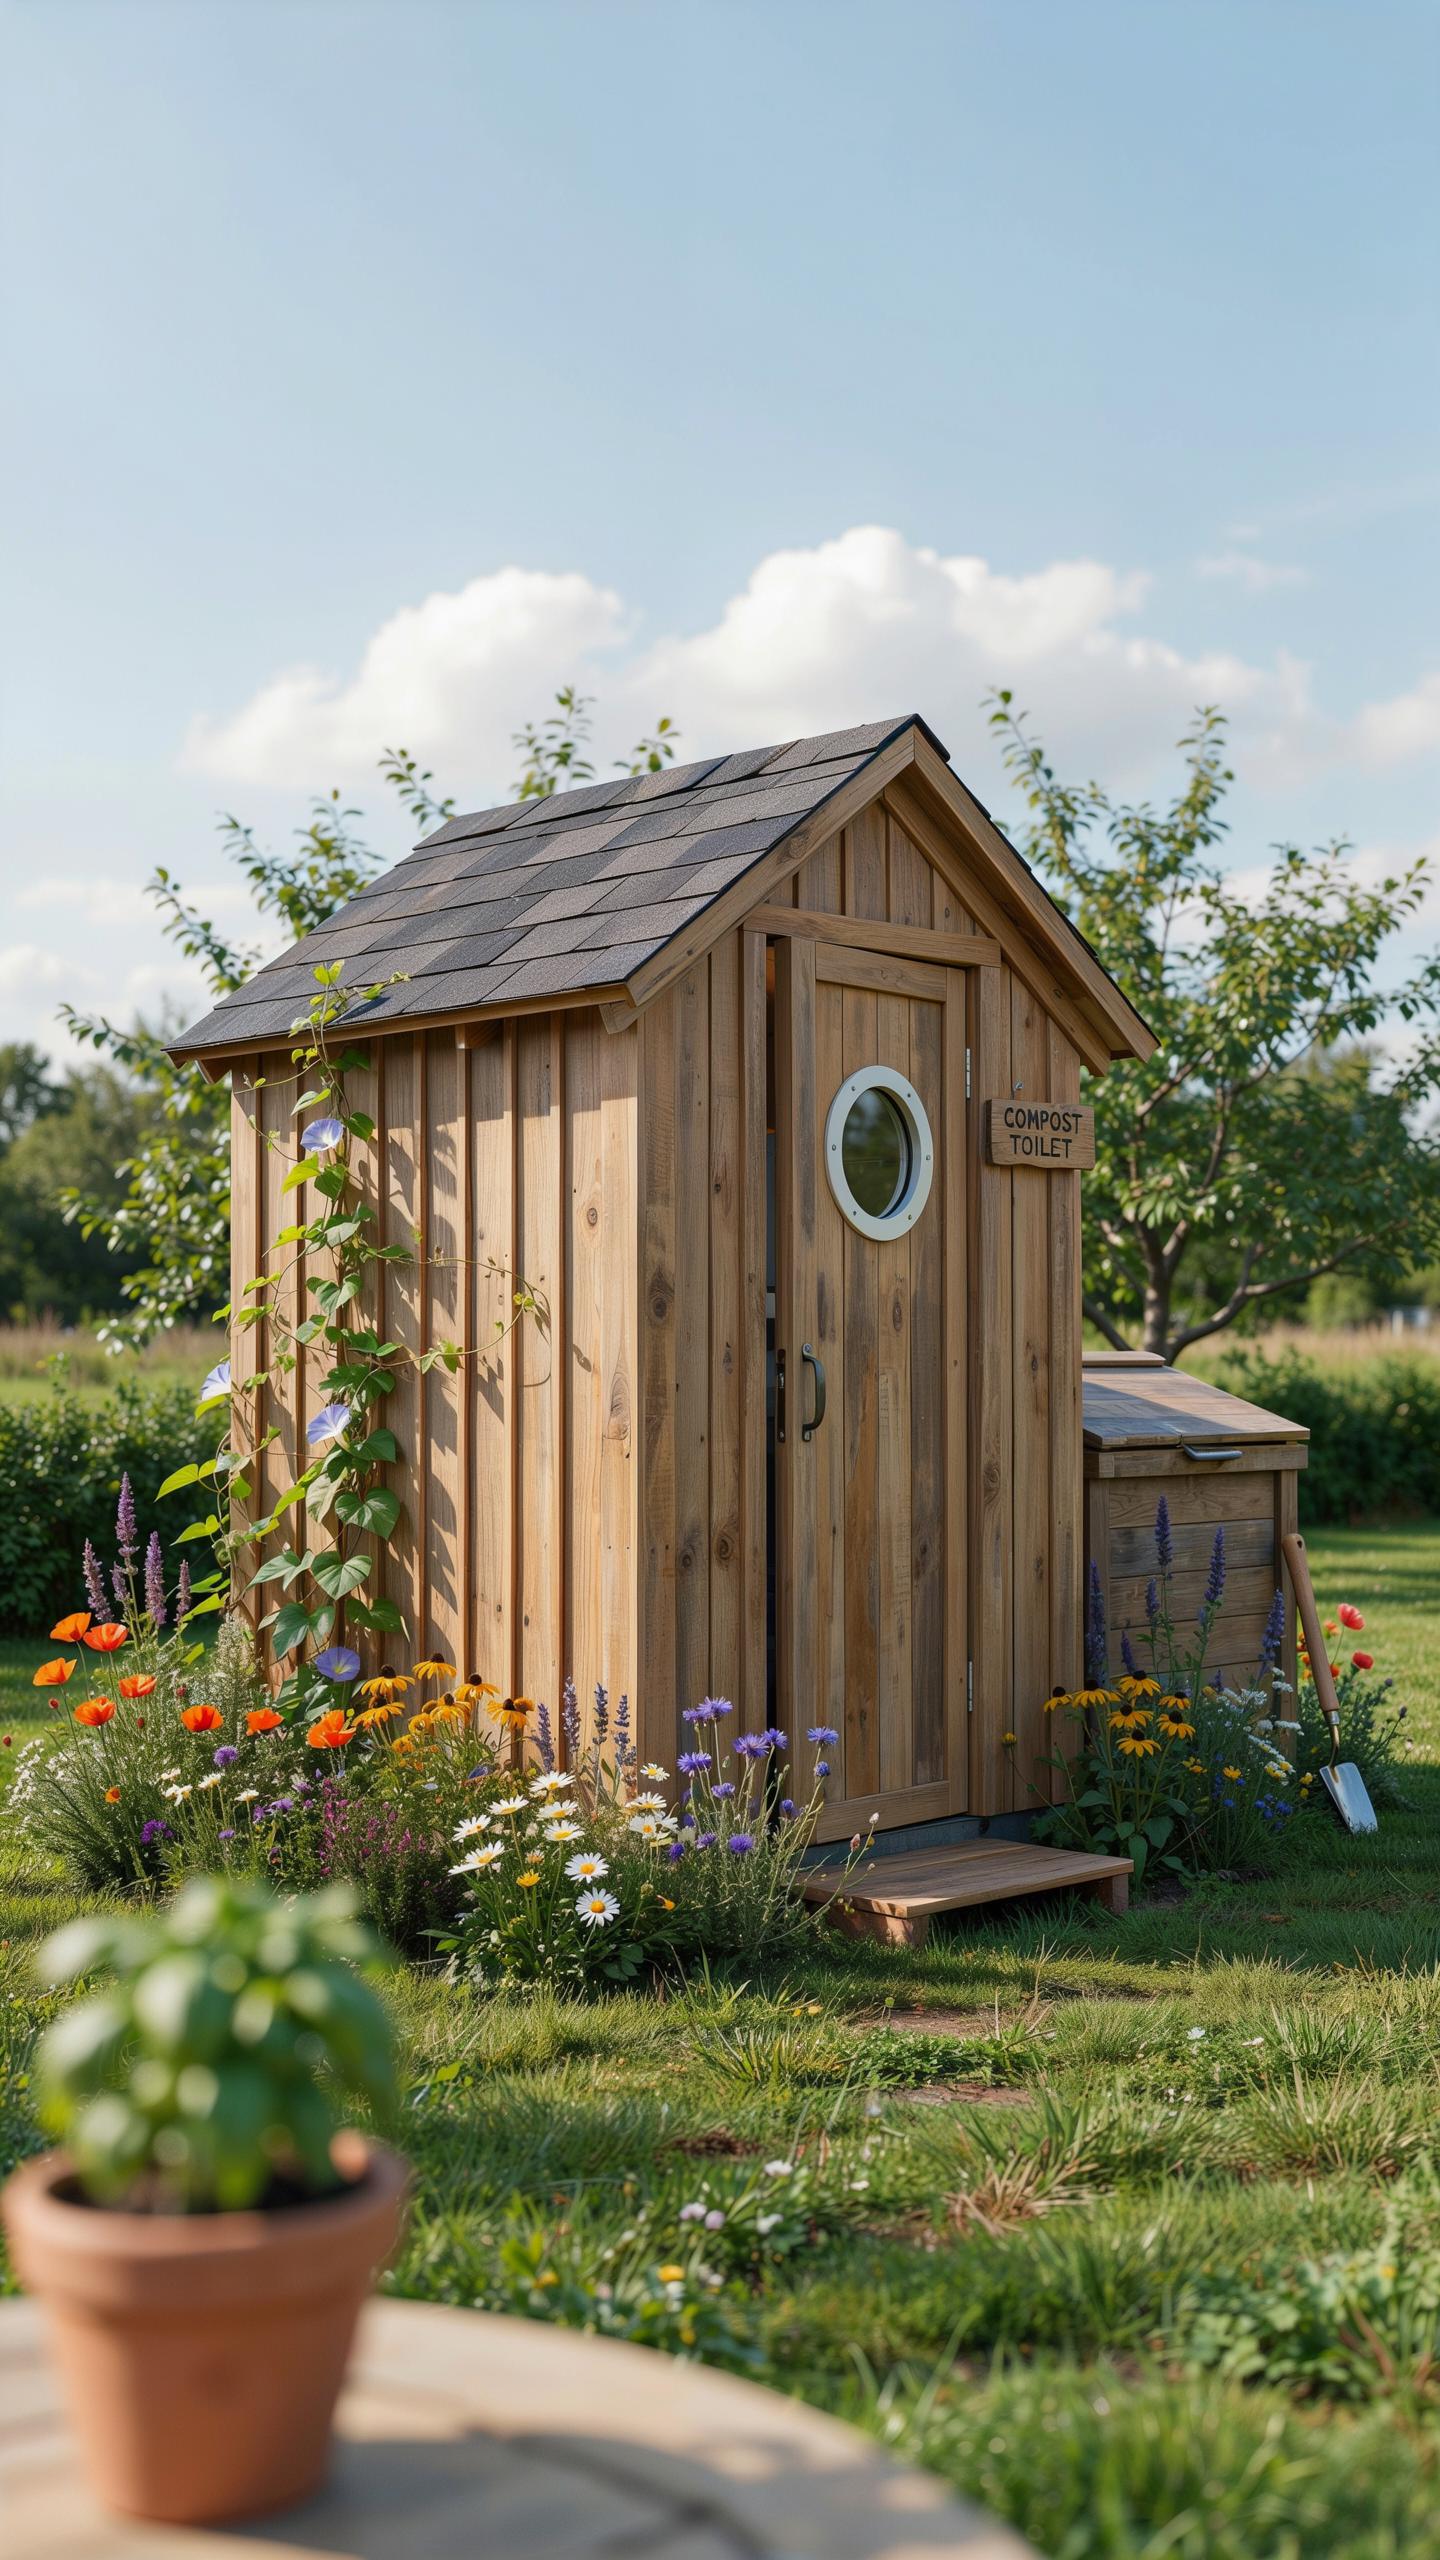
Weatherproofing Your Outdoor Toilet Structure Against The Elements
Your outhouse structure must stop water and wind from entering the composting chamber. Water infiltration ruins the carbon-to-nitrogen balance and creates anaerobic conditions. Seal all joints with exterior caulk or tar. Install metal flashing where the roof meets walls. The floor needs a vapor barrier and drainage slope away from the foundation to prevent groundwater from seeping upward through the composting bin.
Insulation reduces temperature swings that disrupt decomposition. Use fiberglass batts or rigid foam in walls to maintain consistent internal temperatures. A properly insulated floor prevents cold ground from freezing the bottom of your compost pile. Roof overhangs should extend at least two feet beyond the structure to shed rain away from walls. Double doors with weatherstripping create an air lock that minimizes heat loss when entering and exiting.
Managing Cold Weather Composting And Biological Activity
Decomposition slows dramatically when temperatures drop below 50 degrees Fahrenheit. Microbial activity nearly halts in freezing conditions. Add thick layers of sawdust or wood chips to provide insulation around the pile itself. This carbon-rich material traps heat while also balancing nitrogen from human waste. Passive solar heating through a south-facing window accelerates decomposition on clear winter days.

A low-wattage heat mat rated for outdoor use maintains minimum temperatures in the composting chamber. Size the mat between 250 and 500 watts depending on climate. Place it on the chamber floor or along the bin walls. Wire the mat to a thermostat set between 55 and 65 degrees Fahrenheit. This approach prevents complete decomposition shutdown without consuming excessive electricity.
Setting Up An Outdoor Toilet For Off Grid Guests And Events
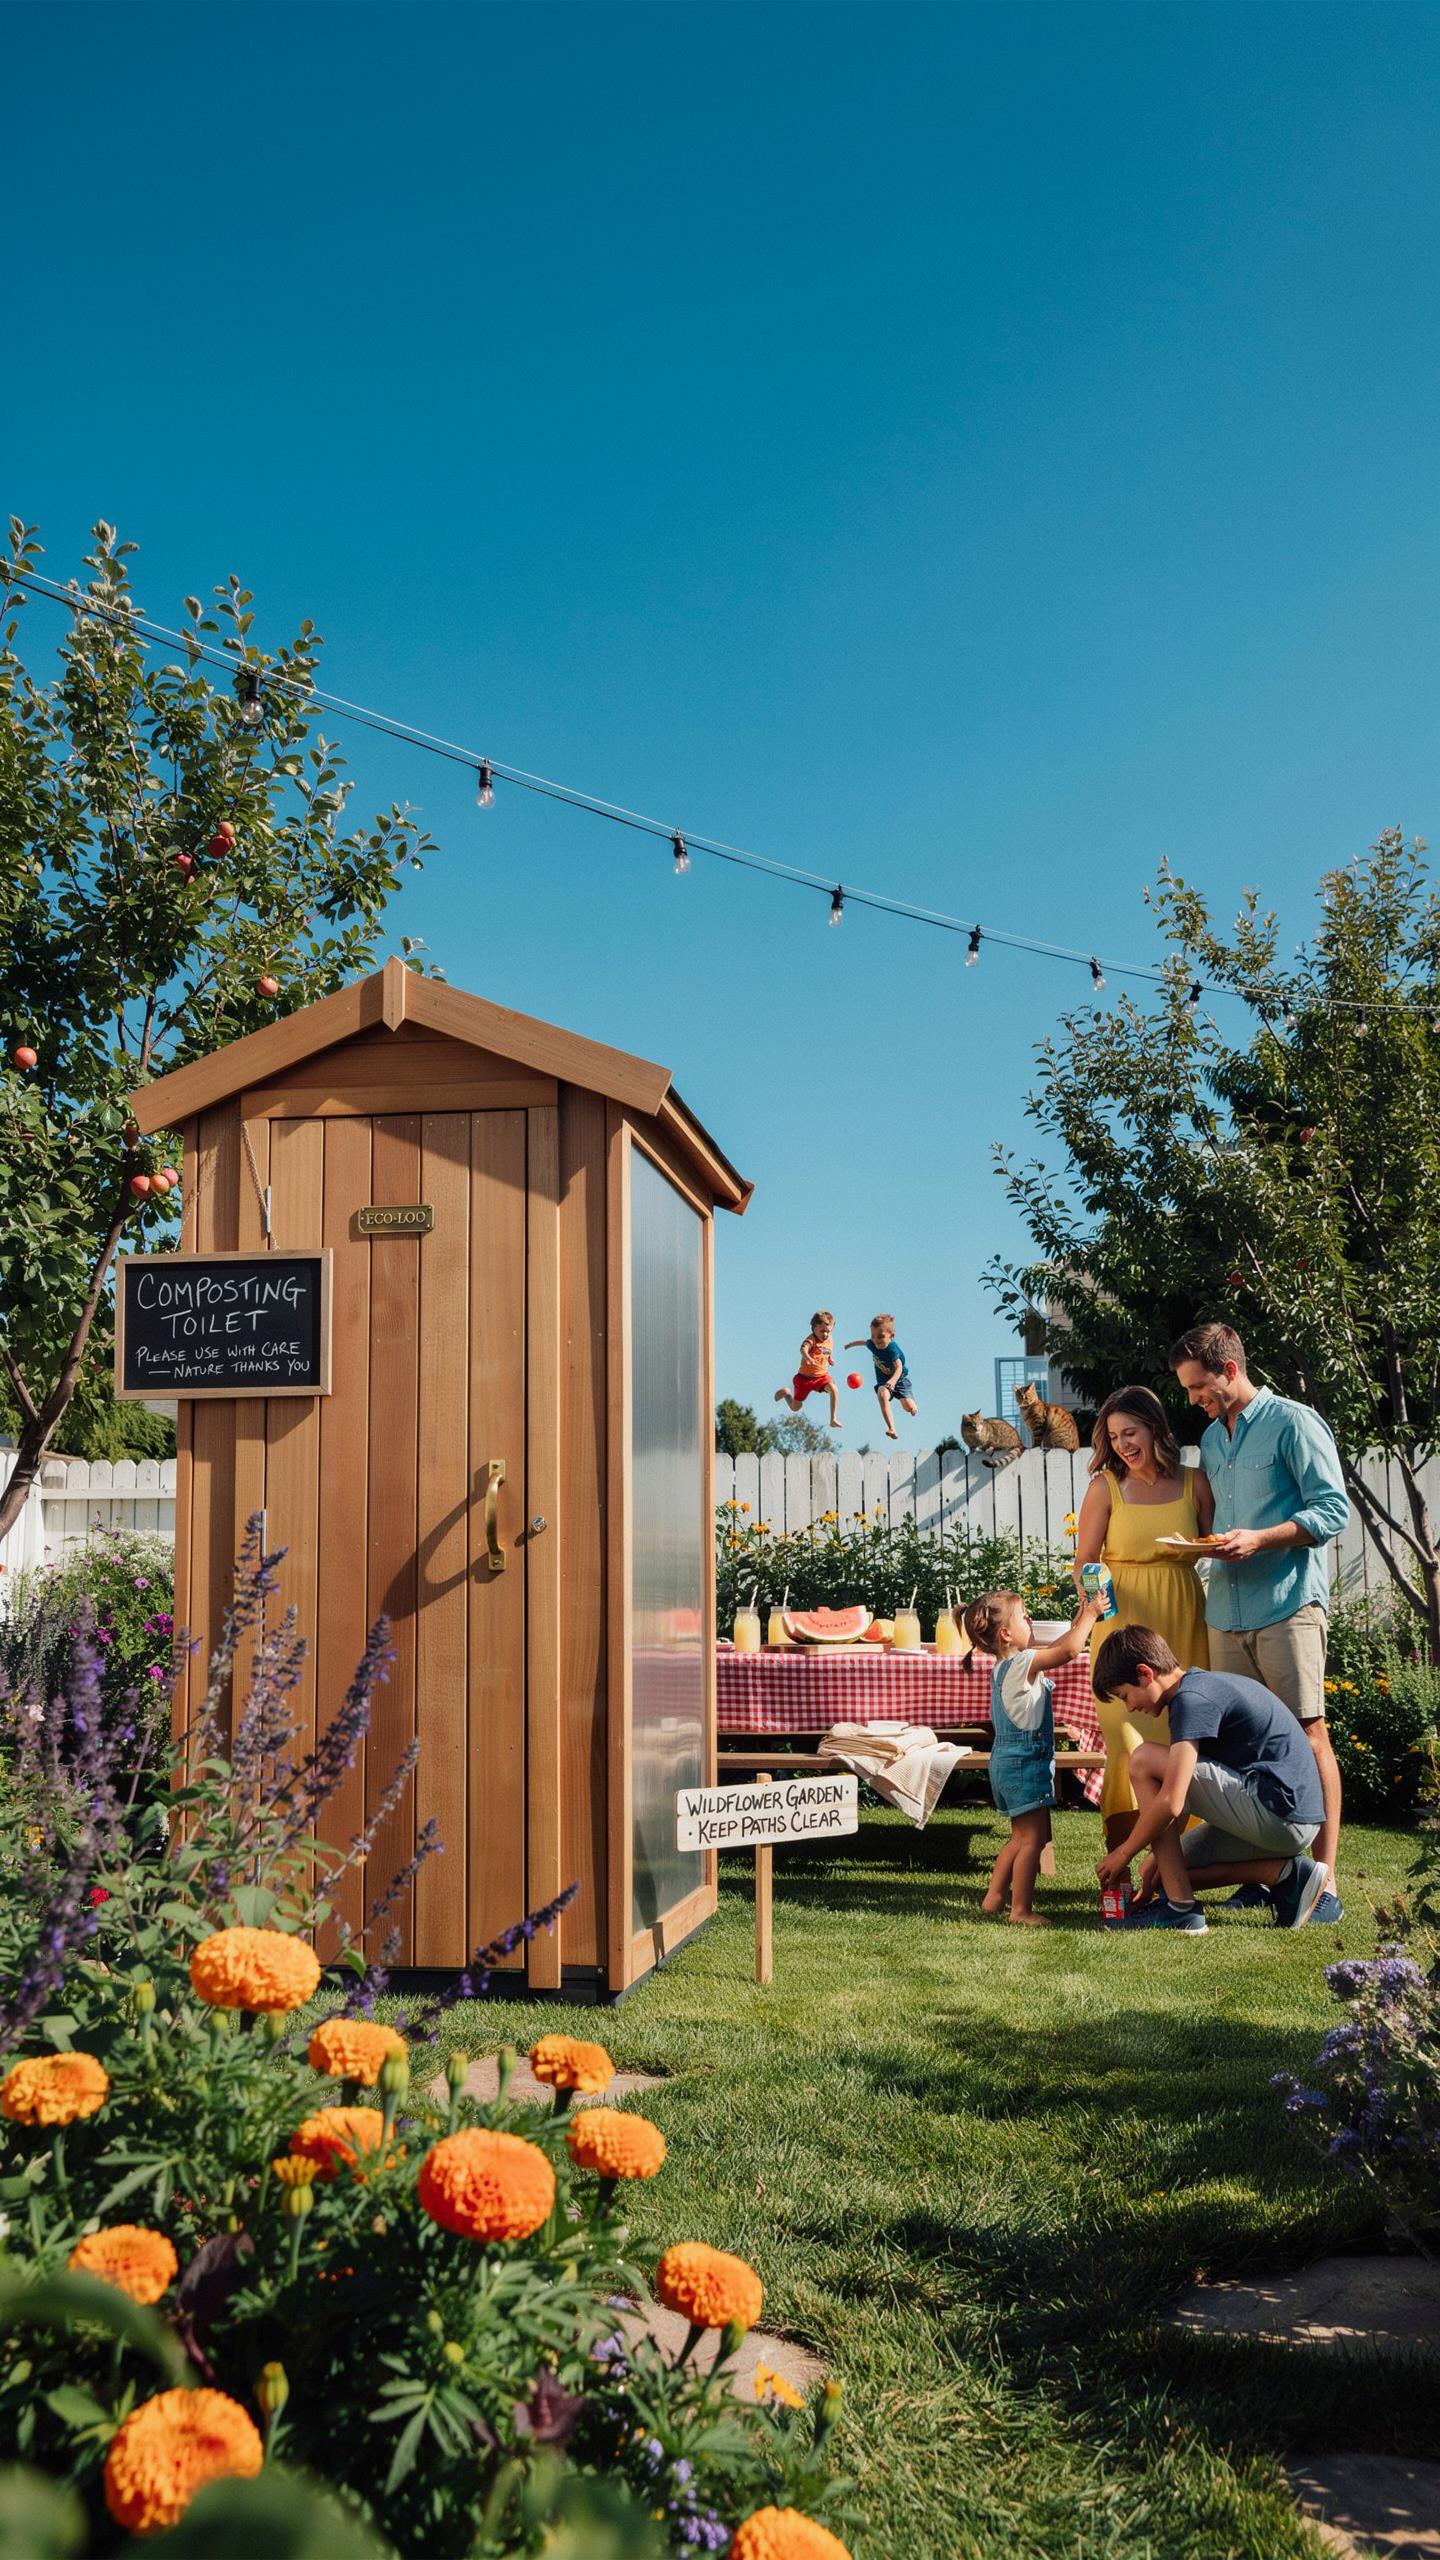
Designing A Private And Welcoming Space For Visitors
Guests need clear instructions to operate your composting toilet correctly. Post a laminated guide near the entrance showing the dry cover material application, urine diversion mechanism if applicable, and what not to flush. Include a simple diagram. Poor instructions lead to misuse, which creates odor problems and accelerates maintenance needs.
Install a hand sanitizing station adjacent to the toilet structure. Stock it with water in a gravity-fed container and soap. Position solar landscape lights along the pathway to the toilet so visitors find it safely at dusk and dawn. These details signal competence and reduce guest anxiety about using an unfamiliar system.
Easy Maintenance Routines For High Traffic Peak Seasons
High-traffic periods demand daily monitoring of dry cover material levels. Check the supply each morning before guests arrive. Sawdust, coconut coir, or aged wood chips absorb moisture and control odor. Running low on cover material means urine pools at the bottom, creating smell and faster decomposition rates that overwhelm your system’s capacity.

Empty the urine collection container every two to three days during peak seasons, not weekly. A full container leaks into the solids chamber, disrupting the carbon to nitrogen balance and causing operational failure. Establish a schedule and stick to it. Daily checks take five minutes. Skipping them costs hours in repairs later.
Integrating A Functional Outhouse Bathroom Into Your Permaculture Design
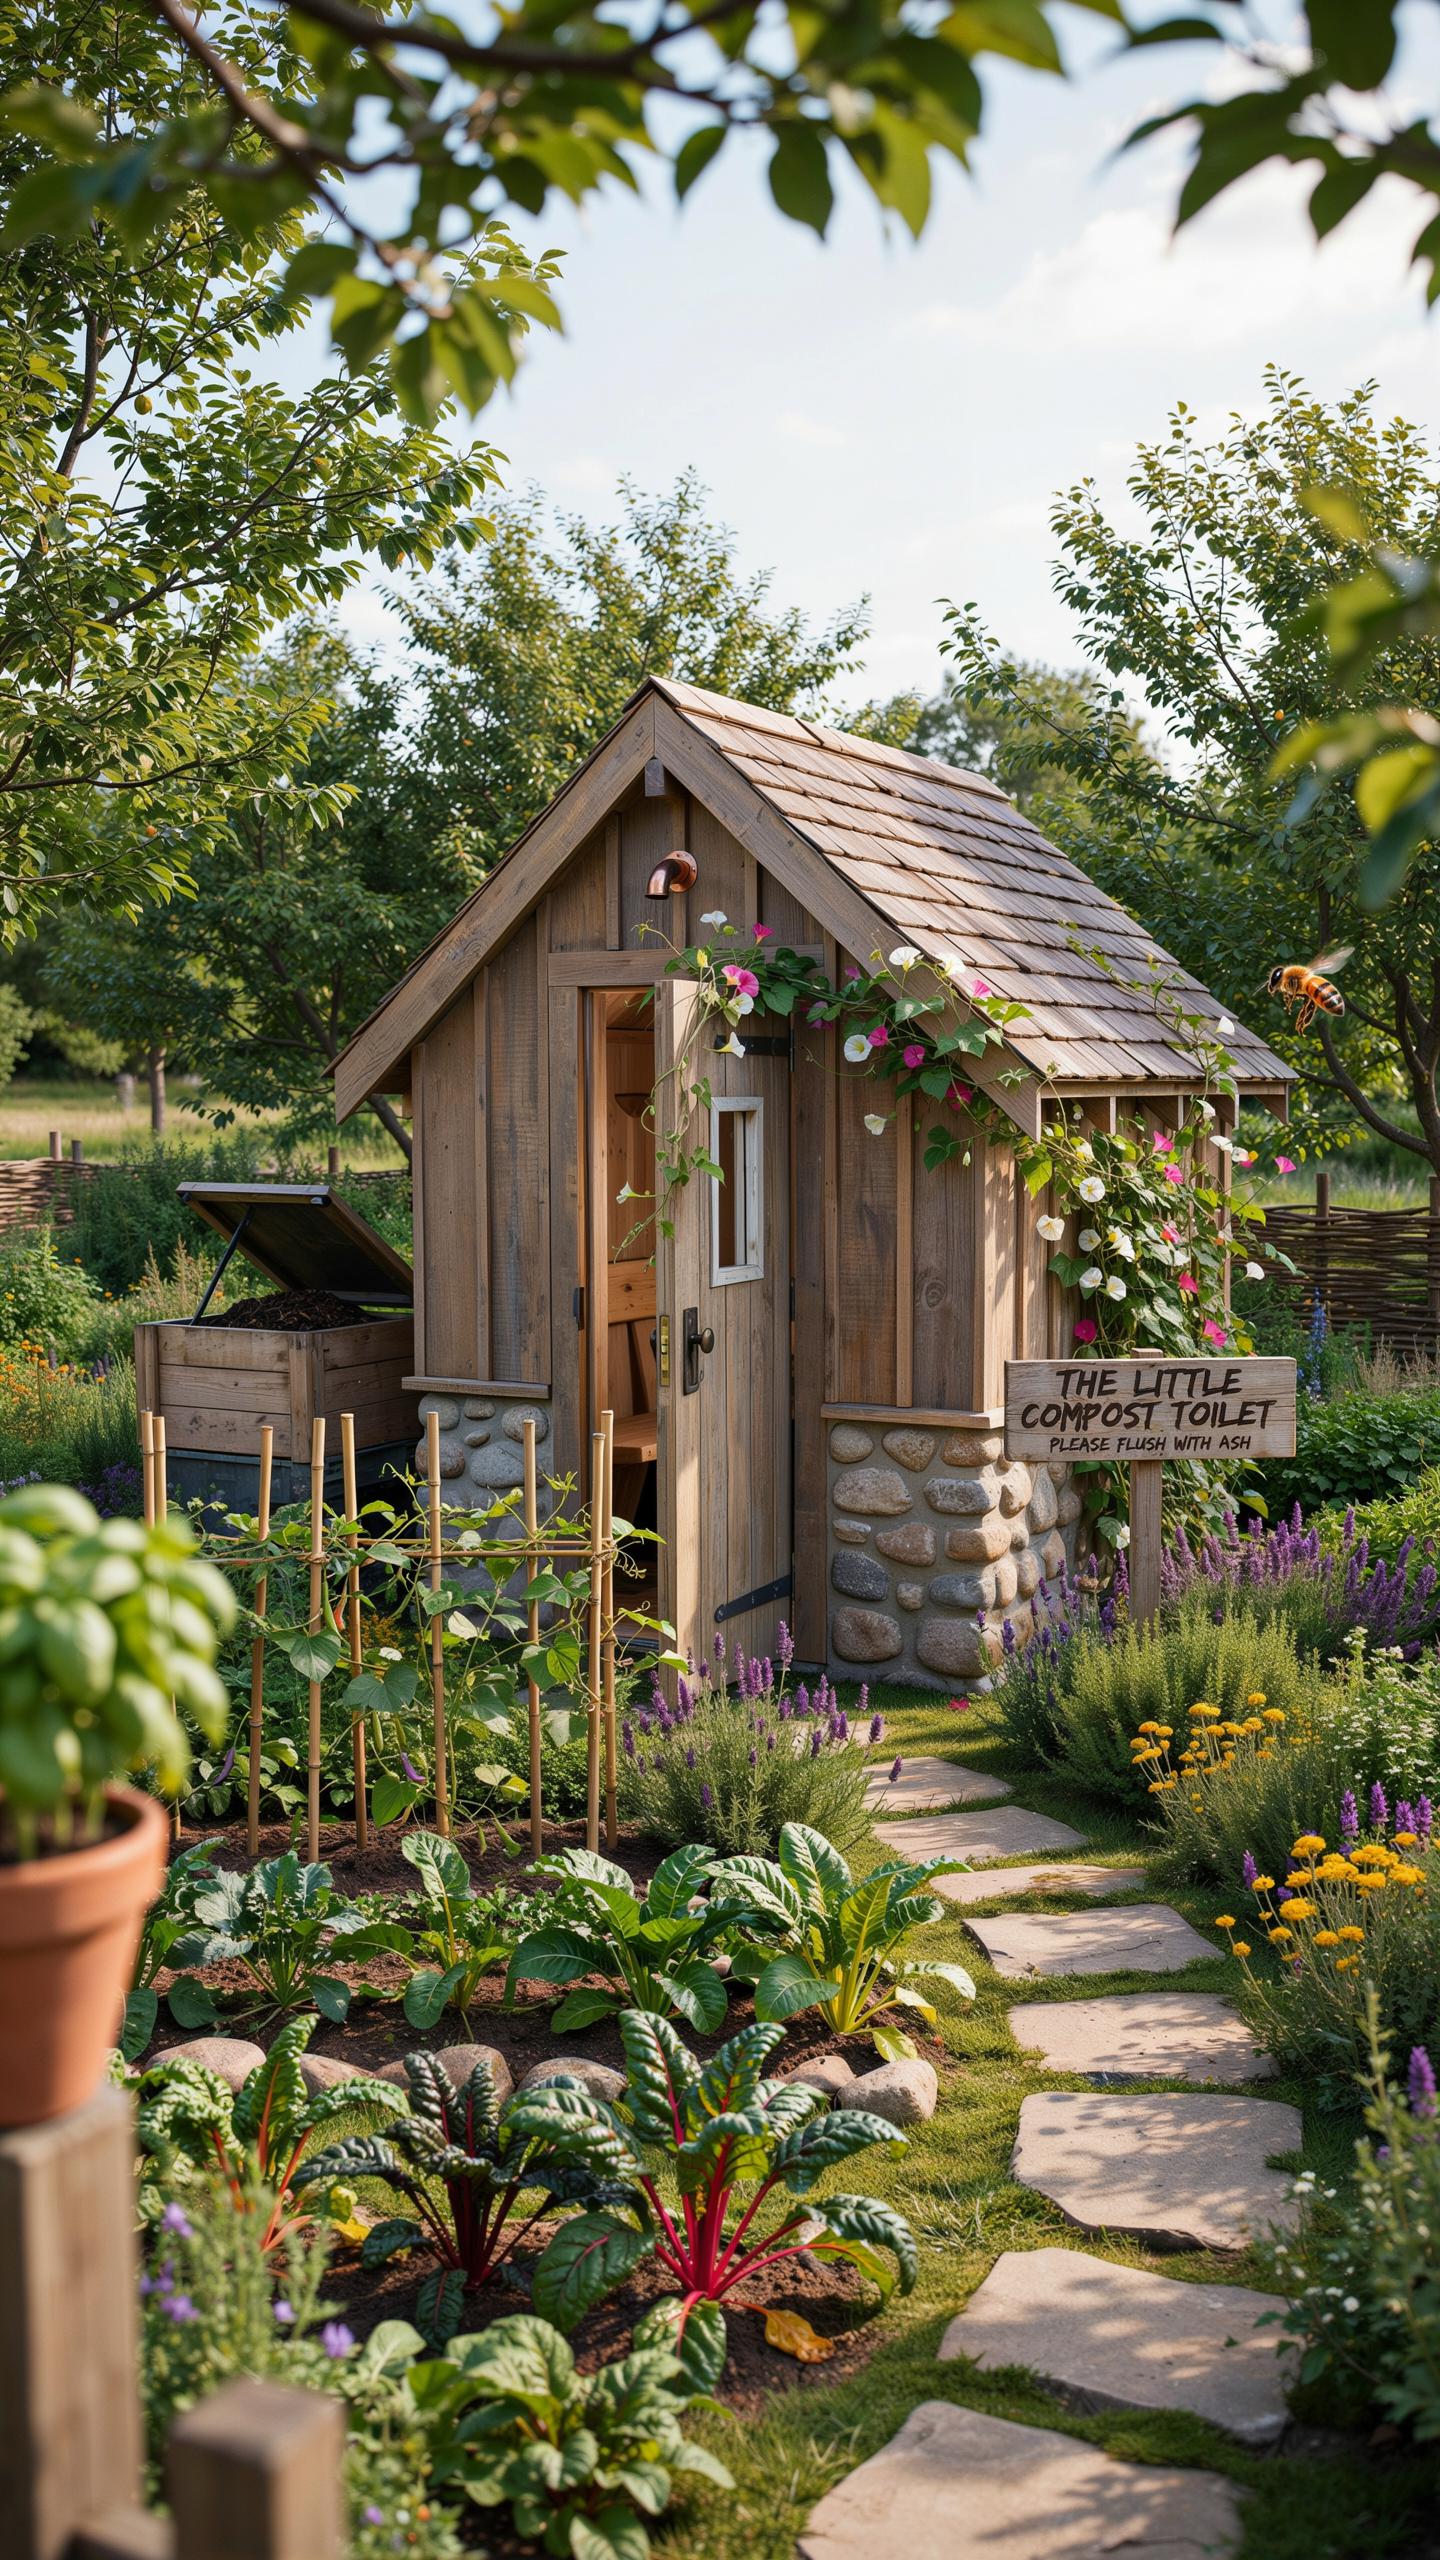
Positioning Composting Systems Near Orchards And Non Food Gardens
Place your composting toilet system downhill from any drinking water source. This prevents contamination from leachate reaching wells or springs. Position the system at least 50 feet from water supply points. The distance allows you to safely harvest finished compost for ornamental plantings and windbreak trees without pathogen concerns.
Proximity to fruit trees and non-food plants maximizes system utility. You reduce labor by keeping the compost pile near its end use. Mature compost from human waste becomes available immediately for application around apple trees, pines, or decorative shrubs. This integration cuts transport time and makes your operation efficient.
Using Graywater Filtration Systems In Tandem With Dry Toilets
A reed bed system processes sink and shower water through biological filtration. Plants and soil microbes break down organic matter and nutrients. You build these systems on your property using gravel, sand, and native wetland plants like cattails. The filtered water then irrigates landscaping without contaminating groundwater.

Combine dry toilets with reed beds to handle all household water on site. Urine diversion toilets separate liquid waste from solids, reducing pathogen load in the composting chamber. Graywater goes to the reed bed separately. This dual system approach minimizes smell, accelerates decomposition, and creates manageable maintenance cycles for off grid living.
Essential Rules For Managing Your Compost Toilet Waste Safely
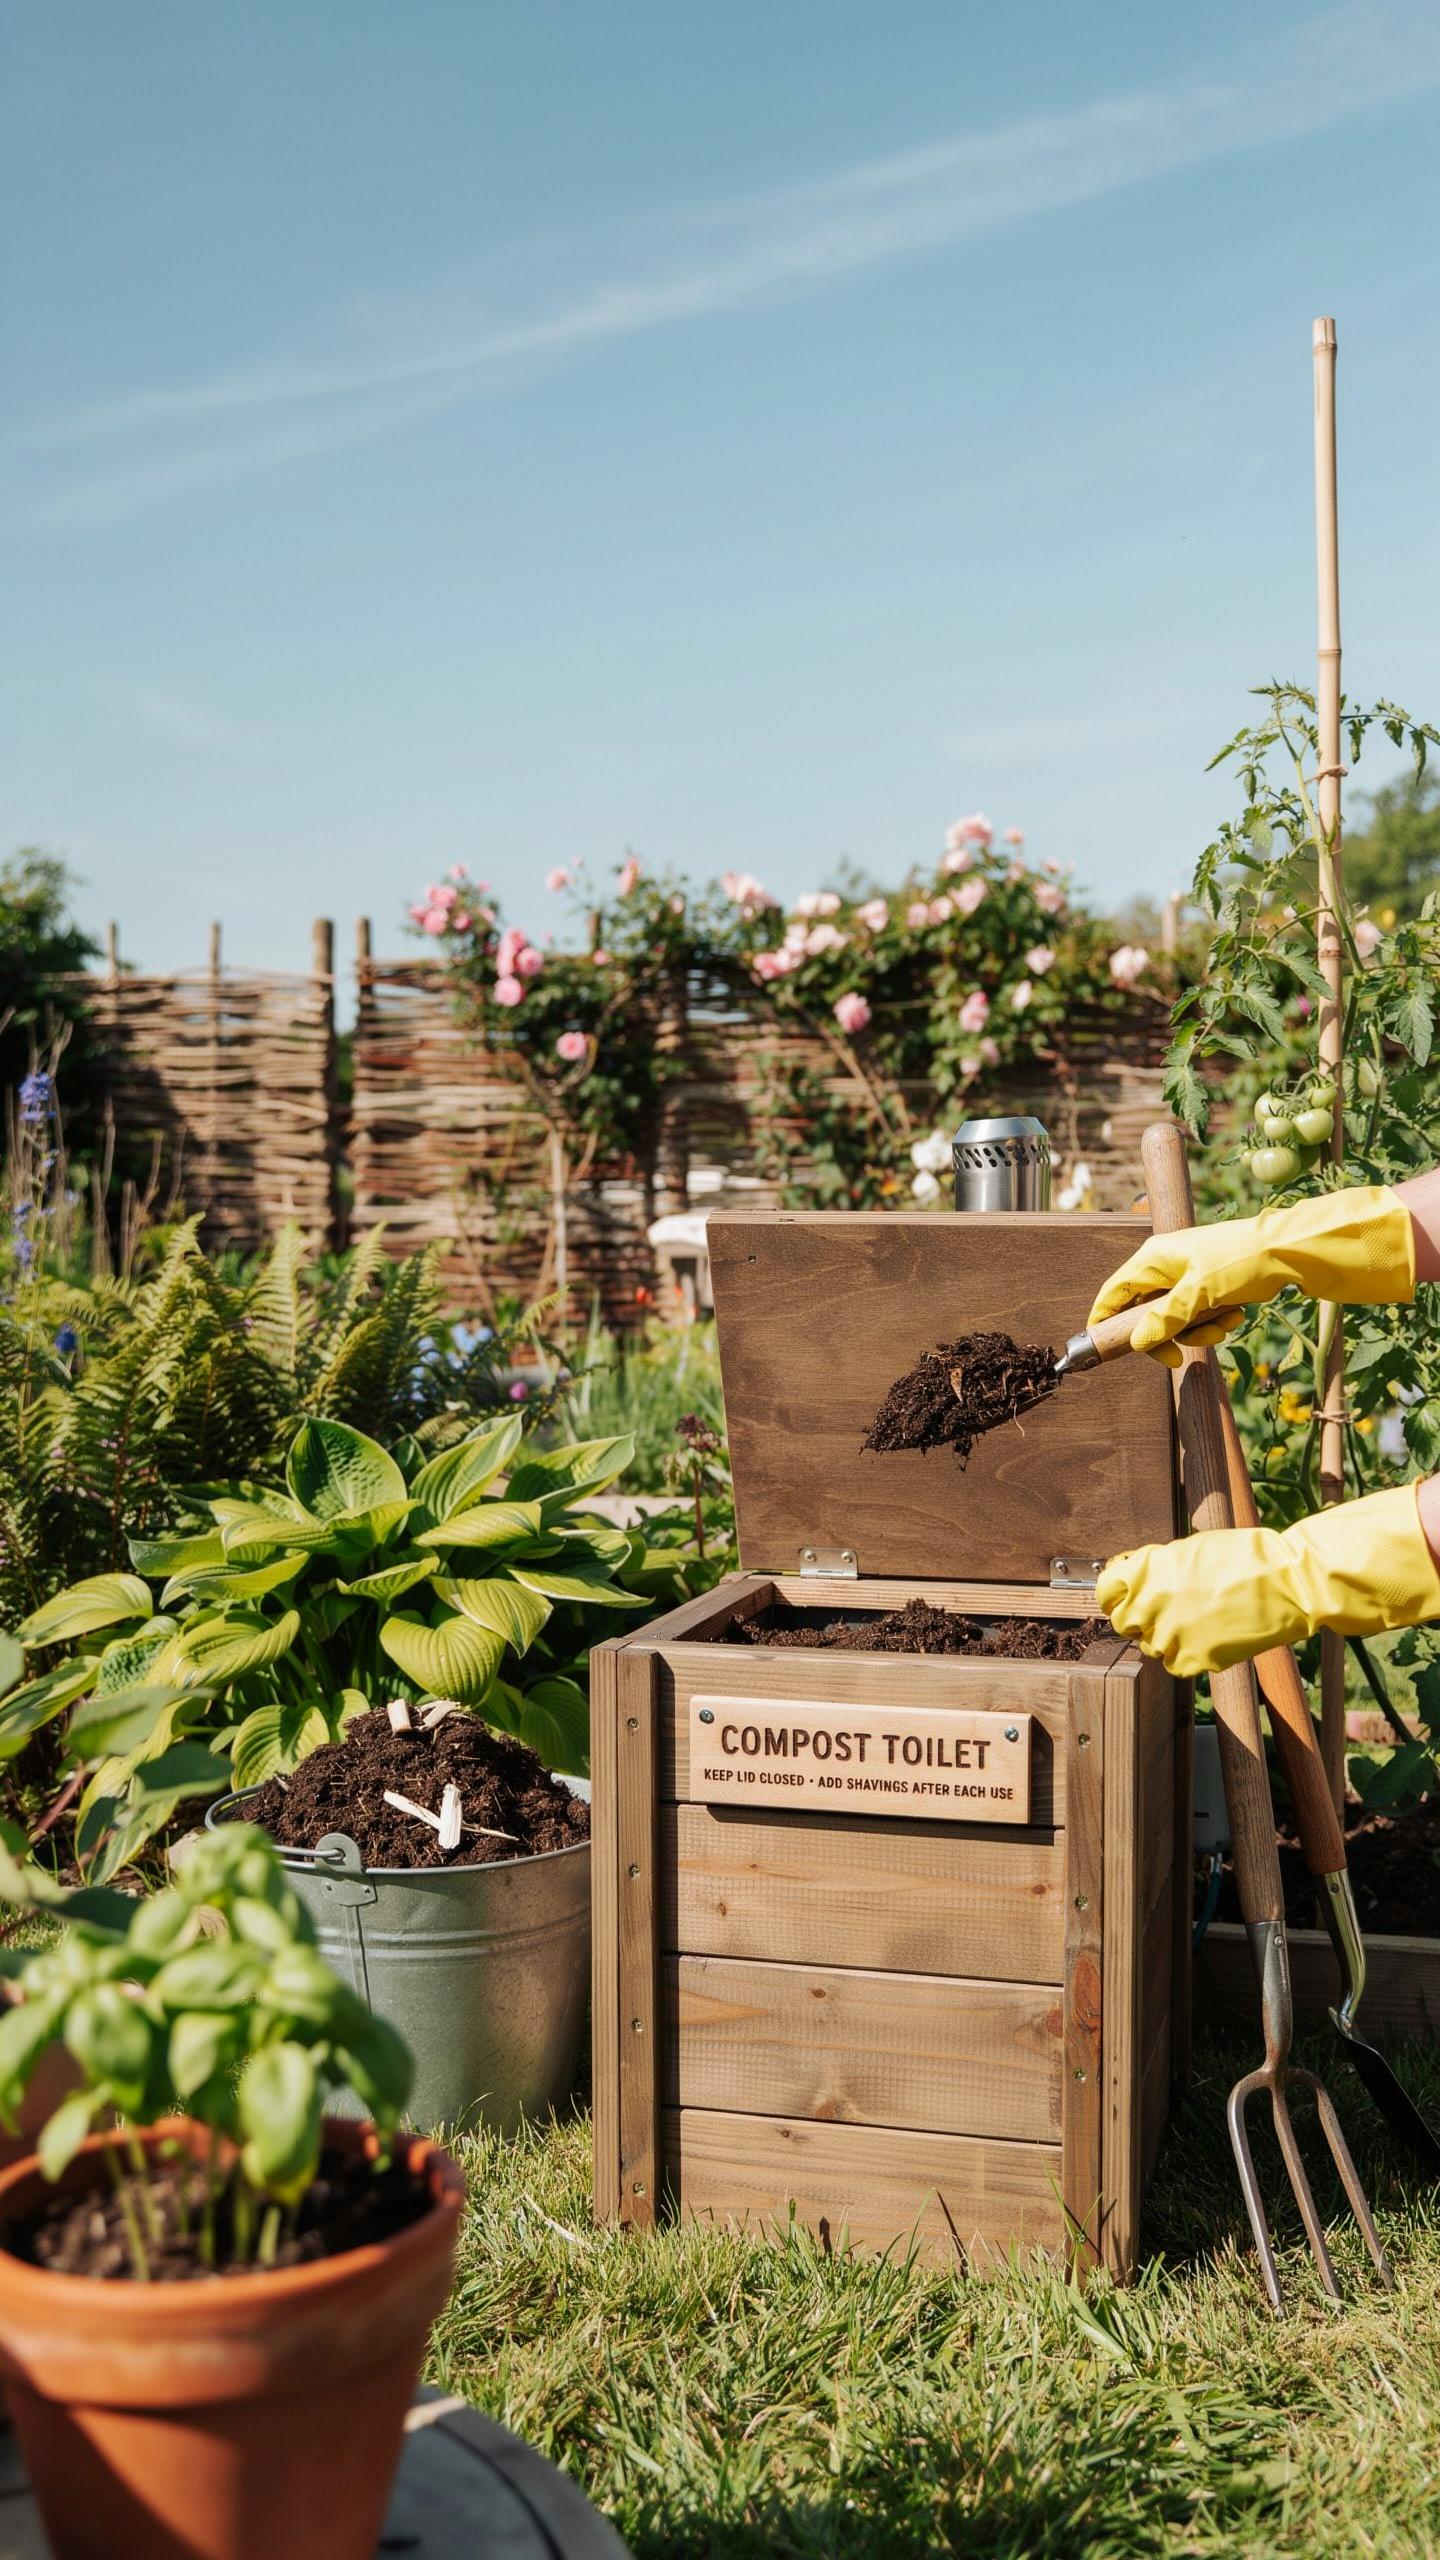
The Two Chamber Curing Process For Humanure Hygiene
Human waste requires time to break down pathogens before you use it on food crops. A dual-bin system lets one batch rest and cure for a full year while the other bin actively collects fresh material. This rotation ensures harmful organisms die off through heat, time, and microbial action. Never apply raw humanure directly to your garden.
The one-year curing timeline is non-negotiable for safety. Most pathogens, including E. coli and salmonella, die within this window when conditions stay aerobic and carbon-rich. After the resting year ends, the finished compost becomes safe for ornamental plants and non-food crops immediately. For food gardens, wait an additional year or apply it only to root vegetables harvested after twelve months.
Recommended Cover Materials For Rapid Carbon Rich Breakdown
Cover waste immediately after each use with high-carbon materials to control odor, speed decomposition, and maintain proper carbon-to-nitrogen balance. The right cover material prevents fly breeding, reduces smell, and feeds beneficial microorganisms that break down pathogens.
- Fine Pine Sawdust: Adds carbon quickly without compacting, creates ideal airflow, and breaks down within months. Source from untreated wood only.
- Coco Coir Organic Fibers: Holds moisture well, adds carbon, and resists compaction. More expensive but lasts longer than sawdust.
- Peat Moss: Traditional option that adds carbon and absorbs moisture effectively. Slightly acidic nature aids decomposition processes.
- Dried Shredded Leaves: Free material if you have trees, breaks down quickly, and provides excellent carbon content for balance.
- Aged Wood Chips: Larger chips than sawdust, add structure to piles, and prevent compaction that blocks airflow.
Apply two to four inches of cover material after each use. The goal is complete waste coverage with no exposed material visible. Proper coverage stops odor immediately and prevents insects from accessing the waste. Experiment with local materials to find what works best for your climate and waste volume.
Troubleshooting Common Composting Toilet Off Grid Issues
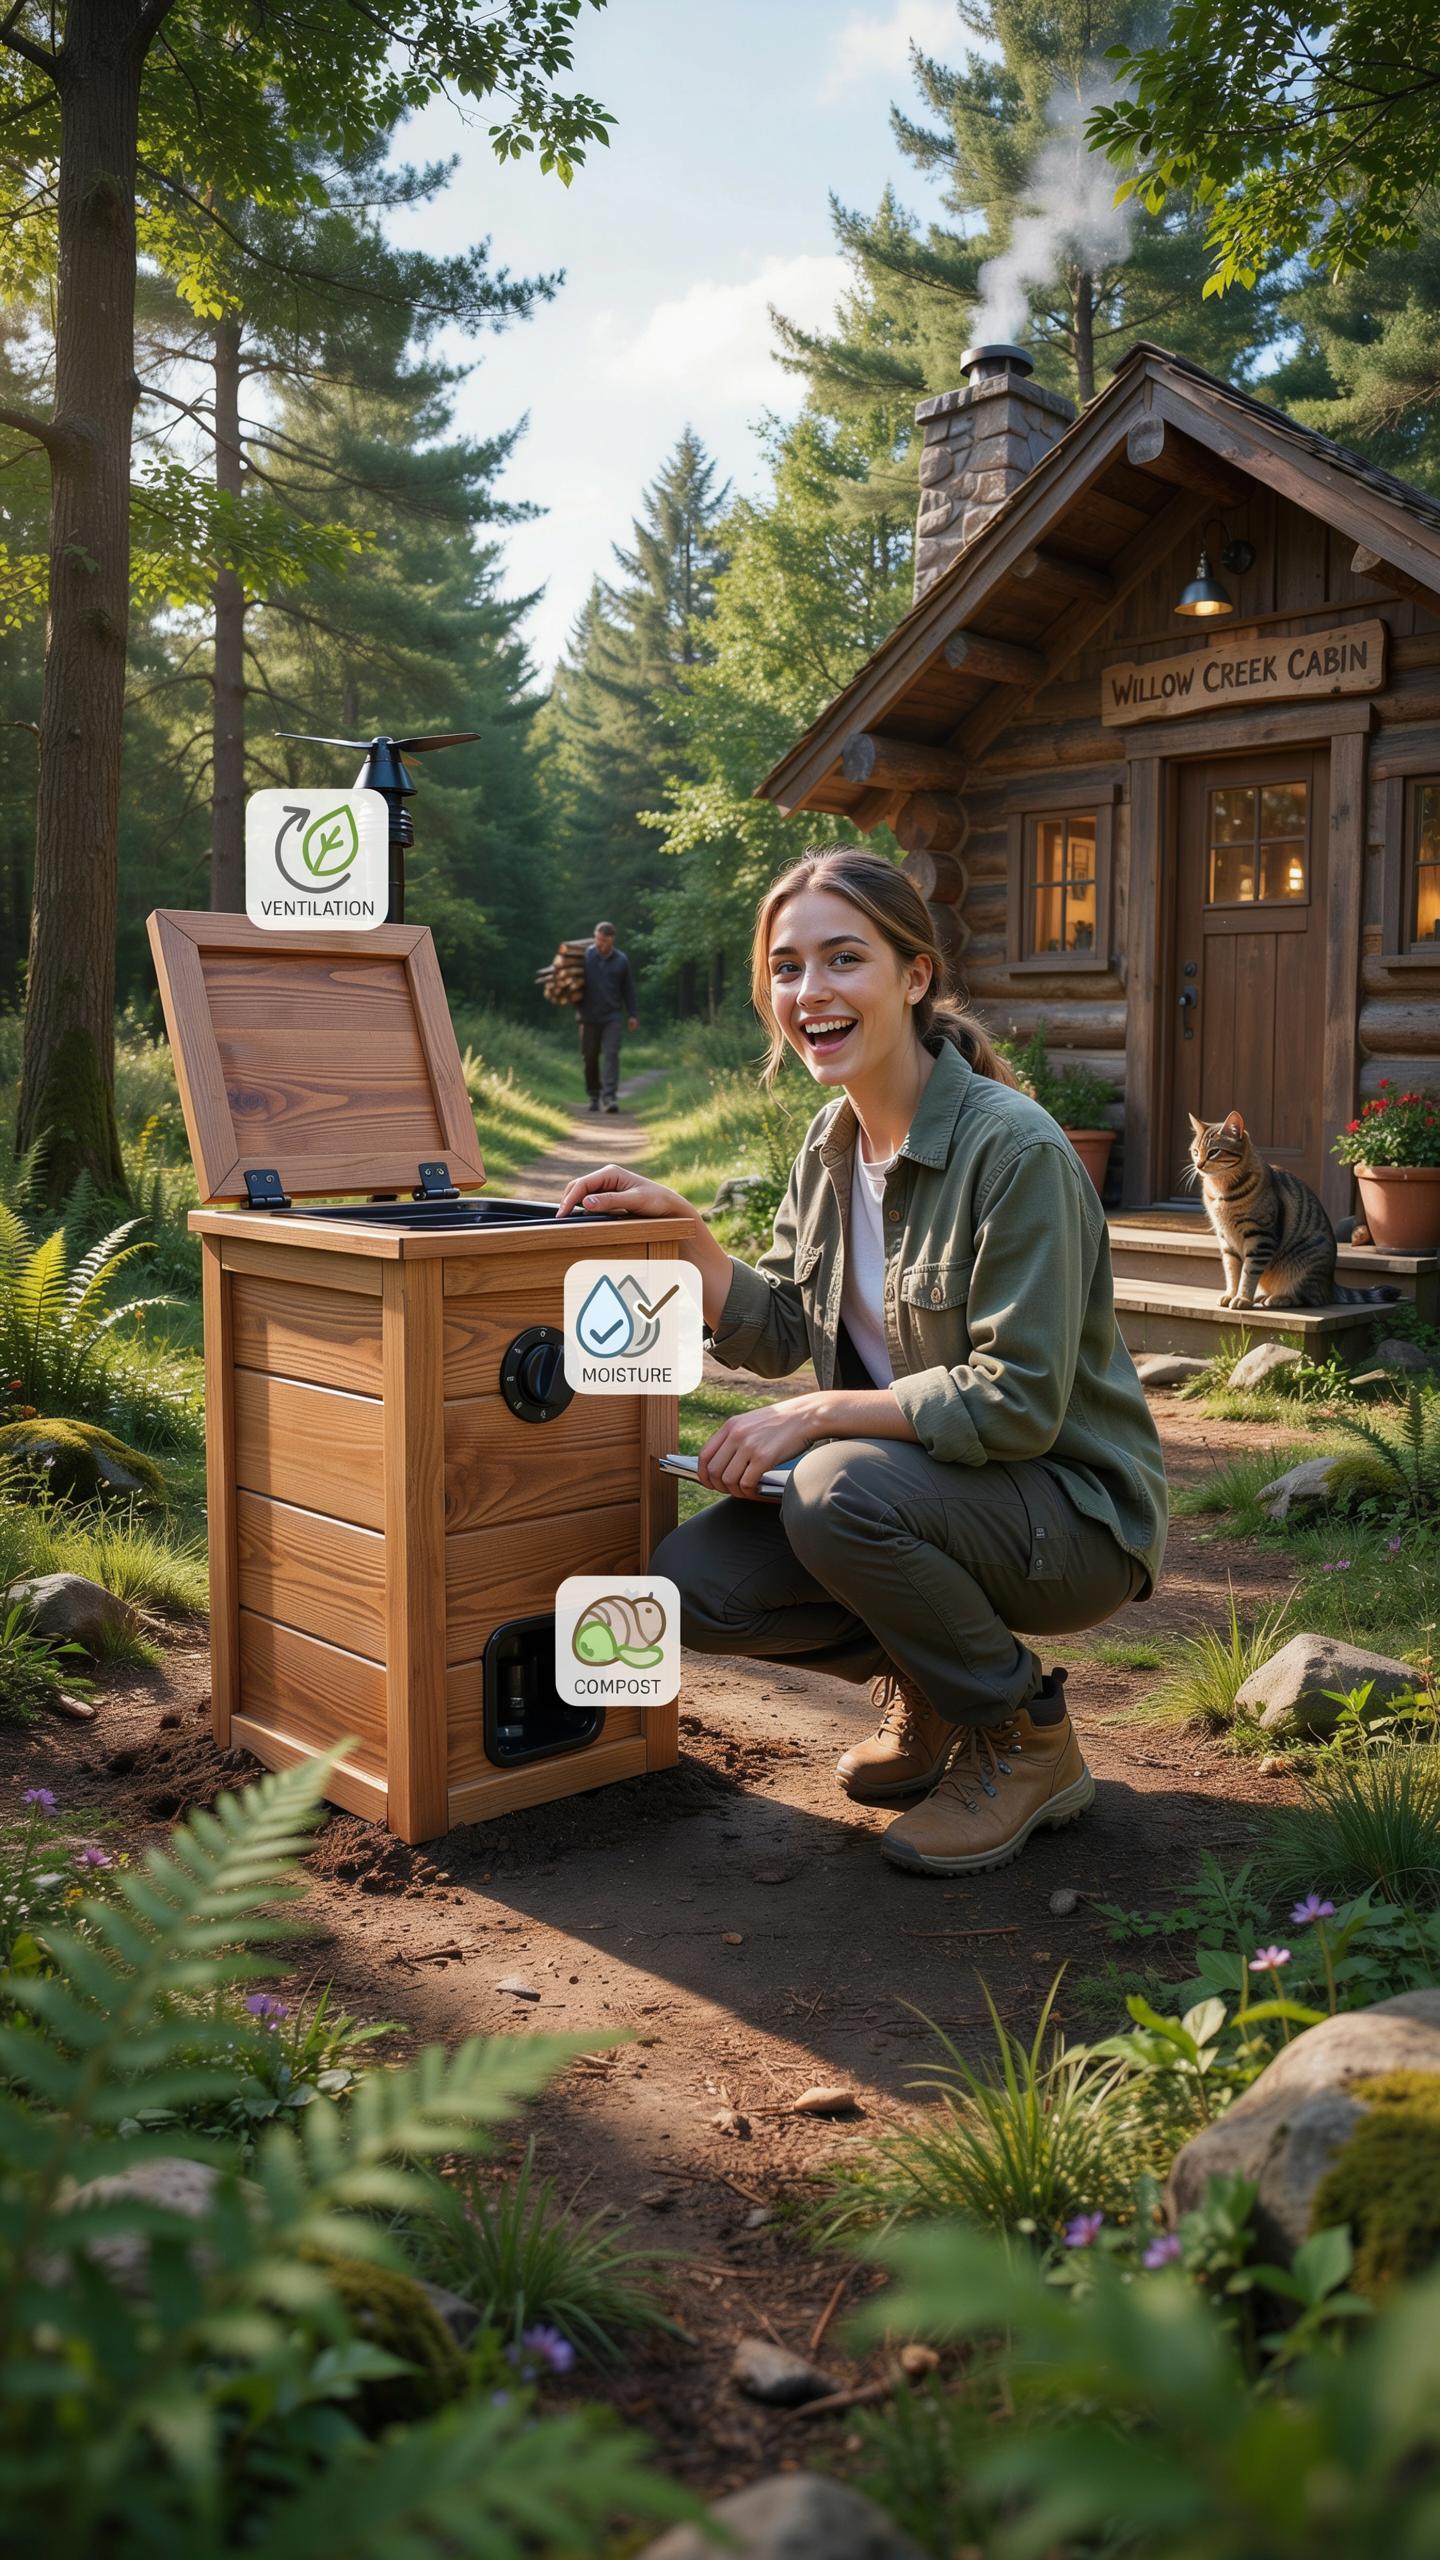
How To Banish Unwanted Insect Pests And Fruit Flies
Insects thrive in moist environments. Keep your composting chamber dry by adding carbon materials like sawdust or wood shavings after each use. Install fine-mesh screens over all ventilation openings to block flies and gnats from entering. Screens with 1/16-inch mesh size stop most problem insects while maintaining airflow.
Diatomaceous earth provides mechanical control without toxins. Dust food-grade diatomaceous earth around the toilet base and inside the chamber monthly. This powder damages insect exoskeletons and kills eggs on contact. Reapply after heavy rain or if moisture levels spike, as wet conditions reduce effectiveness.
Dealing With Excess Moisture And Restoring Proper Balance
A soggy compost pile stops decomposition and produces foul odors. Add dry carbon cover material immediately, such as dried leaves, straw, or shredded paper. Increase ventilation fan speed if your system has mechanical air movement. Run fans continuously until moisture levels drop and the pile regains its earthy smell.
Monitor moisture by checking compost texture. Grab a handful and squeeze it. Material should crumble apart, not drip. If it clumps, add more carbon and boost ventilation. Test moisture weekly until balance returns. Proper moisture sits around 40 to 60 percent, where decomposition proceeds efficiently without smell or pest problems.
Frequently Asked Questions

How exactly does a composting toilet work for someone living off the grid?
A composting toilet functions by separating liquid and solid waste to facilitate aerobic decomposition. By using a bulking agent like sawdust or coconut coir, the system eliminates odors and breaks down waste into nutrient-rich soil. This DIY off grid homesteading composting toilet approach allows you to manage waste sustainably without needing a traditional septic system or a connection to municipal water lines, making it an eco-friendly choice for remote living.
What are the best ways to maintain an off grid composting toilet to prevent smells?
Proper maintenance is essential for a successful off grid homesteading composting toilet setup. First, ensure you keep the solids bin relatively dry by using an effective urine diverter. Always add a generous handful of carbon-rich cover material after every use to lock in moisture and suppress odors. Additionally, installing a small solar-powered vent fan will provide continuous airflow, ensuring the composting process stays aerobic and your bathroom remains fresh year-round.
Is it possible to build a high-quality composting toilet on a limited budget?
Absolutely! You don’t need to spend thousands on commercial models to enjoy a creative and functional bathroom. Many homesteaders build reliable systems using a sturdy five-gallon bucket, a wooden housing box, and a basic urine-separating insert. This DIY method is incredibly affordable and accessible, allowing you to repurpose materials while gaining full control over your waste management system without sacrificing comfort or efficiency in your off-grid home.



