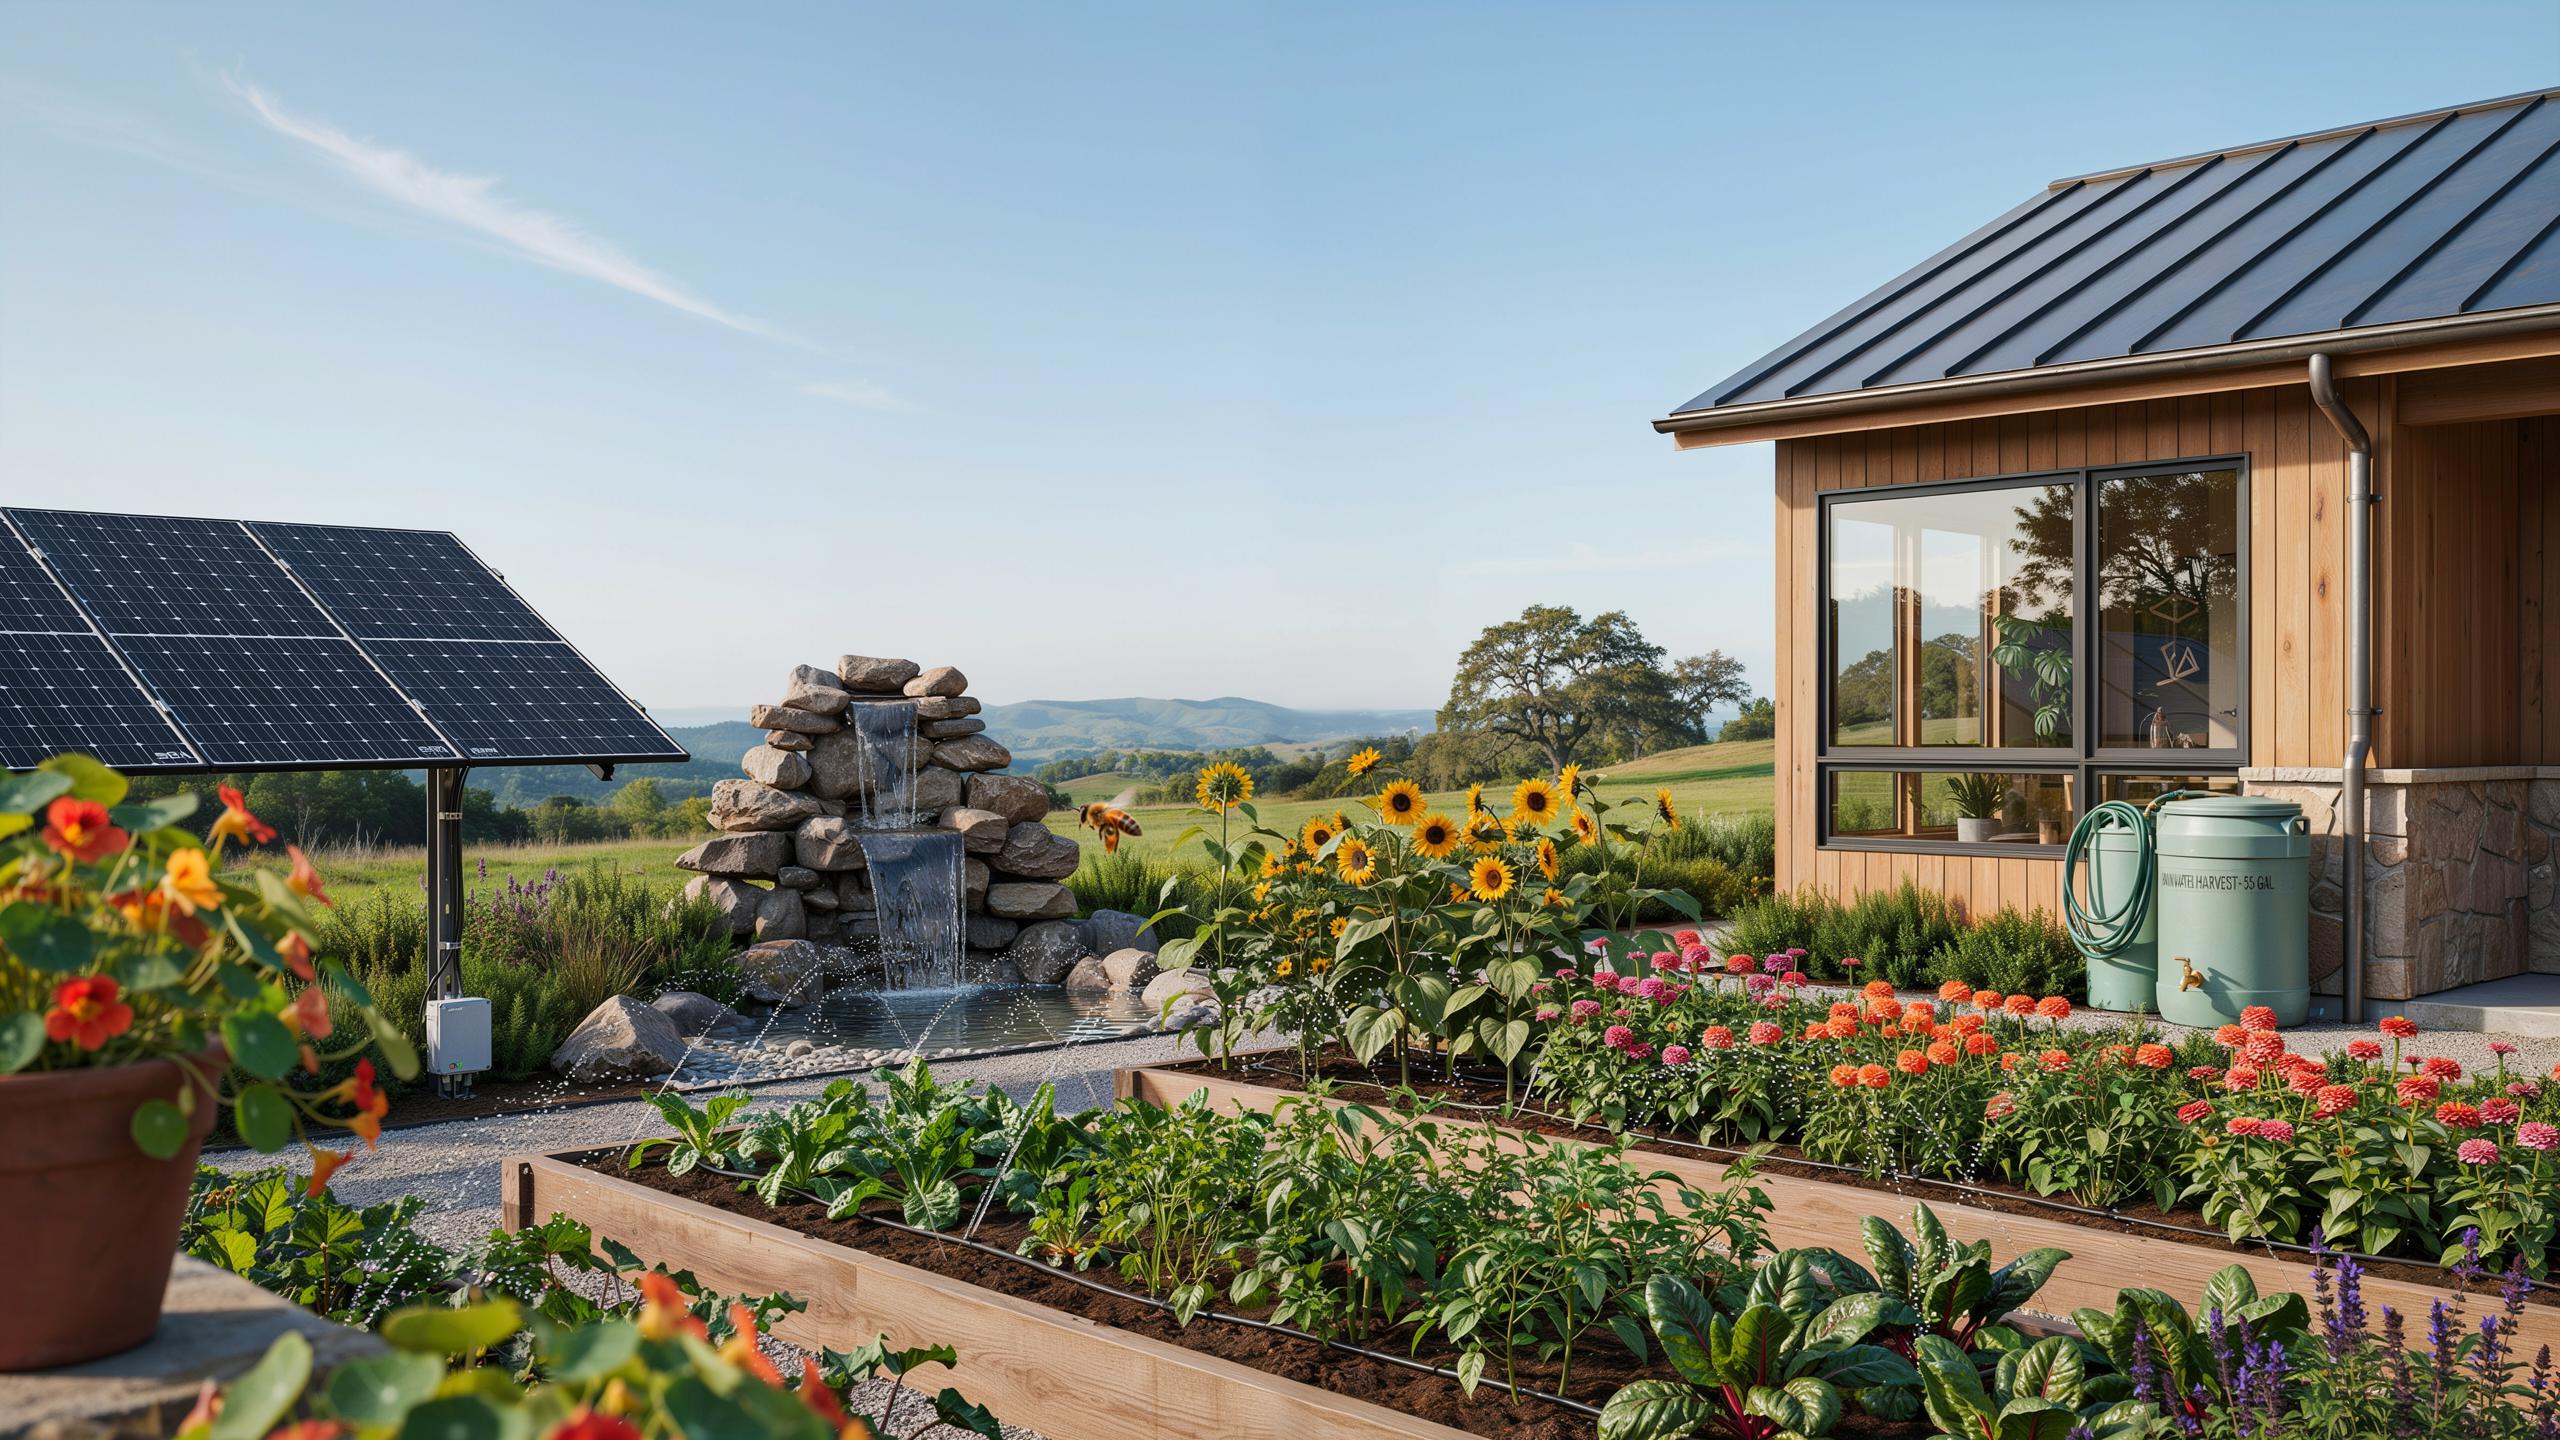
Designing Your Off Grid Homesteading Water Systems With Modern Aesthetics
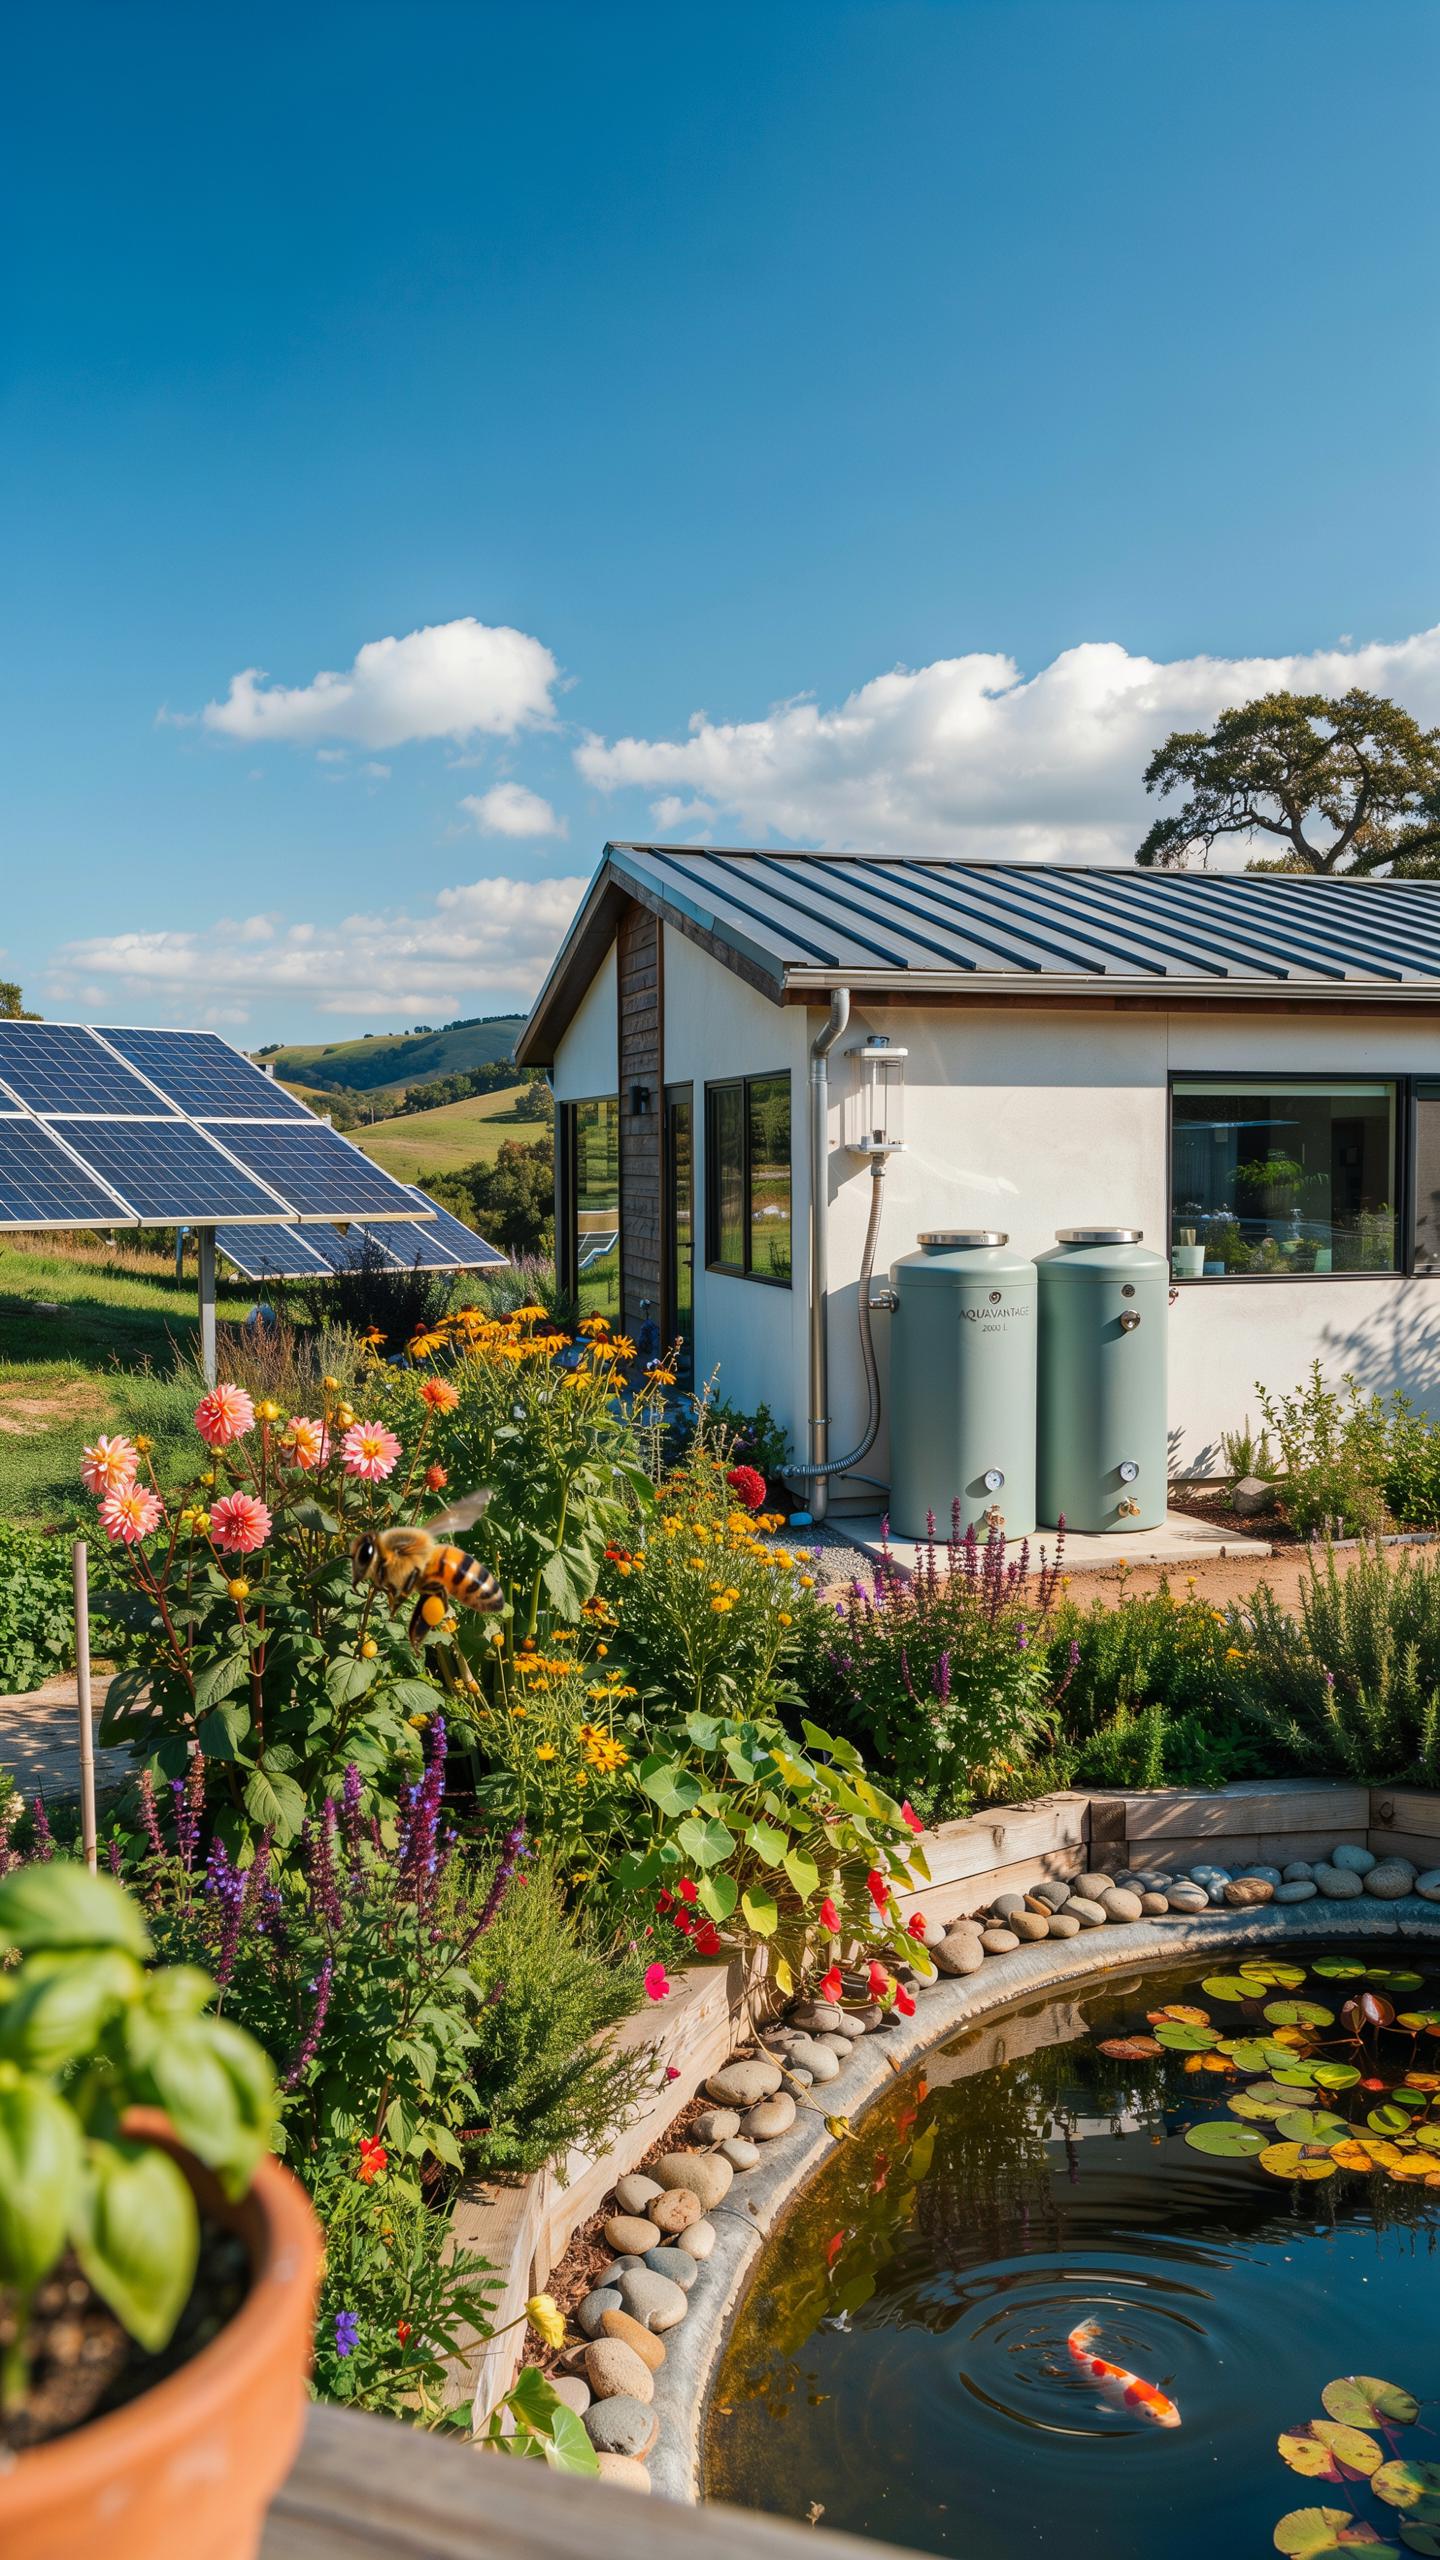
Integrating Infrastructure With Landscape Architecture
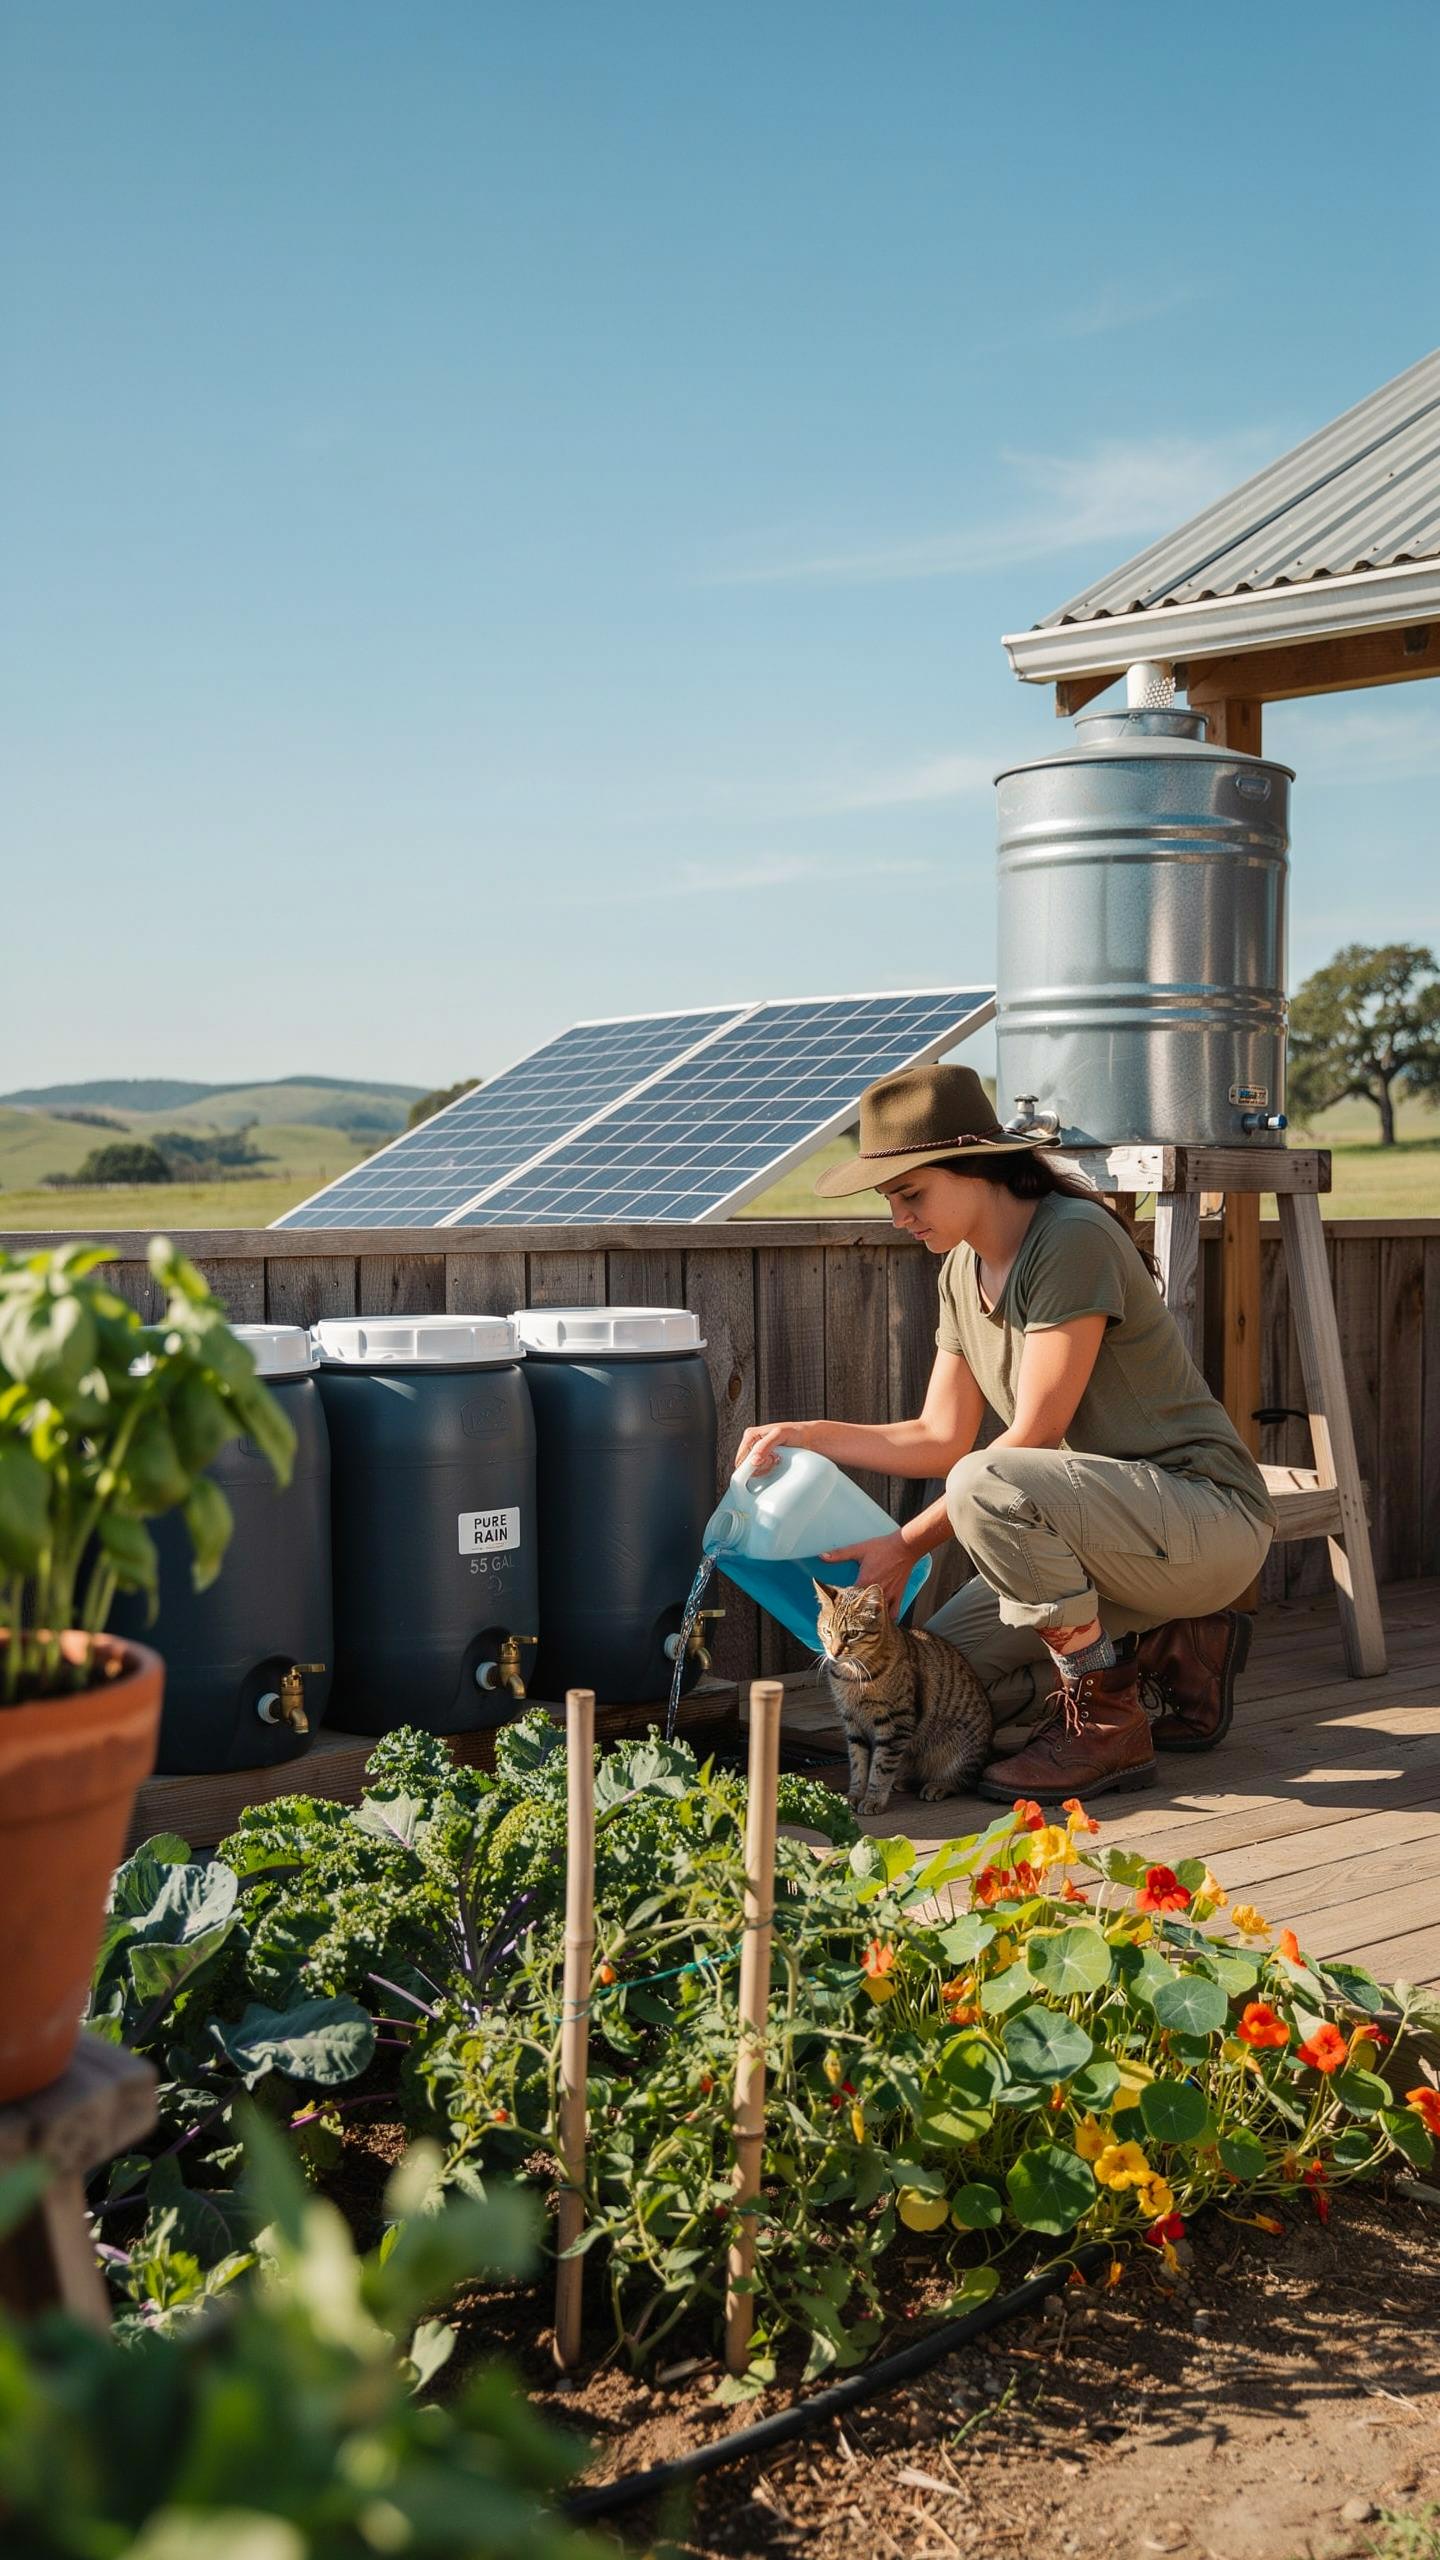
Storage tanks and piping require visual management on any homestead. Subterranean placement eliminates sight lines entirely. Bury cisterns and pressure tanks below frost line depth specific to your region. Ground-level tanks work with timber framing or steel screening that matches your home’s exterior materials. This approach protects equipment from UV damage while maintaining property aesthetics.
Modern landscape design treats infrastructure as functional sculpture. Use decorative screening made from horizontal slat wood, metal panels, or living plant barriers to obscure above-ground components. Route piping along existing structures or bury lines within trenches that follow property contours. Position water collection points near natural drainage areas. This reduces pumping requirements and creates logical flow patterns across your property.
Selecting Stylish And Functional Fixtures
Outdoor fixtures must handle constant exposure and freeze thaw cycles. Brass fixtures resist corrosion naturally but require maintenance. Stainless steel outlasts brass with zero corrosion risk. Matte black coatings hide mineral deposits better than polished finishes. Choose materials rated for your climate zone’s temperature extremes and UV intensity levels.
Heavy-duty outdoor fixtures serve dual functions: water access and visual anchors. Install brass or stainless steel faucets, hose bibs, and shower heads where guests and family members gather. These durable materials maintain performance in subzero temperatures and direct sunlight. Industrial-style fixtures complement modern and rustic designs equally. Quality hardware costs more upfront but eliminates replacement cycles and maintains property value.

Designing Your Elegant Rainwater Harvesting System For Maximum Yield
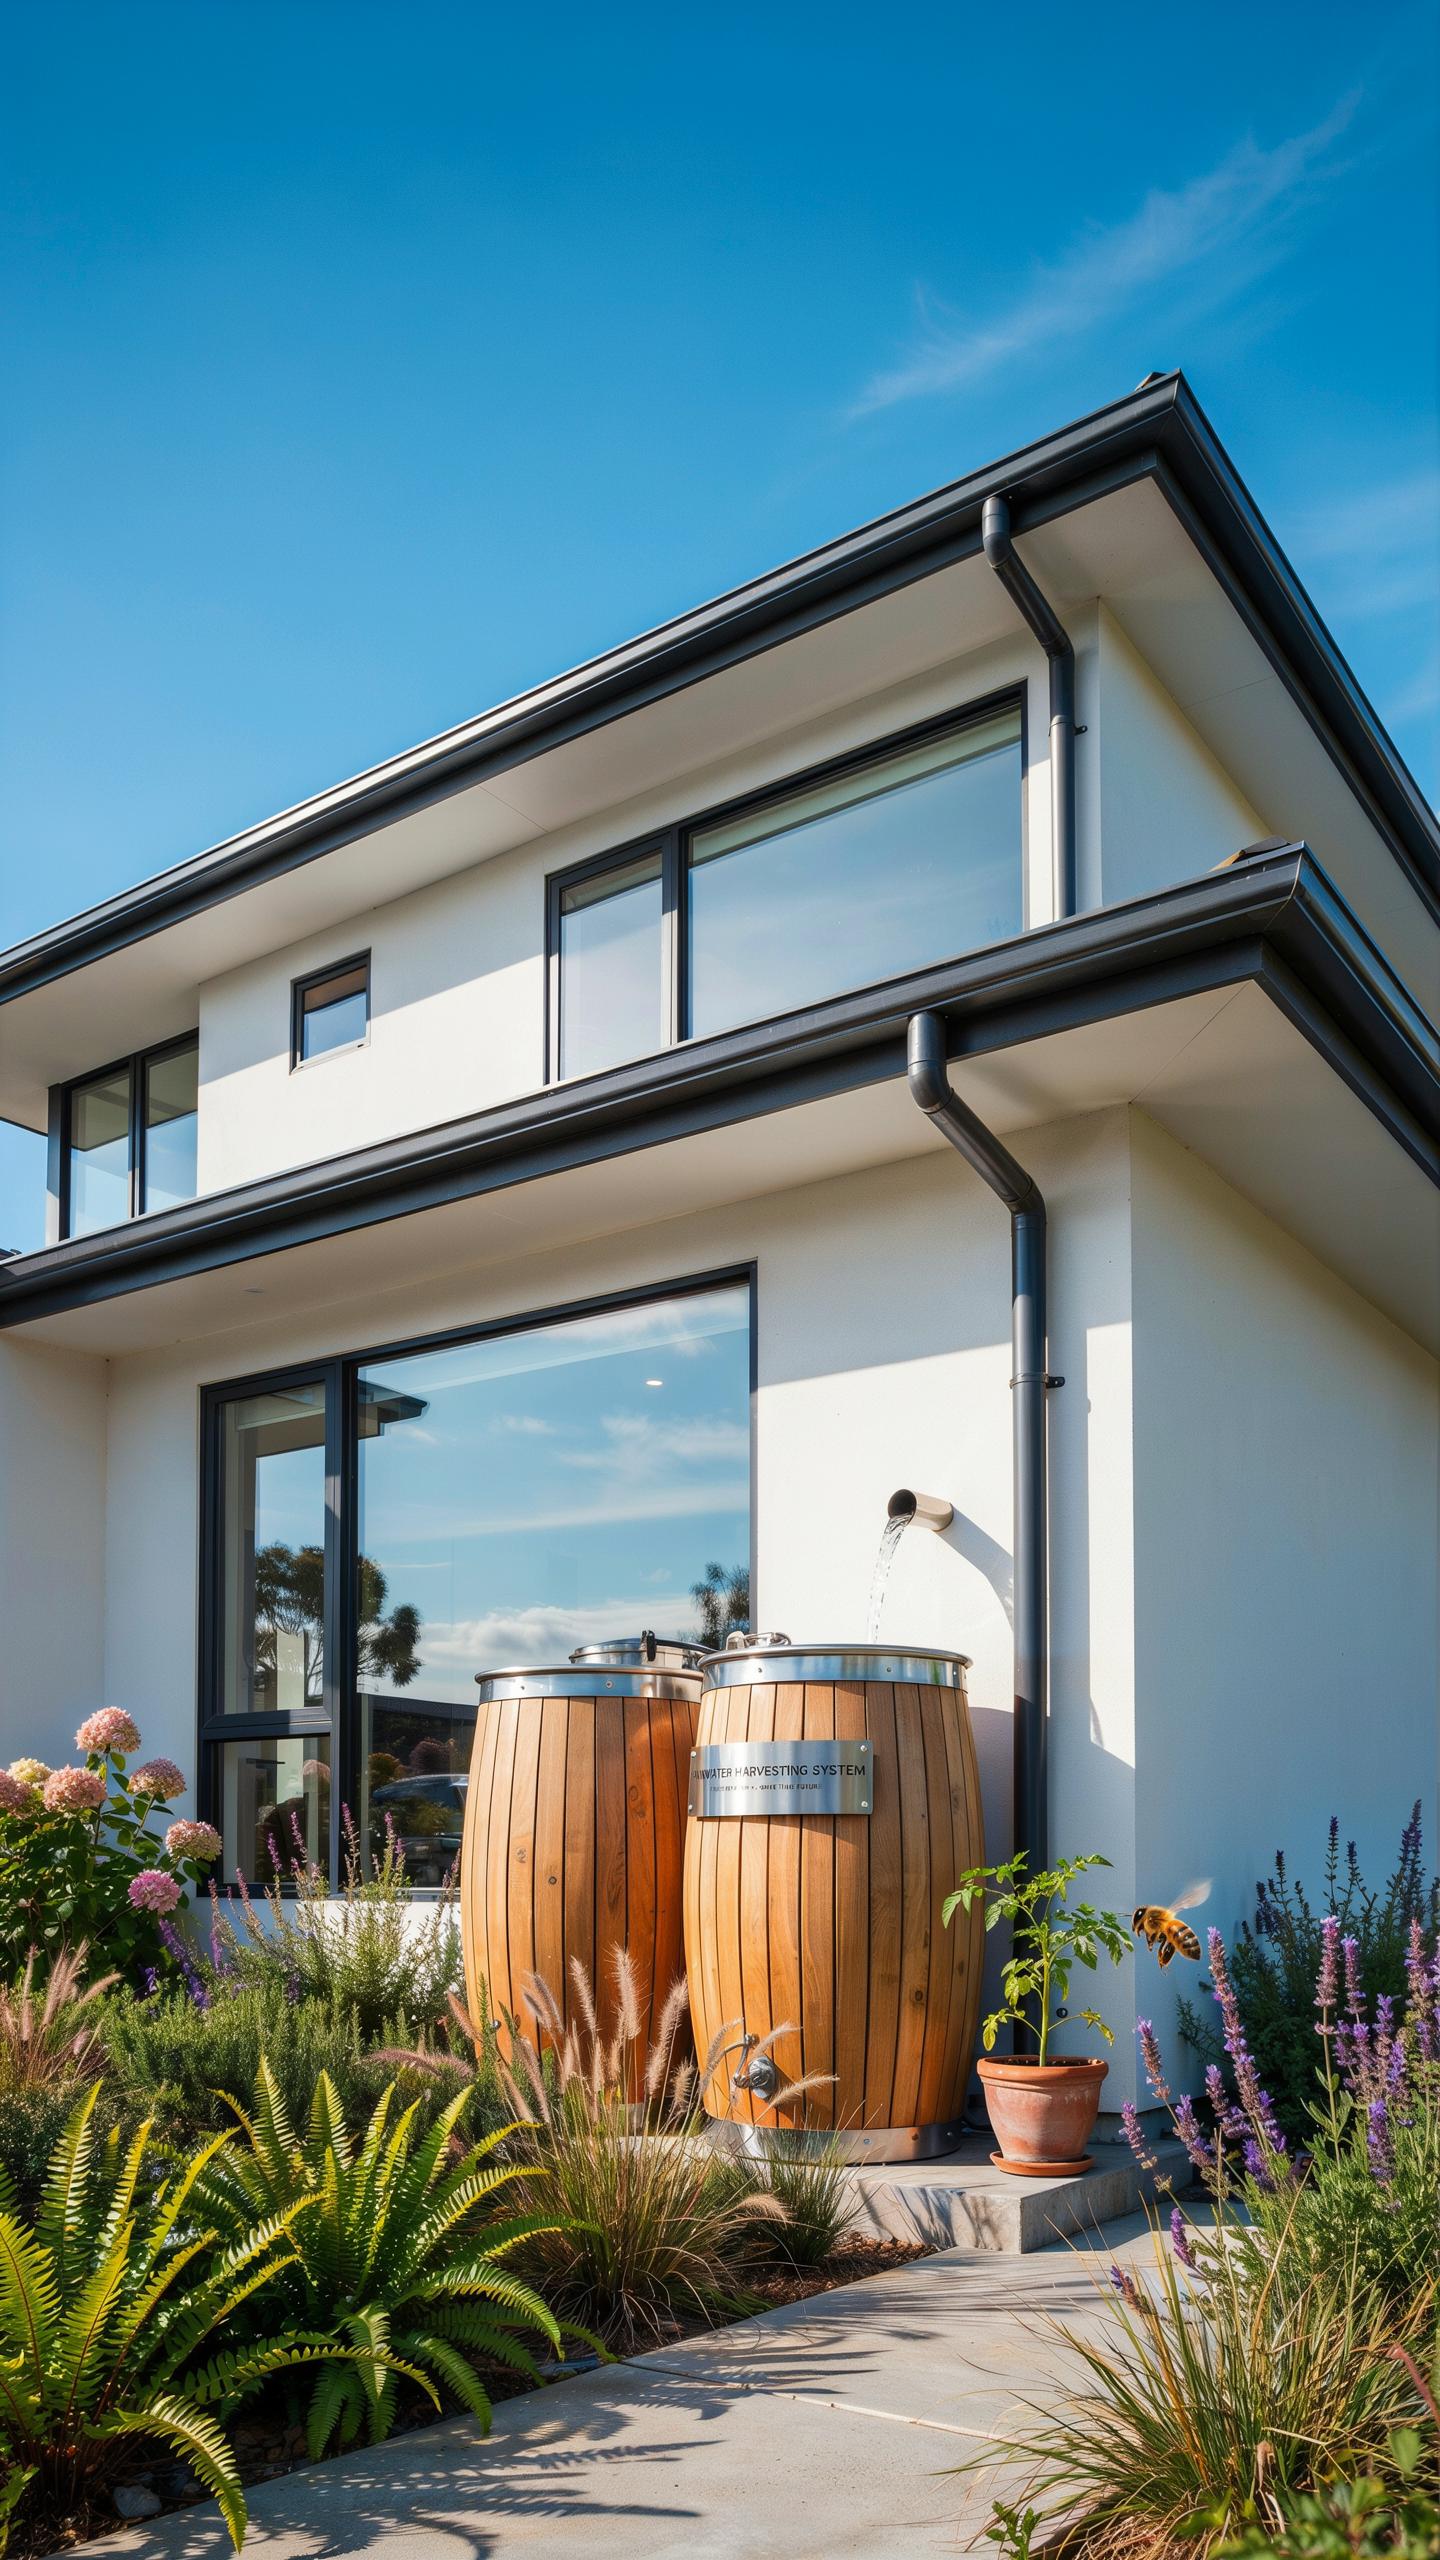
Sizing Roof Catchments And Architectural Gutters
Calculate your roof’s catchment potential by measuring your roof footprint in square feet, then multiply by your regional annual rainfall in inches. Convert inches to feet and multiply by 0.6 to account for losses from evaporation and material absorption. This gives you gallons per year. A 2,000 square foot roof in a 40-inch rainfall zone captures roughly 49,000 gallons annually before losses.
Copper and modern steel box gutters outperform traditional half-round gutters in high-intensity rainfall events. Box gutters handle greater water volume without overflow and integrate seamlessly into contemporary and traditional architecture. Install gutters with a minimum slope of one-eighth inch per ten feet toward downspouts. Undersized gutters fail during heavy rain, causing water to cascade past collection points and reducing system efficiency by thirty to fifty percent.
Essential Elements Of A Luxury Catchment Setup
Your first-flush diverter automatically removes debris and contaminants from the initial rainfall before water enters storage. This component alone prevents sediment buildup that clogs filtration systems and degrades water quality over time.
- First Flush Diverters: Automated or manual devices that bypass initial roof runoff containing dust, bird droppings, and organic matter before directing clean water to cisterns.
- Leaf Screens And Pre Filters: Mesh screens positioned at gutters and downspouts prevent leaves, twigs, and large debris from entering storage tanks and clogging distribution lines.
- Food Grade Cisterns: Tanks made from polyethylene, fiberglass, or sealed concrete designed specifically for potable water storage without leaching chemicals or supporting bacterial growth.
- Interior Tank Sealants: NSF certified epoxy or polyurethane coatings applied to concrete cisterns prevent contamination and extend tank lifespan beyond twenty years.
- Overflow Management Systems: Properly graded overflow pipes direct excess water away from foundations and into secondary storage or drainage areas during peak rainfall events.

Install tank overflow lines separate from main downspouts to prevent backflow and system damage during heavy storms. Overflow pipes should discharge at least ten feet from your foundation and preferably into bioswales or secondary catchment areas. This approach prevents foundation erosion and allows you to capture supplementary water for irrigation or livestock use.
Choosing A Homestead Water System Source That Blends Utility And Elegance
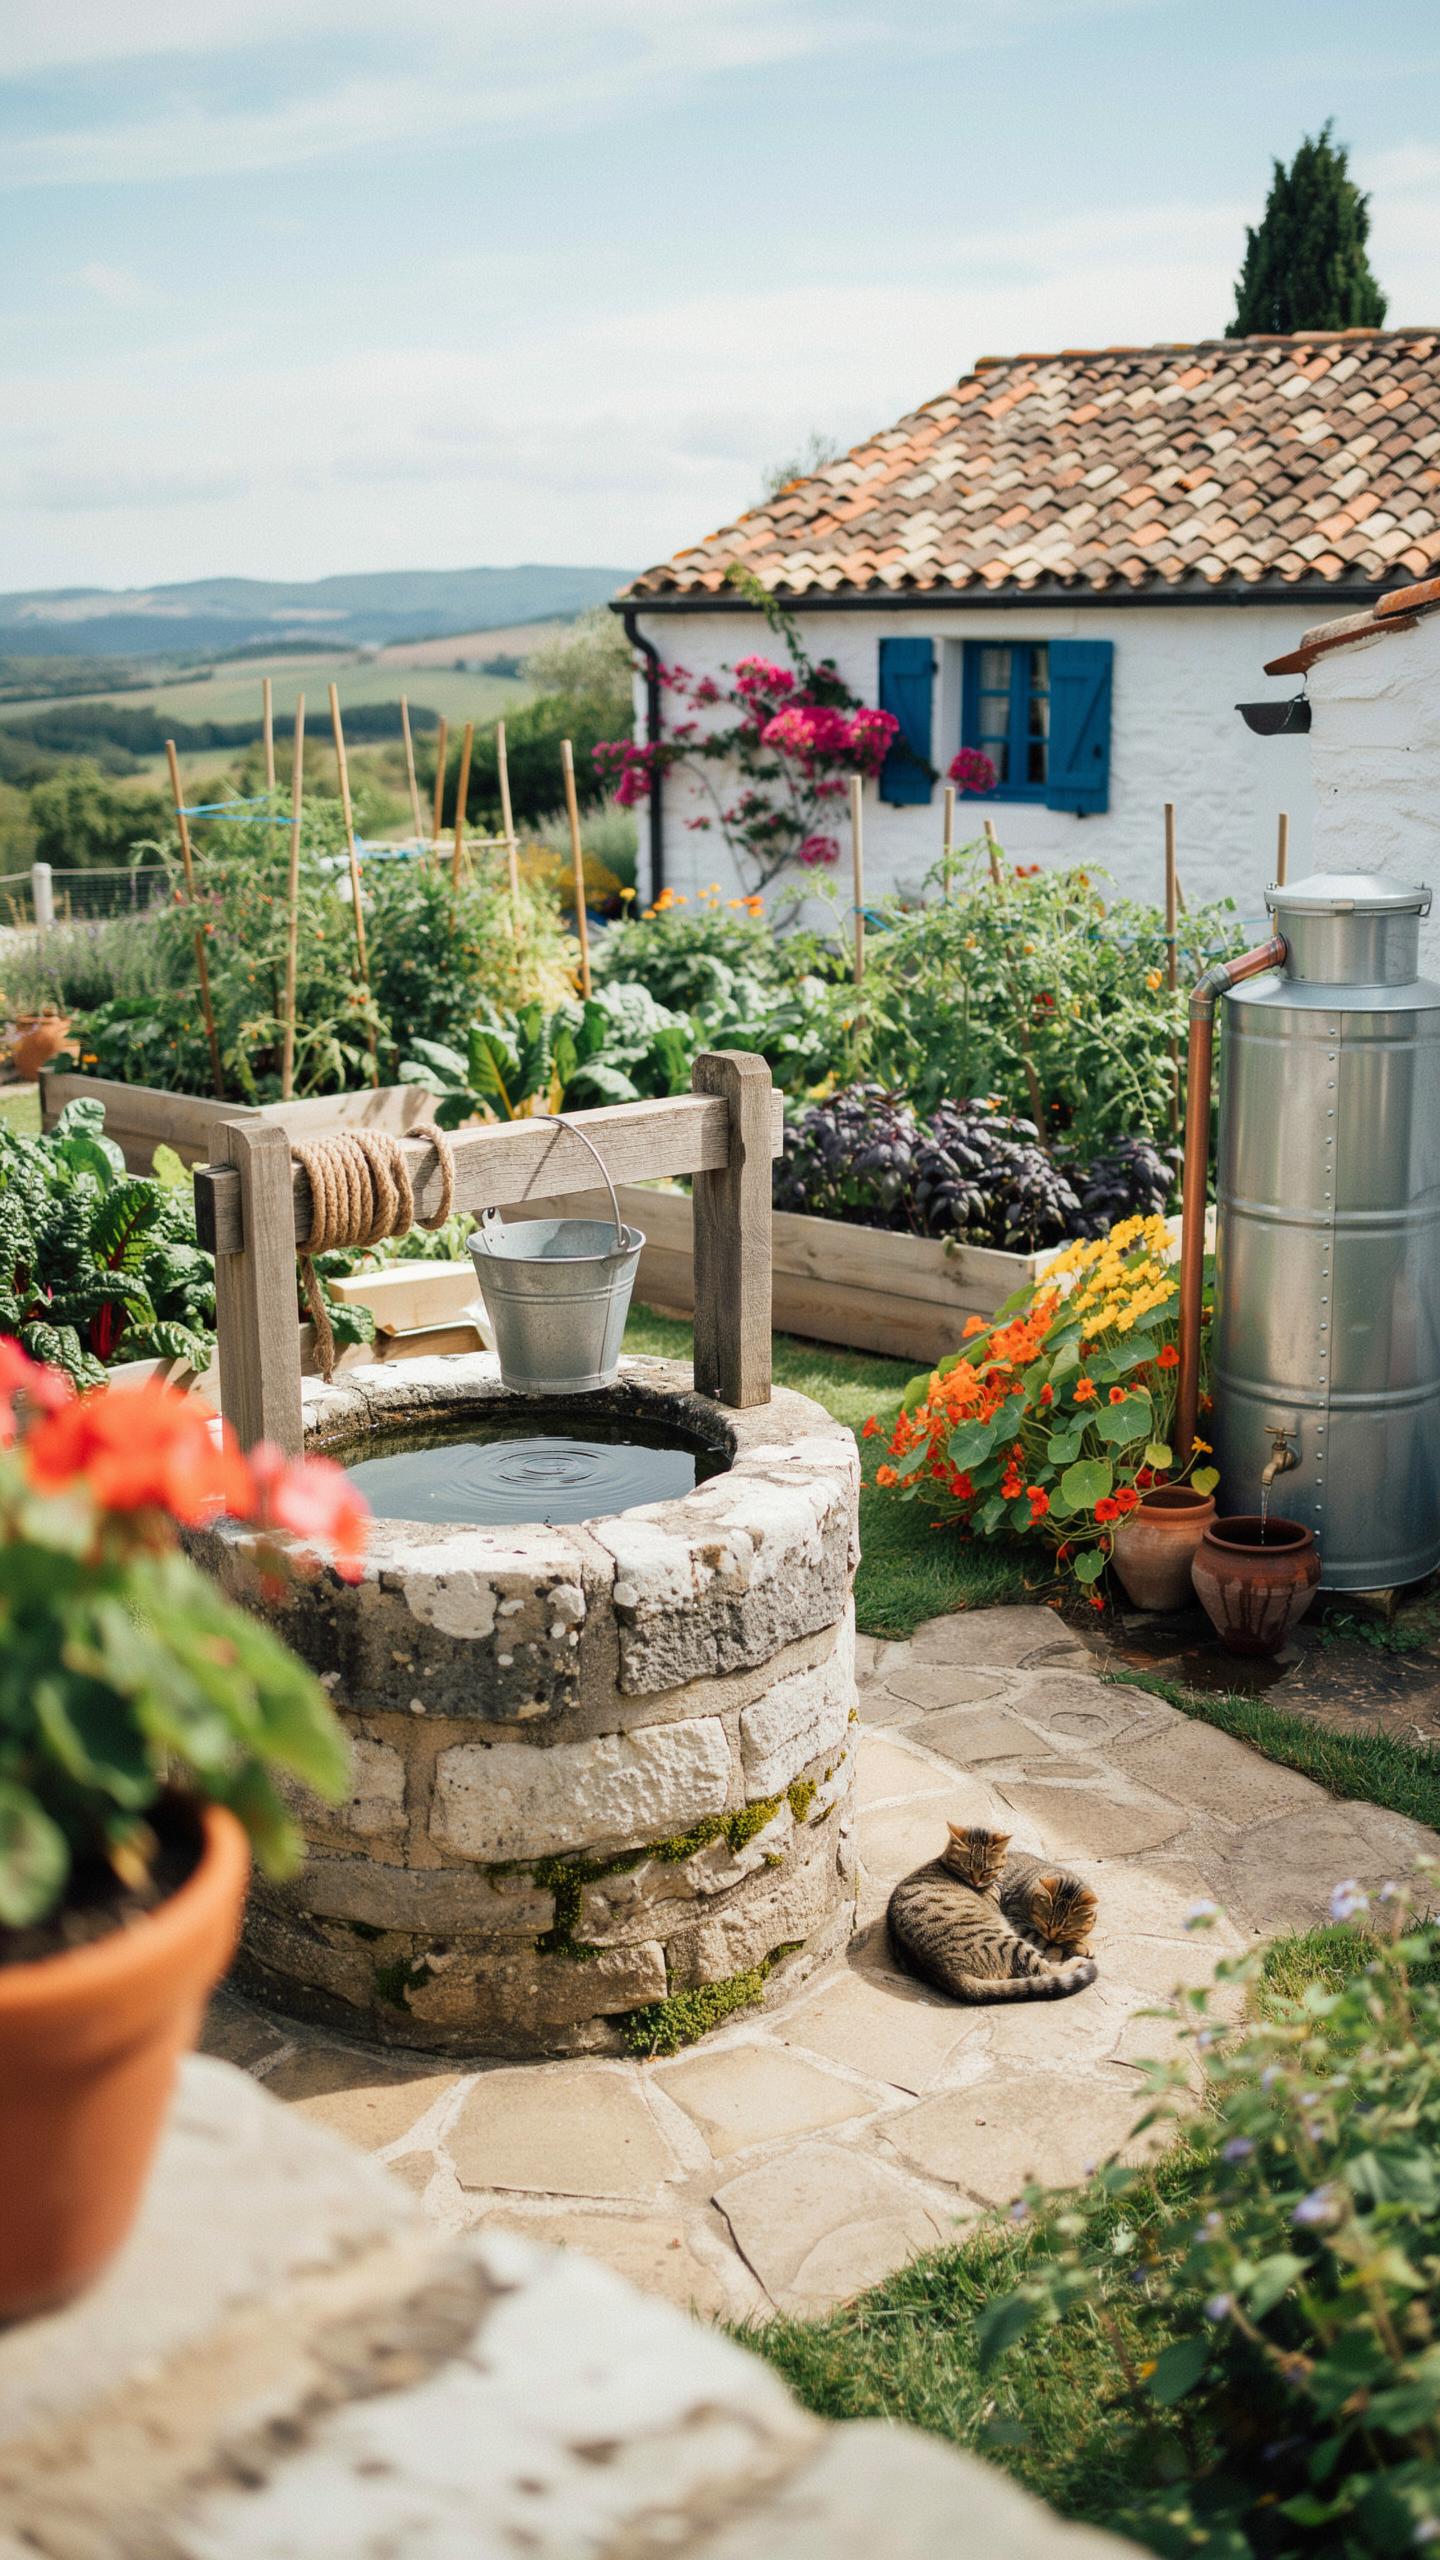
Harnessing Deep Wells With Aesthetic Pumphouses
Deep wells access groundwater from aquifers 25 to 300 feet below surface. This water source remains consistent year-round and avoids surface contamination. You pump water to a storage tank or directly to your home. A well-constructed pumphouse protects the pump, pressure tank, and plumbing from weather and freezing. Matching the pumphouse architecture to your homestead creates visual coherence on the property.
Build pumphouse walls from timber, stone, or metal siding that mirrors your home’s style. Install adequate ventilation to prevent moisture buildup around equipment. Size the structure to accommodate your specific pump type, tank dimensions, and maintenance access. Seal gaps and add proper grading around the foundation to keep groundwater away from the structure. This approach keeps mechanical systems functional while maintaining property aesthetics.
Developing Natural Springs With Low Impact Springboxes
Natural springs deliver gravity-fed water without pump energy. Springboxes capture water at the source before it disperses into soil. Concrete springboxes cost less than polyethylene versions but require excavation and curing time. Food-grade polyethylene boxes cost more but install faster and resist freeze damage better in cold climates. Both options funnel water downhill to storage tanks or directly to your home.

Conceal springbox structures using stacked stone, native plantings, or timber frames that blend with the landscape. Position the box at the highest point on your property to maximize gravity pressure downhill. Install overflow pipes to prevent pooling and mosquito breeding. Add a settling chamber to allow sediment to drop before water enters distribution lines. This method produces reliable water flow with minimal visual impact on your homestead.
A Guide To Elegant Water Purification DIY And Filtration Solutions
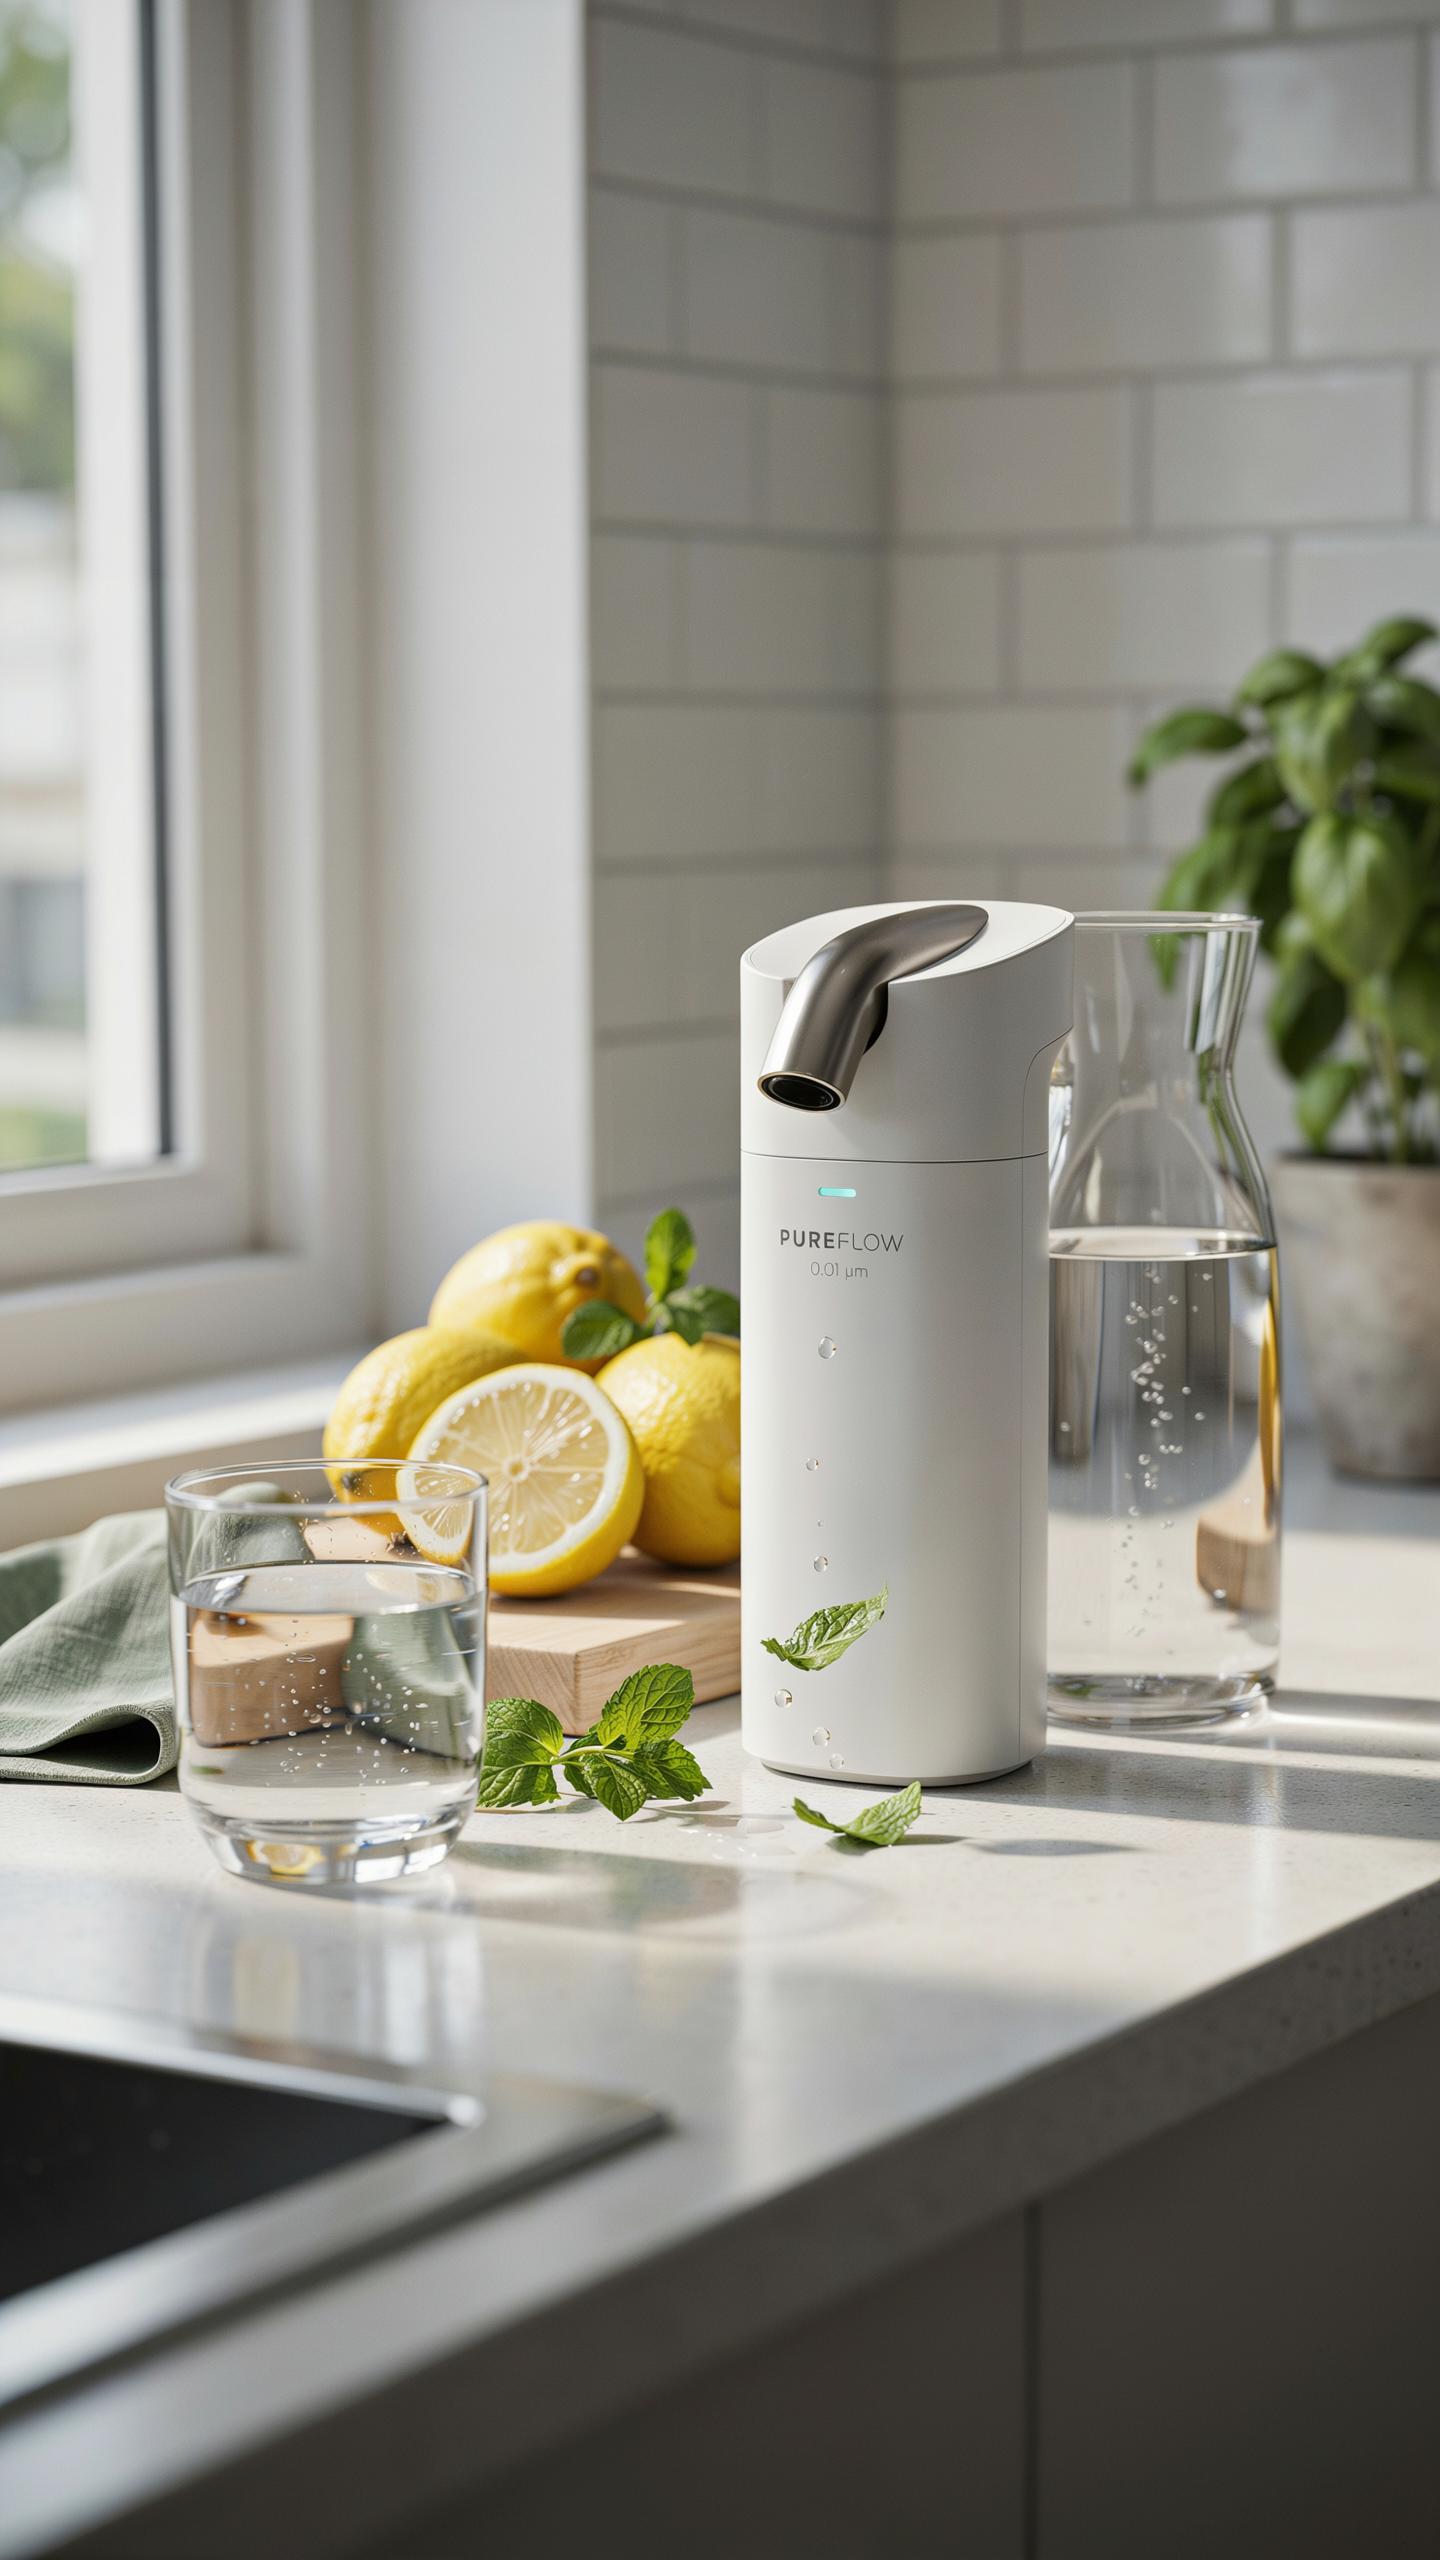
Multi Stage Mechanical And Carbon Block Filtration
Raw water from wells, springs, or surface sources contains sediment, silt, and organic compounds that compromise taste and equipment lifespan. A sequential filtration system addresses this through mechanical removal first, then chemical absorption. This approach is the foundation of reliable off grid homesteading water systems.
Start with a sediment pre-filter rated between 20 and 5 microns. This stage traps sand, silt, and larger particles before water reaches expensive downstream components. Position this filter as your first stage immediately after your intake pump or gravity collection point.

Follow sediment filtration with activated carbon block filters. These remove chlorine residue, pesticides, volatile organic compounds, and odors through adsorption. Carbon blocks outperform granular carbon because they provide consistent contact time and resist channeling. Replace carbon blocks every 6 to 12 months depending on your water quality and daily volume consumed.
Stack these stages in sequence: sediment, then carbon, then distribution to storage or point of use. This order protects your carbon investment by removing particles that would otherwise clog and shorten its effective life. The entire system requires minimal maintenance beyond filter cartridge replacement and occasional system pressure checks.
Integrating UV Sterilization For Crystal Clear Drinking Water
Ultraviolet sterilization destroys bacteria, viruses, and protozoa by damaging their DNA and preventing reproduction. UV systems require no chemicals, leave no residue, and do not alter water taste or mineral content. A UV chamber rated for your flow rate delivers effective pathogen reduction when positioned after all mechanical and carbon filtration stages.
UV light operates in the 254-nanometer wavelength, the peak absorption range for microbial DNA. Water must pass directly through the UV chamber with sufficient exposure time for effectiveness. Typical residential systems operate at 1 to 10 gallons per minute and consume 15 to 75 watts of electricity per hour of operation.
Position your UV sterilizer as the final treatment stage before storage tanks or point of use taps. This placement protects against any recontamination that occurs during filtration or in your distribution lines. UV systems eliminate 99.9 percent of pathogens under proper flow rates and lamp conditions, making them essential for off grid homesteading water systems relying on untested sources.

Replace UV lamps annually or when output drops below manufacturer specifications. Most systems include a sleeve around the lamp that prevents direct water contact while allowing light transmission. Monitor lamp operation with hour counters or electronic sensors to track maintenance schedules and ensure consistent disinfection performance.
Creating A Water Filter DIY System Using Natural Media Layers
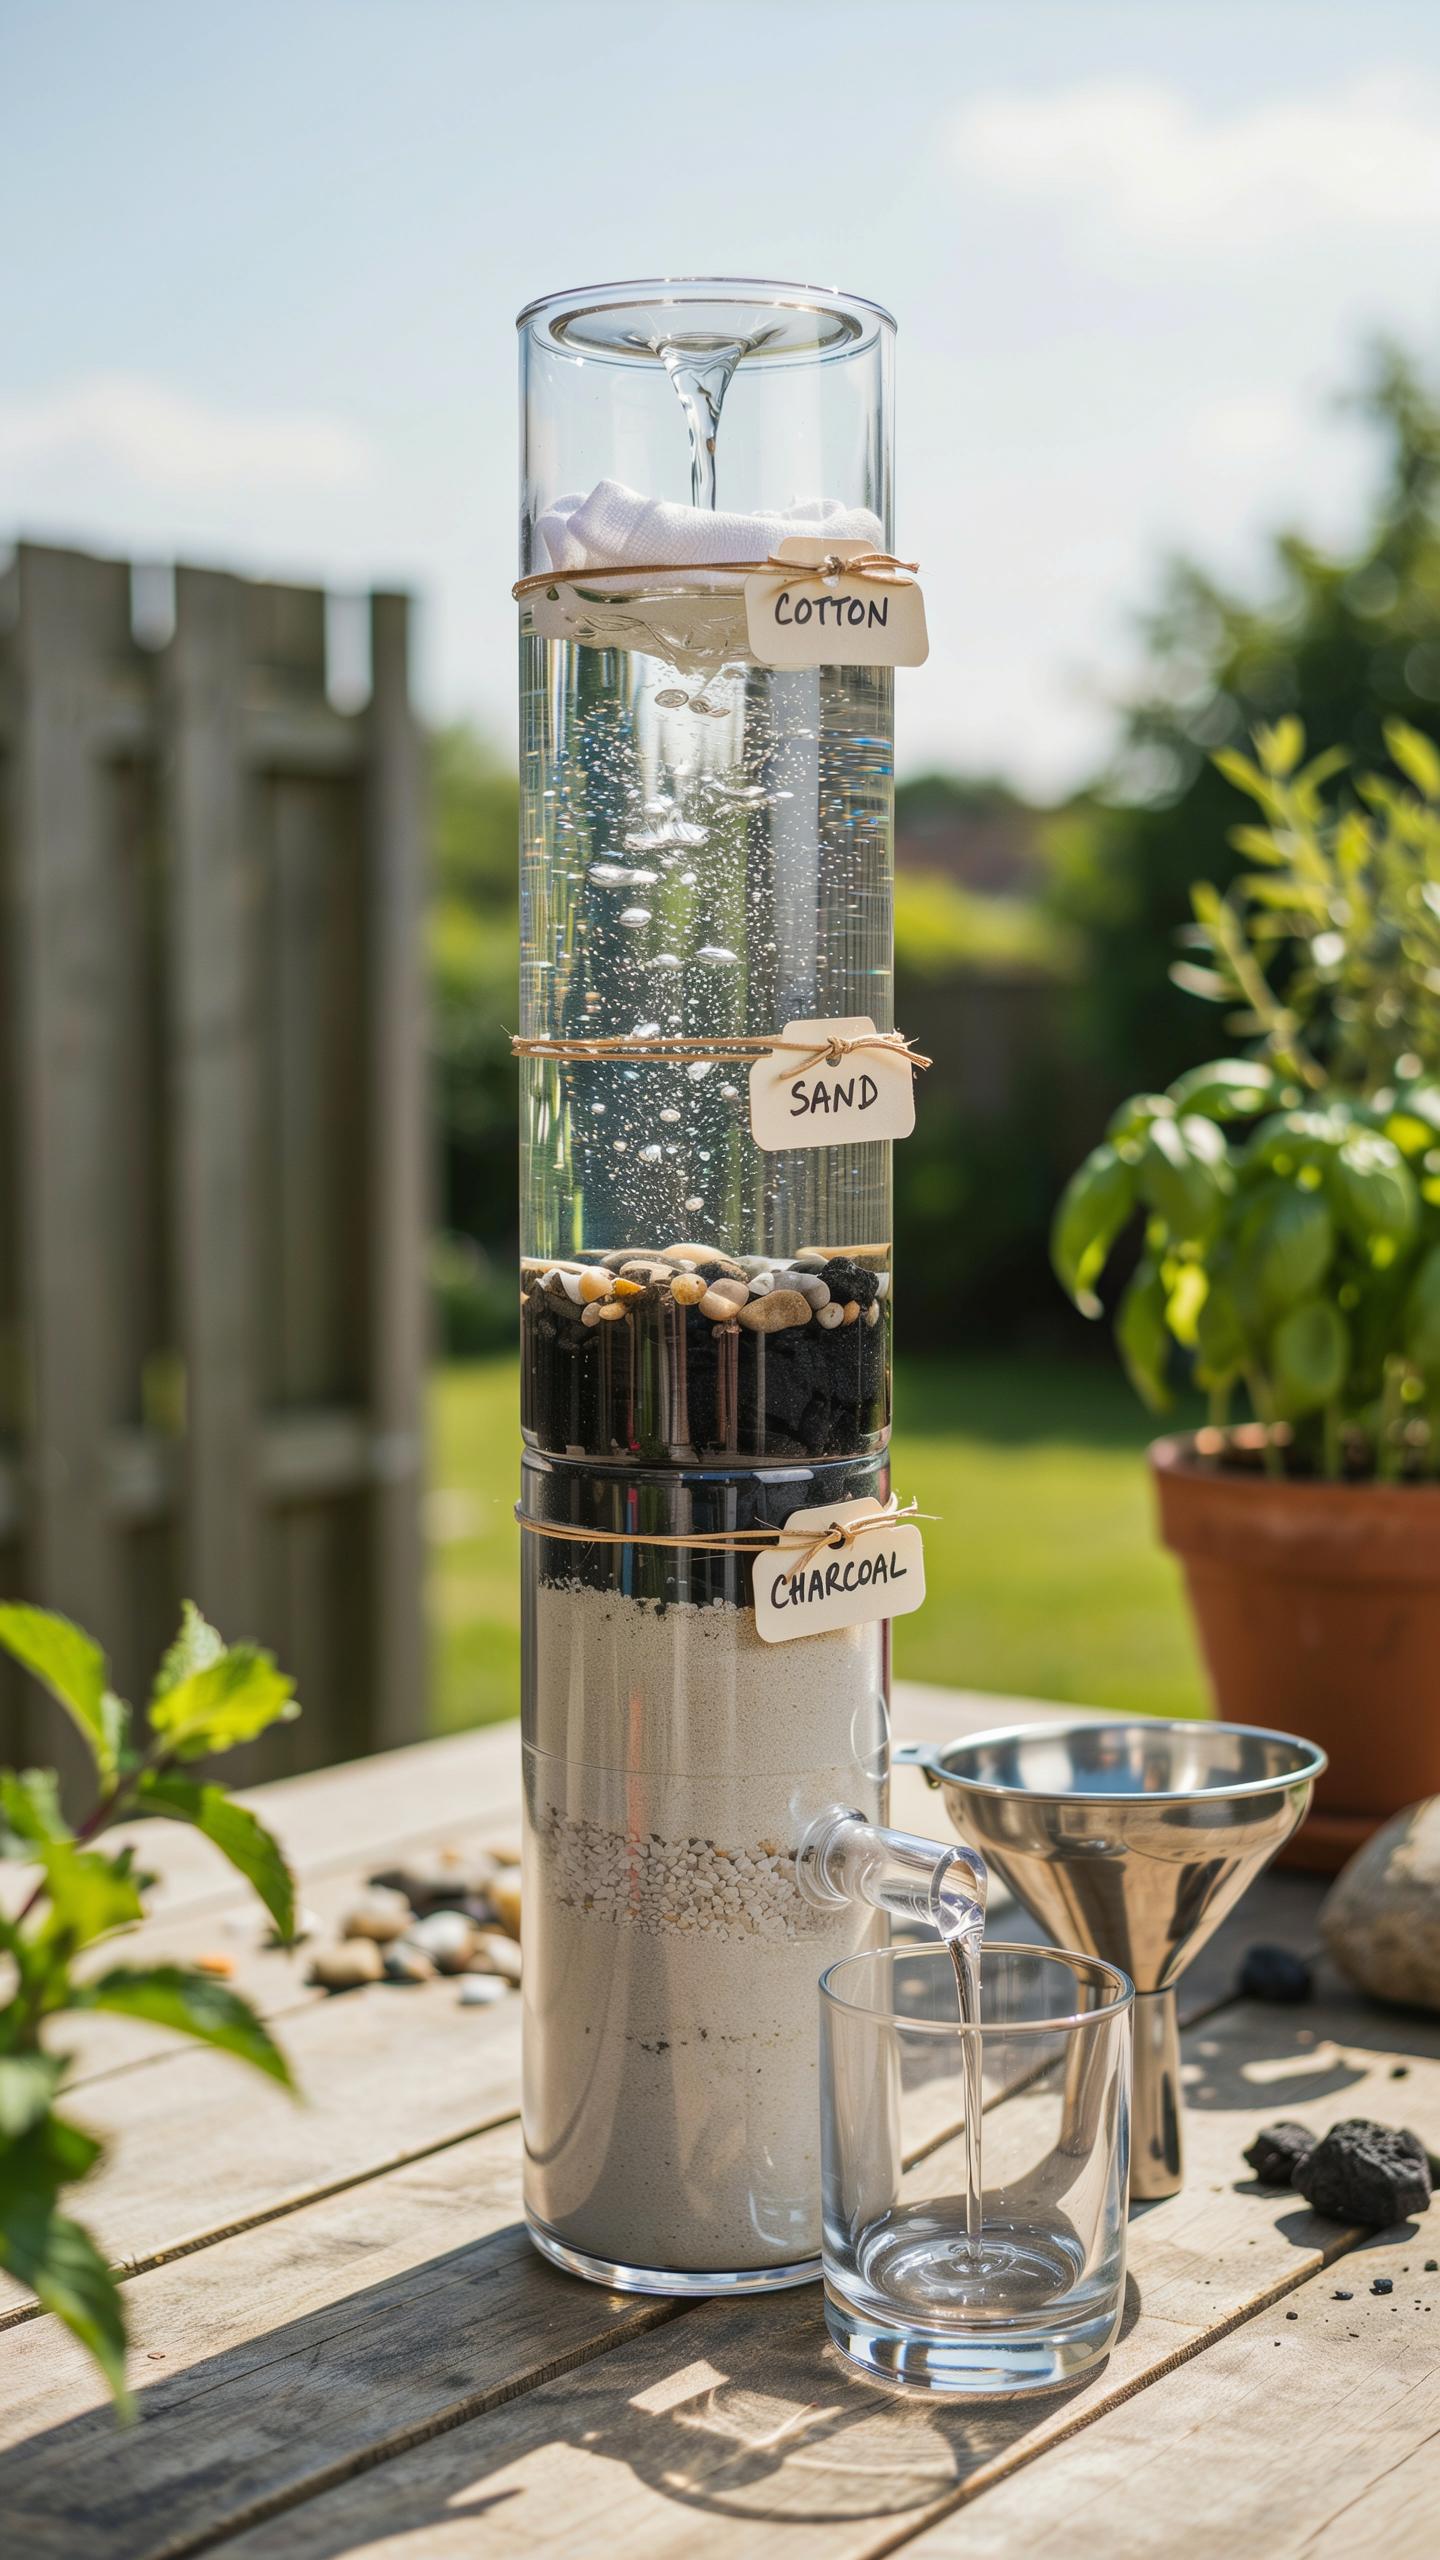
The Mechanics Of Slow Sand And Bioactive Filters
Slow sand filters work through biological and physical processes that remove pathogens without chemicals. Water moves downward through layers at a rate of 0.1 to 0.3 meters per day. This slow pace allows a bioactive layer called the schmutzdecke to form at the top. This layer contains protozoa, algae, and bacteria that consume organic matter and pathogens through predation and competition for nutrients.
The schmutzdecke typically develops within two to four weeks of operation. Below this layer, sand acts as a mechanical and biological filter. Protozoa in the sand consume bacteria and viruses. Organic compounds adsorb to sand particles. This combination removes 99 to 99.9 percent of bacteria and protozoa. Viruses require additional treatment like activated charcoal or UV light for complete removal.
Constructing A DIY Gravity Filter Chamber
Start with a food-grade plastic or stainless steel container with a minimum height of 36 inches. Drill an outlet port near the bottom, approximately 2 inches above the base. Install a valve at this port to control flow rate. The interior must be clean and free of contaminants before assembly.
- Drainage layer: Place 2 to 3 inches of large gravel at the bottom to prevent sand from clogging the outlet valve and ensure even water distribution downward.
- Support sand: Add 4 to 6 inches of coarse sand above the gravel layer to provide structural support and initial filtration of larger sediment particles.
- Activated charcoal layer: Install 6 to 8 inches of activated charcoal to remove chlorine, volatile organic compounds, and odors while improving water taste and clarity.
- Fine filtration sand: Layer 12 to 18 inches of fine silica sand to serve as the primary biological and mechanical filtration stage where the schmutzdecke will eventually form.
- Upper support layer: Top with 2 to 3 inches of coarse sand to distribute incoming water evenly across the fine sand layer and prevent erosion from direct water impact.

Pour water slowly into the chamber during assembly to eliminate air pockets between layers. Allow the filter to cure for three weeks before regular use. This time allows beneficial microorganisms to establish and the schmutzdecke to develop fully. The outlet flow rate typically stabilizes at 0.5 to 2 gallons per hour depending on sand particle size and media compaction.
Advanced Water Recycling System Setups For Sustainable Luxury
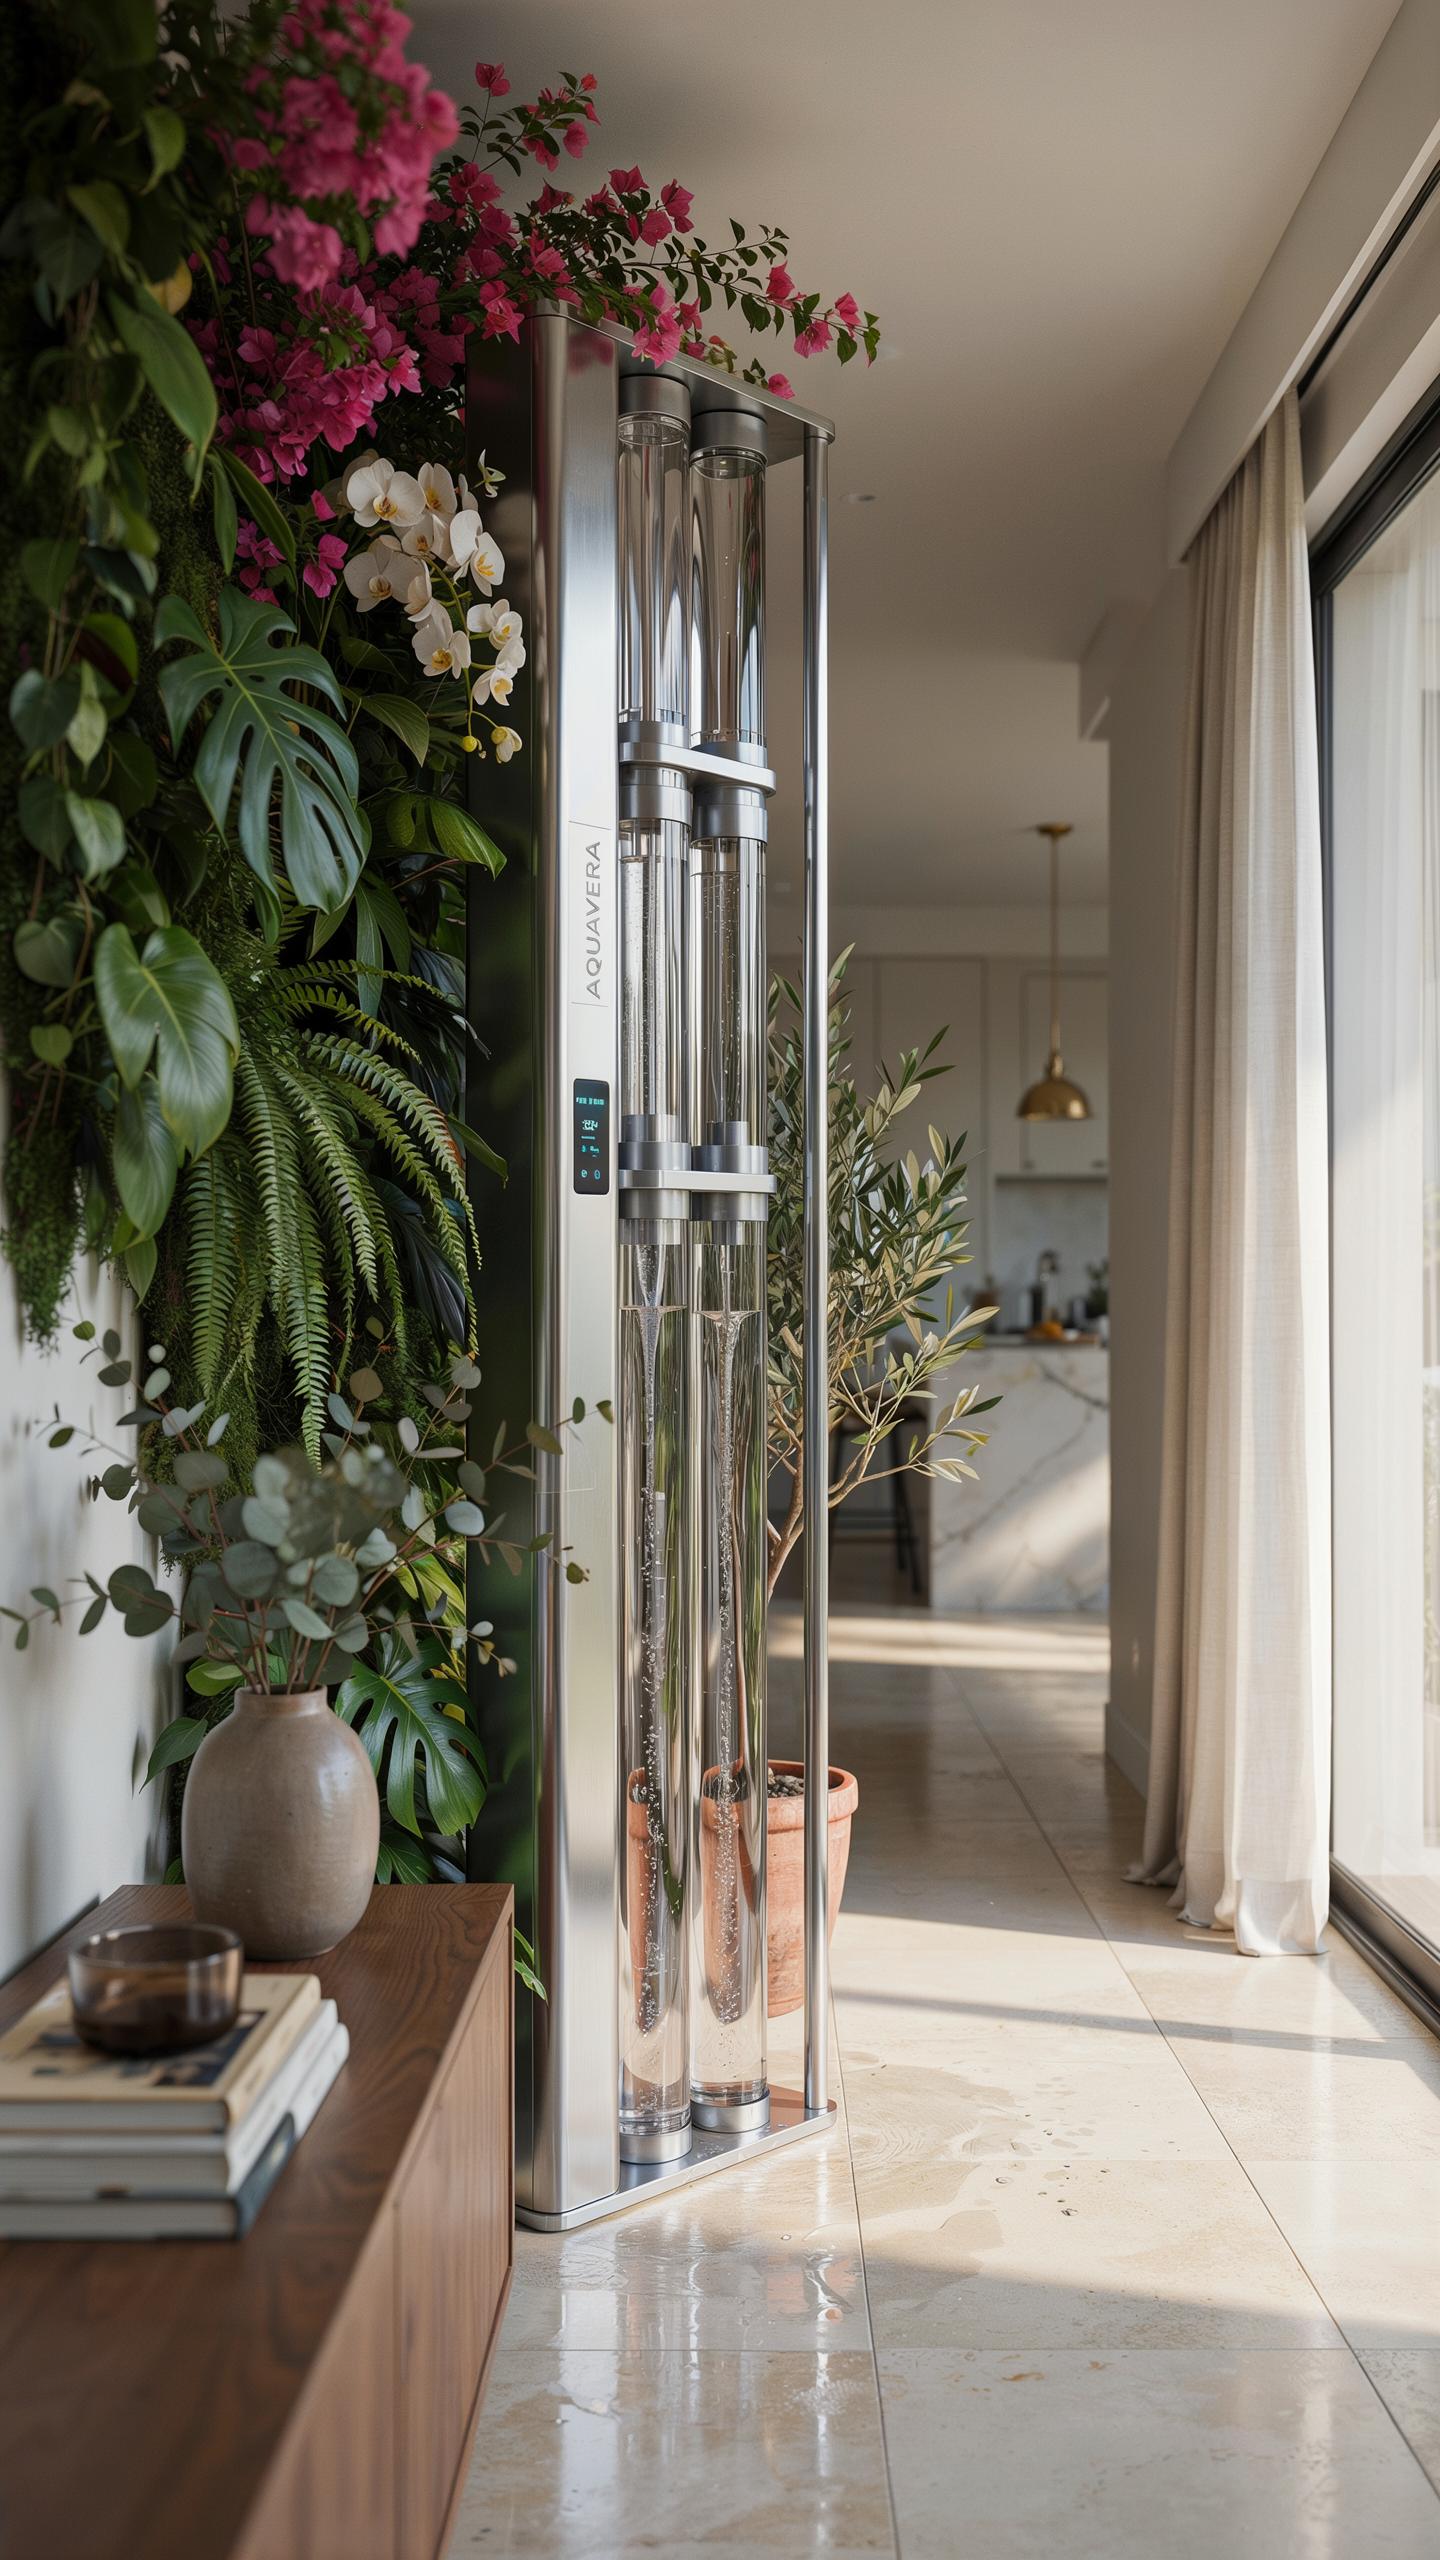
Reclaiming Greywater For Subsurface Irrigation Systems
Greywater from showers and laundry contains nutrients that feed plants. Subsurface distribution networks deliver this water directly to root zones, eliminating surface pooling and mosquito breeding. The soil acts as a natural filter, removing particles and pathogens before water reaches groundwater. This system reduces freshwater demand while nourishing ornamental gardens and fruit orchards efficiently.
Design your subsurface network with perforated pipes buried 12 to 18 inches deep in prepared trenches. Slope pipes at 1 to 2 percent grade toward your target plantings. Install a simple settling tank before the distribution lines to remove lint and solids. Size your system based on daily greywater volume and plant water requirements for your climate zone and soil type.
Water is the soul of the earth, and when we craft its path with beauty and purpose, we honor the ancient rhythm of the land. There is a deep, quiet grace in watching a well-designed spring serve the home just as nature intended.
Designing Biorenewable Wetland And Reedbed Filters
Constructed wetlands and reedbeds use plants, gravel, and soil microbes to filter greywater naturally. Plants like cattails, bulrushes, and reeds remove nitrogen and phosphorus while their root systems harbor bacteria that break down organic matter. The resulting polished water is clean enough for landscape irrigation or pond recharge. This approach transforms a treatment system into a visual landscape feature.

Build your reedbed in a lined basin with staged depth zones. Start at 18 inches deep, sloping to 24 inches at the far end. Use layered substrates: coarse gravel at the bottom, then sand, then topsoil. Stock plants densely and expect 6 to 12 months for the microbial community to mature. Monitor water level and flow rate to maintain treatment performance.
Integrating Off Grid Electricity Ideas To Power Your Water Infrastructure
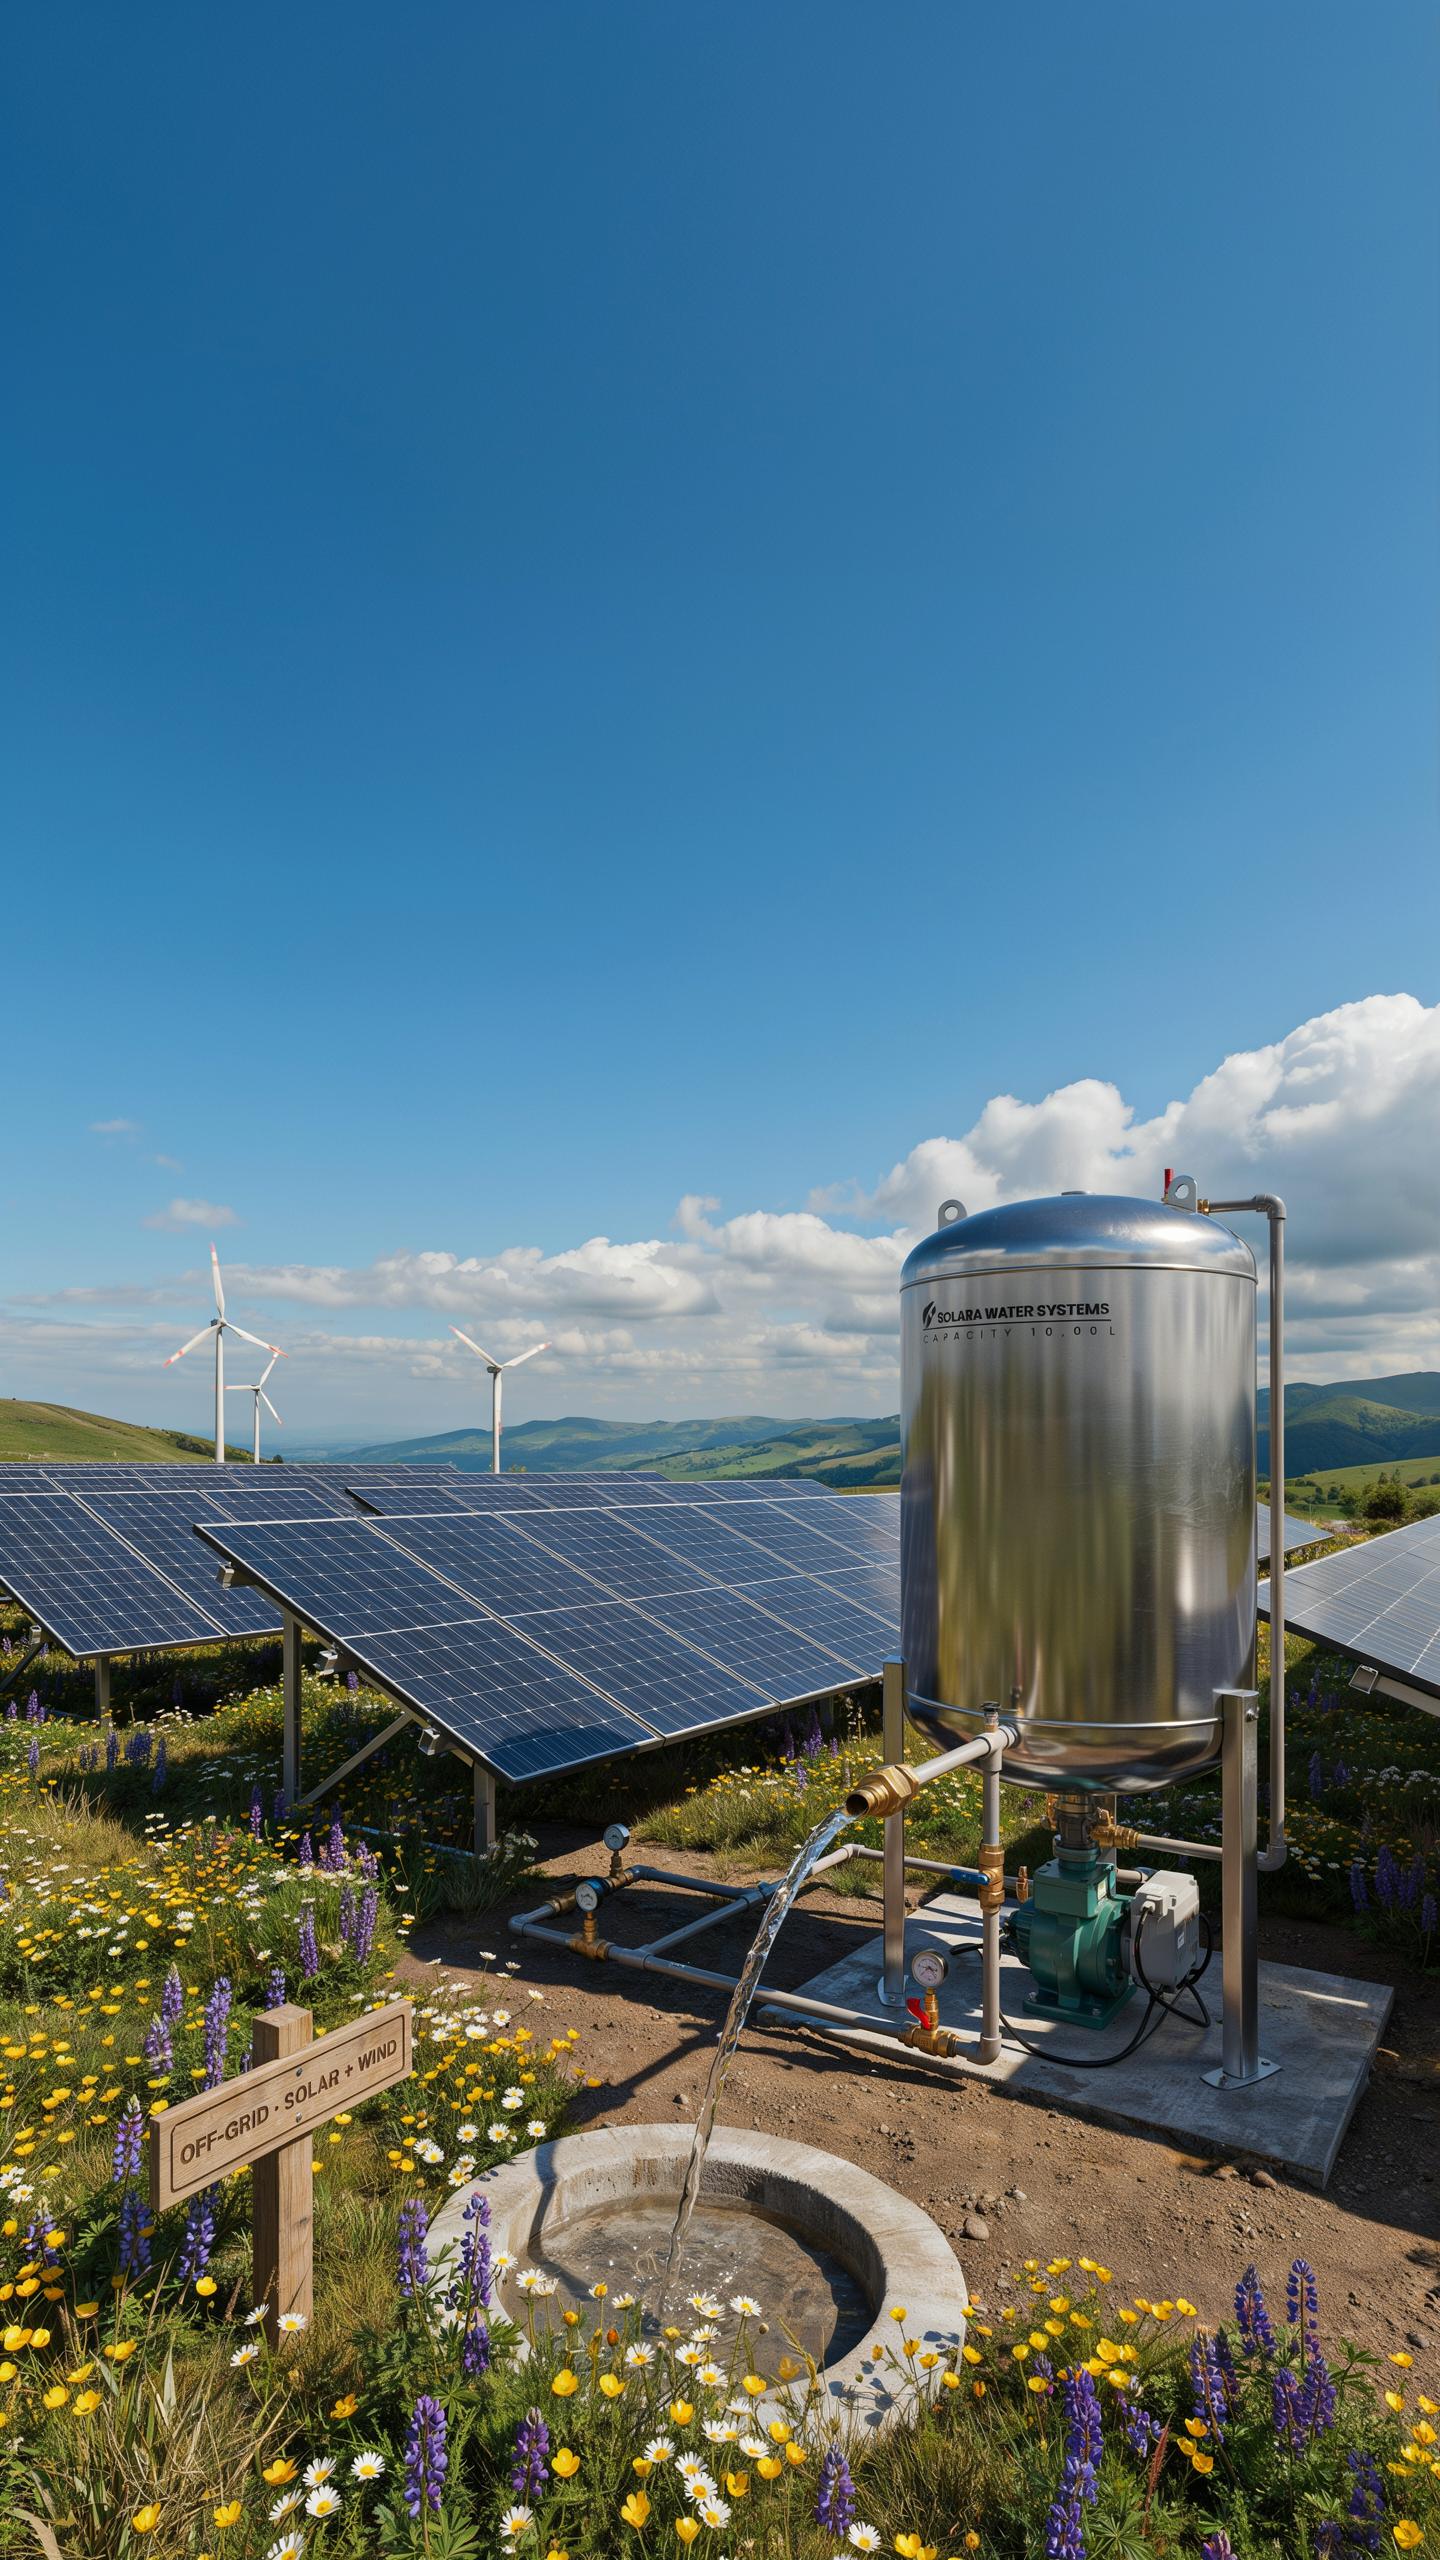
Designing Solar Powered DC Submersible Pumps
DC submersible pumps operate directly from photovoltaic arrays without inverters, eliminating conversion losses. These pumps move water uphill into storage tanks during daylight hours when solar production peaks. Sizing the pump requires matching its voltage and amperage to your panel array. A 24V or 48V system delivers better efficiency than 12V for most homestead applications.
Storage tank placement determines pump selection and system reliability. Elevating tanks 20 to 40 feet above use points creates pressure without running the pump constantly. Smaller pumps rated 300 to 800 watts handle typical household demands. Size your array to push peak daily water volume uphill before sunset.
Utilizing Micro Hydro And Gravity Head Pressure
Micro-hydro systems generate electricity from flowing water on your property year-round, unlike solar which depends on weather. A stream with 50 feet of elevation drop and 10 gallons per minute flow can power household needs continuously. This setup requires minimal maintenance and produces consistent output during winter months when solar output drops.

Gravity pressure systems work independently from power generation. Water flowing downhill through pipes builds pressure without pumps or electricity. A 10-foot elevation drop delivers roughly 4.3 pounds per square inch at the lowest point. Combine gravity systems with seasonal storage tanks to maintain pressure during dry periods and reduce pump runtime.
Essential Off Grid Survival Tactics For Reliable All Season Water Storage
Preventing Mainline And Storage Freeze In Extreme Winters
Frost lines vary by geography. In northern regions, frost penetrates 4 to 6 feet deep. Bury storage cisterns below this depth to prevent ice formation. Soil acts as insulation. The deeper you go, the more stable the temperature remains year-round. This is the most reliable passive method for freeze prevention.
Thermal mass insulation wraps around pipes and tanks to slow heat loss. Use foam board, mineral wool, or closed-cell spray foam rated for outdoor use. Solar thermal loops circulate fluid through collection panels during daylight, maintaining warmth in storage. Combine passive burial depth with active solar heating for dual protection. This approach eliminates reliance on electricity during winter months.
Securing Redundant Water Storage For Climate Resilience
Build your system with multiple storage tanks isolated by check valves. If one tank fails or freezes, others remain functional. Standby reserve bladders serve as emergency capacity. Size them for at least 30 days of household consumption. This buffer extends your survival window during extended supply disruptions or system failures.
Hand pump backups connect directly to storage tanks without power dependency. Position them accessibly above ground for quick deployment. Install isolation valves between sections so you can service one area without draining the entire system. Test all backup mechanisms quarterly. Redundancy means your system functions even when primary components fail.
Frequently Asked Questions

What are the best options for modern off grid homesteading water systems?
When starting out, the most popular off grid homesteading water systems include rainwater harvesting, deep well drilling, and spring-fed gravity systems. To maintain a modern aesthetic, many homesteaders now use sleek, food-grade storage tanks tucked behind decorative cladding or buried underground. Combining these methods with high-quality UV filtration ensures your water is both safe to drink and integrated seamlessly into your stylish outdoor landscape.
How can I integrate a filtration system without ruining my outdoor aesthetic?
You can maintain a beautiful outdoor space by housing your filtration components inside a custom-built cedar shed or a stone-finished utility cabinet. By using decorative enclosures, your off grid homesteading water systems become functional design elements rather than eyesores. Focus on organizing copper piping and brass valves neatly, which adds a sophisticated, industrial-chic look to your homestead while ensuring every drop of water is purified for home use.
Are there affordable ways to build a stylish water system on a budget?
Absolutely. You can save money by repurposing intermediate bulk containers (IBC totes) and wrapping them in reclaimed wood or bamboo fencing to match your home’s decor. Using a simple solar-powered pump and gravity-fed irrigation reduces long-term energy costs significantly. Focusing on DIY aesthetic upgrades allows you to create a high-end look for your water infrastructure without the premium price tag of a professional installation.



