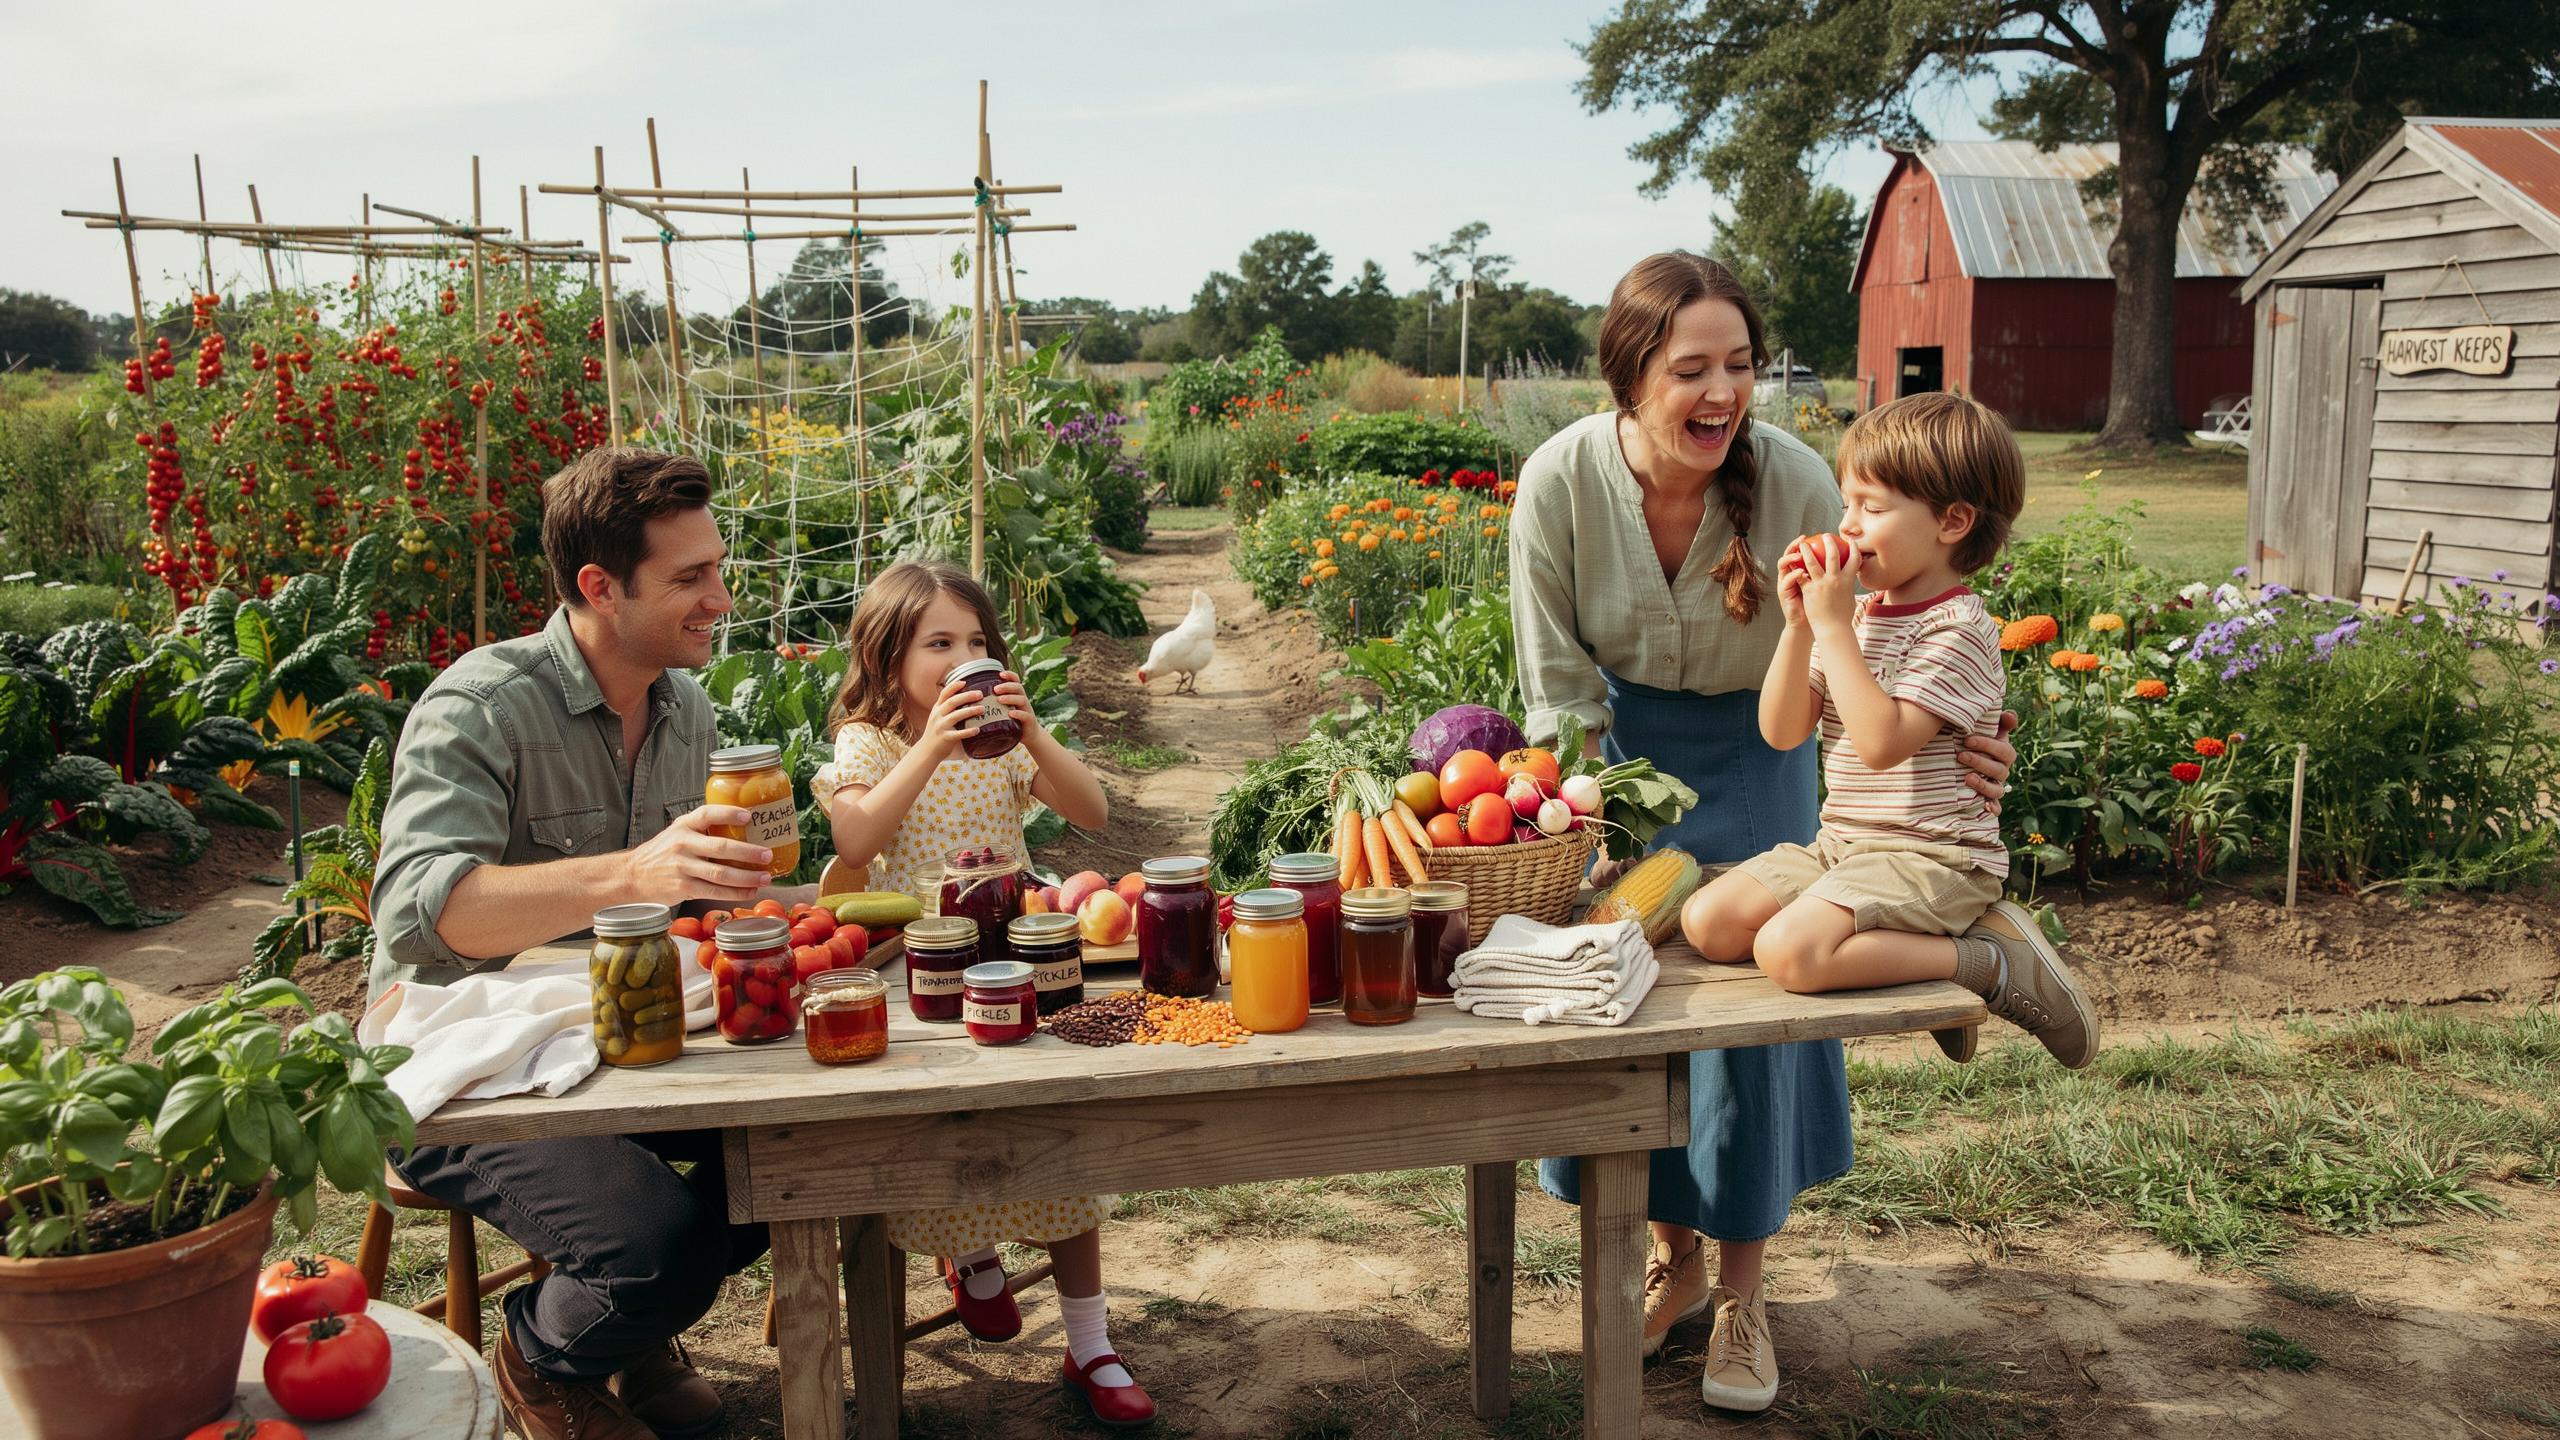
Understanding The Basics Of Homestead Self Sufficiency Food Storage
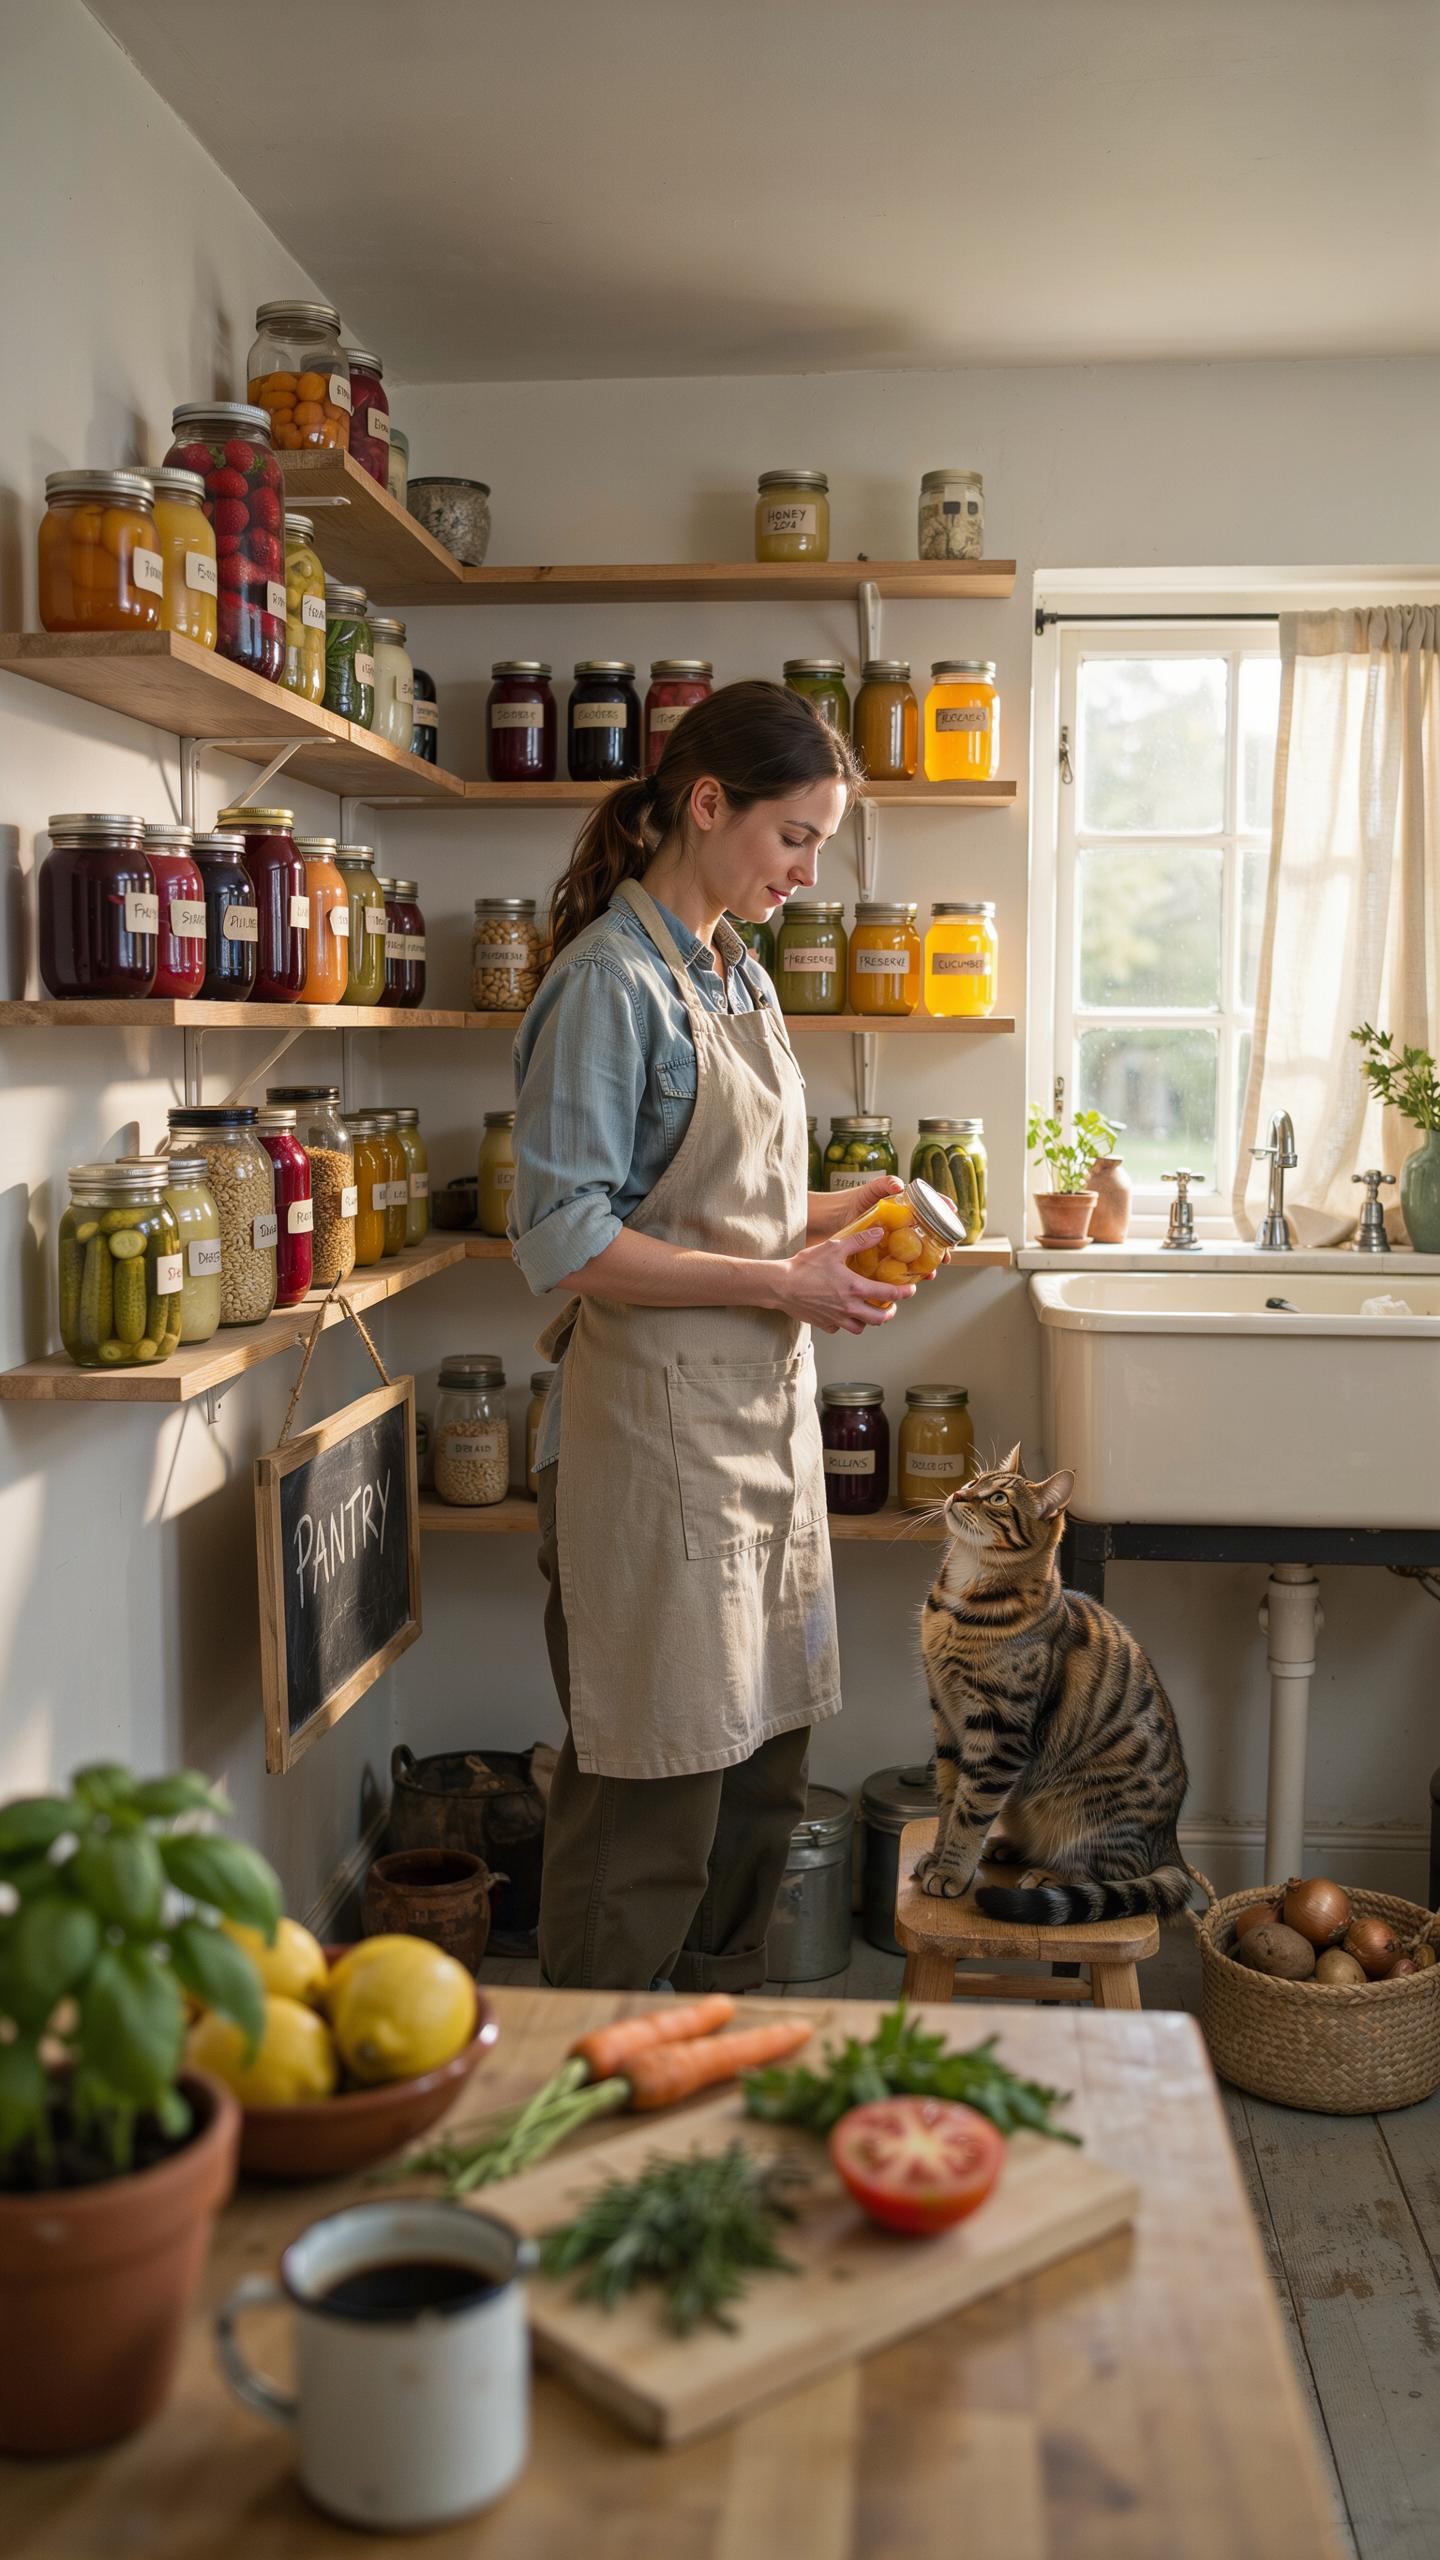
Why Food Security Matters On A Budget
Food storage on a budget protects your household from price spikes and supply chain breaks. When you store food, you control your grocery spending instead of letting retailers control it. This shift reduces your dependence on weekly shopping and eliminates panic buying at inflated prices during shortages.
Building food security also cuts your vulnerability to job loss or income disruption. A well-stocked pantry means your family eats regardless of external economic conditions. This practice moves you from consumer mentality to producer mentality, where you take responsibility for your own survival.
Assessing Your Familys Nutritional Needs
Calculate your family’s daily caloric requirements before buying storage food. An adult typically needs 2000 to 2500 calories daily depending on age, activity level, and metabolism. Children require fewer calories based on their age and size. Write down what your family actually eats, not what you think they should eat.
Match your storage plan to real eating habits and preferences. If your family won’t eat something, it wastes money and storage space. Prioritize carbohydrates for energy, proteins for muscle maintenance, and fats for nutrient absorption. Your storage inventory should reflect these three macronutrients in proportions your household actually consumes.
Essential Homesteading Skills For Preserving The Harvest
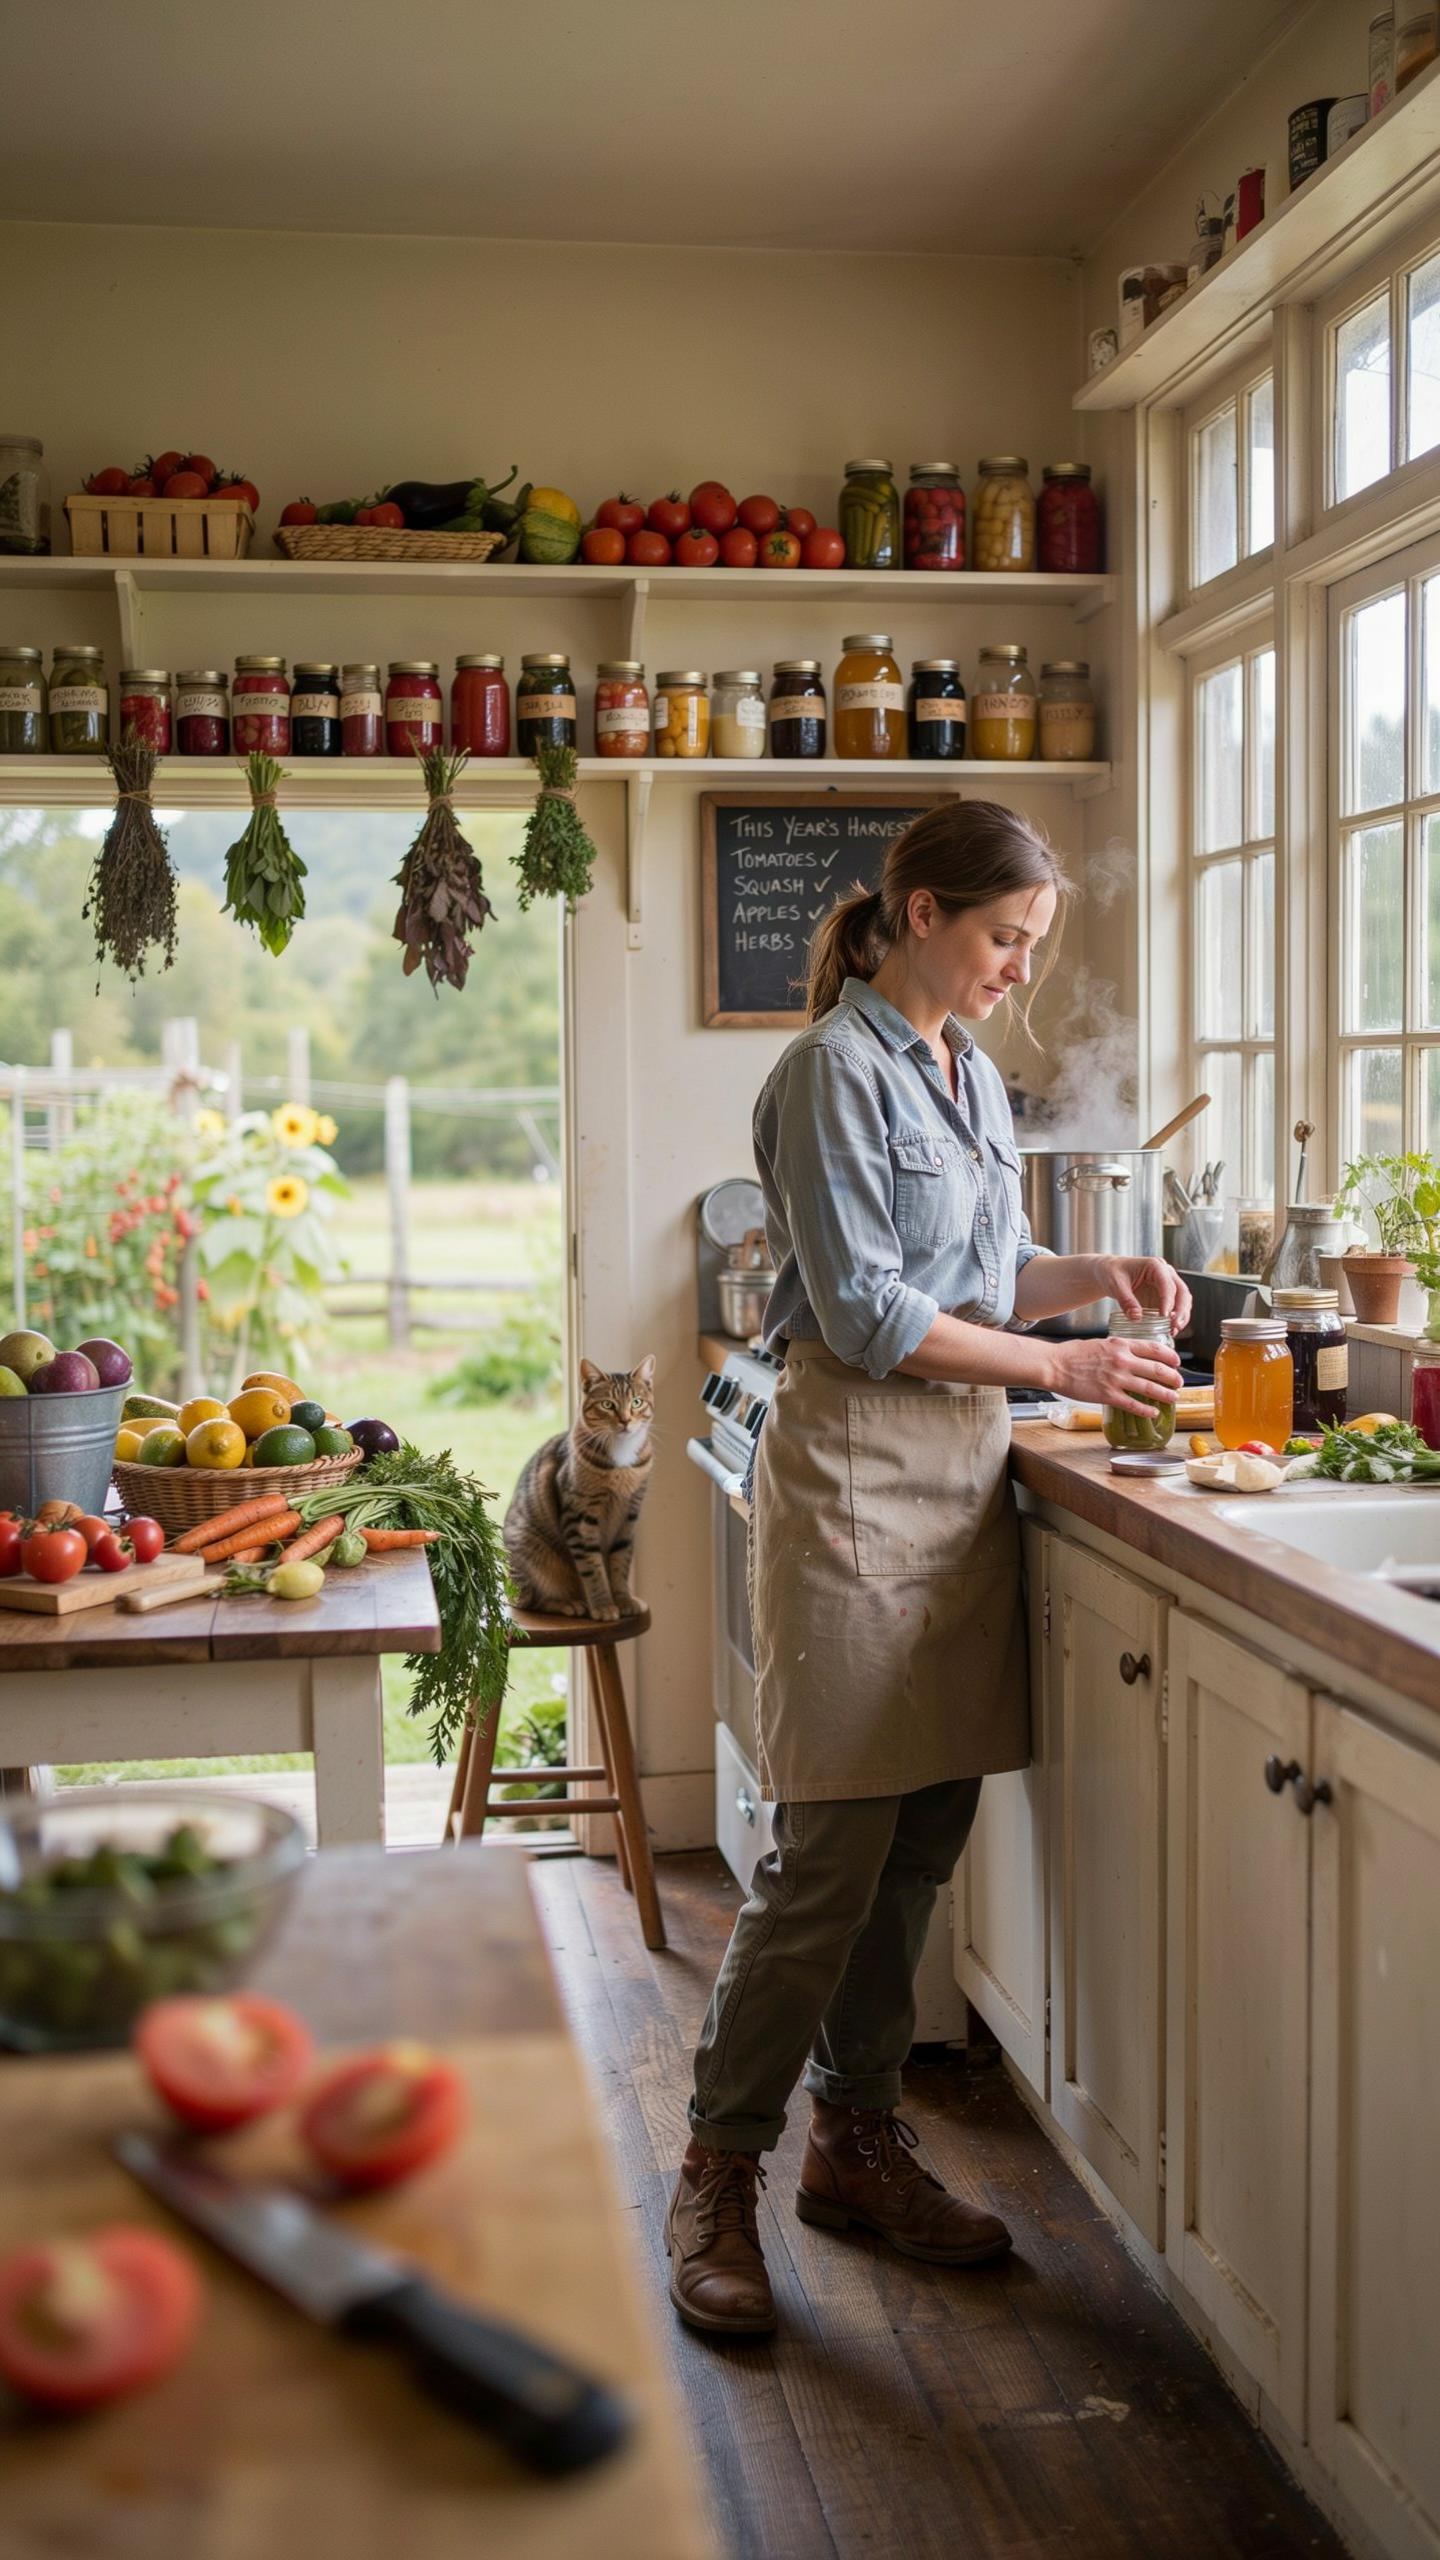
Dehydration And Fermentation Basics
Dehydration removes moisture from food, stopping microbial growth without electricity or special equipment. You can air dry produce in sun or use low oven heat. This method concentrates nutrients and flavors while reducing storage space by up to 90 percent compared to fresh produce.
Fermentation uses salt and natural bacteria to create acidic conditions that preserve food indefinitely. Vegetables ferment in brine at room temperature over days or weeks. This process builds probiotics that improve digestion while requiring minimal resources beyond salt, water, and containers.
Step By Step Food Preservation Methods
Start by harvesting at peak ripeness and processing within hours to lock in nutrition and flavor. Clean equipment thoroughly with hot water to prevent contamination. Work in batches small enough to handle comfortably and complete preservation within one session.
- Boiling water canning: Submerge jars in 212 degree water for specified times. Works for high acid foods like jams, pickles, and tomatoes without pressure equipment.
- Pressure canning: Use a pressure canner for low acid foods like meats and vegetables. Reaches temperatures above boiling to kill botulism spores safely and reliably.
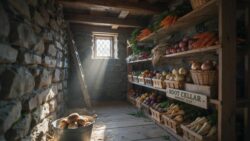
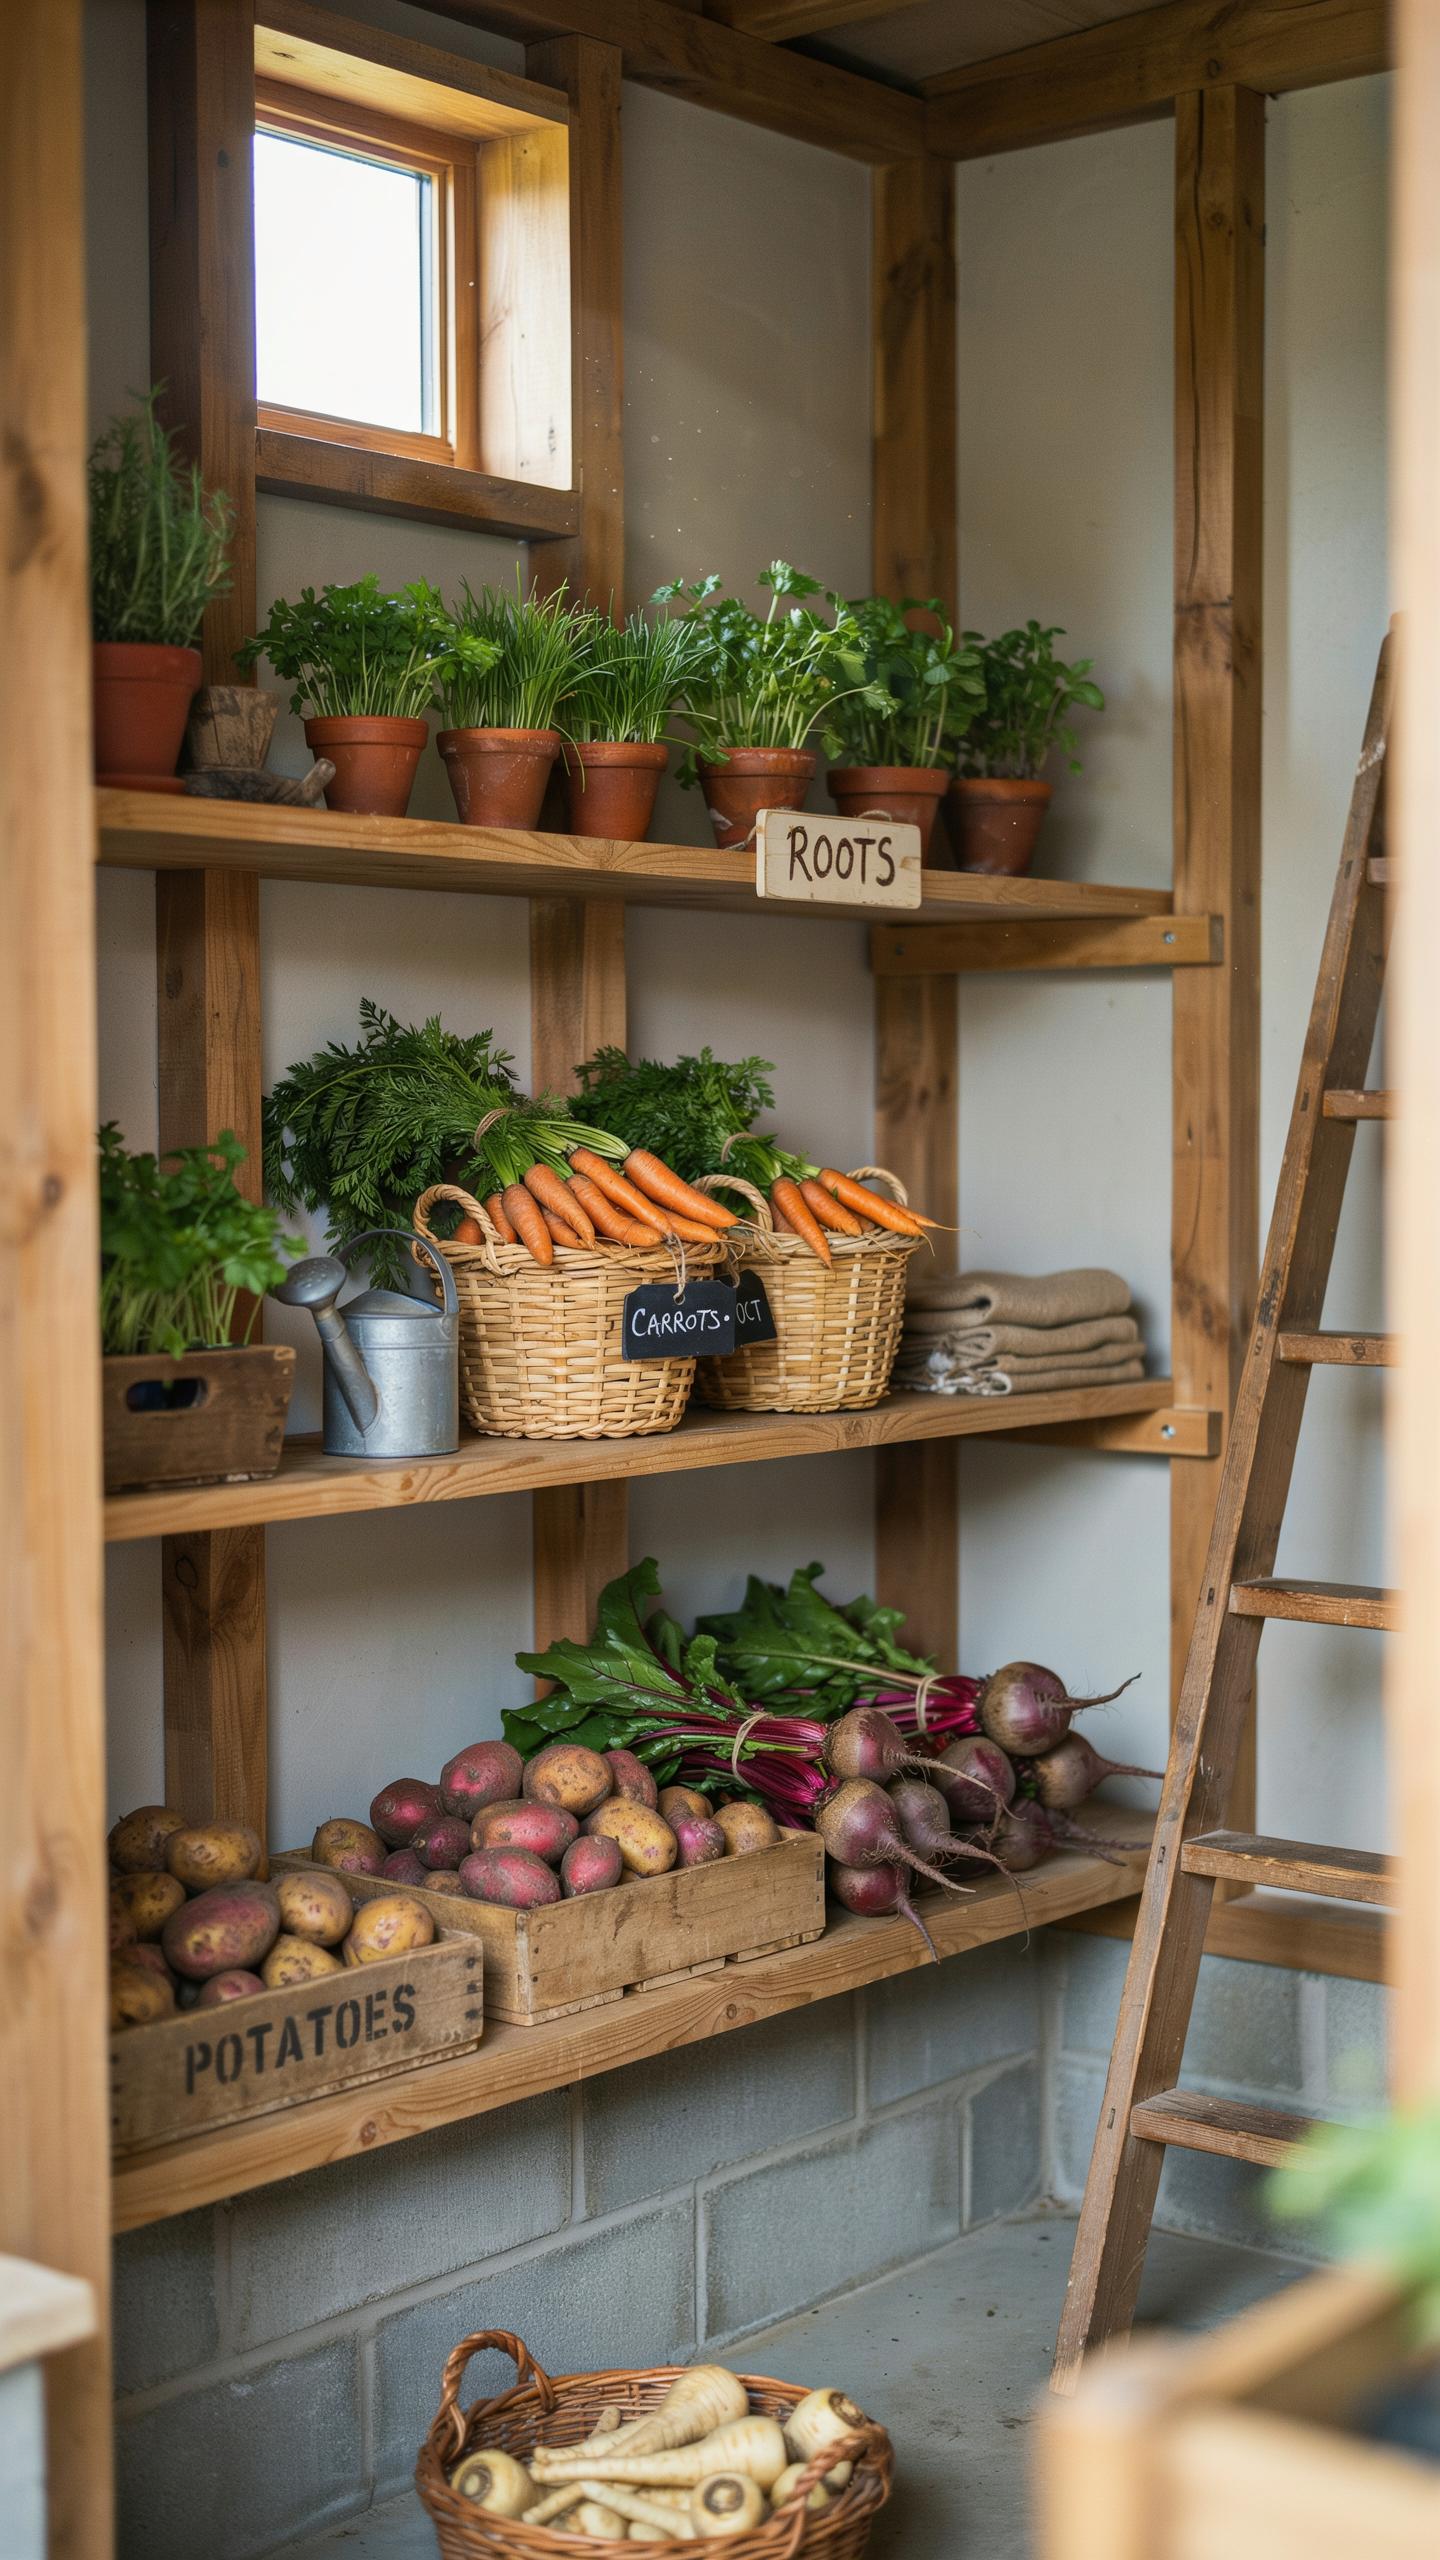
- Root cellar storage: Keep potatoes, carrots, and squash in cool dark spaces between 32-50 degrees. Requires no processing and maintains texture for months with minimal effort.
- Freezing: Store blanched vegetables or prepared meals in freezer bags or containers. Halts all microbial activity instantly and preserves quality for 8-12 months with zero processing.
- Salt curing: Coat meats or vegetables heavily in salt to draw out moisture. Creates shelf stable products that last months without refrigeration or special equipment.
Test each method on small batches before scaling up your operation. Track what works best for your climate, available produce, and storage space to refine your system annually.
Upgrading Your Prep Space With A Homestead Outdoor Canning Kitchen
Setting Up A Safe Exterior Processing Area
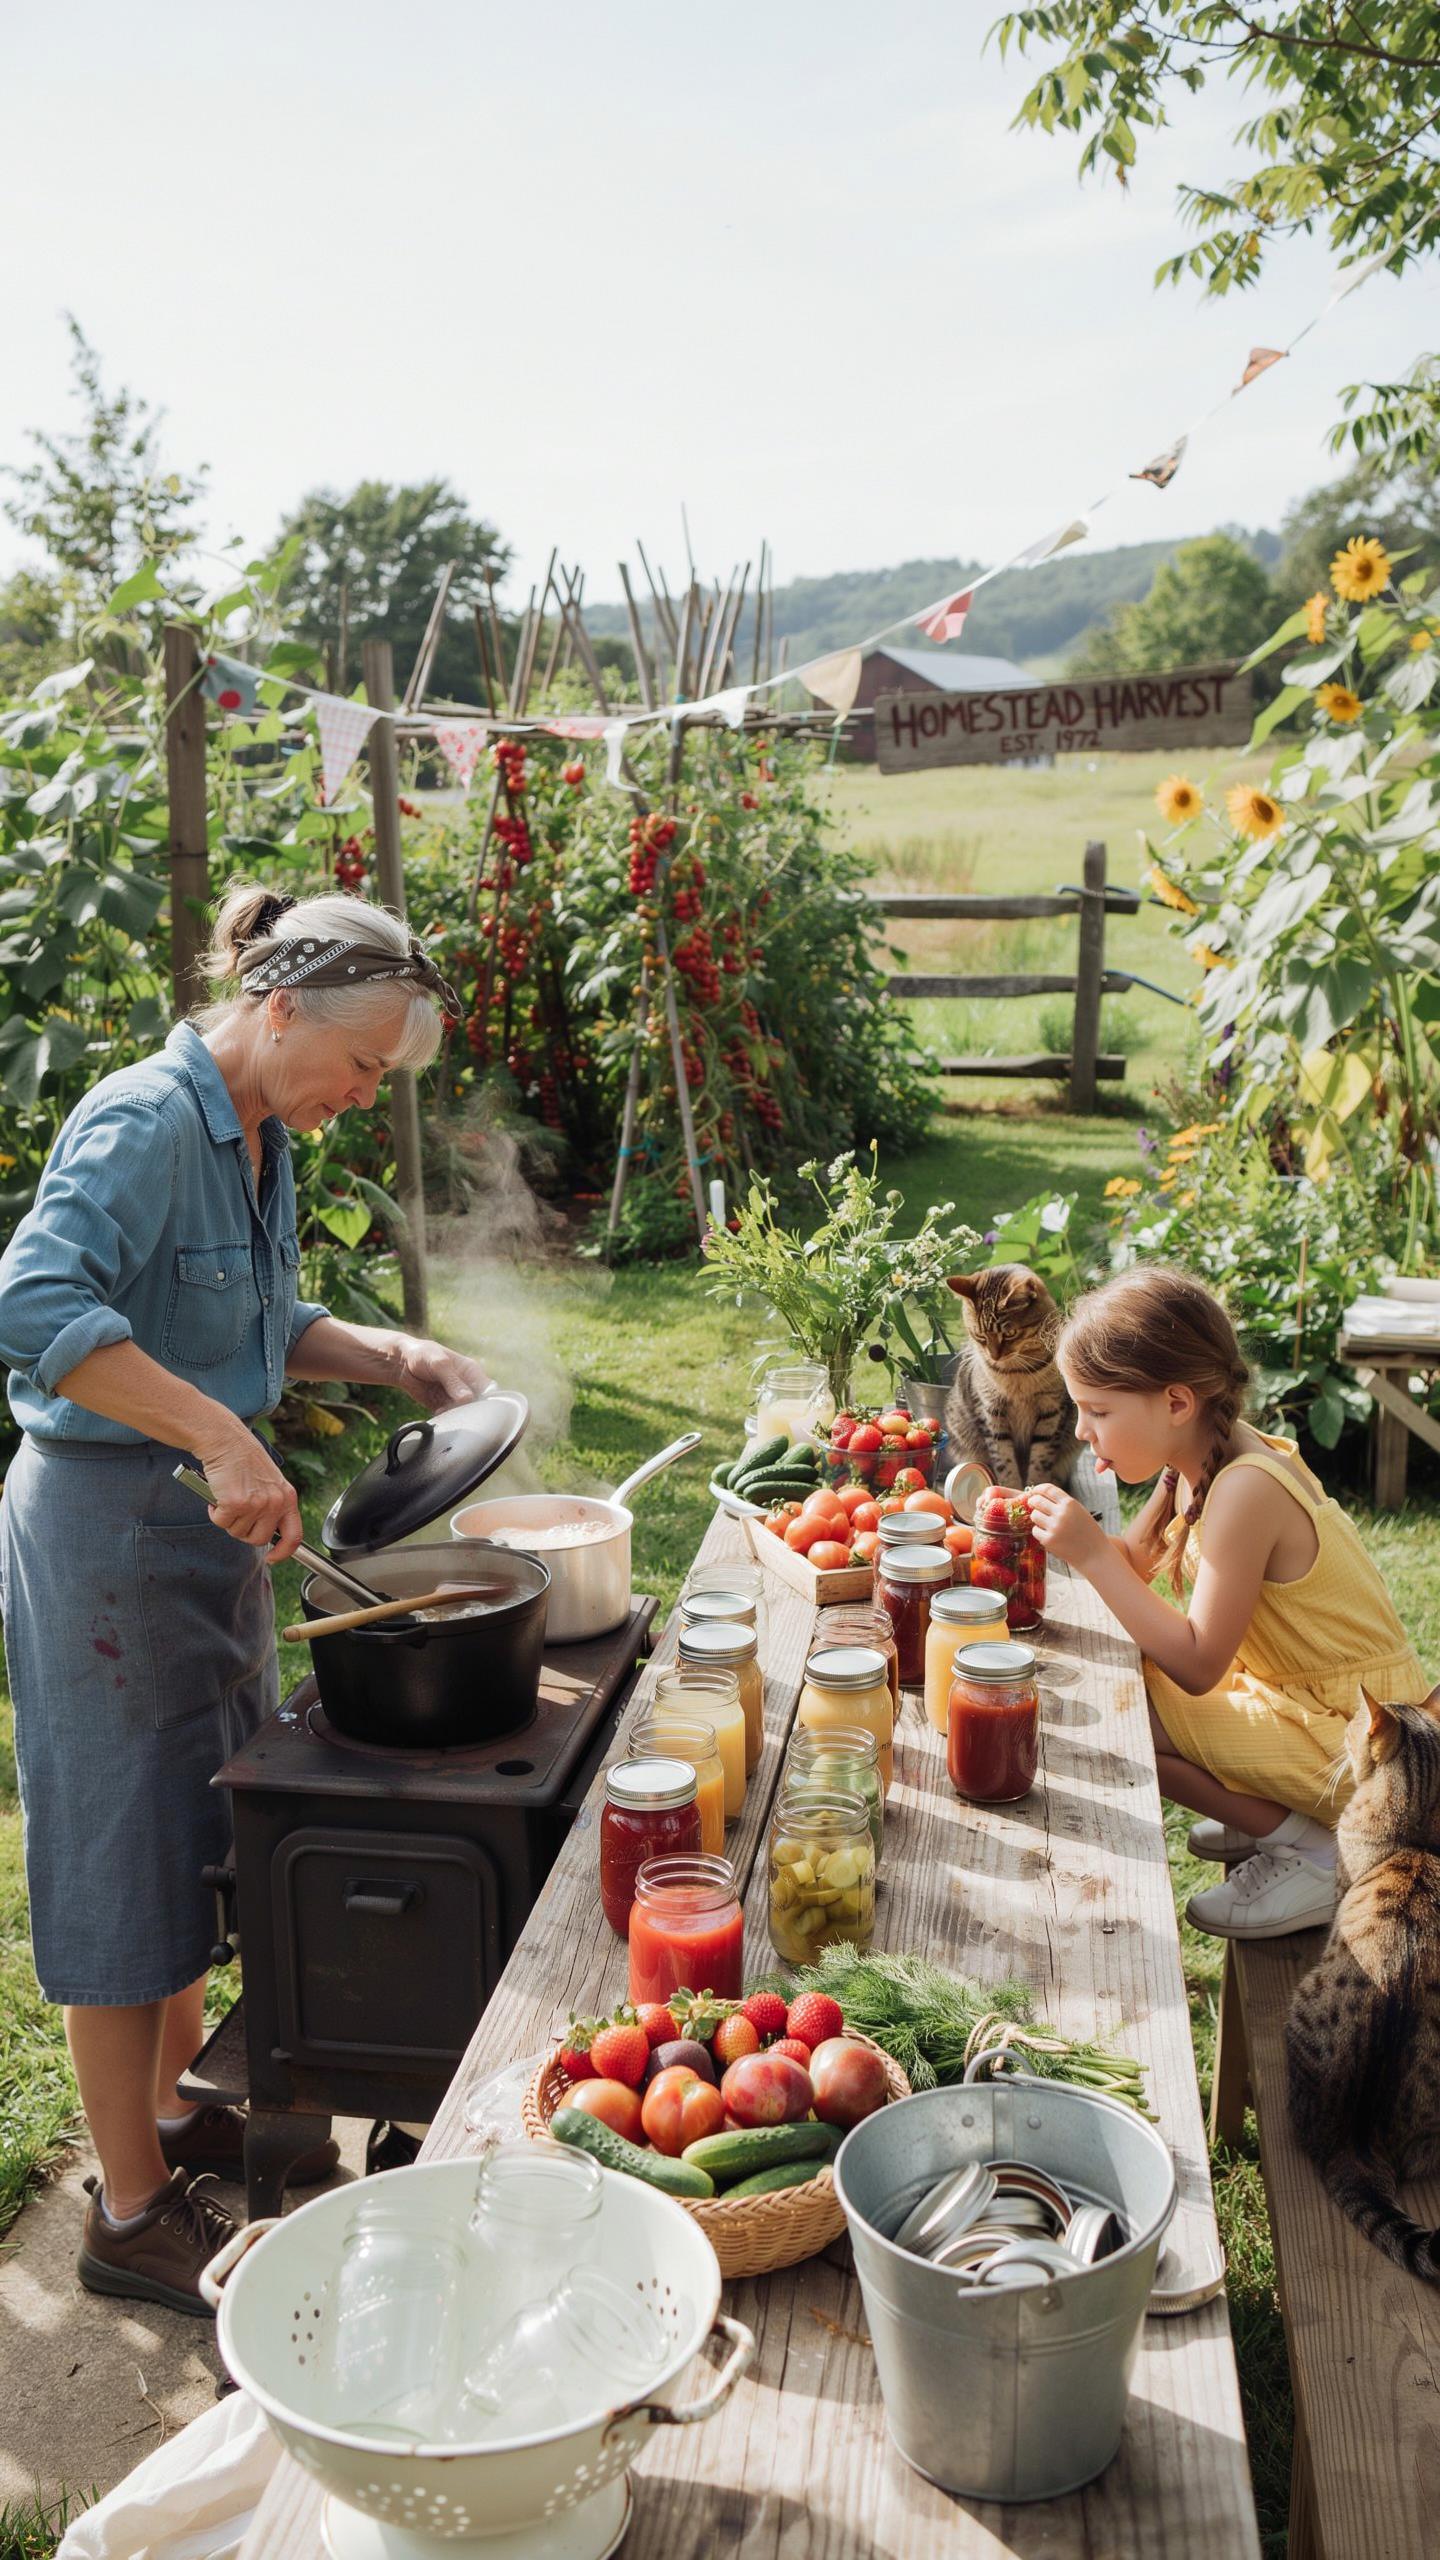
Moving your canning setup outdoors removes heat and steam from your home during processing. Boiling water bath canners and pressure canners produce sustained high temperatures that strain indoor cooling systems and create humidity that damages walls and finishes. An exterior setup protects your living space while giving you full operational control.
A functional outdoor canning area requires three core elements. First, establish a flat, level surface that won’t shift under equipment weight. Second, install a reliable propane burner rated for continuous high-heat output. Third, position your setup within 25 feet of a clean water source for filling and cooling operations. These basics handle the processing workload without expensive infrastructure.
Essential Budget Equipment For Outdoor Canning
You build an effective outdoor canning kitchen from basic materials and secondhand sources. Sturdy folding tables from online marketplaces cost under 50 dollars and handle full canning loads. Secondhand cast iron outdoor burners perform identically to new models and cost a fraction of retail prices. Used restaurant supply equipment often includes heavy duty tables and stands at steep discounts.

Clean plastic washing tubs serve multiple functions in your outdoor canning workflow. Use them for cooling jars post processing, washing produce, and storing filled canisters before storage. A simple wooden rack made from scrap lumber holds jars safely during water bath processing. These budget tools eliminate the need for commercial outdoor kitchen packages that cost thousands of dollars.
Low Cost Homesteading DIY Storage Solutions
Repurposing Household Items For Food Storage
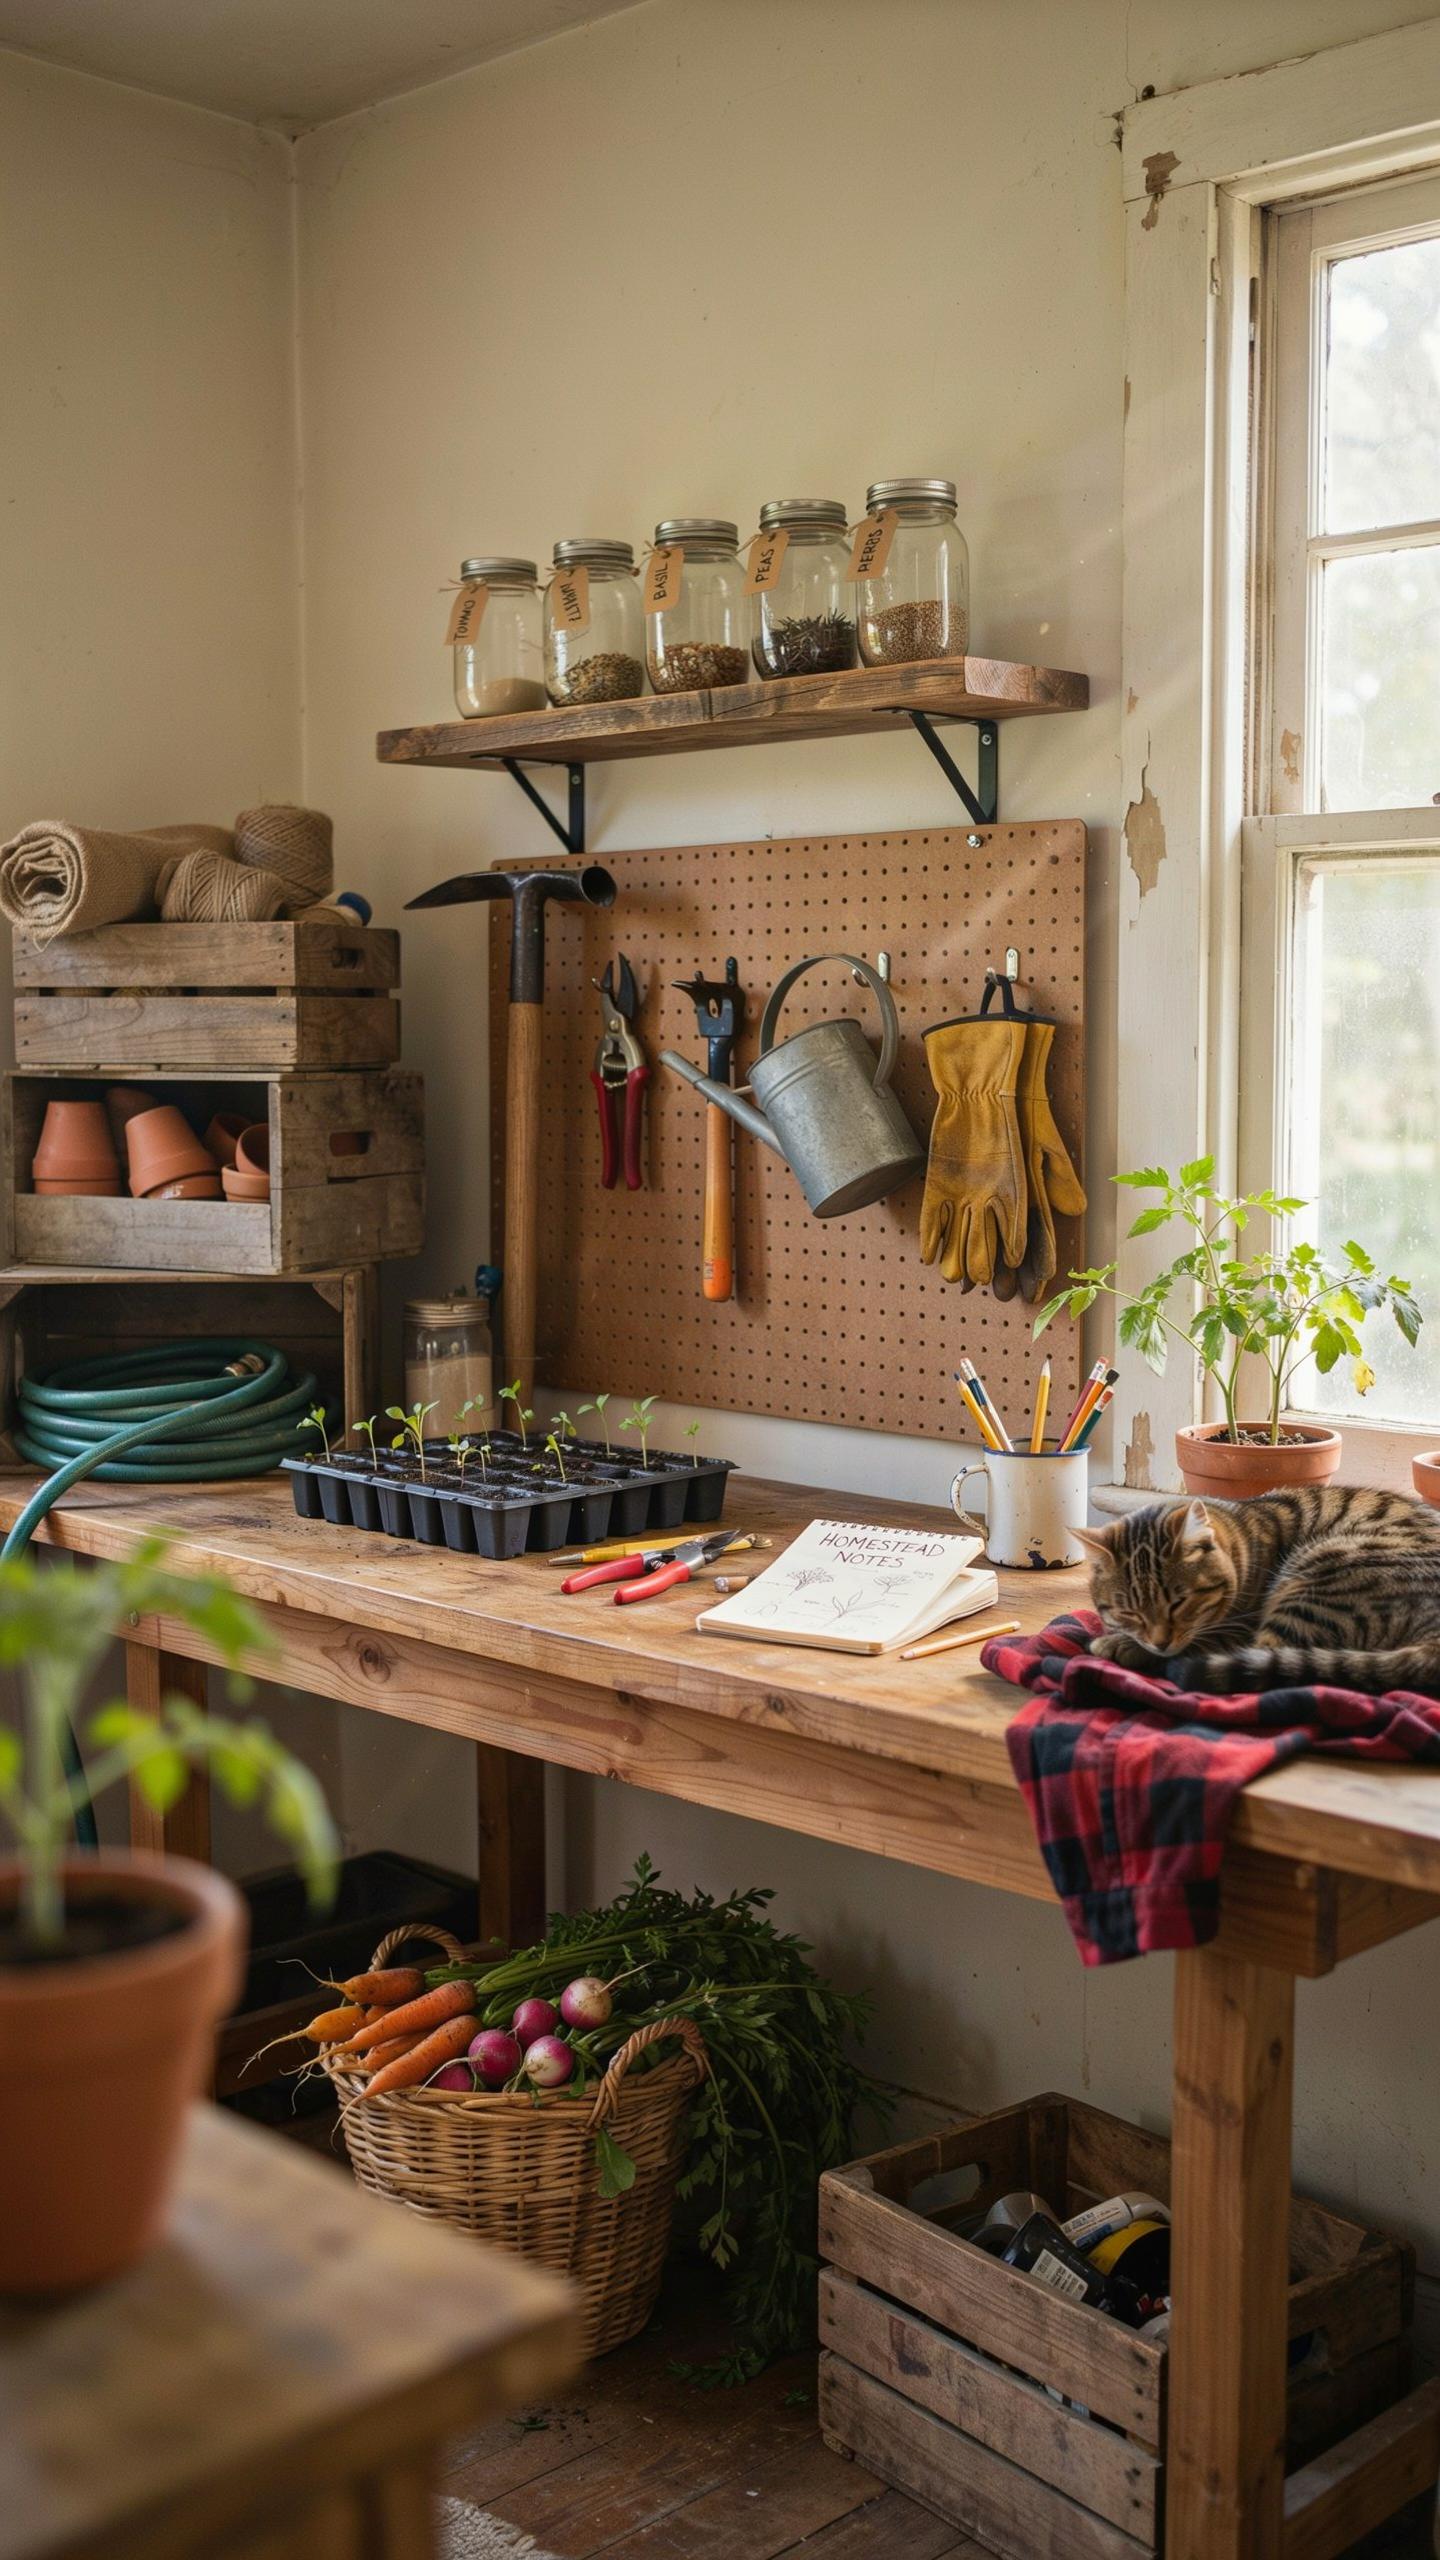
Food-grade buckets, glass jars, and plastic containers already in your home cost nothing to reuse. Before storing food, wash containers with hot soapy water and rinse thoroughly. Inspect for cracks, discoloration, or residue that indicates contamination. Only use containers that originally held food or non-toxic products. Never repurpose containers that held chemicals, pesticides, or cleaning supplies regardless of how well you clean them.
Glass jars work well for grains, beans, and pasta because you see inventory levels without opening them. Plastic containers with tight-fitting lids store dried goods and protect contents from moisture and pests. Five-gallon food-grade buckets hold larger quantities and stack efficiently. Sanitize all containers before first use and before refilling. Label each container with contents and storage date to track rotation and prevent waste.
Building Cheap Shelving And Storage Racks
Wooden shelving prevents food from sitting on floors where pests access it easily. Build basic racks using two-by-fours or two-by-sixes from lumber yards or salvage yards. Pallet wood works if you source pallets that never held chemicals or hazardous materials. Space shelves eighteen to twenty-four inches apart based on container height. Anchor racks to walls or build them freestanding with diagonal bracing for stability and safety.

Load bearing capacity matters more than appearance. Use proper nails or bolts to secure shelves to vertical supports. Test each shelf by applying weight gradually before storing full containers. Store heavier items on lower shelves to prevent tipping. Keep storage areas cool, dry, and dark to maximize food shelf life and prevent pest problems.
Packaging Secrets For Long Term Food Storage
Using Mylar Bags And Oxygen Absorbers
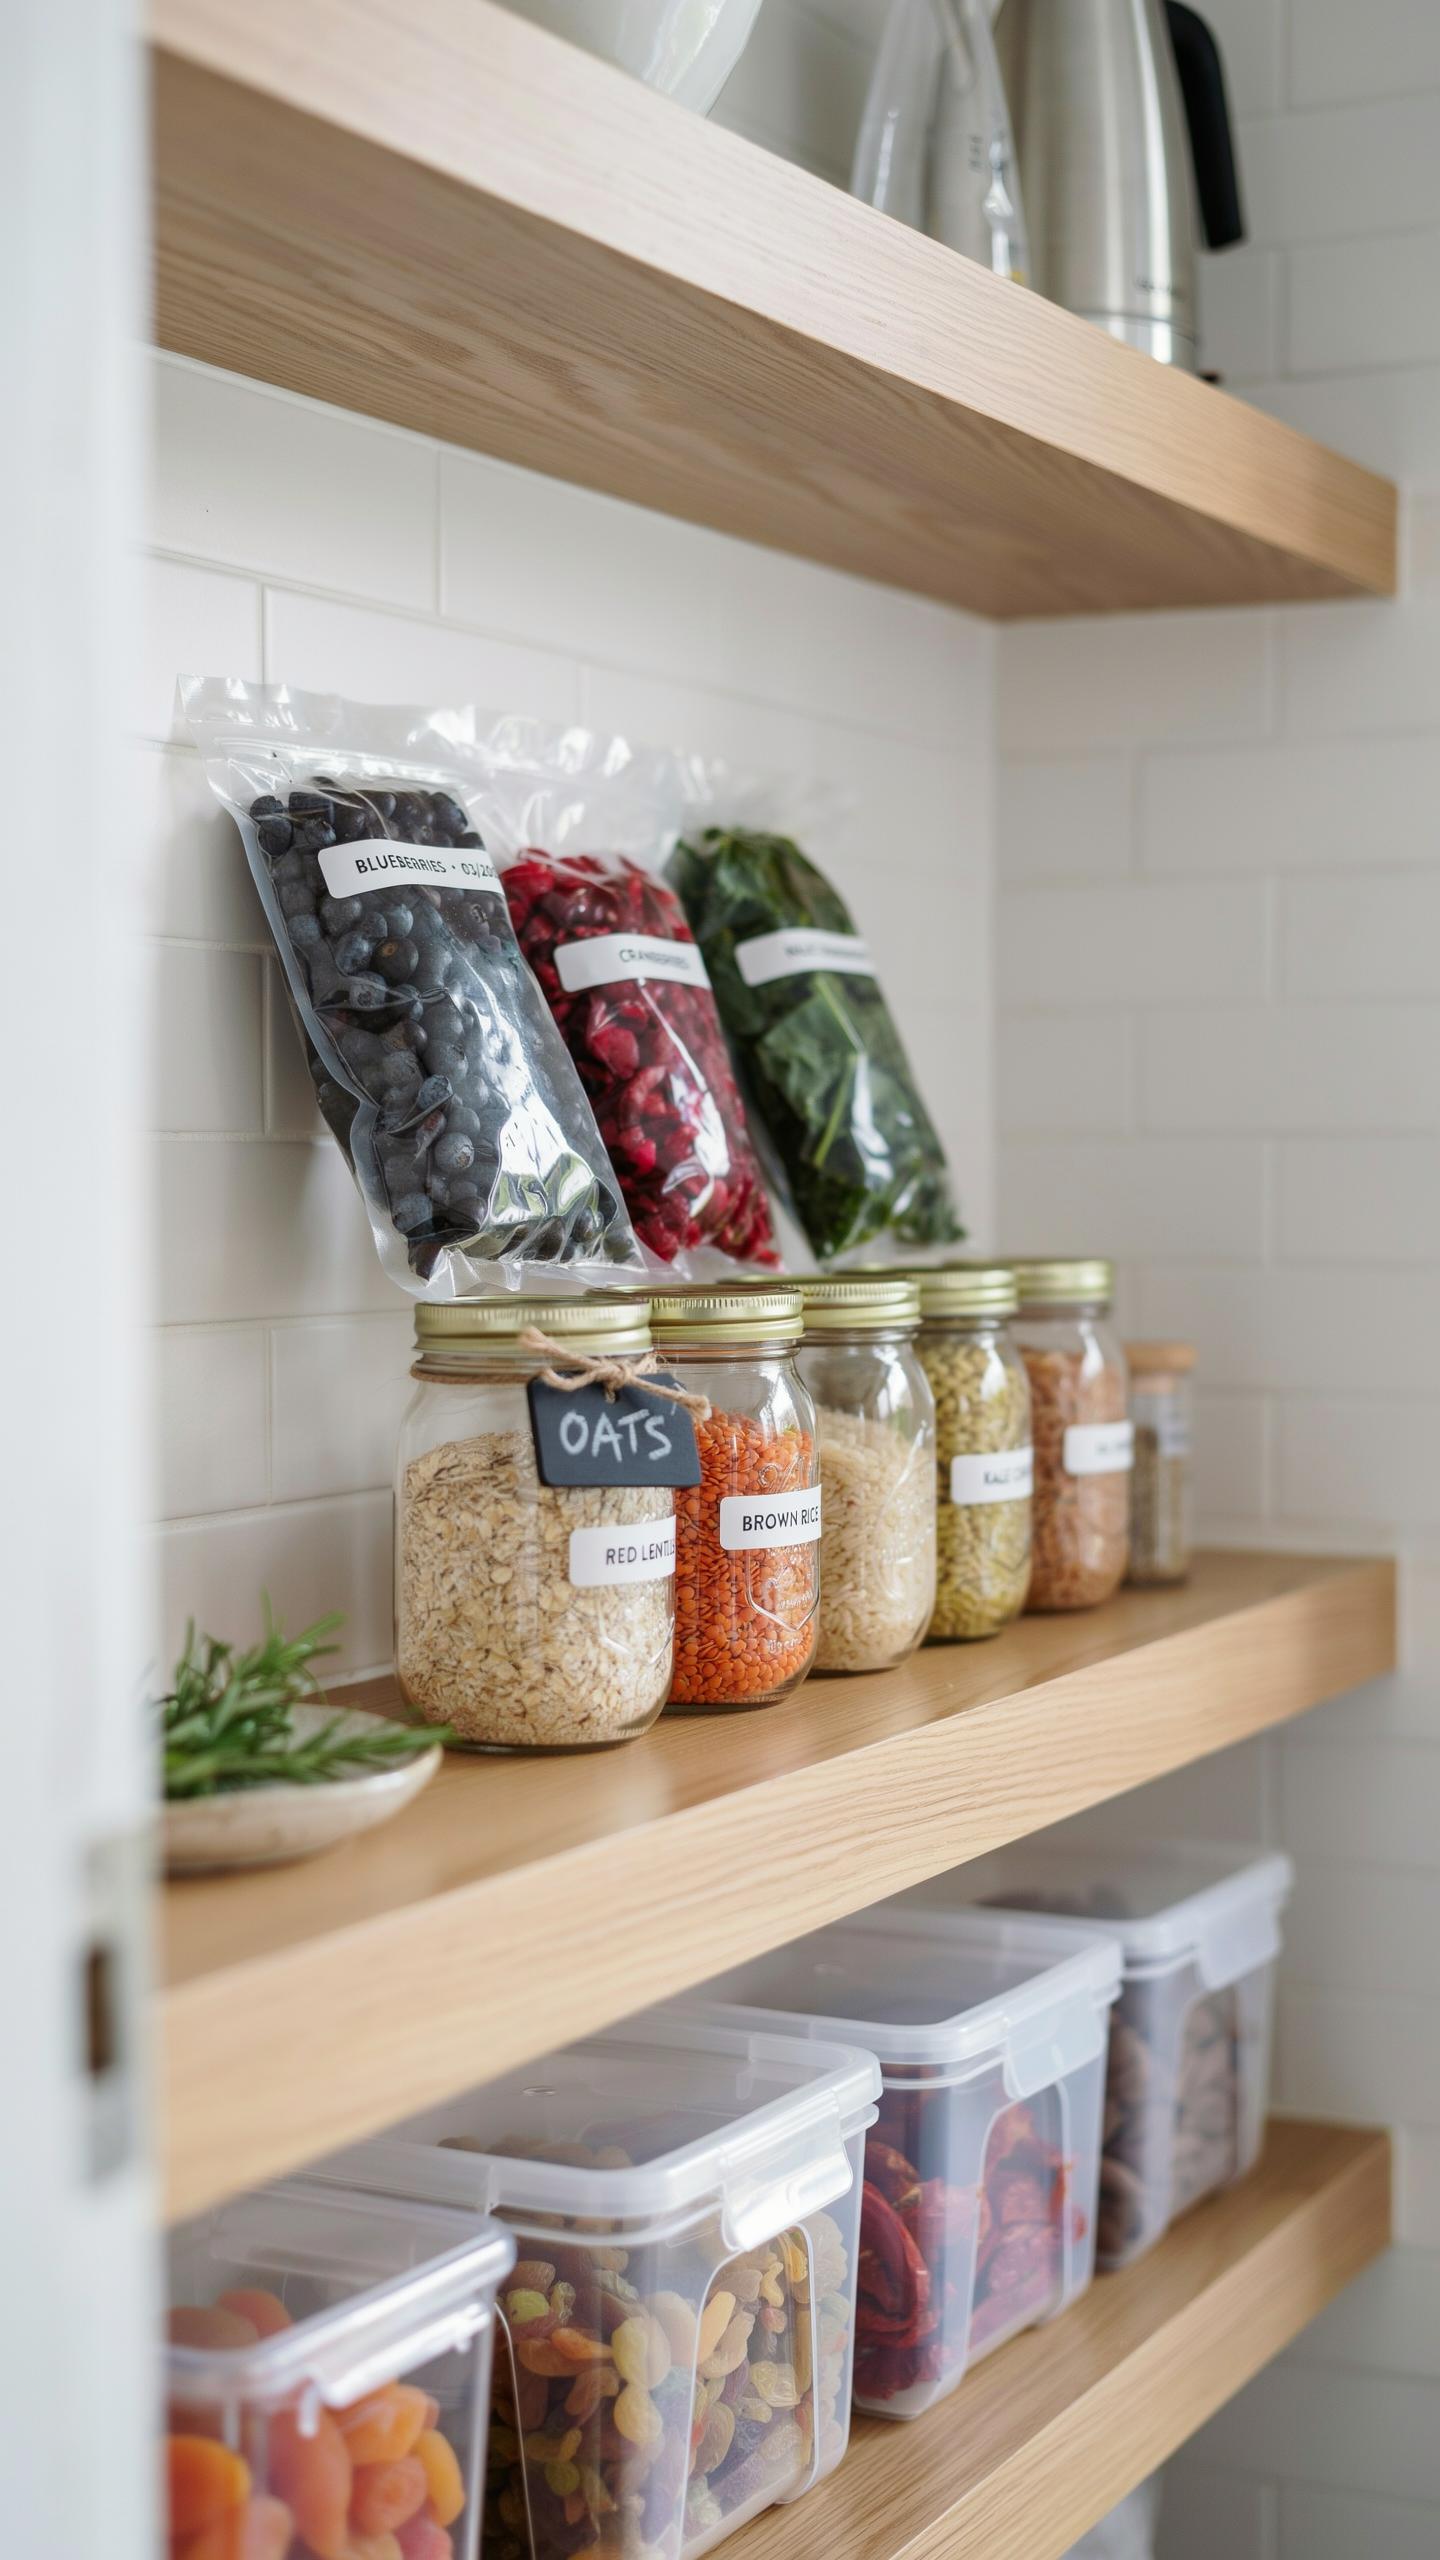
Mylar bags create a barrier that blocks light, moisture, and oxygen. Oxygen absorbers remove residual oxygen inside the sealed bag, preventing oxidation and insect reproduction. Grains, beans, and flour stored this way remain viable for 20 years or longer. The combination works because insects need oxygen to survive and reproduce. This method costs pennies per pound of stored food.
Seal Mylar bags with a heat sealer or household iron. Place the oxygen absorber inside the bag before sealing. Use 1000cc absorbers for gallon-sized bags and 2000cc for larger quantities. Store sealed bags in rigid plastic buckets to add a secondary defense layer. This dual-barrier approach prevents damage from crushing and provides added pest resistance.
True wealth is found in a well stocked cellar filled with the simple harvests of your own two hands. Resilience begins with one jar at a time and a heart willing to learn the old ways.
Preventing Spoilage From Pests And Moisture
Concrete floors wick moisture from the ground into stored goods. Elevate all packaged food on wooden pallets, shelves, or tables. Keep storage areas dry with proper ventilation and temperature control between 50 to 70 degrees Fahrenheit. Insects cannot establish colonies in properly sealed containers. Monitor stored goods every few months for any signs of compromise.
Durable secondary containers like food-grade buckets with gasket seals provide insurance against small tears in packaging. Label all containers with contents and packing dates for inventory rotation. Store buckets away from walls to allow air circulation underneath. Check seals annually for cracks or damage. Replace any compromised containers immediately to prevent total loss of contents.
Designing A Modern Root Cellar On A Budget
Passive Temperature And Humidity Control
Earth naturally insulates. Soil temperature stays between 50 and 60 degrees Fahrenheit year-round in most climates, making it ideal for storage. Root cellars work by burying storage space below the frost line, where ground temperature remains stable. Natural ventilation happens through strategically placed vents that let cool air enter while warm air exits. You need minimal equipment to achieve this. Proper airflow prevents mold and rot.
Humidity control requires balance. Root vegetables need 85 to 95 percent humidity to prevent shriveling. A damp floor encourages this naturally. You can pile sand or gravel on the floor and occasionally water it to maintain moisture. Avoid standing water, which breeds disease. Monitor conditions with an inexpensive thermometer and humidity gauge. These tools cost under 20 dollars and tell you exactly what you’re dealing with.
In Ground And Basement Alternatives
Burying a food-grade container works if digging a full cellar is impossible. Use a clean metal trash can or plastic storage bin rated for outdoor use. Dig a hole below the frost line in your area. Bury the container with the lid accessible. This method costs between 50 and 150 dollars depending on container size. Roots and potatoes store well here without building permanent infrastructure.
Unheated basements offer another practical option. Identify the coldest corner, away from furnaces and water heaters. Build an insulated box using rigid foam board and weatherstripping to seal gaps. Line the interior with burlap or wood slats for airflow. This approach maintains cooler temperatures than the surrounding basement. Stack your stored crops on wooden shelves to prevent ground moisture damage and allow air circulation underneath.
Inspirational Spaces Design Pantry And Casas RSticas Layouts
Integrating Classic Elements Of Casa Dei Sogni
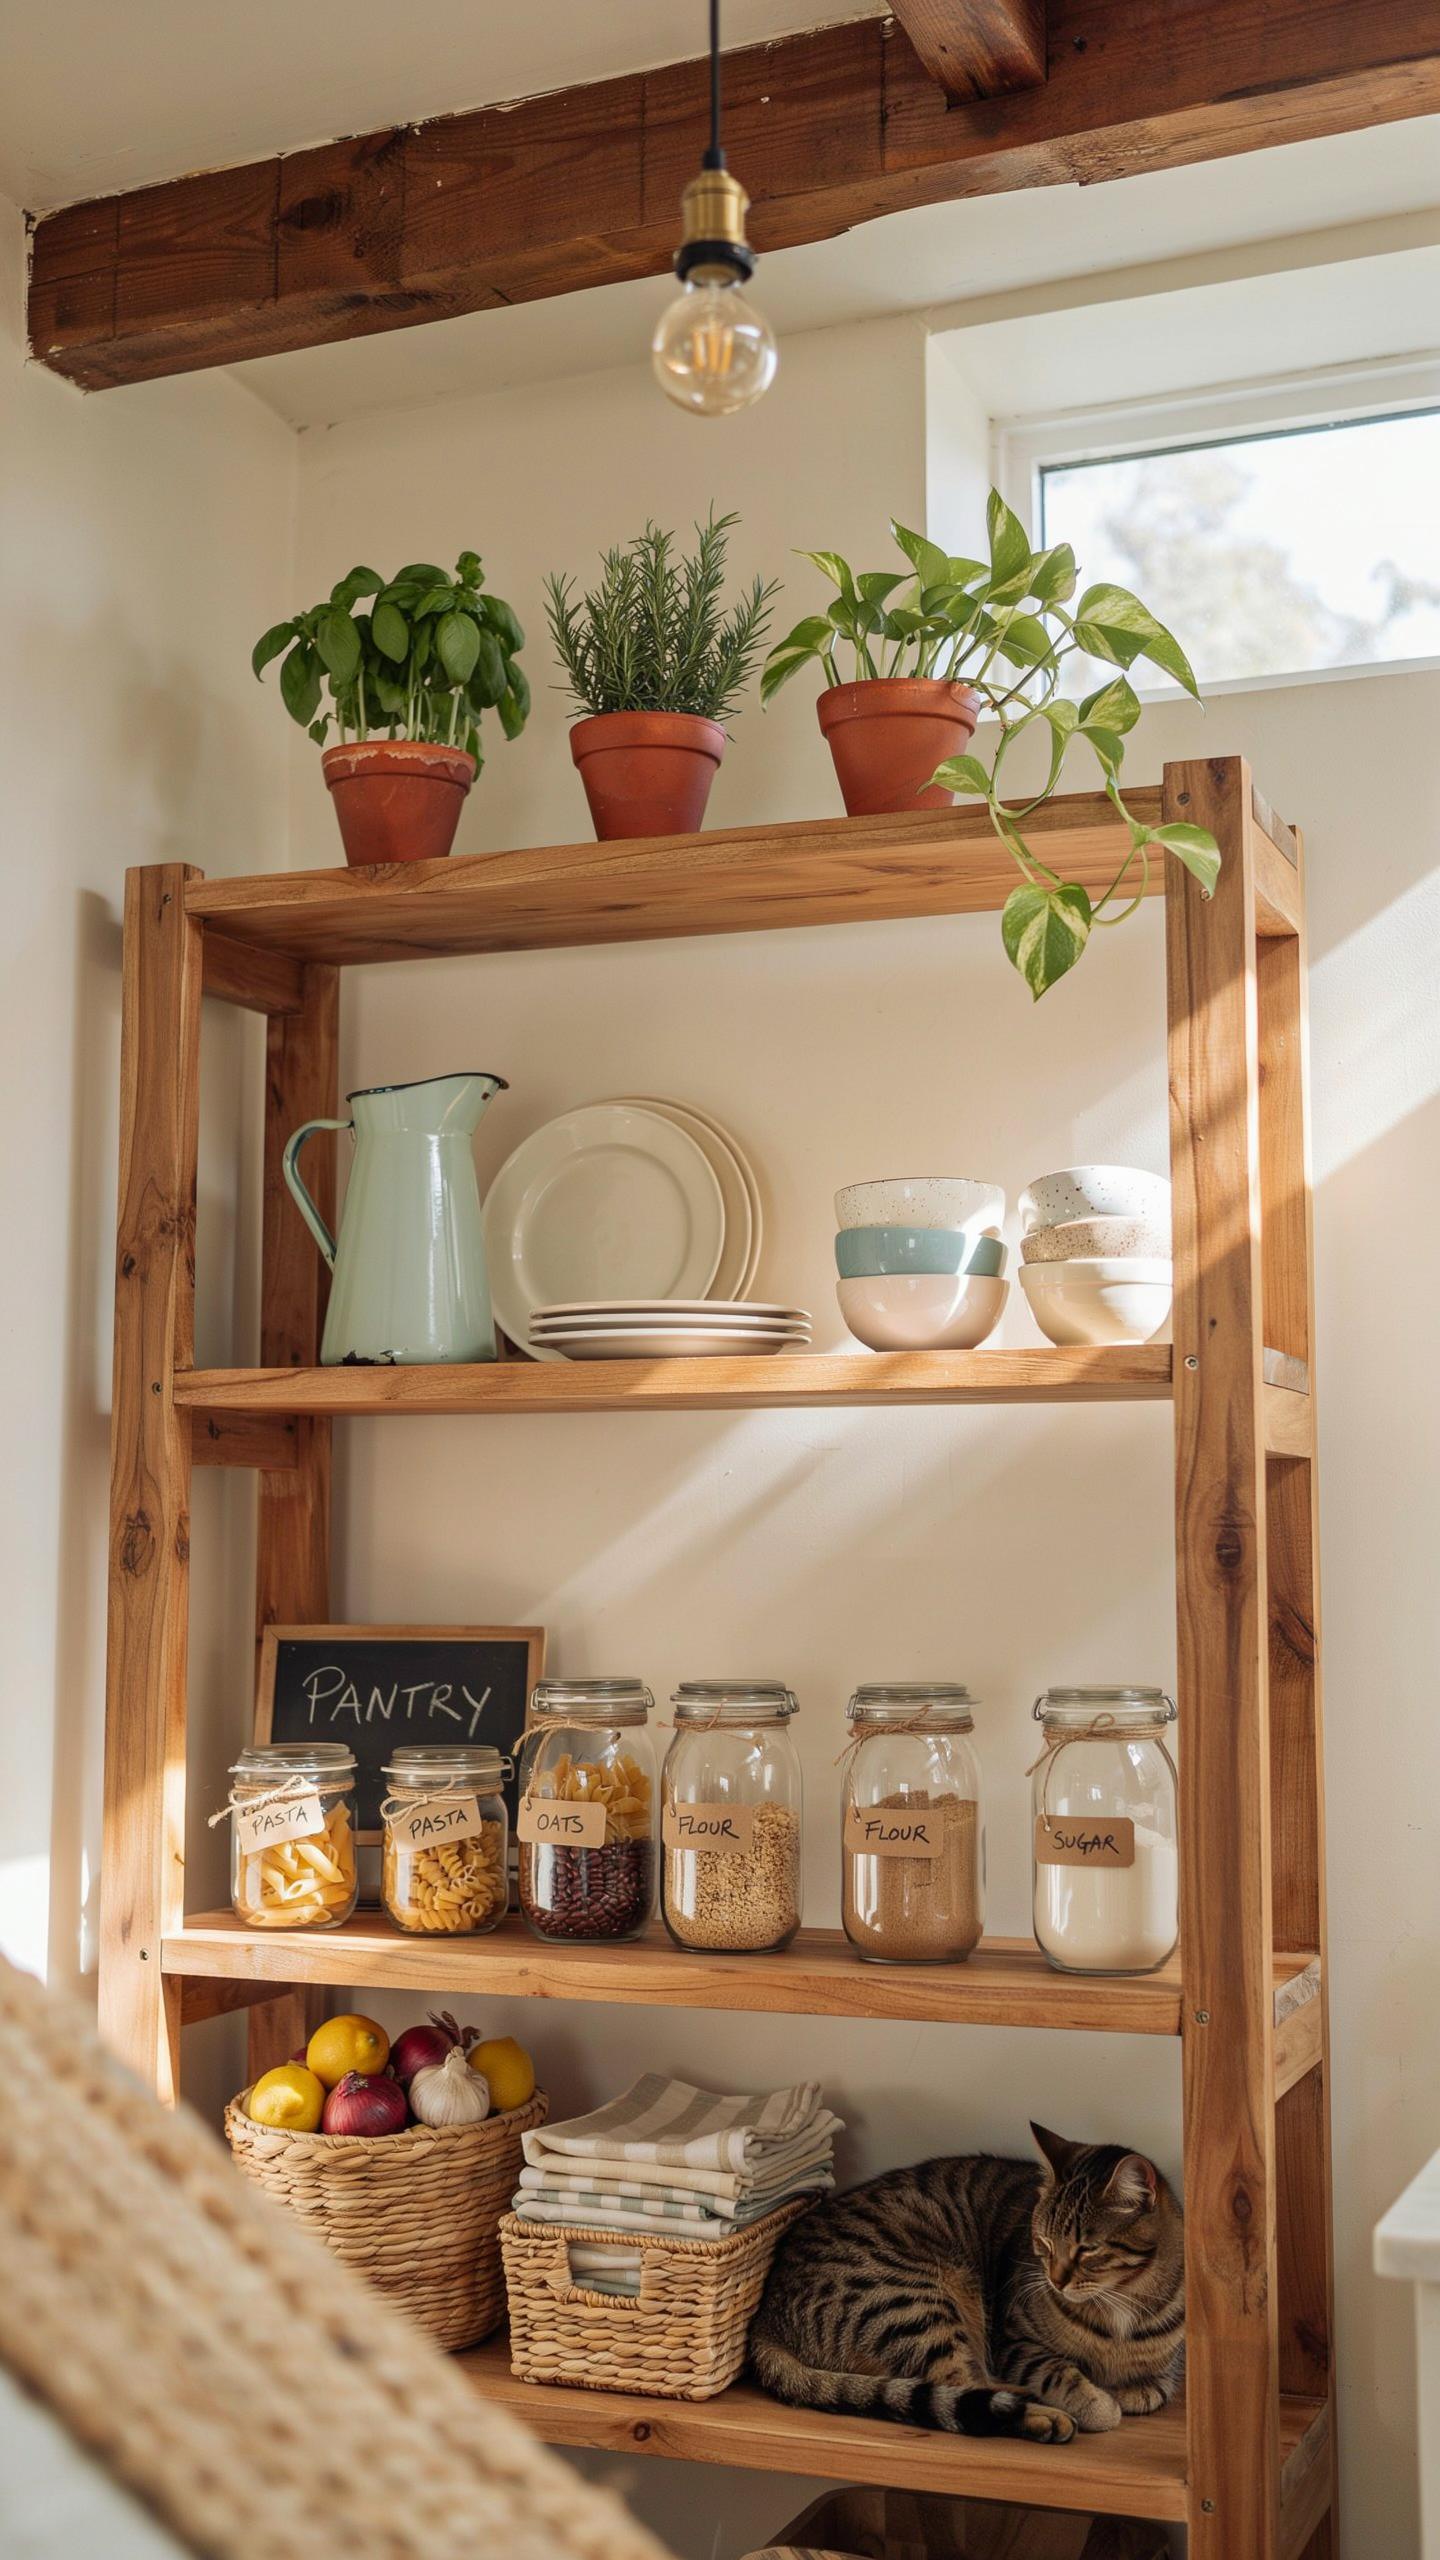
Rustic home design originated from practical necessity in rural European and Mediterranean regions. These homes prioritized functionality over decoration. Stone walls, wood shelving, and clay storage vessels served dual purposes: preserving food and withstanding harsh weather. Apply this logic to your pantry. Use sturdy wooden shelves anchored to load-bearing walls. Install shelving at varying heights to accommodate different container sizes. This approach costs less than custom cabinetry while maximizing usable space.
The aesthetic value comes from honest materials and clear organization. Exposed wood beams and stone accents require no maintenance budget. Glass jars lined on open shelves display dried goods while keeping inventory visible. Earthenware crocks for root vegetables blend function with visual appeal. Your pantry becomes a working space you maintain with pride because its design reflects actual storage needs rather than trendy decoration.
Space Saving Design Pantry Layout Ideas
Effective pantry layouts follow the principle of vertical stacking and zone organization. Your pantry stores items you use regularly, so accessibility matters more than appearance. Measure your available wall space first. Calculate shelf depth needed for your containers. Install shelves twelve to eighteen inches apart for flexibility. Use the full height of your walls. Most people waste ceiling space in pantries.
- Wall Mounted Shelving: Maximize vertical space by anchoring sturdy shelves to walls. Use adjustable brackets to accommodate changing storage needs without permanent installation.
- Over Door Storage: Install shallow shelves or hanging organizers on pantry doors for items you access daily. This adds fifteen to twenty percent more storage capacity in tight spaces.
- Tiered Shelving: Place shorter shelves in front of taller ones at different depths. This prevents stacking items too high where you cannot reach them safely or see what you have stored.
- Bin Grouping By Category: Organize flour, sugar, and grains in separate bins. Label each container clearly. Grouping similar items reduces search time and prevents duplicate purchasing.
- Floor to Ceiling Columns: Dedicate one corner to tall, narrow shelving. Store heavier items on lower shelves. Keep lightweight canned goods and jars on upper shelves for safety.

Organization systems fail when layouts ignore workflow patterns. Store frequently used items at eye level and waist height. Place rarely accessed backup supplies on high or low shelves. Keep your hands free by using pull out baskets on lower shelves instead of bending repeatedly. Rotate stock using the FIFO method. Check inventory monthly to prevent spoilage and waste.
Exploring Low Cost Outdoor Food Storage Options
Clamp Storage And In Ground Earth Trenches
Earth clamping uses layered straw and soil to protect root crops from freezing temperatures. Potatoes, carrots, and turnips store directly on the ground under this insulation. The method requires no materials beyond what you already have on your homestead. Farmers used this technique for centuries before modern refrigeration existed.
Build a clamp by selecting a well drained location away from standing water. Arrange vegetables in a mound, cover with straw to six inches thick, then add soil on top. Monitor the clamp during thaws to prevent moisture accumulation. This system preserves crops through winter at zero cost.
Outbuildings And Insulated Garden Sheds
Existing garden sheds become overflow storage when you optimize internal layout and temperature control. These spaces hold canned goods, dried beans, grains, and packaged items that don’t fit in your home. Insulation keeps internal temperatures stable and protects food from extreme heat and cold swings. Many homesteaders already have these structures unused for food storage purposes.

Convert a shed by adding shelving units and removing direct sunlight exposure through covered windows. Ensure adequate ventilation to prevent mold and mildew on stored containers. Use weatherstripping on doors to maintain consistent temperature. This approach costs far less than building dedicated storage from scratch.
Frequently Asked Questions

How do I begin building a food supply for homestead self-sufficiency if I have limited space?
Starting your journey toward homestead self sufficiency food storage doesn’t require a cellar or a barn. Begin by utilizing under-bed storage containers, clearing out a coat closet, or adding decorative baskets above kitchen cabinets. Focus on nutrient-dense staples like height-efficient vertical shelving for canned goods. By maximizing every square inch of your current home, you can build a robust three-month supply of essential ingredients without needing a large, expensive dedicated pantry.
What are the best methods for preserving garden harvests on a tight budget?
The most cost-effective methods for preserving food are water bath canning and dehydration. You can often find used glass jars at thrift stores, and a basic stockpot serves as a perfectly functional canner for acidic foods like tomatoes or pickles. For drying herbs and fruits, building a simple solar dehydrator from scrap wood is an excellent way to enhance your homestead self sufficiency food storage capabilities without increasing your monthly electricity bill.
Can I achieve food security if I cannot afford to buy bulk supplies all at once?
Absolutely! True self-reliance is built through consistent, small actions rather than one-time large investments. Try the “dollar-per-trip” rule: every time you grocery shop, spend just five dollars on extra dry beans, rice, or salt. Over time, these small additions create a massive reserve. This gradual approach ensures your pantry grows steadily, making long-term food security accessible to anyone, regardless of their current financial situation or monthly household budget.



